Showing posts with label Snowflake. Show all posts

1.16.2020

Christmas 2019 Nails!

Hey there lovely readers!

I completely forgot to post the nail art looks I rustled up this (or last now I guess) Christmas! I guess I've gotten so used to just posting on Instagram these days (@aysh_xox) that the blog takes more of back seat which saddens me! However I would like to have an online portfolio of my designs to look back on hence why I persevere with posting on here :)

I did 4 different looks for the festive season starting with some Snowflakes! I love doing this design because all snowflakes are different so you can do so many variations! I have actually done a step by step Snowflake tutorial HERE. After applying a pretty baby blue base, I used white polish to draw a cross with a vertical line through it. This is our snowflake! And for the details I just added some small dots & angled lines to make it resemble a snowflake. Finishing off with a pretty clear crystal in the centre.

12.24.2018

Festive NOTD - Sweet Sparkly Layered Snowflakes

Hello there lovely readers!

As Christmas is now on our doorstep I thought I'd squeeze in one last festive nail art look for the year! I've actually done better than I anticipated, rolling out 4 different designs: Vintage Gold Festive Roses, Minty Snowflakes, Winter Wonderland Christmas Trees & also a Disney special with some Frozen nails. A little life update also, I handed in my notice this month so I will be starting a new job in the new year which I am very excited about! How that will leave me for time to blog...I don't know yet, but lets see! Blogging has always been so therapeutic for me hence why I've continued at it after so long & its something I definitely strive to continue with!

For my last look I've done another Snowflakes design. However I've gone a different route this time & thus doing so I think I may have discovered my new favourite thing...LAYERED jelly stamping! What on earth is this you ask? Do you happen to have any of those sheer tinted polishes in your stash but no clue how to use or what to do with them? OPI Color Paints were the first of these kind (according to my knowledge anyhoo) & a few brands jumped on the bandwagon shortly after including Barry M with their Lolly Gloss Range which I blogged about HERE.

I decided to use these & my trusty stamper to create this sweet snowflake look & I think this may be my favourite festive design of the lot this year! I got the idea of layering from the fab Kate aka @Alterego_nails on IG. It was she who also inspired me for the Sharpie Nails I did HERE...what can I say, the girls got mad skills & ideas!

To start I needed an opaque base to work on first...as the two Lolly Gloss polishes I have were pink & purple, then those were the base shades I went for as well. For my purple nails I applied one coat of Models Own Roxy & for the pink nails I applied one coat of a fuchsia pink European brand polish I picked up on my travels.

Now for the first round of stamping. I have a few festive stamping plates from Born Pretty Store which also have single snowflake patterns, perfect for this. Using white polish I stamped about 3 snowflakes to each nail.

I then reached for the tinted Lolly Gloss polishes & applied one coat over the snowflakes which gives that awesome "submerged in jelly" like look! Obviously using the purple tint on the purple nails & pink tint on the pink nails. Once this was dry I then went in again & stamped on 2 more snowflakes on top.

You can keep on going with the layering if you wish but I stopped here. For a final touch I added a pretty pink rhinestone to the center of my 2 top snowflakes & though you can't really see I also added a coat of glitter topcoat for some extra powow SPARKLESSSSS. 

A final coat of topcoat to seal those stones & add shine & you're done! Thanks again to the fab Kate for this awesome idea. I now need to get hold of more tinted sheer polishes so I can do ALL the layered stamping! Thanks as always for reading darling ones & I wish you the merriest of Christmases whatever you may be doing! See you in 2019!

Lotsa love to ya!


12.05.2018

Festive NOTD - Mint Sparkle Snowflakes

Hi there lovely readers!

I was in two minds about whether to share this nail art...Even though I loved the frosty mint colour, I think the pale base made my snowflakes & holo glitter stickers get a tad lost amongst the background so I kinda class this as a mani fail haha! But hey you win some you lose some right?


12.21.2017

Festive NOTD - Snowflakes plus Step by Step Tutorial

Hey there lovely readers!

If you caught my previous post HERE you'll recall the gorgeous polish I shared with you all, in all its chameleon chrome goodness, the super pretty Zealous by For Your Nails Only

As I was utterly obsessed with this polish & had no desire to remove it from my nails I decided to use it as a base for my next festive mani & I think it worked out really well! 

1.02.2017

NOTD - Pastel Winter Wonderland Nails

Hello there my lovely readers!

Happy new year to you all my beauts! I hope you all had a wonderful Xmas break & new years however you spent it. I'm certain my spirit animal is a bear as I've pretty much spent the holidays in hibernation which has been utter bliss! Like many I'm sure I'm now currently going through the “oh god no” motions at the thought of going back to work!

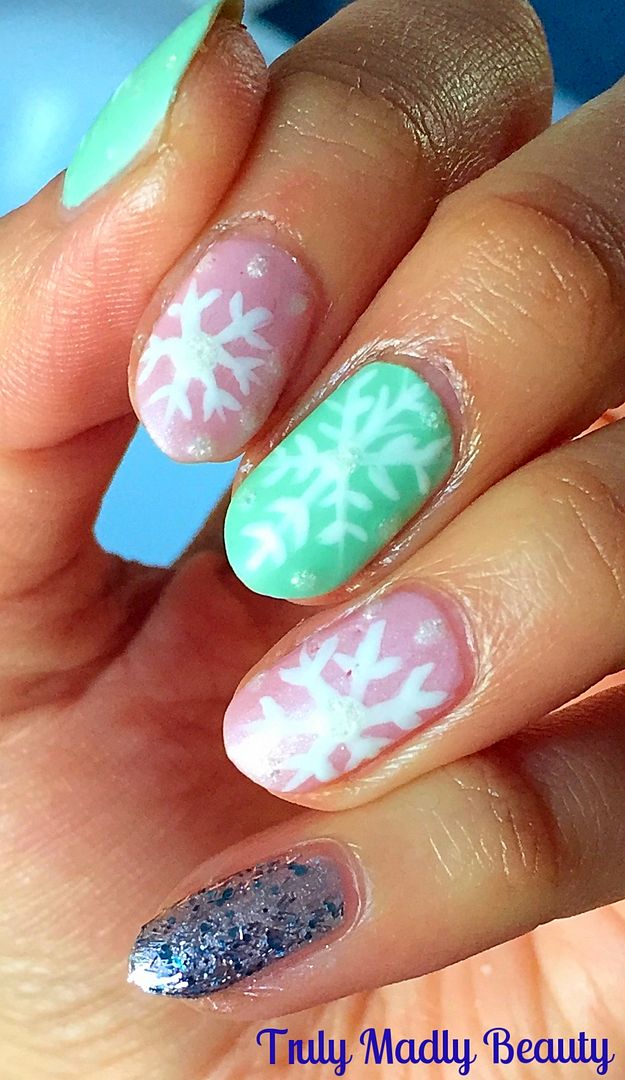
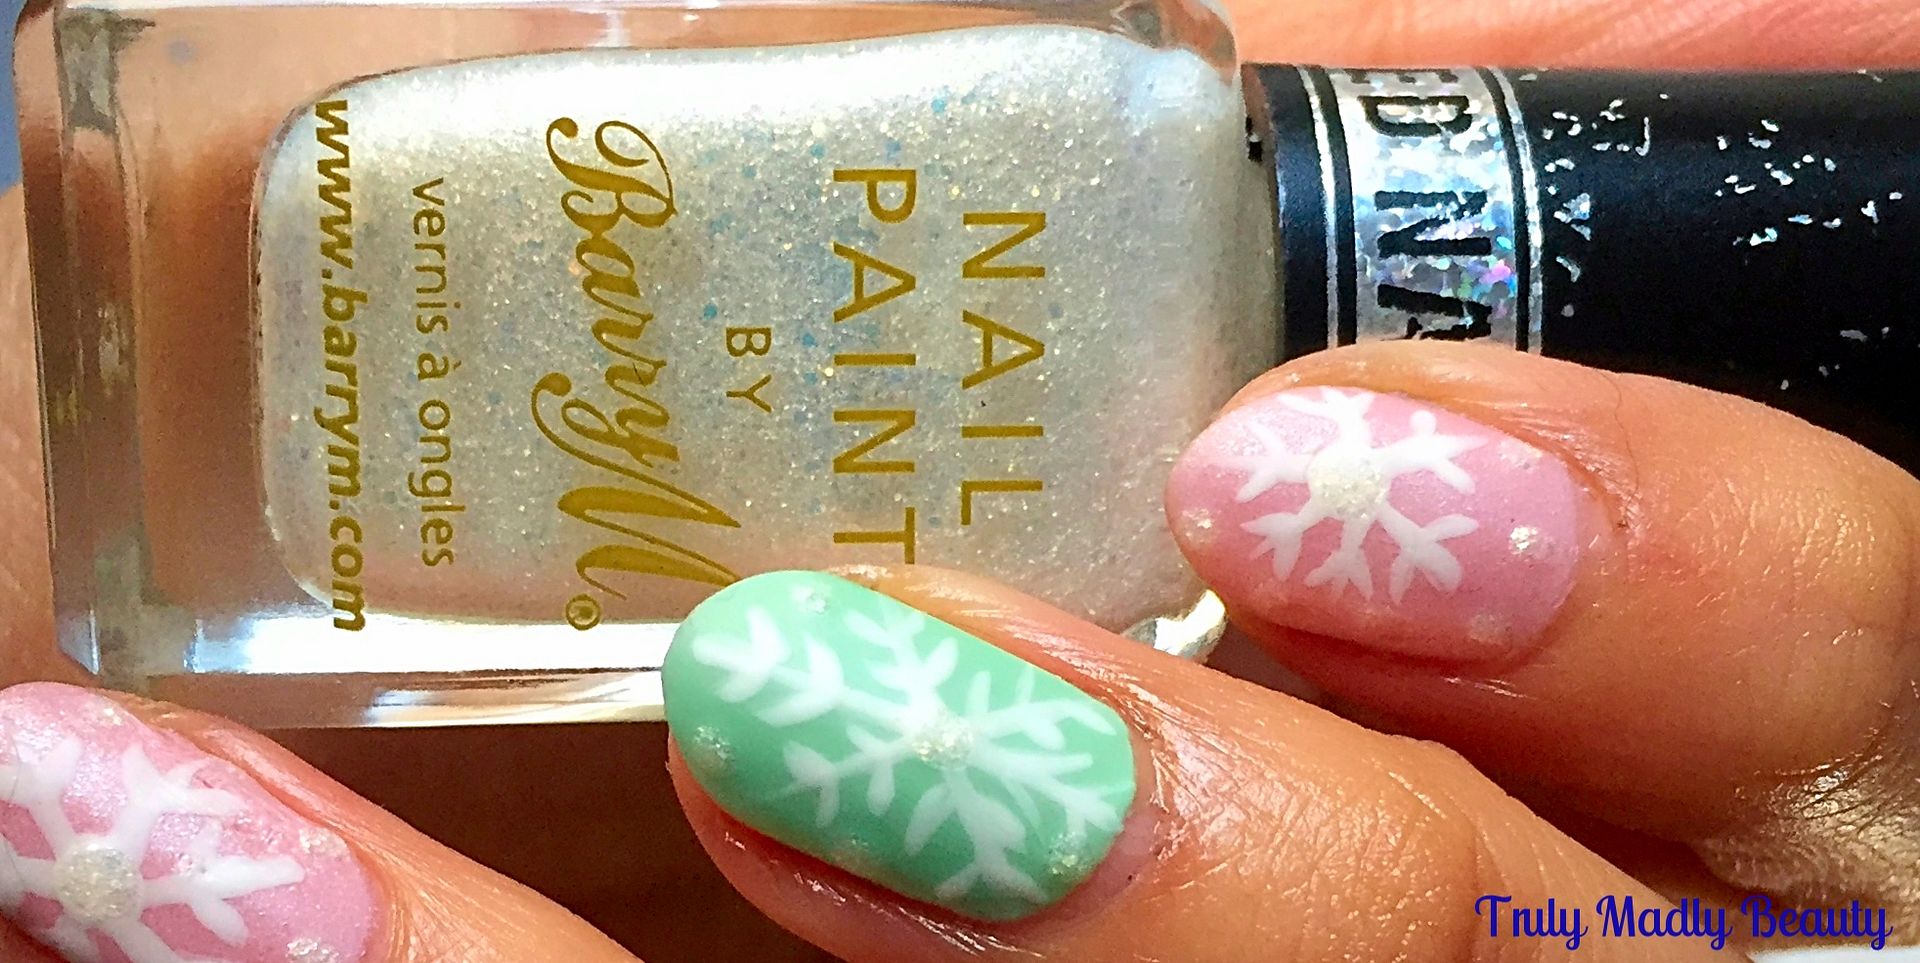
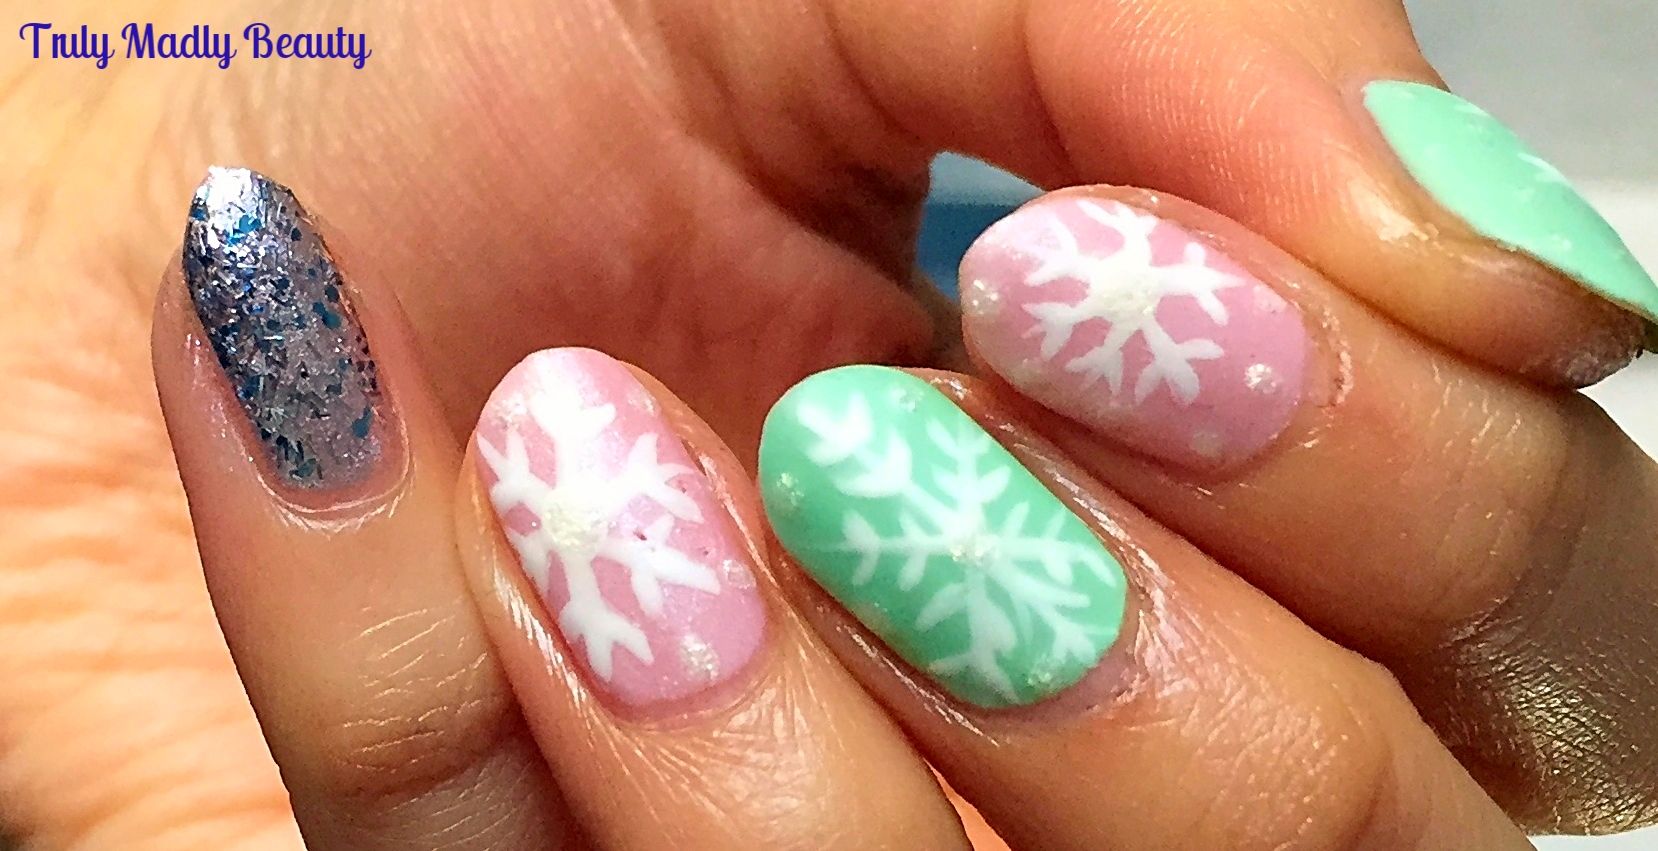
Not feeling QUITE so ready to part from the festive feels just yet here's a frosty Pastel Winter Wonderland mani using sugary soft tones, snowflakes & a bit of glitter thrown in! Normally I'm a glossy girl all the way, however for this mani I decided to mattify the finish & I must confess I dig it!


I wanted some pretty pastels for my base, not able to decide I went for a two tone using pale pink & mint.


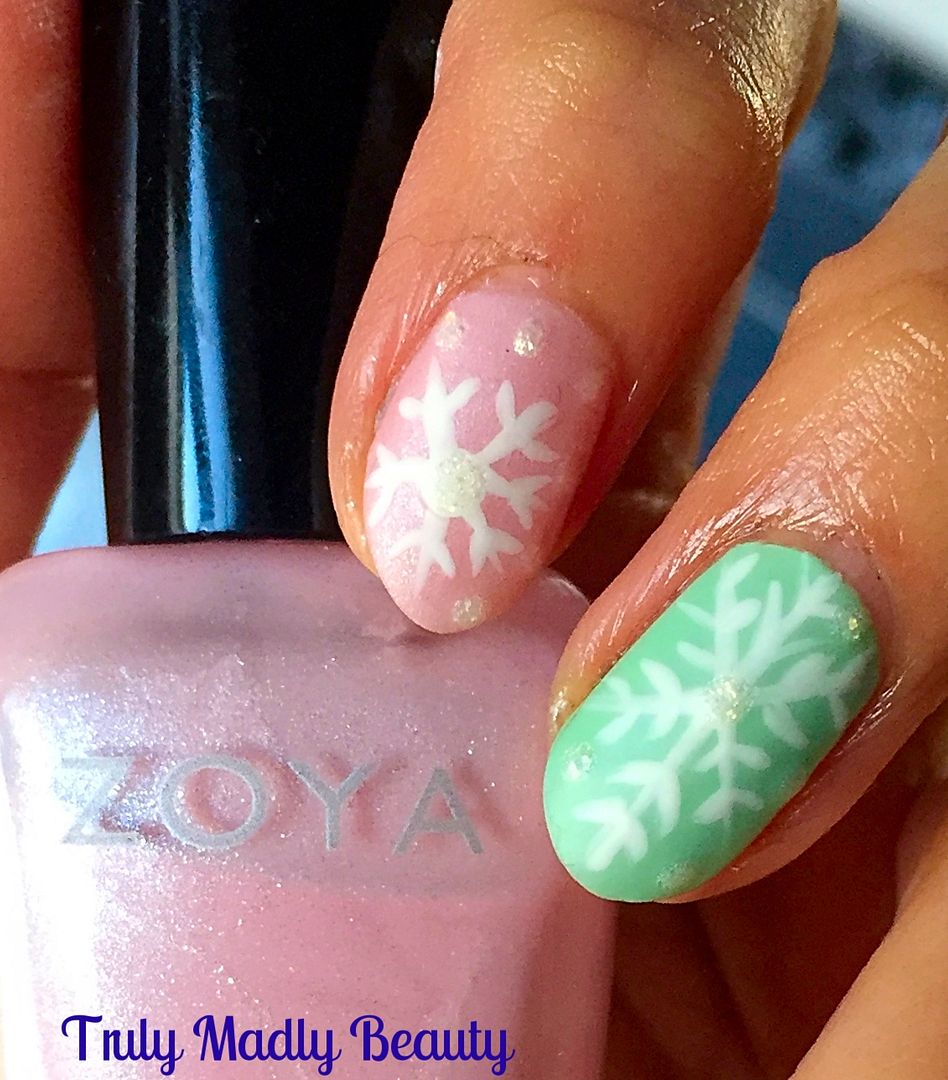
For the pink I've used two coats of Zoya Bailey, a gorgeous soft pink with a pretty pale silver shimmer running through it.


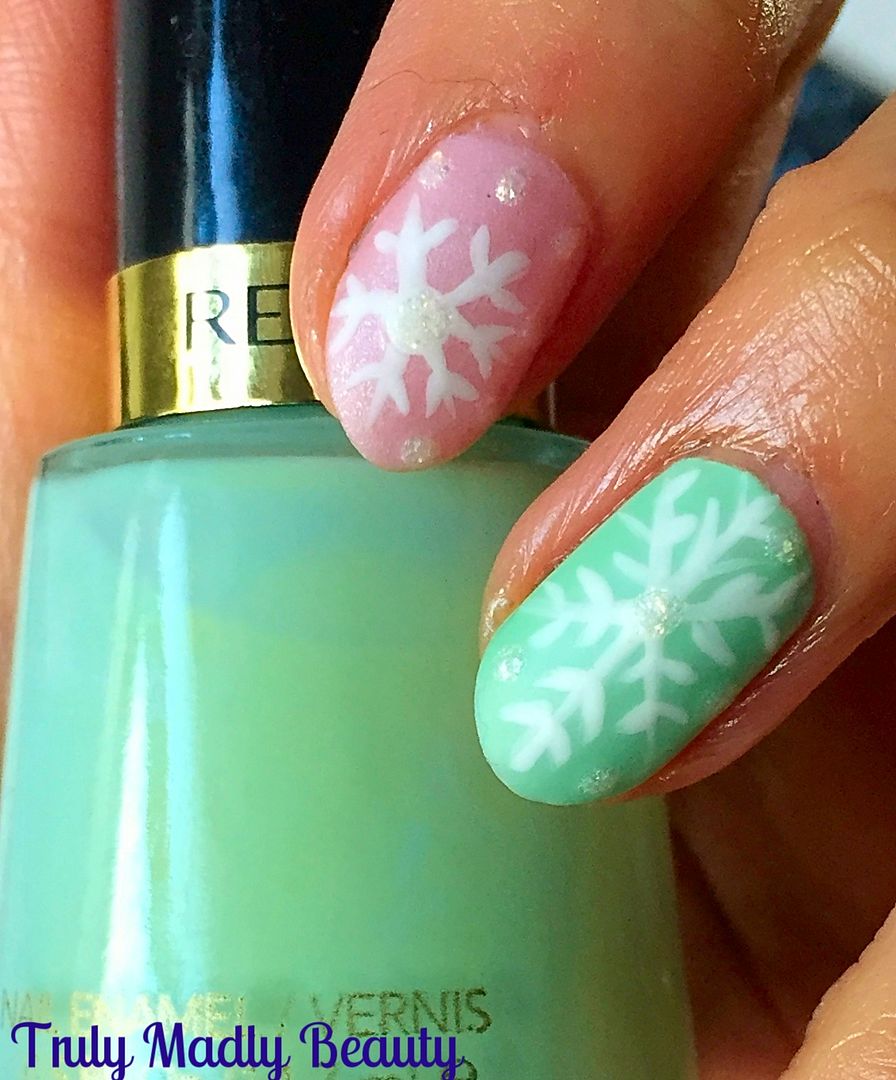
For my mint green nails I went for one of my vintage Revlon polishes, this is the aptly named Minted of which two coats were also applied.


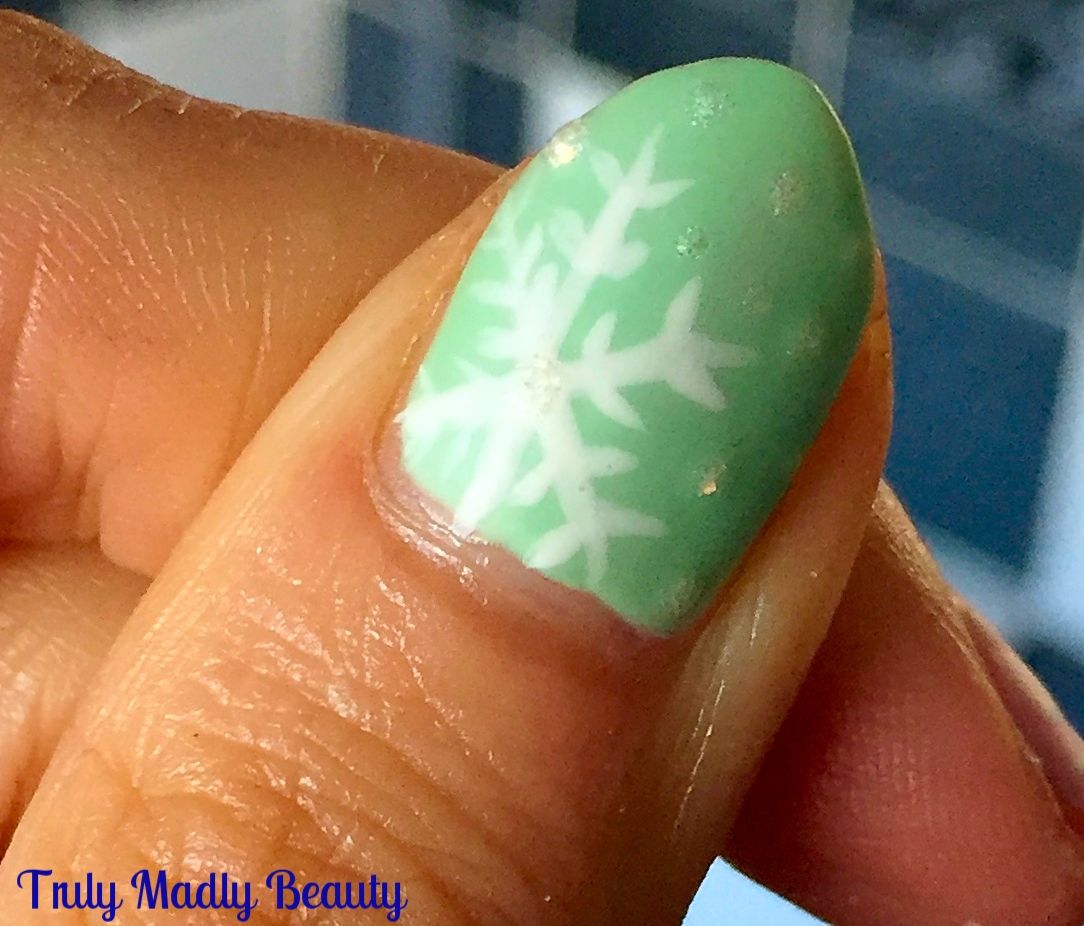
Creating the snowflakes is easy peasy, using a fine nail art brush & some white polish simply draw an X on to your nail wherever you'd like your snowflakes placed, then draw a vertical or horizontal line on top.


Now add on your snowflake details by placing smaller angled lines along the cross, playing around with different styles, sizes & designs!

To add a bit of dimension to the pastel nails I dotted on a bit of Barry M textured polish in Lady which is a really unusual & pretty frost white shimmer.


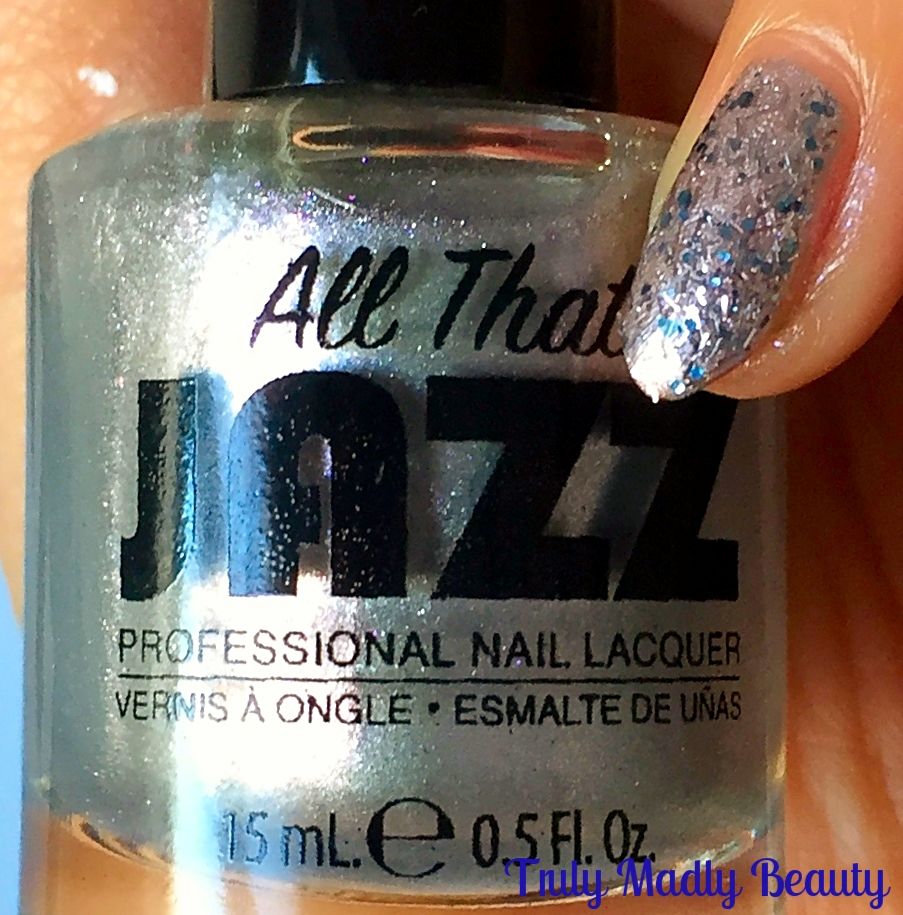
Then for the accent nail I applied two coats of this pretty silvery All That Jazz polish. I couldn't for the life of me find the name of the shade on my bottle, unless I was having a dunce moment which, lets be honest, is most likely, but it could be the shade Glam Squad


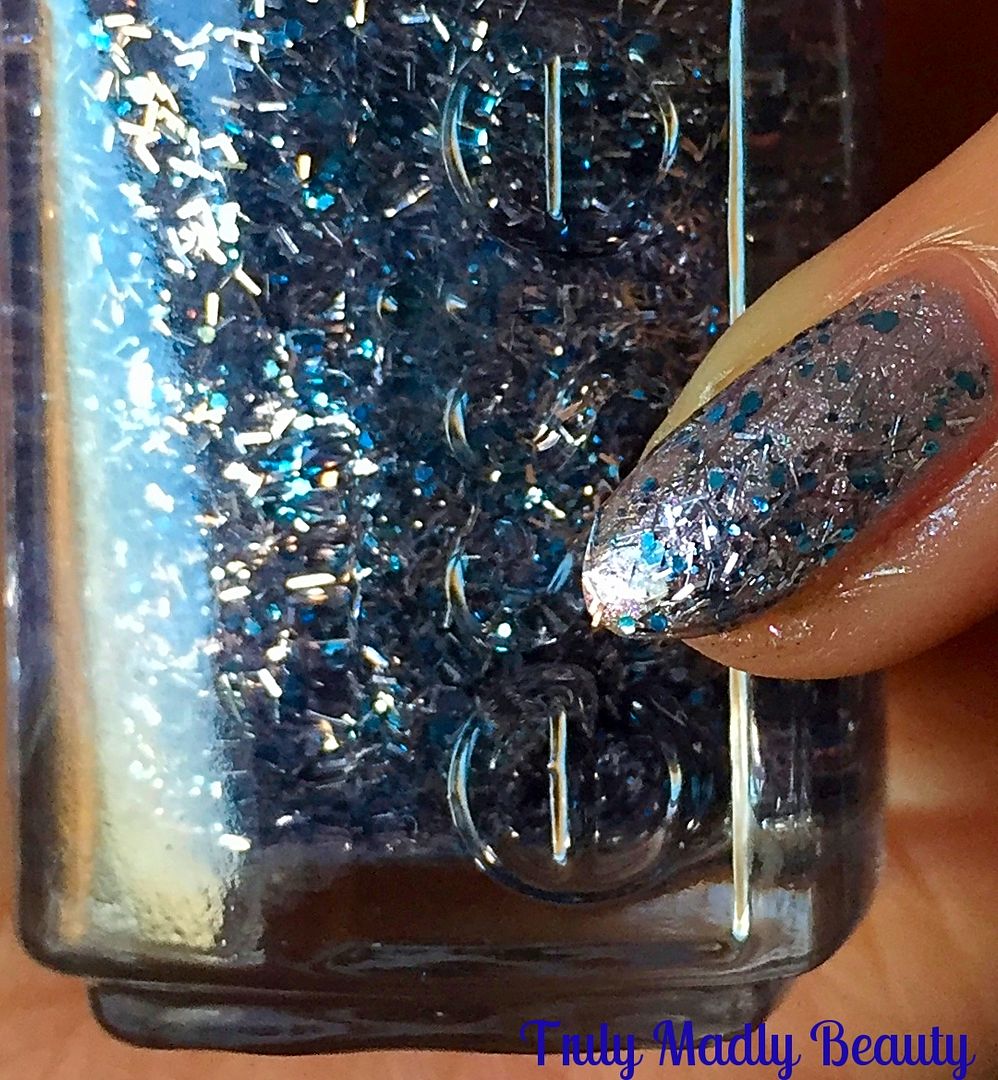
For the final touch I coated the silver pinkie with this beautiful silver & frosty blue bar & hexagon glitter mix courtesy of Essie Luxe Effects in Frilling Me Softly.


As mentioned before I decided to go for a matte look so to finish I applied a Rimmel matte topcoat to the pastel nails. Matte pastel manicures may just be my new favourite thing! I don't know if its the sweet tooth but this finish reminds me of cake frosting!

First post of 2017 done! Now I'm off to hunt down that Fondant Fancy that I know is in the cupboard begging to be eaten to satisfy the sugary sweet craving this mani has enabled. Thanks as always for sticking by to read my rambles, here's to a fab year!


Lotsa love to ya!


12.24.2014

Xmas NOTD - Snowflakes!

Hey lovely readers!

Before signing off for the holiday I thought I'd sneak in one last Xmas manicure! I hope you liked the ones that have been rolled out this year including a FestiveDotticure, Christmas Wreaths, Santa Claus Nails, Christmas Trees & Peek-a-boo Polar Bears. For my last Xmas mani I decided to go for some Snowflakes :)