Showing posts with label W7. Show all posts

4.12.2018

NOTD - Birds Of A Feather

Hey there lovely readers!

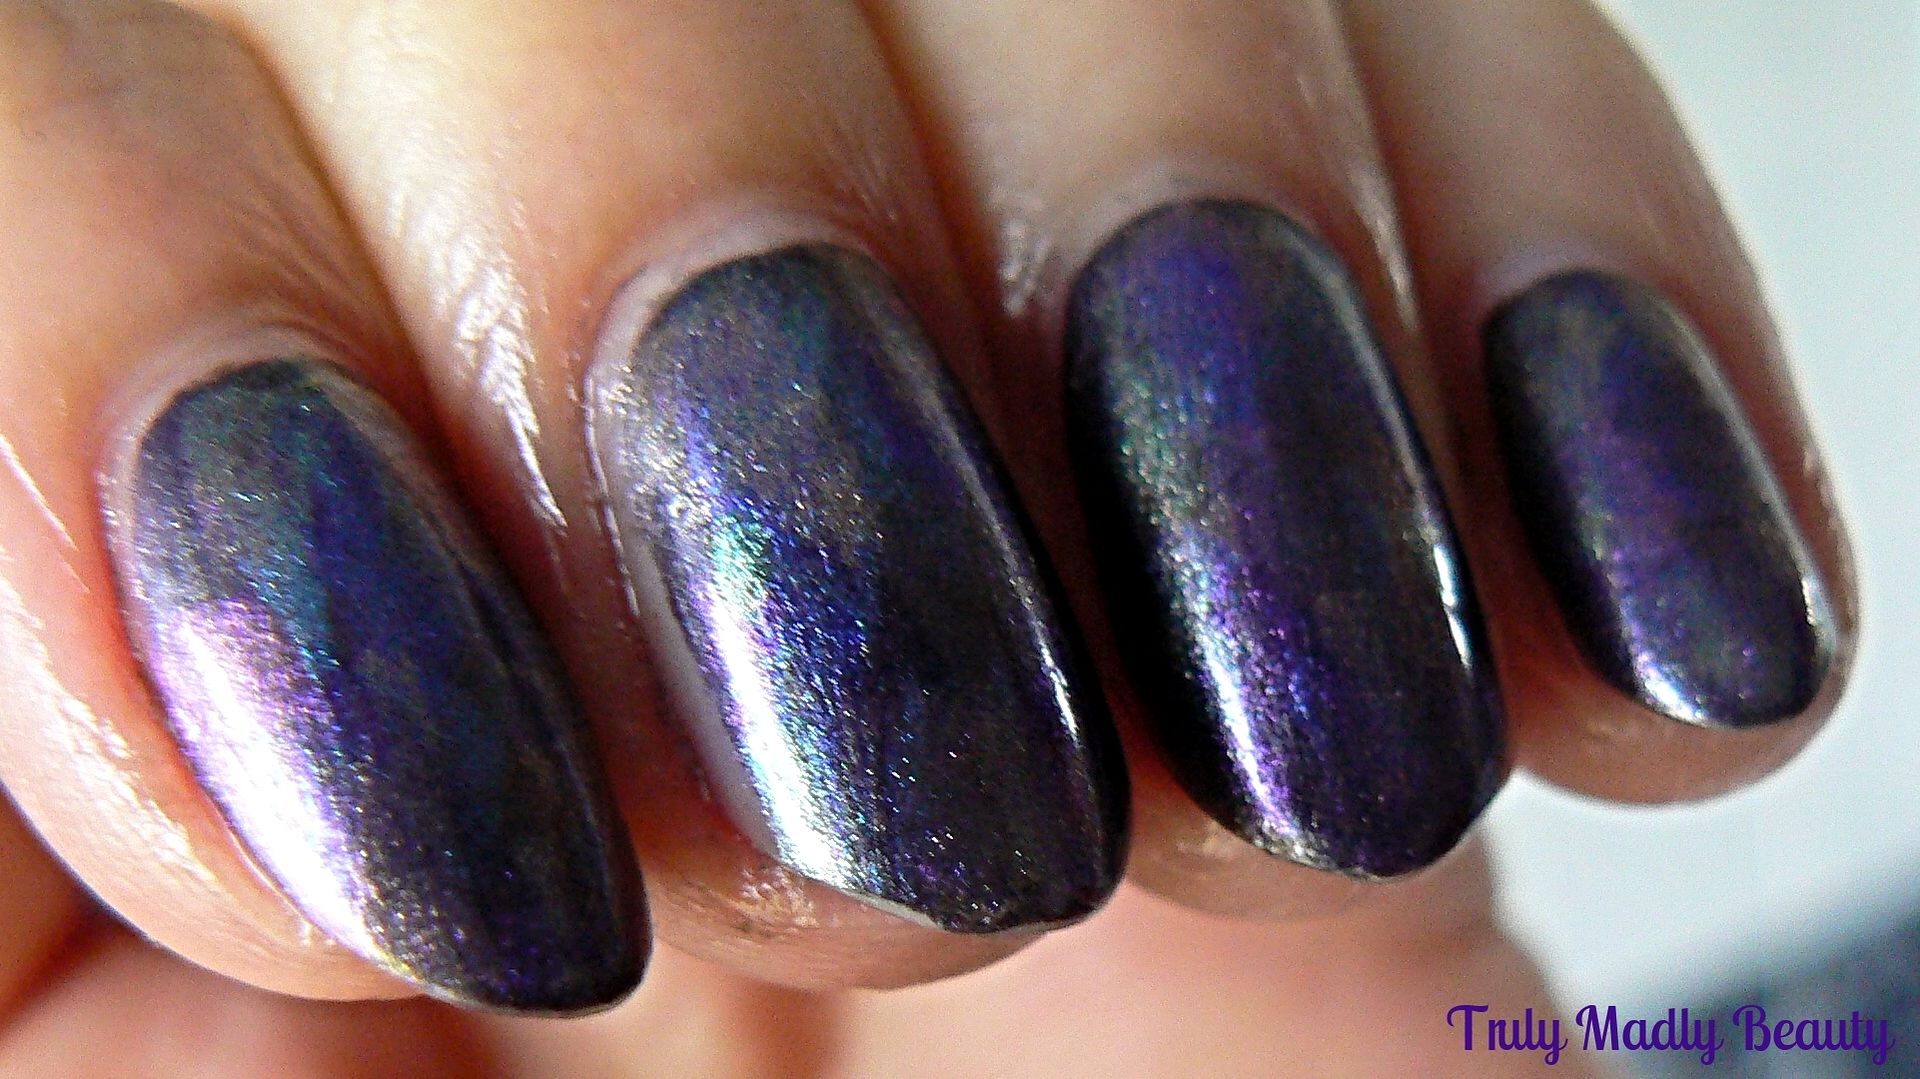
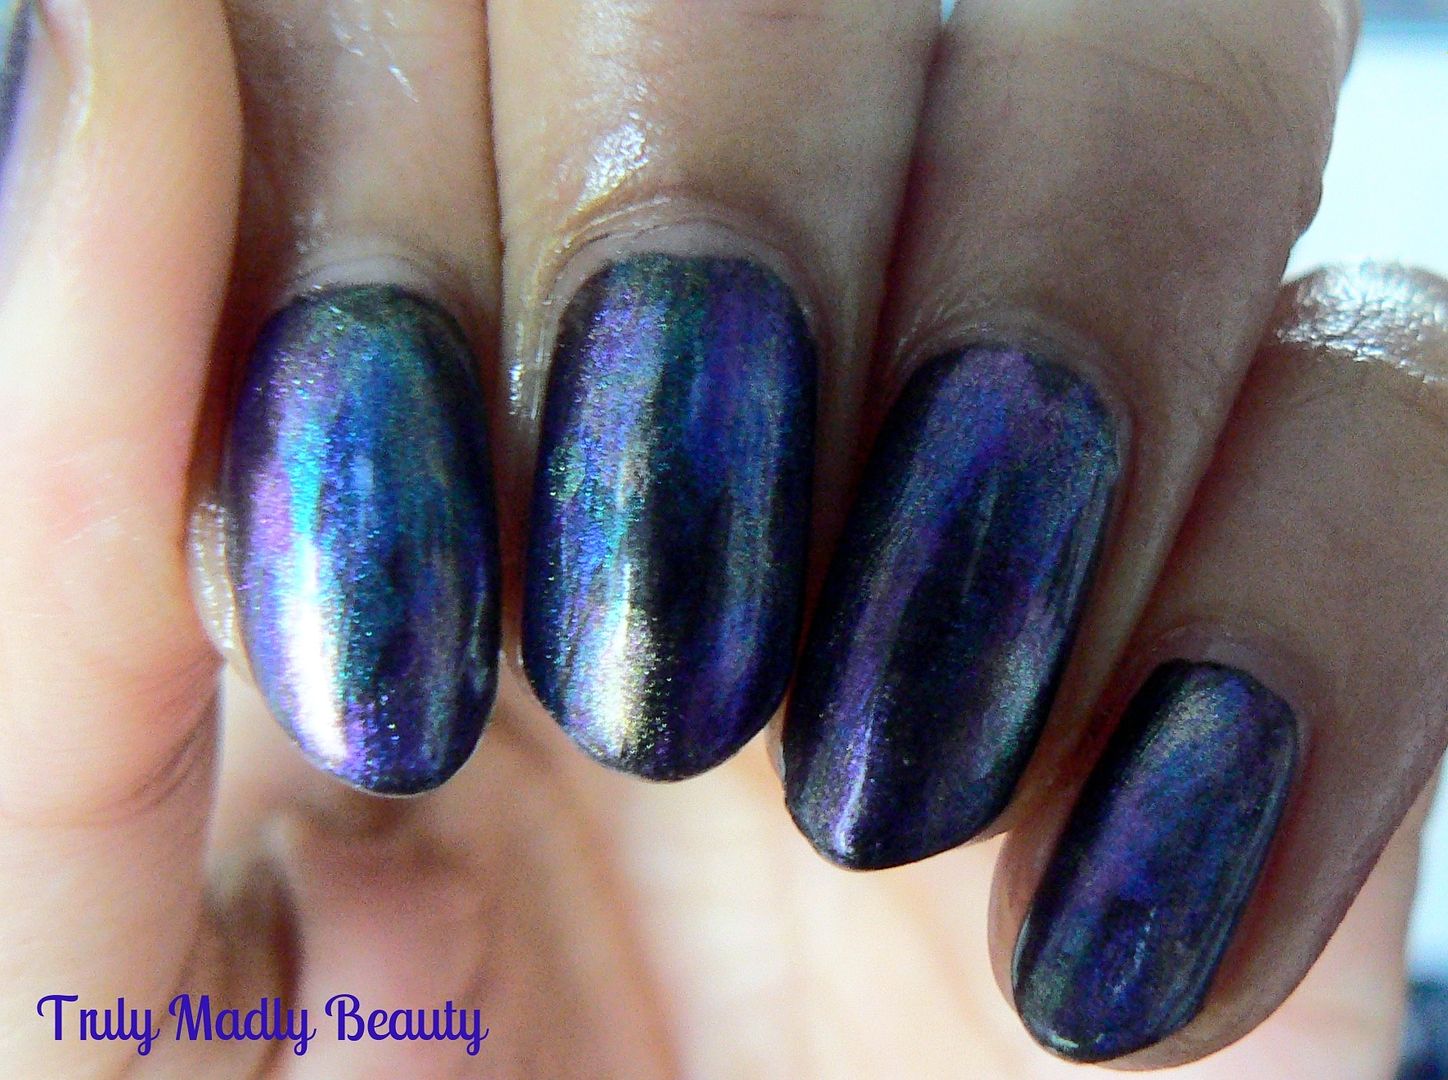
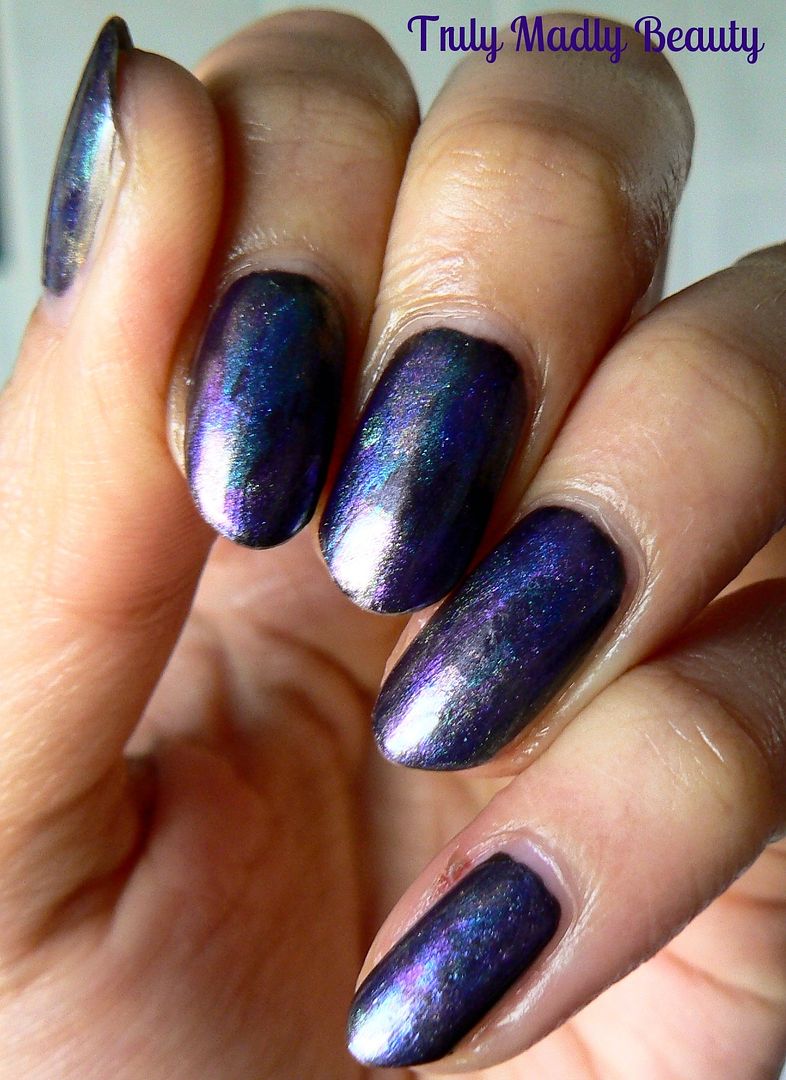
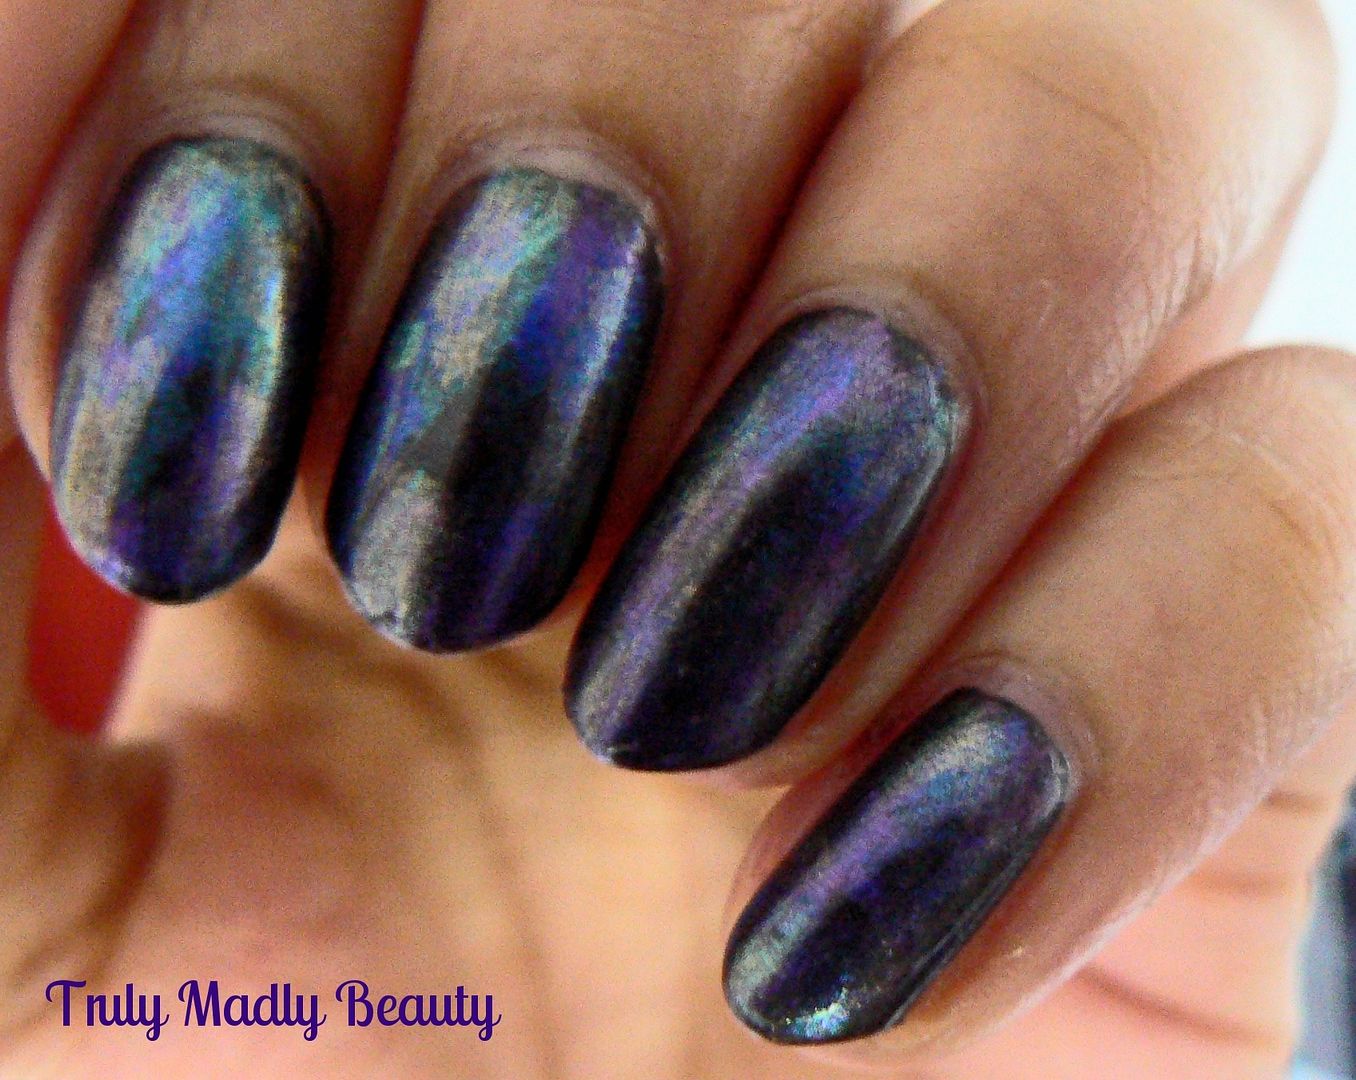
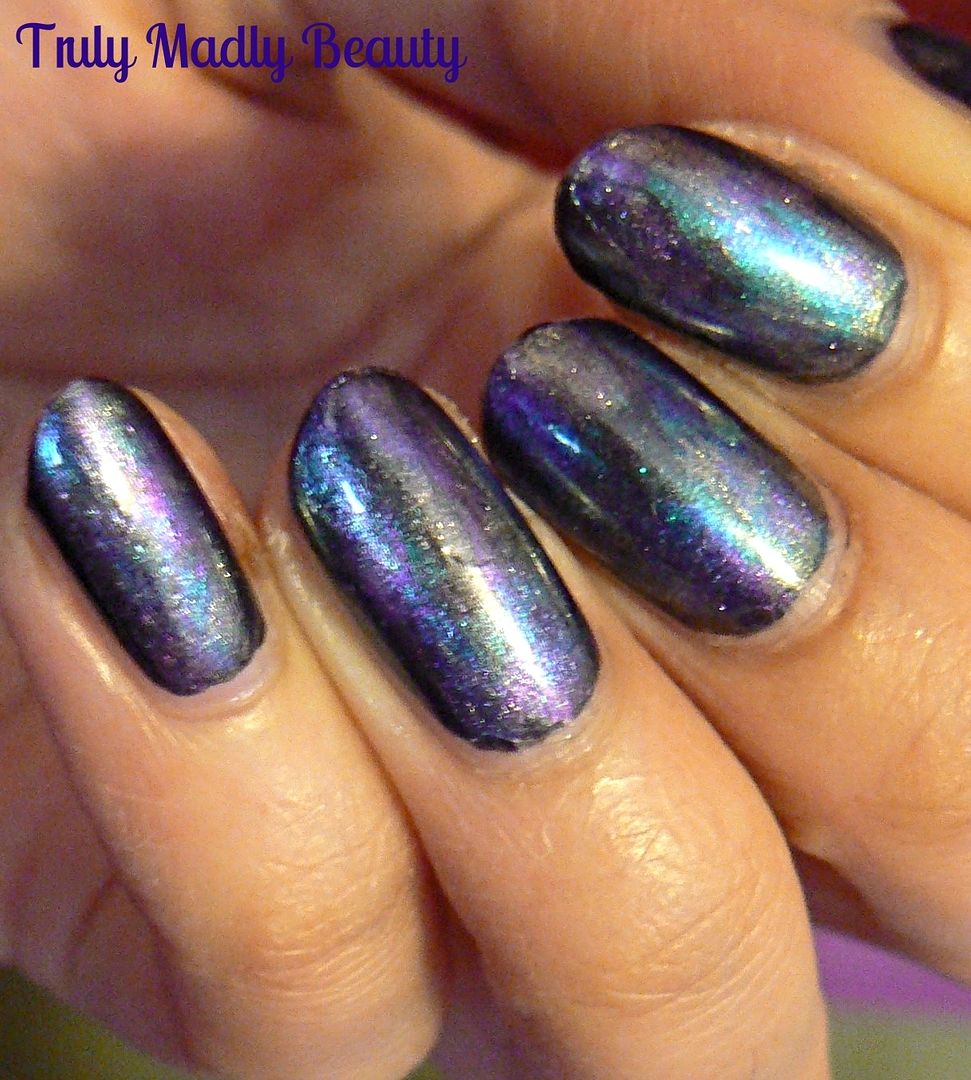
I'm in two minds about this nail art look & was almost not going to post it but meh...I was so in love with that mesmerizing magnetic base (if not so much the design itself) that here it is anyhoo!


8.09.2017

NOTD - Sweetpeas and Stripes

Hello there lovely readers!

Oooh its been a while! These past few weeks have been all manners of manic with work, life & everything in between. Thankfully I managed to squeeze in a brief holiday to the Poldark lands aka Cornwall to visit one of my lovely friends plus catch some much needed time out. I could happily have stayed there forever as I adore it there muchly....who knows maybe one day.

As we seem to have been rather cheated of a summer this year (seriously Mother Nature, whats the dealio, I thought you & I had a special arrangement?) I've been resorted to creating summer vibes via other means, mostly my favourite way of course, on my nails.

It really uplifts my mood greatly when I'm wearing a pretty patterned mani & I'm an absolute sucker for florals, they soothe me so much so whenever I get a chance you can be sure I'll be rocking a floral manicure a lot of the time! My wish one day is to recreate stunning floral mani's like Follow That Way...seriously this girls skills are insane, her floral mani's are like works of art!


4.09.2016

Makeup Winning with W7!

Hello lovely readers!

It occurred to me the other day after finishing my makeup that the majority of products I'd just applied belonged to one brand in particular & its one that completely took me by surprise! The dark horse in question...W7! A brand that has really drawn my intrigue, especially renowned for their dupes of certain more expensive brands.


Its easy to see why I've missed paying attention to the brand what with it not being hugely available on the high street, though I AM starting to see them pop up in more places now. As it turns out W7 have some pretty amazeballs products for absolutely fab prices & I thought it was high time I shared a few of my favourite ones with you!


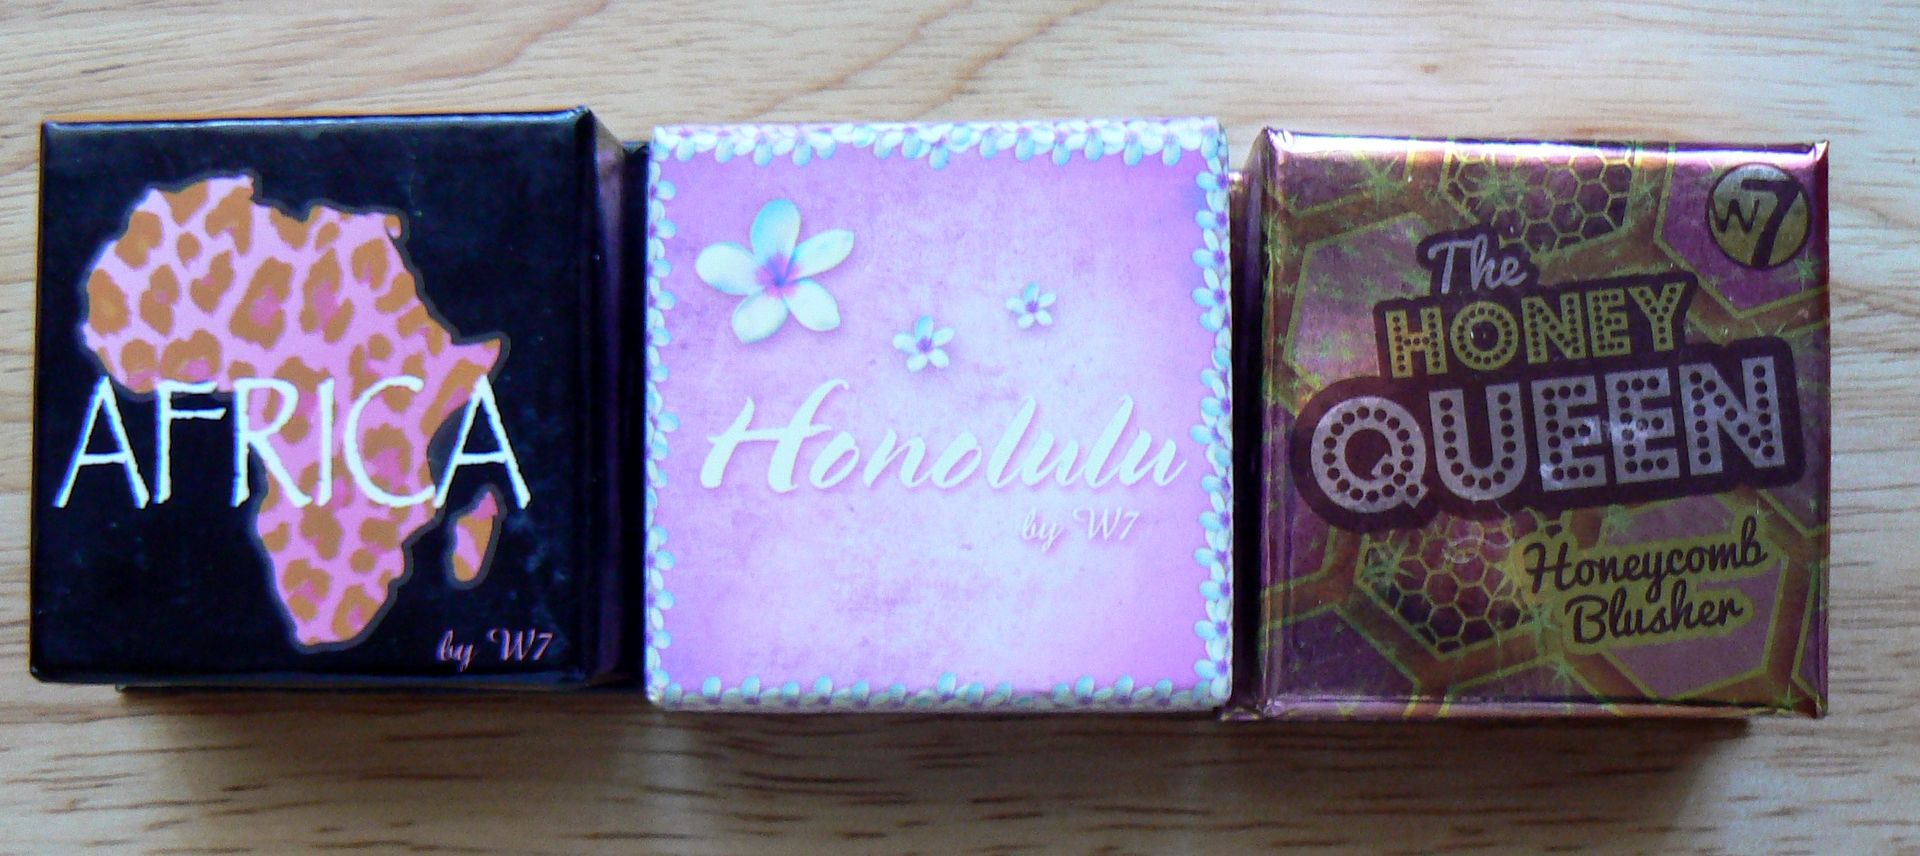
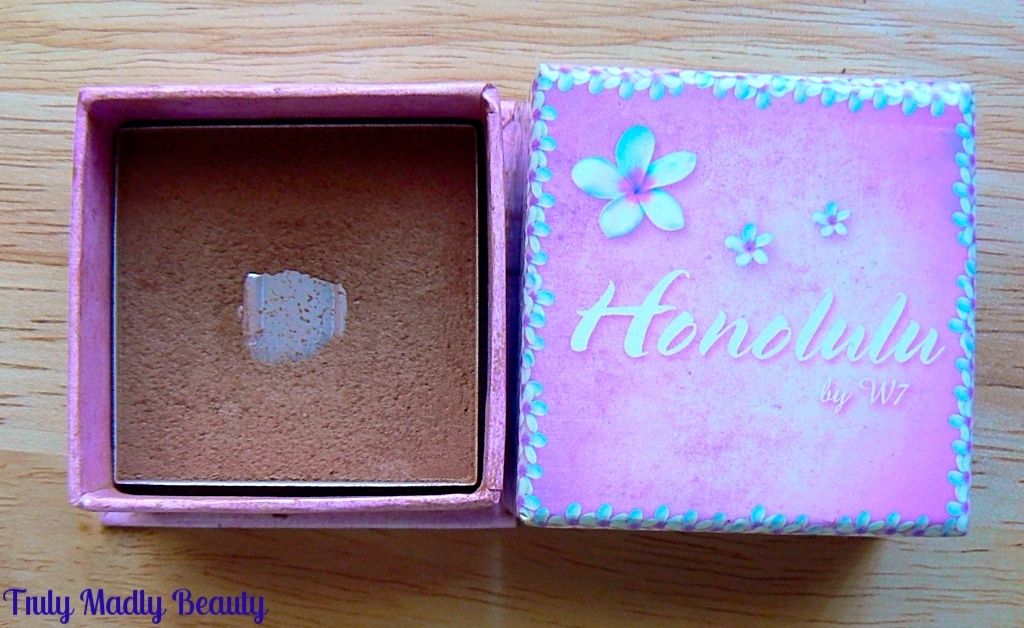
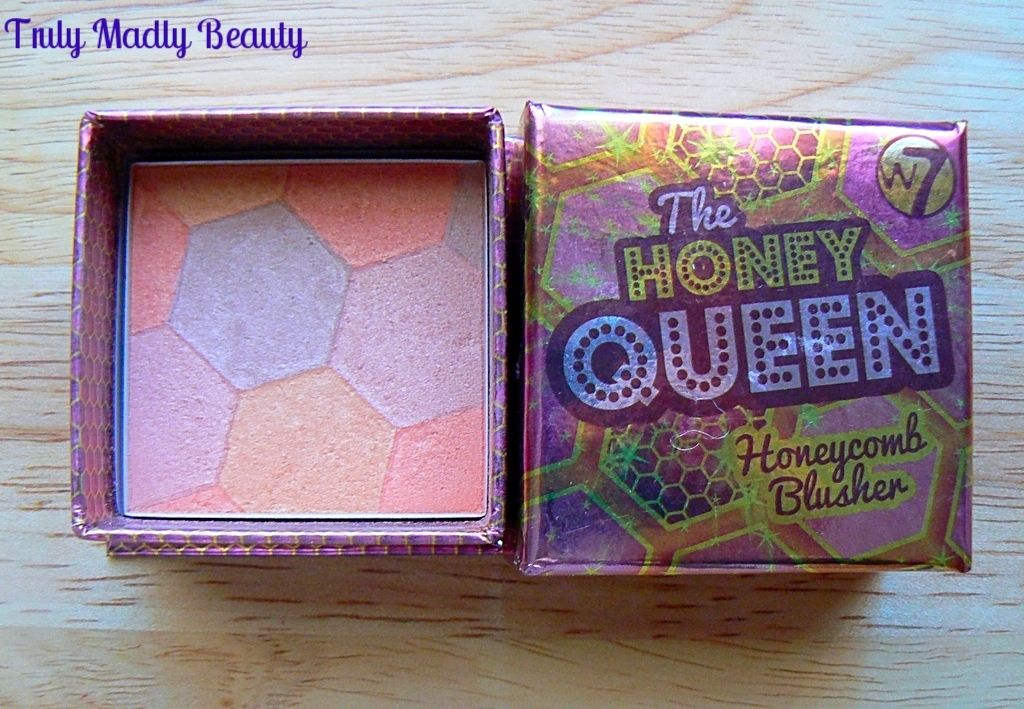
First we have these three boxed delights, Africa, Honolulu & Honeycomb that were actually my first W7 purchases many moons ago & the love is still going strong. These 3 are all stated as bronzers however I'd say only Honolulu falls under that category. 


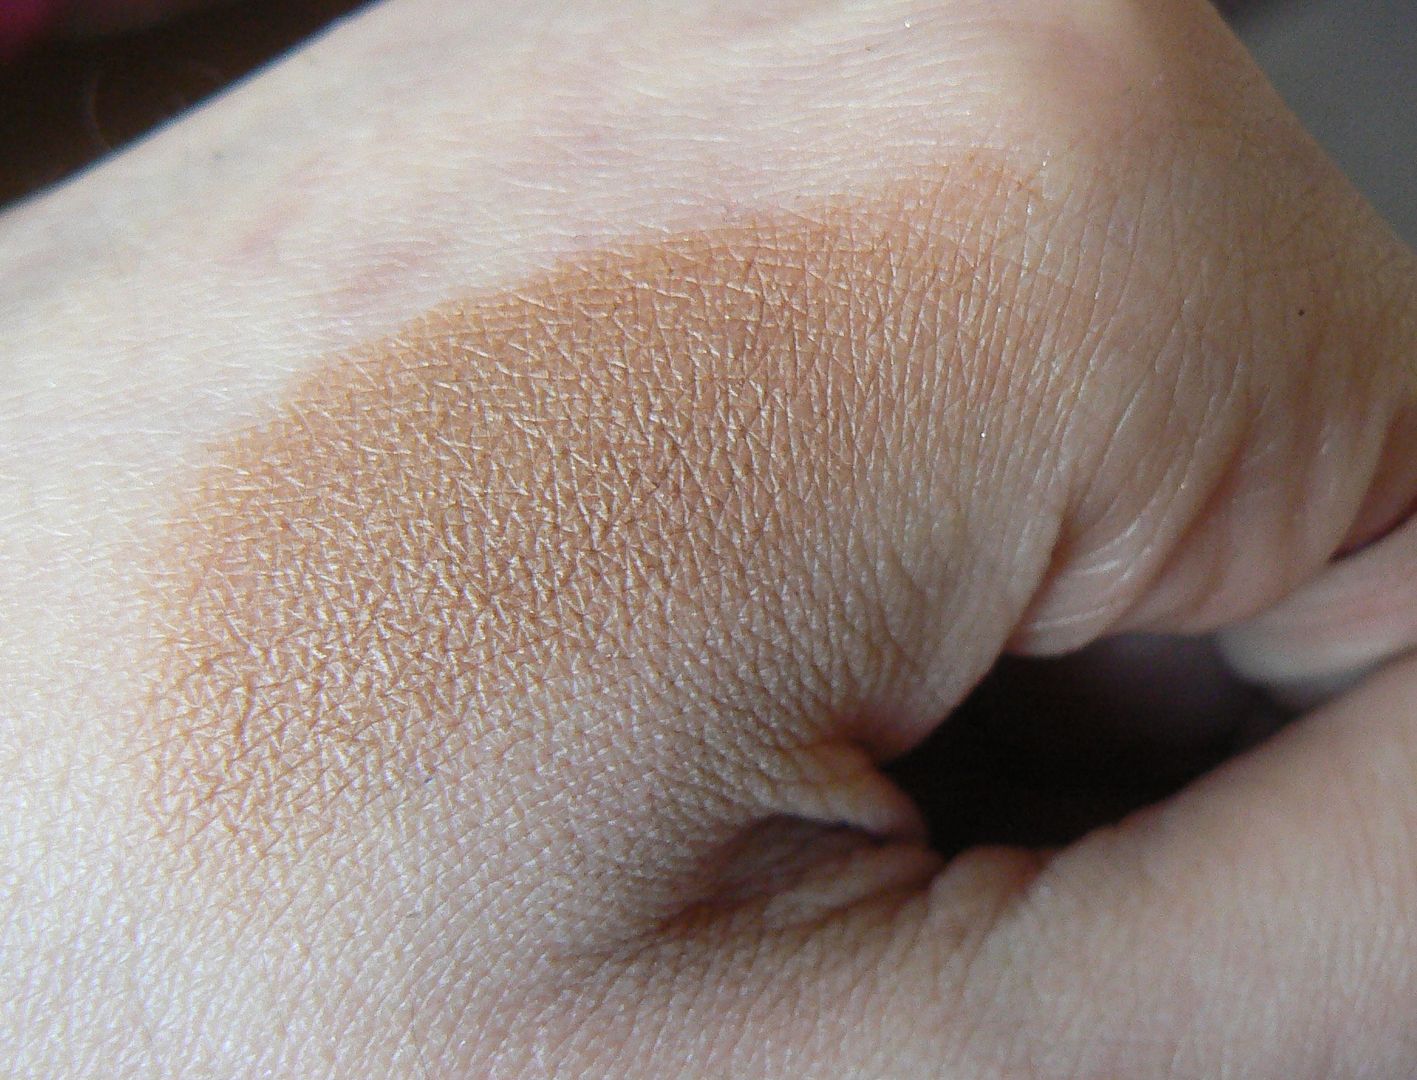
A beautifully warm toned matte bronzer that is perfect for my skin tone & blends so beautifully, as you can see I've almost hit pan with this it is THAT good! This is my go to contour shade pretty much every day.


Next up we have Africa which is a pretty pearlescent illuminating powder that I love to apply as a final step on top of everything to give my makeup that pretty ethereal glow that every girl loves to achieve! Isn't the product itself so pretty, embossed with a pretty leopard print design?


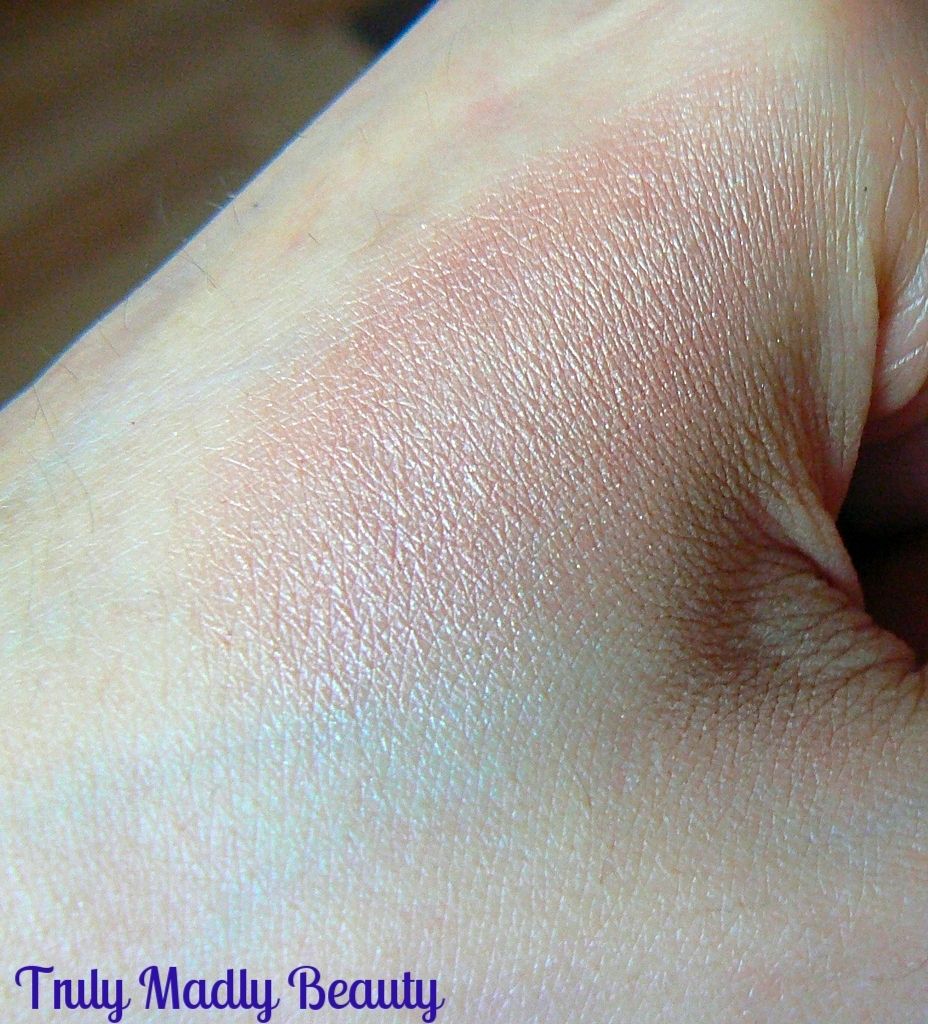
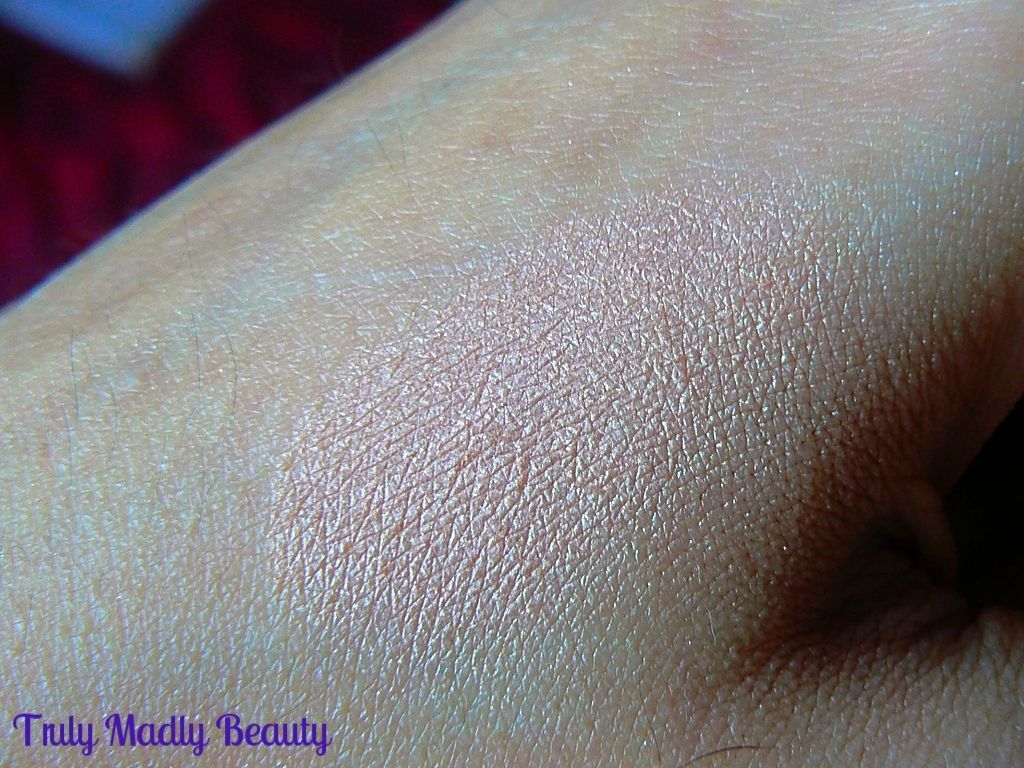
Then the Honeycomb bronzer, which is definitely too light to be classed as a bronzer on me however for paler skin tones I'm sure it would be perfect! I love using this to highlight my cheekbones, cupids bow, bridge of my nose & anywhere else I want a warm sunkissed glow. Each three of these powders are fantastic quality, pigmented, buttery smooth, easily blended....& just £4.95 each. What more can you want?

Next up we have some recent buys which I found in TK Maxx, one store which is now stocking W7. After the success of the boxed blushers/bronzers I was intrigued to try more so picked up the primer, eye shadow palette, foundation & cream contour sticks.


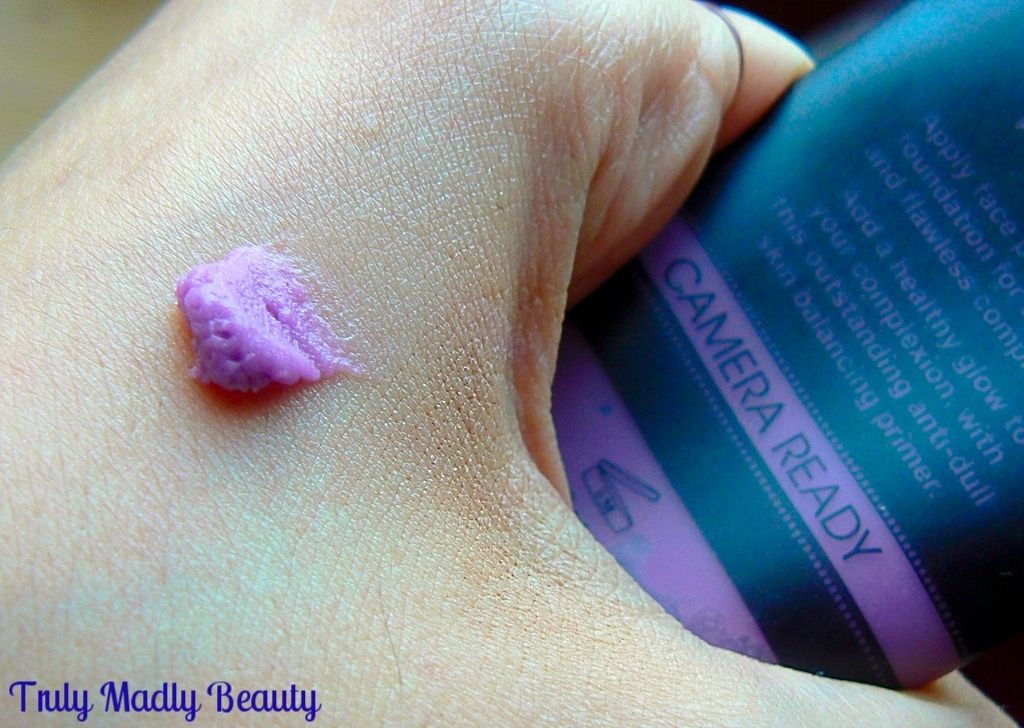
The primer (RRP £6.95) which has been compared to Smashbox & received mixed reviews has put all others on a back-shelf for me...for the moment anyways ;) I love it, the purple tone designed to brighten the complexion, this silicone based primer applies smoothly leaving my skin feeling velvety soft & creates the perfect canvas for my foundation.


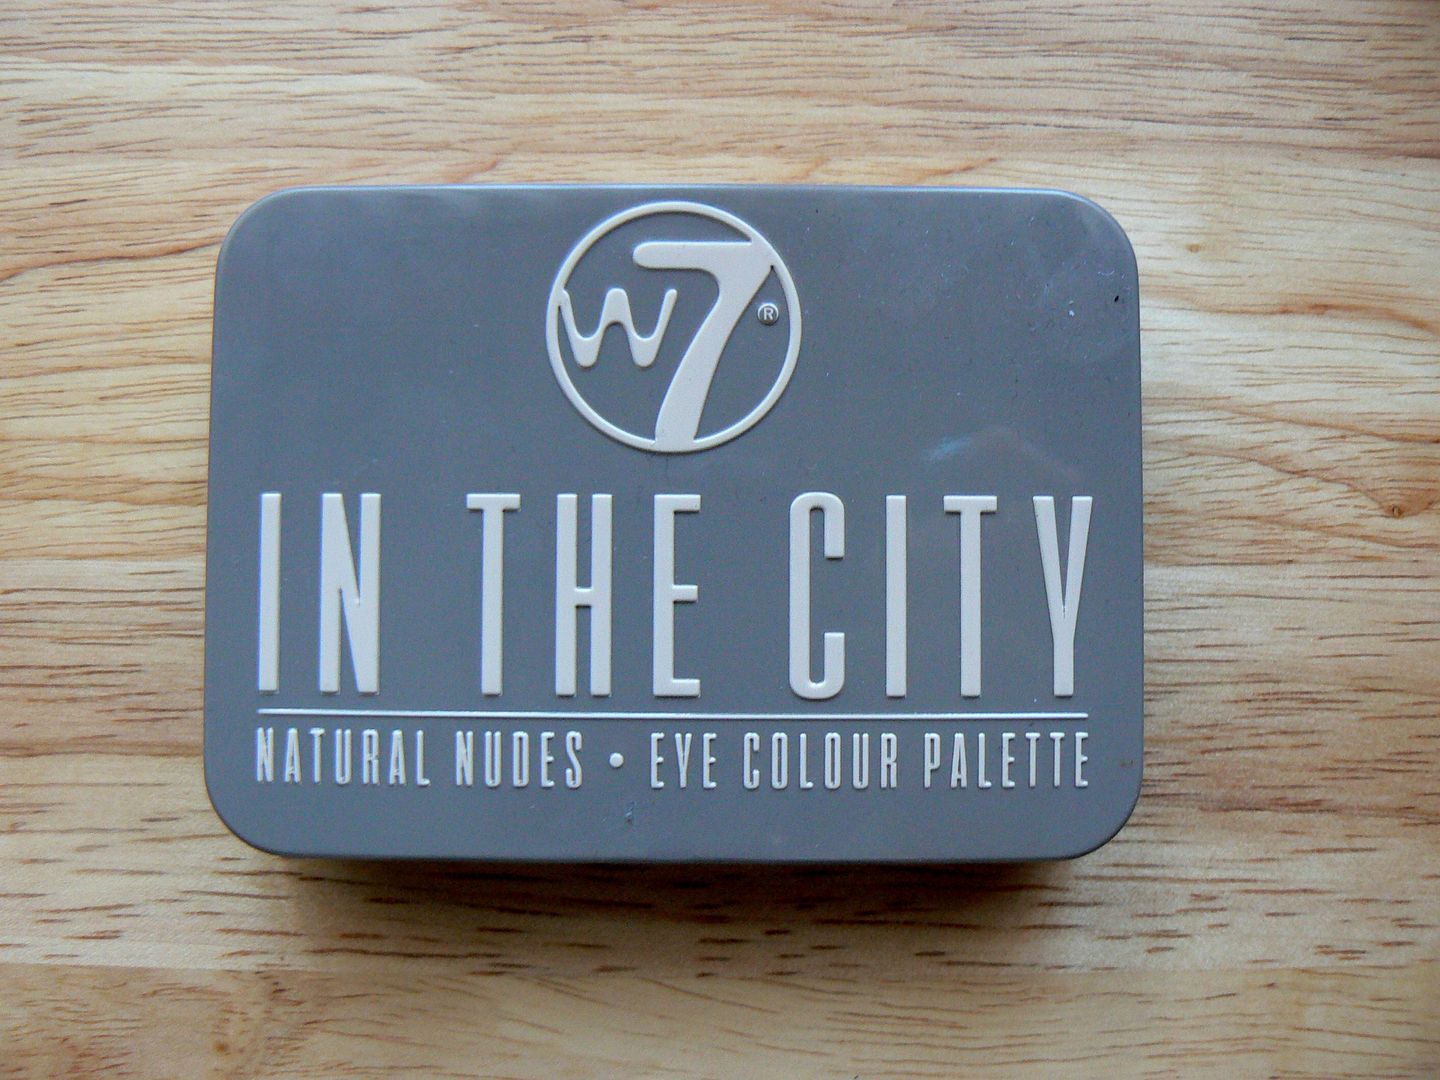
The In The City eye-shadow palette which I picked up for a steal at £4.99 is the absolute BEES KNEES, not only is it compact, so a perfect travelling companion, but each shade is MATTE so perfect for everyday wear, with the option of intensifying for evening wear with the few darker shades. The shadows are smooth & apply so well with minimal fall out...I can't fault it.


I've yet to try out the cream contour sticks, I picked these up on a whim as they were only a few squids with the idea to start practicing the whole cream contour business (in which the lovely Safiyah has been educating me) but the formula of these look lovely & creamy so we will see how it goes!


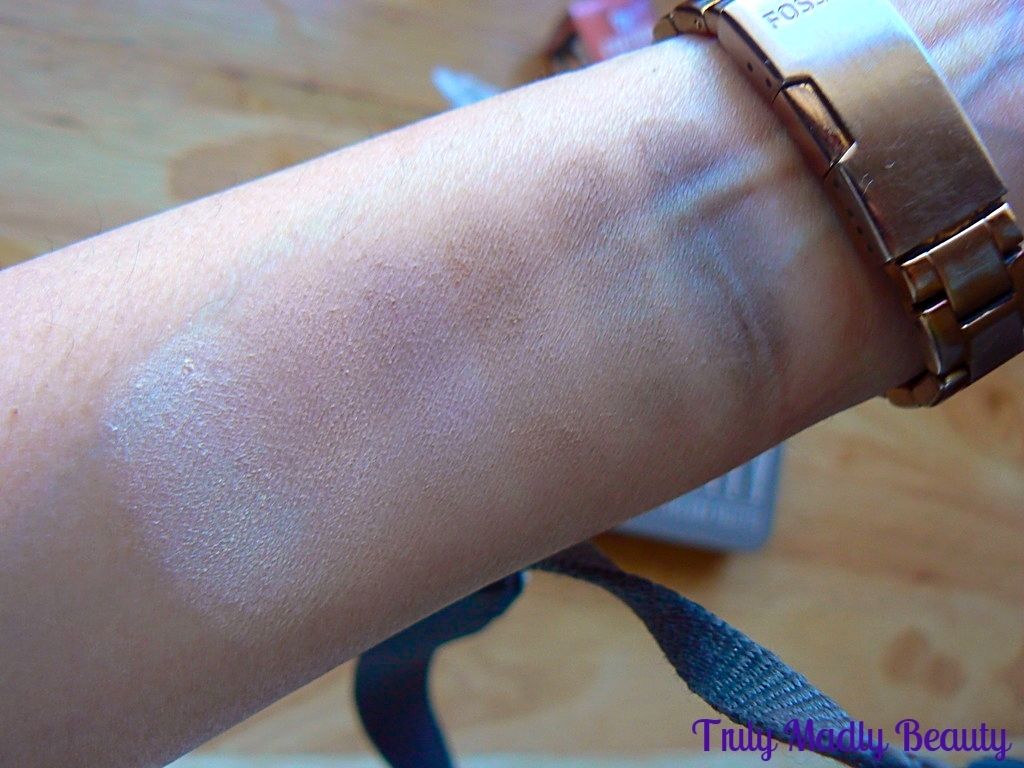
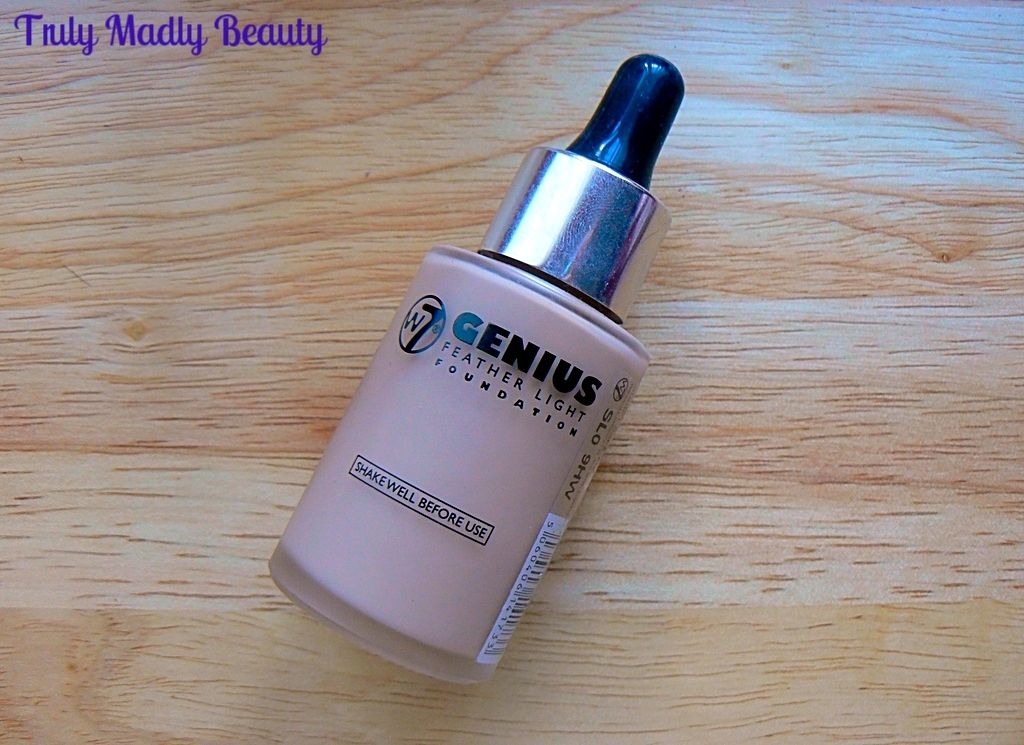
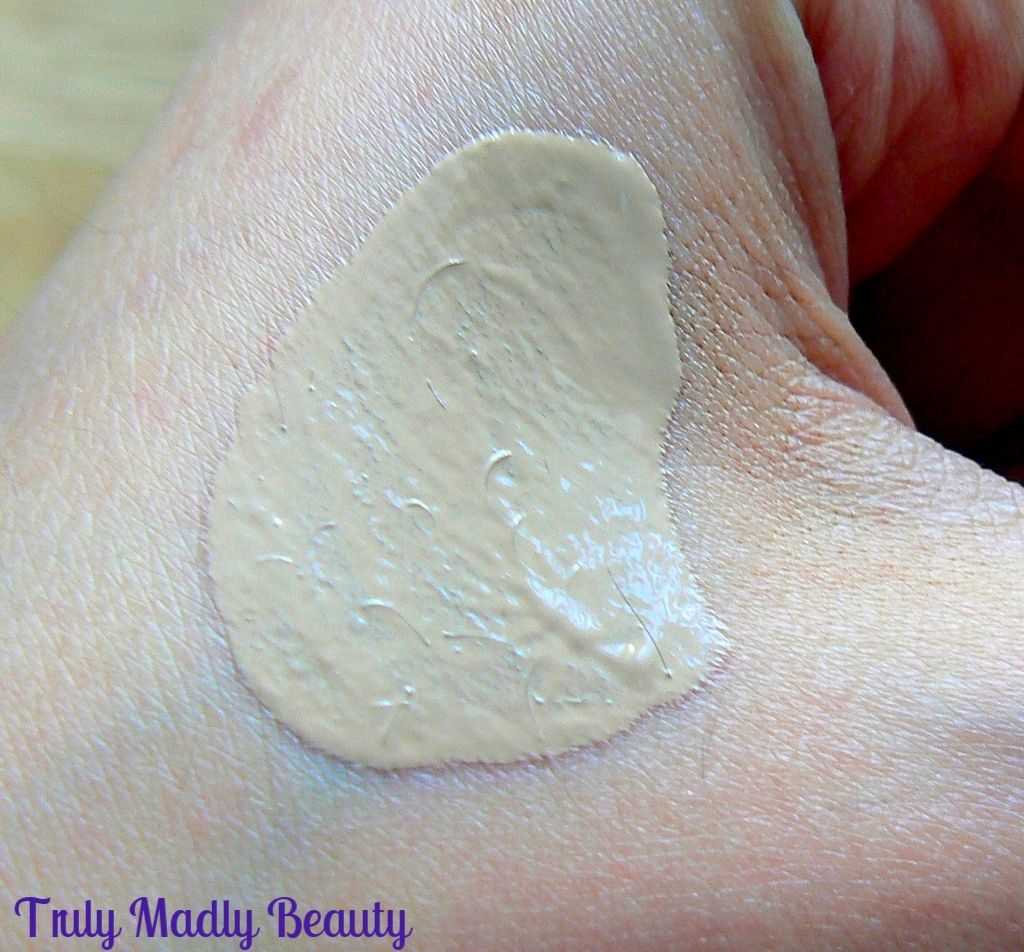
For me though the golden star has to go to my final product....the Genius Feather Light Foundation. This stuff has blown my MIND. I took a bit of a risk as Natural Beige was the only shade available in store, but as luck would have it the match was perfect! Twas clearly fate ;)


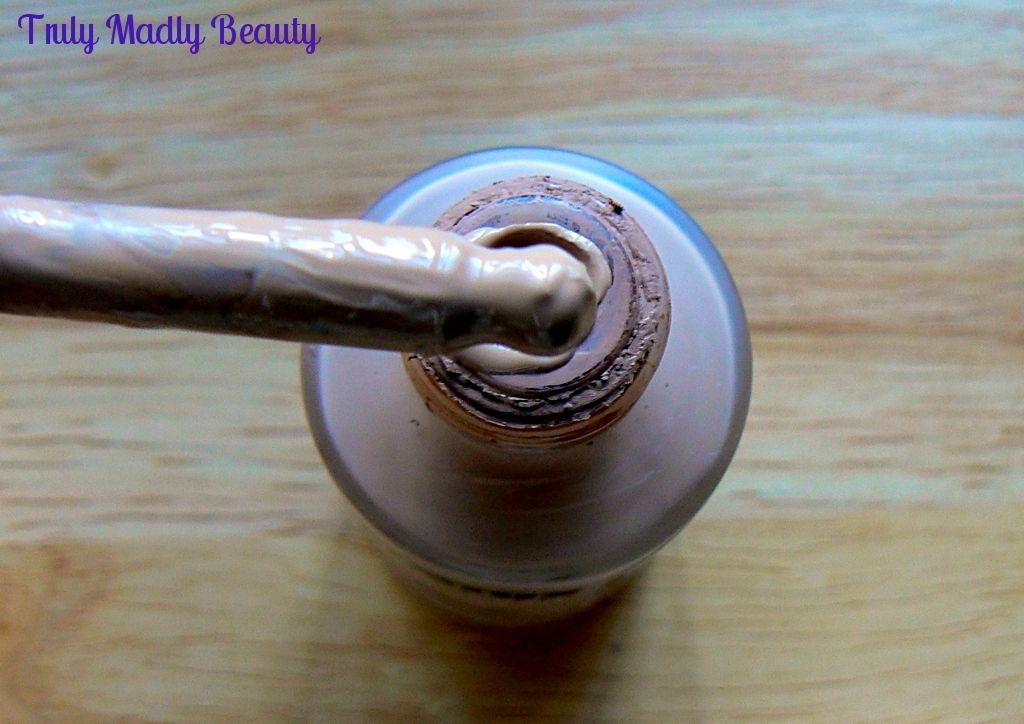
I'm not a fan of heavy coverage so the title of this one definitely caught my intrigue. The matte glass bottle & pipette dispenser mixes things up a bit, packaging wise. 


I apply the foundation using a flat foundation brush, which is what I love to use right now for foundation application. 


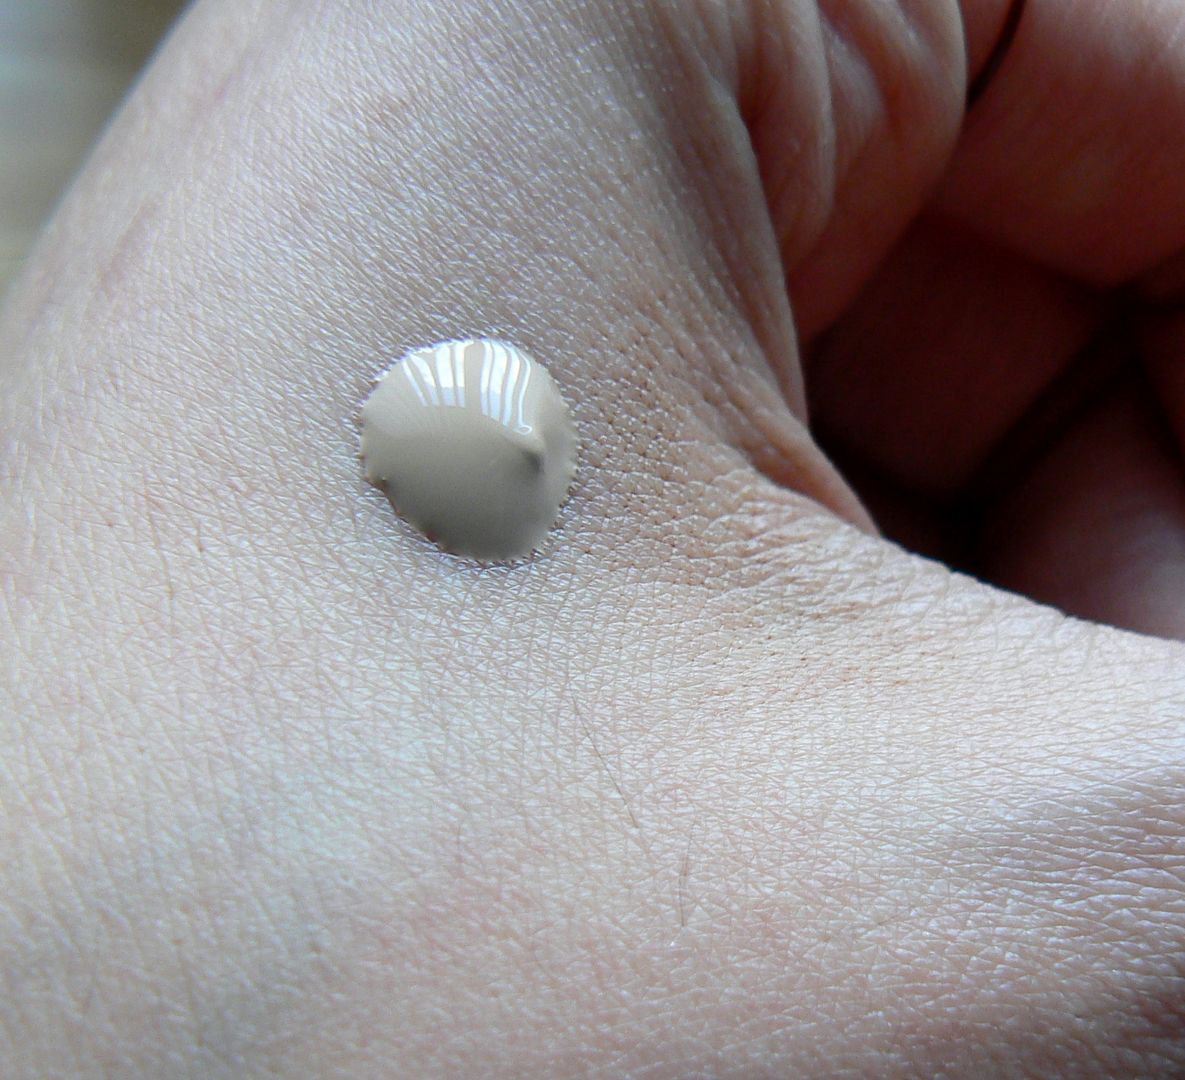
The formula is divine, the foundation literally glided on to my skin immediately within a few strokes creating a smooth, even complexion all over. 


Due to the lightweight formula the foundation felt so light on the skin & lets put it this way...when someone compliments on how well you're complexion is looking...you know its been money well spent. And seeing as I paid a grand total of...£4.99 for this...well what more can I say? I think my MAC Face & Body has some serious competition...*cue mugshot of me wearing said miracle foundation with a slightly flabberasted Miss kitty*


So W7 are definitely winning in the makeup game in my book! Now if they could just expand & get themselves out there in more stores...they'll be laughing. At the moment I've spotted W7 in TK Maxx, Beauty Base, Asda and Fragrance Direct.

Thanks as always for reading! Have you tried anything from W7?

Lotsa love to ya!


2.01.2016

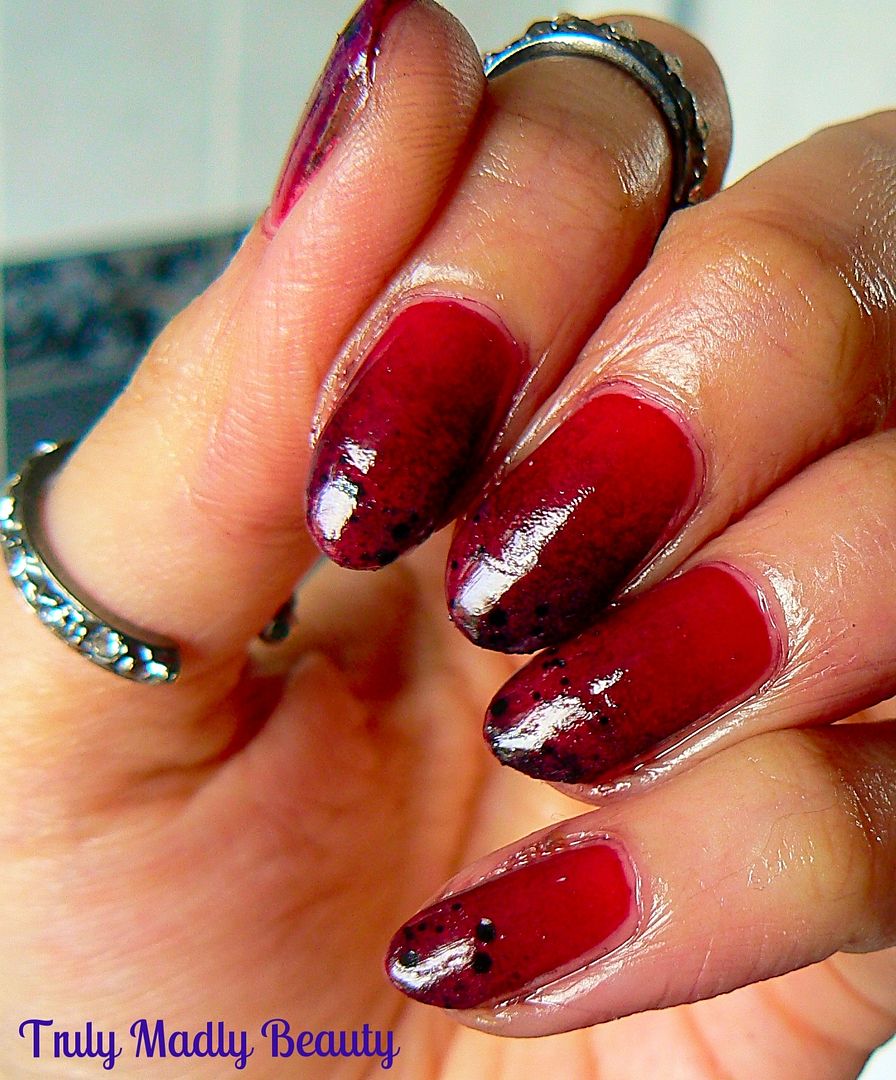
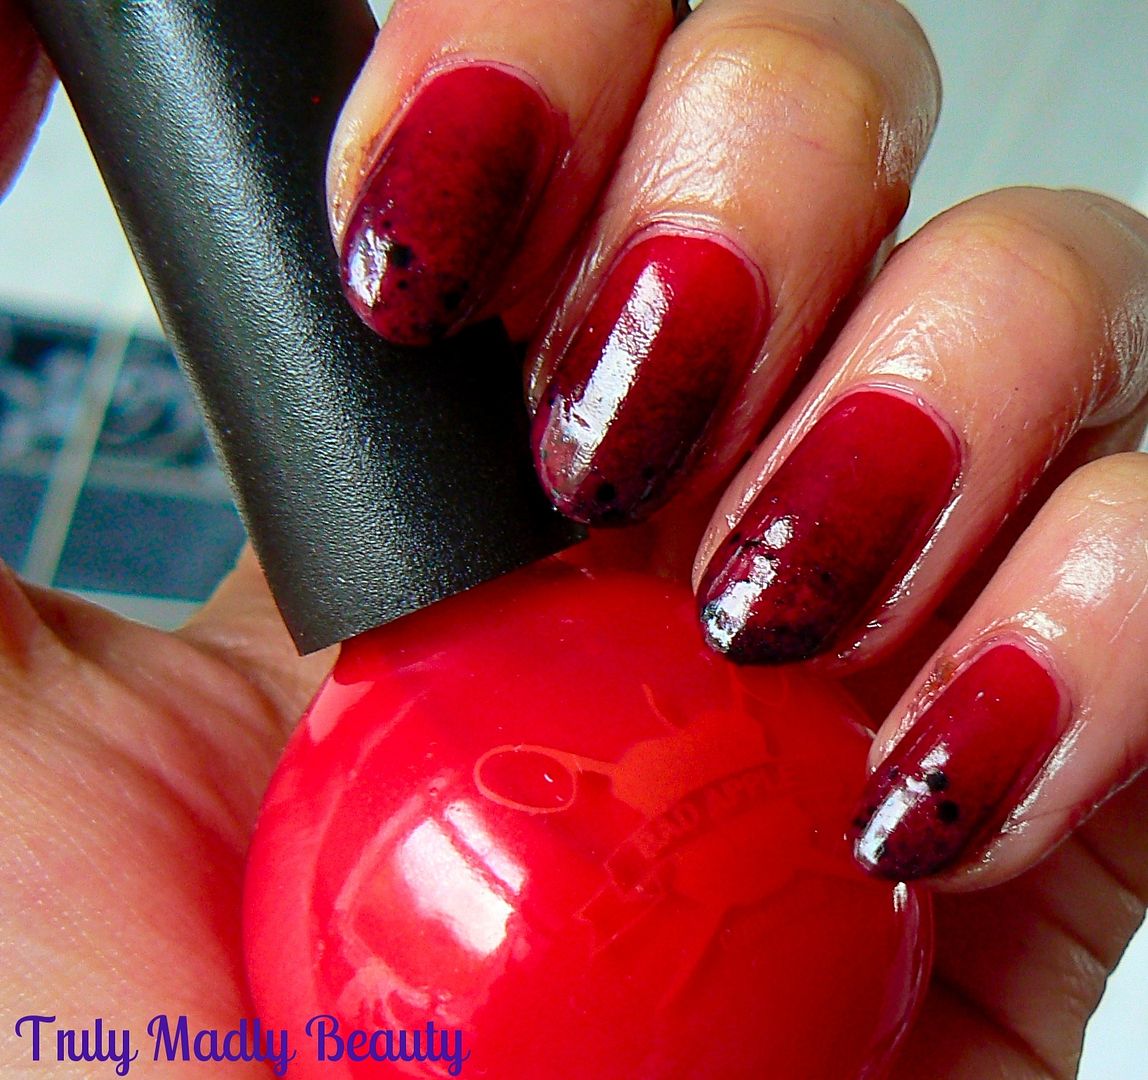
NOTD - Louboutin Inspired Gradient Nails

Hello there my lovely readers!

Aaaah Louboutins...a name I'm sure many are familiar with & whose iconic shoes are present on most gals wish lists! I'm still yet to be fortunate enough to call a pair my own but one day...it will be. The same goes for the beautiful Louboutin nail polish with its stunning bottle, I confess its mostly for the bottle that I want it...one day you WILL be mine!


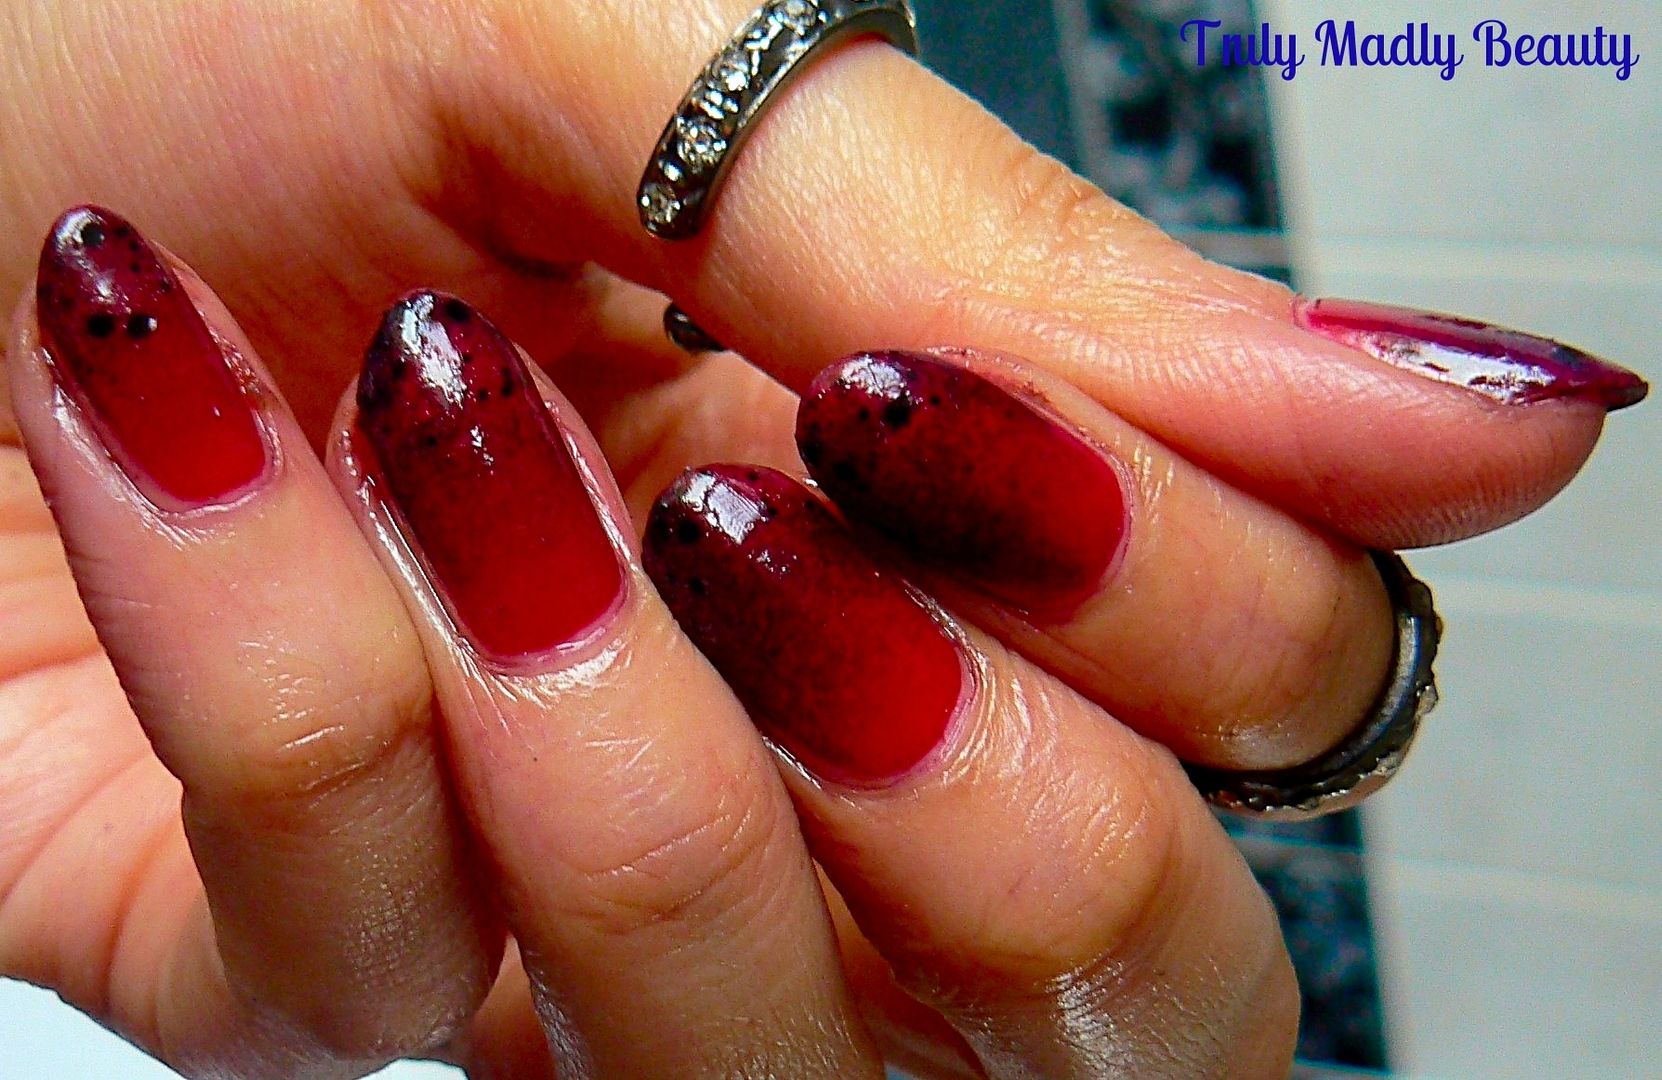
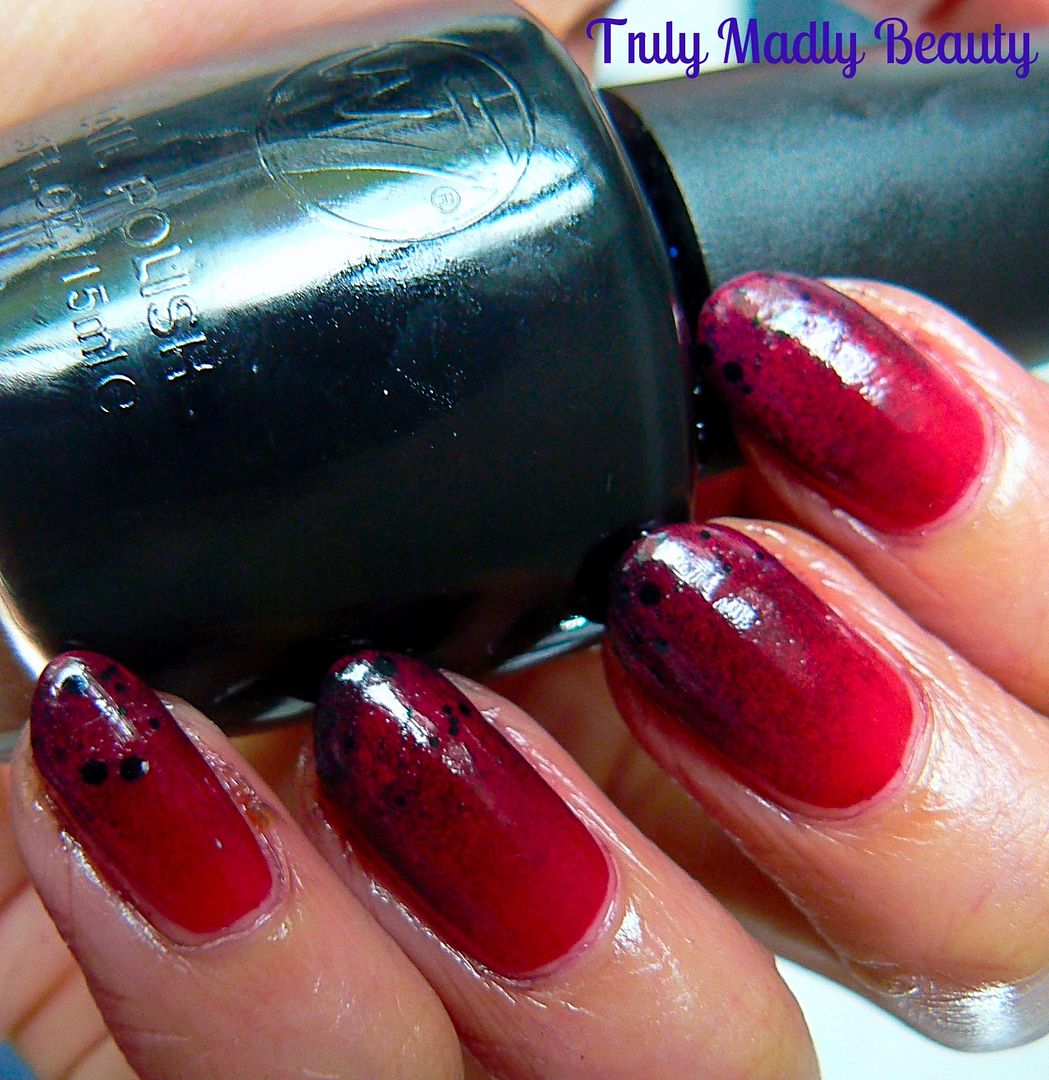
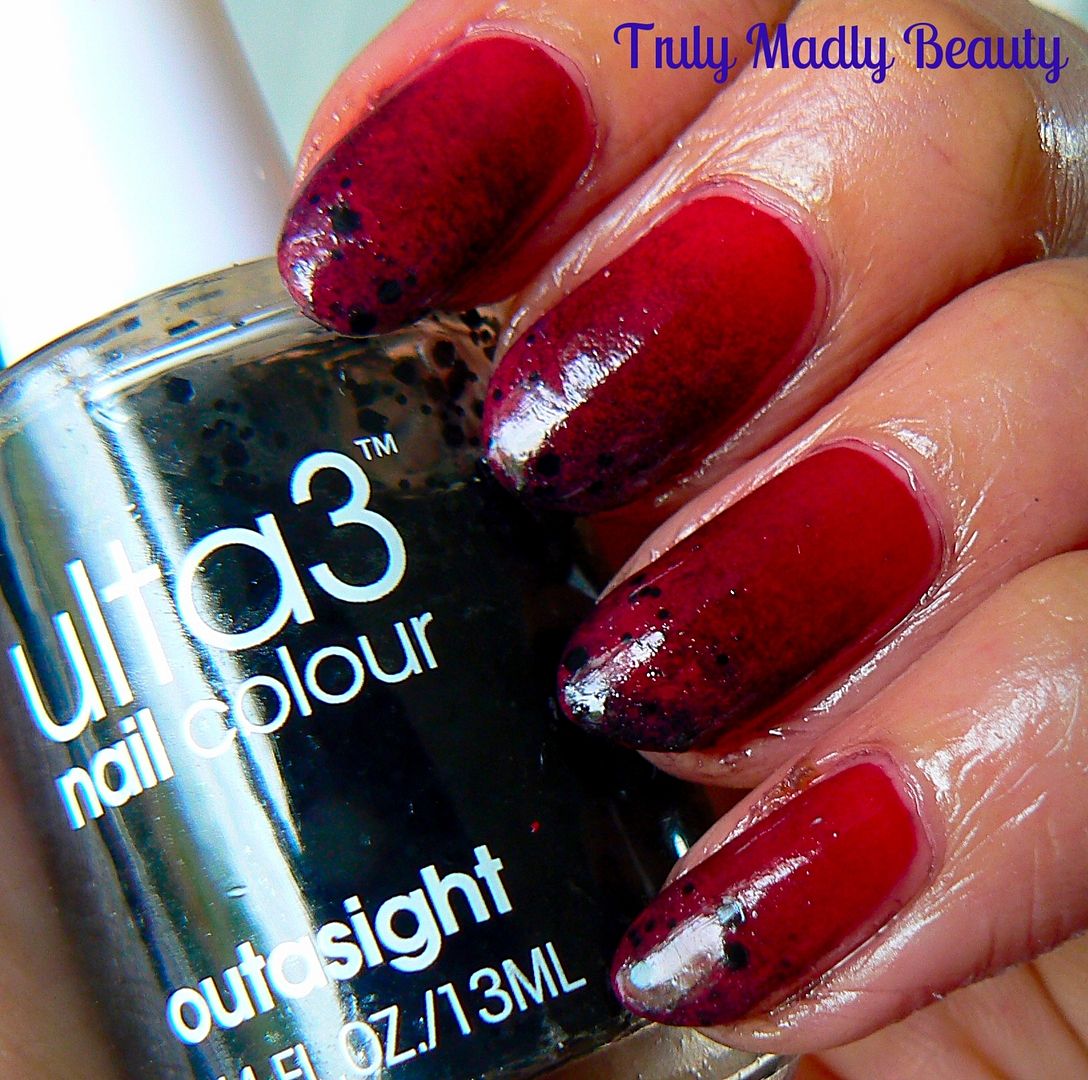
In the mean time I guess I can still get my wee fix by using the infamous red & black colours to inspire my nail art which is what I've done today with these Louboutin inspired gradient nails...


I wasn't entirely happy with how these came out if I'm honest, I'm still practicing doing gradients with darker colours which I'm finding a tad more tricky so do forgive me! This was one of those manis that looked much better at distance haha! But practice makes perfect so I'll persevere for sure :)


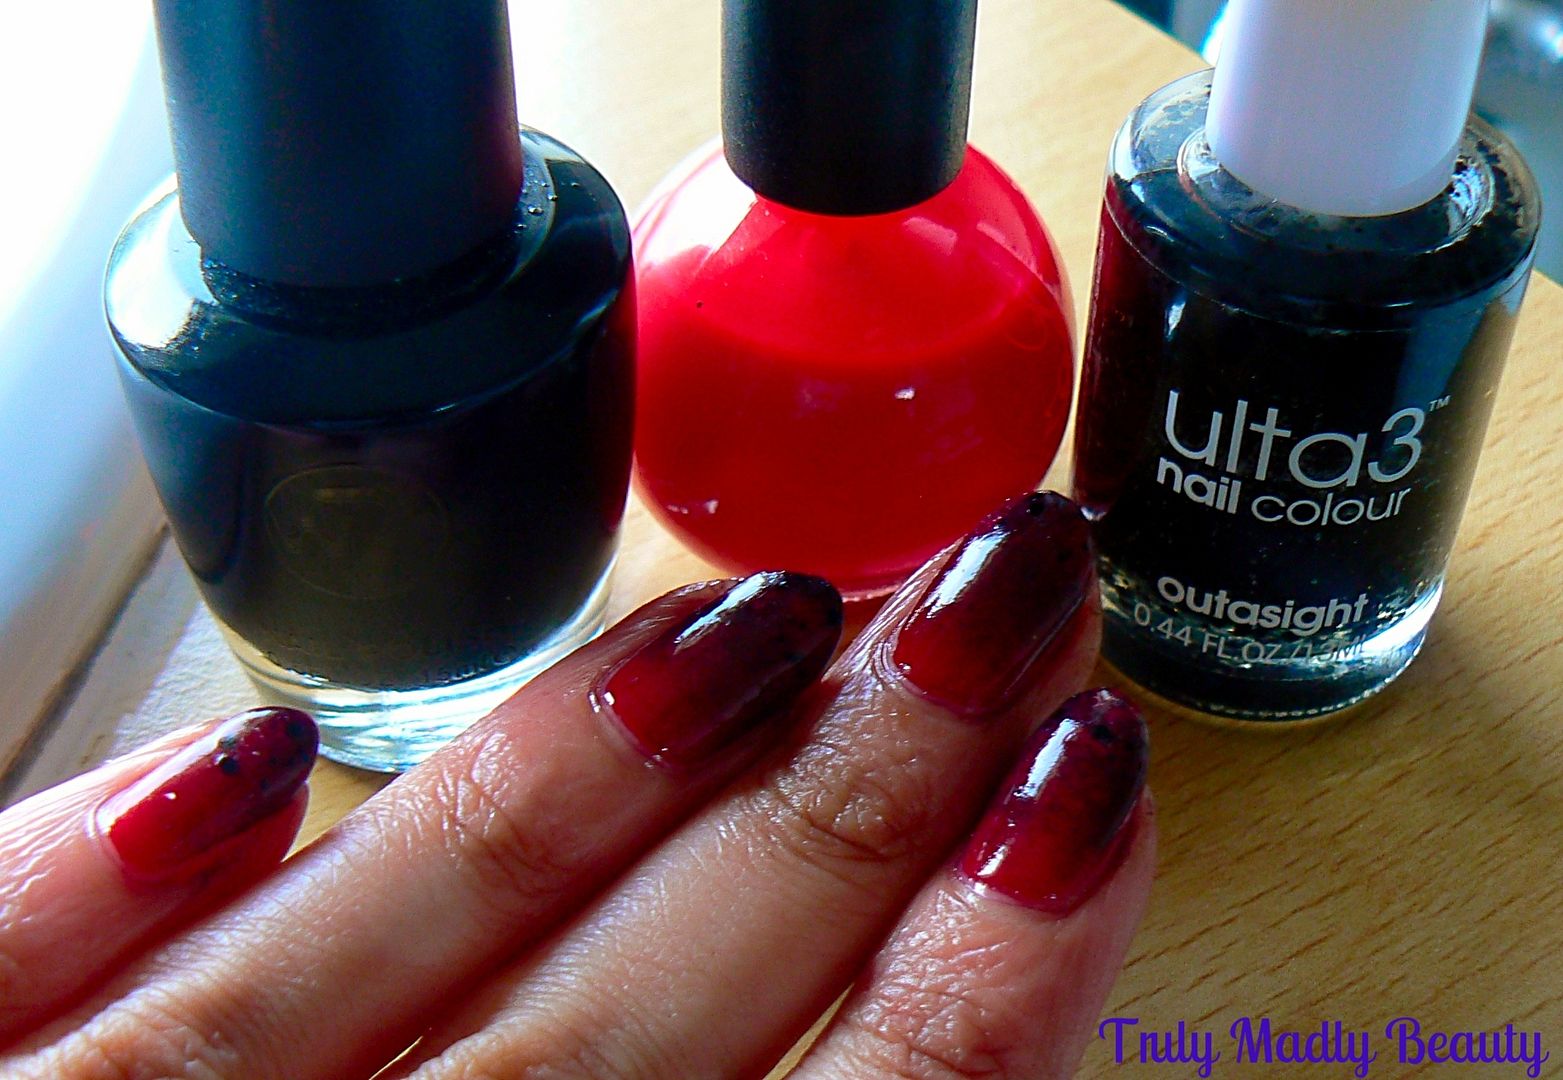
For my Louboutin nails I of course required a nice red & black polish, here I've used W7 Black & Bad Apple Red Delicious.


To start first apply a coat of red polish as your base to do your gradient on top of, then wait for it to completely dry.


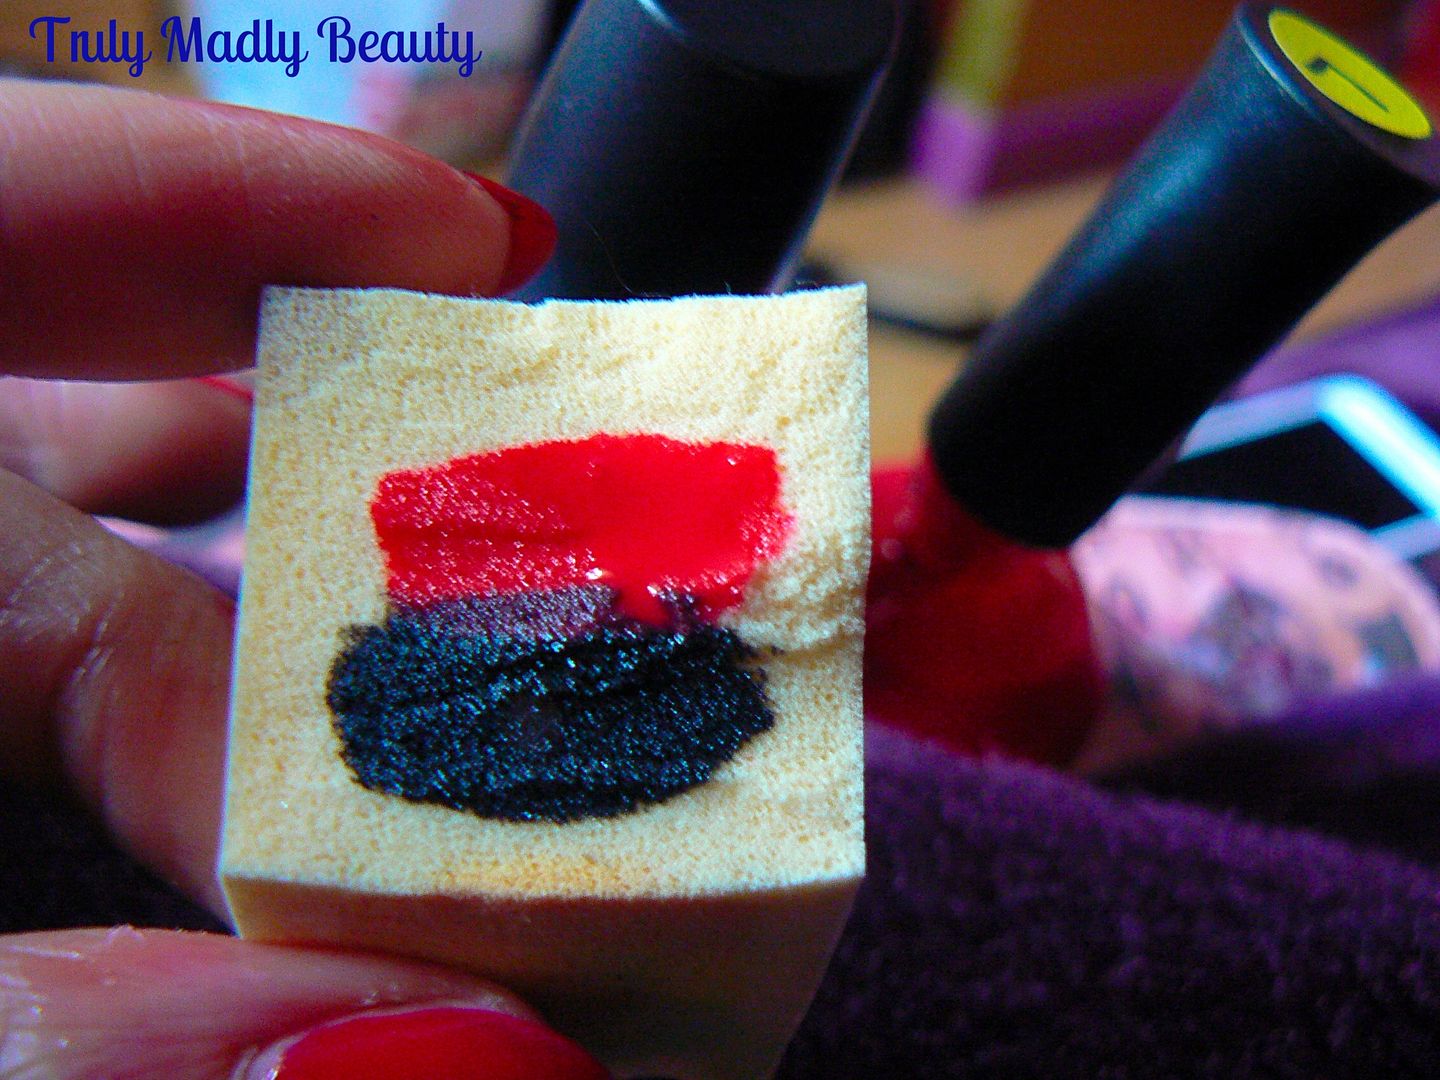
Then grab a piece of makeup sponge, I guess you can use any old sponge but I like using these. I pick up a bag from good old Poundworld.


The gradient will go from red to black so apply a stripe of each shade side by side onto your sponge, then dab onto the nail with up/down, side to side motions to create your faded gradient look.


Do this a few times, adding more polish to your sponge, to get a nice opaque finish or until your happy with the effect. To finish I also dabbed a bit of Ulta3 Outasight which is a black glitter, onto the tips for an added touch.


Go over with a nice thick coat of topcoat & you're done! Now gradients can be messy, I used ZAP!, a liquid latex nail art skin protector to help with the clean up part of this manicure,which I'll be reviewing in full for you in my next post so do keep posted for that!

FYI the ring bling is Hugo Sophia :) Thanks for reading lovelies!

Lotsa love to ya!


7.30.2015

NOTD - Distressed Watercolour Chrome Nails

Hey there lovely readers! Oooh its been a wee while non? Work has been keeping one muchos busy of late, even with the occasional working weekend thrown in but its all going well so can't complain! :)

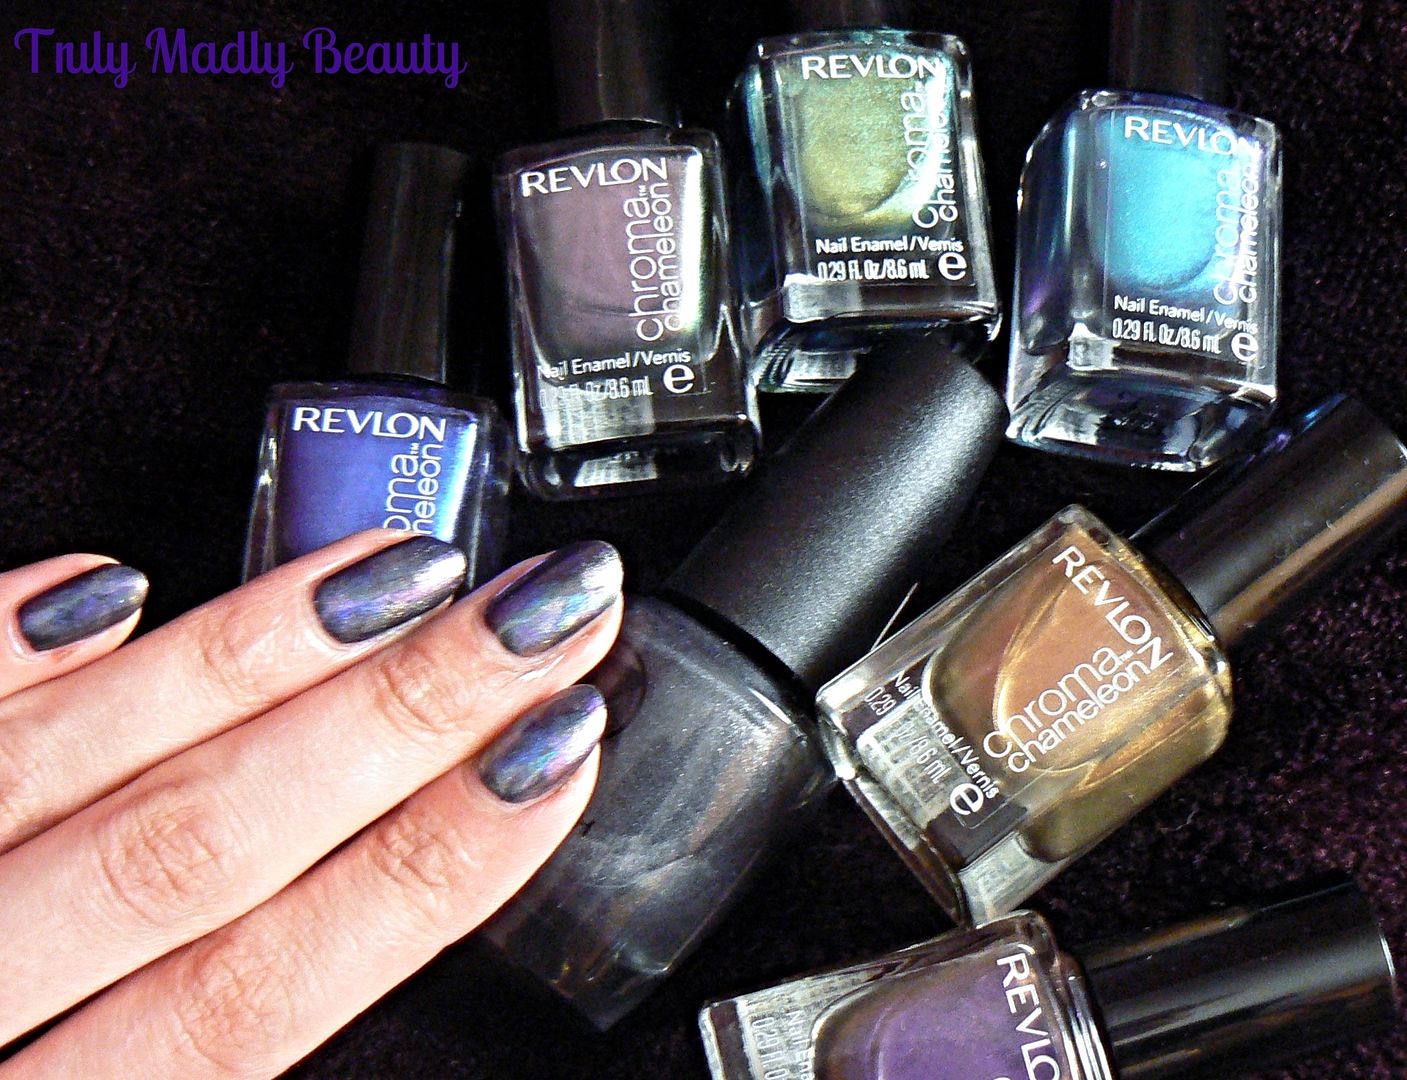
I'm all for discovering interesting nail art techniques to create funky manis with minimum effort. Today's manicure features one such technique called 'Distressed' nail art or the 'dry brush' technique that, if my memory serves me right, came about by the fab Sarah aka Chalkboard Nails. All that is involved is simply wiping off the excess polish on the brush, then applying quick strokes of polish across the nail to create the effect. This technique looks fab using black over neon however I wanted to try something a bit different so decided to use my Revlon Chrome Chameleon polishes to create this distressed watercolour effect... 


The Revlon Chrome Chameleon polishes were part of a limited edition collection a while back consisting of a range of pretty duo and multi chrome shades. I do love me a good chrome so you can imagine my delight when I found these babies in my fav little hunting ground, Poundland! I knew they all needed a good home therefore happily obliged in taking them with moi.


The shades I picked up were Cobalt, Aquamarine, Pink Quartz, Tanzanite, Amethyst & Topaz. Now whilst they look mighty pretty in the bottle, the formula of these chromes unfortunately wasn't all that great, quite sheer, therefore would definitely require a base colour underneath to bring out the chrome finish. So thought for this they'd be perfect to use with this technique & I loved the watercolour finish!


For my base, instead of Black, i decided to stick with the chrome theme & instead used a couple of coats of W7 Pewter, a sleek gunmetal grey metallic shade. 


I then grabbed one polish at a time & after wiping off the excess polish on the edge of each bottle, simply applied quick strokes across the nail with the almost dry brush, adding quick light washes of colour.


With each shade I applied about 3-4 strokes, some horizontally down the nail, others vertically. By the time you've gone round all ten nails with one shade, the first hand should be dry already ready for the next shade. And even if its not then no big deal as the whole point of this look is to mix & merge the tones!


I love this technique as you can have fun with the colours & directions of your brush stroke & just pile on shade after shade to create this fab effect with interesting results! I will definitely be giving this a try with black polish over a bright neon! Or maybe some fiery orange/red duochromes...

Hope you liked the mani darlings! Thanks as always for reading!

Lotsa love to ya!


5.24.2015

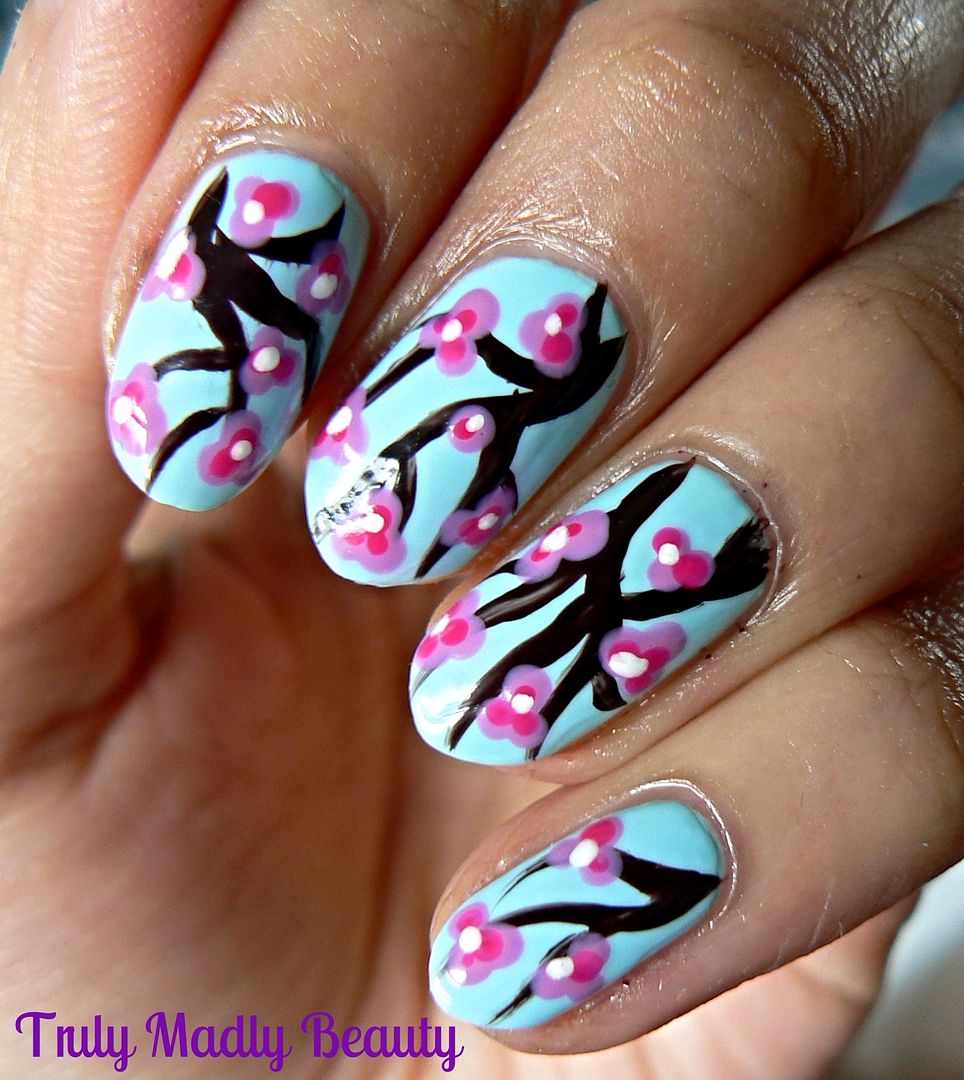
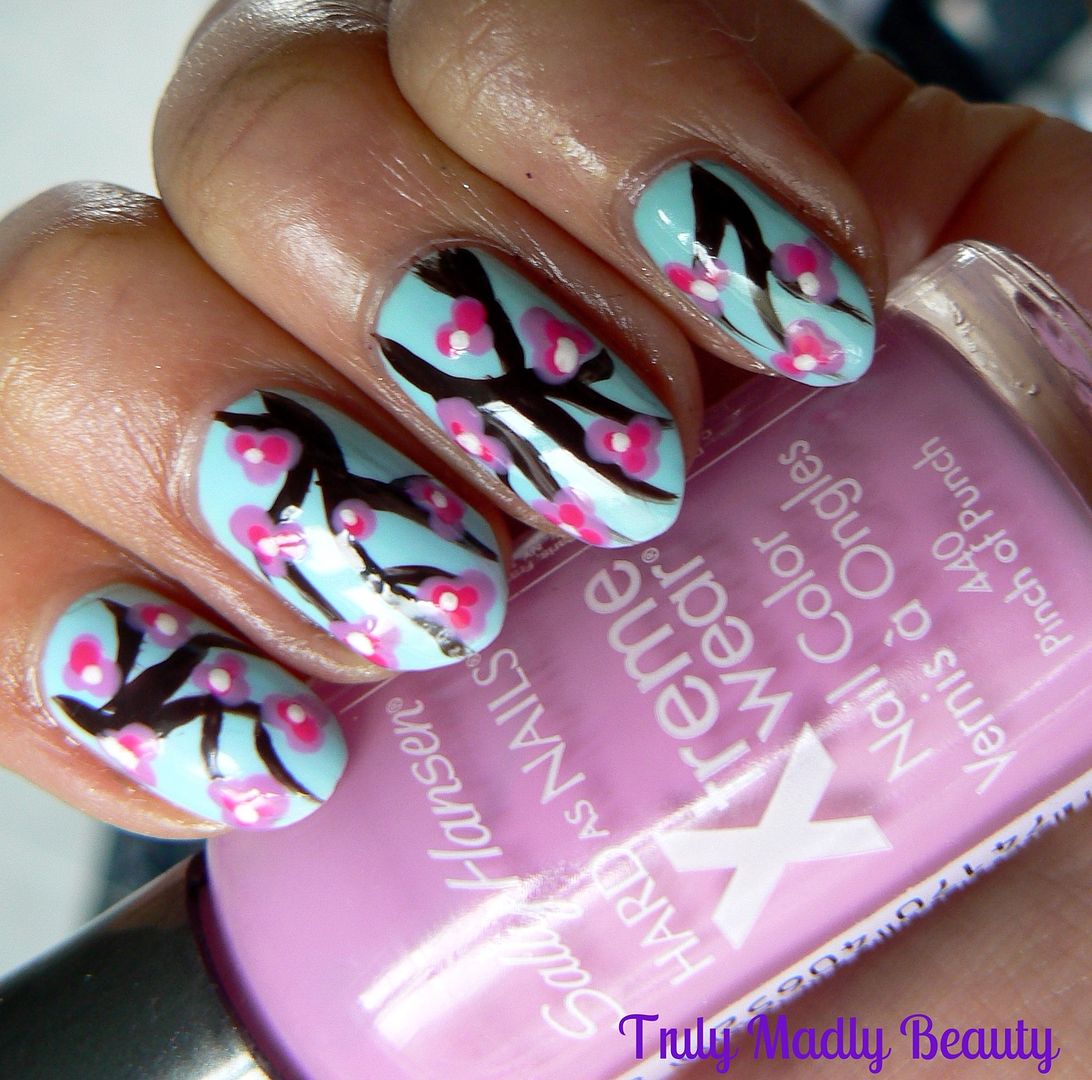
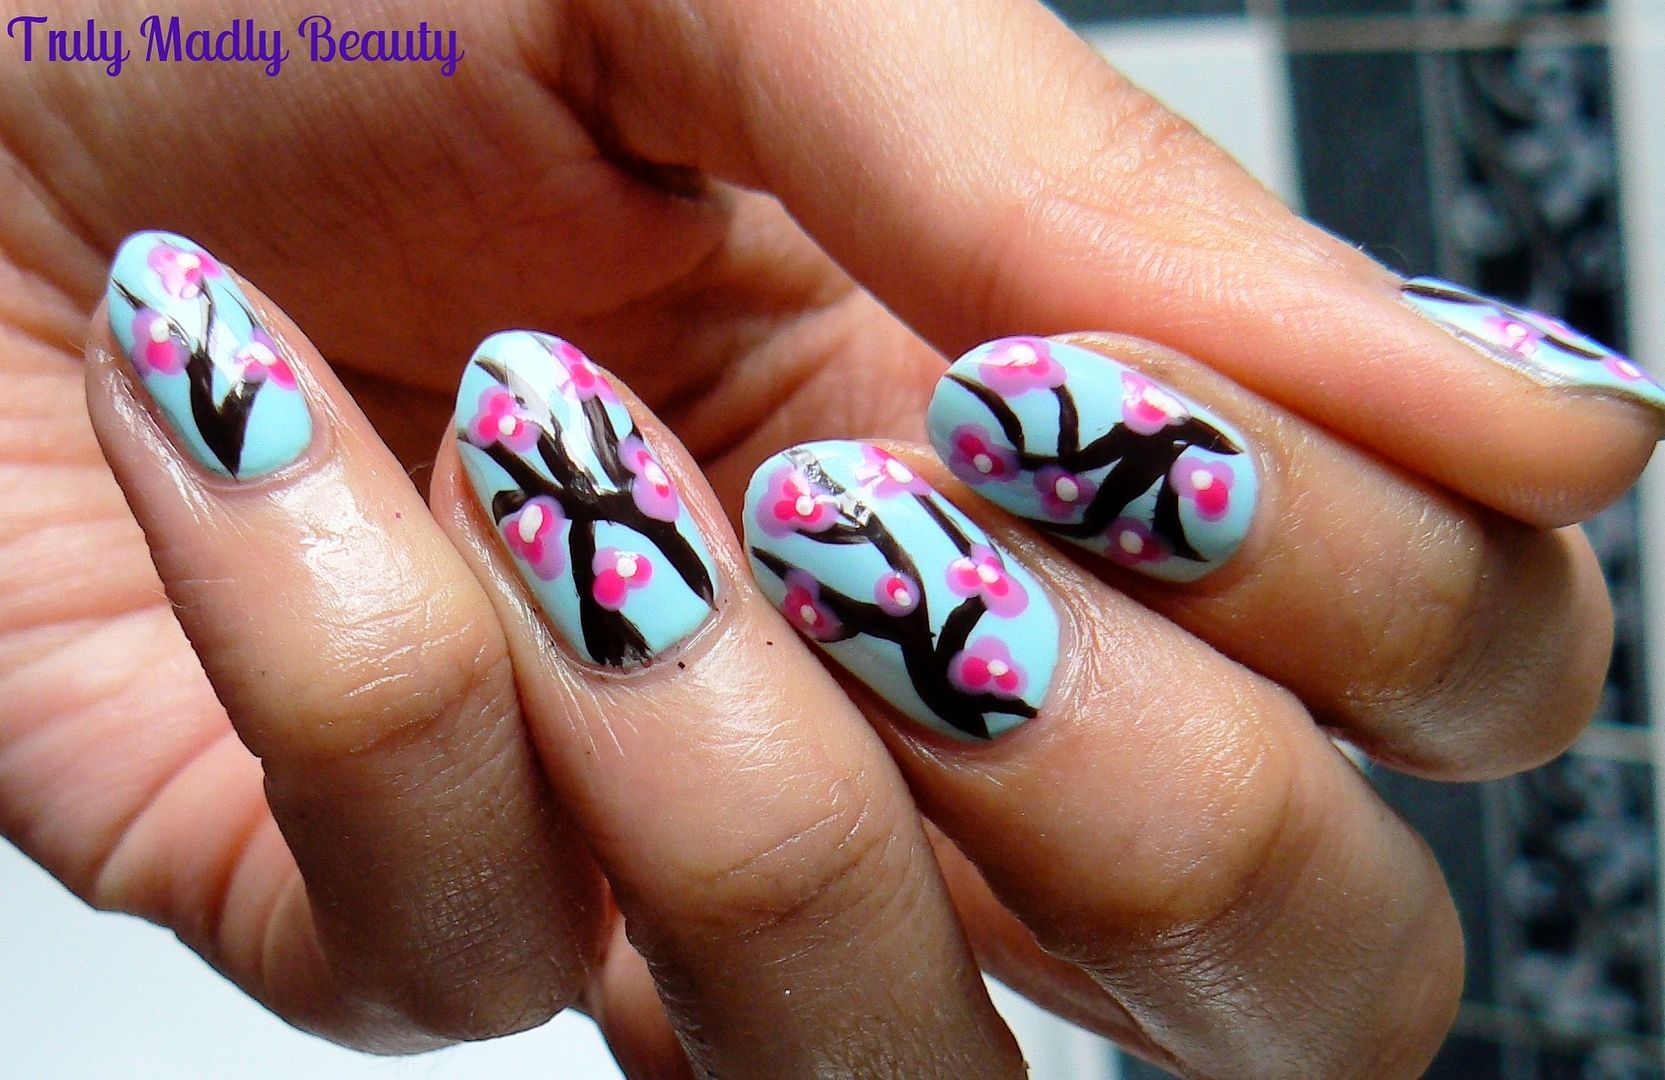
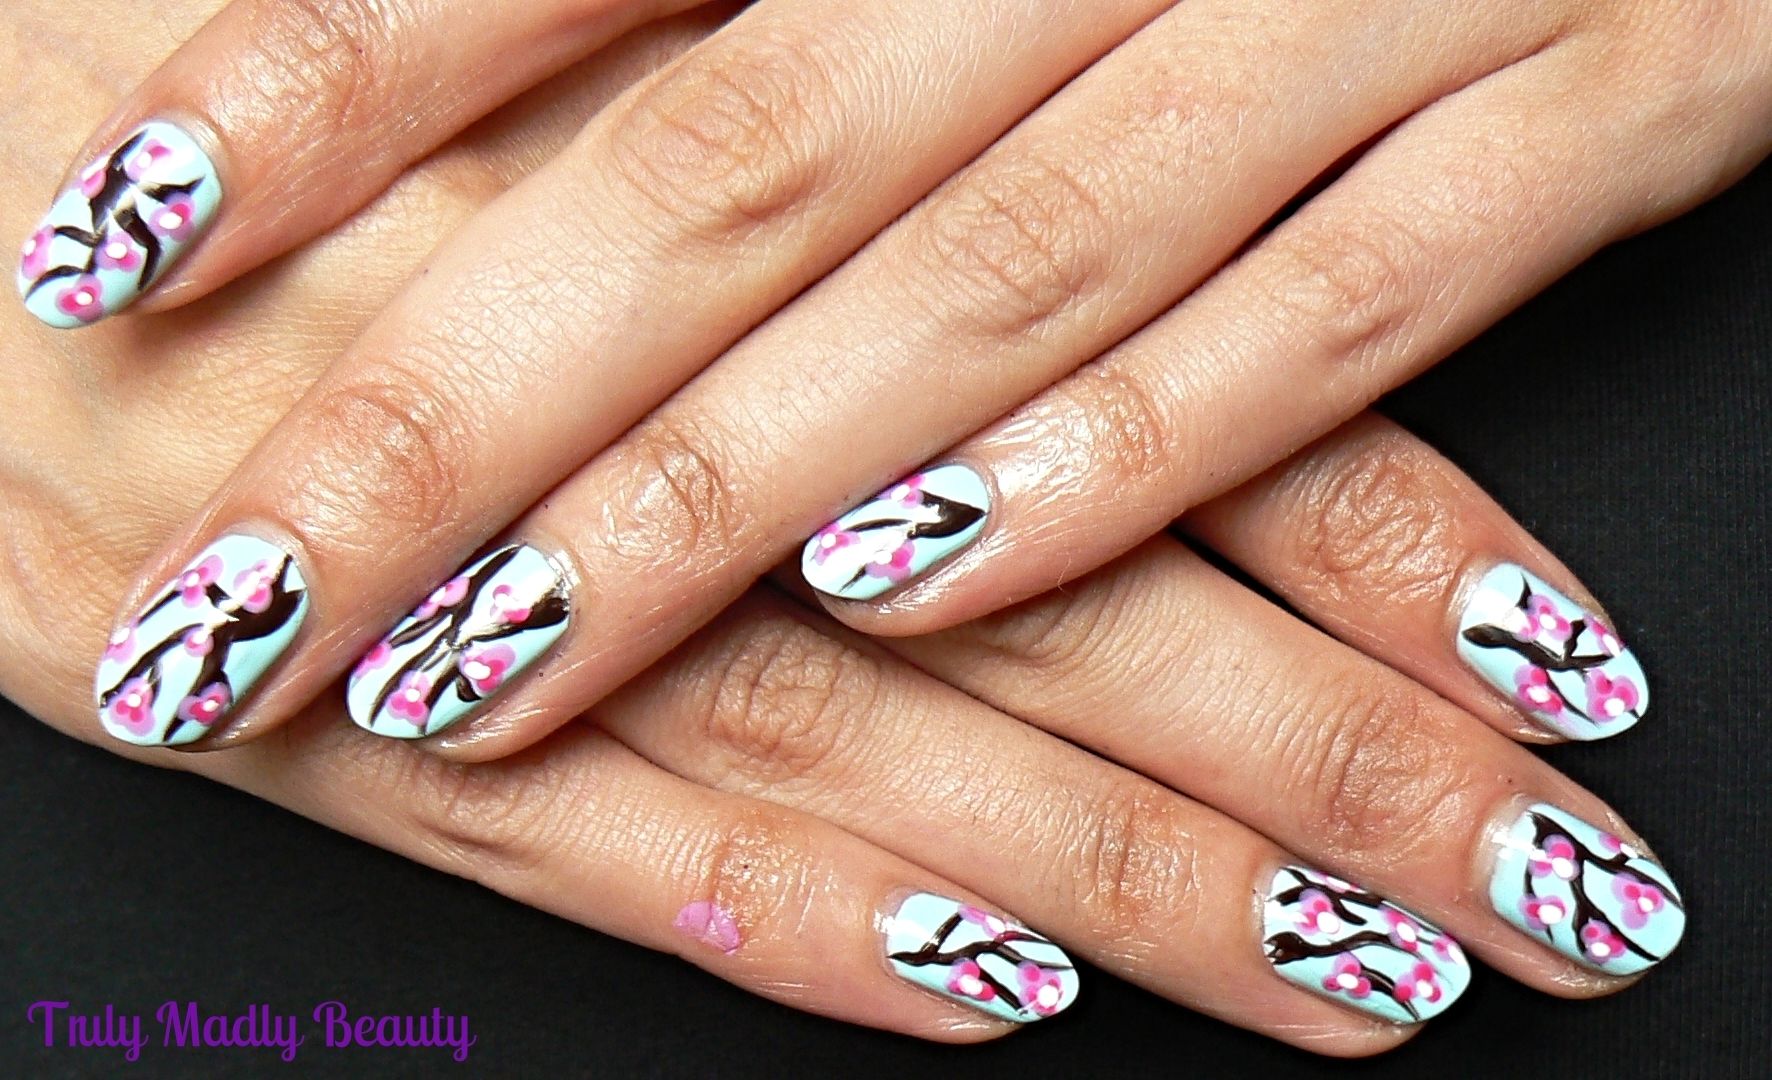
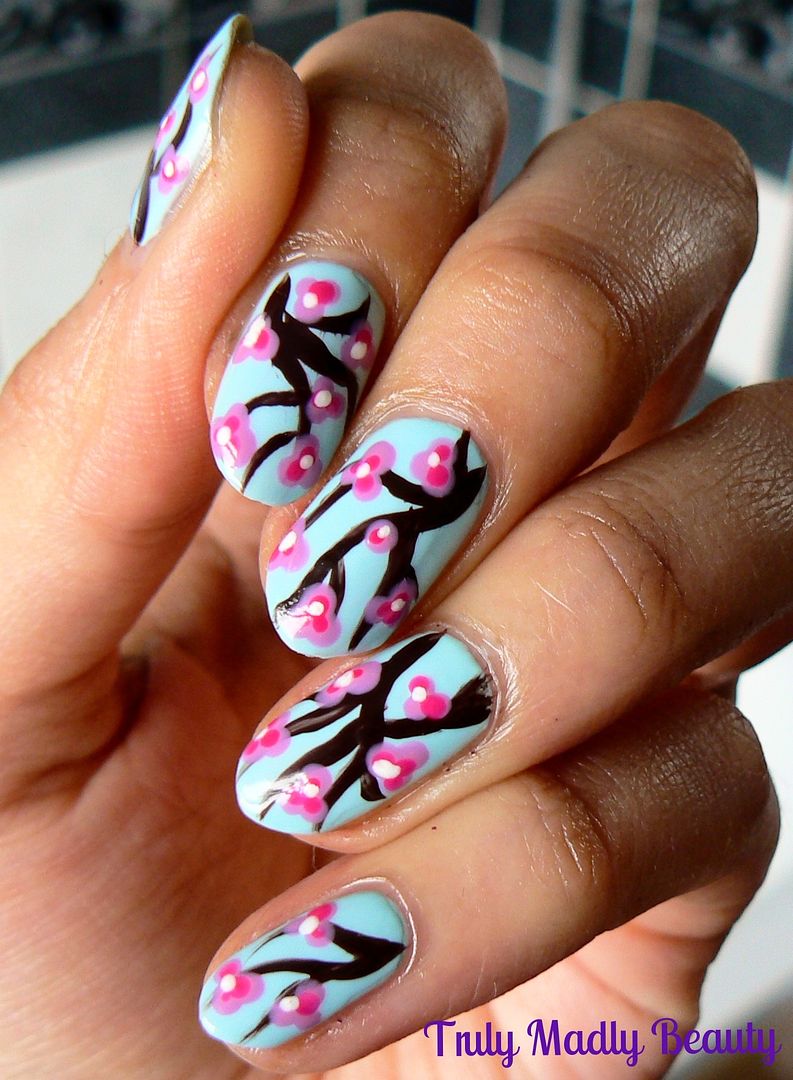
NOTD - Cherry Blossoms!

Well hellooo there strangers!

Long time no speak! Life has been a tad crazy of late, but things seem to be slowly back on an even normality track thank goodness! Hope you're all enjoying the delightful bank holiday, no Sunday evening blues huzzah!

I hope you're not getting tired of the floral mani's yet lovelies as I have another to share with you today! What can I say I? I just love them! And today’s nails feature possibly my favourite bloom that comes out at this time of year...Cherry Blossoms!


I've seen so many beautiful cherry blossom designs, like I said its one of my favourites, so delicate & pretty, I can't help but smile when I see a cherry blossom tree in full bloom, so I'm glad I finally got around to giving it a go on the nails :)


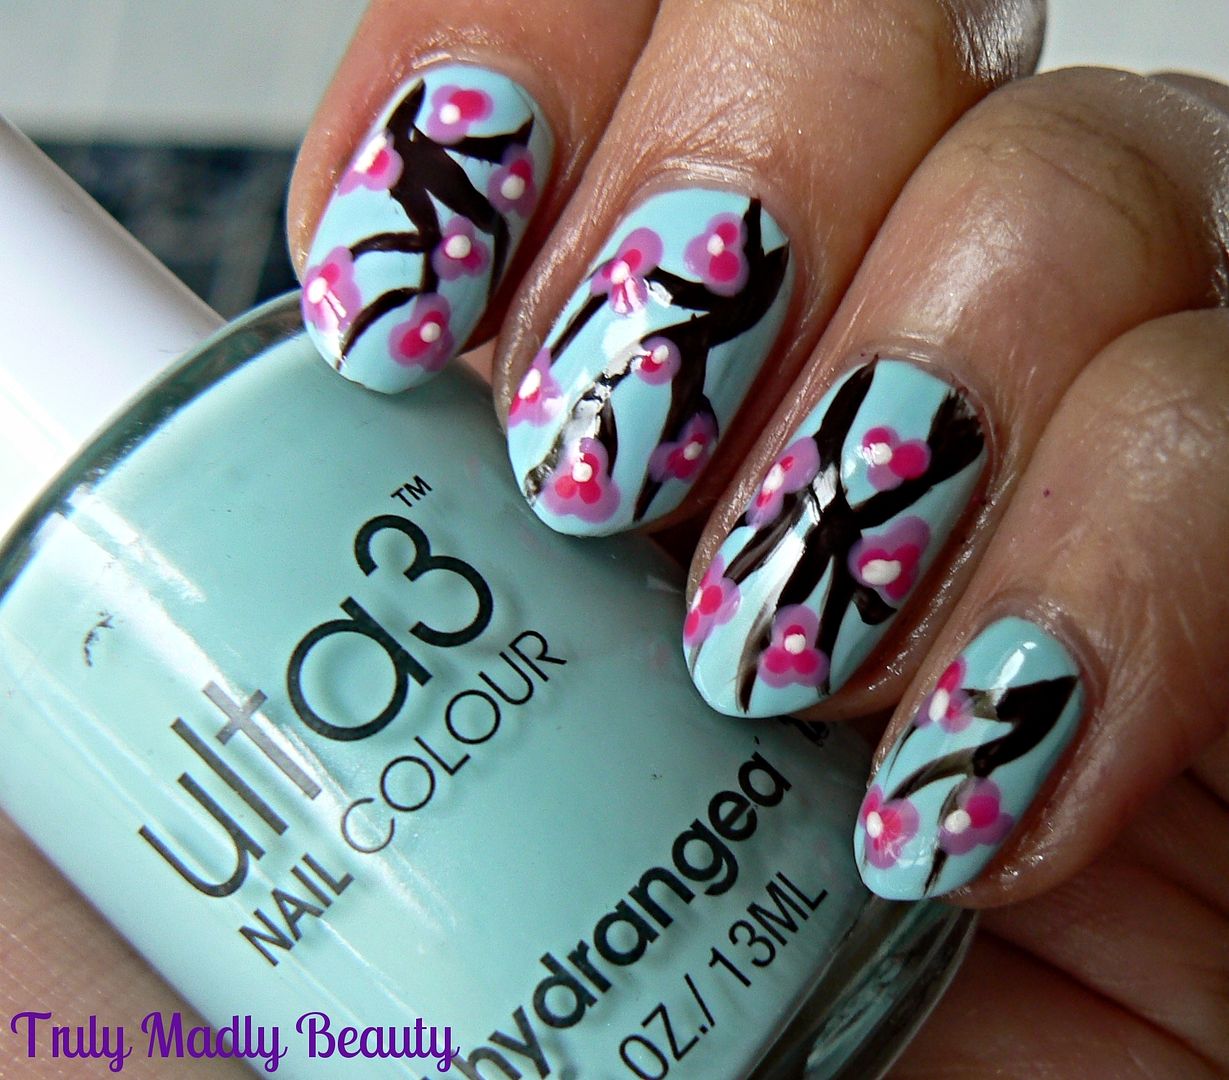
To start off I decided to go for a pretty baby blue base, so that the design would stand out nicely. Here I've used two coats of Ulta3 Hydrangea, a perfect delicate pale blue creme that my darling pal Chelle sent to me.


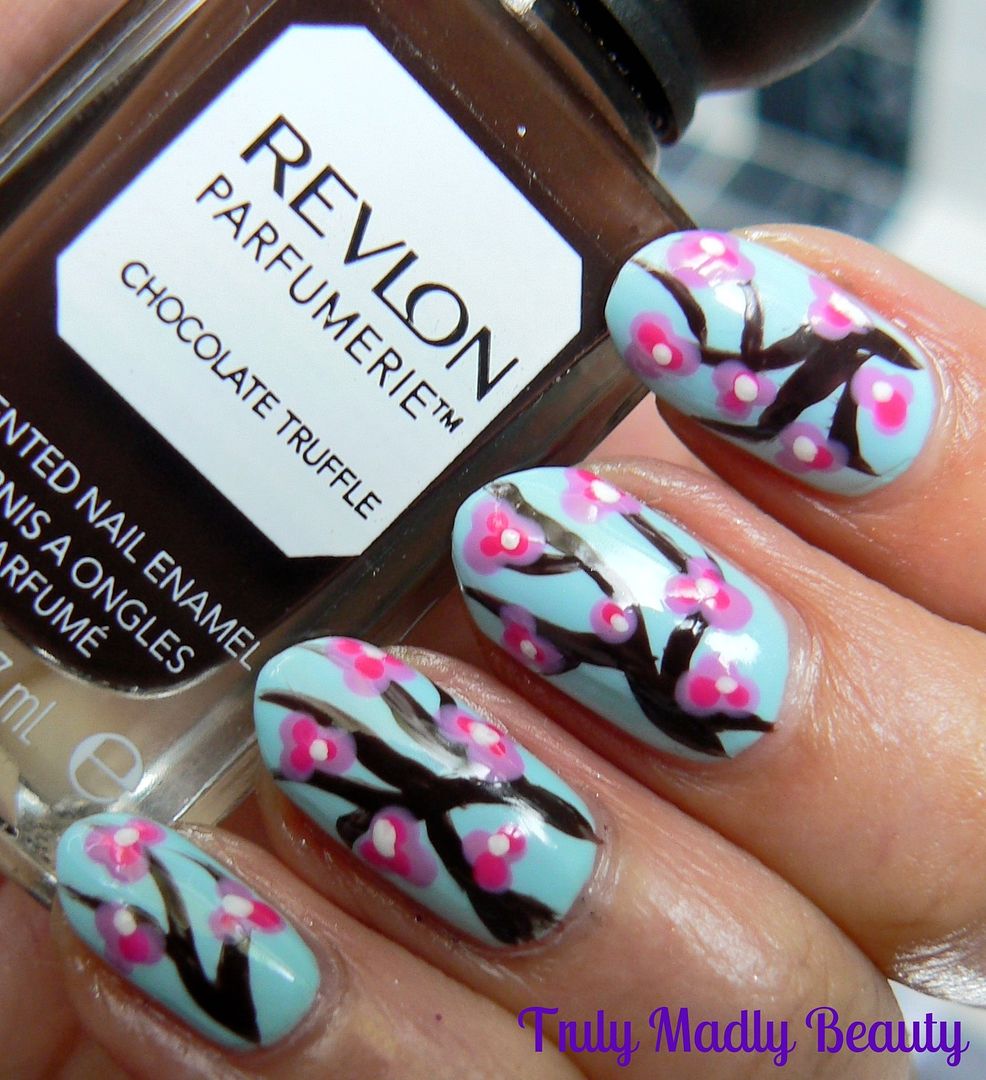
For the branches I used Revlon Parfumerie polish in Chocolate Truffle (yes it really does smell like chocolate!) & with a thin nail art brush, free handed some random branches on to the nail.


Now for the blossoms! For the first step I used a dotting tool & Sally Hansen's Pinch of Punch, a delicate pastel pink, & added blooms made up of three dots on to the branches.


To add more definition I went in with a few dots of W7 Neon Pink on top of the Sally Hansen.


Finally I simply added a dot of white in the centre of my blooms to complete the design.


Finishing everything off with a nice thick slick of topcoat because we loves that glossy finish & finito!


Thanks so much fro reading lovelies, I hope you liked the Cherry Blossom nails!

Lotsa love to ya!


5.05.2014

NOTD - Psychedelic Florals with Models Own Polish For Tans!
Hello there lovely readers!

I've been absolutely itching to try out Models Own latest release, the eye dazzling Polish Tans Collection. Naturally I succumbed & bought them all on my last trip to Westfields Bottleshop where the highly skilled assistant hypnotized me in to getting them all...o_O I couldn't decide which pretty to try out first so decided to use the whole caboodle in today's mani...