Showing posts with label Egyptian. Show all posts

10.06.2016

Eye of Horus Liquid Metal Eyeliner!

Hello there lovely readers!

It seems my blogging mojo decided to go on a wee vacation for a while there, but hopefully she's had a nice reprieve as I'm determined to get my blog back on. And just in time for my favourite month too because yes...ALL THE HALLOWEEN EVERYTHING. I can't wait to get started on throwing together some spooky Halloween manis for you because gods know I love this time of year! Have a sneak peak at some of my designs from Halloweens past HERE for some early inspo but there'll be more to come fear not! Or be feared... ;)

Before I begin on all things ghoulish I have some other bits & bobs to share with you, I've recently come across some absolute GEM beauty treats lately & am eager to share their awesomeness with you. I feel it is my duty.
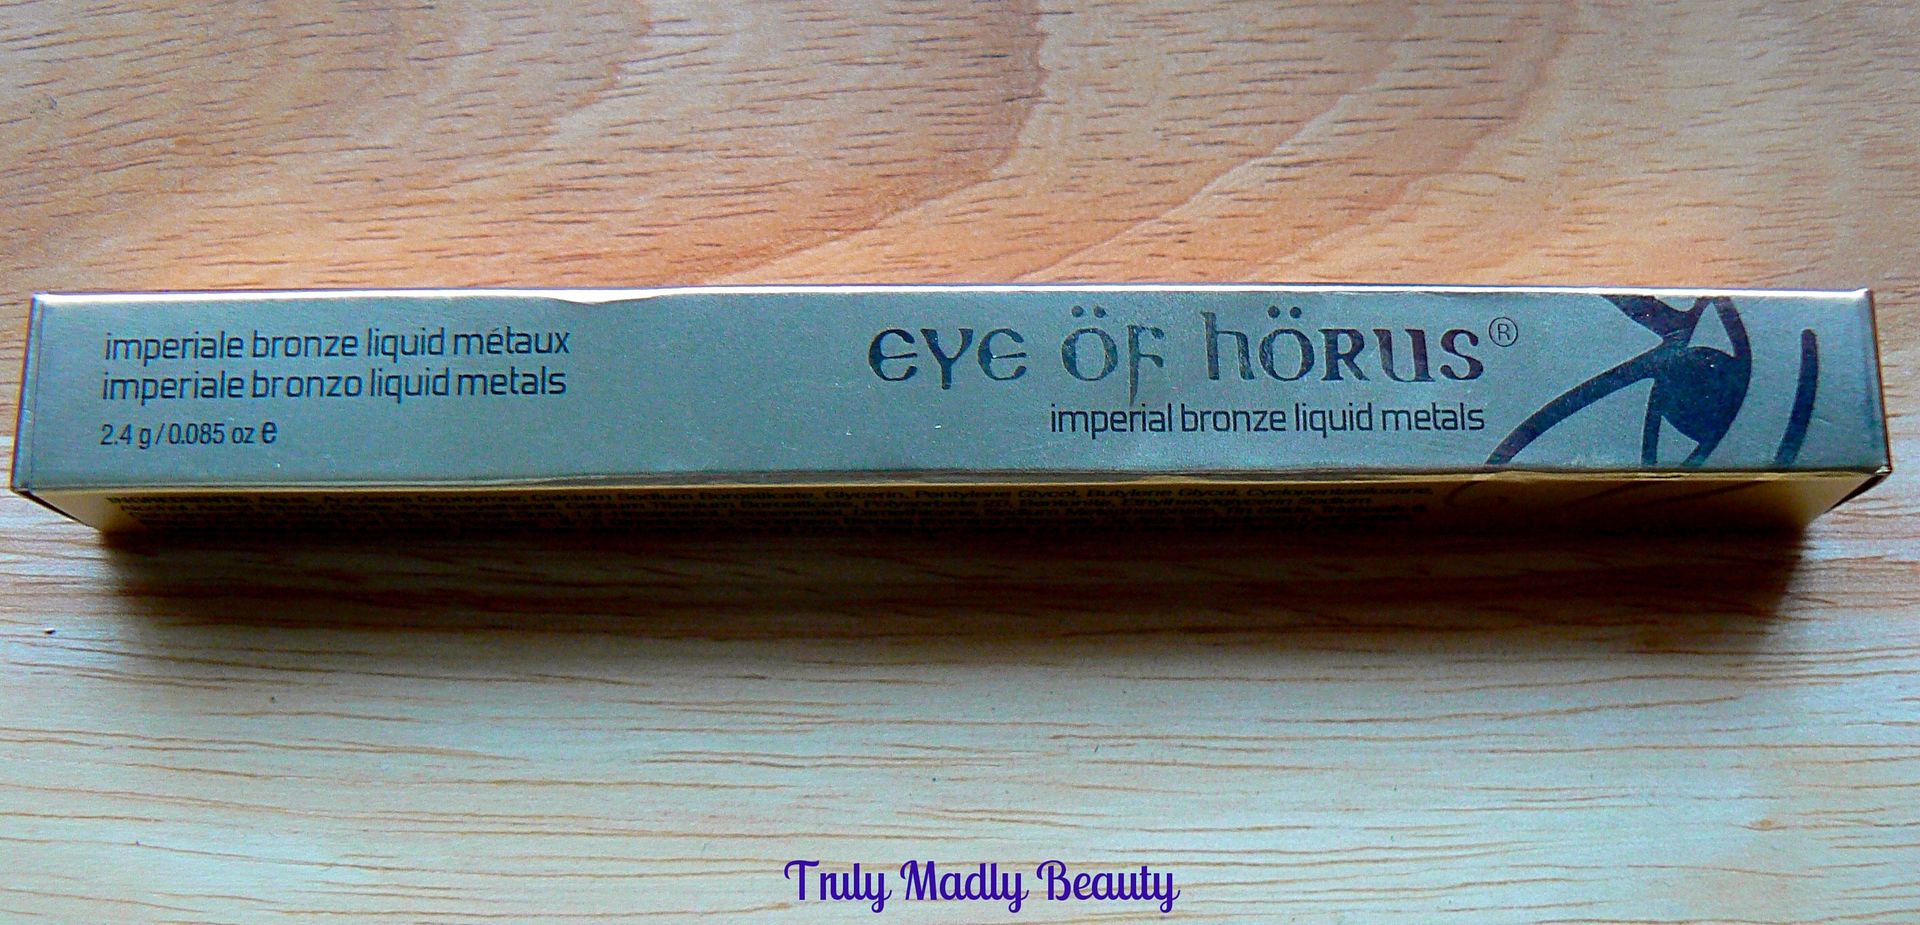

Next to nails, my HG beauty product is without a doubt eyeliner, I feel naked without it & am rarely without my armour of a cat wing flick! Lately I've enjoyed mixing it up a tad with different styles & looks. There's so many fun & fab ways to jazz up your liner & one way in which to do so is incorporate some colour. Not only do I love my eyeliner but I am a sucker for all things metallic...enter at this point...Eye of Horus Liquid Metal Eyeliners*...one word....ERMAGEEERD!

I'd heard about the brand Eye of Horus amongst the beauty grapevines but never had the opportunity to try myself, shocking really as I adore anything Egyptian themed which is clearly the inspiration behind this award winning Australian brand that is not only cruelty free but also paraben, nut & gluten free.

The Eye of Horus Liquid Metal Eyeliners come in four different shades: Alchemy Gold, Ancient Pewter, Copper Sphinx and Imperial Bronze*, which is the shade I'm sharing with you today.

I've come across many liquid eyeliners that promise a multitude of wonderful results but sadly never delivered but I am happy to tell you that the Eye of Horus Liquid Metal liners are exactly what they say on the tin...hello gorgeous, pigmented molten metal finish!
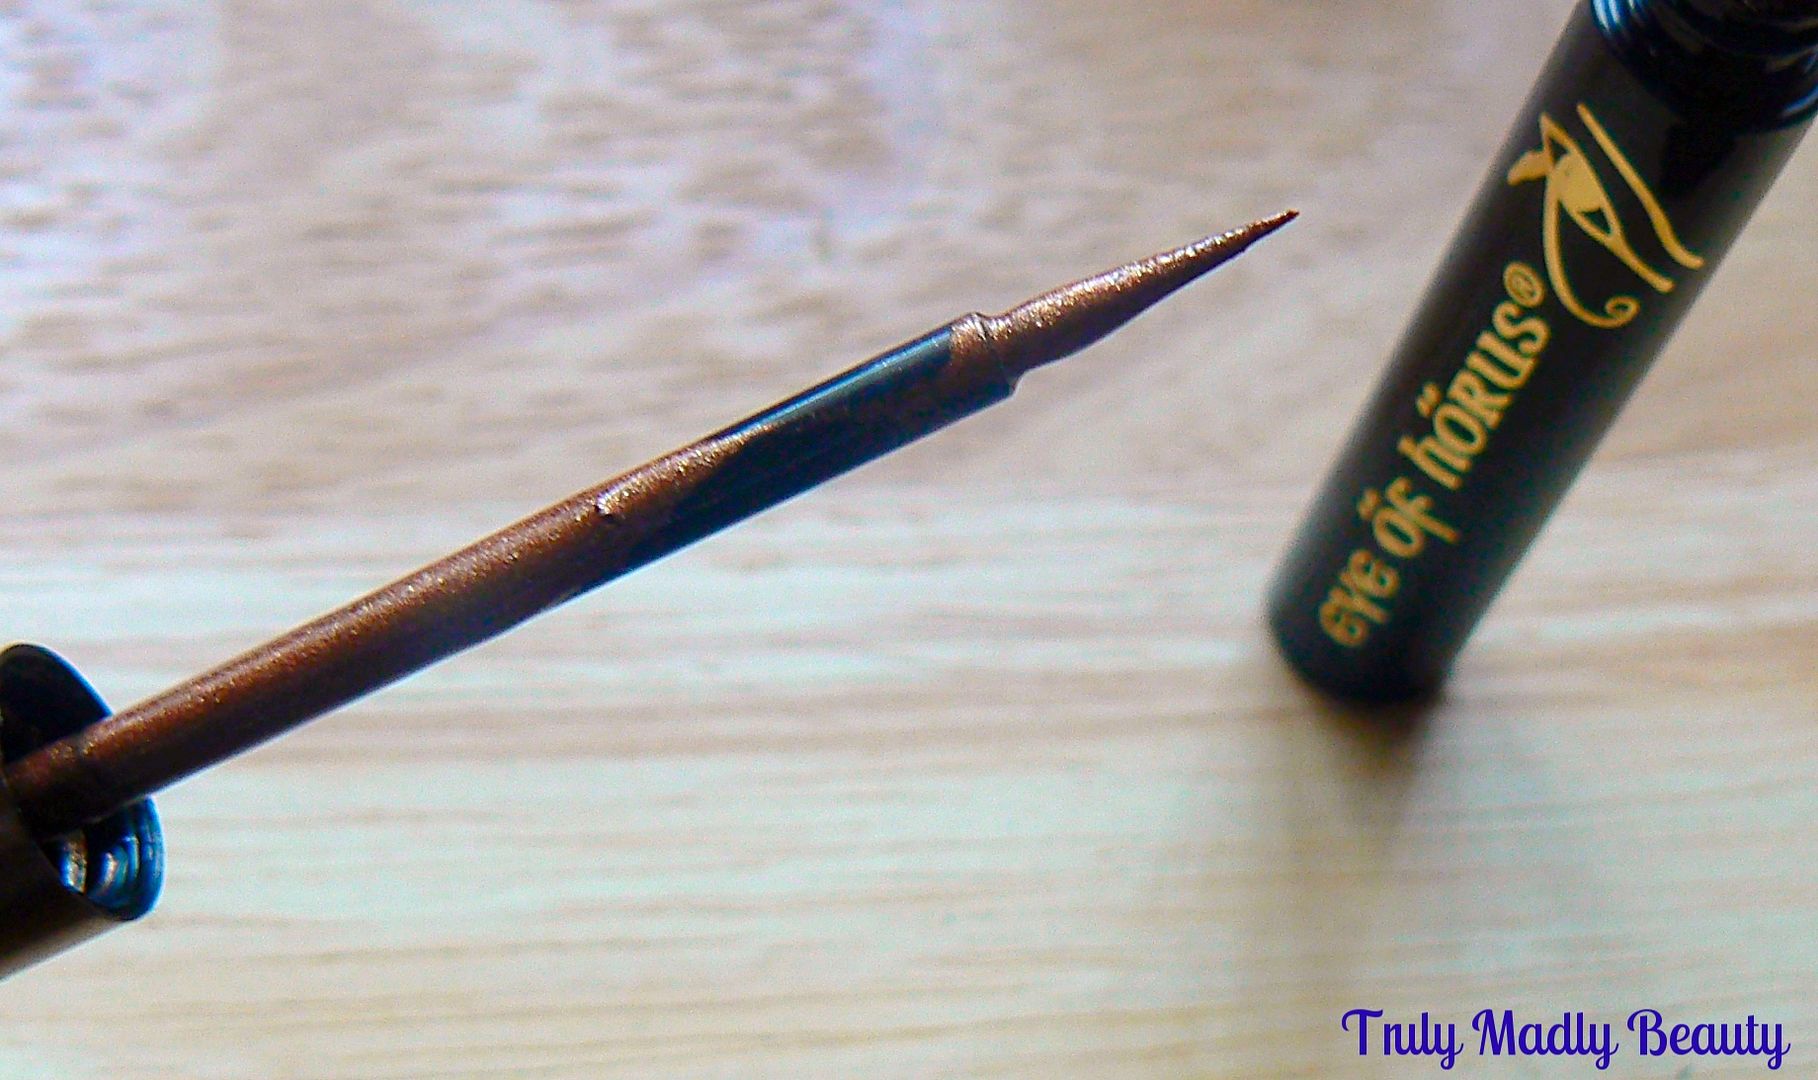

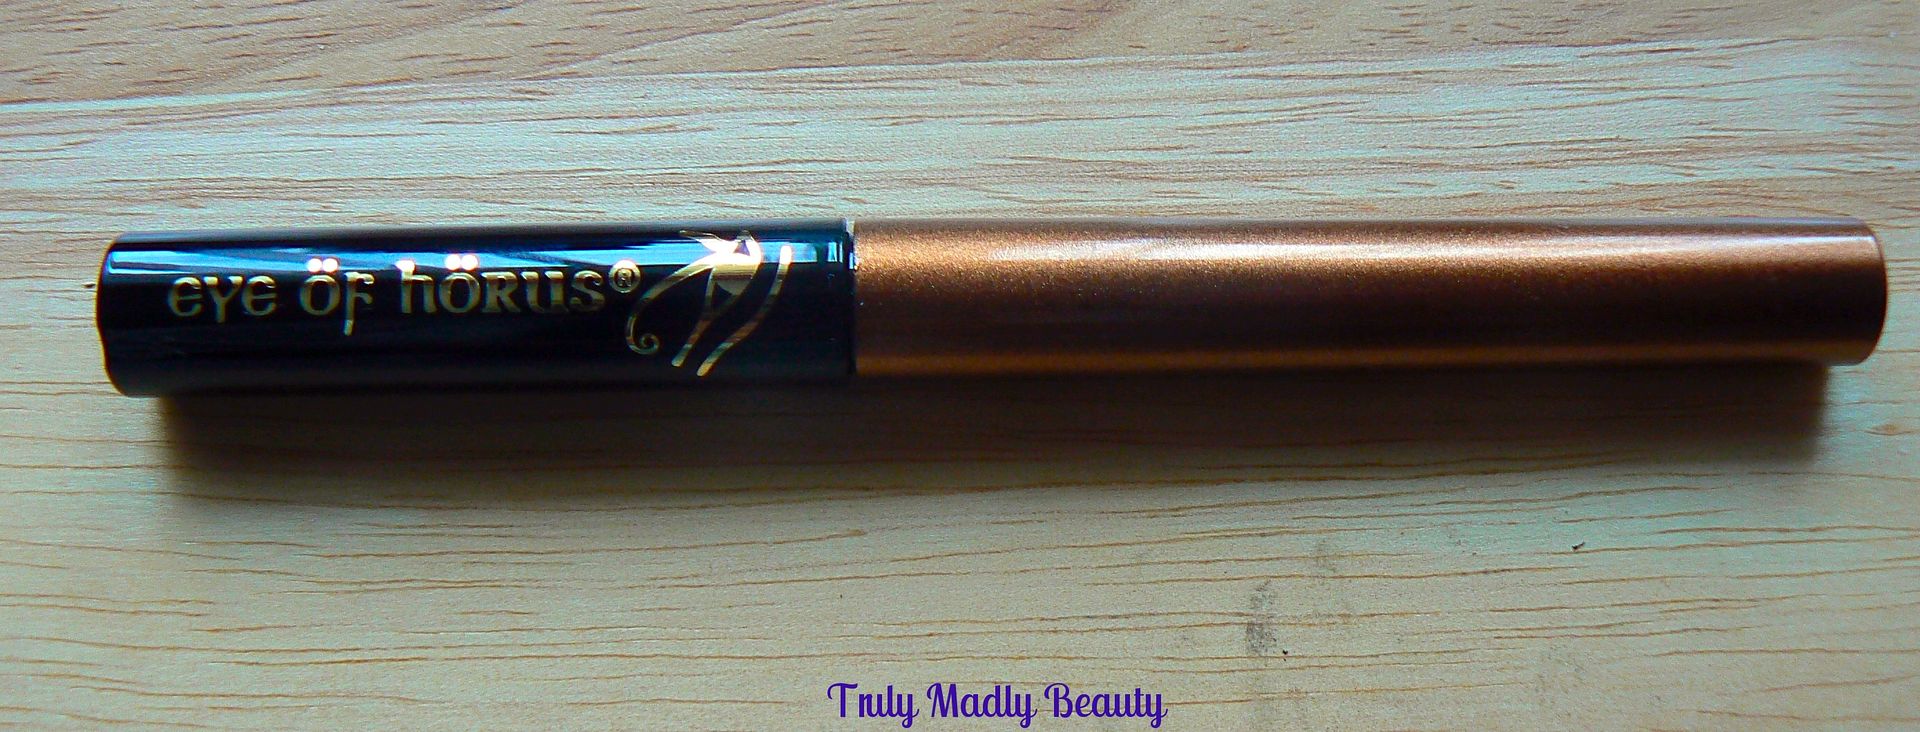
The packaging as you can see is beautifully sleek, with the brush & handle being the long coloured cap part of the liner, the length actually makes handling the brush much easier.

The nib is most important when it comes to applying eyeliner & these are not only fine pointed but sturdy as well, making applying a smooth line an absolute breeze.
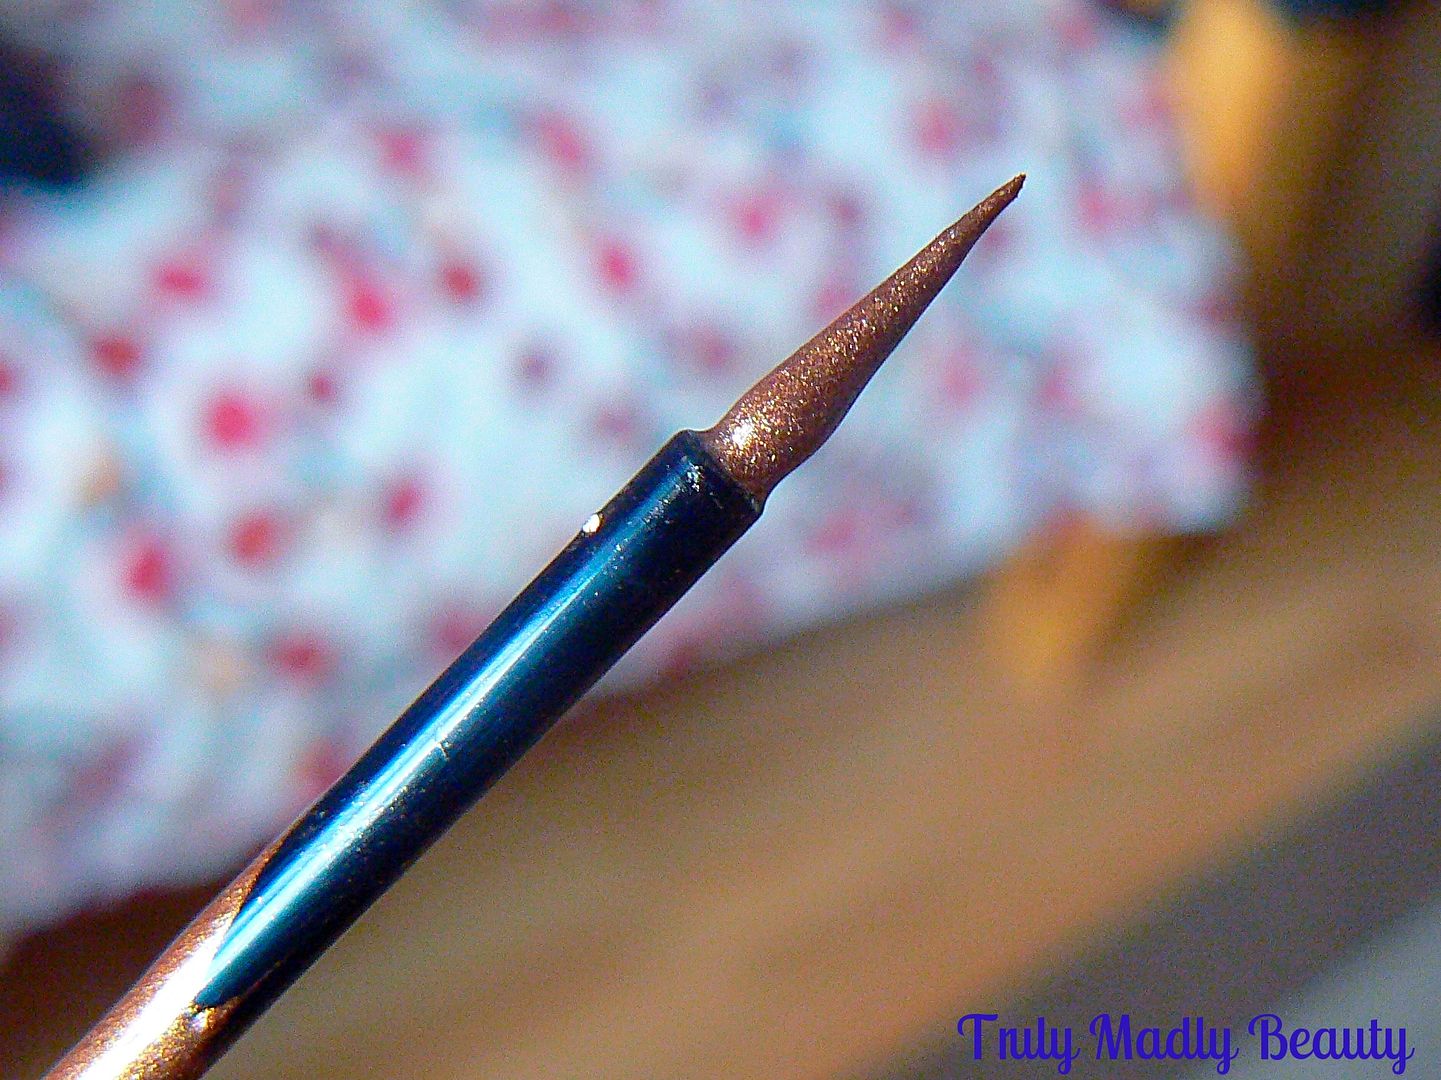

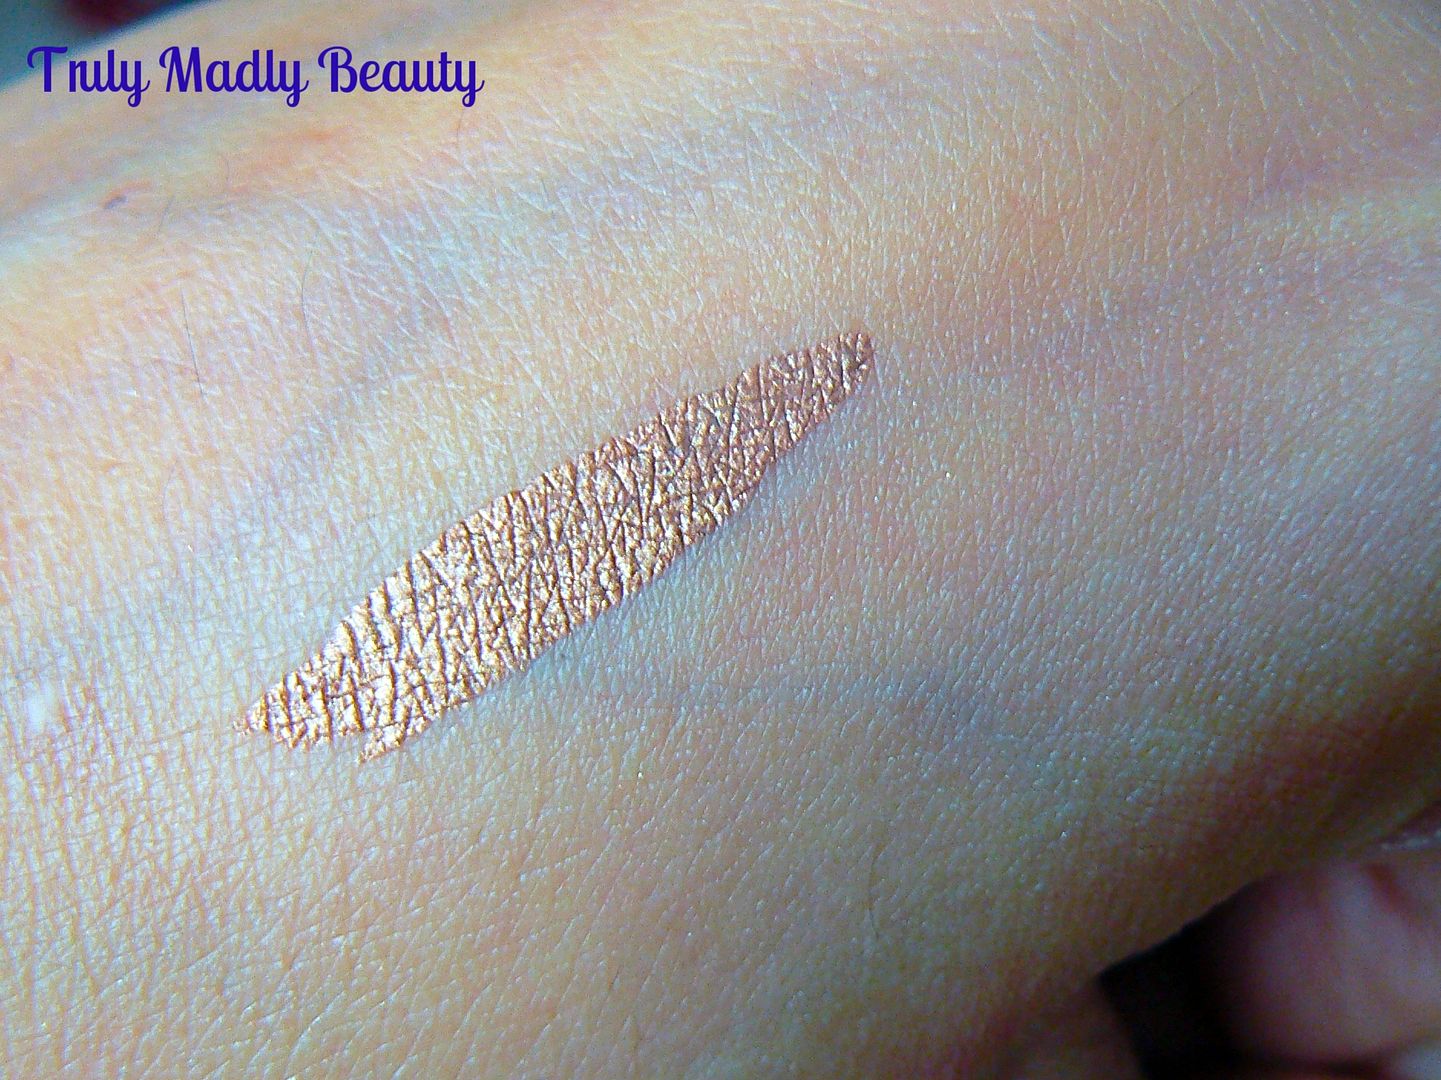
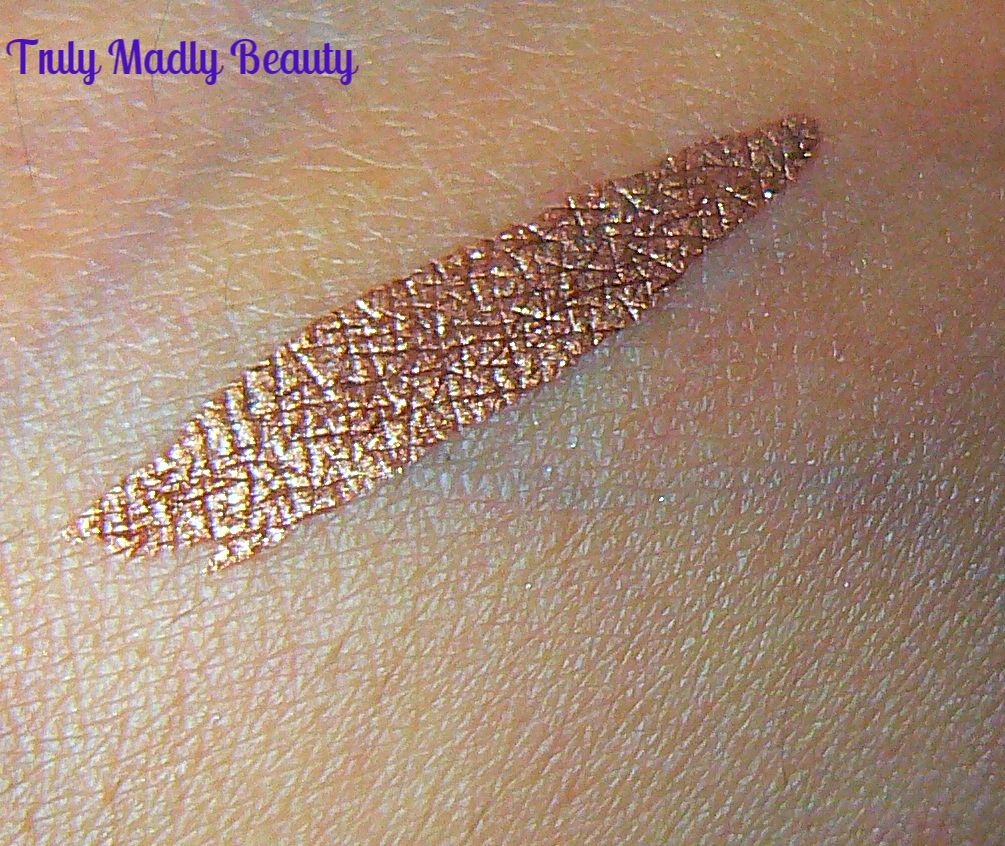
The swatch here is one swipe of the liquid metal bronze goodness & I completely went into real life heart eye emoji face at the mirror like molten metallic finish...ungh just look at it *swoons*

I couldn't wait to incorporate some of this bronze goodness into a look & this is what I came up with. I decided to do a bronzed smokey eye with a double wing, using the Liquid Metal to create the extra flick as well as adding a touch of sparkle to the inner corners...
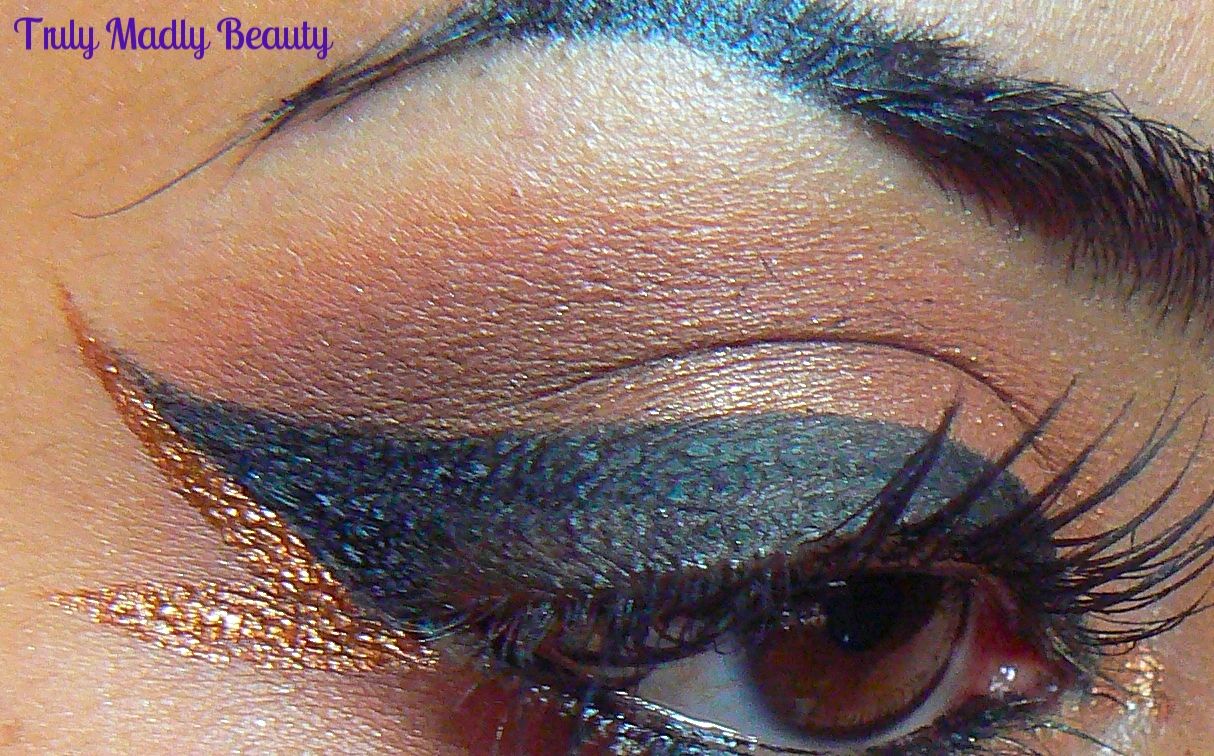

The formula is dreamy, smooth not grainy & as you can see beautifully pigmented, the colour pay off is divine, you wont find yourself having to apply layer upon layer to get an inkling of sparkle with these. And better still they will not budge once dry which is in no time at all.
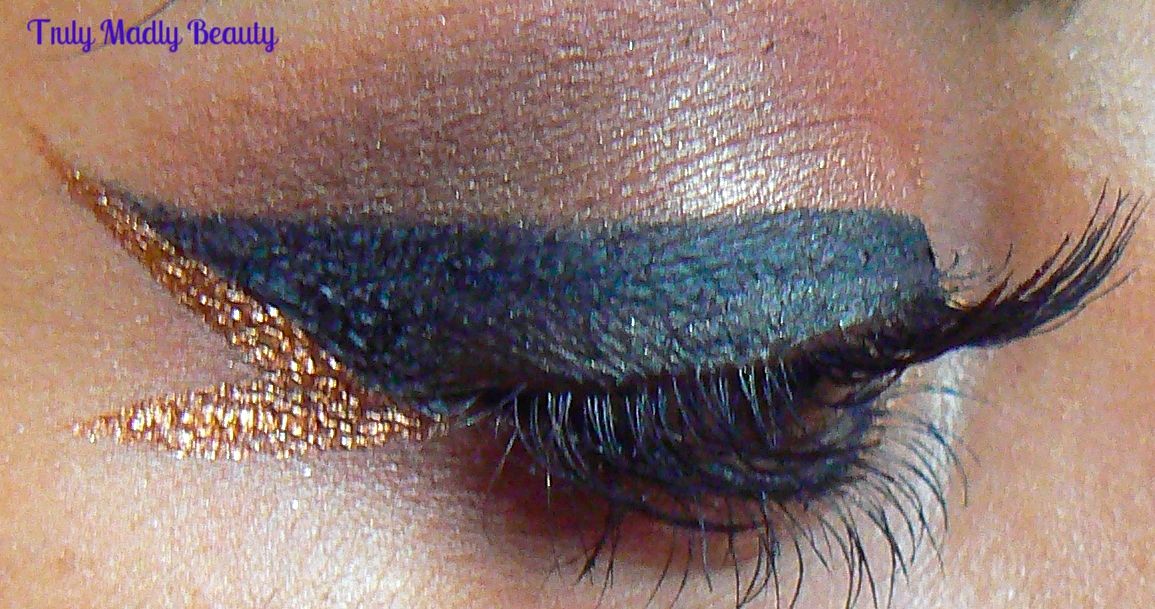

I love how just incorporating a bit of pretty metal bronze into a simple wing instantly transforms your whole look to something more eye catching. There so many ways you can use this, on the upper lid, inner corners, a pop of colour along part of the lower lashline...there are actually some BEAUT looks on the Eye of Horus website that have got me all inspired to try!
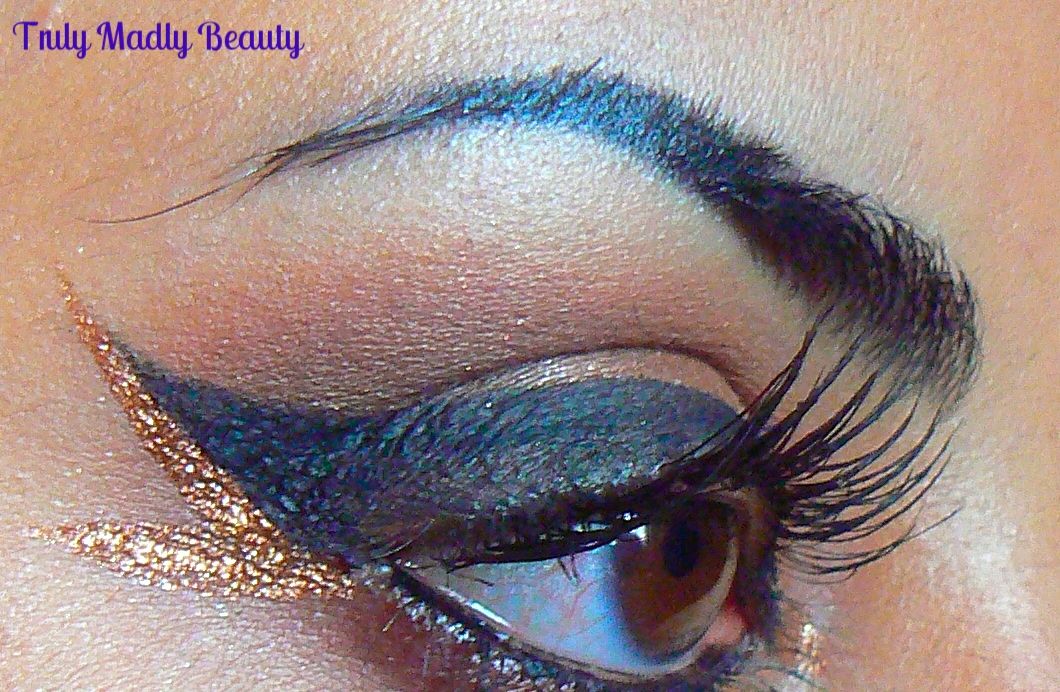

Of course these would also be absolutely PERFECT for bold Arabic eye looks which I am all over...Cleopatra coming at ya...I am definitely going to enjoy creating a fun bold look worthy of the Egyptian queen.

I've come to the conclusion that I absolutely NEED the silver pewter & alchemy gold liners in my life yesterday. The Eye Of Horus Liquid Metal Liners can be found on Beauty Bay as well as Bath and Unwind for £16.50.

Thanks for reading beauts and catch up soon!

Lotsa love to ya!


Disclaimer - * products featured were sent to me for my consideration. I am not affiliated with the brand nor paid for this post, this review has been as always my 100% honest opinion! :)


6.20.2016

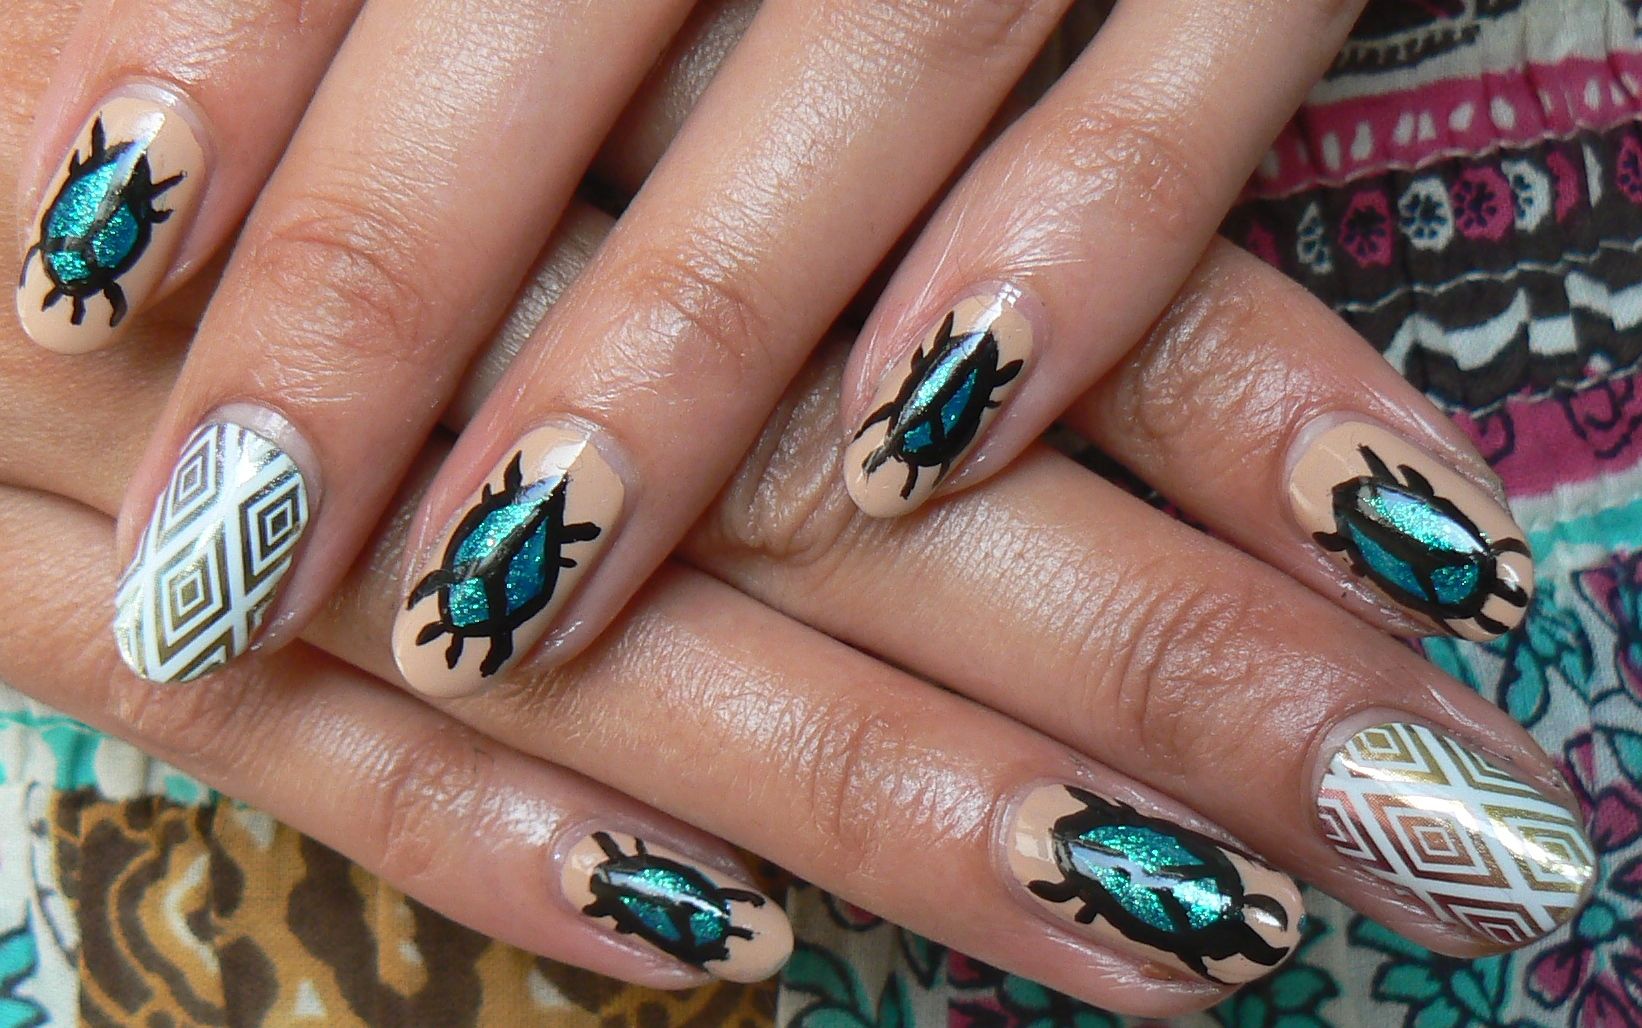
NOTD - Egyptian Scarab Beetle Nail Tutorial!

Hello there lovely readers!

I found myself in a bit of a dilemma with todays nail art design. You see, I adore Ancient Egyptian history, if someone would hurry on up with inventing a time machine, Cleopatra would the first on my list of historical women to visit!


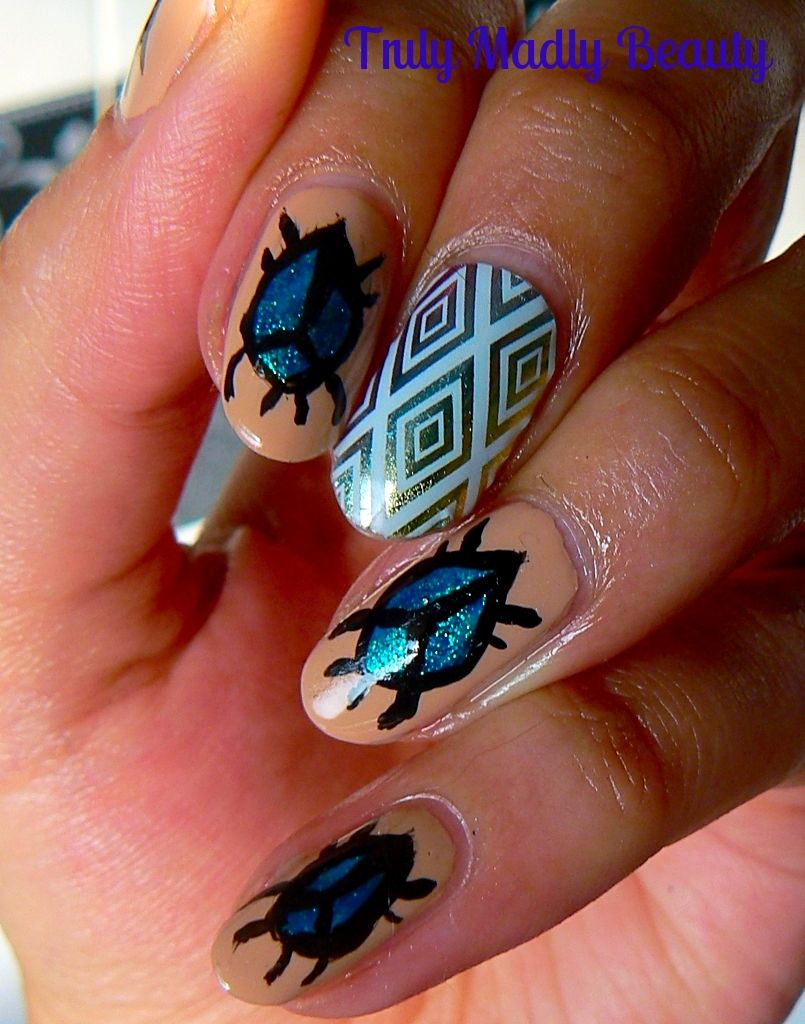
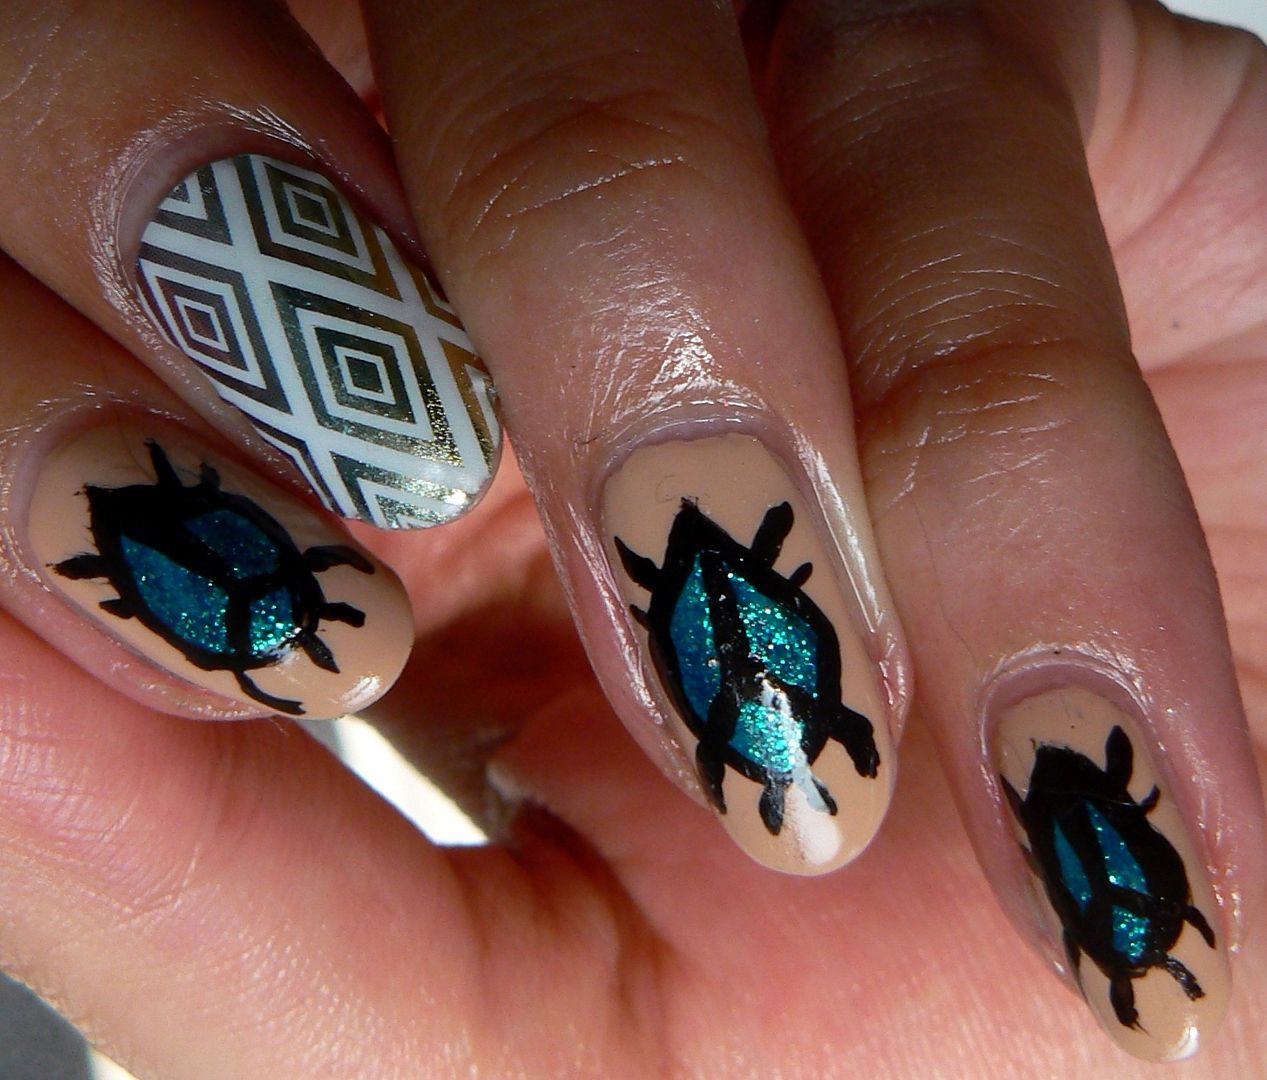
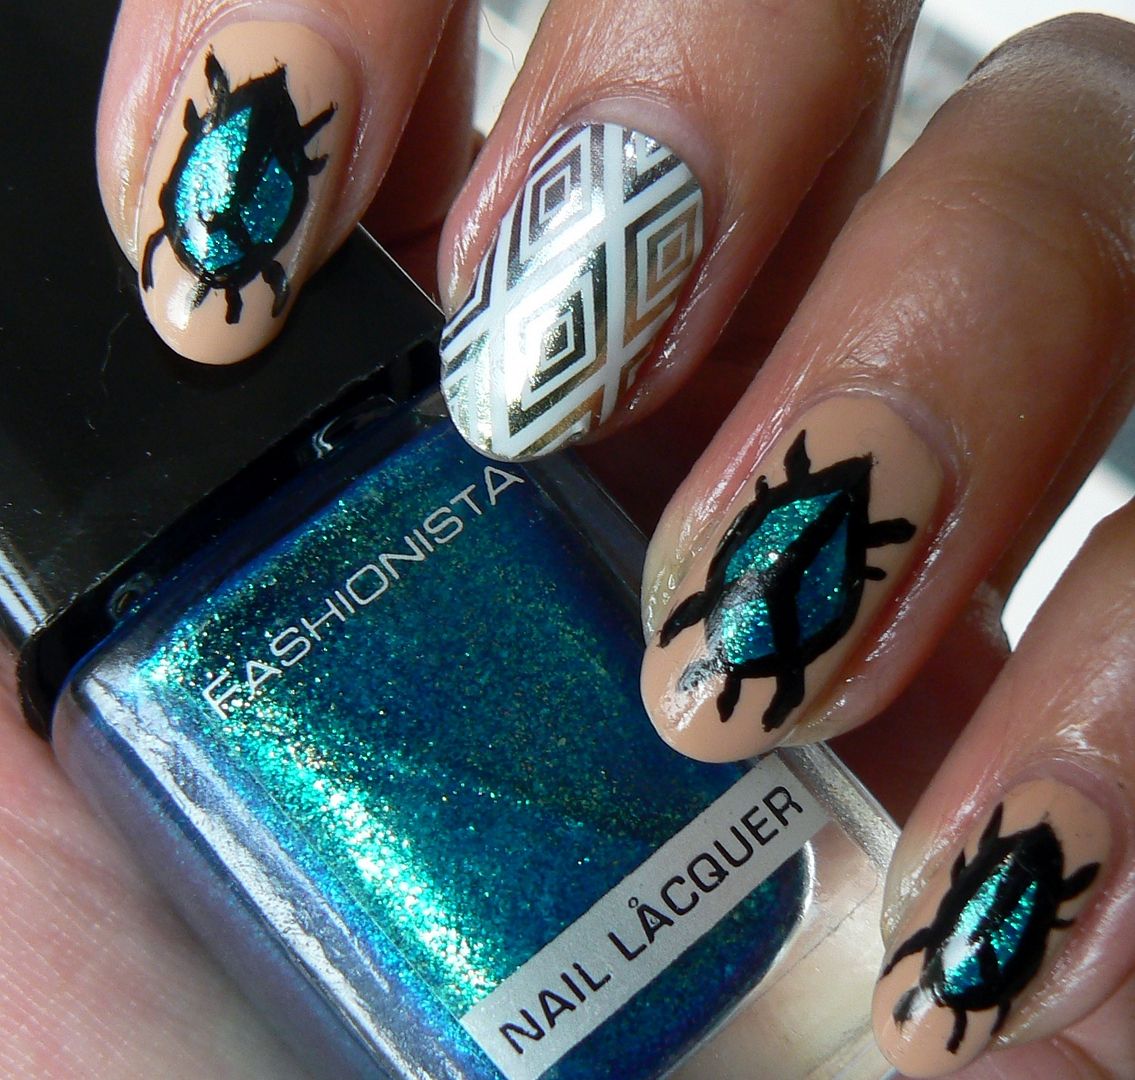
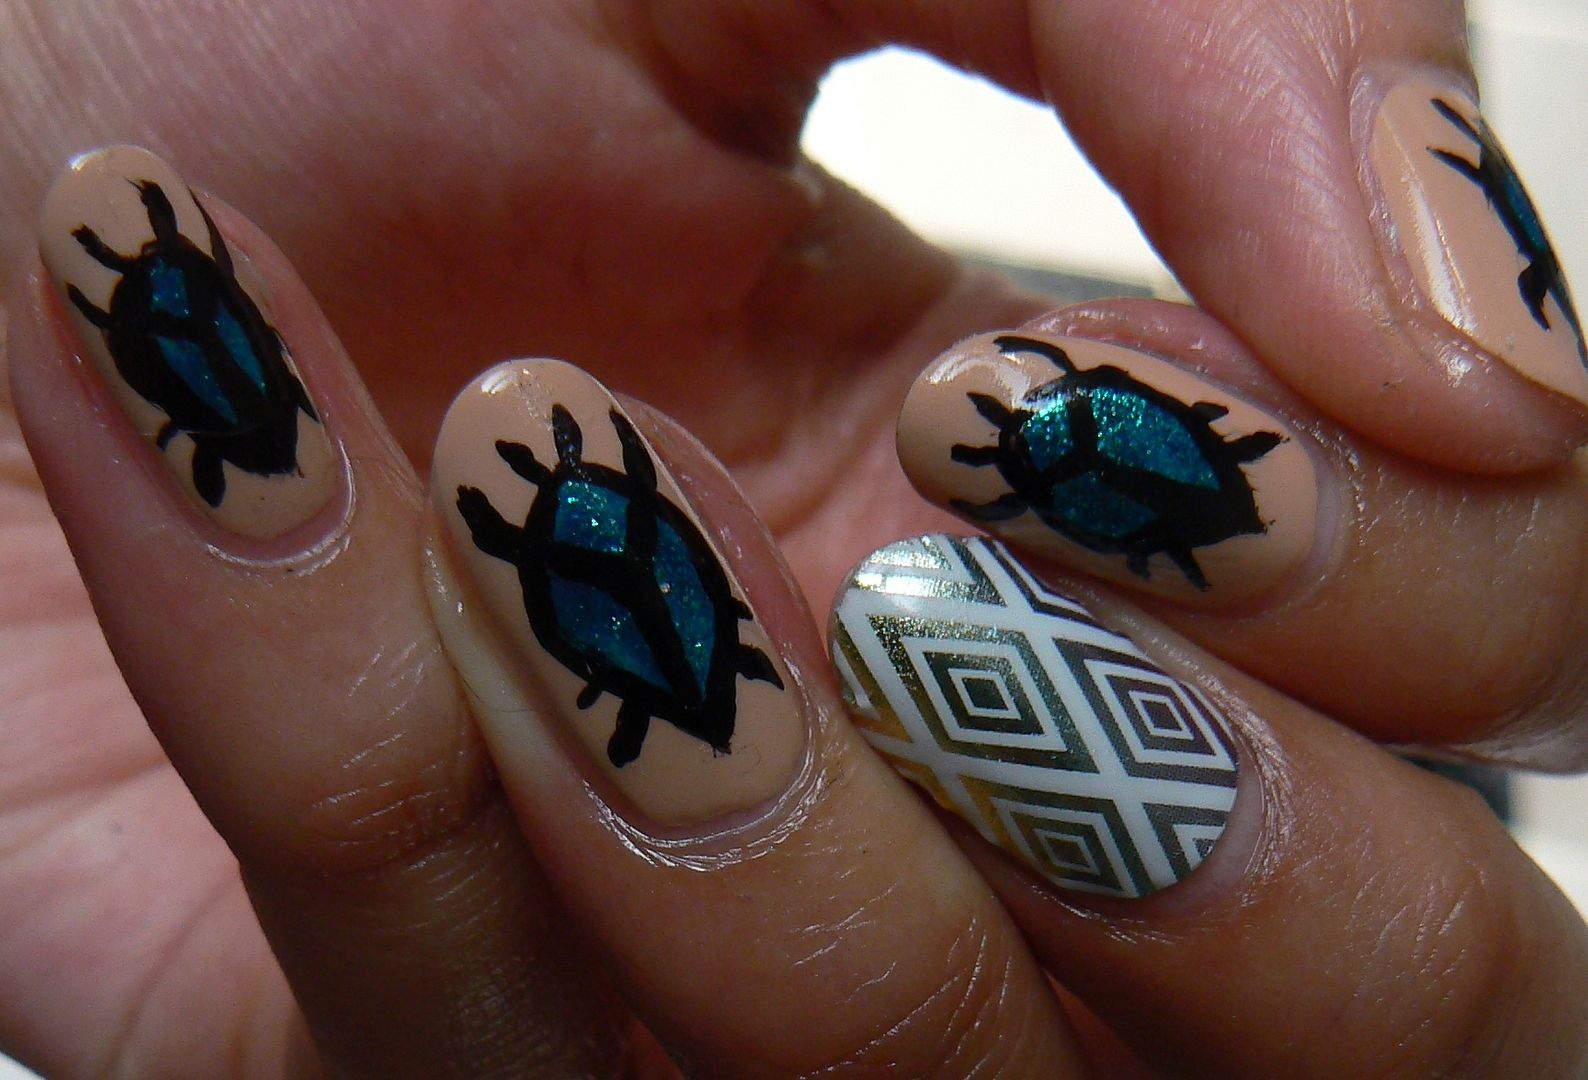
A well known symbol in Egyptian culture is the Scarab beetle & after seeing a beautiful jewelled design incorporating stunning turquoise tones in the shell I knew I wanted to recreate something similar in nail art form. Herein lies the dilemma....I hate bugs! But in the name of the nail art sisterhood I decided to set aside my squeamishness & put those Scarabs on mah nails!


I managed to dig out a super pretty turquoise green sparkler in my stash which gave just the finish I wanted for my beetle shells which chuffed me greatly. I've done a step by step tutorial guide so that you can create these too!


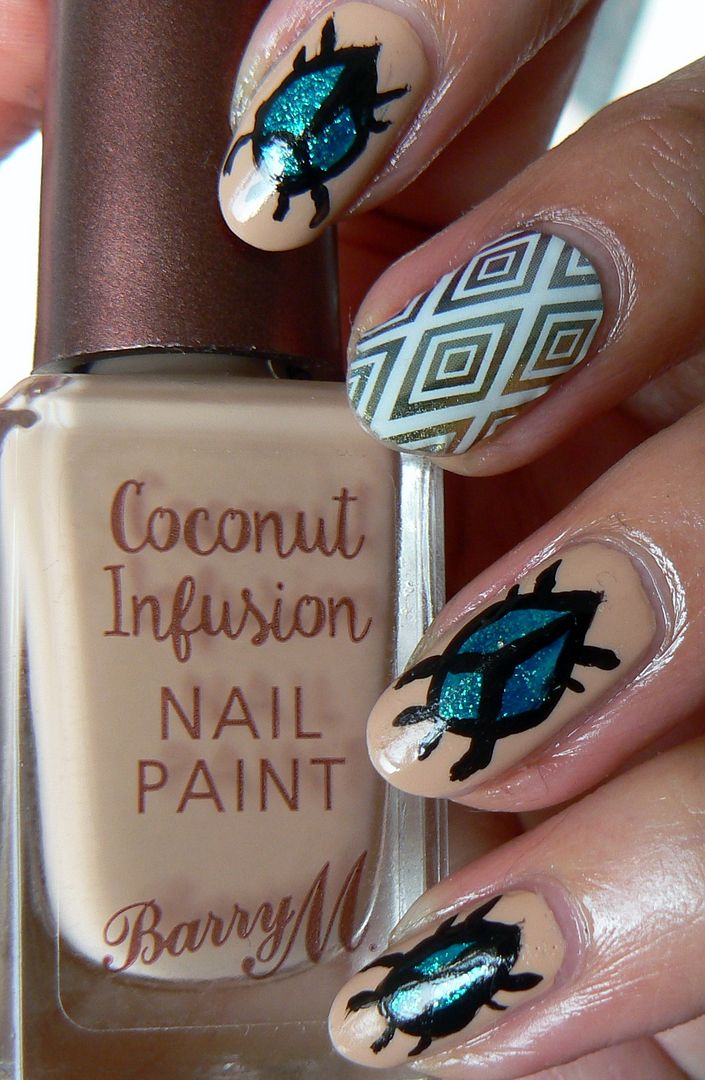
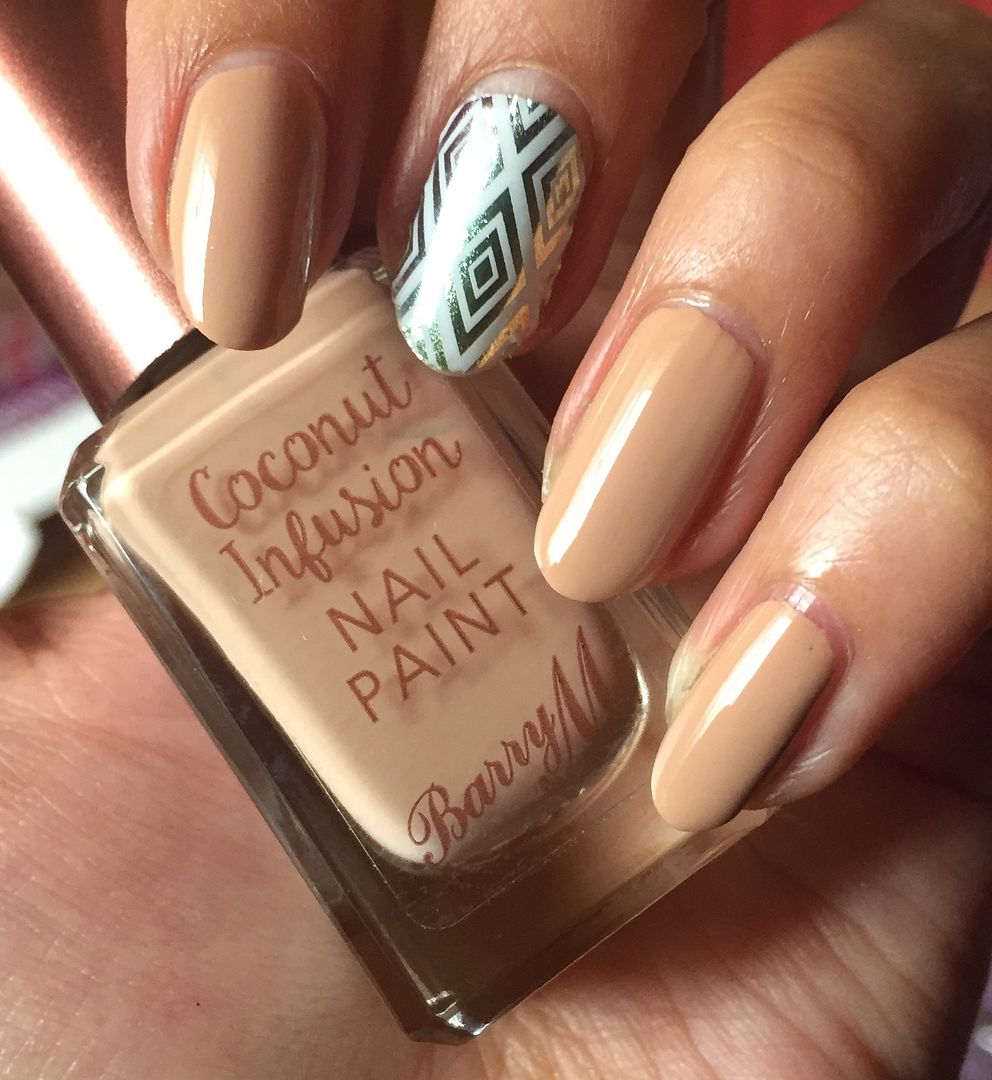
I wanted my Scarabs to stand out thus required a nude base creating the perfect opportunity to give Barry M Coconut Infusion in Sunkissed a whirl!


And dolls...Barry M always has the ability to impress me & the Coconut Infusion range is no exception. This swatch is just one coat applied, amazing coverage! The formula was faultless too, top marks Barry M! The Coconut Infusion polishes require no basecoat, however I'm currently using a base treatment on my nails (post to come soon!) so I have not yet tried on bare nails.


After swooning over the lovely Sunkissed, next step is to add the Scarab beetles! You'll need an eye catching blue/green turquoise, here I've used an old brand Fashionista in shade Mystical Dragon, another utterly swoon worthy shade...


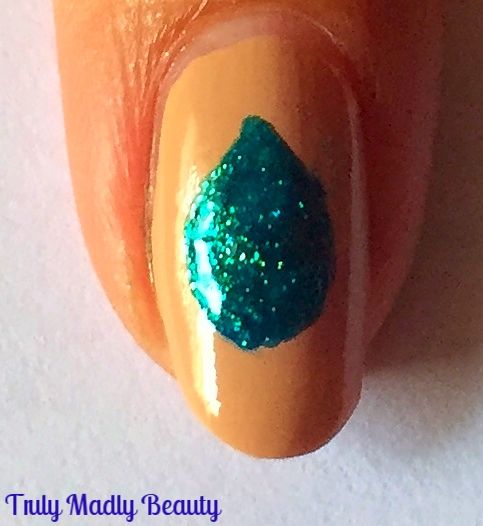
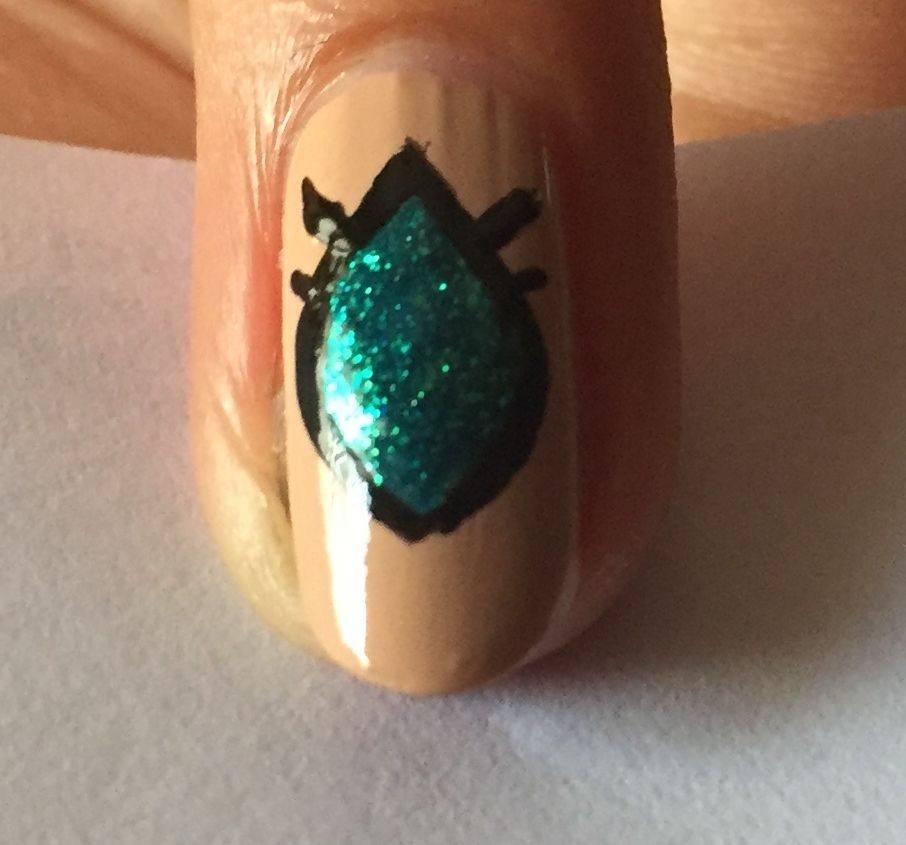
Grabbing your polish & nail art brush start with applying a teardrop shape in the centre of the nail. You can actually also use the polish brush & just place a large blob on the nail, then dragging the top upwards slightly to create the teardrop :)


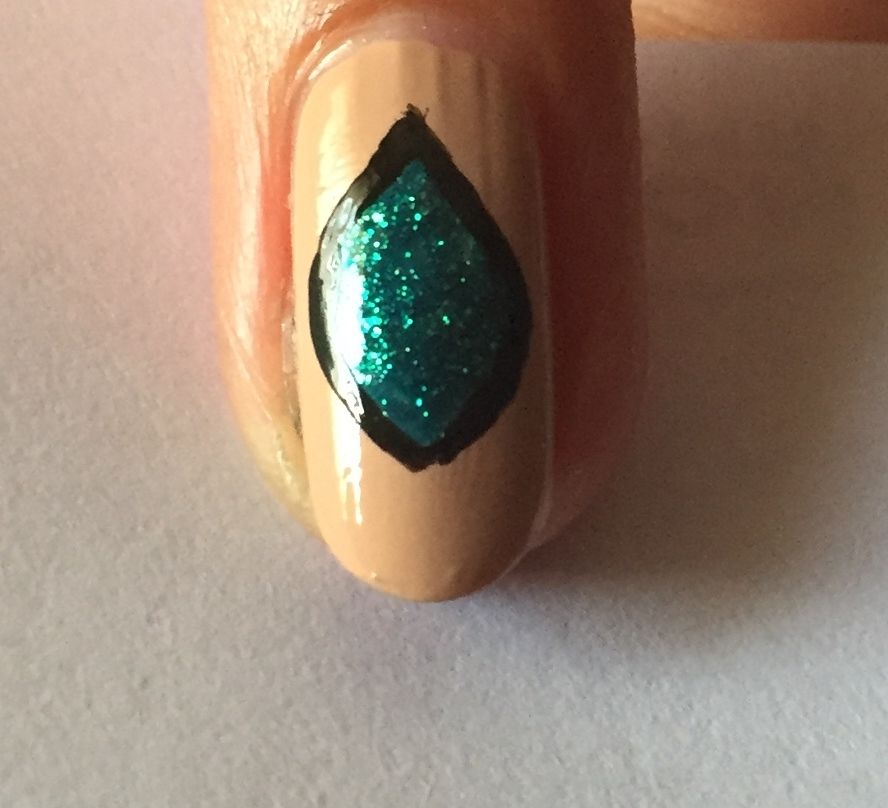
Then using a black polish & another nail art brush or a black nail art pen, outline the outer edge of your teardrop in black


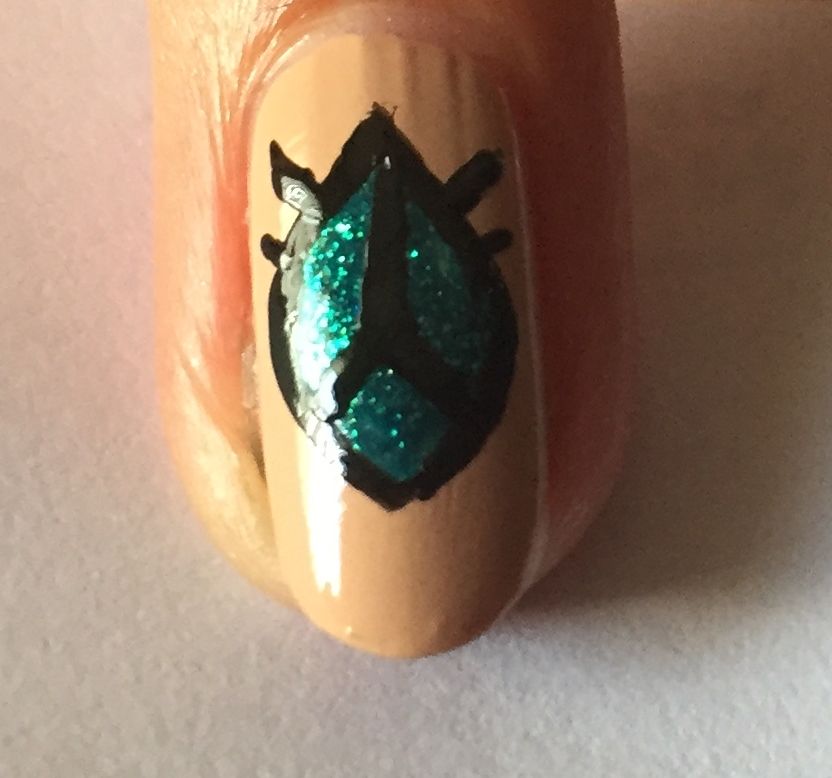
Next add the back legs first by applying two sets of angled lines at the top end of your teardop going upwards making the topmost legs a bit longer.


To create your shell apply a thin black line down the centre, stopping about ¾ of the way before veering two angled lines in opposite directions to the bottom as shown.


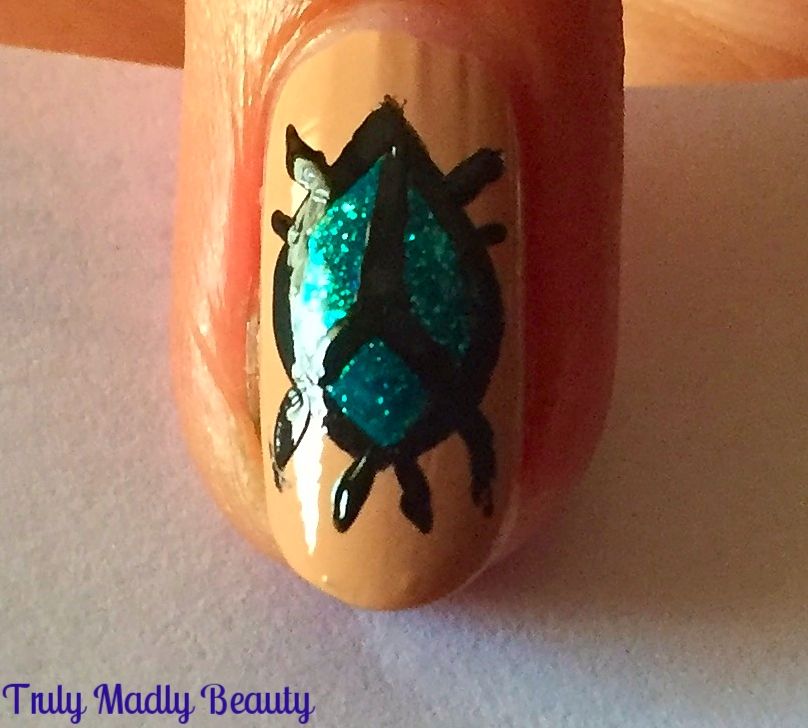
Finally to complete your Scarab beetle, add on two more lines for the front legs before finishing with two smaller lines at the end for the...err...what are these called? Pincers? Antennae? Lets go with antennae shall we?


Add a slick of topcoat to seal it all & you have your Egyptian Inspired Scarab beetle nails!


As you can see I've got me a Jamberry nail wrap accent going on too on the middle finger with the stunning metallic "Trippin" nail wrap! You can find this beaut wrap & more designs on my website HERE

Hope you liked! Thanks for reading!

Lotsa love to ya!


1.11.2016

NOTD - Egyptian Jewel Inspired Nails!

Hello there lovely readers!

I've always been fascinated with Egyptian history. I adore watching films depicting the time of the Pharaohs & I hope to visit Egypt one day, being a huge Poirot fan also, a Nile cruise has been on the bucket list for a long time!

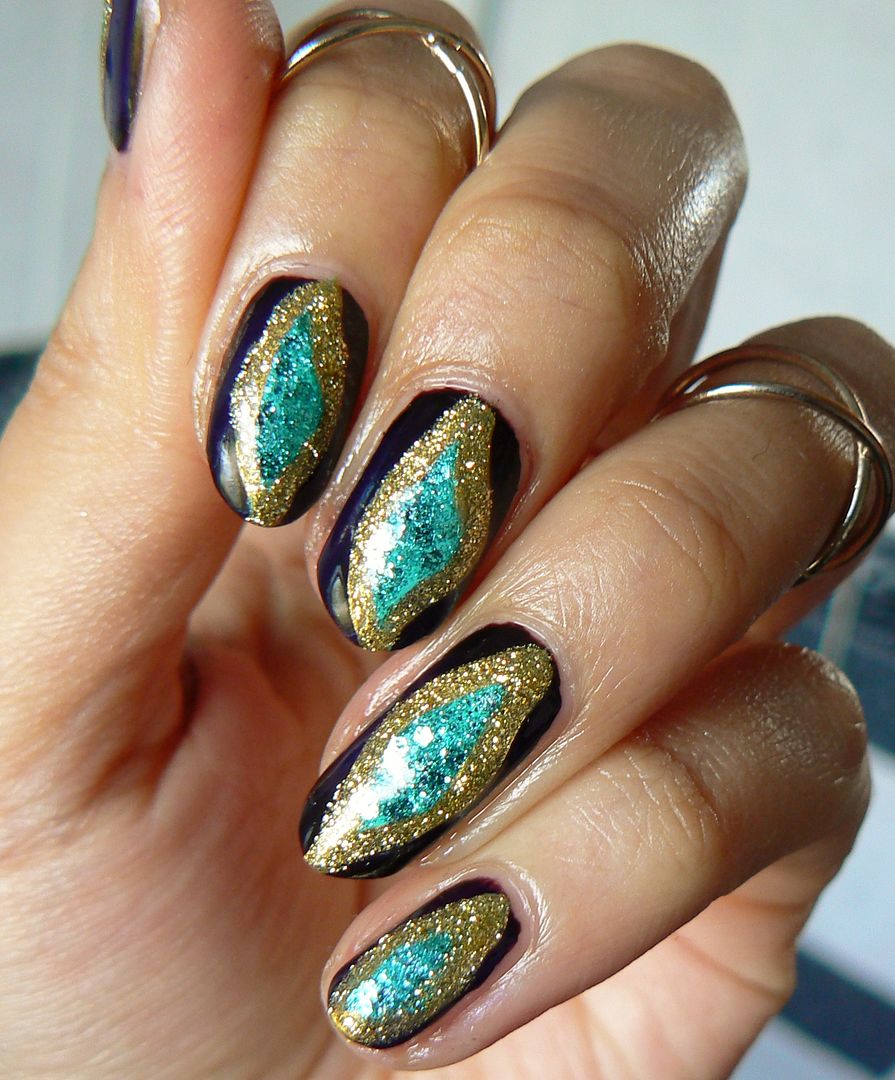
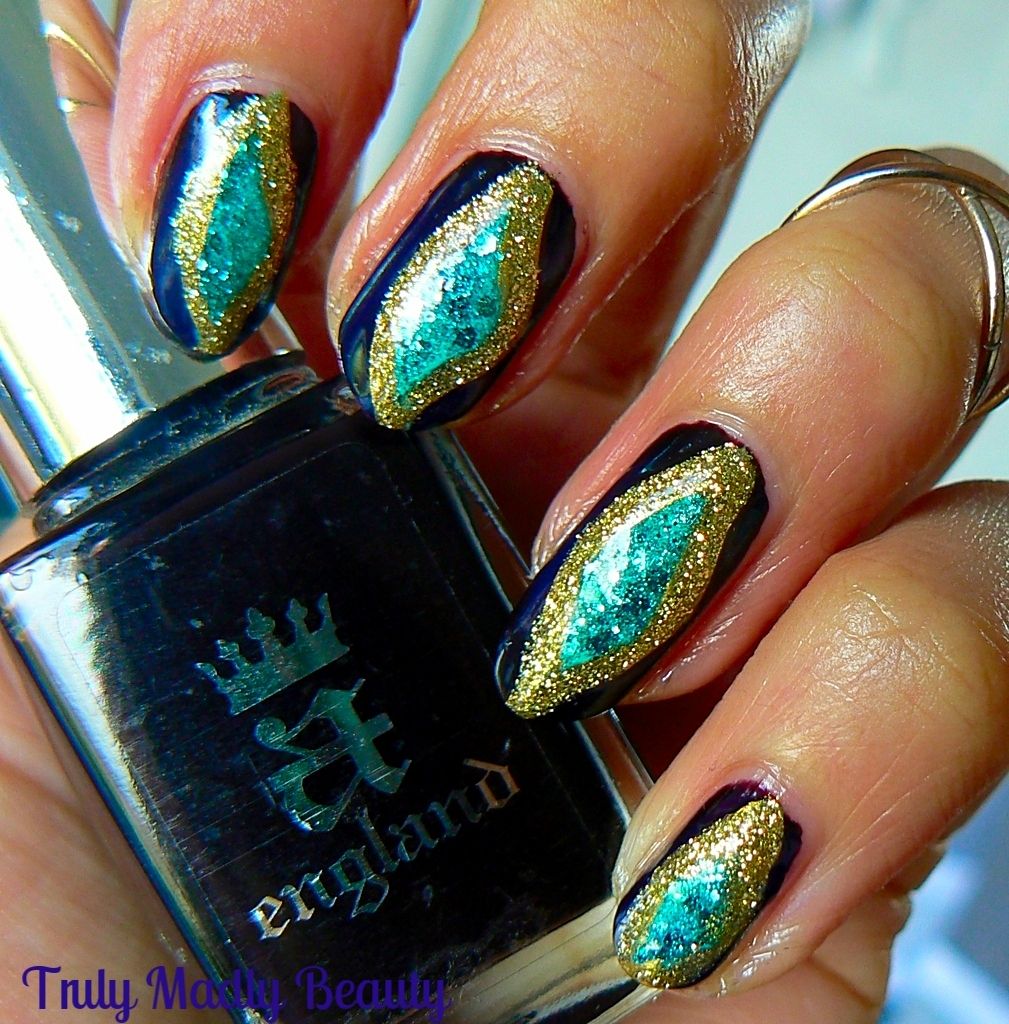
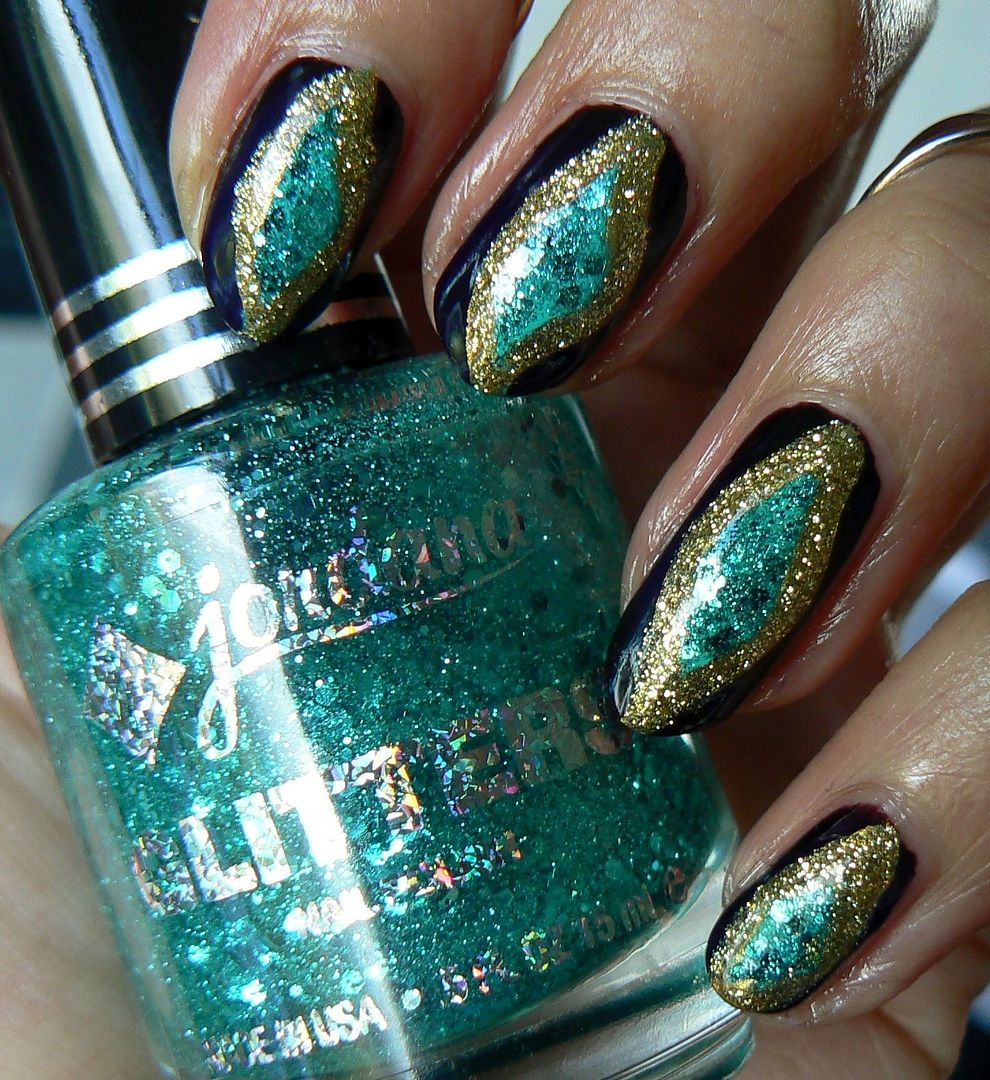
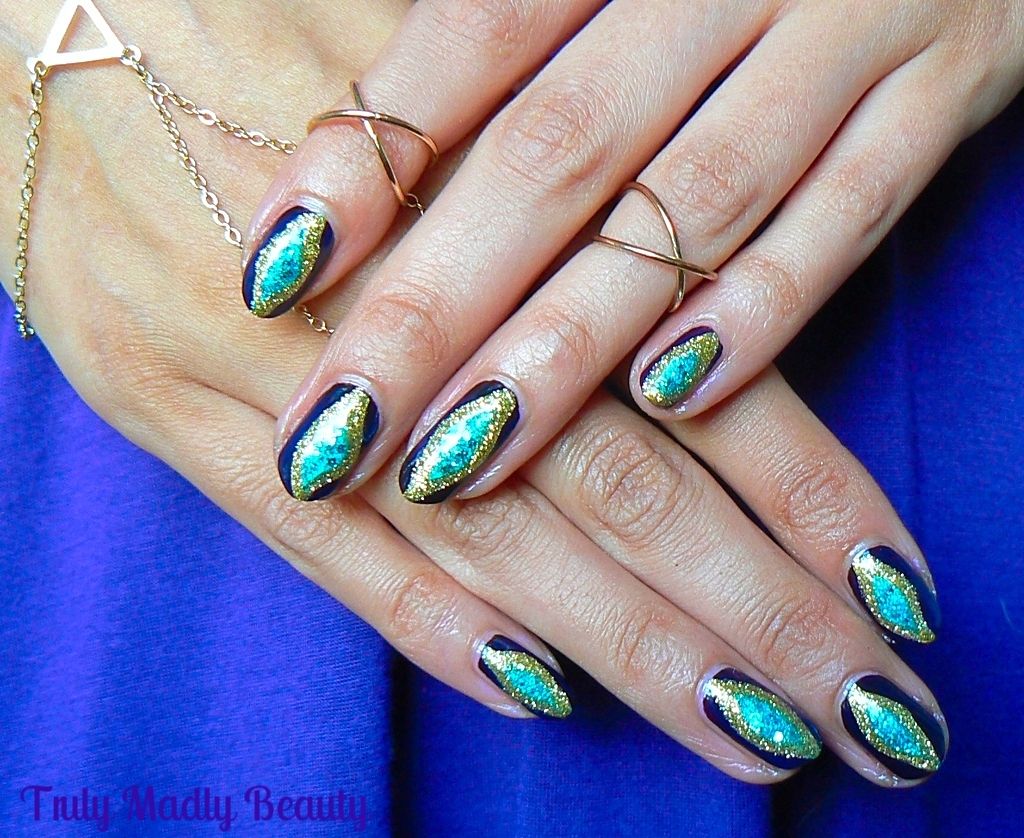
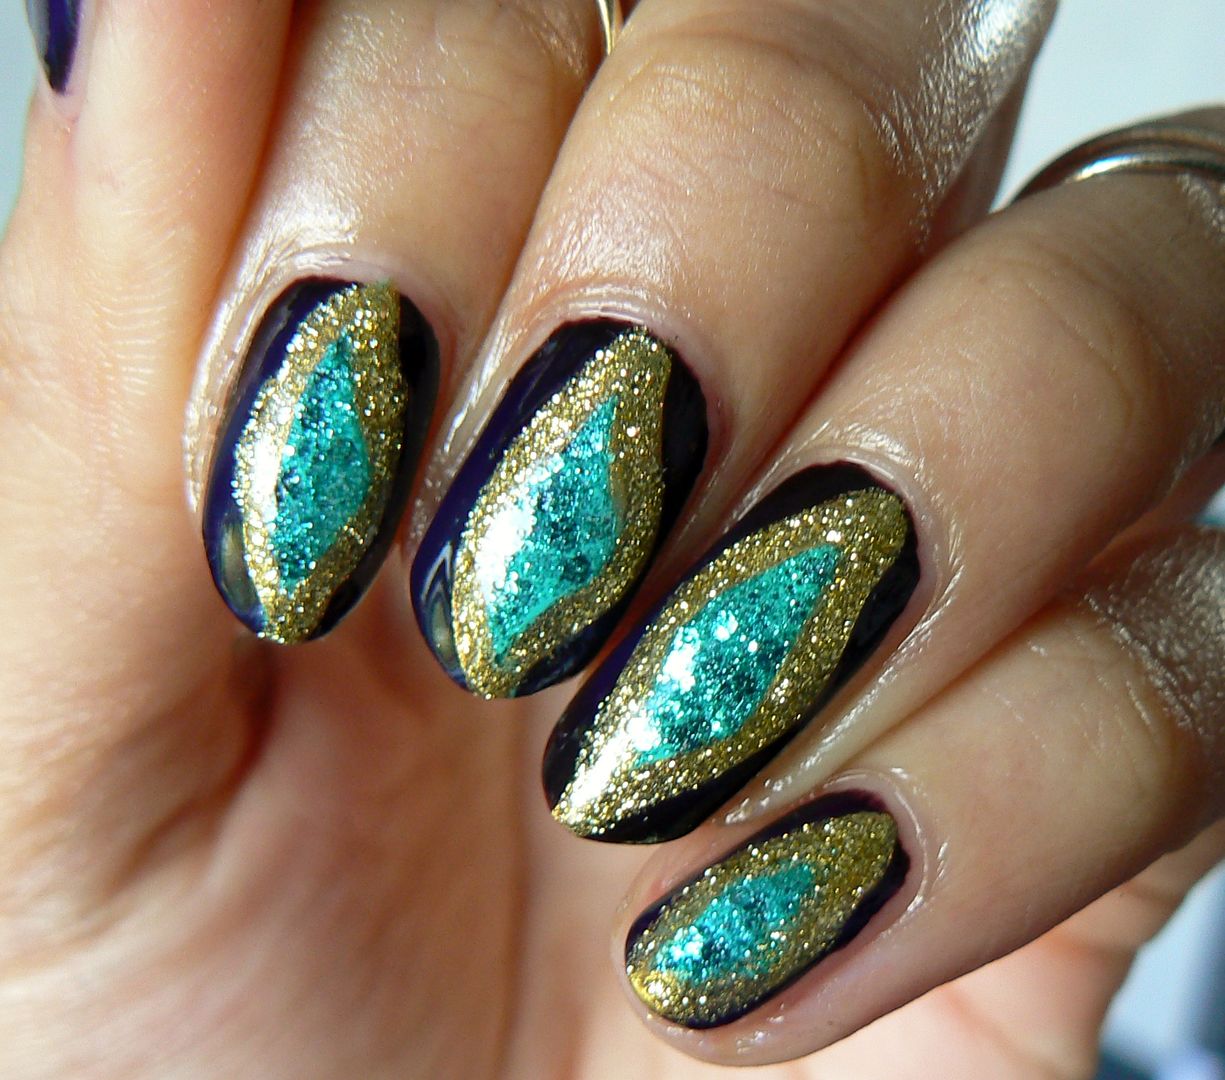
From a beauty addicts perspective, the Egyptian era is truly a feast for the eyes...the stunning hairpieces, the bold makeup, the eye catching jewels! Its the jewels in particular that inspired this particular mani I have for you today, using tones of black, turquoise & gold I came up with these Egyptian inspired jewelled stone nails.


To recreate these could not be easier. Start with applying a black base. Here I've used two coats of A England Lancelot, one of my favourite blacks, it has a divine Gothic red tint to it & a beautiful glossy formula.


Next apply your turquoise centre. To do this I used a fine nail art brush & Models Own Turquoise Gloss. Free hand a teardrop/diamond style shape in the centre of your nail, before filling in. Don't worry if they don't match, I actually think having each nail look slightly different is better!


You know I am a glitter FIEND so sparkle was definitely required. To bring out that turquoise I applied some of this gorgeous Jordana glitter in Celestial on top of the Models Own.


Then using a fine nail art brush & some gold polish or a gold nail art pen which I've done here & naturally forgot to photograph because...well...I'm a plonker, apply a gold border around the turquoise.


Finally grab that glitter again, this time some sparkly gold, I love my trusty Color Club & simply go over your gold border with the glitter using another fine brush.


Finish with a coat of topcoat & jazz up the hands with some hand jewellery if you like & your Egyptian inspired manicure is done!


This mani is actually from my archive from a few months back but I'm in mourning for how long my nails are here! Lately they've been breaking left, right & centre & its slowly driving me mad! *throws self down dramatically & wails in despair*


If anyone has any tips to share to help aid this wee problem I'd love to hear any recommendations! Thanks for reading!

Lotsa love to ya!