Hey there lovely readers!
I'll be honest with you, this year I have been struggling with Christmas nail art inspiration...not sure what the cause is but every design I attempt never goes according to plan resulting in a fail of epic proportions thus causing mini psychotic episodes to ensue...most frustrating & not good for ones mental health
But I am not one to give up, especially because getting creative & challenging myself when it comes to nail art is what I love the most...masochistic tendencies much? :) Every year I like to do some type of Christmas Trees design so this year is no exception. This time I've gone for a more natural vibe with a Winter Wonderland forest setting...
Showing posts with label Grey. Show all posts
12.10.2018
Festive NOTD - Winter Wonderland
Labels:
Christmas,
Christmas Trees,
Essence,
Festive,
Glitter,
Grey,
Model's Own,
nail art,
NOTD,
Poundland,
Primark,
Sally Hansen,
Xmas
10.04.2018
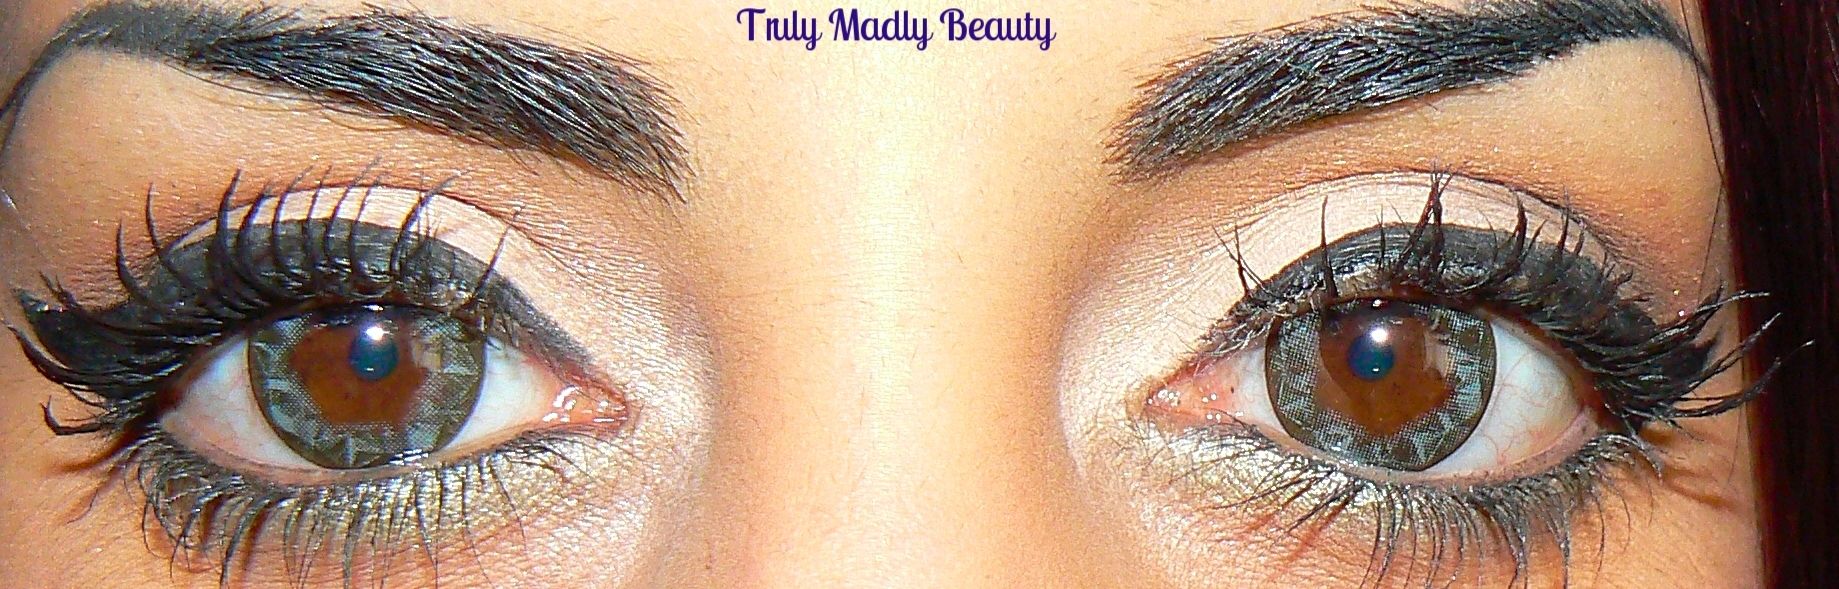
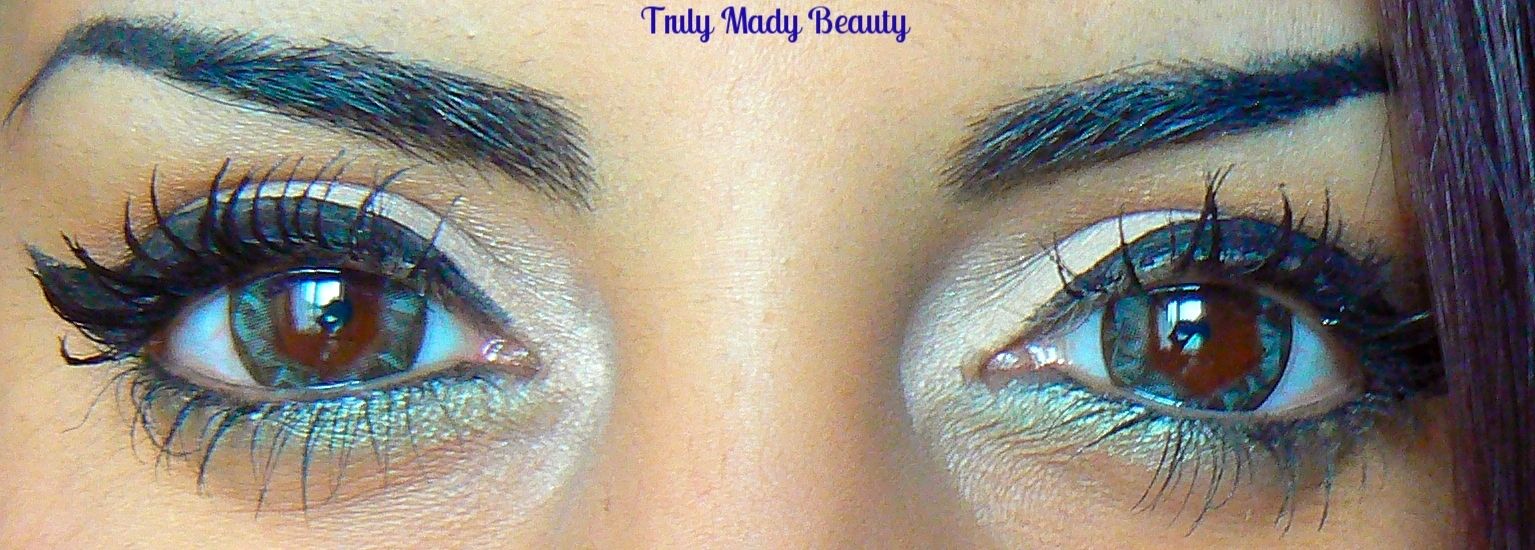
UK Based "Coloured Contacts" Lens Review
Hey there lovely readers!
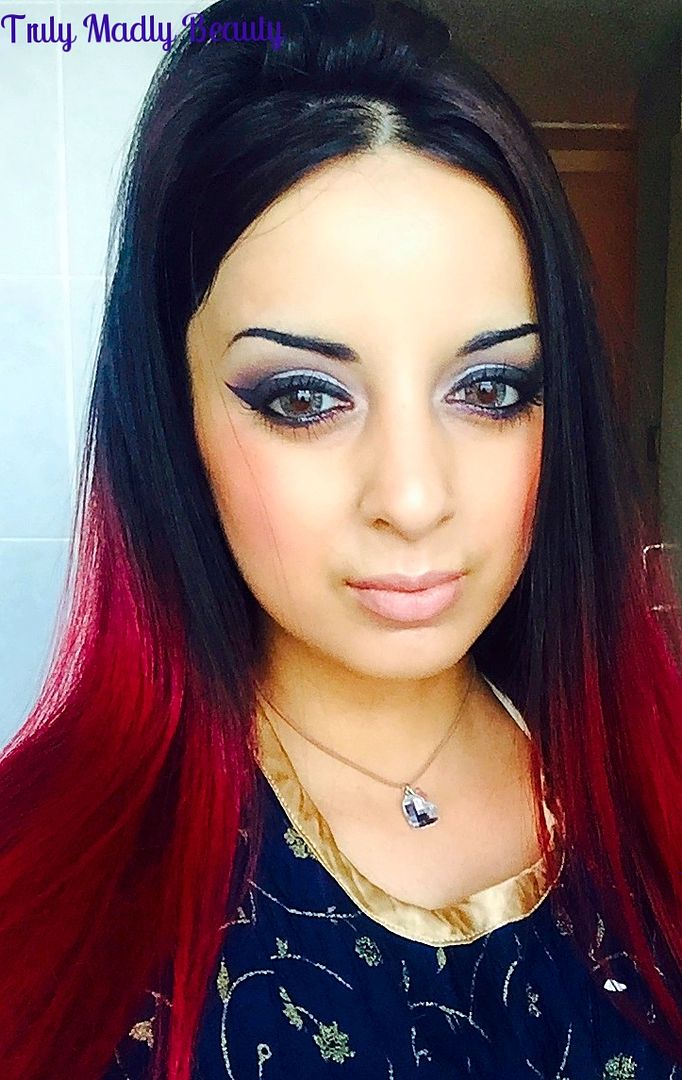
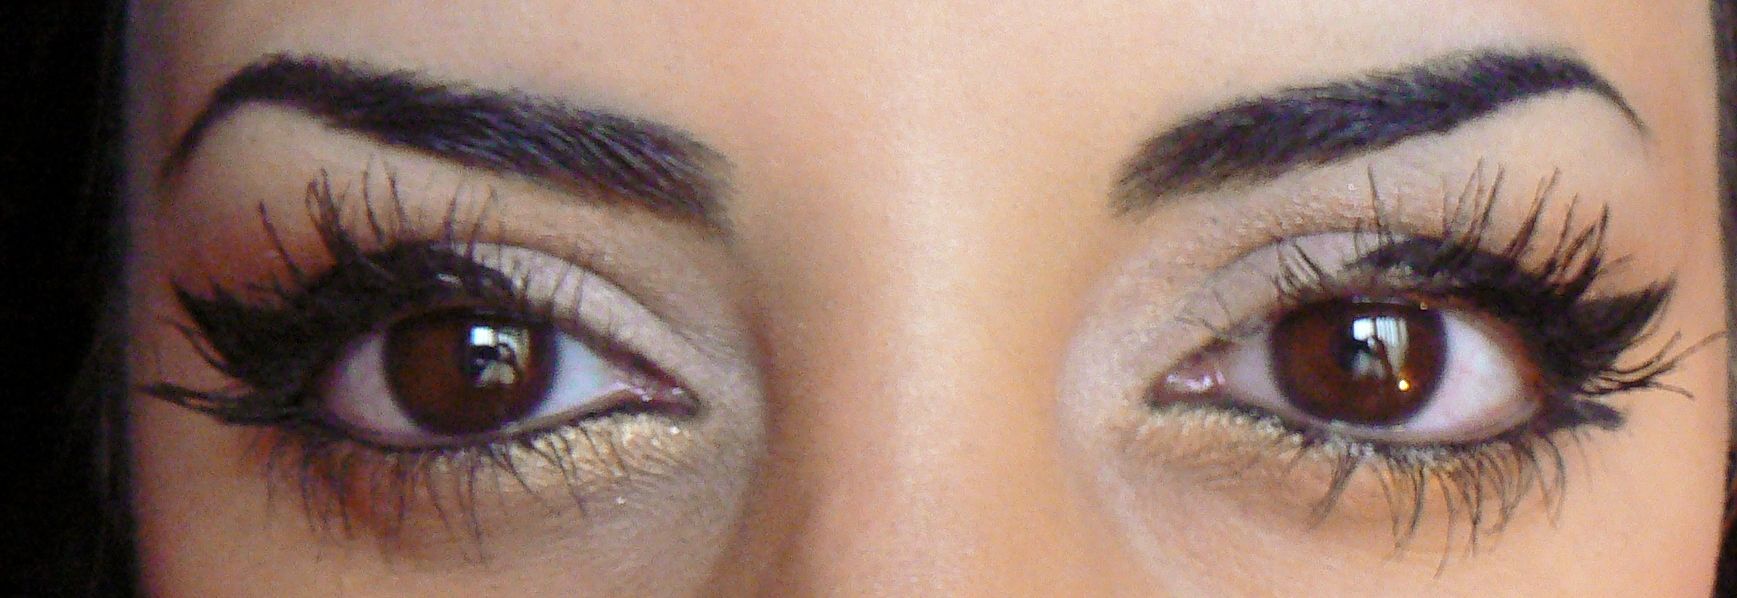
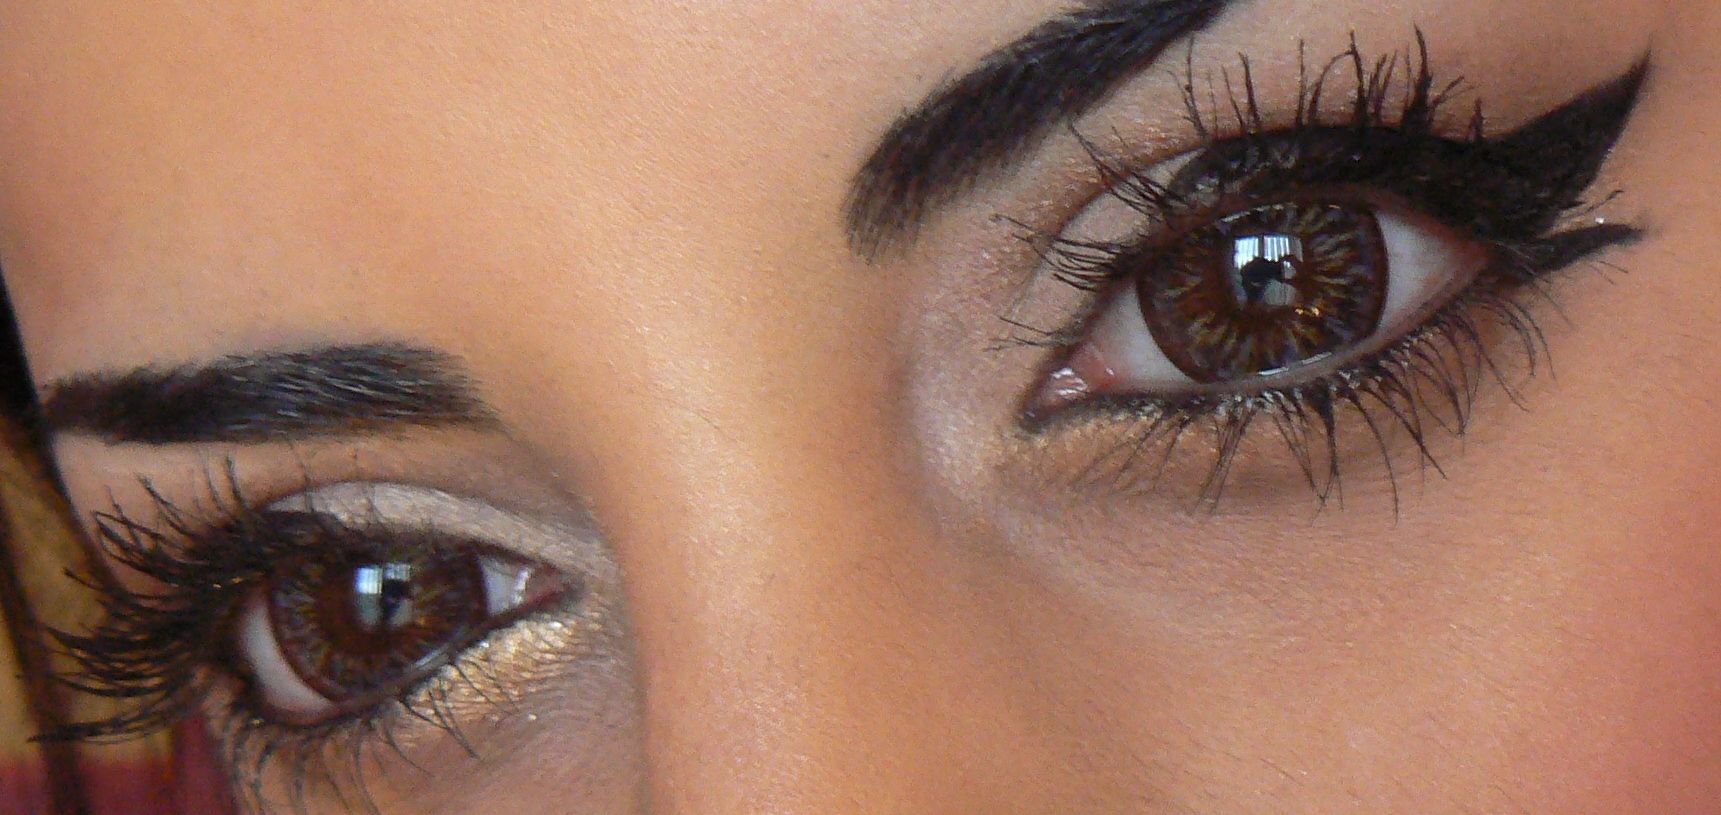
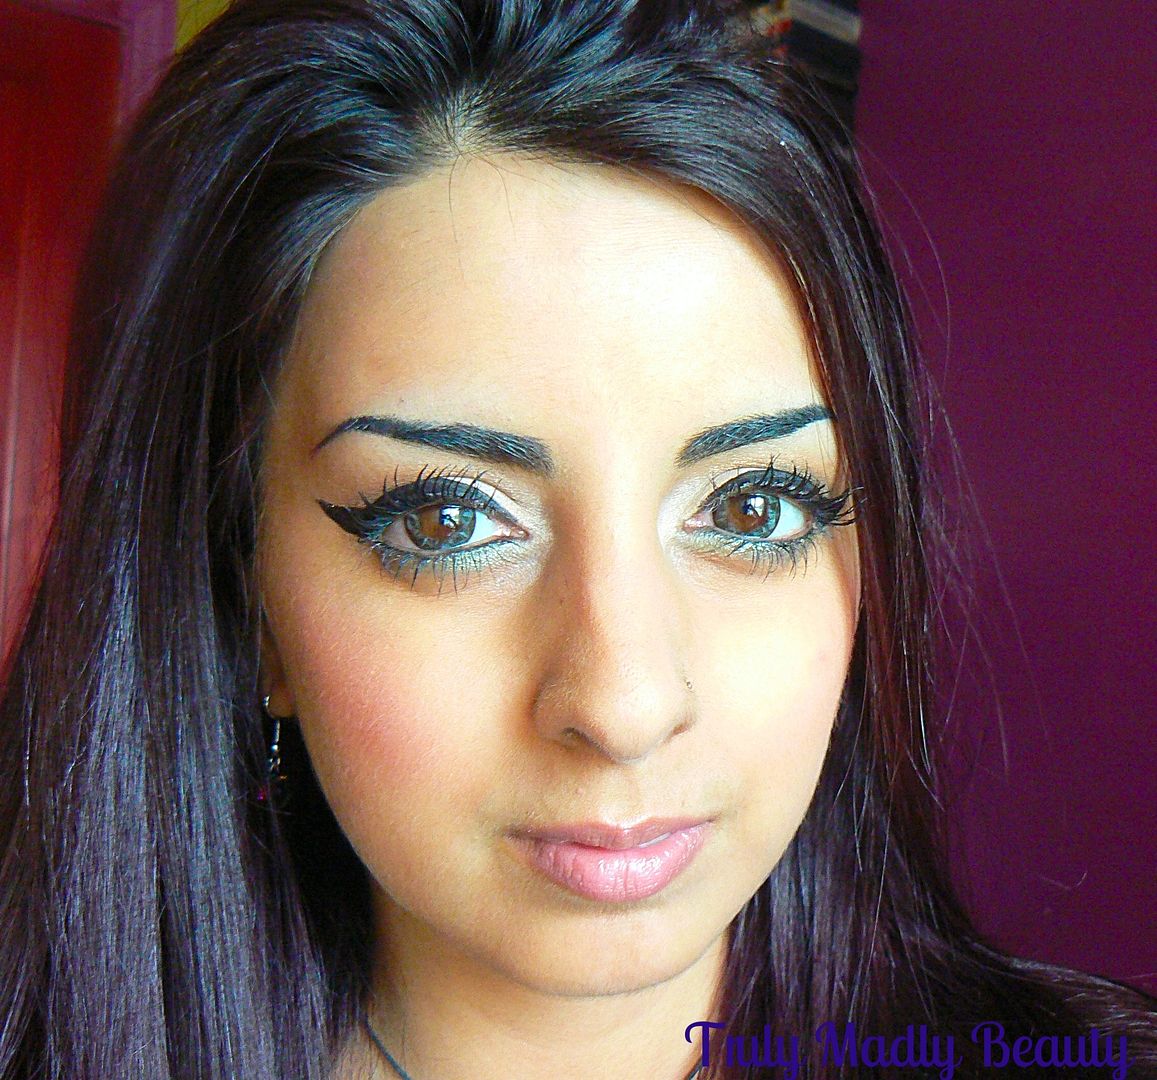
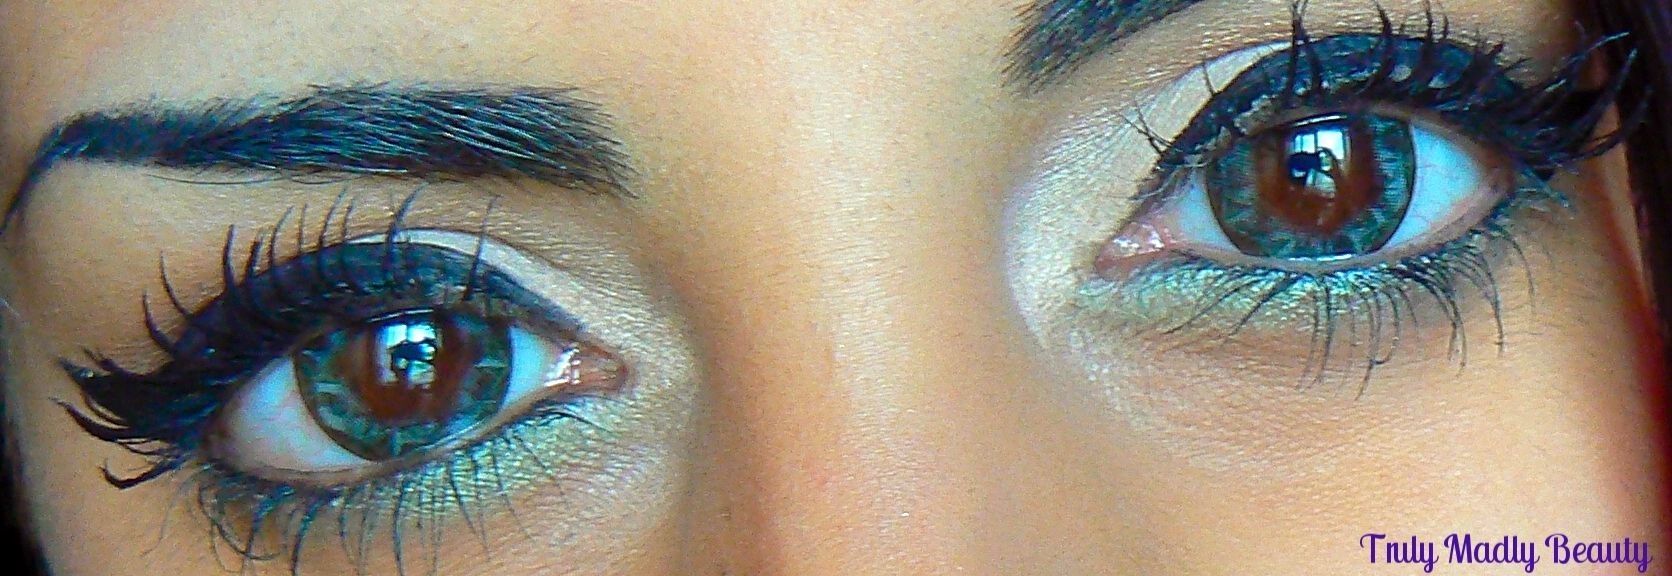
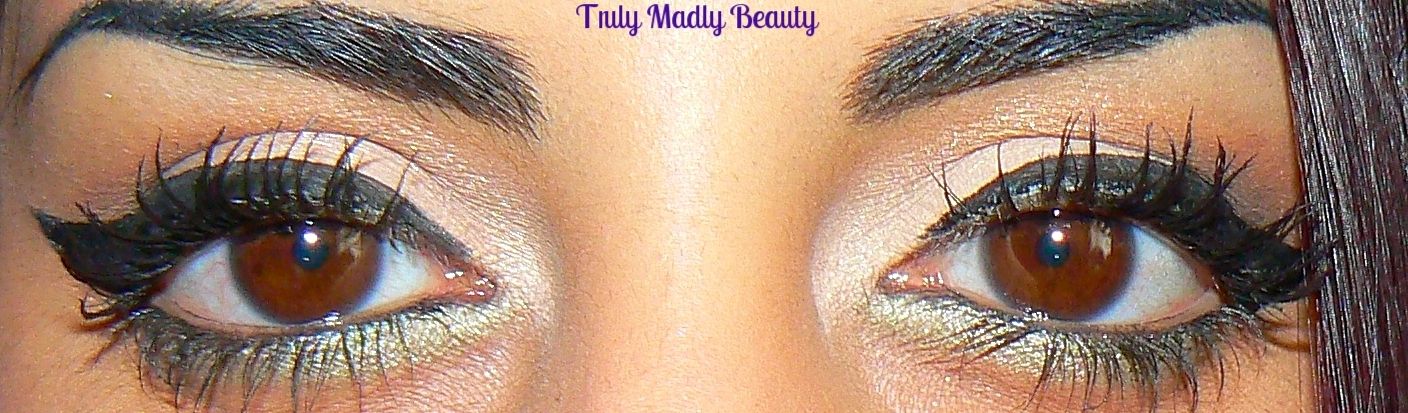
Stepping away from nails today & talking about another feature ;) As you may know I'm rather fond of changing up my eye colour every now & again with the help of good old contacts. As happy as I am with my baby browns, I also love how simply switching up your eye colour can automatically alter your look & enhance your eyes.
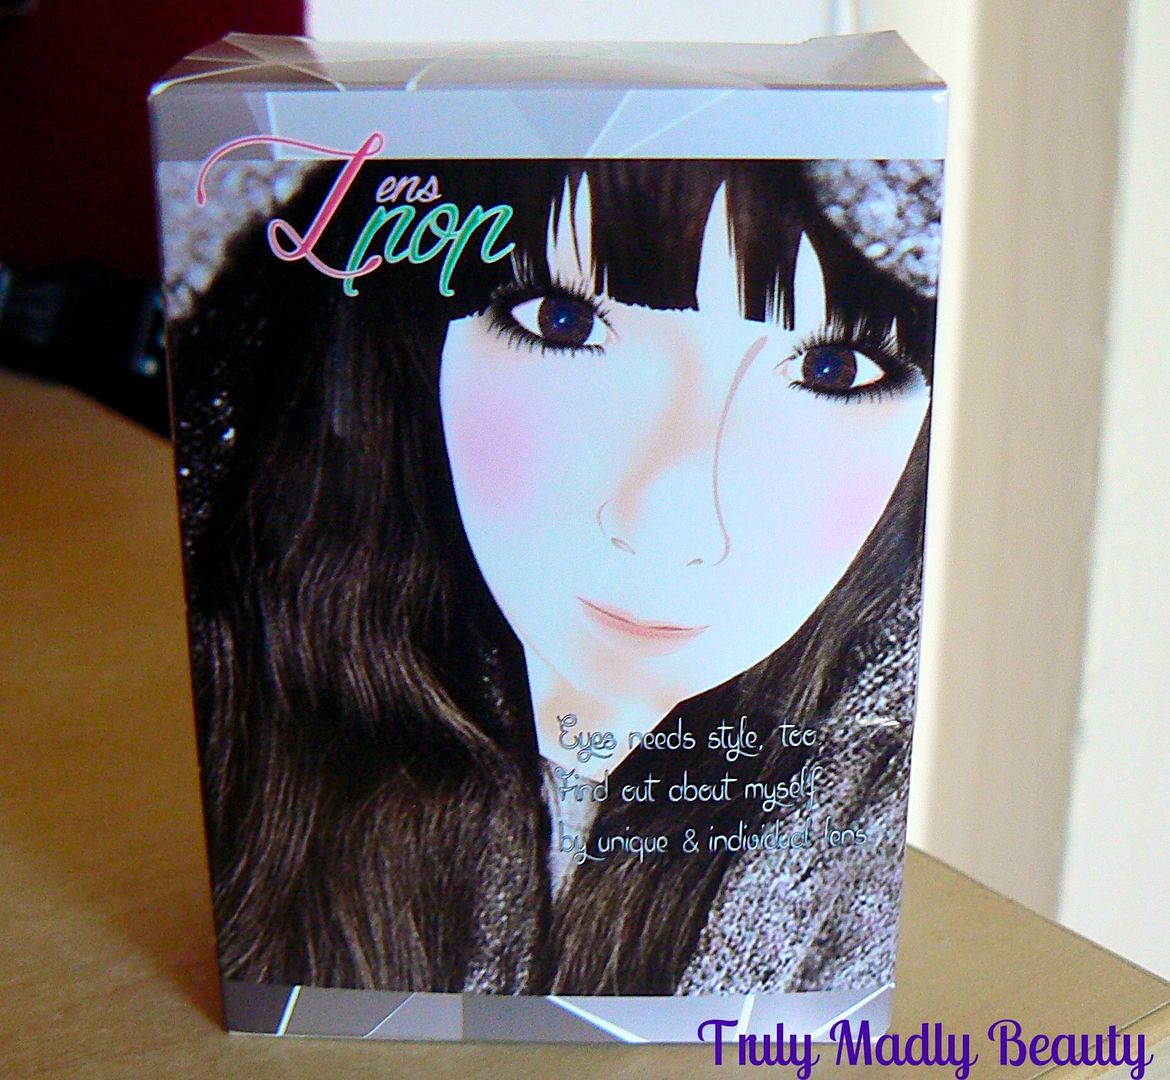
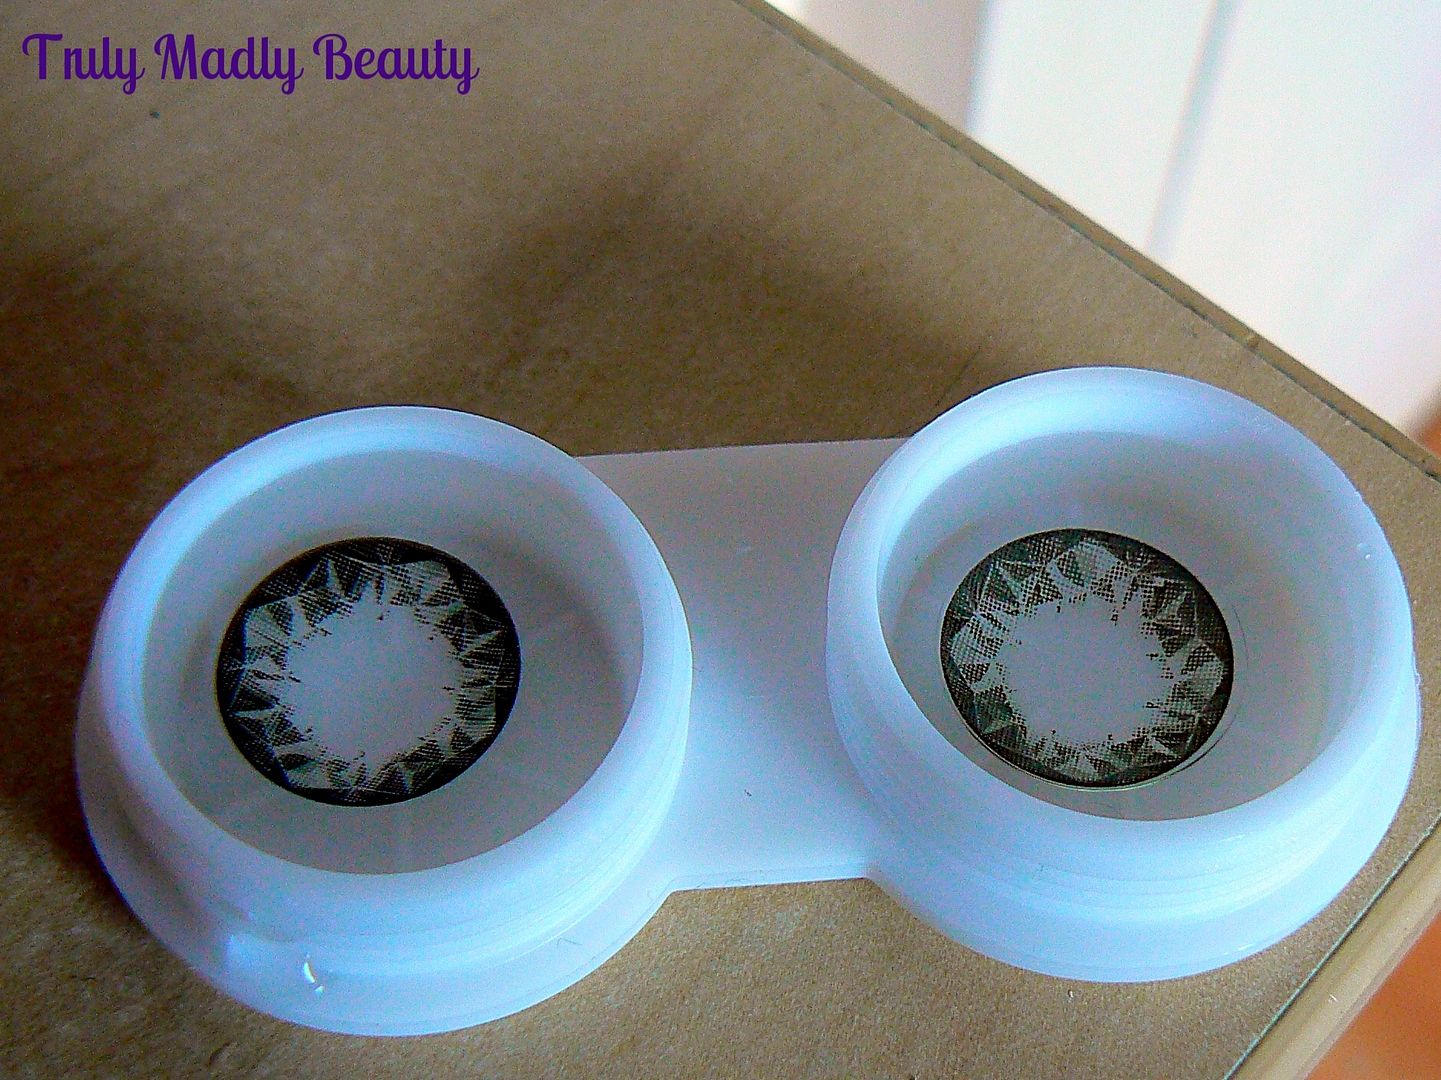
Being the avid wearer I am, I've blogged about a few lenses already, you can catch all my reviews HERE. Over the years I've experimented with different types, styles & shades, in particular having a certain fondness for the kawaii style Korean lenses that REALLY enhance the irises. However of late I find myself being drawn to more natural effect lenses. Both Klenspop & TTDEYE are favourite brands of mine whom I've purchased lenses from time & again.
Labels:
Coloured Contacts,
Contact lenses,
Eye shadow,
Eyeliner,
Eyes,
Green,
Grey,
Makeup Look,
Review
7.31.2018
NOTD - Marble Stone Nails!
Hey there lovely readers!
A while back I started a Semi Precious Stones nail art series as not only am I obsessed with pretty gemstones but I also found they make for fab nail art! So far I've done some Jade Stone inspired nails as well as giving Geode Rock and Rose Quartz a go.
Labels:
Gemstone,
Grey,
Marble,
nail art,
NOTD,
Primark,
Rhinestone,
Sally Hansen,
Semi Precious Stones
5.15.2017
Klenspop SW4 Grey Circle Lens Review
Hello
there my lovely readers!
It
seems the theme at the moment will be deemed grey, looking out the
window right now this seems quite fitting! Seriously though May...you
broke hun?
Following
on from my last post of fun & flirty Lace & Grey nail art, today we are
focusing on the eyes as I have another gorgeous circle lens to share
with you from my fail safe good old chums at Klenspop! I adore their
lenses muchly not just for their wide range of circle lenses to choose from but also their affordability, comfort &
fast shipping also wins them major brownie points! You can check out
all of my previous Klenspop contact lens reviews HERE.
Labels:
Blue,
Contact lenses,
Eye shadow,
Eyeliner,
Eyes,
gothic,
Grey,
Klenspop,
Makeup Look,
Review
5.10.2017
NOTD - Lace & Grey
Hello
there lovely readers!
Grey
can be considered dull & dreary yes indeed but I confess I've
grown a certain fondness for wearing it on my nails. Far from
depressing it can work very nicely as a classy & on trend shade
to wear.
And
if going for a block colour grey is not your thing well then...why
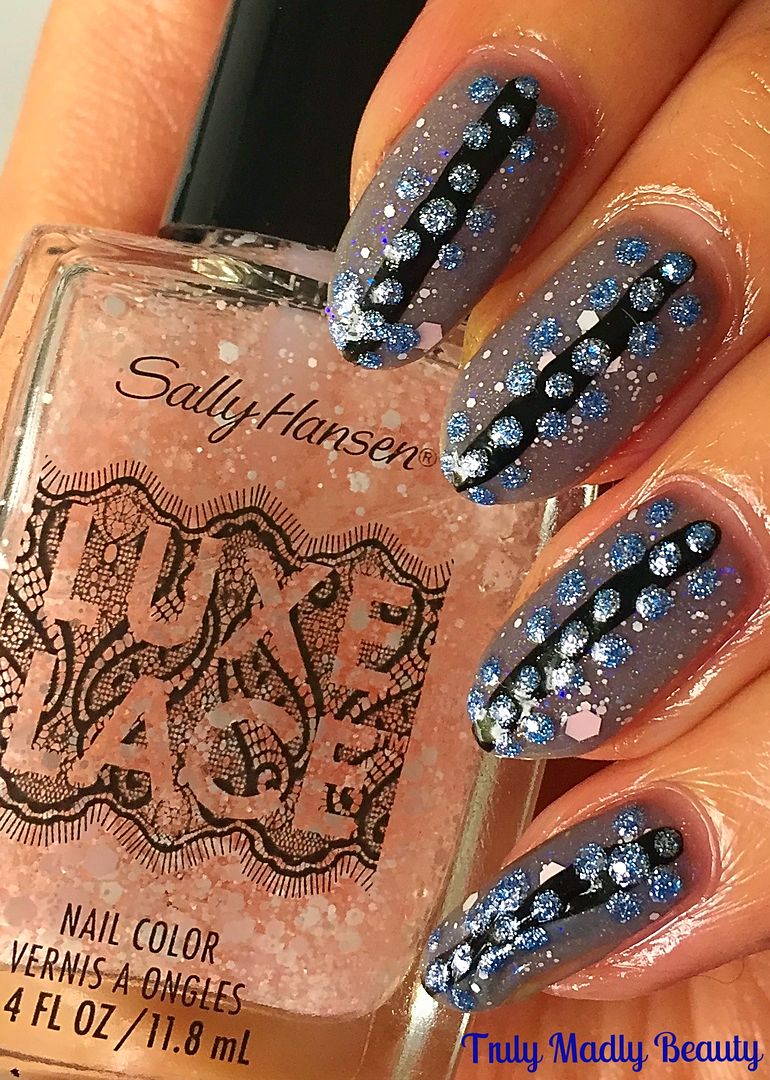
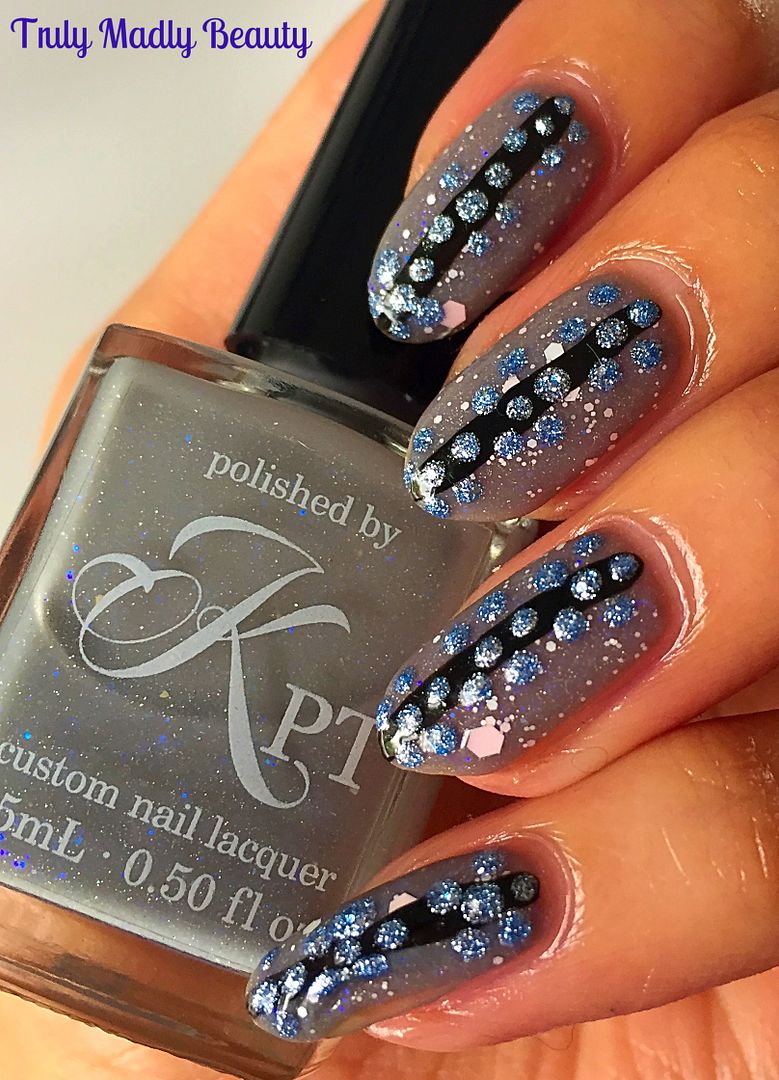
not jazz it up a tad like I've done here?
You'll
be surprised by what a difference simply adding a few strategically
placed lines & dots can make & transform an otherwise
ordinary mani into something more fun :)
Labels:
Blue,
Glitter,
Golden Rose,
Grey,
Indie,
nail art,
NOTD,
Sally Hansen,
Shimmer
6.28.2016
Armour Your Nails with All That Jazz Nail Filigree!
Hello
there lovely readers!
I'm
always on the lookout for intriguing & innovative new ways to
jazz up my nails & today I have such a nifty nail art product to
share with you that will help do just that in the most blingy
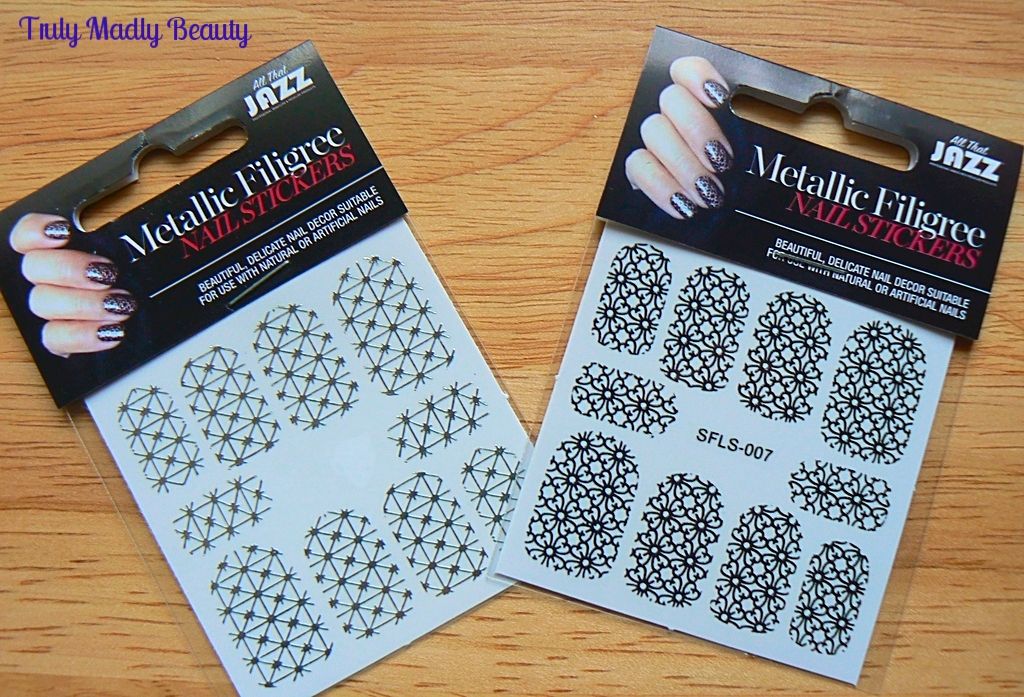
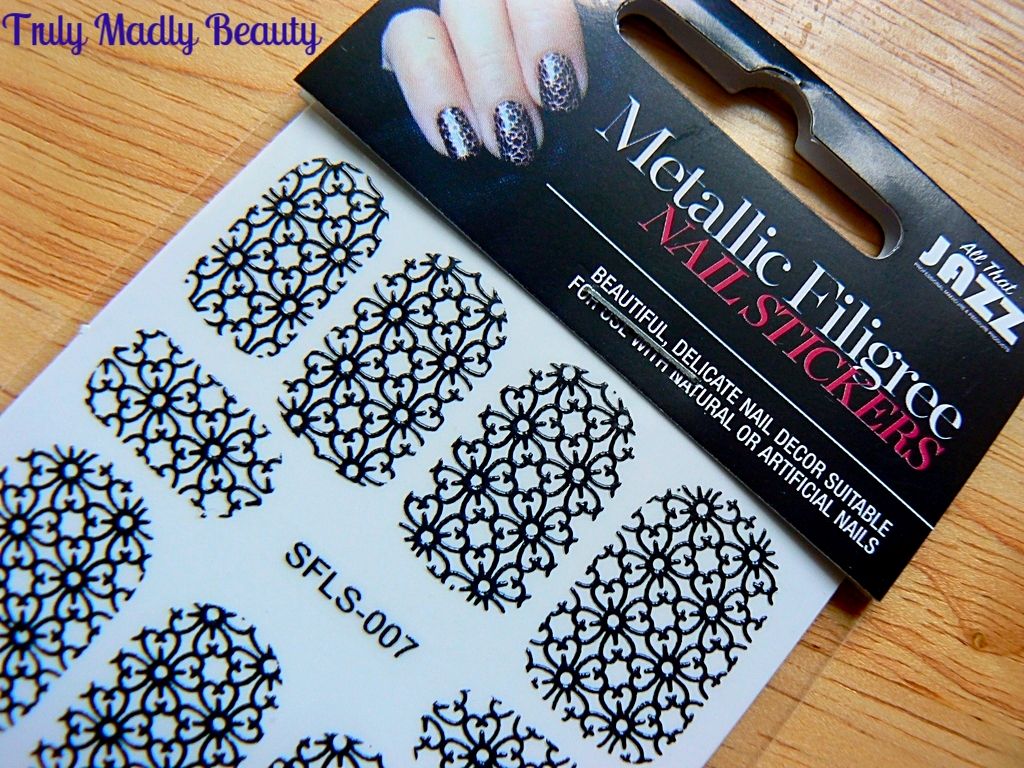
beautiful way courtesy of All That Jazz Nail Filigrees*!
Nail
filigrees are a fantastic option if nail art or nail wraps feel too
complicated & time consuming. What I adore about these is not
only how easy they are to use, but also the range of pretty designs
that are available in a selection of gorgeous metallic finishes
including white, silver, black, gold & rose gold.
I
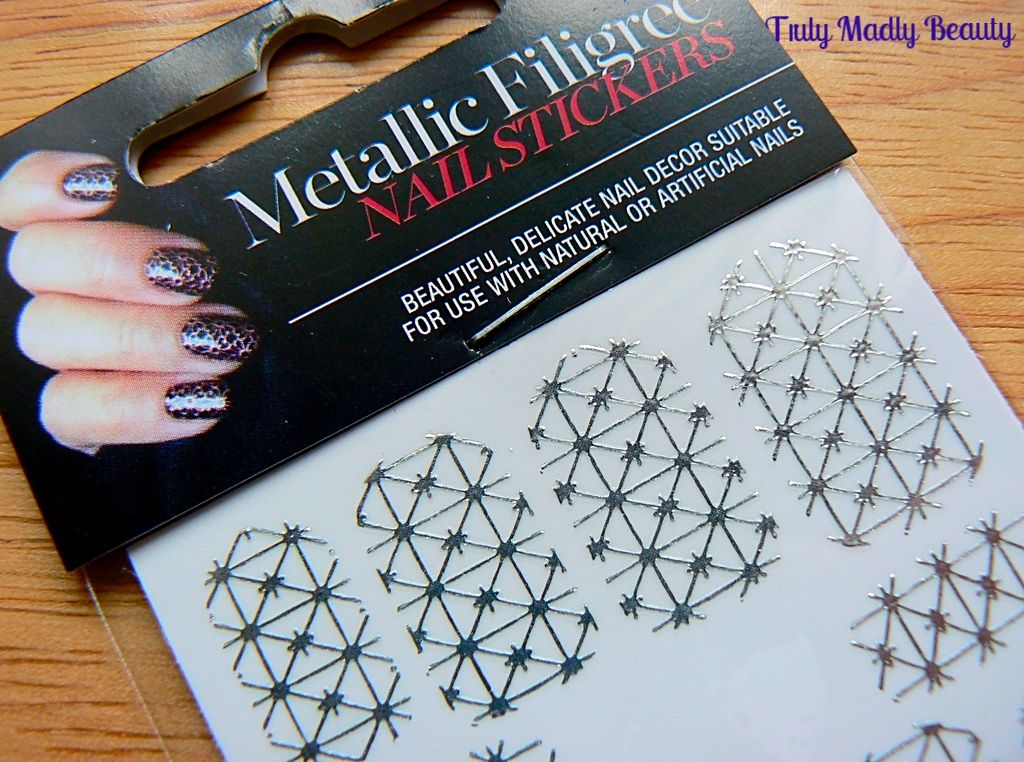
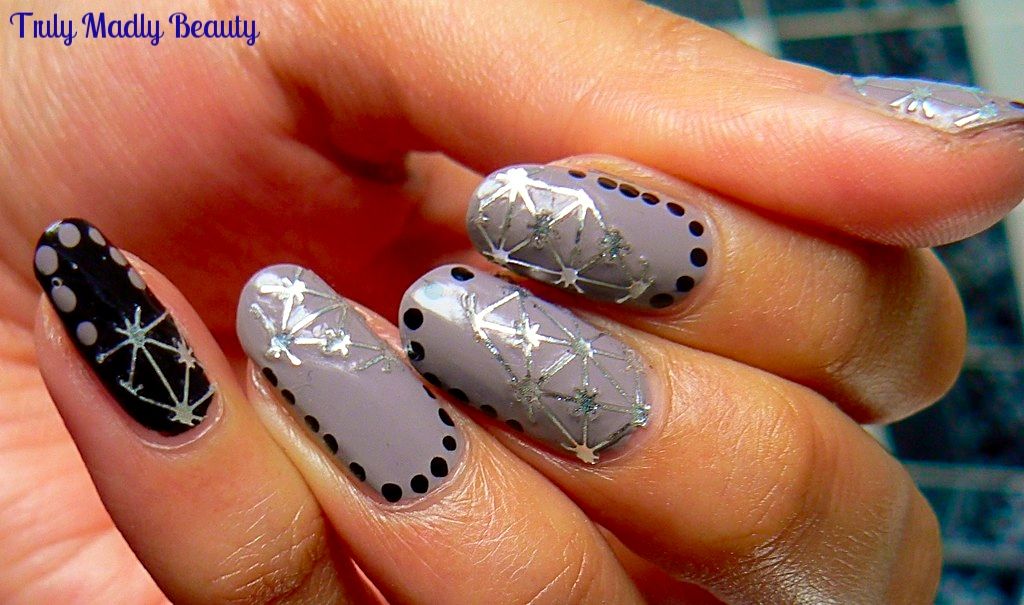
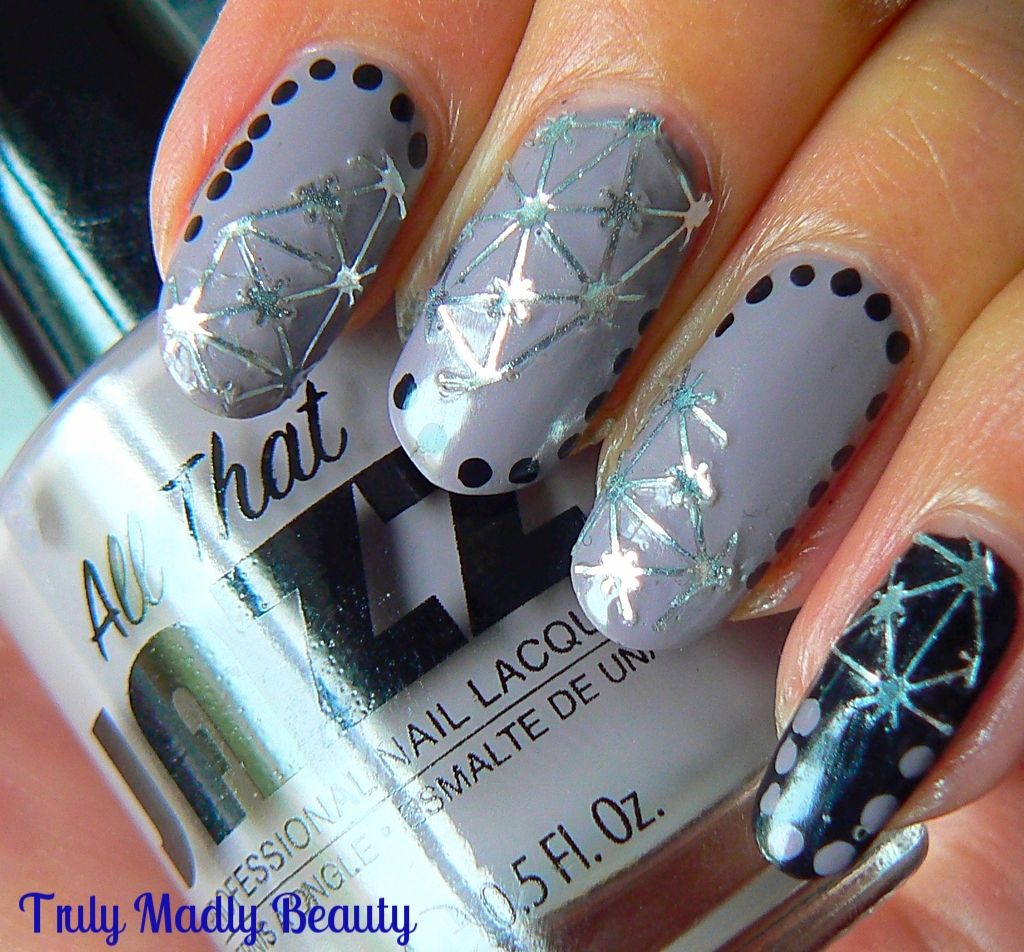
couldn't wait to try & decided to give the silver a whirl first,
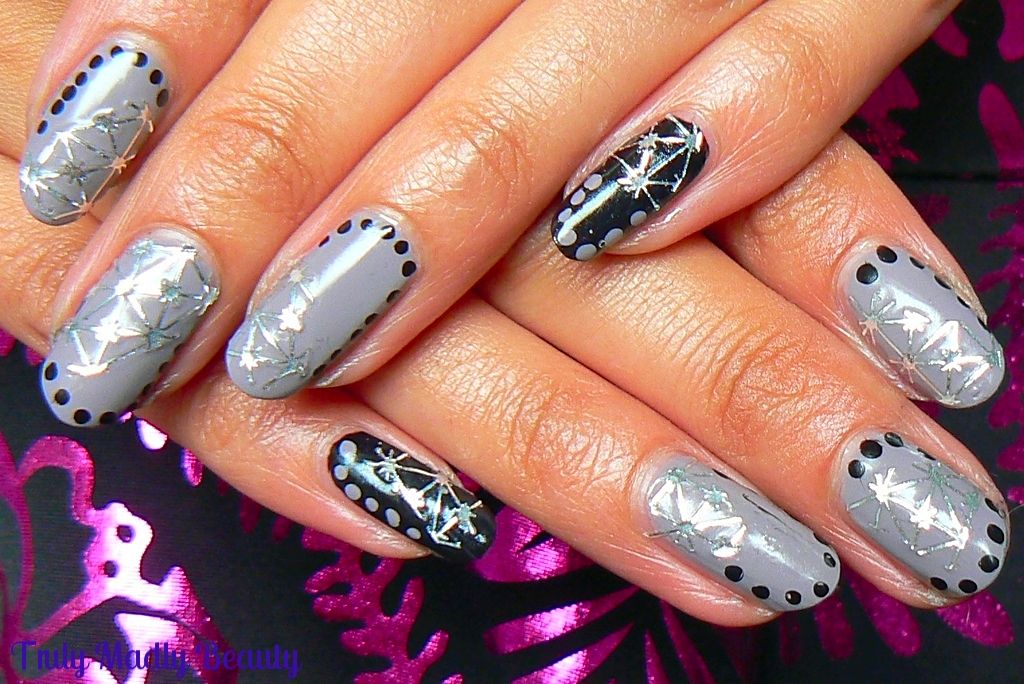
the design here is the cross pattern which reminds me of star
constellations! The filigrees are quite fine so require a bit of
delicate care when handling.
In
each pack you get a sheet of 10 filigrees, one for each nail, however
my favourite way to use these is by cutting each filigree & just
covering part of the nail as I've done for this mani. Not only do I
love the finished effect but it'll make the nail filigrees last
longer too. WIN!
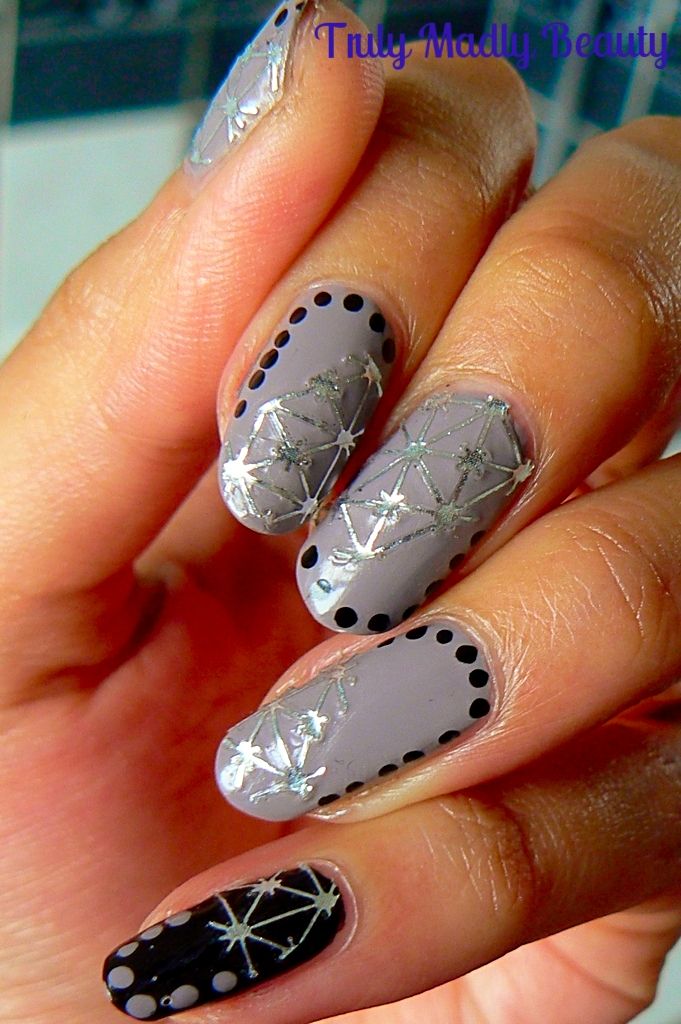
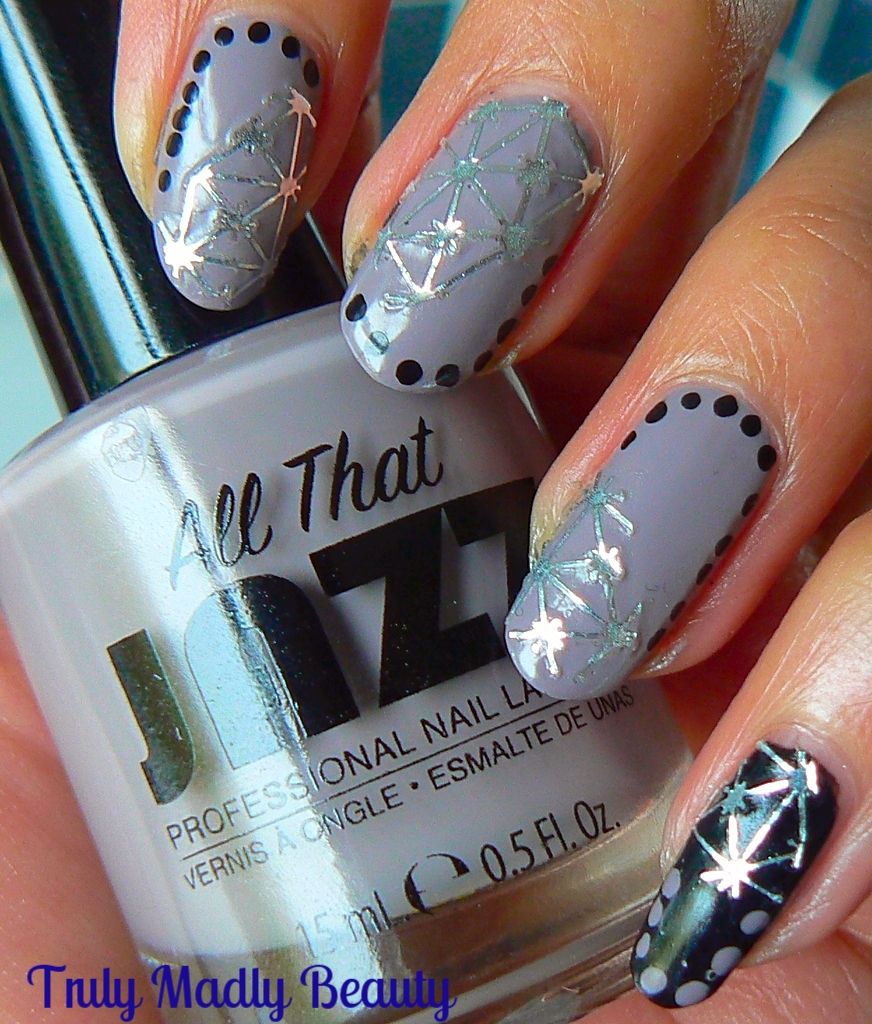
For
my base shade I applied two coats of All That Jazz nail lacquer in
Total Eclipse*, a lovely creamy grey. This is my first time trying
All That Jazz polishes & I am mightily impressed, I can
understand why they have such a large fan base. Quality formula,
smooth & opaque in two coats, simply sublime! I decided to paint
the pinkie in black to really bring out the silver filigree.
As
mentioned, instead of using the entire filigree, what I've done is
cut the filigree in half at an angle. It doesn't have to be neat, in
fact the more random the cut the better it looks in my opinion!
You
then have 2 pieces of filigree which can be then positioned on to
each nail wherever you like, using tweezers to help place them. Important note – make sure that your
polish base is completely dry! A good idea can be to simply apply the
filigree the next day if you don't have a speed dry topcoat.
After
applying my filigree pieces, as fab & blingtastic as they look I
couldn't resist adding a bit of extra detail with some black dots
around the edge of the nail which was done with a dotting tool & alternated with the grey on the pinkie.
Finish
with topcoat to seal & you have your gorgeous filigree armored look nails ready to rock! I'm utterly digging these so much &
cannot wait to incorporate more into my mani's, you can be sure I'll
be stocking up on some rose gold ones!
You
can find the All That Jazz Nail Filigree (RRP £1.79) & NailLacquers (RRP £9.98) online.
Thanks
as always for reading!
Lotsa
love to ya!
Disclaimer
- * products featured were sent to me for my consideration. I am not
affiliated with the brand nor paid for this post, this review has
been as always my 100% honest opinion! :)
Labels:
All That Jazz,
Bling,
Grey,
Metallic,
nail art,
Nail Art Tips,
nail filigree,
NOTD,
Silver
6.11.2016
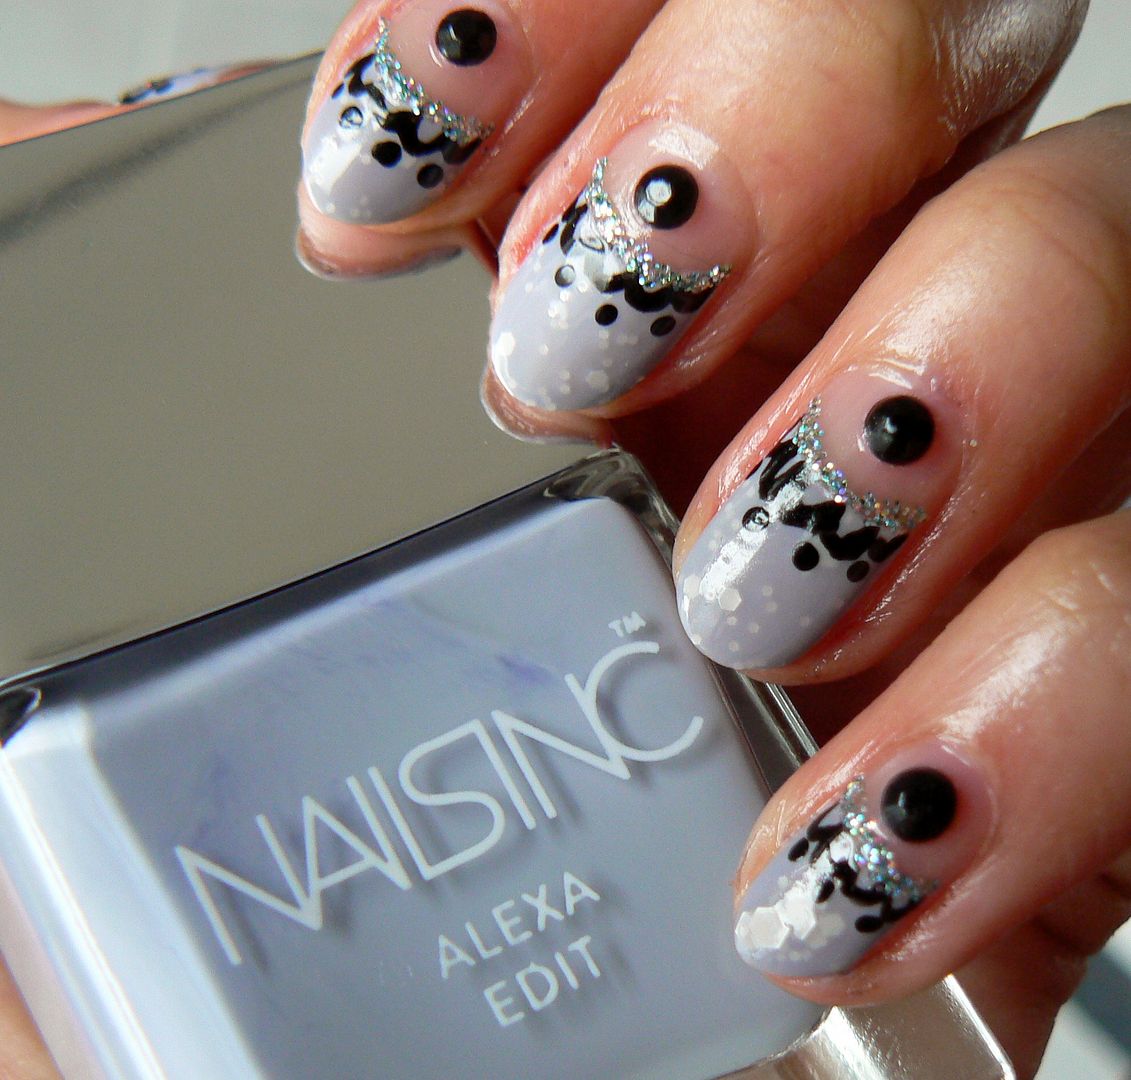
NOTD - Cloudy Skies Negative Space Tutorial
Hello
there lovely readers!
So
my loves I'm back from NYC & feeling all the melancholy emotions.
I didn't think it possible but my 2nd visit topped the 1st
by a mile & then some! If anything I've fallen even more in love
with it. The weather was beaut & it was wonderful spending
quality time with my chum & getting lost exploring my favourite
city as well as squeezing in plenty of drugstore makeup shopping
naturally! But I suppose one must return to normality at some
point...
Cloudy
skies...not only the current state of our good ol British weather I
seem to have returned too *double checks it IS actually June right
now* but also the title of today's mani tutorial that I have for you!
But
by no means does grey have to be dreary, I was in the mood for some
delicate grey tones which I think can look so pretty & make a
nice change to nude nails when going for a sophisticated look.
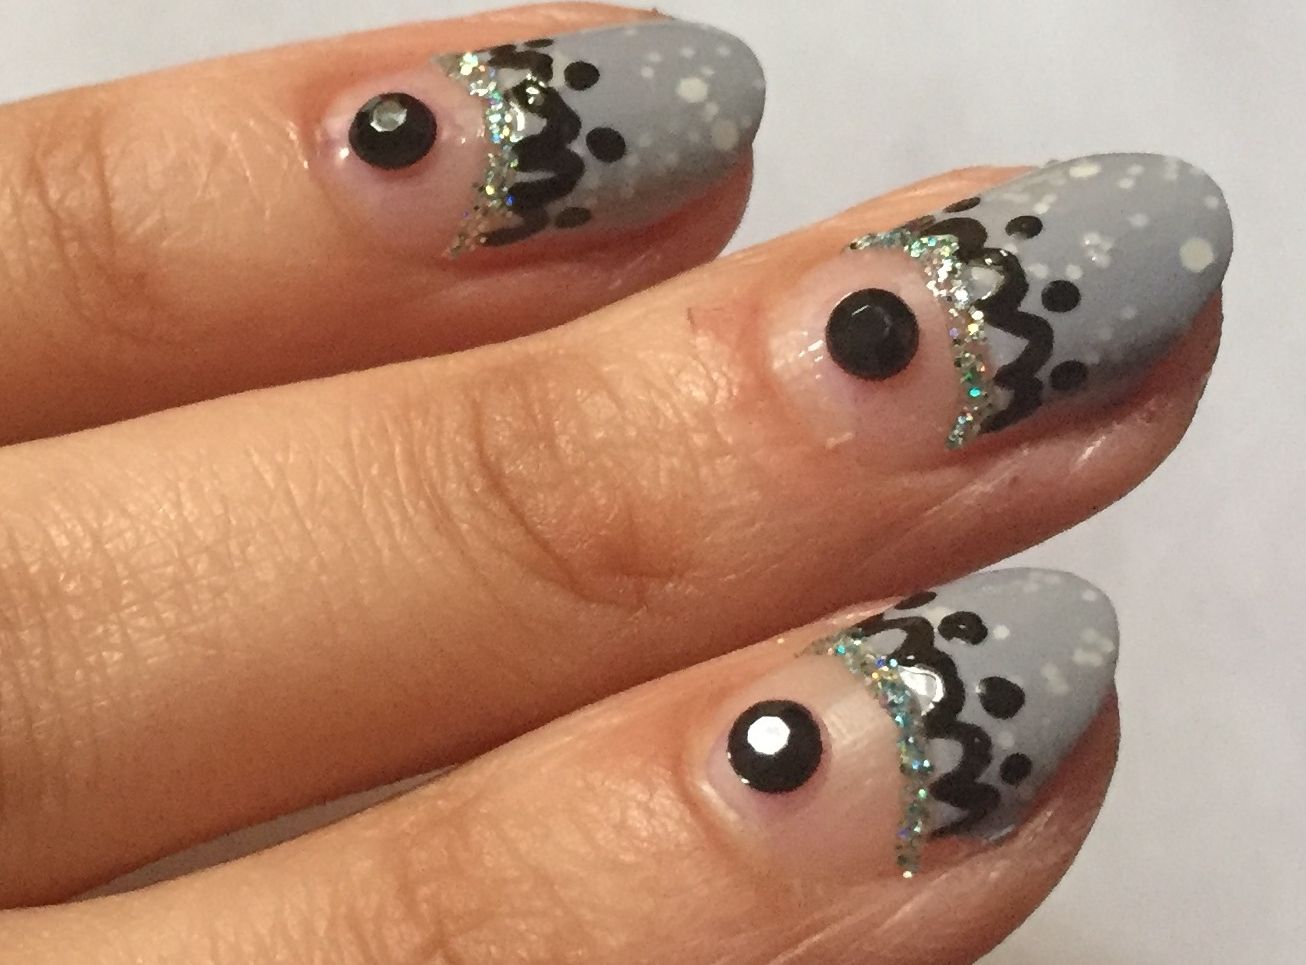
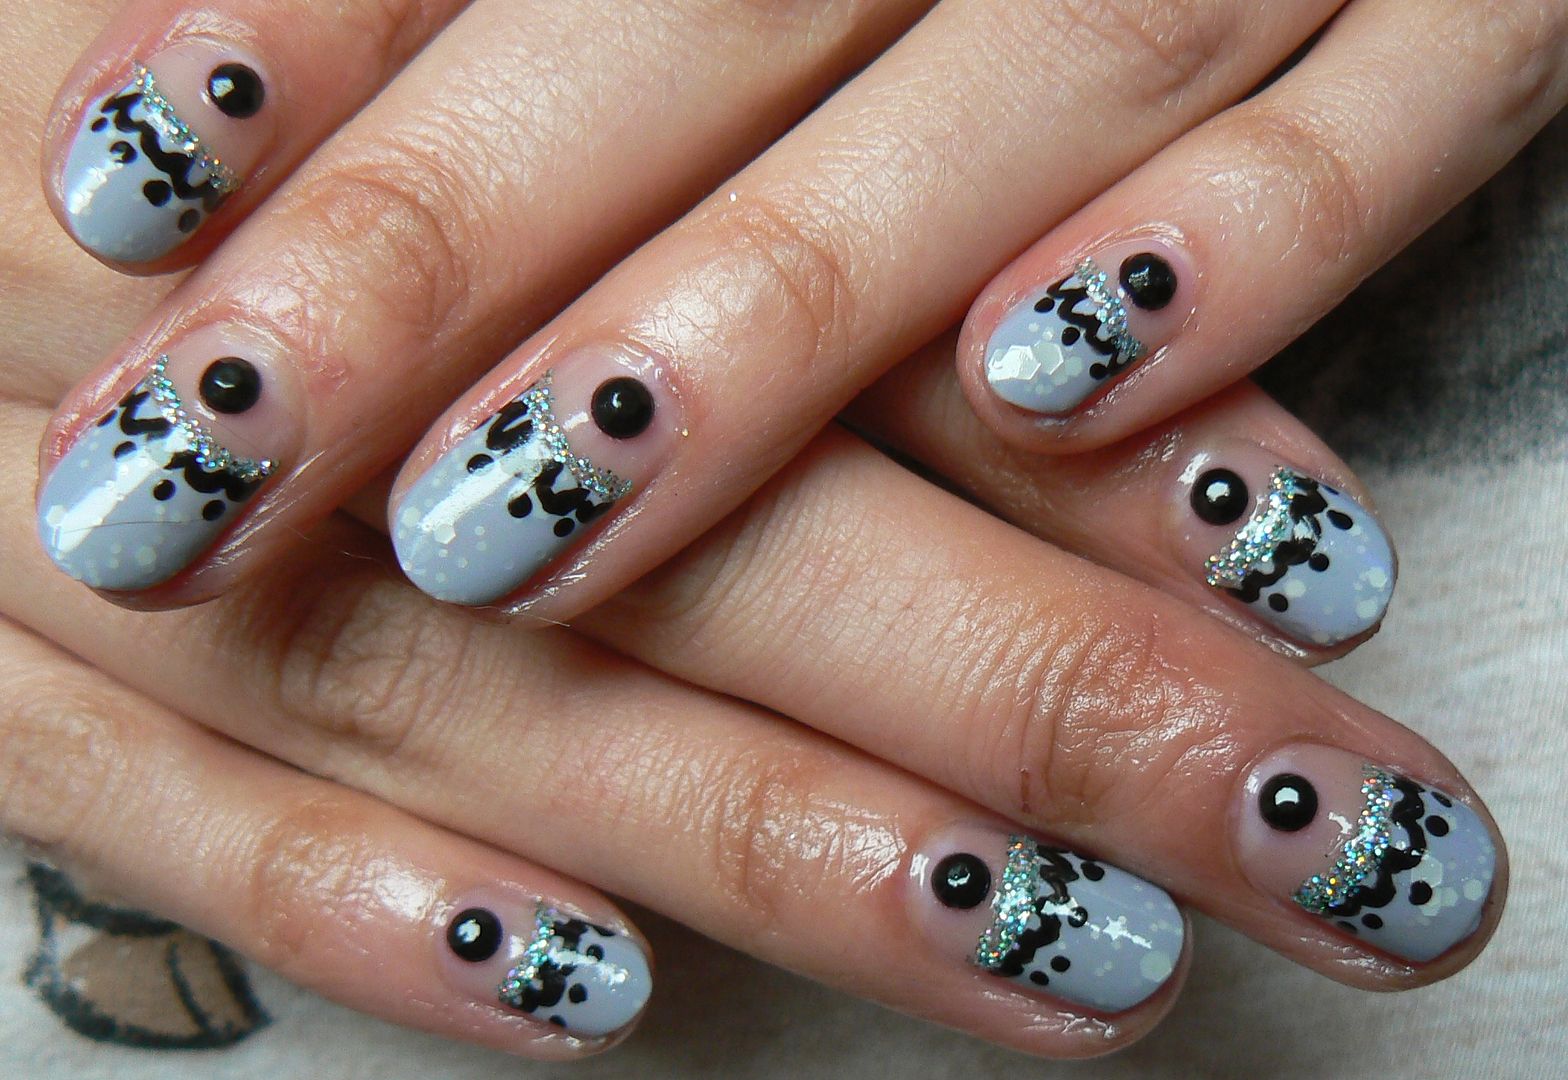
For
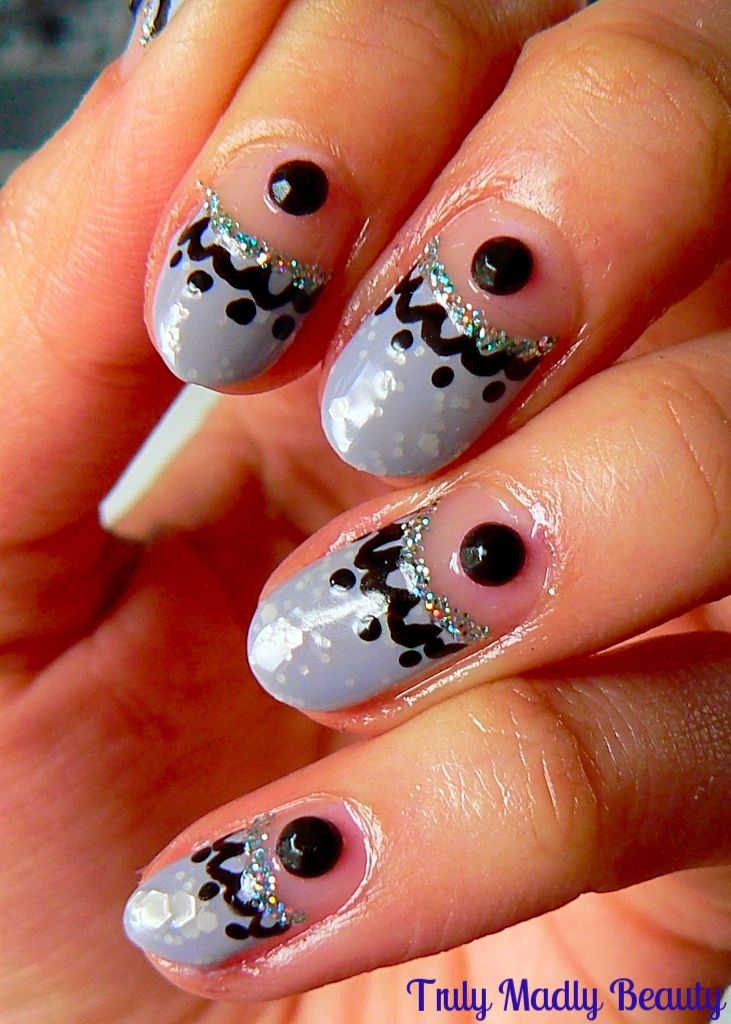
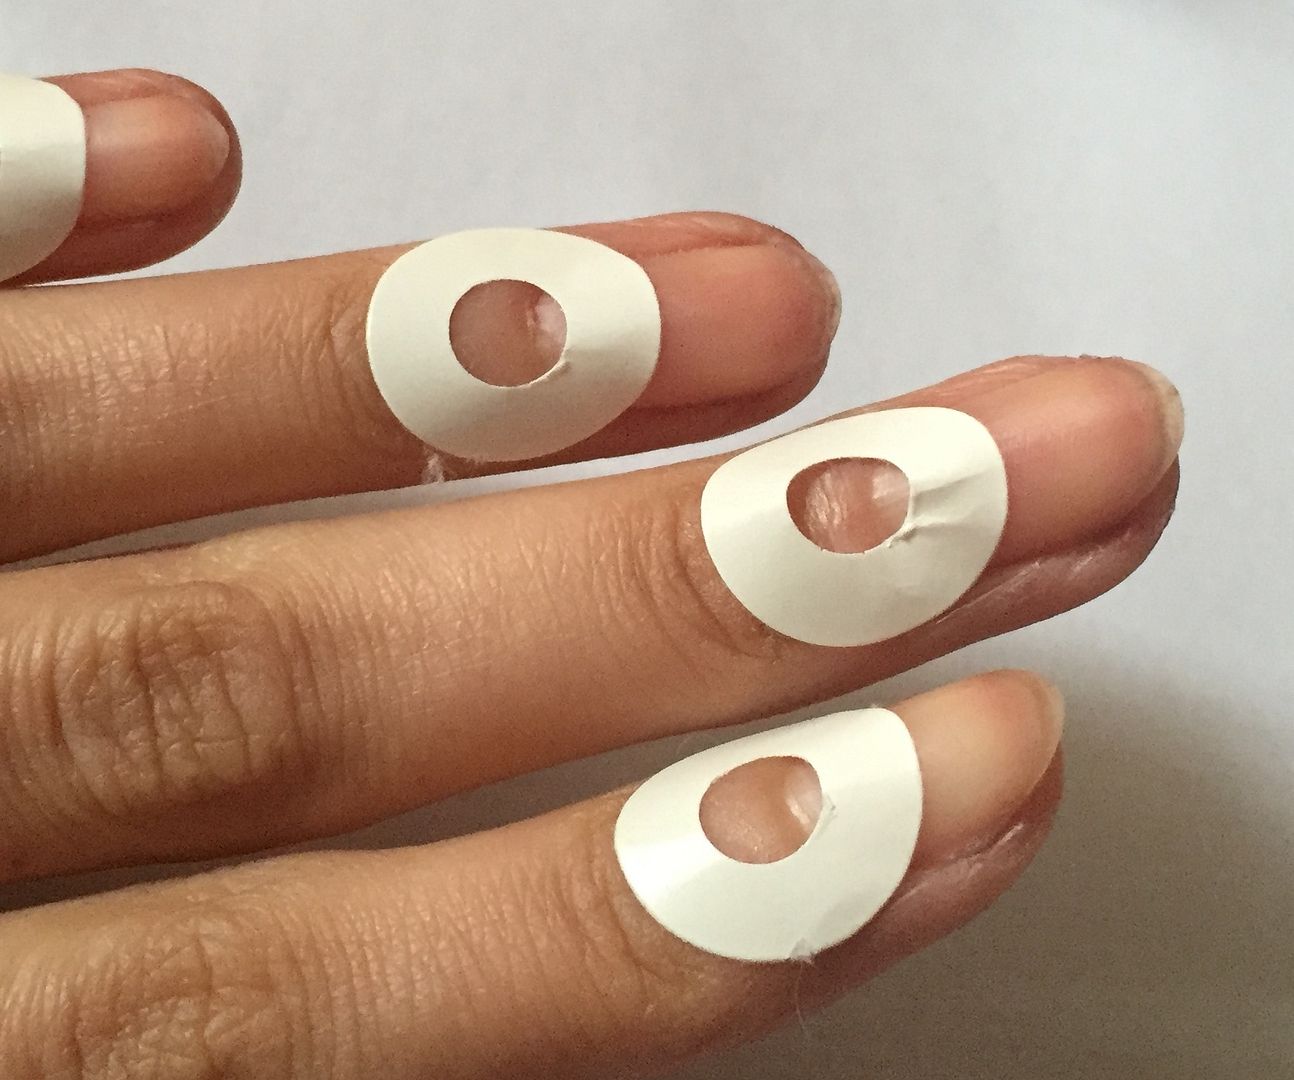
this design I decided to go for a negative space style, leaving the
bottom end of the nail bare. To help achieve this look I of course
reached for my trusty hole punch reinforcers.
These are fab to use &
make creating a curved mani edge so easy! Keep on reading to find out
how to create this super simple design yourself...
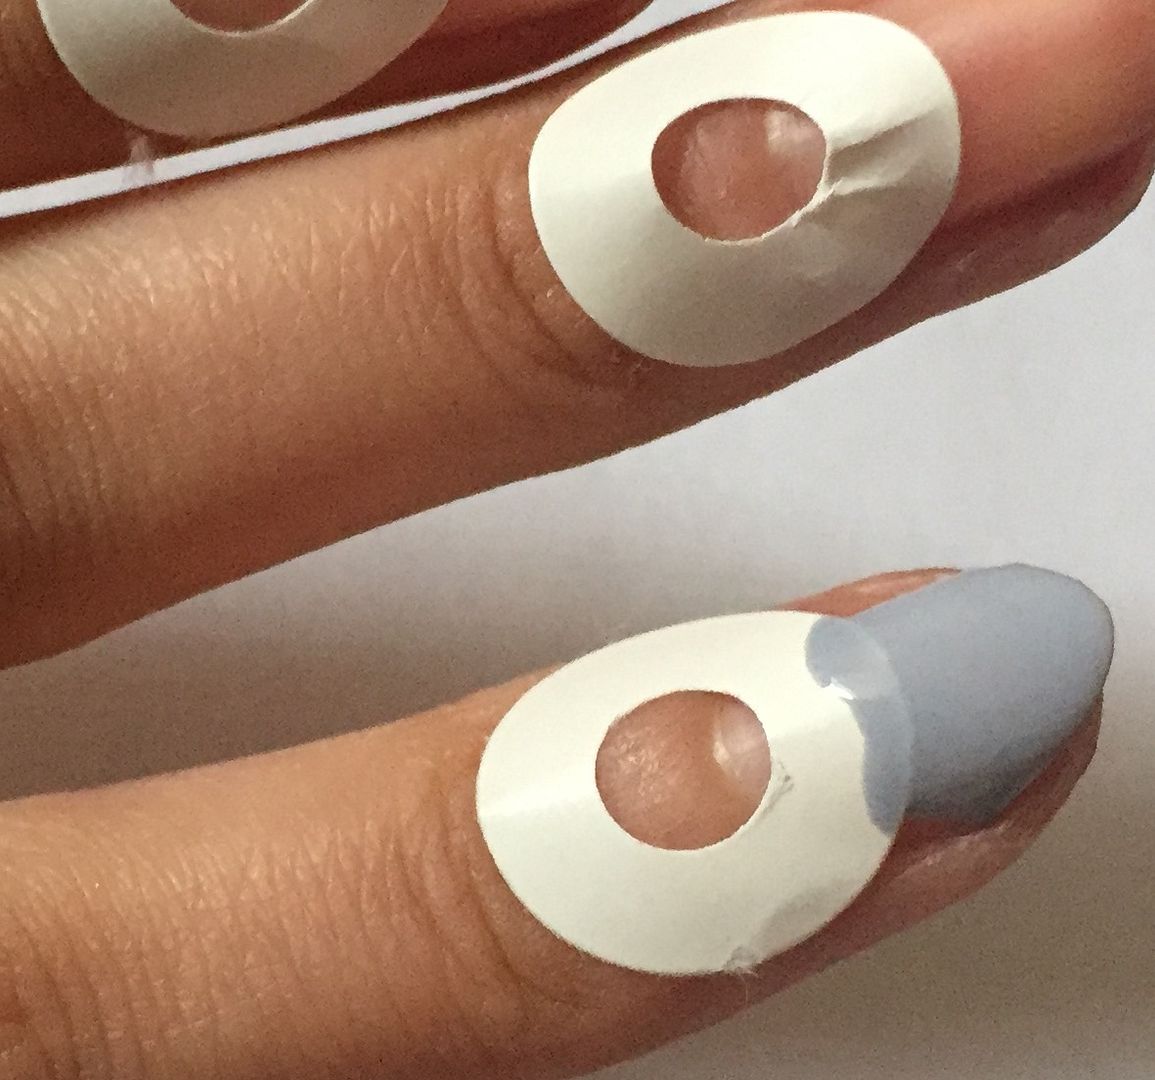
To
begin simply position your hole punch reinforcer at the bottom end of
the nail & paint over the rest of the nail with your chosen
polish
I
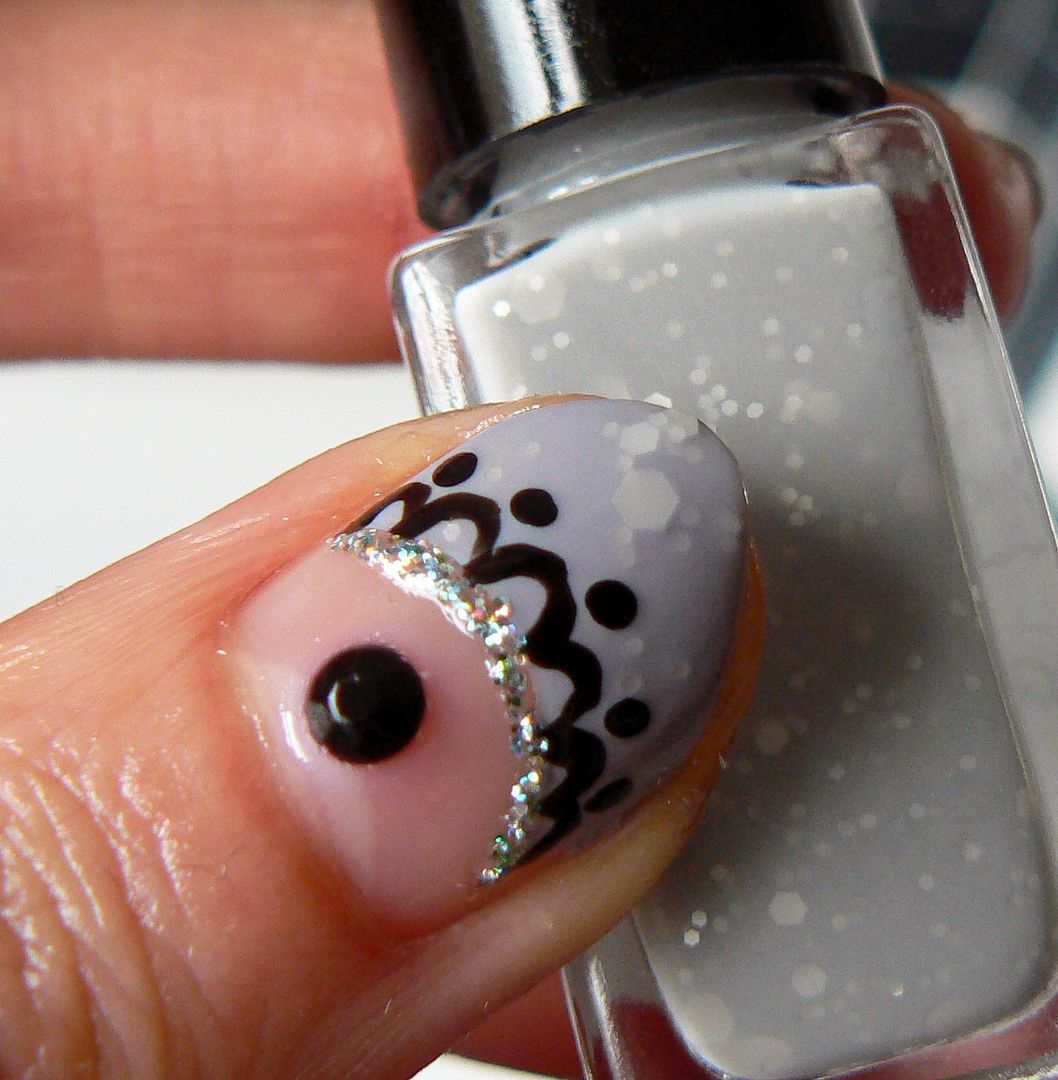
decided to use two shades to get the tone of grey that I wanted. For
my base colour I used this gorgeous Alexa Nails Inc Polish in Winter
Lilac a really pretty pale lavender cream. Apply one coat &
remove the hole punch sticker immediately
Don't
worry if your curved line isn't neat or has smudged, this can easily
be rectified with a brush & acetone.
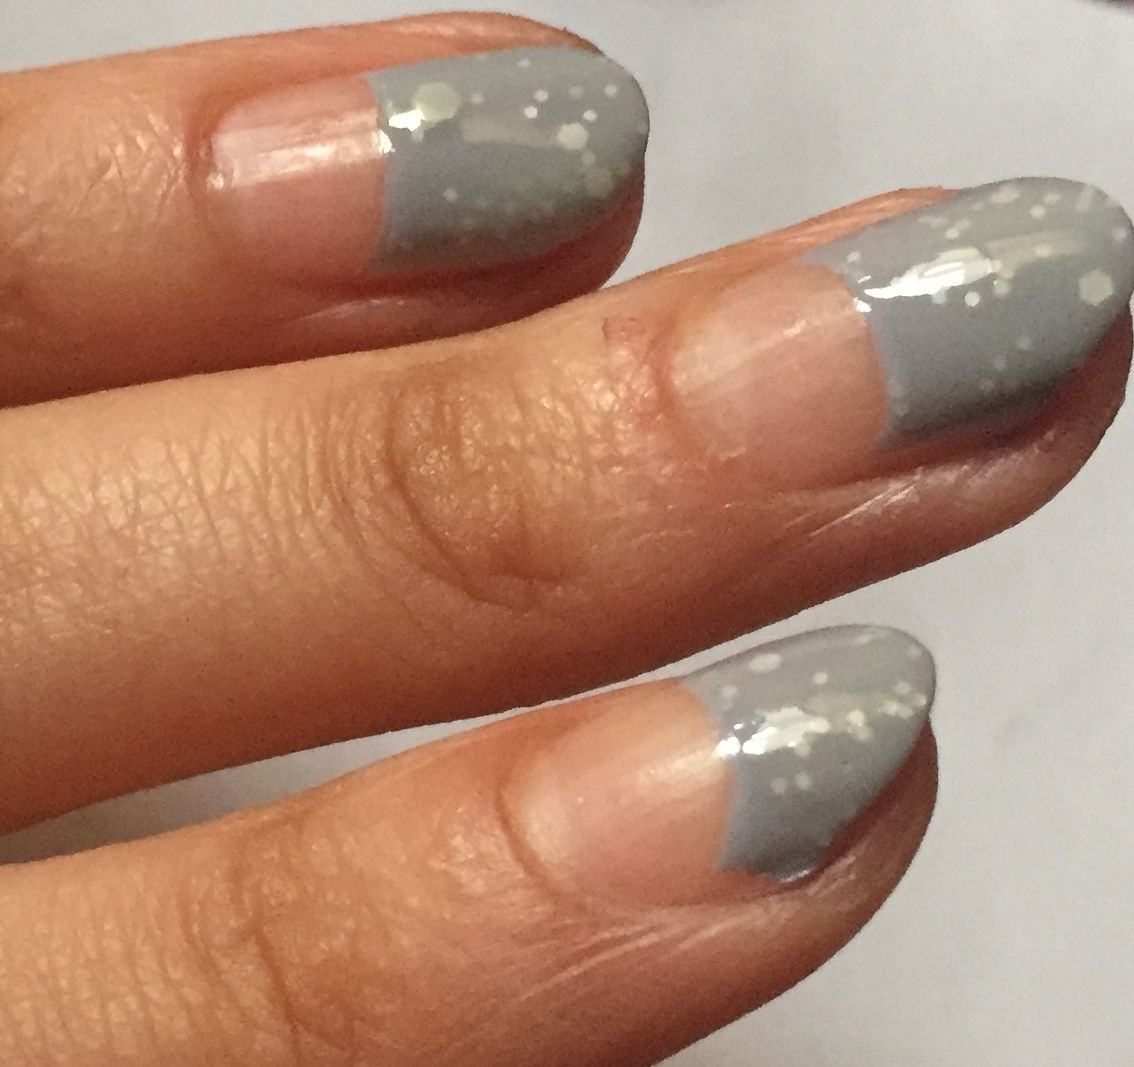
Next
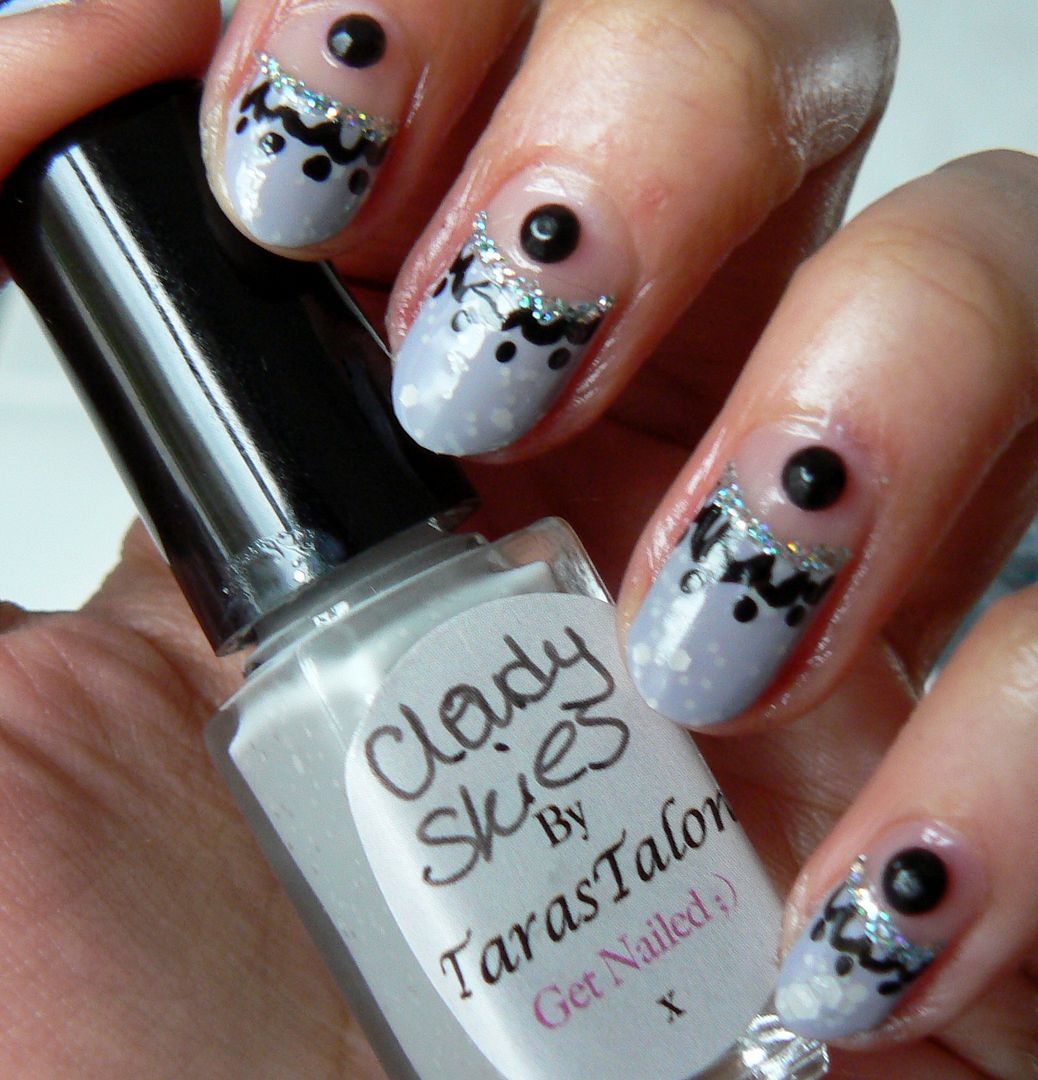
I applied a coat of Taras Talons Cloudy Skies, a lovely indie polish
of delicate grey including pretty white hexagonal glitters which
nicely mixed up the lilac to a soft grey I was satisfied with!
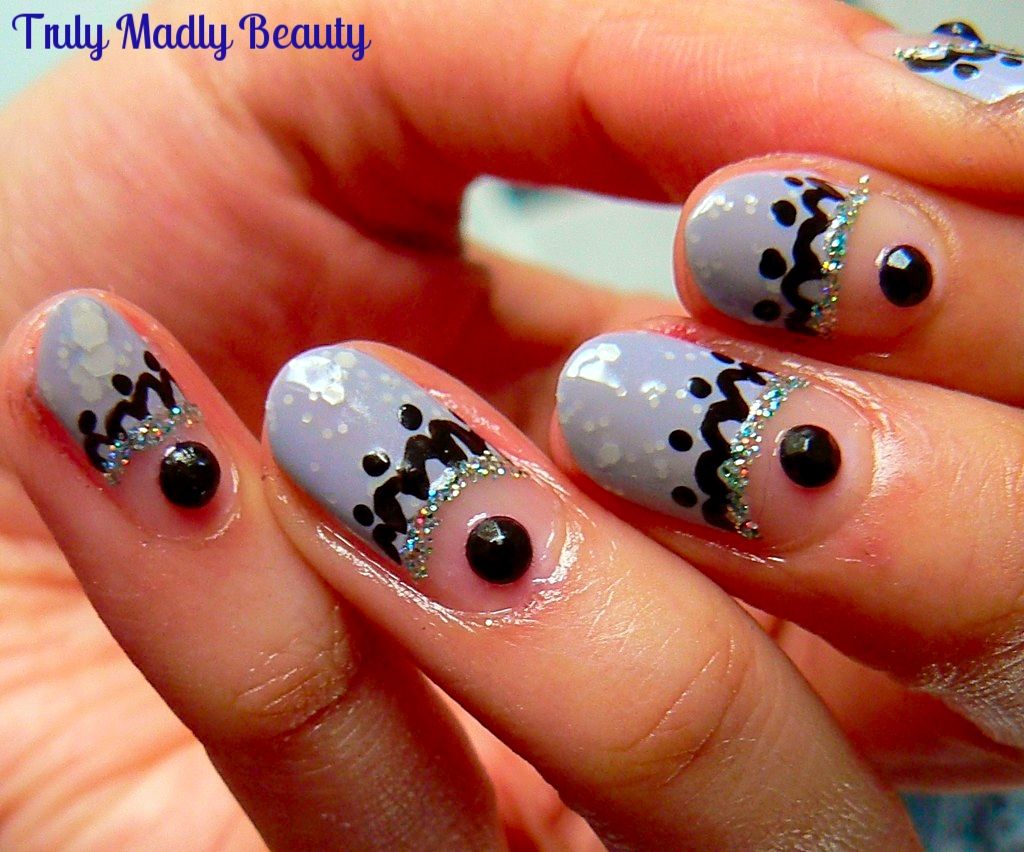
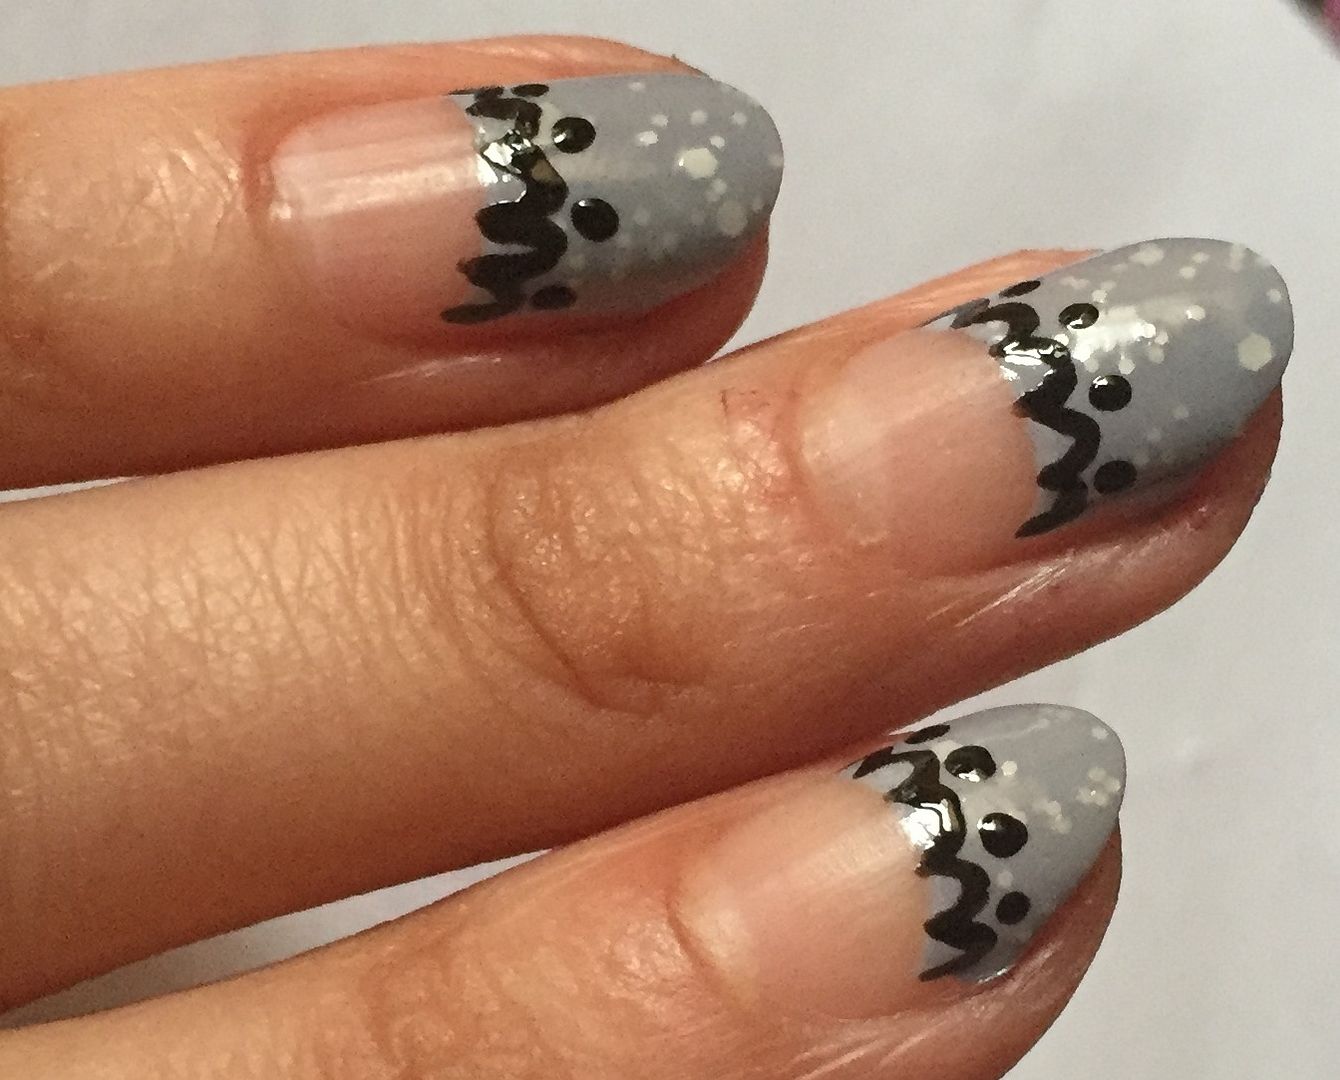
Then
for the black nail art detail, simply grab a nail art pen or polish &
brush, & apply small curves along the negative space edge of the
grey, also adding some black dots.
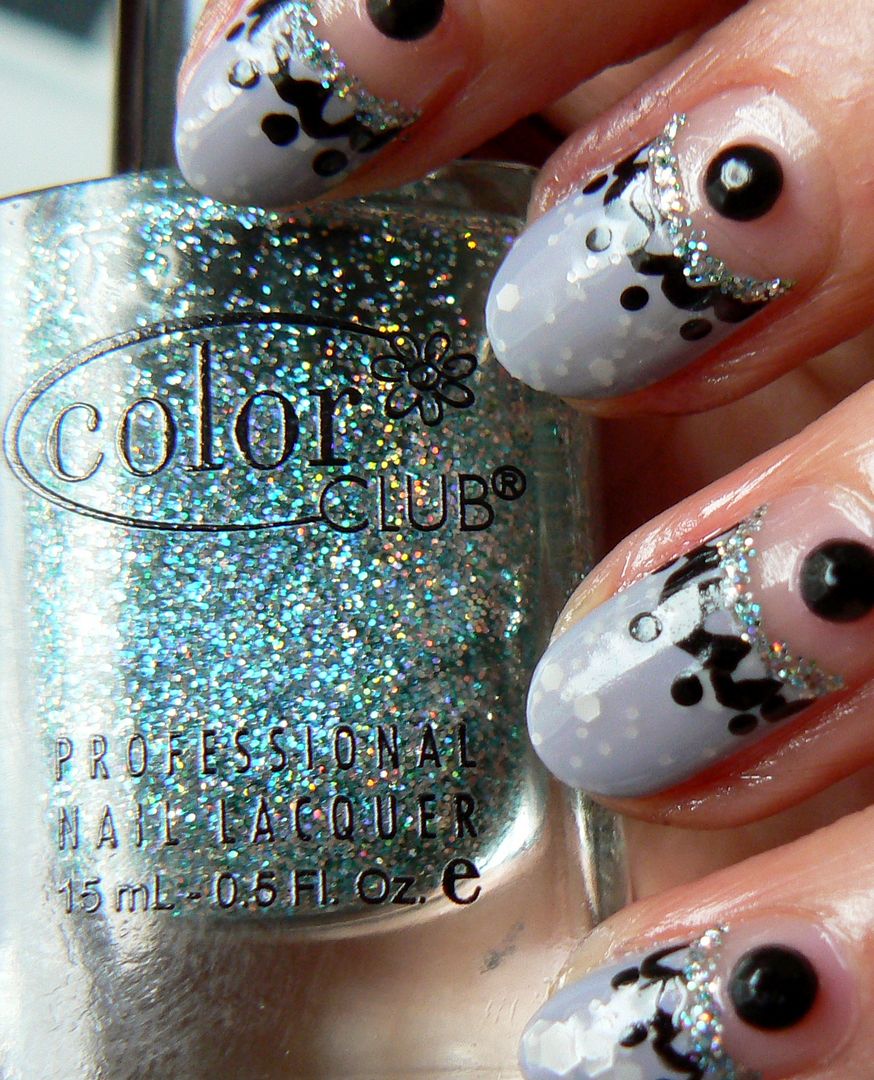
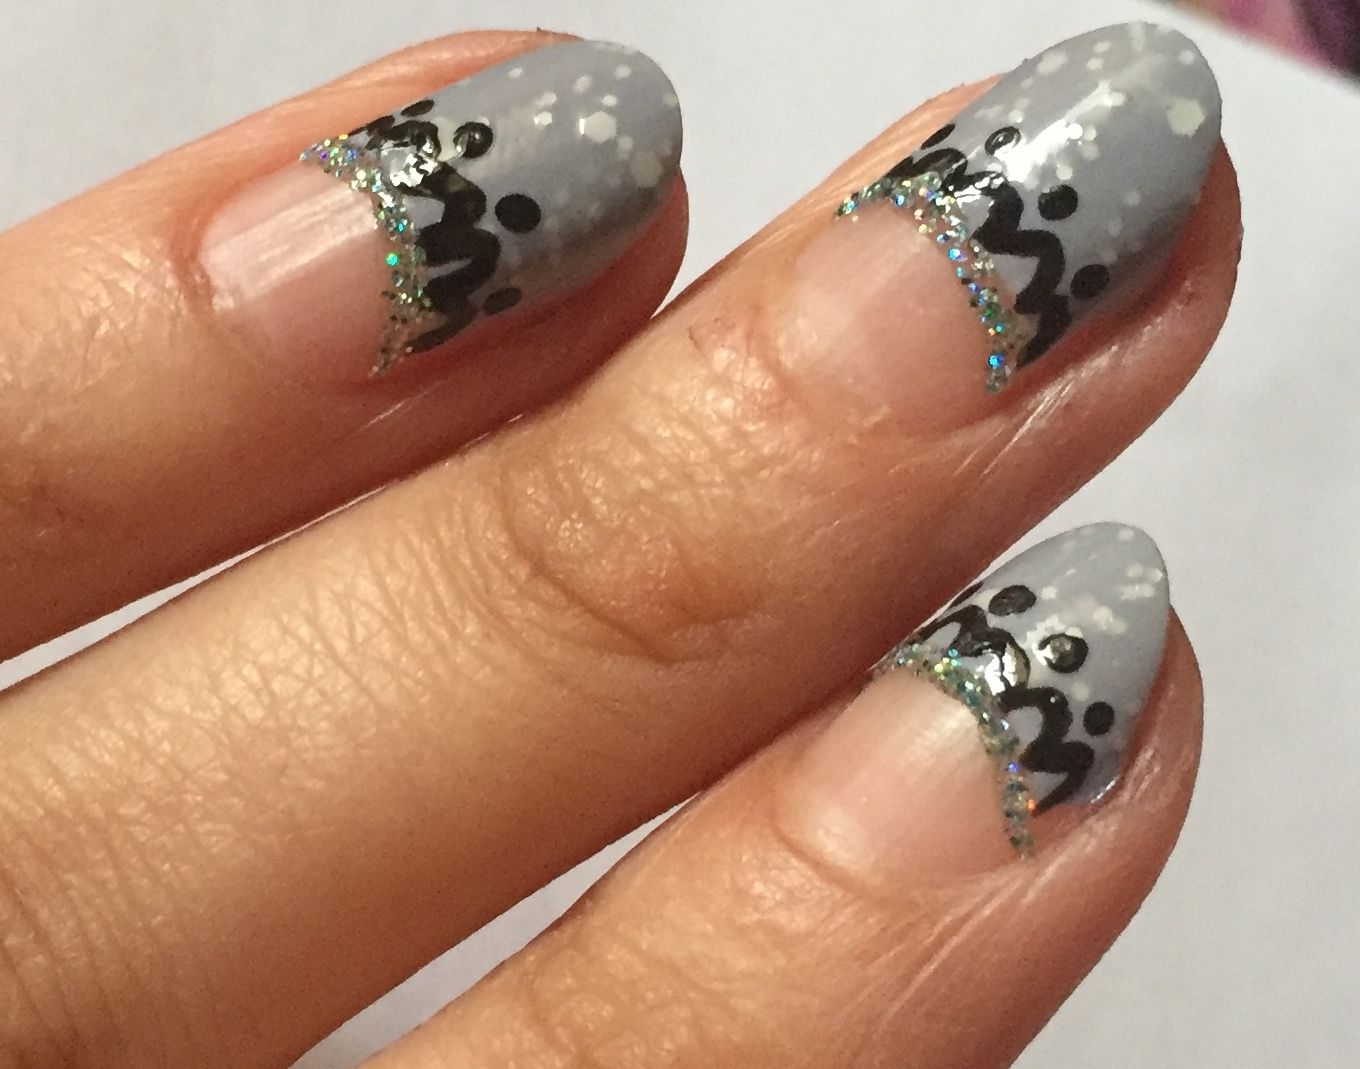
I
had to add me some sparkle of some sort so I applied a fine line of
Colour Club Holo glitter underneath the black design along the curved
edge
For
a final touch I placed a pretty black rhinestone in the centre of the
negative space before finishing it all with topcoat!
Hope
you liked this grey & glitter manicure! Thanks as always for
reading dolls!
Lotsa love to ya!
Labels:
Grey,
Indie,
nail art,
Nail Art Tips,
Nails Inc,
NOTD,
Rhinestone,
Tutorial
3.07.2016
Klenspop Ellen Panda Brown Circle Lens Review!
Hey there lovely readers!
You know I like to dabble with contact lenses & not too long ago I blogged about Klenspop, a Korean brand that had recently come to my attention, in particular their Ruby Queen Grey lens which I absolutely LOVE! Today I have a review of another one of their lenses & I can honestly tell you that Klenspop have fast become one of my favourite brands to use when it comes to chopping & changing up that eye colour!
The
lenses that I have to show you today are the Ellen Panda Brown Lenses*
As
usual the lenses arrived securely packaged in a small cardboard box
within plenty of bubble wrap to prevent any knocks/dents &
shipping time is nice & quick.
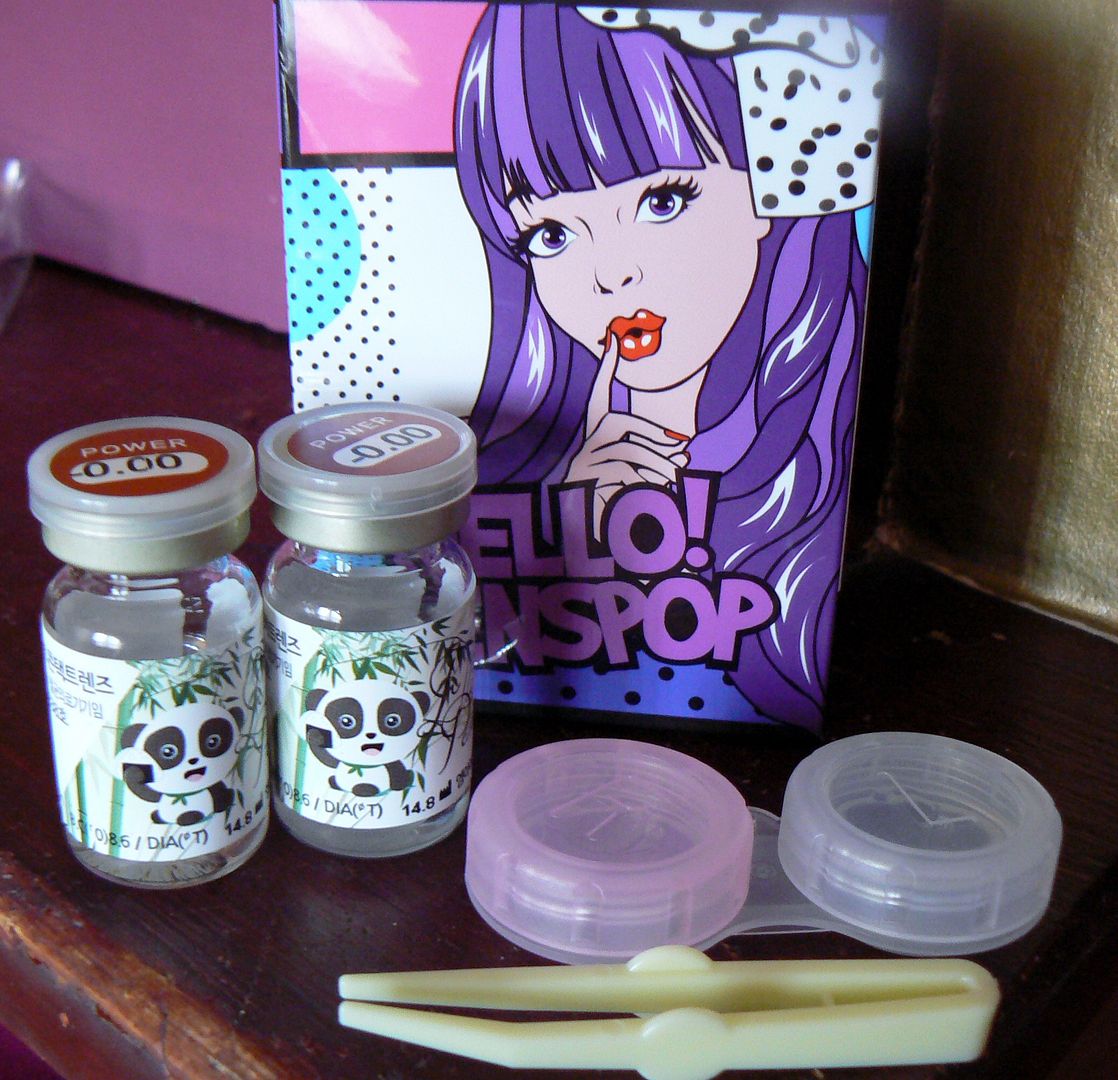
Once
opened you'll find your lenses in the customary kawai style cute
packaging that I've come to associate with Klenspop, within the box
you'll find your lenses in their individual bottles, a lens case to
store your lenses in & a wee pair of tweezers to lift the lenses
out safely.
For
those who are interested here's a bit more detailed information on
the Ellen Panda Brown Lens:
Diameter:
14.8mm
Graphic
diameter: 14.5mm
Basic
Curve: 8.6mm
Using
period: 6 months
Water
content: 38%
Manufacturer:
Lenspop
To
give you a better idea of how these alter your look here's a quick
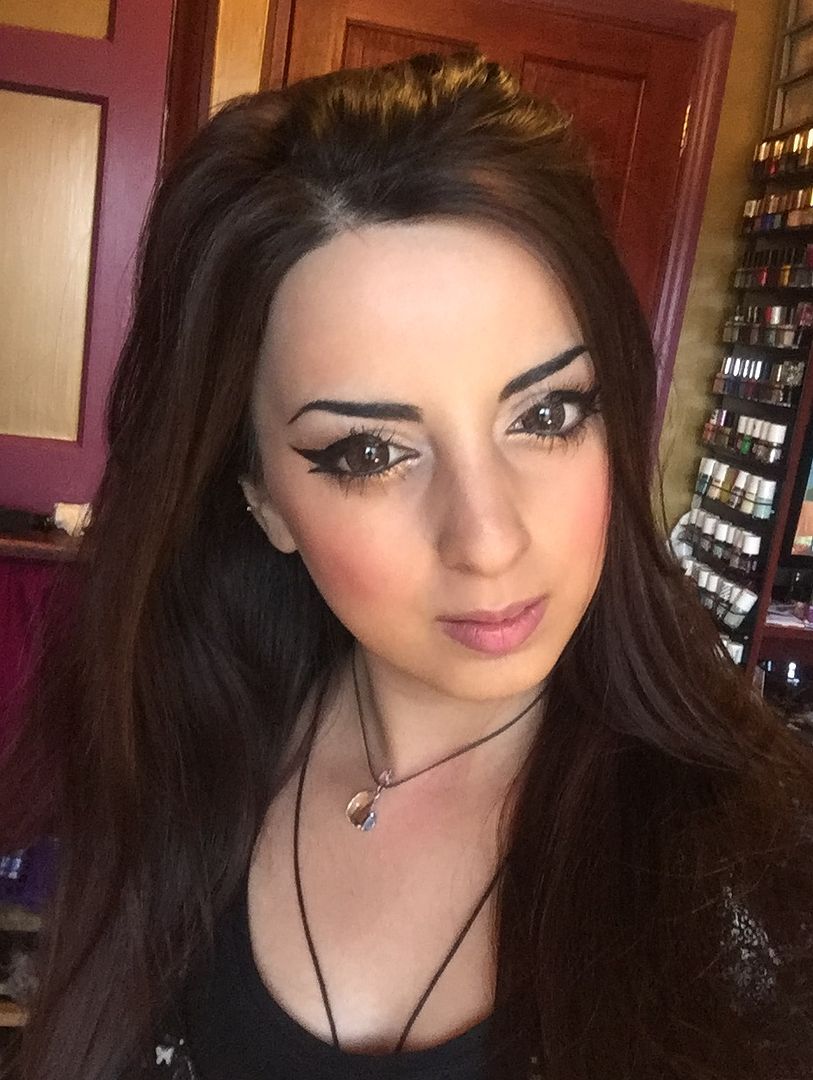
before pic of my natural eye colour....
And
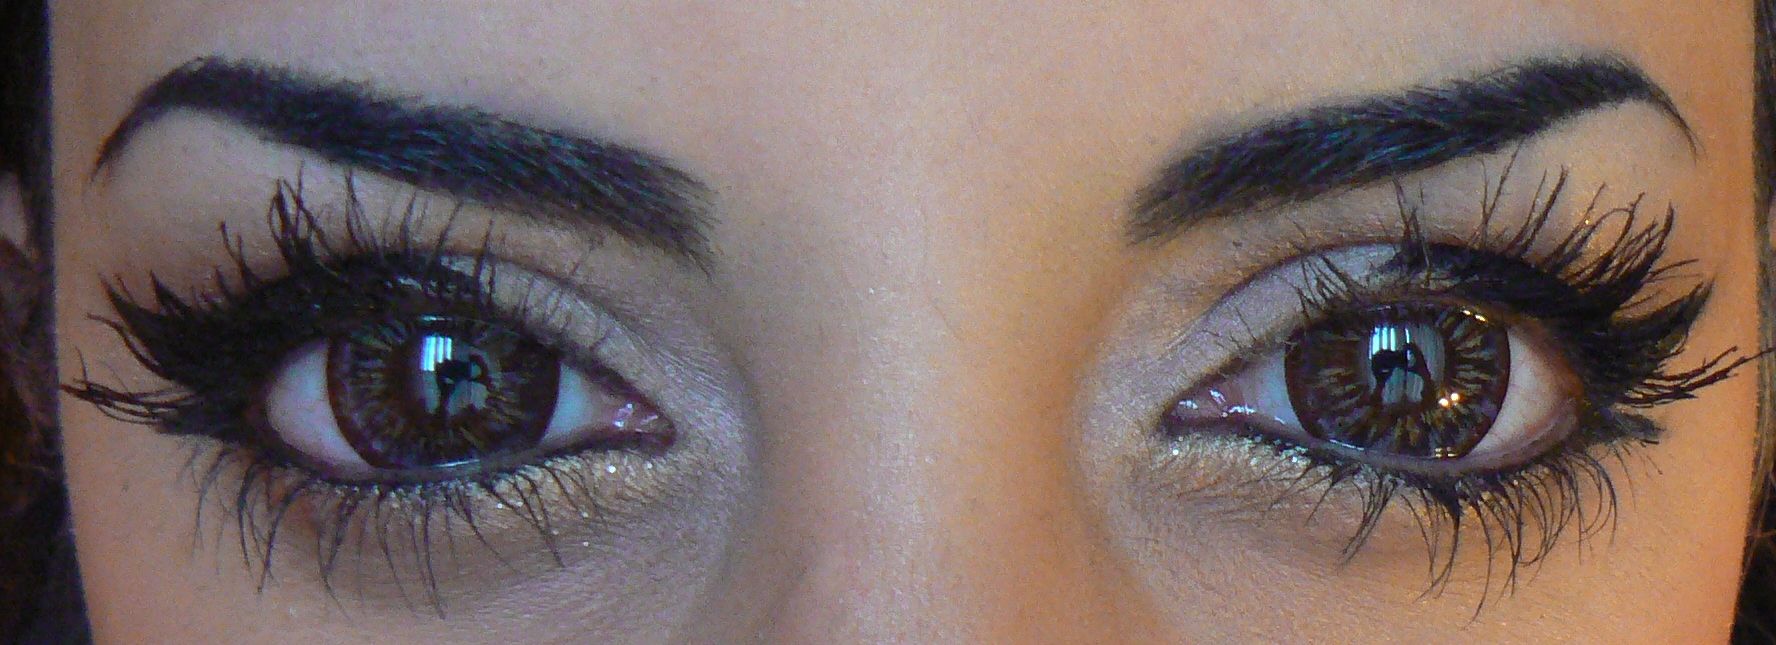
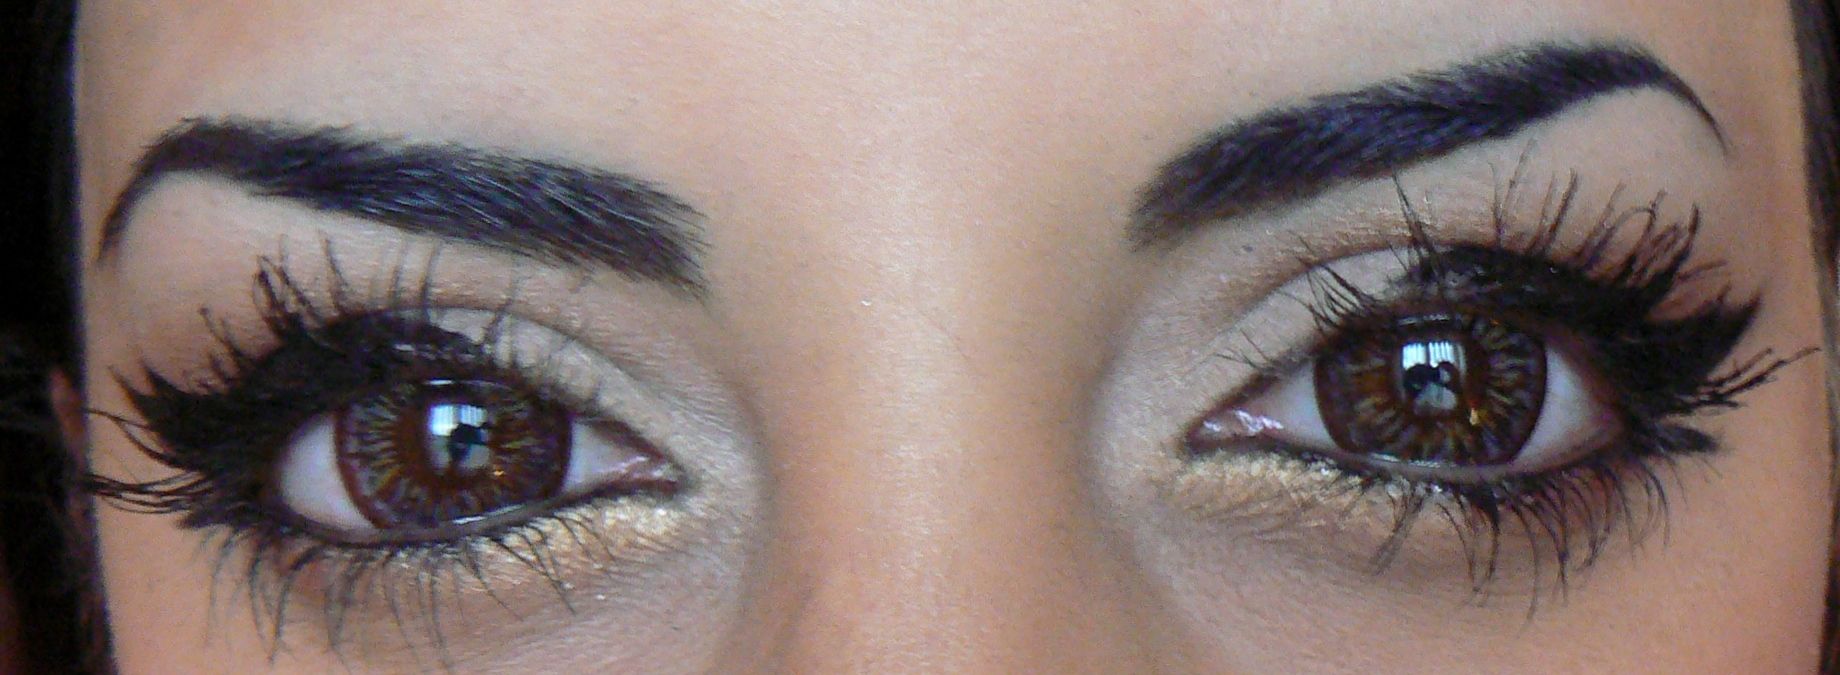
now with the lenses in...
What
do you think? I wasn't expecting to like these as much as I do, the
Ruby Queens were such a hit I didn't think any other could match but
boy was I wrong!
I
love how the Ellen Panda Brown enlarges the iris beautifully, giving
a more wide awake & eye catching finish. The colour itself is
gorgeous, quite unusual, not exactly brown actually but more a
mixture of deep greys & browns giving it a more natural look.
But
the main thing I love about these lenses & Klenspop lenses in
general is how comfortable they are. Even on my dry eyes they don't
irritate at all & as long as I carry eye drops around with me I
can easily wear these throughout the day with zero problems.
The
Klenspop lenses are not only fab quality, they also have a 'shelf
life' of about 6 months. As long as you take good care of your
lenses, regularly changing the solution & keeping them clean,
then they should definitely last.
You
can find the Ellen Panda Brown lenses on the Kelenspop website HEREalong with many other fab colours & styles! I've recently been
tempted to try pink/violet lenses...
Thanks
as always for reading!
Lotsa love to ya!
Disclaimer
- * products featured were sent to me for my consideration. I am not
affiliated with the brand nor paid for this post, this review has
been as always my 100% honest opinion! :)
Labels:
Brown,
Circle Lens,
Contact lenses,
Eyes,
Grey,
Klenspop,
Korean,
Review
11.24.2015
Klenspop Ruby Queen Grey Coloured Contact Lens Review
Hi
there lovely readers!
It's
no secret that when it comes to makeup, I like to focus on the eyes.
One of my favorite ways of mixing things up a tad is by
wearing coloured contact lenses to really make the eyes stand out. In
the past I've indulged in blues, greens, hazels from various brands
including Acuvue & MesmerEyez, which have all worked well for me
as daily & monthly disposables. I was offered the opportunity to
try out some circle lenses by the brand Klenspop, an online Korean
retailer of circle lenses, I've always been intrigued by them, having
heard lots of things so I was looking forward to seeing how they
would compare to ones I'd already tried.
I
was sent a pair of the *Ruby Queen Grey Circle Lens, on first look I
knew these would be interesting with their intriguing diamond like
effect on the design. I was impressed with how fast they got to me,
shipping was very quick & the lenses themselves came very well
sealed in cardboard & bubble wrap. Now to be honest with you I
have NO clue about all the various lens sizes, diameters, all that
business, but in case it does interest you here's a wee breakdown:
Diameter:
14.0mm
Graphic
diameter: 13.8mm
Basic
Curve: 8.6mm
Using
period: 6 months
Water
content: 38%
Manufacturer:
Neo Vison
The
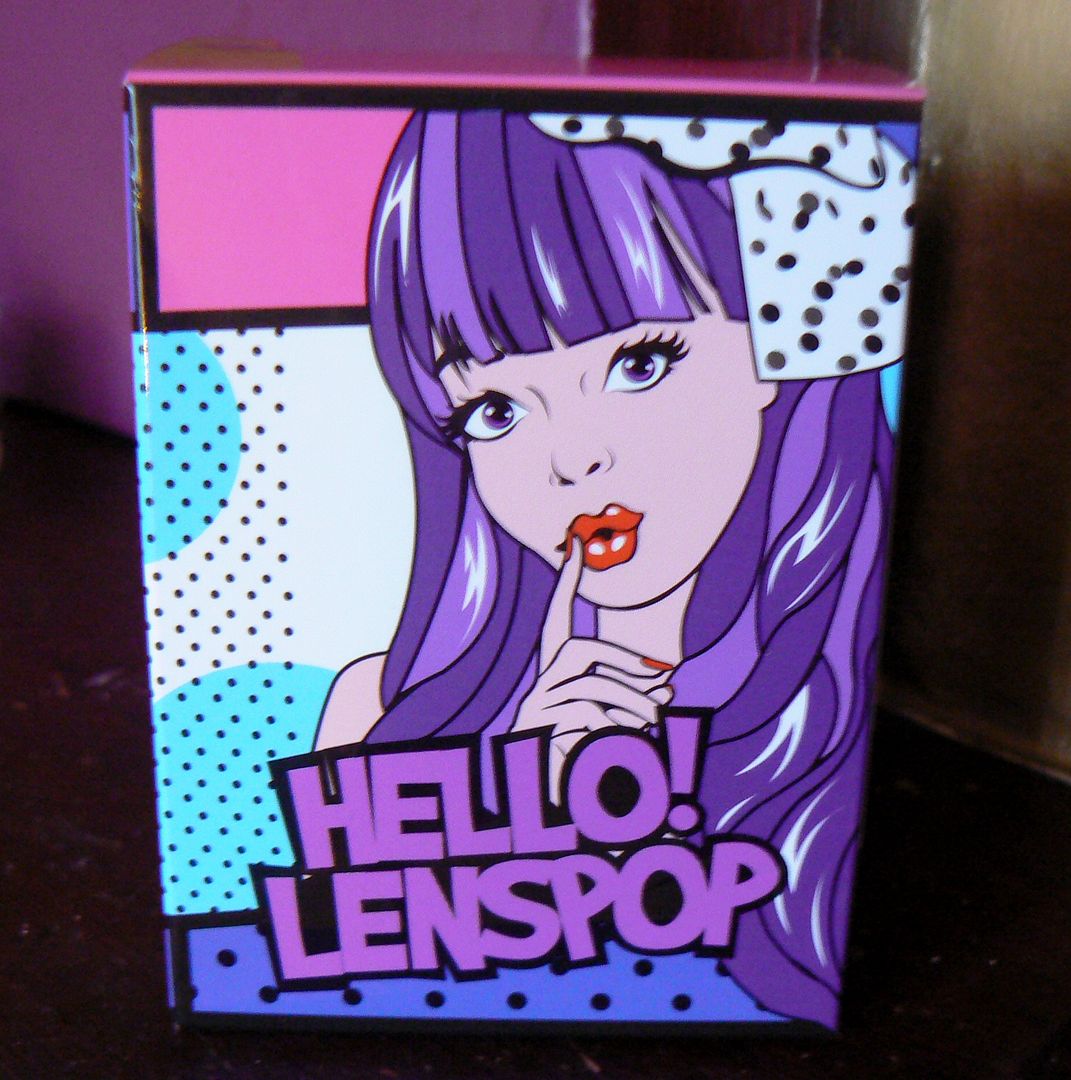
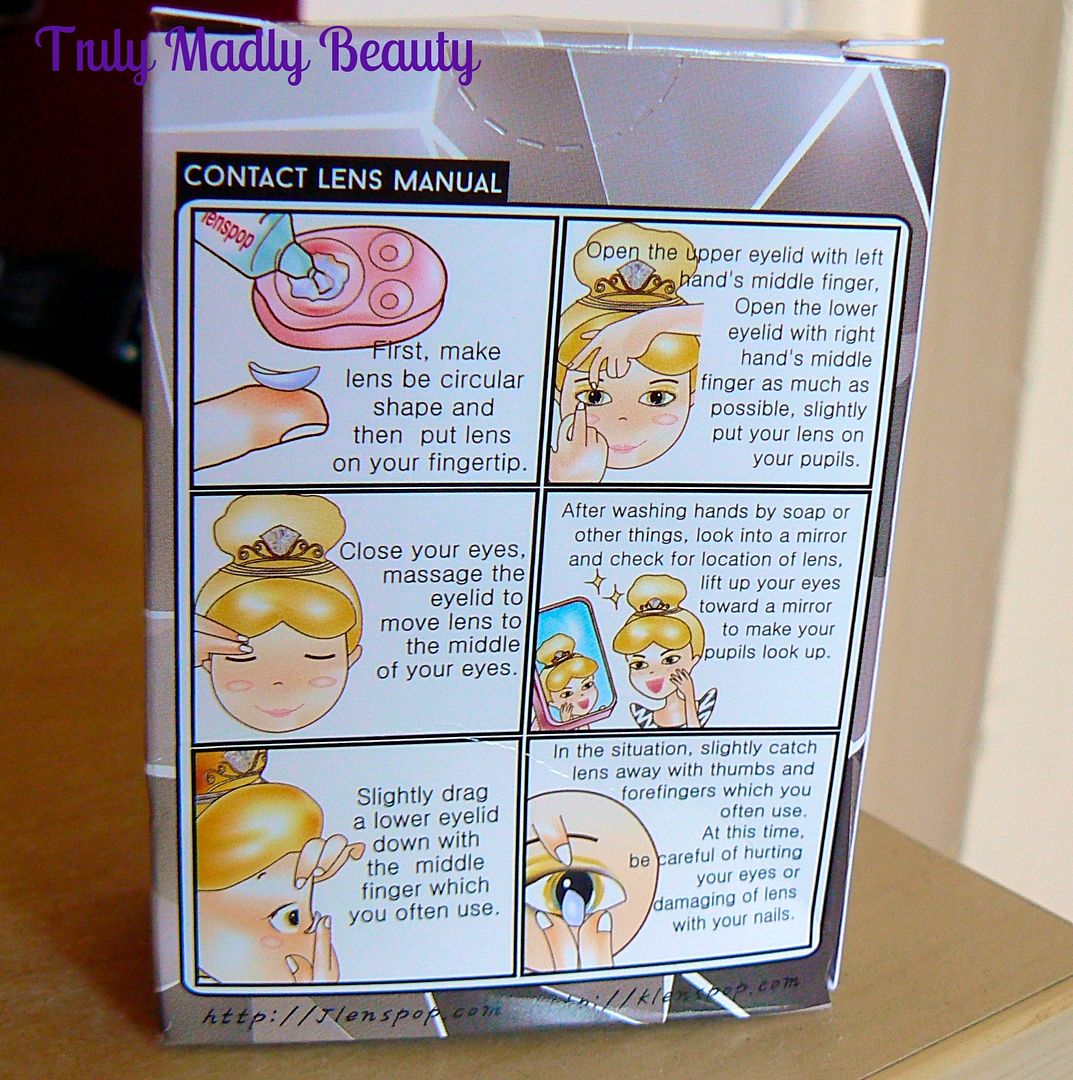
lenses come stored within glass bottles in adorably illustrated box
packaging, with instructions on the back that are pretty self
explanatory to follow. You also receive a lens case to keep your
lenses in as well as a wee pair of tweezers to remove the lenses
safely.
Now
I don't know if it was me being a complete dunce (probably) but I
struggled with opening the glass bottles these lenses come in, they
are sealed securely which is understandable & I managed to
totally hash it up but with the help of a pair of scissors (safely!)
I eventually pried the bottles open! O_o I used the tweezers to pick
the lenses out of the bottles & placed into the lens case with
some of the solution they came in.
Of
course the truth is in the testing! To give you an idea of the
difference here is a before mugshot of moi with my natural brown eyes...
And
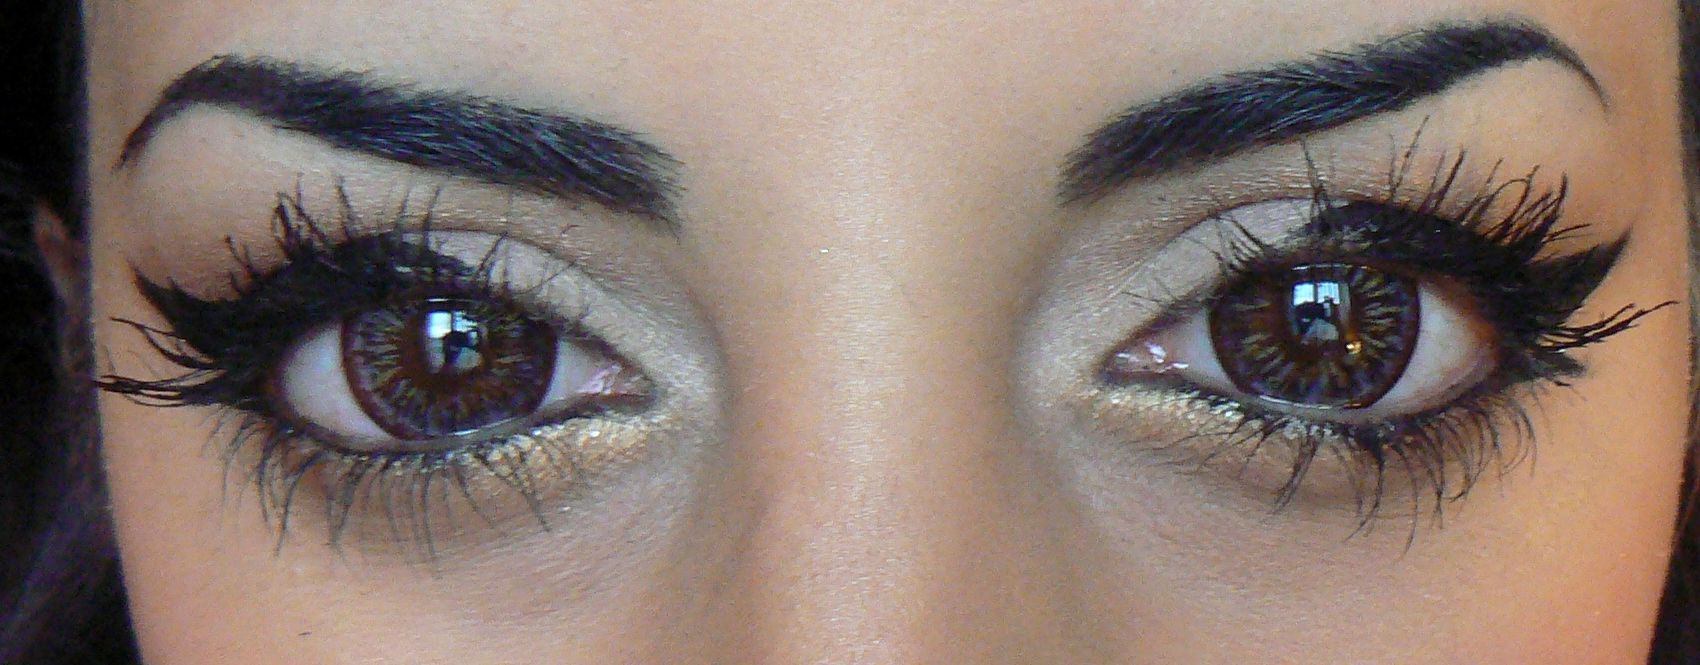
here we have with the Ruby Queen Grey Circle Lens in...
Verdict?
LOVE. I especially love how the circle lens really gives the
appearance of wider awake & noticeably larger eyes. The grey
shade is absolutely lovely, the diamond effect gives a really
interesting twist whilst still keeping the shade pretty natural
looking which is great.
Of
course the main test is easy wear-ability & these felt extremely
comfortable whilst on. I suffer from dry eyes, so with contacts you
can imagine this is an absolute nightmare! However regular
application of eye drops will keep the dryness at bay & I find I
can get maximum wear of about four to six hours from these.
I've
only ever used daily disposable or monthly lenses, this particular
brand as well as many other Korean brand lenses state that they last
up to 6 months, some even a year! I'm not sure how I'd feel myself
using the same lenses for such a long period of time so will most
probably get 3 months usage before discarding.
Overall
though I'm extremely impressed & will definitely be purchasing
lenses from Klenspop in the future, I already have my eye on some
violet ones! Not only are they comfortable & look great but they
are also very reasonable with lenses starting at around $13. Shipping
is quick & costs $5.50 so convert that & all together you're
looking at just over a tenner. The fact that Paypal is a payment
method option is another tick in the box for me, plus you can also
enter in prescription details when ordering if you require them for
your lenses.
Thanks
as always for reading lovelies!
Lotsa love to ya!
Disclaimer
- * products featured were sent to me for my consideration. I am not
affiliated with the brand nor paid for this post, this review has
been as always my 100% honest opinion! :)
Labels:
Circle Lens,
Contact lenses,
Eyes,
Grey,
Klenspop,
Korean,
Review
Subscribe to:
Posts (Atom)