Out of all the ENDLESS nail art possibilities in the universe, there is one look in particular that will forever remain a firm favourite of mine & that is FLORALS!
Showing posts with label Color Club. Show all posts
1.22.2018
NOTD - Valentine's Holo Pink Roses Tutorial
Hello there lovely readers!
Labels:
Color Club,
Creme,
Floral,
holographic,
Lime Crime,
Model's Own,
nail art,
NOTD,
Pastel,
Pink,
Rhinestone,
Rose,
Tutorial,
Ulta3
8.22.2017
NOTD - Holo Diamond Sequin Flowers
Hey there lovely readers!
I recently stumbled across this wee pot of pretty blue holo diamond sequins in my stash, I believe I must have picked them up on one of my Born Pretty Store hauls, my go to place when it comes to nail art supplies.
Slapping myself on the wrist right there at neglecting them so on account of them being just so darn pretty, I then went to thinking on ways in which I could incorporate these in a mani & the thought that immediately came to mind was using them as petals! The shape of the sequins are perfect to create some pretty blooms so I went on ahead & did just that.
Labels:
Born Pretty Store,
Color Club,
Floral,
Glitter,
holographic,
nail art,
NOTD,
Sequins,
Sparkle
7.10.2017
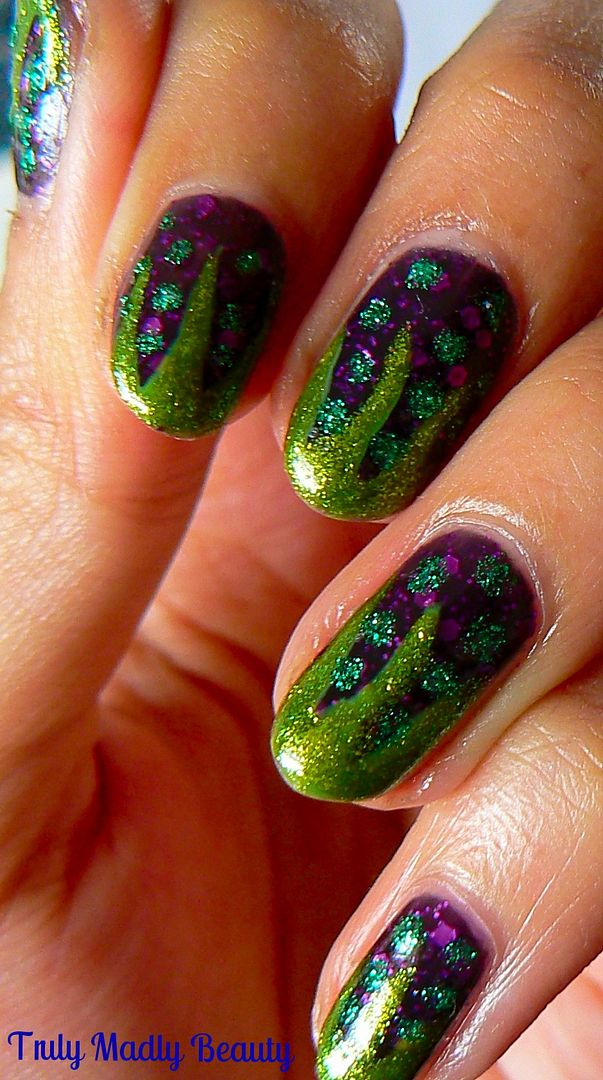
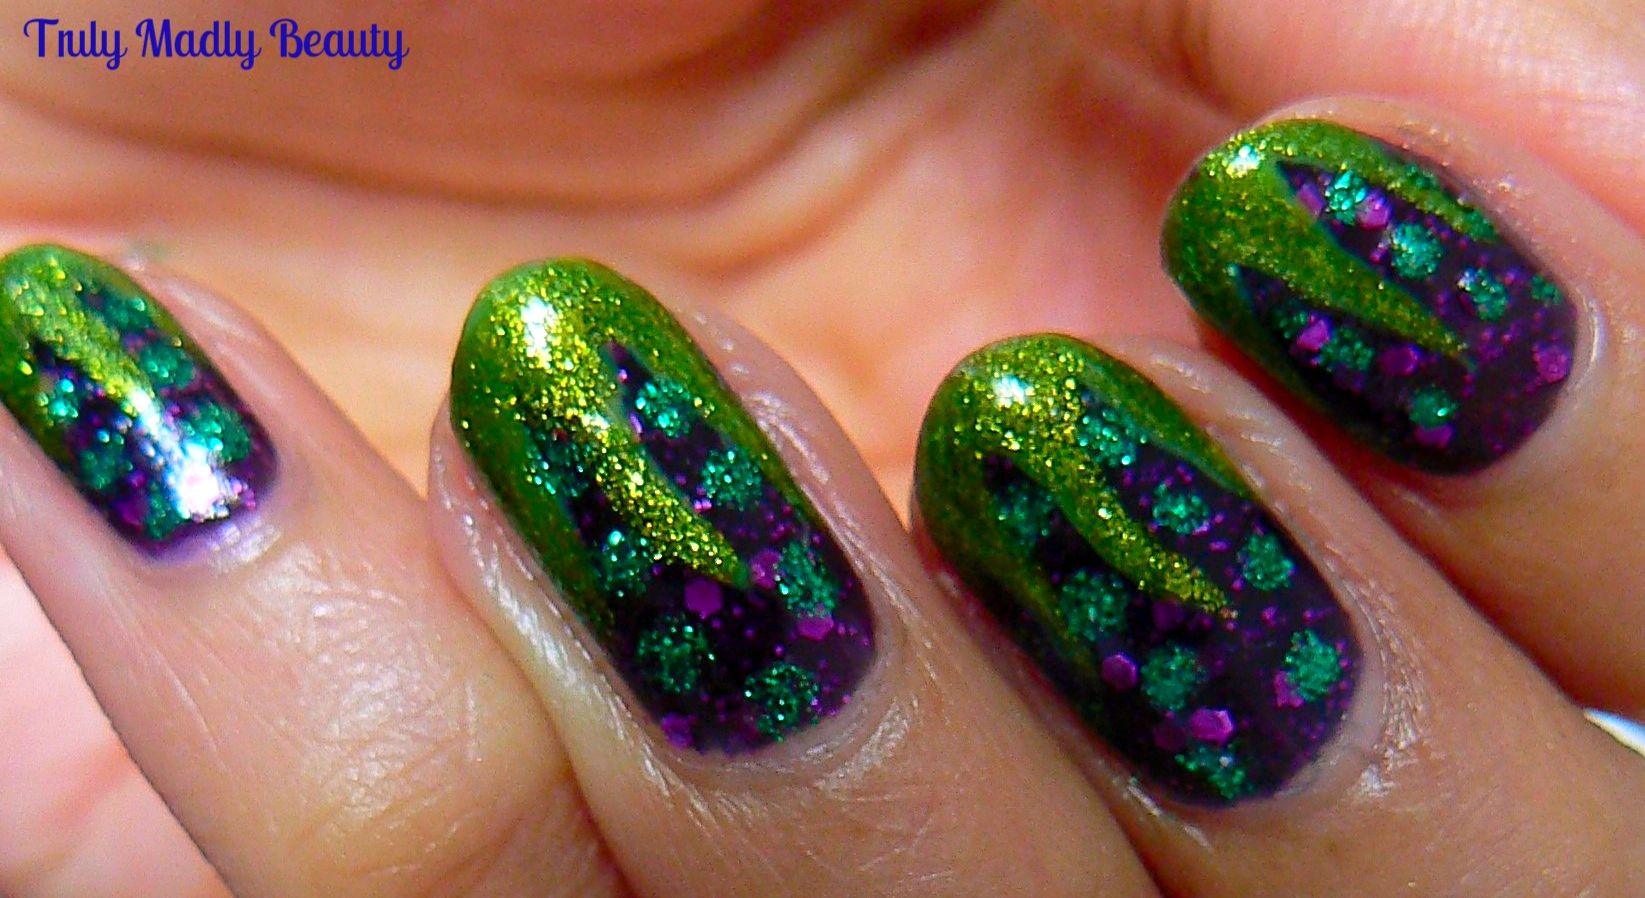
Disney Nail Art Series - Maleficent
Hey
there lovely readers!
So
I felt it was about time to add another manicure into my Disney NailArt Series that I've started here on my blog.
So
far I've thrown together some Beauty and The Beast nails & a
suitably fairy-tale perriwinkle blue Cinderella themed design as
well. I thought the time had come to switch things up a tad &
give one of the glorious villain diva's a turn in the nail art
stakes.
Alongside
the Disney princesses there are also some utterly fabulous goddesses
in Disney playing the role of villain whom you can't help but love &
I look forward to experimenting & creating something fun for them
too!
The
first Disney villain I wanted to rustle up something for is one of my
favourites Maleficent. Of course Sleeping Beauty is a vintage classic
when it comes to Disney & a firm favourite of mine, but I also
loved the live action adaptation retelling this intriguing villains
story in a really wonderful way with Angelina Jolie in the lead
role.
2.24.2017
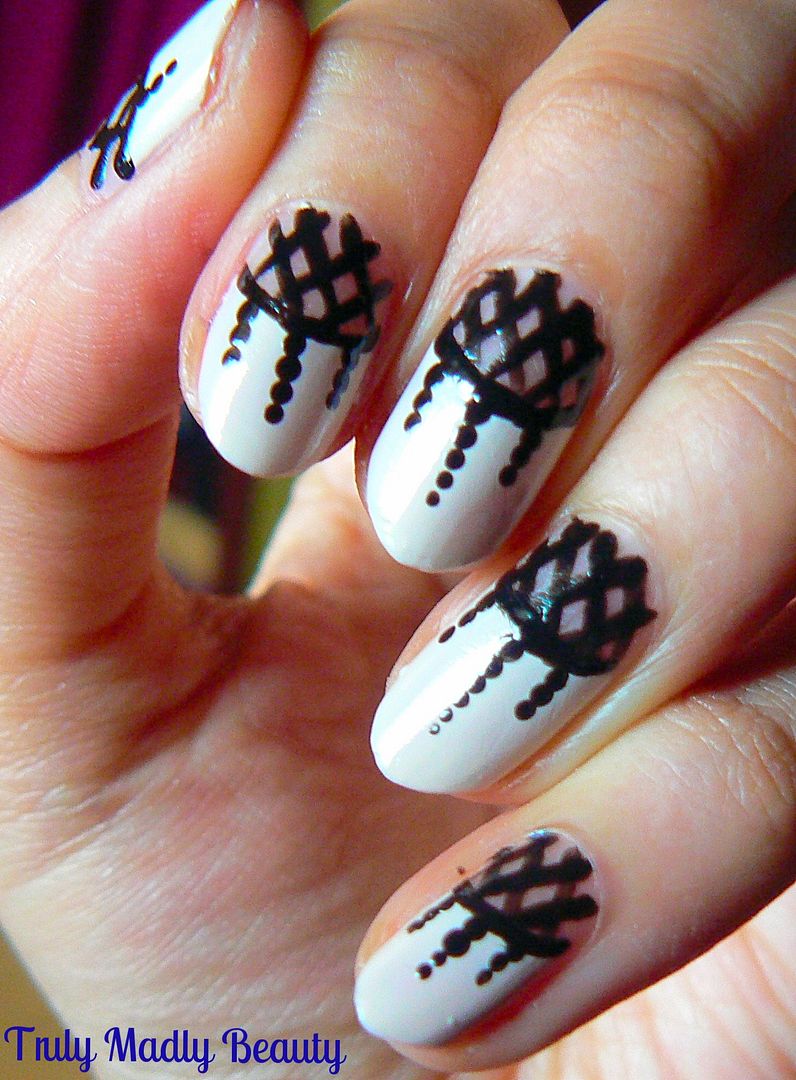
NOTD - Dream Catcher Nails Tutorial
Hi
there my lovely readers!
Long
time no speak! If you follow me on social media you'll know I've been
off having adventures on the other side of the world, Koh Samui to be
exact. 10 days in glorious weather on a beautiful island was just
what this girl needed, though the journey sure is a killer, 20 hours
travelling through 3 different time zones really does a number on
you! Only just starting to resemble some form of sanity, I can also
get back to blogging with some new nail art!
Today's
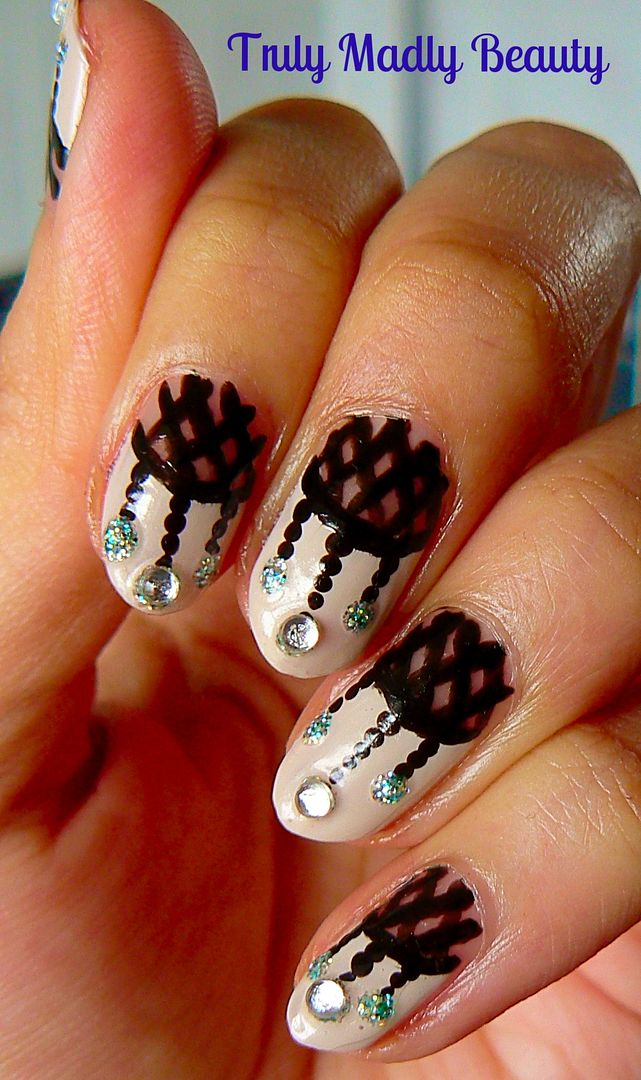
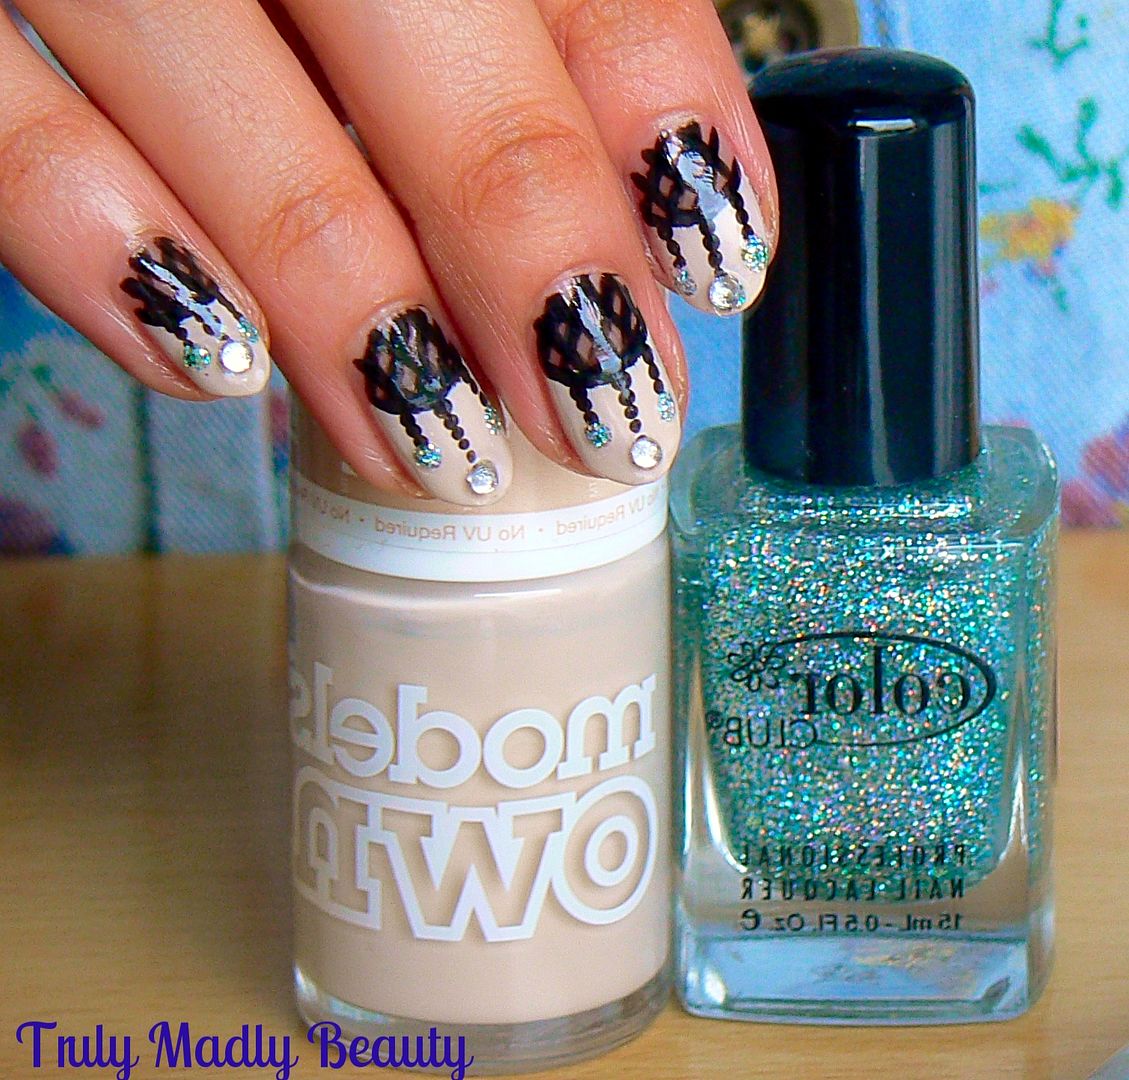
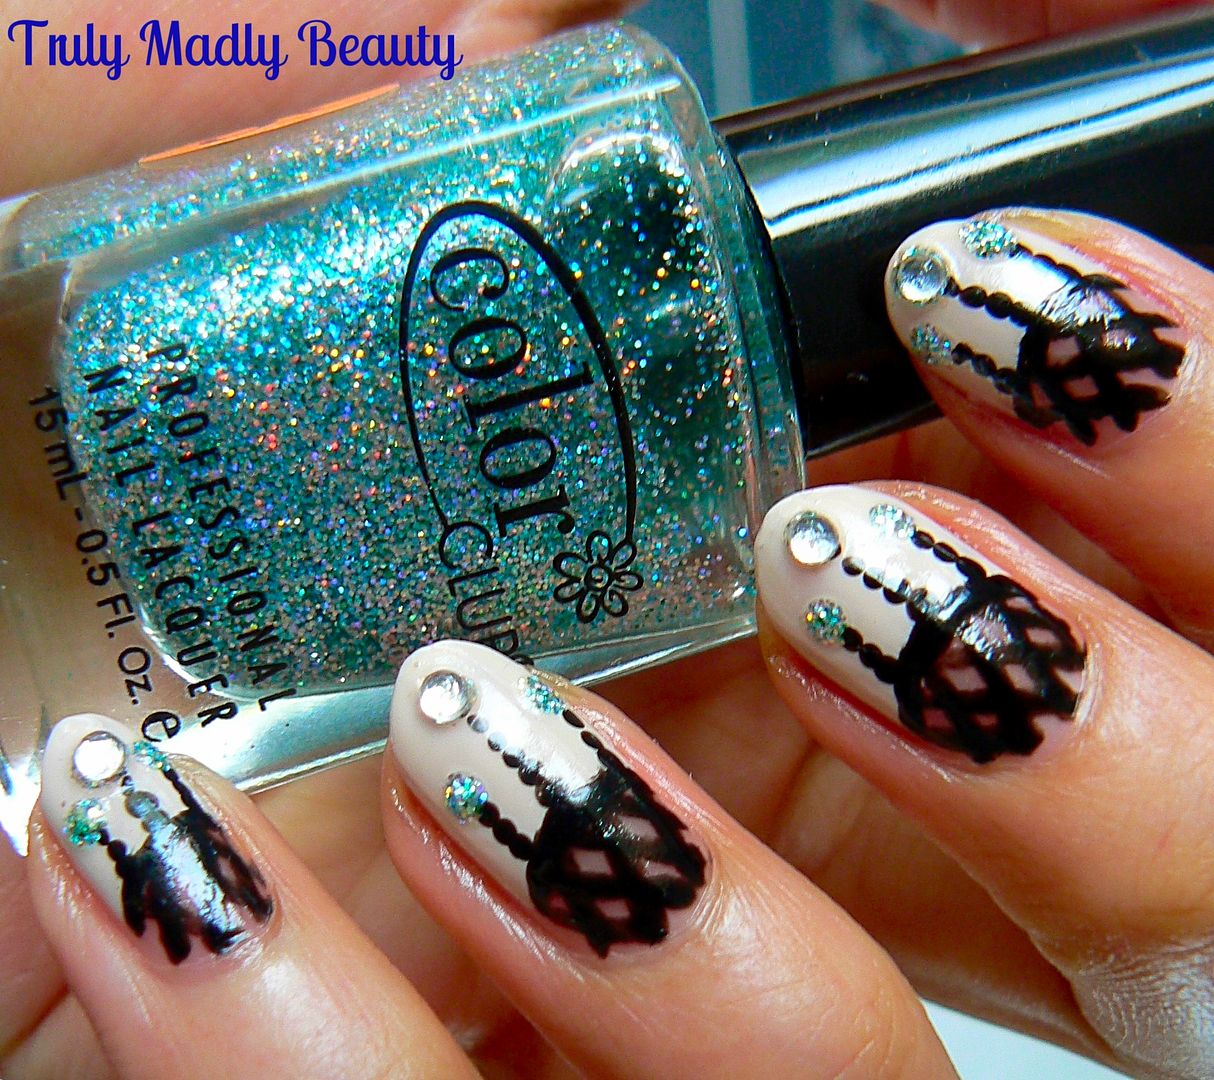
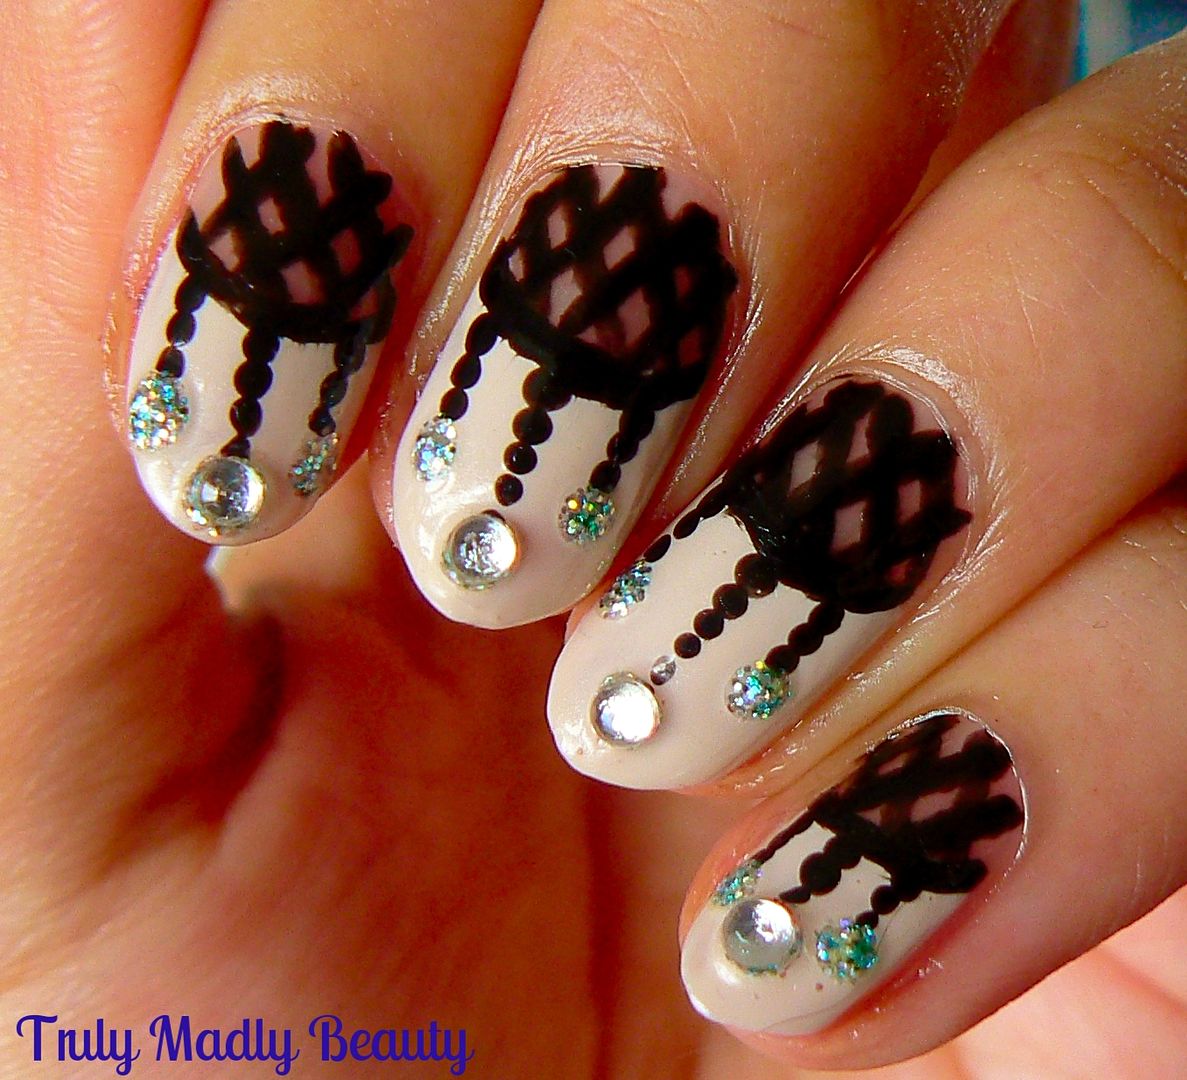
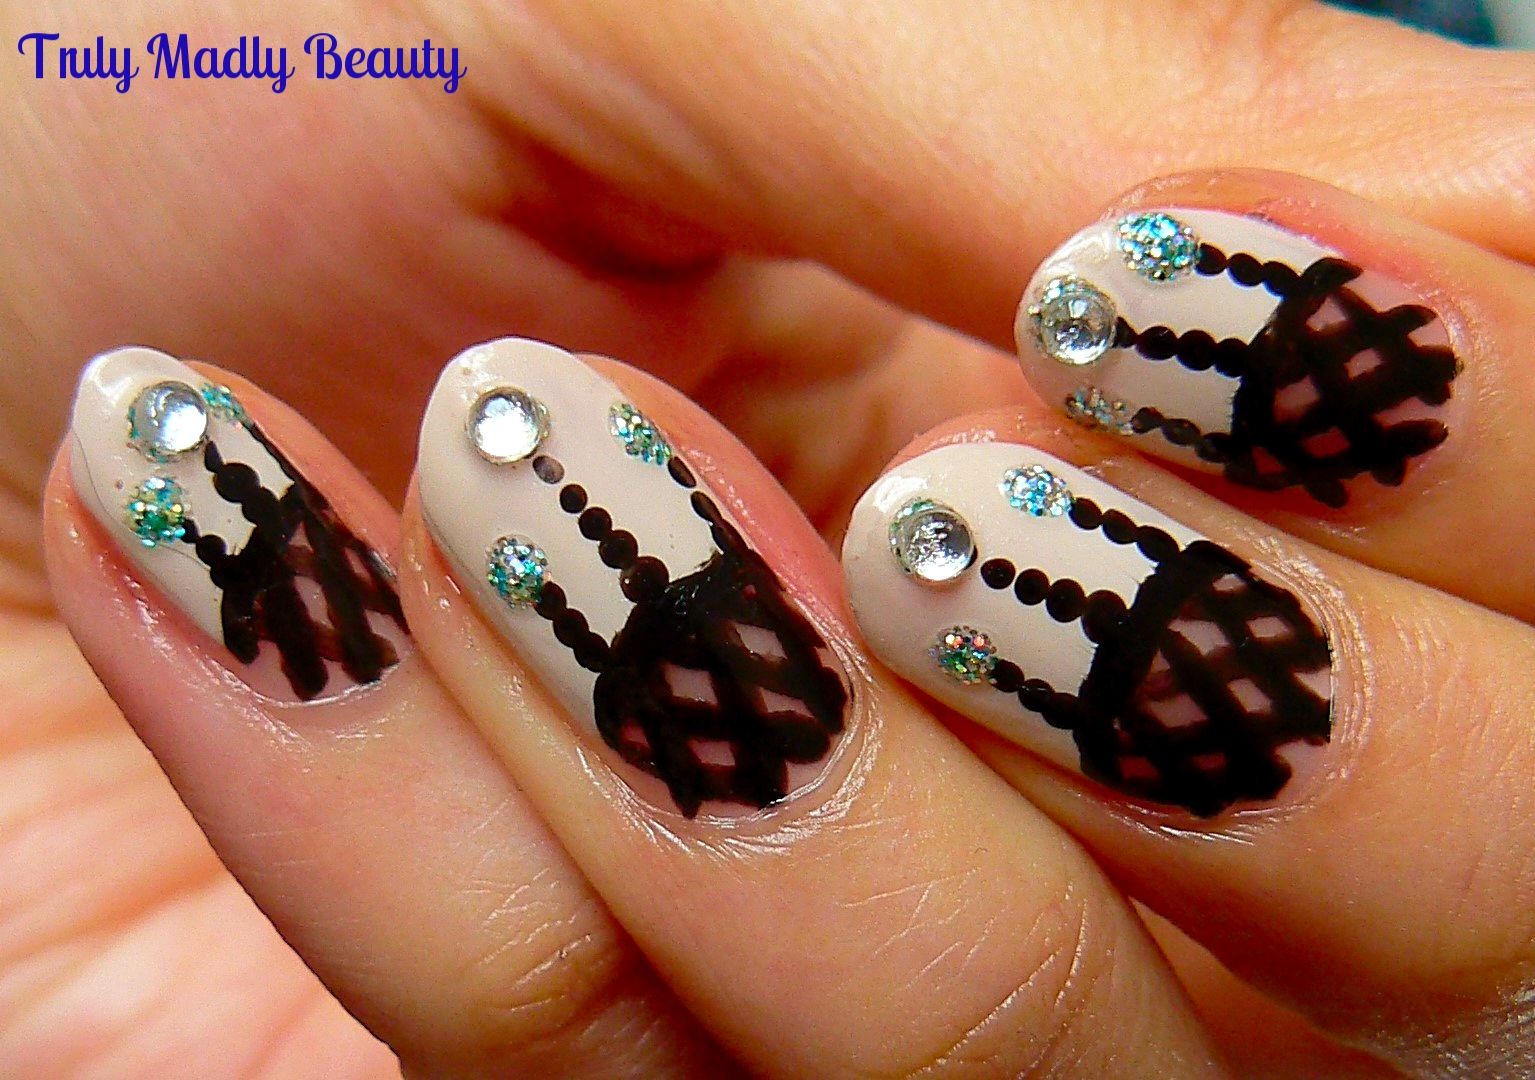
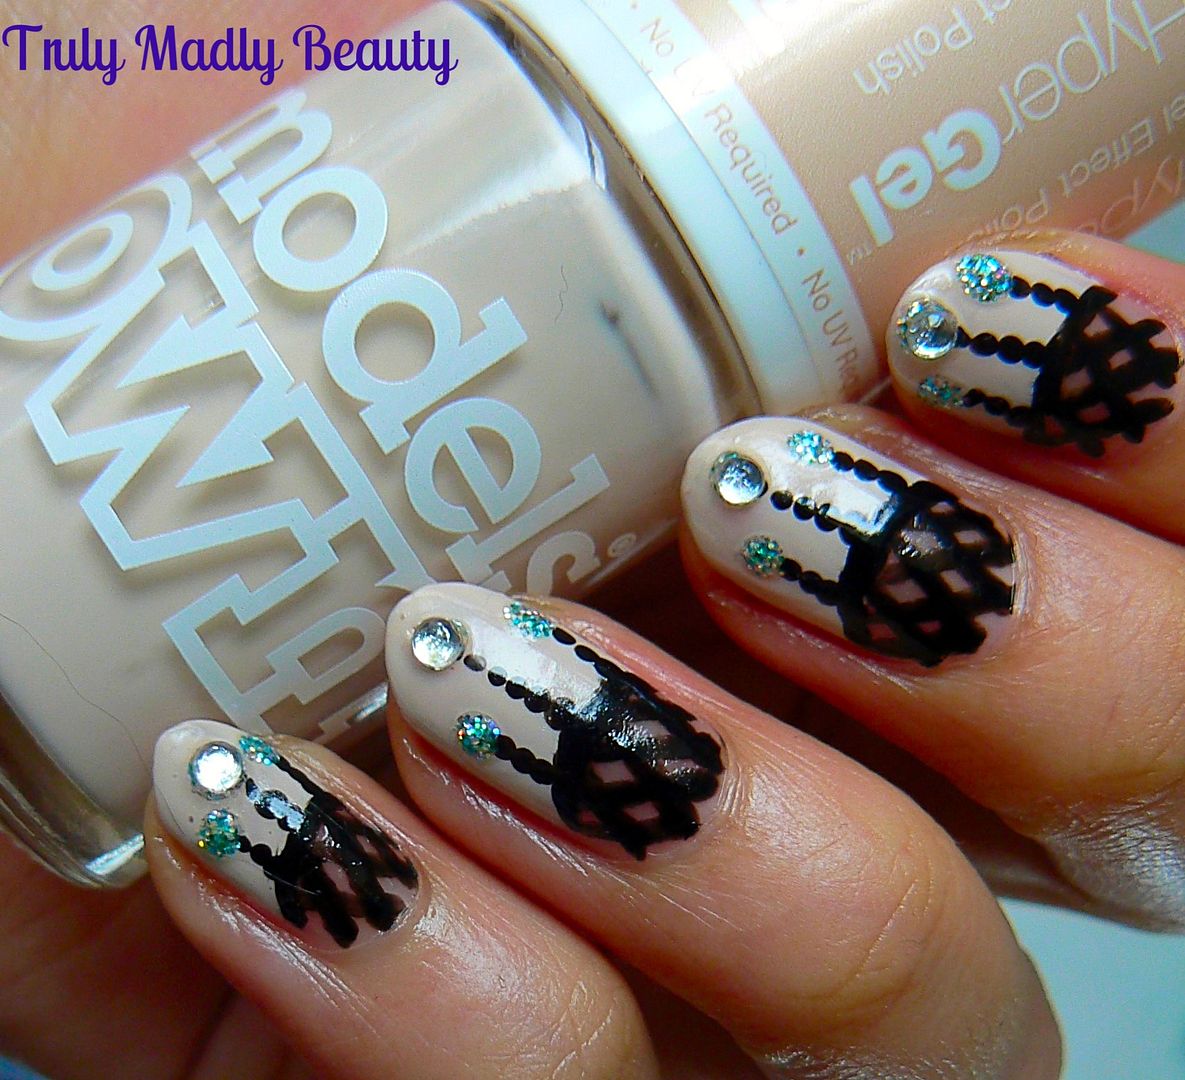
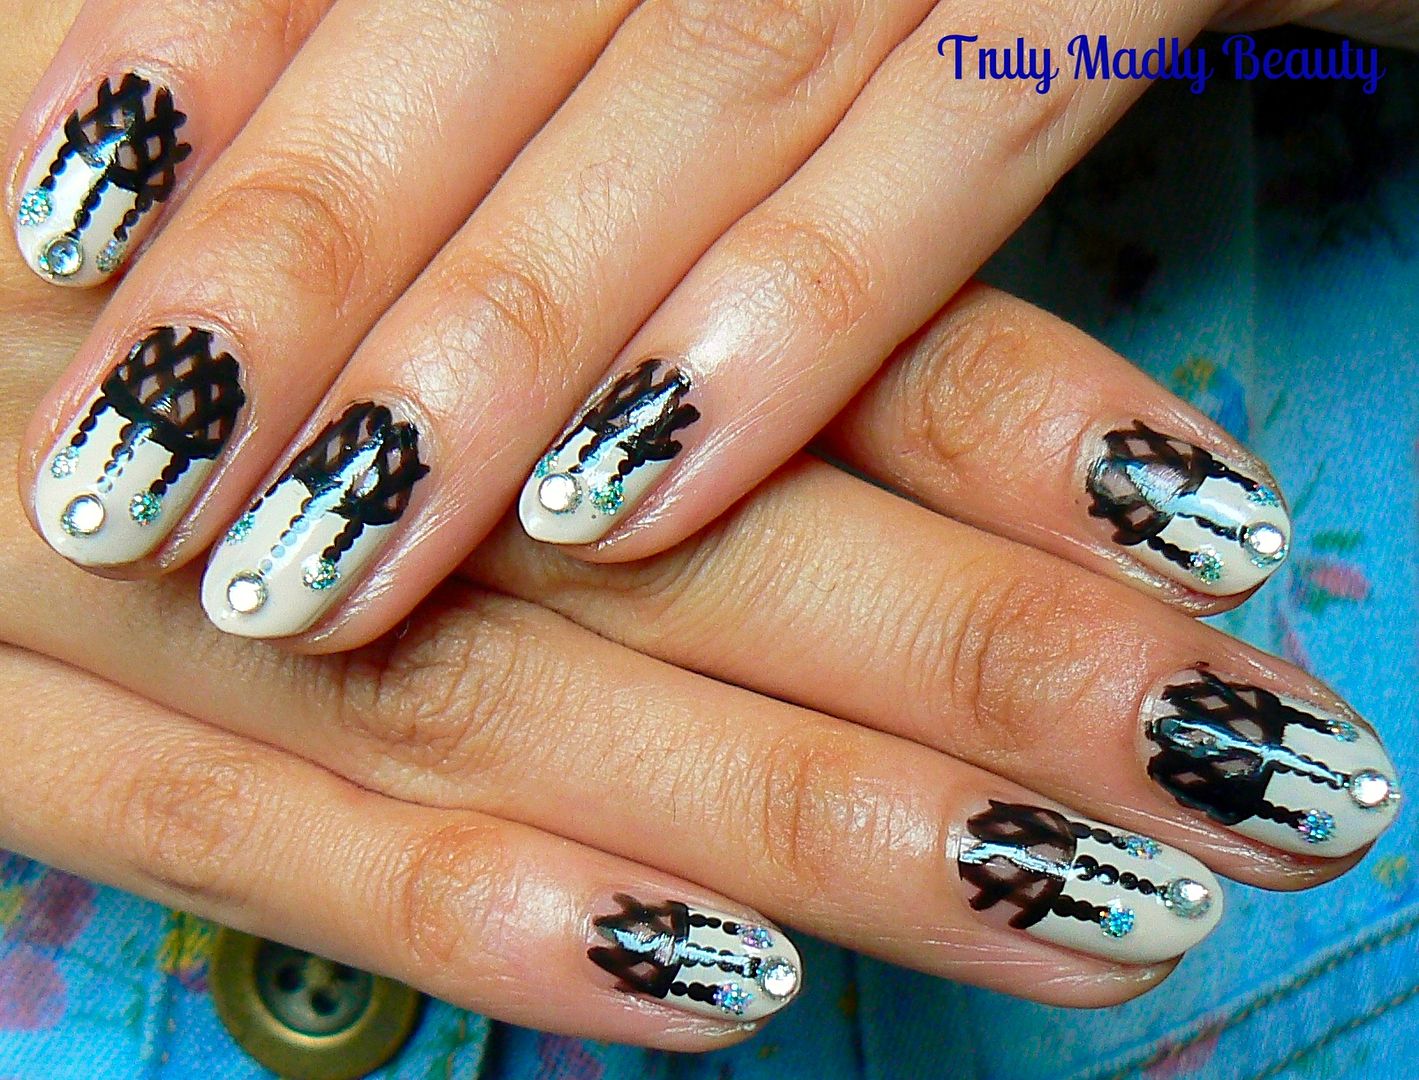
design is Dream Catcher or Chandelier nails if you like! These
pretty ornaments looks as lovely decorated on the nails as they do
hung up on your walls & you can totally play around with
different colours & glitters ;) I've gone for a black & nude
look with silvery blue sparkles!
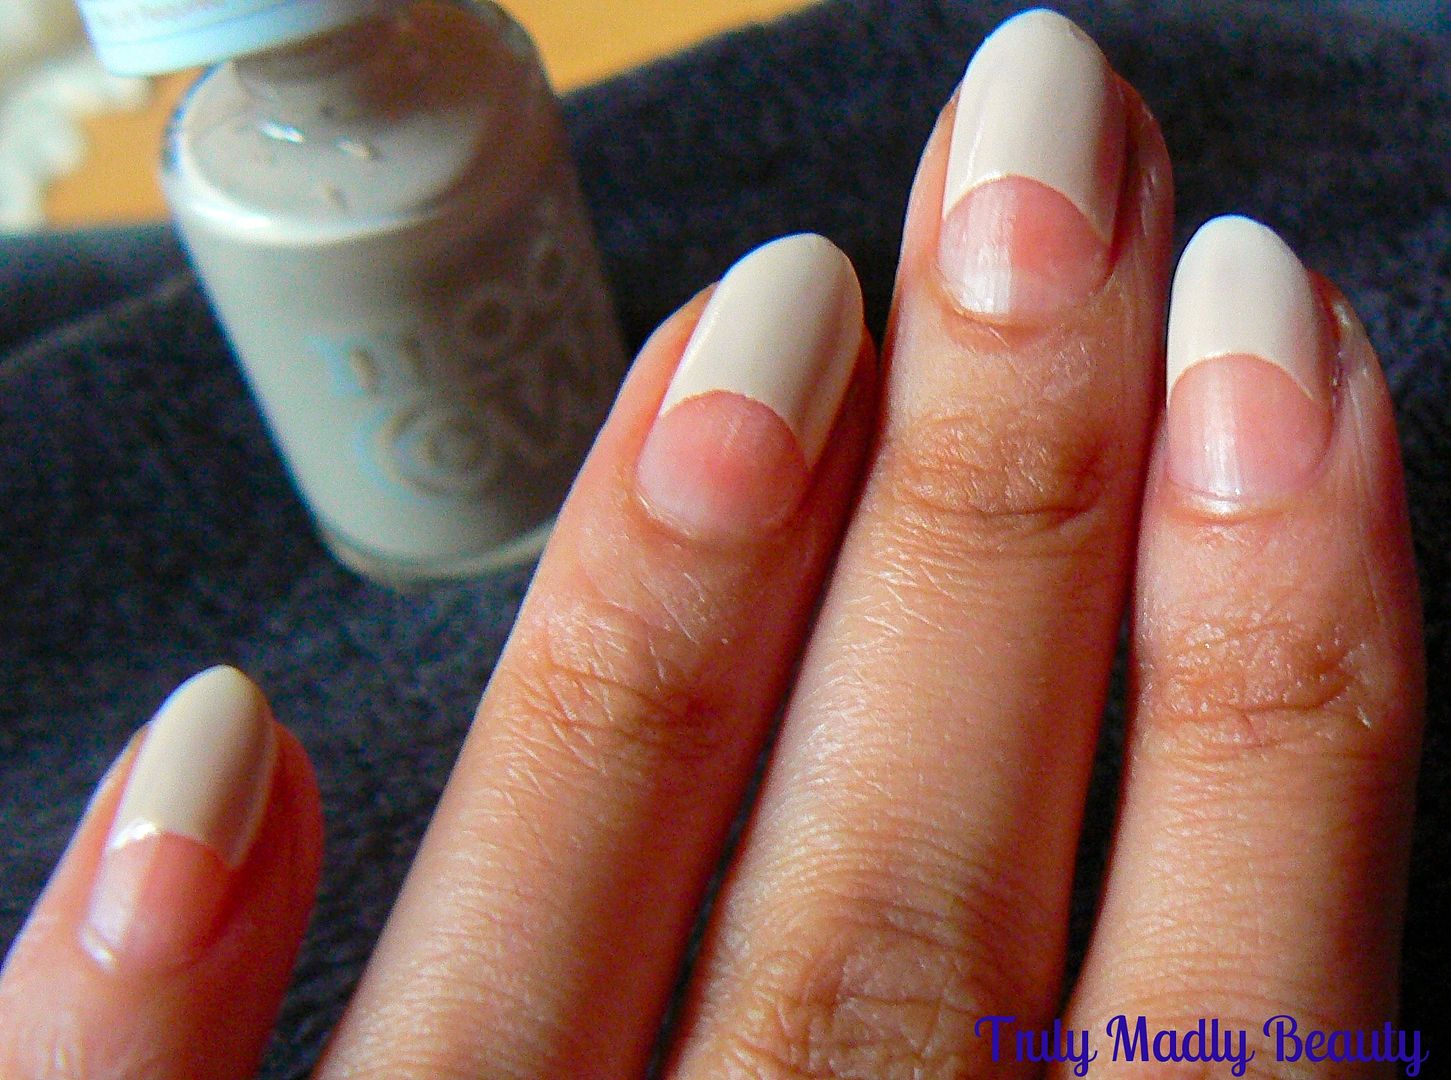
First
you need to apply your polish whilst leaving a semi-circle gap for
your Dream Catcher. I went for a lovely cream nude courtesy of Models
Own HyperGel in Naked Glow.
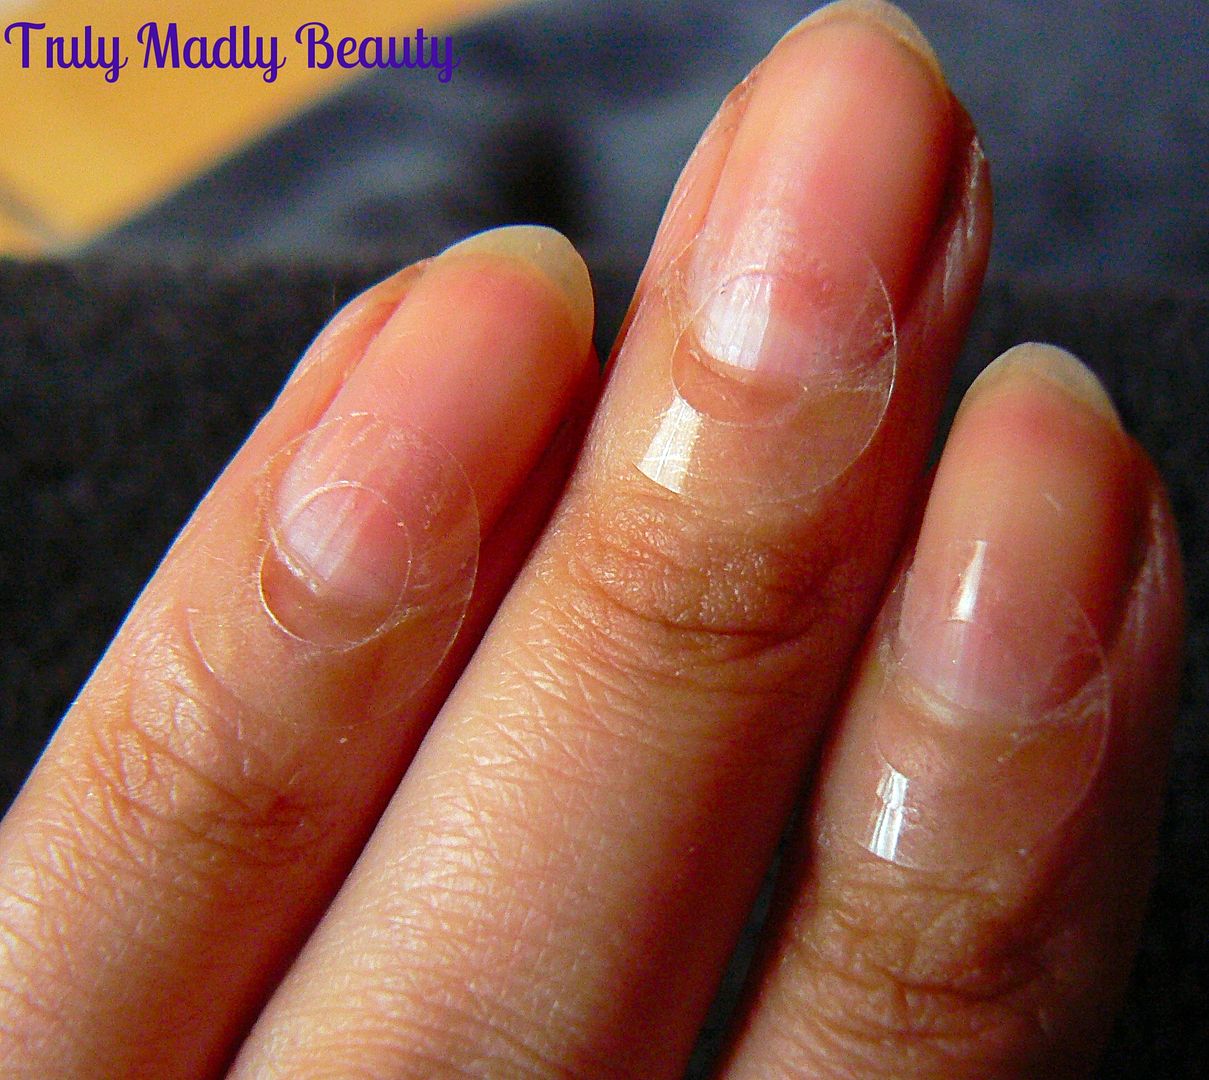
To help create the curved space I
simply used some hole punch reinforcer stickers which are perfect for
this. Just stick these onto the bottom half of the nail as shown.
As
the formula of the HyperGel polishes is quite thick I got away with
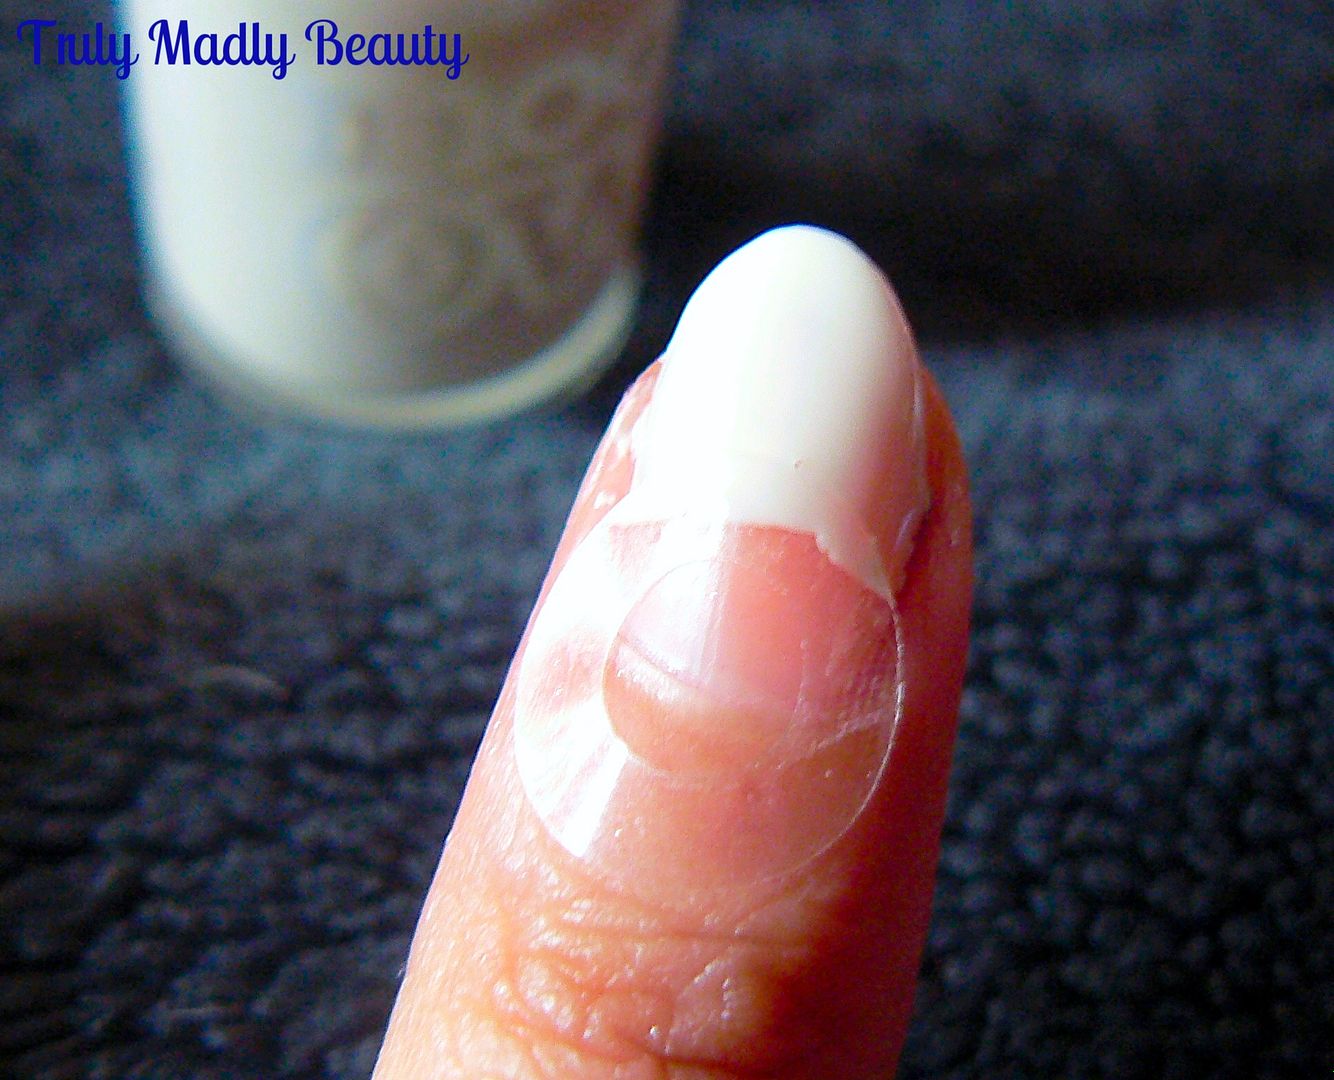
applying just a coat for a nice opaque finish. Once applied remove
the hole punch sticker whilst the polish is still wet (using a
tweezer makes this task easier) & clean up any smudges with a fine
brush & acetone.
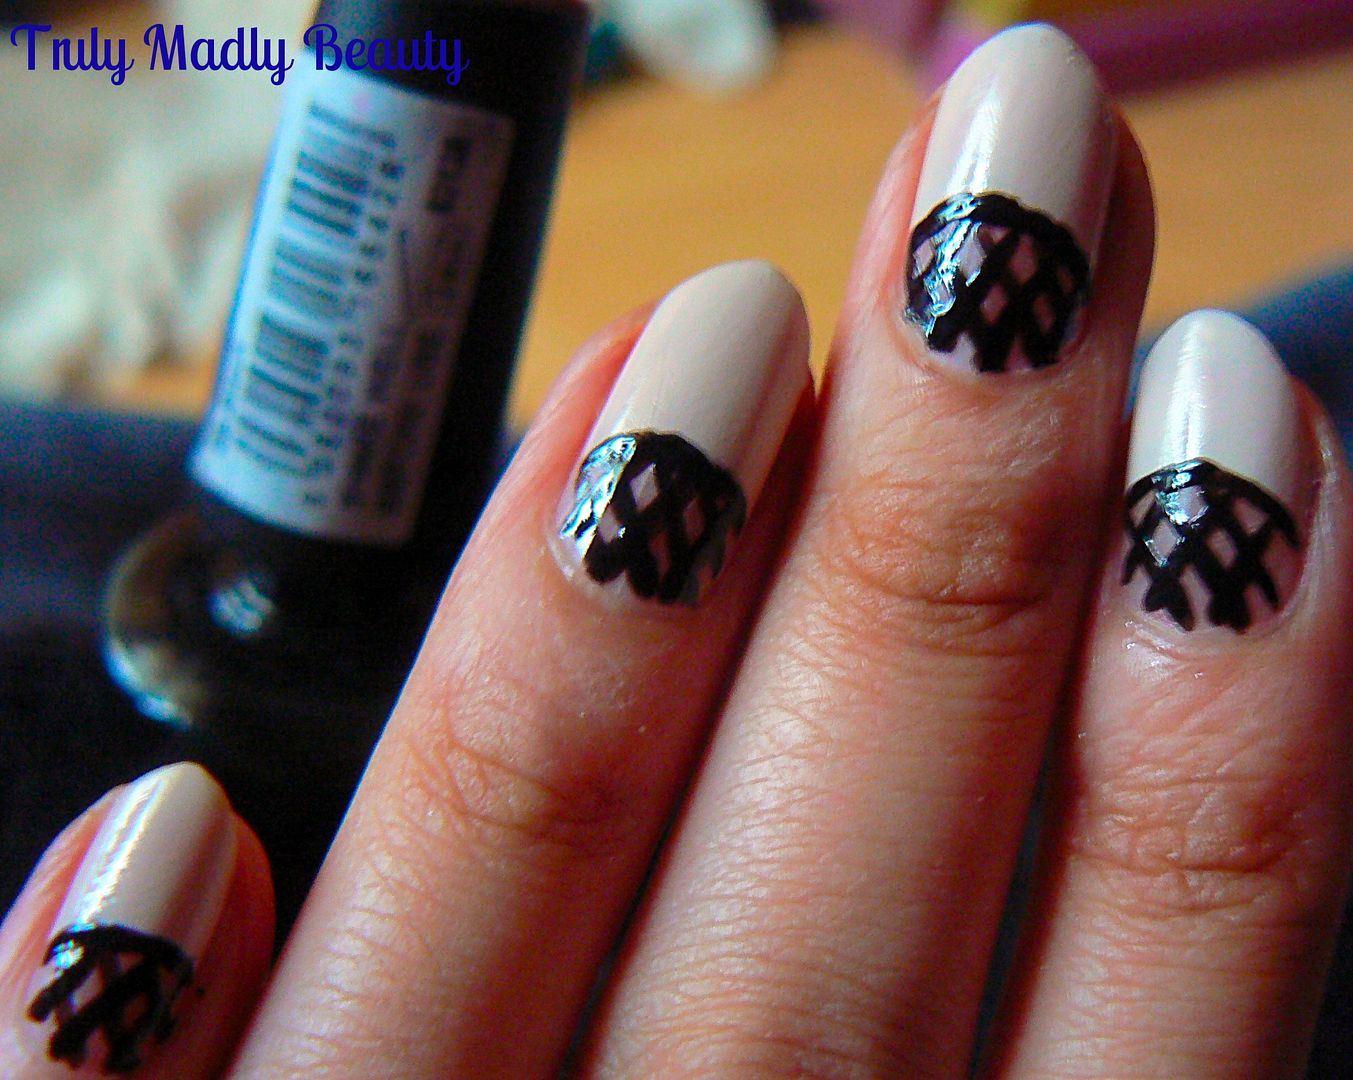
Now
to get to drawing your design. Grab your black polish, or whichever
colour you like, & a fine nail art brush. In to the bare nail
space apply a criss cross net pattern by drawing 3 diagonal lines &
3 more on top of those in the opposite direction. Apply a thin line of the black
polish around the curved edge of the nude polish.
Then
using a dotting tool, apply 3 dotted lines coming down from the net,
gradually reducing the size of the dot & making the centre line
slightly longer than the others. And hey presto you have your Dream
Catcher!
And
now time for the glitter! Here I've used a holo glitter from
ColorClub. Using whichever shade you like, grab your dotting tool
again & apply a blob of the glitter at the bottom of the two
outer streams.
At the bottom of the centre stream I applied a pretty
rhinestone, but you can stick with the glitter if you prefer!
Wait
for your polish to dry for a wee bit before sealing your design with
topcoat. And thats it!
Hope
you liked this design my lovelies, do let me know if you give it a
try! Thanks for reading!
Lotsa
love to ya!
Labels:
Color Club,
Glitter,
Model's Own,
nail art,
NOTD,
Nude,
Rhinestone,
Sparkle,
Tutorial
7.03.2016
Fourth of July Drip Nails Tutorial!
Hello
there lovely readers!
Hope
you're all having a top weekend, especially my American beauts on the
other side of the pond! Oooh what I wouldn't give to be back in the
states right now as this weekend sees the US celebrating its Fourth
of July Independence Day meaning days of fab parties & fun times.
Naturally
I couldn't resist marking the occasion in the way I know best &
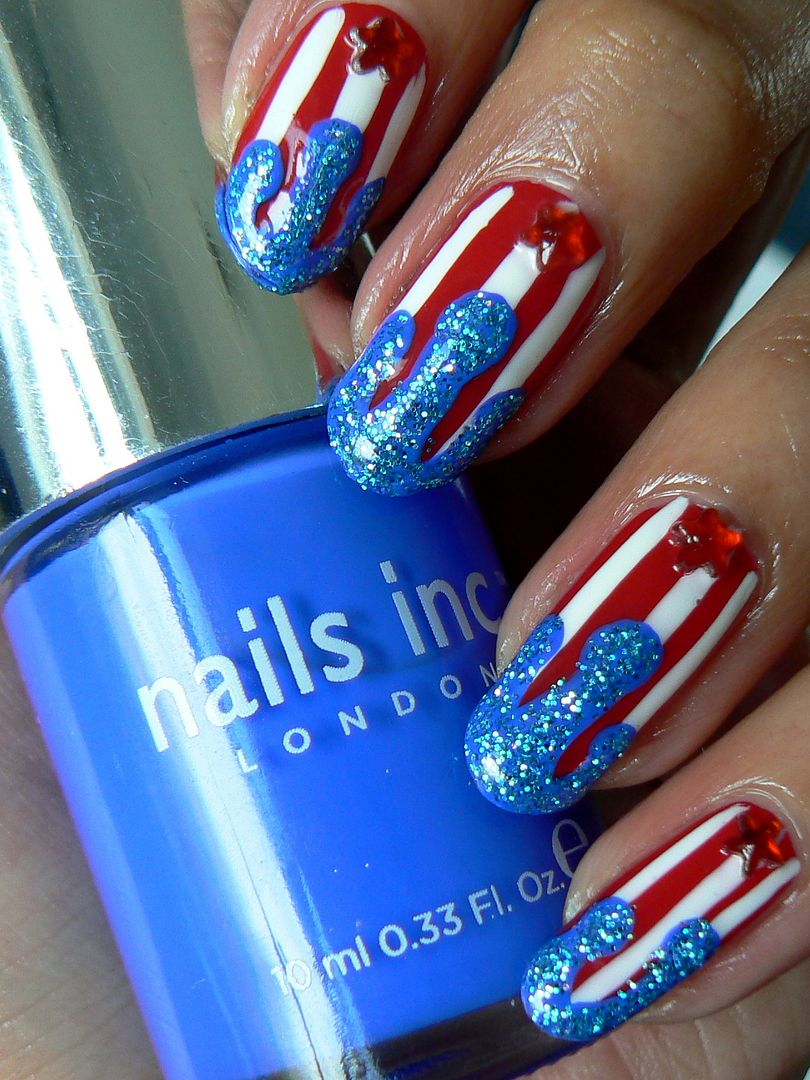
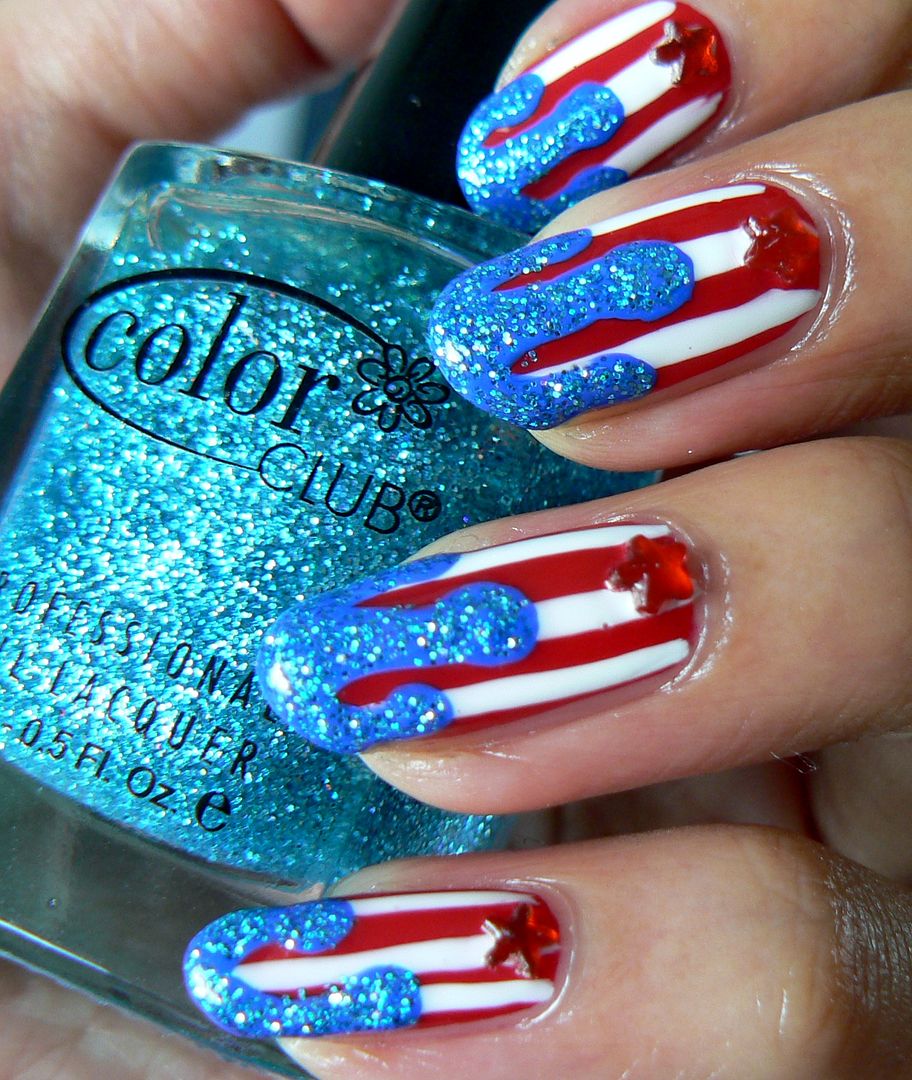
getting my nail art on. Using the American patriotic colours of
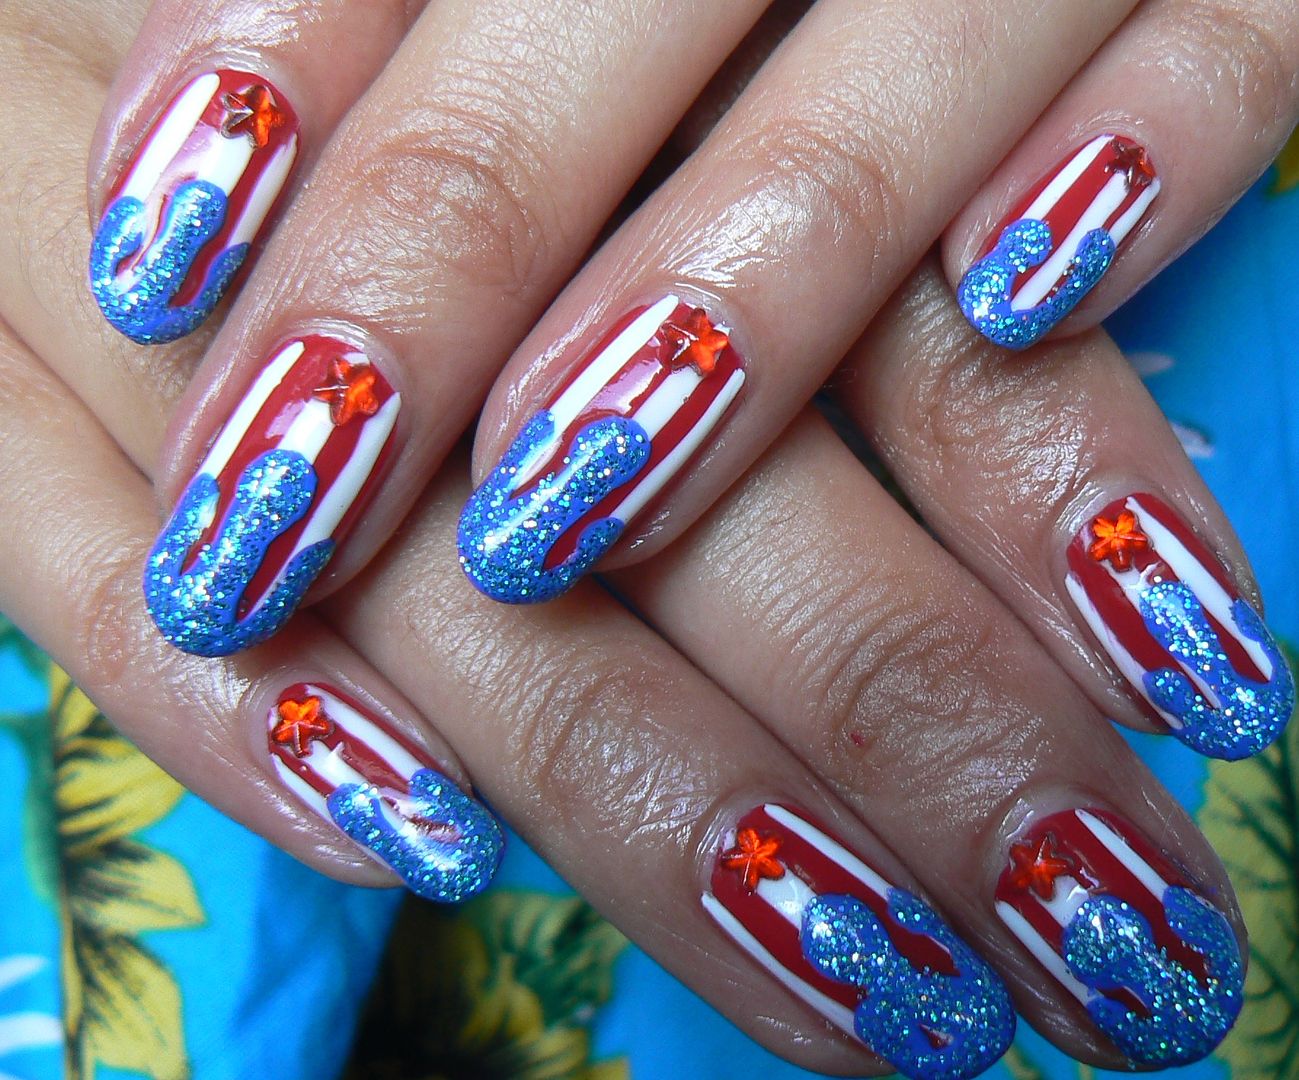
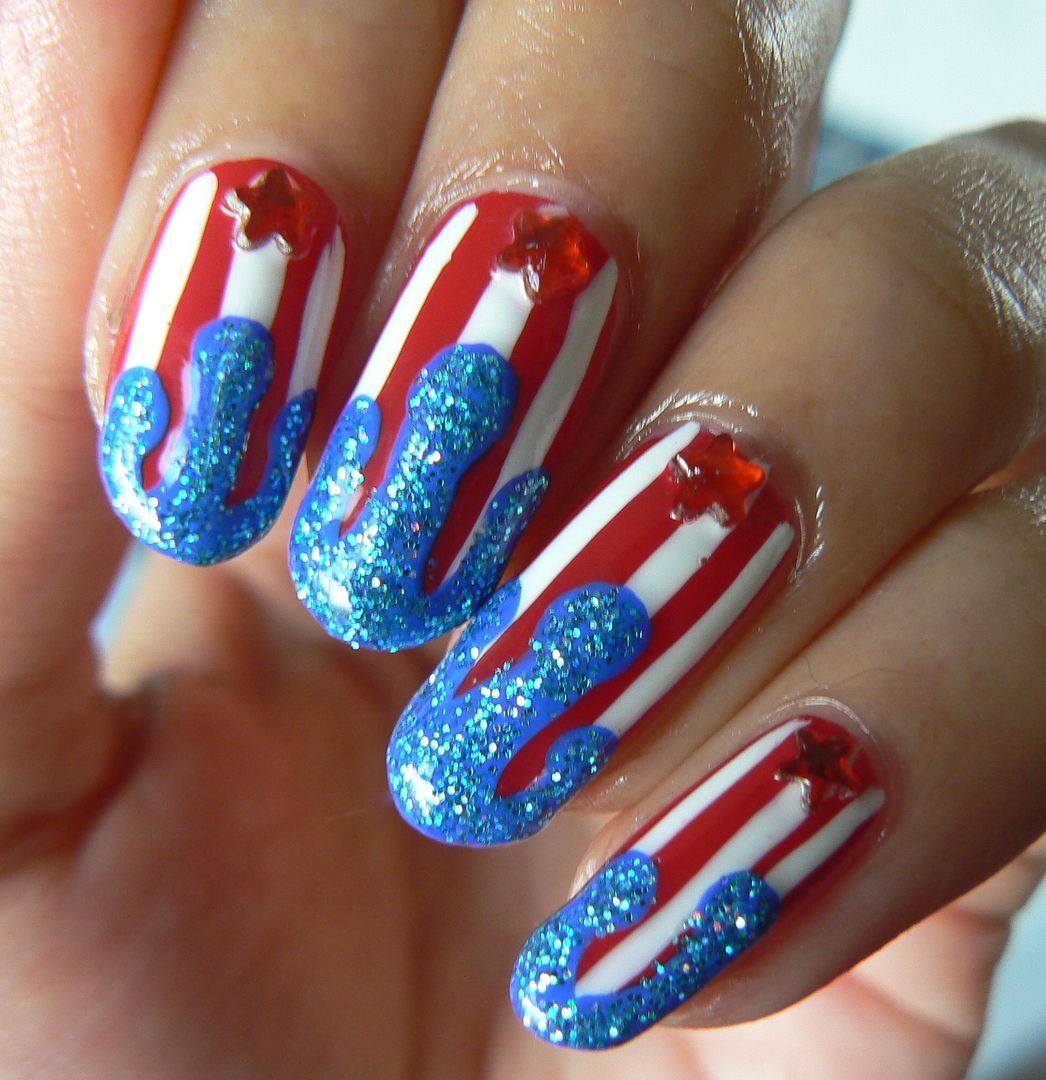
red, white & blue I went for some dripping glitter Fourth of July
Nails plus I've done a step by step tutorial so you can create these
too!
I saw a picture of a similar design in a Daily Mail article of all
places & thought ooooh what a fun & innovative way to do
patriotic nails! Plus I love drip nail art (see my chocolate drip
nails on the left of the page) & haven't done the design in
yonks, perfect time to remedy that with this :)
If
you want to re-create this design as well then keep on reading
dolls...
First
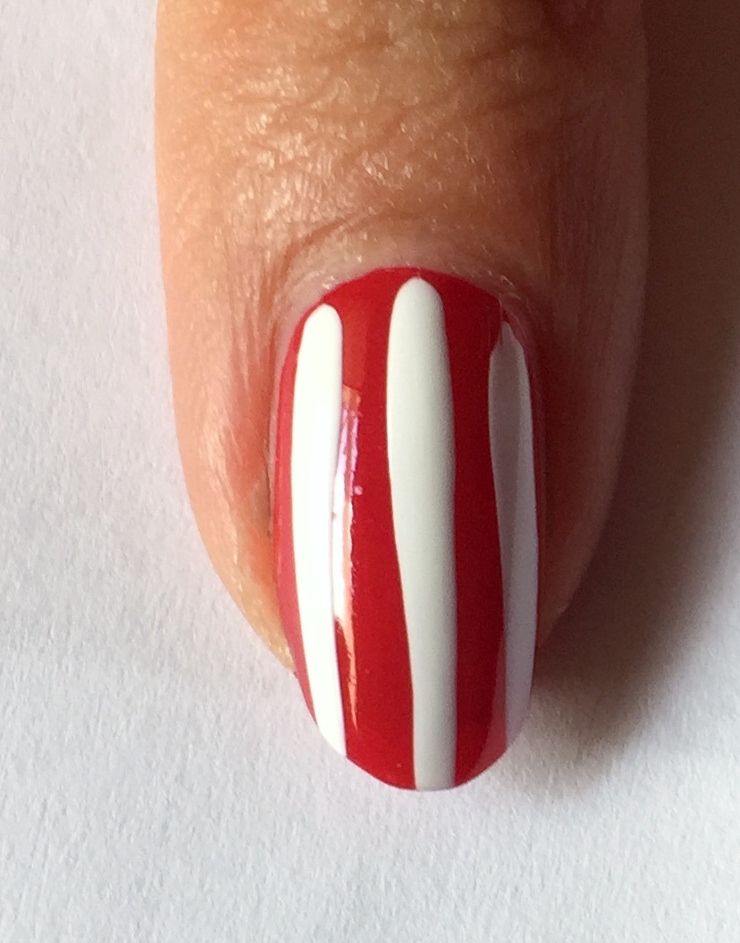
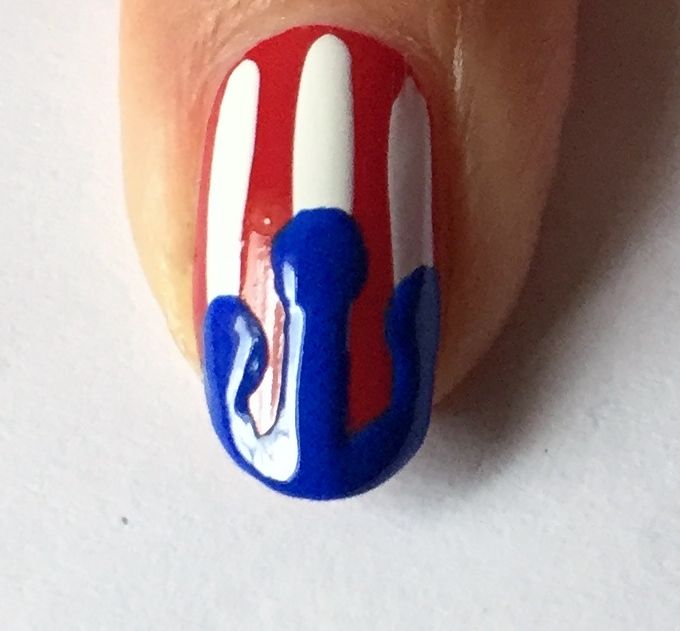
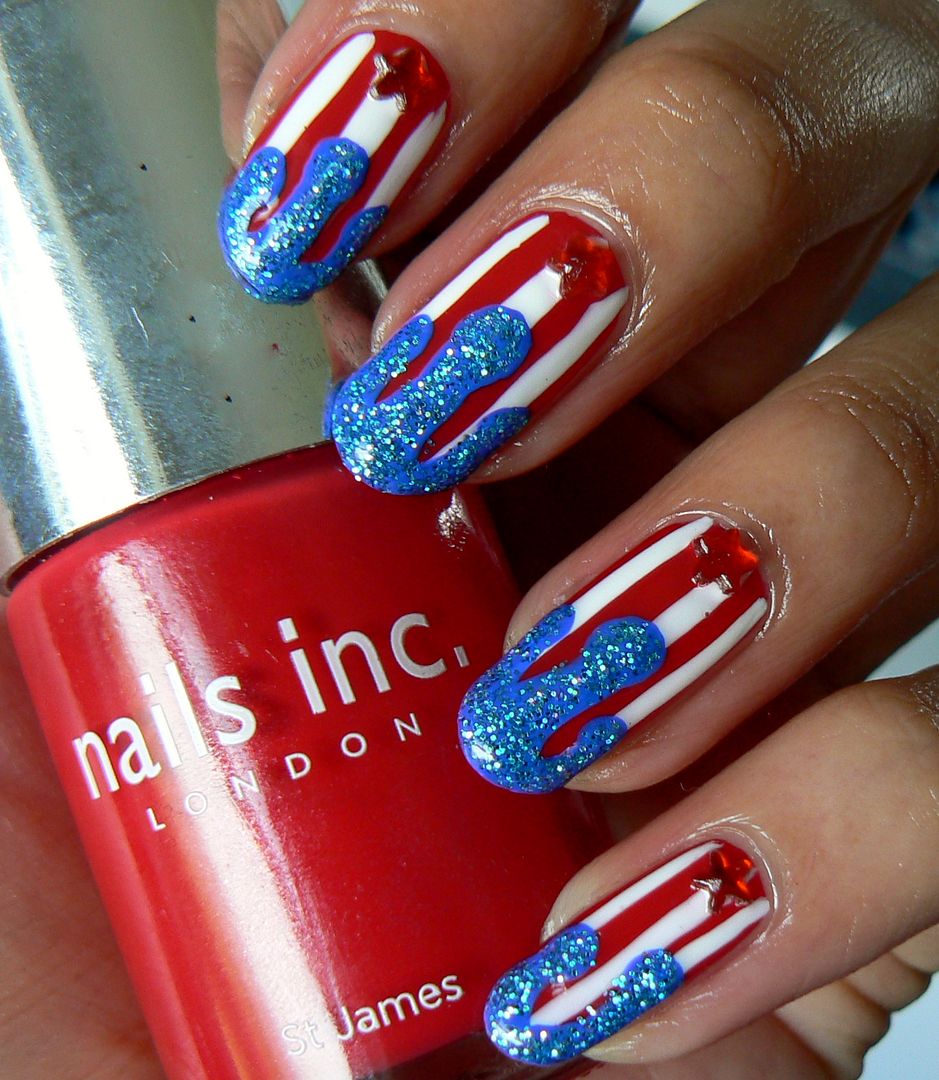
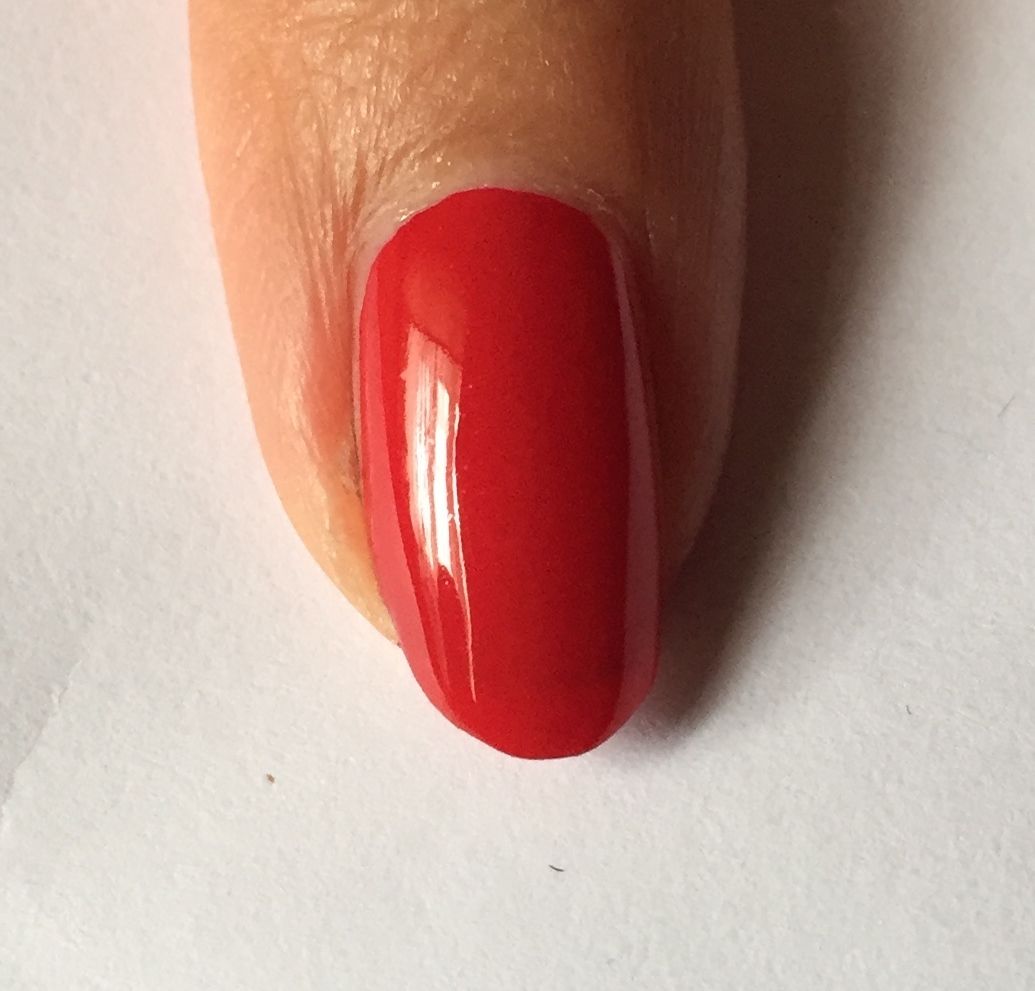
start with your red base, here I've applied just one coat of Nails
Inc St James as I knew there would be a few layers of polish on top &
didn't want to overdo it.
Then
using the thin striper brush from my Models own white nail art pen I
applied three vertical stripes down the length of the nail.
Now
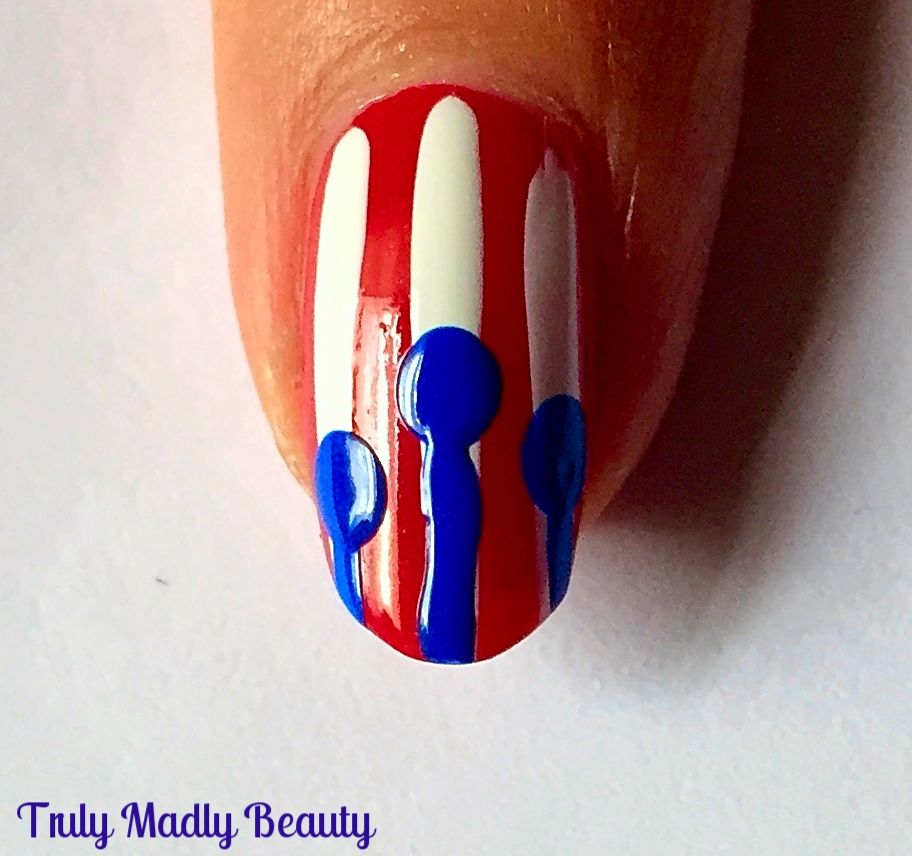
for the drips! Start by applying three dots on to the nail using a
dotting tool as shown with your chosen blue polish, here I've used
Nails Inc Baker Street.
Next,
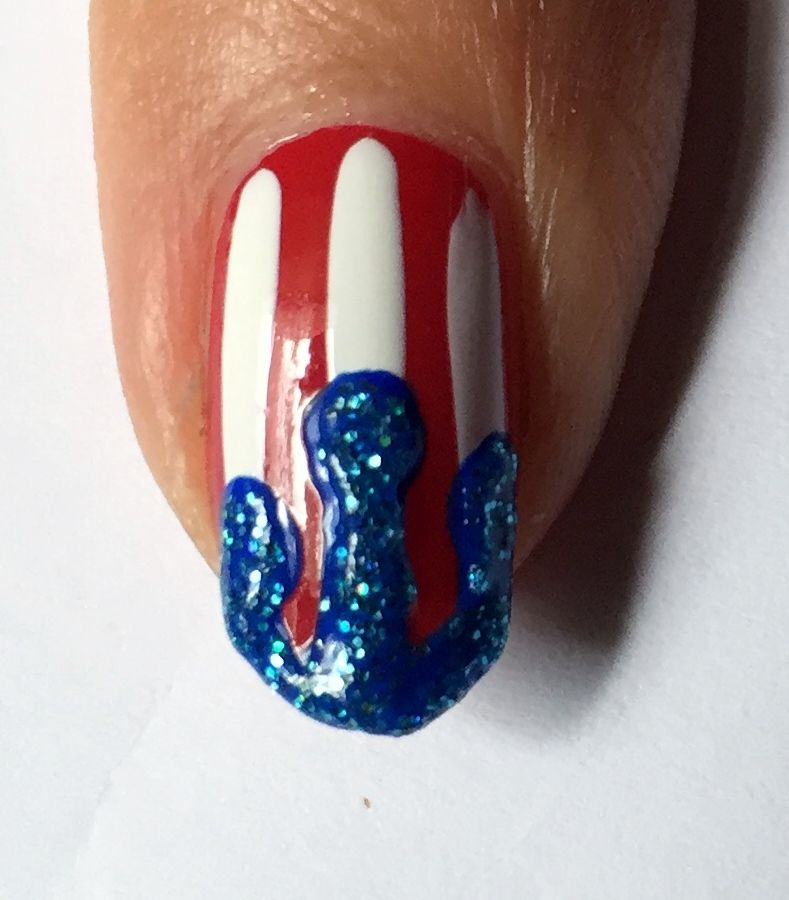
using a thin nail art brush, draw three vertical lines going down
from your dots to the tips.
Using
the same thin brush, curve the edges of the straight lines into your
dots as well as applying polish along the tips of your nails to create
your drip effect!
You
can skip this next step but my inner magpie was calling for an extra
bit of sparkle so I applied a bit of blue blingy glitter polish from
Color Club on top.
For
a final touch I just applied a wee red star rhinestone underneath my
drips to finish.
Apply
your topcoat & you're done! Sparkly Fourth of July nails ready for Independence Day party celebrations!
Thanks as always for reading!
Have a fab weekend whatever you may be doing my dears!
Lotsa
love to ya!
Labels:
Blue,
Color Club,
Fourth of July,
Glitter,
Independence Day,
nail art,
Nail Art Tips,
Nails Inc,
NOTD,
Patriotic,
Red Nails,
Tutorial,
White
5.12.2016
NOTD - Stained Glass Swirl Nails & Tutorial!
Hey
there lovely readers!
If
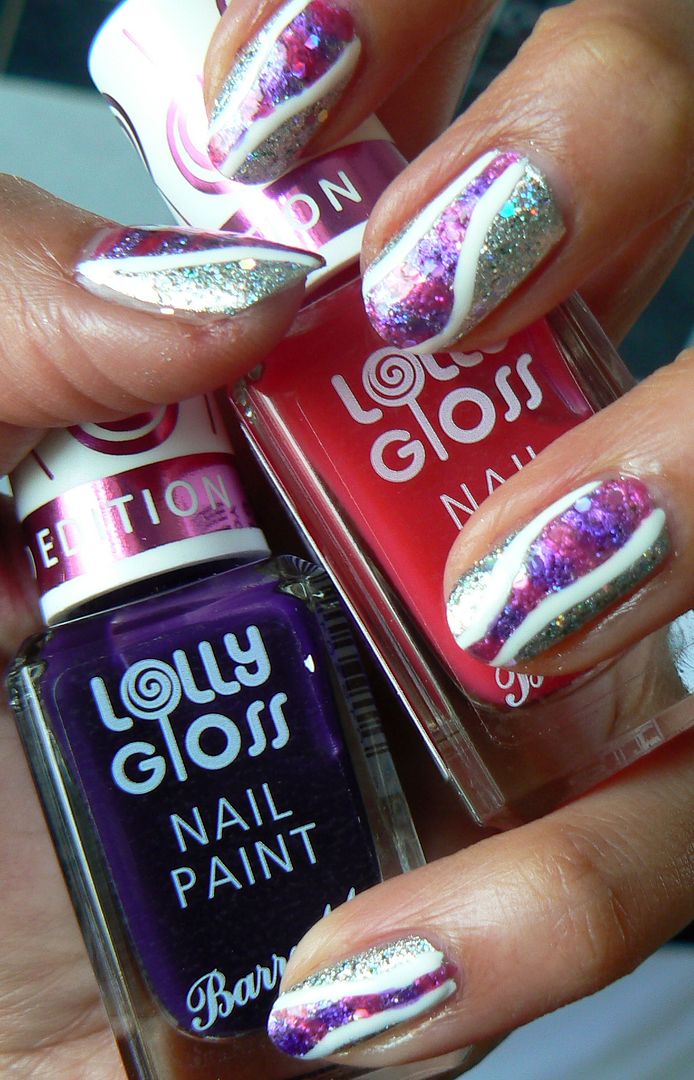
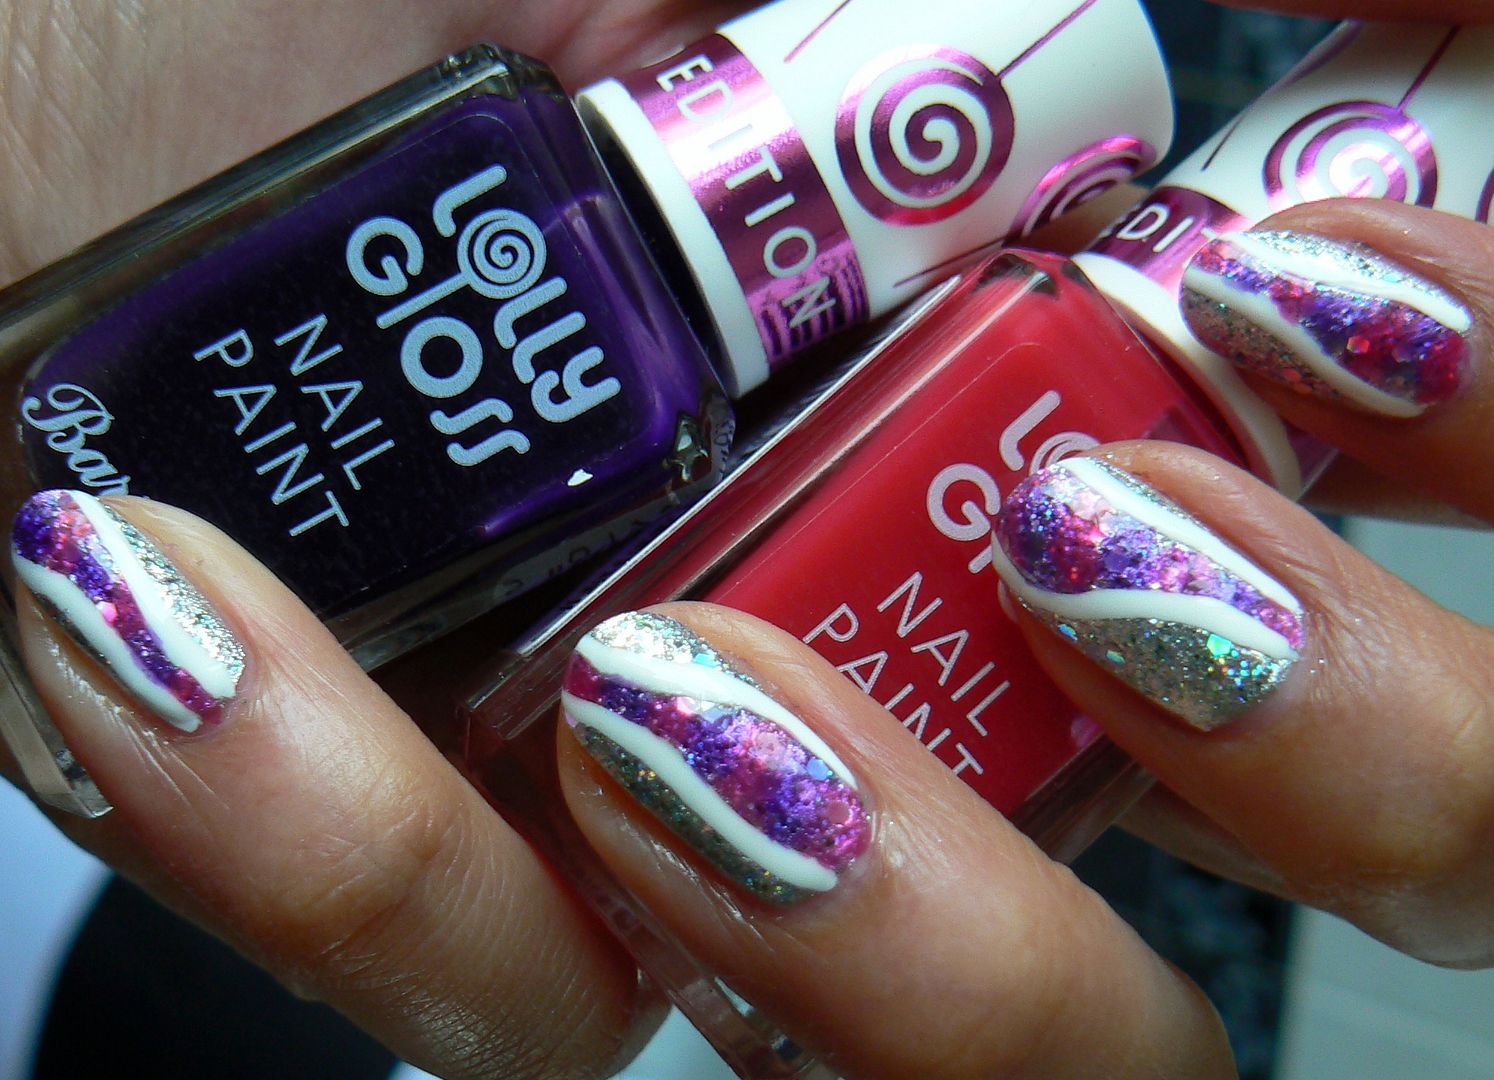
you caught my last post, I recently added a few of the new Barry M
releases to my collection including the Limited Edition Lolly Gloss
Paints in Pink Candy and Purple Pop. You can see swatches of these
sweet juicy jelly shades HERE.
These
polishes are sheer formulas therefore perfect for a bit of nail art
experimentation! You can smoosh all the jellies together to create a
marbled effect, apply on top of another shade to create a whole new
one, dab on to silver or white for a watercolour rainbow look, similar to what
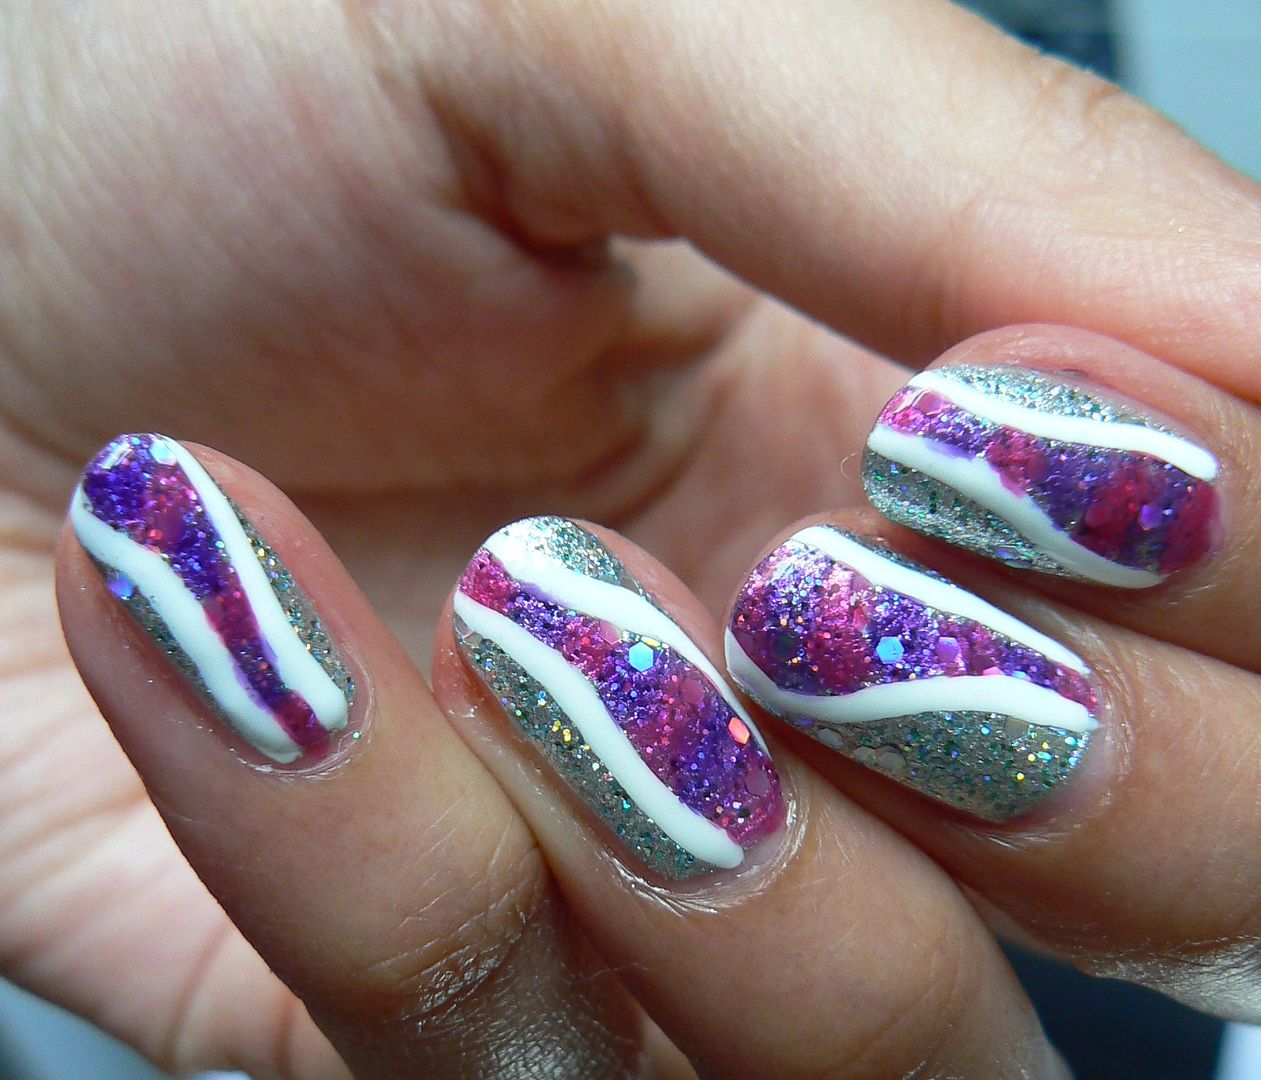
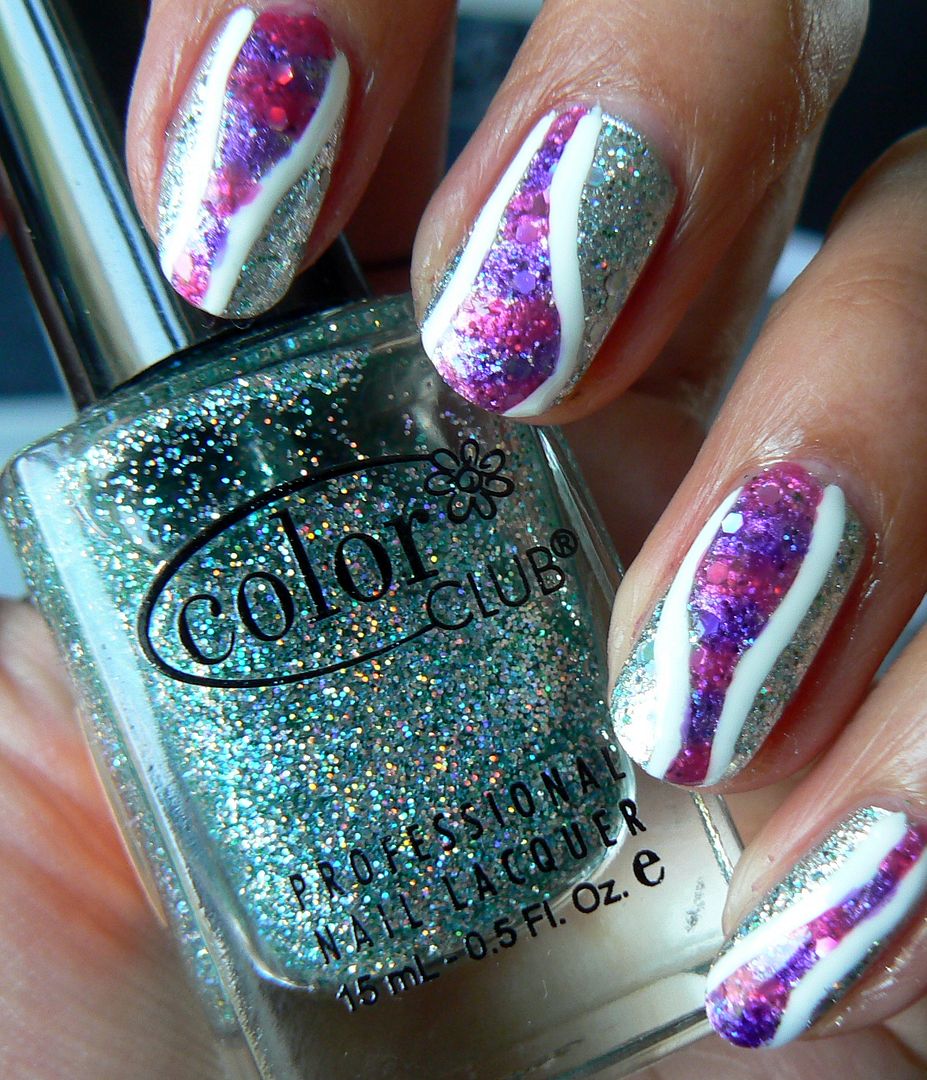
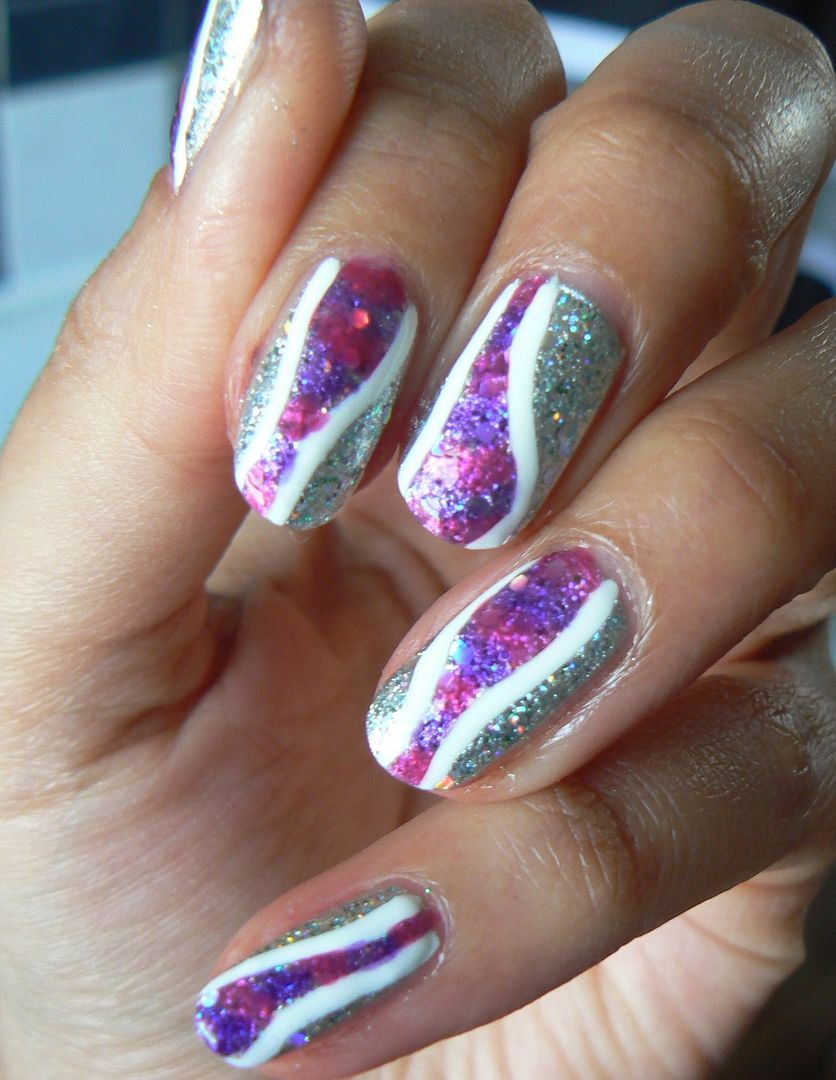
I've done HERE. I decided to do a stained glass type effect using the
Lolly Gloss on top of silver & glitter & this is what I came
up with...
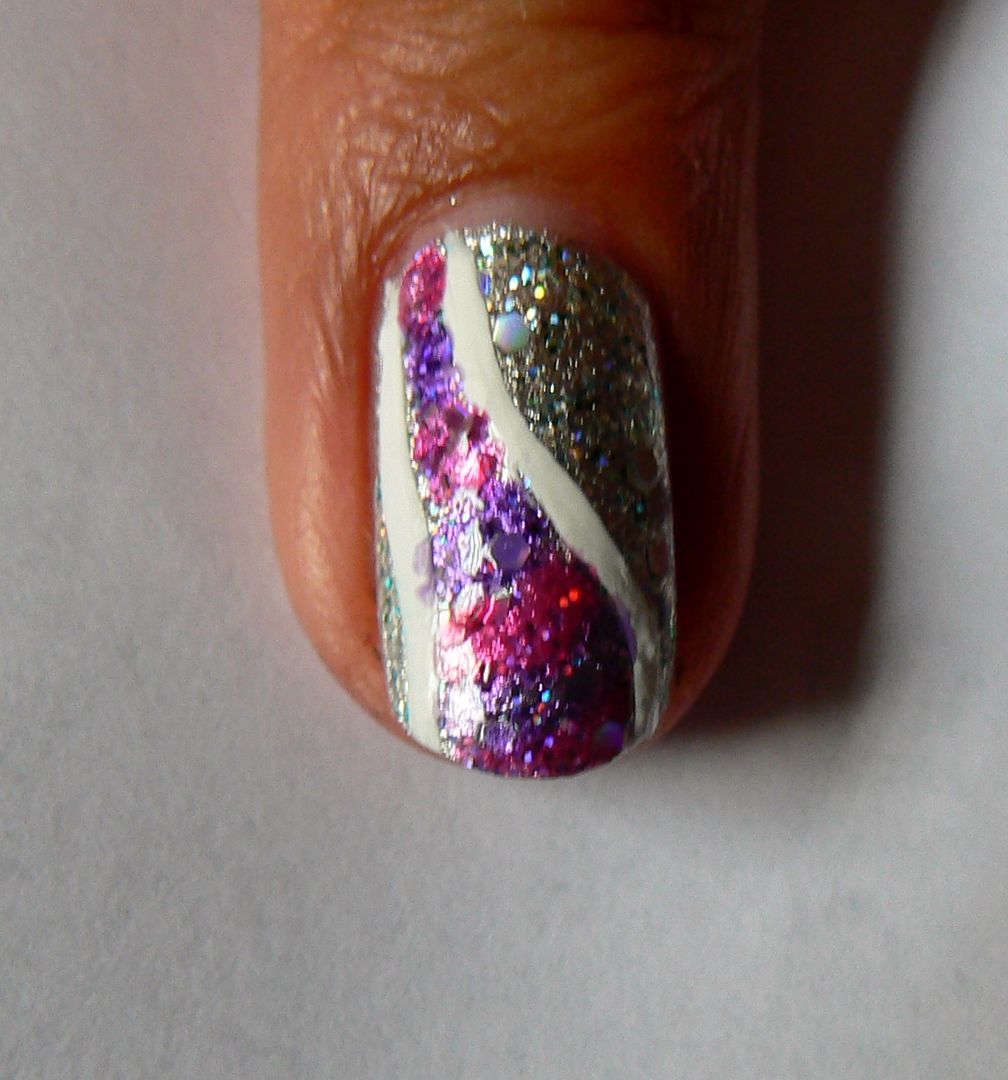
Instead
of going over the whole nail I decided to just add the pop of colour
in the centre in a swirl down the nail.
For
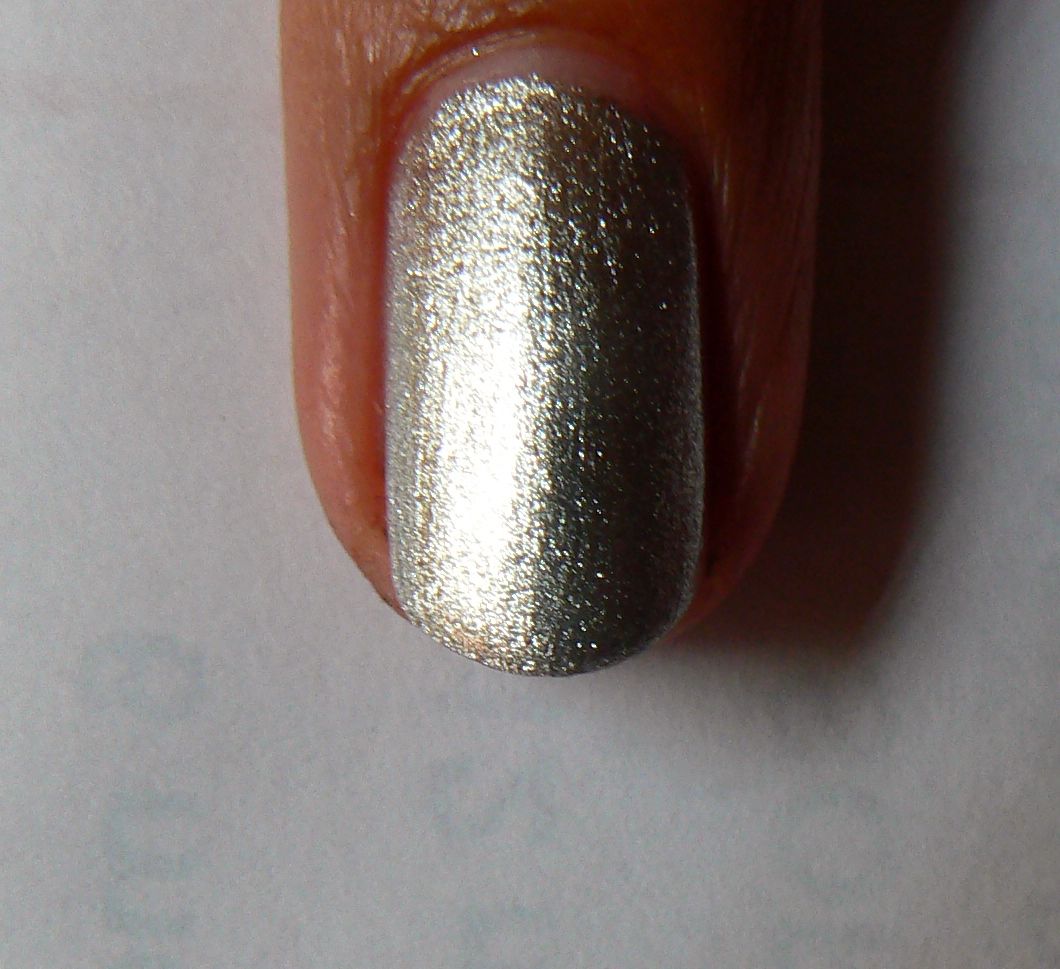
my base to really make the Lolly Paints pop I used not just silver
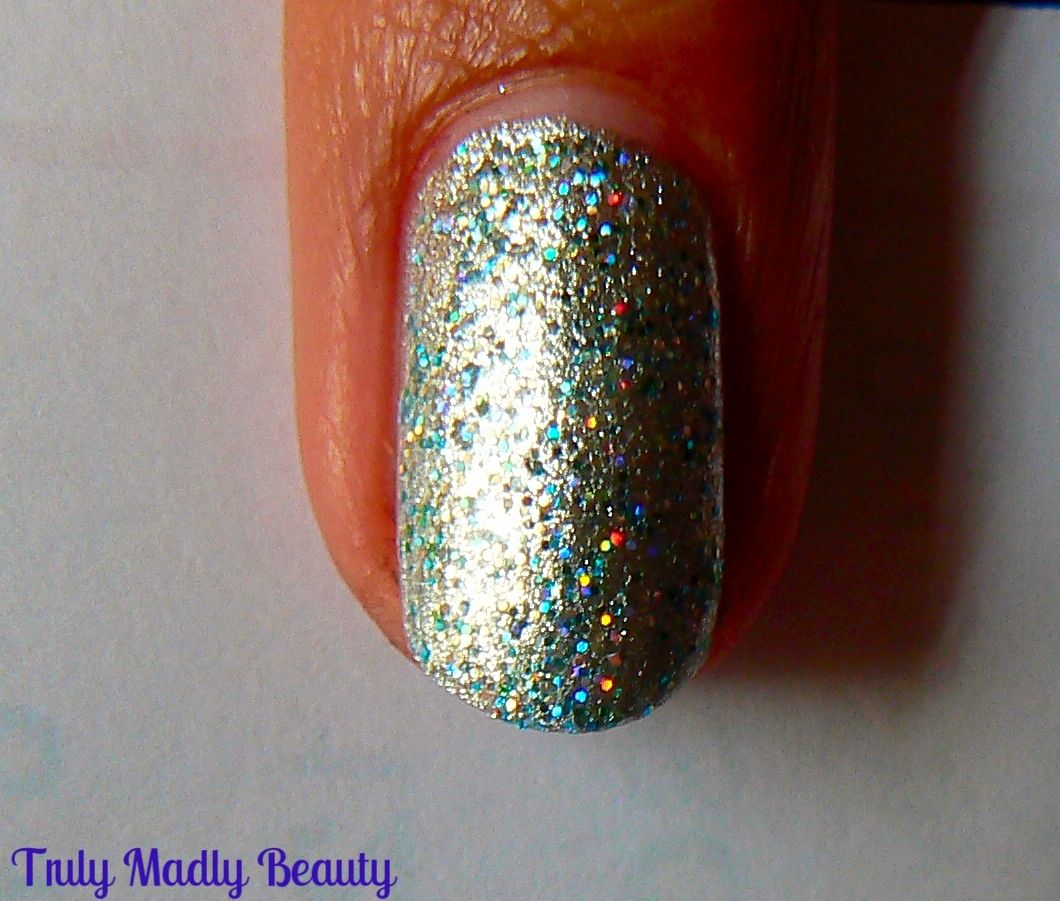
but also a holographic glitter for extra sparkle!
To
create the design I've done a simple step by step tutorial for you so
you can recreate these too...
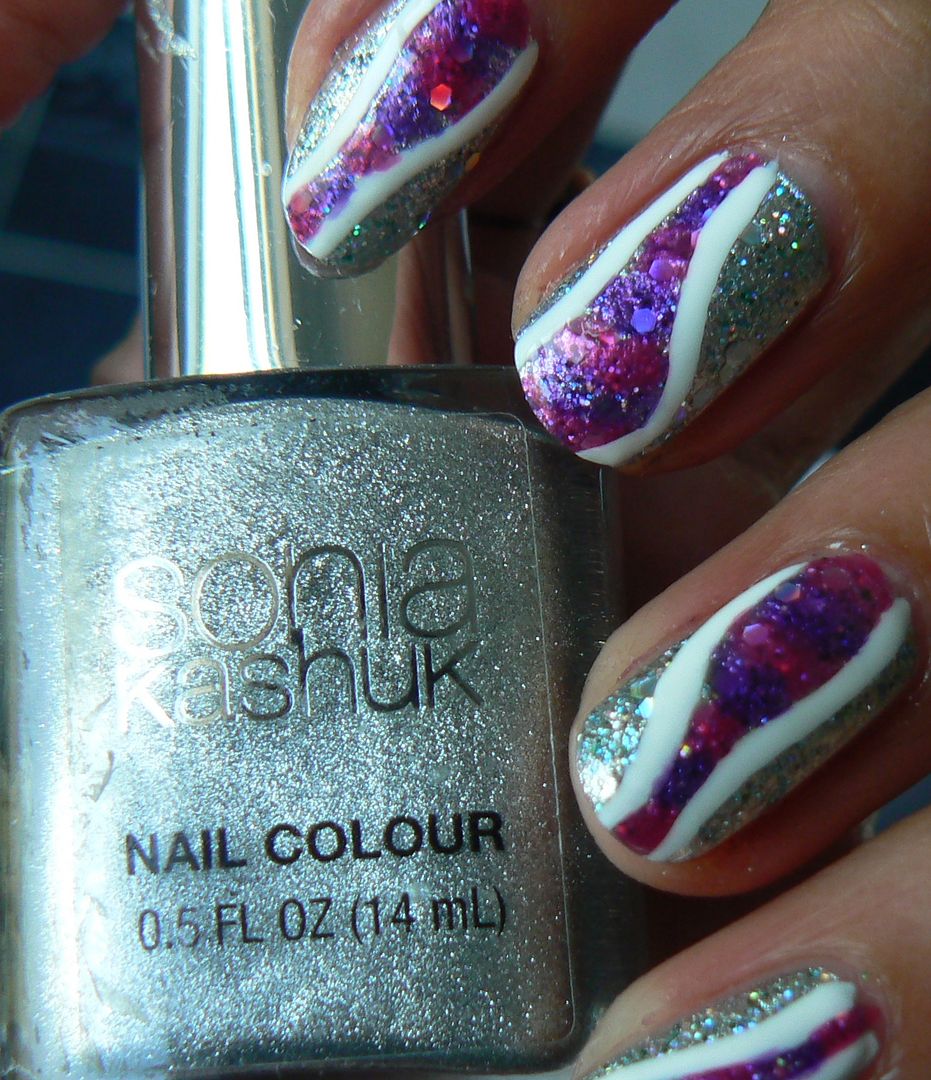
Start
with your silver base, here I've applied one coat of Sonia Kashuk
Smoke and Mirrors.
Next
apply your holo glitter, the one I've used here is by Color Club &
contains a rainbow of macroglitter that really makes the silver go
disco!
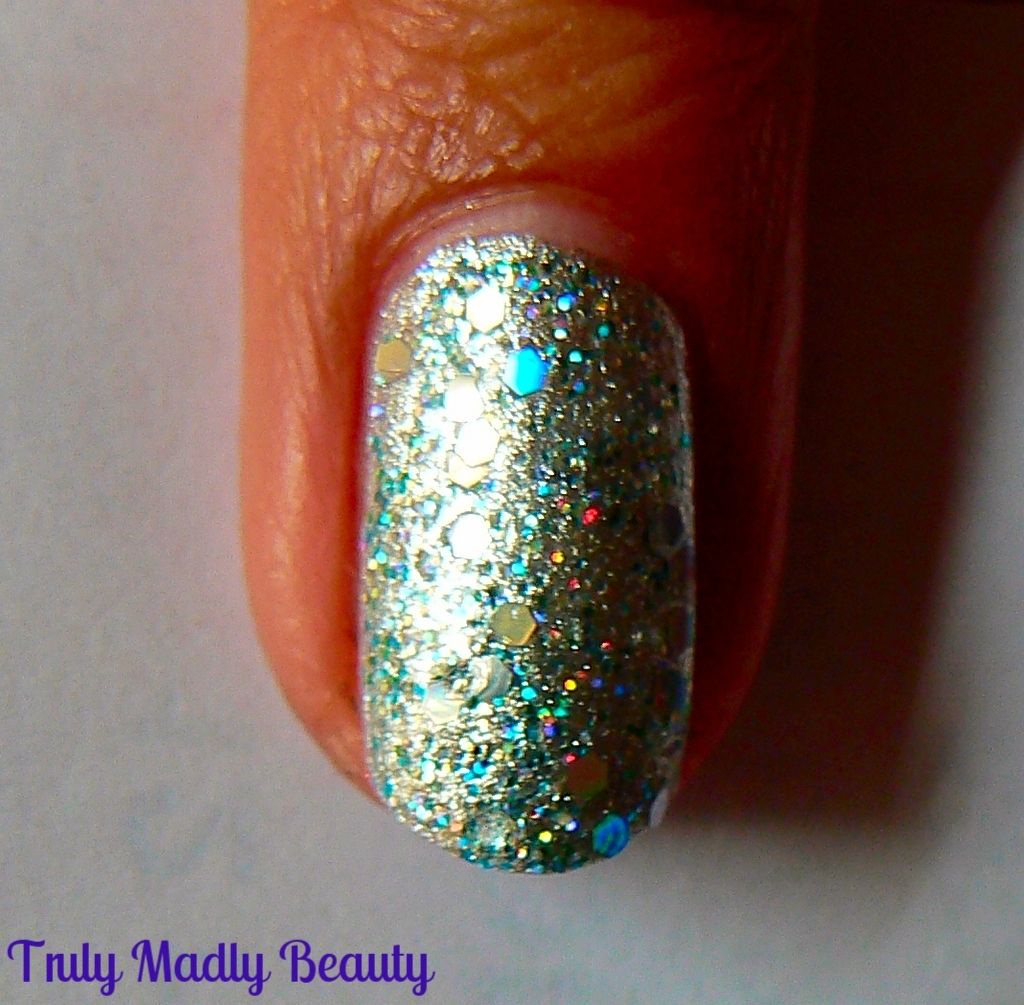
This
was an additional step that you can skip but being the glitter fiend
that I am I couldn't resist adding on a few large hexagonal holo
glitter pieces using Barry M's Hologram
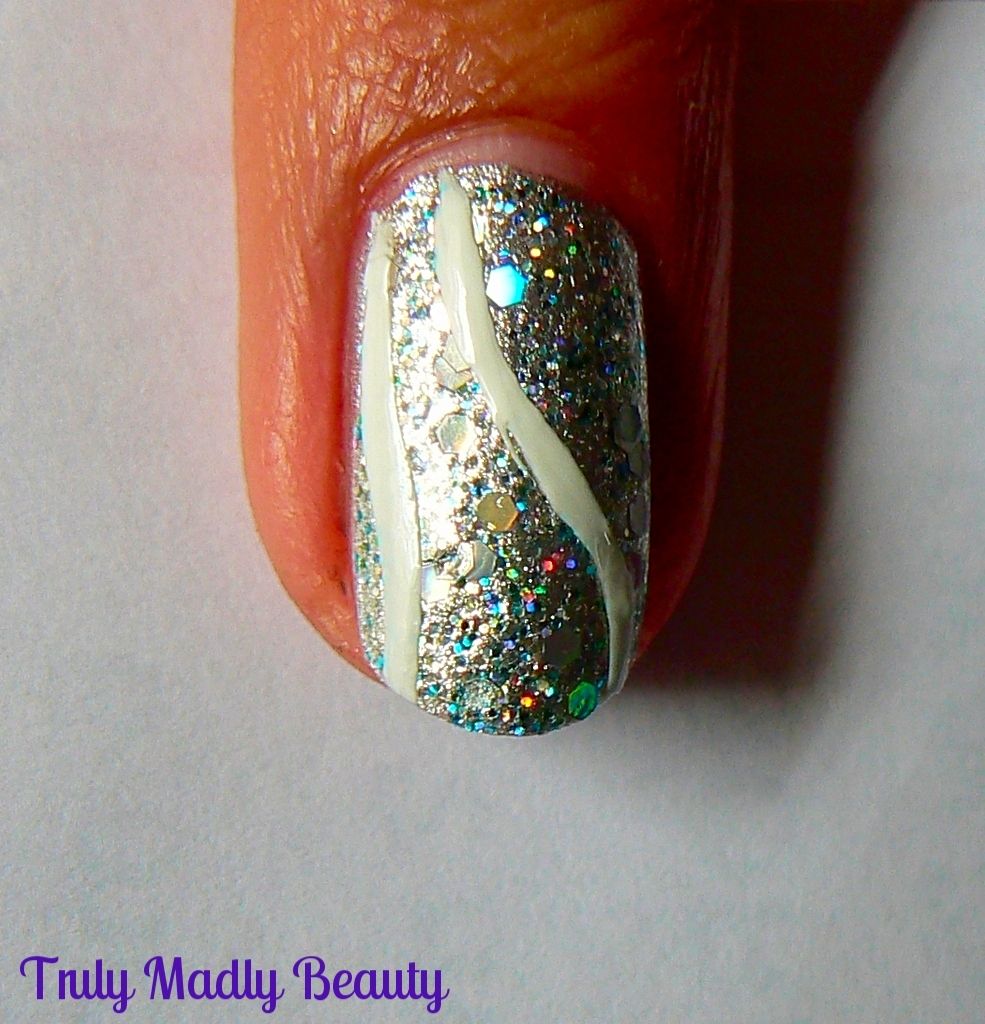
Next
apply the white outline of where you want your stained glass pop of
colour to be, using a nail art pen or some white polish & a thin
brush
Then
using 2 more smaller nail art brushes as the brushes that come with
the polish will be too big/thick,start applying each of the Lolly
Gloss Paints, here I have Pink Candy & Purple Pop, alternating
between the two until you fill in the whole shape.
Don't
worry if the colours merge into each other, you kind of want that to happen
to help create the effect!
Once
done, go over the white outline again, before finishing with a coat
of topcoat & thats it!
Super
sparkly stained glass effect nails! If there had been more shades
available I would have definitely picked up more to create a
multicolored rainbow finish! Hint hint Barry M... ;)
Hope
you liked the design dolls, do let me know if you give these a try or
have created your own designs using these or similar tinted polishes,
I would love to see!
Lotsa love to ya!
Labels:
Barry M,
Color Club,
Glitter,
holographic,
Jelly,
nail art,
NOTD,
sheer tint,
Silver,
Sonia Kashuk,
Sparkle,
stained glass,
Tutorial
12.23.2015
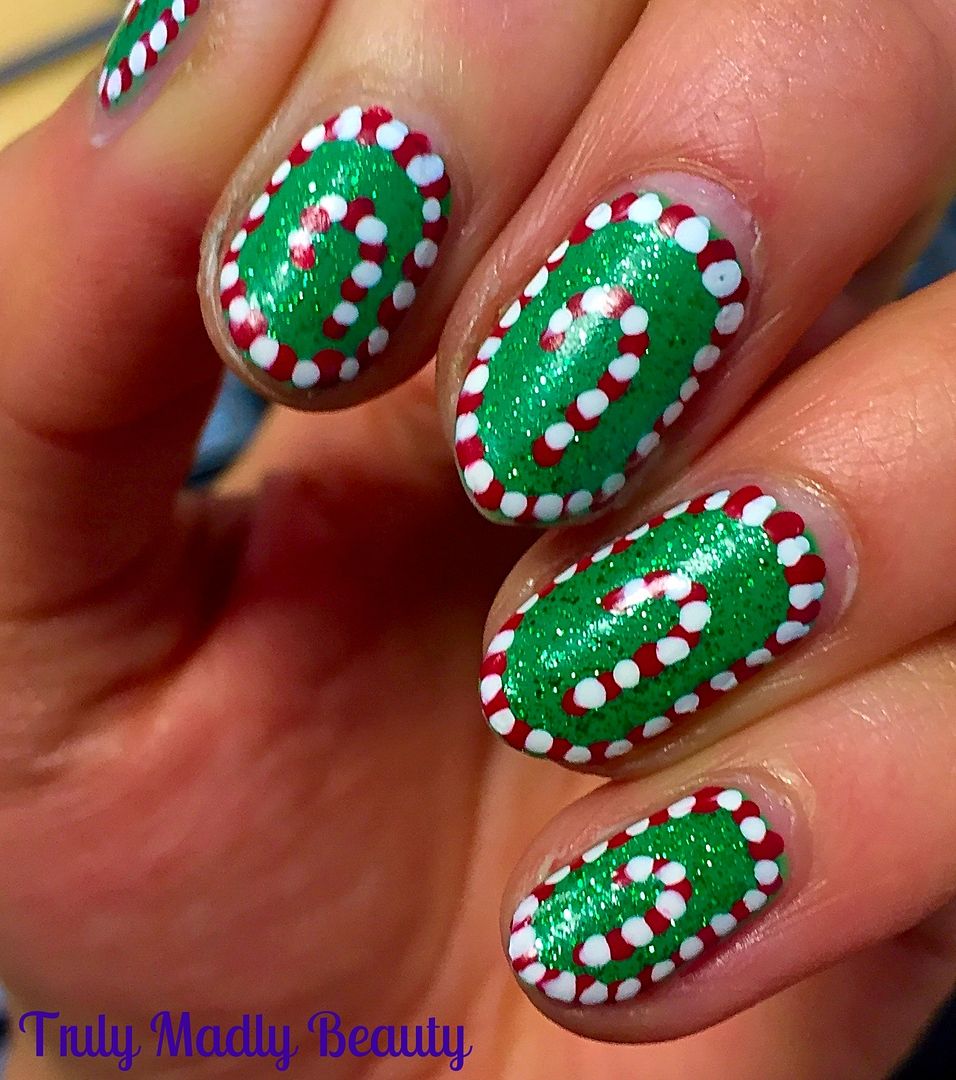
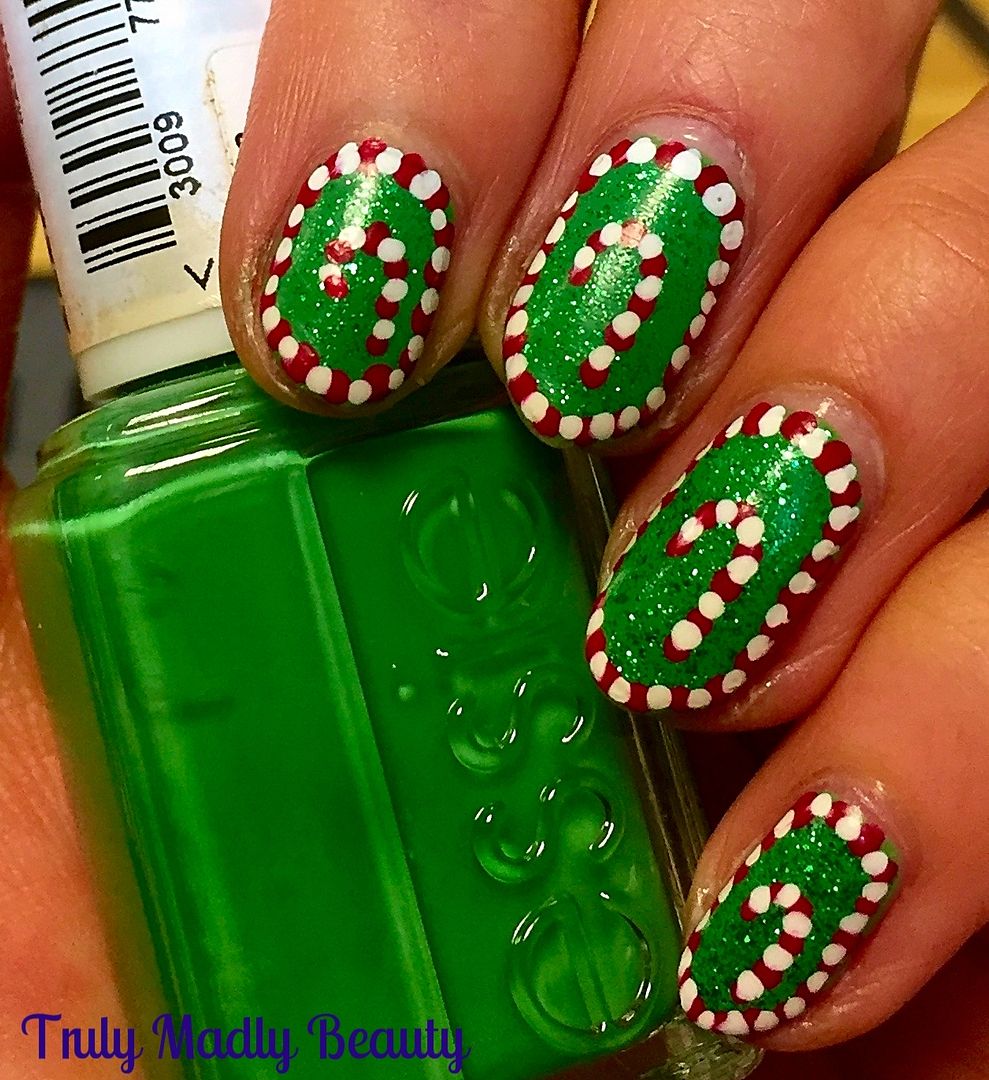
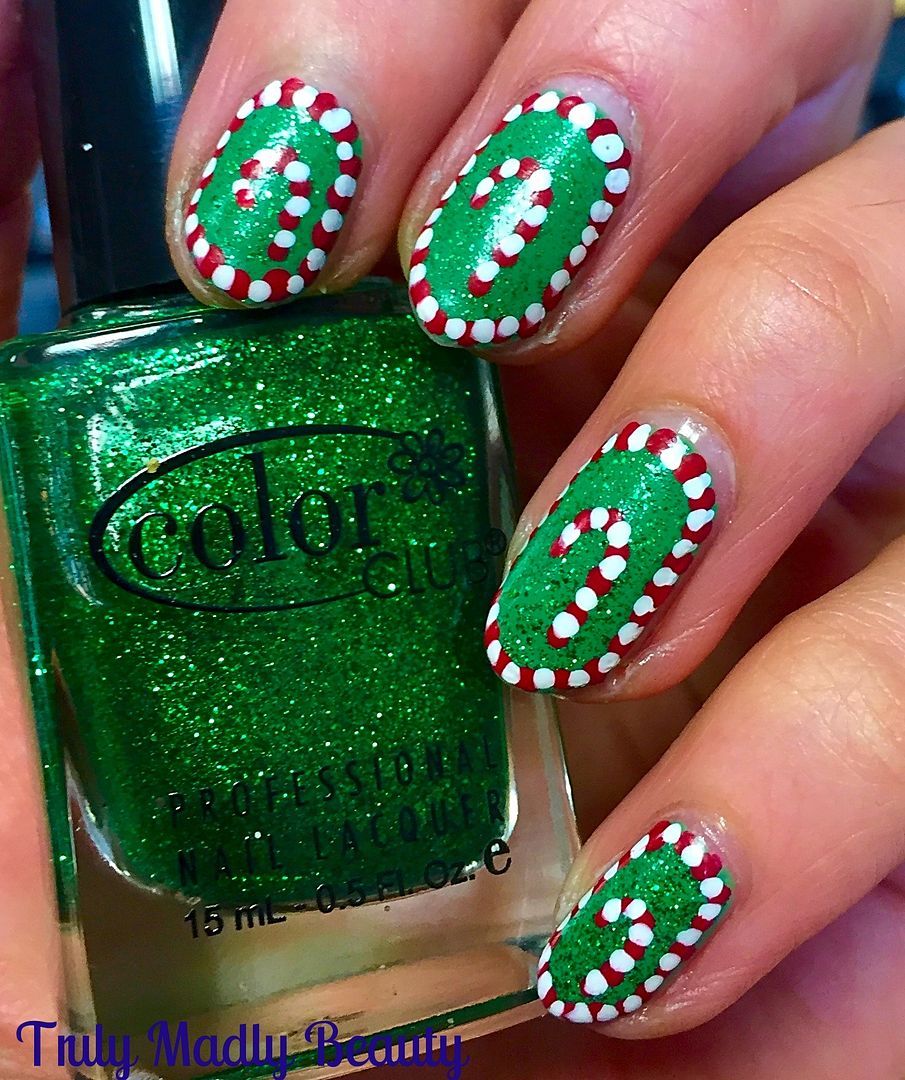
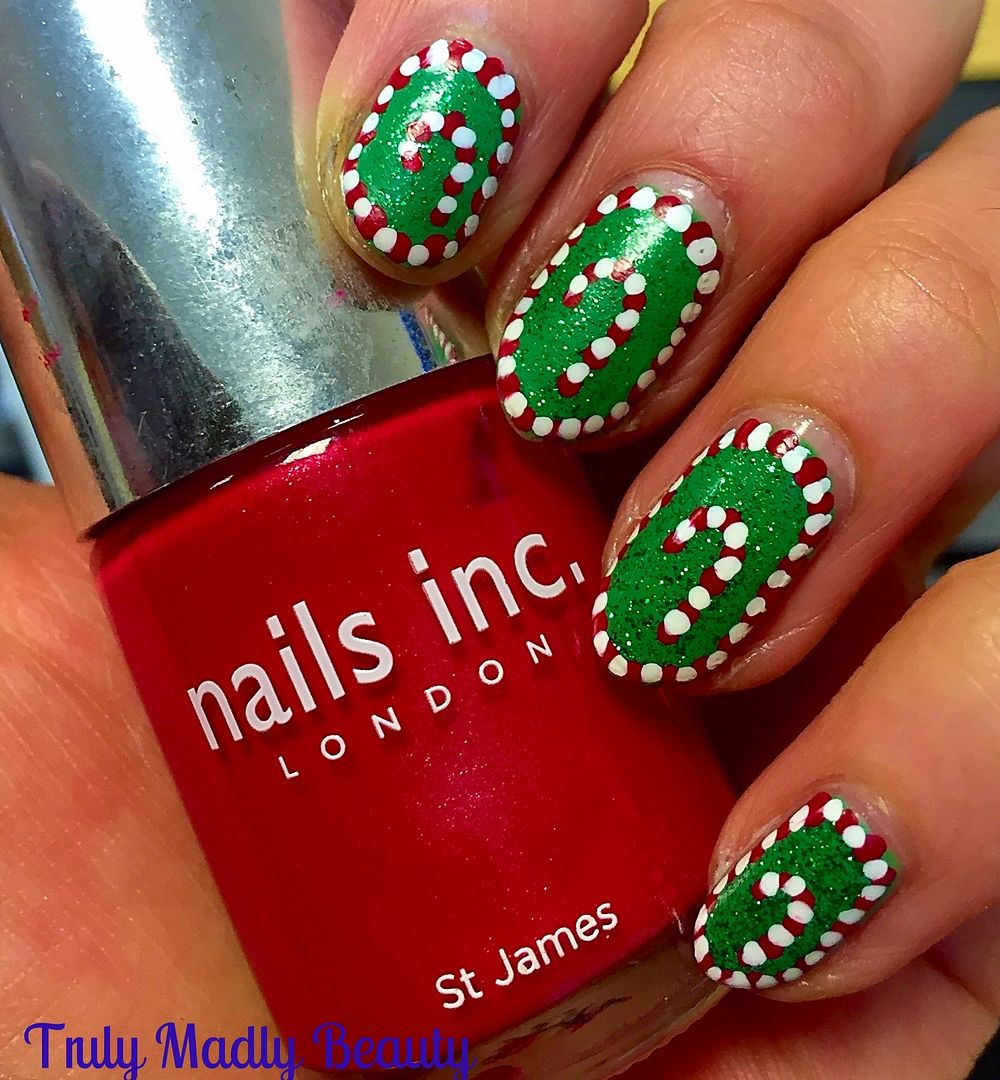
Festive Nails - Candy Cane Dotticure!
Hello
there my lovely readers!
Christmas
week has finally creeped up on us most speedily as it inevitably
always does! Gosh this year really has flown by but I'm looking
forward to 2016, I have many plans I hope to see carried out so
here's to exciting new adventures!
Squeezing
in one last festive mani of the year for you today & I think this
is my favourite one out of the bunch! This year I've managed to roll
out a few which I hope you've enjoyed & helped get in to the Xmas
spirit with some Christmas Presents, Festive Baubles, Sparkly Holly &
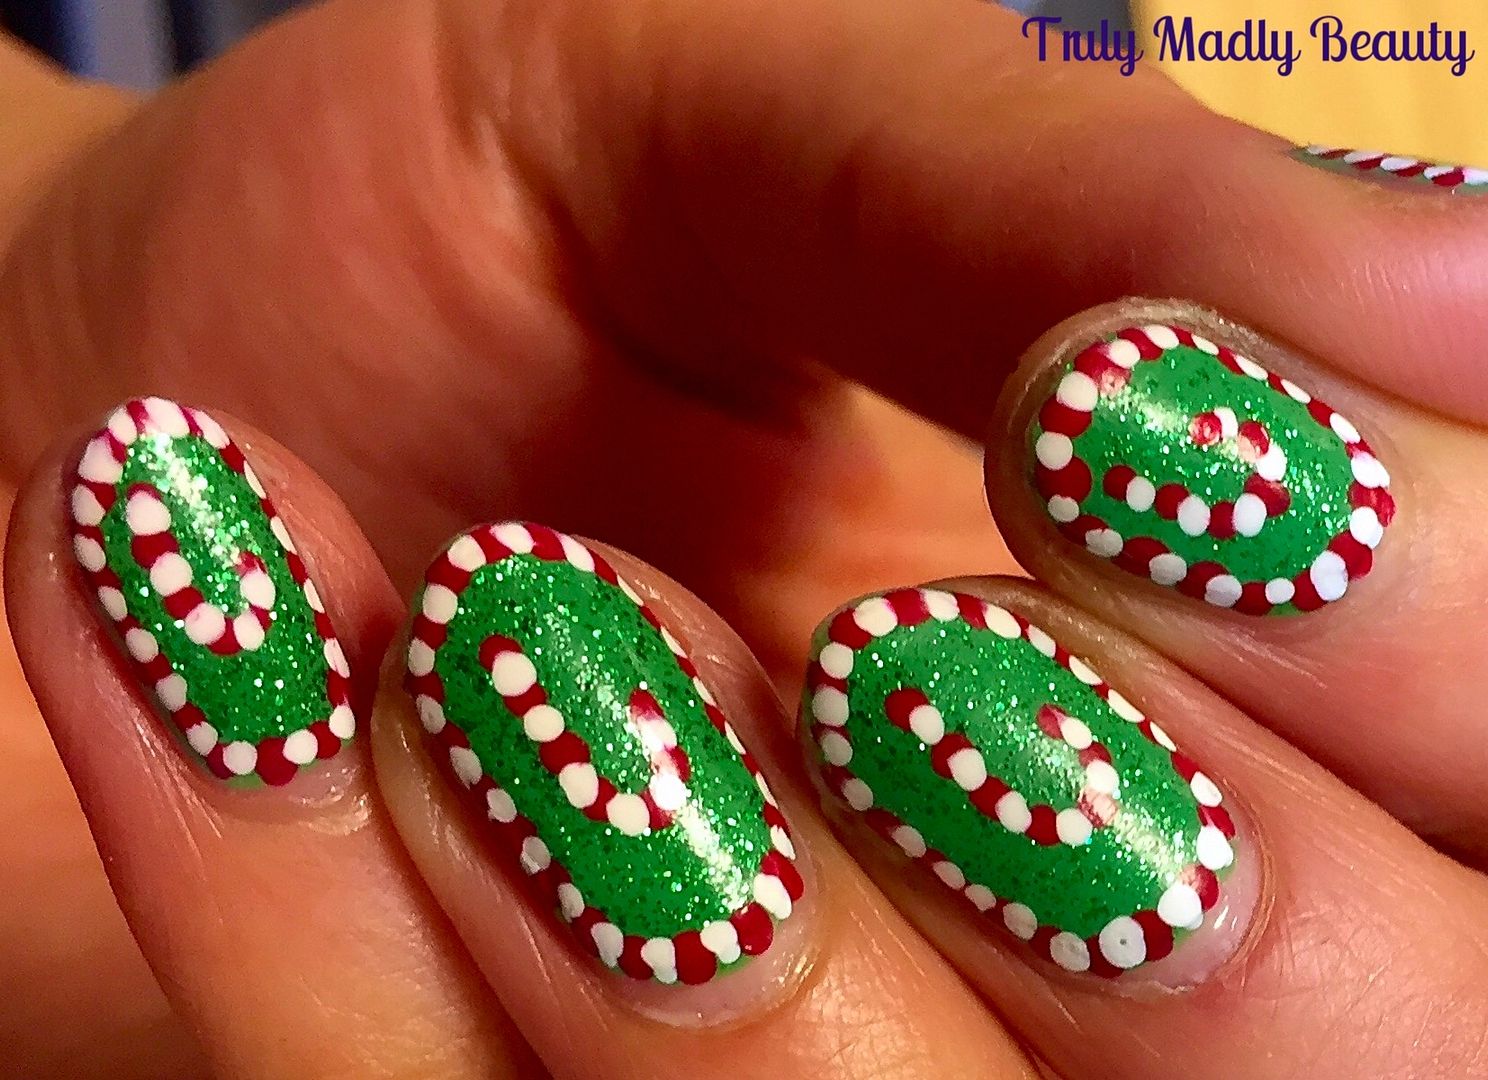
Christmas Trees! For my final festive mani I went down the dotticure
road & created some Candy Cane nails!
I'd
forgotten how much I LOVE dotticures, so fun yet easy to do &
with such pretty results as you can totally have fun with it! This
brought back to mind the Aboriginal style dotticure HERE I did a
while back...I will definitely be having more fun experimentation
with dotticures next year! ;)
Going
with the festive colours of green, red & white I started
things off with a nice bright green base that wouldn't drown out the
design. Here I've gone for one coat of Essie's Mojito Madness.
To
jazz up the green I then added one coat of Colour Club green glitter
because...well..you know...SPARKLES
Then
for the dotticure design I started by applying the dots along the
edge of the nails first to create a border,
Rather
than switching tools repeatedly apply one colour at a time, so I
first added on my red dots using Nails Inc St James & a fine
dotting tool, making sure to leave a wee gap in between each dot for
where the white will be added.
For
the white I used my Models Own nail art pen, the nib is really handy
(when its not blocked that is!) as it distributes the perfect amount
of polish for a neat dot without polish flooding out, causing a huge
mess & a mini seizure, as is the case with a lot of
nail art pens! Apply the white dots in between your red.
Then
for the final bit, dot on your candy cane in the centre of the nail
using the same concept that is done with the border.
Leave
the polish to dry for a good five minutes before finishing with
topcoat as, depending on how thick your dots are, the polish may drag
which you really don't want after all that effort.
And
that's it! Easy peasy :) I hope you liked the Christmas nail art this
year dolls! Did you go festive on your nails? Thanks for reading &
have a wonderful Xmas!
Lotsa
love to ya!
Subscribe to:
Posts (Atom)