I don't know about you guys but I am SO ready for the change of season already! Yes sunshine & Summer you've been delightful, but I'm all for the blankets, candles & hot cocoa life now...I am an Autumn baby after all!
Showing posts with label Revlon. Show all posts
10.02.2018
NOTD - Autumn Trees!
Hey there lovely readers!
Labels:
Autumn,
Charlies Nail Art,
China Glaze,
Fall,
Floral,
Flowers,
nail art,
NOTD,
Revlon
4.23.2018
NOTD - Earth Day Nails
Hello there my lovely readers!
Aaaah I am SO happy with how this finished design came out, so much so that it actually may be my most favourite nail art look of the month! Hurrah for nail art wins. I've had so many fails of late I was beginning to despair...
2.19.2018
NOTD - Jade Semi Precious Stone Nails
Hi there lovely readers!
I have a particular fondness for semi precious stones, not just for their magical properties of course, I always have a few lying around the place, but you can find some truly stunning rocks with beautifully intricate patterns woven within the stone which means one thing...NAIL INSPIRATION!
You've probably seen & are familiar with the Geode nail art trend that was pretty big last year, I gave it a go myself & absolutely loved it, take a peek at my step by step tutorial HERE.
I wanted to go further & explore other stones for which I could attempt to recreate on my nails, I have a long list...Rose Quartz, Marble, Amethyst, Opal....but first I wanted to give Jade Stone nails a try & so that is what I have for you beauties today!
Labels:
Cirque Colors,
Gemstone,
Glitter,
gold,
holographic,
ILNP,
Jade,
Kiko,
Marble,
Model's Own,
nail art,
NOTD,
Revlon,
Rose Gold,
Semi Precious Stones,
Sparkle,
Turquoise
11.27.2017
NOTD - Autumn/Fall Tree Dotticure
Hello there lovely readers!
Before we wave a fond farewell to Autumn this year I wanted to share with you one of my favourite Fall Nail Art designs I did but totally forgot to put up on here! Plus I'm just not yet ready to get rid of all the comforting Autumn feels just yet!
7.10.2017
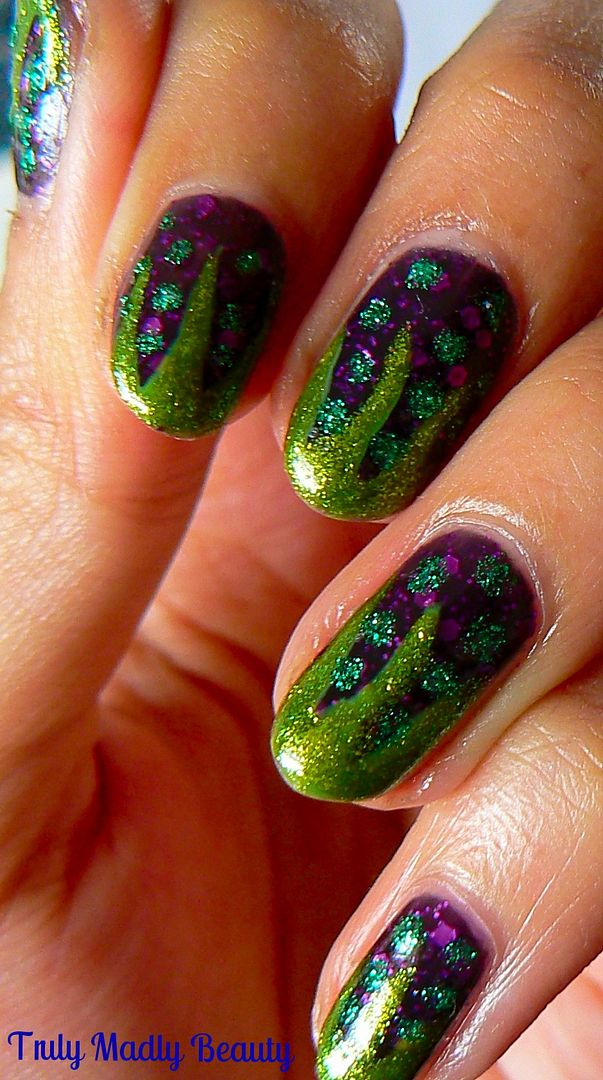
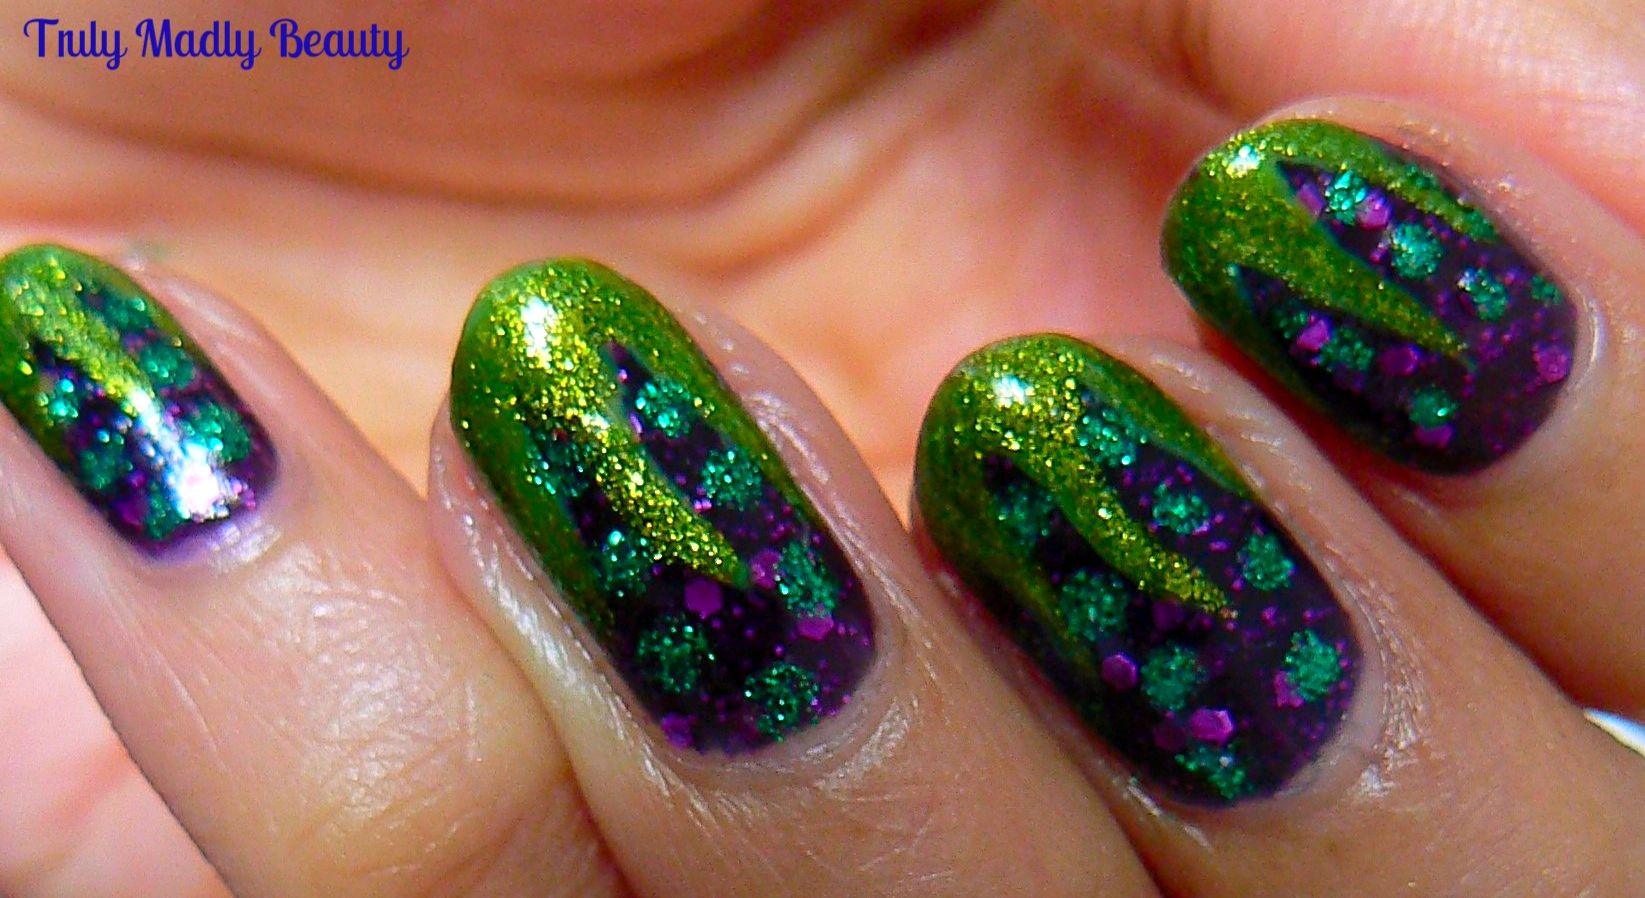
Disney Nail Art Series - Maleficent
Hey
there lovely readers!
So
I felt it was about time to add another manicure into my Disney NailArt Series that I've started here on my blog.
So
far I've thrown together some Beauty and The Beast nails & a
suitably fairy-tale perriwinkle blue Cinderella themed design as
well. I thought the time had come to switch things up a tad &
give one of the glorious villain diva's a turn in the nail art
stakes.
Alongside
the Disney princesses there are also some utterly fabulous goddesses
in Disney playing the role of villain whom you can't help but love &
I look forward to experimenting & creating something fun for them
too!
The
first Disney villain I wanted to rustle up something for is one of my
favourites Maleficent. Of course Sleeping Beauty is a vintage classic
when it comes to Disney & a firm favourite of mine, but I also
loved the live action adaptation retelling this intriguing villains
story in a really wonderful way with Angelina Jolie in the lead
role.
4.24.2017
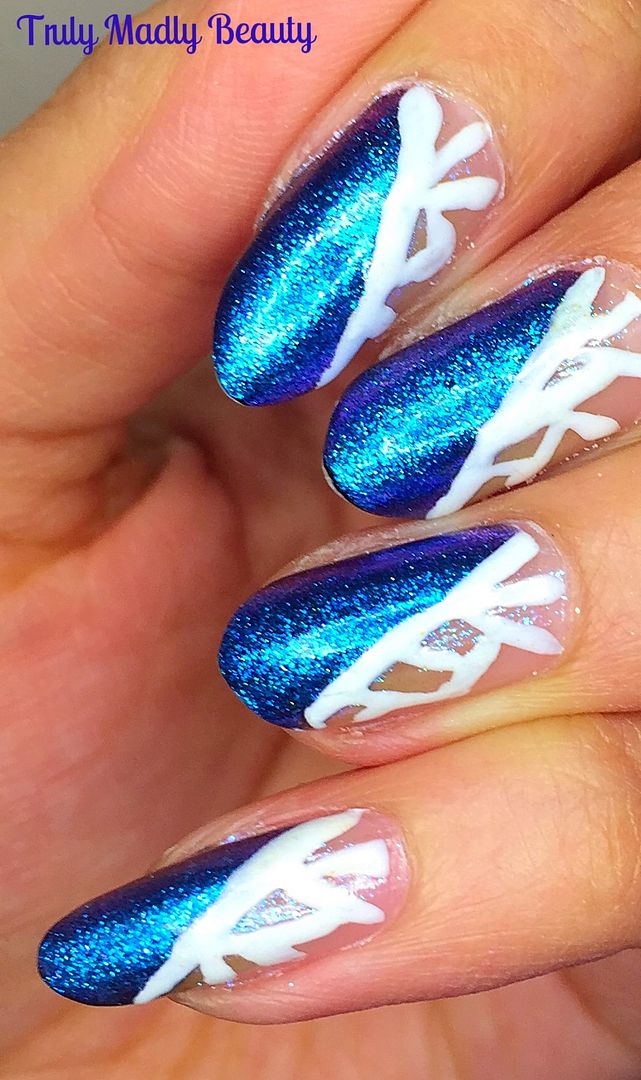
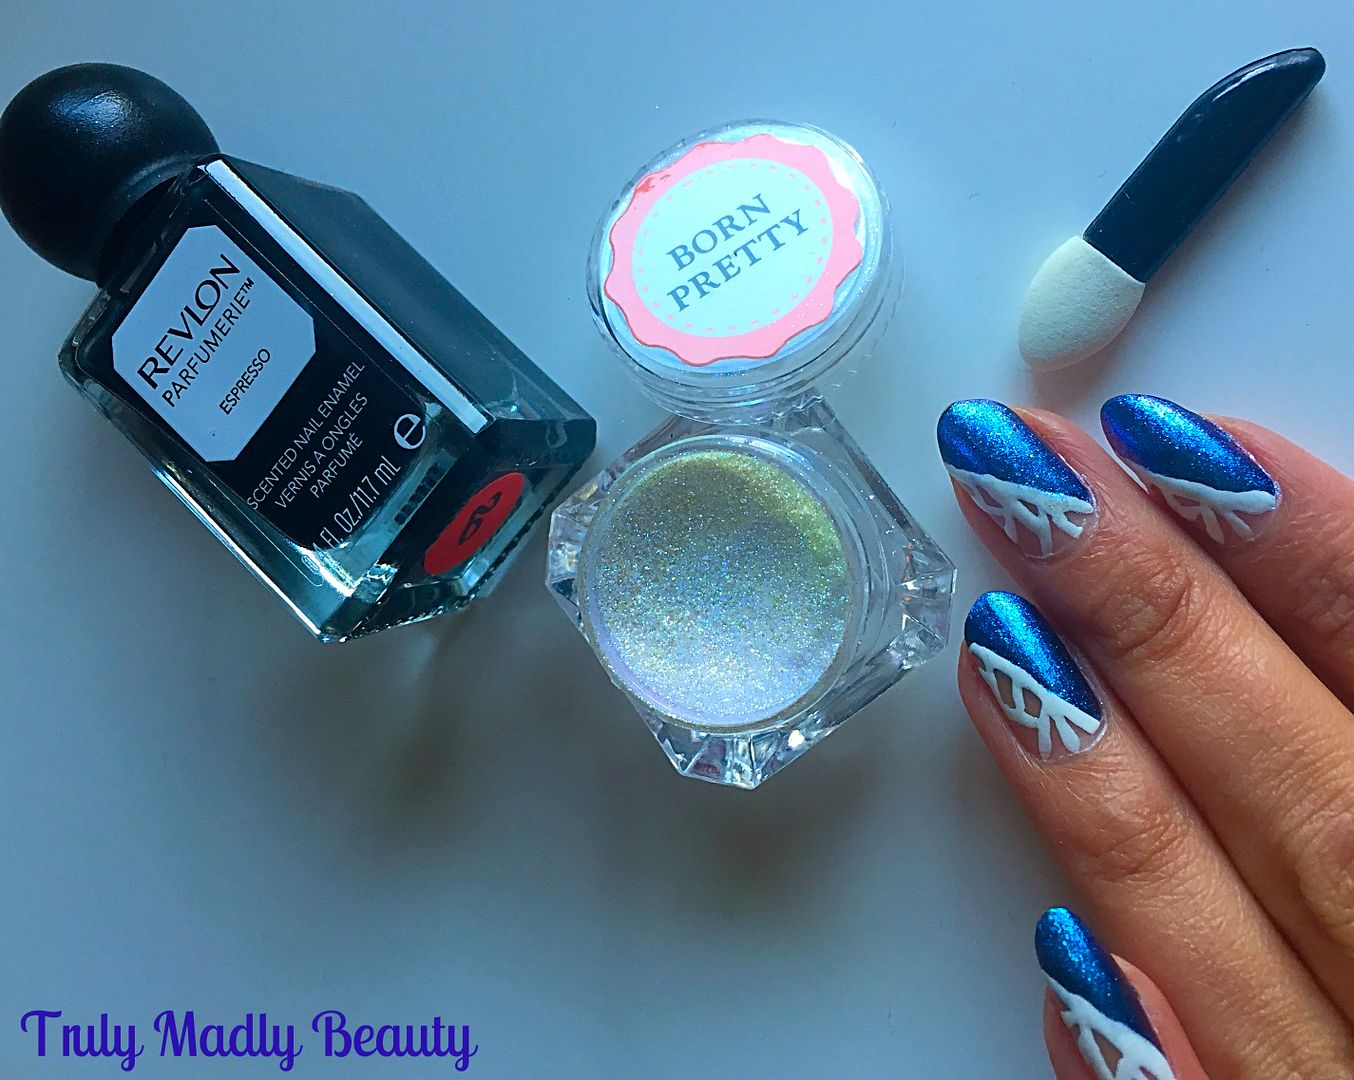
NOTD - Chameleon Chrome Nails with Magical Unicorn Dust!
Hi
there lovely readers!
Now
I'm sure that you've all seen by now the chrome nail trend that looks
like your rocking molten metal on the talons & is the current
obsession in the nail world. Seeing these stunning mirror finish
metallic sci fi nails on my Insta feed has me itching to get in on
some of that shiny action!
My
only dilemma has been that the majority of chrome powders I've
come across work with UV Gel polish only. I do own a UV lamp, but the
idea of using gel polishes, for me & I'm sure others, is just a
bit much, especially seeing as I chop & change my nails so often.
Though for this there is also a solution, that being using a peel off
basecoat...this way I could easily remove said gel polish after a few
days if I wish.
But
for now, like Indiana Jones hunting for the Holy Grail, I've been
searching for a chrome powder that works on regular polish & I've
just ordered one which I think may be exactly what I've been hunting
for....but until then I thought I'd share with you a lovely &
very budget friendly alternative you can get to achieve a futuristic
finish to you nails & is courtesy of Born Pretty Store.
1.23.2017
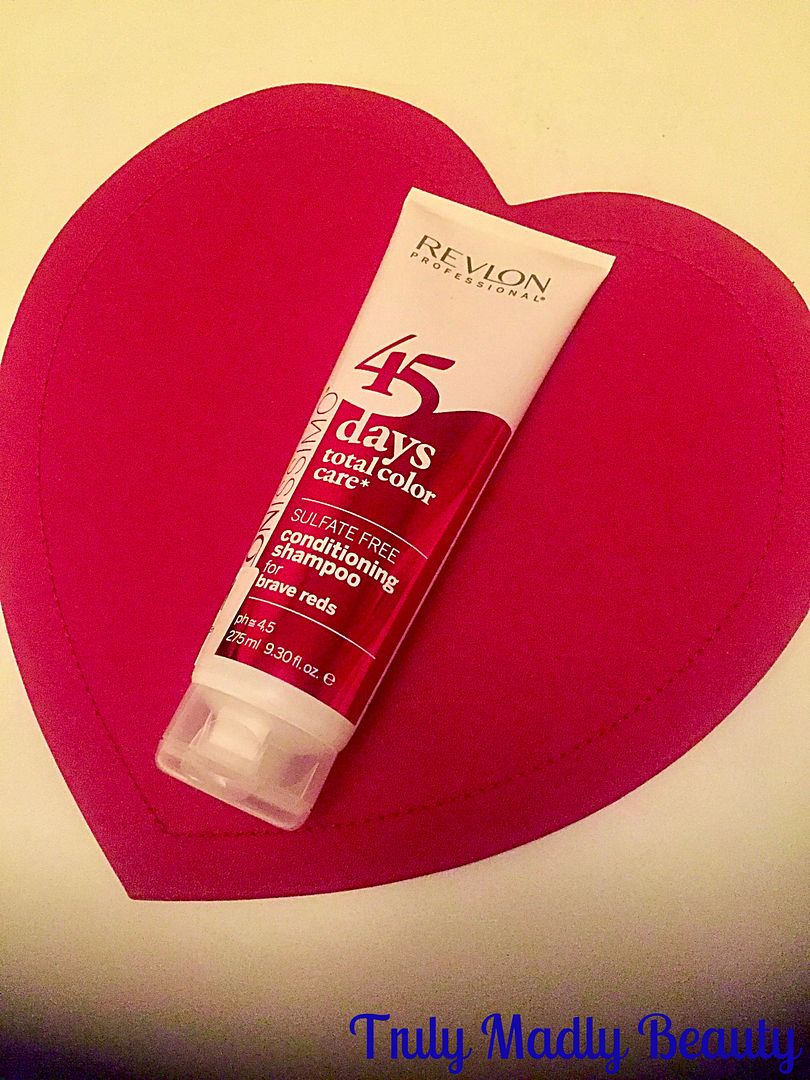
Review - Revlonissimo 45 Days 2 in 1 Shampooo & Conditioner for Brave Reds
Hello
there lovely readers,
Every
once in a while you stumble across one of those wonderful, life
changing, world shifting products that you never knew HOW you coped
without. Sounds a tad over the top maybe but such has been the case
with this recent find & which ALL ladies who dye their hair
regularly need in their life.
The
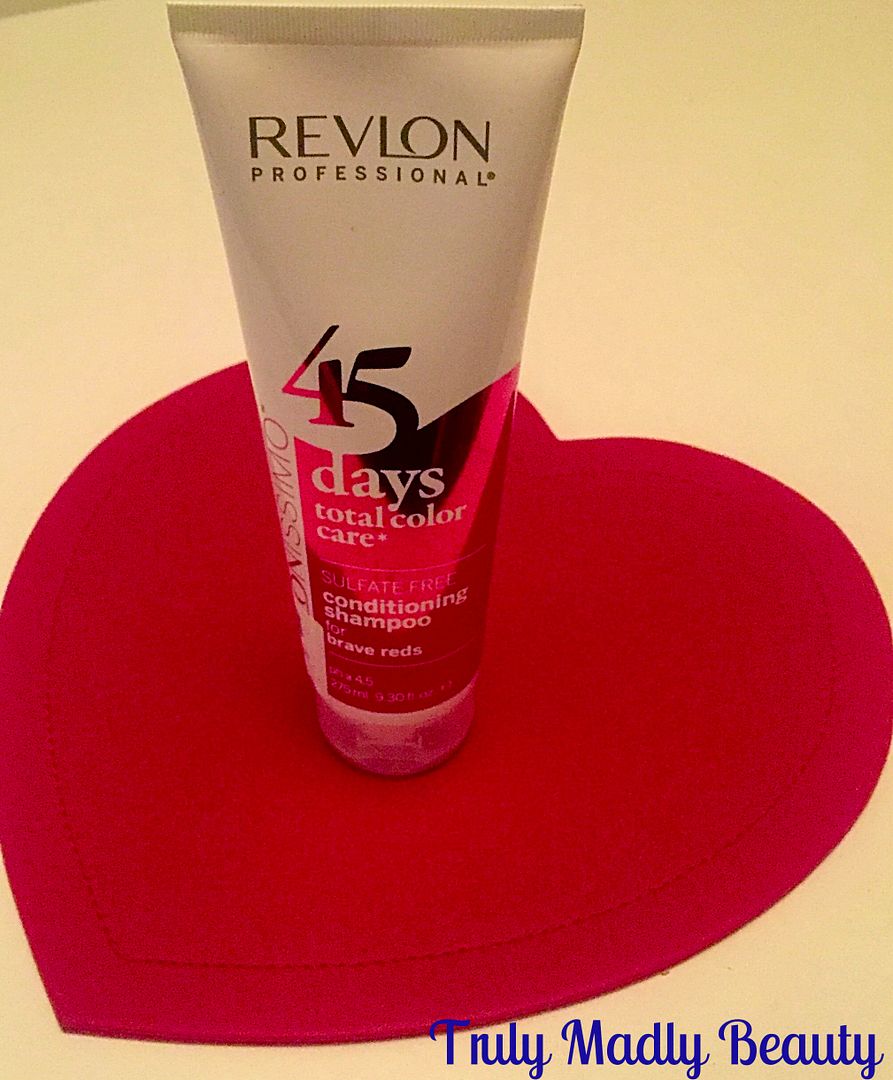
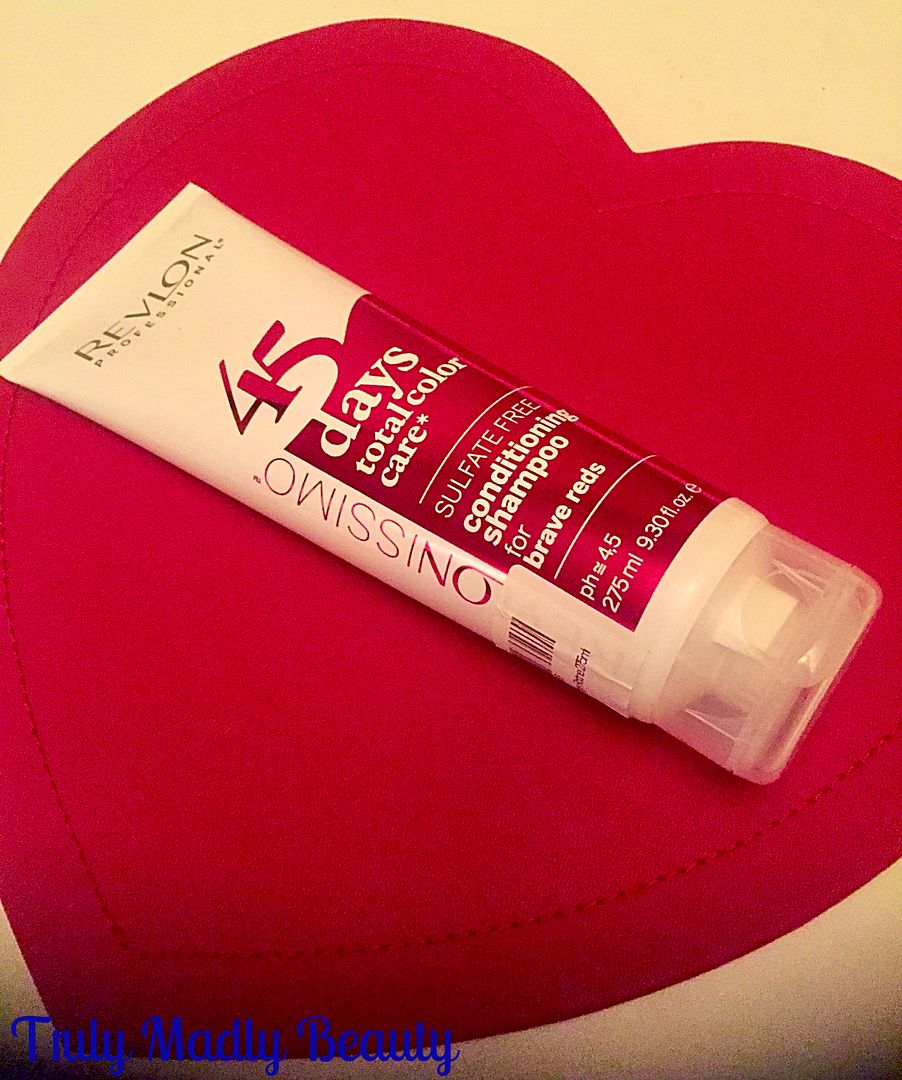
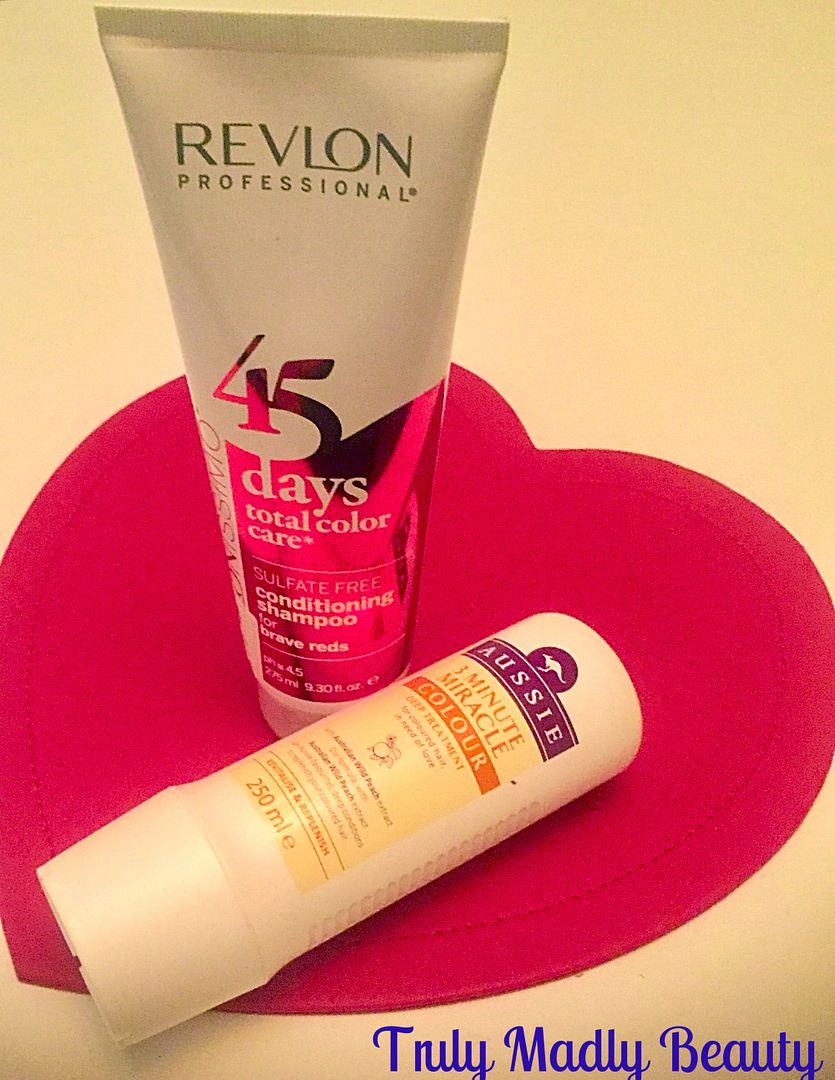
Holy Grail product in question is Revlonissimo 45 Days Total Color
Care, a 2 in 1 sulfate free shampoo & conditioner which I received at a PR
event & only recently discovered the wonders of. I am a regular
dyer of the hair, the colour requiring topping up at least every
couple of months, a task which I don't exactly relish! Not only is it
a long grueling process but the amount one spends on hair dye,
especially with my long hair, can end up quite costly!
It
was at a time when my hair was starting to look a tad dull that I
dug out & used the Revlonissimo for Sensual Brunettes, simply
because I had run out of shampoo & as soon as my hair was dry I
was blown away at how beautifully vibrant the brown tones in my hair
had become, it looked like I had just freshly dyed it when in fact it
was done at least a good four months ago! The number of comments I
received after using this asking what dye I was wearing I can't tell
you.
Upon
discovering the wondering benefits of this little gem I went &
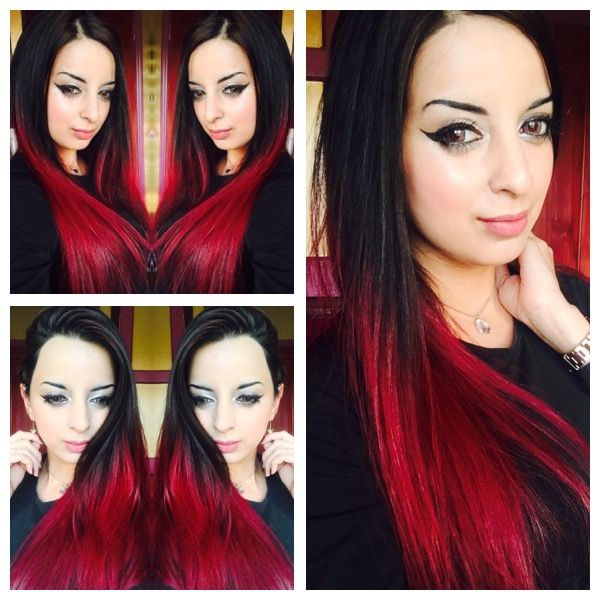
purchased the version for Reds because as you can see below...I've
now just recently had a revamp with red/black ombre hair courtesy of
the fabulous Rockaily Cuts in London.
I now incorporate this product in to my weekly hair care routine
religiously. The instructions advise that you use this product twice
each wash which in my opinion is not necessary at all. Not only is it
completely unsavvy, why you would be out of product after only a few
sessions! Plus it lathers up so well that one rinse is more than
enough.
The
way I used to previously use this was by first using my
regular shampoo, at the moment I am LOVING the OGX range. Once washed
I would then lather in the Revlonissmo, massaging it in for a few minutes before rinsing out. However
lately I've actually just been using the Revlonissimo on its own as I
don't want to over wash my hair due to the red dye.
I
then use the accompanying conditioner that goes with the OGX shampoo
in to which I also add a squeeze of Aussie 3 Minute Miracle
conditioner for a bit of extra TLC for the hair. I leave this for a
good five minutes to work its magic before finally rinsing out as
well.
I
never blow dry my hair, preferring to let it air dry. This is partly
because my hair is so long, to blow dry would be far too intense a
workout which my wee arms just couldn't handle & yes I'll admit
I'm just a lazy bum. Plus I straighten my hair, as it
will be getting heat from that, to blow dry it too would definitely
be overkill. But once dry the results after using this routine of
late has been smooth, shiny & vibrantly coloured locks that look
like they have been freshly dyed. Happy Aysh!
So
my fellow hair dyers, if there is one product you NEED in your life
it is this. Not only does it leave the hair looking, smelling &
feeling wonderful but it will also save you a packet on hair dye as
you'll find yourself needing to top up less often. The Revlonissimo
comes in different shades for all hair types, the range includes
variations suitable for Brunettes, Ice Blondes, Intense Coppers,
Radiant Darks & Brave Reds. You can find it online on Beauty Bay
HERE for £9.95...so what are you waiting for...go go go!
Lotsa love to ya!
1.02.2017
NOTD - Pastel Winter Wonderland Nails
Hello
there my lovely readers!
Happy
new year to you all my beauts! I hope you all had a wonderful Xmas
break & new years however you spent it. I'm certain my spirit
animal is a bear as I've pretty much spent the holidays in
hibernation which has been utter bliss! Like many I'm sure I'm now
currently going through the “oh god no” motions at the thought of
going back to work!
Not
feeling QUITE so ready to part from the festive feels just yet here's
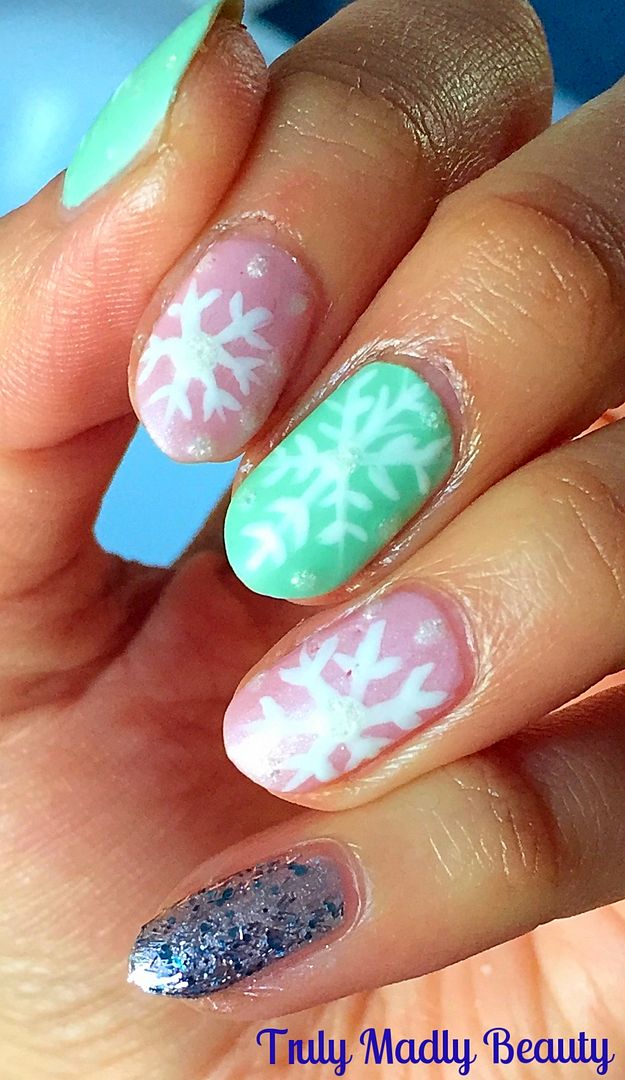
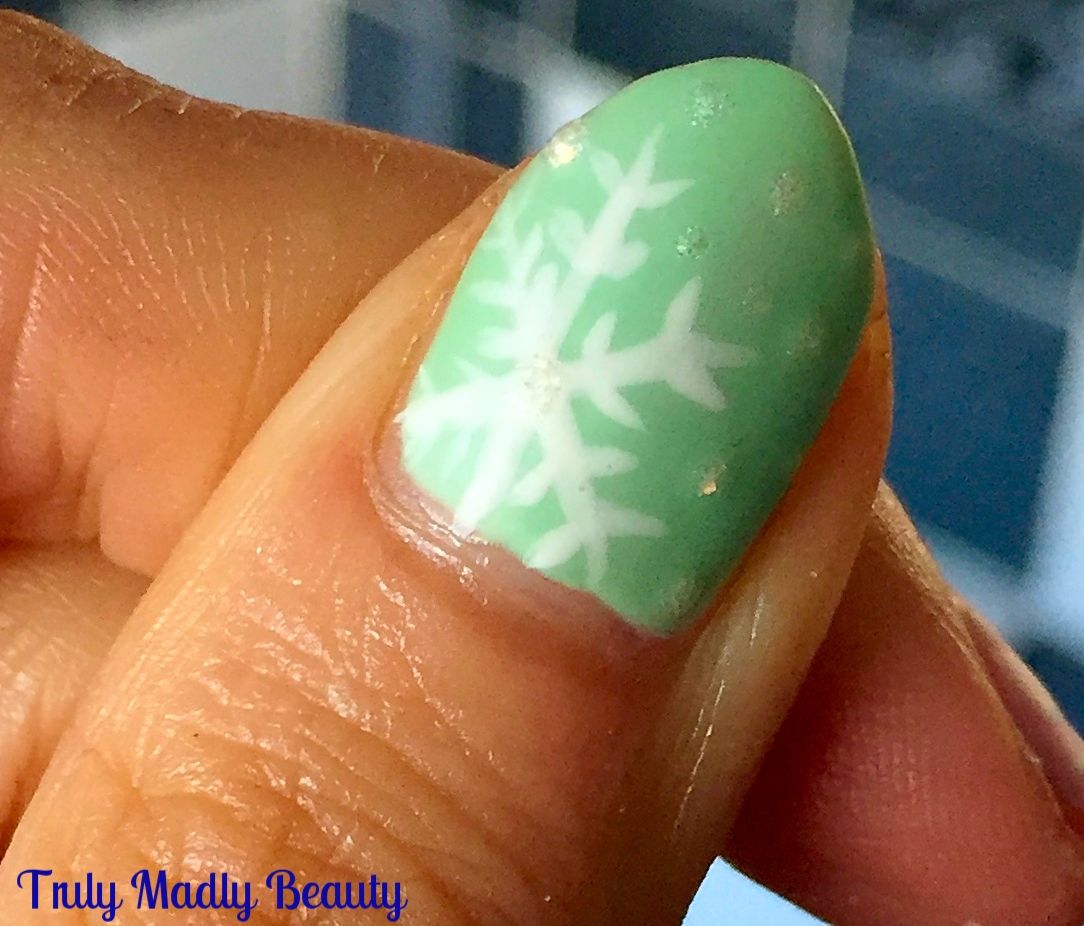
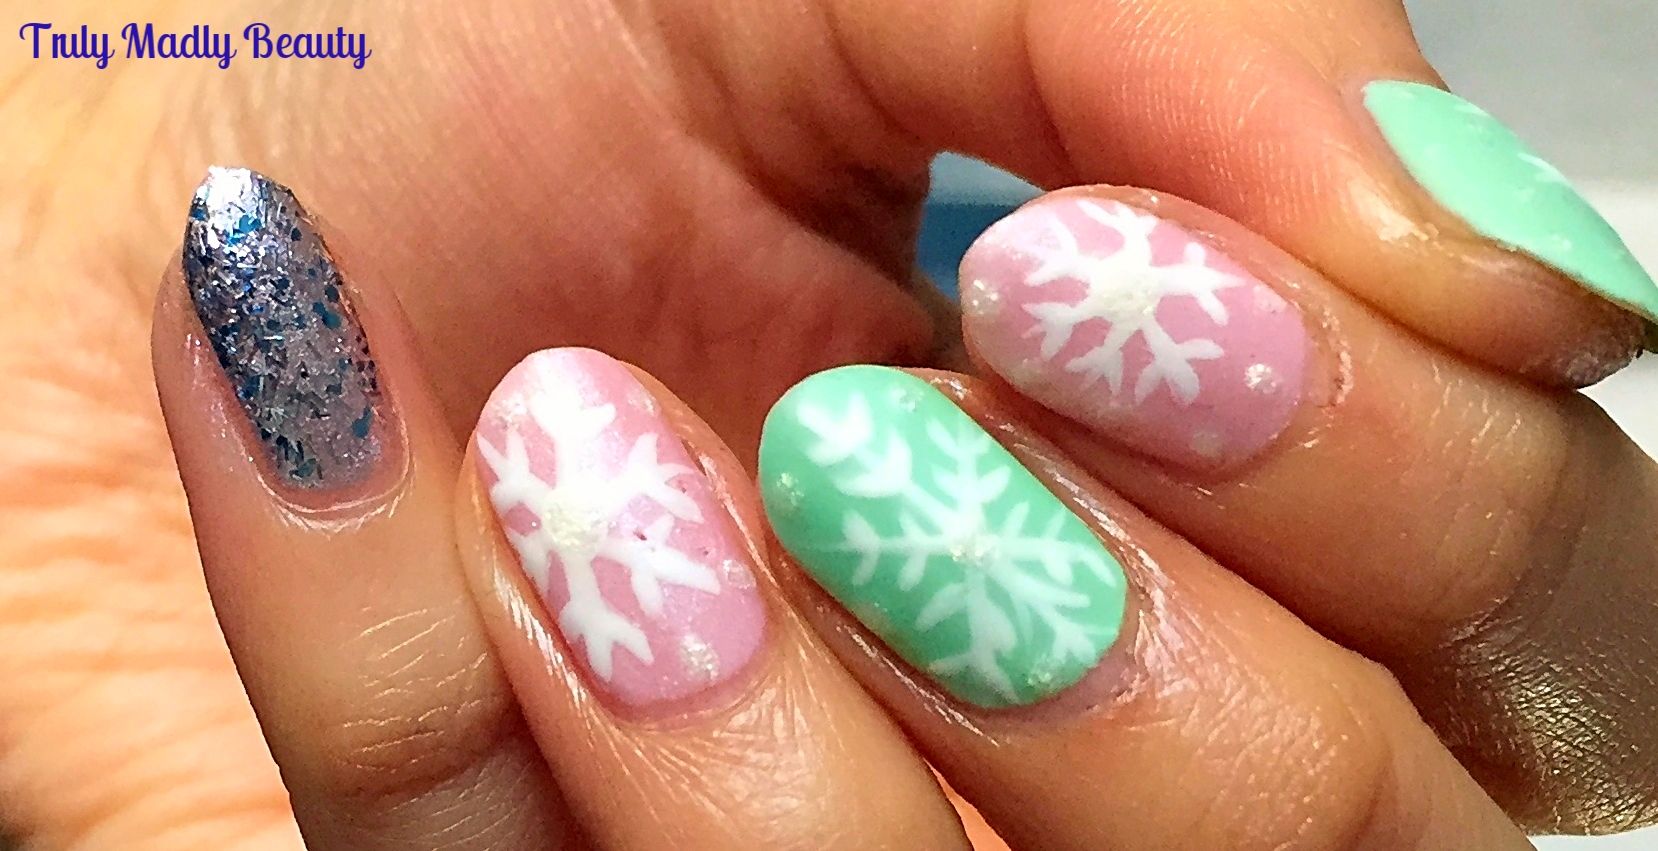
a frosty Pastel Winter Wonderland mani using sugary soft tones,
snowflakes & a bit of glitter thrown in! Normally I'm a glossy
girl all the way, however for this mani I decided to mattify the
finish & I must confess I dig it!
I
wanted some pretty pastels for my base, not able to decide I went for
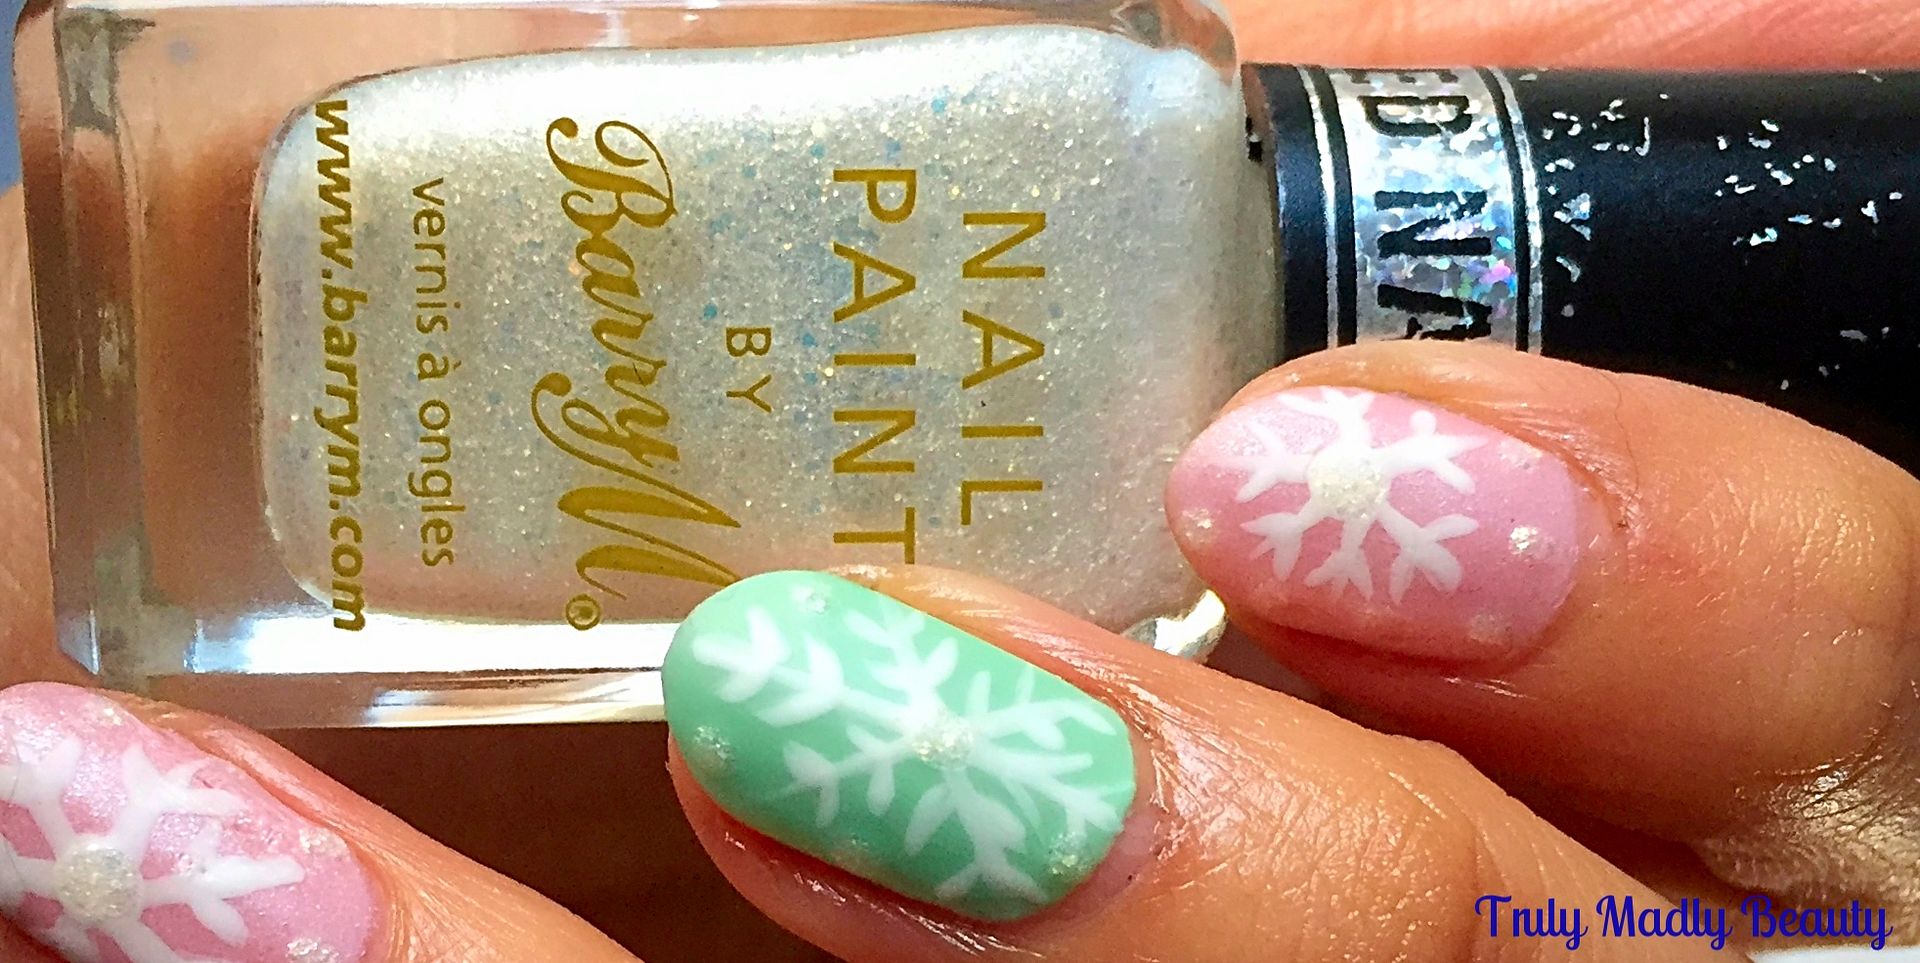
a two tone using pale pink & mint.
For
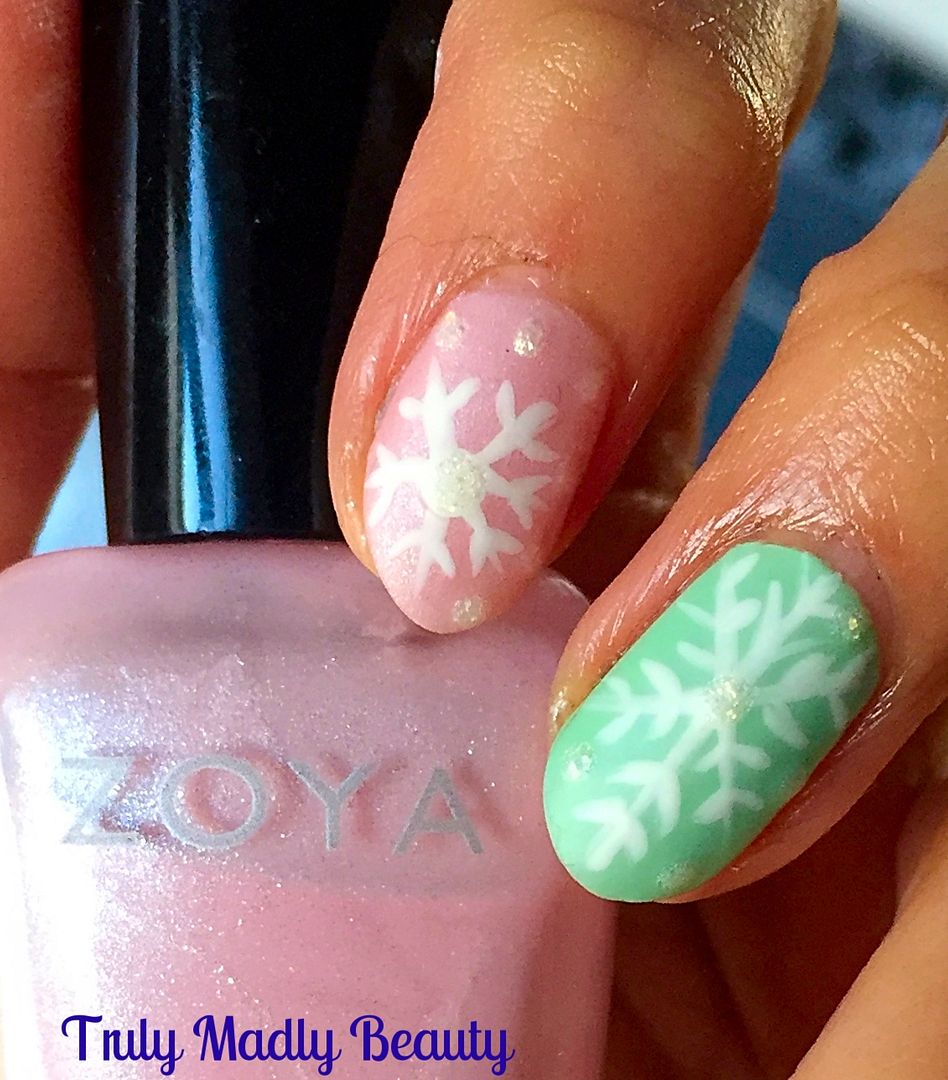
the pink I've used two coats of Zoya Bailey, a gorgeous soft pink
with a pretty pale silver shimmer running through it.
For
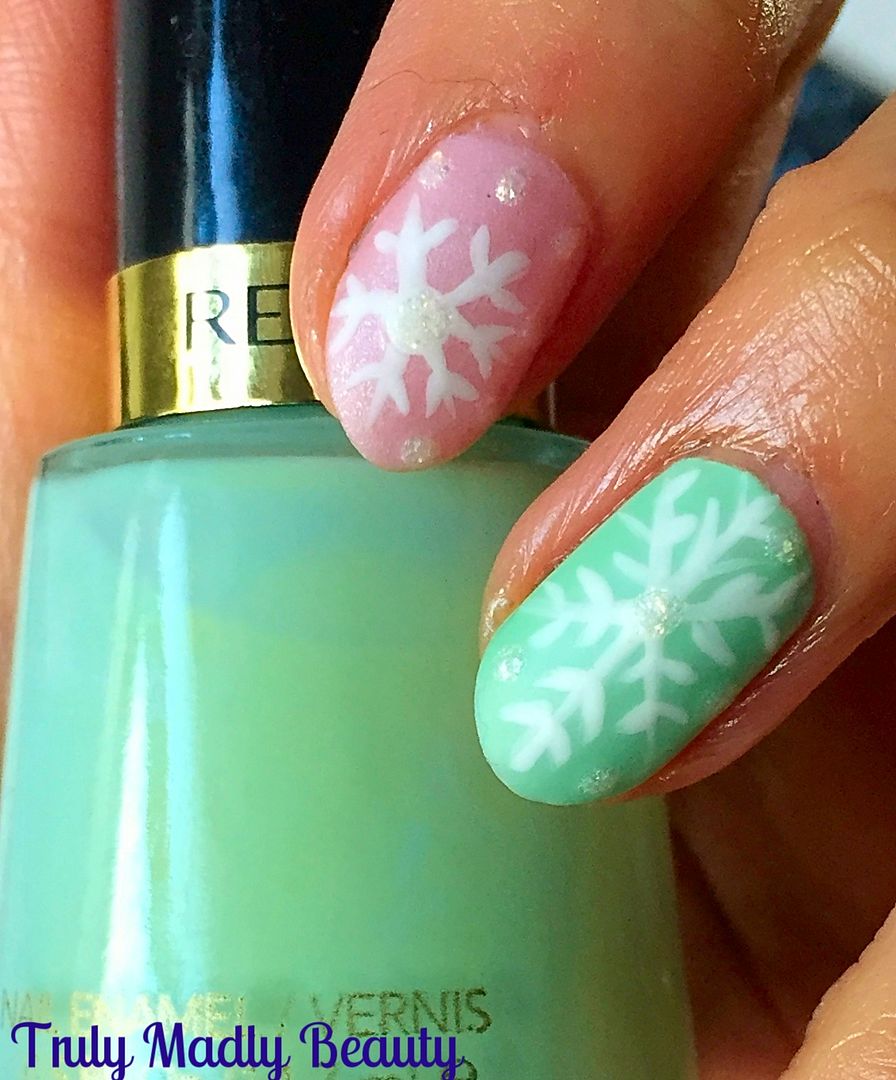
my mint green nails I went for one of my vintage Revlon polishes,
this is the aptly named Minted of which two coats were also applied.
Creating
the snowflakes is easy peasy, using a fine nail art brush & some
white polish simply draw an X on to your nail wherever you'd like
your snowflakes placed, then draw a vertical or horizontal line on
top.
Now
add on your snowflake details by placing smaller angled lines along
the cross, playing around with different styles, sizes & designs!
To
add a bit of dimension to the pastel nails I dotted on a bit of Barry
M textured polish in Lady which is a really unusual & pretty
frost white shimmer.
Then
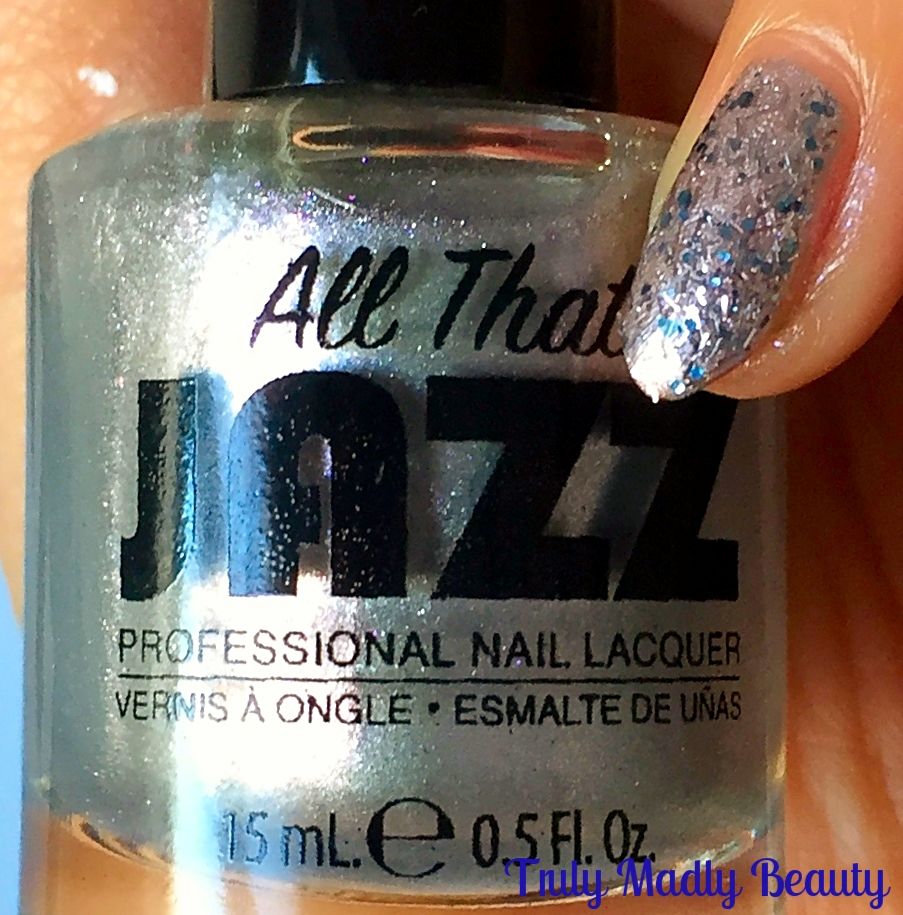
for the accent nail I applied two coats of this pretty silvery All
That Jazz polish. I couldn't for the life of me find the name of the
shade on my bottle, unless I was having a dunce moment which, lets be honest, is most likely, but it could be the shade Glam Squad
For
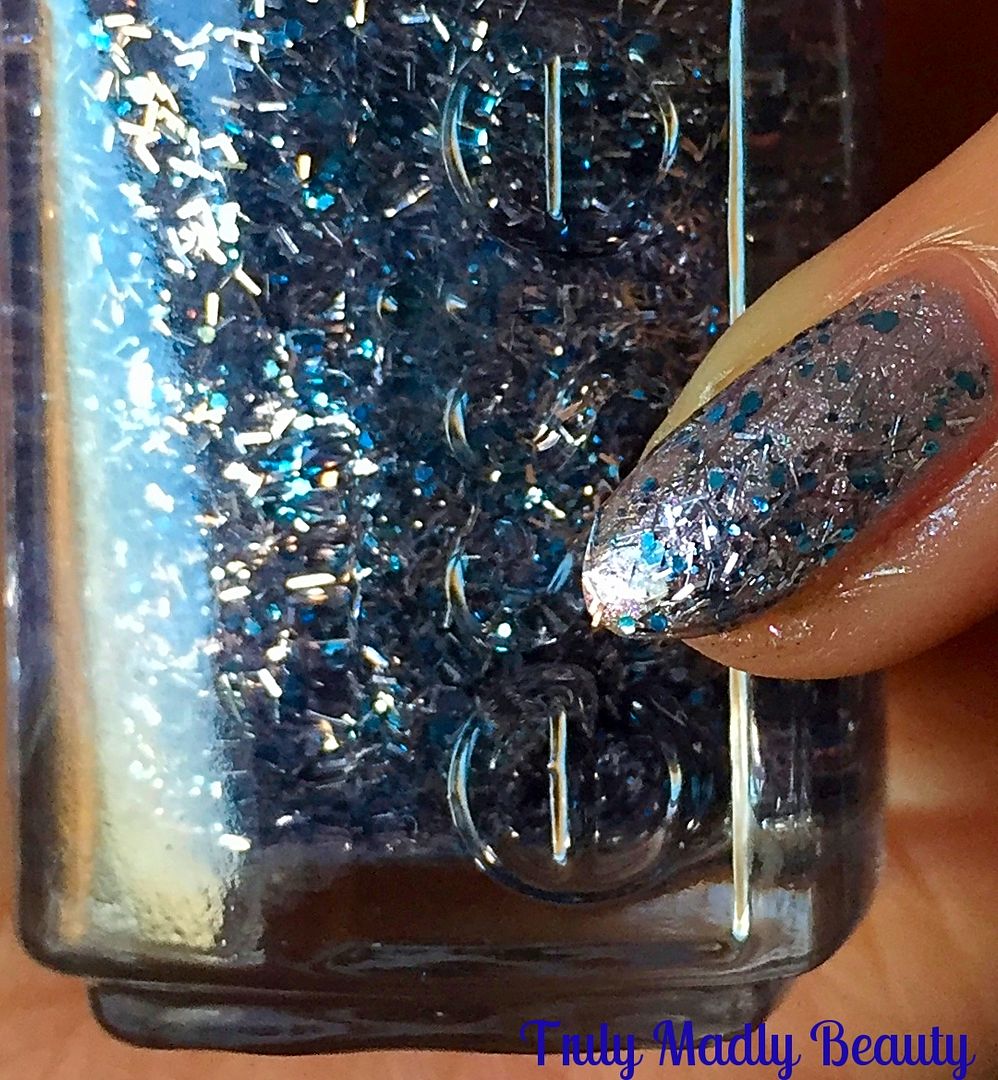
the final touch I coated the silver pinkie with this beautiful silver & frosty blue bar & hexagon glitter mix courtesy of Essie Luxe Effects in Frilling Me Softly.
As
mentioned before I decided to go for a matte look so to finish I
applied a Rimmel matte topcoat to the pastel nails. Matte pastel
manicures may just be my new favourite thing! I don't know if its the sweet tooth but this finish reminds me of cake frosting!
First
post of 2017 done! Now I'm off to hunt down that Fondant Fancy that I know is in the cupboard begging to be eaten to satisfy the sugary sweet craving this mani has enabled. Thanks as always for sticking by to read my rambles, here's to a fab year!
Lotsa
love to ya!
12.19.2016
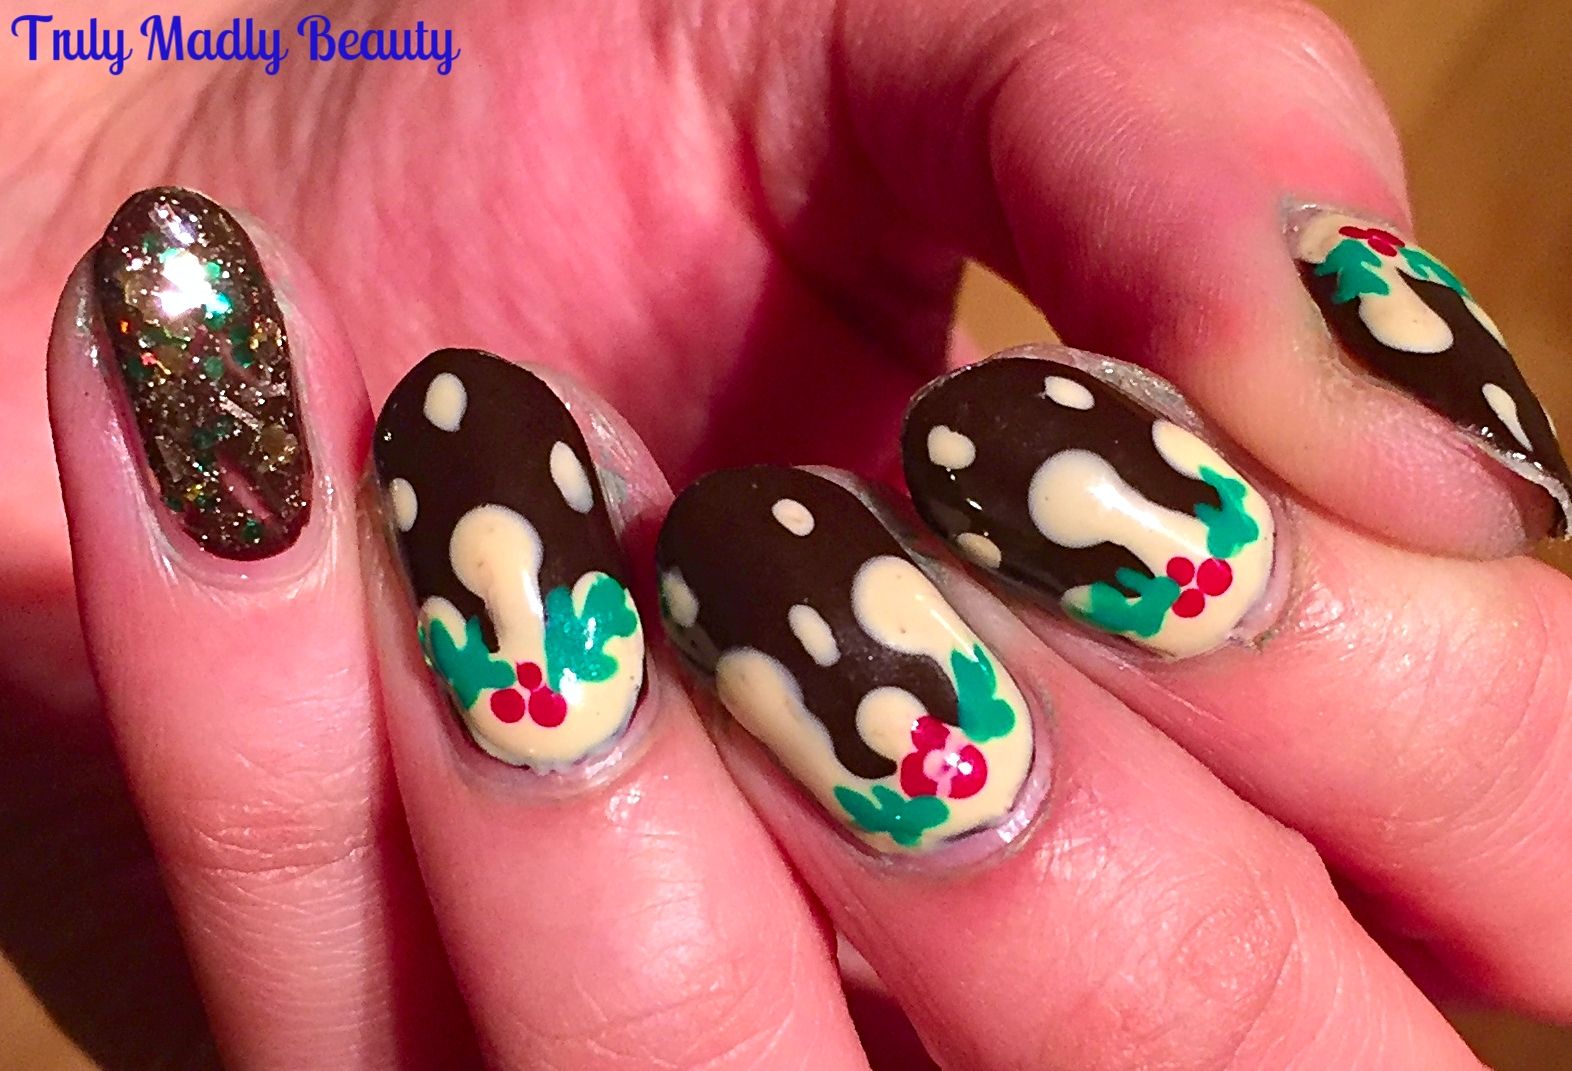
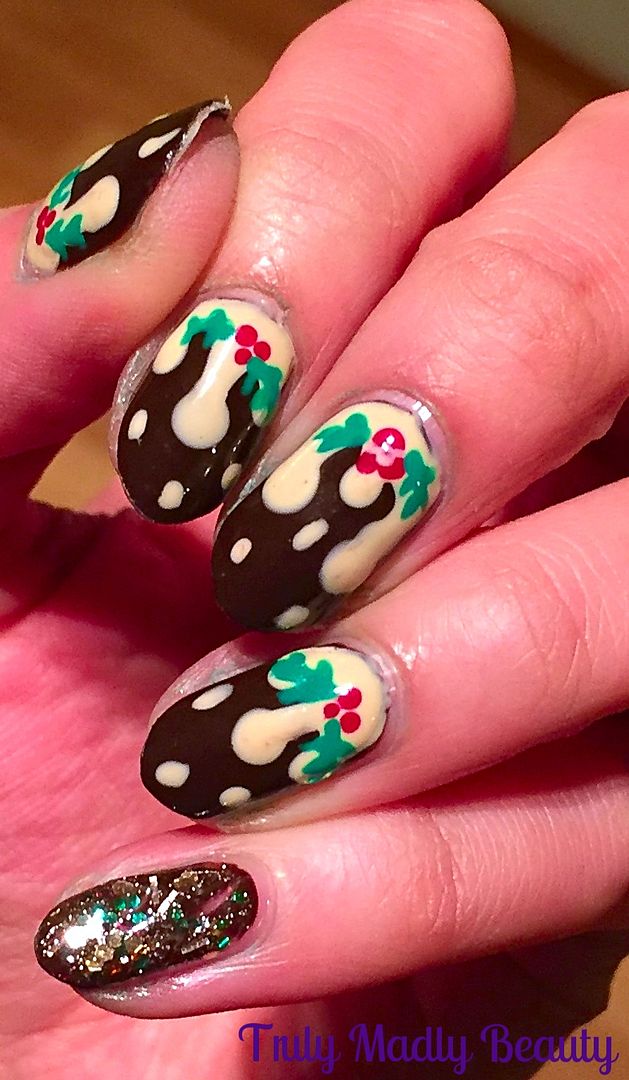
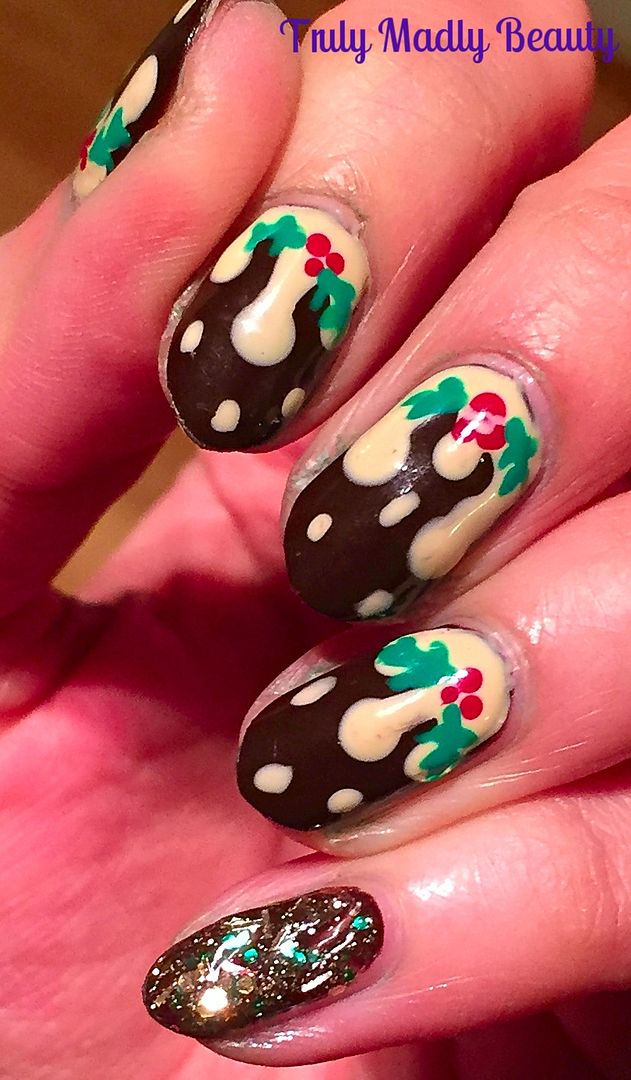
Festive NOTD - Christmas Puddings with Dripping Brandy Butter!
Hello
there my lovely readers!
If
there is one thing I'm as passionate about just as much if not
more as I am for nail art...its food. Combine the two & yours
truly is bonny wee bunny. Which brings us on to today's festive
manicure my dears...Christmas Puddings!
Now
I must confess... I'm not the biggest fan of the old Christmas pud,
(SSSHHH!) but that doesn't mean I can't enjoy them on my nails eh?
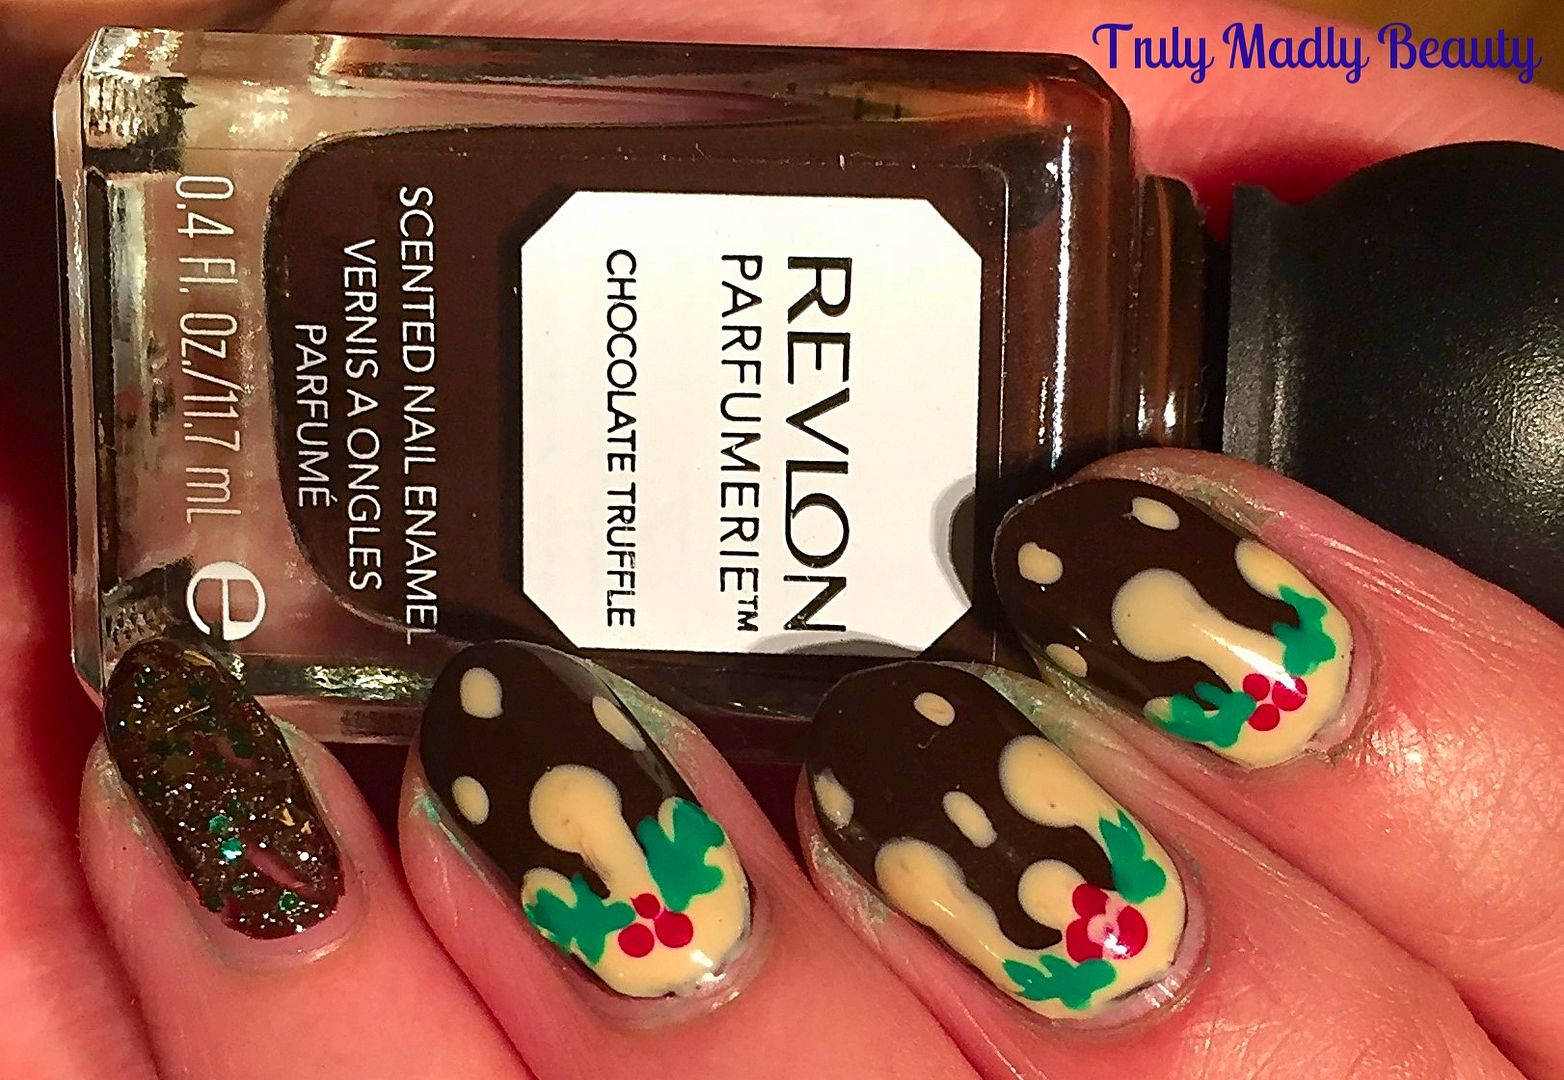
And for this design I actually used a scented polish so my mani smelt
super sweet scrumdiddlyumptous too!
To
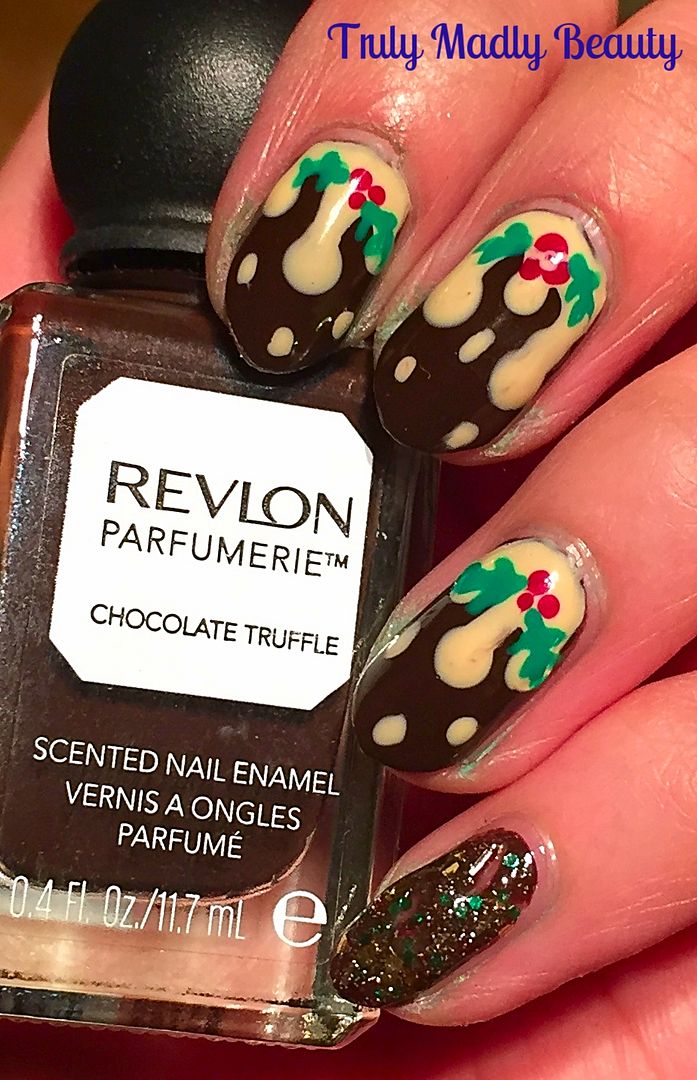
create your Christmas pudding nails you need to start with a dark
brown base. As mentioned, for this I used one of my Revlon Parfumerie
scented polishes in Chocolate Truffle which smells like...yup
chocolate! Apply two coats for a nice opaque finish.
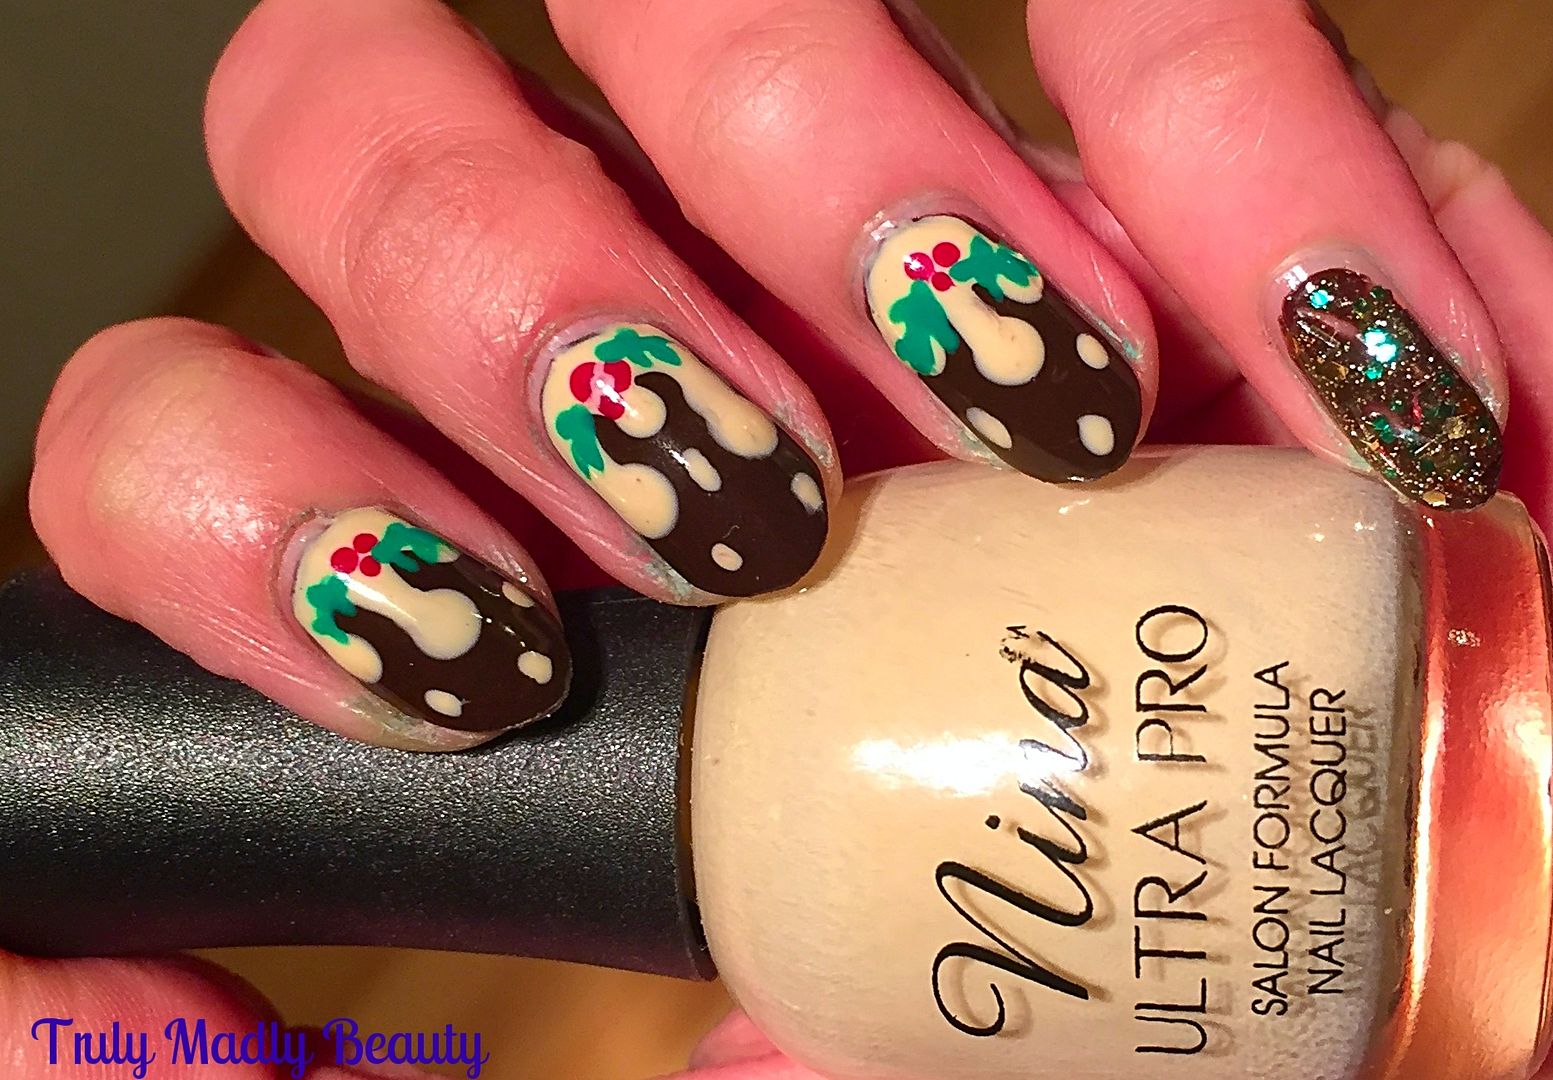
Now
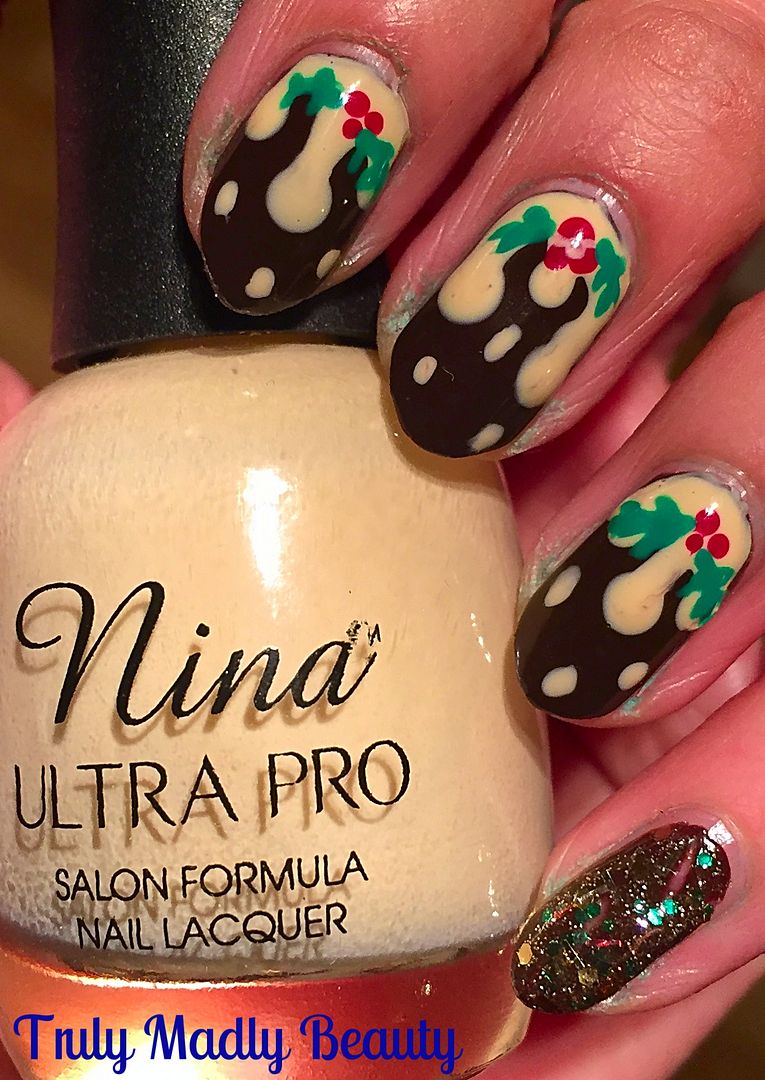
for the brandy butter! As you can see for this part you just need to
create some drip nail art. I've done this a few times on here with
various different looks, you may recall on Halloween? I've done a
step by step tutorial on how to create drips on your nails HERE.
I
spent a while debating on which end to create my drips, I'm usually a
fan of applying them on my tips, if you cast your eyes to the left of
this page you can see I've done so on my Mint Choc Chip manicure.
However this time I was feeling the mood for the cuticle end...I
know, I'm such a rebel.
For
my brandy butter drips I've used gorgeous Nina Ultra Pro polish in Rum
& Reggae, which is a lovely beige cream shade. I found this delightful brand in Sally's.
Next
our puddings need some decoration in the form of a sprig of holly. To
create these I just used a fine nail art brush & applied three
fine dots using the nearest red polish I had to hand, then using the
same brush & this time some green polish, free-handed a couple of
spiky leaves either side.
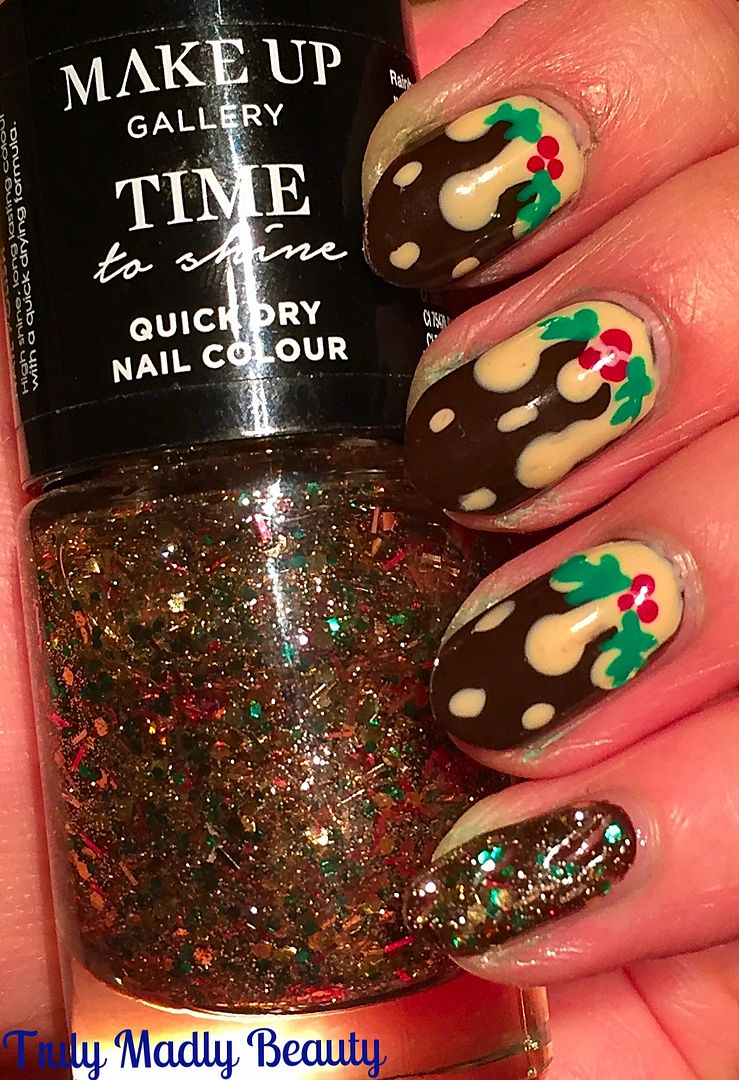
As
you can see I decided to rock some glitter on my little finger as an
accent & for this I used a polish I picked up in Poundland called
Rainbow Sparkle! Filled with gold, green & red glitters of
various shapes & sizes, you really can't get more festive! A
couple of coats of this on top of the brown created some satisfying
sparkles. Not bad at all for a pound.
Finish
it all with a nice thick coat of topcoat & you have your
Christmas Pudding Nails good enough to eat! You can see all of my
previous Christmas Nail Art ideas HERE. Thanks for reading!
Lotsa
love to ya!
4.14.2016
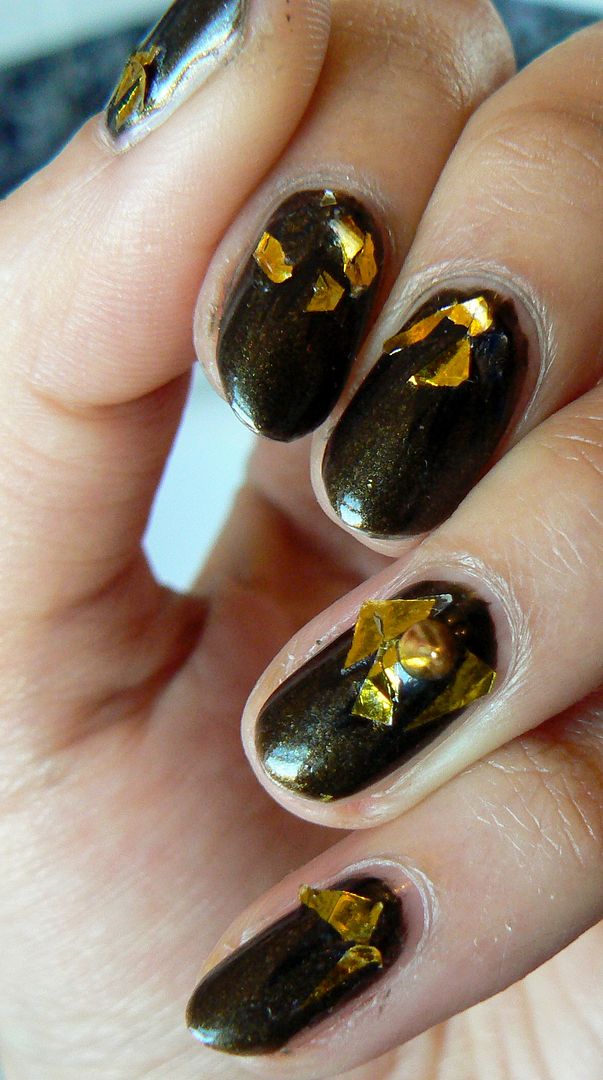
Huntsman Winters War - Evil Queen Ravenna Inspired Nails!
Hey
lovely readers!
I
finally watched the new Huntsman Winters War film recently which went
down a treat! I thoroughly enjoyed the first film, Kristen Stewart's
awful performance aside, the combination of Chris Hemsworth &
Charlize Theron's fantastically crazy Evil Queen was divine &
knowing that Emily Blunt was present portraying Freya the Snow Queen
in this film, I simply I couldn't miss it & it didn't disappoint
:)
I
knew when looking at the promos prior to release that I had to
attempt a mani inspired by each of the queens, Ravenna with her dark
gothic gold and Freya with her icy silver was just screaming nail
inspiration to me! So lets start things off with the Evil Queen
Ravenna...
Unfortunately
I did this mani in the evening by which time all decent lighting was
lost therefore I had to wait the next morning to snap pics! Because
of this it wasn't as neat as the day before, having lost a few shards
& a bit of lifting! But I'm rolling with it anyhoos ;)
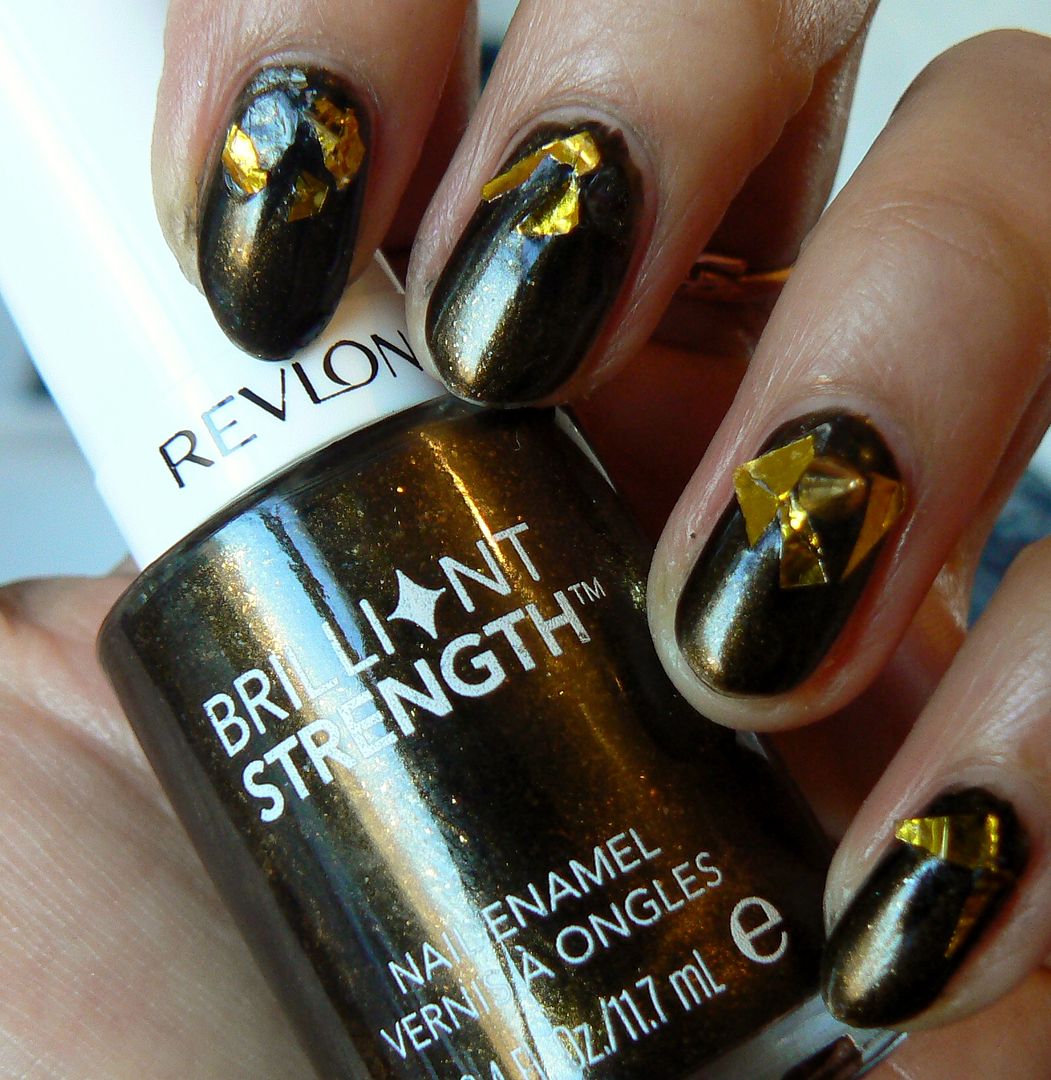
I
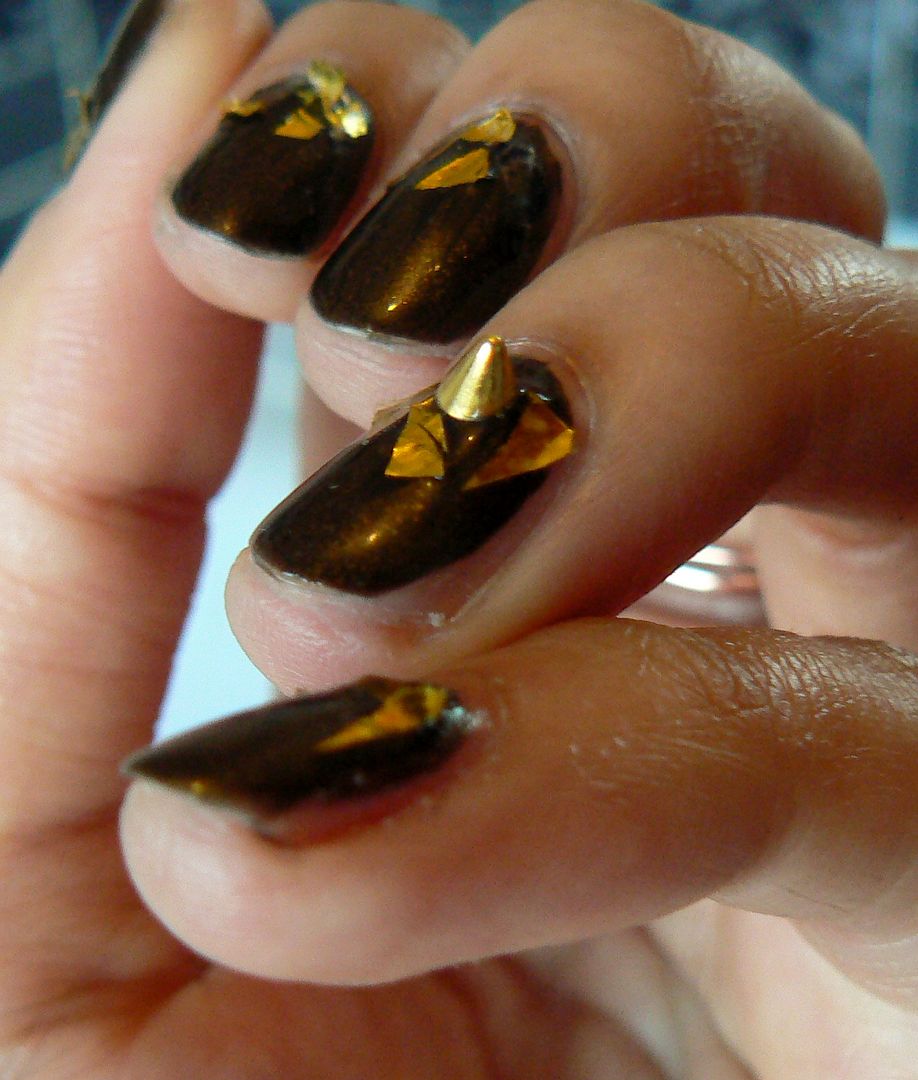
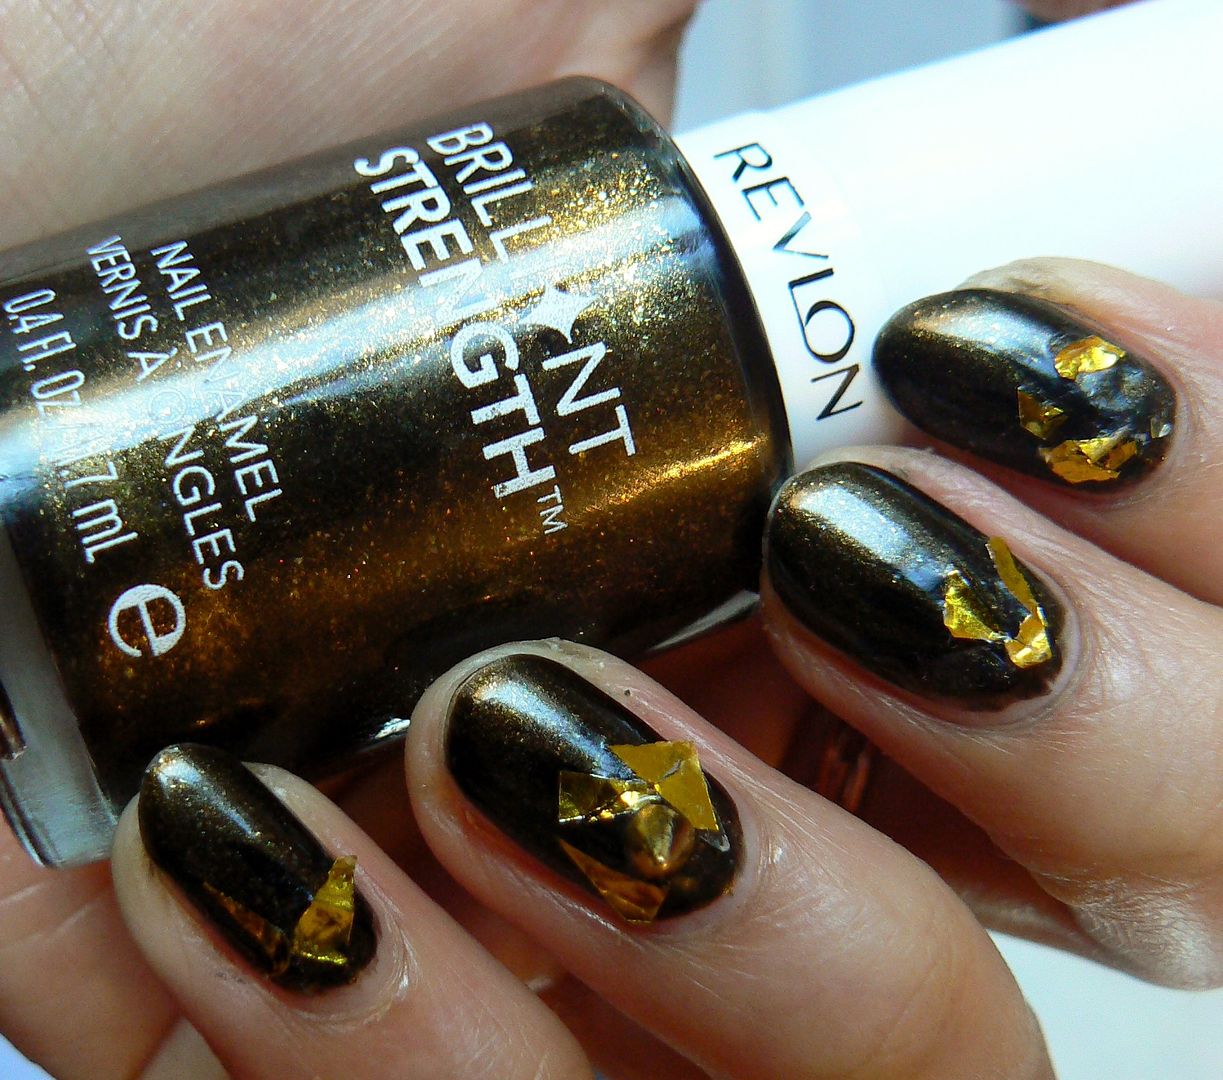
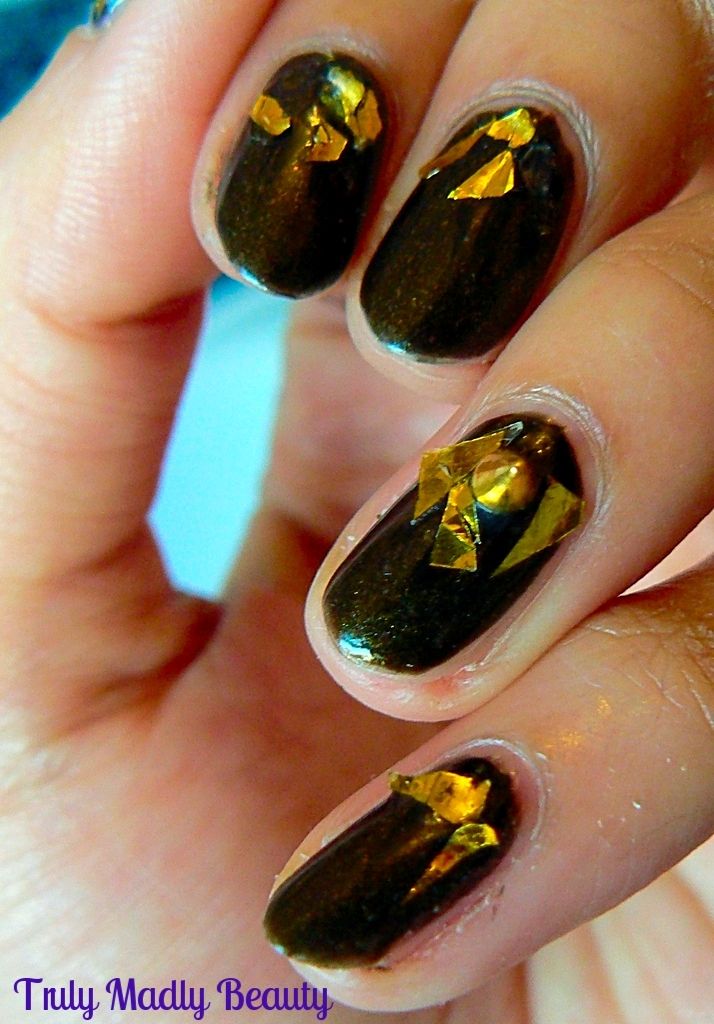
started with two coats of this Revlon polish Enthrall, quite fitting
actually, which I actually only picked up last week after spotting it
in Poundland! The dark olive/black with a stunning golden shimmer
running through immediately made me think of Ravenna. So gothic-ly
pretty!
Its
a bit difficult to see but I added a few sharp downwards streaks of
black polish from the cuticles using a thin nail art brush &
black polish.
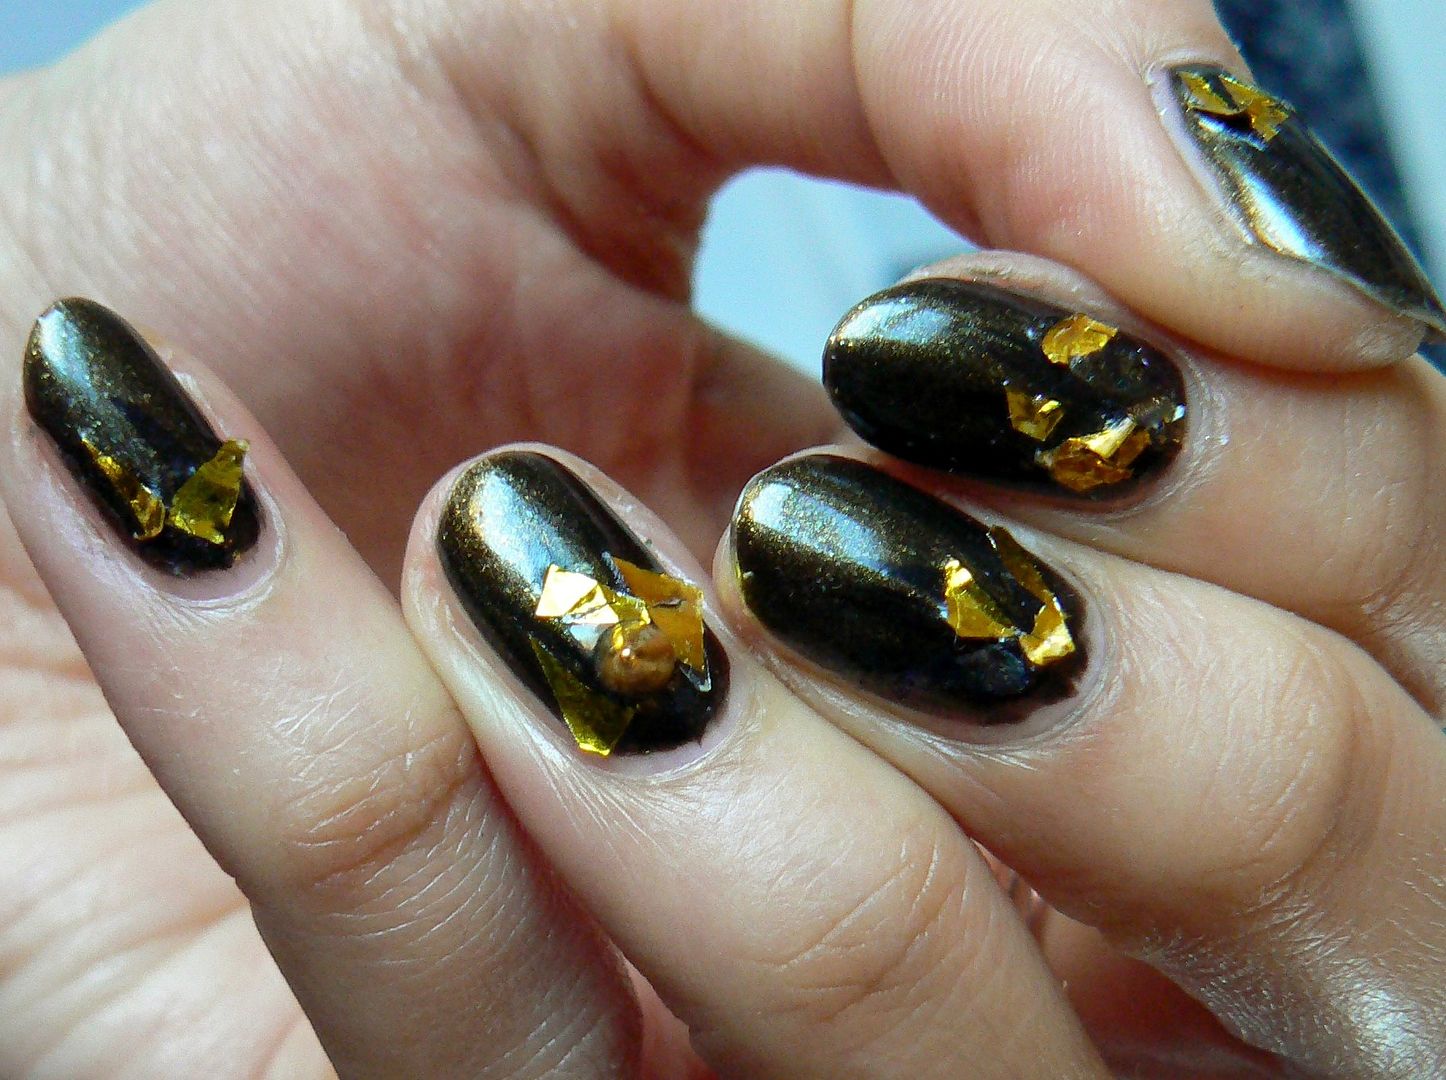
I
then used some pretty gold flakes I picked up from Born Pretty Store,
using a wet brush to help pick up the shards of gold, I just placed a
few pieces on top of the black streaks by the cuticle edge of the
nail also.
Whilst
doing a recent Born Pretty Haul (FYI you can use my code TRUW10 for
10% off your order) I couldn't resist picking up a few spike nail art
charms too! This I added on to my ring finger as an accent using a
bit of topcoat to help secure it down.
Finish
with a thick coat of topcoat & thats it! A dark gothic gold (&
perhaps slightly dangerous) manicure suitable for any Evil Queen! You
may need to add a good few topcoats to keep those gold flakes in
place!
Thanks
as always for reading! Stay tuned for a frosty themed mani for
Freya...
Lotsa love to ya!
12.03.2015
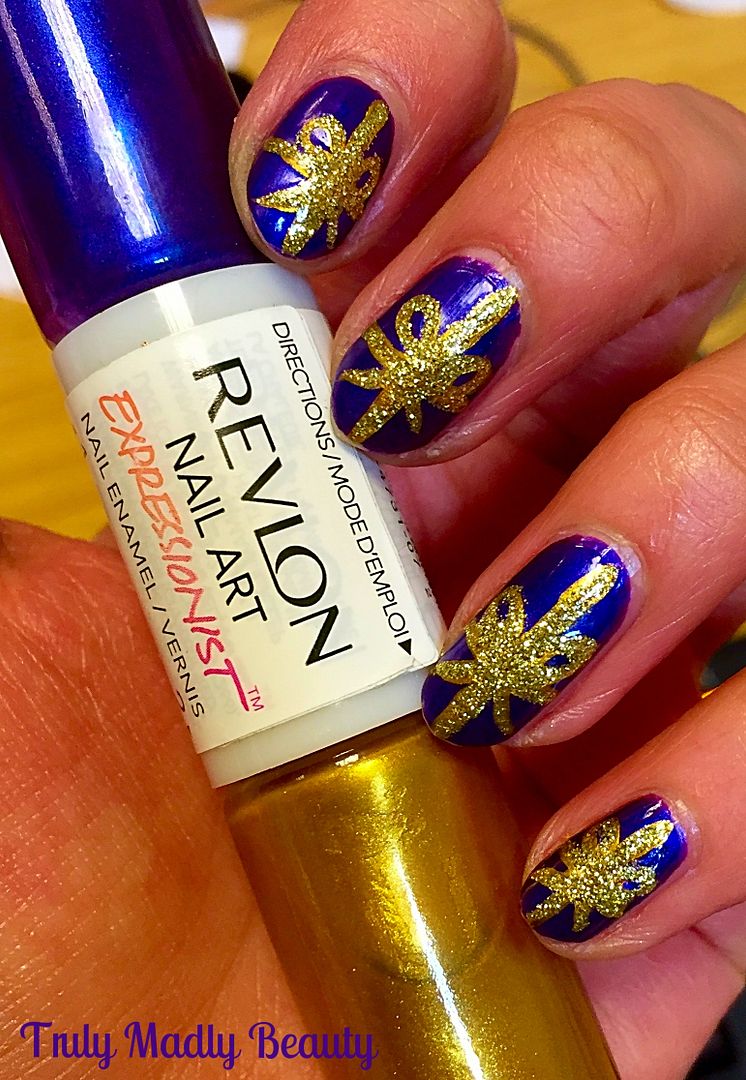
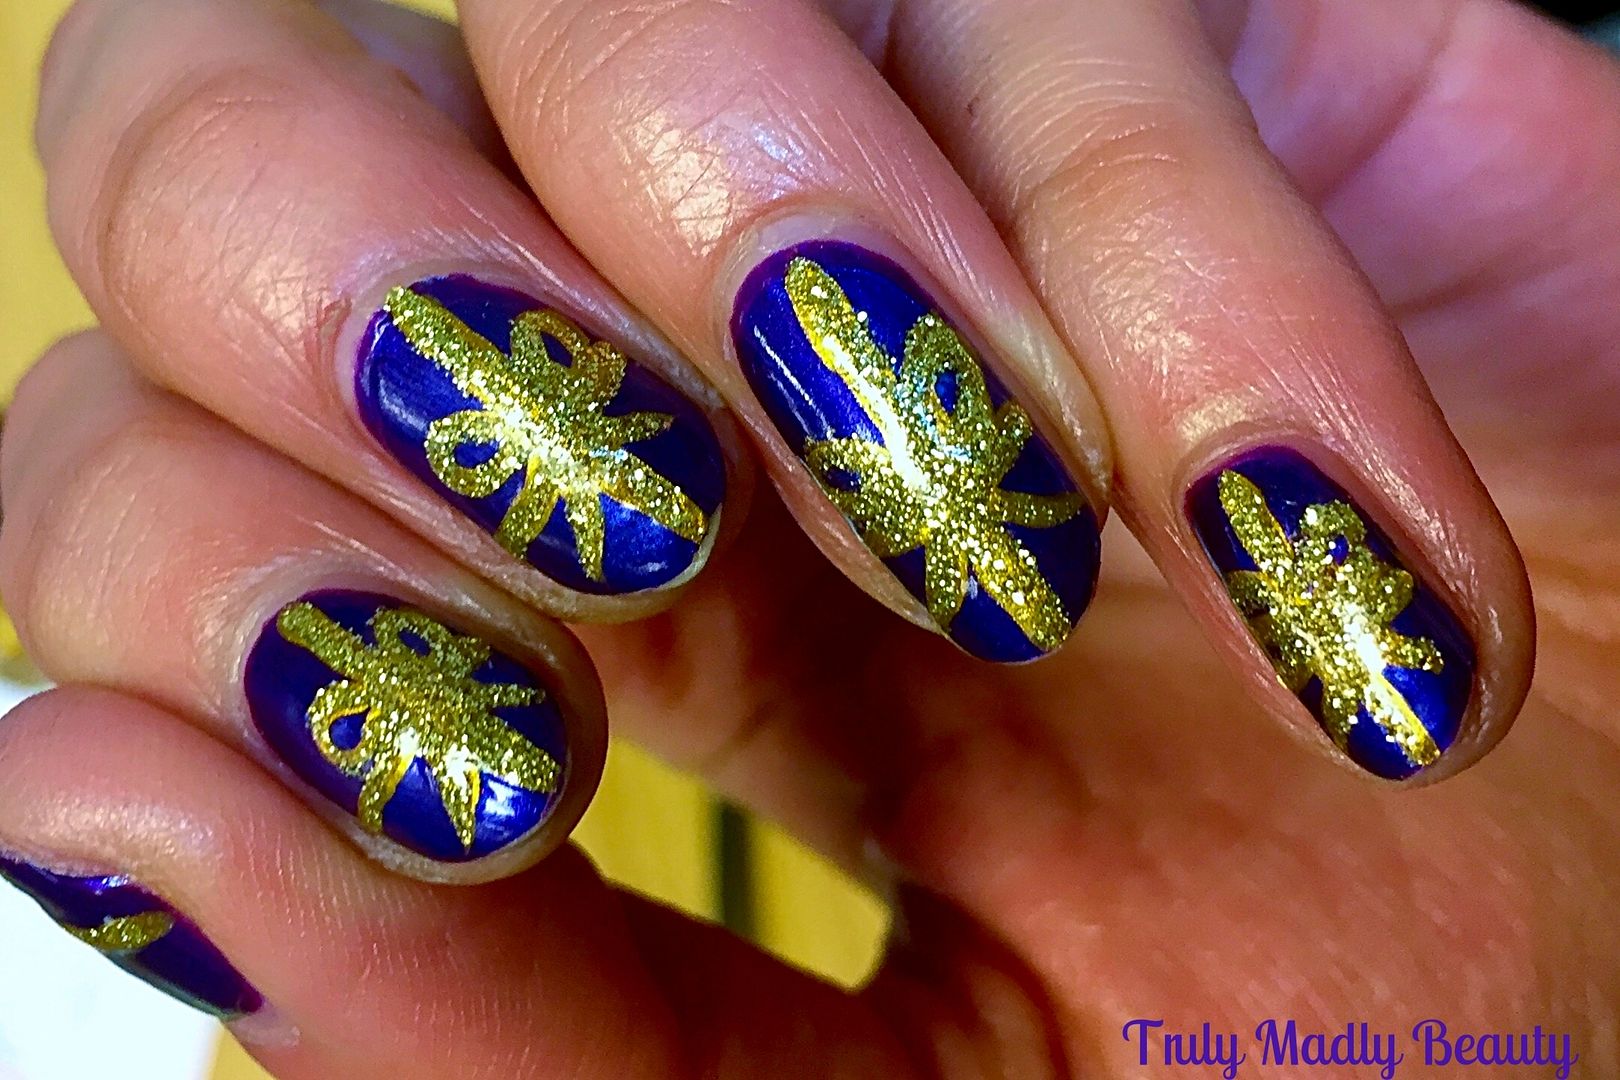
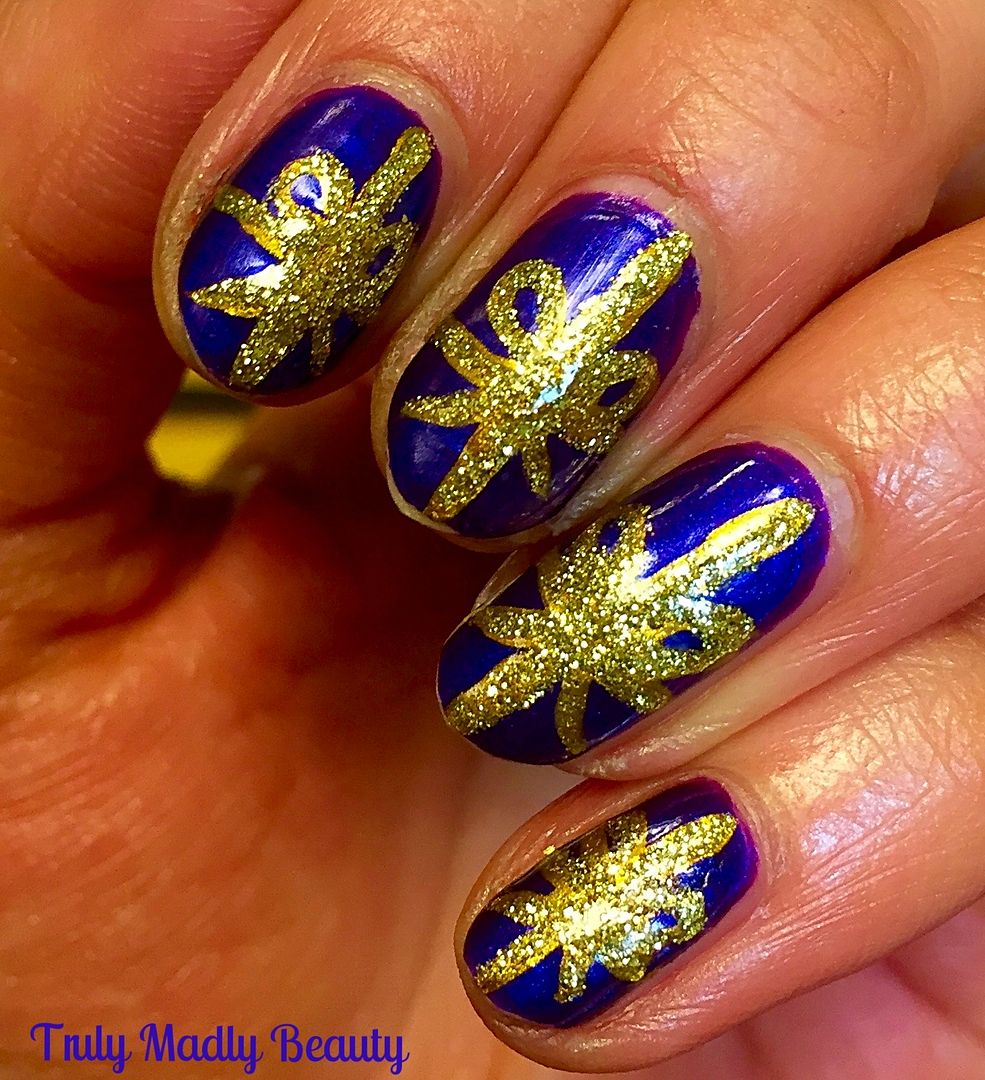
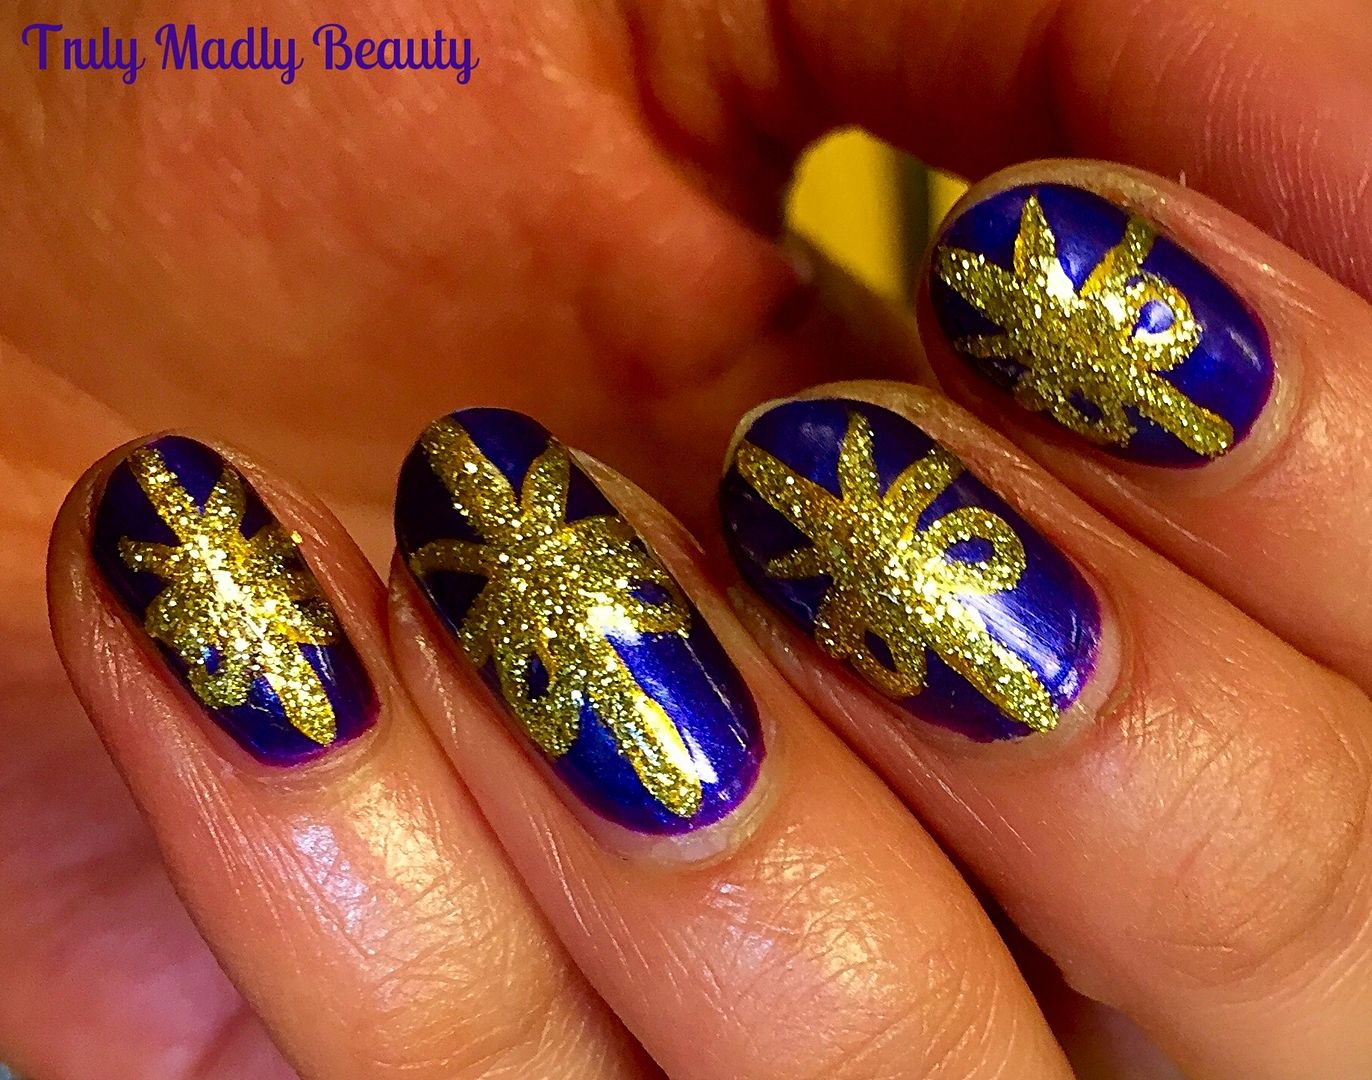
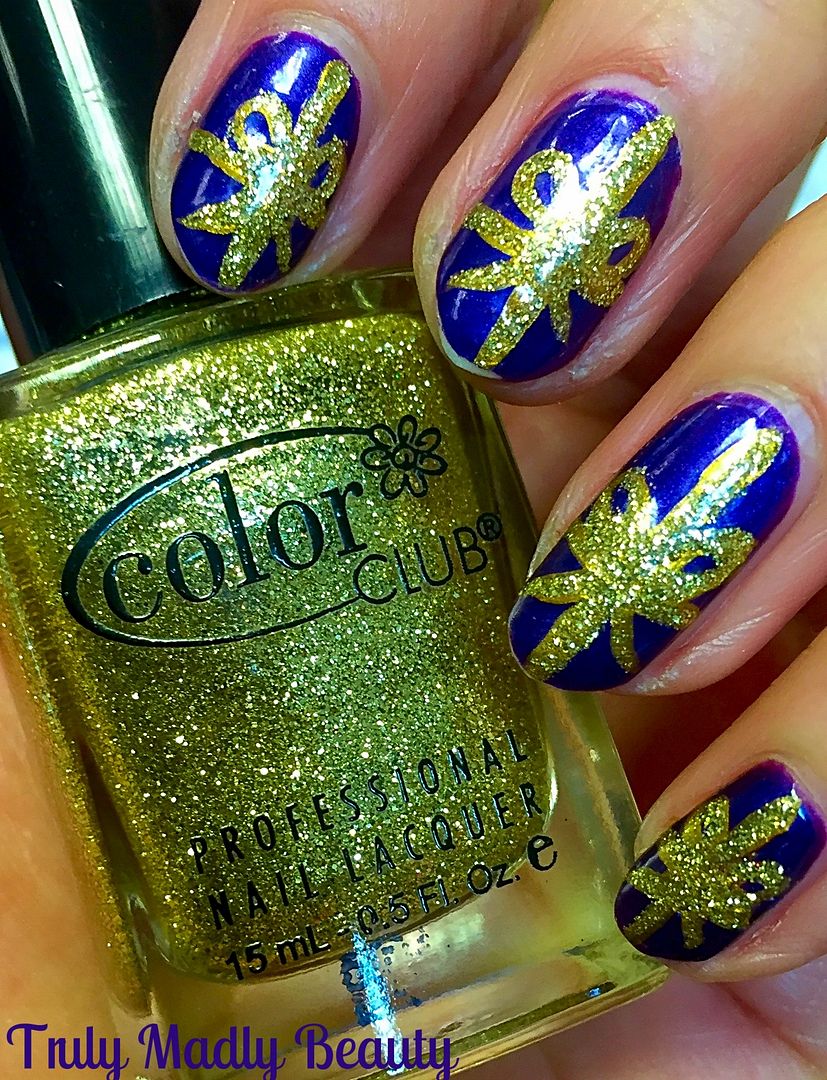
Festive Nails - Christmas Presents!
Hello
there my lovely readers,
And
so it begins...the time has come to start getting the festive nail art game on! Expect lots of sparkles in the
following weeks. If you're thinking "Oh but Aysh glitter is such
a pain in the caboose to remove!", fret not my dears as I have
written previous posts HERE on how to make glitter nail polish
removal a straightforward stress free task! So now you can sparkle to
your hearts content!
I
expect that I'll probably be using a lot of reds & greens over
the next few weeks so I thought Id start things off by picking a slightly
different yet no less merry shade for my first Xmas mani, with some Purple
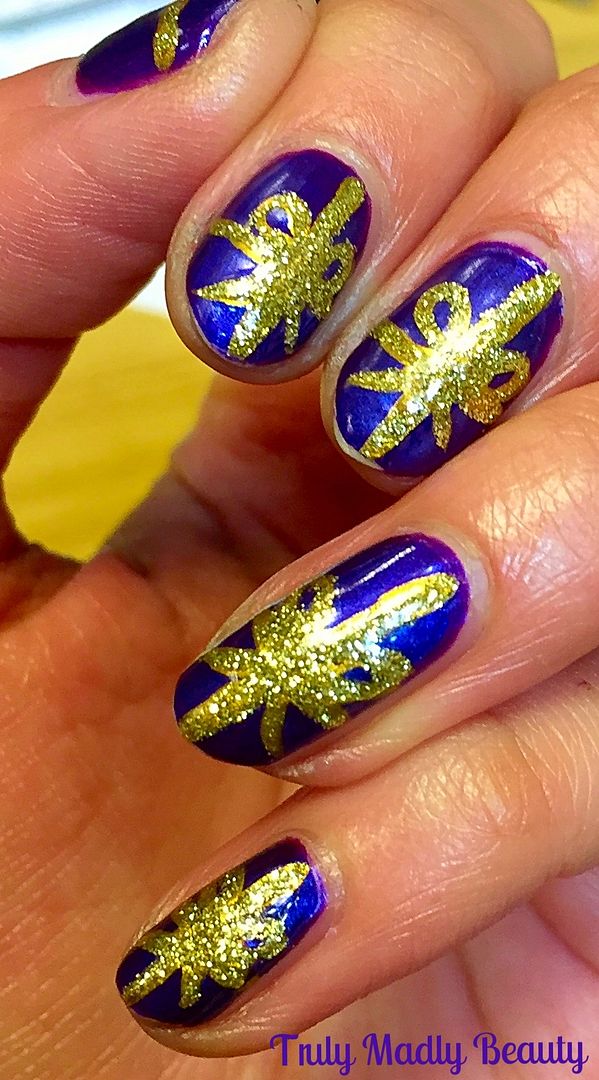
Presents!
To
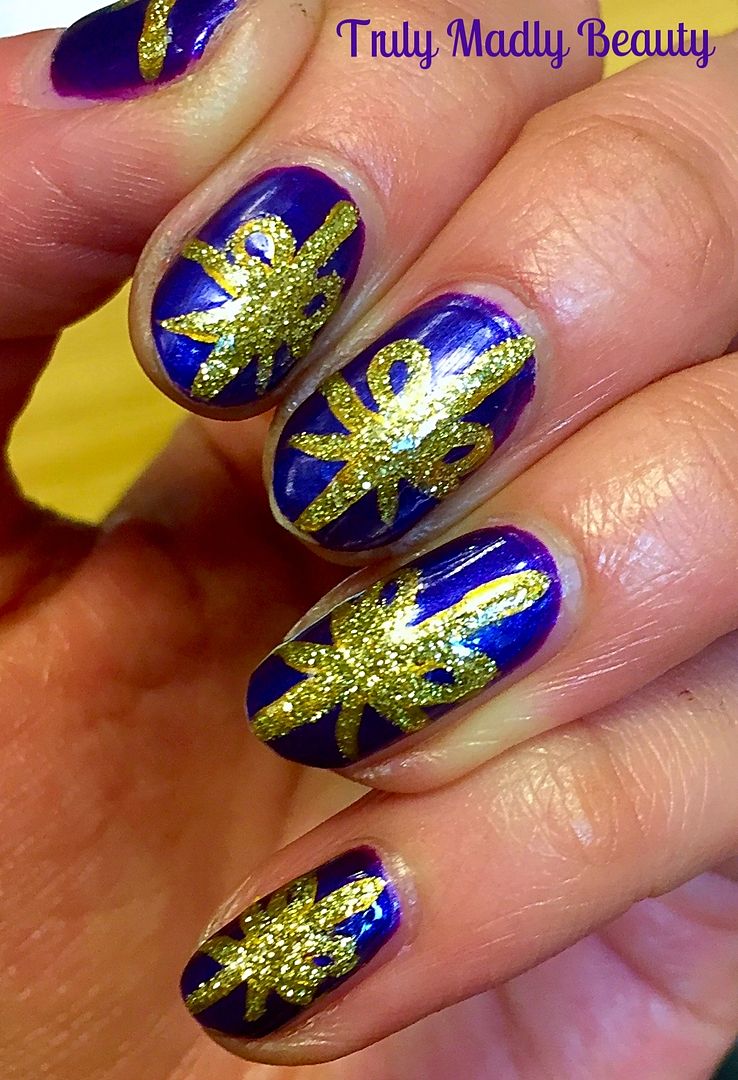
create my Christmas Present nails I used the double ended Revlon
Expressionist Nail art polish in Vincent Van Gold, which I picked up
many moons ago, containing a beautiful bold purple polish on one end
& a shimmery smooth gold on the other.
Begin
with your base colour, of course you don't have to use purple go for
any shade you fancy! I love satin-y finish polishes for this style of
mani as they give the look of shiny wrapping paper. The purple in
this duo is so gorgeous, a really rich, luminous, what I call
'Cadbury' purple, reminiscent to the pretty packaging of the famous
chocolate brand. It has the most divine pearlescent blue shimmer
running through that really makes it glow. This is two coats.
Next
you need to add your bows & ribbon, the gold end of the Revlon
duo does have a thinner brush for nail art however I still found it a
tad too thick so instead used my new Pure Color 10 brush from WhatsUp Nails which I am in love with as its perfect for creating fine
nail art.
Dipping
your brush into the gold polish, draw a vertical line straight down
the nail, slightly to the right instead of directly in the centre, then draw
another horizontal line across the nail so you'll have a gold cross.
Then
dipping again into your gold, add two loops side be side in the
centre of your cross where the lines meet for the top of your bow,
before doing the ribbon flicks underneath.
For
a final touch I decided to go over the gold with this simple yet
super sparkly Color Club gold glitter polish, just doing this
additional step really does make a difference allowing that mani to
pop!
Finish
with the obligatory topcoat, I of course use my much loved CND AirDry & you're done!
Lotsa love to ya!
11.19.2015
Polish & Poise - Adore Me Lingerie Inspired Nails!
Hello
there lovely readers,
I
do enjoy finding nail-spiration in all kinds of places, fashion,
food, media, you name it. Lately I've loved creating nail art
inspired by fashion, such as this Colour Block mani that was inspired by
a beautifully printed dress. Another avenue I've found myself going
down is lingerie. Think about it, all the pretty lace detail &
jewel tones are perfect for nail art inspo! Just the simple task of
wearing a pretty set underneath your winter layers can make you feel
as good as when having a freshly painted manicure, so why not match
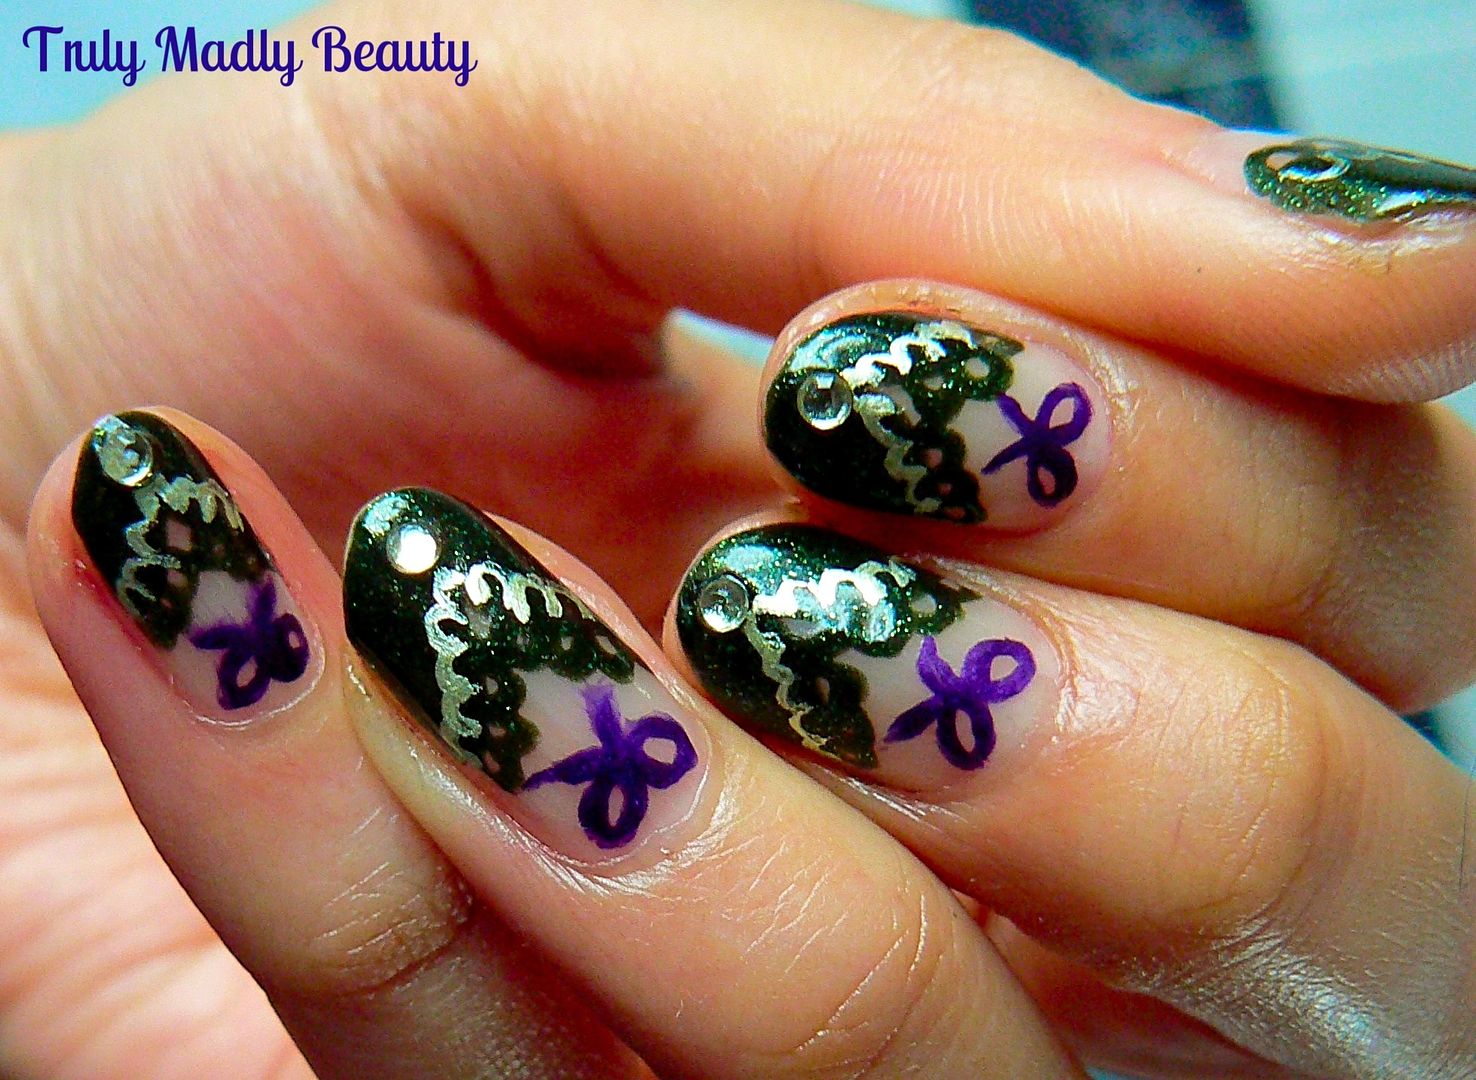
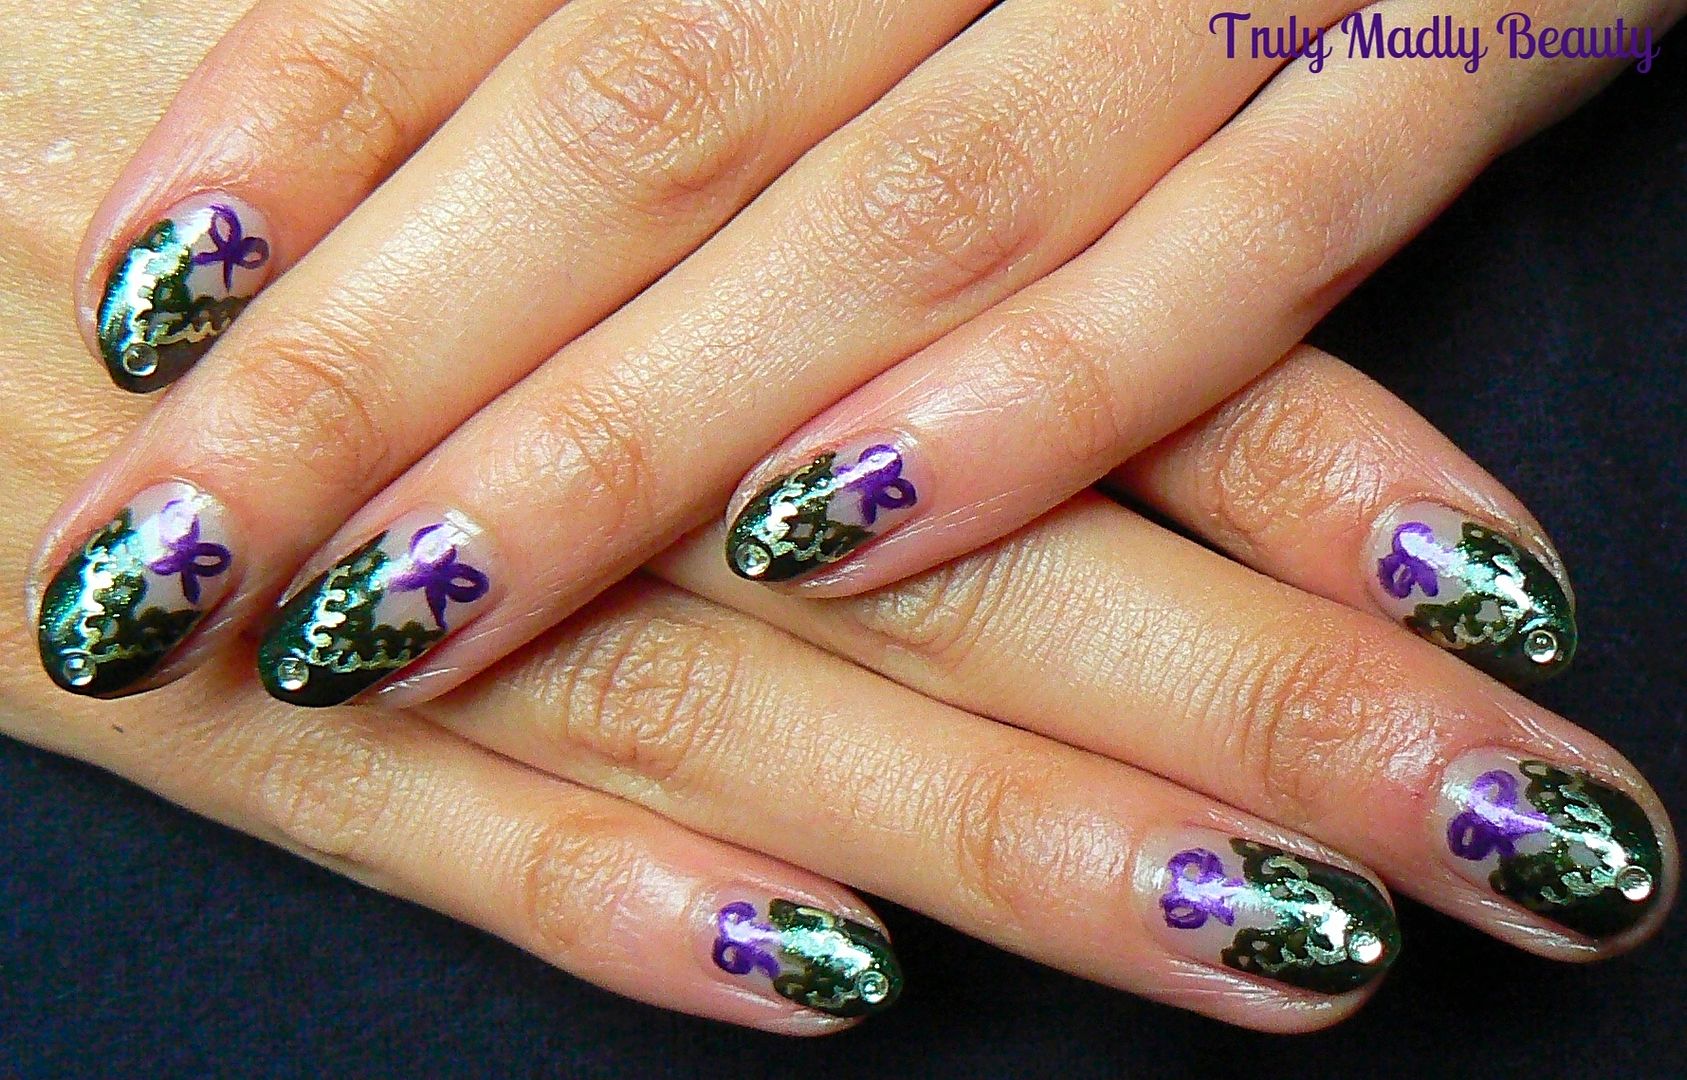
both for extra brownie feel good points? When
I came across lingerie brand Adore Me
I became inspired to participate in their fun Polish n
Poise project by creating some lacquered looks inspired by a few of
their pretty pieces, I couldn't resist the challenge!
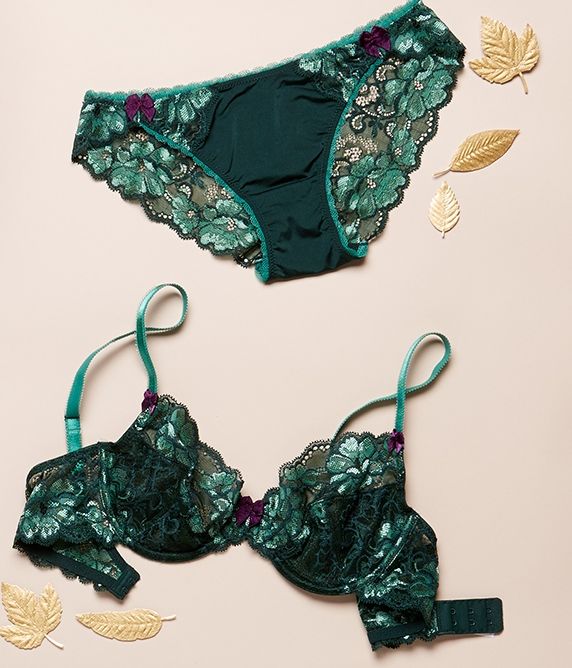
Adore Me is a New York based online lingerie company with a vast selection
of pretty pieces to tempt. From dark vampy to angelic pastel sets
there's something for everyone. This time of year, the warm tones
especially draw me in & this gorgeous emerald two piece Wilhemina
set caught my eye with its gorgeous jewel green lace & bow
details.
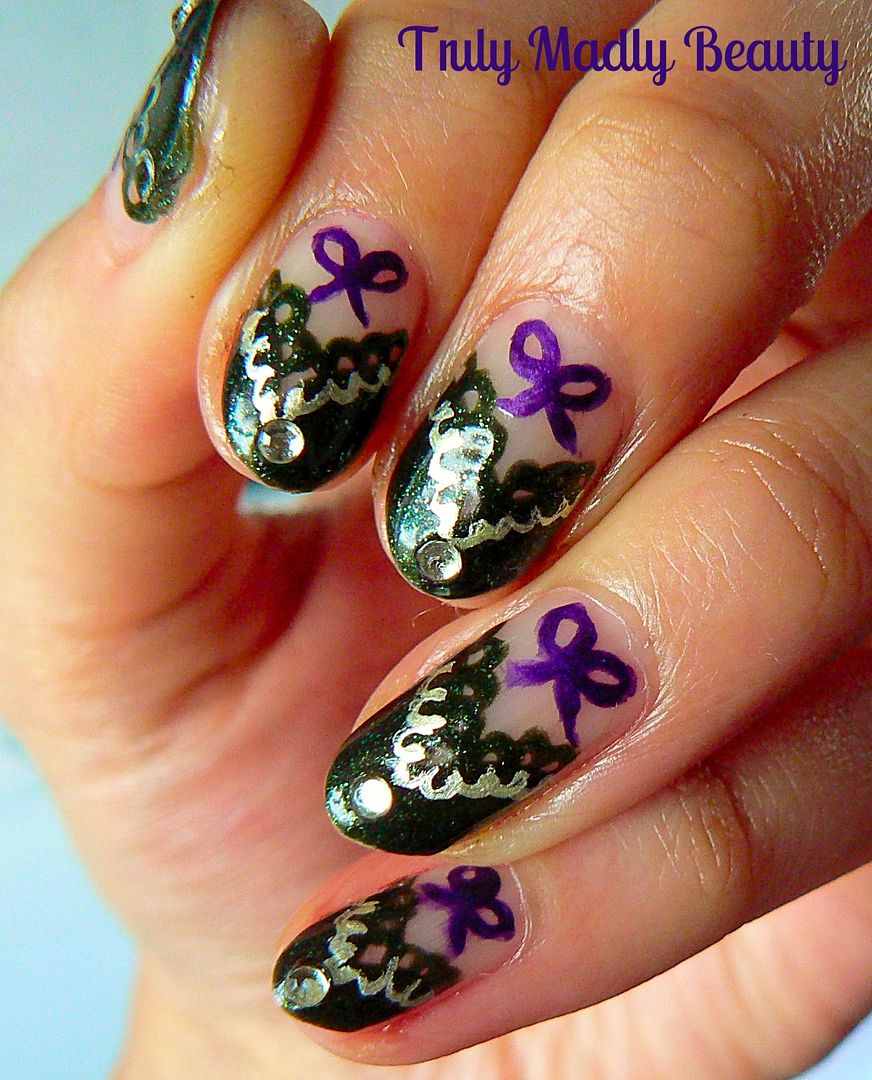
And
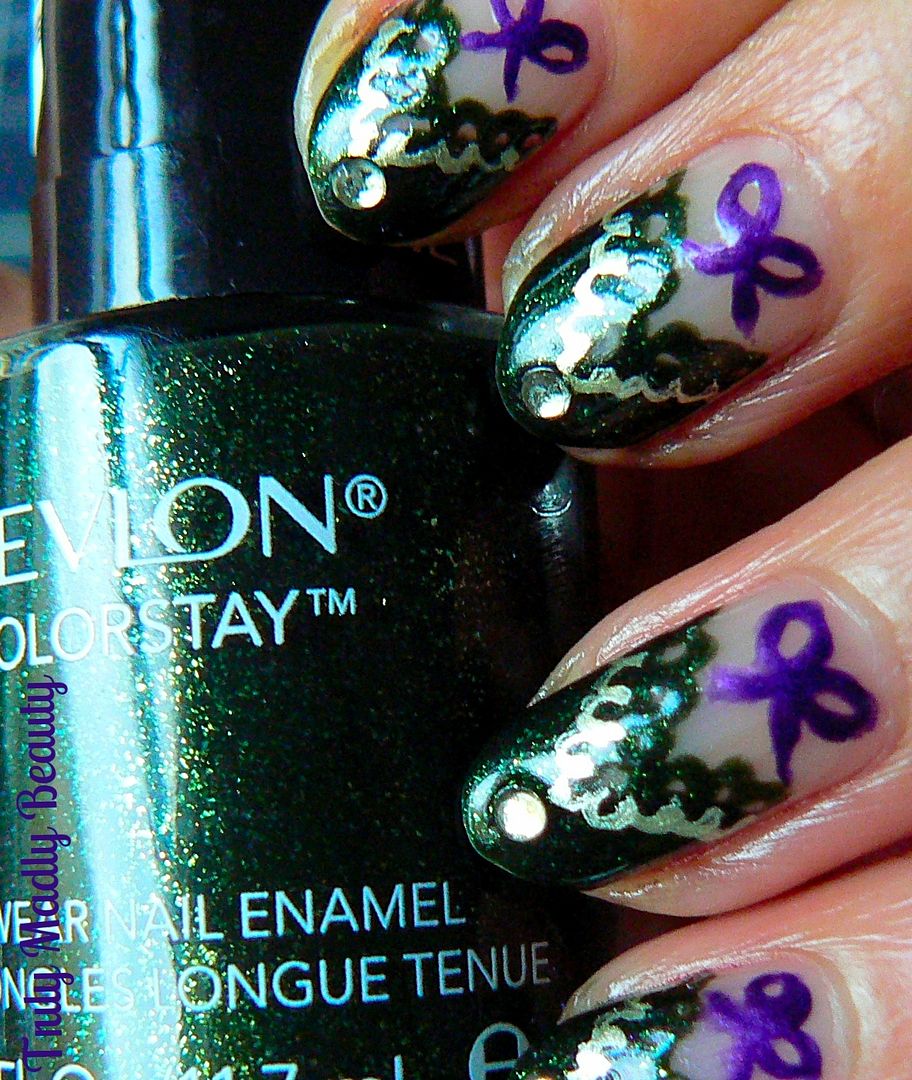
here is the nail look I've created inspired by this lovely piece...
To
create the design start off with your green, I'd been eyeing up the
gorgeous Revlon Rain-forest polish for a while now so was happy to
finally give it a whirl! Rain-forest is a delightfully deep green
shade with pretty glitter particles suspended in the formula making
it shimmer so nicely! Perfick for this time of year.
First
step is to apply Rainforest as a V shaped tip to each nail. This is
so easy to do & can be done using the brush with the polish,
apply one stroke at a diagonal halfway across the tip before doing
the same on the other side of the nail creating the V shape.
To
start with the lace detail, grab a fine nail art brush & your
green again & simply apply a row of small round circles along the
top edge of your V.
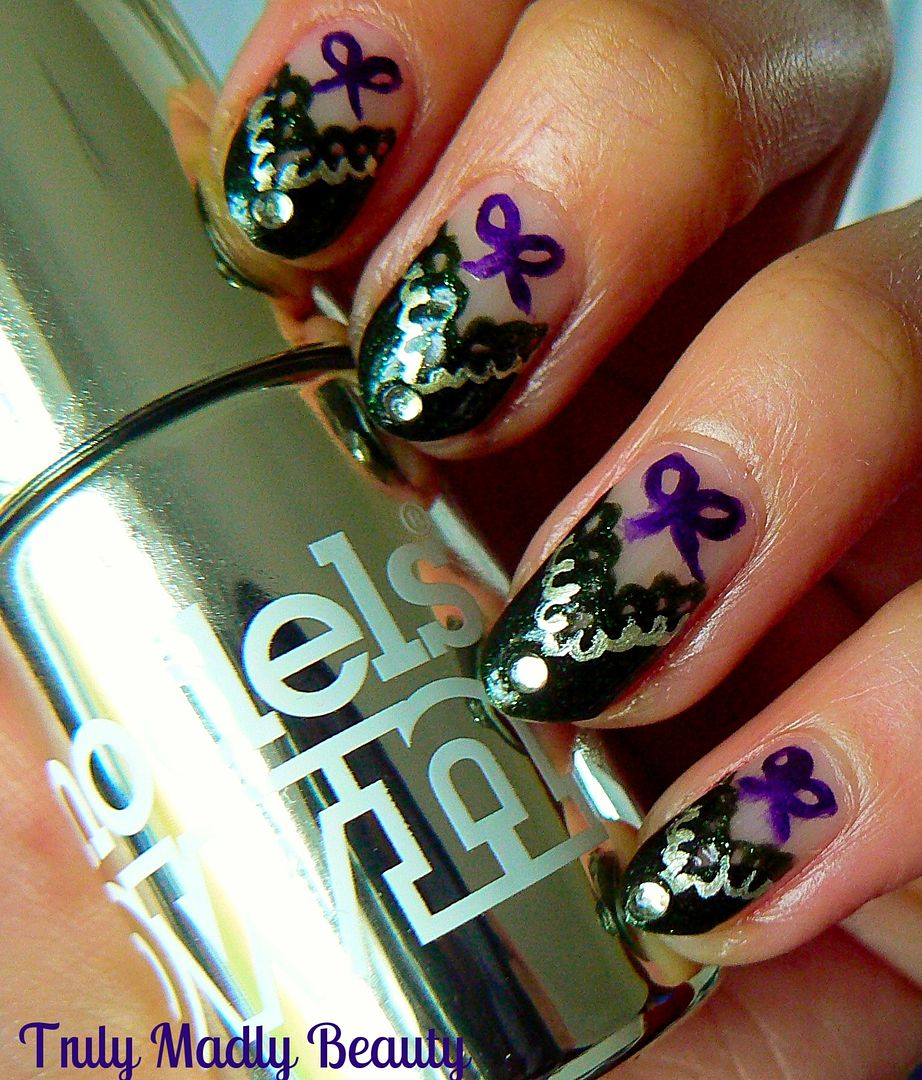
For
added detail do the same on the opposite inside edge using a lighter shade,
here I used Models Own Chrome polish in Olive which is a beautiful
green tinted gold that really stands out. Again using a fine nail art
brush apply your row of circles mirroring the dark green.
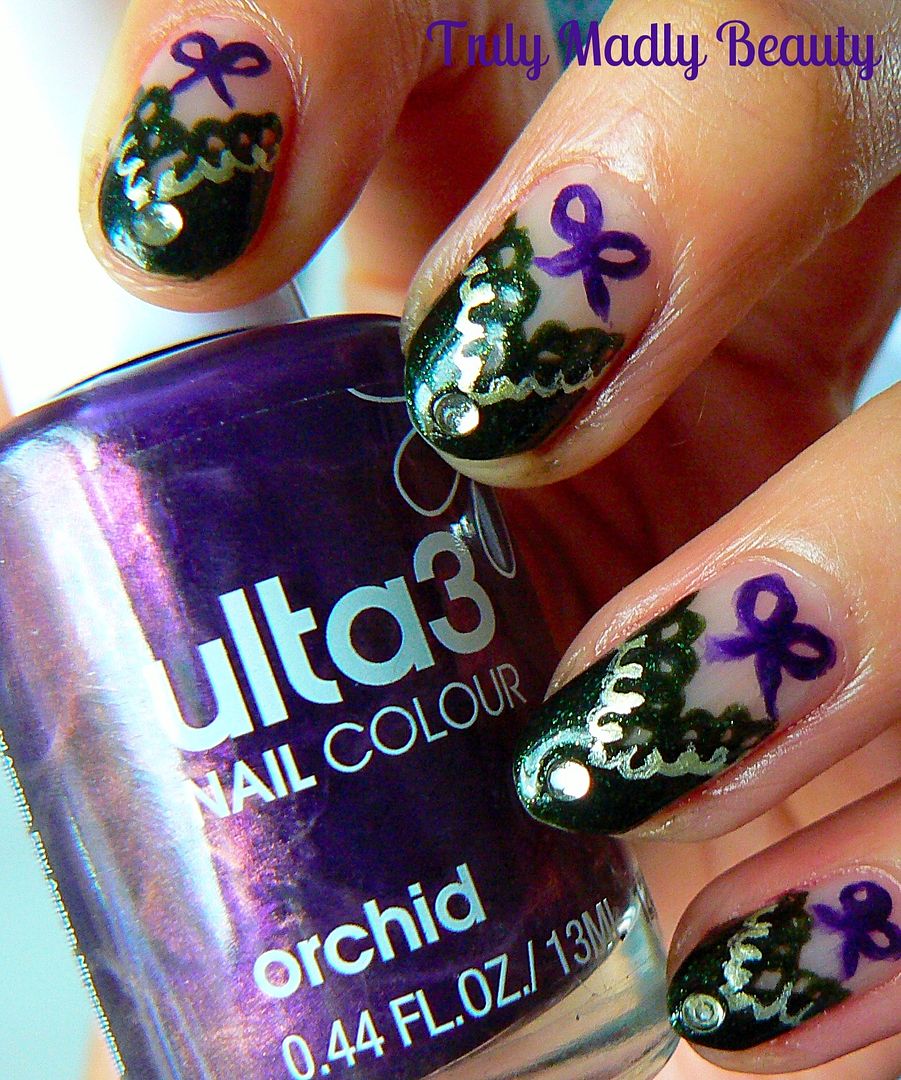
Next
to add on your little bows, again grabbing a fine nail art brush &
a dark purple, I've used Ulta3 Orchid, simply freehand your bows by
drawing on two loops with a couple of curved lines underneath for the
ribbon strands.
For
a final touch of bling I added a pale green rhinestone to the center
of the tips before sealing it all with topcoat.
Thanks
as always for reading, I hope you liked the lingerie inspired nails
my lovelies! I've seen a few other sets that have got me itching to
create some more nail art to accompany them! Why not try rocking your
nails to match your lingerie next time?
Lotsa
love to ya!
Subscribe to:
Posts (Atom)