Showing posts with label Illamasqua. Show all posts

11.28.2018

Festive NOTD - Xmas Vintage Roses & Gold Glitter

Hey there lovely readers!

So Fall has passed us by far too quickly in my opinion & it seems that the natural way of things to go moving forwards is Christmas! Yup tis the season to be jolly which means nail art will be getting suitably sparkly around these parts, or I hope anyway! As usual it all depends on time but I do hope to roll out some fun festive goodness for the nails this year!


4.23.2018

NOTD - Earth Day Nails

Hello there my lovely readers!

Aaaah I am SO happy with how this finished design came out, so much so that it actually may be my most favourite nail art look of the month! Hurrah for nail art wins. I've had so many fails of late I was beginning to despair...


11.18.2016

NOTD - Toothless the Dragon Nails!

Hello there lovely readers!

A spot of fun randomness with today's nail art....I love finding inspiration in all things, especially one of my greatest joys...animated movies! 

Browsing through Netflix the other day I came across one of my favourites & I'm sure a film that is for many others too...How To Train Your Dragon. I've yet to find anyone of any age who DOESN'T love this movie & I think we know its mostly down to the bloomin adorable Toothless.

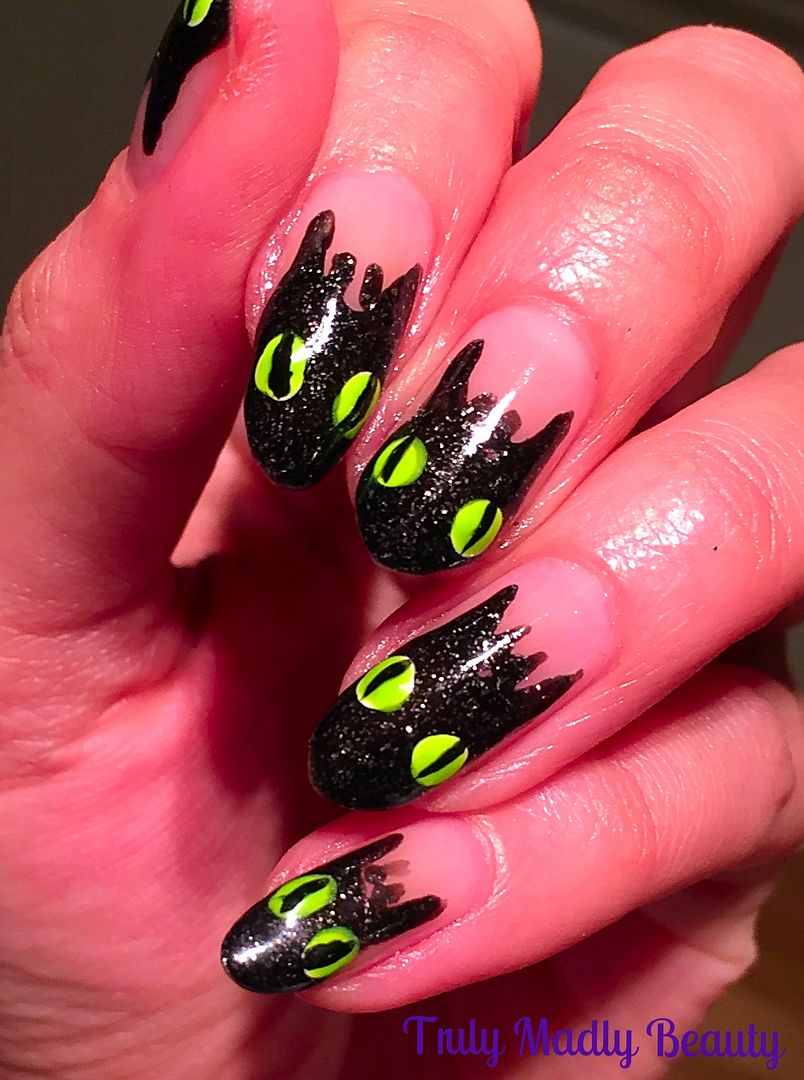
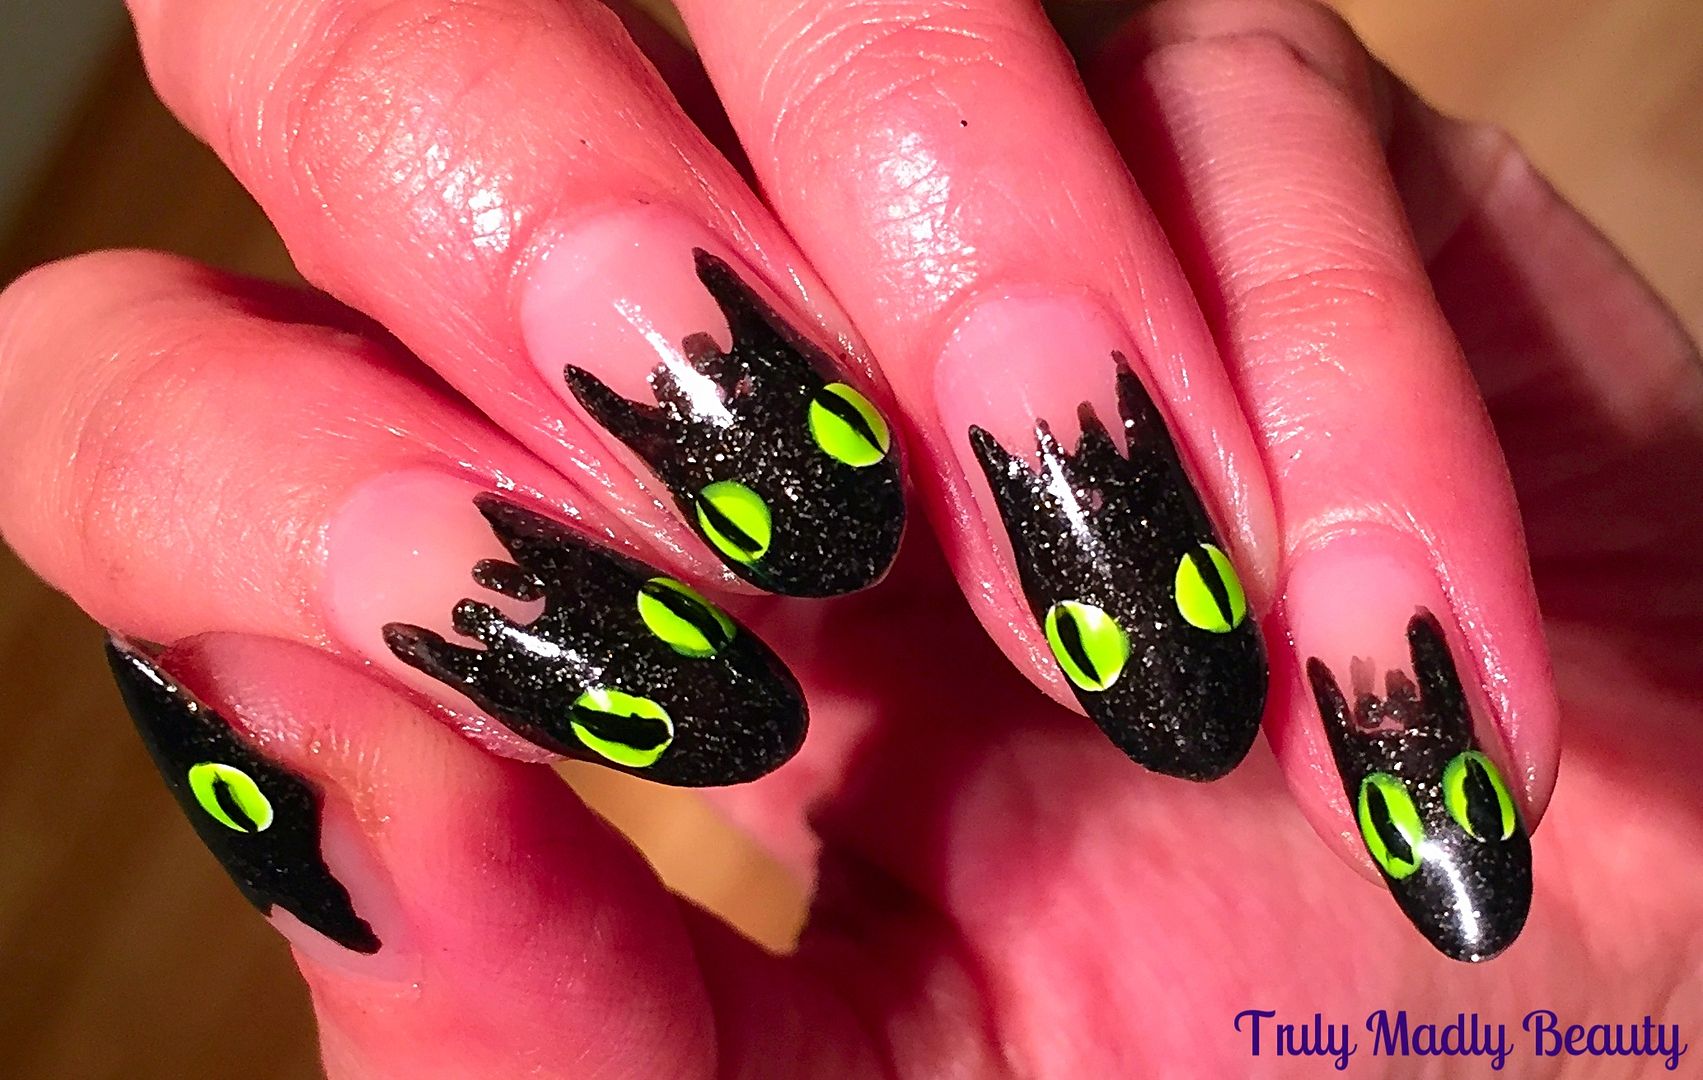
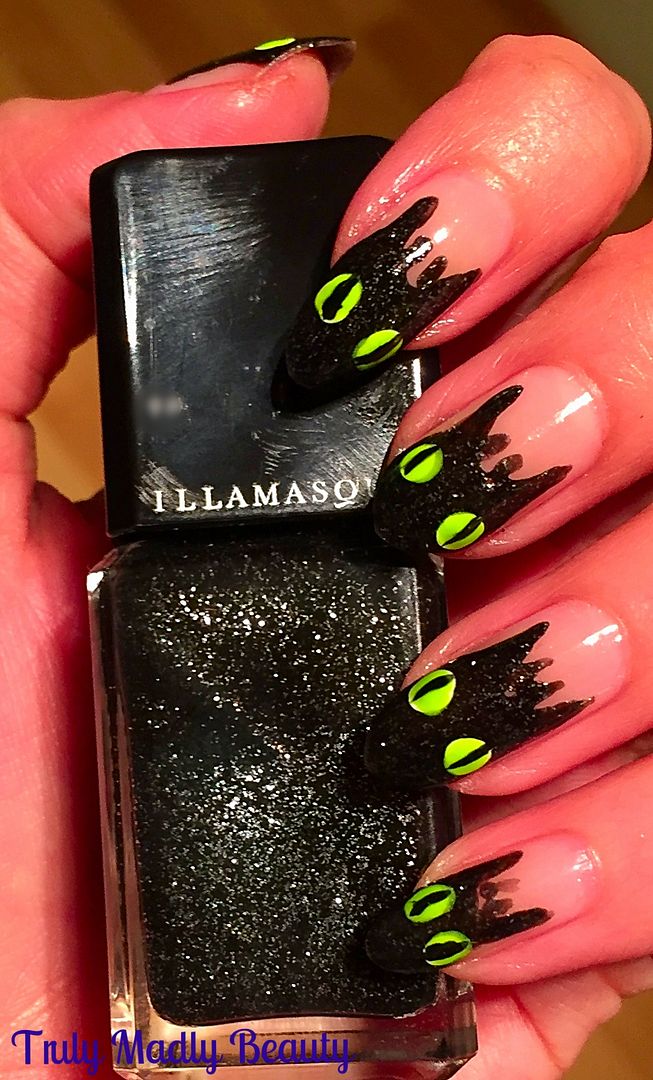
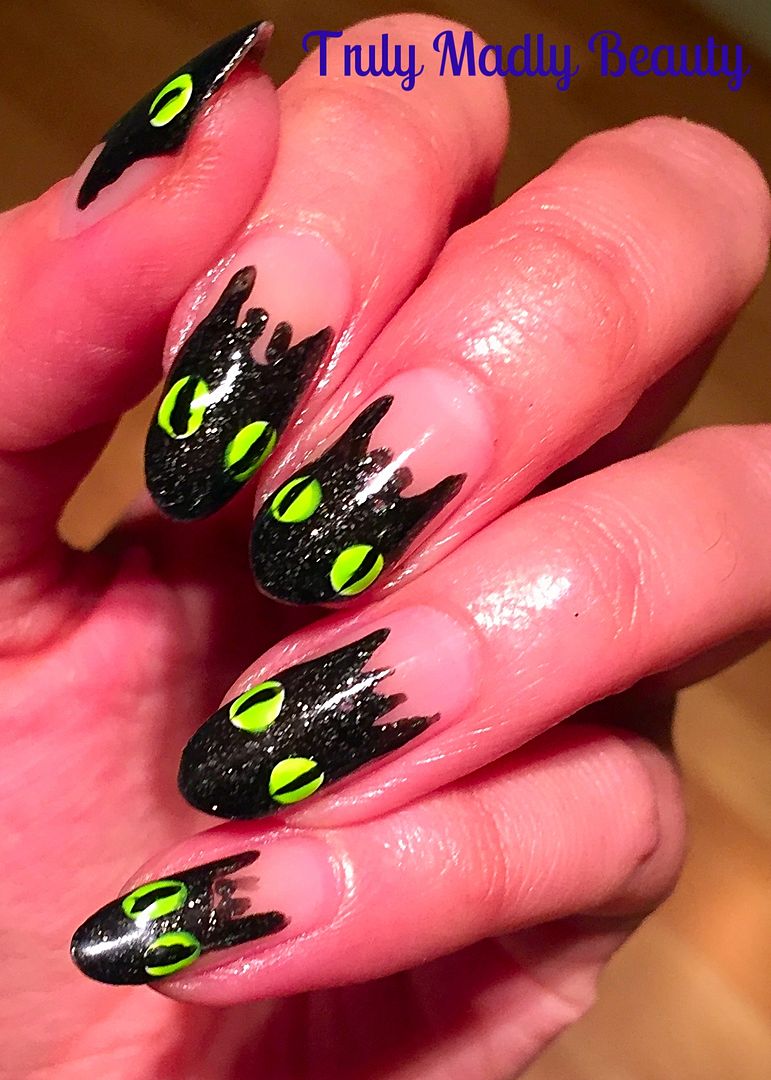
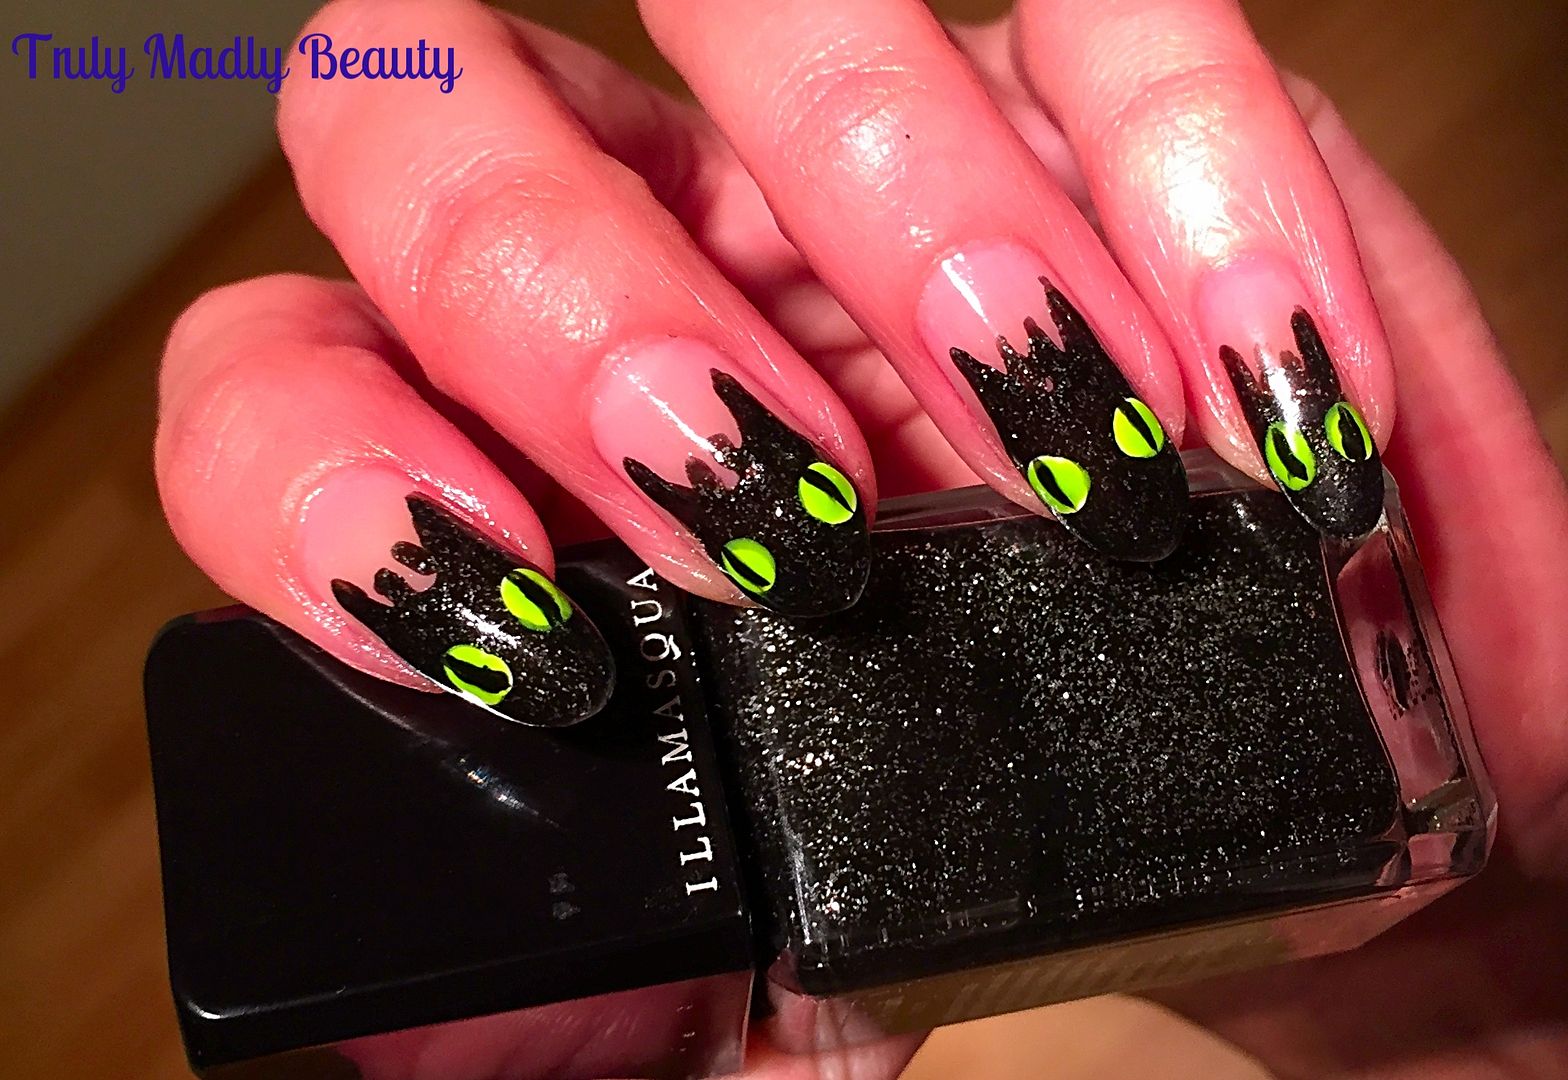
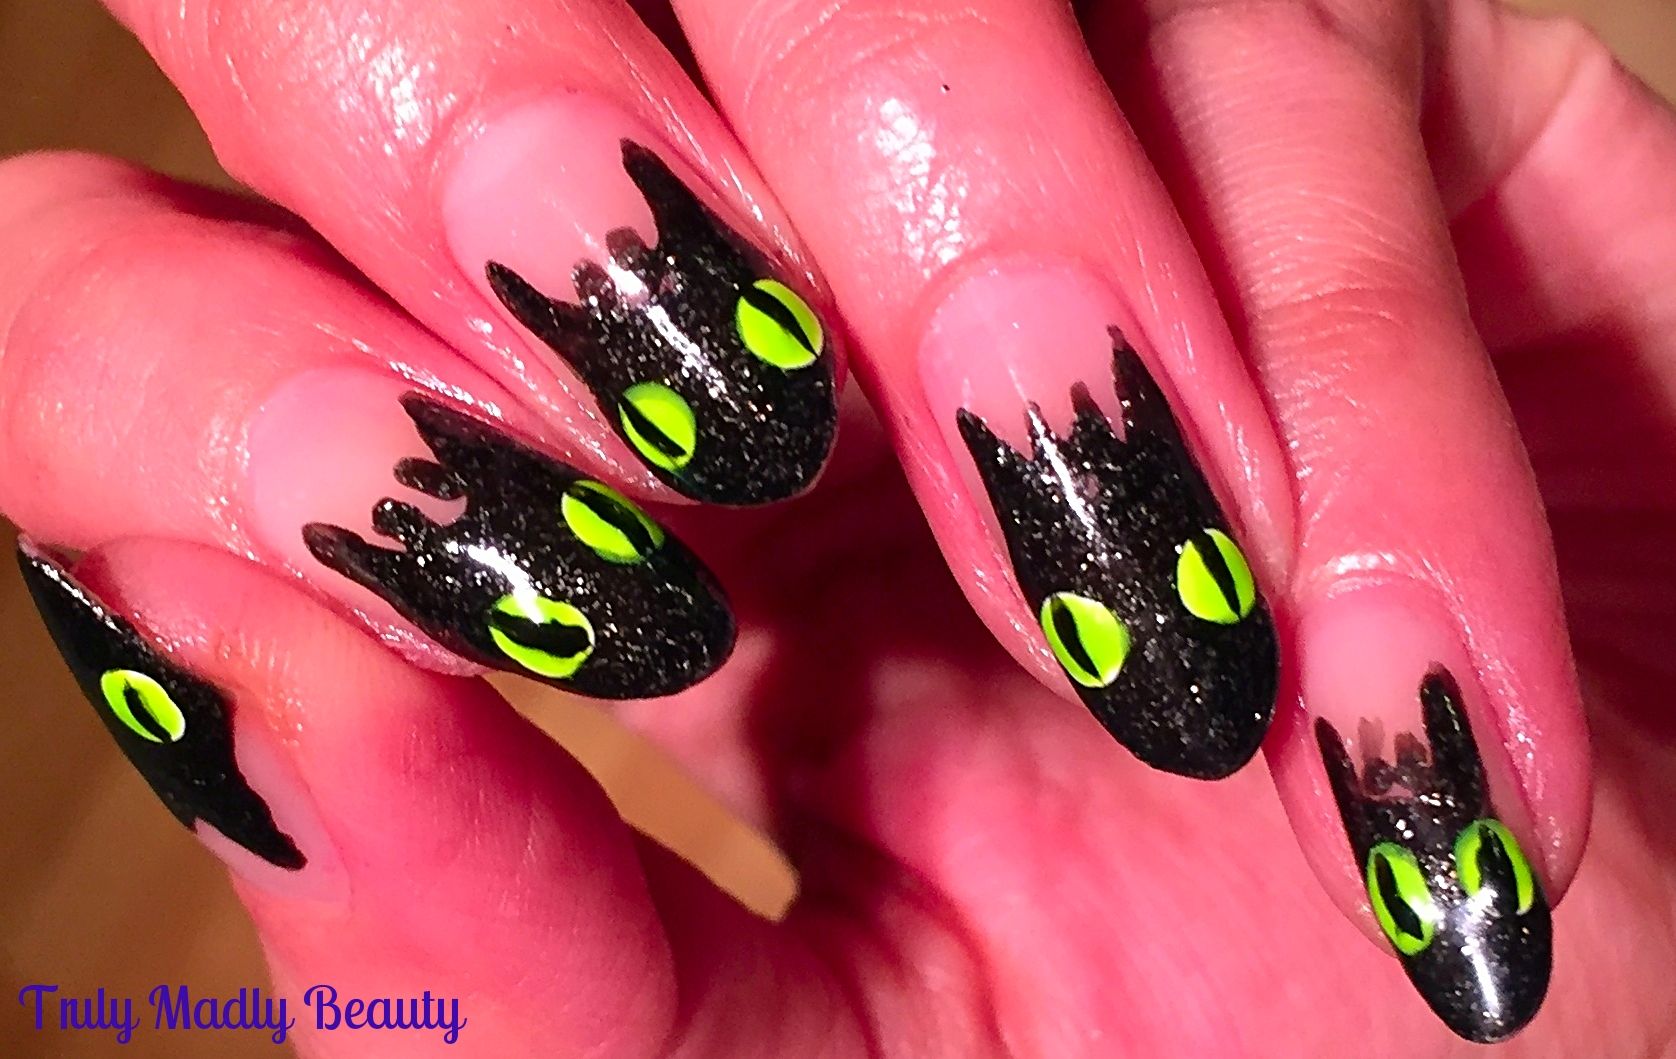
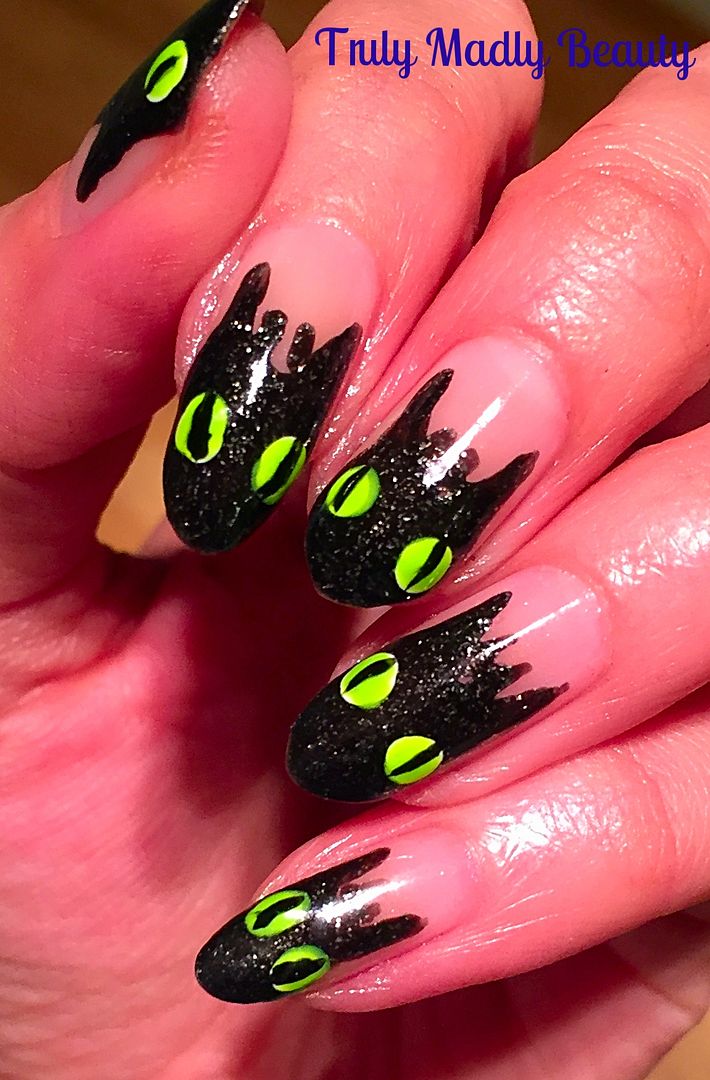
I was in the mood for something dark yet fun so I decided to use the lovely Toothless as my inspiration and created this Toothless Dragon Tips design!


Haha different non? But I'm chuffed with how they came out, I certainly did my work colleagues heads in the next day asking them WHO they thought it was on my nails...& 99% of them got it right! Currently NOT talking to the 1% who thought it was the rabbit ghost from Watership Down.... AHEM. O_O


Anyhoos for my Toothless nails a suitable black was required & rather than use a plain black polish I reached for this pretty by Illamasqua called Creator which is filled with teeny silver microglitters giving it a fun edge & I felt would actually add to the effect of the dragon like scaly skin.


Using my black polish & a fine nail art brush I freehanded my Toothless faces to each nail. To do this start by drawing on a U shape about 3/4 of the way on the centre of the nail.


Then continuing on from the bottom curve of your U shape, draw 2 lines either side, downwards to the tips, curving out slightly to create the face, before filling in.


Add on 2 little spikes in middle of the U for his horns & then for the eyes I simply dotted on two white dots, before going over with a neon green (this makes the neon pop)


Final step is adding on 2 thin dragon pupils on to your eyes with a spot of black polish & a fine brush before finishing with topcoat...Hello Toothless!


Hope you liked, now thinking of other animated characters I can bring to life on my nails....Thanks as always for stopping by darklings! 

Lotsa love to ya!


5.29.2016

NOTD - Fizzy Pink Raindrops

Hello there lovely readers!

Being a erm somewhat  "passionate" fan of the nail polish, (you'd never have guessed right?) I do confess that I own quite a few *cough* hundreds *cough*. Its very rare that I'd find myself repurchasing a polish I've already owned. However, there have been times where such an event HAS indeed occurred, with a couple of my HG 'must have polishes that I recommend every girl MUST own by hook or by crook.


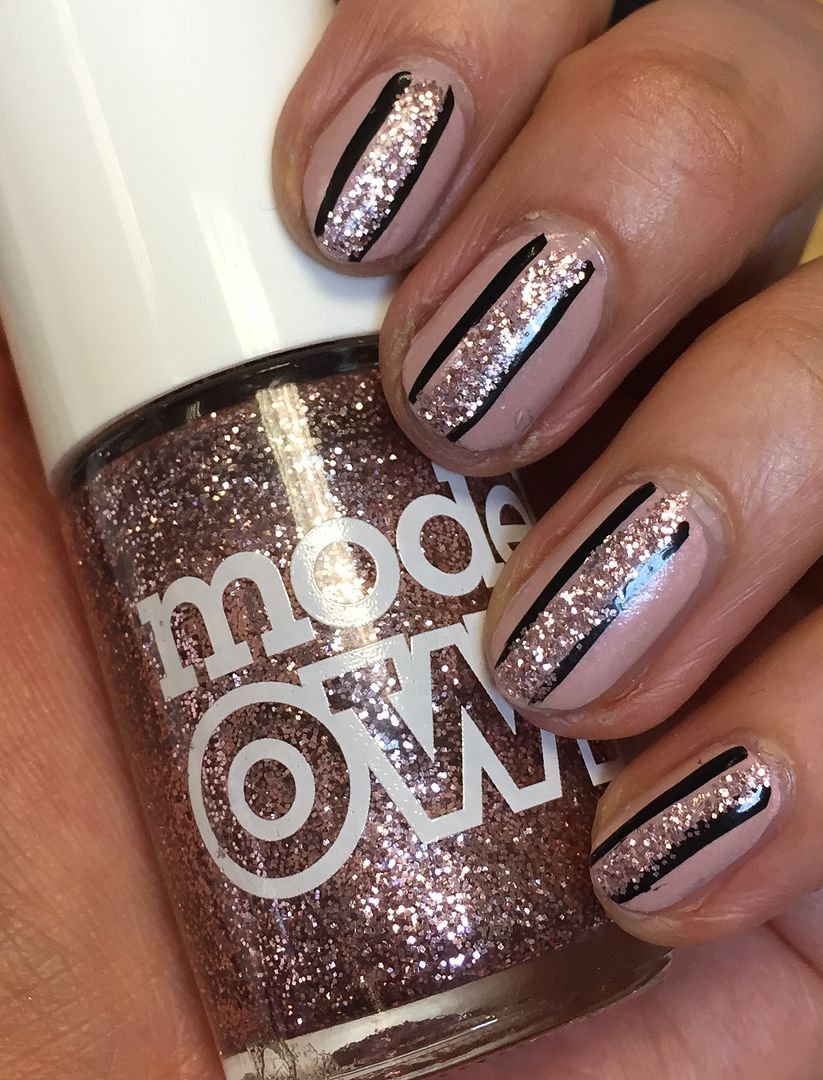
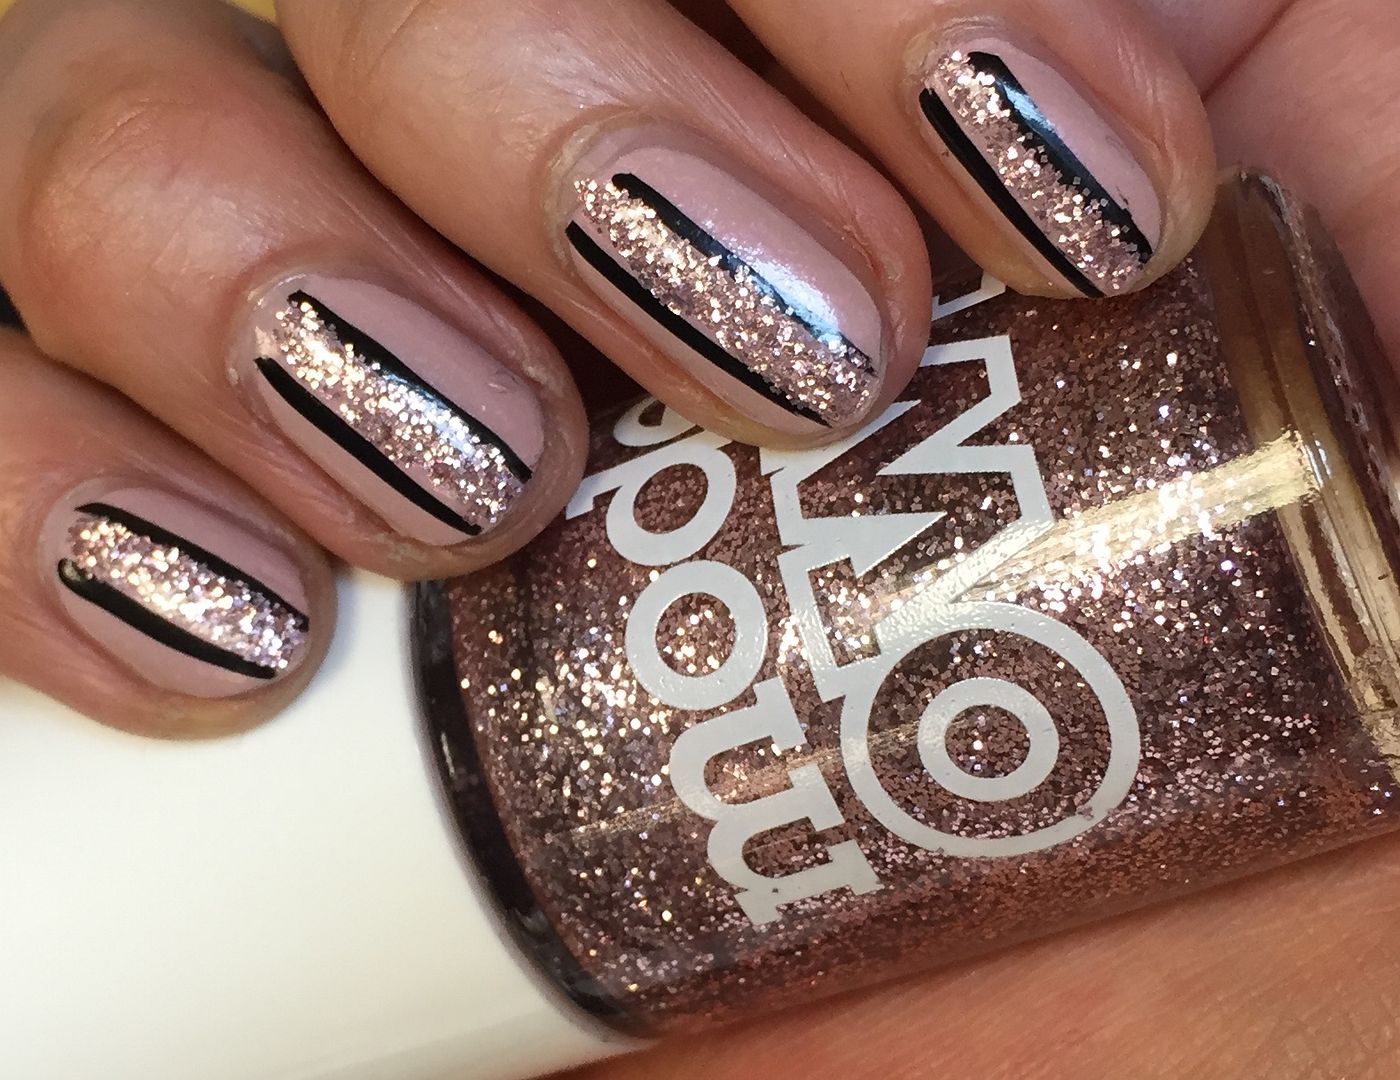
One polish that has been repurchased & which I am forever raving & praising is Models Own Pink Fizz. You only have to gaze at its prettiness to understand, I've never come across another like it! A divine pale pink glitter that sparkles so beautifully not only is it a bobby dazzler but its also the most opaque glitter I've ever come across, two coats equals to full blingy beautiful coverage! 


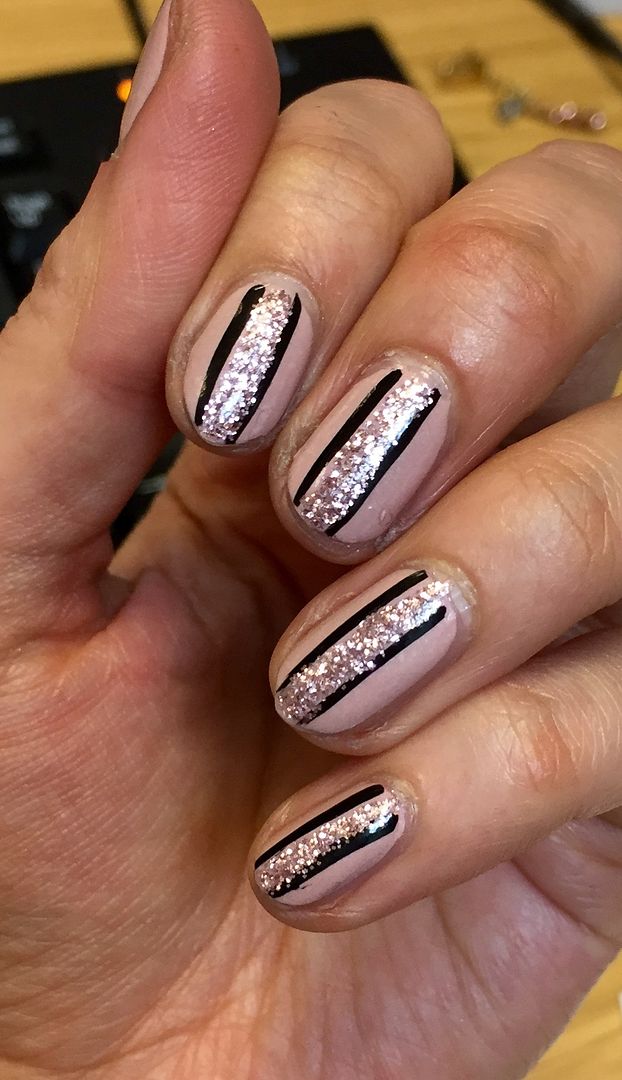
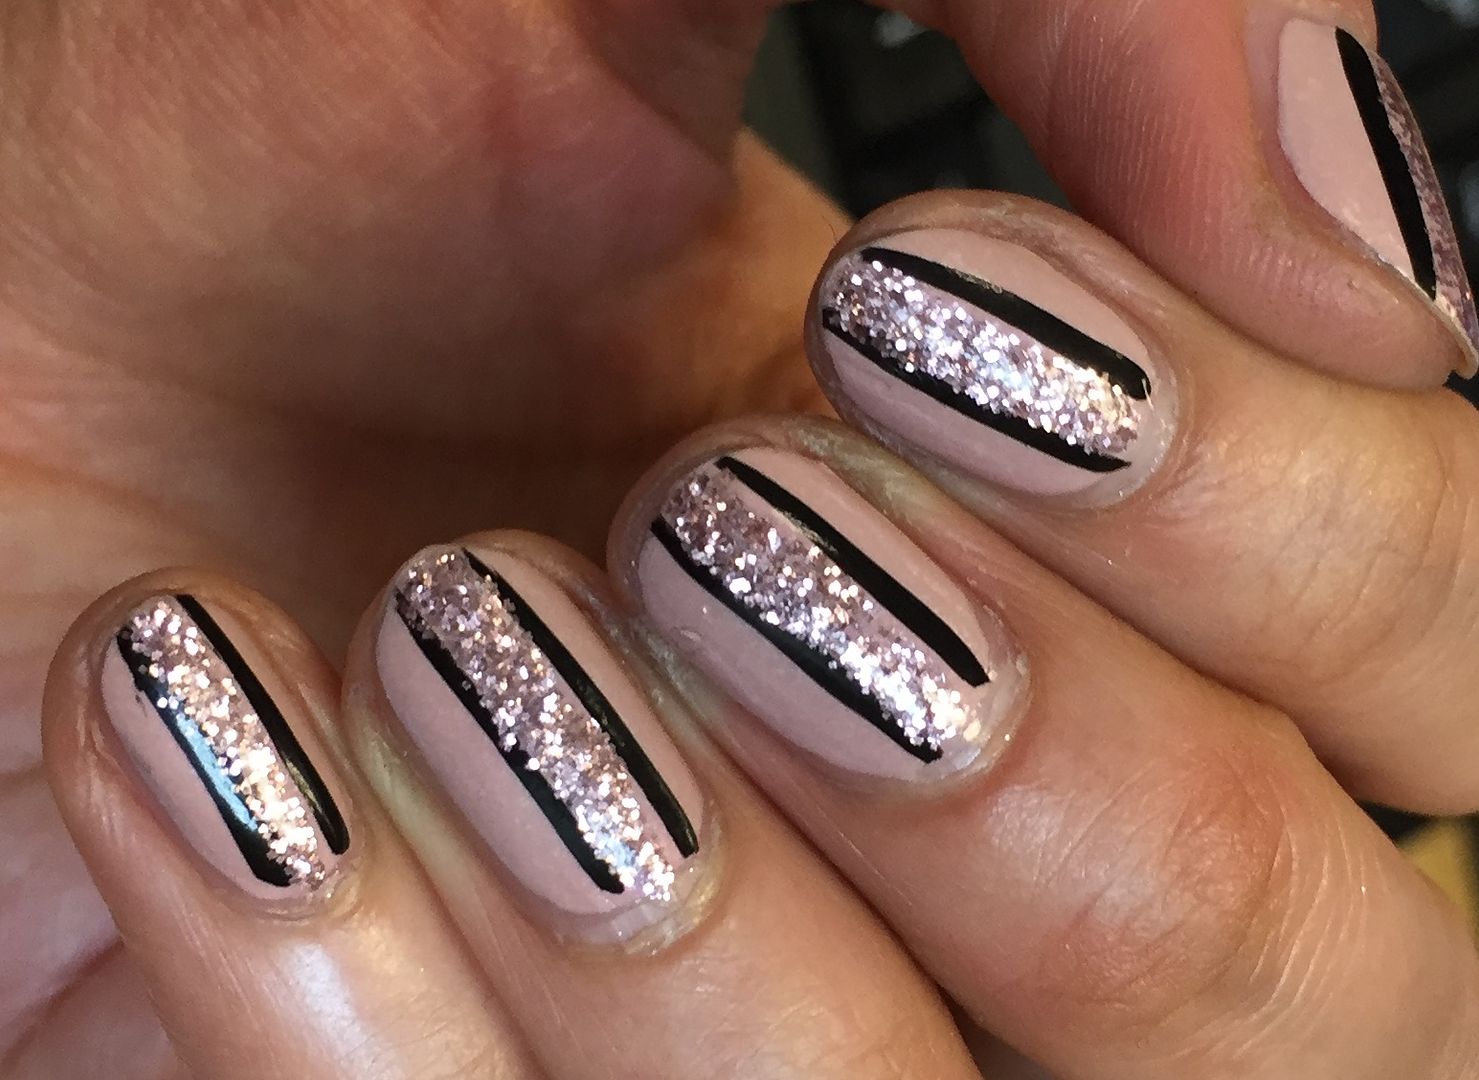
Basically...you NEED this in your life. I love digging this sparkler out time & again not just by its onesie but also with nail art which is what I've done with this pretty pink design that could not be easier to do.


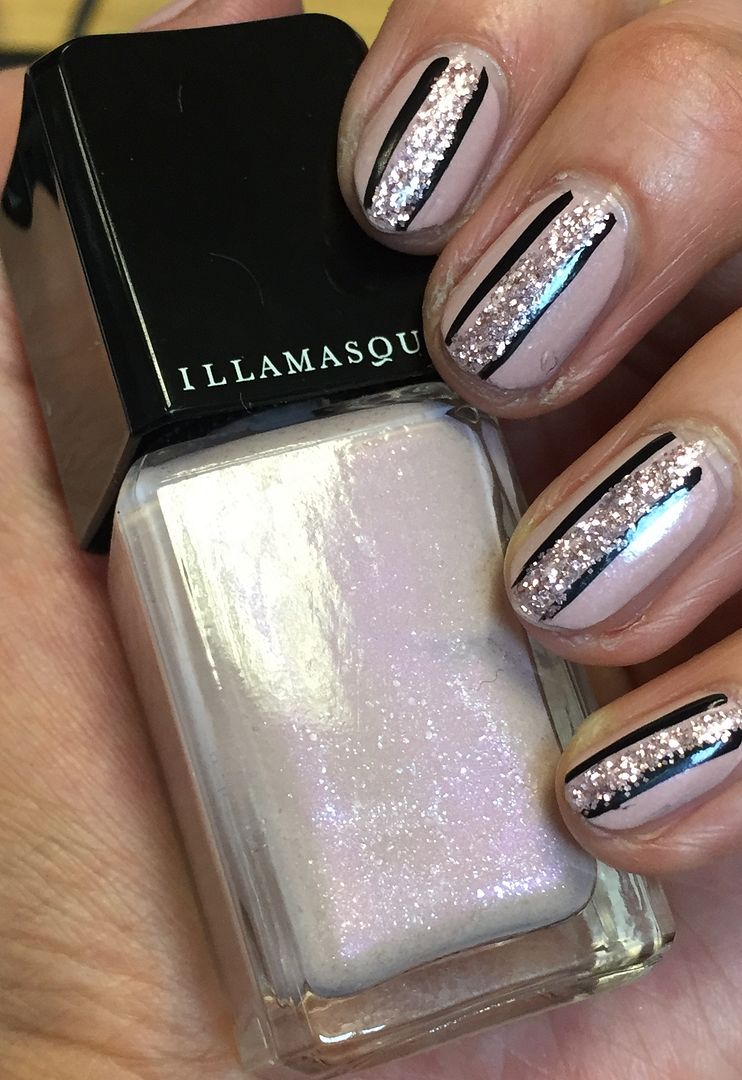
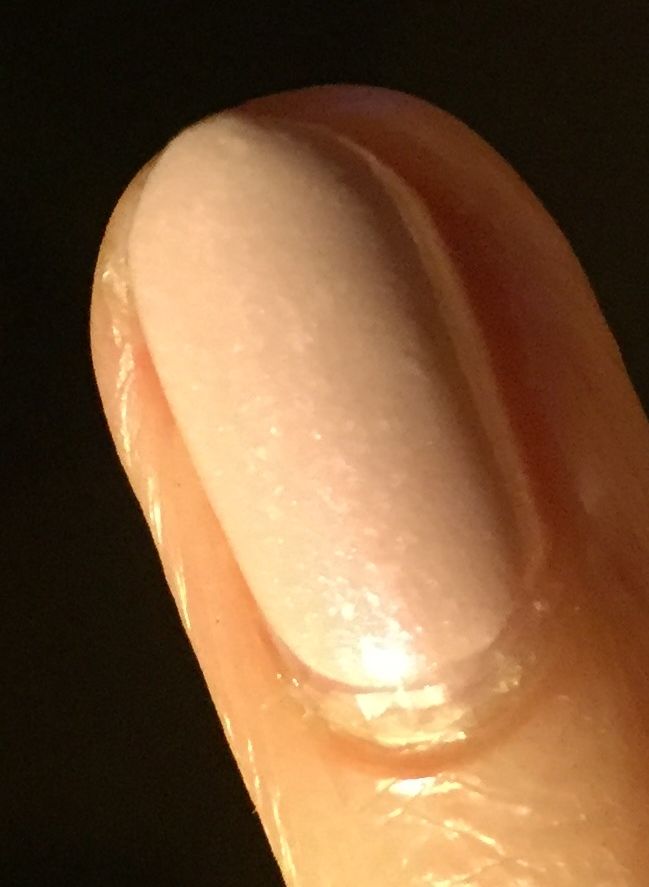
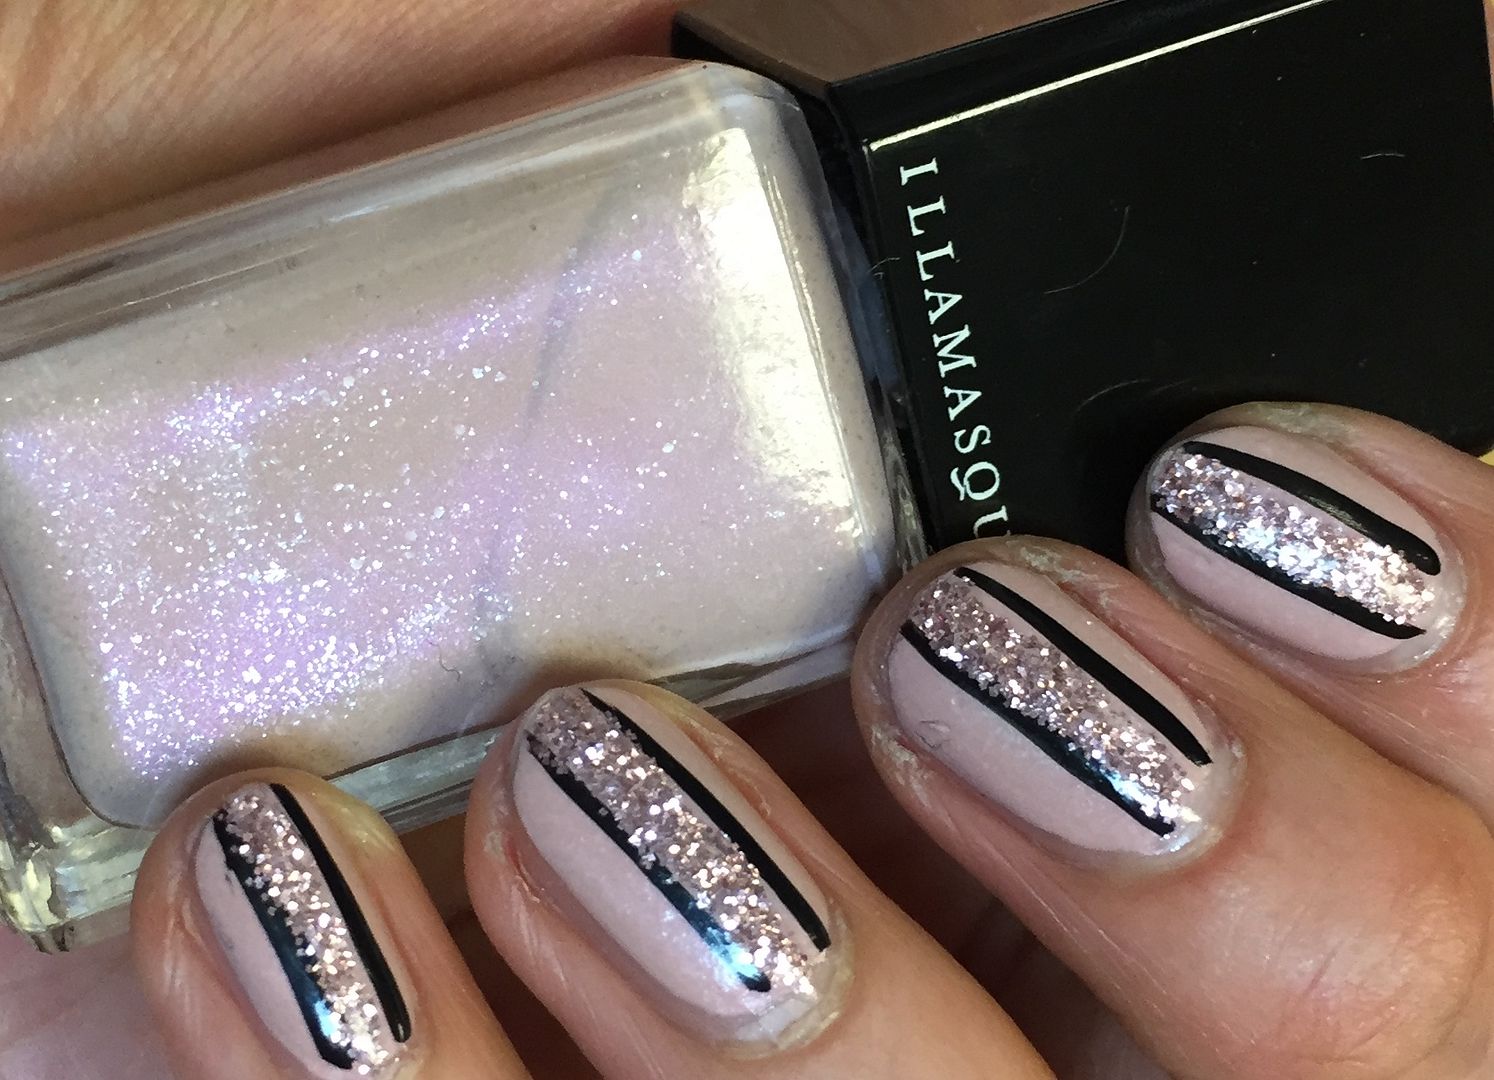
I wanted to keep with the pink theme so for my base colour I've applied two coats of Illamasqua Pink Raindrops. This is an interesting one, a creamy mauve pink with pale pink glitters suspended in the formula giving a subtle sparkle, so lovely!


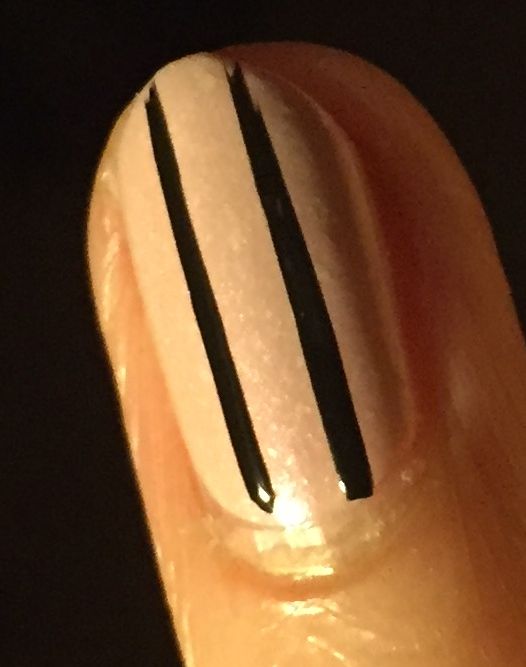
Then using a fine nail art brush & some black polish, apply two straight vertical lines down the centre of the nail next to each other, leaving a wee gap in between.


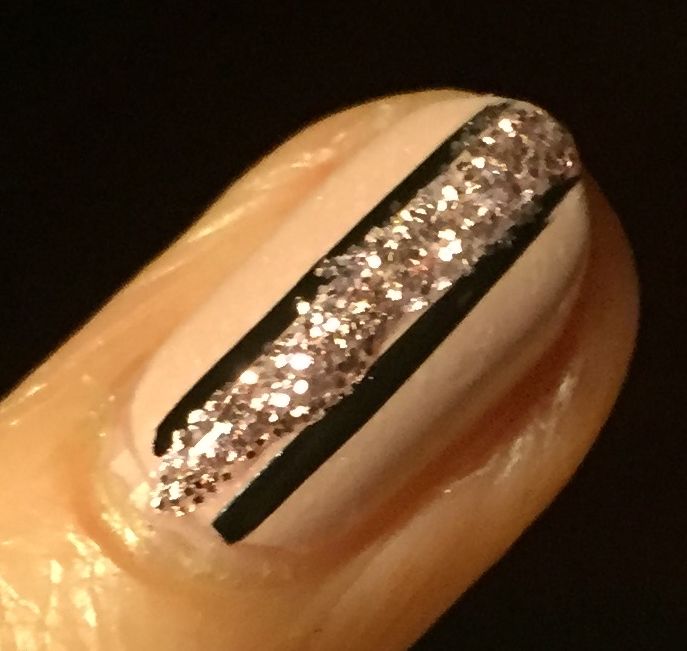
And it is this gap that you will now fill with your glorious glitter! Rather than use the polish brush which can be a bit thick for this, I instead used a finer nail art brush to apply the Pink Fizz down the centre of the nail in between the two black lines.


You can then go over the black lines once more afterwards in case some of the pink glitter went over.


Finish with topcoat & thats it! A super easy yet pretty design with zero effort! My kinda nail art for sure ;)


Thanks as always for reading dolls! Now what are you waiting for? Go get that Pink Fizz!

Lotsa love to ya!


10.12.2015

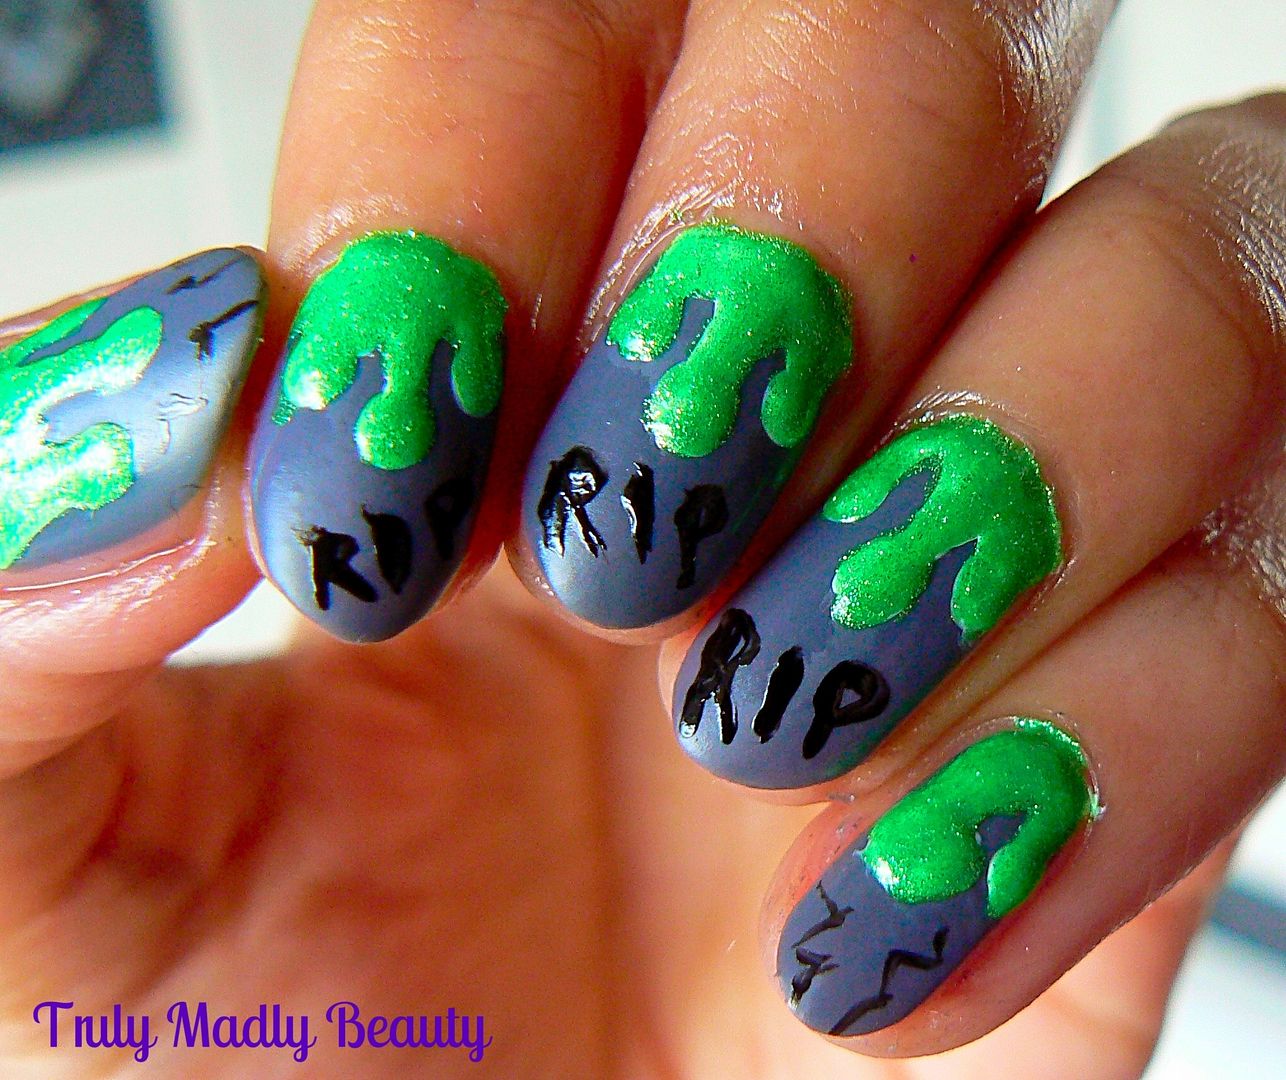
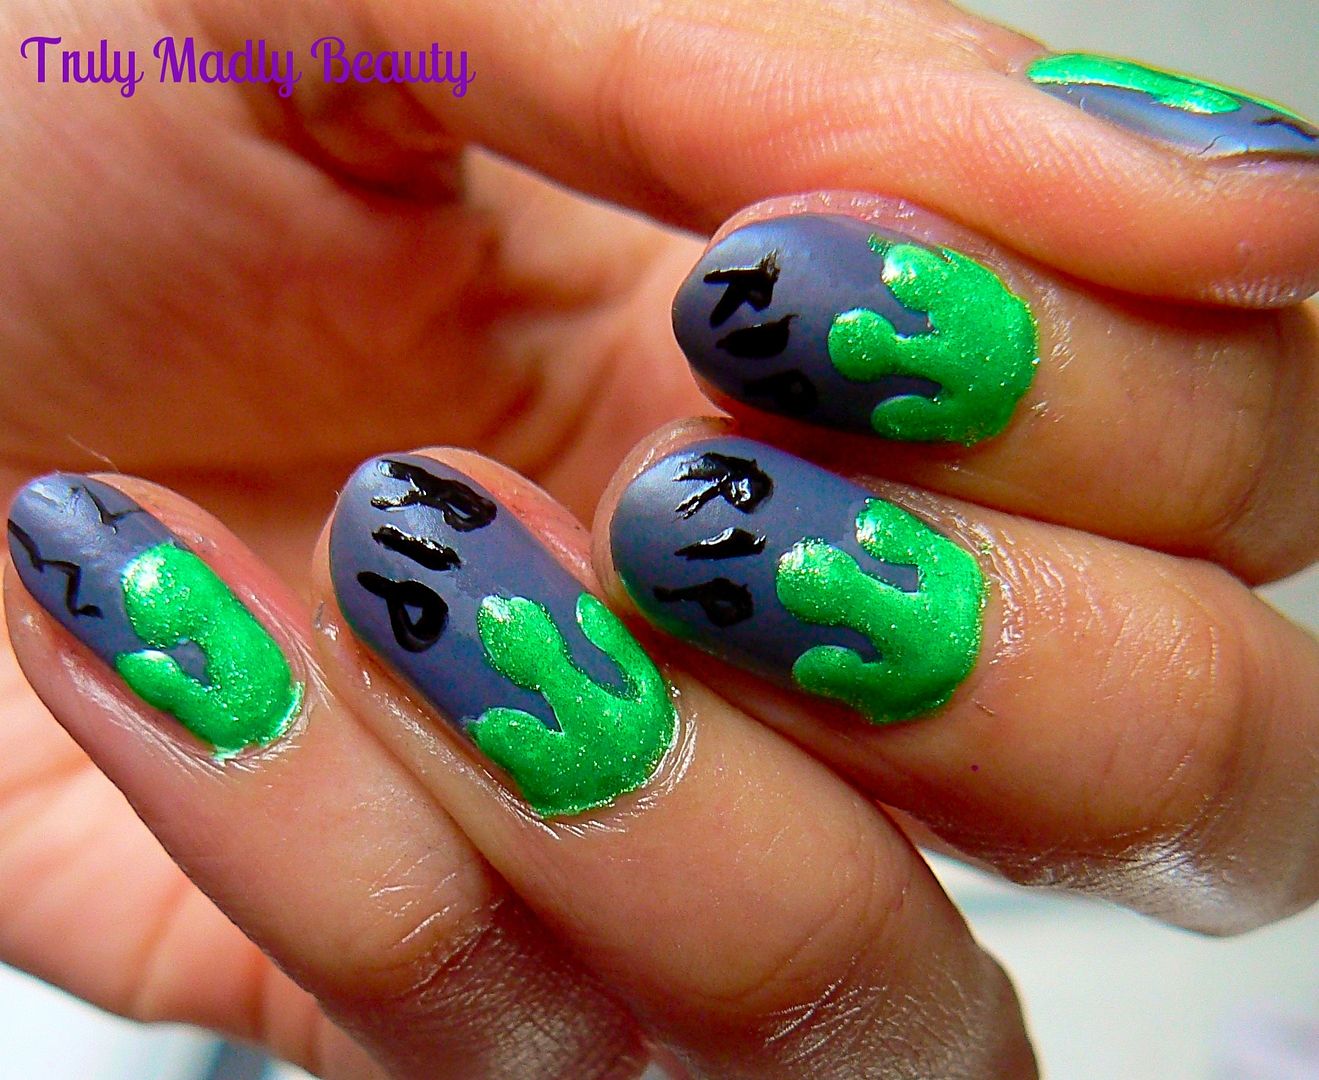
Halloween Nails - Toxic Slime & Tombstones!

Hello there my lovely readers! 

If you follow me on social media you'll know the majority of my weekend was spent in the country as the time had finally come for the besties wedding. The whole day was simply magical with emotions running high & thankfully everything went smoothly! My friend decided to go for a small intimate affair & let me tell you coming from an Asian background this was so refreshing! It felt so much more special & the bride looked so stunning. Sad its all over now!

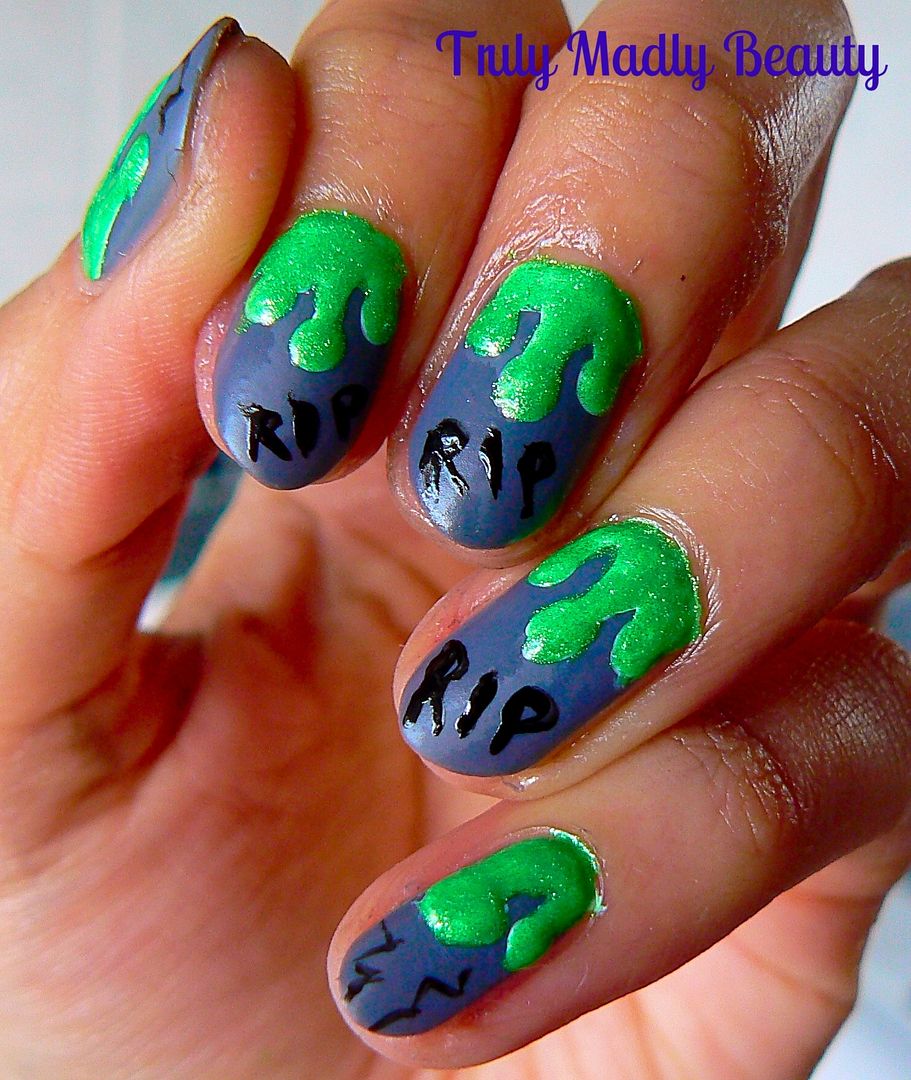
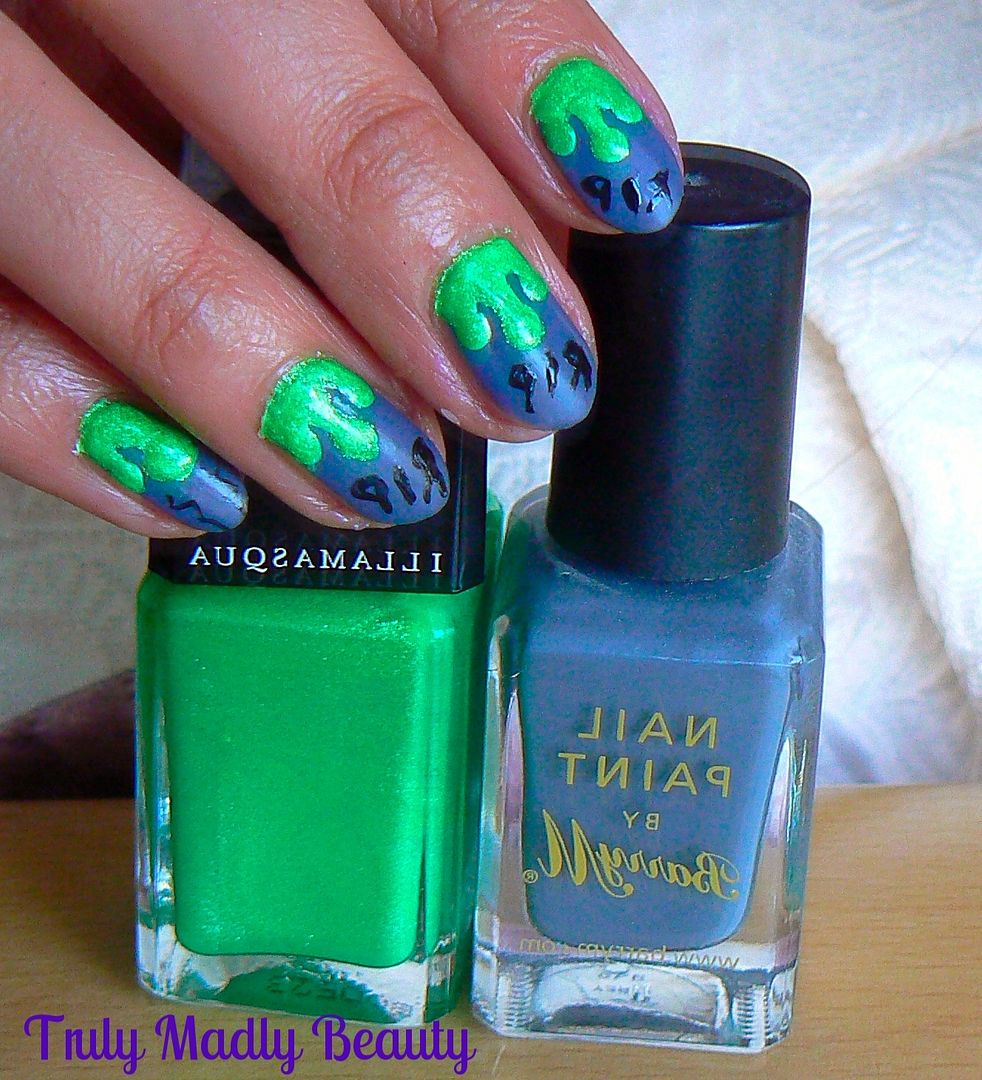
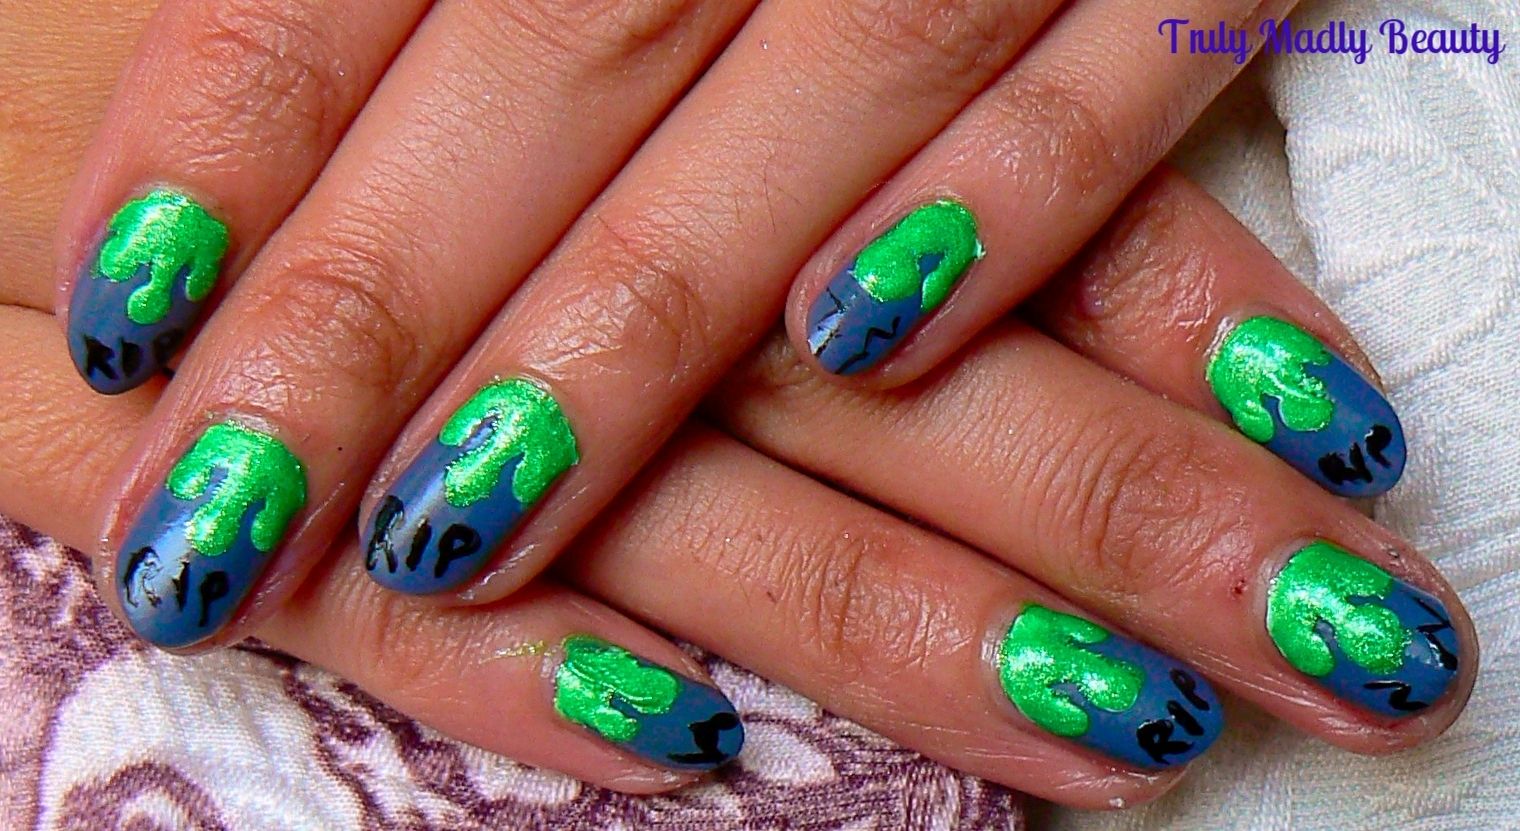
Moving on, as I'm sure you're all aware we are now in the month of October which means...HALLOWEEN NAILS! I hope to roll out as many as I can this year, you can see the designs I did last year HERE including Bleeding Chanel Nails, Frankenstein, Spooky Eyes which were a few of my favs & more. To start things off this year I've gone for some spooky tombstones covered in dripping green slime...


I wanted to practice my dripping effect technique hence why I decided to add some lovely slime to my tombstones :) I really love this effect & I plan to do some dripping blood nails naturally at some point!


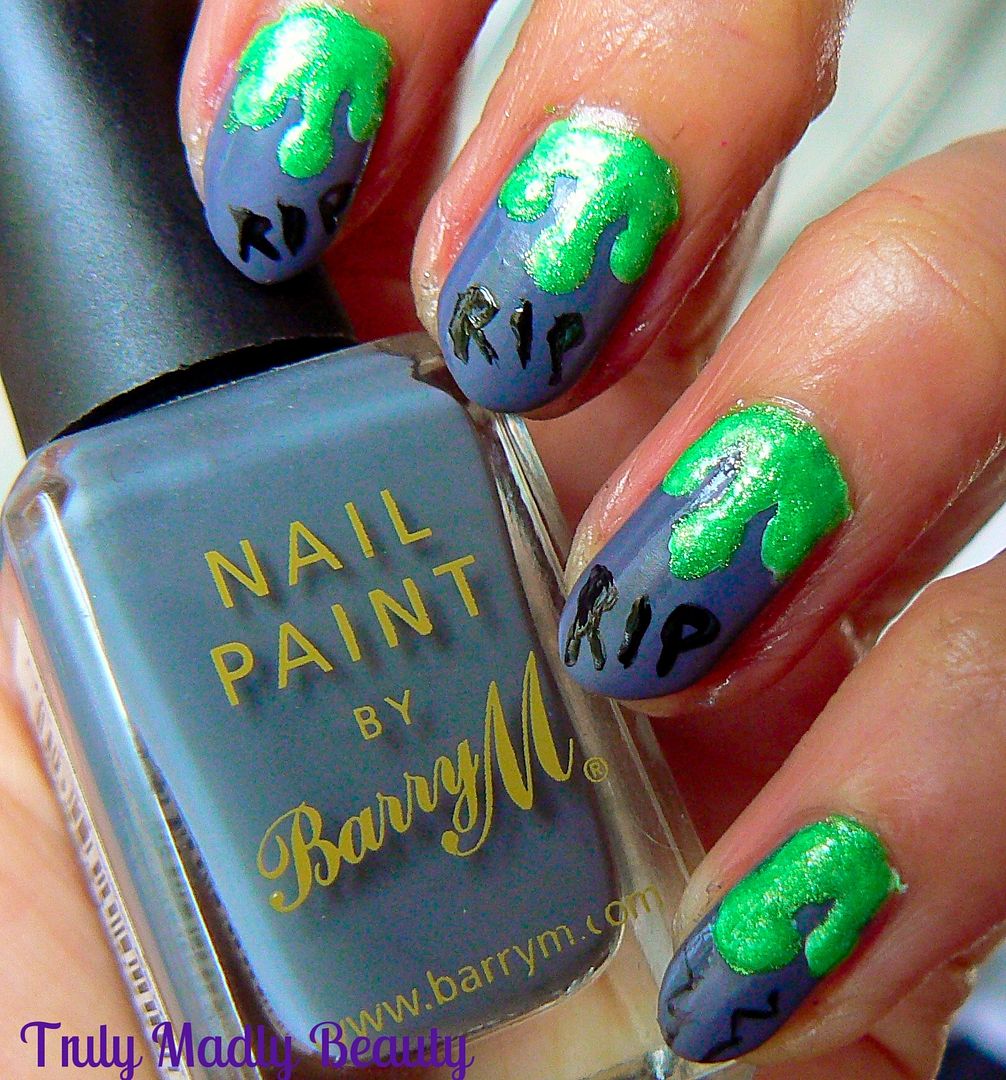
I started by applying Barry M Grey which was nice & opaque after just one coat which was fab. To give the grey a stone like look to it I decided to mattify the polish using Rimmel Matte top coat.


To create the slime I started by using a white polish canvas first, this is important if you really want your green to pop! Using a dotting tool apply three dots randomly to each nail at different heights. Next using a fine nail art brush draw a thin straight line from the dot, all the way up to the cuticle.


Then using the same brush or you can use the dotting tool, go back to your dots & blend them in to the lines using a curved edge to give them the appearance of drips, adding a bit more polish to the cuticle area.


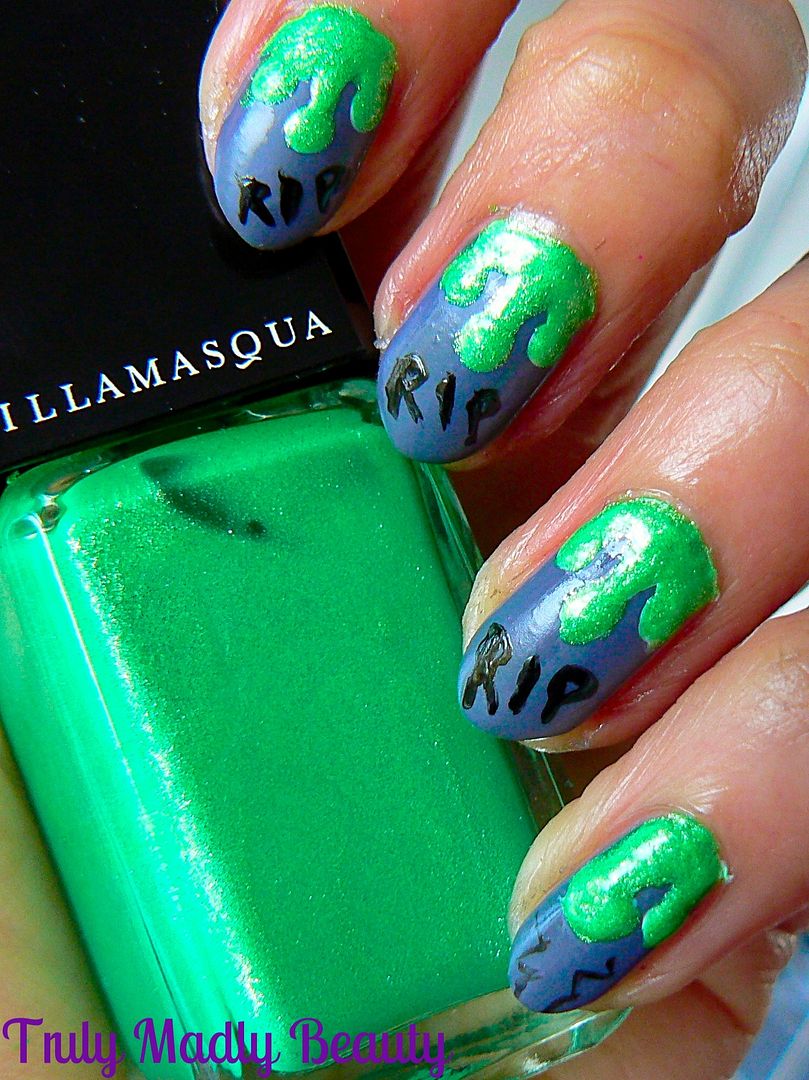
Now for the slime! Here I've used Illamasqua Omen from the Paranormal collection, I couldn't find a more perfect pow wow green for some toxic slime! Omen is a gorgeous almost neon green filled with silver shimmer particles giving it an interesting edge. Plus it also glows in UV light! I used a fine nail art brush & simply applied Omen directly over the white drips.


Final step is to freehand a few cracks & RIP's on to the the tombstones using black polish & fine nail art brush & that's it! As I wanted to keep the matte look I skipped topcoat.


Hope you liked the first Halloween manicure this year witches! Thanks for reading!

Lotsa love to ya!