Showing posts with label Orly. Show all posts

4.05.2018

Disney Nail Art Series - The Jungle Book Shere Khan Inspired Nails


Hello there lovely readers!

As you may know about me now, I love challenging myself when it comes to nail art so I really enjoy partaking in various nail art challenges on Instagram as there are usually lots of interesting themes & prompts to get the creative juices flowing.

I'll be attempting a few manis for the Clairestelle8April challenge so most of the designs you'll see this month will be for that! One of the prompts is "Childrens Books" & the first book that came to mind for me was Rudyard Kiplings The Jungle Book...not only one of my favourite books but a wonderful Disney film too of course! SO I guess I'm killing two birds with one stone here & have another addition to my Disney Nail Art Series!

10.28.2015

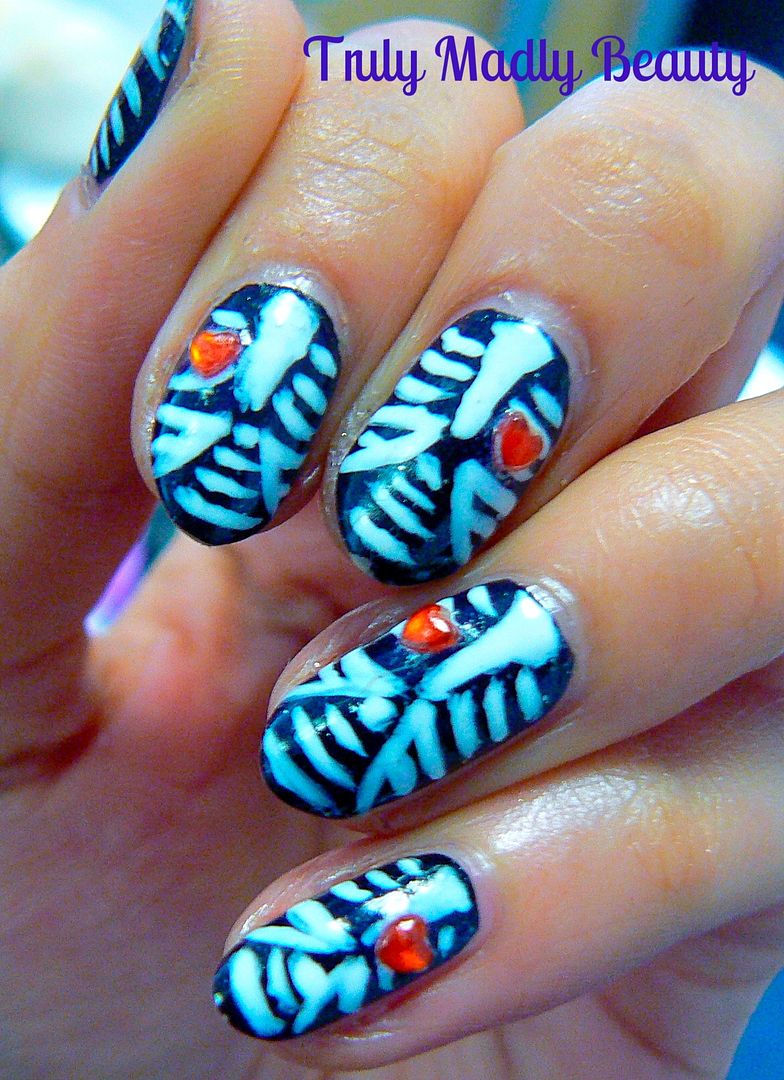
Halloween Nails - Skeleton Rib cages!

Hello there my lovely readers!

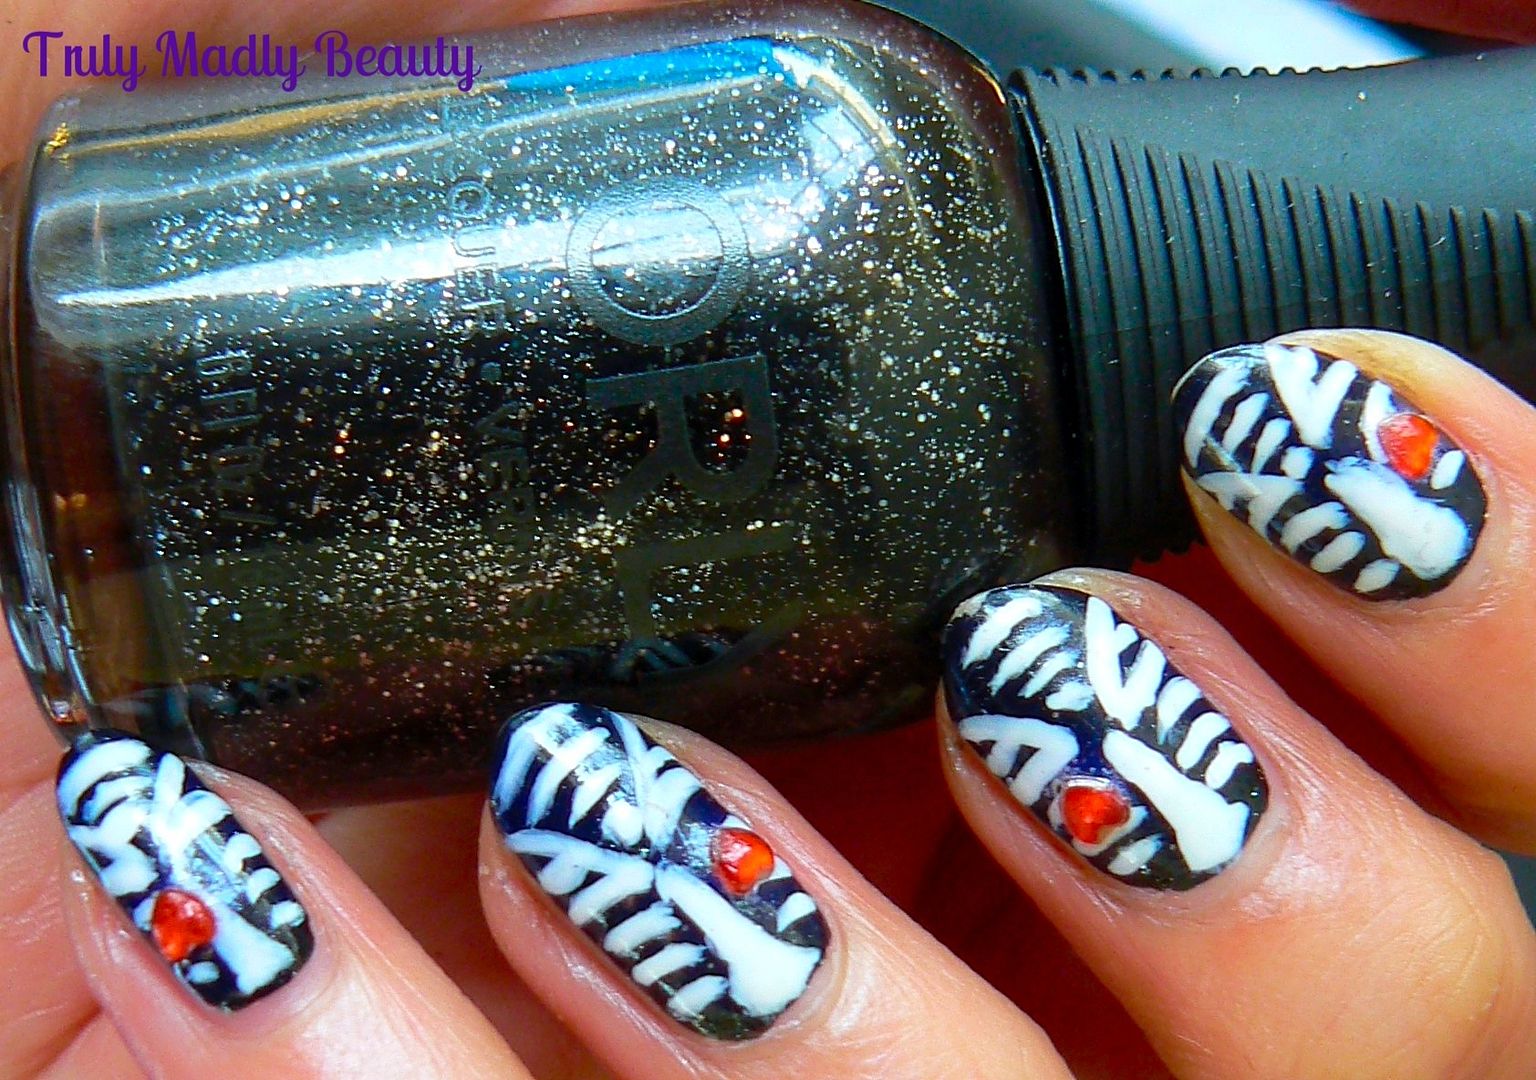
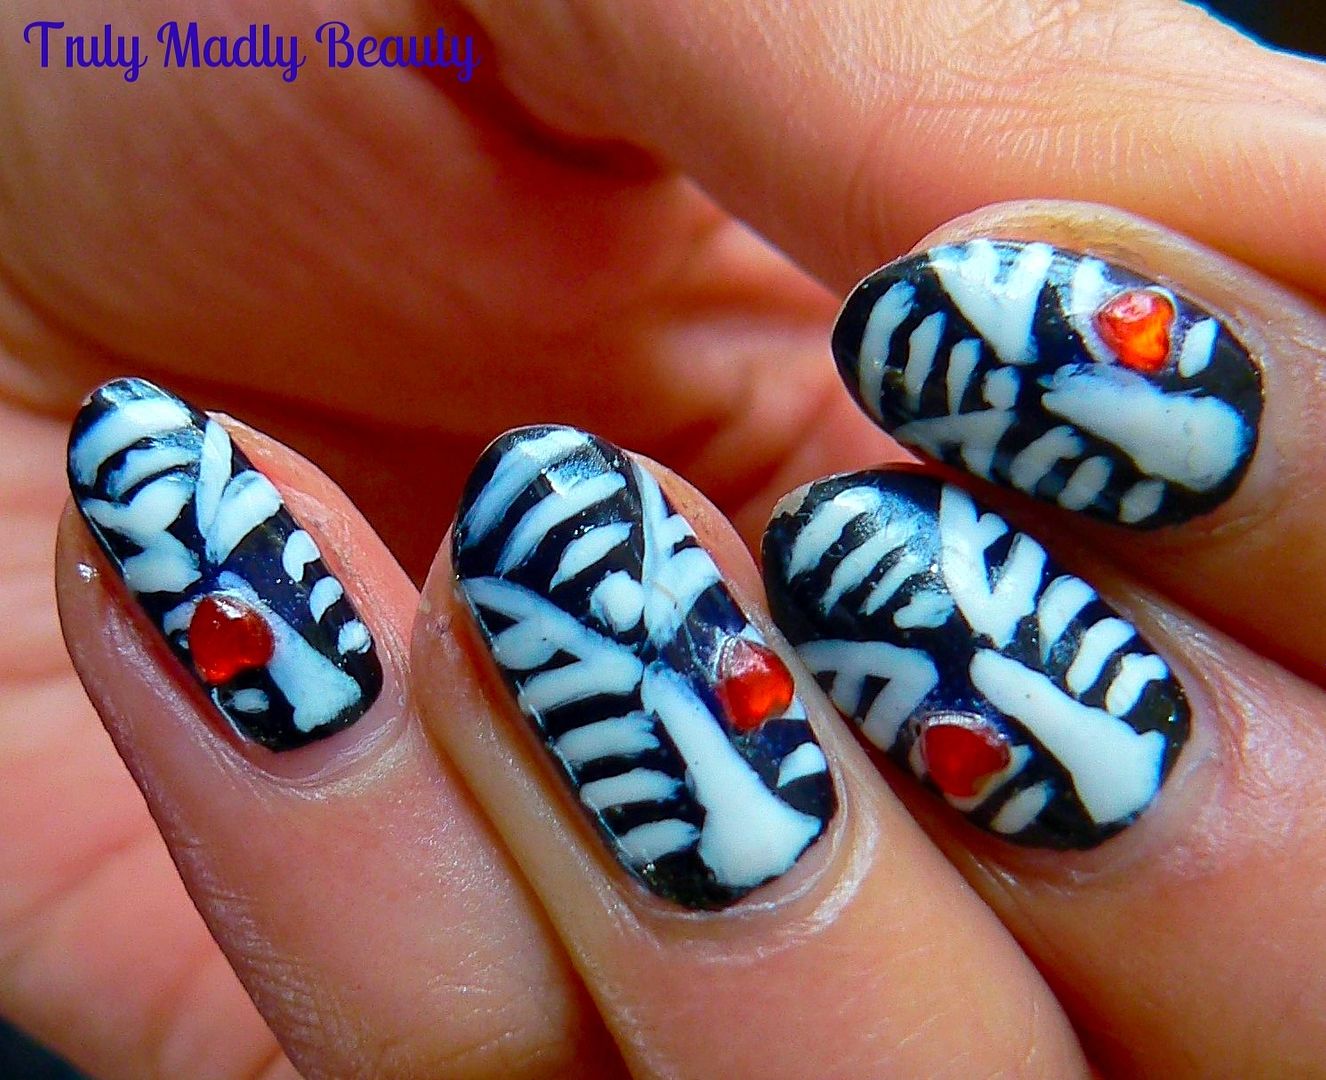
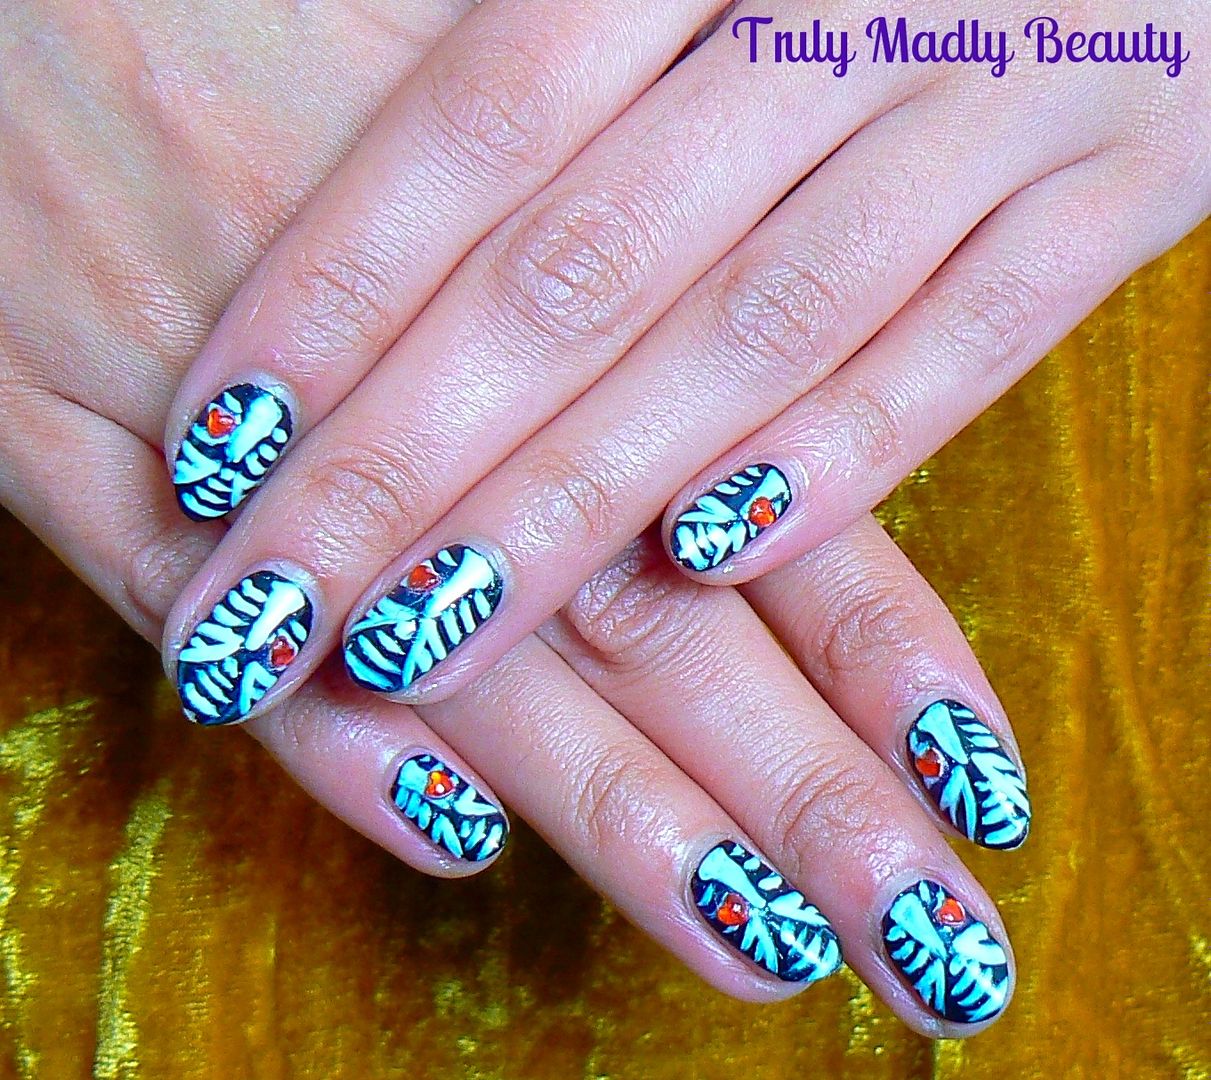
Squeezing in one last Halloween manicure to complete the series for this year! I hope you've enjoyed the Toxic Slime &Tombstones, Dripping Blood Tips, Jack O Lantern Pumpkins & Cartoon Stitched Hearts to help inspire you to get ghoulish on your talons! If you're looking for some gorgeously Gothic jewellery to rock this Halloween with those nails as well then do check out my previous post featuring The Rogue & Wolf. For my final Halloween mani I went for some skeleton rib cages with jewelled hearts.


To start you need a black base, here I've used two coats of the Orly Gothic again that HQ Hair kindly sent me recently & which I used in my Jack O Lantern nails. With the name & shade such as it is its just the perfect Halloween polish!


Then to create your rib cages you need white polish & a thin brush. I've used this fantastic KIKO french manicure polish, I've dug this out so many times for nail art as it comes with a tiny brush, great for detail! You can use a nail art pen as well.


To start creating the rib cage first draw on a screw like shape in the centre for the spinal cord...Then add on the hip bones by drawing two curved side V like shapes from the bottom of the spine...


Starting small, draw on the pelvis bones (I think?) by applying curved lines from the bottom of the spine right to the tips of the nails 


Then finally for the ribcage, draw on your curved lines either side of the spine. I hope that all made sense! Whilst drawing these I totally had that bones connecting song that we were all taught in school in my head...which clearly was wasted on me... O_o


For a final touch I couldn't resist sticking on a red heart rhinestone on to each rib cage before sealing with topcoat!

Thanks as always for reading dolls! Have you gone ghoulish on your nails this year?

Lotsa love to ya!


10.21.2015

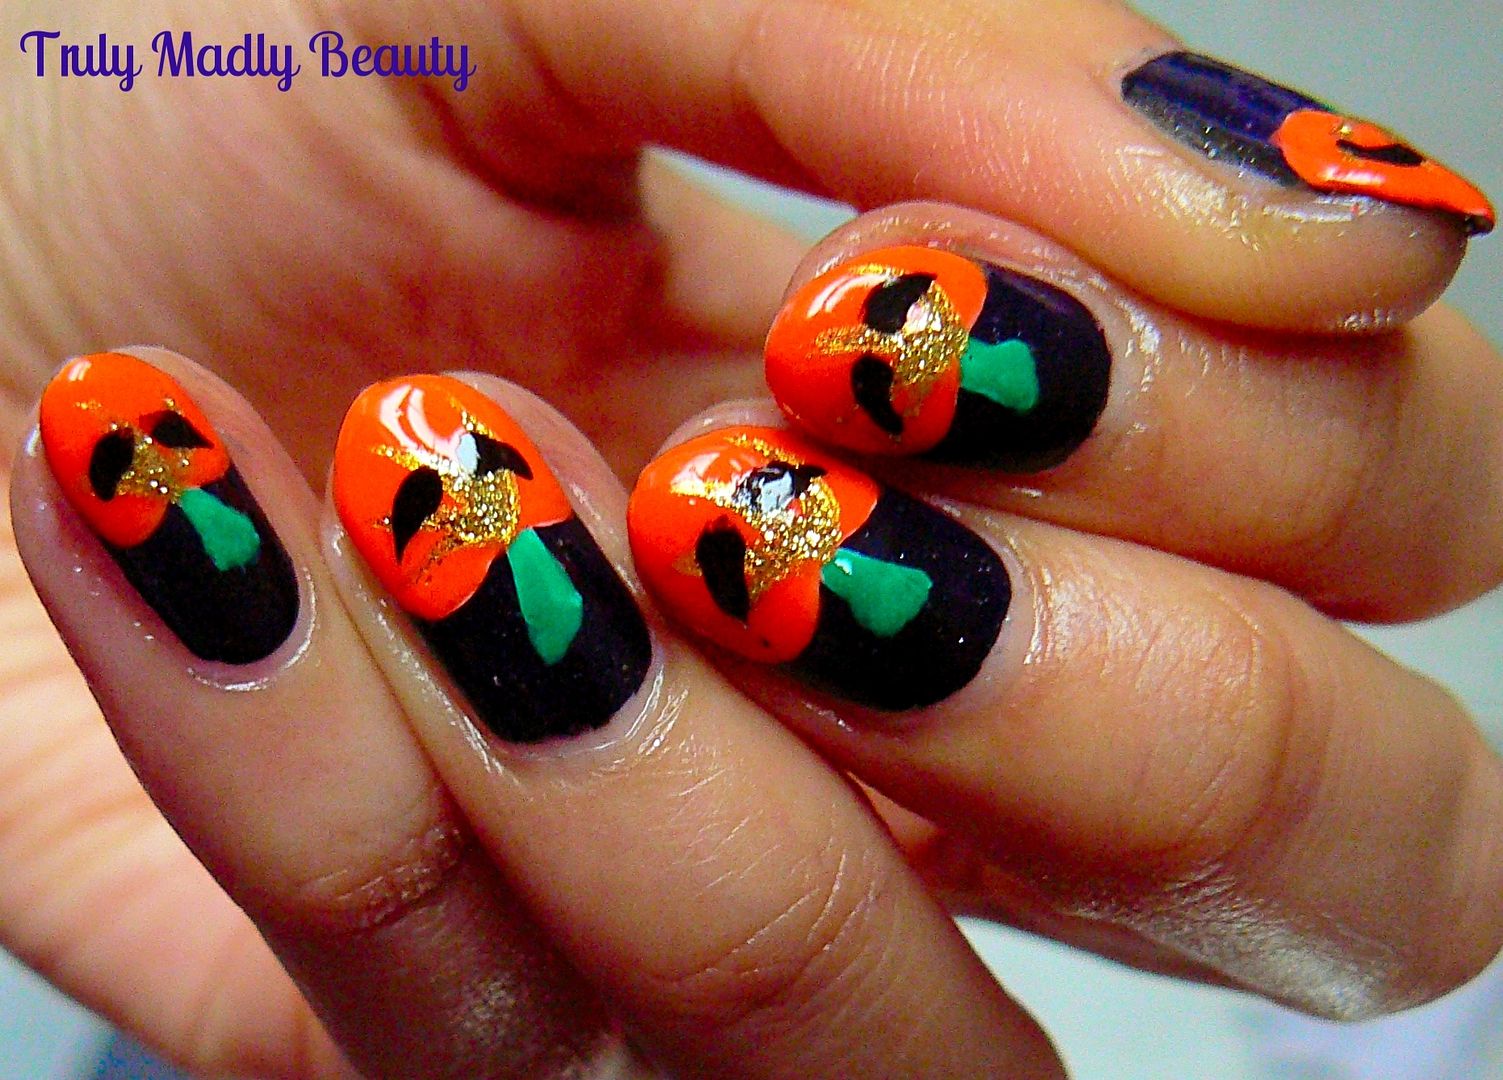
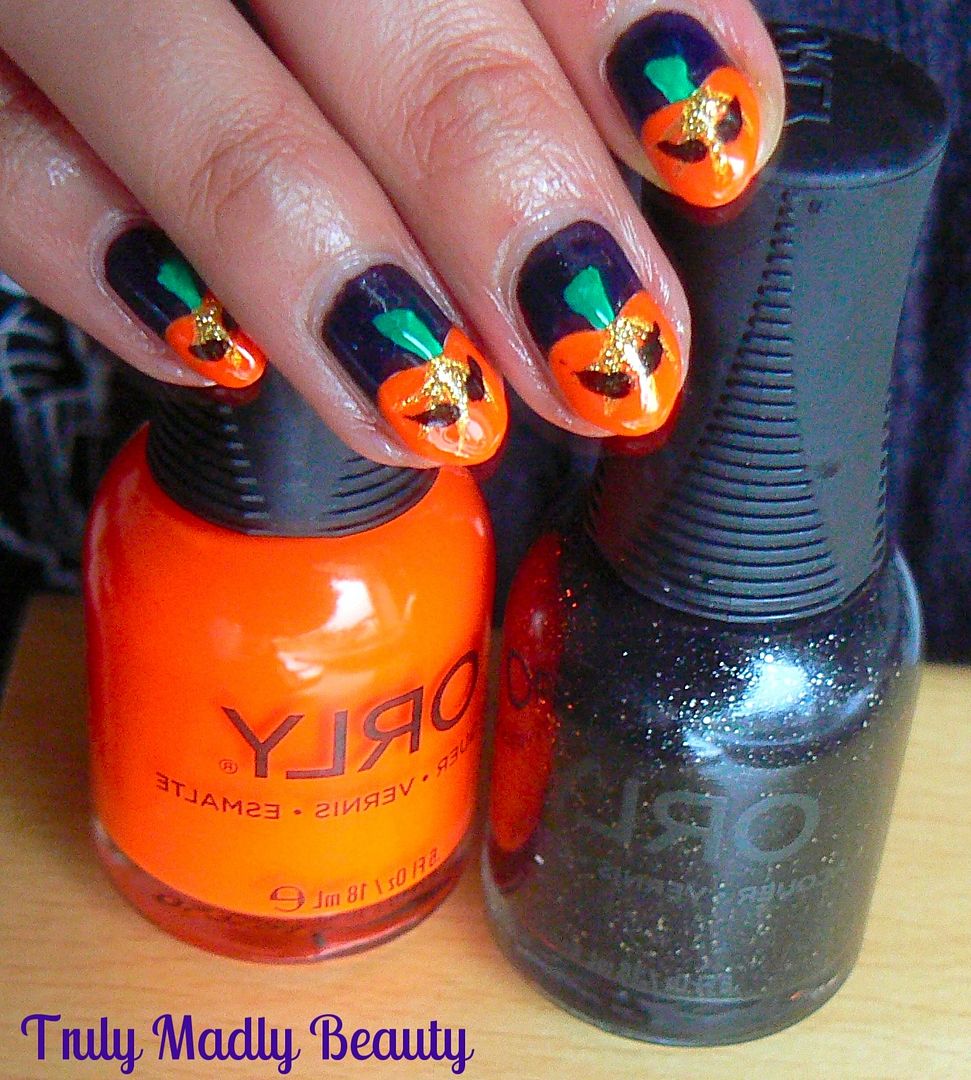
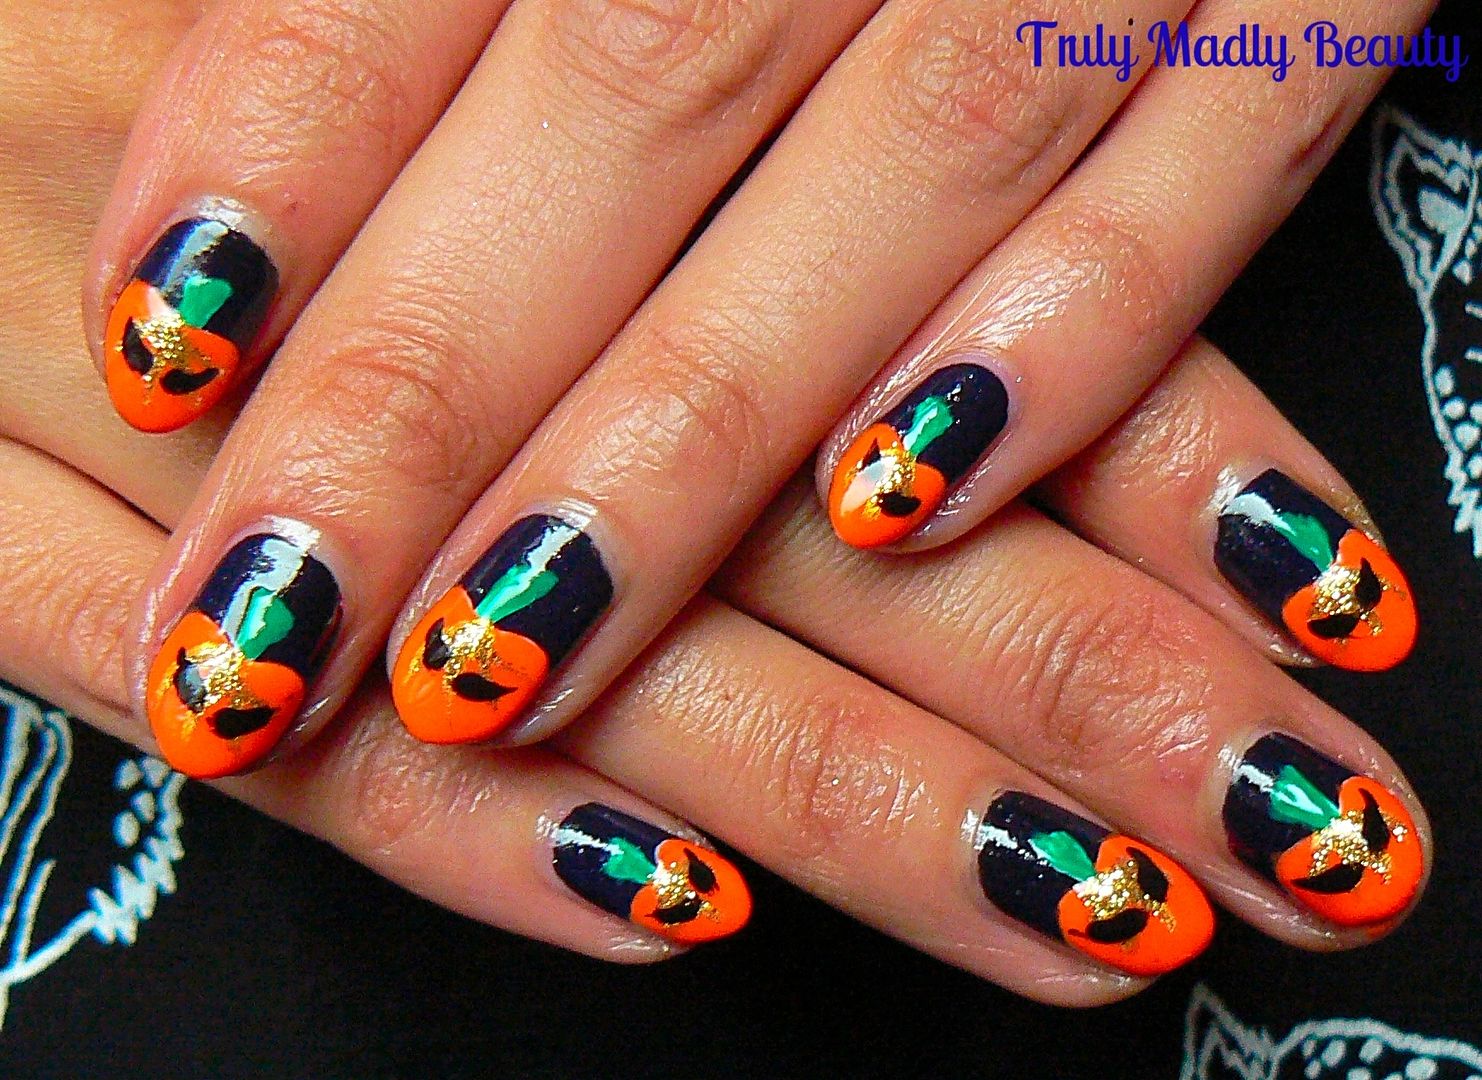
Halloween Nails - Jack O' Lantern Pumpkins!

Hello there lovely readers!

Making steady progress with the Halloween manis so far with Toxic Slime & Tombstones as well as some Dripping Blood Effect nails! Because I've found myself enduring a lot of working weekends these past months, finding the time to blog & do nail art has been a wee bit hard but nothing can keep me from my passion!


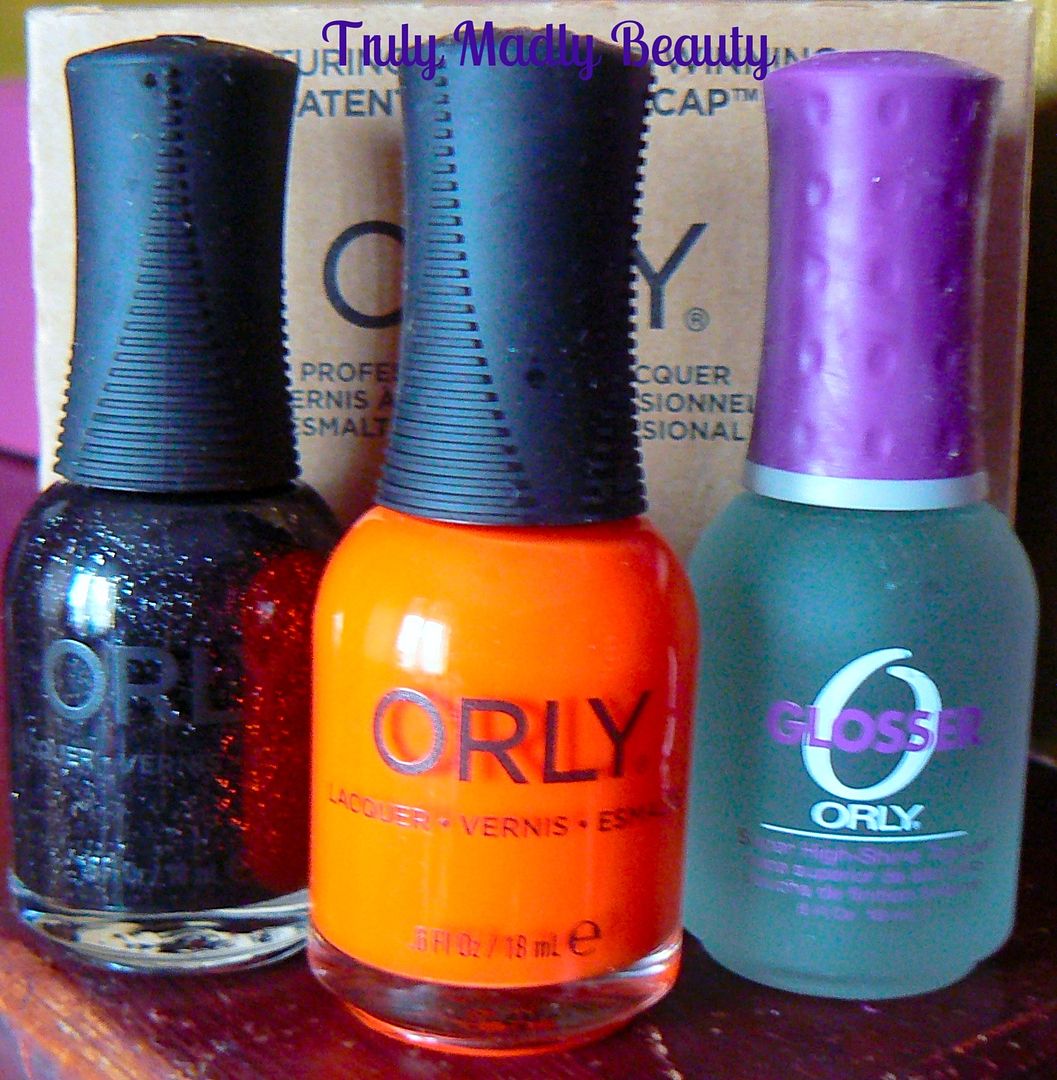
Today I have some spooky Jack O' Lantern nails to share with you using these gorgeous Orly polishes that HQ Hair kindly sent my way, in case you weren't familiar HQ Hair are an online retailer with lots of hair & beauty treats to tempt you. My radar happened to peek some nicely priced Real Technique makeup brushes on there...These Orly shades just scream Halloween & that vibrant orange was simply calling for me to create some pumpkins :)


I started with applying one coat of Orly Goth, an intense black with the interesting addition of shimmering silver glitter suspended within. As I knew I would be applying a few different polishes I went for just one coat of Goth here. The formula was fab as has always been my experience with Orly polishes & I love the rubber caps making the grip nice & steady.


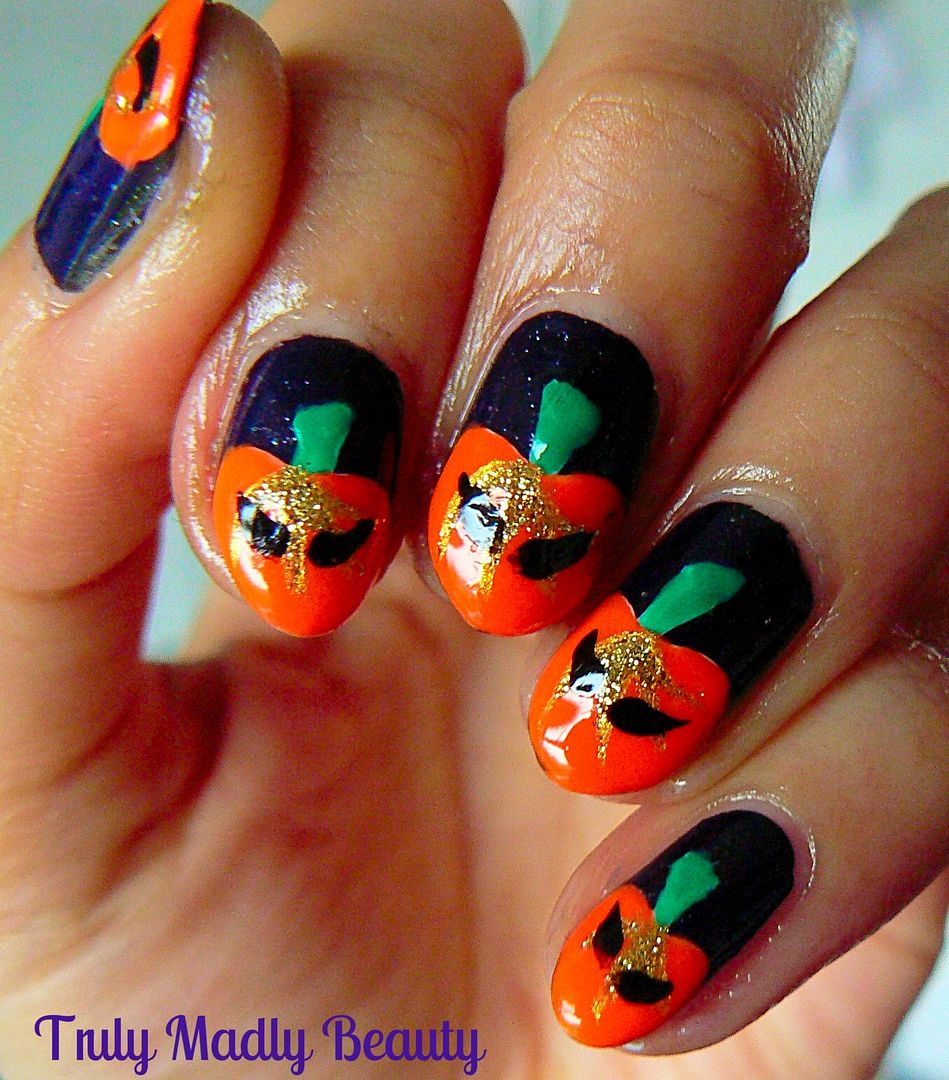
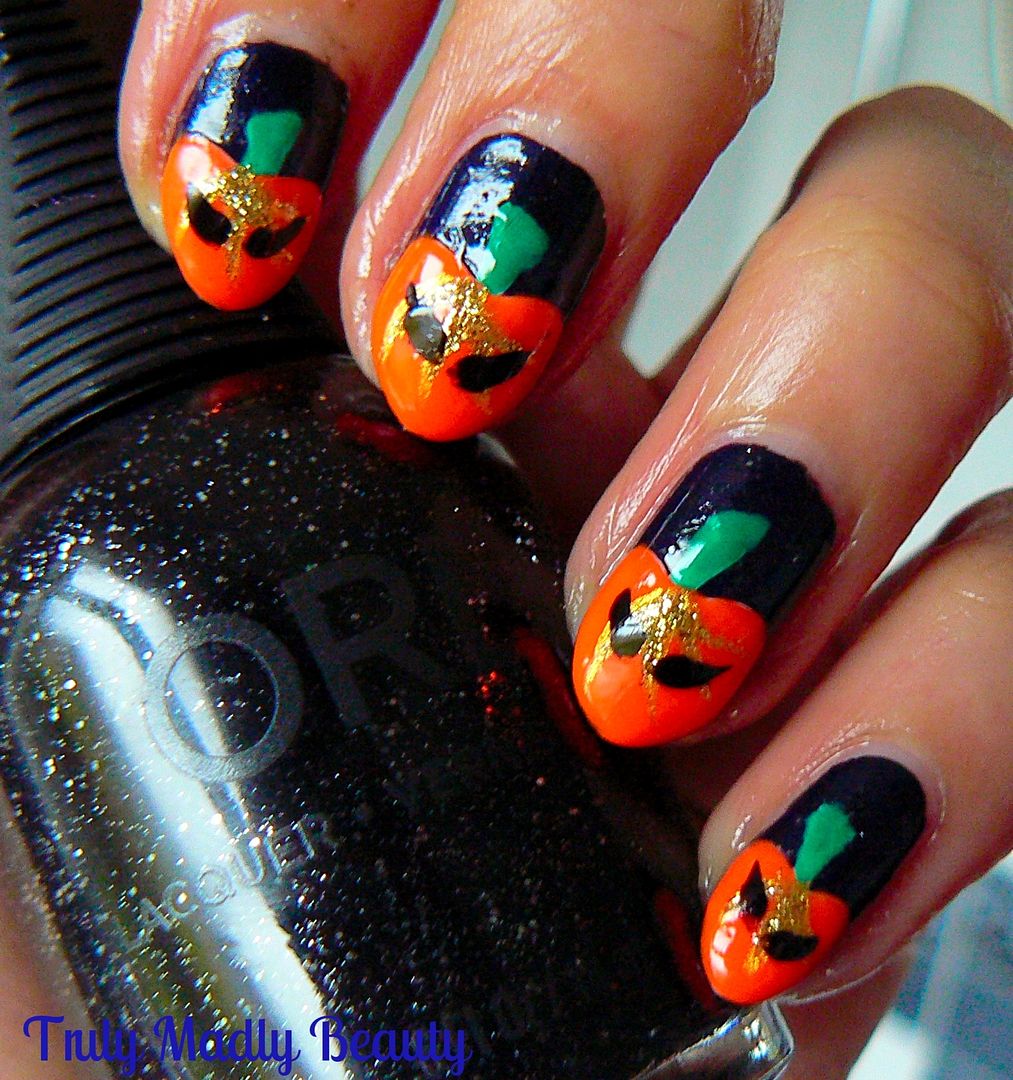
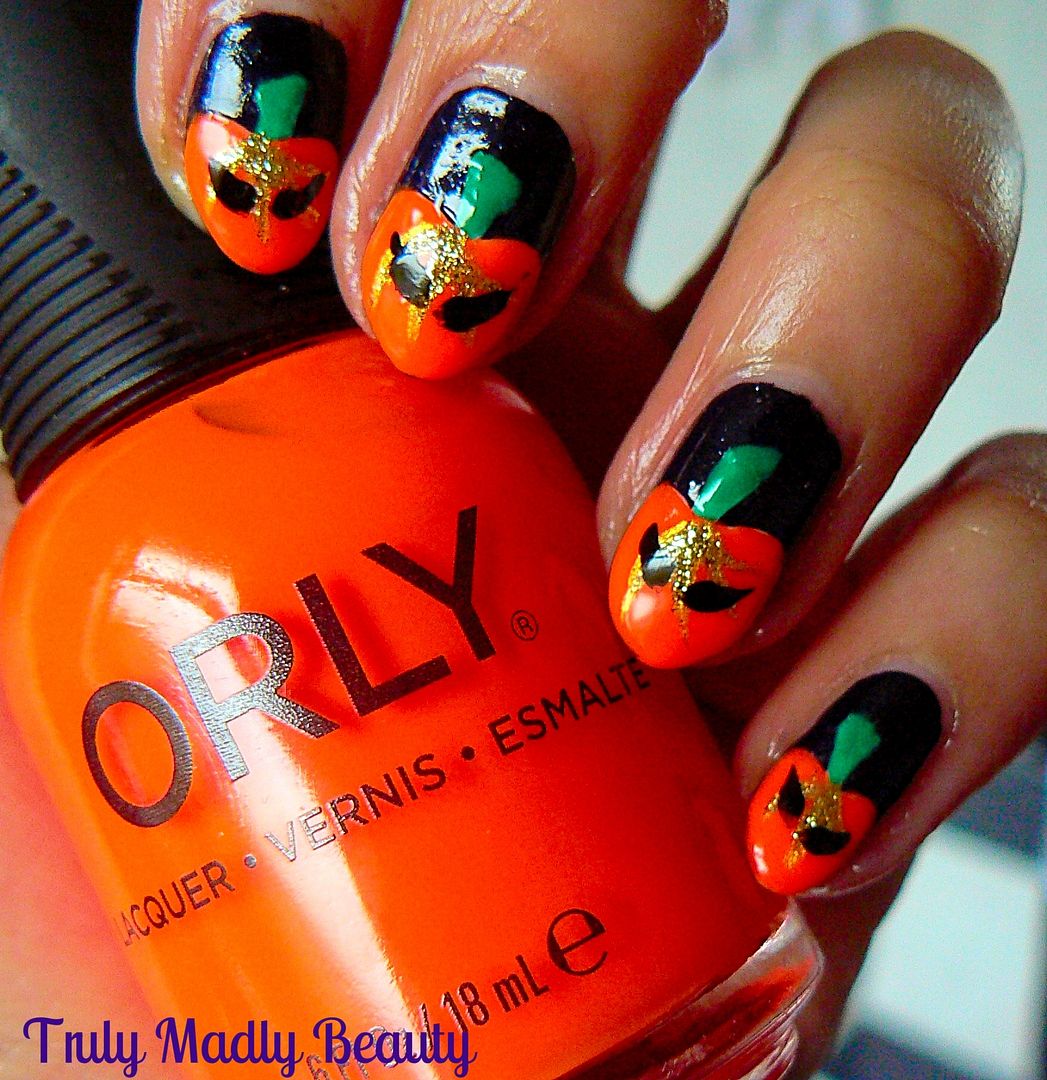
Then to start creating my pumpkins, I first free-handed the pumpkin shape using white polish, this creates a canvas for the orange to go on top, if applied straight on to the black the colour will not come out so strong. To create the shape simply apply two curved lines in the middle before filling out the rest of the nail in a roundish apple like shape, not forgetting to add a wee little stalk on top.


Next goes on the orange, Orly Orange Punch, which is definitely a shade that would get noticed! And the white base really helps bring out that beautiful vibrant colour. Once I'd gone over all my pumpkins with Orange Punch I then added some Models Own Green Tea on top of the stalks.


I wanted to add a bit more detail to my pumpkins so added a few curved lines coming out from the stalk using Models Own Gold nail art pen before going over with some sparkly gold glitter.


Then to make my Autumnal pumpkins in to Halloween suitable Jack O Lanterns I just drew on some evil eyes to create my bad boys before before finishing with topcoat! Feel free to add a creepy smile too but after I added one, my Jacks just ended up looking a bit constipated so I decided to skip that detail...


Hope you liked this Halloween manicure lovelies! Thanks for reading as always!

Lotsa love to ya!


10.19.2014

Halloween NOTD - Frankenstein Nails!

Hullo there lovely readers! 

Time for another Halloween mani my dears! I love this time of year so much as it gets the fun creative juices flowing plus it also allows me to get some good usage from those particular shades that to be honest with you, I wouldn't normally reach for, which is definitely the case with today’s mani...Frankenstein Nails!


12.17.2013

Festive NOTD - Oh Christmas Tree...

Hello there my lovely readers!

One is in pretty high spirits as tomorrow shall be my Friday & then hello lovely long weekend! *Happy dance* And of course its Xmas next week so I'd say that's time for another festive mani! My work colleague actually made a request for some Xmas trees, so ask & you shall receive...some Xmas tree nails!


I was so happy to finally have a chance to dig out one of my Models Own Velvet Goths, the beautiful Absinthe which I've been dying to try & boy it didn't disappoint!