Showing posts with label Metallic. Show all posts

9.18.2018

NOTD - Easy Sci Fi Nails using Nail Wraps!

Hey there lovely readers!

Whilst having a sort through my nail art stash recently, I came across a bunch of old nail wraps which I'd accumulated quite some time ago, if the dust gathering on them was anything to go by! O_o


4.13.2018

NOTD - Coachella Festival Vibe Nails

Hey there lovely readers!

There is one event that is currently on everyone's social media's right now..the pinnacle Oscar caliber festival of festivals...Coachella. Alas I was not one of the lucky humans to go...my invite must've gotten lost in the post....Until then I'll have to get my festival vibes in another way...Now these nails are totally giving me ALL the Coachella vibes, what do you think? I may not be there in body but most definitely am in spirit! 


12.18.2017

Festive NOTD - Lilac Pastel Starry Night Sky

Hello there lovely readers!

So I'm back from my holiday in the beautiful Dubai, which has completely captured my heart & then some, I already cannot wait to return next year! But for now lets get back to continuing all things FESTIVE with some suitably Christmas-y nail art shall we?


9.24.2017

NOTD - Rose Gold Chrome Nails...Without Gel!

Hello there lovely readers!

Ever since the chrome nail trend took off, its been my mission to achieve shiny sci fi mirror chrome metallics but without the hassle of gels. A few months back I reviewed the delightful Chameleon Powder, or Unicorn Powder as I prefer to call it, from Born Pretty Store, which whilst giving a super pretty shimmer duochrome finish, didn't fully satisfy my chrome needs. So the hunt continued & eventually my prayers were answered by European brand IsaDora who have released a special magic dust that 1) Not only works with regular polish but 2) Gives a metallic chrome finish...HUZZAH!

8.16.2017

NOTD - Rose Gold God by NEXT

Hello there lovely readers!

Whilst browsing through NEXT the other day waiting on my friend who was picking up an order, I found myself drawn like moth to flame towards the beauty section as I always like to have a peek at their perfumes. During my perusal I was delighted to notice that NEXT seem to have expanded on their cosmetics significantly with the Make Me Beautiful range including an intriguing selection of face & lip products, however me being me I was naturally drawn to the nail polish offerings of which I was happy to notice was very vast indeed & features a wide collection of mattes, shimmers, glosses & glitters. 


4.07.2017

NOTD - Golden Chrome Nails with Jamberry Nail Wraps & Champagne

Hi there lovely readers!

Chrome nails were a BIG trend last year & still going strong. I'm sure you've seen the Youtube & IG videos showing how to achieve this metallic look using the magical pot of powder. However a lot of these chrome powders seem to only work with gel polish & I've yet to try them myself, but I've ordered a pot to play with from Born Pretty Store that supposedly works with regular polish so I will report back! In the meantime I'm finding easier means to get me some chrome metallic goodness on my mani's with a little help from Jamberry nail wraps & Models Own.


12.14.2016

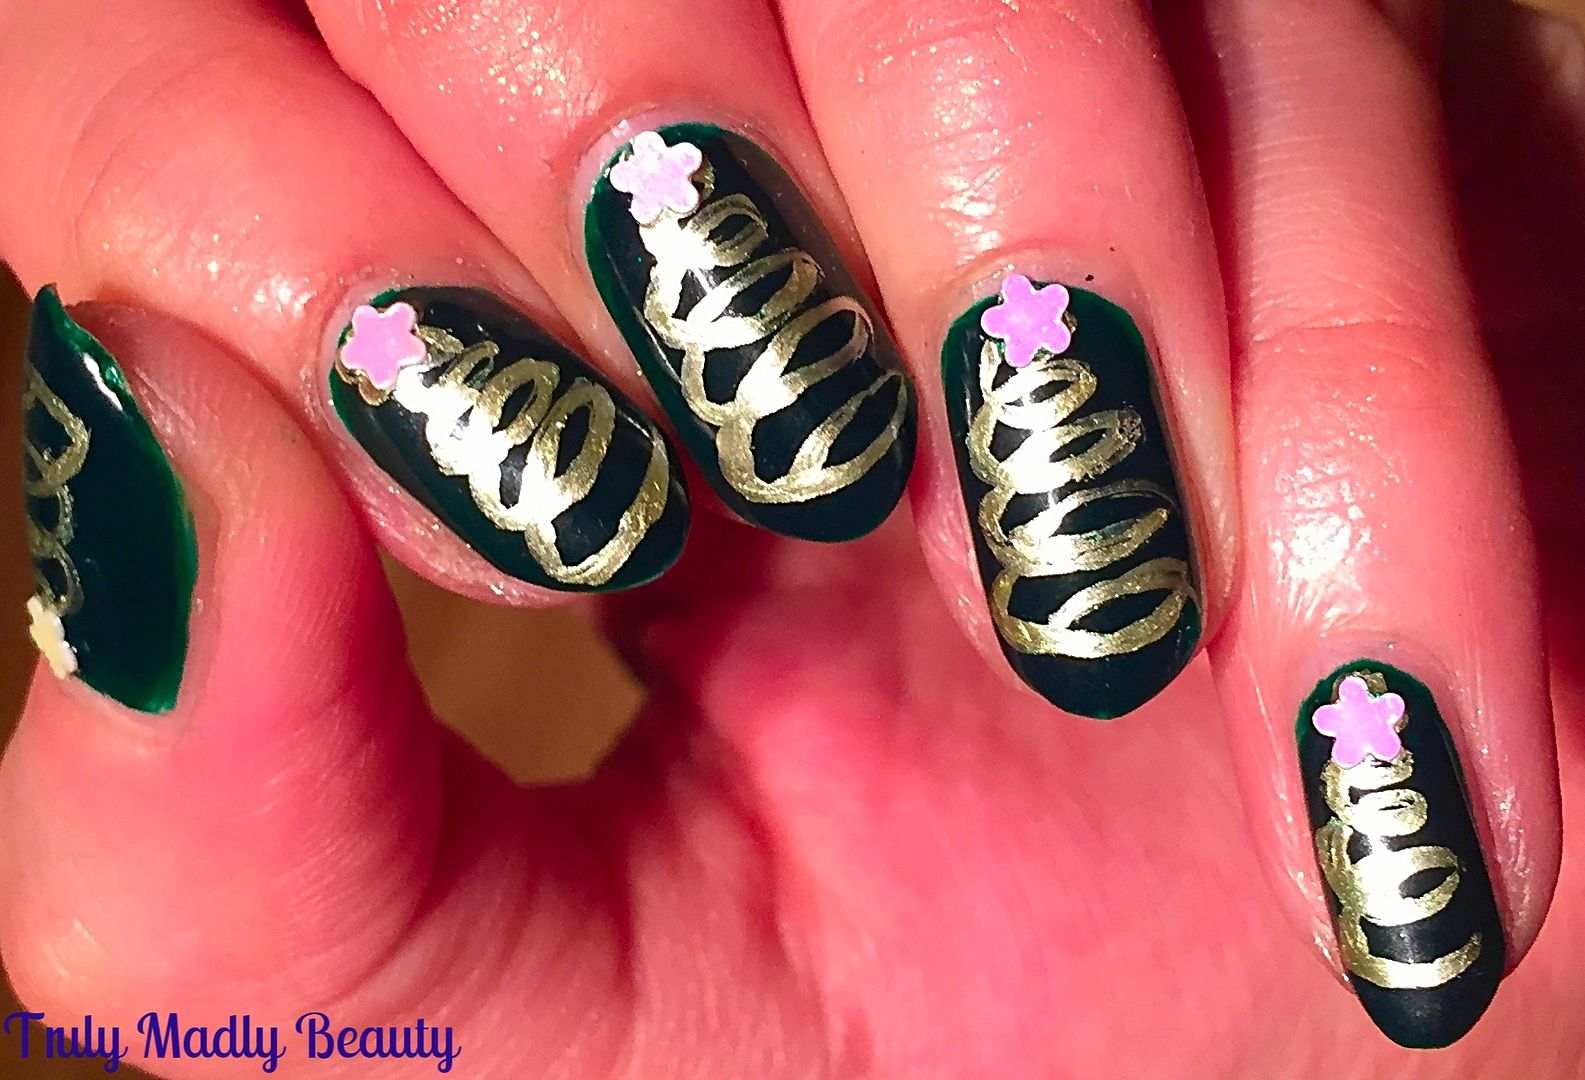
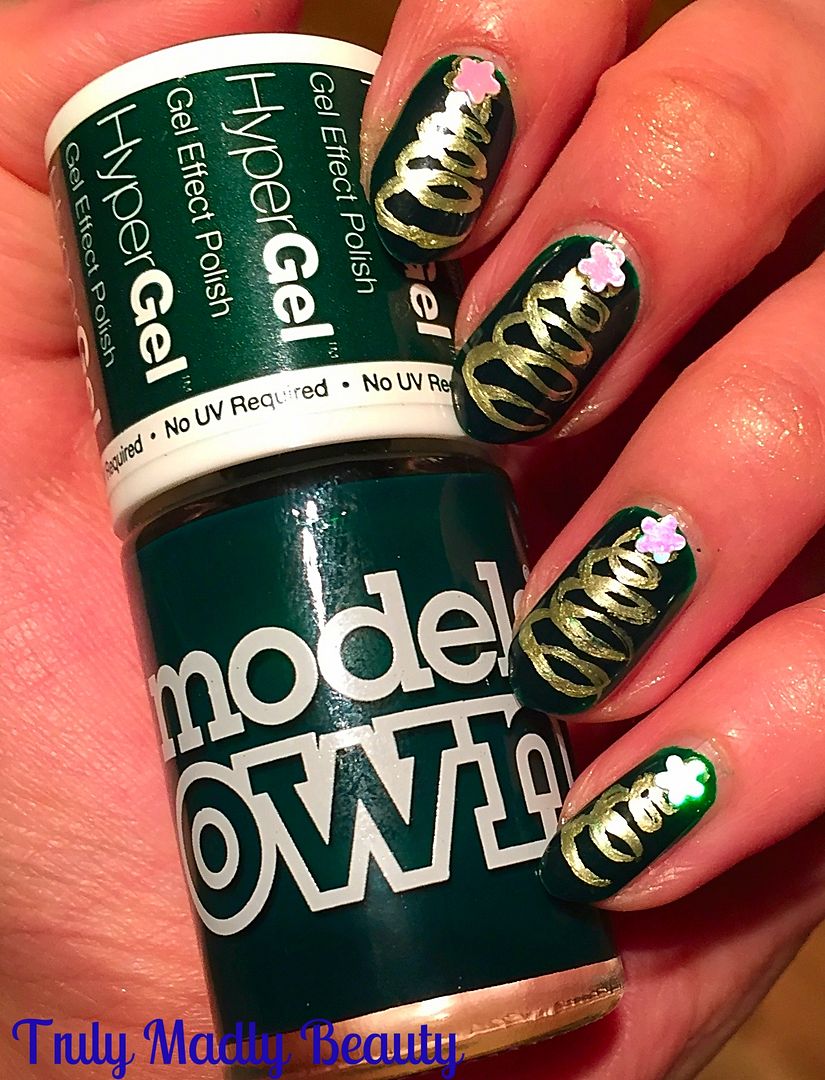
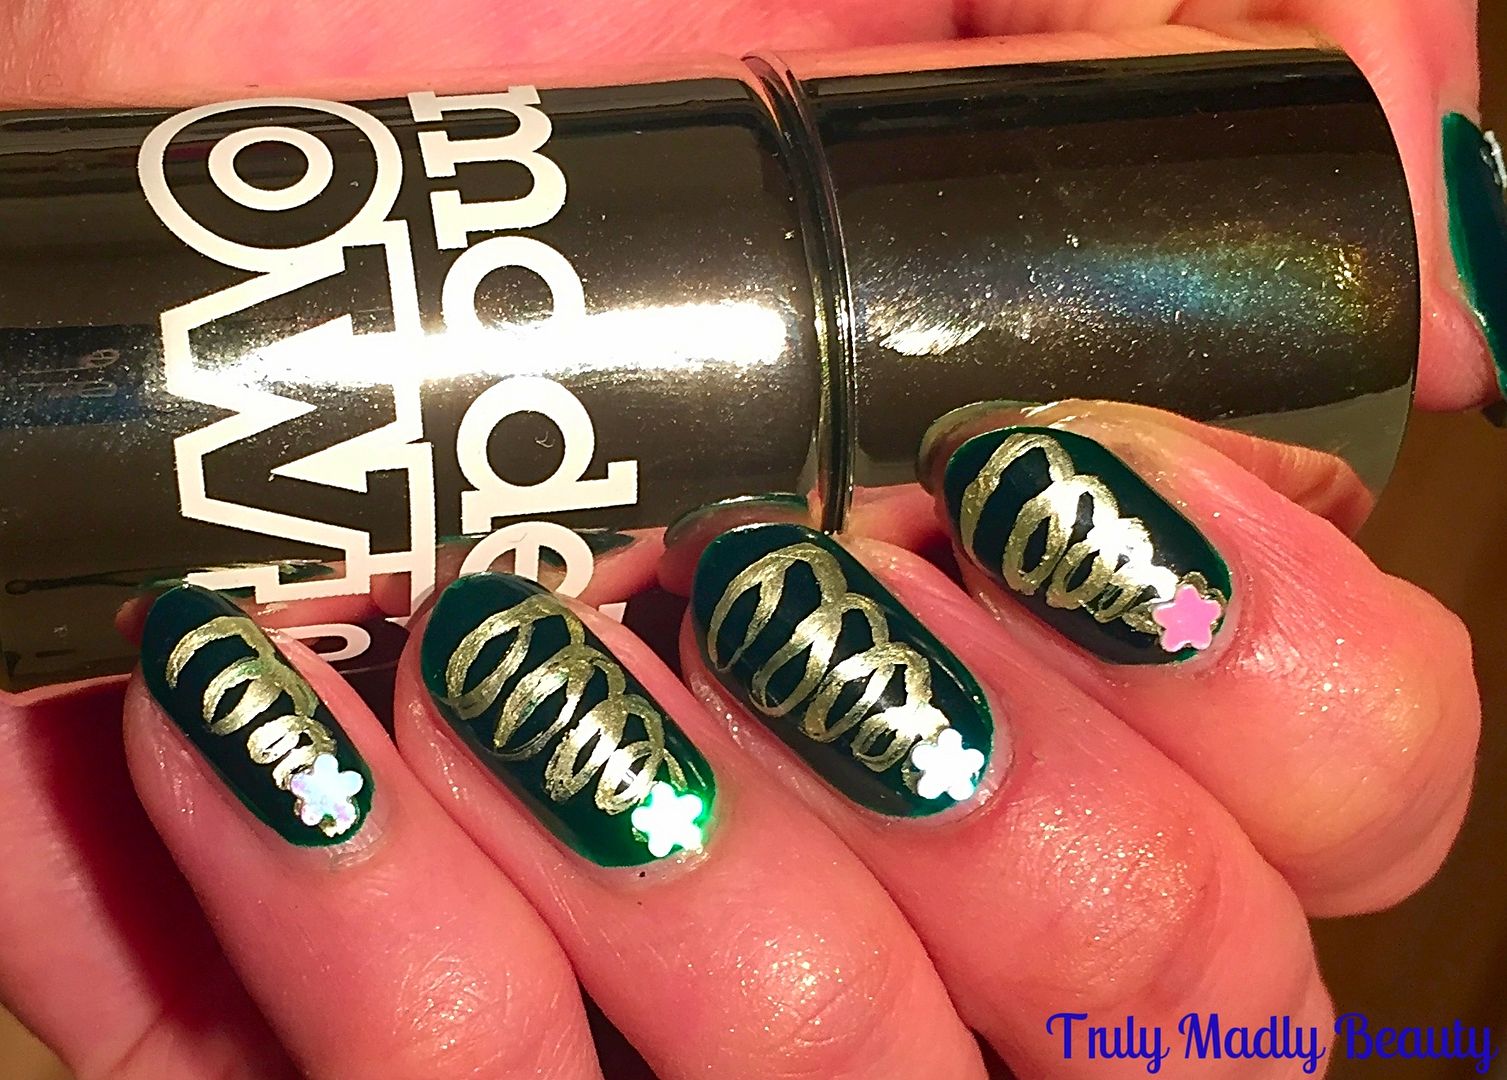
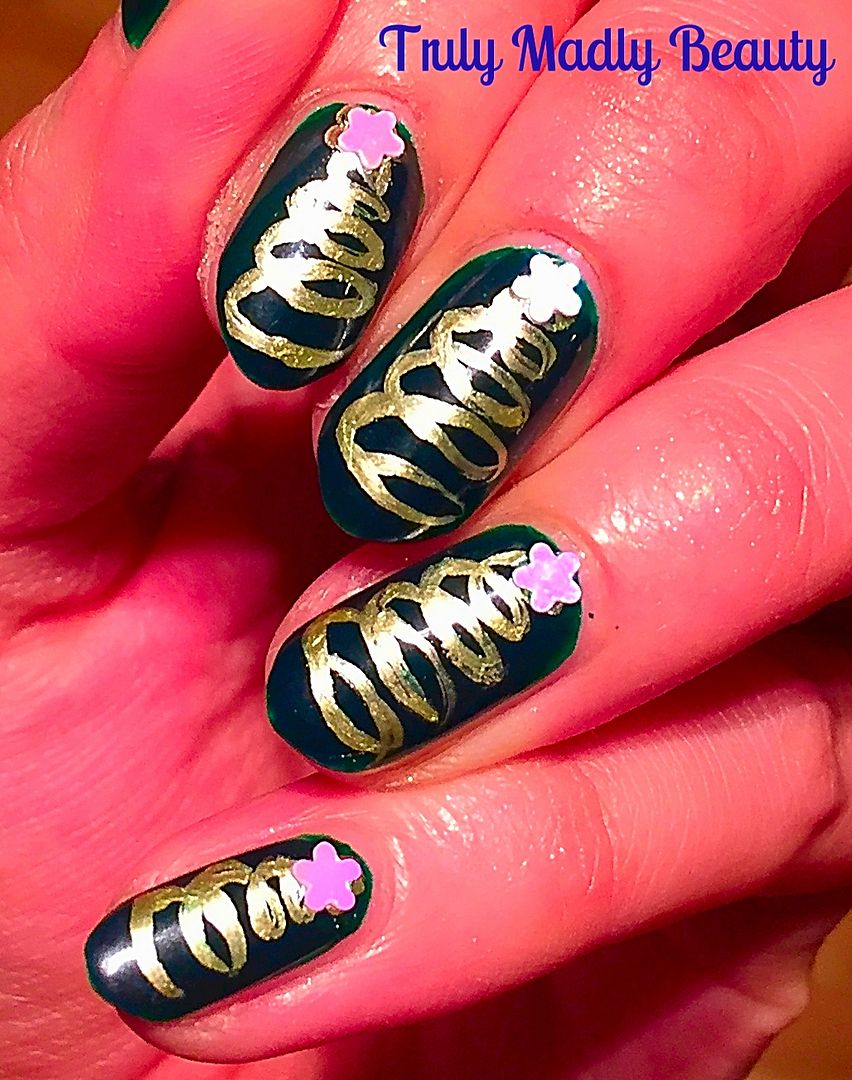
Festive NOTD - Swirly Chrome Christmas Trees!

Hello there my lovely readers!

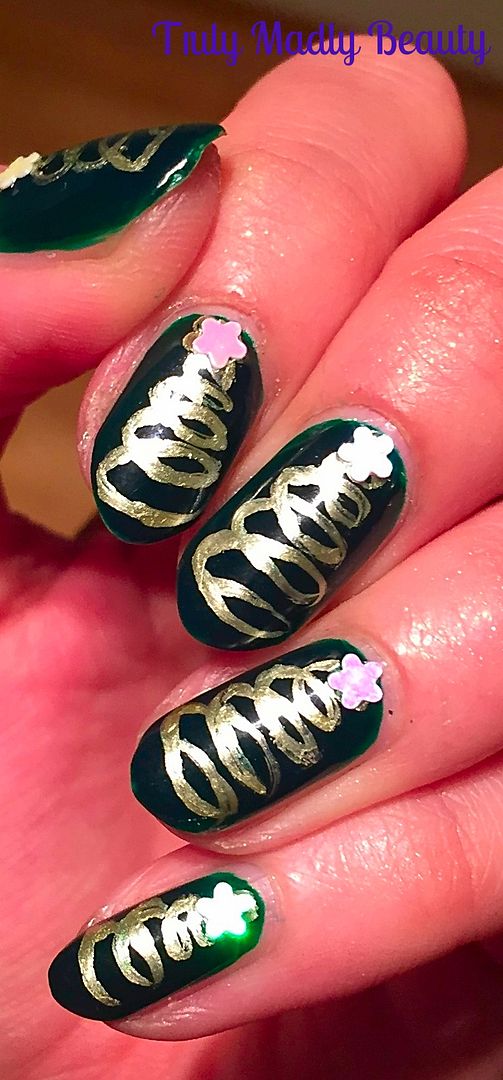
Gosh can you believe that it'll be Xmas next week already?! How in the hoohaa did that happen? This month has had me all over the shop floor thus I haven't been able to get my nail art on as much as I would have liked for the festive season, bad nail blogger! But I can rectify that now as I finally managed to grab some free time to have a play! Better late than never eh?

Every year I like to rustle up some Christmas Tree nails, as they are my absolute favourite for the festive period, each time mixing up the design slightly. You can check out my previous Christmas Tree nail art designs HERE, HERE and HERE.


That's what I love about them, the fact that you can have fun playing around creating different styles and designs. This year I decided to go down a more arty route & created these golden swirl Christmas Trees.


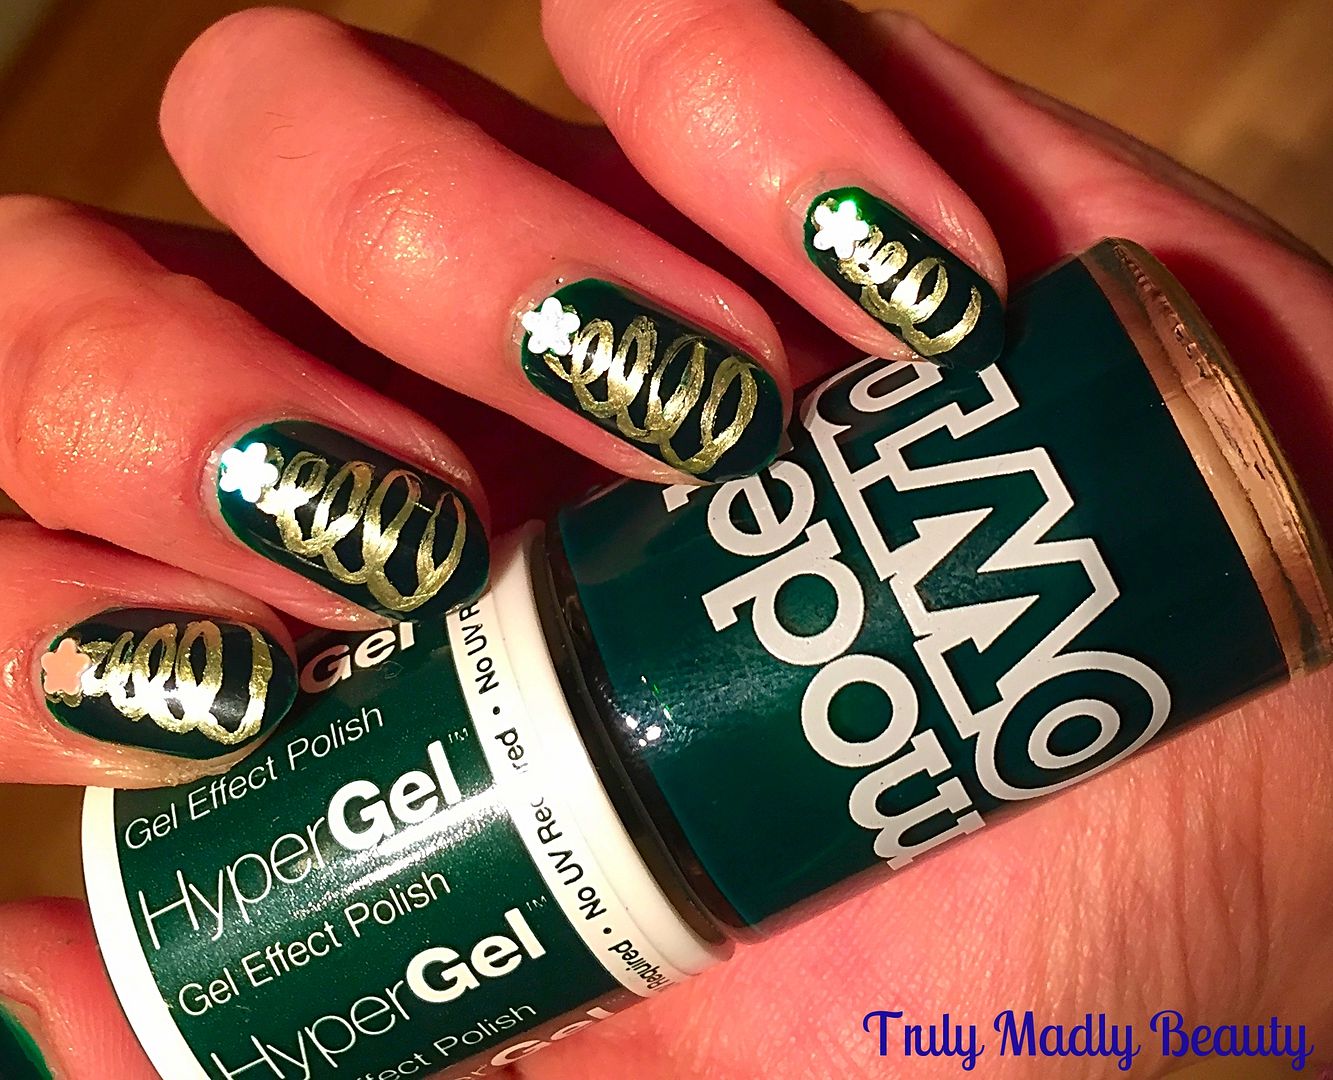
Instead of painting green trees I went for a lovely deep dark green for my base & Models Own HyperGel in Ebony Green was perfect for this.

This is two coats of the gorgeous green goodness, isn't it just divine? I'd forgotten how much I adore this Gothic green!


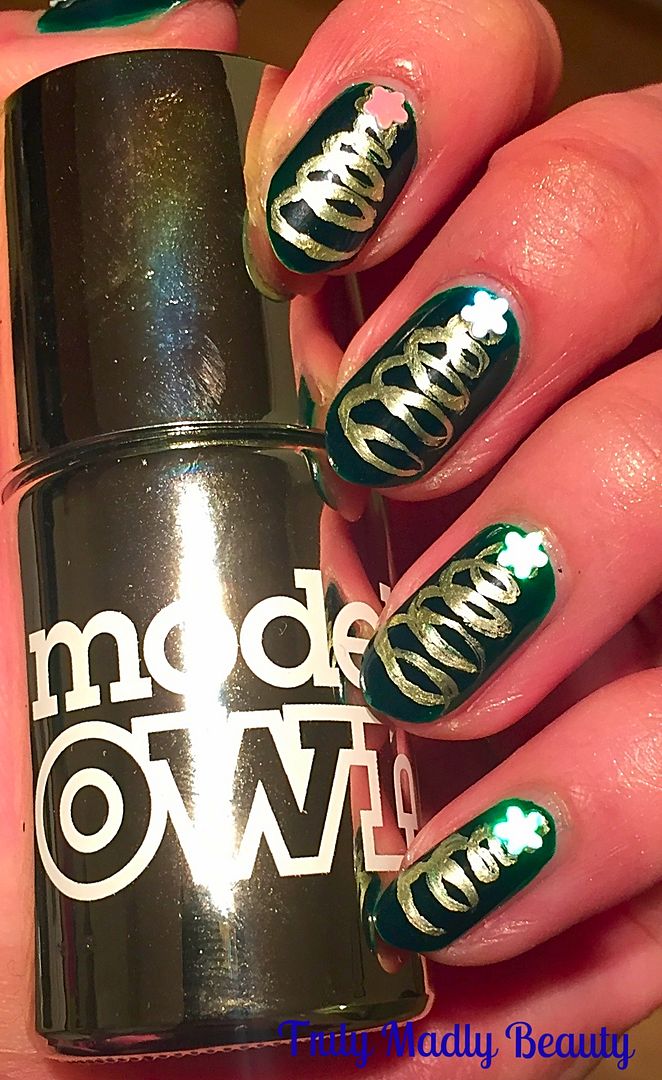
Then for my Xmas trees I found myself reaching for Models Own again, this time Chrome Olive from the Colour Chrome collection. I was originally going to use a gold polish but I'm so glad I changed my mind as the metallic formula really pops against the dark base!


To create the trees I grabbed my extra small Nailbees nail art brush & with the Chrome Olive polish, free handed the swirls, starting with a tiny swirl for the top of the tree, slowly making my way down the nail, gradually making the loops bigger as I went.


A little tip is to rest your elbow on a surface when doing this, this helps steady your hand a great deal, enabling you to create your swirls without a shaky hand!


Of course every tree needs a star, so to finish I simply added a little star shaped holographic sequin at the top of my trees. Finish with topcoat & you're done!


Thanks for reading my lovelies, keep posted as I hope to squeeze in a couple more designs this year. But do have a peek at some of previous designs HERE for some festive inspiration.


Lotsa love to ya!


10.06.2016

Eye of Horus Liquid Metal Eyeliner!

Hello there lovely readers!

It seems my blogging mojo decided to go on a wee vacation for a while there, but hopefully she's had a nice reprieve as I'm determined to get my blog back on. And just in time for my favourite month too because yes...ALL THE HALLOWEEN EVERYTHING. I can't wait to get started on throwing together some spooky Halloween manis for you because gods know I love this time of year! Have a sneak peak at some of my designs from Halloweens past HERE for some early inspo but there'll be more to come fear not! Or be feared... ;)

Before I begin on all things ghoulish I have some other bits & bobs to share with you, I've recently come across some absolute GEM beauty treats lately & am eager to share their awesomeness with you. I feel it is my duty.


Next to nails, my HG beauty product is without a doubt eyeliner, I feel naked without it & am rarely without my armour of a cat wing flick! Lately I've enjoyed mixing it up a tad with different styles & looks. There's so many fun & fab ways to jazz up your liner & one way in which to do so is incorporate some colour. Not only do I love my eyeliner but I am a sucker for all things metallic...enter at this point...Eye of Horus Liquid Metal Eyeliners*...one word....ERMAGEEERD!


I'd heard about the brand Eye of Horus amongst the beauty grapevines but never had the opportunity to try myself, shocking really as I adore anything Egyptian themed which is clearly the inspiration behind this award winning Australian brand that is not only cruelty free but also paraben, nut & gluten free.

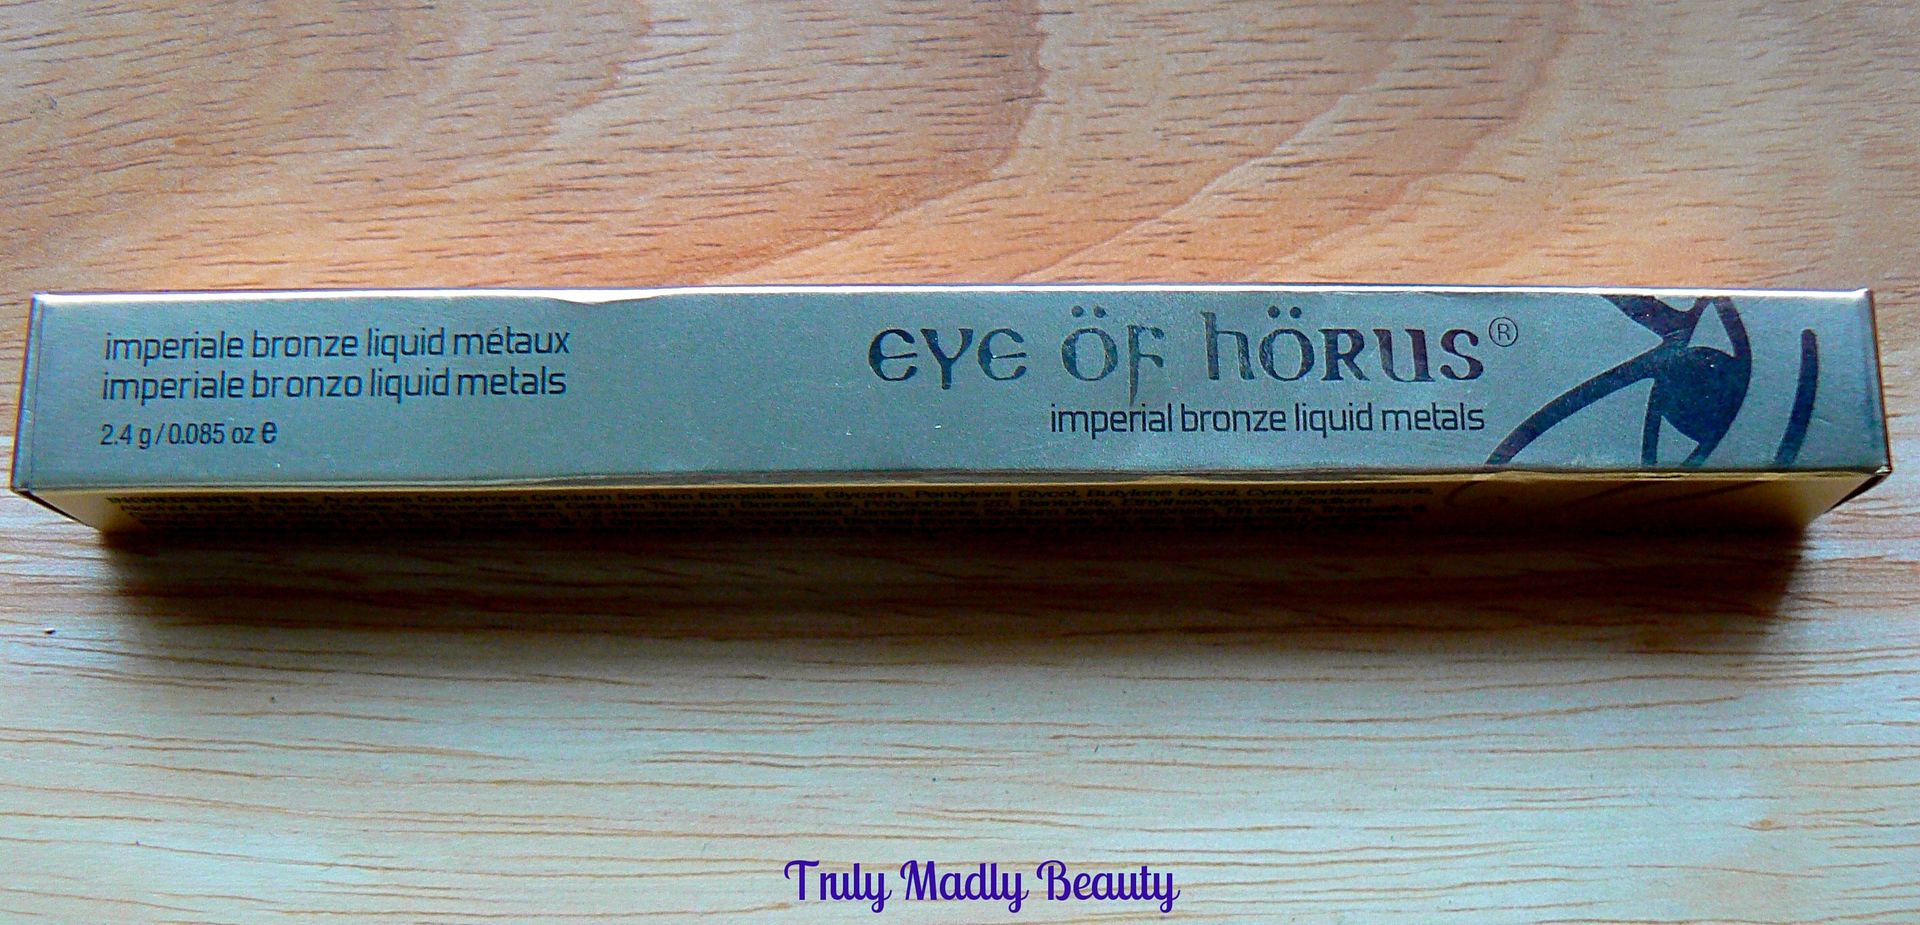
The Eye of Horus Liquid Metal Eyeliners come in four different shades: Alchemy Gold, Ancient Pewter, Copper Sphinx and Imperial Bronze*, which is the shade I'm sharing with you today.


I've come across many liquid eyeliners that promise a multitude of wonderful results but sadly never delivered but I am happy to tell you that the Eye of Horus Liquid Metal liners are exactly what they say on the tin...hello gorgeous, pigmented molten metal finish!


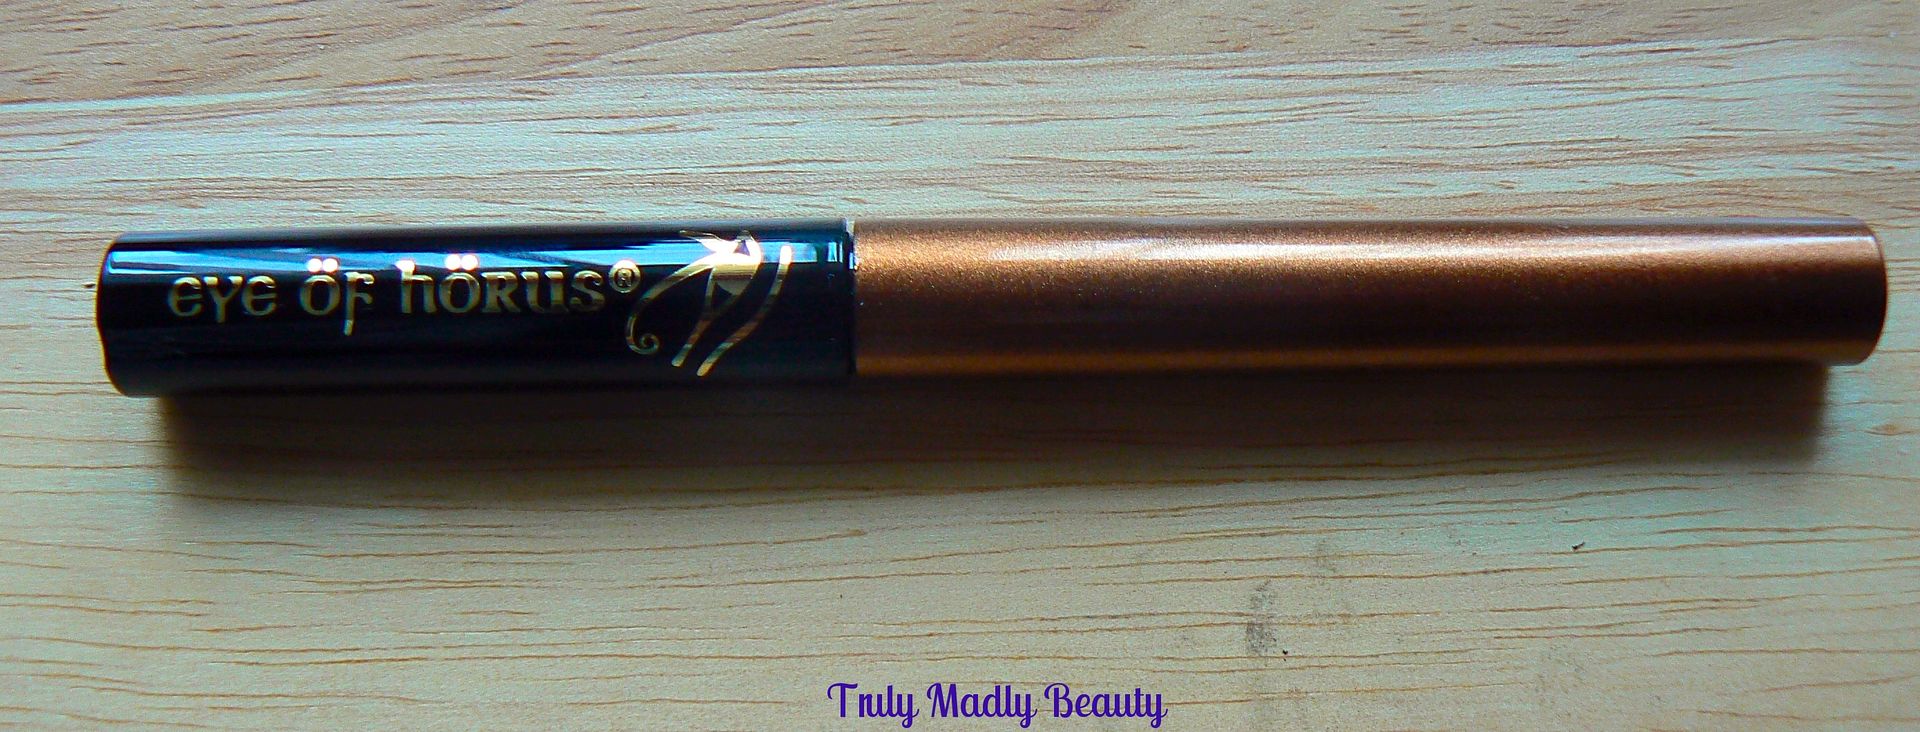
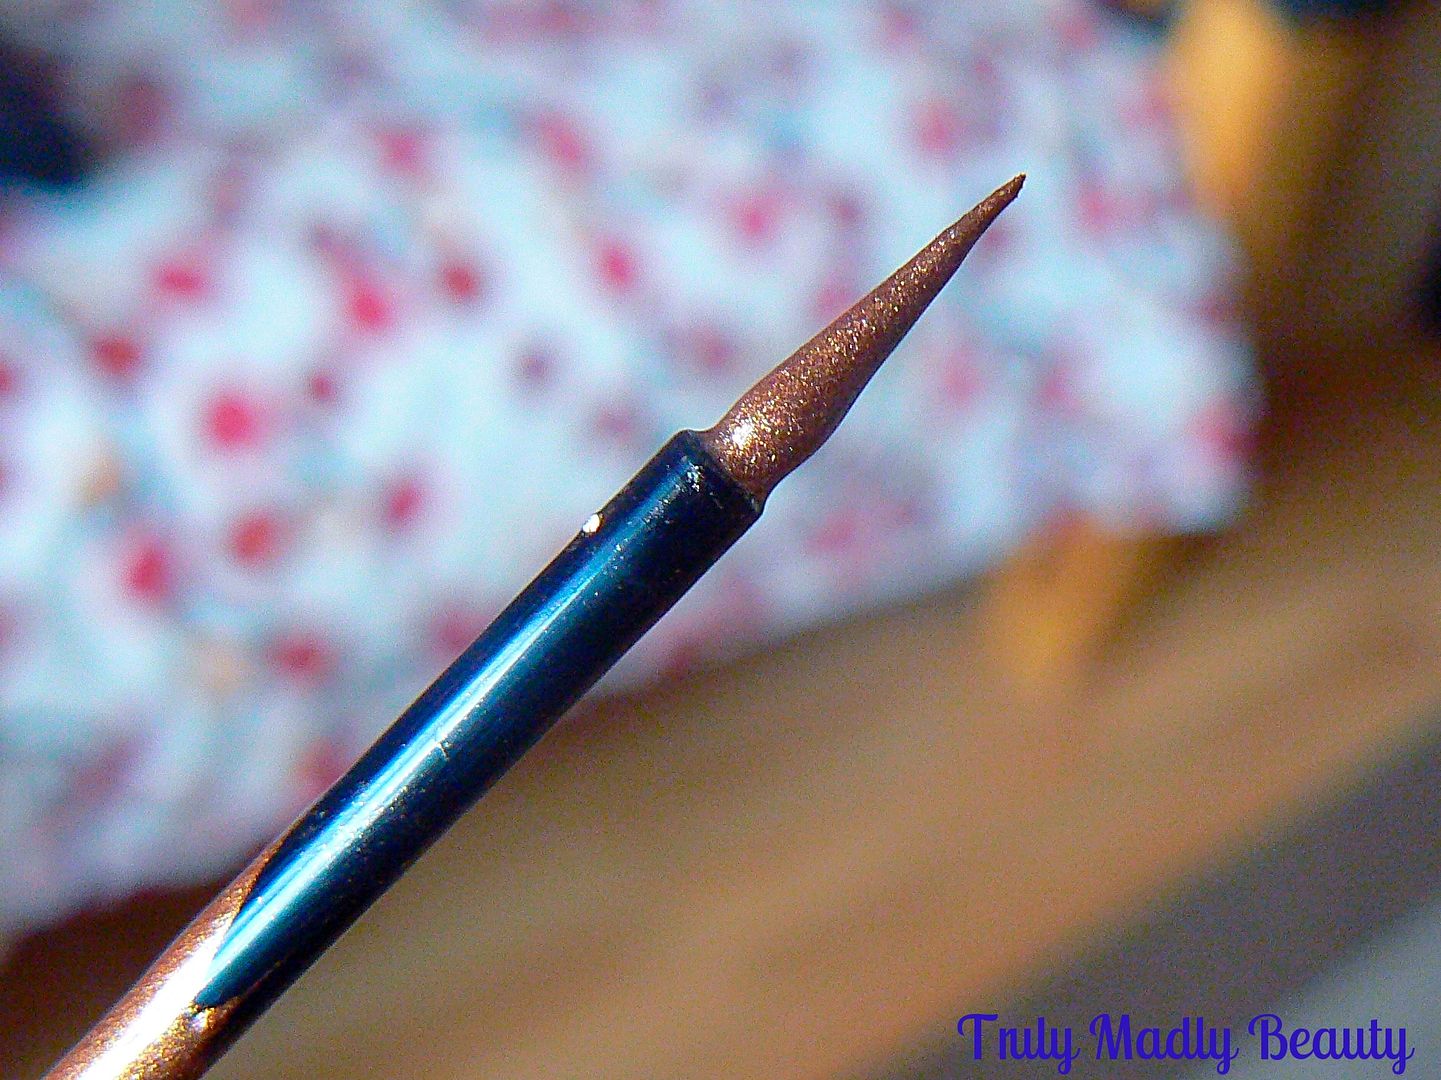
The packaging as you can see is beautifully sleek, with the brush & handle being the long coloured cap part of the liner, the length actually makes handling the brush much easier.

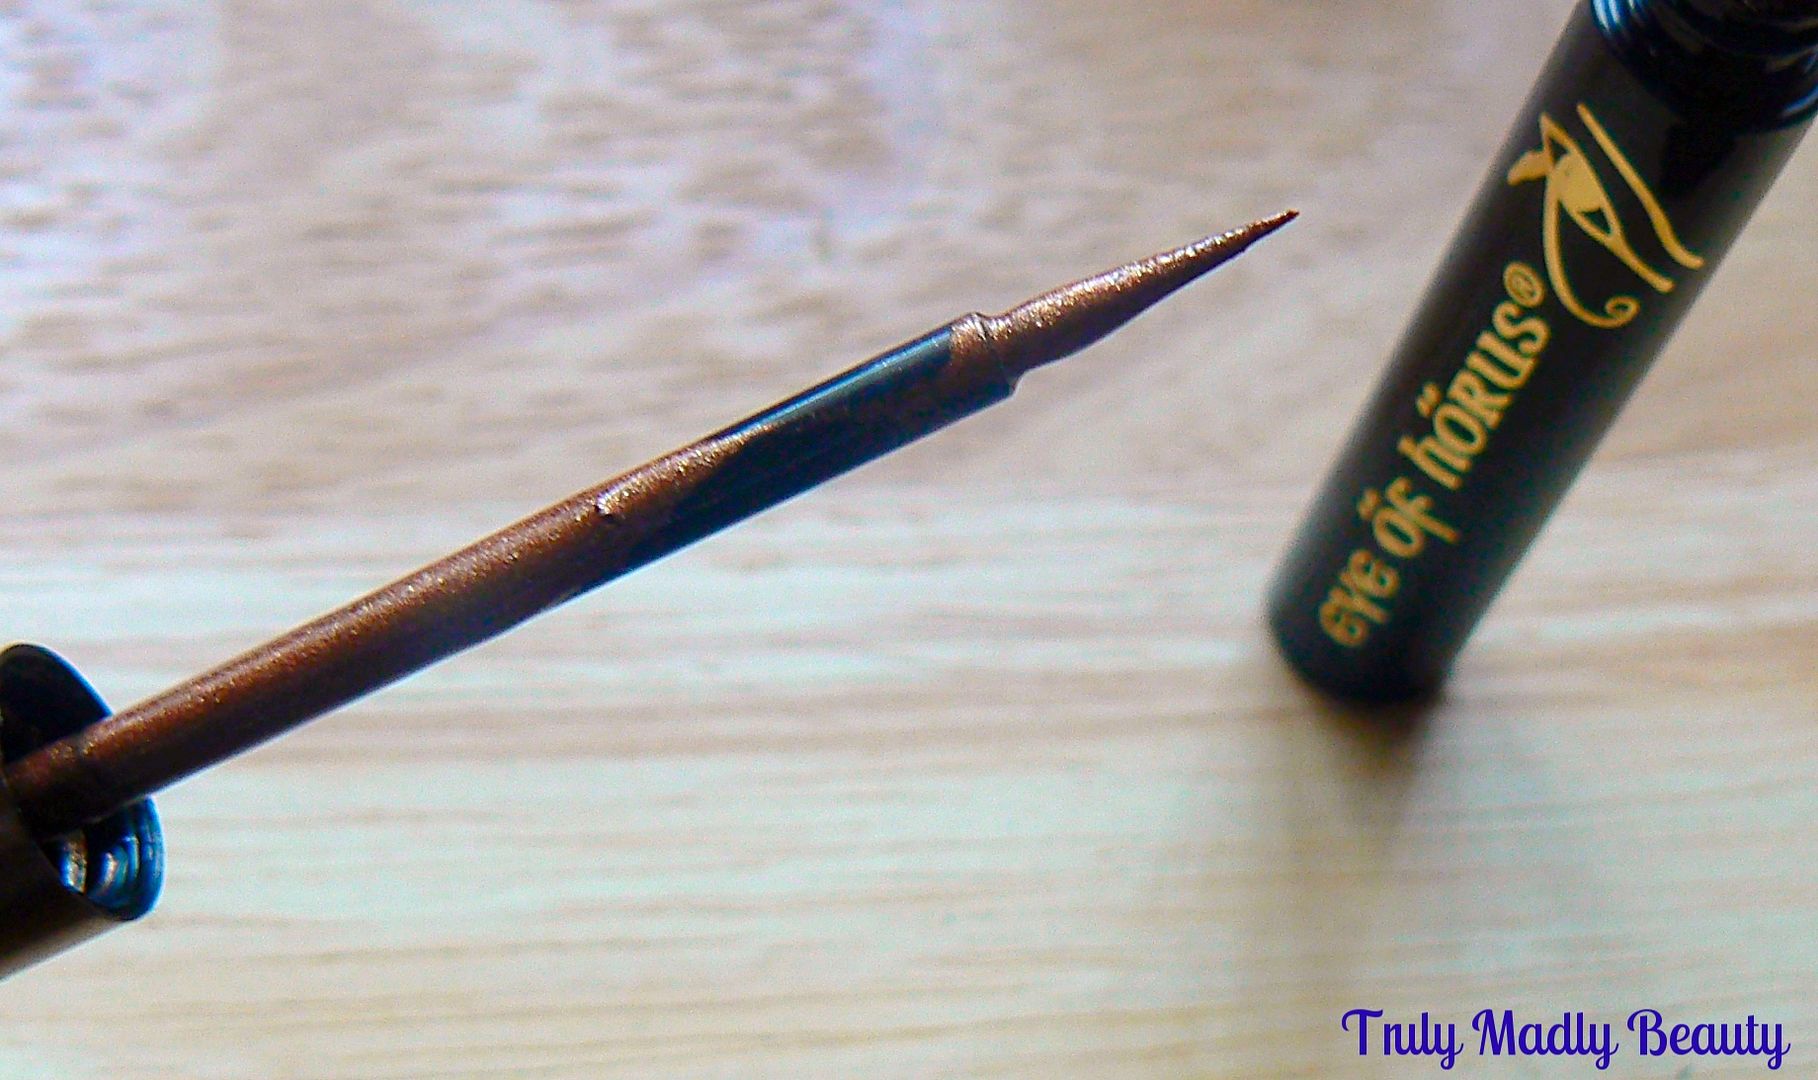
The nib is most important when it comes to applying eyeliner & these are not only fine pointed but sturdy as well, making applying a smooth line an absolute breeze.


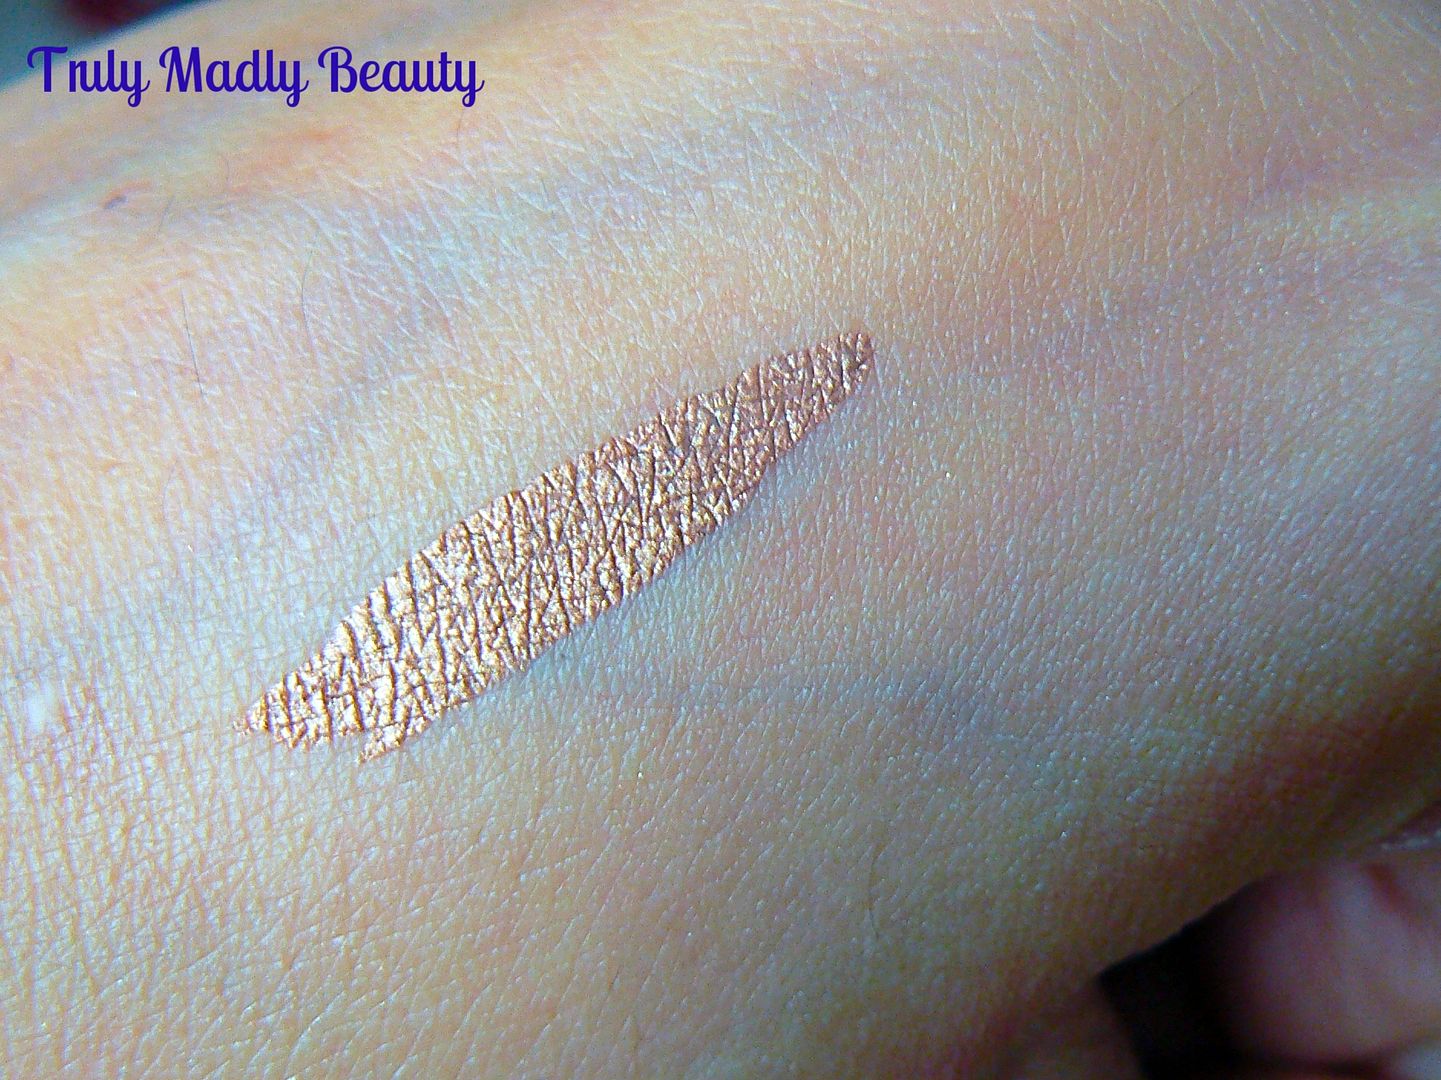
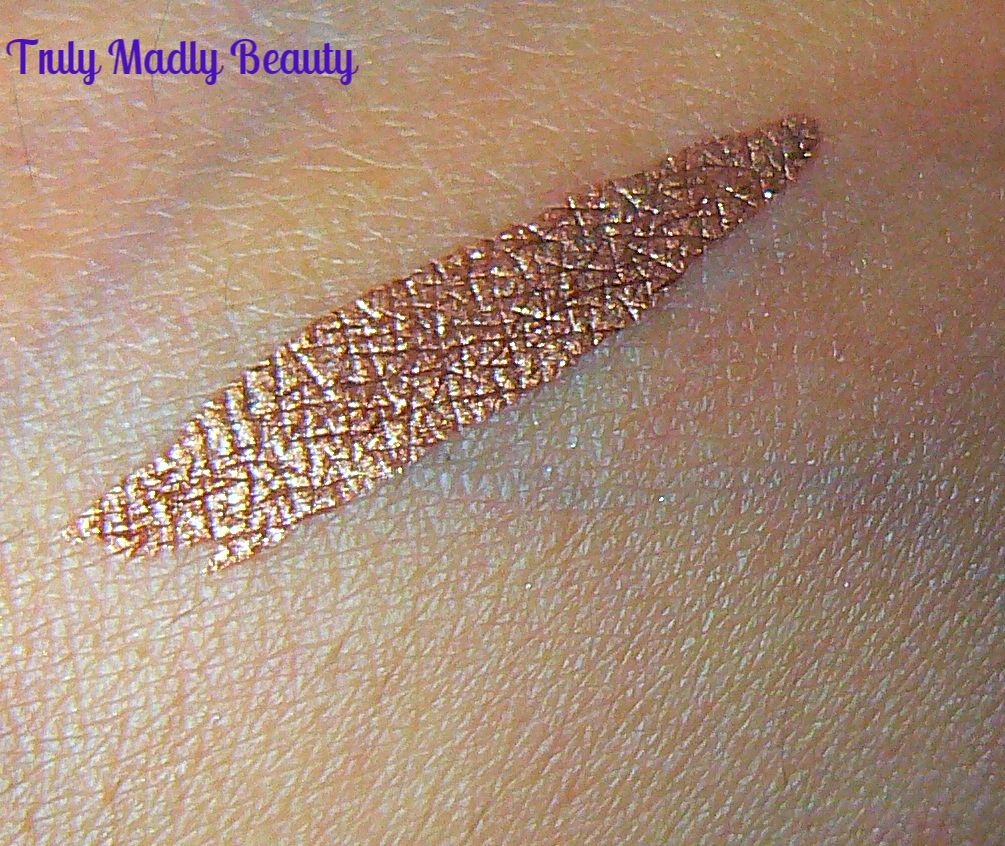
The swatch here is one swipe of the liquid metal bronze goodness & I completely went into real life heart eye emoji face at the mirror like molten metallic finish...ungh just look at it *swoons*


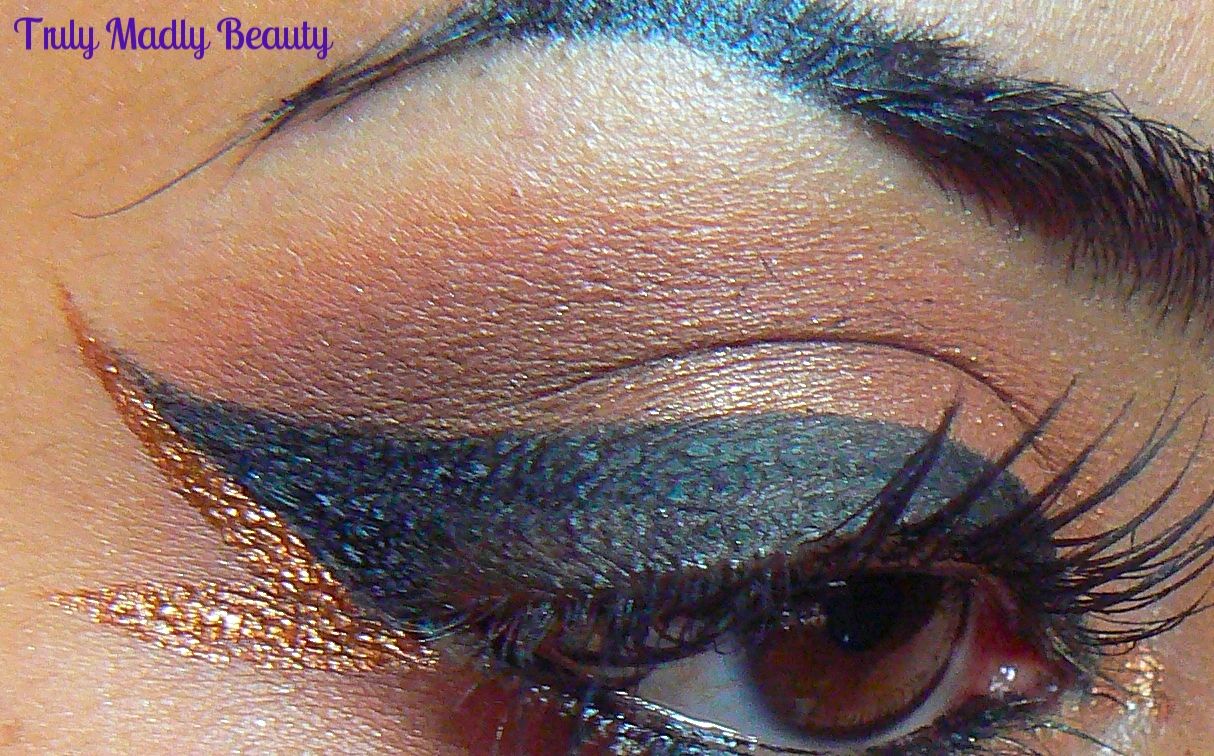
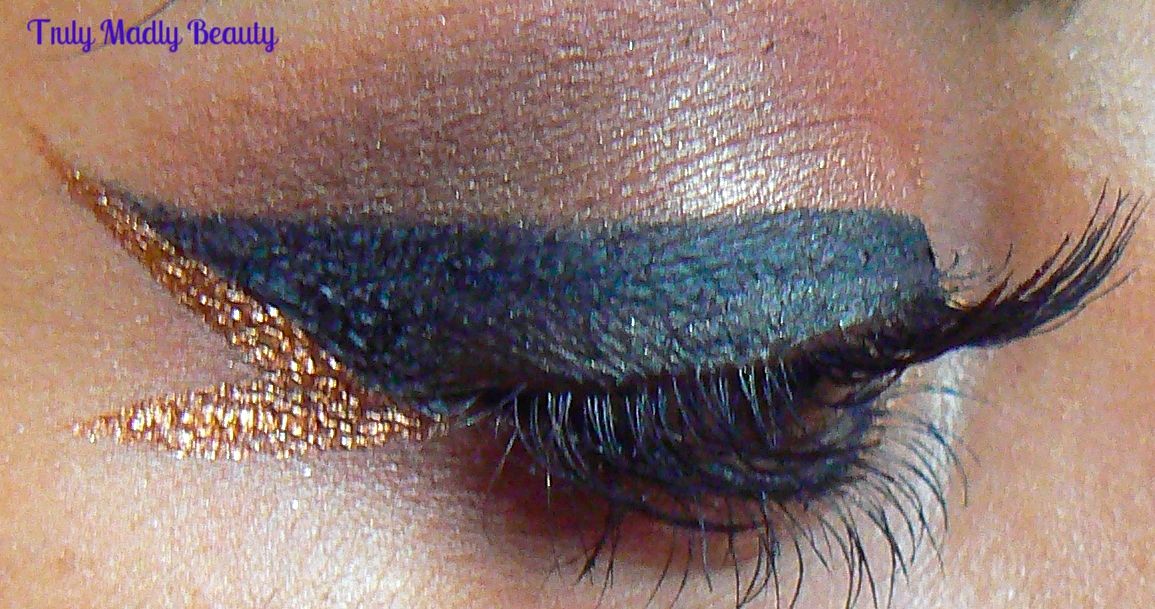
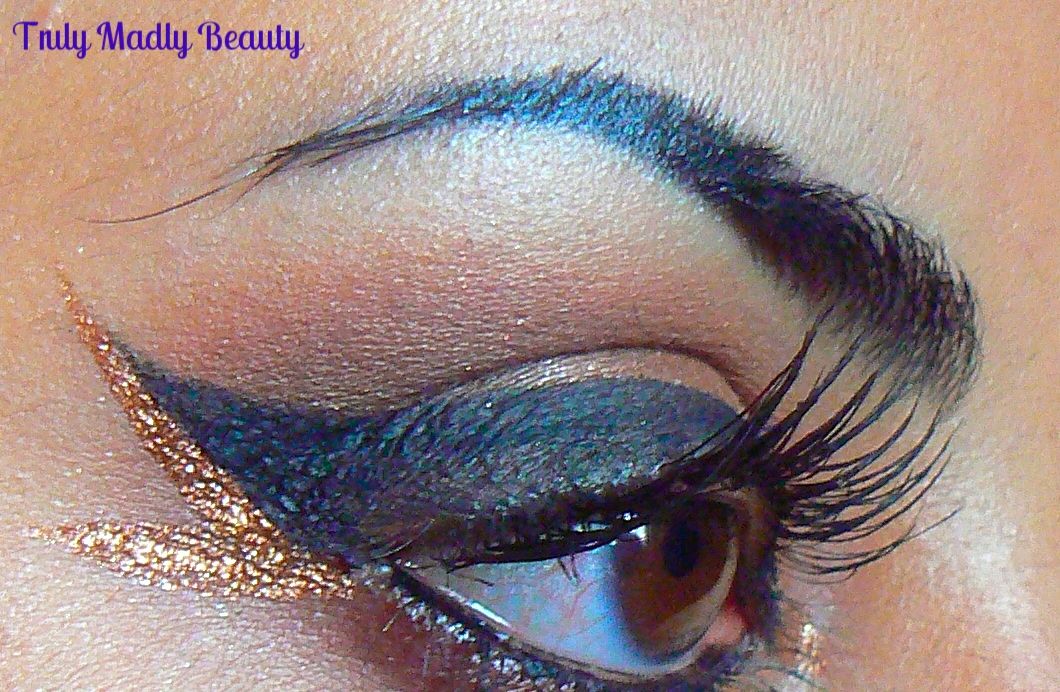
I couldn't wait to incorporate some of this bronze goodness into a look & this is what I came up with. I decided to do a bronzed smokey eye with a double wing, using the Liquid Metal to create the extra flick as well as adding a touch of sparkle to the inner corners...


The formula is dreamy, smooth not grainy & as you can see beautifully pigmented, the colour pay off is divine, you wont find yourself having to apply layer upon layer to get an inkling of sparkle with these. And better still they will not budge once dry which is in no time at all.


I love how just incorporating a bit of pretty metal bronze into a simple wing instantly transforms your whole look to something more eye catching. There so many ways you can use this, on the upper lid, inner corners, a pop of colour along part of the lower lashline...there are actually some BEAUT looks on the Eye of Horus website that have got me all inspired to try!


Of course these would also be absolutely PERFECT for bold Arabic eye looks which I am all over...Cleopatra coming at ya...I am definitely going to enjoy creating a fun bold look worthy of the Egyptian queen.

I've come to the conclusion that I absolutely NEED the silver pewter & alchemy gold liners in my life yesterday. The Eye Of Horus Liquid Metal Liners can be found on Beauty Bay as well as Bath and Unwind for £16.50.

Thanks for reading beauts and catch up soon!

Lotsa love to ya!


Disclaimer - * products featured were sent to me for my consideration. I am not affiliated with the brand nor paid for this post, this review has been as always my 100% honest opinion! :)


6.28.2016

Armour Your Nails with All That Jazz Nail Filigree!

Hello there lovely readers!

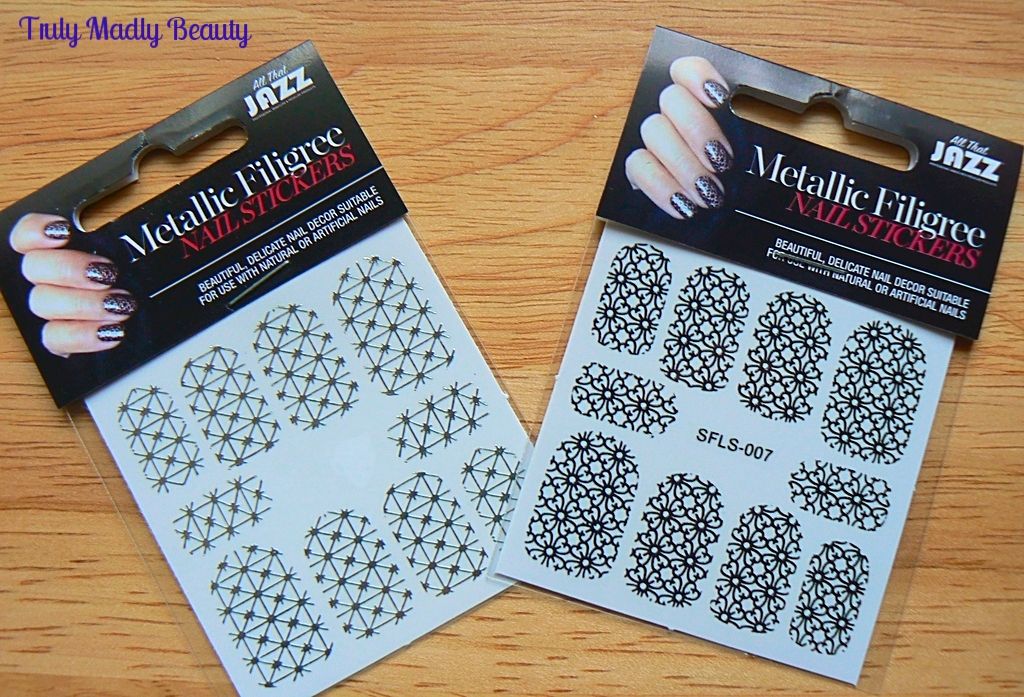
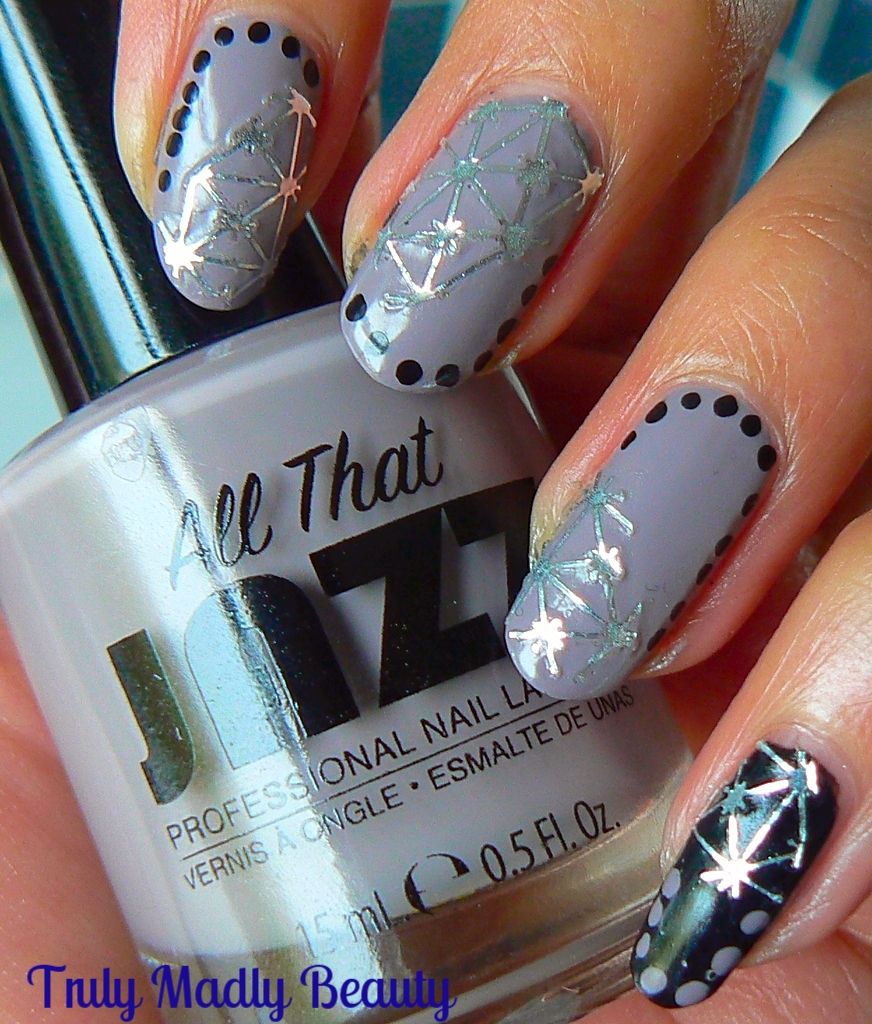
I'm always on the lookout for intriguing & innovative new ways to jazz up my nails & today I have such a nifty nail art product to share with you that will help do just that in the most blingy beautiful way courtesy of All That Jazz Nail Filigrees*!


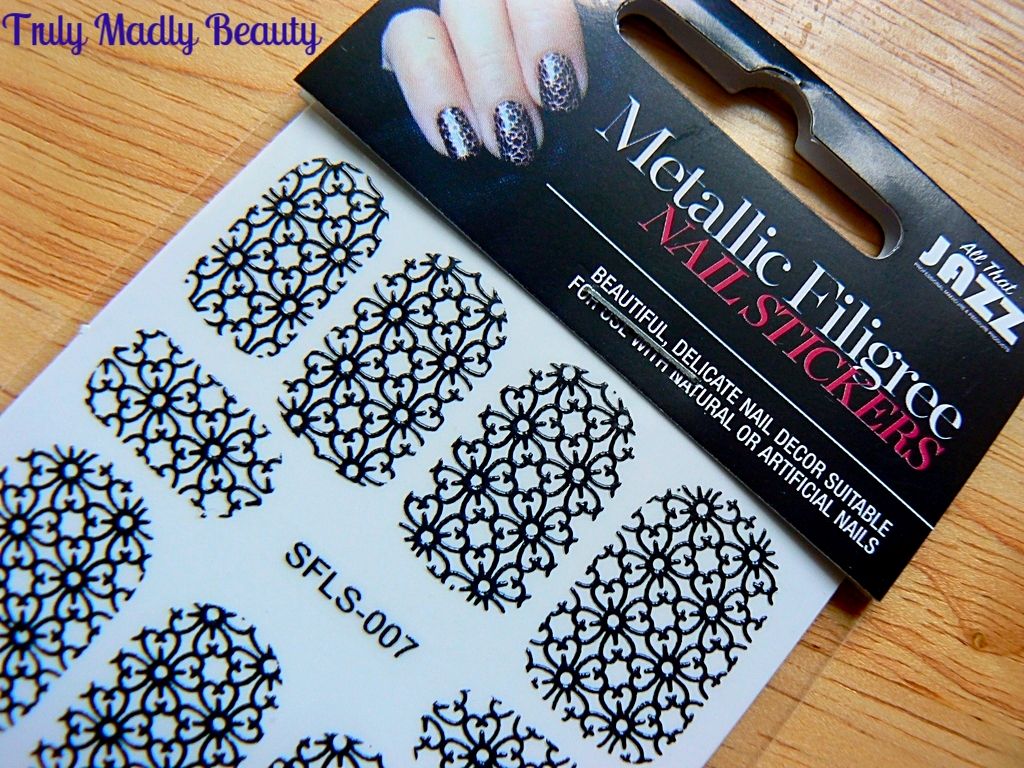
Nail filigrees are a fantastic option if nail art or nail wraps feel too complicated & time consuming. What I adore about these is not only how easy they are to use, but also the range of pretty designs that are available in a selection of gorgeous metallic finishes including white, silver, black, gold & rose gold.


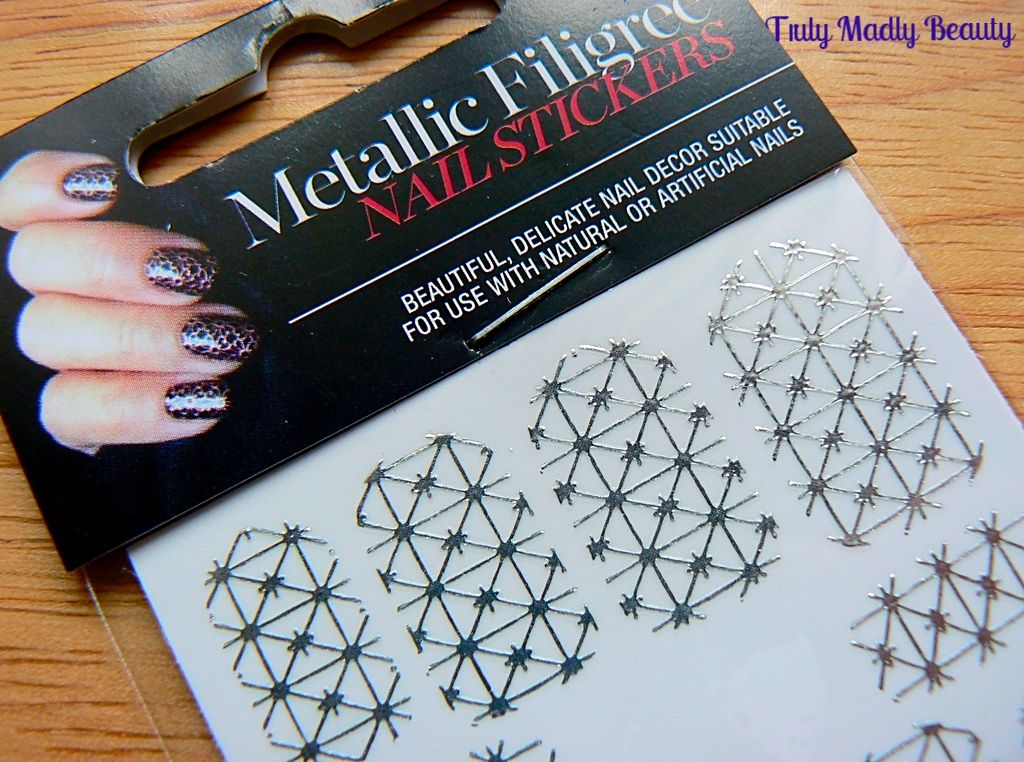
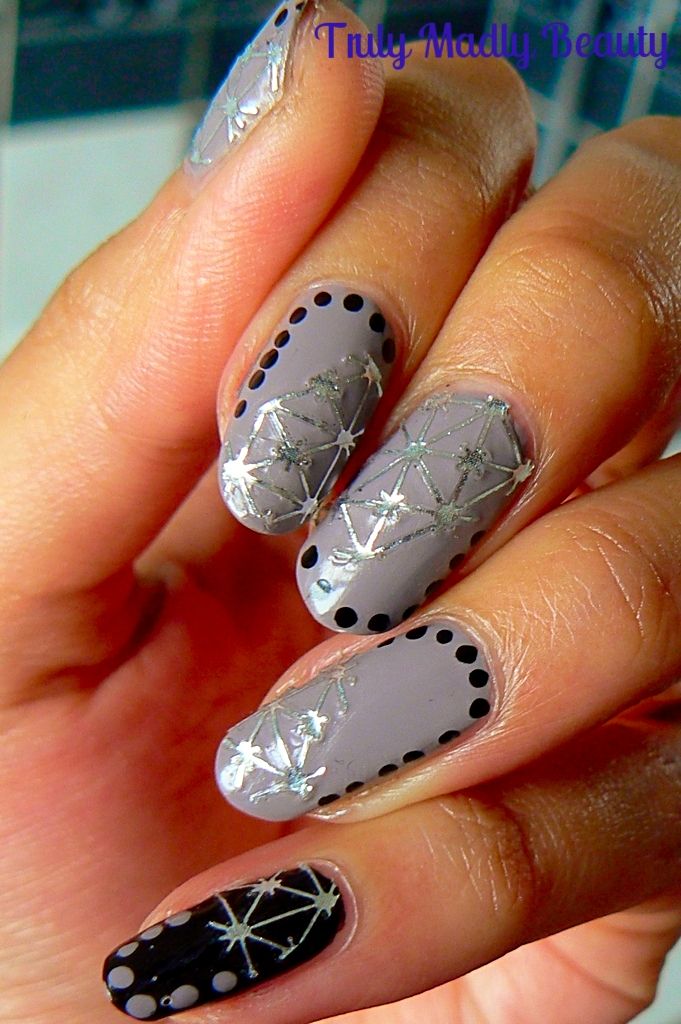
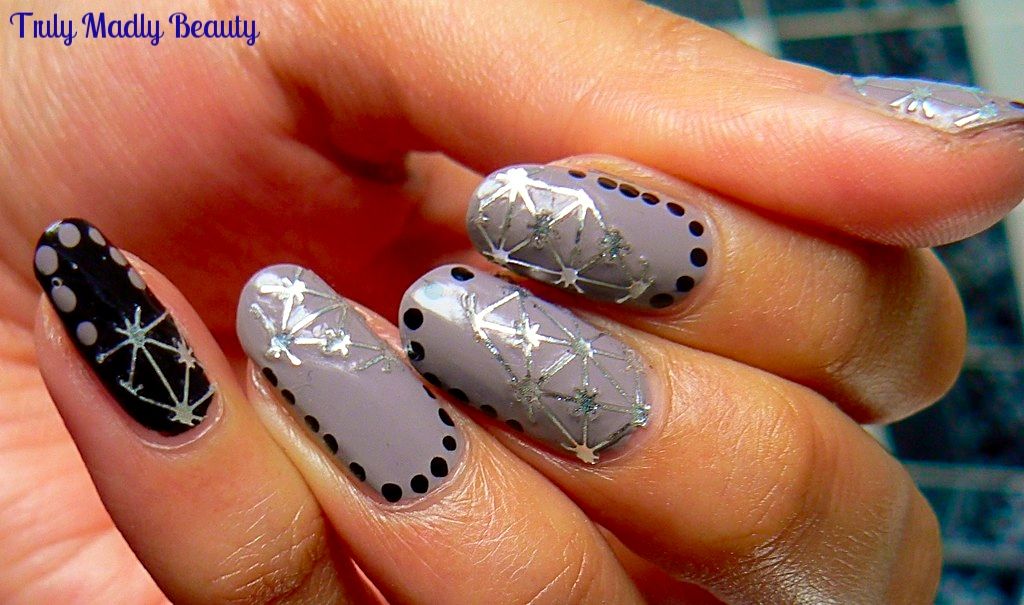
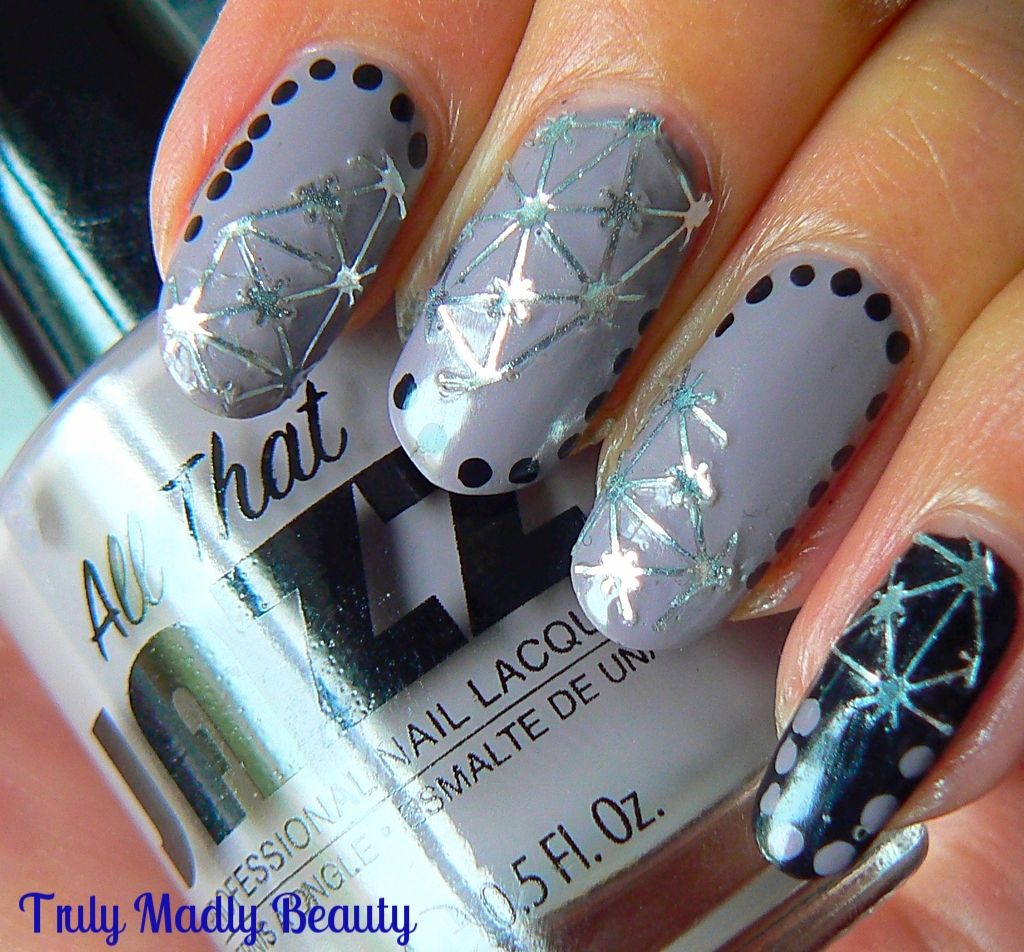
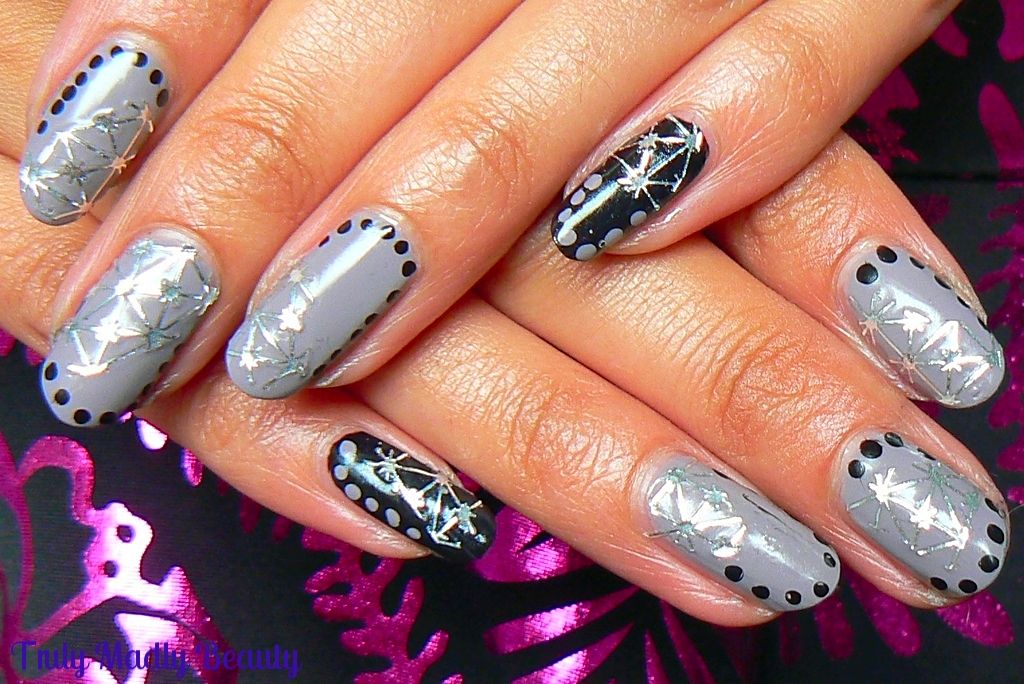
I couldn't wait to try & decided to give the silver a whirl first, the design here is the cross pattern which reminds me of star constellations! The filigrees are quite fine so require a bit of delicate care when handling.


In each pack you get a sheet of 10 filigrees, one for each nail, however my favourite way to use these is by cutting each filigree & just covering part of the nail as I've done for this mani. Not only do I love the finished effect but it'll make the nail filigrees last longer too. WIN!


For my base shade I applied two coats of All That Jazz nail lacquer in Total Eclipse*, a lovely creamy grey. This is my first time trying All That Jazz polishes & I am mightily impressed, I can understand why they have such a large fan base. Quality formula, smooth & opaque in two coats, simply sublime! I decided to paint the pinkie in black to really bring out the silver filigree.


As mentioned, instead of using the entire filigree, what I've done is cut the filigree in half at an angle. It doesn't have to be neat, in fact the more random the cut the better it looks in my opinion!


You then have 2 pieces of filigree which can be then positioned on to each nail wherever you like, using tweezers to help place them. Important note – make sure that your polish base is completely dry! A good idea can be to simply apply the filigree the next day if you don't have a speed dry topcoat.


After applying my filigree pieces, as fab & blingtastic as they look I couldn't resist adding a bit of extra detail with some black dots around the edge of the nail which was done with a dotting tool & alternated with the grey on the pinkie.


Finish with topcoat to seal & you have your gorgeous filigree armored look nails ready to rock! I'm utterly digging these so much & cannot wait to incorporate more into my mani's, you can be sure I'll be stocking up on some rose gold ones!

You can find the All That Jazz Nail Filigree (RRP £1.79) & NailLacquers (RRP £9.98) online.

Thanks as always for reading!


Lotsa love to ya!


Disclaimer - * products featured were sent to me for my consideration. I am not affiliated with the brand nor paid for this post, this review has been as always my 100% honest opinion! :)

1.28.2016

NOTD - 3 Point Curve Nails!

Hello there my lovely readers!

I hope you're all having a good week so far? Eager for the weekend already, mostly because this crazy cat lady is currently parted from miss kitty/psychopath/spawn of Satan whom, if you follow me on Instagram are more than familiar with her cute comical ways. I'm currently away from home & the folks are away also so madam has been in the cat hotel where she is no doubt wondering where her the heck her owners have buggered off to...O_O 


Some super simple nail art for you today my beauts, so much so why you can even do it with your eyes closed! I was at a bit of a loss on what to name it, I always do get stuck with that I admit...I mean I'm nowhere near cool enough to use song lyrics or anything poignant like that in my post titles haha! However going by how this design is done I settled for 3 point curve nail art & simply roll with it.


Firstly though apologies for the horrendous quality pics! These were quickly snapped on my phone. I normally like to neaten my photos as much as I can & the editing platform I use (Photobucket) has been having problems, so frustrating! If you know of any good alternative to Photobucket please do share!


I was in the mood for some pastel & metallic action so decided to go for a lovely light milky pink base using Sally Hansen In The Flesh which I picked up in Poundworld. I've recently found some fab Sally Hansen polishes in that which is considered my most favoured of polish hunting grounds, so do have a looky! 


This was two coats applied, Sally Hansen formulas really are delightful, especially my experience with this range in particular. Isn't the pale, almost white pink just so scrummy? And to think it only cost a quid...high fives!


Next for the arty part, I decided to use the gorgeous Models Own Chrome Rose polish which is exactly what it says on the tin...a pretty rose tinted metallic giving a lovey rose gold finish. I have one polish which I always say EVERY girl needs in her collection & that's Models Own Pink Fizz. Trust me, you won't regret it & I'd say this one would also be a MUST HAVE, especially for my fellow rose gold lovers.


For this design simply grab a fine nail art brush, dip into your polish which you'll already have dolloped on to a piece of card/foil/paper, then glide the brush straight down the centre of the nail, starting at the cuticle & finishing at the tip. 


Then using the same brush & more polish, draw one curved line on the left from the top point by the cuticle....& then another curving to the right. And...thats it! Finish with obligatory top coat & you're done.  It actually reminds me of a birds footprint! But I don't think Crows Feet would've made a good name for this...O_o 

***EDIT*** - Thanks to the lovely @Yahyah56 suggestion on Twitter that this mani bares quite a strong resemblance to the delightful Prince Andrei's uniform from BBC's new drama War and Peace! So henceforth this manicure will be titled "War & Peace"....or "Dishy Prince From Historical Drama That Makes Girls Swoon"...either or will suffice ;)

Thanks for reading lovelies & catch up soon!

Lotsa love to ya!


12.31.2015

NOTD - Distressed Foil Fireworks Nails for New Years!

Hello there my lovely readers!

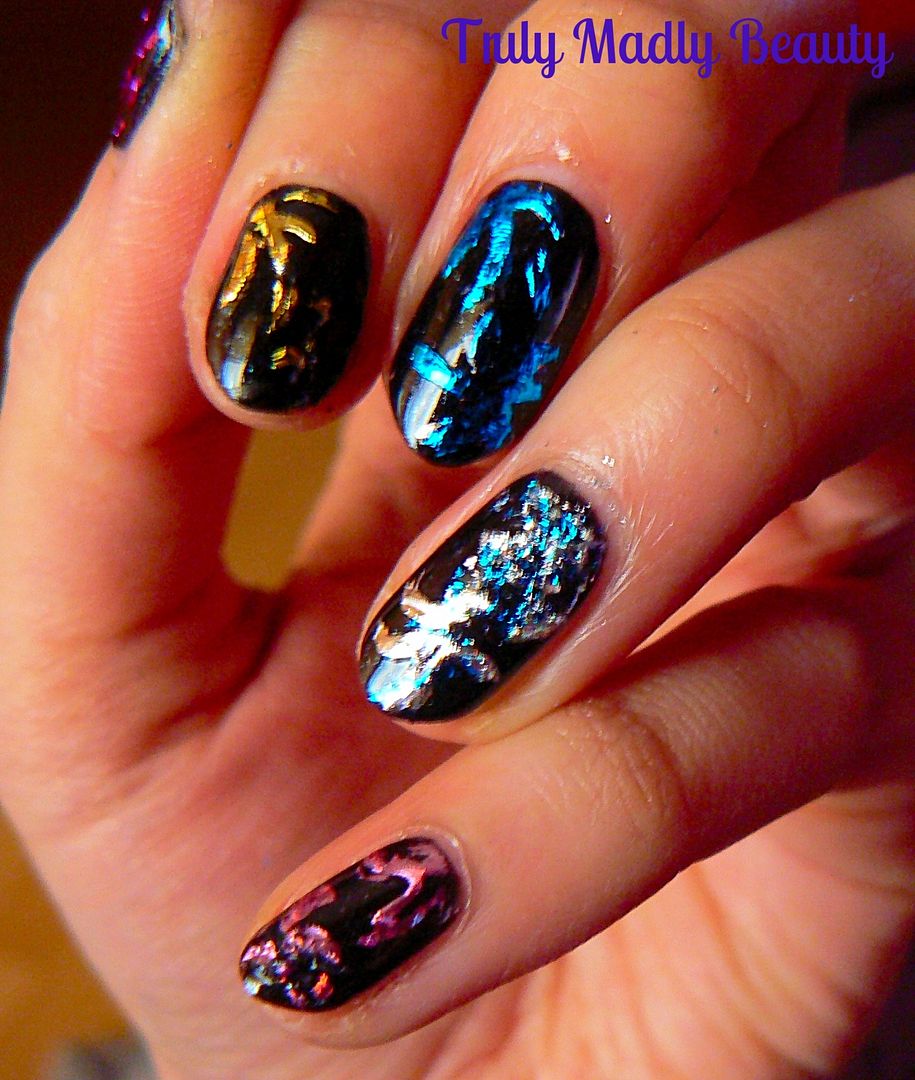
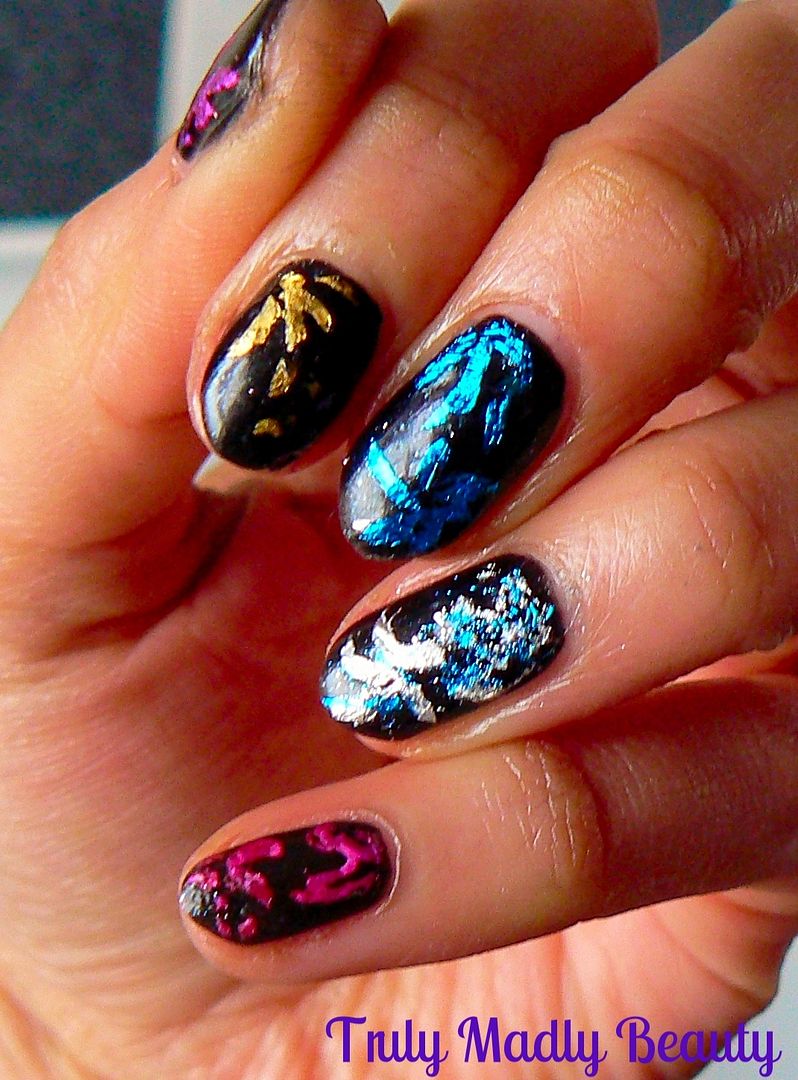
So New Years Eve has creeped up on us already! I'd originally planned on keeping it a quiet one this year however last minute spur of the moment plans have been thrown together & I'm looking forward to getting my glad rags on & seeing 2016 in with good food & friends! As usual I couldn't resist rustling up some nail art to go with the celebrations, so decided to go for  some 'distressed' foil nails.


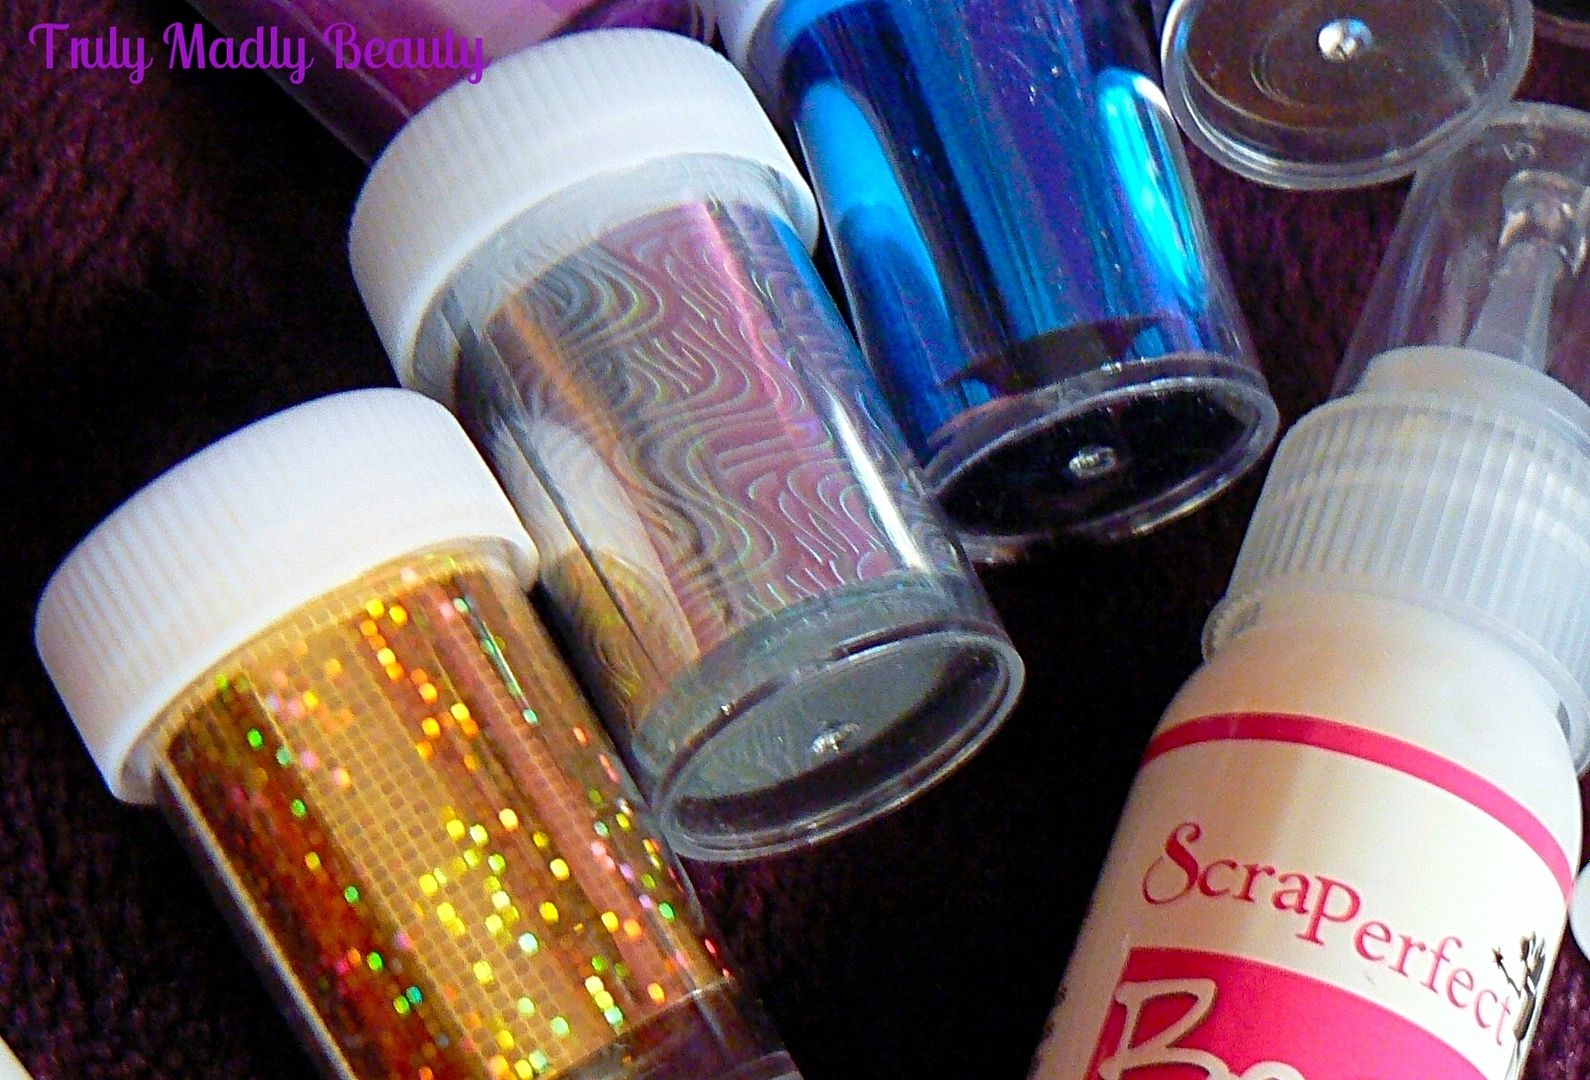
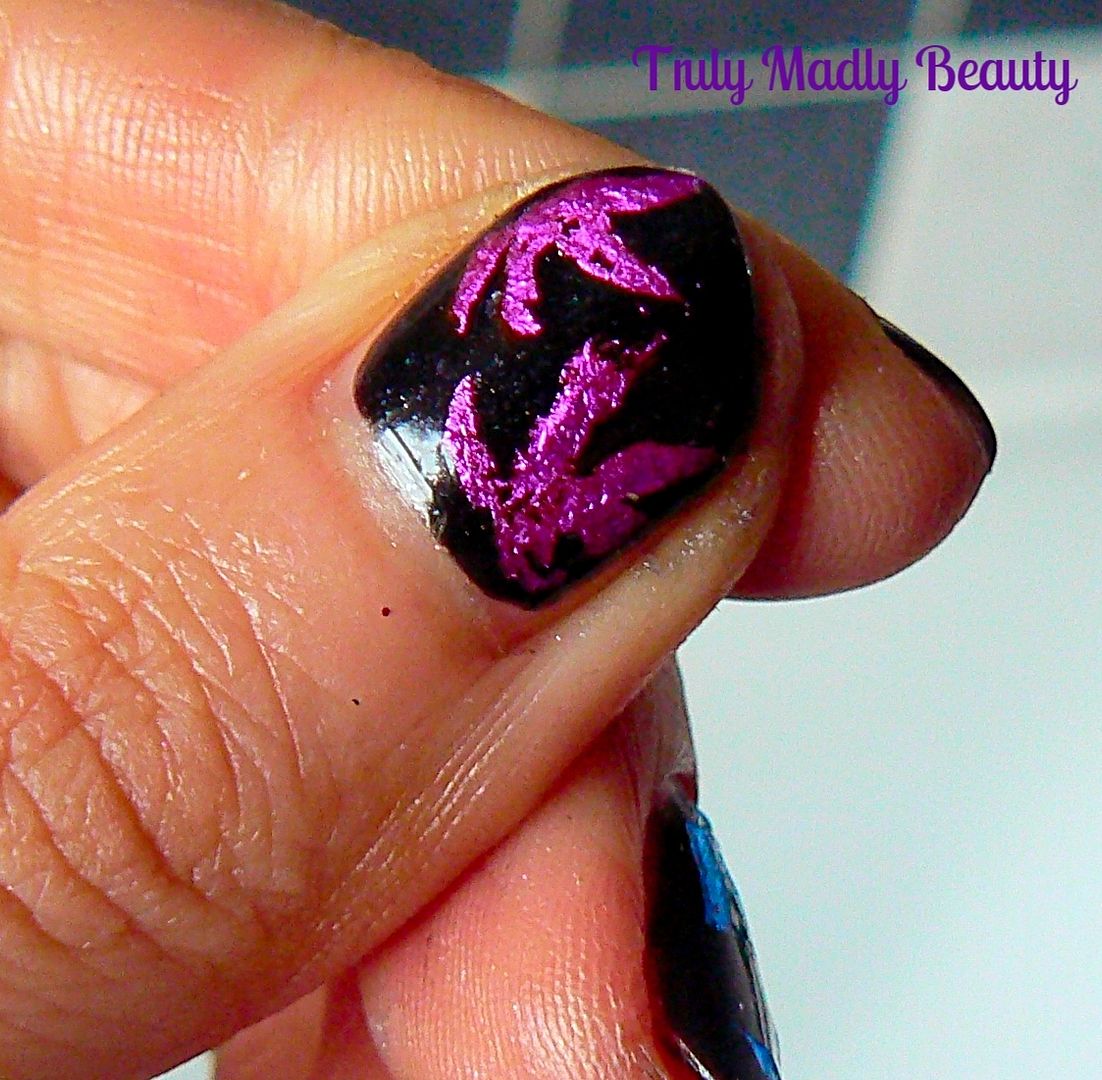
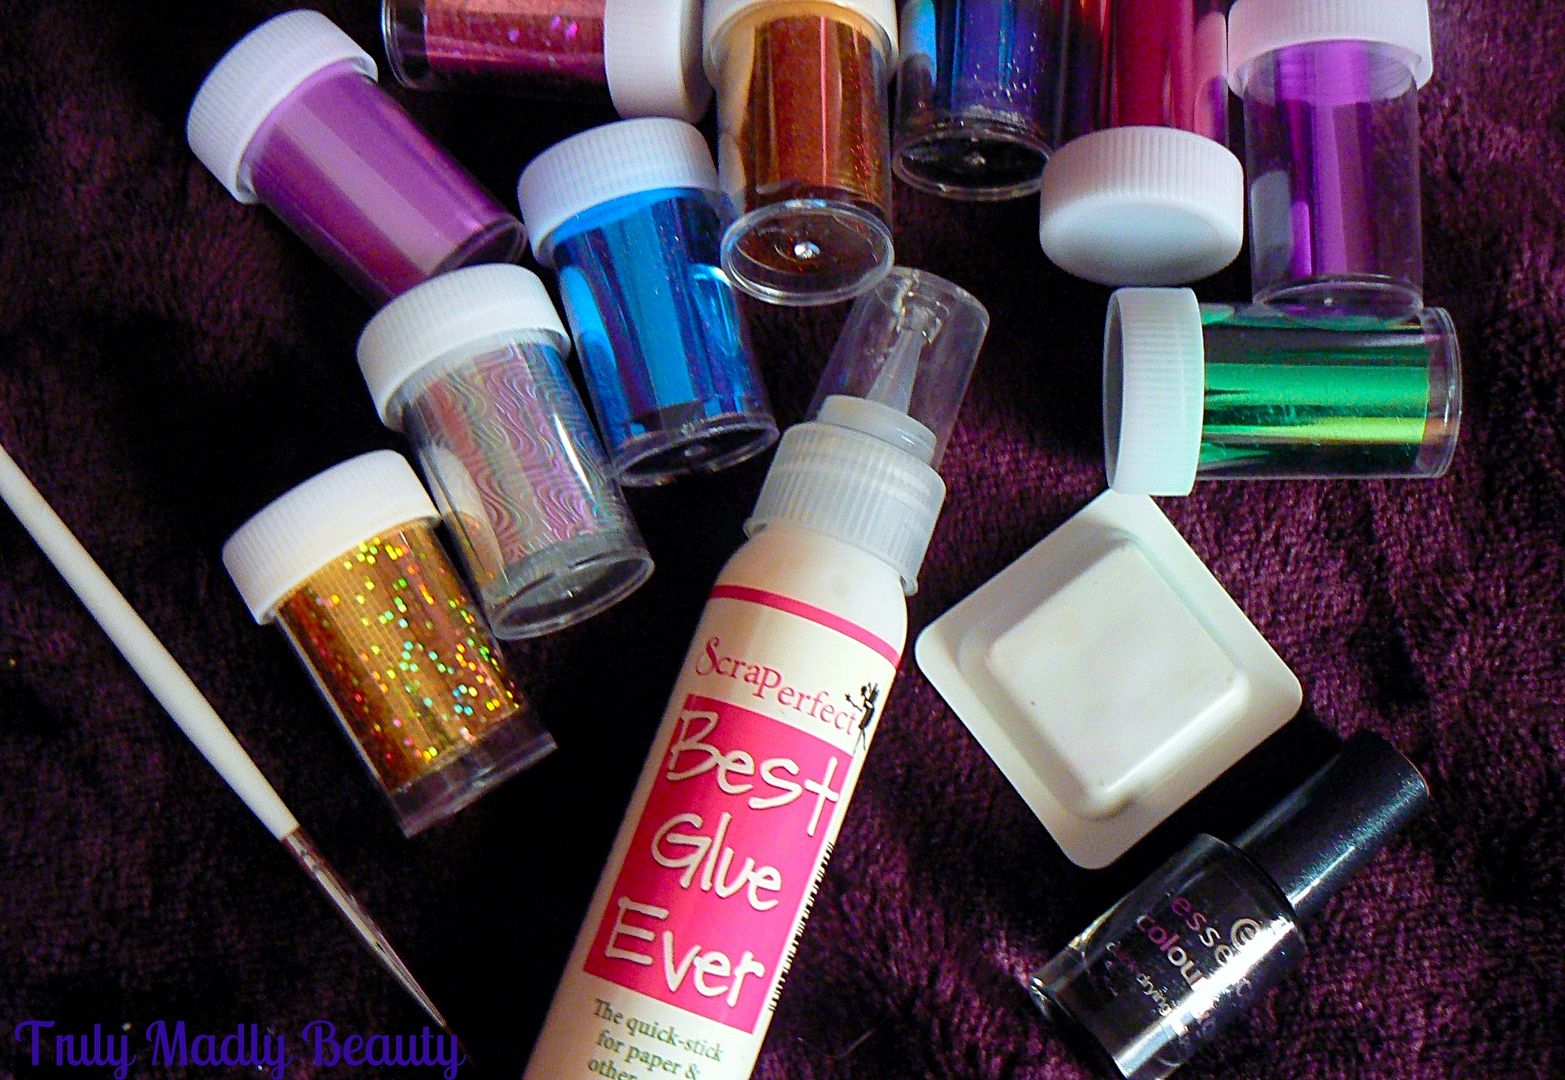
Now this mani didn't turn out how I wanted, hence the strategically used word 'distressed' haha! Believe me I have MANY mani fails! This is the first time I've used the transfer of nail foil with glue technique, however I'm rolling with it anyhoos as its a concept I love & will be practicing more of for sure! I was inspired by the amazing Lucys Stash who used this technique HERE. The idea is basically applying glue to certain parts of the nail where you want the foil to be, then using special mylar nail foils, transfer on to the nail!


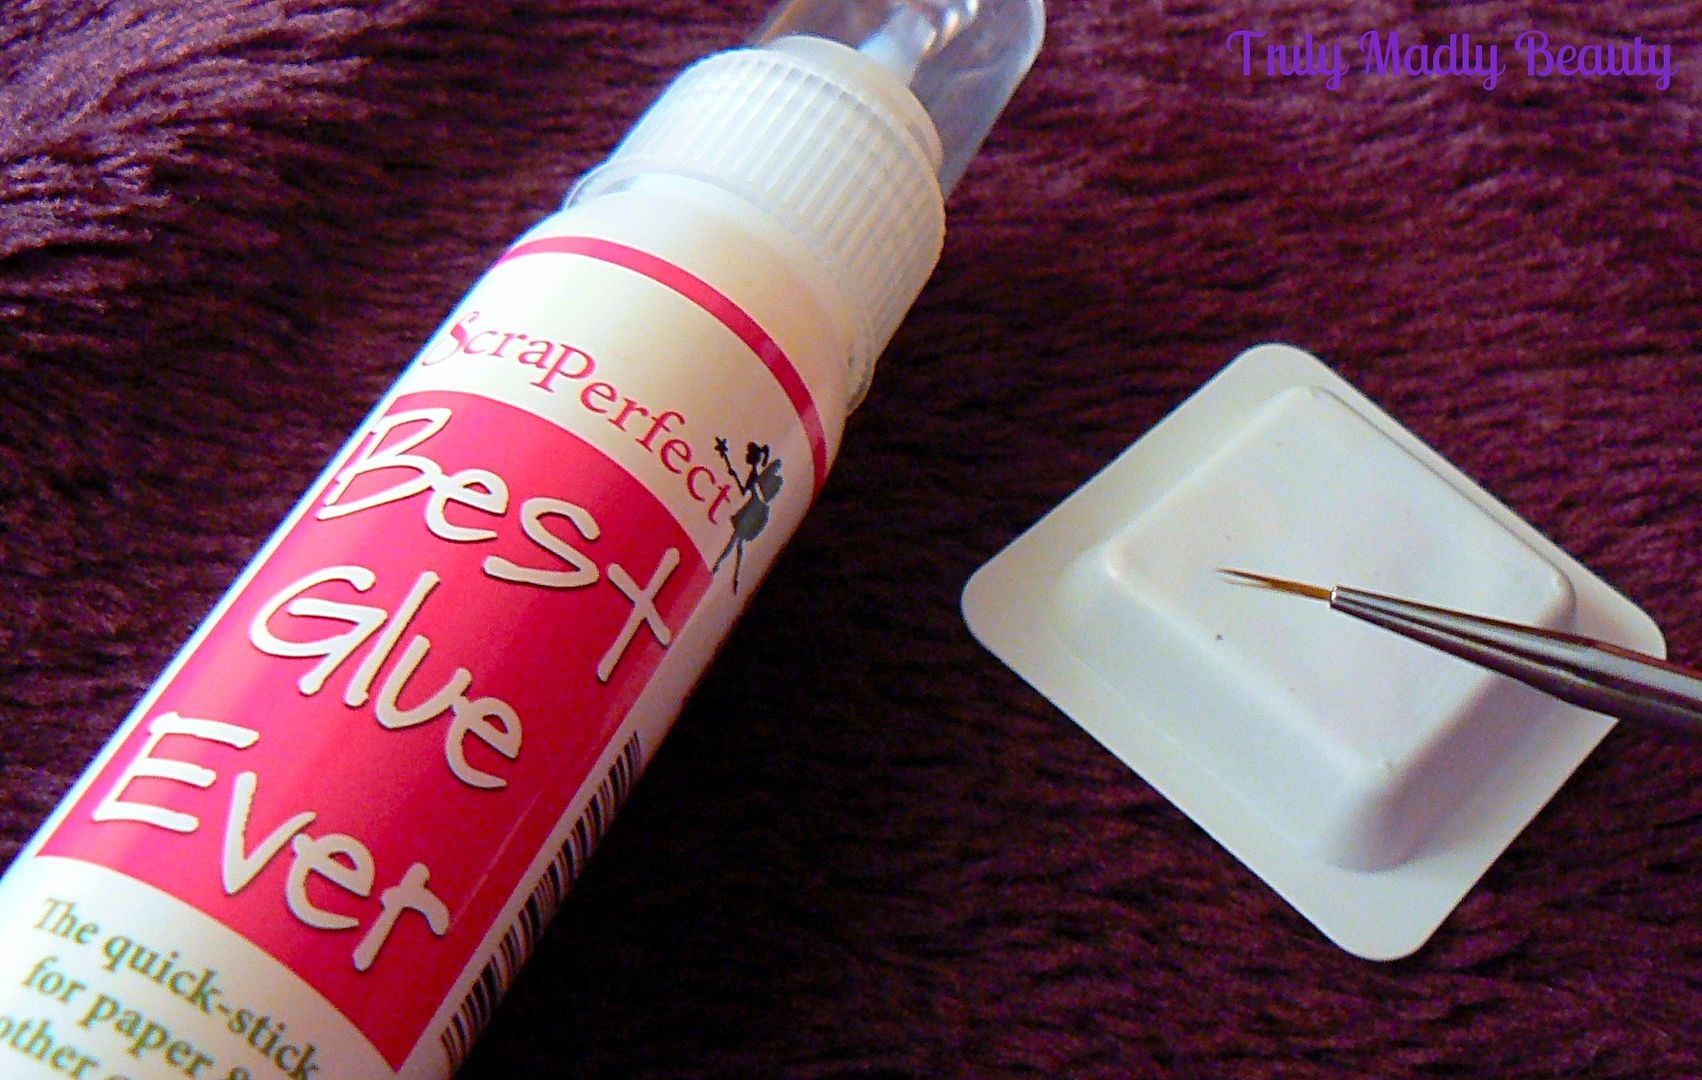
The glue used is one that was recommended by Lucy, Best Glue Ever. I purchased mine from Amazon a while back but I just googled it & apparently there is a shortage due to the raw materials used to manufacture being unavailable! There's a bottle on Amazon going for £40! Mad! However the makers, ScraPerfect are hoping to have stock available again early 2016. I picked up the nail foils from Ebay yonks ago but I believe you can also get them from Born Pretty Store who also sell special nail foil glue too just for this purpose which will make a perfect alternative to the Best Glue Ever. (get 10% off using my code TRUW10)


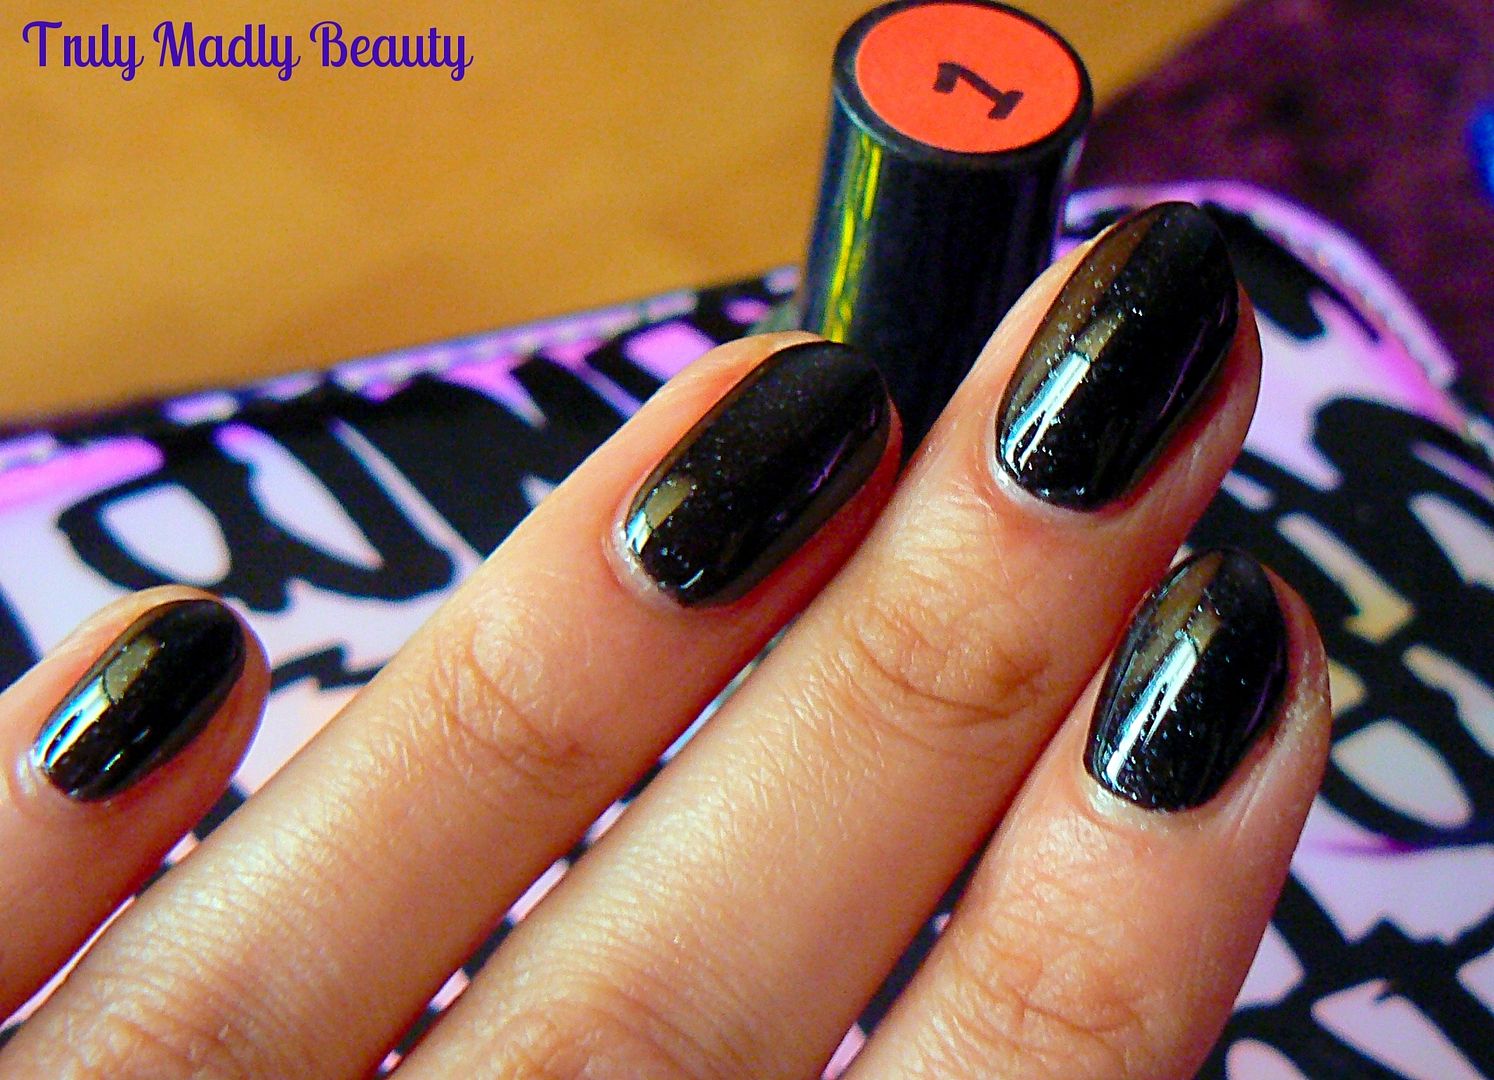
To get the best finish with this technique its better to use a dark base so that the foils can really dazzle on top, here I've applied two coats of Essence Galactic Black which is a black with silver macro glitter.


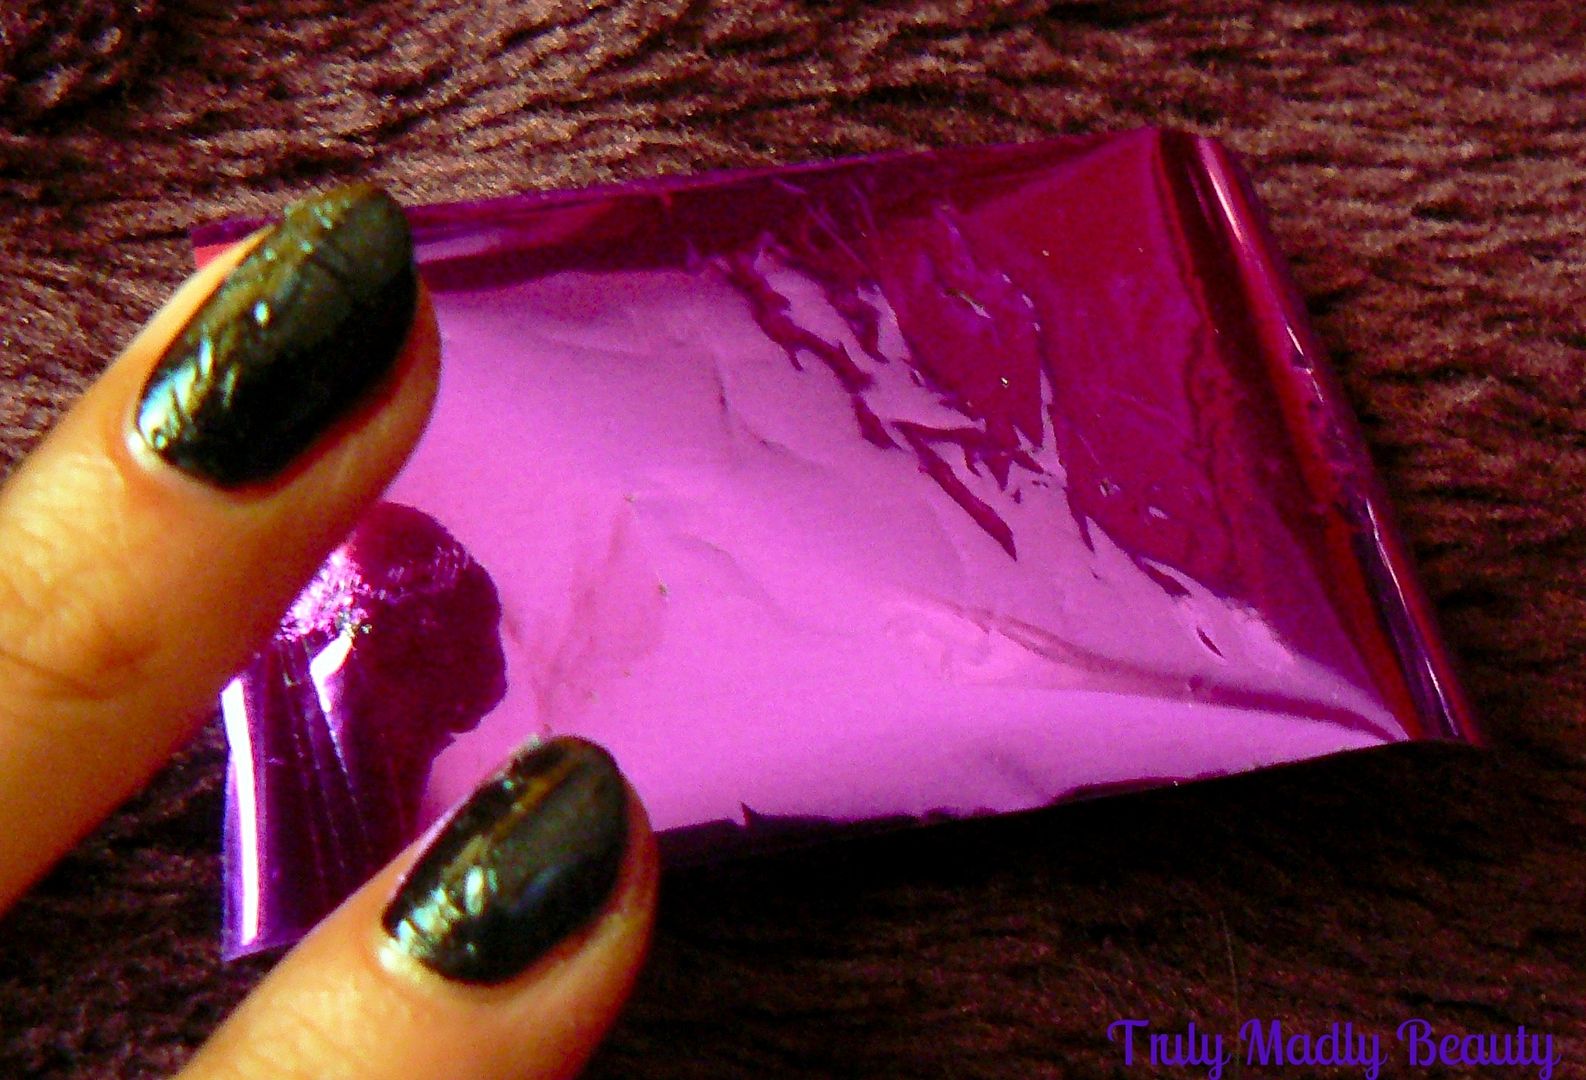
I wanted to have a different colour foil firework on each nail so I cut up a square piece from 5 different foils ready for me to use.


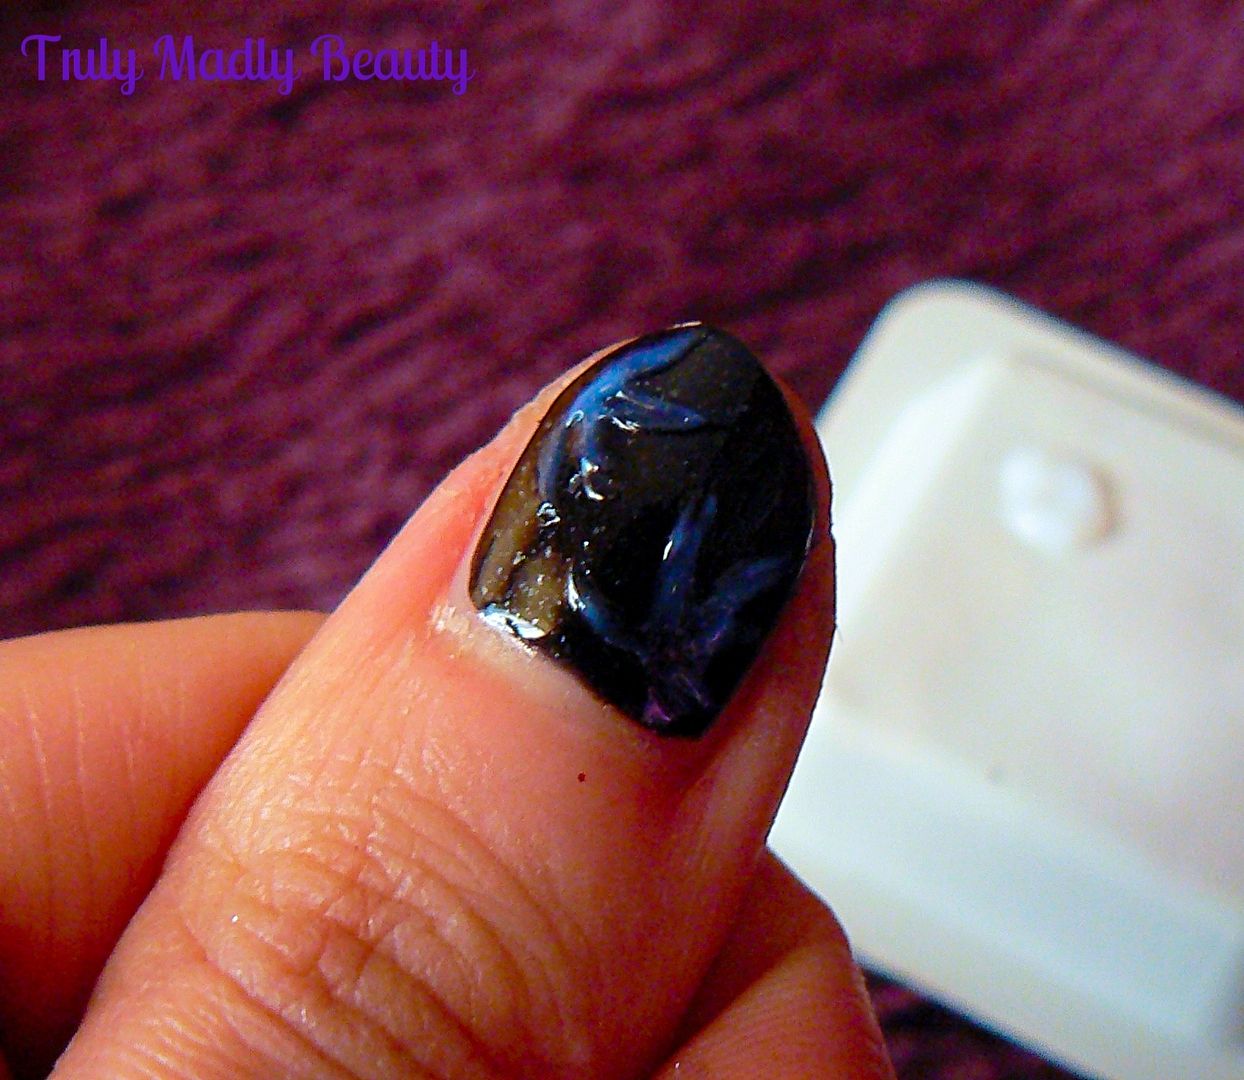
Using a thin brush & a piece of plastic/paper/whatever you like to dispense your glue on, dip your brush into a bit of glue & then apply on to the nail in the areas you want the foil. I went for a sort of firework type of pattern, needless to say it came out successfully on only some nails more so than others....O_O


Wait for the glue to COMPLETELY dry, this will be easy to tell as the glue will dry clear, though this is probably where things went a bit tits up for moi as I was just too impatient!


Then grab your piece of foil, the mylar foil has two sides, matte on one side & the coloured foil on the other. Its the matte side you need to dab on the nail. Using light tapping motions, its easier if you wrap the piece of foil around you finger when doing this, dab the foil on to the nail until it has transferred on to the glue.


Do this on every nail using your different colours until you've done all ten, I decided to mix it up with both blue & silver on the ring finger. I'm really happy with how my thumb came out, the others...not so much ha! But you get the idea of it.


Finish it all with a nice thick coat of glossy topcoat! As you can see I still need a helluva lot more practice & playing around with this, think I may give Lucy's Flame Effect nails a whirl with the foil just on the tips!

Thanks for reading lovelies & wishing you all a Happy New Year! See you in 2016!

Lotsa love to ya!