Showing posts with label Nails Inc. Show all posts

11.16.2018

NOTD - Keeping Sharpie!

Hello there lovely readers!

One of my favourite places to go looking for a bit of nail inspiration is Instagram. I follow large number of extremely talented beauties who create magic on their nails & one such lady is the lovely Kate aka @altergo_nails, who creates the most fabulous nail art!

I'm always on the lookout for fun new ways to create nail art & as I've now entered the wonderful world of stamping it glaringly obvious I've only touched the surface.

Kate recently shared a stamping design in which she used Sharpie pens to create a stunning rainbow watercolor like effect, say what?! Needless to say I was intrigued & after watching her fab tutorial I hotfooted it down to my nearest stationary shop to pick me up some Sharpies!


10.19.2018

Halloween Dripping Blood Scream Nails!

Hey there lovely readers!

Holy moly its been a minute! I had hoped to get in the spirit of Halloween with my nail art but time it would seem has run away with me! I've just returned from a much needed & most amazing break in New York City, my most favourite place on earth! With that, work & also the fact that I had me some beautiful gel nails did whilst out there means any new nail art looks will be put on hold for a month or so...thankfully I have a backlog of looks & also managed to throw together one spooky look before I left so woohoo!

I always like to do some form of dripping blood nails every year so keeping in with tradition that's what I've done but this time with a spooky twist!

5.29.2018

NOTD - Infinity Stone Nails!

Hey there lovely readers!

So I, like much of the world of late went to see the greatly anticipated Avengers Infinity War, & boy did it leave a mark & then some! I am a huge fan of this incredible universe which I'm sure comes as no surprise. Having said that I DID have to do a bit of catching up with a Marvel marathon or two before going to see this instalment (don't judge me...there ARE a lot of films & I kinda lost track!) & I definitely advise you do as well to avoid any gaps in the story! 


1.30.2018

Disney Nail Art Series - Queen Of Hearts!

Hey there lovely readers!

Its been a while since I've added a new look to my Disney Nail Art Series so I'm rectifying that today by dipping my toe into perhaps my favourite & most relatable Disney film...Alice In Wonderland! Now there are SO many different looks one can create & I definitely plan on visiting this Disney film a few times but I though I'd start with the diva herself...the Queen of Hearts!

1.16.2018

NOTD - Abstract Nails

Hello there lovely readers!

Now I'm not sure what to call this nail art look I have for you today...You see it WAS meant to be an attempt at the arty abstract look that I've been seeing pop up on my IG feed so often of late, in particular by the awesome SoNailicious & was one of the hottest trends of last year.


11.29.2017

NOTD - Creme & Chrome Geometric Nails

Hello lovely readers!

Here is a quick mani I put together where I couldn't decide if I wanted me some vampy, creme or chrome nails...so I decided to go for all three! Go hard or go home right?


11.27.2017

NOTD - Autumn/Fall Tree Dotticure

Hello there lovely readers!

Before we wave a fond farewell to Autumn this year I wanted to share with you one of my favourite Fall Nail Art designs I did but totally forgot to put up on here! Plus I'm just not yet ready to get rid of all the comforting Autumn feels just yet!


10.30.2017

Disney Nail Art Series - Halloween Special - Snow White Poison Apple


Hello there lovely readers!

So All Hallows Eve is almost upon us dark ones thus I wanted to squeeze in one last mani. For my final Halloween nail art design this year I wished to incorporate it as another installment to my Disney Nail Art Series as this was an idea that was floating around in my head since the start of October that I really wanted to attempt & thought it would be perfect for Halloween...the Poison Apple from Snow White

10.09.2017

Halloween Nails - Blood and Bats!

Hello there lovely readers!

Here we are at Halloween Mani number 3 already! 

Every year I like to roll out a gory blood themed mani of some kind for Halloween, usually in the form of delightful drips. When this weeks theme in my nail art challenge came up as Vampire/Bats I decided to just put the two together & rustle up this Bats & Blood manicure, killing two birds (or bats in this case) with one stone....

7.03.2017

NOTD - Fourth of July Nails!

Hello there lovely readers!

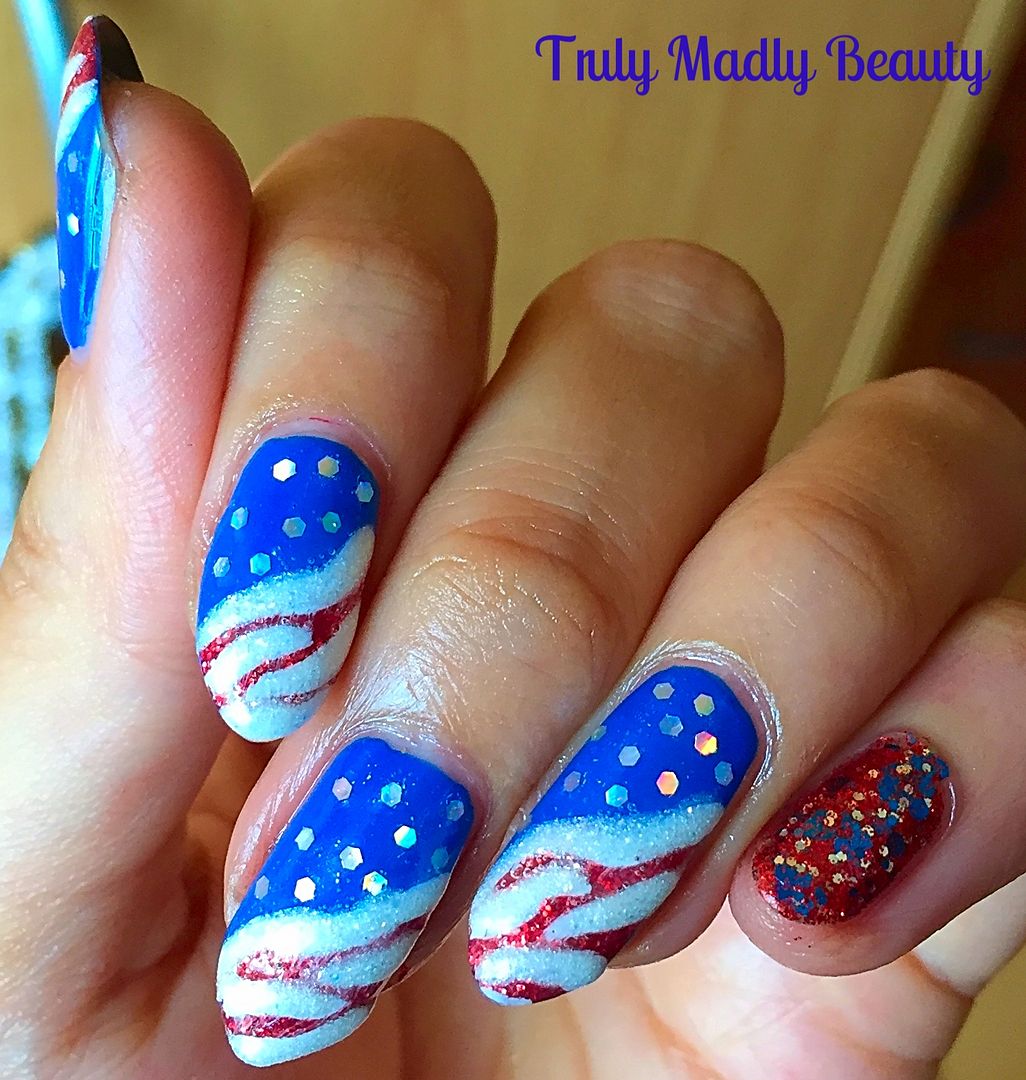
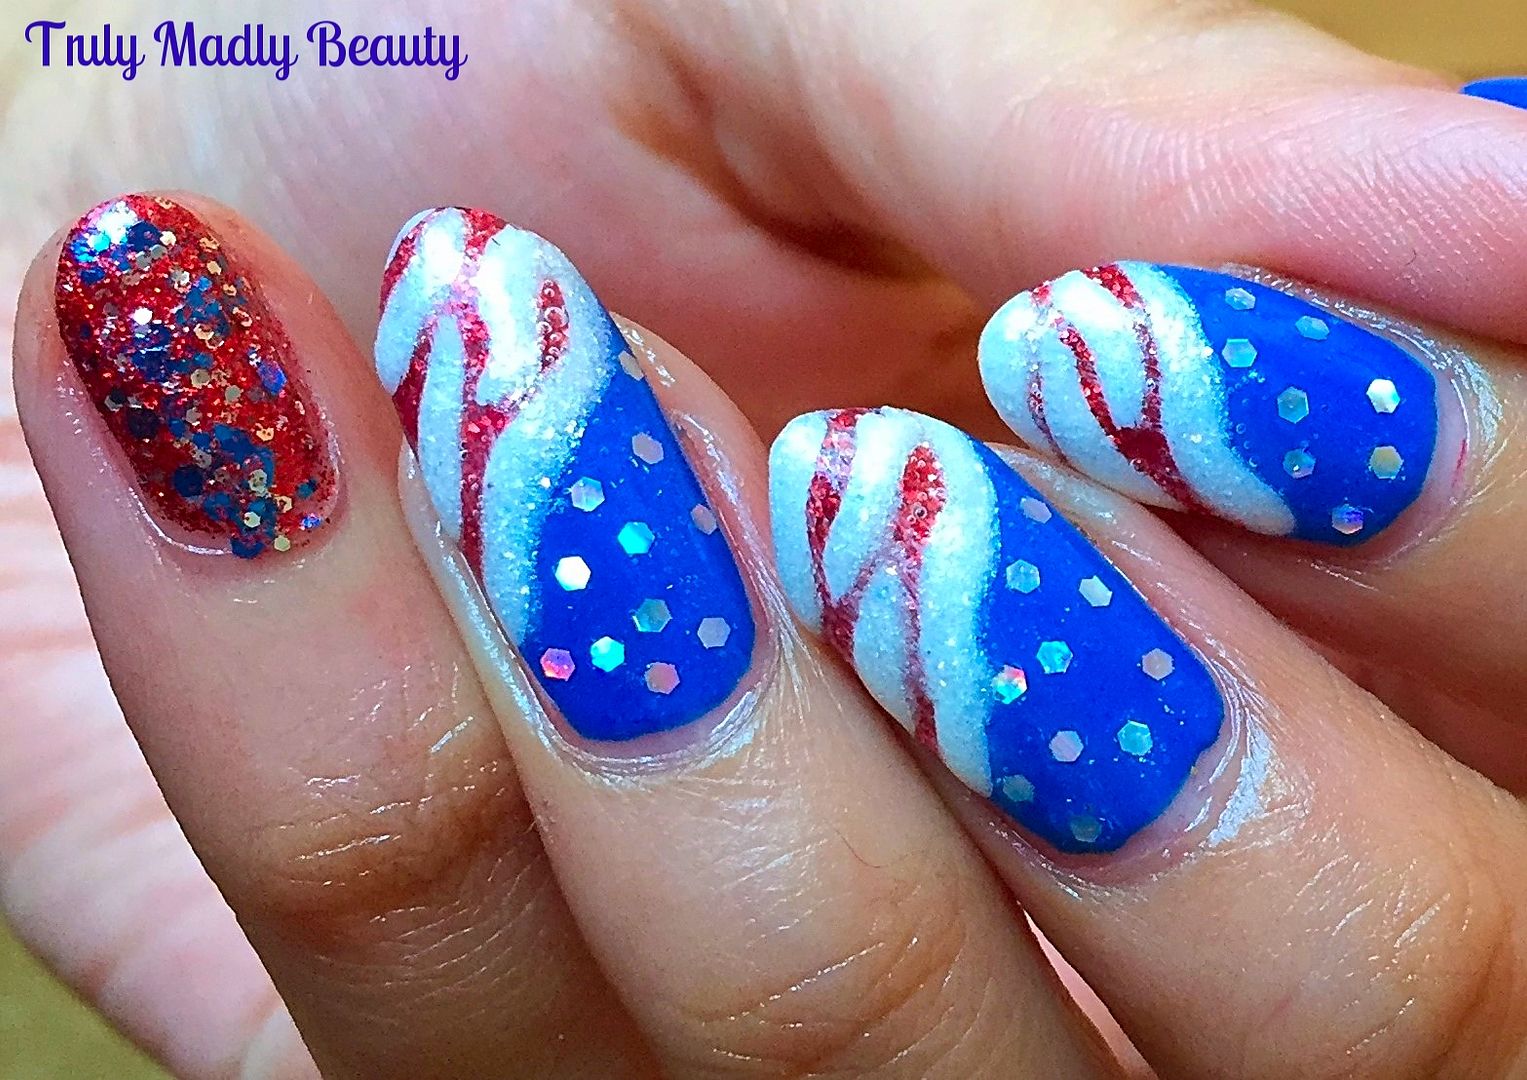
As today's nail art has distinct red, white and blue vibes going on I think its obvious what occasion is inspiration is here ;) Every year I like to throw together a mani to mark my American cousins over on the other side of the pond's Independence Day celebrations. Any excuse to get my nail art on!


I was muchos happy with my Fourth of July nails last year which featured blue dripping glitter & a step by step tutorial so go have a peek at those HERE. I loved them so much & didn't think I could top them...maybe it was a mistake to go in with that attitude as I really wasn't happy with how these ones for this year came out but meh you win some, you lose some & I'm gonna roll with this FAIL of immense proportions!


6.20.2017

NOTD - Pastel Cherry Blossoms

Hey there lovely readers!

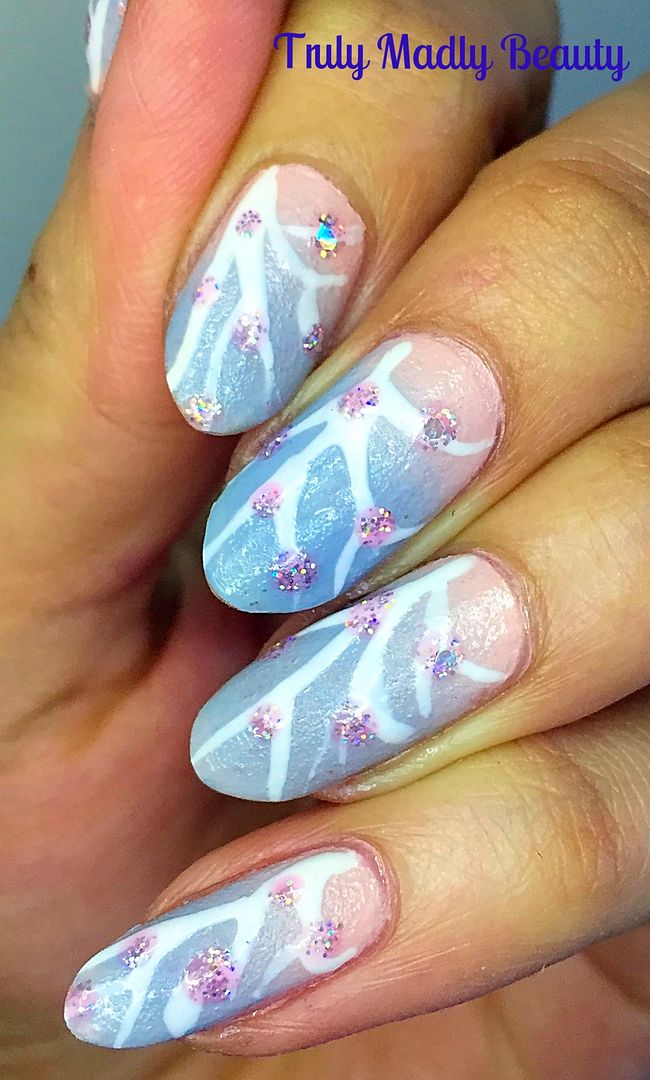
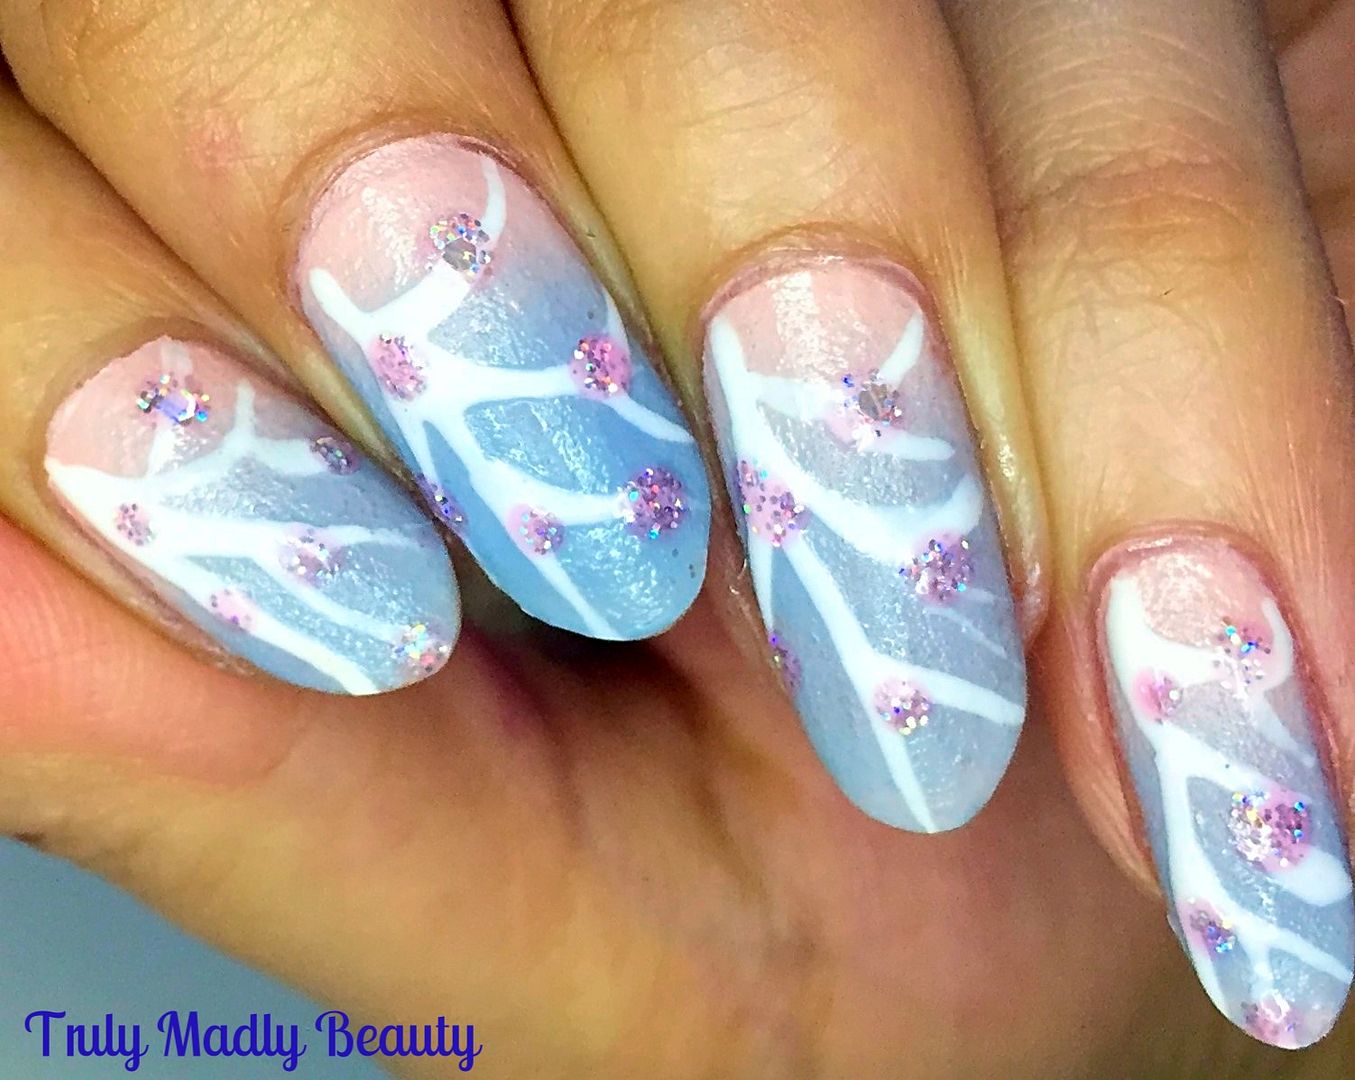
Cherry Blossoms have to be one of my favourite blooms with their pretty, feminine & elegant presence. Not only do I adore the florals themselves when they come out in all their glory every year but I am a sucker for anything cherry blossom print & especially (surprise surprise) nail art!


I've done a couple of different takes on the design, which you can see HERE & HERE. This time I was in the mood for some soft pastel tones & gradient nails as its been a while since I've done me some good ol sponging & this was the outcome!


5.24.2017

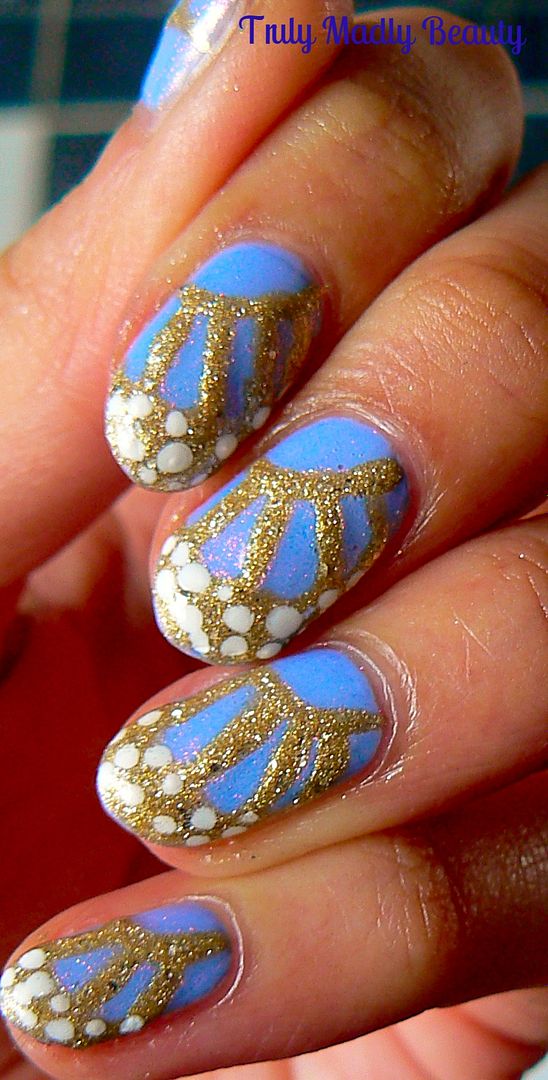
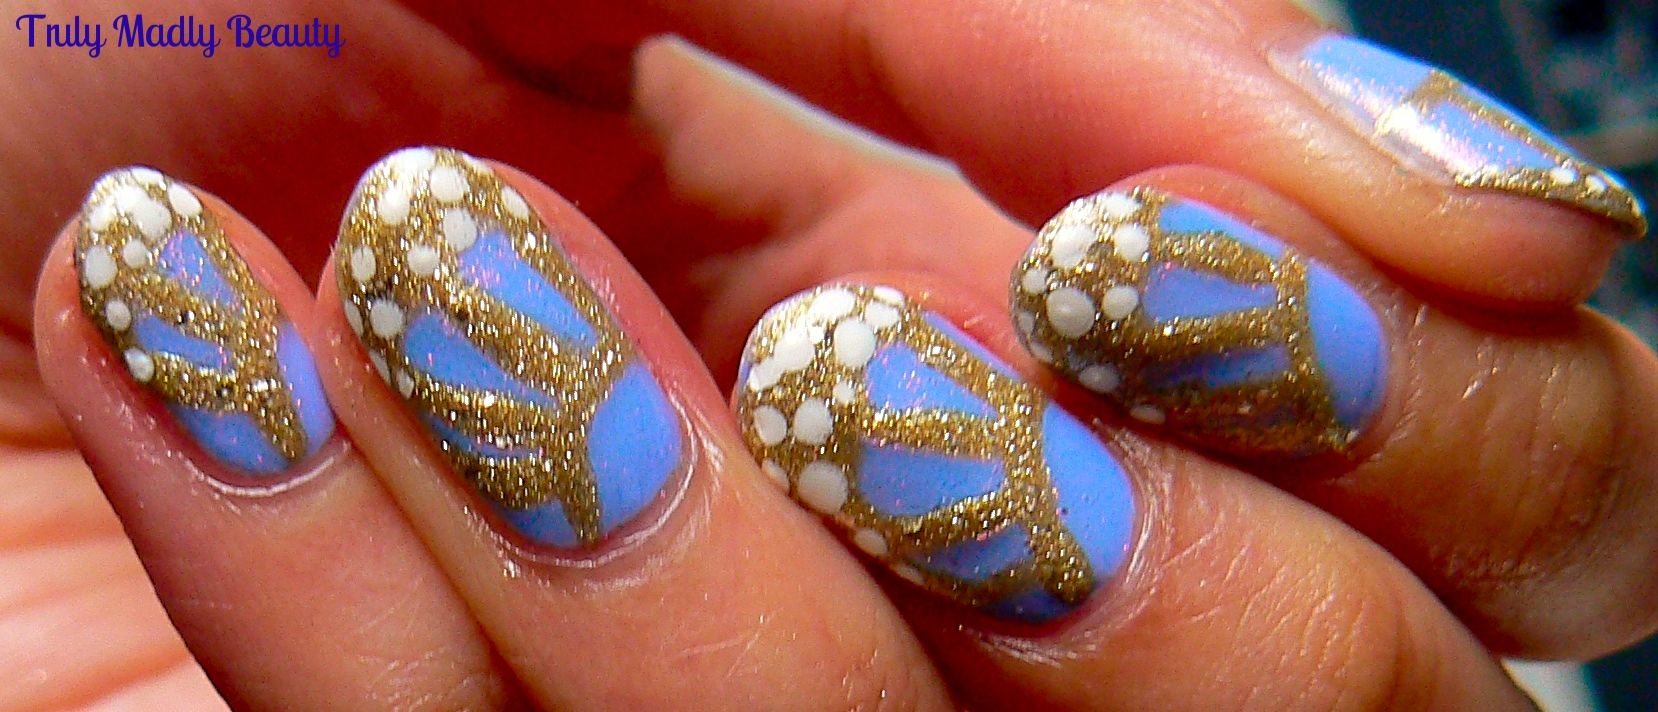
Disney Nail Art Series - Cinderella Fairy-tale Butterfly Wings!

Hello there my lovely readers,

Not too long ago I decided to begin a Disney Nail Art series on my blog, combing my everlasting adoration for the two passions in my life...nail art & Disney!

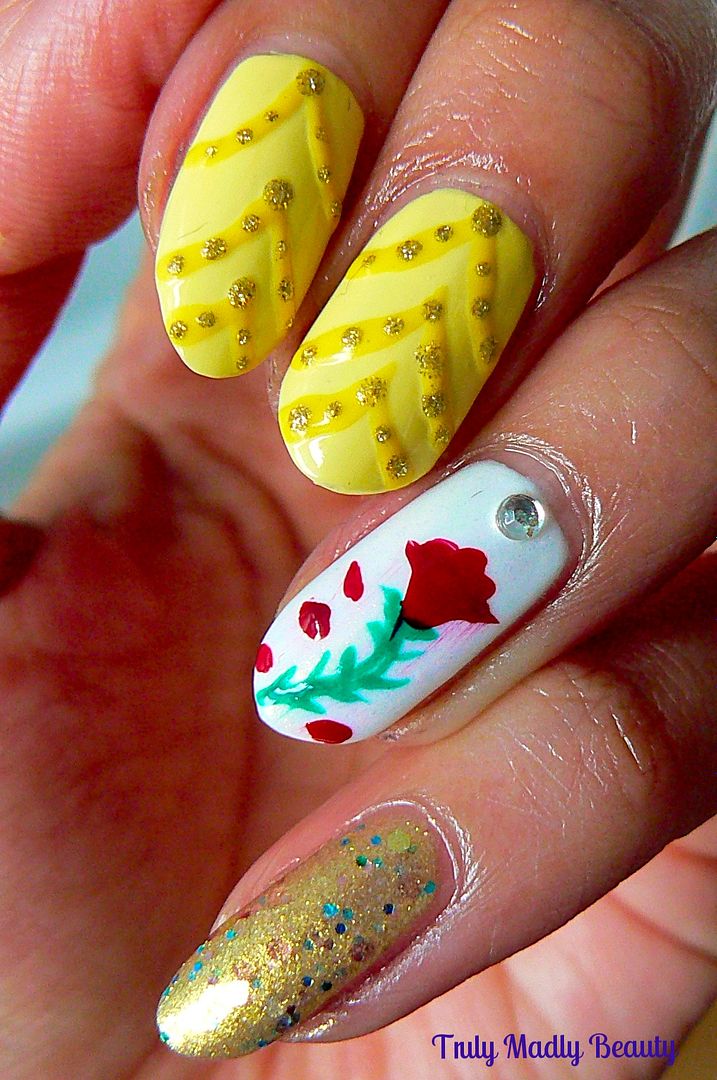
I started things off with this Beauty & The Beast manicure which I thought was quite a fitting way to begin the series as the new live action film had just been released. 


I've, rather unexpectedly I'll admit, adored ALL the live action Disney remakes that have been made so far & if my sources are correct there are many more to come! Cinderella was one of the Disney classics that was recently remade & I absolutely loved it, not just for the glorious presence of one Richard Madden as Prince Charming & the divine Cate Blanchett whom I adore as the Evil Stepmother! Lily James as Cinderella herself was a bit meh in my opinion but I still adored the movie mostly due to its beautiful consistent message throughout the film..."Have Courage & Be Kind" A motto I think everyone should live by...


I noticed in the film that butterflies were quite prominently featured so I decided to use this as my main inspiration as well as the beautiful perriwinkle blue shade I've come to associate with Cinderella. Combining these two magical properties I ended up with this finished look...Golden Blue Butterfly Wing Cinderella nails fit for a fairytale princess...


3.20.2017

Disney Nail Art Series - Beauty and the Beast!

Hello there lovely readers!

Now this is something that I have been wanting to do on my blog for the longest time & for various reasons prolonged but now I am finally on it huzzah! As you may know about me, one of my great loves is Disney. It played a huge part in my upbringing & still to this day I love nothing more than taking a break from adulting & indulging in a Disney movie marathon, immersing myself back into that magical world. One of my best holidays was Christmas spent in Disneyland Paris 4 years ago & I am yearning to visit Florida's offering one day. So it would only make sense to channel this passion of mine through another love which is of course....nail art!

I already have a few Disney themed manicures that I cannot wait to share with you, I'll be exploring all sides of Disney, both Good and Evil in my nail art series, so this will include not only Princesses but Villains & additional characters as well, if you have any requests then please do let me know! But to start off my Disney Nail Art Series I thought I would begin with of course the main movie remake that EVERYONE is talking about at the moment....Beauty and The Beast which I went to see last Friday!


2.27.2017

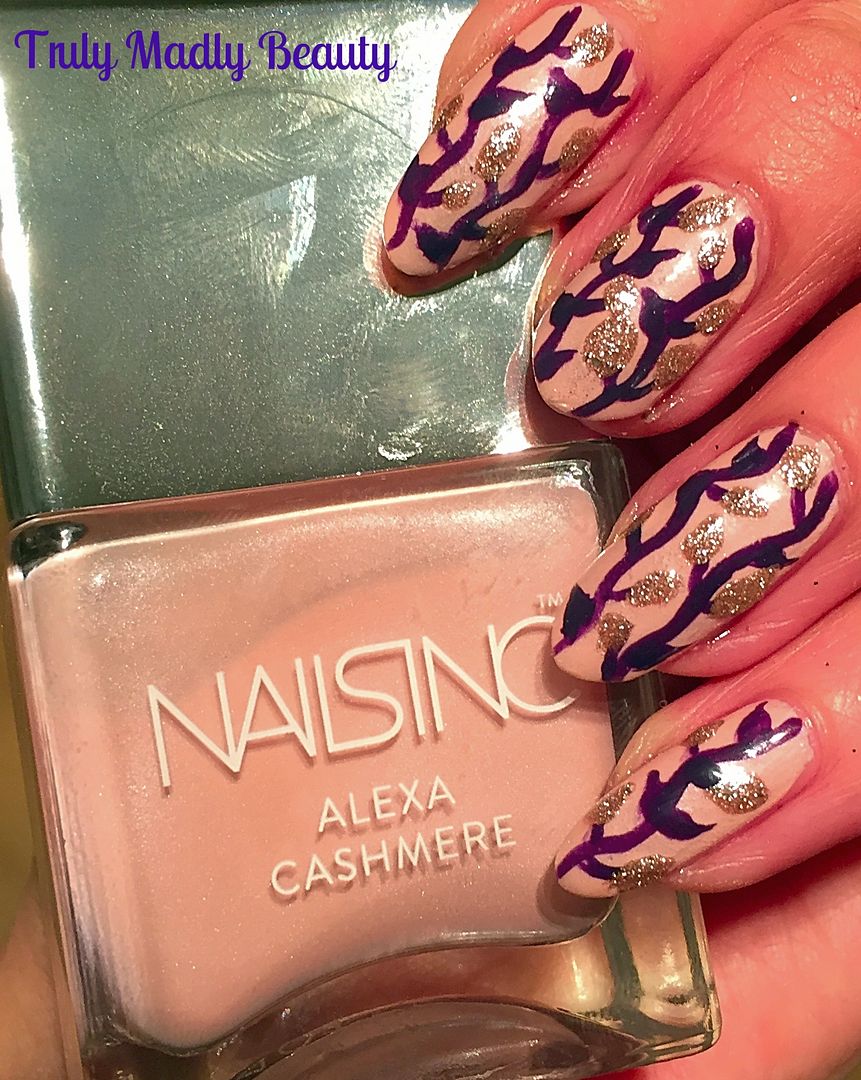
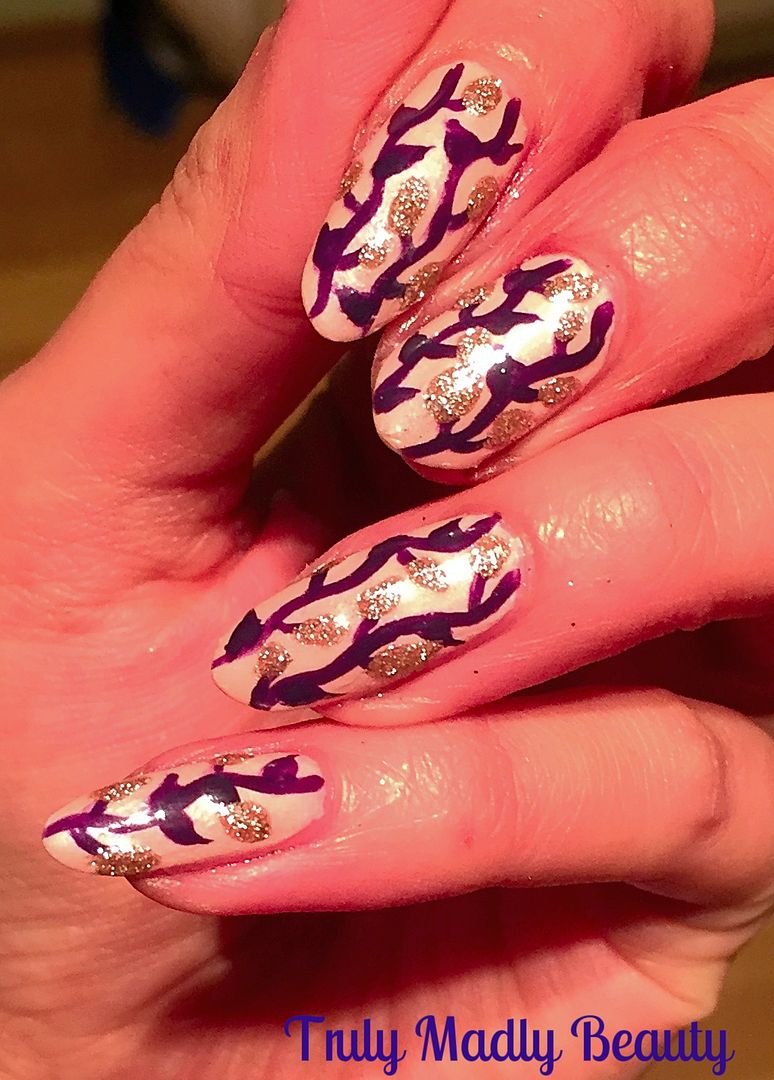
NOTD - Gothic Vines

Hello there lovely readers!

I was wearing a neutral manicure not too long ago as I had an event to go to & something low key was order of the day. As much as I do love a sleek & chic simple nude mani, I probably lasted about a day after said event before I was already itching to add something to it haha!


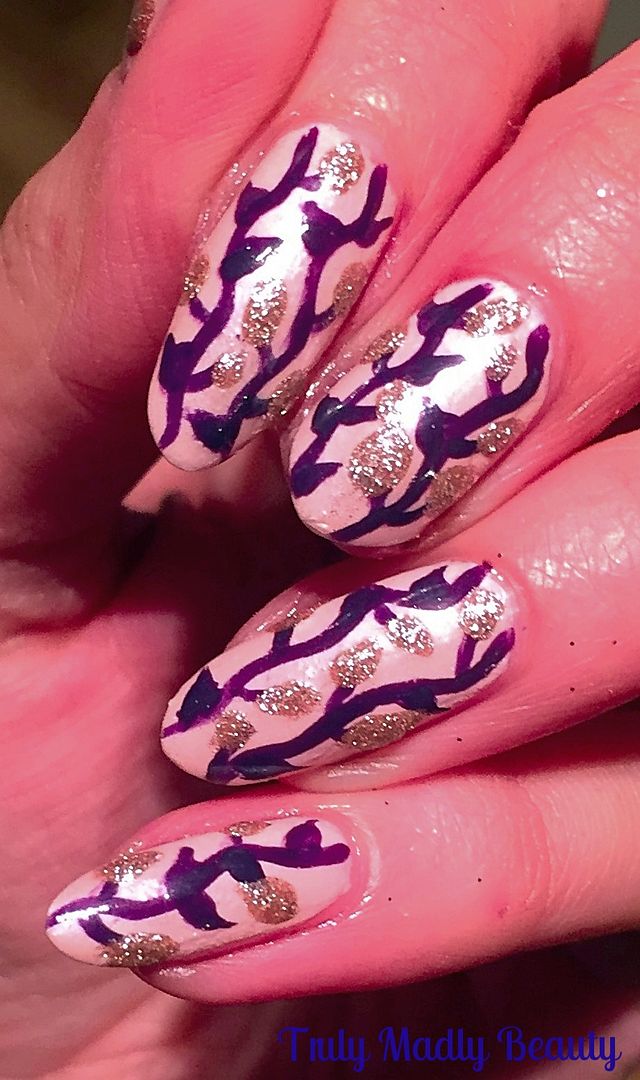
So to jazz up my nude pink manicure, which was pretty while it lasted by its onesie & came courtesy of Nails Inc Alexa Chung's collection polish in Pink Cashmere, a delicate & feminine shimmery pink, I decided to freehand on a simple vine design.


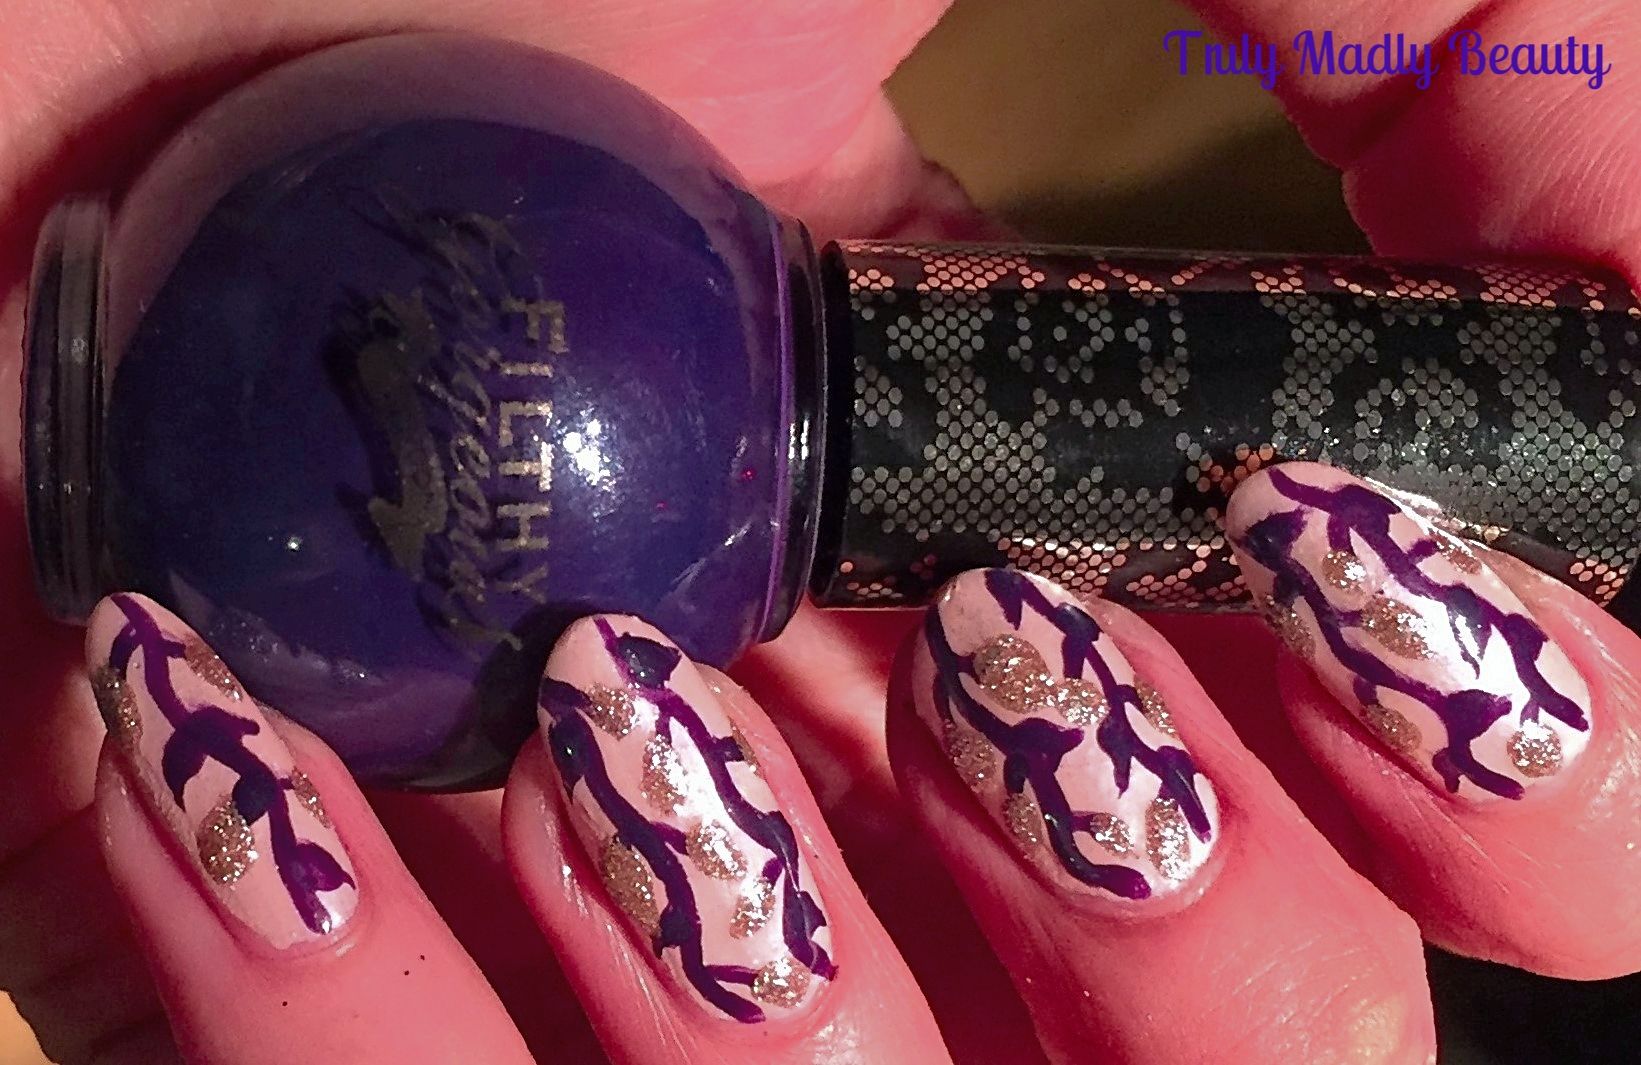
For my vines I opted to go for a dark gothic purple creme polish from brand Filthy Gorgeous in the shade Pulp.


To create your vines is super simple. Using a fine nail art brush, I first applied two swirly lines vertically down the whole nail.


Then using the same brush I just added on some teardrop like shapes for the leaves to my vines.


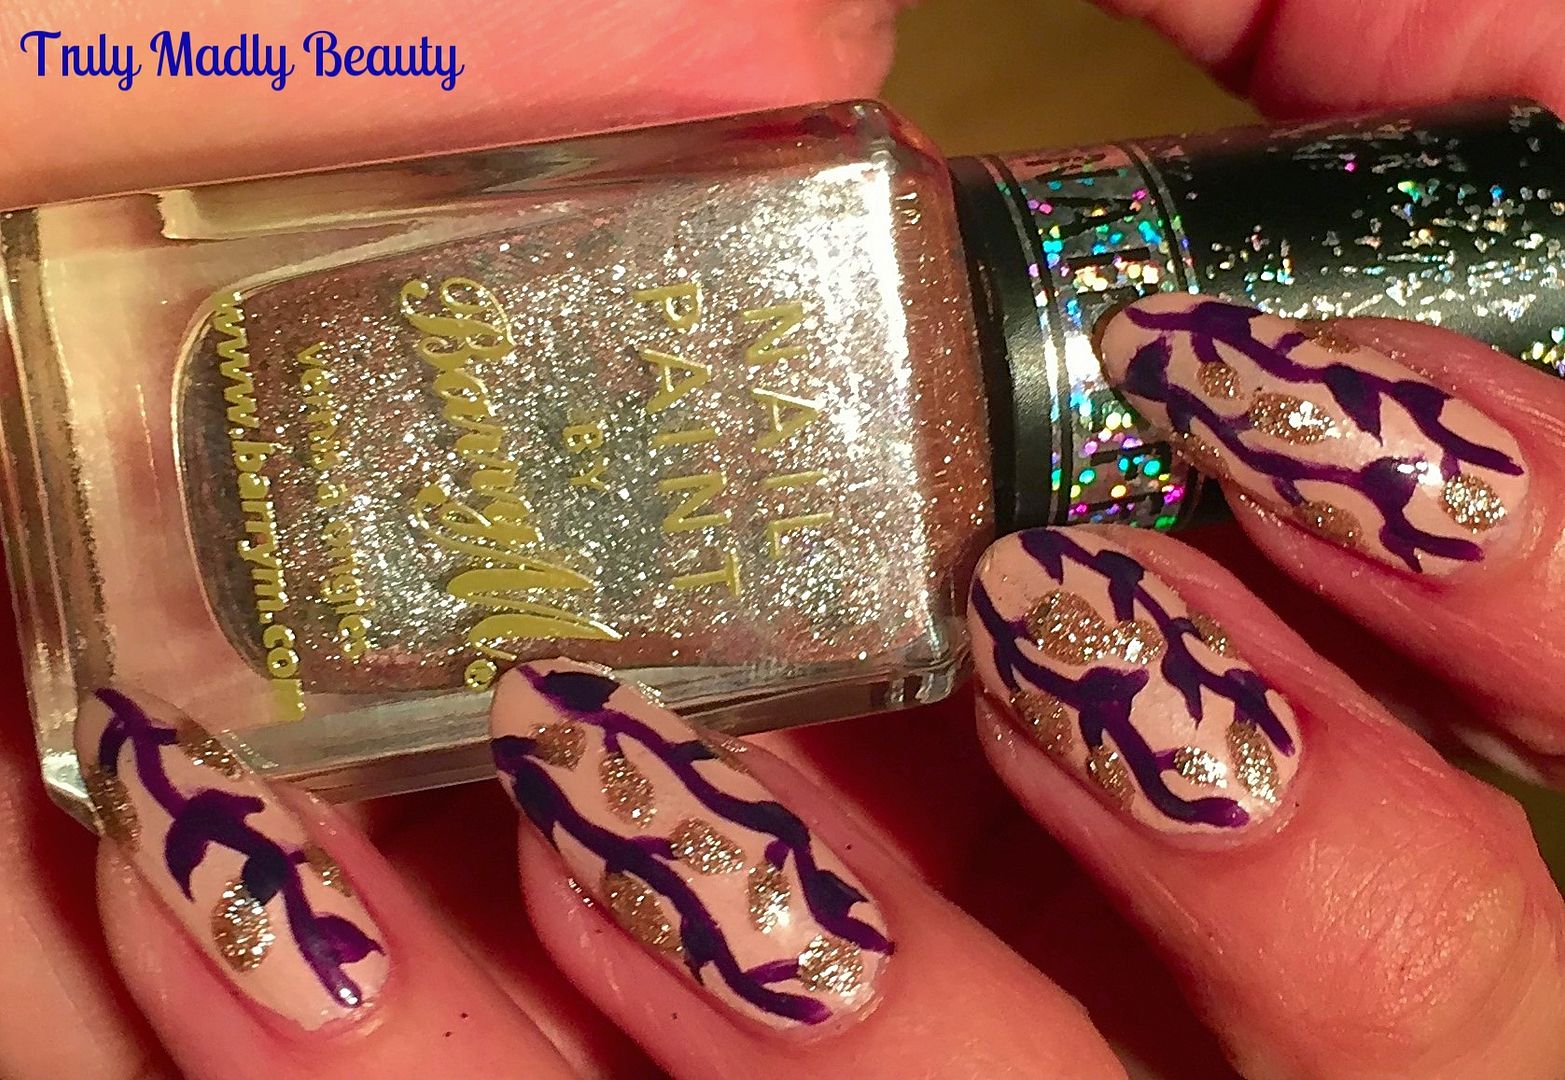
Still feeling like something a bit more was required I dug out one of my favourite textured polishes from Barry M in the shade Duchess which is an almost rose gold chunky glitter, so pretty! I added on a few sparkly rose gold leaves in between the purple.


Don't forget a slick of topcoat to finish. Hope you liked this quick & easy design to jazz up a plain mani! Thanks for reading!

Lots of love to ya!


12.22.2016

Festive NOTD - Candy Cane French Tips!

Hello there my lovely readers!

All ready for the Xmas weekend? I'm literally counting down the hours, for the first time since I left school (all those aeons ago in ye old ancient times) I'll be embracing a full festive break from next week up until the new year as my work shuts downs during this period. To be honest I've never been too fussed with working right up until & straight after Xmas but I'm actually looking forward to the treat of complete hibernation time haha!

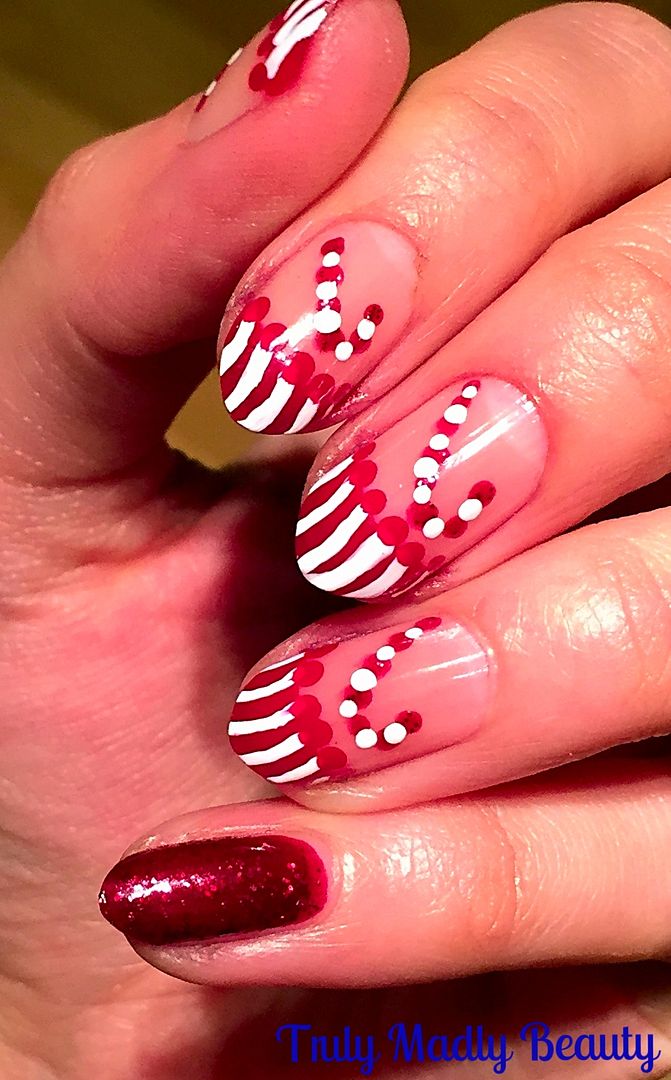
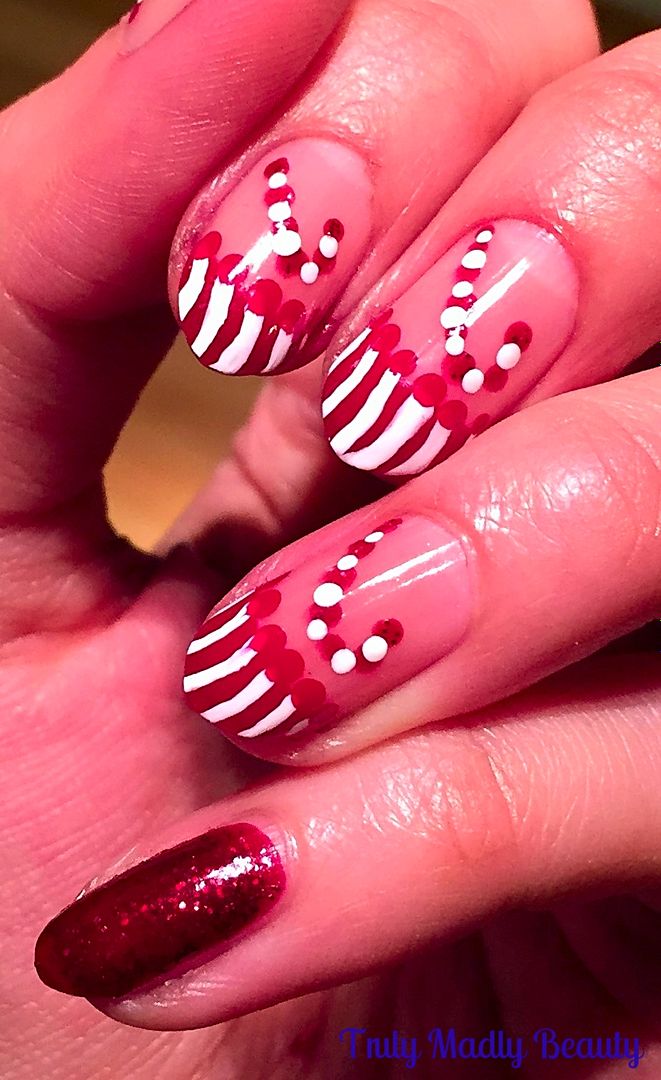
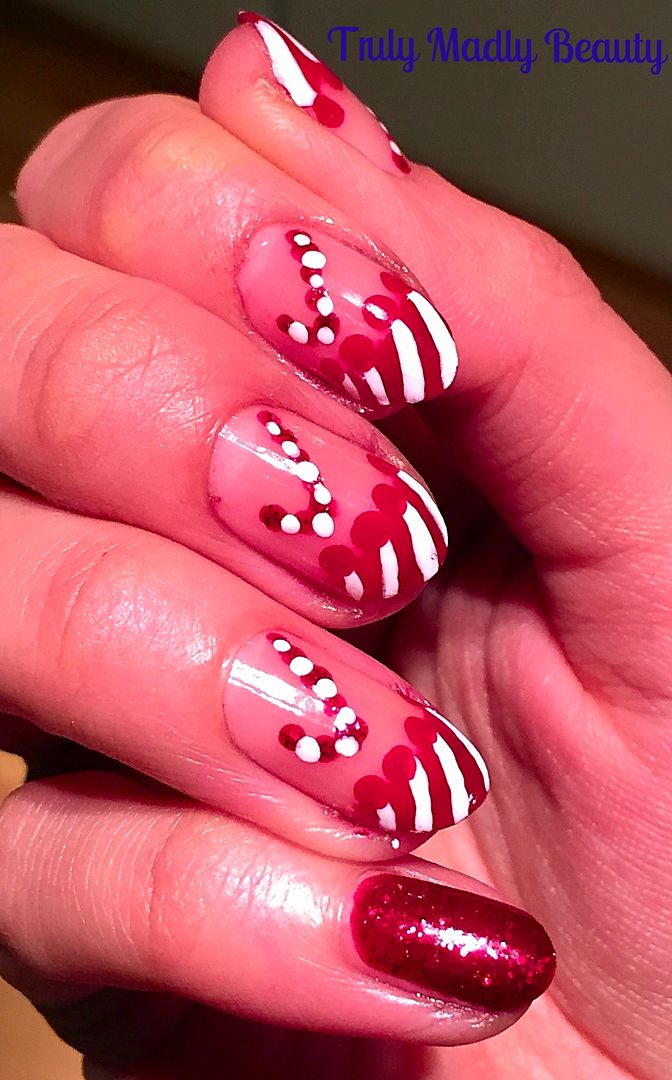
I've managed to roll out a few festive mani's this year starting with an obligatory Red Sparkle, the annual favourite that is Christmas Trees & my most popular one to date after the most lovely response on social media for The Christmas Puddings from a few days ago. Today I've decided to show you how you can Christmas up a standard French manicure with some Candy Cane tips!


If you want to feel festive on your nails but don't want to go all out seizure inducing sparkle then this is the perfect alternative! All you need is some red, white & sparkle to transform your french mani into something suitable for the season :)


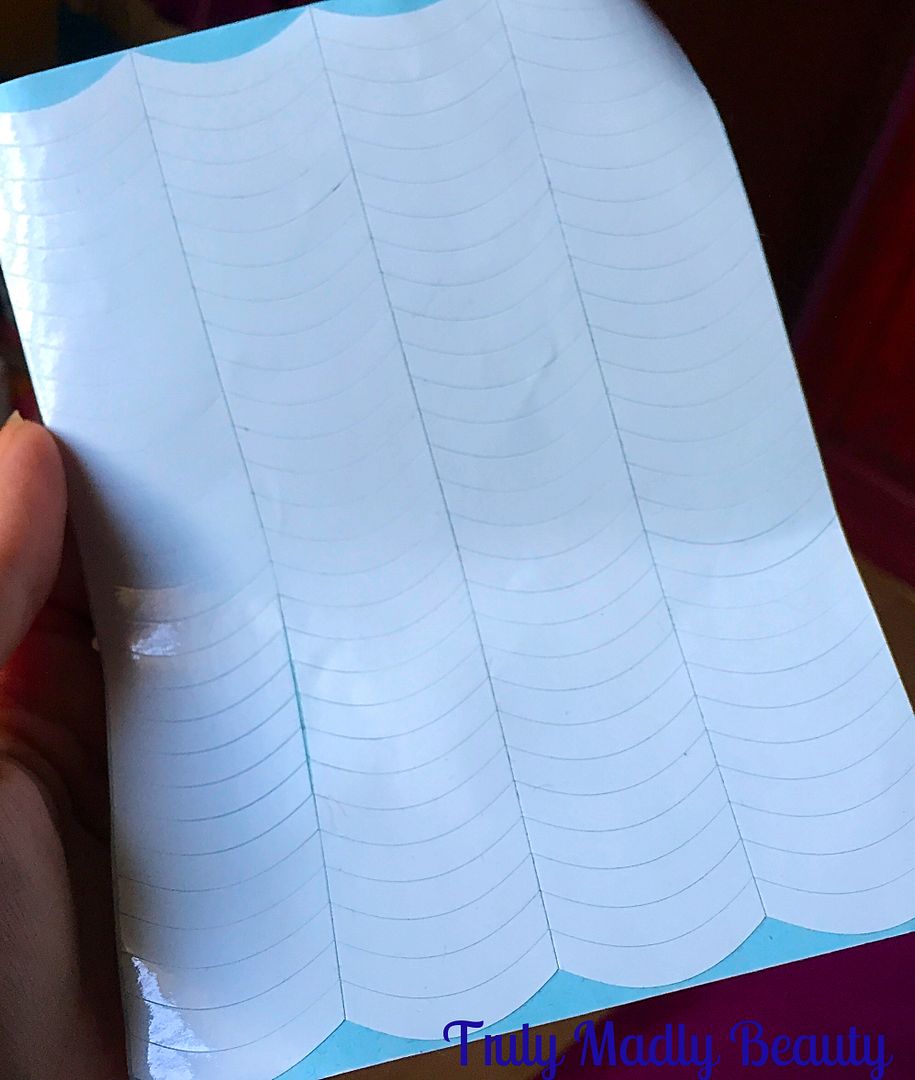
To help create a neat smile line on my tips I use french manicure guides which you can pick up super cheaply off of Ebay or Born Pretty Store. If you don't have these then hole punch reinforcers work just as good!


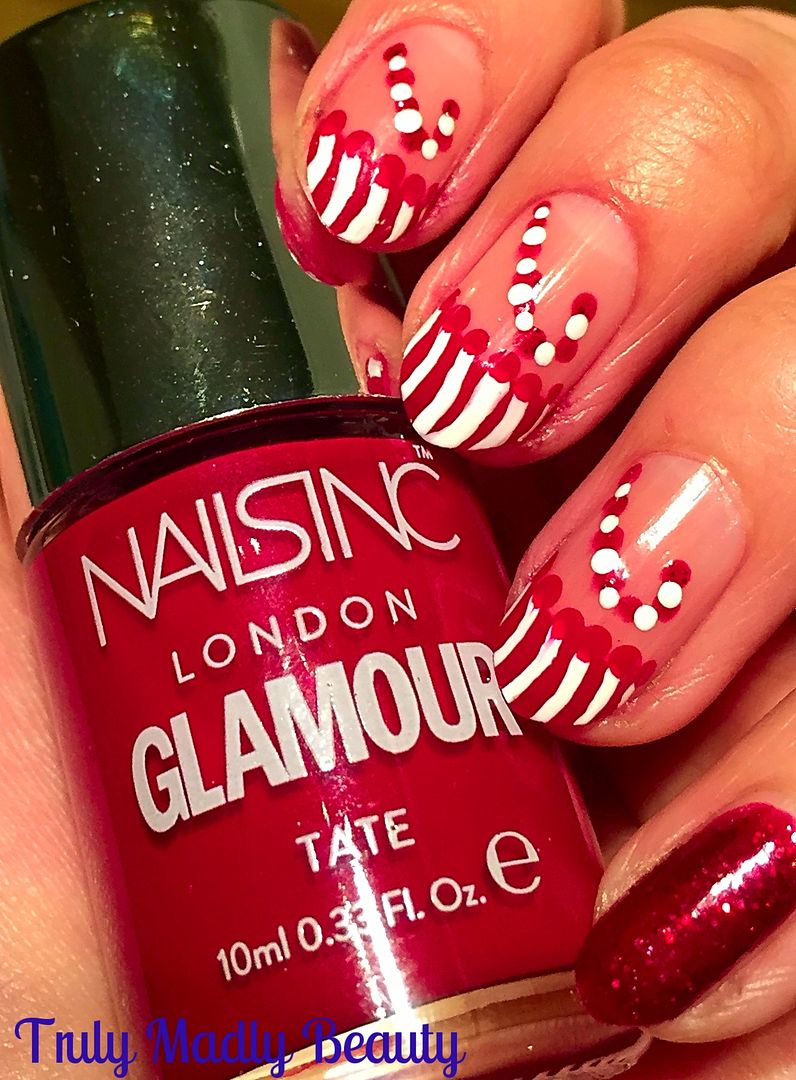
Using these & my red polish of choice, on this occasion a lovely deep red by Nails Inc called Tate, which was one of those fab magazine freebies they do on occasion, I painted on my red tips to all my nails bar my pinkie.


Next to create your candy cane stripes just grab a nail art pen in white, the Barry M ones are really good, or of course a fine nail art brush & white polish & apply a row of curved lines along your red tip. Of course you can also do this vice versa! Starting with white tips instead & adding red stripes...whatever you fancy :)


You can then neaten up your smile line if there is some smudging with a brush & acetone or you can do what i did & add an additional detail of red dots along the smile line to sneakily cover up any white that gone over...hehe ;) 


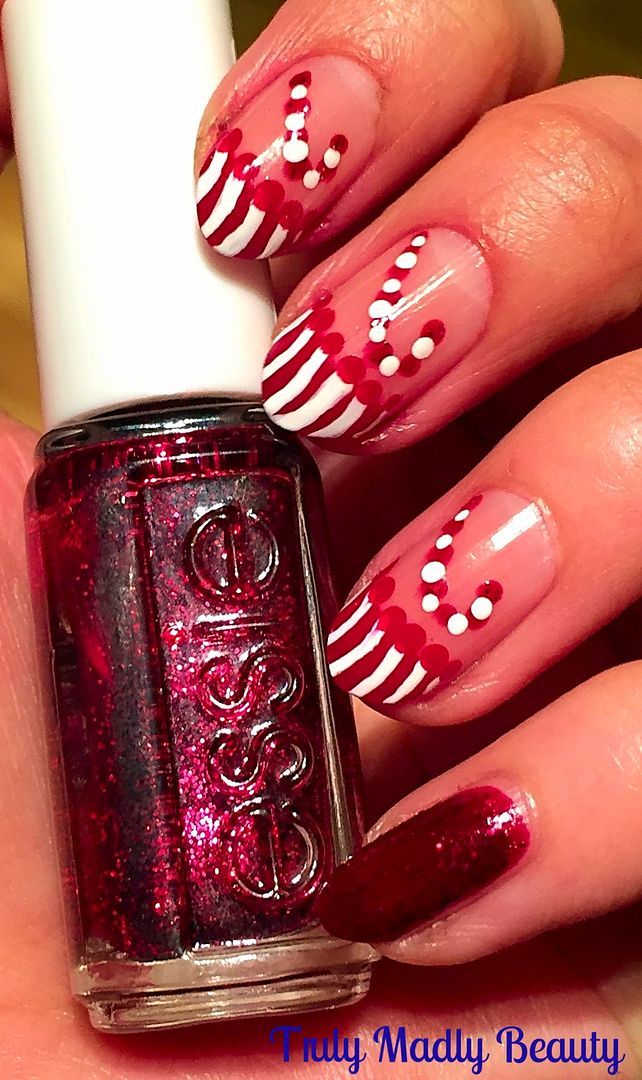
My pinkie was feeling a tad neglected so I rectified this by applying two coats of the gorgeous Essie Leading Lady, you can't beat a satisfying red sparkle can you & this is the most beautiful shade of wine red. Screams Christmas vibes!


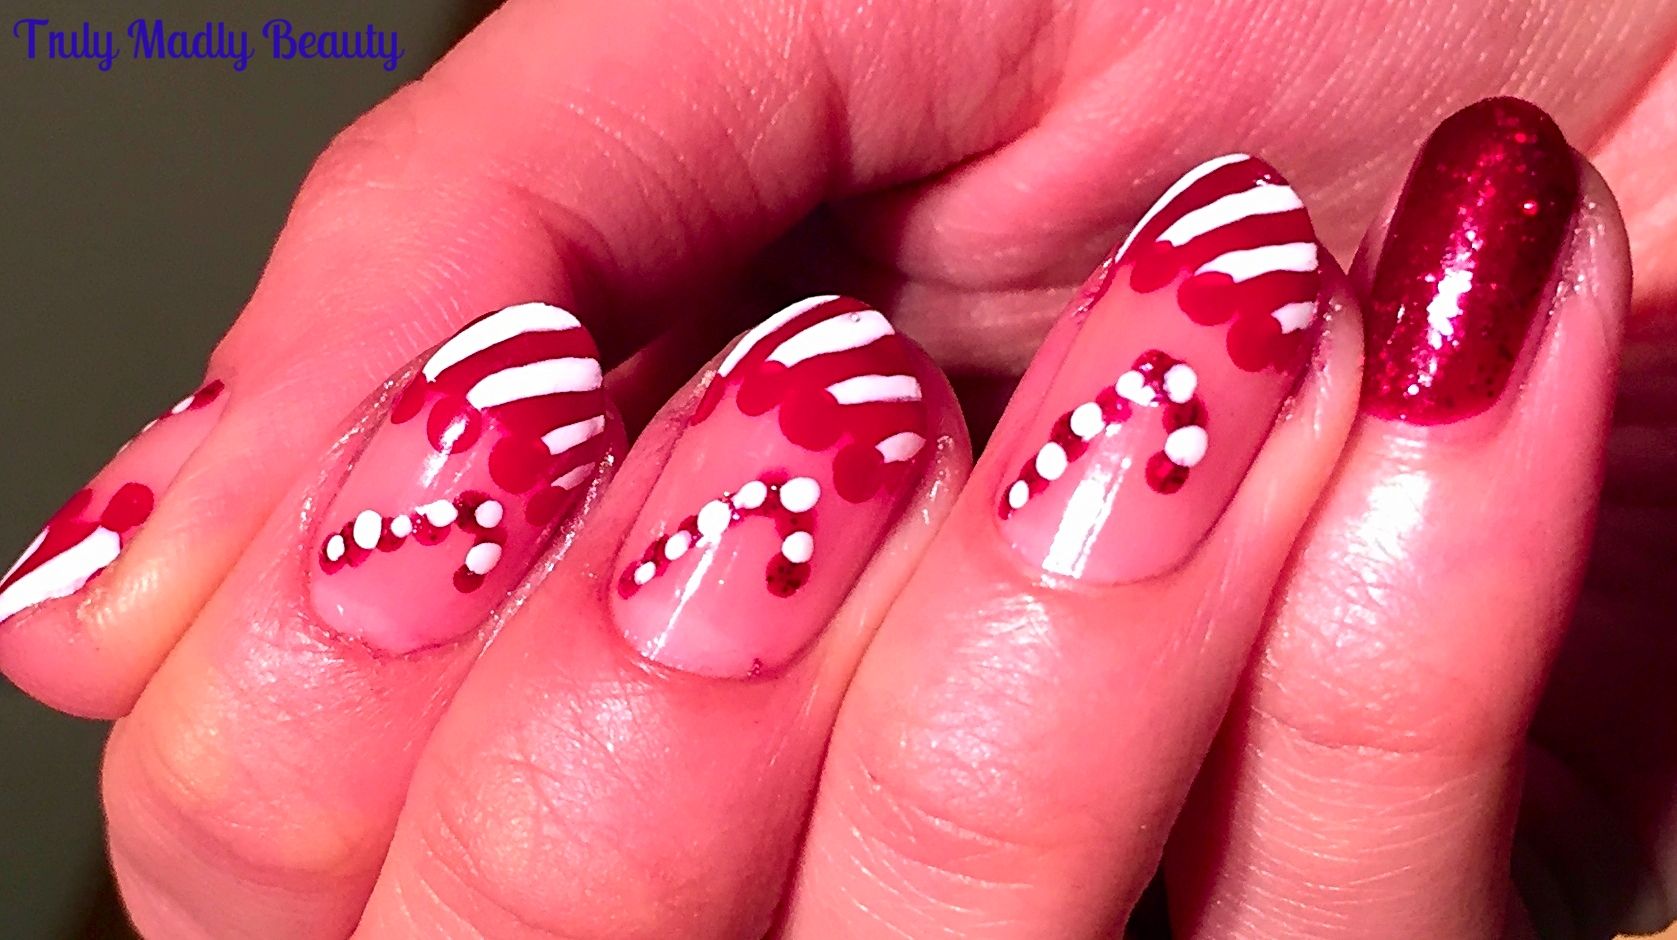
Then for the candy canes, I just grabbed my dotting tool & using some more white & the red Essie glitter, applied some dots in the shape of a candy cane alternating the red & white.


Finish it all with topcoat of course. In a most odd turn of events my dears you are actually getting a rare shot of my right hand here! By some strange sorcery I actually ended up preferring how the right one came out using my non dominant hand...weird O_o

Hope you liked this festive take on a French manicure beauts! If I don't get a chance to blog before the big day, wishing you all the most merriest of Christmas's however you spend it. Thanks as always for reading!

Lotsa love to ya!


8.19.2016

Olympics 2016 TeamGB Nails!

Hello there lovely readers,

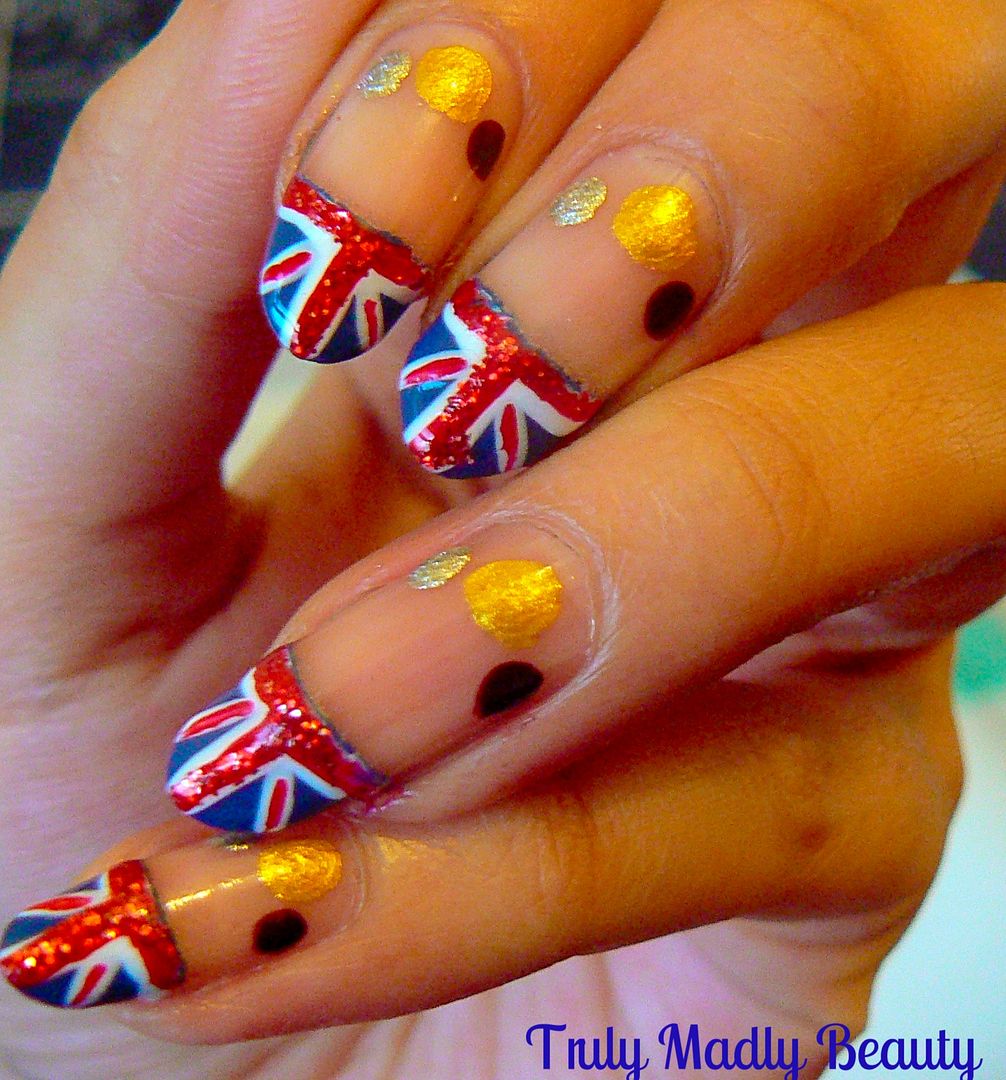
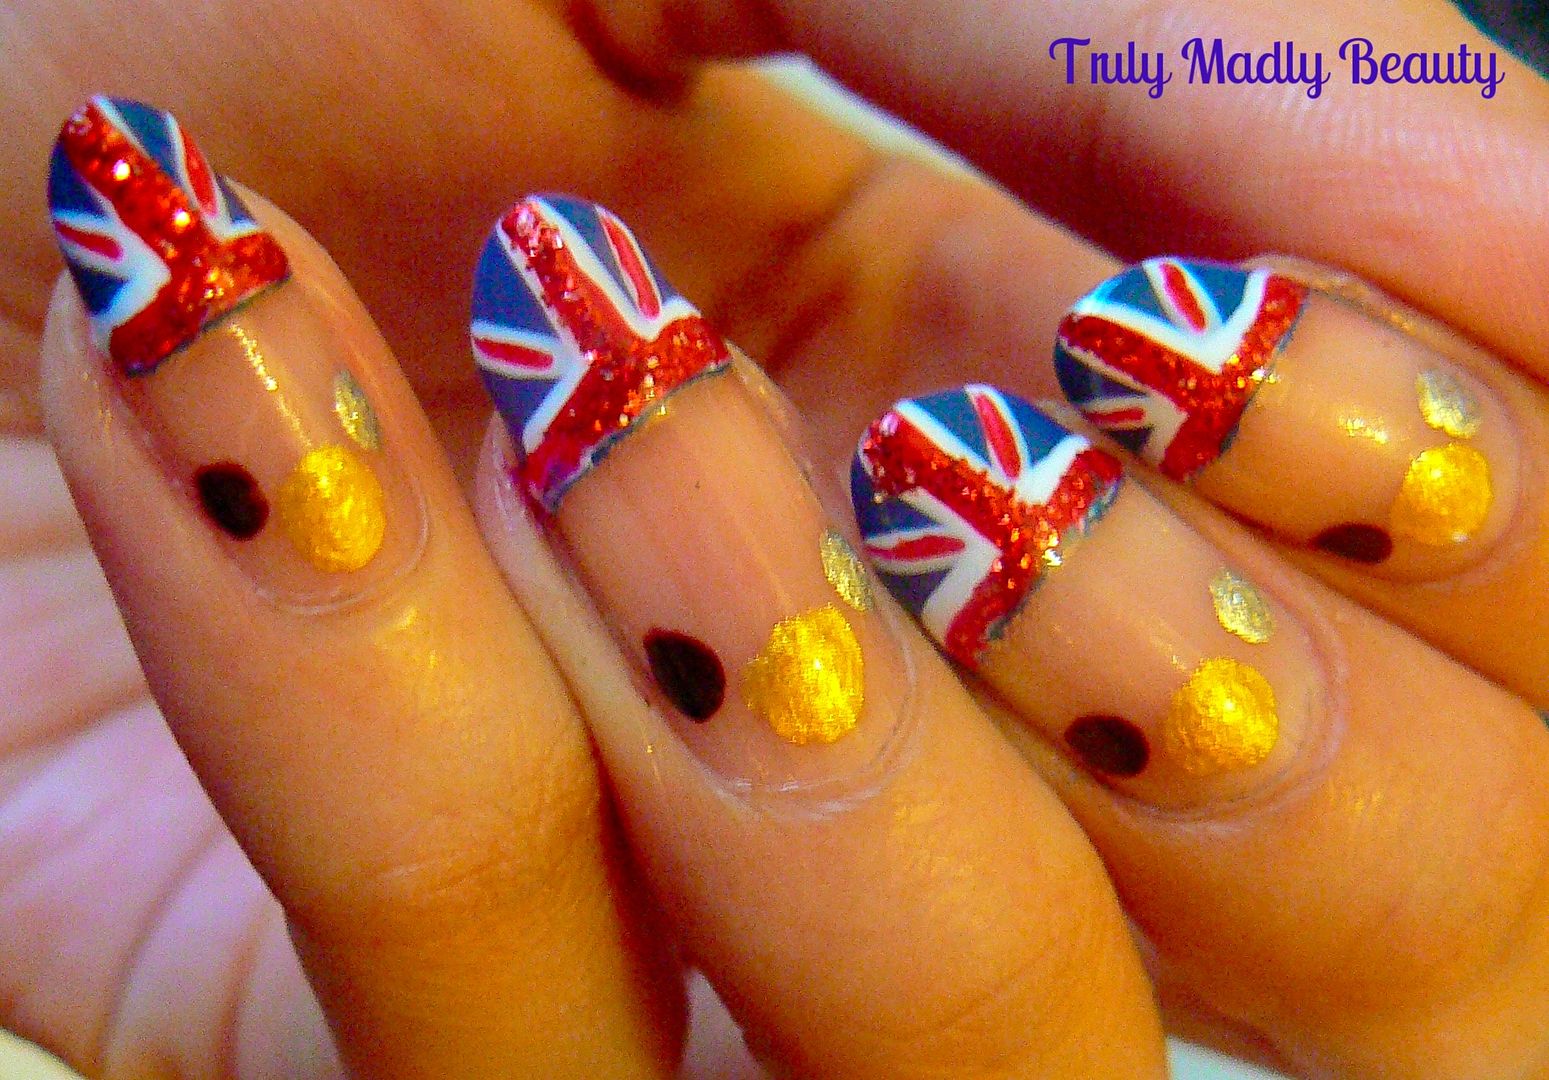
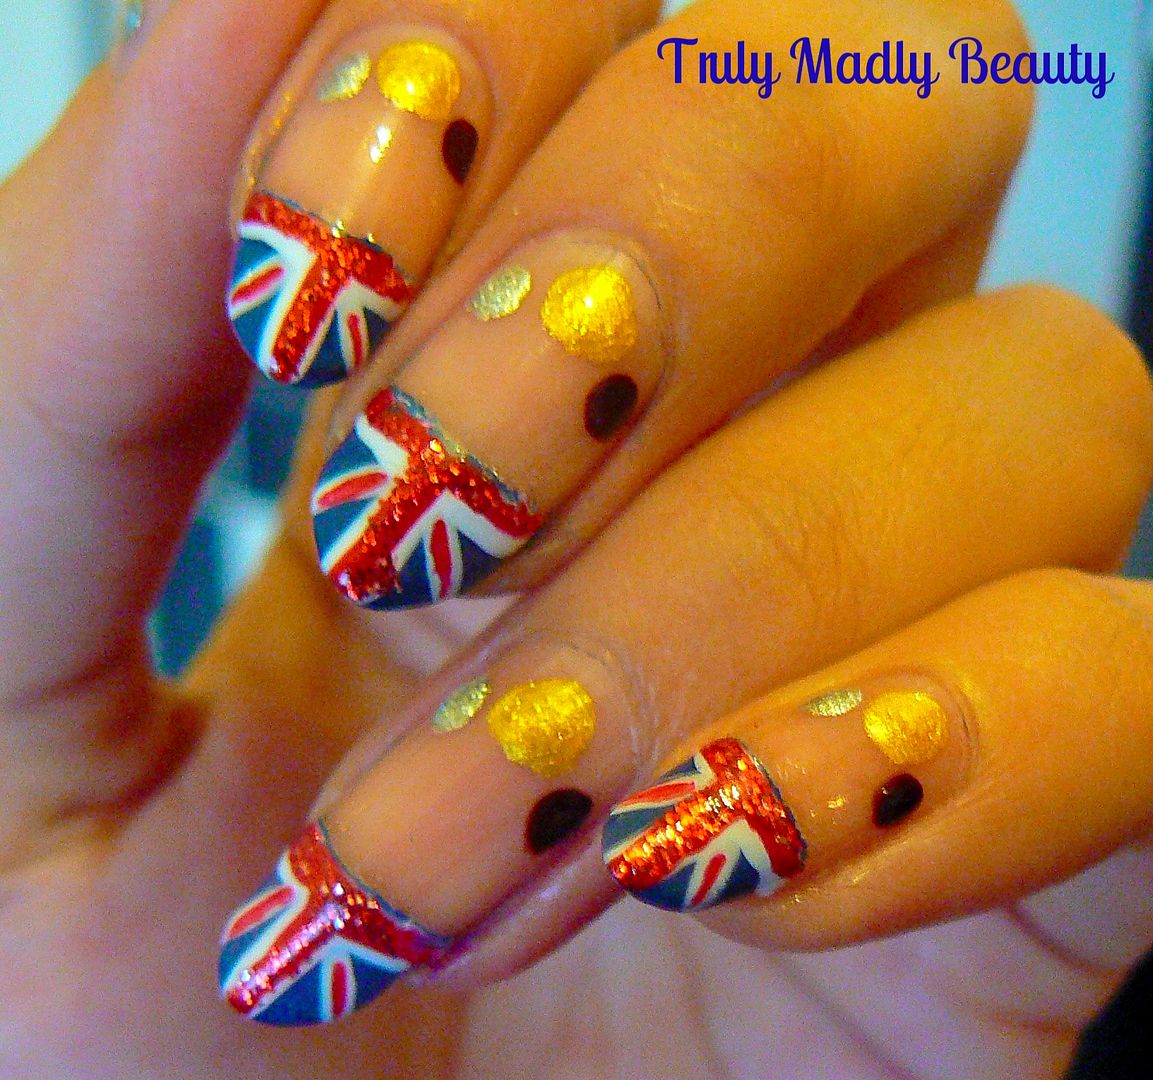
Now I wasn't actually planning on doing an Olympics themed manicure dolls! But unless you've been living under a rock these past few weeks, its hard NOT to get absorbed in the goings on over in Rio right now, especially the incredible performances from the Team GB athletes! Seriously how amazing have they done & it really is so great to see so much positivity & inspiration in a time where there seems to be so much sadness going on in the world. So in honour of the Olympics & a subtle nod to Team GB I've done a suitably styled mani which I'll show you how to create as well!


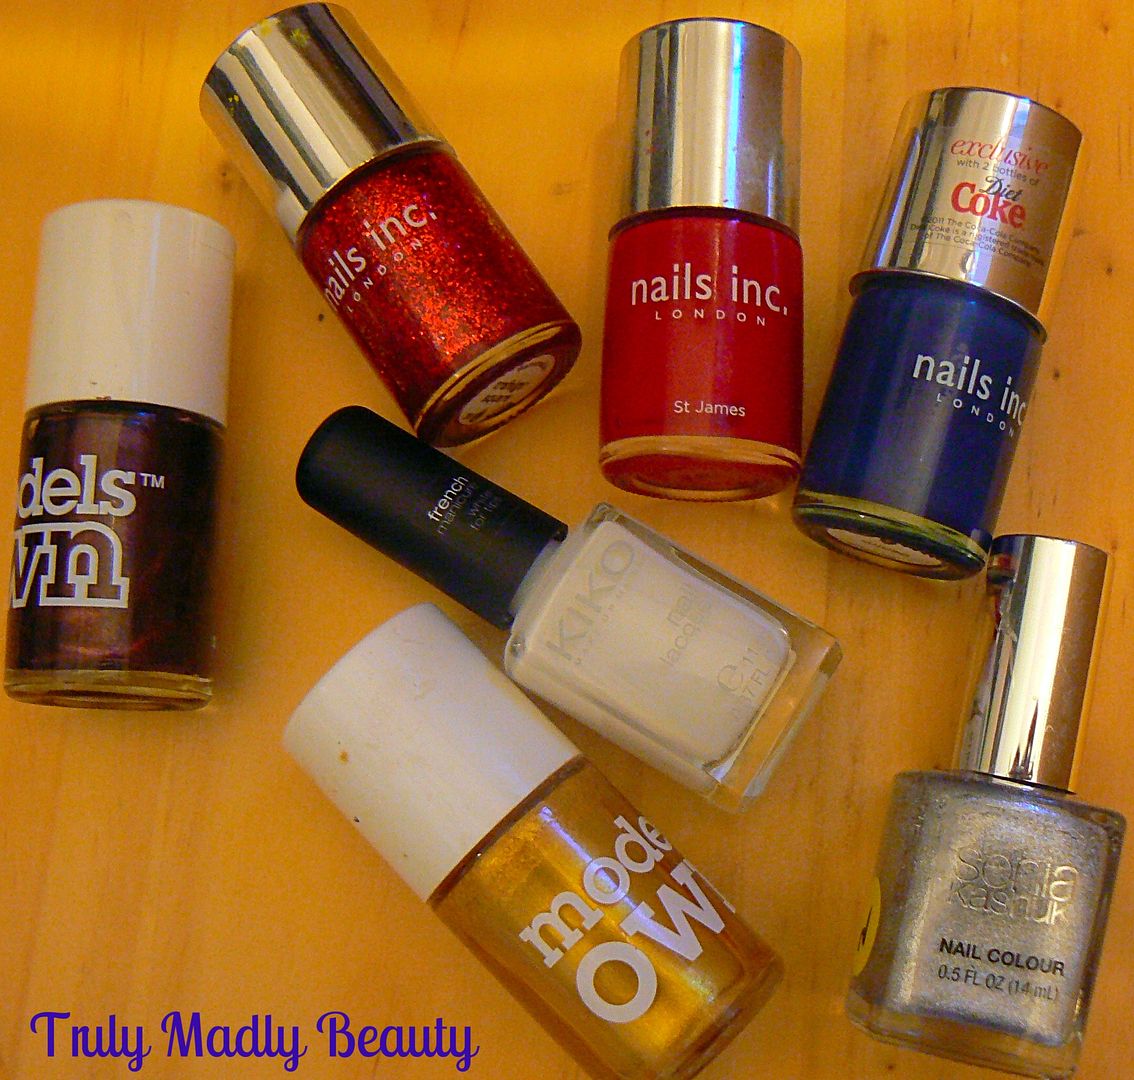
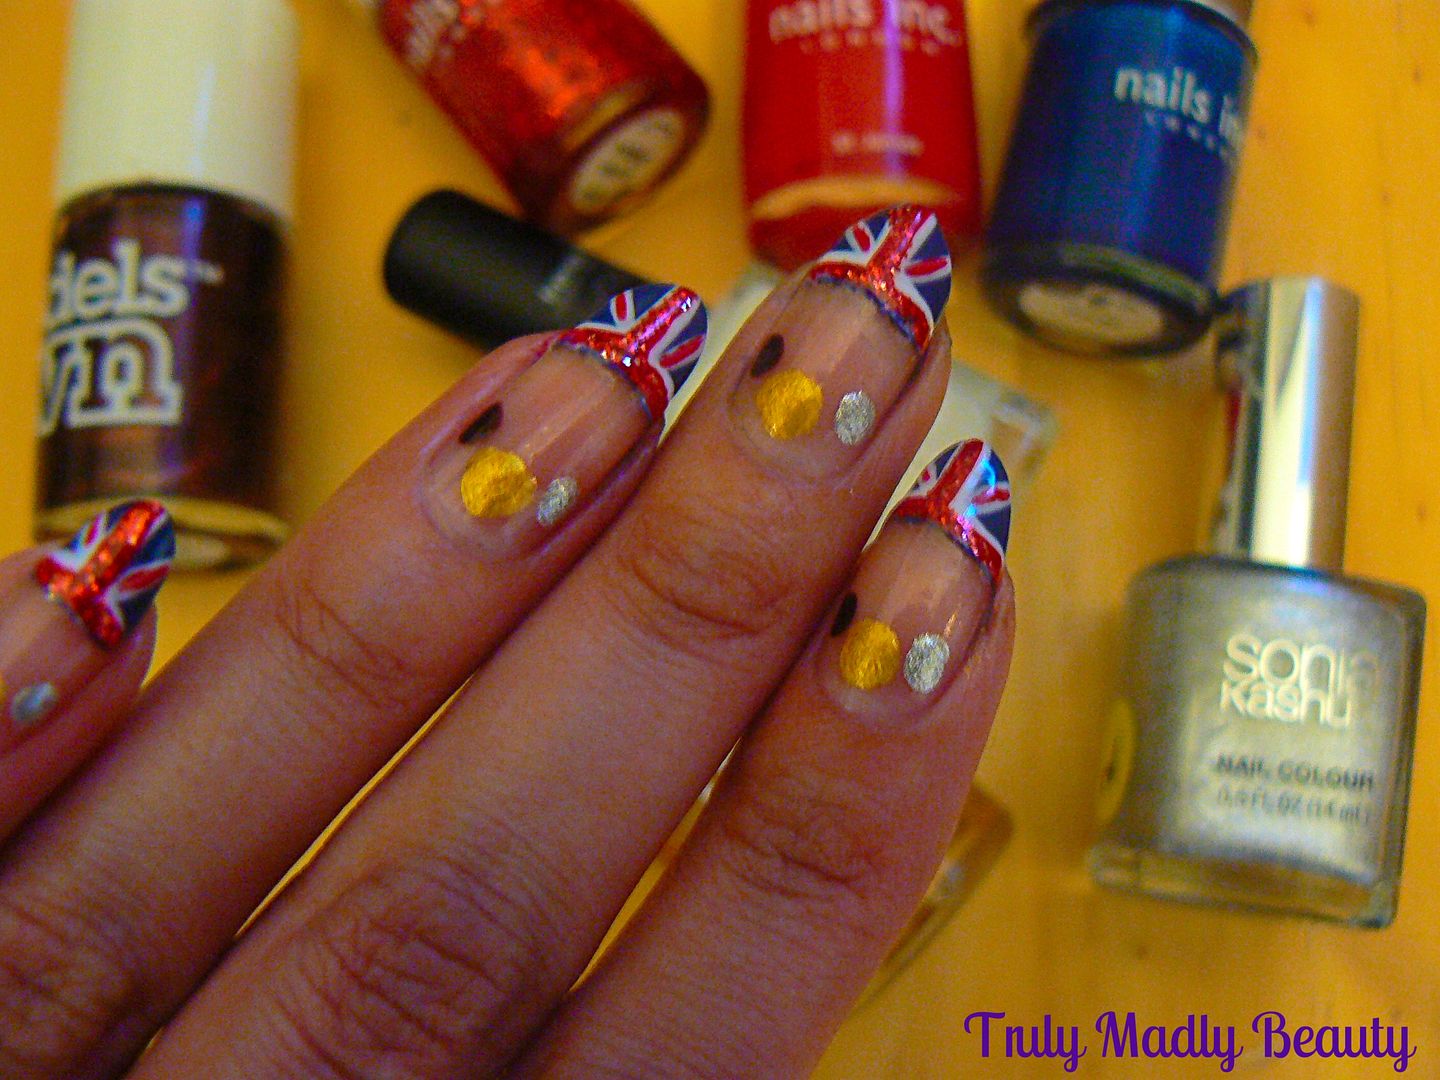
As you can see I've gone for some GB flag tips with some Gold, Silver & Bronze medals thrown in there too & its honestly so easy to do :) First things first, gather together the polishes you'll be using. Here I've opted for some Nails Inc, KIKO & Models Own to help create this design.


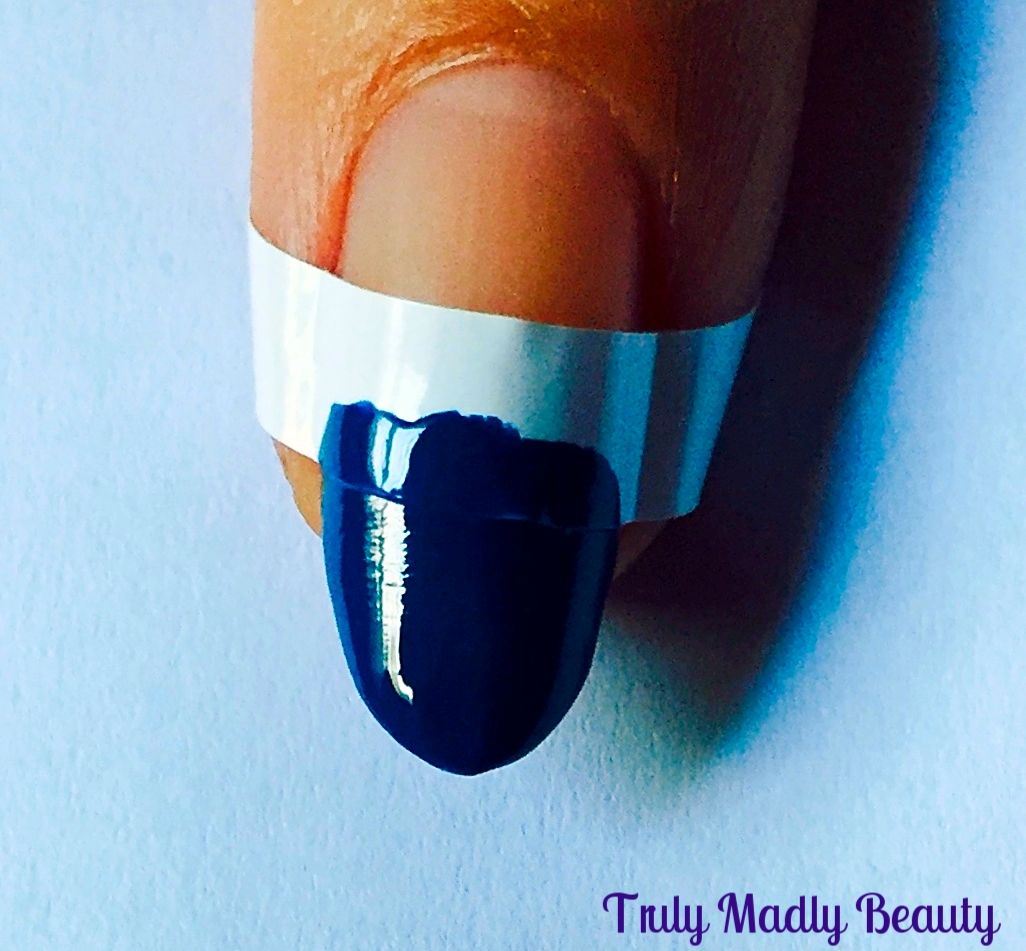
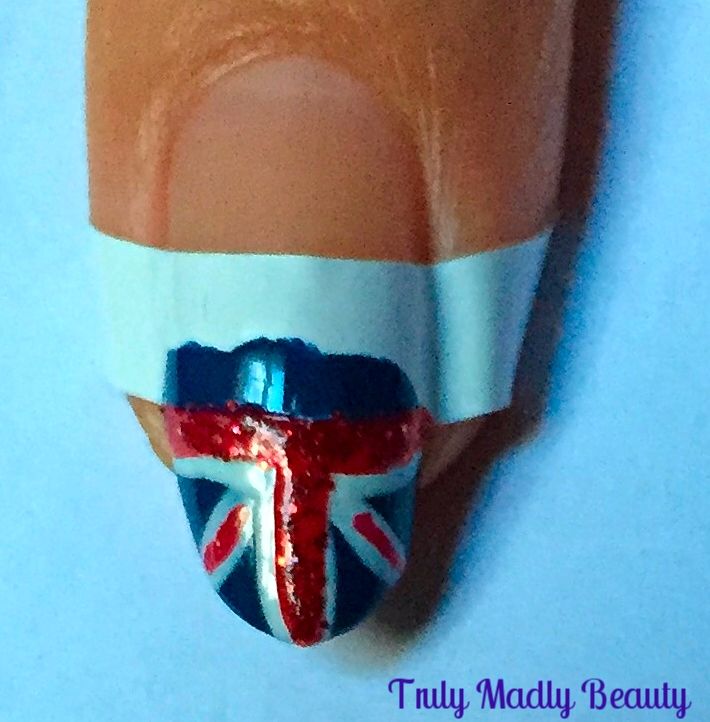
To start things off you'll need these nifty little french mani guides which you can get super cheaply of Ebay. I always make sure I have these in constant supply! Place a guide on each of your nails,about a quarter of the way down as you'll only be painting the top part of your nail.


Now begin with applying your blue, this is Nails Inc Denim, a nice thick opaque blue crème so only one coat is needed. Wait for the blue to dry as now you'll be adding the white detail of you flag & the last thing you want is the blue running into the white!


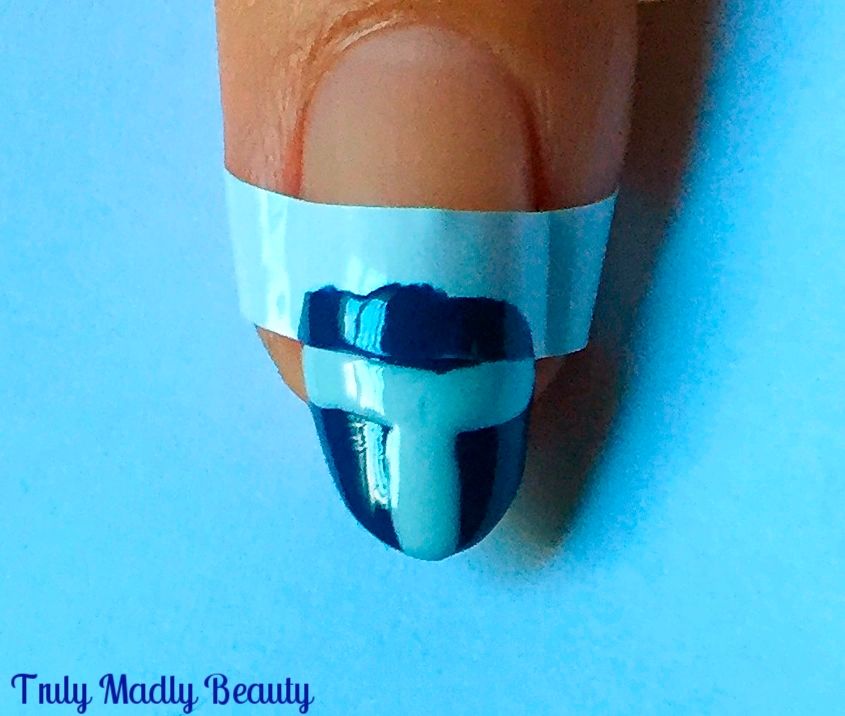
I used the KIKO french manicure for white tips nail lacquer which I LOVE & has replaced ALL of my nail art pens. The thin brush is perfect for detailed nail art, I only hope they still do it as I want to stock up on these babies!


Using the brush, apply a line along the bottom edge (so right above by the mani guide) & one horizontal line in the centre going up to the tip.


Then add two diagonal lines going up from either side of your horizontal line.


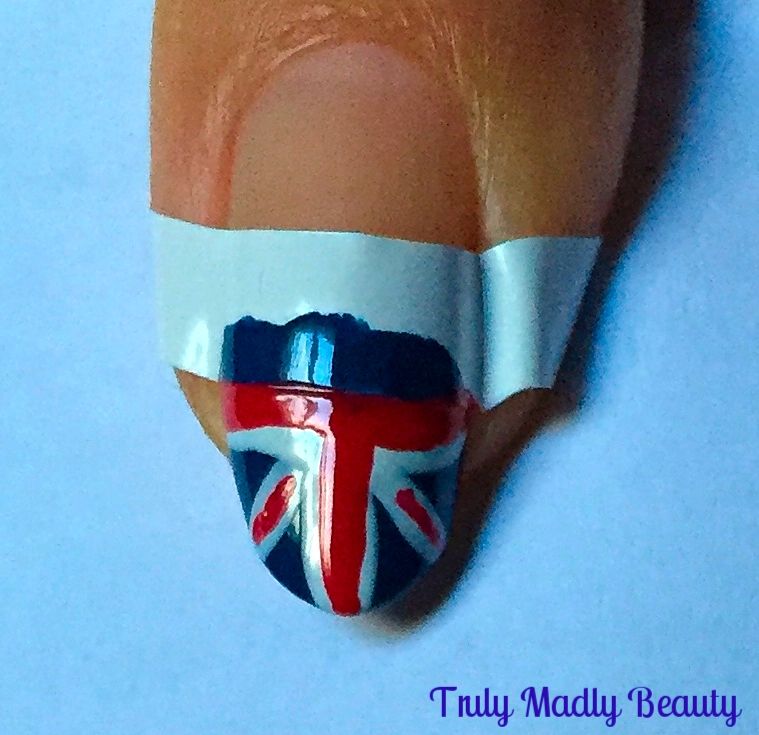
Now grabbing your red polish & a thin nail art brush, I've used Nails Inc St James, apply a thinner line on top of the white, making sure you still leave a bit of white showing.


Aaaaand finally, because y'all know I am a sparkle FIEND, as an additional touch I went over the red with a bit of red glitter courtesy of Nails Inc Trafalgar Square.


Now you can (slowly) peel off your mani guides, don't worry if you have any smudges or your edges aren't perfect, this can easily be rectified with a small brush & some acetone. And you have your GB flag tips!


You can leave these as they are but I couldn't NOT put some medals on too, so using a dotting tool & Models Own 25 Carat Gold, Sonia Kashuk Smoke & Mirrors & Models Own Cherry Pie, I added me on some Gold, Silver & Bronze medals along the cuticle.


Finish with topcoat & you're done! Told ya it was easy.


Hope you liked the mani dolls, how are you celebrating the Olympics this year? Thank for reading & keep up the awesomeness Team GB!


Lotsa love to ya!


7.03.2016

Fourth of July Drip Nails Tutorial!
Hello there lovely readers!

Hope you're all having a top weekend, especially my American beauts on the other side of the pond! Oooh what I wouldn't give to be back in the states right now as this weekend sees the US celebrating its Fourth of July Independence Day meaning days of fab parties & fun times.


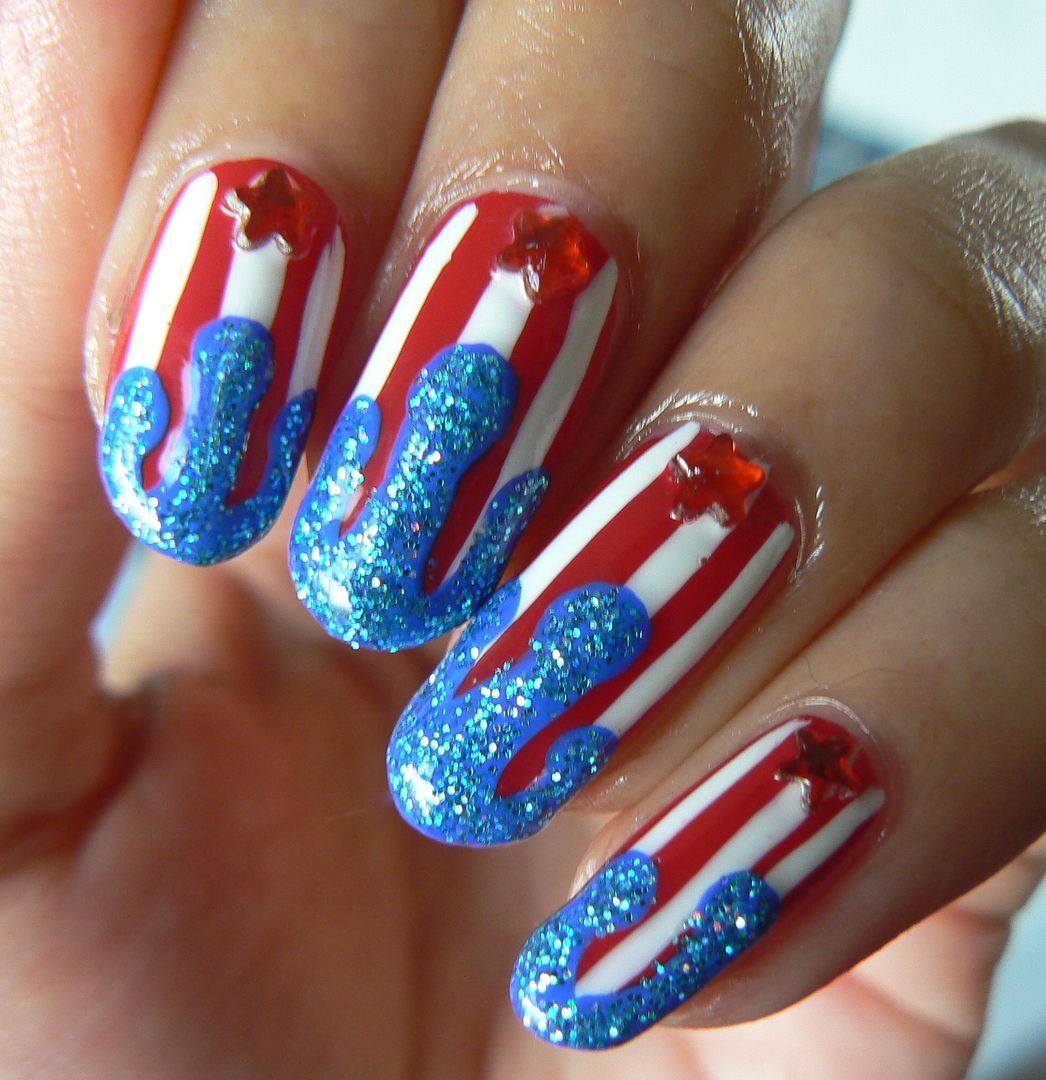
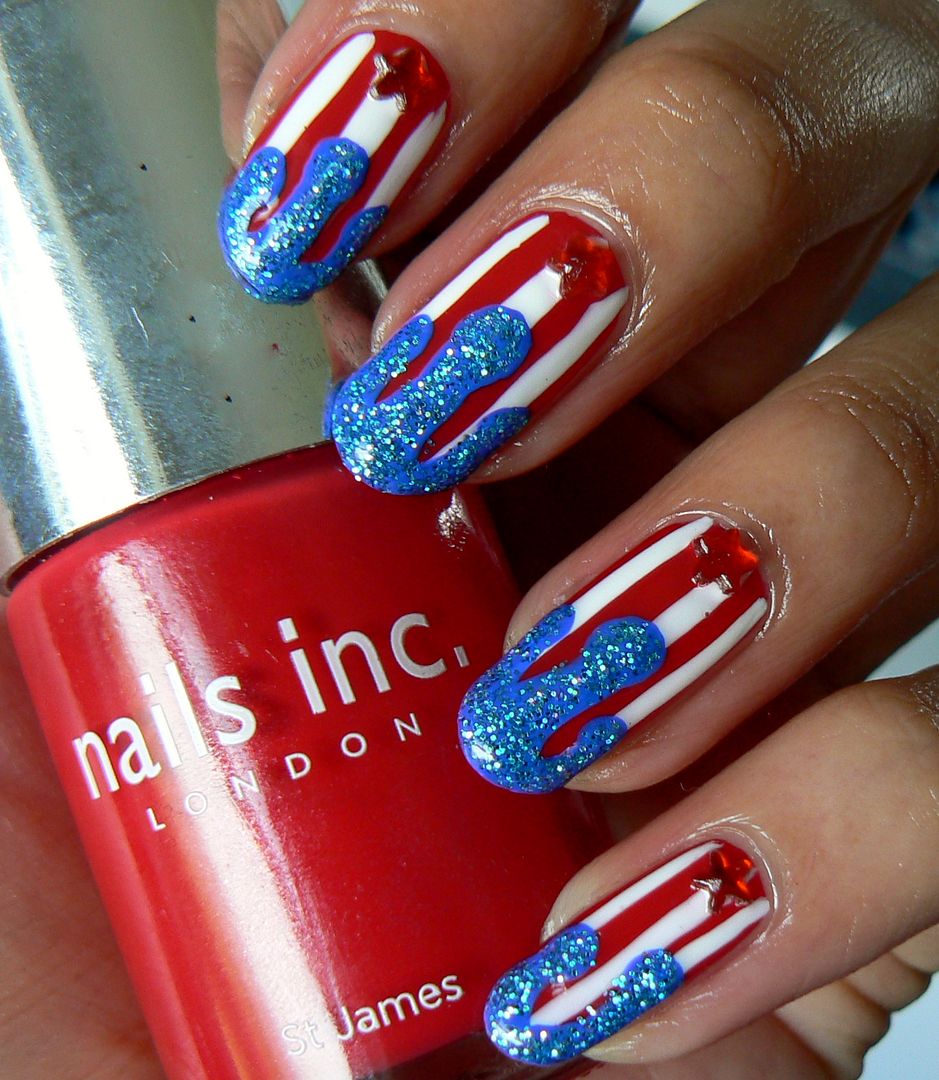
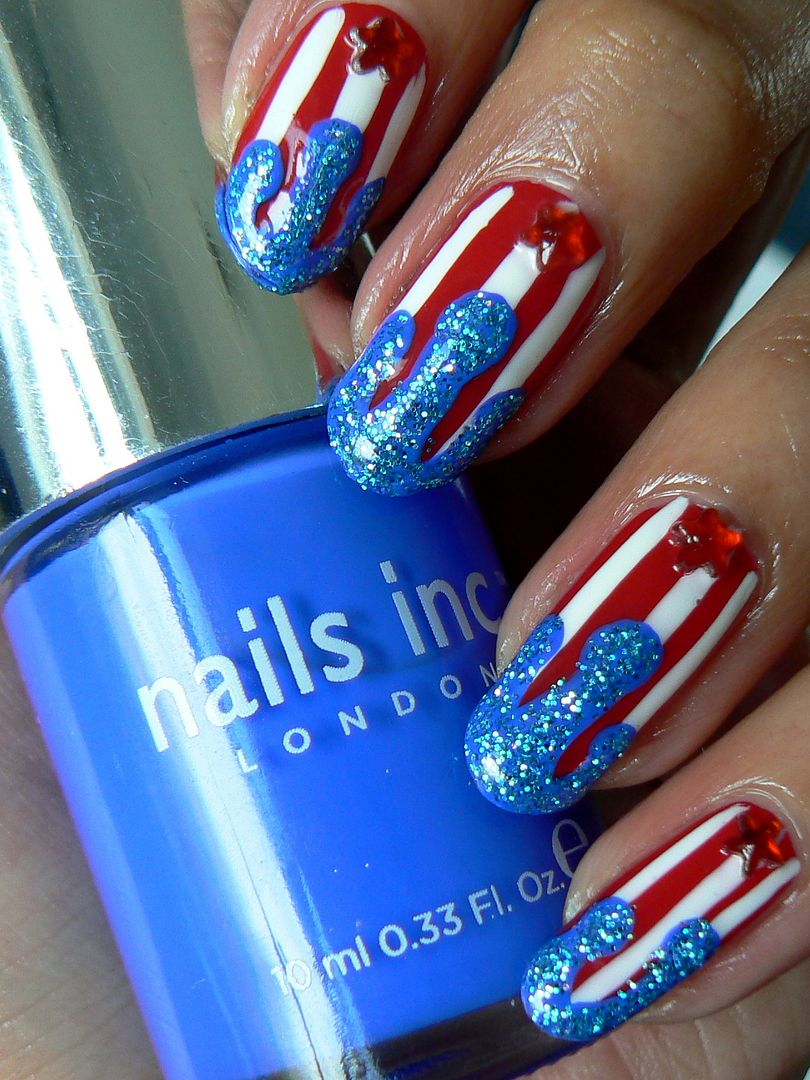
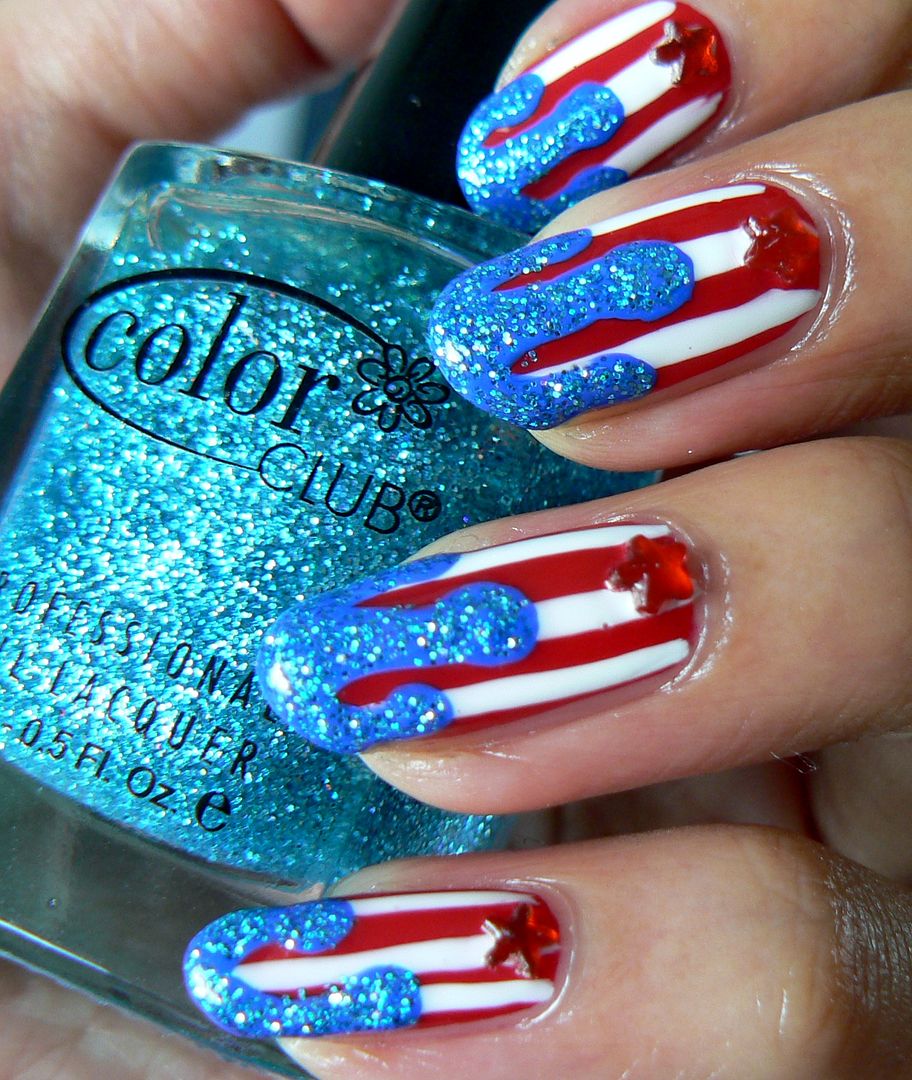
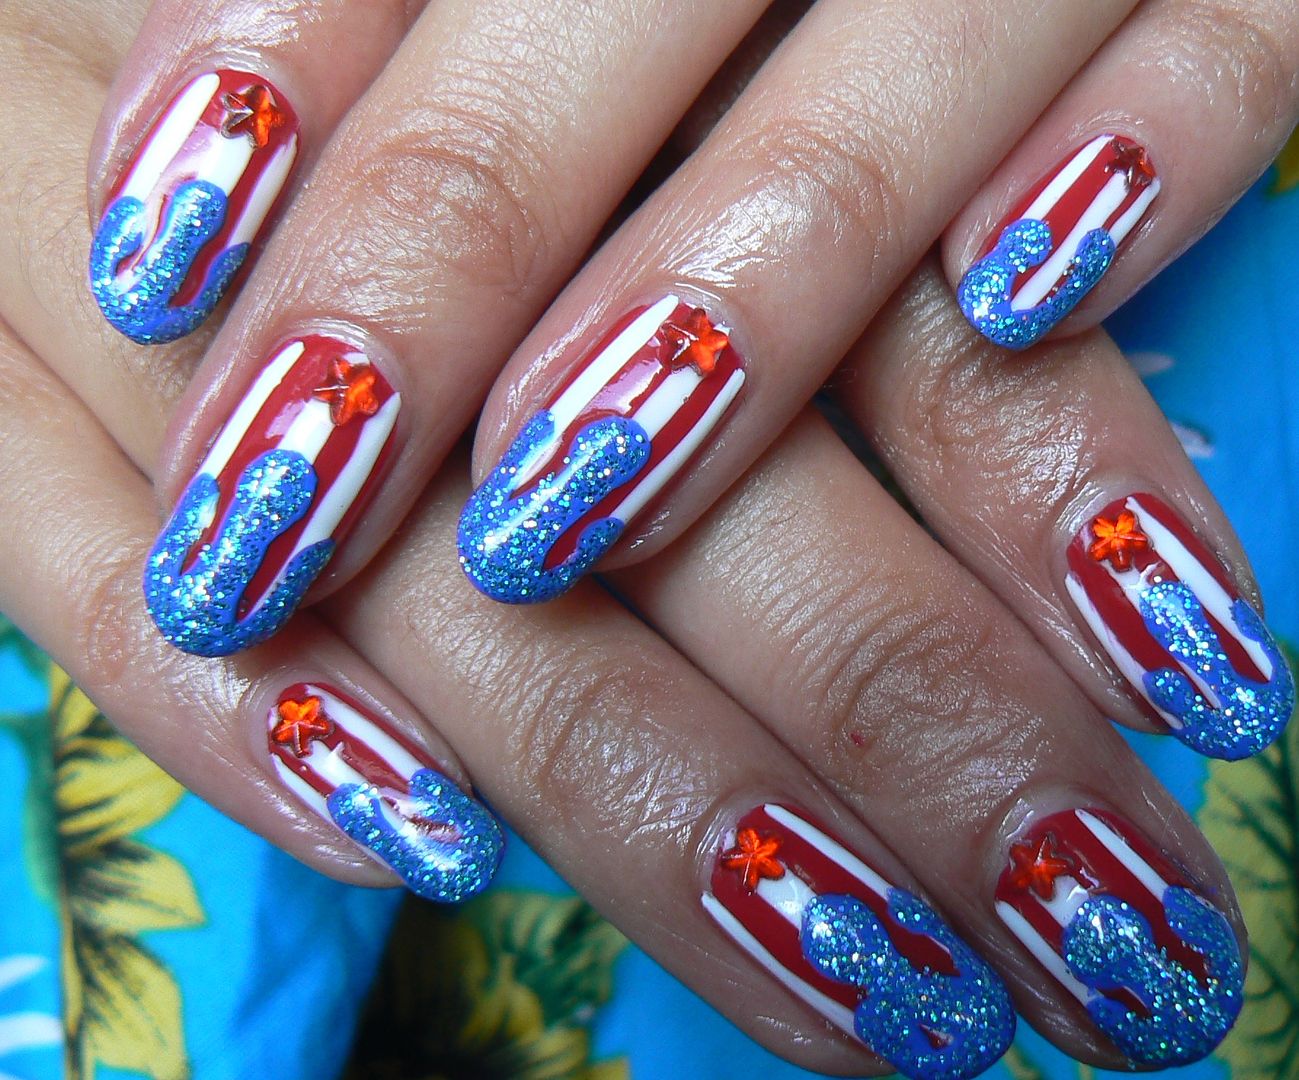
Naturally I couldn't resist marking the occasion in the way I know best & getting my nail art on. Using the American patriotic colours of red, white & blue I went for some dripping glitter Fourth of July Nails plus I've done a step by step tutorial so you can create these too!


I saw a picture of a similar design in a Daily Mail article of all places & thought ooooh what a fun & innovative way to do patriotic nails! Plus I love drip nail art (see my chocolate drip nails on the left of the page) & haven't done the design in yonks, perfect time to remedy that with this :)


If you want to re-create this design as well then keep on reading dolls...


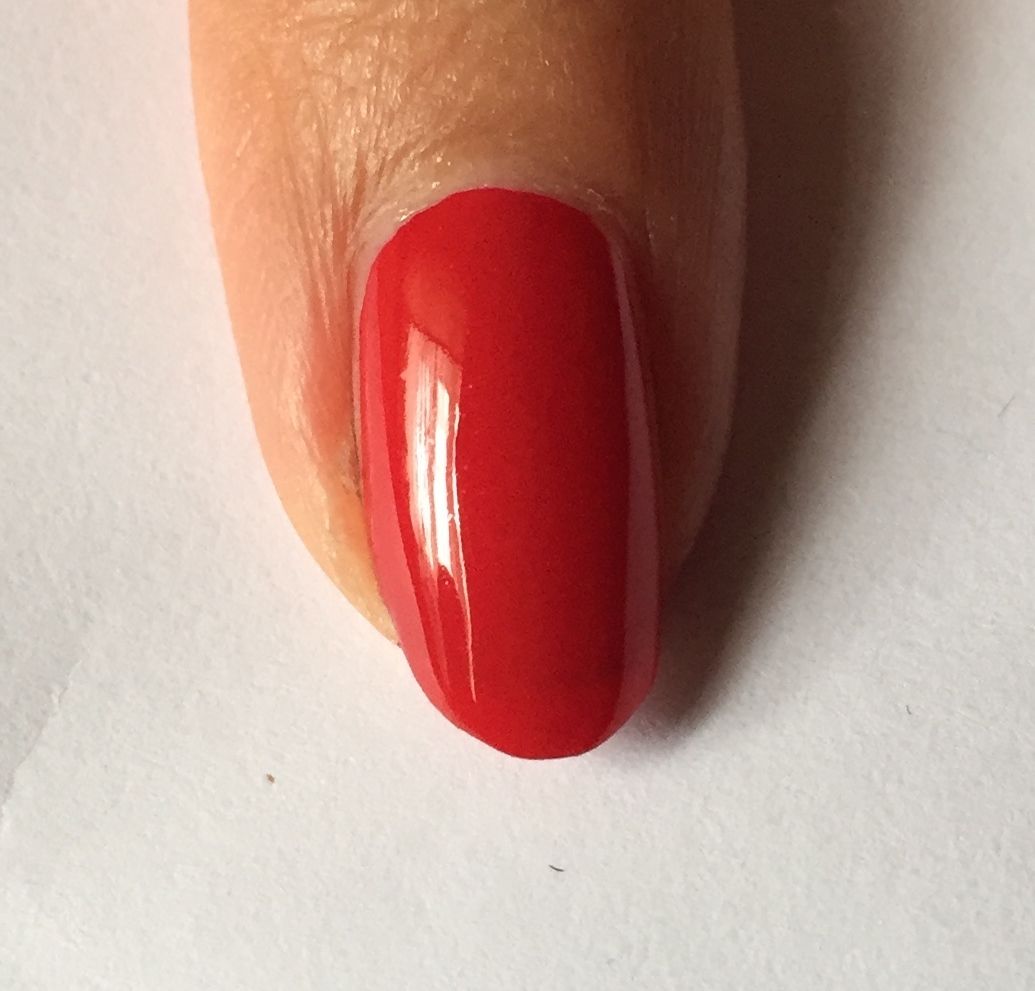
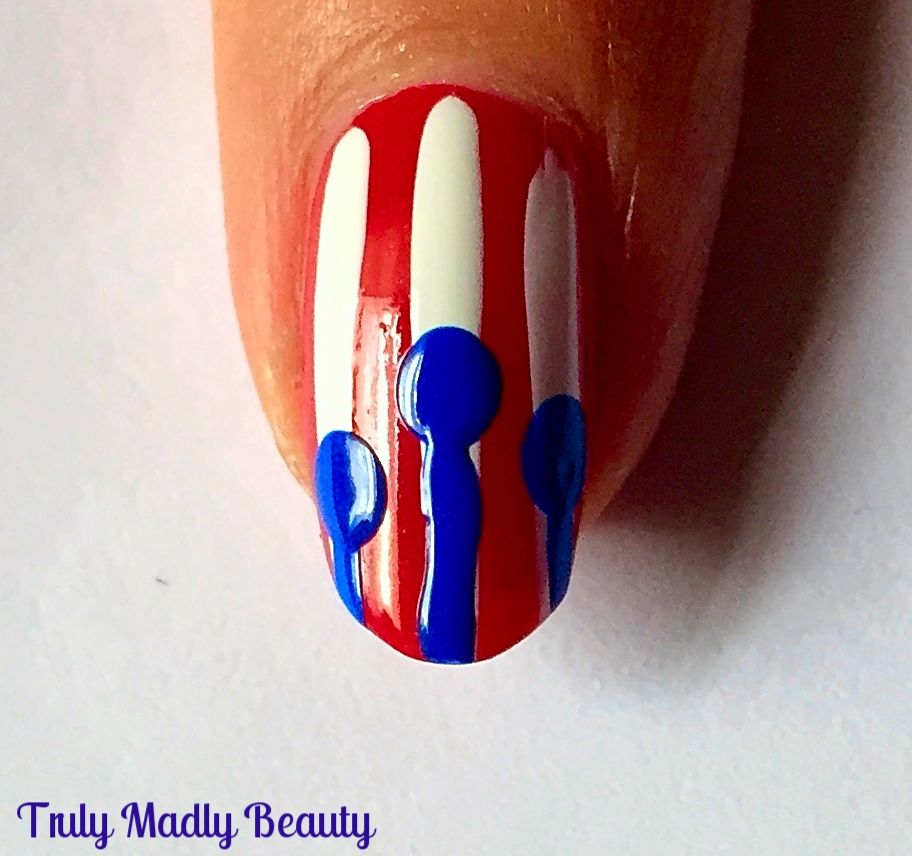
First start with your red base, here I've applied just one coat of Nails Inc St James as I knew there would be a few layers of polish on top & didn't want to overdo it.


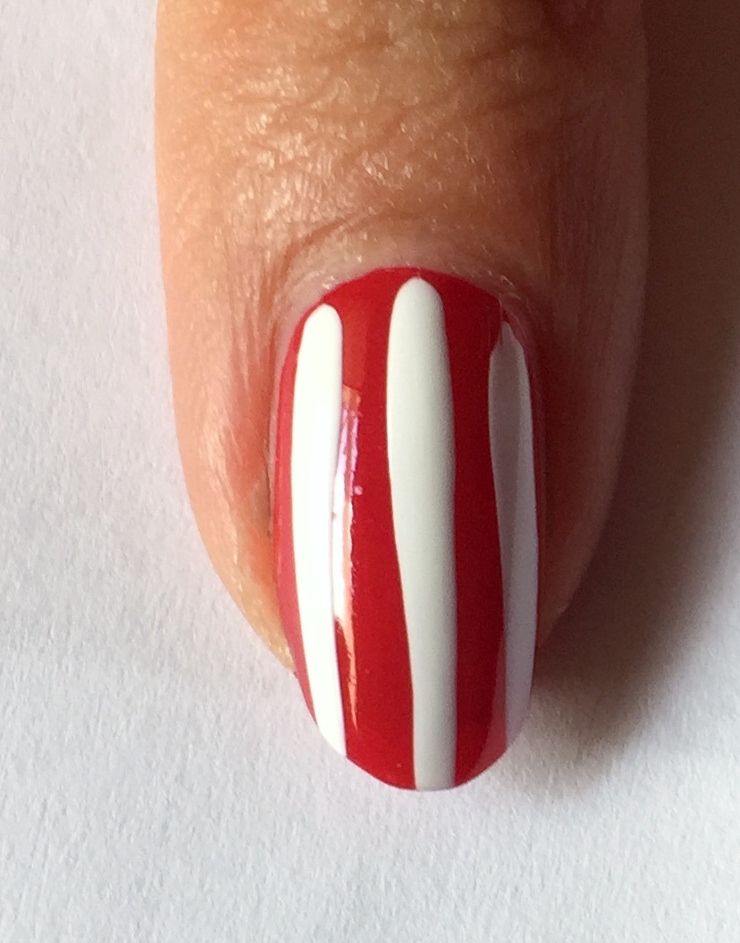
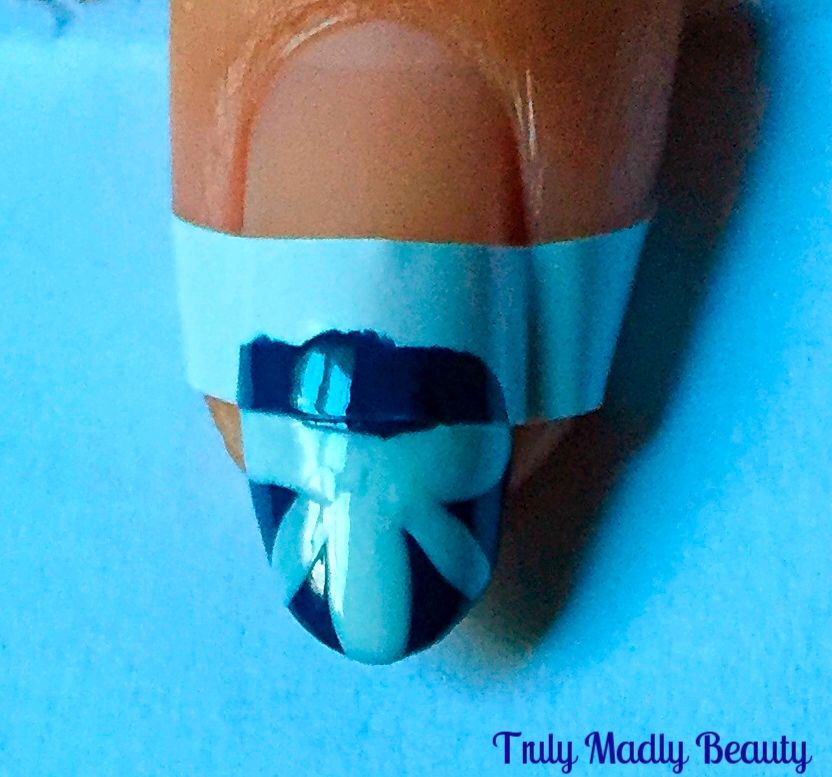
Then using the thin striper brush from my Models own white nail art pen I applied three vertical stripes down the length of the nail.


Now for the drips! Start by applying three dots on to the nail using a dotting tool as shown with your chosen blue polish, here I've used Nails Inc Baker Street.


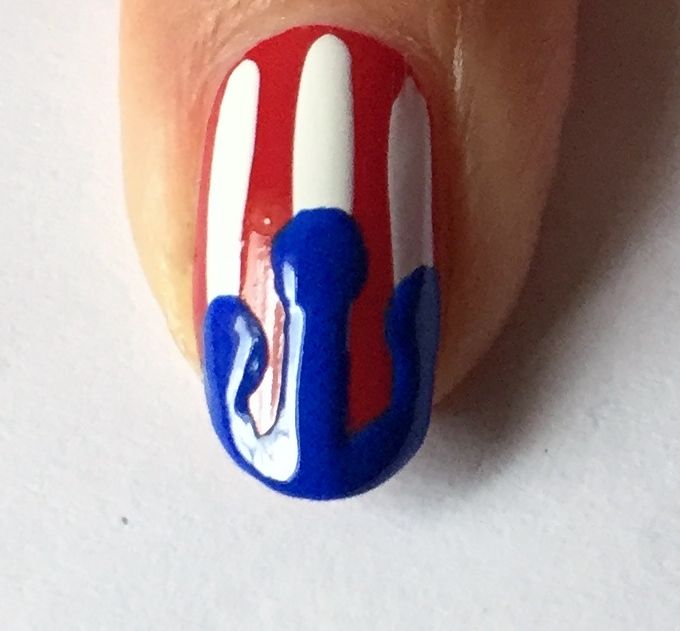
Next, using a thin nail art brush, draw three vertical lines going down from your dots to the tips.


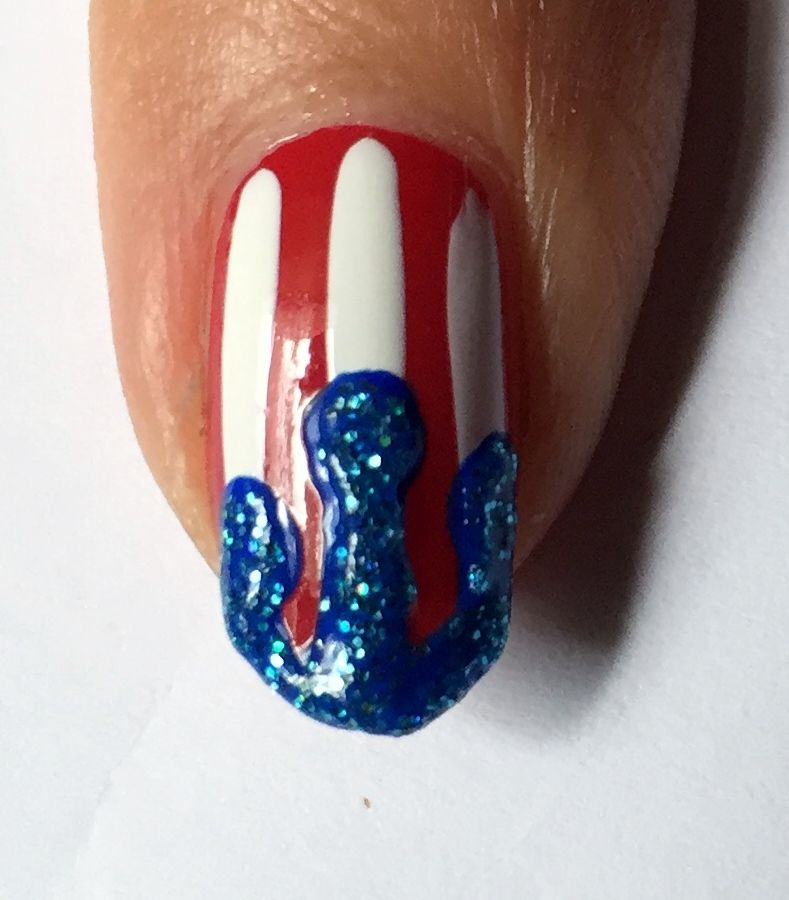
Using the same thin brush, curve the edges of the straight lines into your dots as well as applying polish along the tips of your nails to create your drip effect!


You can skip this next step but my inner magpie was calling for an extra bit of sparkle so I applied a bit of blue blingy glitter polish from Color Club on top.


For a final touch I just applied a wee red star rhinestone underneath my drips to finish.


Apply your topcoat & you're done! Sparkly Fourth of July nails ready for Independence Day party celebrations!


Thanks as always for reading! Have a fab weekend whatever you may be doing my dears!


Lotsa love to ya!