Showing posts with label stained glass. Show all posts

9.26.2018

NOTD - Quick & Easy Shattered Glass Nails!

Hey there lovely readers!

In this busy day & age sometimes a quick mani fix is required when it comes to the nails, but that still doesn't mean you have to restrict yourself with nail art! 

I'm ALL for finding quick & easy nail art hacks to achieve pretty nails that look like they took a lot longer than the 5 minutes they actually did for those occasions when I am running short of time. This is where nail art stickers are an absolute GODSEND.


2.14.2018

NOTD - Stained Glass Nails

Hey there lovely readers!

One of my favourite polish formulas to use are glass fleck polishes. I doubt this is the "technical" term for them, but its how I refer to them anyhoo! These are basically shimmer formulas that contain tiny shards or flakes of glitter rather than fine micro glitter particles & I have accumulated quite a few!


9.13.2016

Block Colour Stained Glass Nail Tutorial ft True Brit London!

Hello there lovely readers!

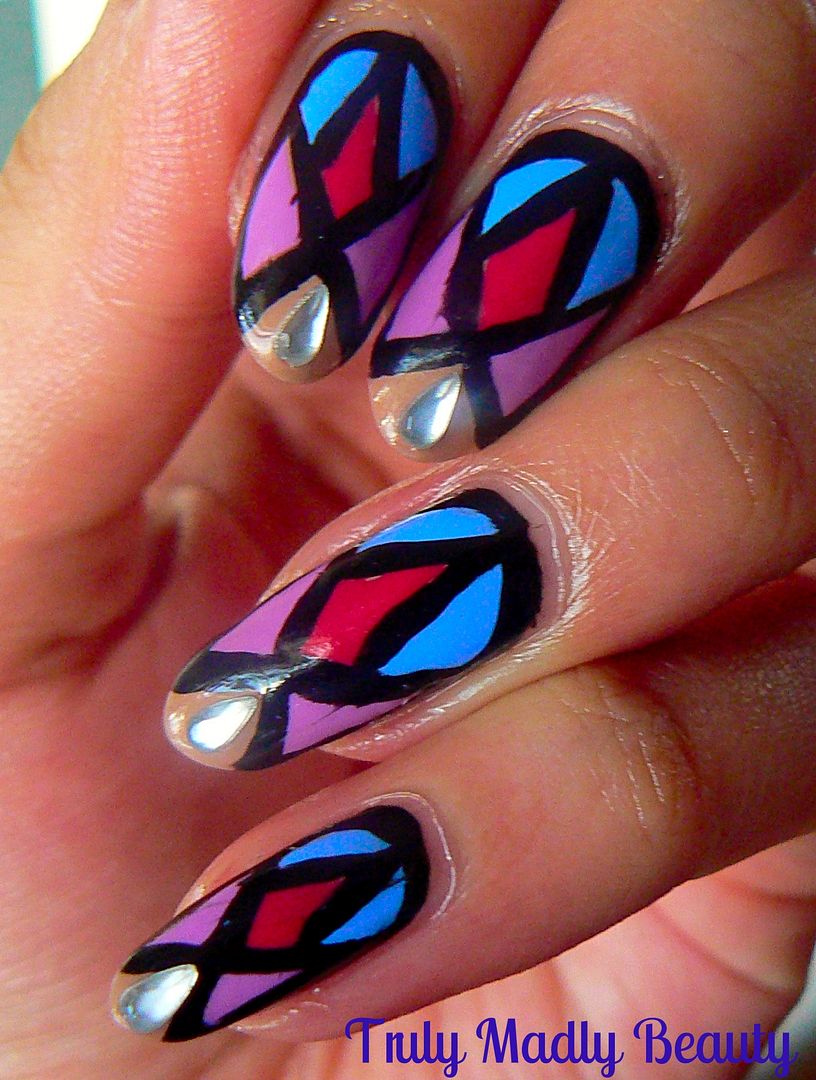
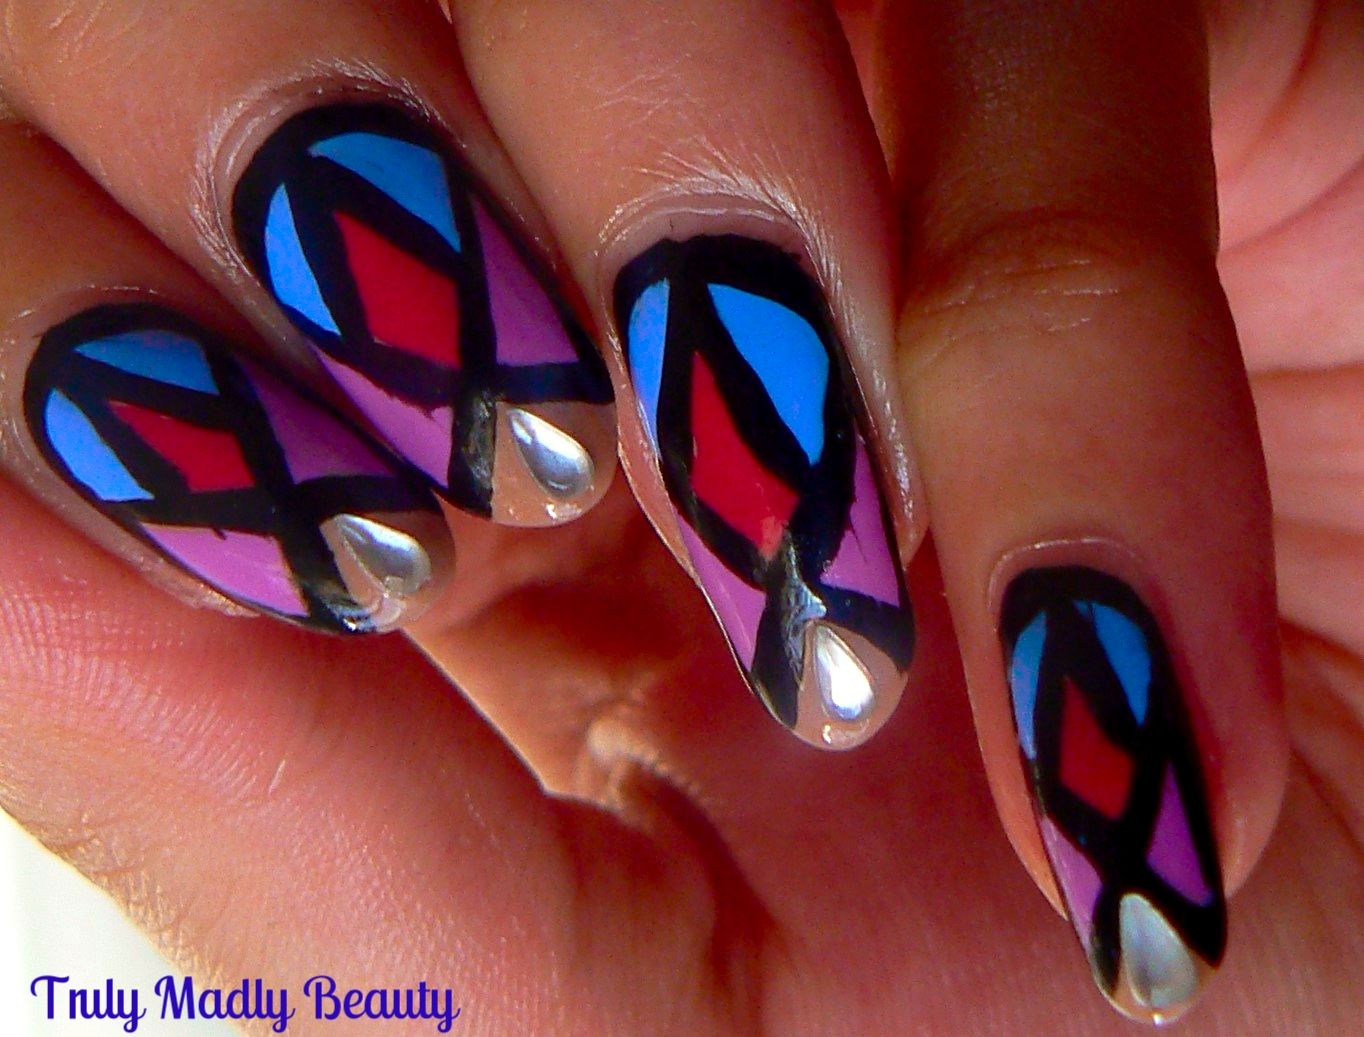
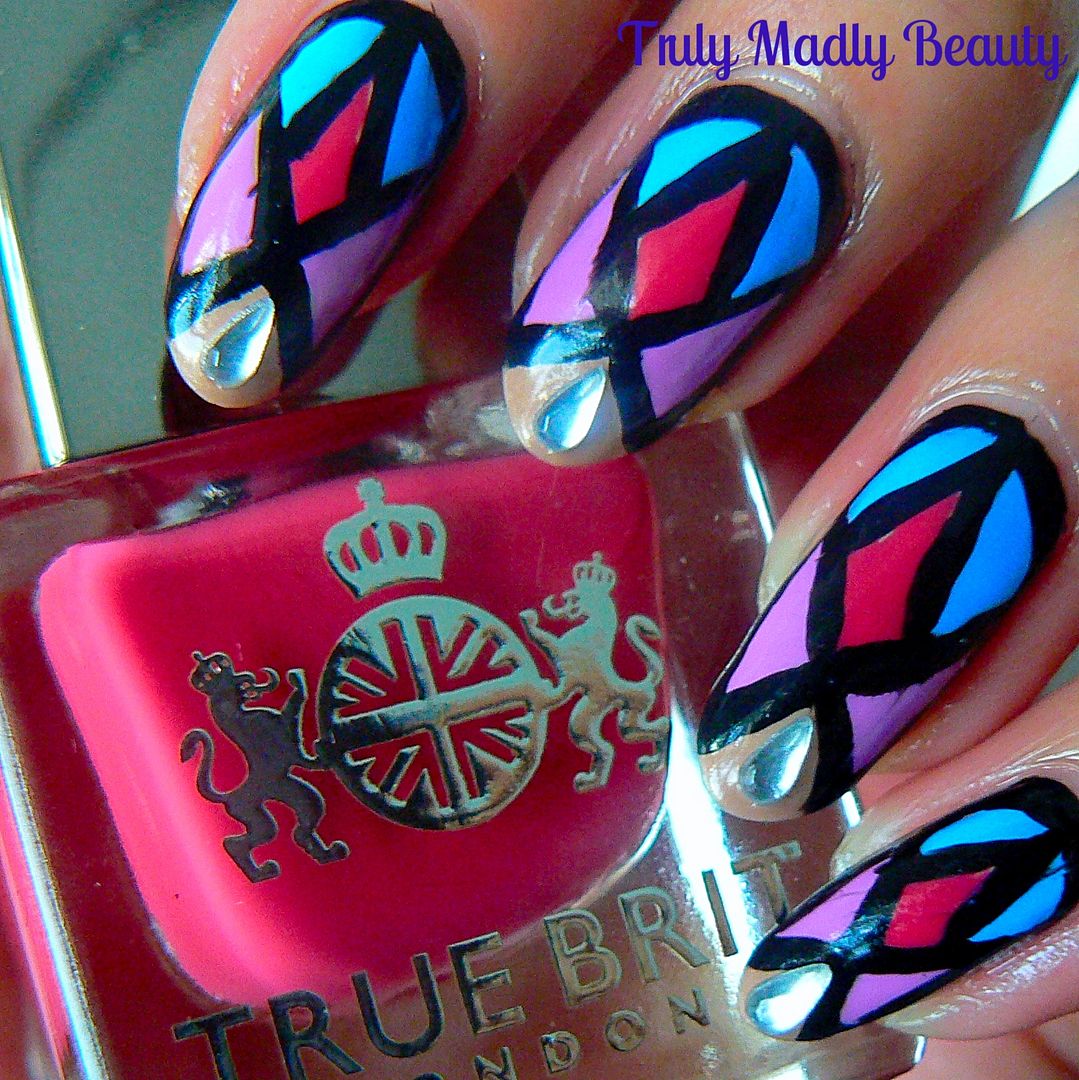
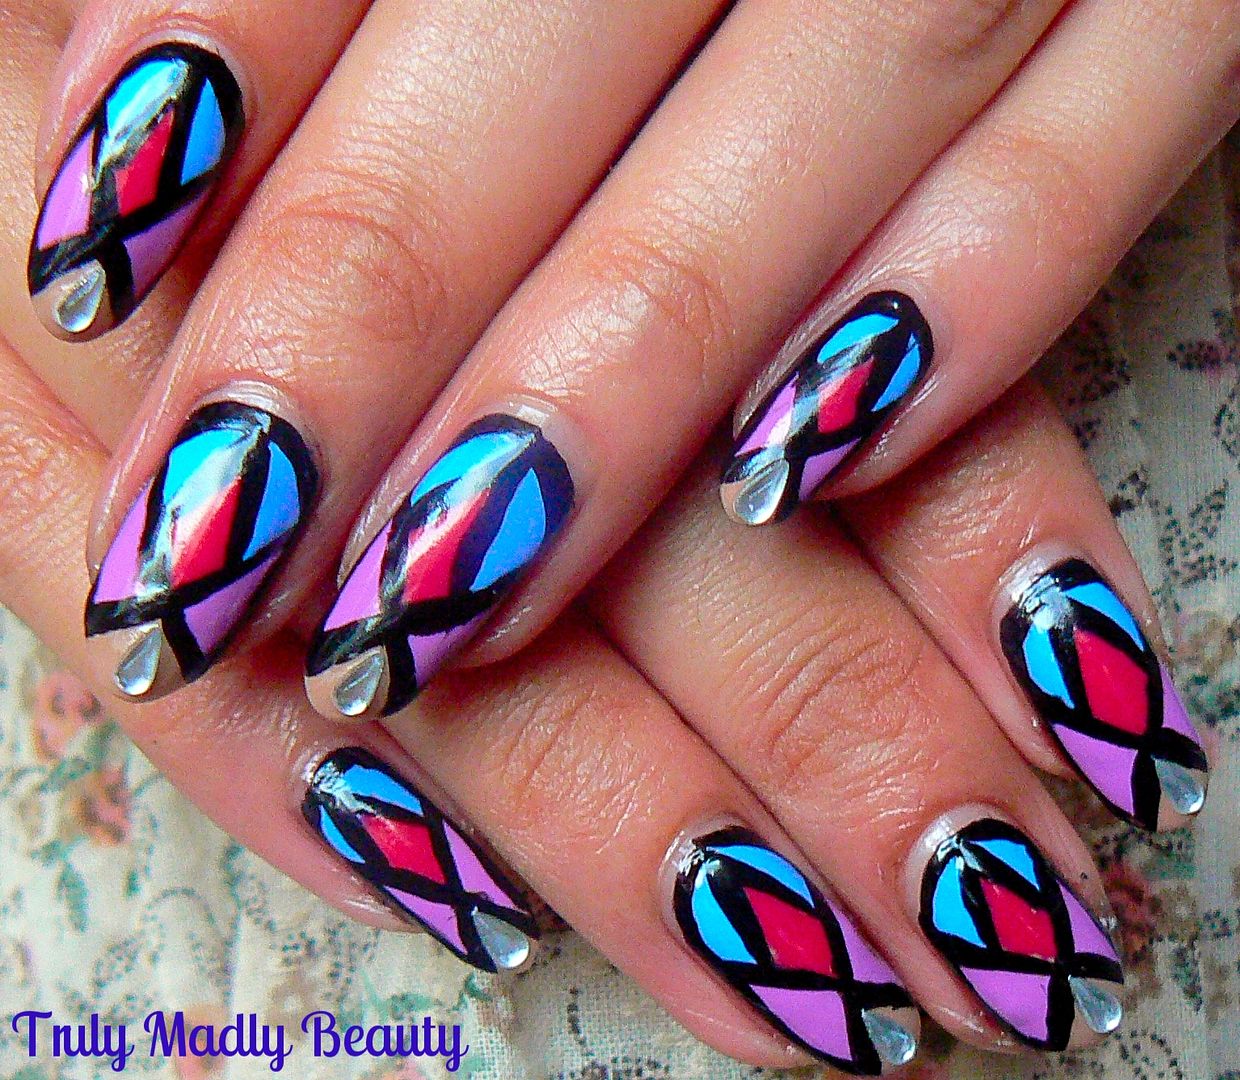
On the hunt for some nail-spiration recently I found myself looking at different types of stained glass nail art looks as its a design I've been wanting to try for ages. After having a play this is the finished look I came up with 


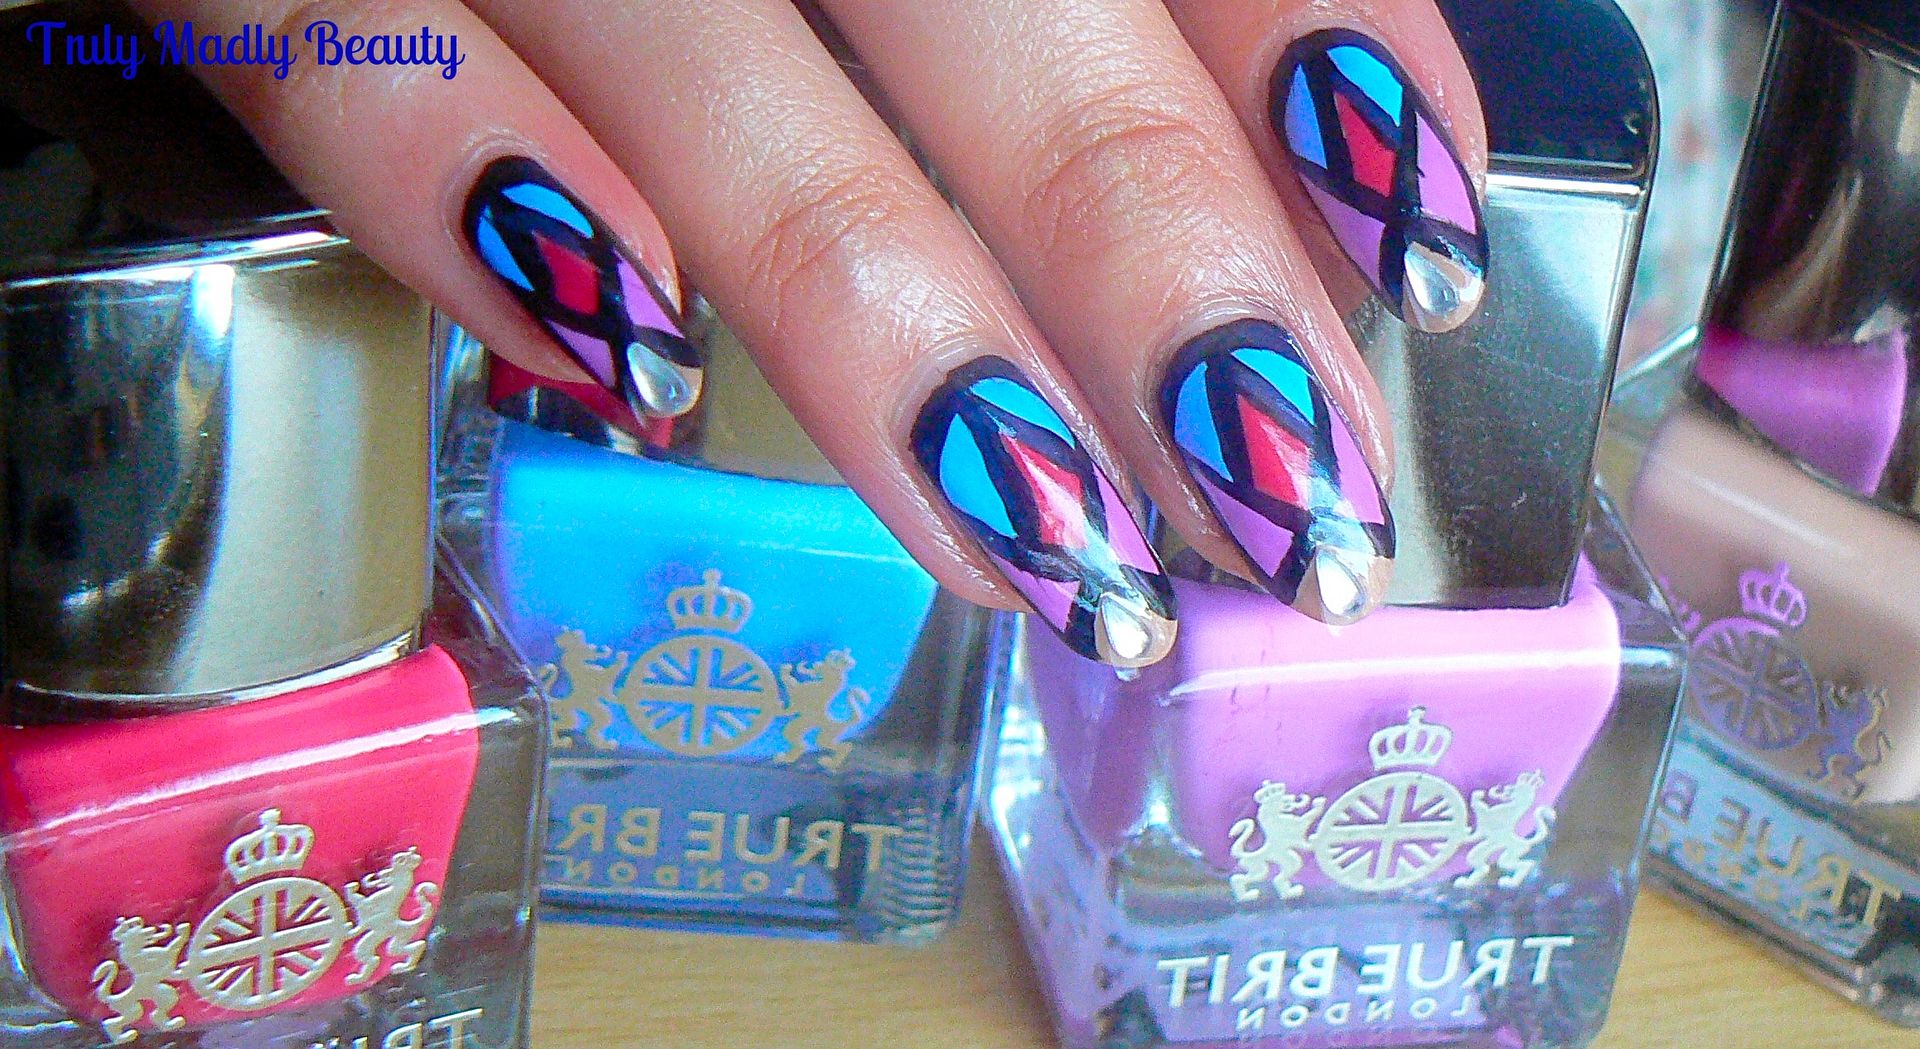
Rather than using foils or shards that everyone's been going gaga over, which does indeed look fabularse & I do wish to try at some point, I instead wanted to create a vibrant block colour design using cream polishes & for this I reached for some of my favourite True Brit London shades to achieve it.


Creating this look is super easy too & to show you how you can create these yourself I've done a step by step pictorial showing each of the stages for you to get your stained glass look nails!


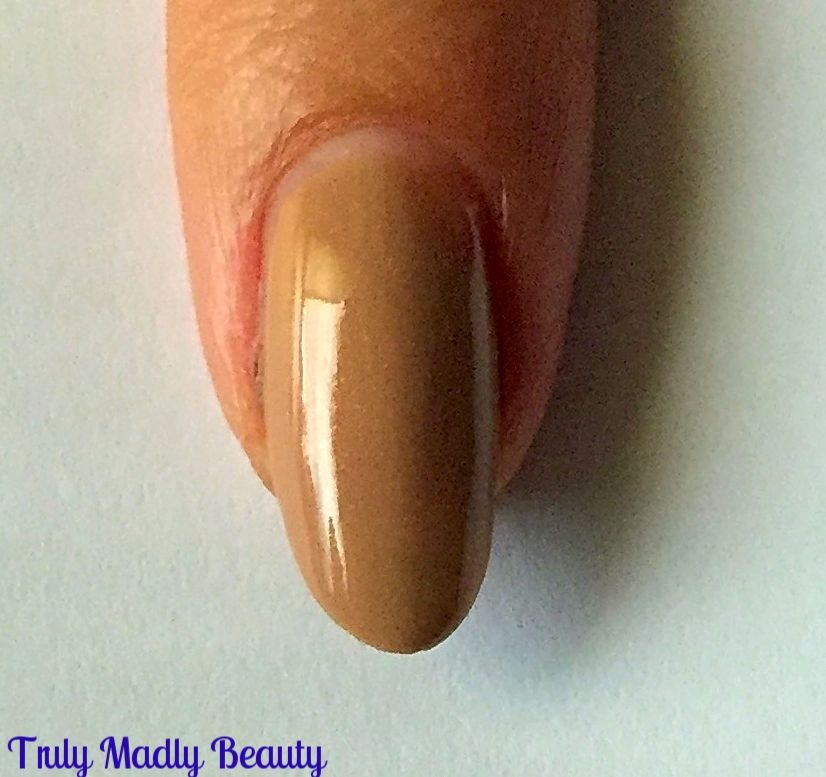
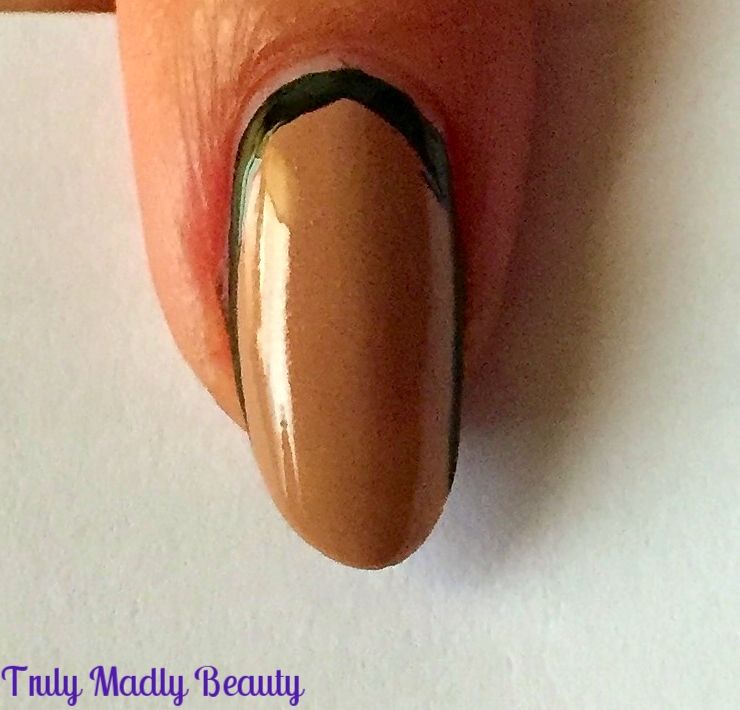
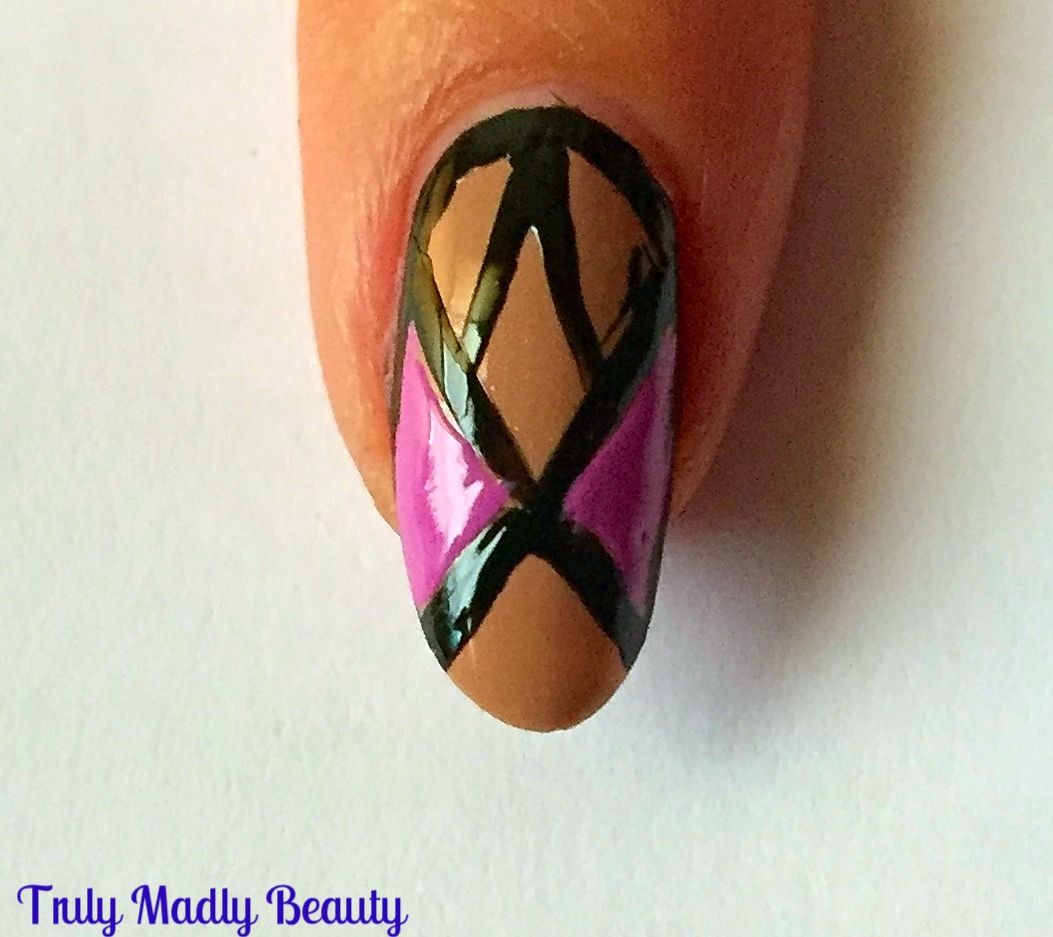
Start off with your base colour, as mentioned I've used only True Brit London polishes to create this look, here I've used The Summer House which is the perfect nude creme.


Next grabbing a nail art pen in black or a thin brush with some black polish, apply a thin black outline along the edge of the nail.


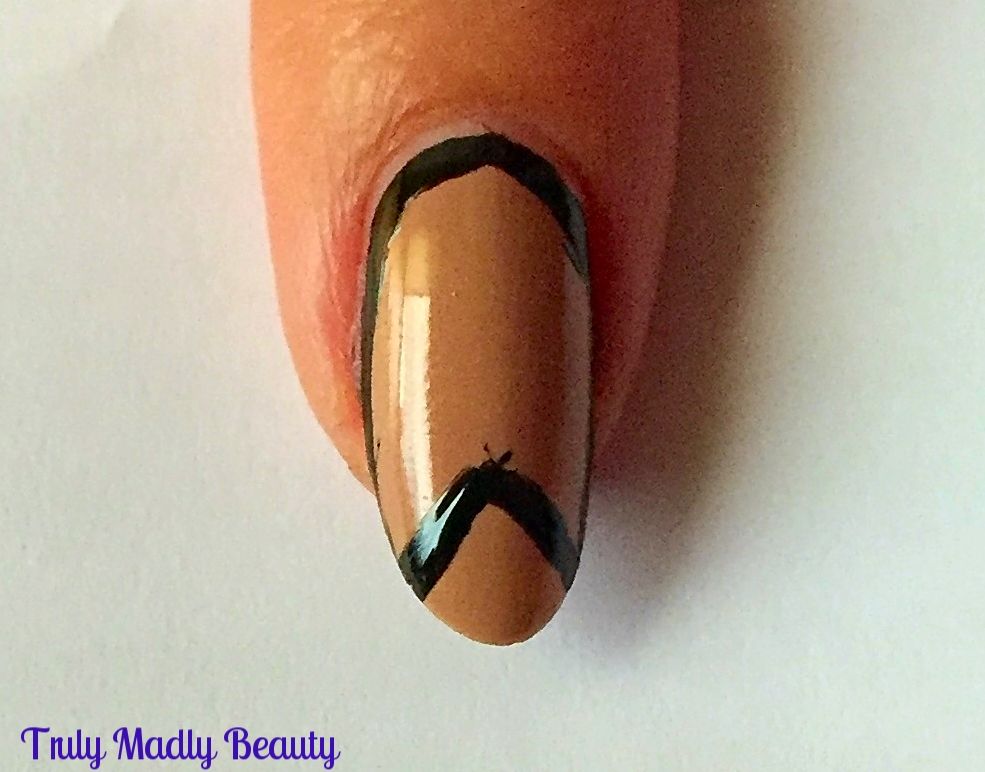
Now, still using your brush & black polish, apply two small angled lines on the tip end of the nail, coming to meet in the middle in a triangle shape.


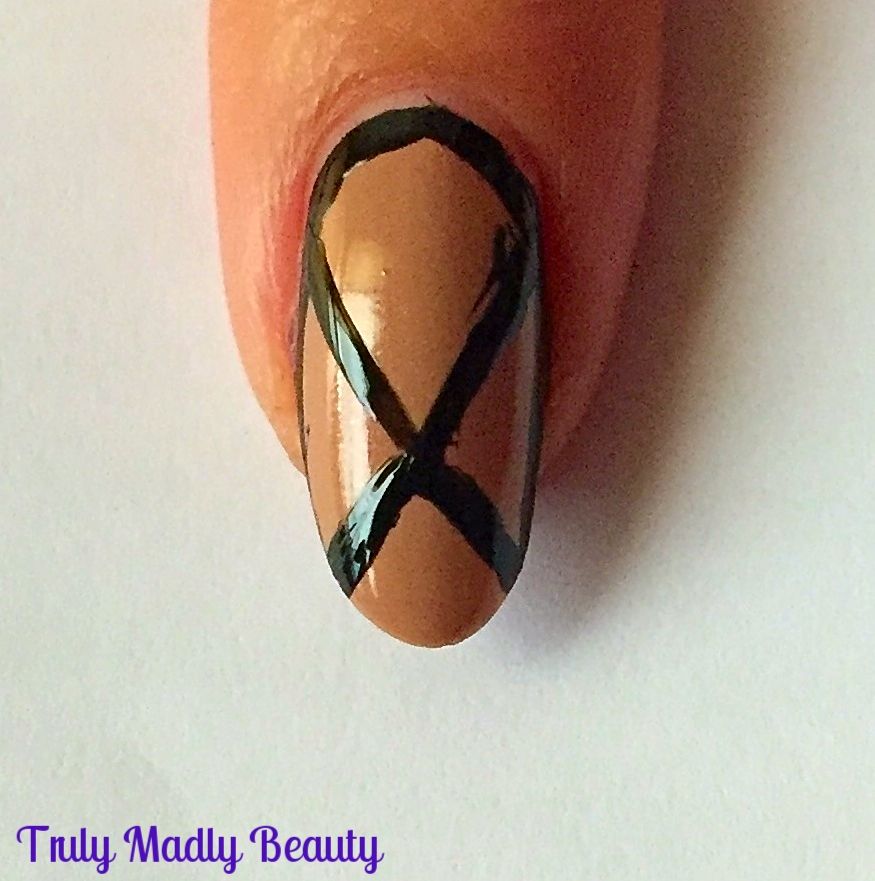
Then from the top point, continue with the black line, going in both directions to the bottom end of the nail, so you have a cross design that is longer on the top & shorter at the bottom like shown.


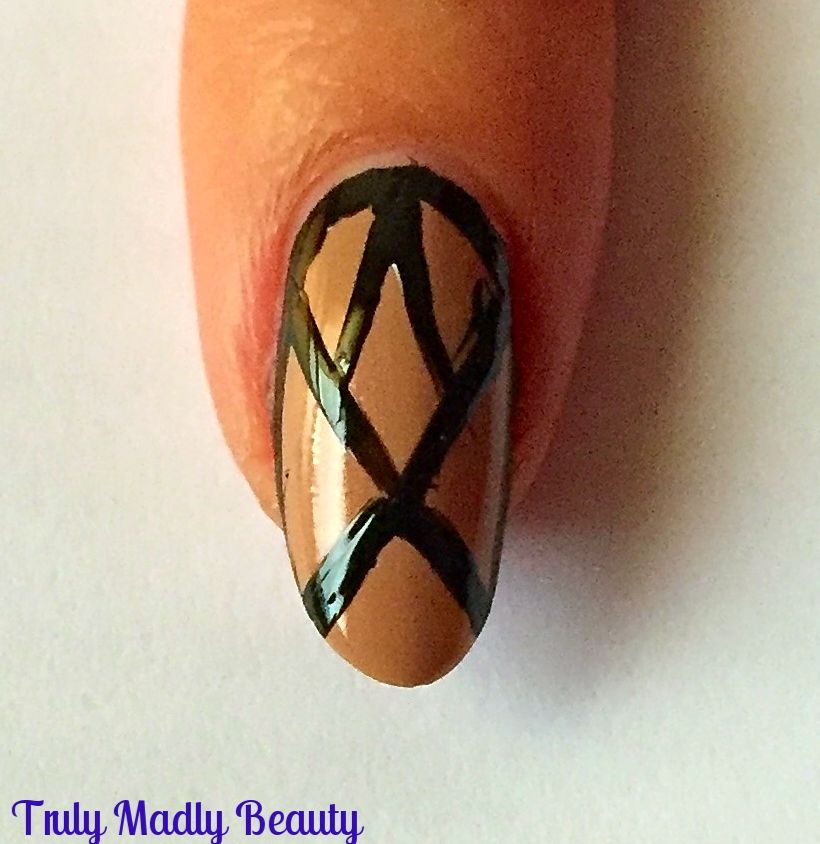
On the larger side of your cross, add on two more angled lines inside the space, meeting in a point at the cuticle like shown. This is your stencil for the stained glass design & its in all the triangle spaces you've just created where we can start adding some colour!


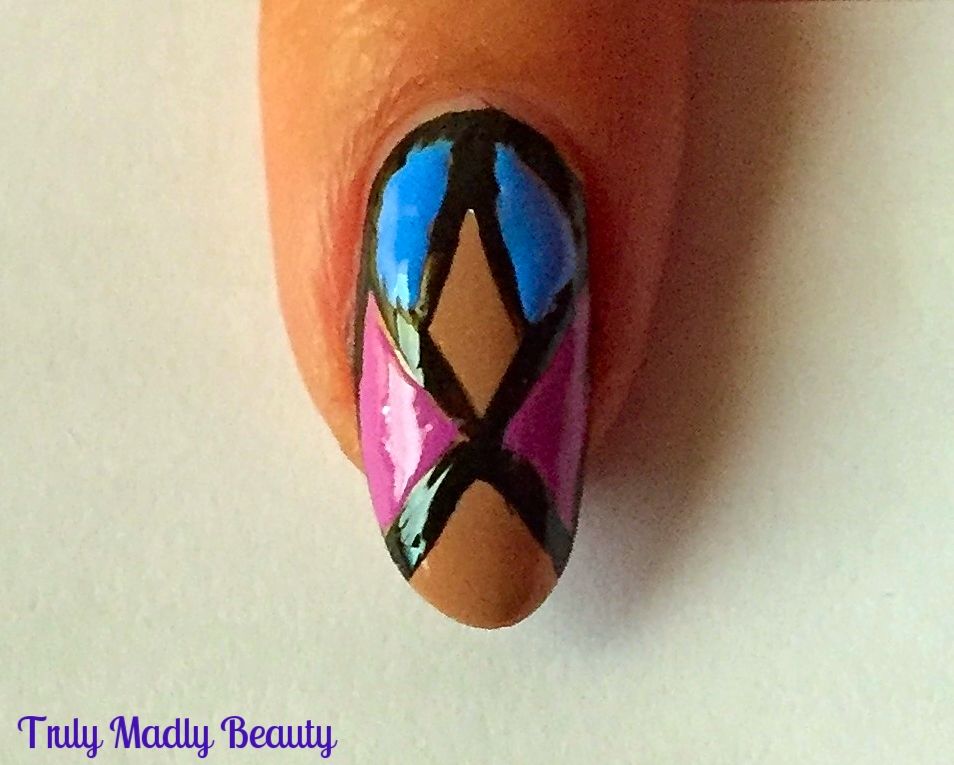
Starting with the pretty purple toned pink True Brit London 'Coat Of Arms', I used a thin nail art brush to apply the polish into the two side triangles


Next I reached for the beautiful baby blue creme by True Brit London 'British Blue' & applied this shade in the two bottom triangles


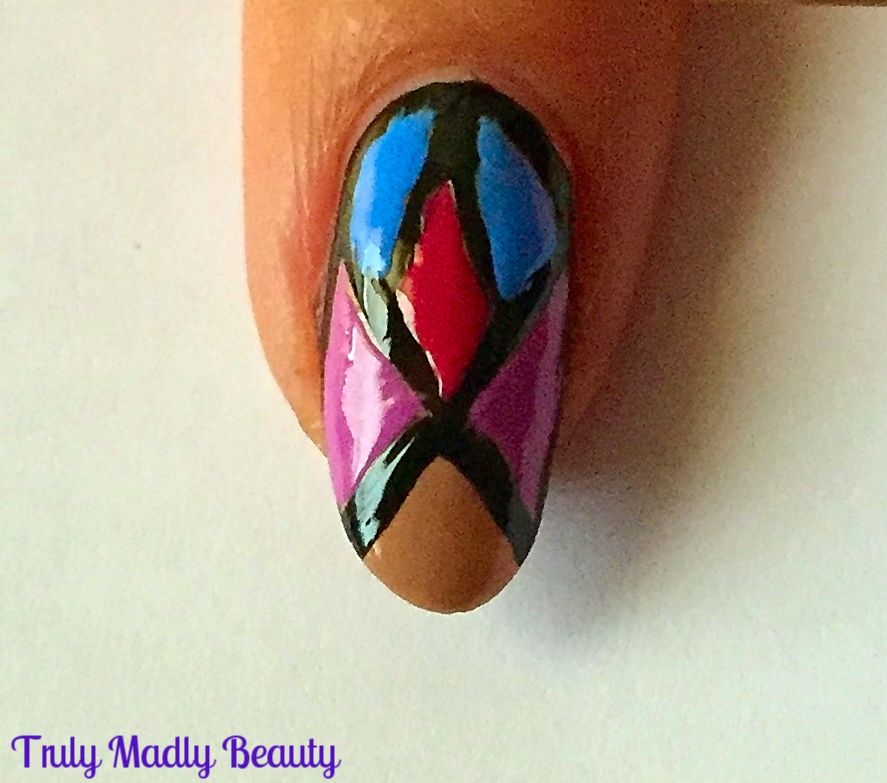
Finally I used pretty red True Brit London 'Portobello' to fill in the centre triangle, leaving the tip alone as I still wanted some of that lovely nude to show. For a final touch I add on a pretty glass rhinestone which I felt really enhanced the stained glass look!


Once you filled in all your colours, its time to just go over the black lines one more time, as some of the coloured polish may go over & you want that neat sharp finish.


Leave to dry for a few minutes before sealing with topcoat to avoid your black polish dragging & ruining all your work, which as you can see I was STILL a bit impatient with (whoopsie) & you're done!


Hope you like this design dolls, I definitely want to try using foils or shimmers for a true stained glass look next time! FYI you can get 10% off True Brit London polishes using my code TRULY10 ;) Thanks as always for reading! 

Lotsa love to ya!


5.12.2016

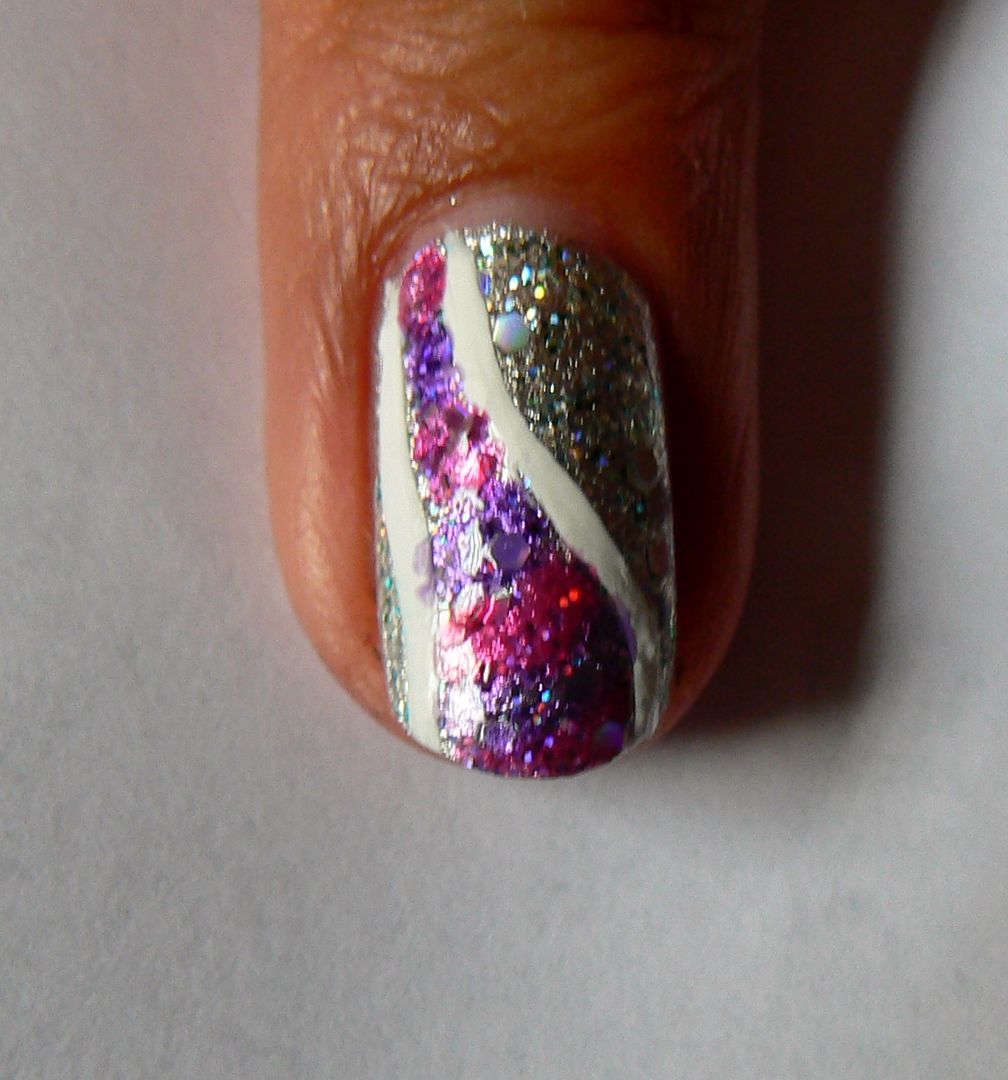
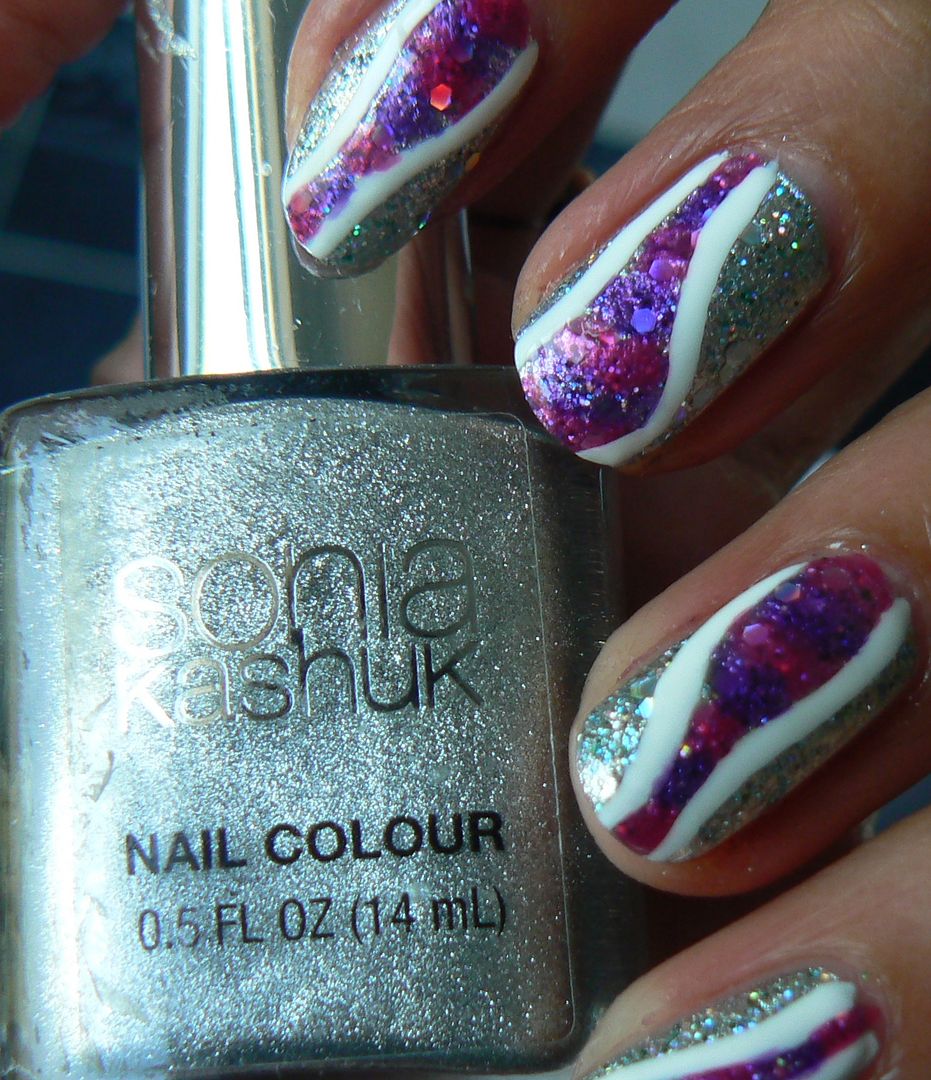
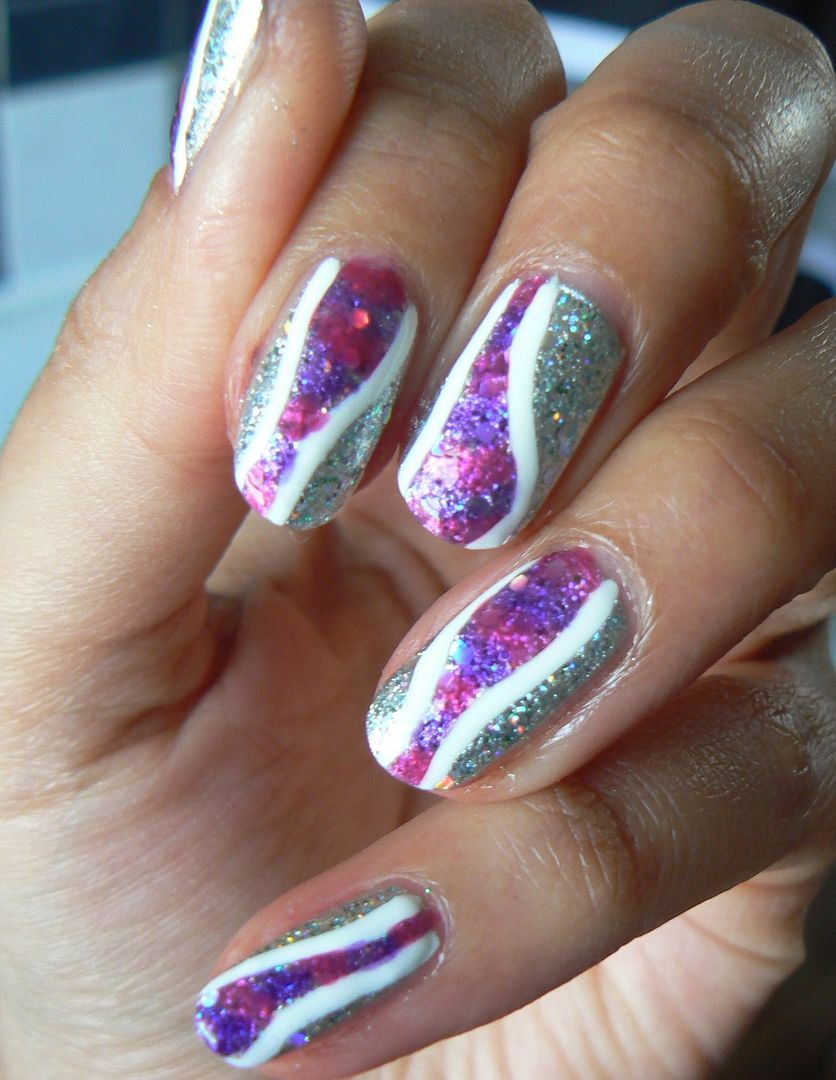
NOTD - Stained Glass Swirl Nails & Tutorial!

Hey there lovely readers!

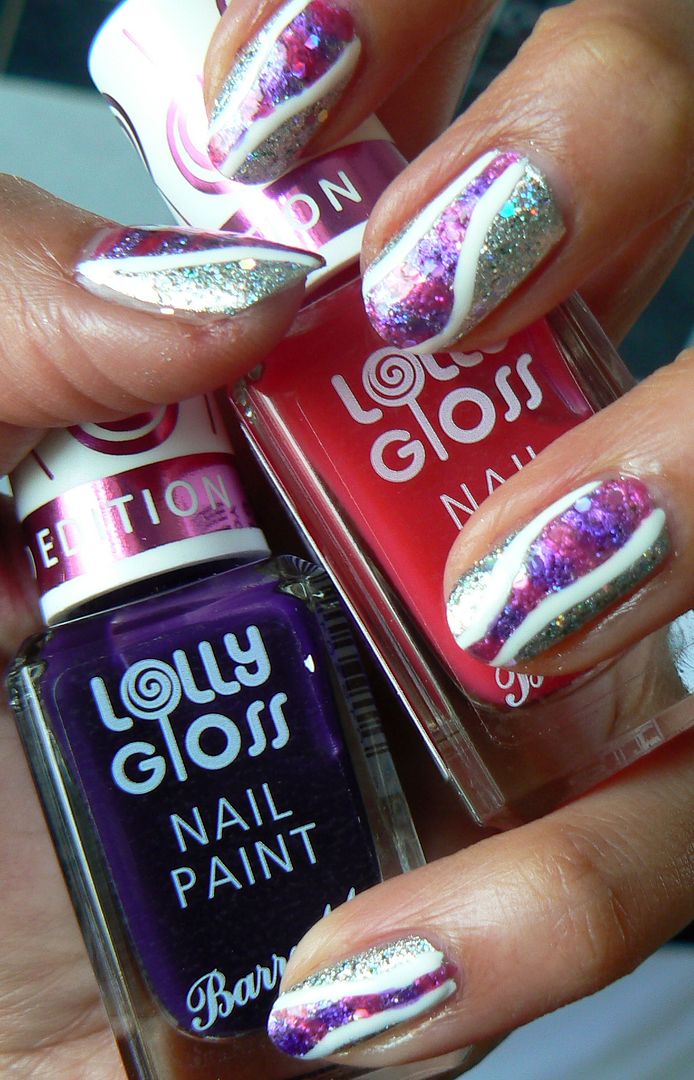
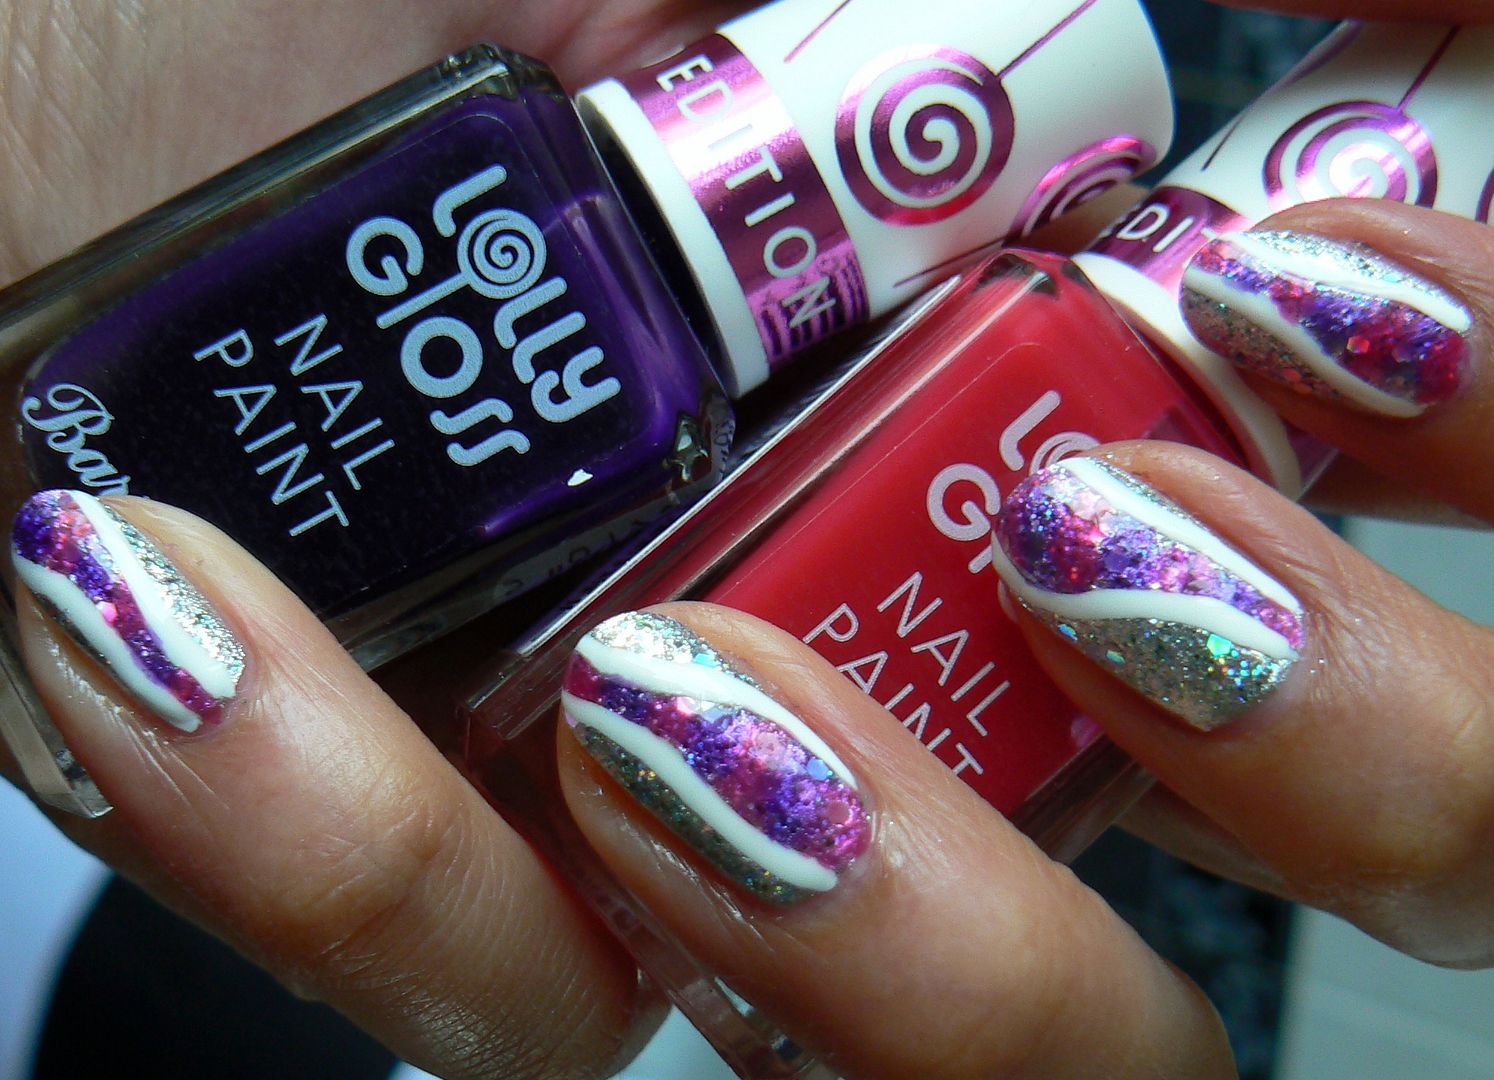
If you caught my last post, I recently added a few of the new Barry M releases to my collection including the Limited Edition Lolly Gloss Paints in Pink Candy and Purple Pop. You can see swatches of these sweet juicy jelly shades HERE.

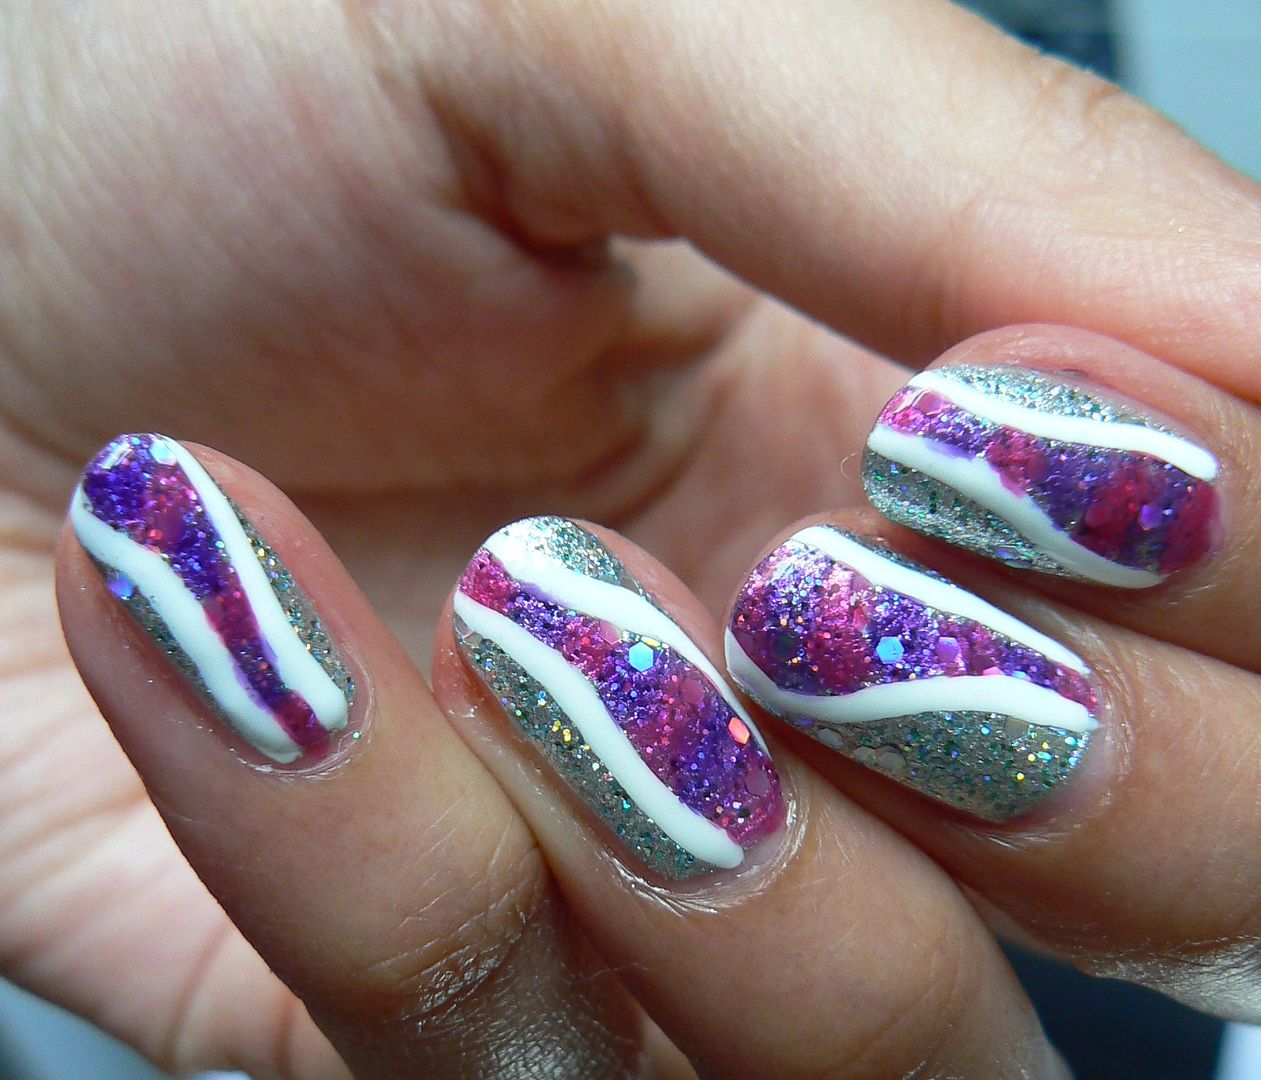
These polishes are sheer formulas therefore perfect for a bit of nail art experimentation! You can smoosh all the jellies together to create a marbled effect, apply on top of another shade to create a whole new one, dab on to silver or white for a watercolour rainbow look, similar to what I've done HERE. I decided to do a stained glass type effect using the Lolly Gloss on top of silver & glitter & this is what I came up with...


Instead of going over the whole nail I decided to just add the pop of colour in the centre in a swirl down the nail. 


For my base to really make the Lolly Paints pop I used not just silver but also a holographic glitter for extra sparkle!


To create the design I've done a simple step by step tutorial for you so you can recreate these too...


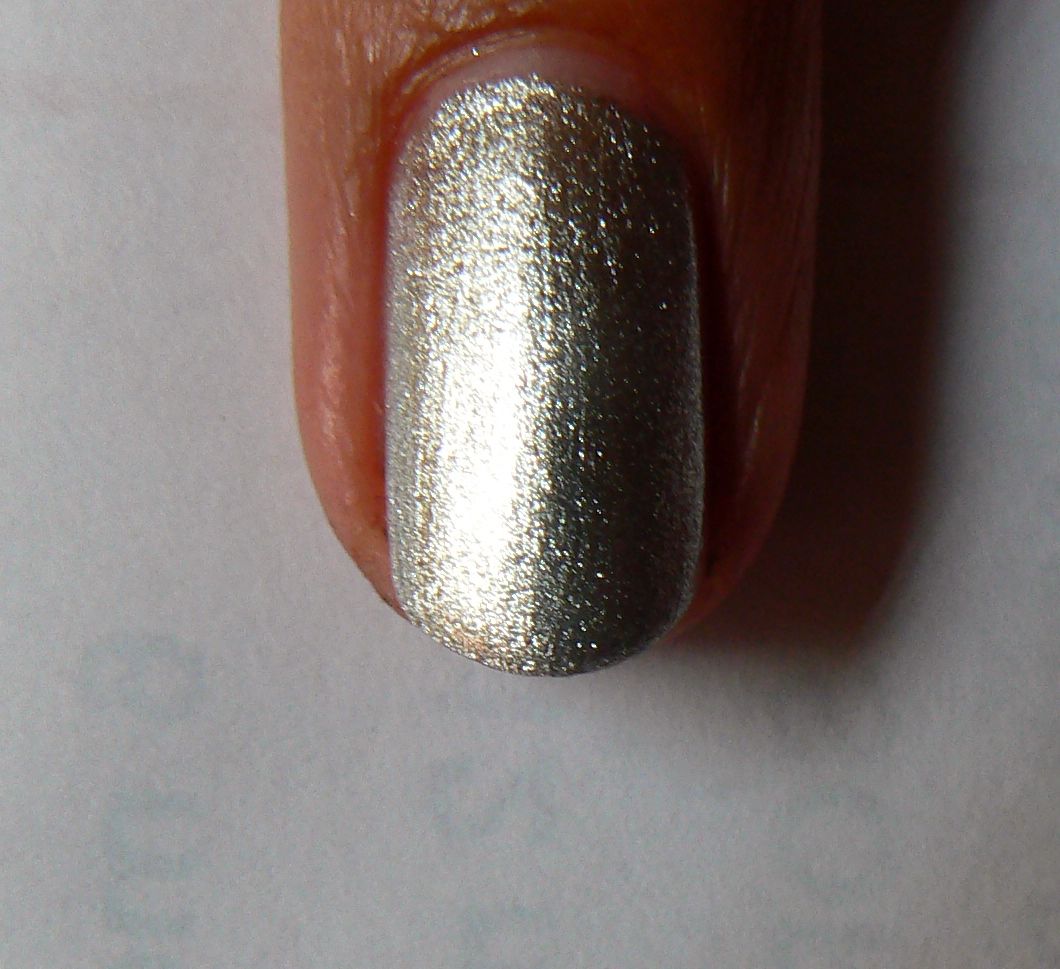
Start with your silver base, here I've applied one coat of Sonia Kashuk Smoke and Mirrors.


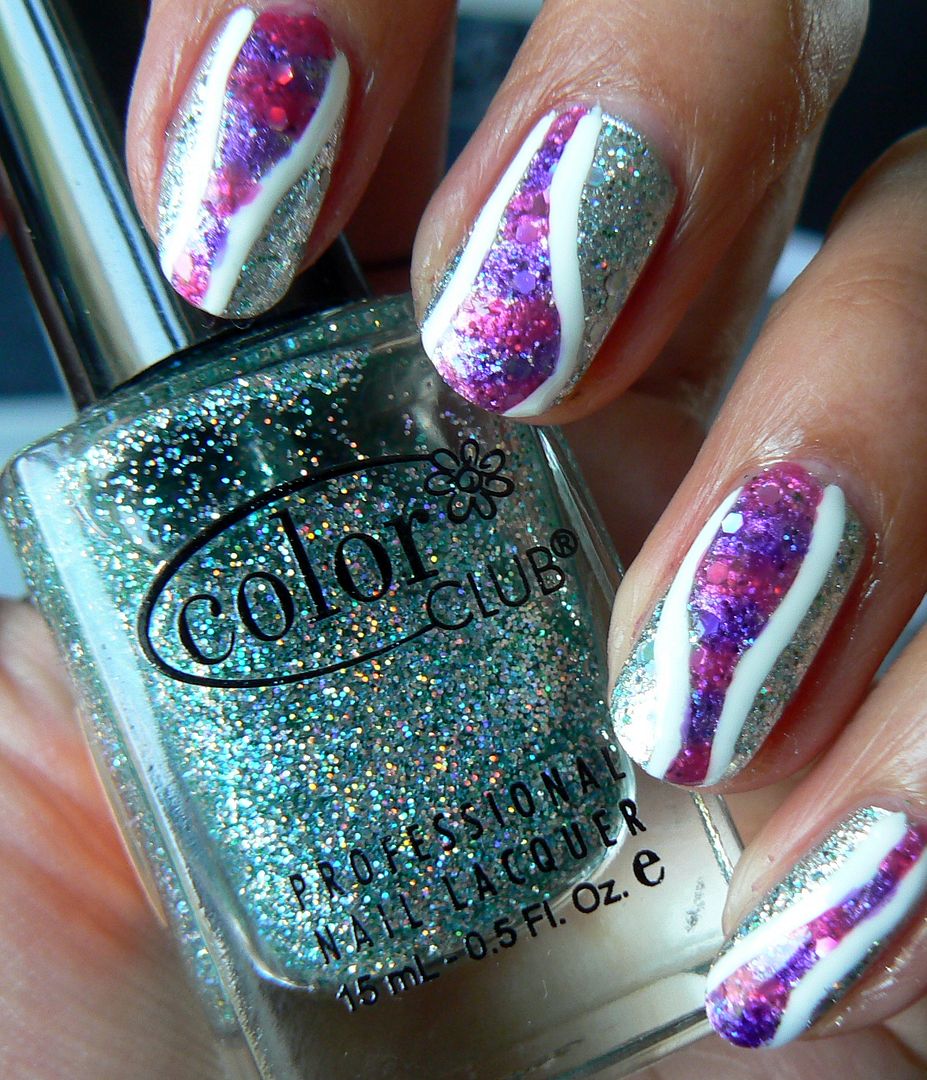
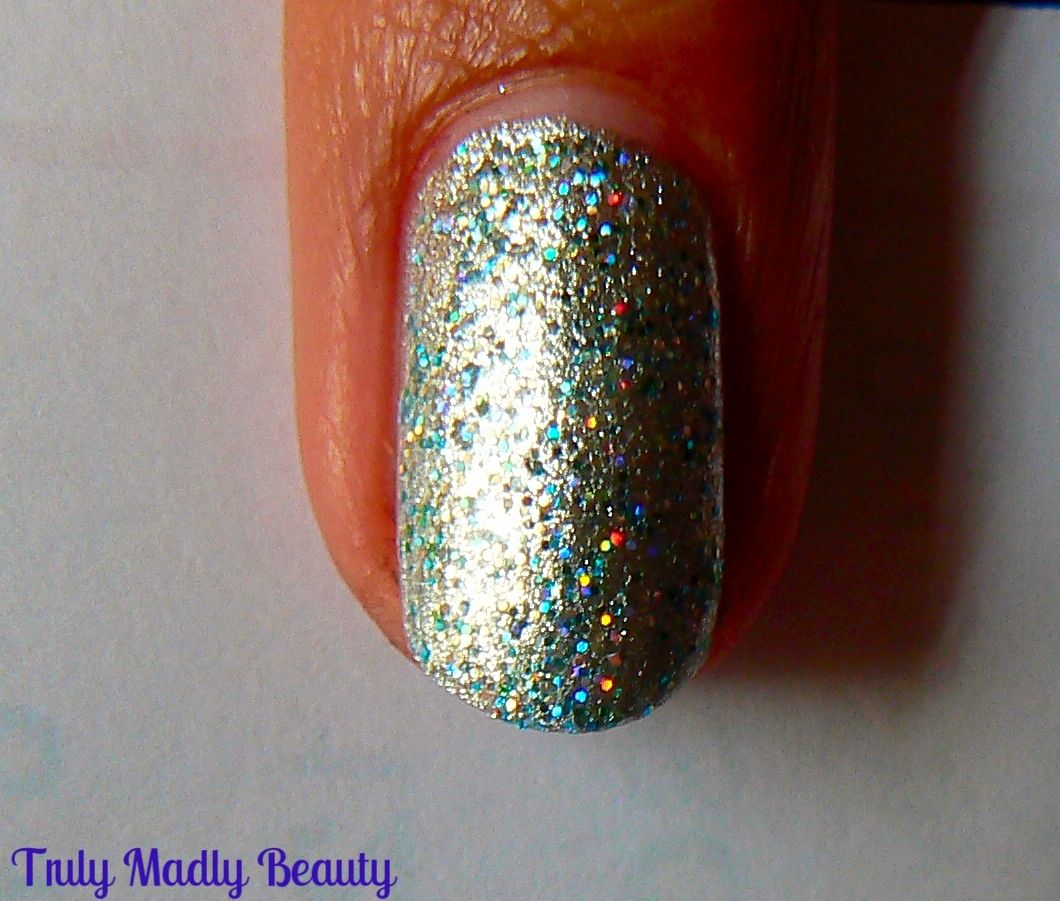
Next apply your holo glitter, the one I've used here is by Color Club & contains a rainbow of macroglitter that really makes the silver go disco!


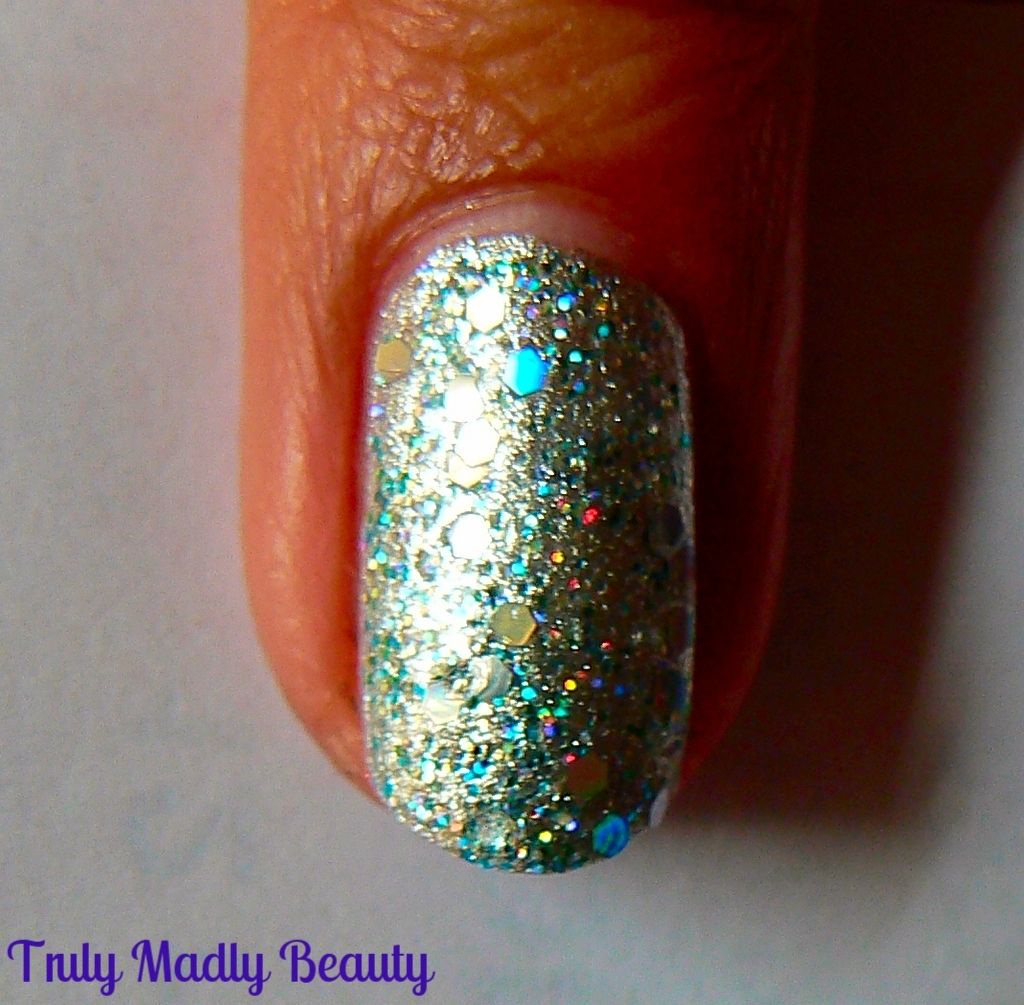
This was an additional step that you can skip but being the glitter fiend that I am I couldn't resist adding on a few large hexagonal holo glitter pieces using Barry M's Hologram


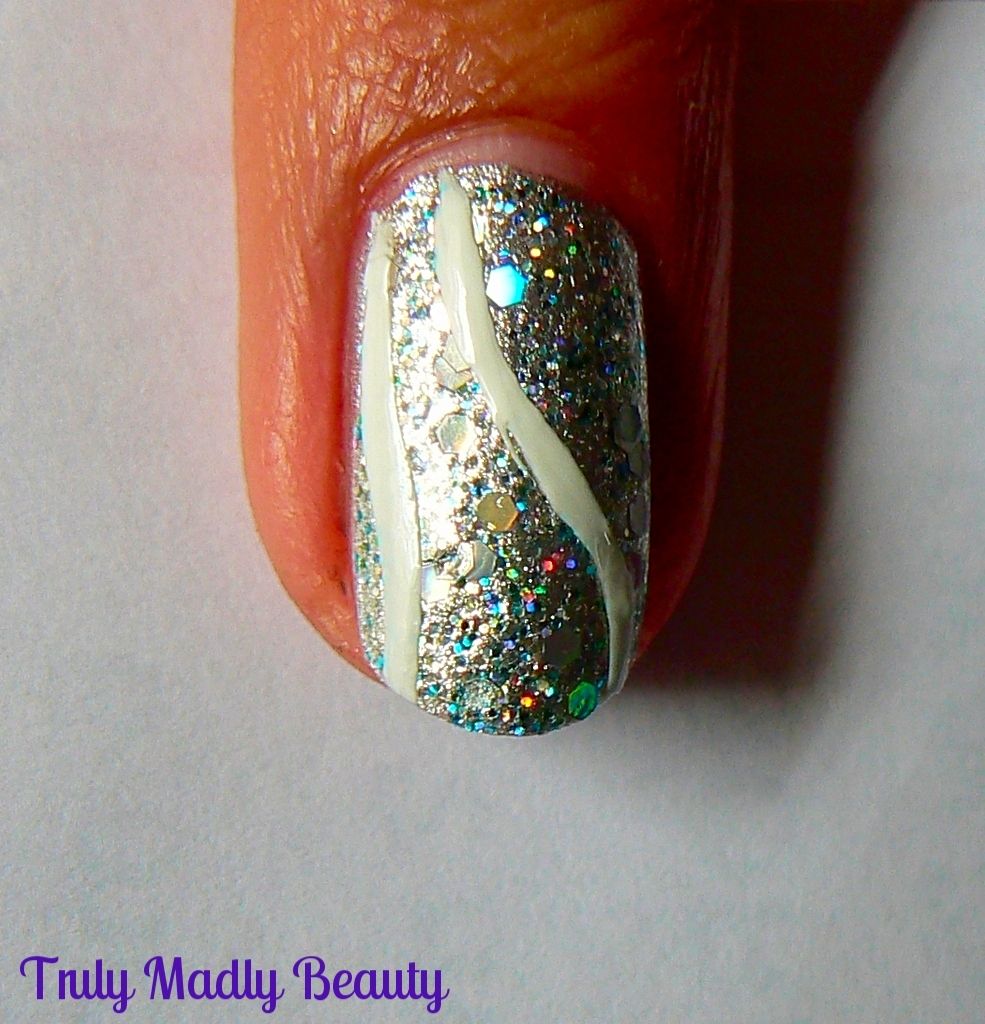
Next apply the white outline of where you want your stained glass pop of colour to be, using a nail art pen or some white polish & a thin brush


Then using 2 more smaller nail art brushes as the brushes that come with the polish will be too big/thick,start applying each of the Lolly Gloss Paints, here I have Pink Candy & Purple Pop, alternating between the two until you fill in the whole shape.


Don't worry if the colours merge into each other, you kind of want that to happen to help create the effect!


Once done, go over the white outline again, before finishing with a coat of topcoat & thats it!


Super sparkly stained glass effect nails! If there had been more shades available I would have definitely picked up more to create a multicolored rainbow finish! Hint hint Barry M... ;)

Hope you liked the design dolls, do let me know if you give these a try or have created your own designs using these or similar tinted polishes, I would love to see!

Lotsa love to ya!