Showing posts with label Nail care. Show all posts

8.04.2016

MicroCell Nail Repair Review - The Miracle Nail Treatment That Actually WORKS!

Hello there lovely readers!

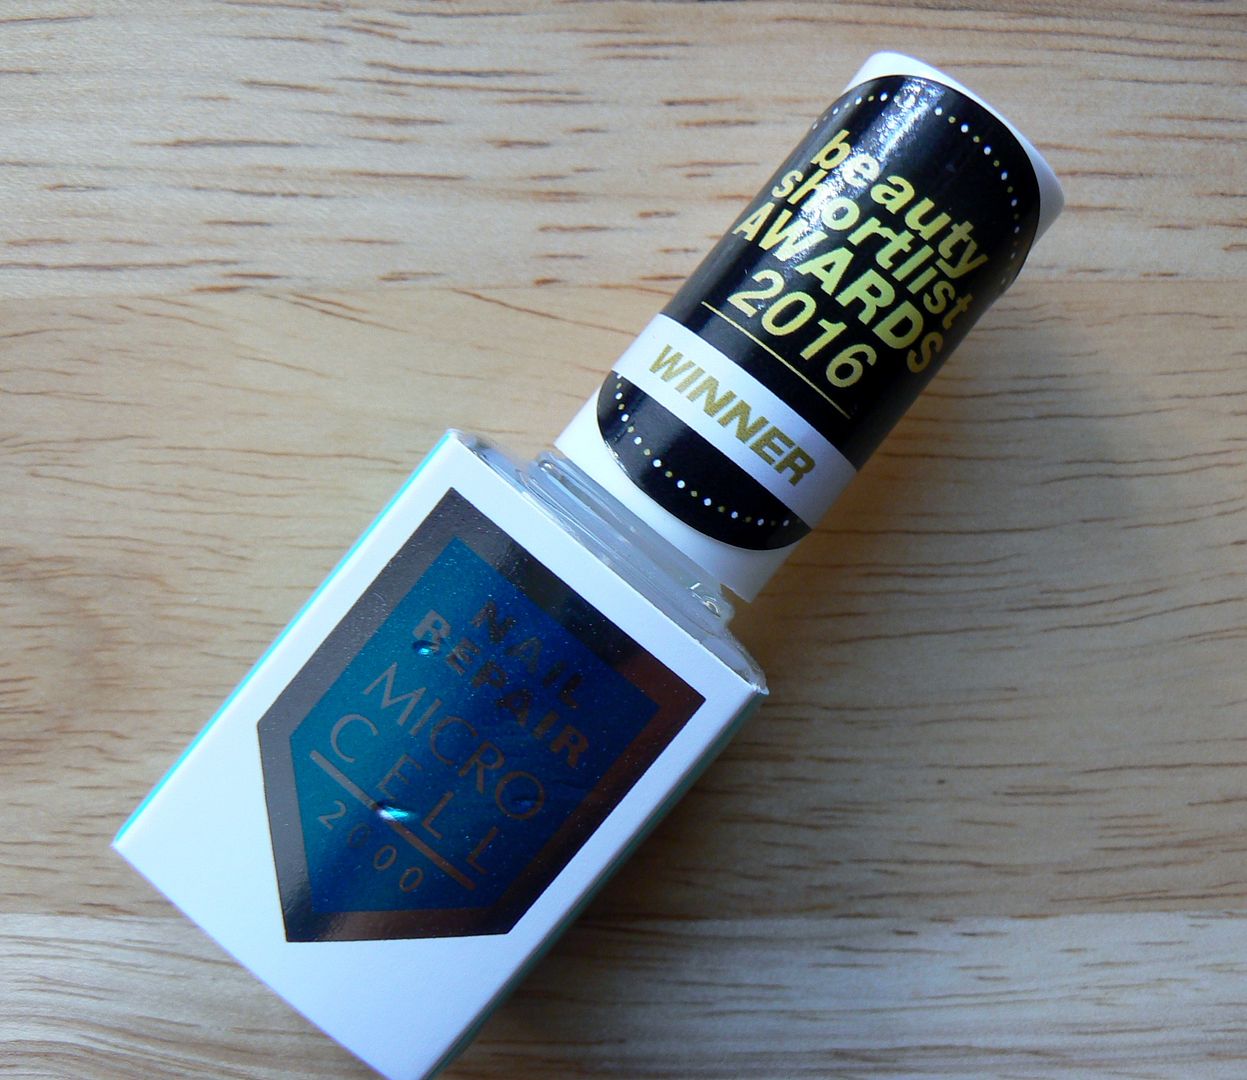
Every once in a while you come across a wonderful, world shifting, angel chorus inducing, HALLELUJAH product that pretty much changes your life. May sound a tad over the top but when such a rare occurrence does happen, tis a fortune of epic levels & is exactly the case with the product I eagerly share with you today. Dolls, I have FINALLY found a miracle nail strengthening product that actually DOES what it promises...may I present to you the little bottle of wonder that is Micro Cell Nail Repair*

If you follow me on my Twitter rambles (@aysh_tmb FYI) you may recall a time where I was forever tweeting my woes on the condition of my nails...yah...sorry about that O_o. But weak, brittle & breaking, which for a nail blogger is hell I'm sure you'll agree, I was at my wits end!

And believe me when I say that I have tried EVERY method known to man in an attempt to help including diet changes, taking all manner of supplements & using countless different nail treatments, yet nothing worked, until now.
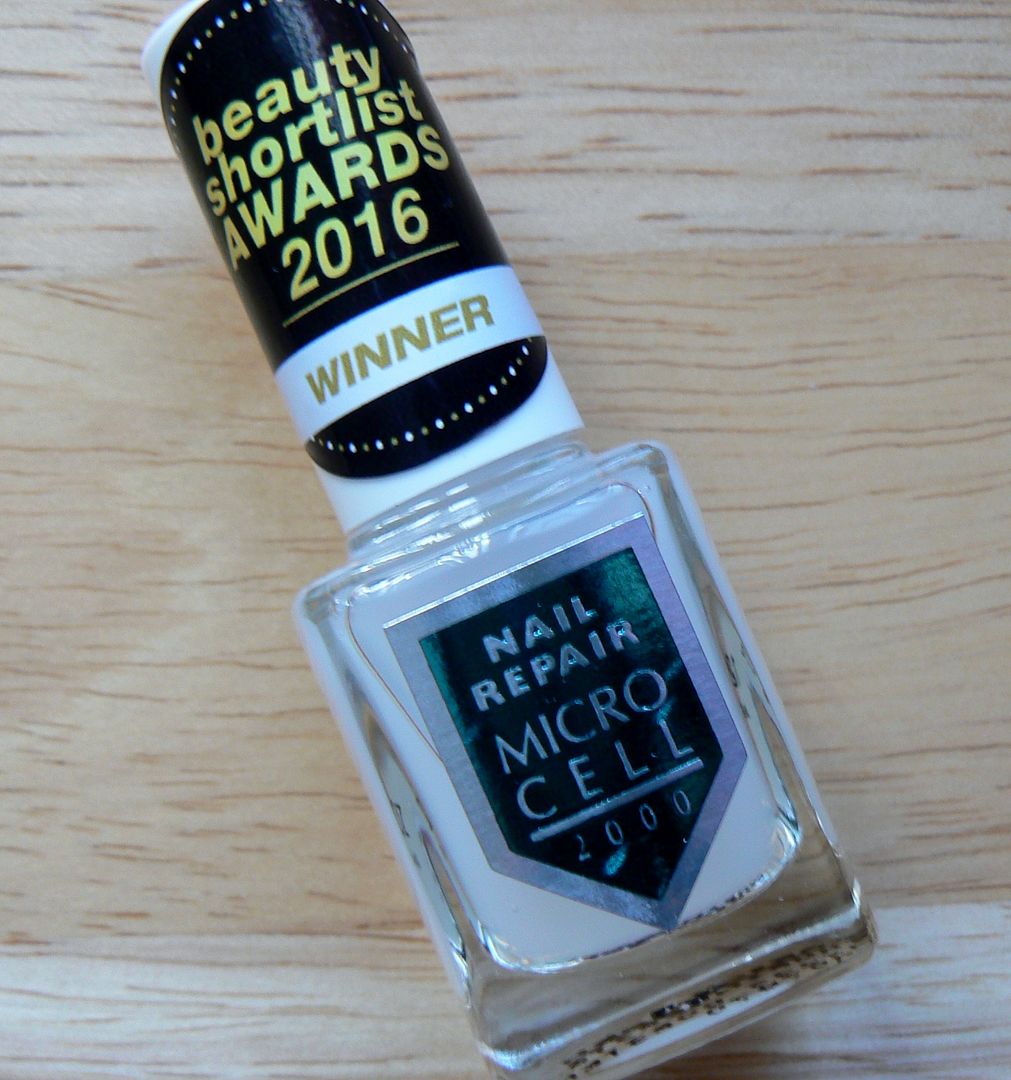

About to admit defeat & accept that I was destined to have weak nubbins for eternity, it was at this point I came across a bottle of MicroCell Nail Repair which I'd received at an event a while back. Figuring I didn't have much to lose I decided to give it a whirl & my word....I was blown away by the results.
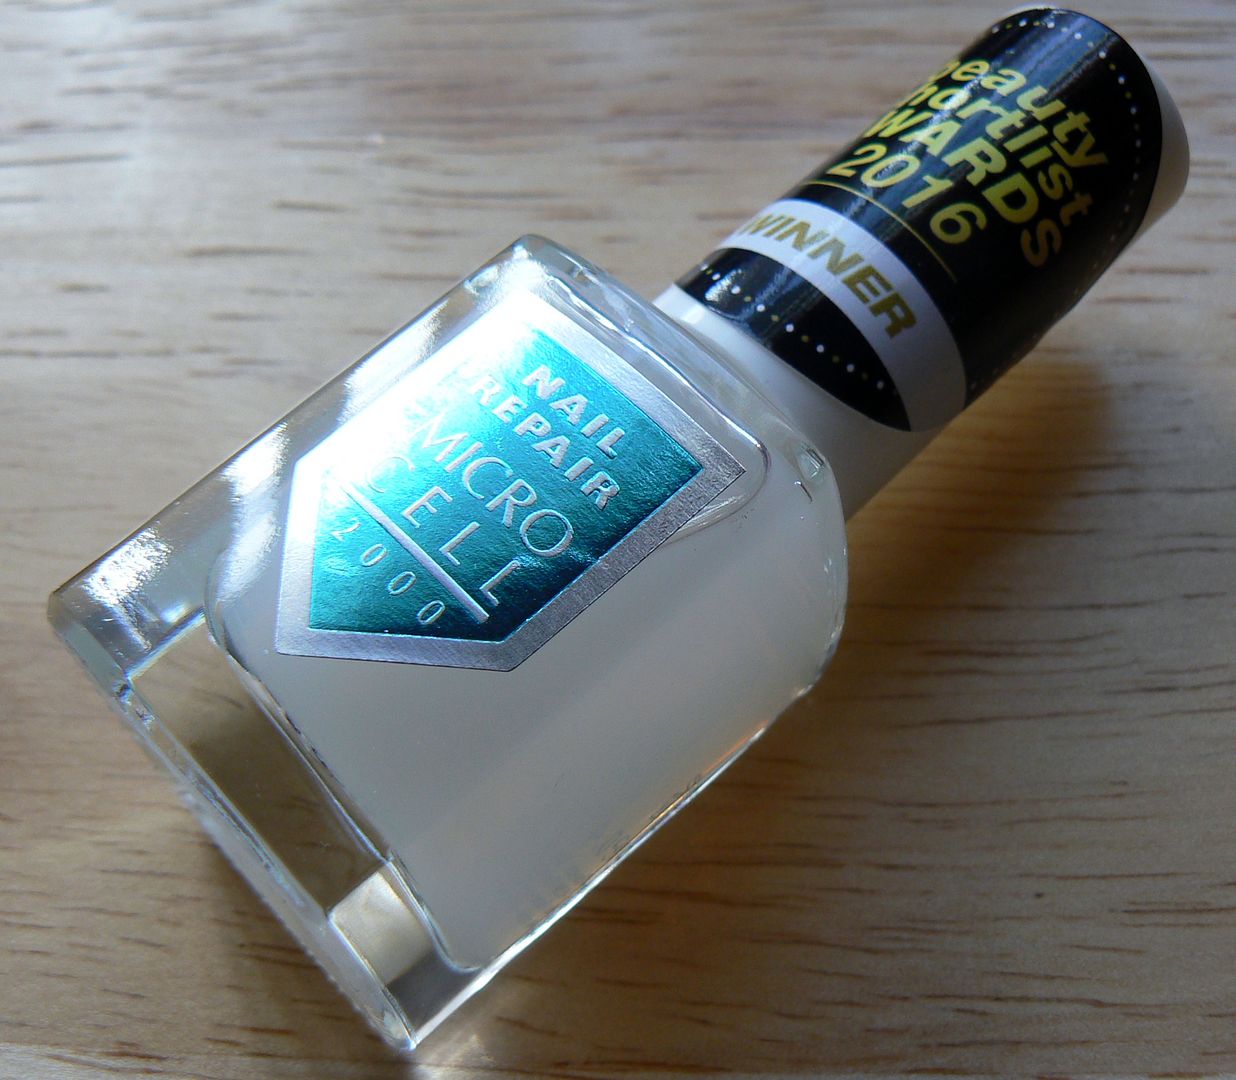

Lets face it, there are products out there which promise a multitude of miracles yet never deliver *looking at you here Sally Hansen* It does make one dubious & cautious when trying out new products, bracing yourself for disappointment at another fad. NOT the case with the MicroCell Nail Repair & I can fully understand why this little bottle of elixir is an award winner.
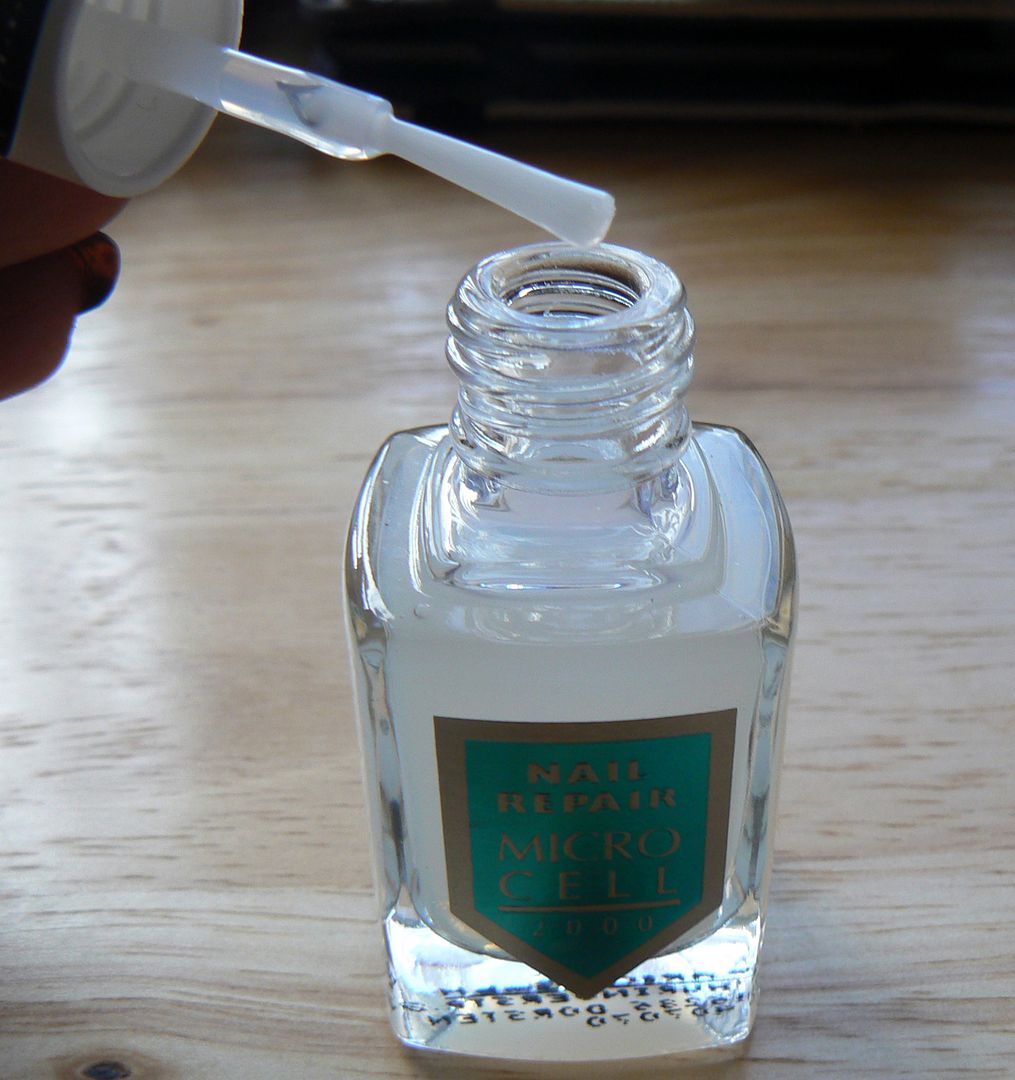


The Nail Repair is a treatment which is applied to clean bare nails nails once a day over two days, removed, then applied again, As I rarely am without polish I've been applying the Nail Repair as a base coat & I noticed the difference within just a week.

Not only did my nails finally seem to be growing, but the brittle weak condition had all but disappeared & they visibly looked & felt so much stronger.
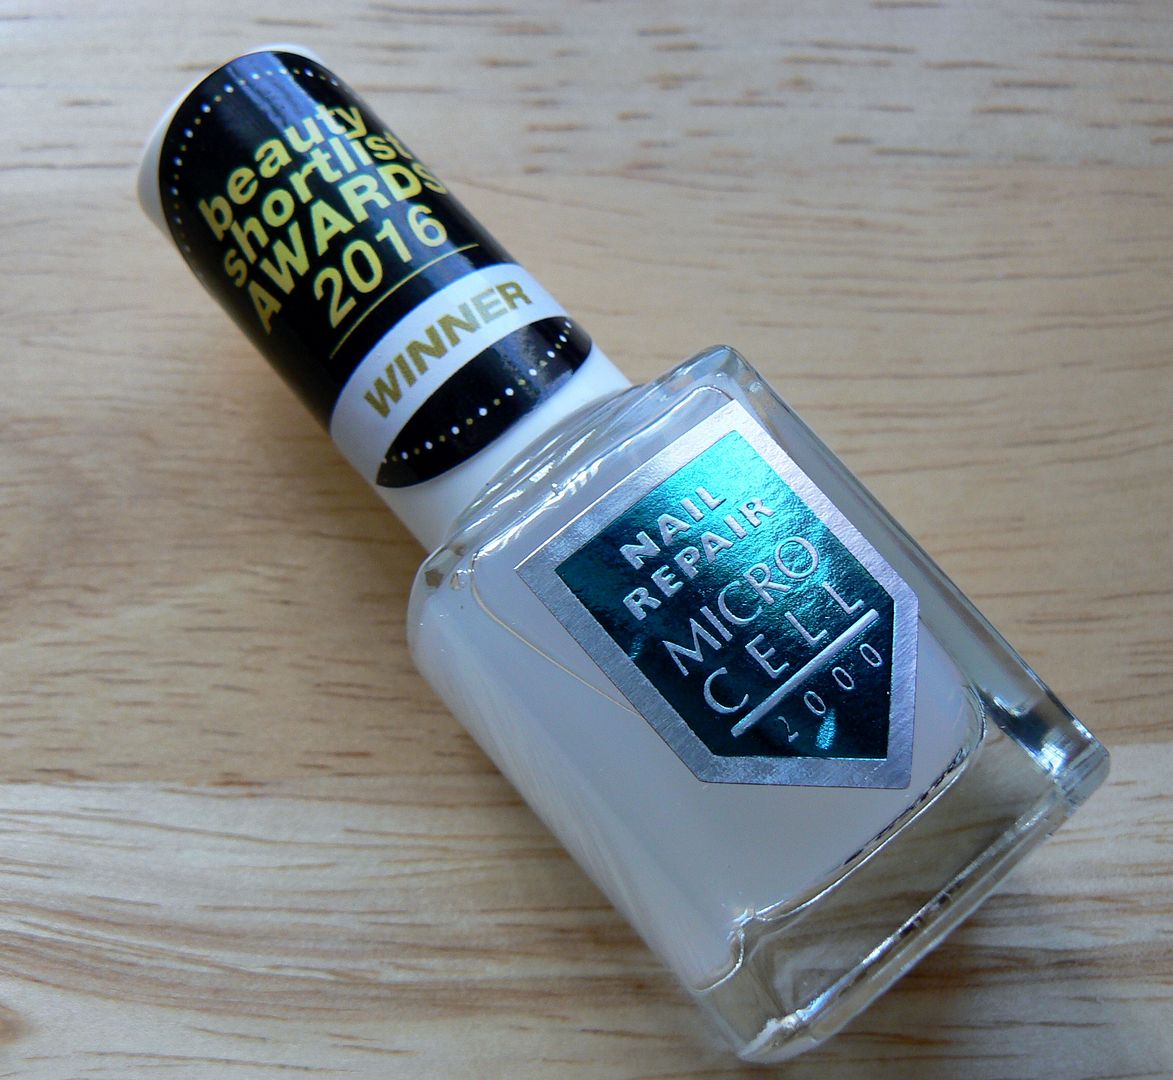

Another week went by where I was fully bracing myself for the inevitable breaking but nope...still they grew....

Three weeks later of applying the Nail Repair & my nails are the longest & healthiest they have ever been & in incredible condition...*cue all the hallelujahs & praise the nail gods* Aysh is a happy bunny!

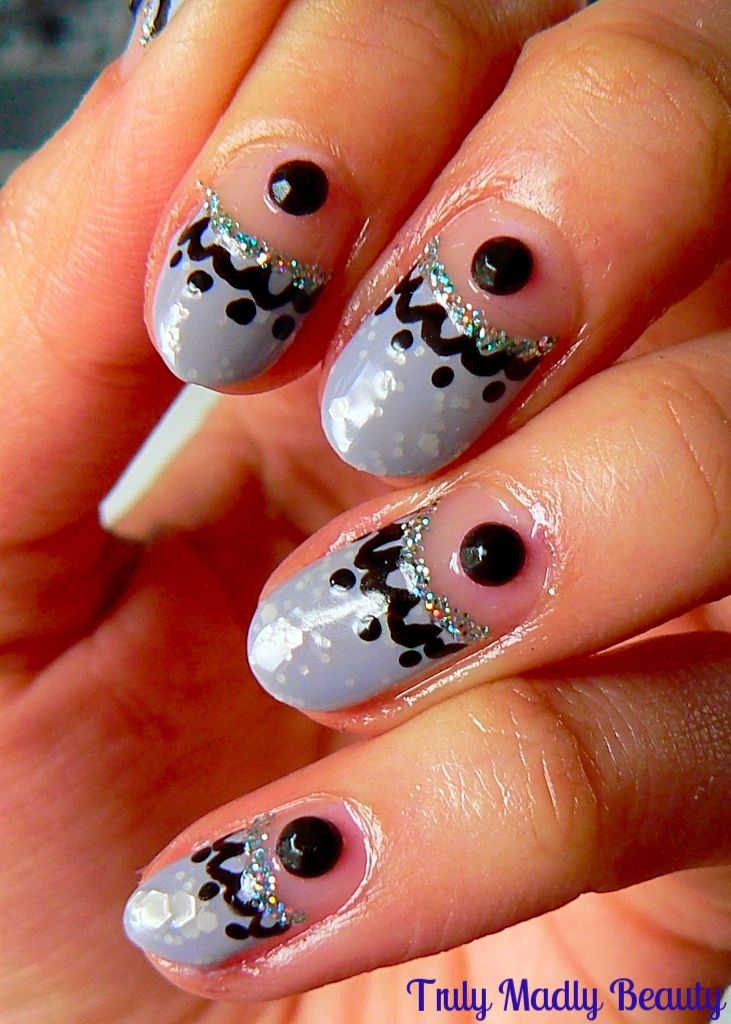
Just to give you a bit of an idea of the difference its made here is a mani I posted over a month ago when my nubbins were at their worst...

And below is a mani I Instagrammed last week (@aysh_xox...currently obsessed with magnetic polishes, remember those?!)
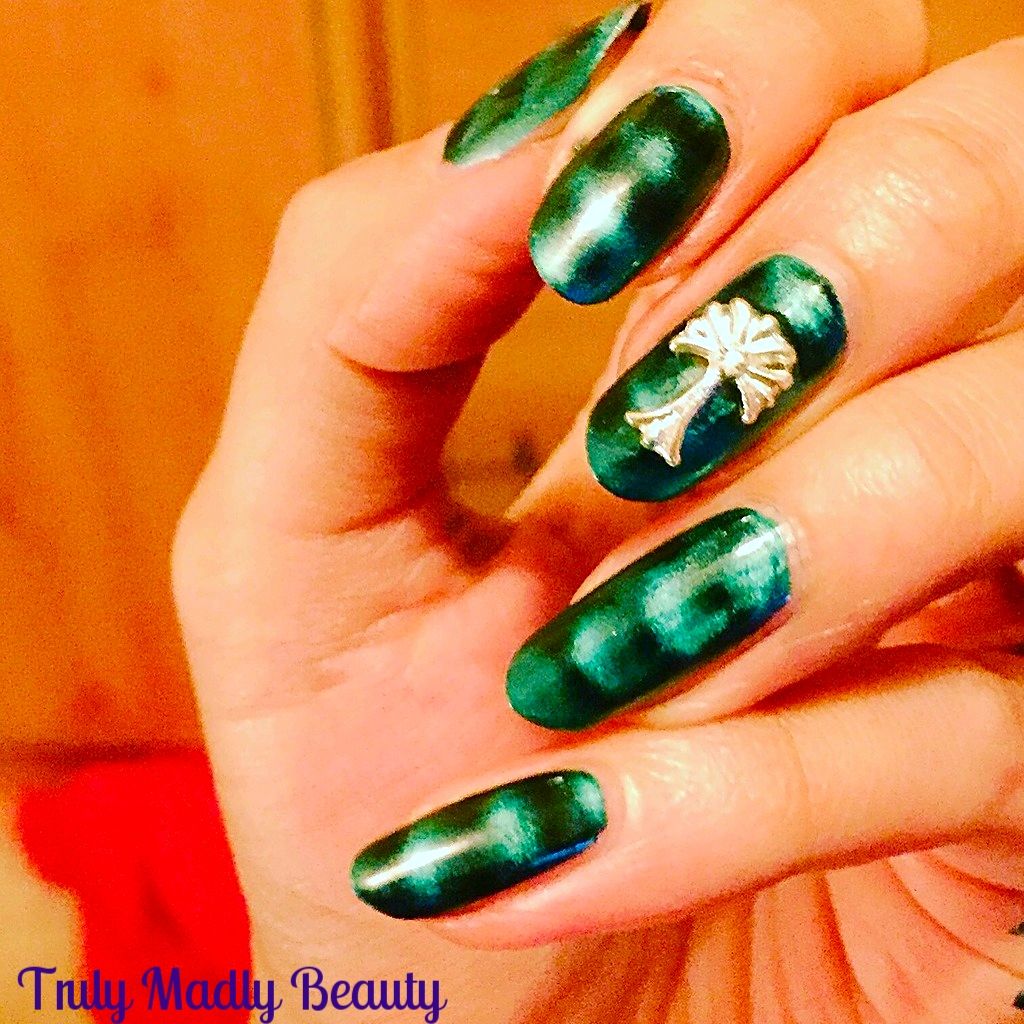

The pics speak for themselves really huh? MicroCell Nail Repair...I bow to you in thanks. RESPECT. This little miracle product has now replaced all of my basecoats & has pride of place on my table. As I do have a number of different ones, I alternate so they all get usage, but its always with a squee of delight when I know its MicroCells turn ;)
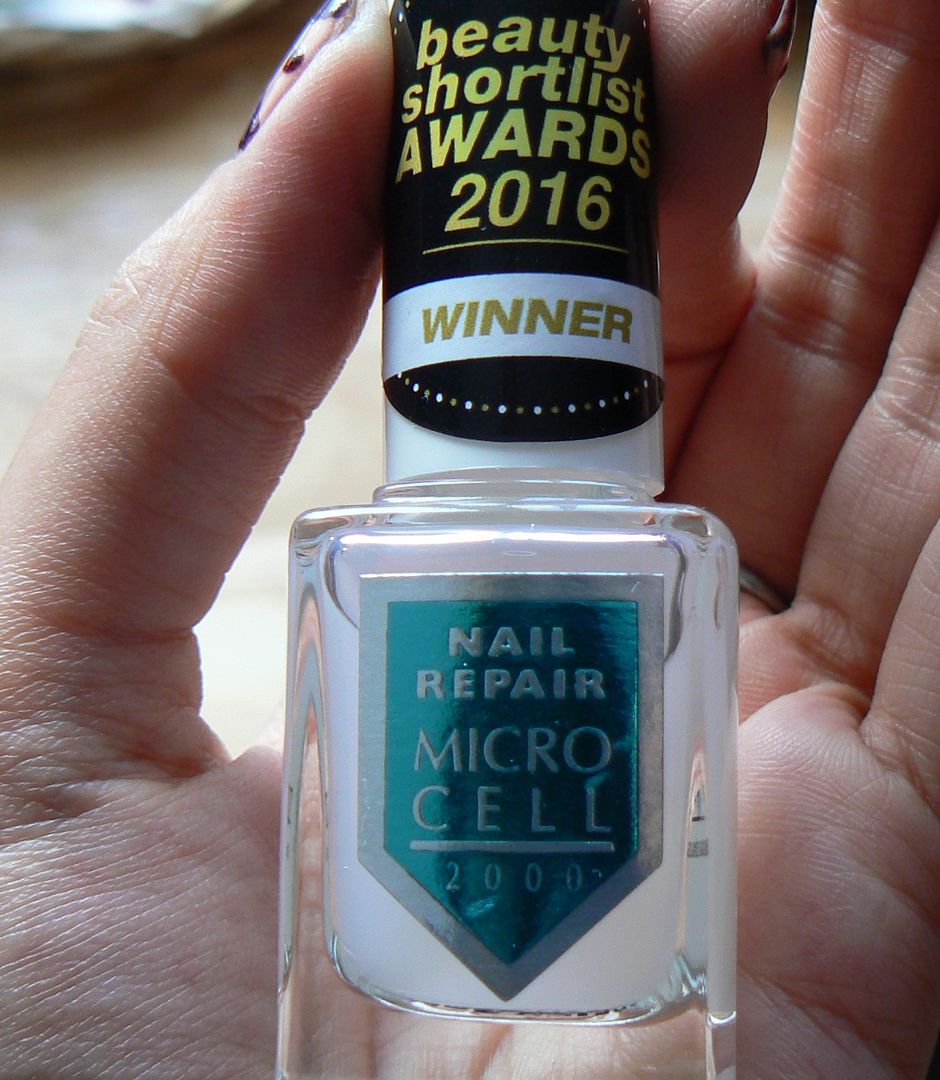

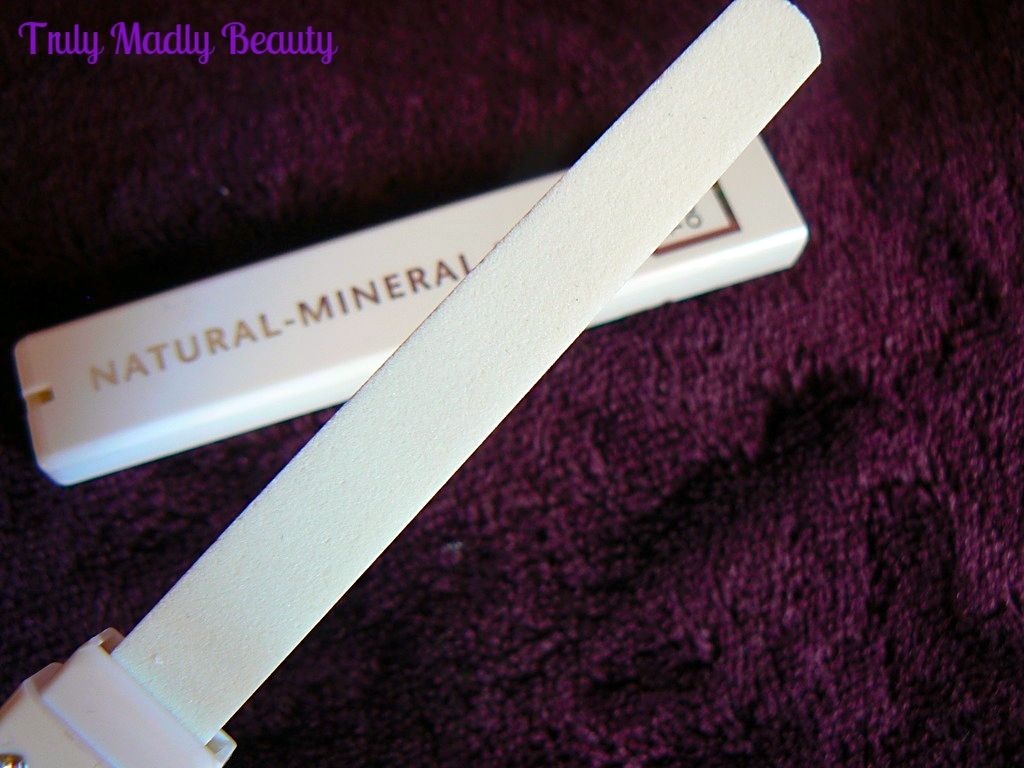
There is a range of other nail care products available from MicroCell including the Nail Wonder, a topcoat treatment I've yet to try but another gem I've become besotted over is the brilliant Natural Mineral nail file* (£14.50) which can be used on both bare & varnished nails. It smoothens & files the nails beautifully without harsh damaging, sealing any rough brittle edges.

The MicroCell Nail Repair is available in Selfridges as well as online for £18.50. Now this may seem a tad dear at first but when I factor in the amount I've spent on supplements plus countless other treatments that very much FAILED....lets just say I will happily purchase & re-purchase this till the end of my days.
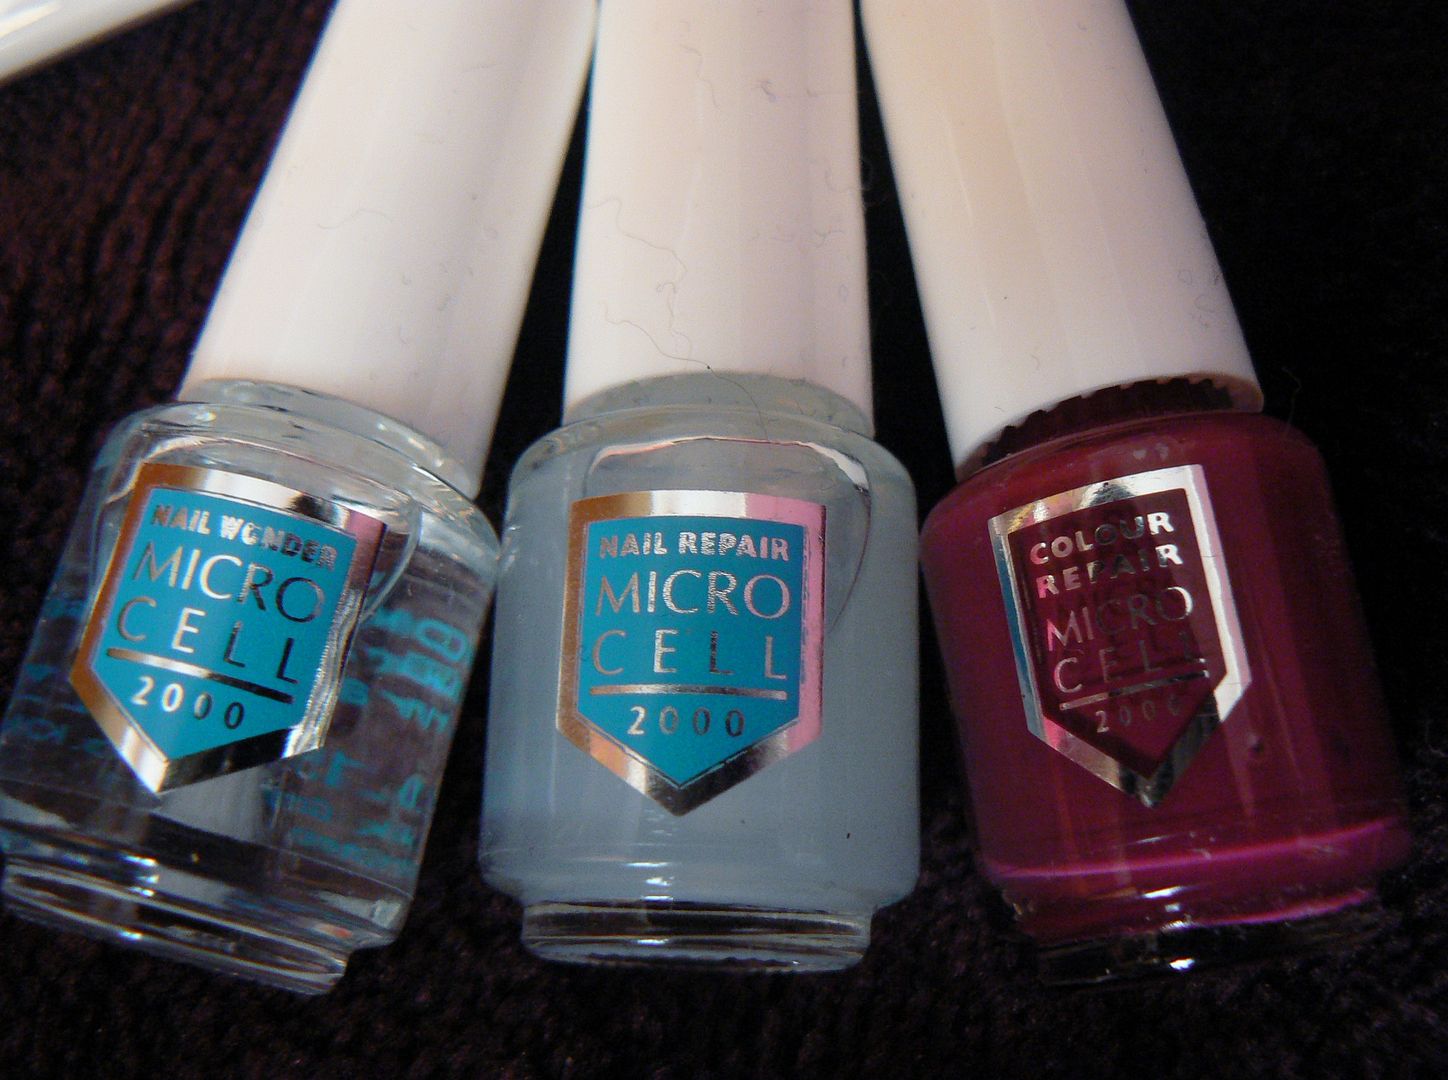

Even better, if you want to try the product first then there is a fab 'Try Me' kit available which contains a mini nail repair, nail wonder, coloured polish AND polish remover...all for just £9.99 at the moment on Bath and Unwind website where MicroCell is also available to purchase from...BARGAIN!

In short loves...GET this product in your loves ASAP...& thank me later. Thanks for reading!

Lotsa love to ya!

Disclaimer - * products featured were sent to me for my consideration. I am not affiliated with the brand nor paid for this post, this review has been as always my 100% honest opinion! :)


4.11.2016

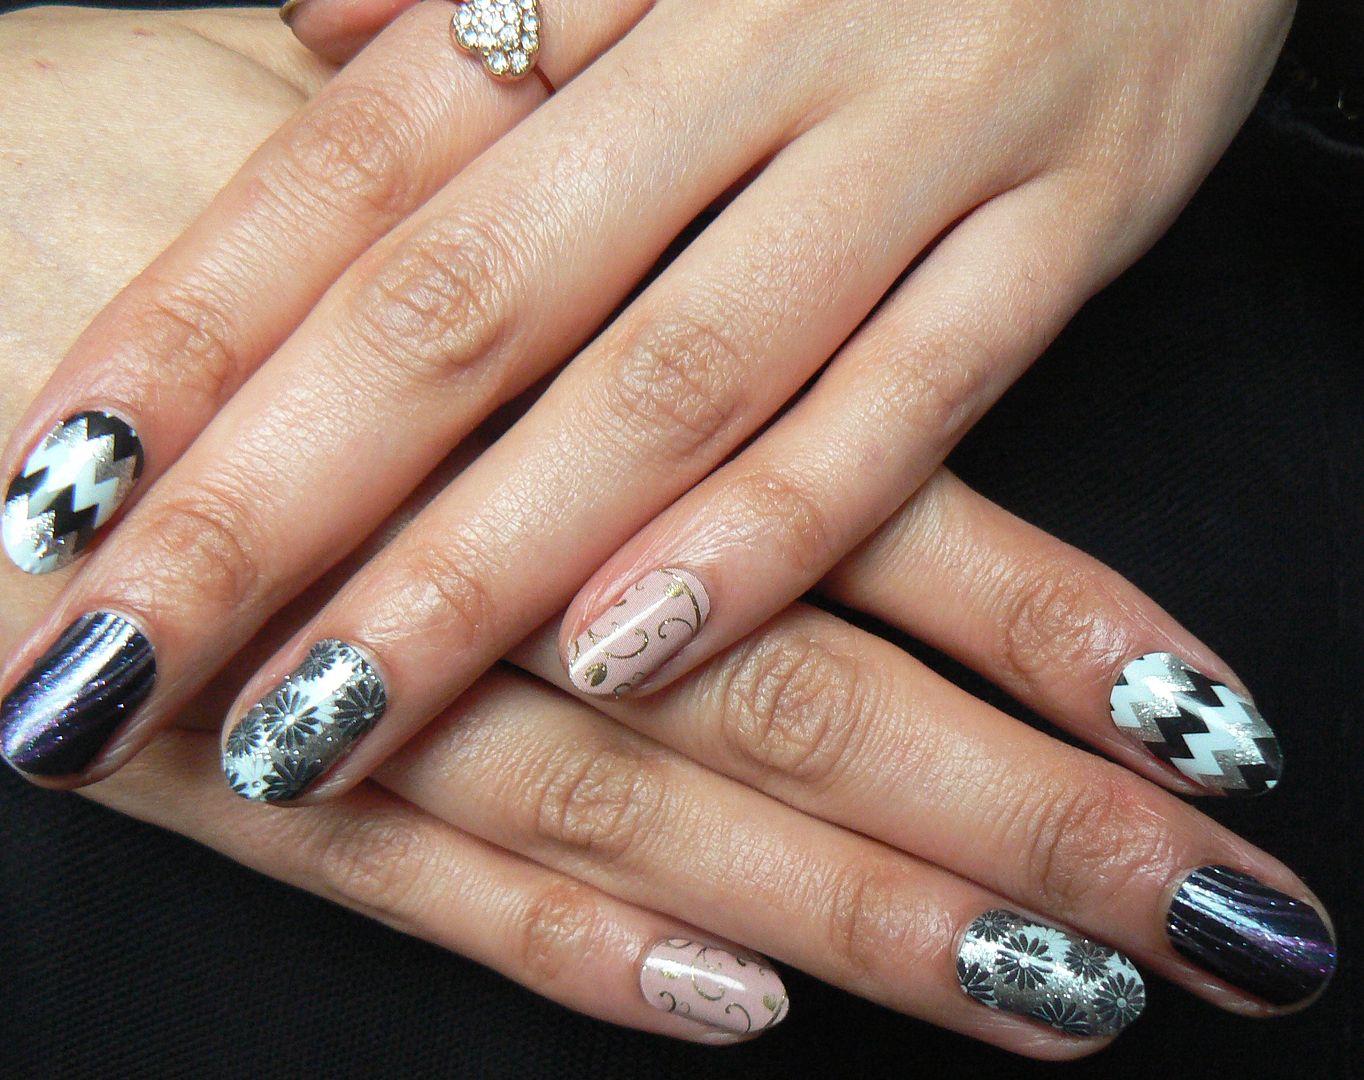
Exciting News - Jamberry Nail Wraps Have Now Launched In The UK!

Hello my loveley readers!

So I have some exciting nail related news to impart ;) Its always been a wish of mine to incorporate my passion for nails in, if not a career, then something to pursue alongside my work, well now I have been given the opportunity to do exactly this & I am eager to share it with you lovelies...let me introduce you to Jamberry...


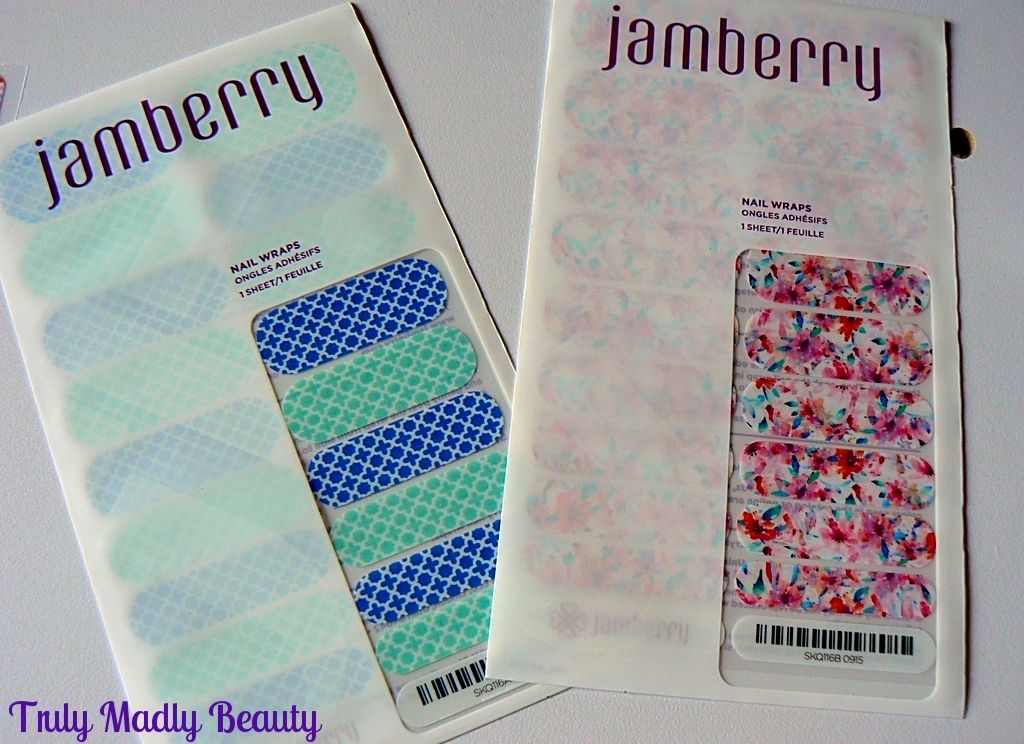
You may have heard of Jamberry, a brand that has become rather big in the nail wrap world & first launched in the US in 2010 by 3 sisters creating their own line of DIY nail wraps. It went down a storm as the brand has now become a global success not only in the states but Australia too. Well Jamberry has spread the love to our shores, launching in the UK this month & not just that...but yours truly is officially one of the first UK consultants to have the pleasure of representing the brand here, which I am very excited to be a part of as it is a product I've gone gaga over big time & I will share with you exactly why.


I'm sure your thinking what makes these wraps so special compared to others? You know I love my nail art, yet many of you I'm sure simply do not have the time to even polish your nails let alone anything else! If you love having jazzy nails (who doesn't) yet can't deal with the faff of waiting for polish to dry or finicky nail art then Jamberry is your answer my beauts.


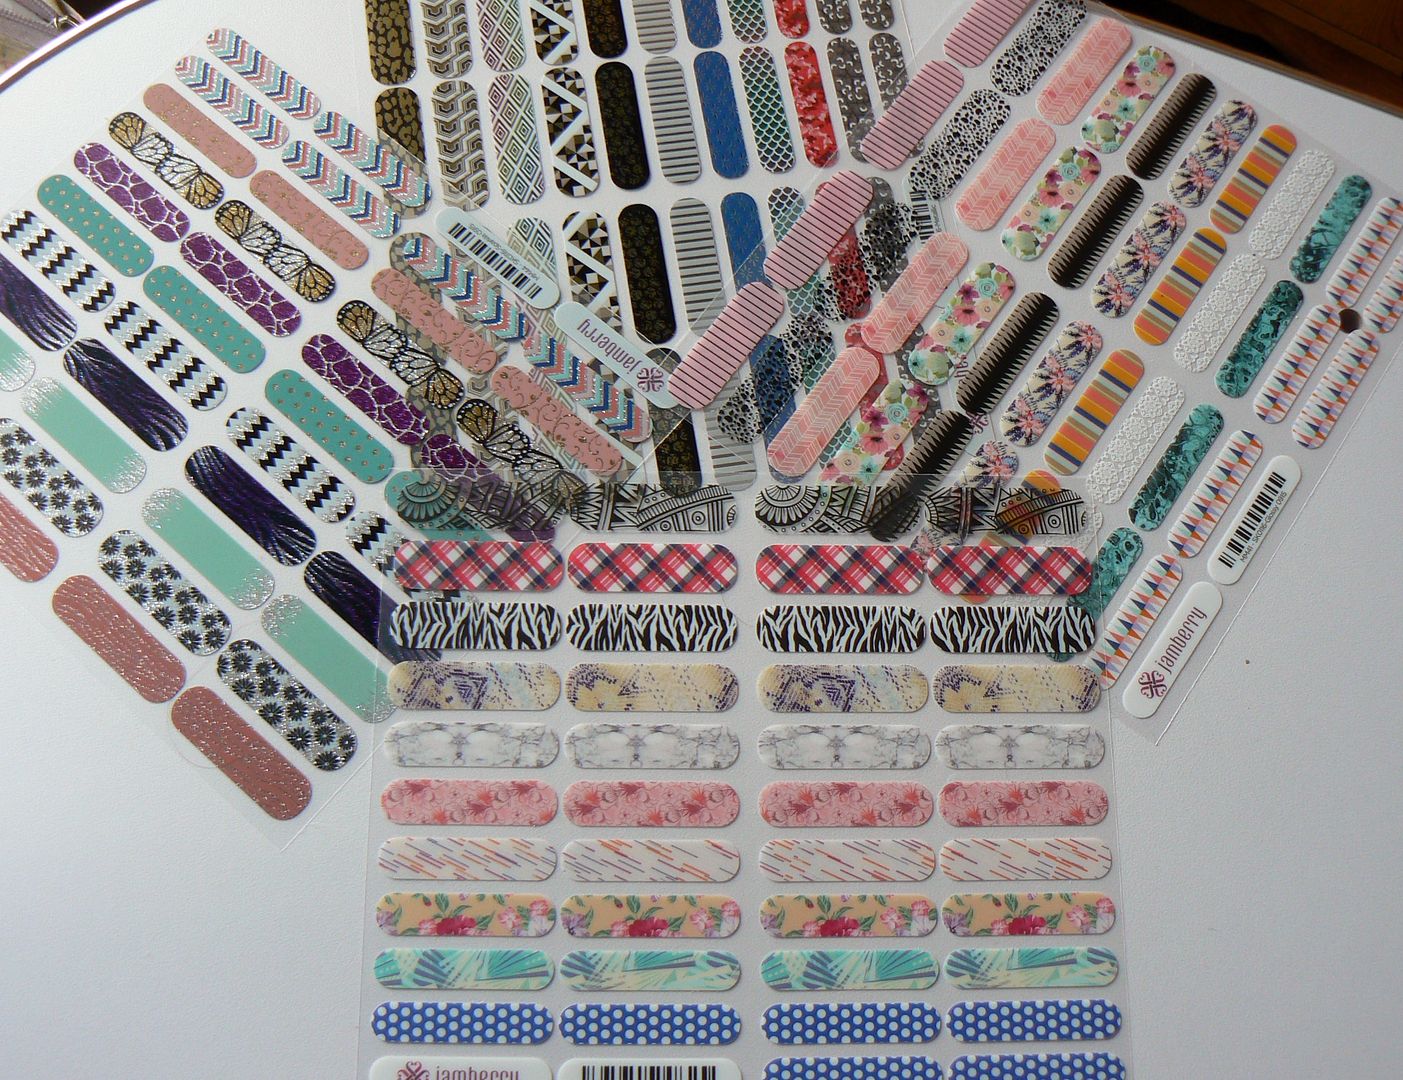
Available in over 300 different designs, so your bound to find something to your liking, these wraps can be used over both natural nails & gels/acrylics & will last for up to 2 weeks on the hands & 4 weeks as a pedi. Not only do they have a superb longevity they are also:

  • Non toxic
  • Five free
  • Easy to apply at home
  • Require ZERO drying time
  • Durable for long lasting wear without chipping, fading or peeling

There are some really beautiful designs available, I already have a wish list of ones to try & these can be used in any way to customize your own mani, be it full on Jam, mixing up different designs or just an accent nail :)


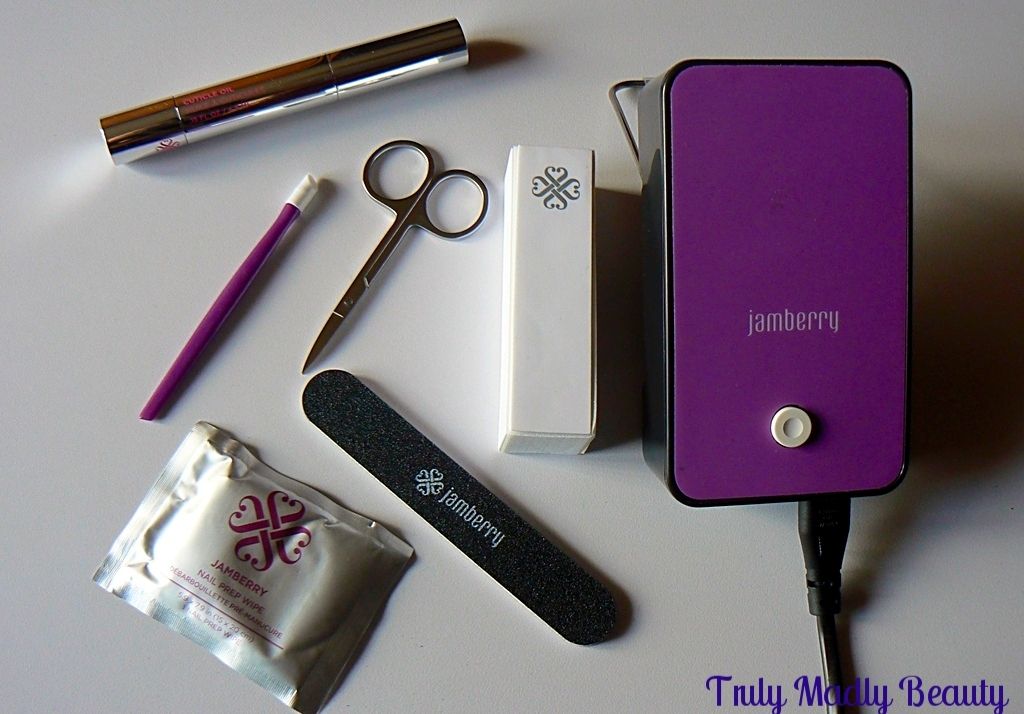
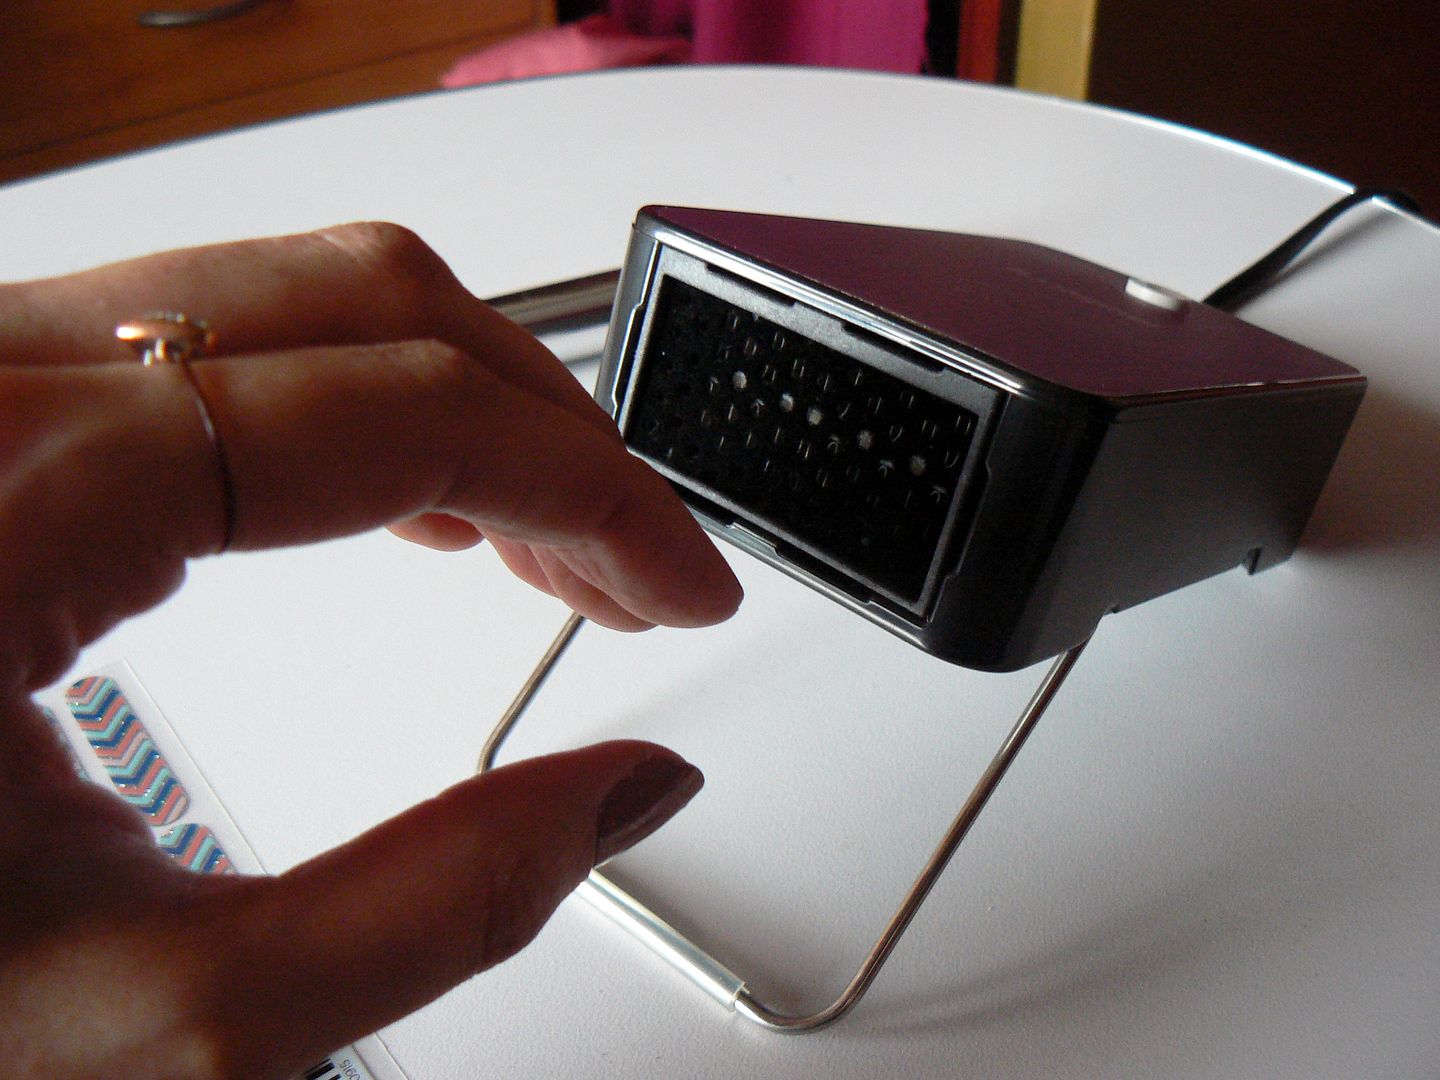
The wraps are applied with heat & pressure, I'm sure every gal has a hair dryer in their arsenal? If not then Jamberry have their own Mini Heater available for £19 which has a wee stand making the process even more easy! I've purchased one of these myself & can confirm first hand that it is an ACE wee thing.

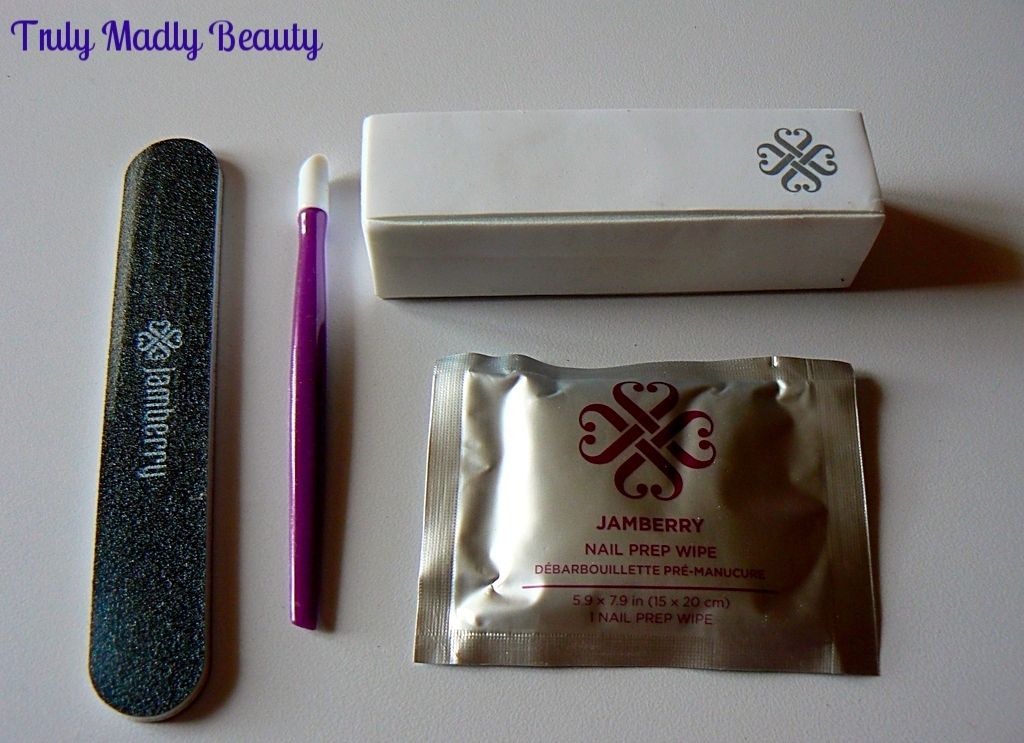
There is also a LUSH Cuticle Oil available in both Pen & Bottle form which smells SO GOOD, I plan on keeping this by my work desk, as well as other tools such as buffers, cuticle pushers & nail files, which are available as part of the Application Kit, of which I was very impressed with the quality of in all.


I confess, when Jamberry first came to my attention I was a tad dubious with the claims of easy application, however once I'd given it a go myself I was truly blown away with the results & am now in love with the nail wrap revolution! And I'll show you just how easy it is with a wee step by step breakdown...


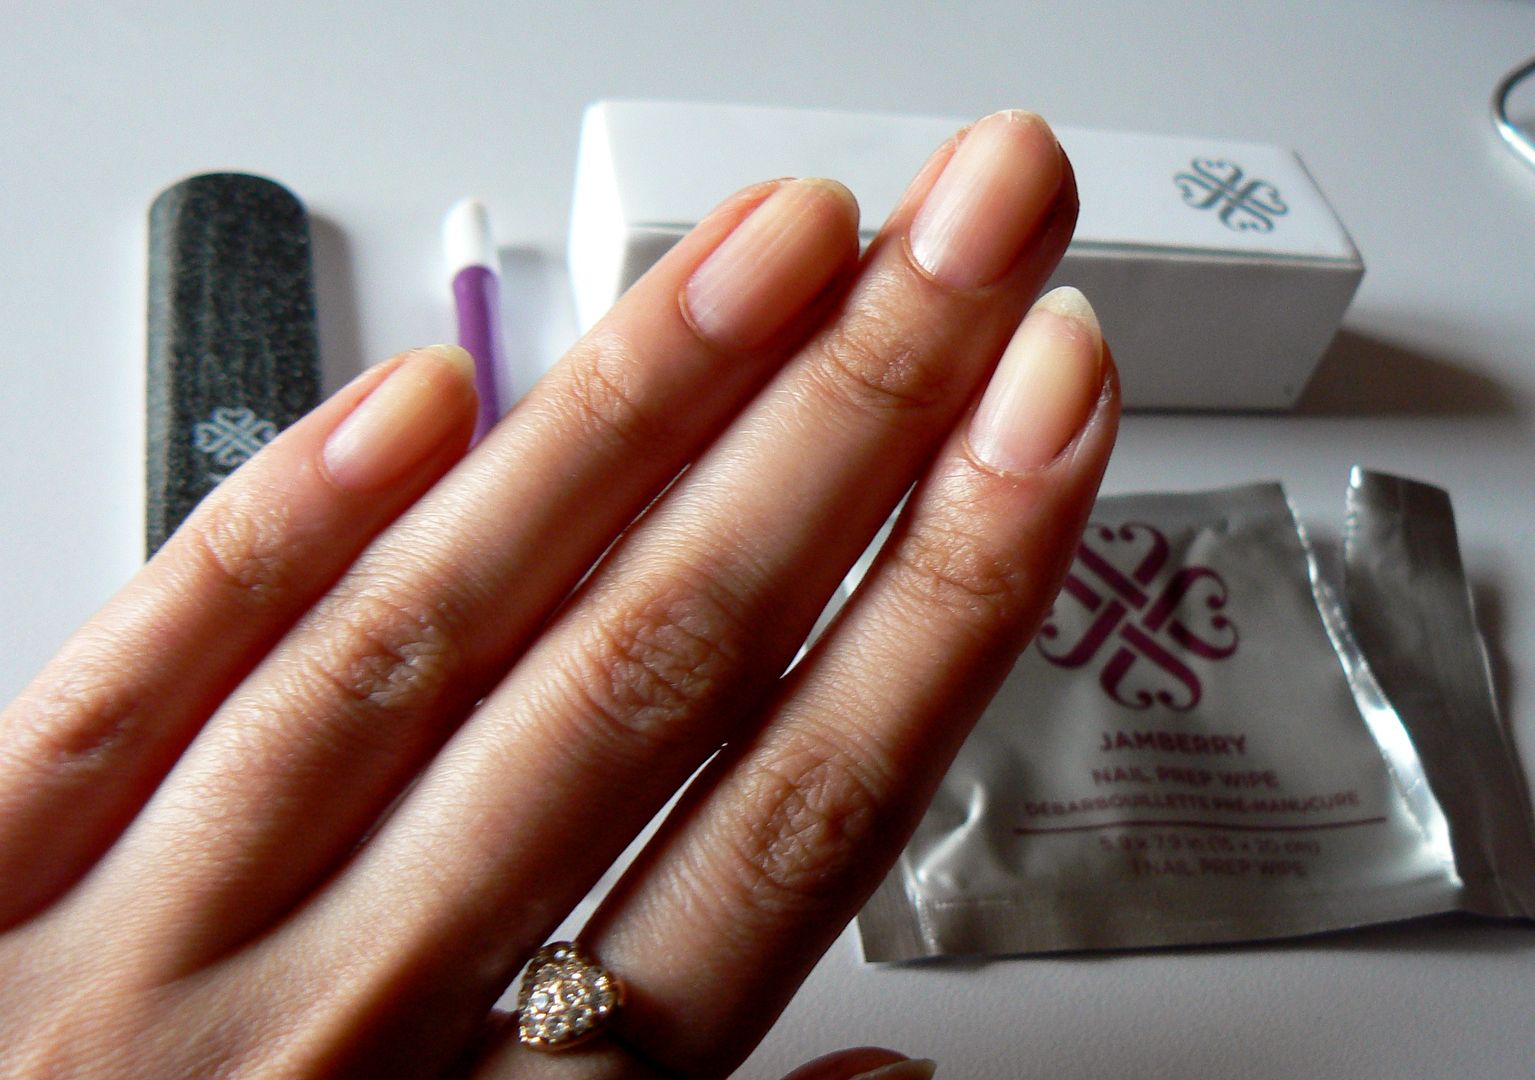
To start you'll need to prep your nails, simply push those cuticles back, file the edge of your nails till are happy with the length, buff the surface to smooth & then wipe the nail with an alcohol wipe to shift any oils on the surface as this will all help the wrap adhere to the nail. I have these prepared wipes from Jamberry which come in the application kit, however you can use Isopropyl Alcohol which can be found in pharmacies/supermarkets or even just good old nail polish remover will do the job!


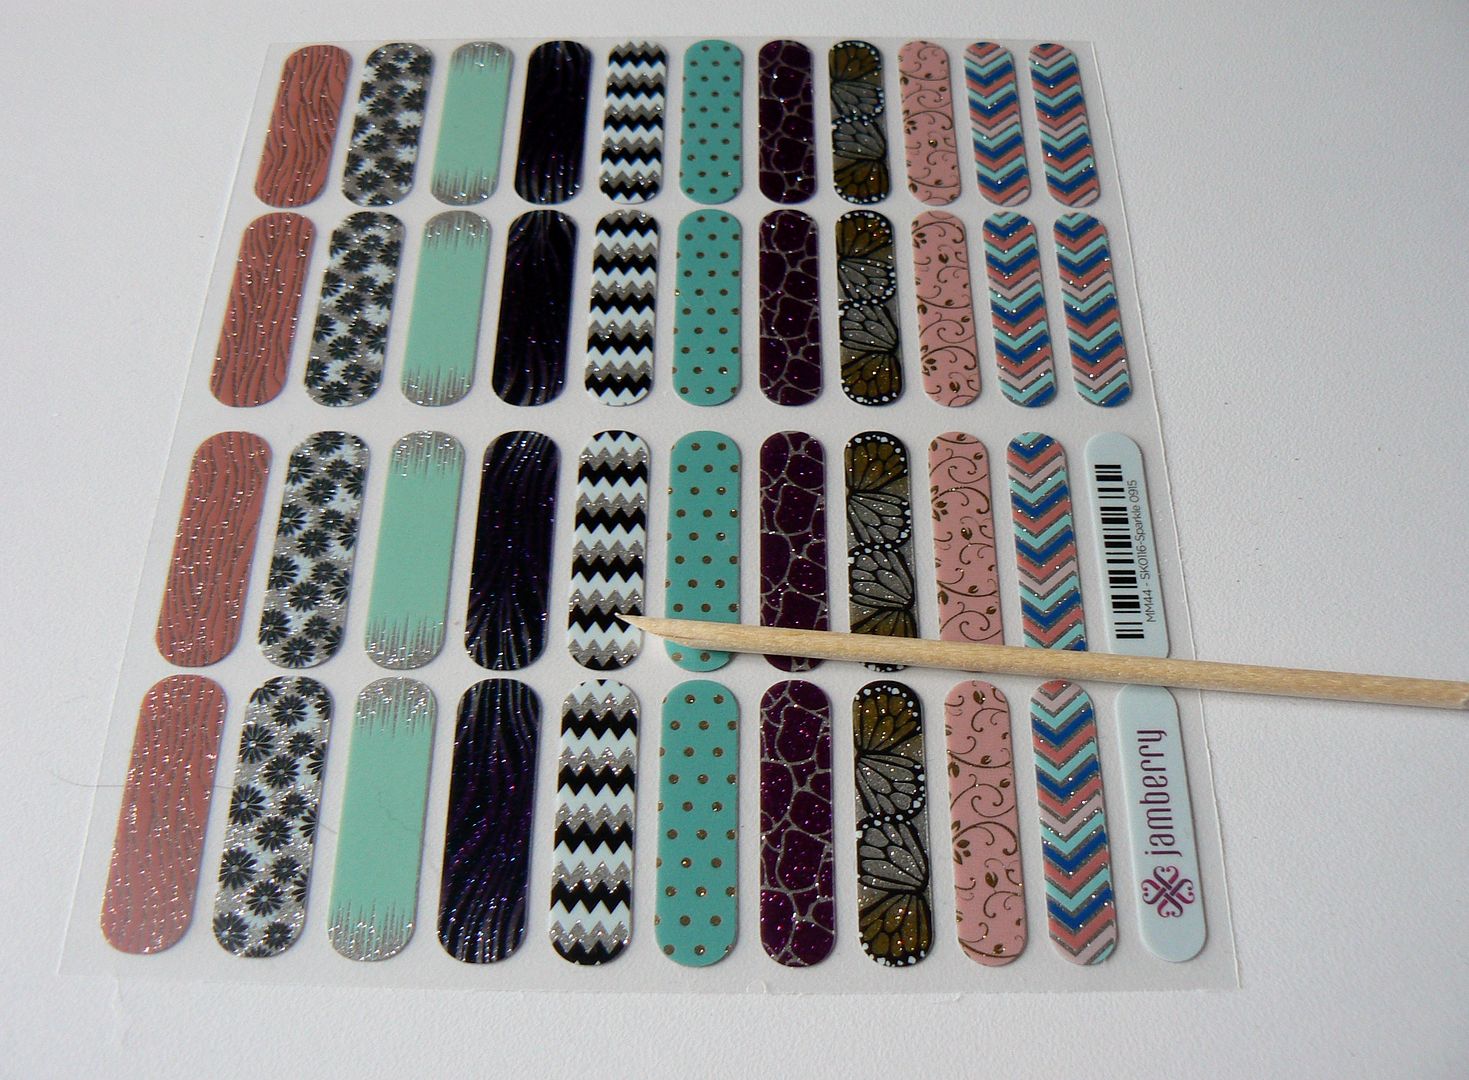
Next grab your sheet of wraps & orange stick, I couldn't decide on a single one, so went for a skittle Jamberry mani using different sparkly designs! The wraps are on a clear plastic sheet so you can easily match up the right sized wrap to fit your nail by just placing your nail underneath.


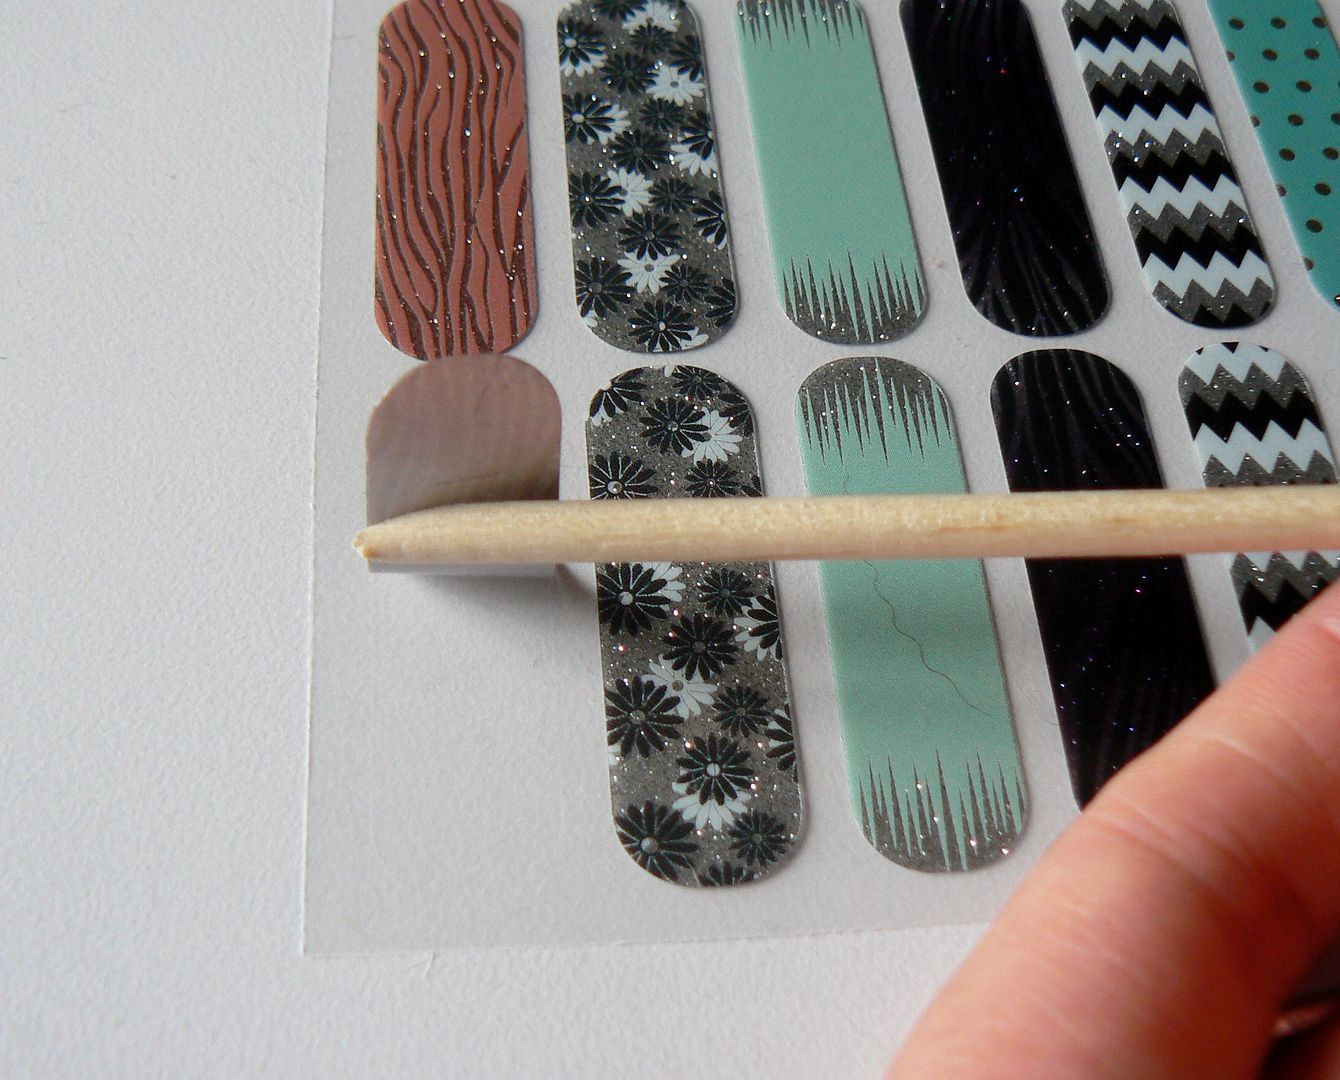
Each wrap should cover 2 nails depending on the size of your nail bed, mine are quite long therefore I can get two nails out of each, you might get more! Using an orange stick, gently lift up the wrap from the plastic, till you have the length you need, then simply cut across with the scissors.


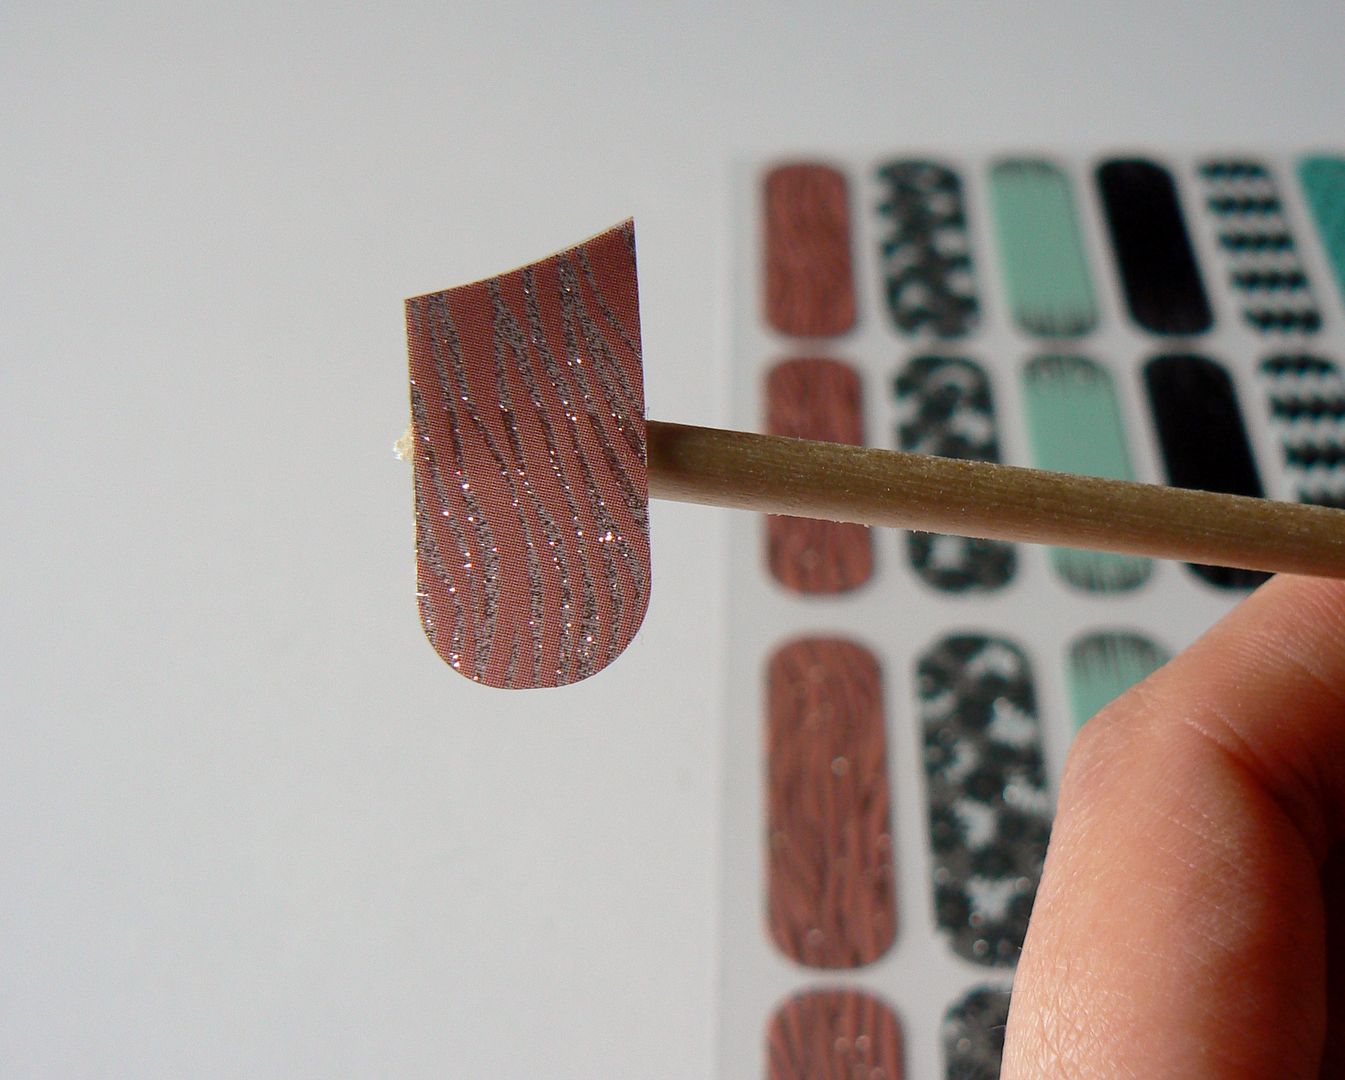
The back of the wrap is tacky so will stay attached to the stick which will now act as a holder of sorts. You then need to hold the wrap in front of your heater for 3-5 seconds to activate the adhesive or if you don't have a heater then a quick blast of your hair dryer! FYI those mini ones would be perfect for this!


Now place the wrap on to the nail starting at the cuticle & pressing down firmly with your finger, smoothing as you go.


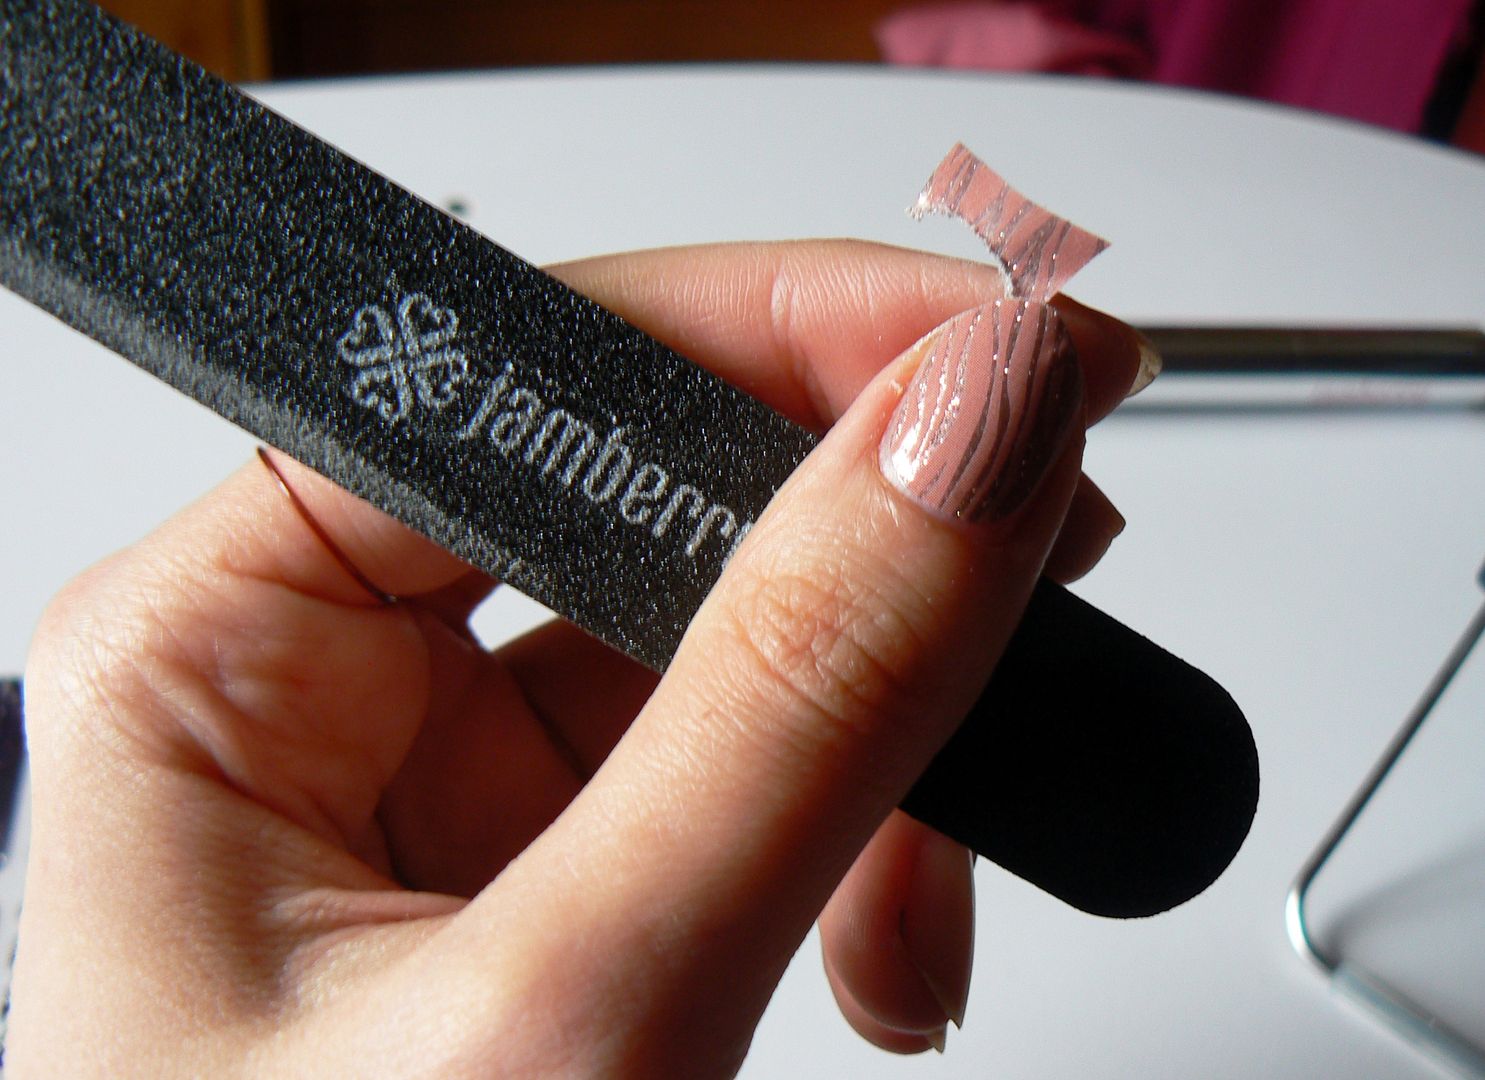
Once secure on the nail bed simply grab your file & file away the excess wrap, which I found came away very easily, without ripping.


These wraps work fab on both long & short nails, I'd sadly broken my middle nubbin but still had no problems with filing away the excess...


Don't panic if you find you have a few wrinkles on the nail, this happened to me the first time, to rectify this I simply placed my finger back in front of my heater to warm the wrap up again, then pressed down firmly to smoothen out...problemo solved!!


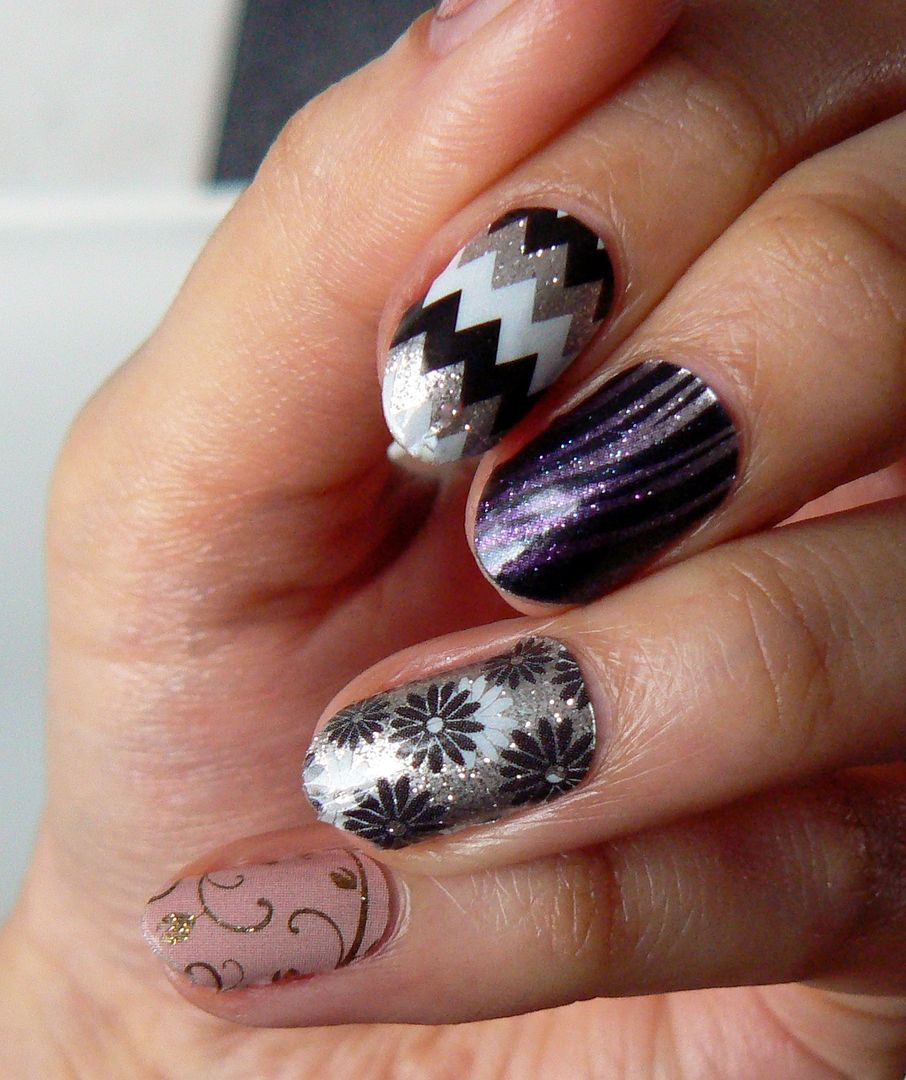
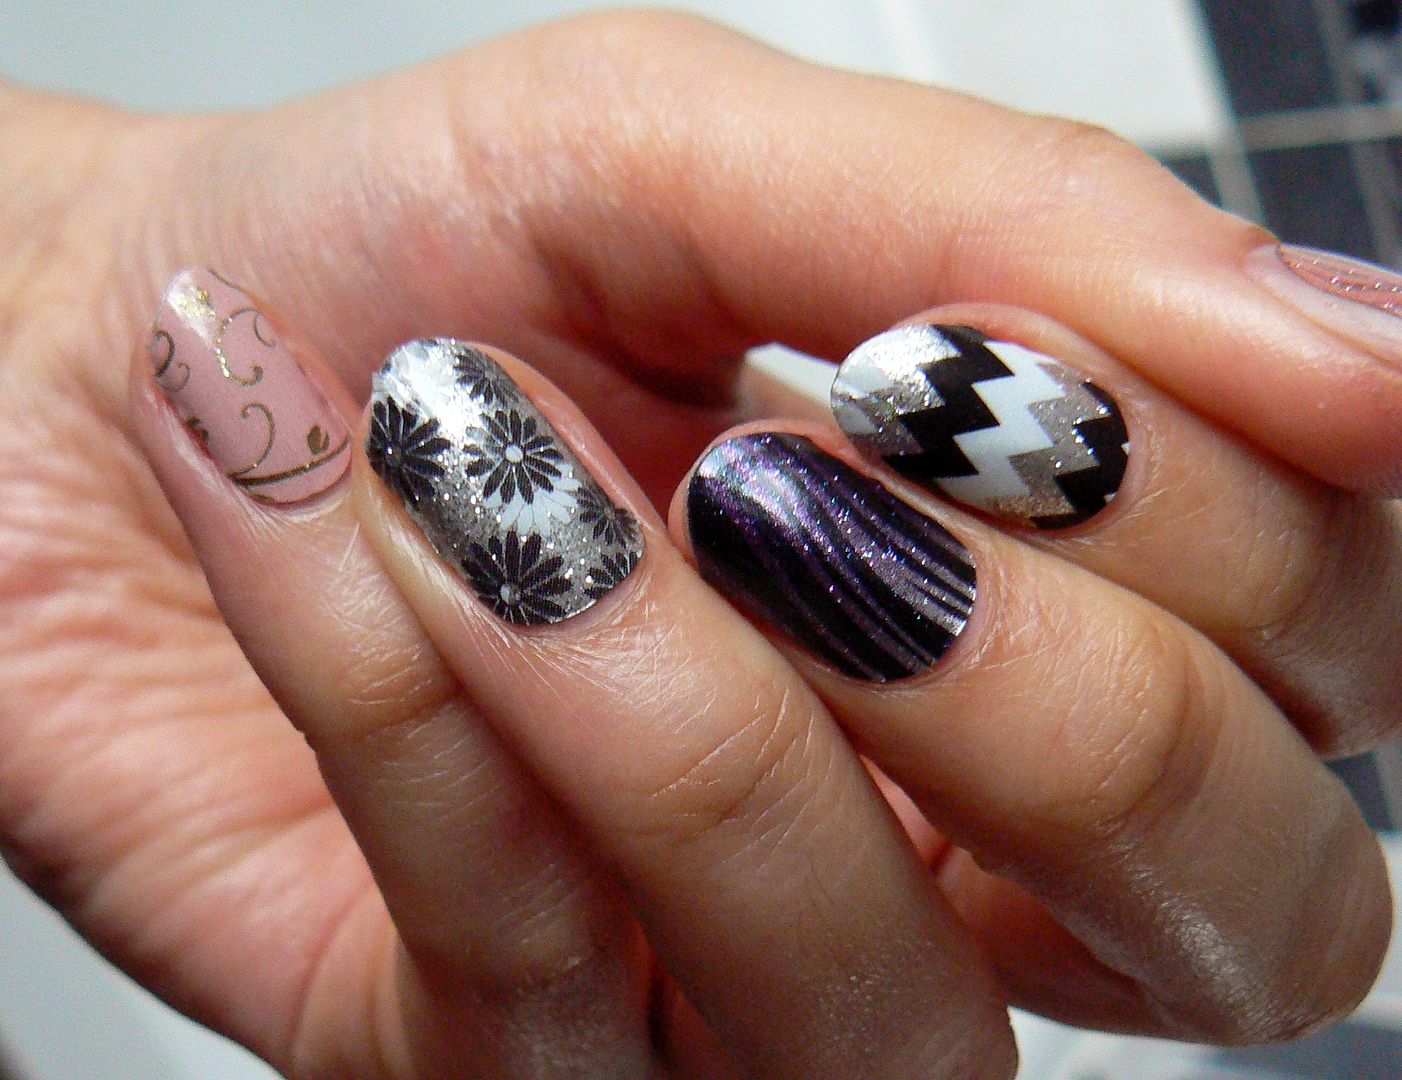
I continued on, using different wraps until all ten nails were done which was in no time at all! Once finished apply some cuticle oil around the edges, rub in & hey presto, Jamberry mani done! Here's the finished manicure.


To remove the wraps also couldn't be easier, when your ready to take them off simply lift the edge of the wrap with an orange stick, then using cotton wool soaked in remover, rub across the surface before slowly peeling off using the same cotton wool slowly. To make things a bit easier here are some videos explaining both APPLICATION and REMOVAL of the wraps...


So what do you think? Aren't the patterns PURDY?! And there's so many! As I'm a full on polish addict (noooo, REALLY Aysh?!) for me 2 weeks is a long time to wear a mani, so I'm going to enjoy incorporating the Jamberry nail wraps as funky accents in my manis so keep your eye peeled in the future!

However there's no doubt that the longevity of the wraps is truly impressive, especially for the busy worker bee & application was so straightforward once I'd given it a whirl myself!


Each sheet is £15, contains 18 nail wraps & will give up to 2 manicures, 2 pedicures, with a bunch of spares leftover to rock as accents if you wish, which in my opinion is such good value for money. Especially when, if you buy 3 sheets you will get 1 free, making each sheet just £11.25.

The Jamberry nail wraps can be purchased online via my website Jam With Aysh  where you'll also find all the information you need about the brand. If you have any questions or if you would perhaps like a sample to try then simply leave me a comment below with your email or email me directly & I will happily send some your way!

I can understand myself now why Jamberry has had such success & I'm so excited to be a part of their journey here now in the UK! I anticipate big things for these guys!

Thanks as always for reading!

Lotsa love to ya!


2.03.2016

ZAP! Liquid Latex Nail Art Skin Protector Review!

Hello lovely readers!

You may remember I did a post a while back on Masking Fluid & how it can be used for easy clean up when doing messy nail art? The idea is that you apply masking fluid to the skin around the nail, wait to dry, do your nail art, then simply peel off! Taking with it any messy splodges leaving you with a nice clean mani.

Another means of doing this & the more popularly known & used is liquid latex. I recently acquired a bottle of ZAP! Nail Art Skin Protector (RRP £6) from Rainbow Connection to see how it differed from the masking fluid. ZAP! is a liquid latex available in light blue, clear or pink shades & comes in a nifty polish bottle with brush applicator making application much easier.


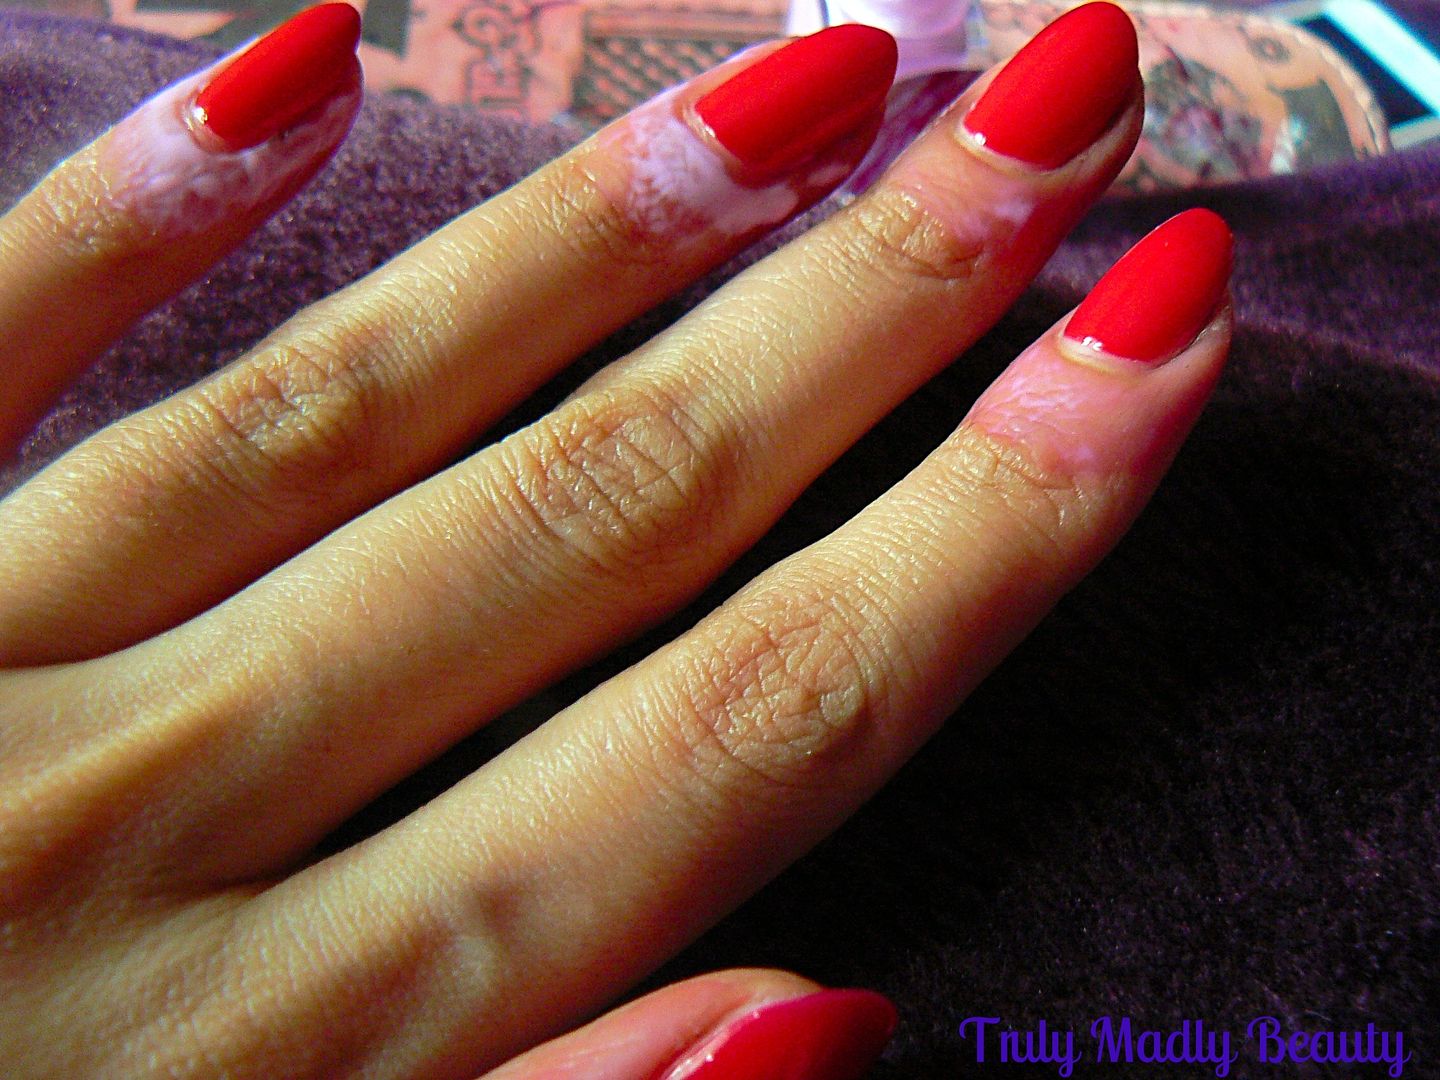
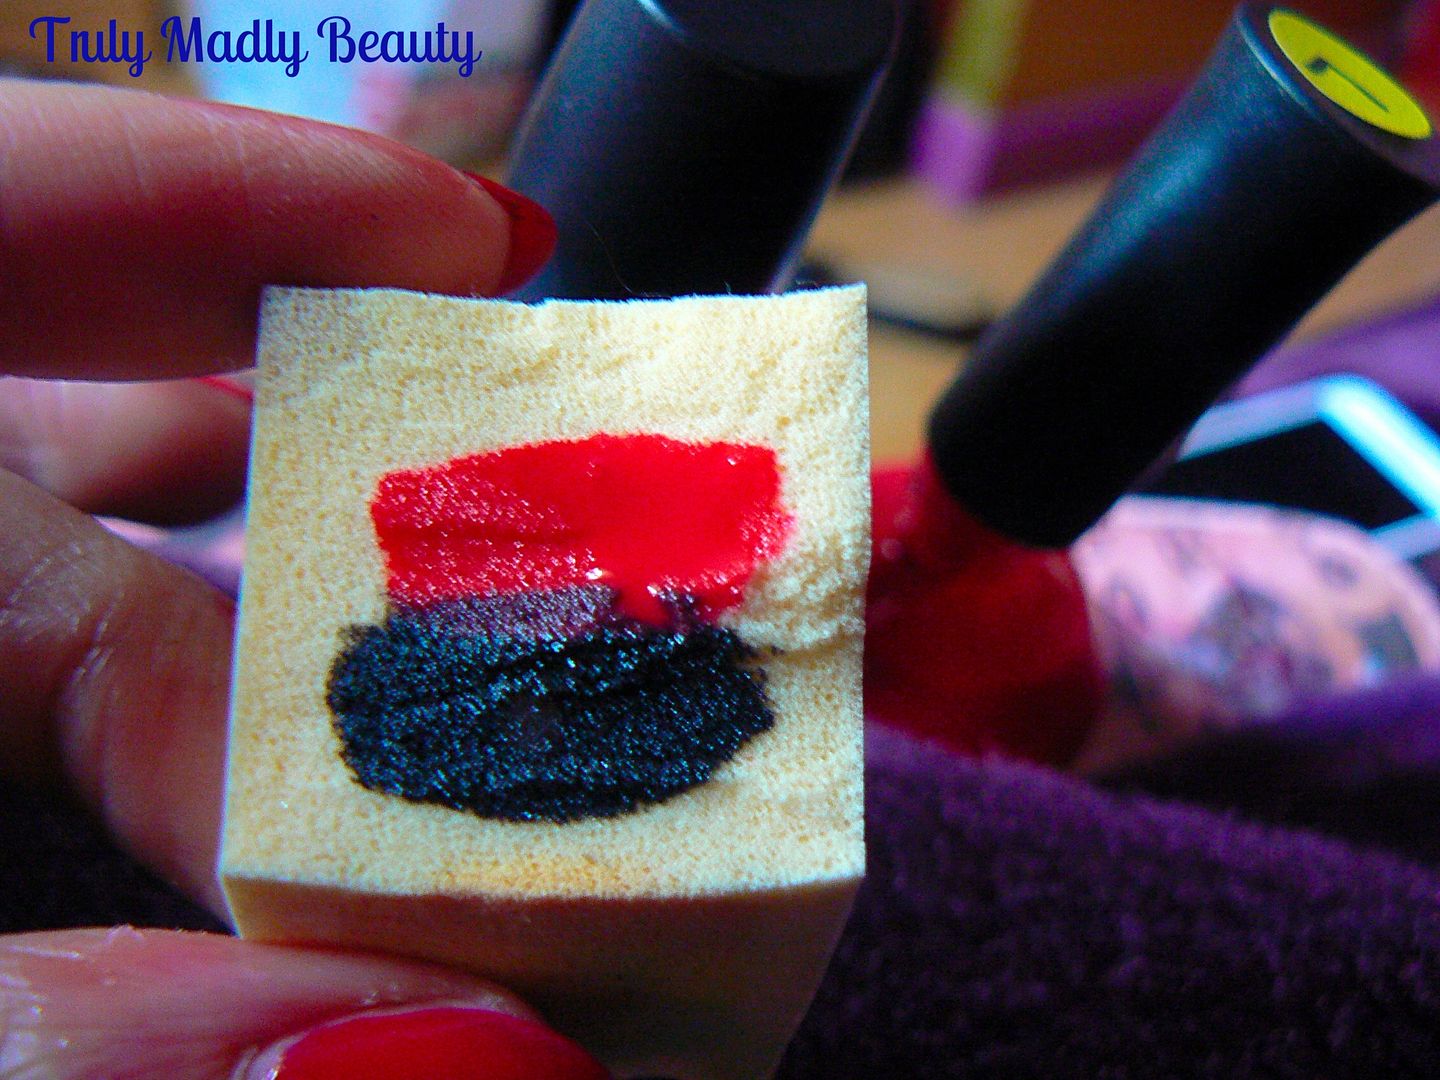
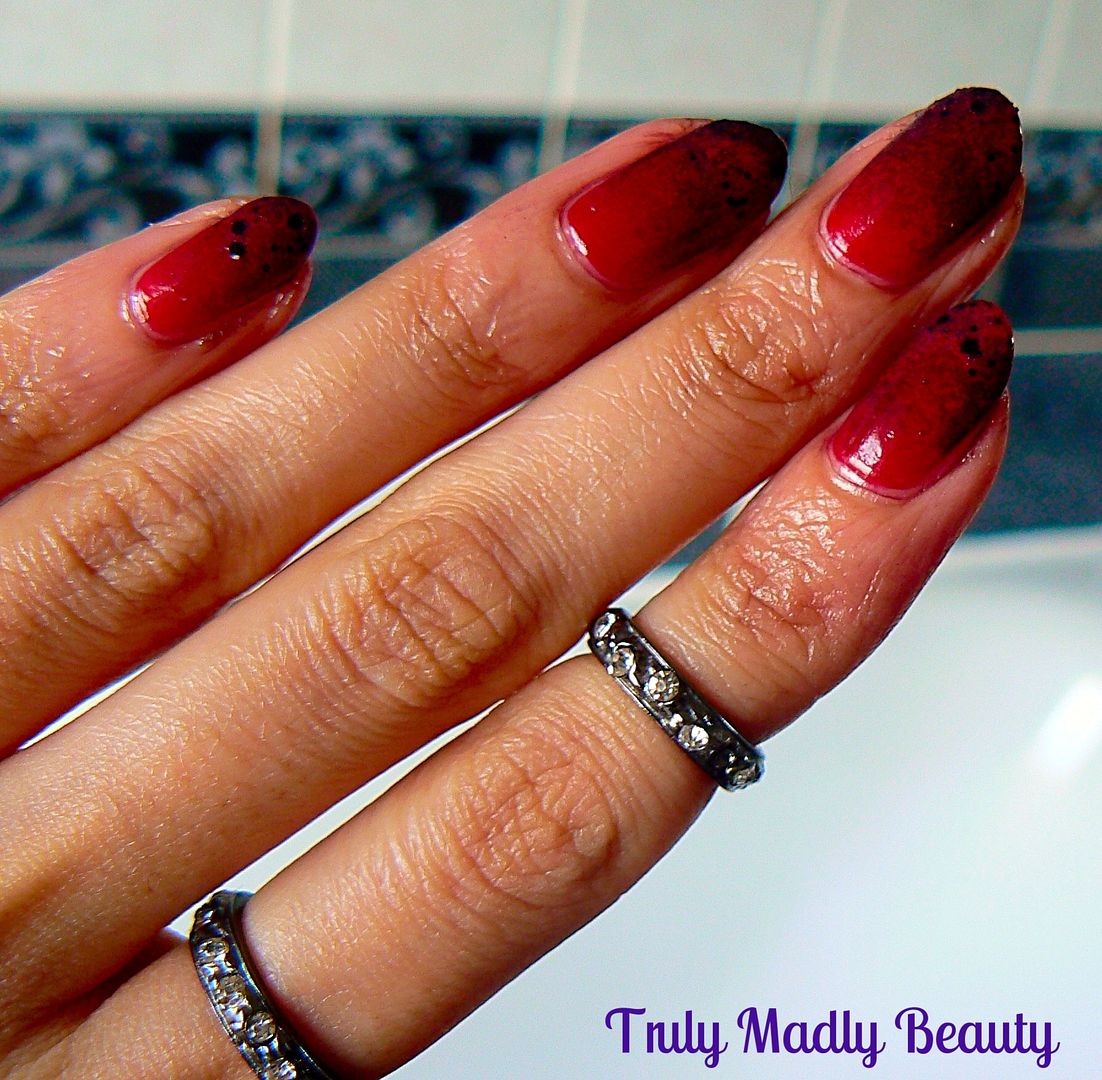
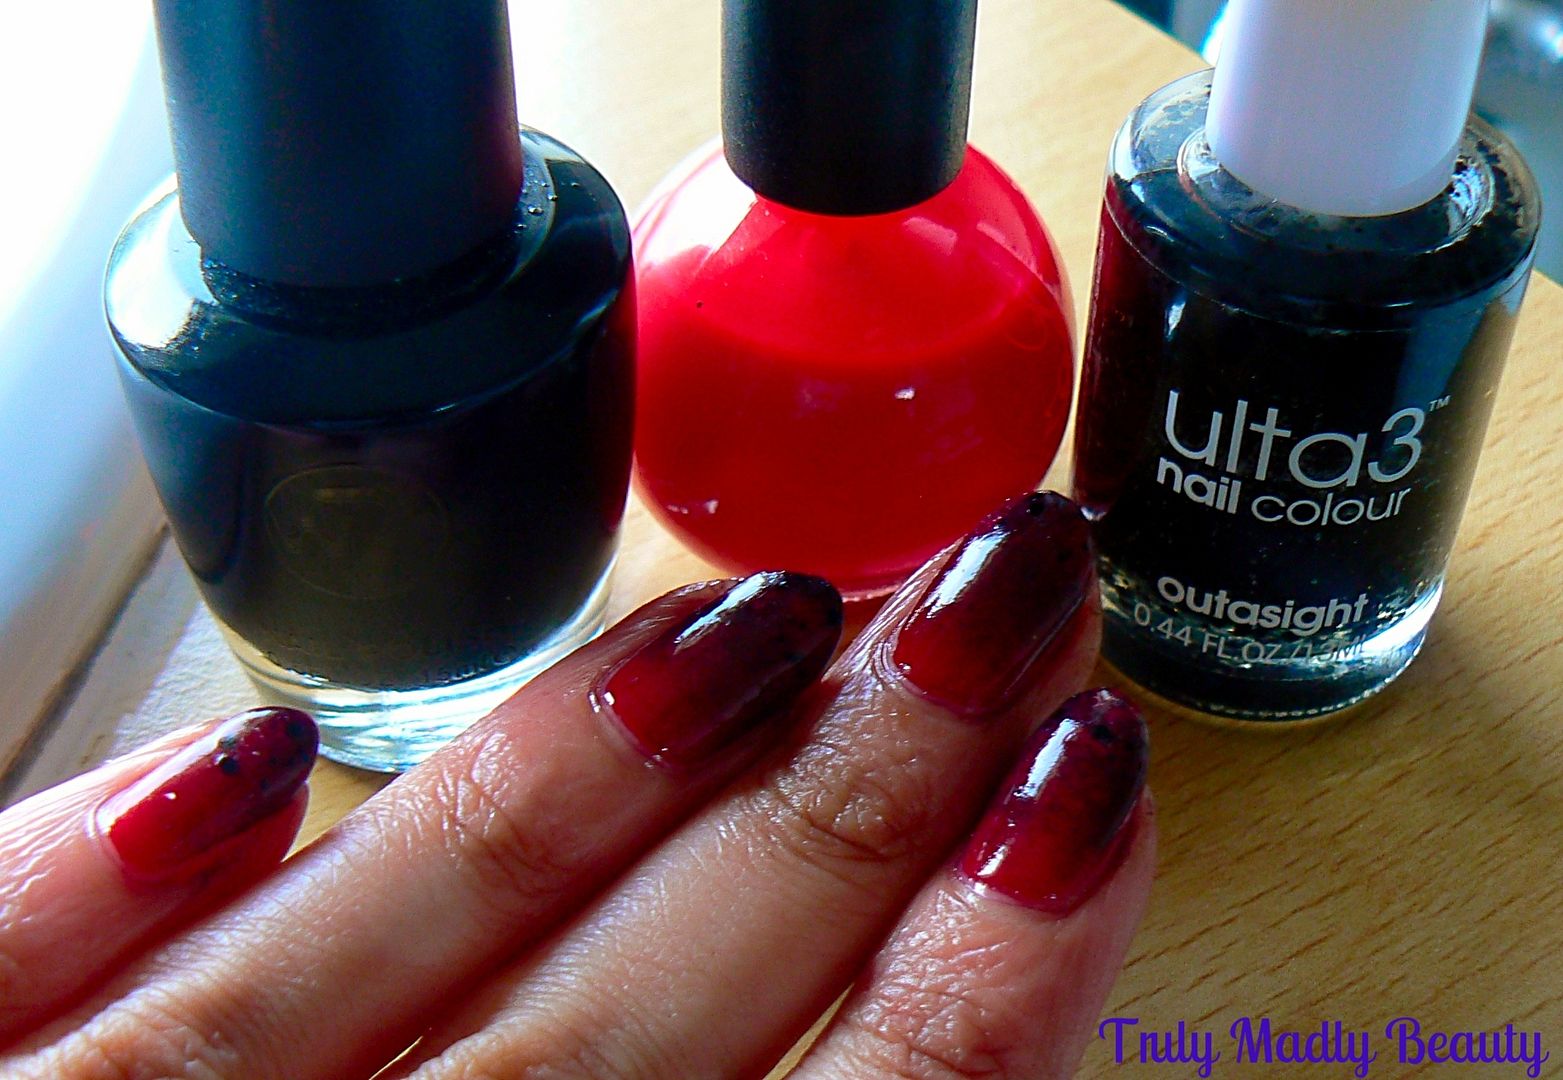
I of course needed a gradient to test this baby out on so I used ZAP! whilst doing my Louboutin inspired gradient nails from my previous post.


Once I'd applied my base coat/colour, I then applied the ZAP! liquid latex, on to the skin area around the nail, making sure I went right up to the edge of the cuticle. The brush makes this task very straightforward & its a good idea to apply it quite thickly & about 1-2cm in width as this will make the peeling off part much easier!


Next leave the liquid latex to dry completely. The masking fluid tends to dry clear but as this latex is coloured it obviously won't do that! But it's not too difficult to tell when its dry & ready for you to continue. The ZAP! took around 5-10 minutes to dry completely.


Then go ahead & do your nail art, be it marbling, stamping or in my case...gradienting! Is that even a word?? Oh well. So I sponged away, not worrying about keeping it neat as I had my protective mask on the skin. Apologies for forgetting to snap a pic of nails just after doing the gradient...!*slaps forehead* What an eejit...


When your finished with your nail art, grab a pair of tweezers & begin gently lifting the latex from the skin, being careful not to grab any of your actual skin! If applied thickly enough you should be able to lift the whole layer of latex in one go which I was happy to find the ZAP! did do on most of my fingers with only one or two requiring two goes. FYI...SO SATISFYING...remember peeling glue from your hands after art class in primary school? This takes me back to those good old days :)


Once peeled away, you may be left with a little bit of latex right by the nail & also a little bit of polish, but this can be easily cleaned up with a a brush & acetone which I always finish with anyway. And hey presto, gradient nails done without the crazy mess!


Compared to the masking fluid, ZAP has done good! I'll definitely continue to use liquid latex for this method, however also take into note that those with a latex allergy will of course not suit this! You can find it easily from various online retailers such as Rainbow Connection & it comes in small bottles which is good if you are wanting to just try out. However once this runs out I'll be re-stocking from Ebay as recommended by the lovely Sammy at The Nailasaurus as its a tad cheaper plus you get more! *thumbs up* 

Thanks for reading dolls, till next time!

Lotsa love to ya!


7.04.2015

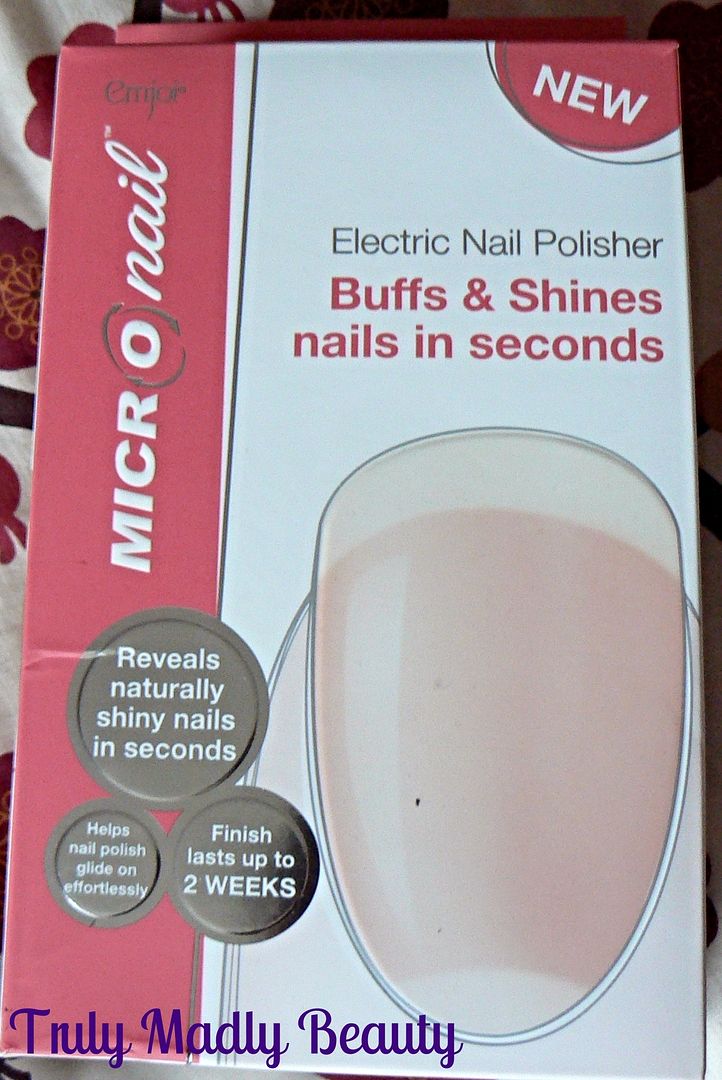
Buffed & Polished Nails in Seconds with Micro Nail Electric Nail Polisher!

Hello lovely readers! Hope you're all having a lovely weekend!

This latest post involves me doing something that is dreaded a wee bit by most nail bloggers (or maybe its just me!) Today I will be sharing with you my BARE nekkid nails O_o *cue soap opera style dramatic crescendo*

Okay maybe I'm exaggerating a tad & its not quite the crisis situation, but for someone who wears polish pretty much 24-7, I do feel naked without! However in the name of blogging I shall brave it as today I'll be touching on the subject of nail buffing & on this nifty little contraption in particular that makes the whole step mess free & straightforward...the *Micro Nail Electronic Nail Polisher


I'm ashamed to admit but when it comes to nail care, I've only really started paying attention to my nubbins *hangs head in shame* This includes all aspects; moisturising, scrubbing, cuticle care, buffing. Thankfully, my nails aren't in that bad condition, maybe I saved them just in time haha! One thing I have suffered from however is bumpy/ridged surfaces with the occasional flaking due to my calcium deficiency which can result in an uneven finish to a mani, despite base-coating,  very frustrating!  


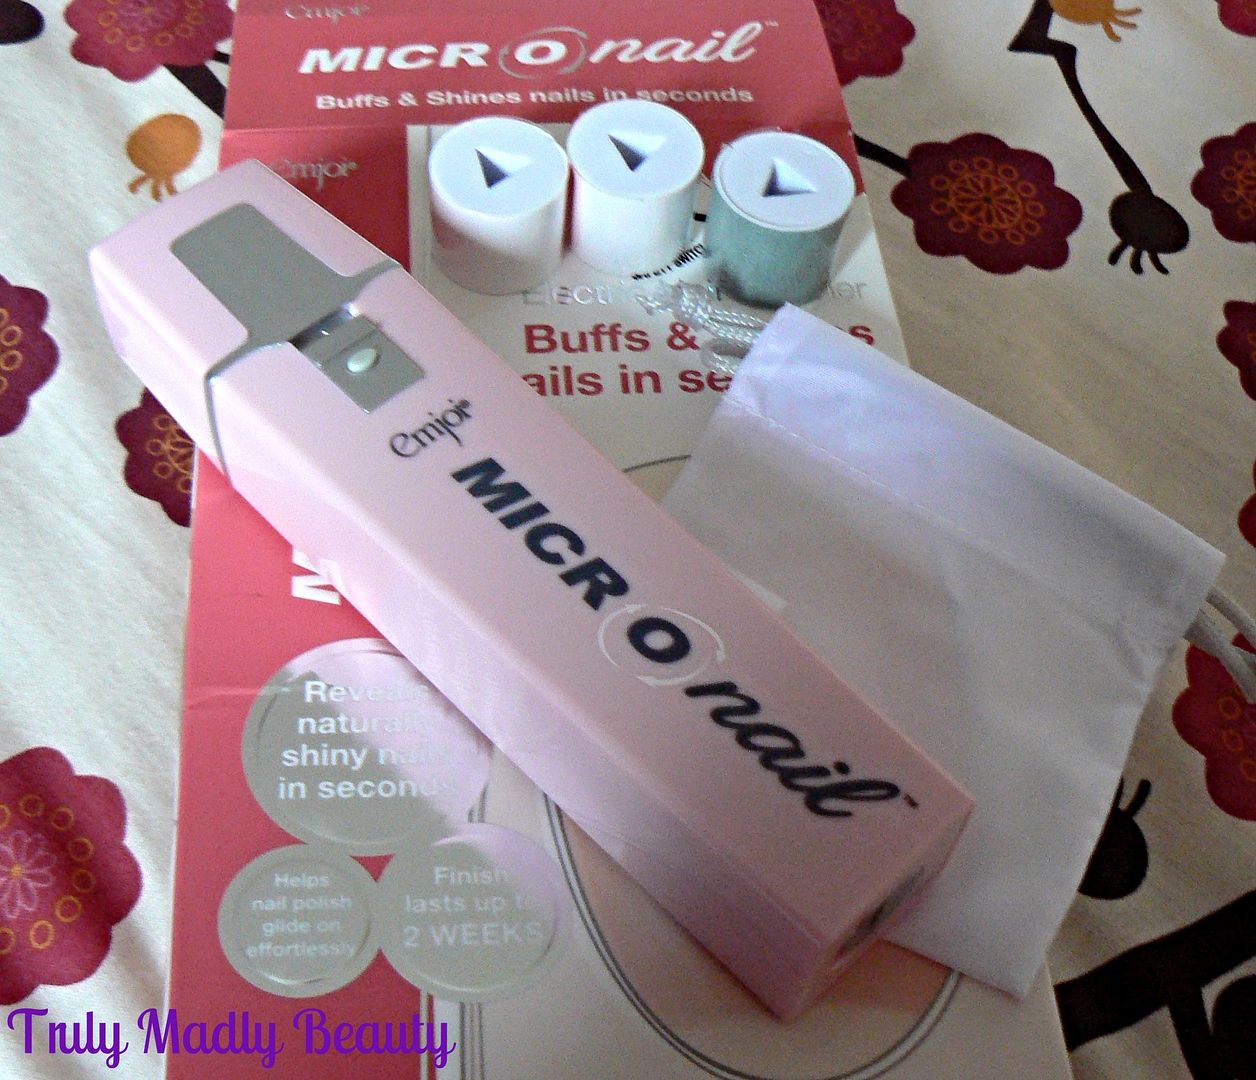
Buffing can help with this & is a step of the nail care routine that is recommended every couple of weeks ONLY, any more then you can risk damaging your nails! I'm sure you're familiar with buffing blocks that are available in the nail care section of most beauty stores. The Micro Nail works in the same way, the benefit of it being that you not only have your nails buffed but super polished & shiny with minimum dusty mess within seconds. Easy peasy lemon squeezy. Oh & did I mention it was PINK?? ;) 


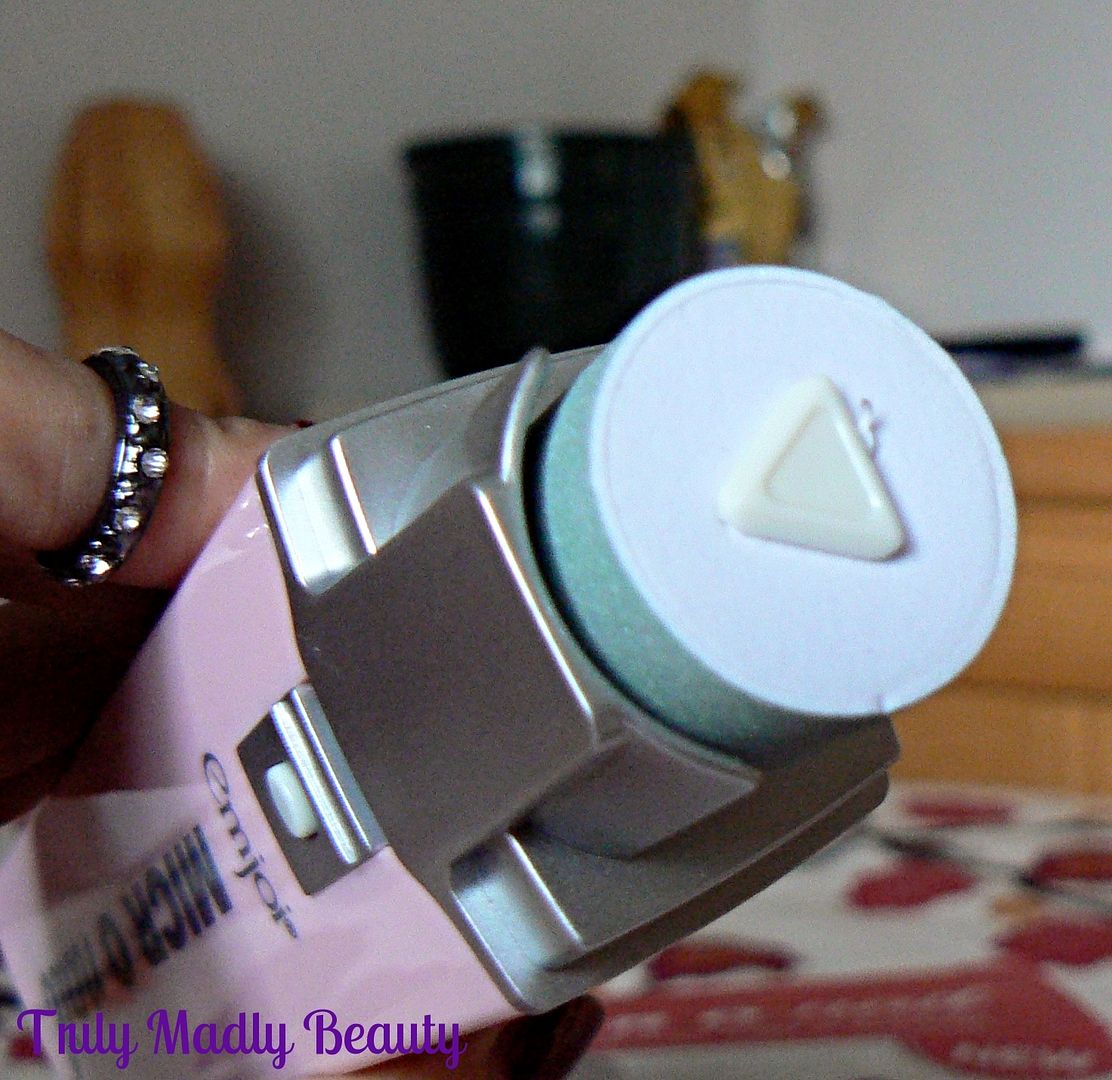
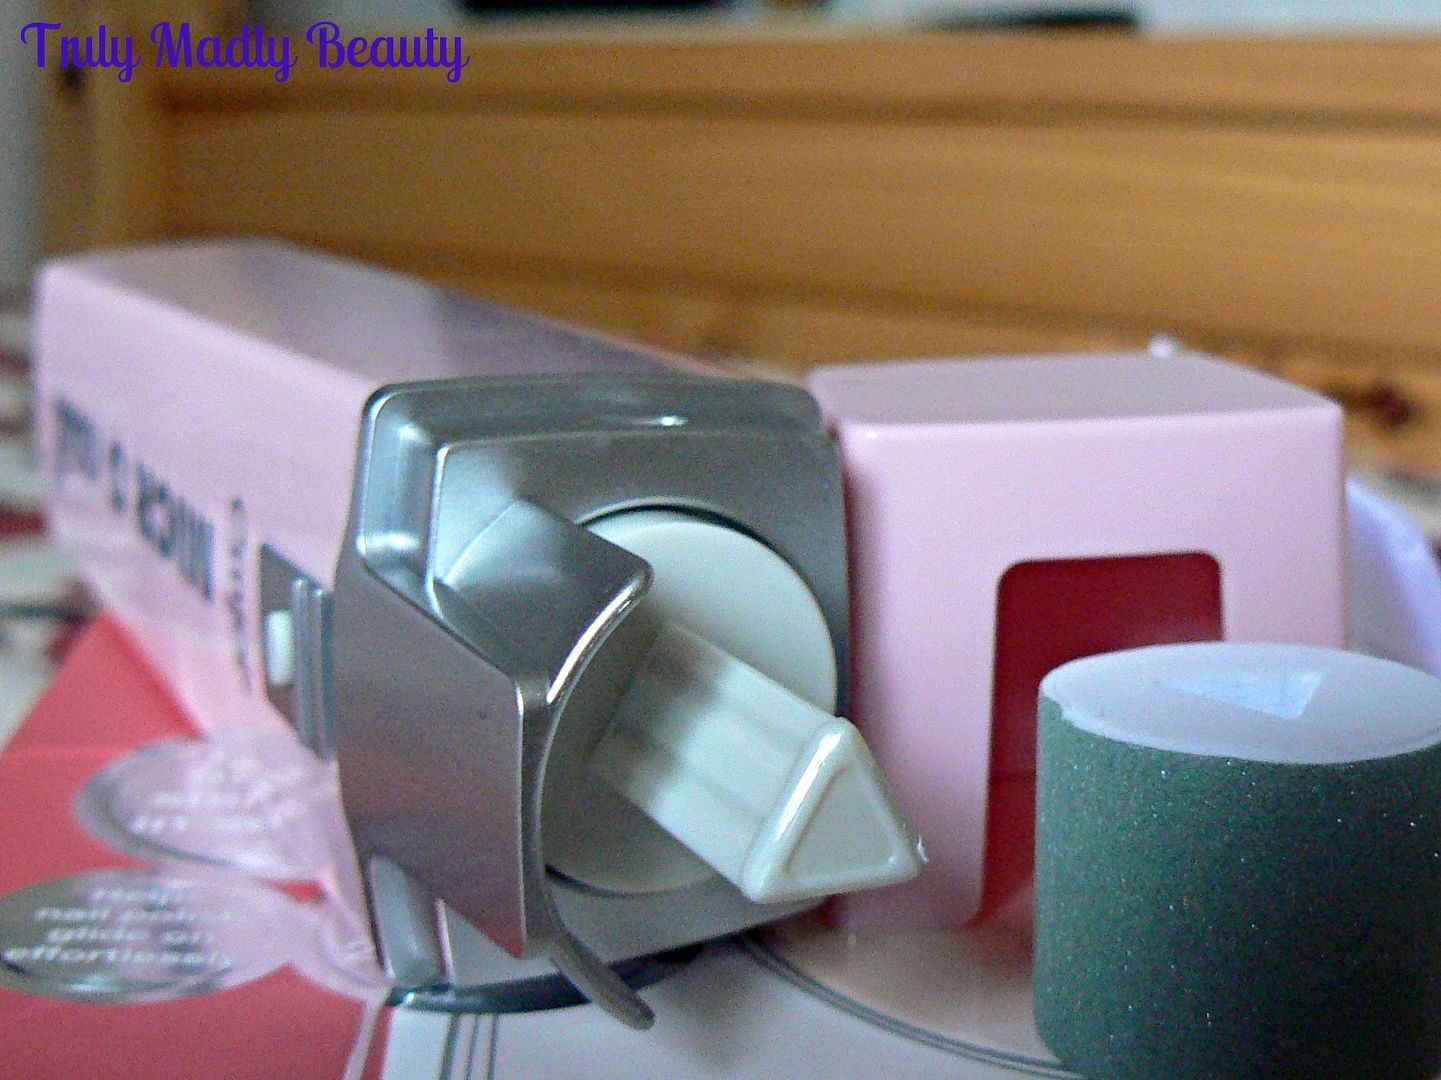
The MicroNail is battery operated & comes with two attachments. A grey roller which is the buffer & a white roller which does the polishing. You get two of each & attaching the rollers to the device is super easy. Just pull off the grey buffer roll when done buffing & push on the white roll for polishing.


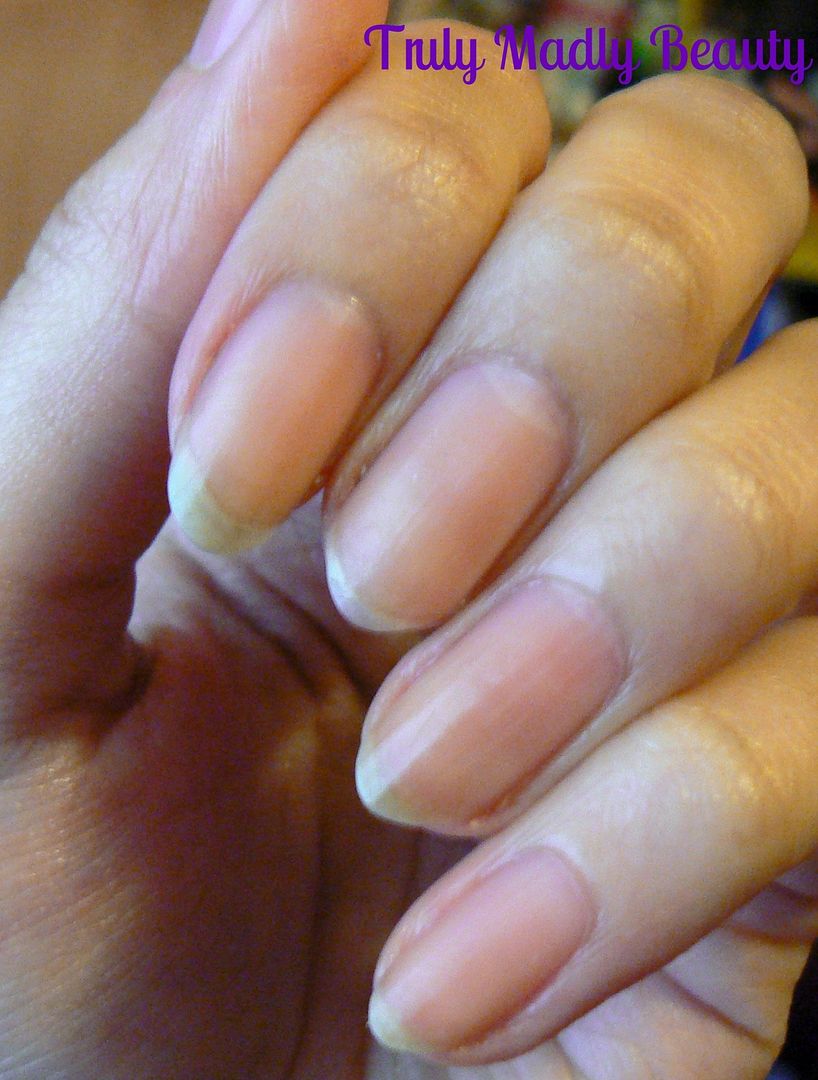
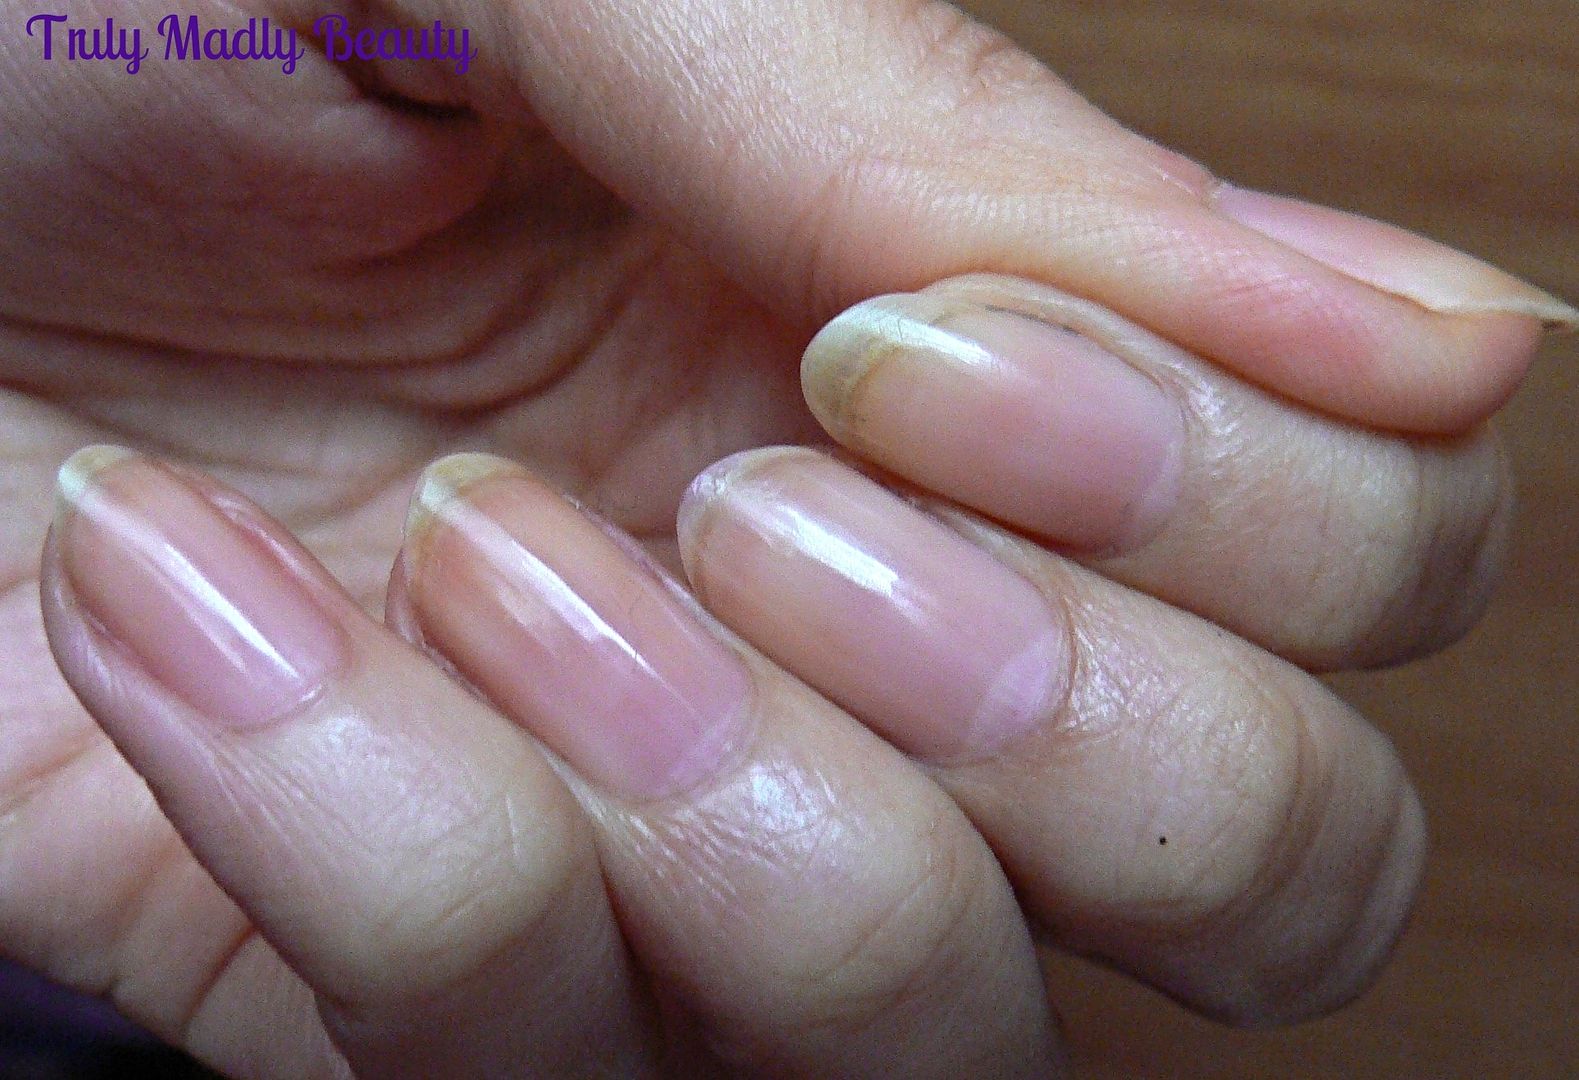
It is recommended to use the buffer on the surface of the nail, not pressing too hard for about two seconds per nail. Just switch the Micro Nail on by pushing up the button, glide the roller over the nail surface for 2 seconds or until you notice the surface has smoothed out nicely. So here we go with a before pic for you of my natural nails...o_O


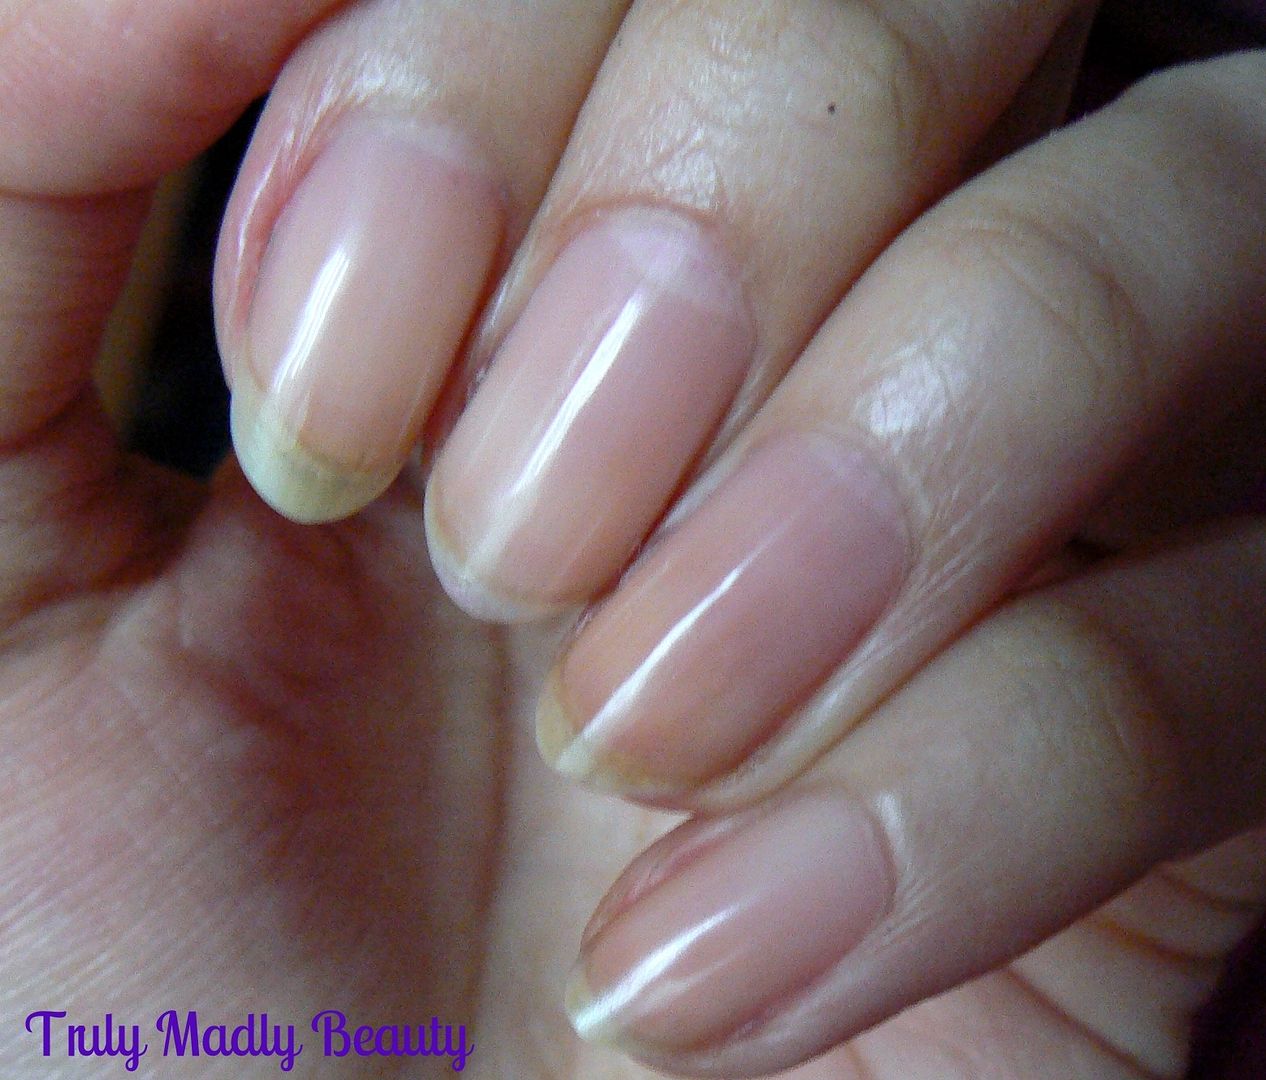
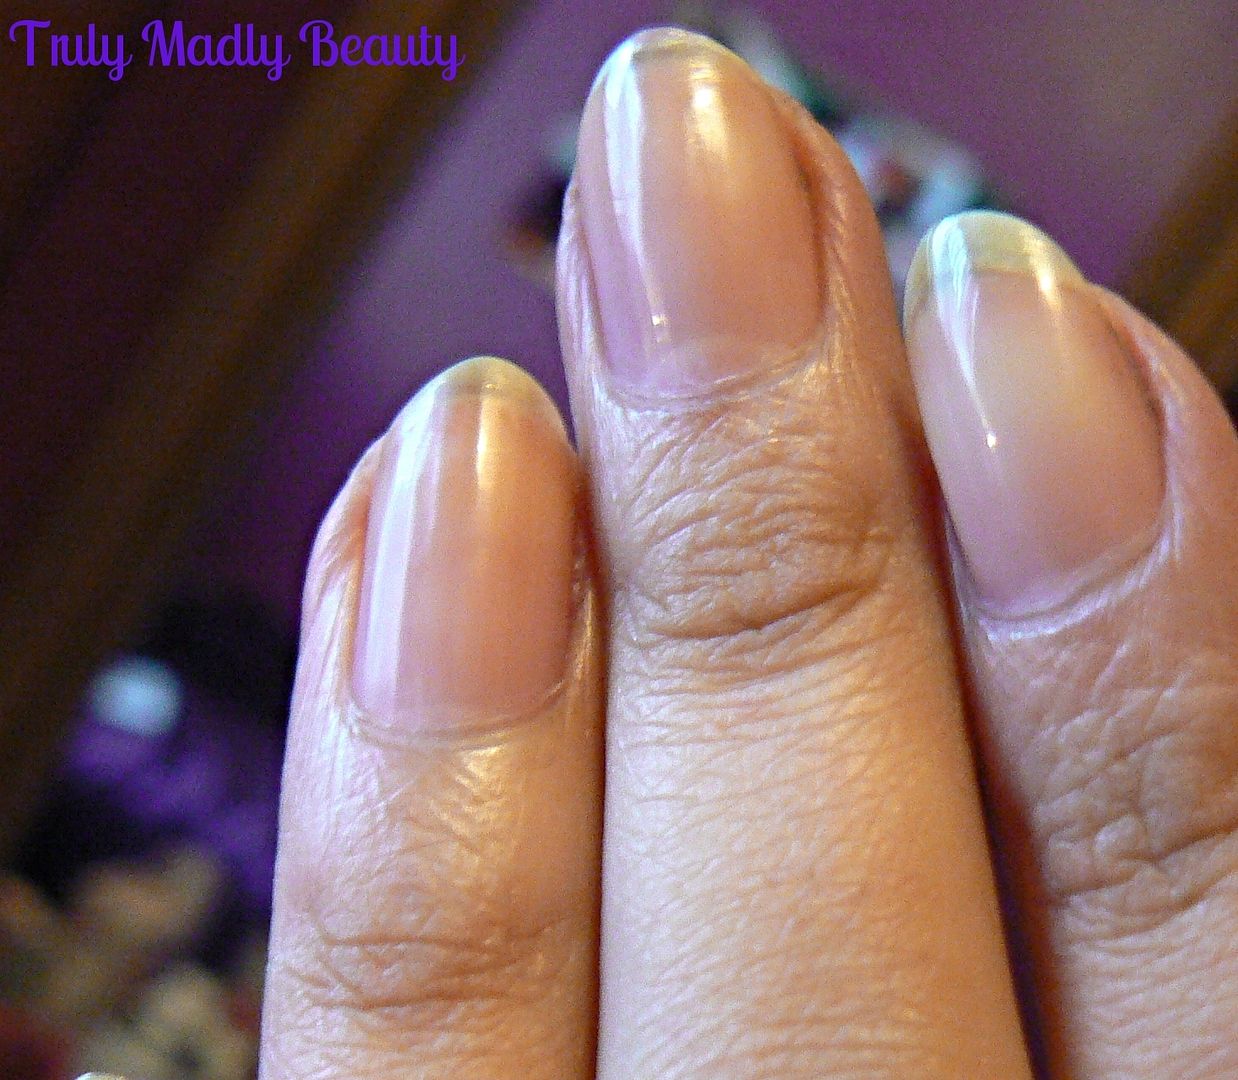
After buffing all ten nails, switch to the white roller & go back & polish up those nubbins! I was super impressed with not only how quickly, all ten nails were buffed & polished with minimal mess but the finish of my nails was SO good,...I actually didn't wear polish for the rest of the day....and that my dears is BIG ;) Here's the obligatory after pics...  


After using the MicroNail you are left with nails that look in healthy condition & salon treated with their glossy finish. I also noticed later on when I applied polish (of course I gave in eventually) that it glided onto the nail beautifully & left a lovely smooth surfaced finish. 


So there you have it, a device which has proven that it does actually give results & isn't just a gimmick like so many others out there. My mother has already "borrowed" it many times, which reminds me I need to go hunt it down!  


The device can be used on both hands & feet, for when your doing a pedicure & would be perfect for those who wish to have salon finish nails but perhaps cannot wear polish for work or simply prefer that simple clean manicured look! 

The MicroNail retails for £39.99 & is available online. However Boots currently have it on offer for £29.99 & if that couldn't be topped... lookfantastic have it for a bargainous £19.99 right now! Almost half price!

Thanks as always for reading dolls! 

Lotsa love to ya!


Disclaimer - * products featured were sent to me for my consideration. I am not affiliated with the brand nor paid for this post, this review has been as always my 100% honest opinion! :)

6.17.2015

Product Love - CND Air Dry - My HG Topcoat!

Hello there lovely readers,

A question I'm often asked when it comes to nails, is what my go to topcoat is, which is why I'm surprised at myself for never blogging about it till now! I guess I'm usually so distracted by the polish itself that things like top coat, base coat, nail care etc takes a back seat.

I'll rectify that now with sharing a few of my favourite products that I use when it comes to the nail care side of things starting off with the most important in my book...topcoat!

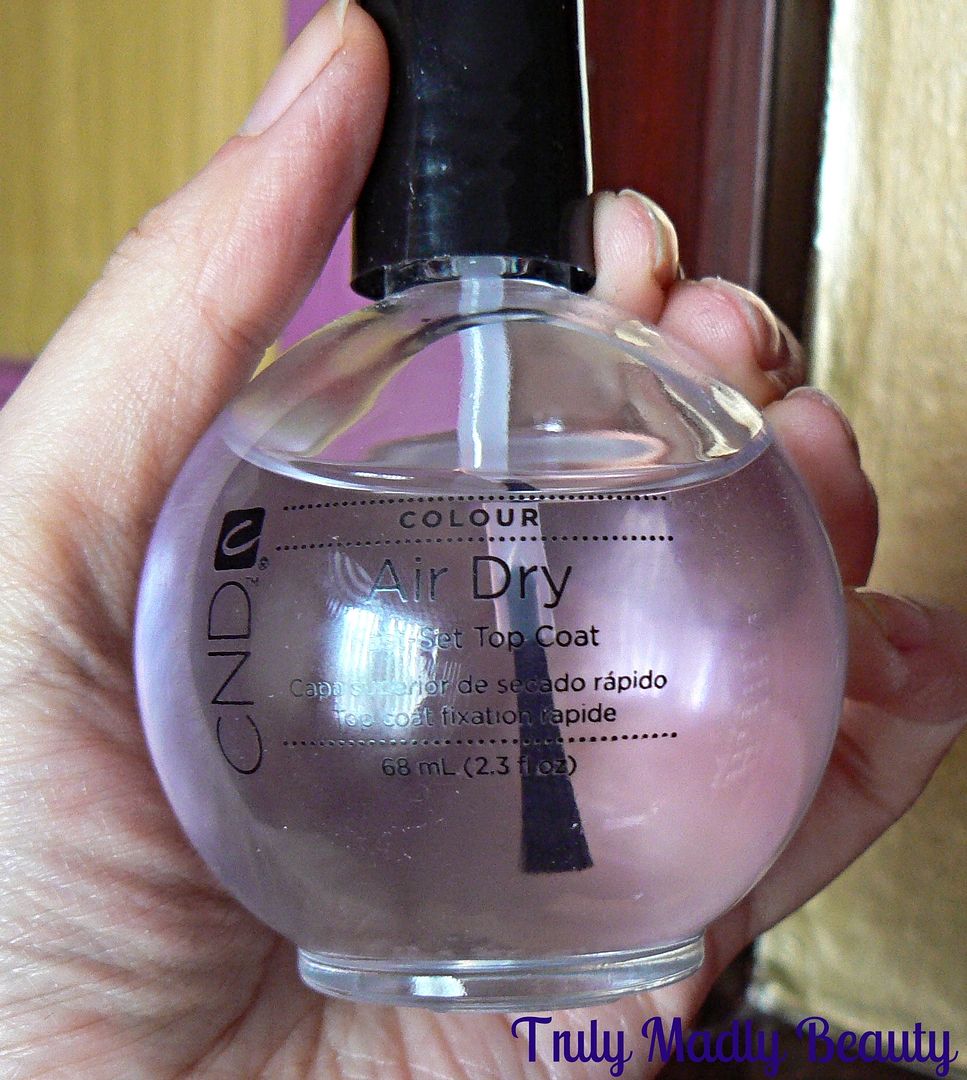
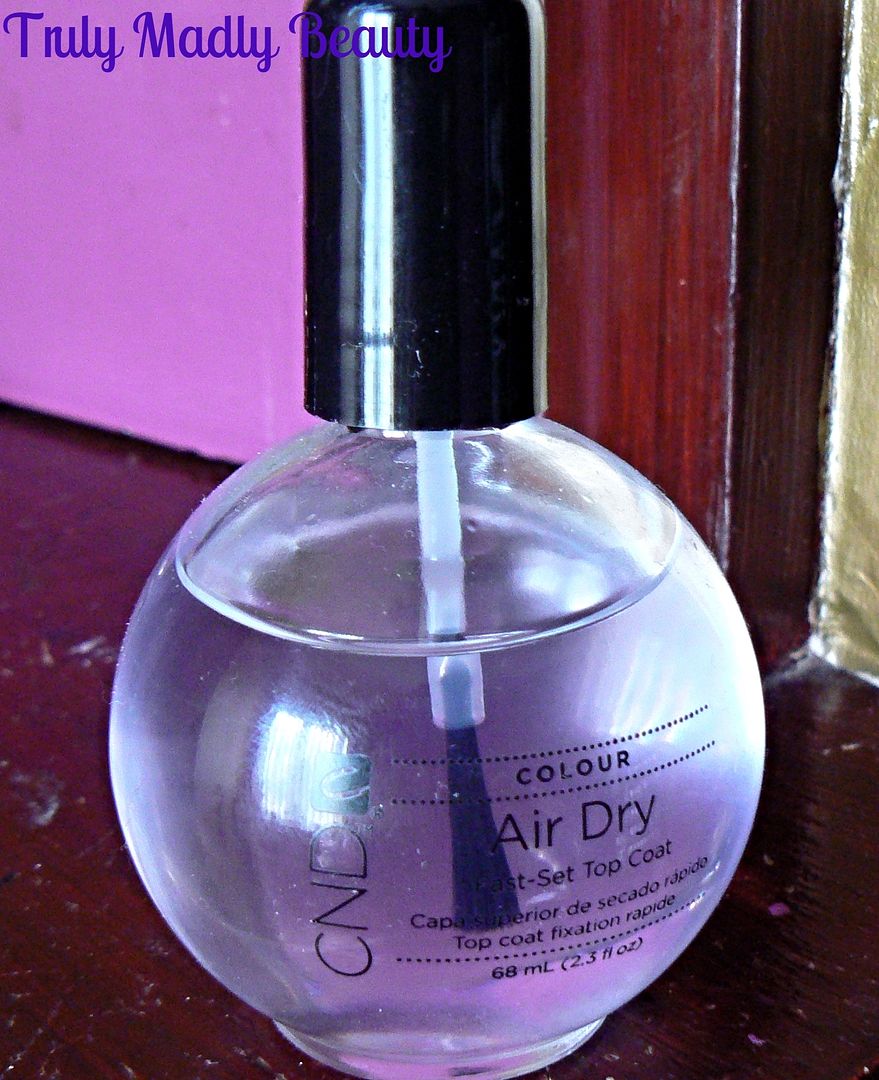
For me the qualities I look for in a fab quality topcoat is 1) Fast drying & 2) Glossy finish. One that delivers on these two needs is a winner in my book & having tried & tested both high street & high end brands in the past I have happily found THE ONE in CND Air Dry Topcoat. 


I can't for the life of me remember how I discovered this as its not a brand that widely available in the high street, but I'm so glad I did as I've not looked at another topcoat since! For me this blows Sally Hansen & OPI, brands of topcoat I've both tried, out the water.


You may be surprised to hear that I've never tried the famous Seche Vite that is popular amongst many. However having heard too many mixed things I never really felt the urge to try myself, especially as its not the cheapest out there!


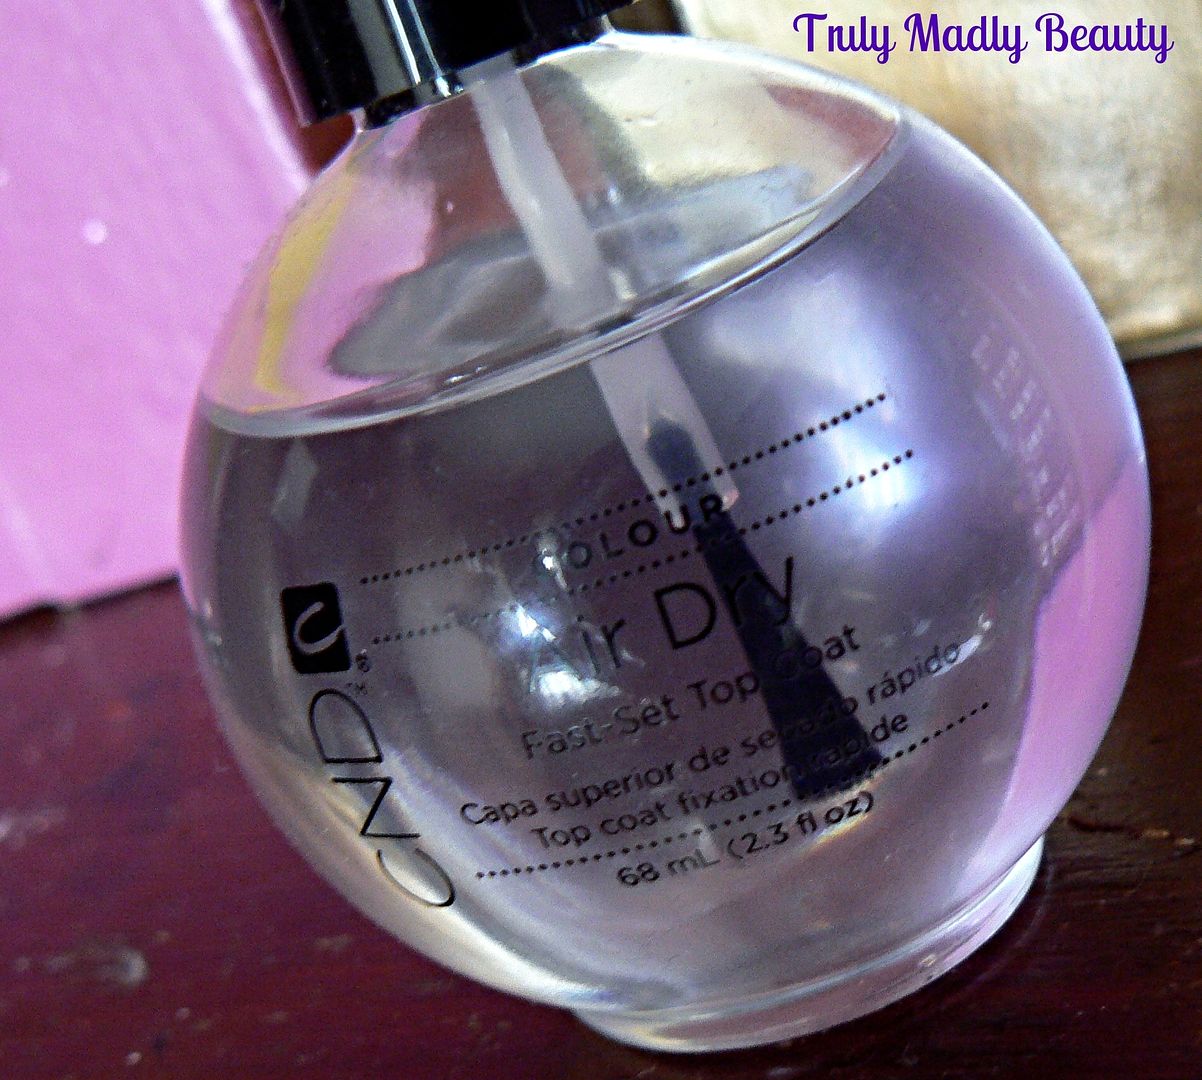
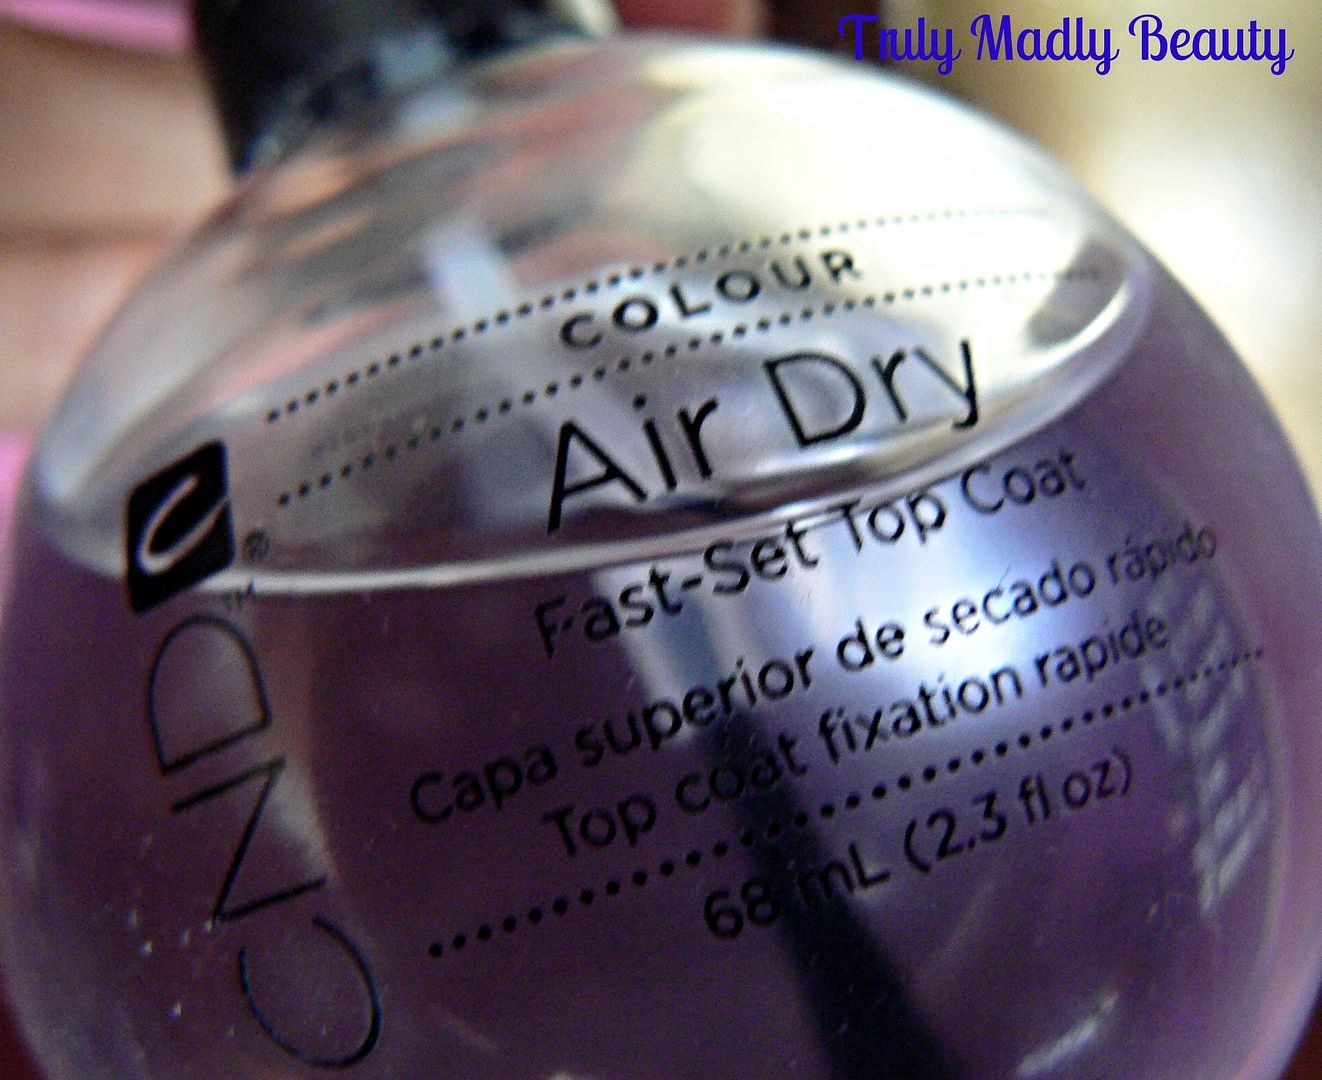
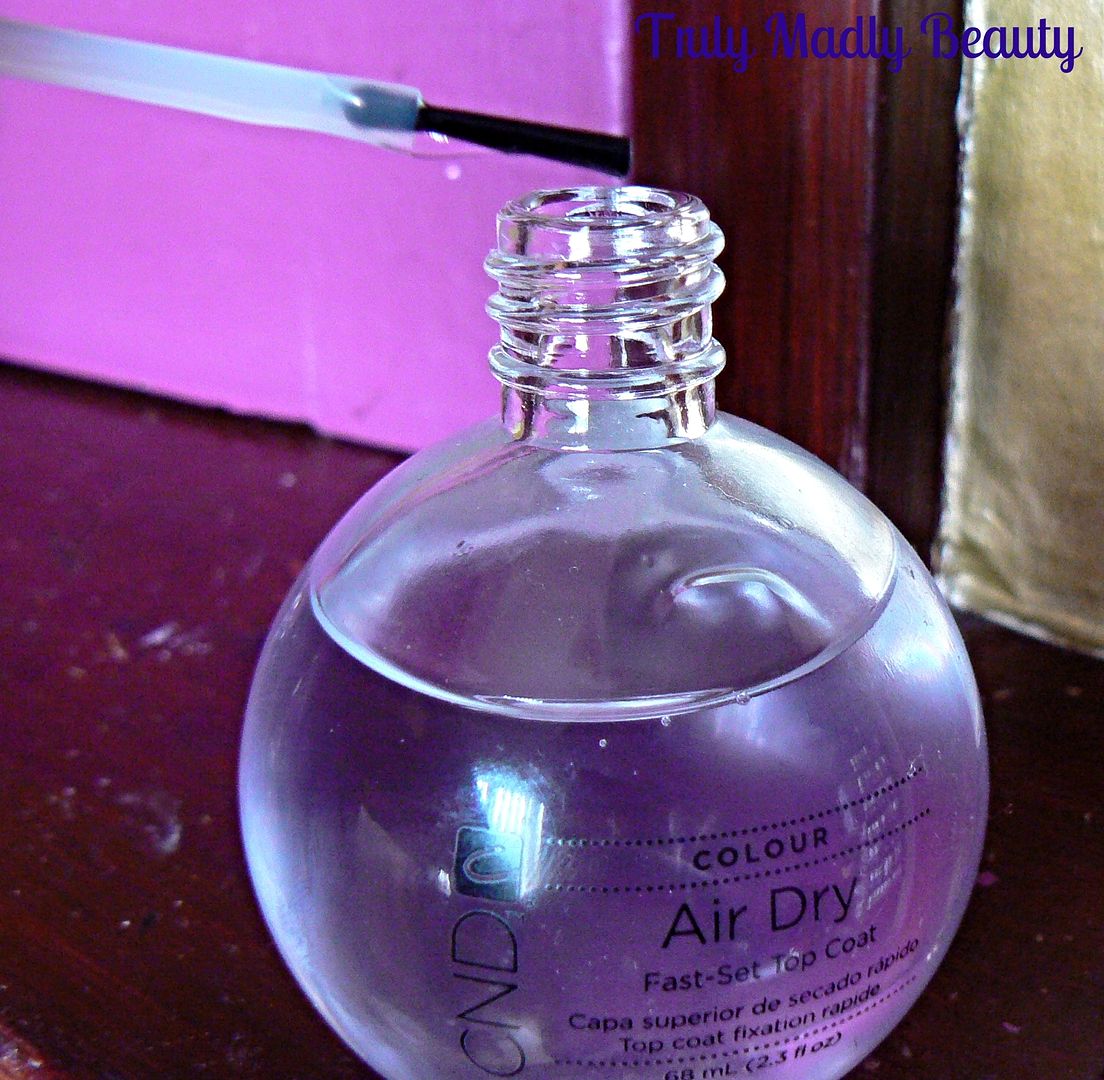
CND Air Dry leaves your manicure with not only a super glossy finish, but by the time you've top-coated the second hand, your first is completely touch dry, perfect if you're in a rush or like me simply have no patience! It glides on to the nail like water & is fab for sealing designs.


I purchase my CND Air Dry from eBay HERE, where it is available in different sizes, from a small 9.8ml for under £10 if you want to try first, to a larger 68ml which you can get from between £16-£18 & is the one I go for. Now before you gasp in horror at the thought of paying that price for a topcoat like I did at first, my brain eventually caught up & realised that with the amount of topcoat you get in the larger bottle, roughly the equivalent of about 7 small bottles, which bought separately would cost around £60-£70....you're actually getting an absolute bargain! Especially as this bottle is guaranteed to last you yonks.


So there you have it, CND Air Dry has my heart in the HG topcoat stakes & is definitely one I recommend to all you lovelies! Let me know if you try it too & what you think! Thanks for reading!

Lotsa love to ya!