Showing posts with label Purple. Show all posts
4.09.2019
NOTD - Peek-A-Boo Panda Nails for #artists4earth
12.24.2018
Festive NOTD - Sweet Sparkly Layered Snowflakes
Hello there lovely readers!
As Christmas is now on our doorstep I thought I'd squeeze in one last festive nail art look for the year! I've actually done better than I anticipated, rolling out 4 different designs: Vintage Gold Festive Roses, Minty Snowflakes, Winter Wonderland Christmas Trees & also a Disney special with some Frozen nails. A little life update also, I handed in my notice this month so I will be starting a new job in the new year which I am very excited about! How that will leave me for time to blog...I don't know yet, but lets see! Blogging has always been so therapeutic for me hence why I've continued at it after so long & its something I definitely strive to continue with!
For my last look I've done another Snowflakes design. However I've gone a different route this time & thus doing so I think I may have discovered my new favourite thing...LAYERED jelly stamping! What on earth is this you ask? Do you happen to have any of those sheer tinted polishes in your stash but no clue how to use or what to do with them? OPI Color Paints were the first of these kind (according to my knowledge anyhoo) & a few brands jumped on the bandwagon shortly after including Barry M with their Lolly Gloss Range which I blogged about HERE.
I decided to use these & my trusty stamper to create this sweet snowflake look & I think this may be my favourite festive design of the lot this year! I got the idea of layering from the fab Kate aka @Alterego_nails on IG. It was she who also inspired me for the Sharpie Nails I did HERE...what can I say, the girls got mad skills & ideas!
To start I needed an opaque base to work on first...as the two Lolly Gloss polishes I have were pink & purple, then those were the base shades I went for as well. For my purple nails I applied one coat of Models Own Roxy & for the pink nails I applied one coat of a fuchsia pink European brand polish I picked up on my travels.
Now for the first round of stamping. I have a few festive stamping plates from Born Pretty Store which also have single snowflake patterns, perfect for this. Using white polish I stamped about 3 snowflakes to each nail.
I then reached for the tinted Lolly Gloss polishes & applied one coat over the snowflakes which gives that awesome "submerged in jelly" like look! Obviously using the purple tint on the purple nails & pink tint on the pink nails. Once this was dry I then went in again & stamped on 2 more snowflakes on top.
You can keep on going with the layering if you wish but I stopped here. For a final touch I added a pretty pink rhinestone to the center of my 2 top snowflakes & though you can't really see I also added a coat of glitter topcoat for some extra powow SPARKLESSSSS.
A final coat of topcoat to seal those stones & add shine & you're done! Thanks again to the fab Kate for this awesome idea. I now need to get hold of more tinted sheer polishes so I can do ALL the layered stamping! Thanks as always for reading darling ones & I wish you the merriest of Christmases whatever you may be doing! See you in 2019!
Lotsa love to ya!
As Christmas is now on our doorstep I thought I'd squeeze in one last festive nail art look for the year! I've actually done better than I anticipated, rolling out 4 different designs: Vintage Gold Festive Roses, Minty Snowflakes, Winter Wonderland Christmas Trees & also a Disney special with some Frozen nails. A little life update also, I handed in my notice this month so I will be starting a new job in the new year which I am very excited about! How that will leave me for time to blog...I don't know yet, but lets see! Blogging has always been so therapeutic for me hence why I've continued at it after so long & its something I definitely strive to continue with!
For my last look I've done another Snowflakes design. However I've gone a different route this time & thus doing so I think I may have discovered my new favourite thing...LAYERED jelly stamping! What on earth is this you ask? Do you happen to have any of those sheer tinted polishes in your stash but no clue how to use or what to do with them? OPI Color Paints were the first of these kind (according to my knowledge anyhoo) & a few brands jumped on the bandwagon shortly after including Barry M with their Lolly Gloss Range which I blogged about HERE.
I decided to use these & my trusty stamper to create this sweet snowflake look & I think this may be my favourite festive design of the lot this year! I got the idea of layering from the fab Kate aka @Alterego_nails on IG. It was she who also inspired me for the Sharpie Nails I did HERE...what can I say, the girls got mad skills & ideas!
To start I needed an opaque base to work on first...as the two Lolly Gloss polishes I have were pink & purple, then those were the base shades I went for as well. For my purple nails I applied one coat of Models Own Roxy & for the pink nails I applied one coat of a fuchsia pink European brand polish I picked up on my travels.
Now for the first round of stamping. I have a few festive stamping plates from Born Pretty Store which also have single snowflake patterns, perfect for this. Using white polish I stamped about 3 snowflakes to each nail.
I then reached for the tinted Lolly Gloss polishes & applied one coat over the snowflakes which gives that awesome "submerged in jelly" like look! Obviously using the purple tint on the purple nails & pink tint on the pink nails. Once this was dry I then went in again & stamped on 2 more snowflakes on top.
You can keep on going with the layering if you wish but I stopped here. For a final touch I added a pretty pink rhinestone to the center of my 2 top snowflakes & though you can't really see I also added a coat of glitter topcoat for some extra powow SPARKLESSSSS.
A final coat of topcoat to seal those stones & add shine & you're done! Thanks again to the fab Kate for this awesome idea. I now need to get hold of more tinted sheer polishes so I can do ALL the layered stamping! Thanks as always for reading darling ones & I wish you the merriest of Christmases whatever you may be doing! See you in 2019!
Lotsa love to ya!
Labels:
Barry M,
Christmas,
Festive,
Glitter,
Jelly,
Model's Own,
nail art,
NOTD,
Pink,
Purple,
Rhinestone,
sheer tint,
Snowflake,
Sparkle,
Xmas
9.04.2018
NOTD - Lemon & Lilac!
Hey there lovely readers!
I don't know if its the time of year but I am kinda obsessed with all things lemon right now. The shade that is! I picked up the most dreamy yellow dress from Zara the other week that also functions as an immediate mood lifter, it helps that its super swishy for obligatory impulsive twirling of course. I'm currently on the hunt for a lemon print dress, I've seen a few floating around on the socials that have peeked my interest...I NEED!
8.21.2018
NOTD - Pitch Purple & Pink!
Hey there lovely readers!
Coming at you today with a vibrant & uplifting nail art look, because why the heck not!
Labels:
Dotticure,
Glitter,
gothic,
Model's Own,
nail art,
NOTD,
Poundland,
Purple,
Sally Hansen,
Vampy
7.09.2018
NOTD - Peony and Mirage by For Your Nails Only
Hey there lovely readers!
Today I have another wee nail polish haul to share with you in which I picked up a couple more For Your Nails Only shades that I had my eye on to add to my collection :)
Labels:
For Your Nails Only,
holographic,
nail art,
Nail Stamping,
NOTD,
Pink,
Purple,
Rhinestone,
Shimmer,
Sparkle,
Thermal
5.29.2018
NOTD - Infinity Stone Nails!
Hey there lovely readers!
So I, like much of the world of late went to see the greatly anticipated Avengers Infinity War, & boy did it leave a mark & then some! I am a huge fan of this incredible universe which I'm sure comes as no surprise. Having said that I DID have to do a bit of catching up with a Marvel marathon or two before going to see this instalment (don't judge me...there ARE a lot of films & I kinda lost track!) & I definitely advise you do as well to avoid any gaps in the story!
Labels:
Avengers,
Barry M,
Blue,
Collection,
Comic Book,
Gemstone,
Green,
Kiko,
Marvel,
Model's Own,
nail art,
Nails Inc,
NOTD,
Purple,
Rainbow,
Red,
Semi Precious Stones,
Villain,
Yellow
5.23.2018
NOTD - Asa No Ha Step by Step Nail Art Tutorial
Hey there lovely readers!
Oooh its been a while since I've had the time to do a proper step by step nail art tutorial for you guys so I thought it was high time to rectify that & boy am I coming at you today with a banger of a one!
Labels:
Accessorize,
Creme,
Lilac,
nail art,
Nail Art Tips,
NOTD,
Primark,
Purple,
Tutorial
4.03.2018
Meebox Nail Subscription Box Review plus Spring Nail Art!
Hello there lovely readers!
Now I am sure we are all familiar with Beauty Subscription boxes non? I can't exactly recall myself WHEN these became a thing, but I do vividly remember the beauty world going completely gaga over the concept of them & I can understand why as it has become a great & more affordable way to try out numerous different brands & products all in one go!
1.01.2018
NOTD - Happy New Year!
Hello there lovely readers!
Pinch, punch & all that Happy New Year jazz to you dear ones! 2018 is finally here & I'm super excited to see what it has in store. 2017 wasn't all that great if I'm honest, don't get me wrong there were many high points for which I am very thankful for, including finally visiting Thailand & Dubai, two places that have been on my list for a long time. But there were also a few lows too, losing my little sidekick Hoshi was a huge blow & whom I miss everyday but of course as you know we do have another dear little furbaby within our family circle in the form of Lunar who is such a character! I'm starting a new job this week which I'm very much looking forward to & I also want to travel more this year too! So bring it on 2018...I'm ready for you
Anyhoos lets get down to business, I couldn't very well see in the new year without some form of action on my nails now could I?
Labels:
Born Pretty Store,
Duochrome,
Glitter,
nail art,
NOTD,
Purple,
Rhinestone,
Sequins
12.20.2017
NOTD - Zealous by For Your Nails Only
Hello there lovely readers!
Ooooh but do I have a beautiful polish to share with you today, I've actually used this in my next festive nail art design, but I wanted to share some swatches with you first of Zealous all by its onesie as I feel it deserves it on account of being just...so...darn...PURDY!
Labels:
Chameleon,
Chrome,
Duochrome,
For Your Nails Only,
Green,
Indie,
Monochrome,
NOTD,
Purple
12.18.2017
Festive NOTD - Lilac Pastel Starry Night Sky
Hello there lovely readers!
So I'm back from my holiday in the beautiful Dubai, which has completely captured my heart & then some, I already cannot wait to return next year! But for now lets get back to continuing all things FESTIVE with some suitably Christmas-y nail art shall we?
11.21.2017
Getting Lippy - Kat Von D Everlasting Liquid Lipstick in Ayesha
Hello there lovely readers!
So after falling completely & utterly head over heals obsessed with the Kat Von D Everlasting Liquid Lipstick in Bow & Arrow, it was inevitable that another shade would be purchased in the near future.
I absolutely love everything about this range of liquid lipsticks, the super lightweight formula, non drying smooth matte finish with zero cracking? Winning!
Labels:
Getting Lippy,
Kat Von D,
Lippie Love.,
Lips,
Lipstick,
Liquid Lipstick,
Purple
10.05.2017
Halloween Nails - Spooky Cemetery Scene!
Hey there lovely readers!
Time for another Halloween mani! I've never done a Cemetery/Graveyard scene design before yet always loved seeing so many interpretations, so when this theme popped up as one of the prompts in an Instagram nail art challenge, I though it high time I give it a go!
Whilst I'm not entirely happy with my freehand Cemetery design itself, I'm still absolutely in love with this mani, especially that base!
9.14.2017
NOTD - Negative Space Wave!
Hello there lovely readers!
Today's nail art design was one of those moments that I have, quite frequently if I'm honest, where I literally have no clue what the heck I'm doing, I just simply say a few prayers to the nail goddess & hope for the best. The result this time...a negative space, dotticure wave look.
7.10.2017
Disney Nail Art Series - Maleficent
Hey
there lovely readers!
So
I felt it was about time to add another manicure into my Disney NailArt Series that I've started here on my blog.
So
far I've thrown together some Beauty and The Beast nails & a
suitably fairy-tale perriwinkle blue Cinderella themed design as
well. I thought the time had come to switch things up a tad &
give one of the glorious villain diva's a turn in the nail art
stakes.
Alongside
the Disney princesses there are also some utterly fabulous goddesses
in Disney playing the role of villain whom you can't help but love &
I look forward to experimenting & creating something fun for them
too!
The
first Disney villain I wanted to rustle up something for is one of my
favourites Maleficent. Of course Sleeping Beauty is a vintage classic
when it comes to Disney & a firm favourite of mine, but I also
loved the live action adaptation retelling this intriguing villains
story in a really wonderful way with Angelina Jolie in the lead
role.
6.08.2017
NOTD - Dry Marble Lily Nail Art
Hi
there lovely readers!
Now
I have me my fair share of nail art FAILS. Dreadful & dark times
indeed when these events occur let me tell you. Times that are
frequenting more of late, mostly (okay entirely) due to a certain
cheeky little fluffball...if you follow me on social media (Twitter
@aysh_tmb/Instagram @aysh_xox) you'll know that we now have a new
addition to the family in the form of Lunar, our new kitten! Needless
to say we all miss our beloved Hoshi muchly, so we all needed to have
that gaping hole she left behind filled with another sweet soul to
cherish & Lunar certainly is that. Even at a young age I can see
she is such a character & its been an eventful couple of weeks!
Lets just say nail painting when I'm at home is gonna be a whole new
challenge!
However,
pardon my digression there, I do occasionally have moments when (if
I'm not being distracted by a curious little kitty) a design turns
out far beyond my expectations & then the world is put to rights
again...life is all about balance eh? Though to be fair I could do
WITHOUT the fails that see me losing my hair & ageing at a more
drastic rate...
Anyhoo
mani WINS are much more welcome naturally & such is the case with
today's design which features what is becoming one of my favourite
nail art techniques...dry marbling. Until the day comes when I find
the inner mental & emotional strength to even think about
tackling the intimidating task that is water marbling...I shall get
all my marble fix needs met this way!
7.19.2016
Klenspop Bunny 3 Color Violet Circle Lens Review!
Hello
there lovely readers!
Obligatory
“wooo is it hot enough for ya folks?!” Apparently it was hotter
than Hawaii in the UK today...heck I'm down for that! I know I should
be grateful for the glorious invention that is A/C, but I think the
office got a bit overexcited with the settings thus inside it was
rather north pole like in its temperature confusing the delicate
senses a tad! O_o
So
another day, another contact lens review for you my dears! Is it
weird that I've always wanted purple pixie eyes? As you know I love
switching up my eye colour & as much as I enjoy the greens,
greys & blues, I've always been curious to try some more fun &
unusual shades.
Thank
to my lovely chums at Klenspop I don't need to rely on Snapchat
filters to rock me some purple peepers anymore with a little help
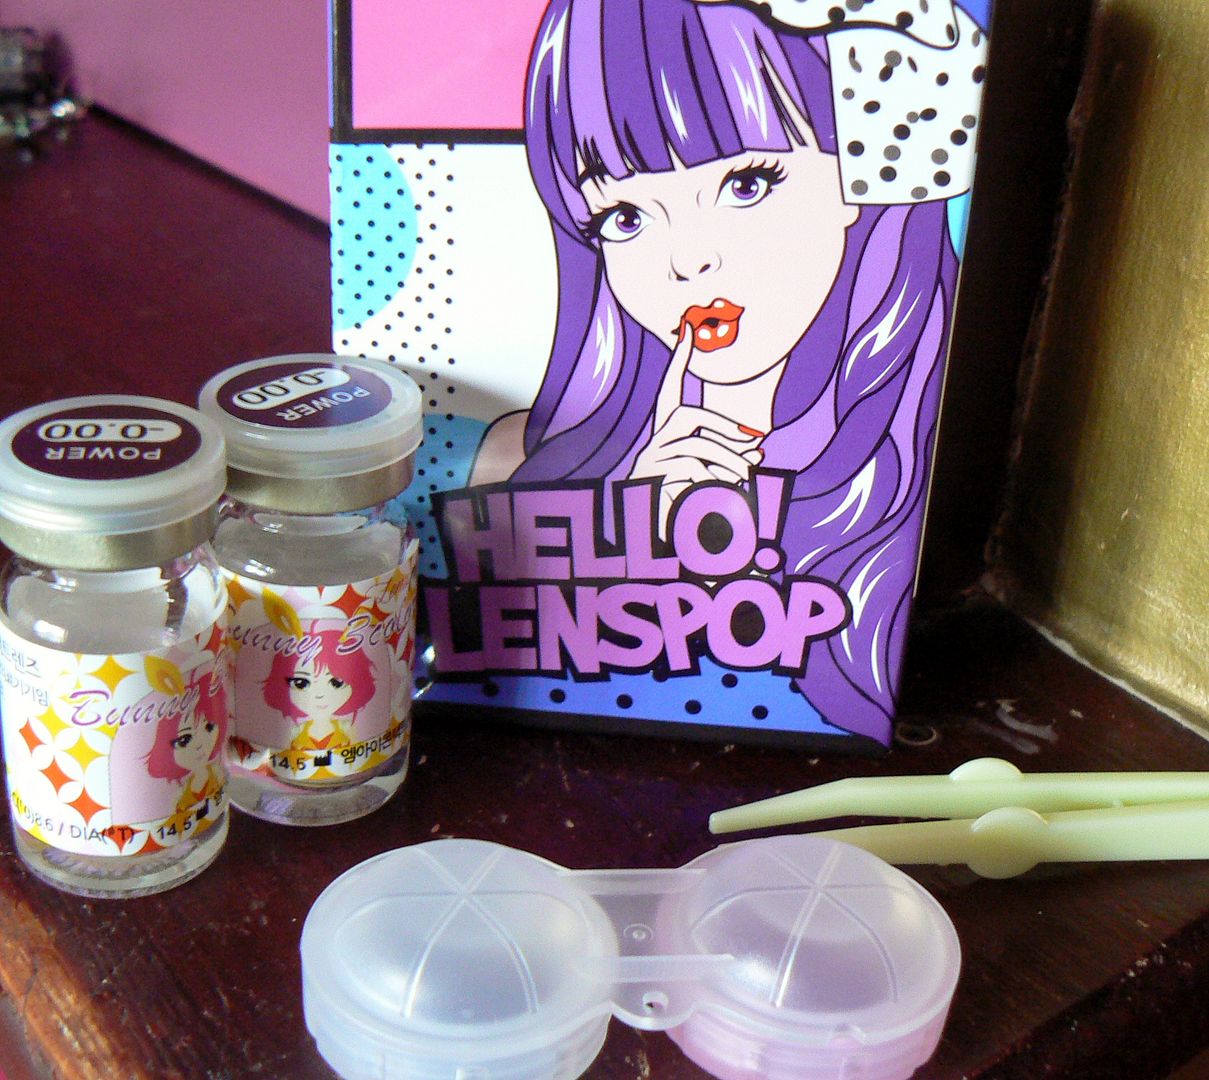
from the *Bunny 3 Colour Violet Lenses.
As
with all Klenspop lenses you'll receive your contacts in their funky
fun packaging that I just love & which includes not just the
lenses but also a case to store them in & mini tweezers for
safe & easy shifting of the lenses.
I
noticed straight away that the Bunny 3 Color Violet lenses were much
smaller than the previous circle lenses I've tried from Klenspop.
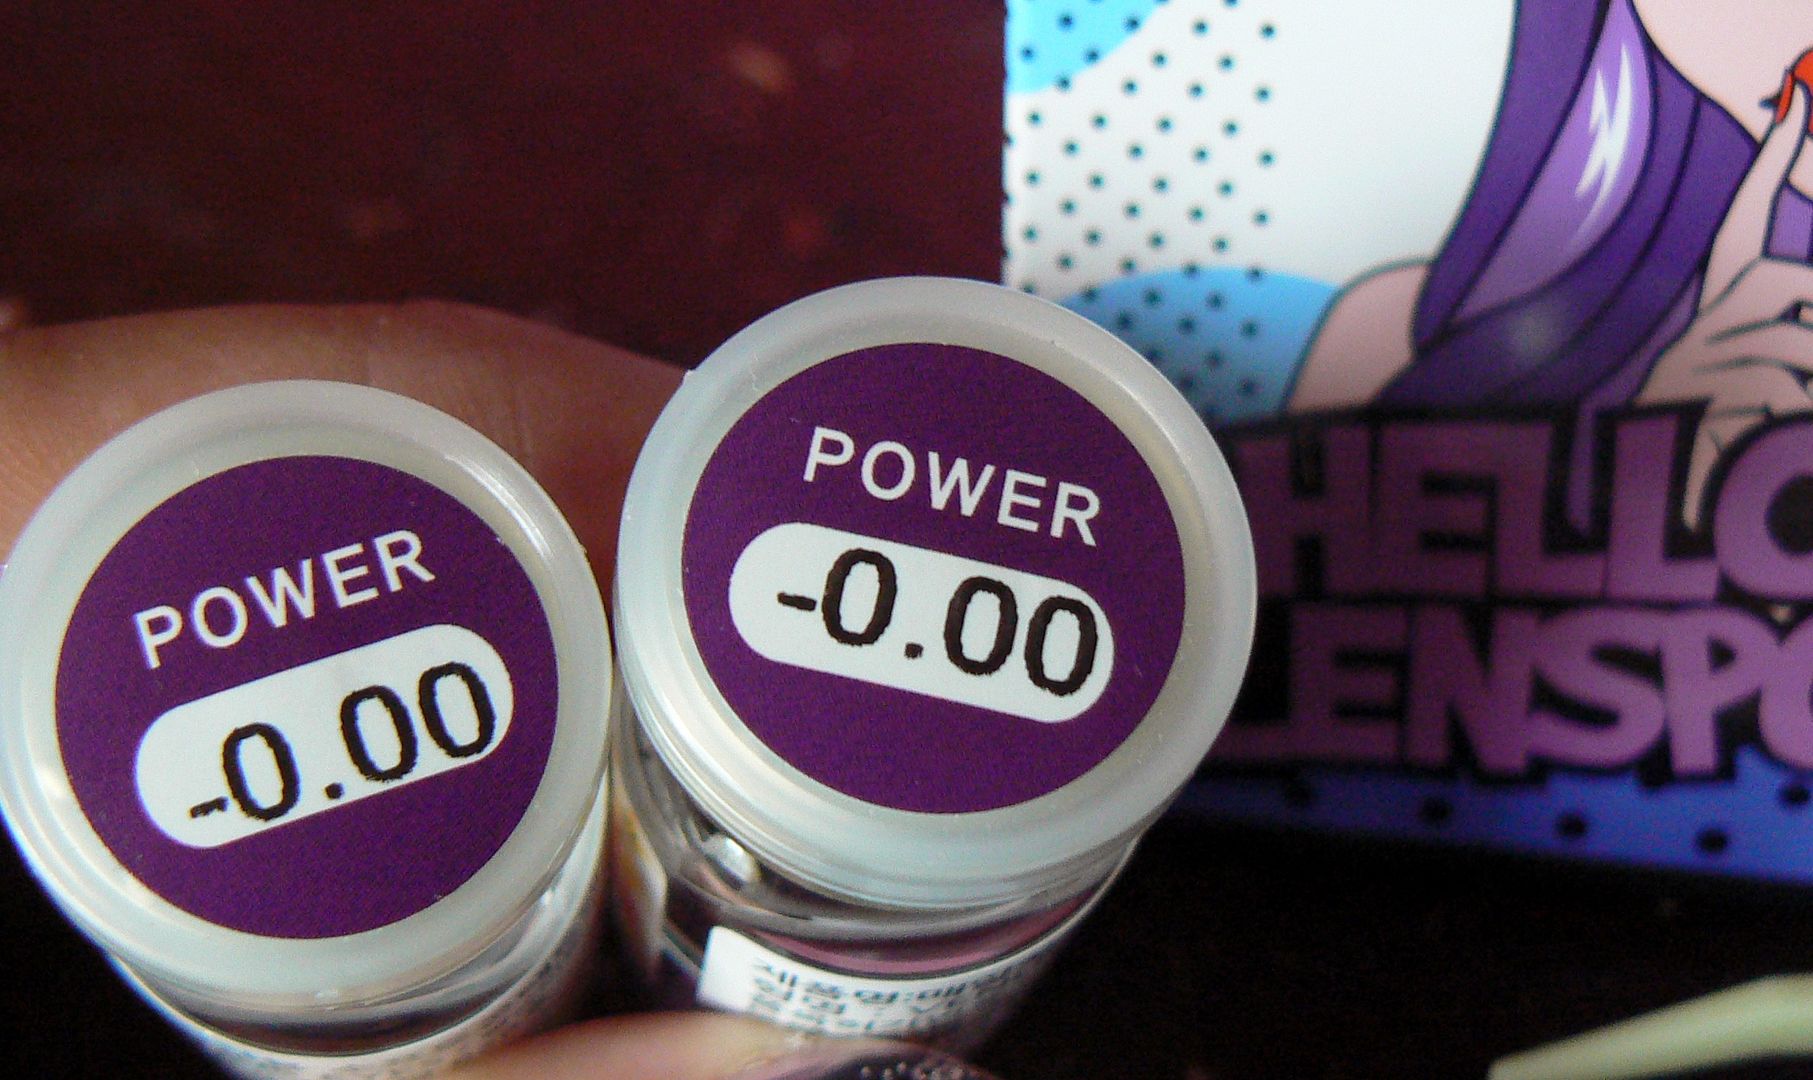
Here is a quick breakdown of the lenses details:
Diameter:
14.5mm
Graphic
Diameter: 13.3mm
Basic
Curve: 8.6mm
Using
Period: 6 months
Water
content: 38%
Manufacturer:
Lenspop
On
to the trying & testing! I couldn't wait to give these a go so
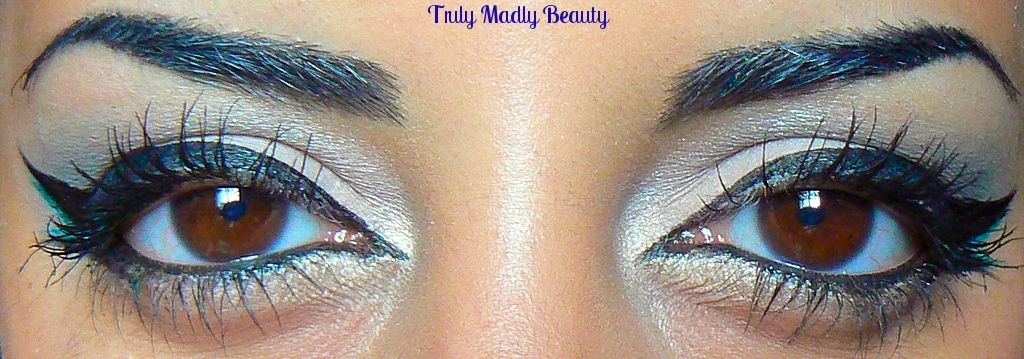
here is an obligatory 'before' pic of my natural eyes...
And
now with the Bunny 3 Color Violet Lenses...
Omfrreeekinngggaaahfn....pretty
much sums up how I feel about these. I was worried that with my
naturally very dark eyes the violet wouldn't show up so well but I
couldn't have been more wrong & I absolutely LOVE the finish
these give.
As
mentioned before due to the smaller graphic diameter of these lenses there
is not a huge amount of enlargement of the irises but that doesn't bother me at
all, I really adore the natural & delicate look.
The
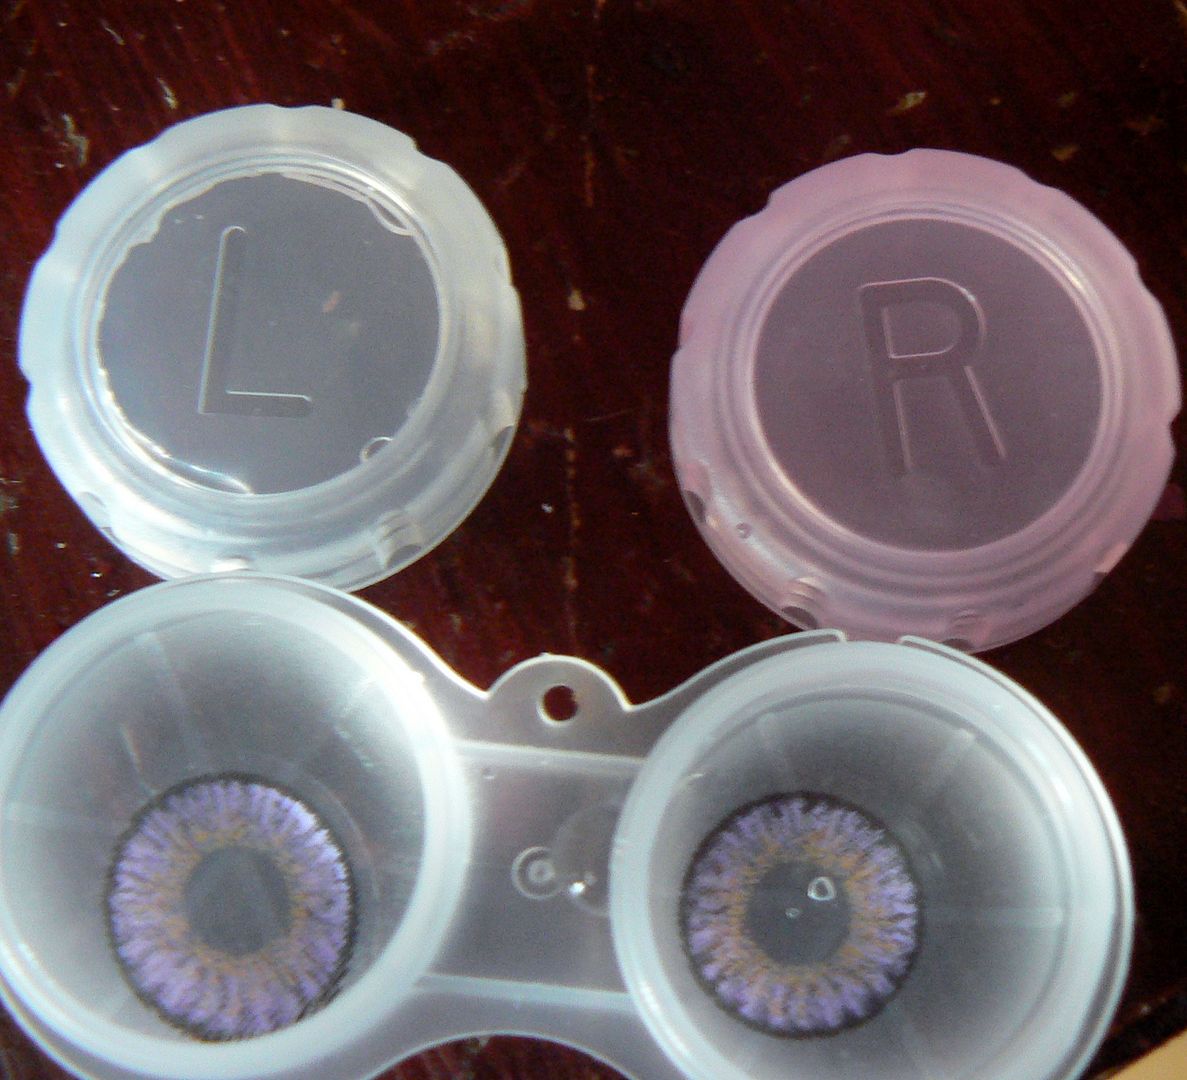
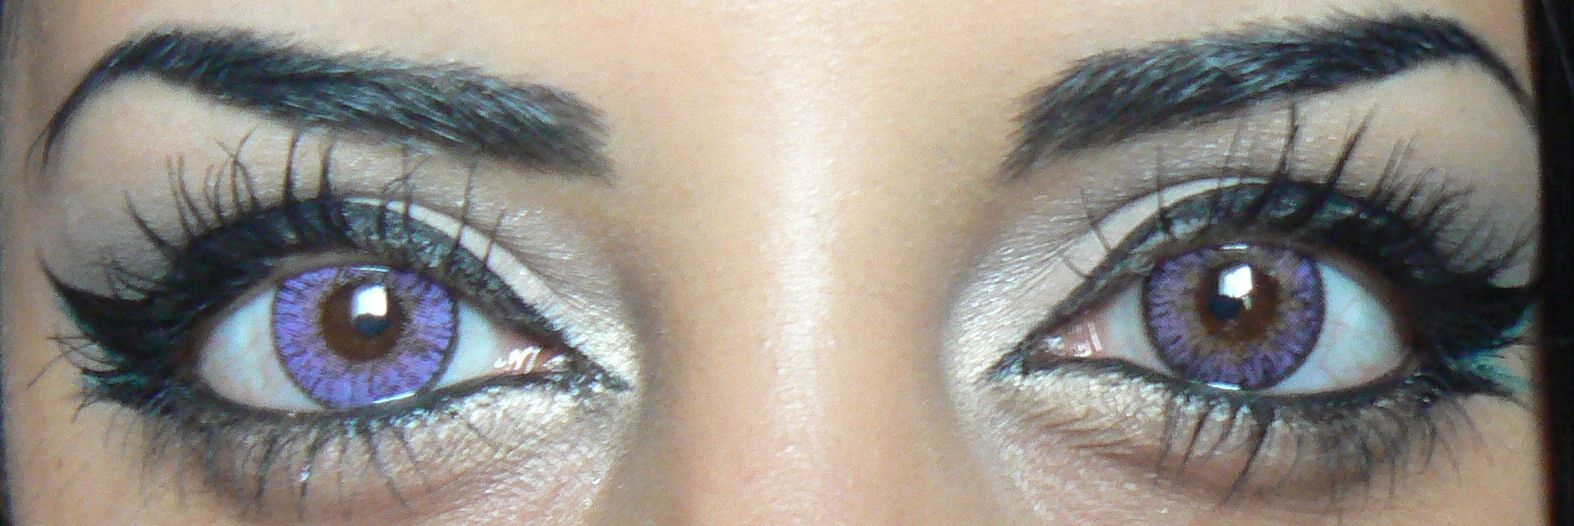
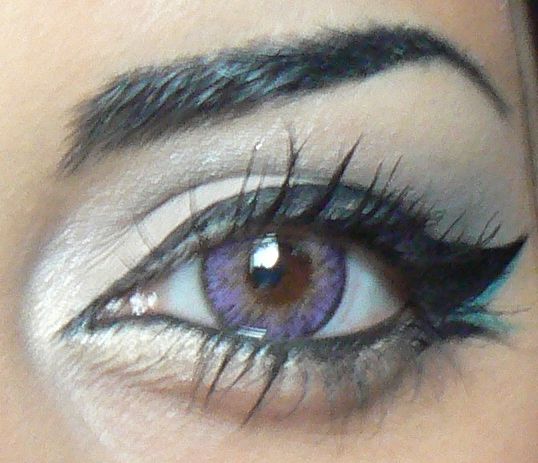
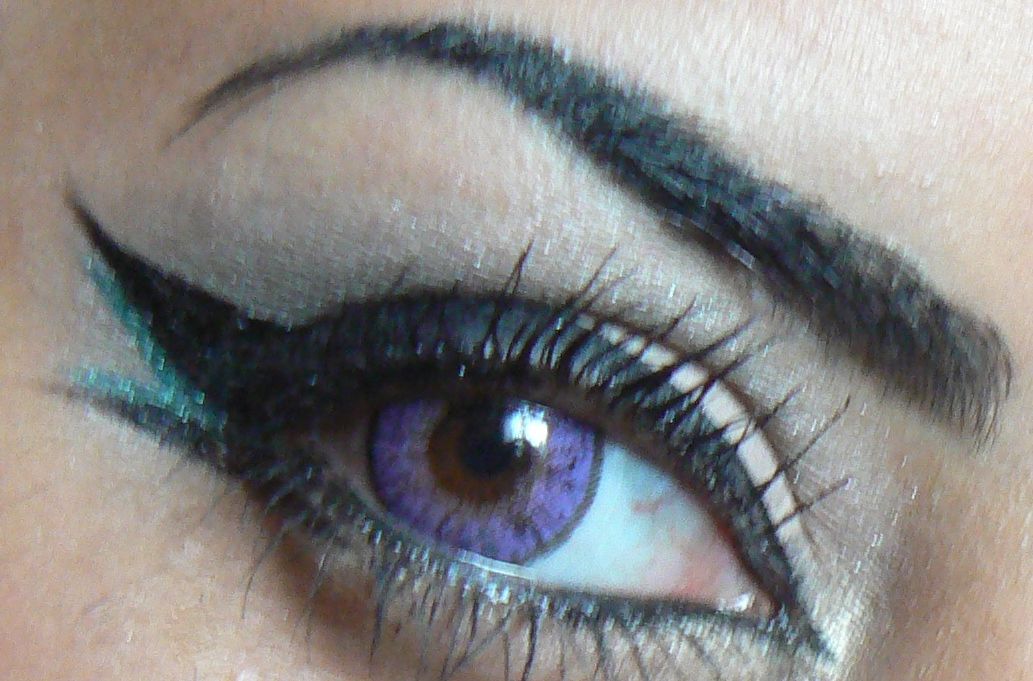
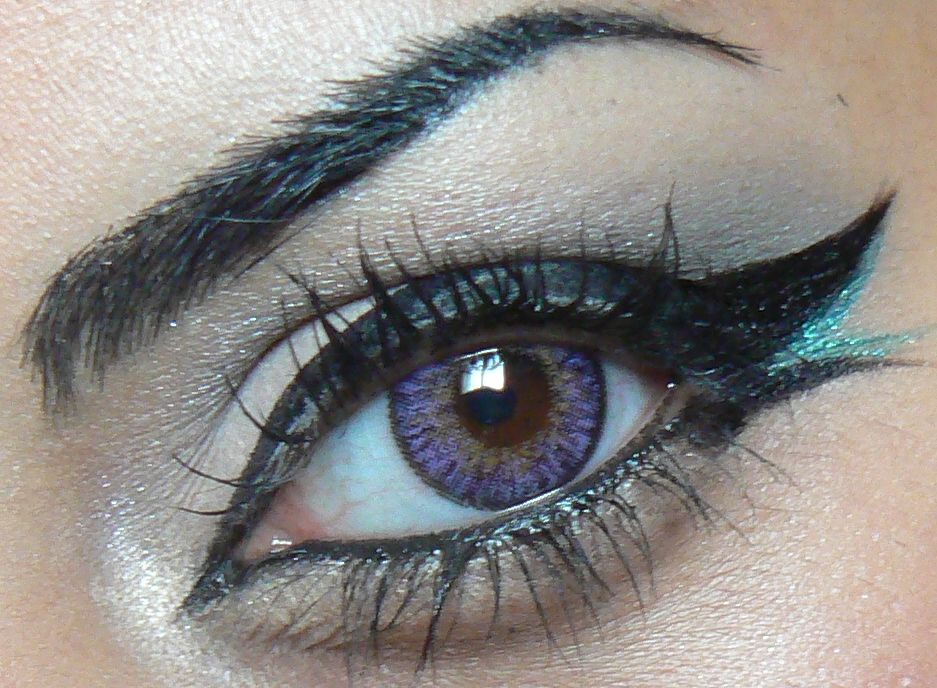
colour itself is gorgeous, a mix of lilacs, violet & brown. One
observation I noticed actually, I don't know if you can tell but
there seems to be a few more strokes of brown in the left lens?
Unless its just me but again I didn't mind that additional
coincidental touch of randomness!
On
to comfort of wear, as always I've found Klenspop lenses to be super
comfortable. Again, maybe this could be due to the smaller diameter
but I did find my eyes started to feel a bit dry a lot quicker than
with the previous lenses, but eye drops helped with that. But I would
definitely wear these for a shorter length of time than the others.
Its
no secret that Klenspop is my favourite supplier of lenses. Quick
shipping, you'll get your lenses in around a week which is fab. The
prices are great too, I believe these ones are currently on sale at
$7 which is a bargain!
You
can find these lenses plus so many more on the Klenspop website. Do
have a gander at my previous Klenspop lens reviews HERE to see some
of the other colours/designs available.
Thank
for reading!
Lotsa
love to ya!
Disclaimer
- * products featured were sent to me for my consideration. I am not
affiliated with the brand nor paid for this post, this review has
been as always my 100% honest opinion! :)
Labels:
Circle Lens,
Contact lenses,
Eyes,
Klenspop,
Purple,
Review,
Violet
3.03.2016
NOTD - Faded Lavender & White Marble Nails...
Hello
lovely readers!
Anyone else a tad freaked that we are in March already?! Wooo where is the time going? Anyhoos my dears, the dry marbling obsession continues, I can't get enough of this fun
nail art technique, experimenting away with different shades &
combinations! Check back to my Blue Marbled Nails post for a wee
guide on how to create dry marbled effect nails.
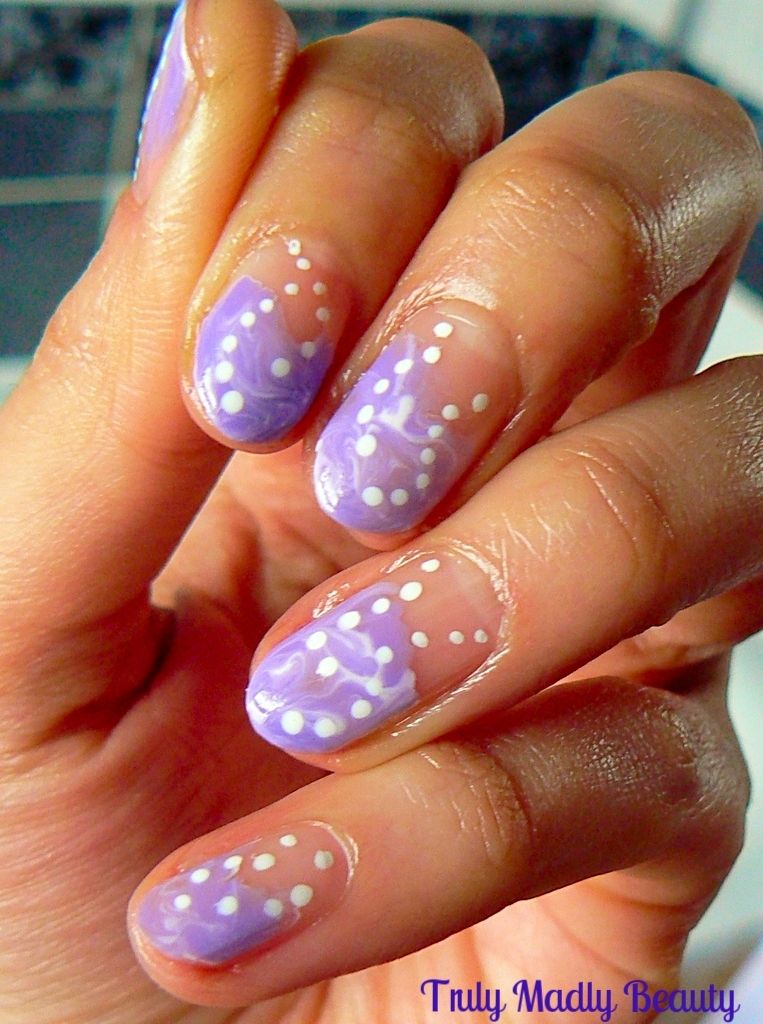
For
this mani I found myself prowling through Instagram & @Yagala's
account in particular for inspiration, her designs are simply
incredible. I saw her mani for marbled tips in pretty lilac tones &
just had to recreate!
Obviously
my skills aren't a patch on this talented ladies but I'm super
chuffed with how these came out. I love the idea of just applying to
the tips, ending three quarters of the way down the nail, almost
giving it a fading effect.
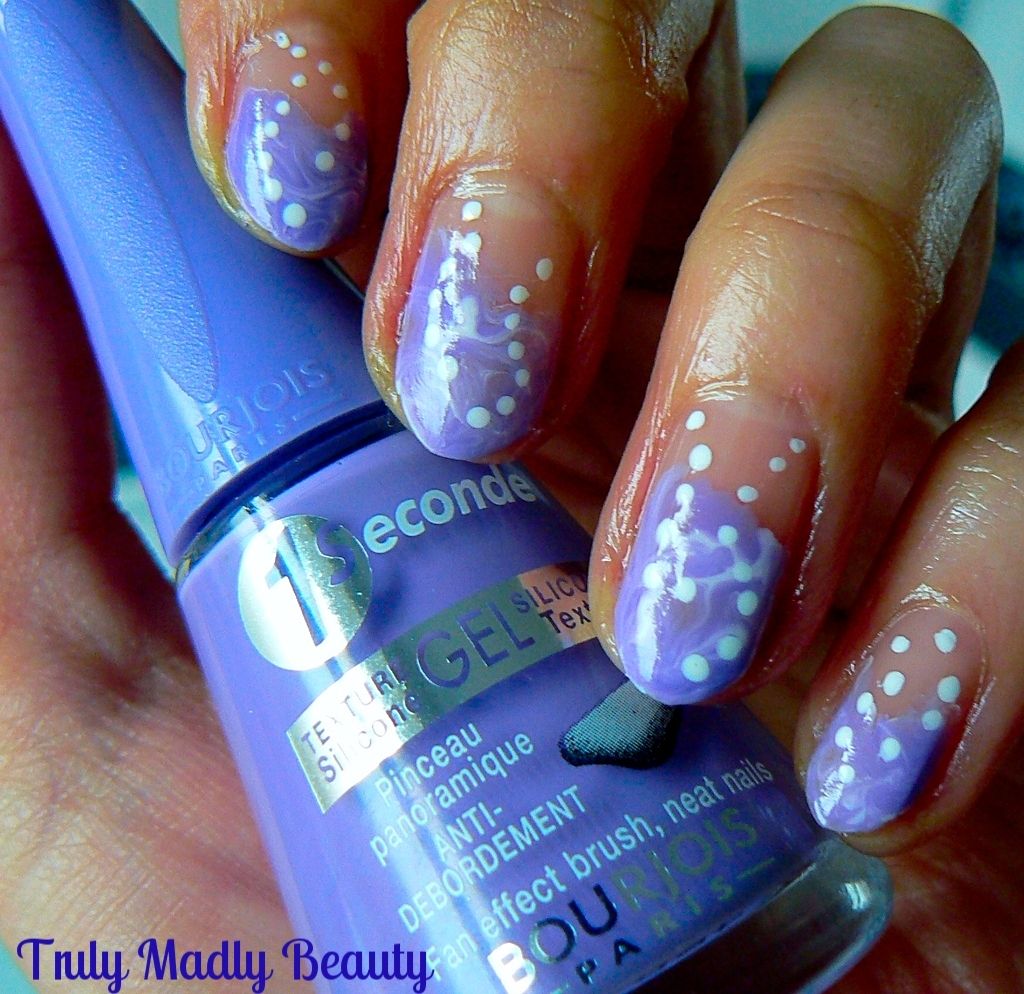
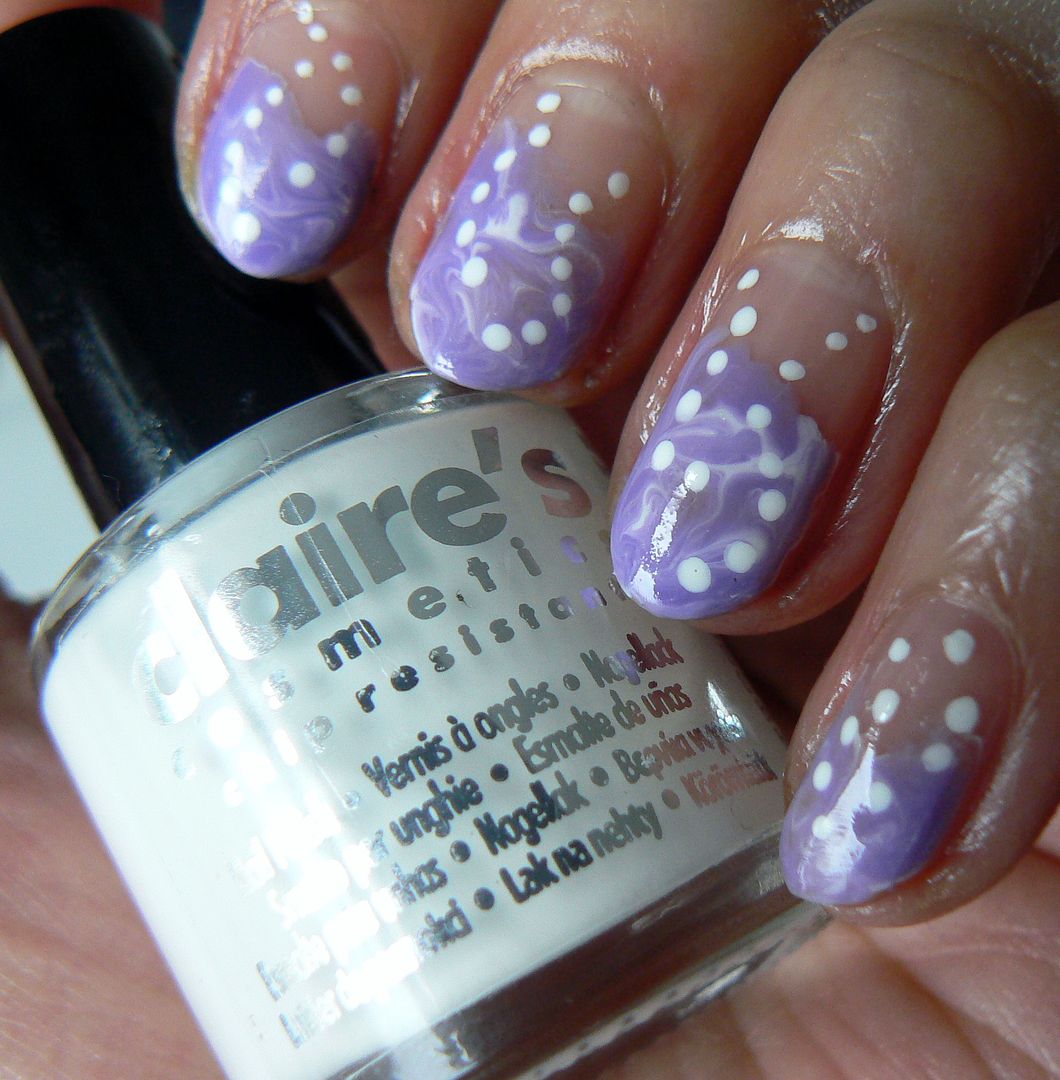
For
this I used Bourjois Lavender Esquisse for my lilac shade & a
random Claires polish in white.
These
two polishes actually worked so perfectly together, not only due to
the colours but also the formulas. The Bourjois is a thick creme
whereas the Claires polish is actually extremely watery, so I'd flung
this into the back of my drawer with the idea that it would never be
used on account of this!
However
because the Claire's white formula is so watery, it actually made the
marbling with the thicker Bourjois much better, huzzah! Well done
Claire's you sly dog you, forgive me my impulsive error.
Start
with applying a coat of clear base polish to your nail, I dug out
this random Miss Sporty one, these polishes retail for just £1.99 &
are fab in my opinion, this clear one was perfect for the task! Then
whilst the polish is still wet apply a few dots of purple & a few
of white on to your tips & marble together using your
brush/toothpick/dotting etc bringing the polish down as you marble to
wherever your happy!
To
finish add two curved rows of little dots down the nail in various
patterns on each nail using a nail art pen or white polish &
dotting tool. Add your topcoat & your done!
Oooh these nails make feel so ready for Spring now! :)Thanks
as always for reading!
Lotsa love to ya!
12.03.2015
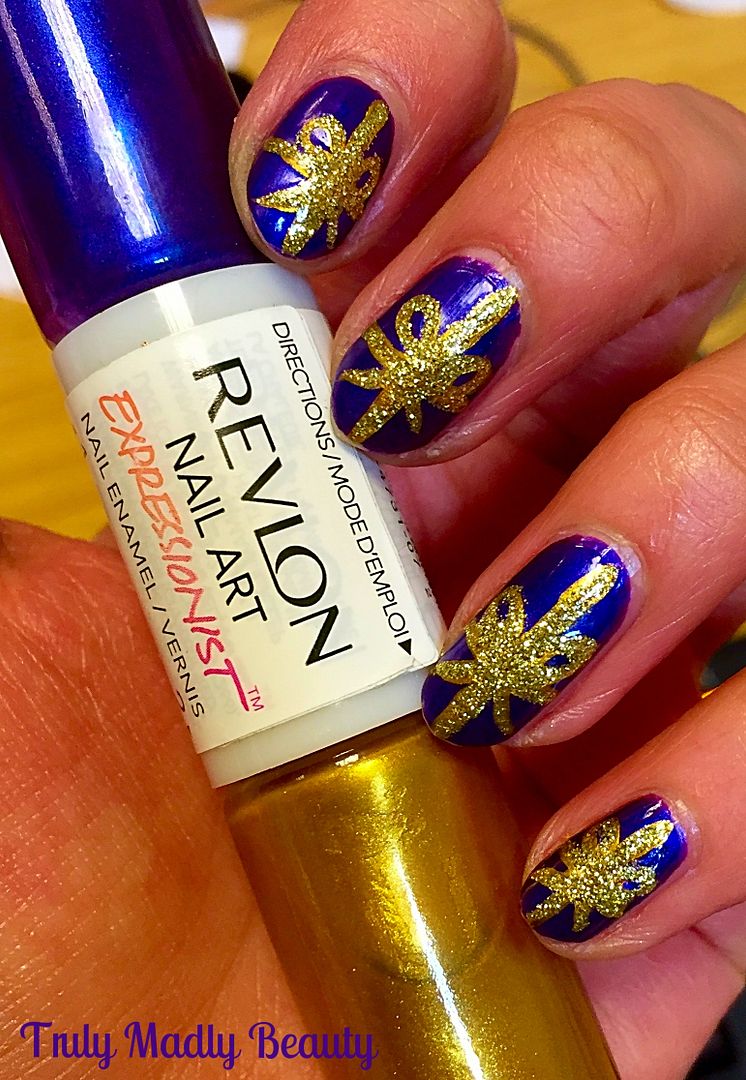
Festive Nails - Christmas Presents!
Hello
there my lovely readers,
And
so it begins...the time has come to start getting the festive nail art game on! Expect lots of sparkles in the
following weeks. If you're thinking "Oh but Aysh glitter is such
a pain in the caboose to remove!", fret not my dears as I have
written previous posts HERE on how to make glitter nail polish
removal a straightforward stress free task! So now you can sparkle to
your hearts content!
I
expect that I'll probably be using a lot of reds & greens over
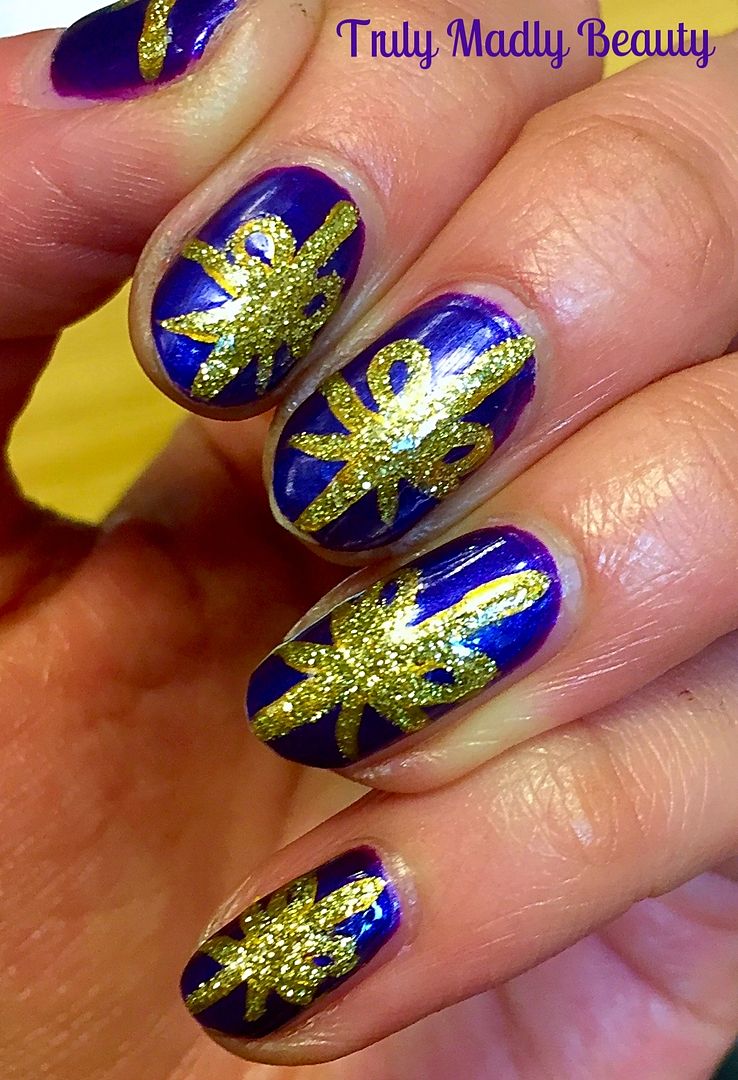
the next few weeks so I thought Id start things off by picking a slightly
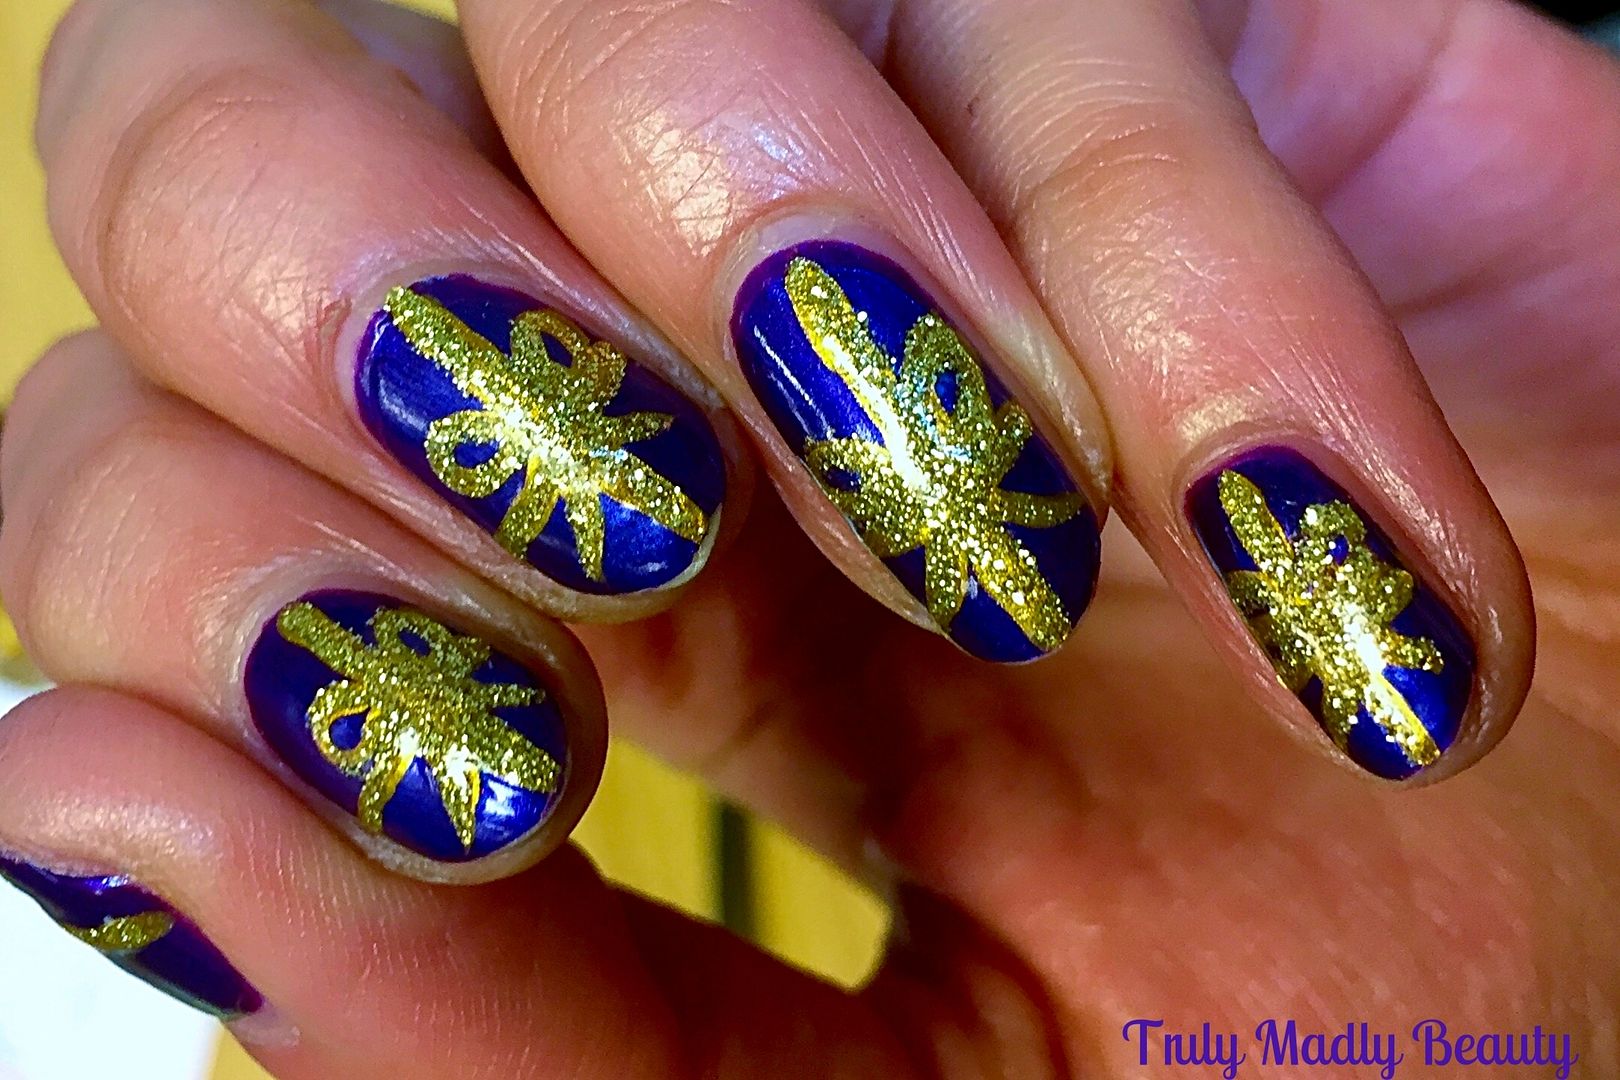
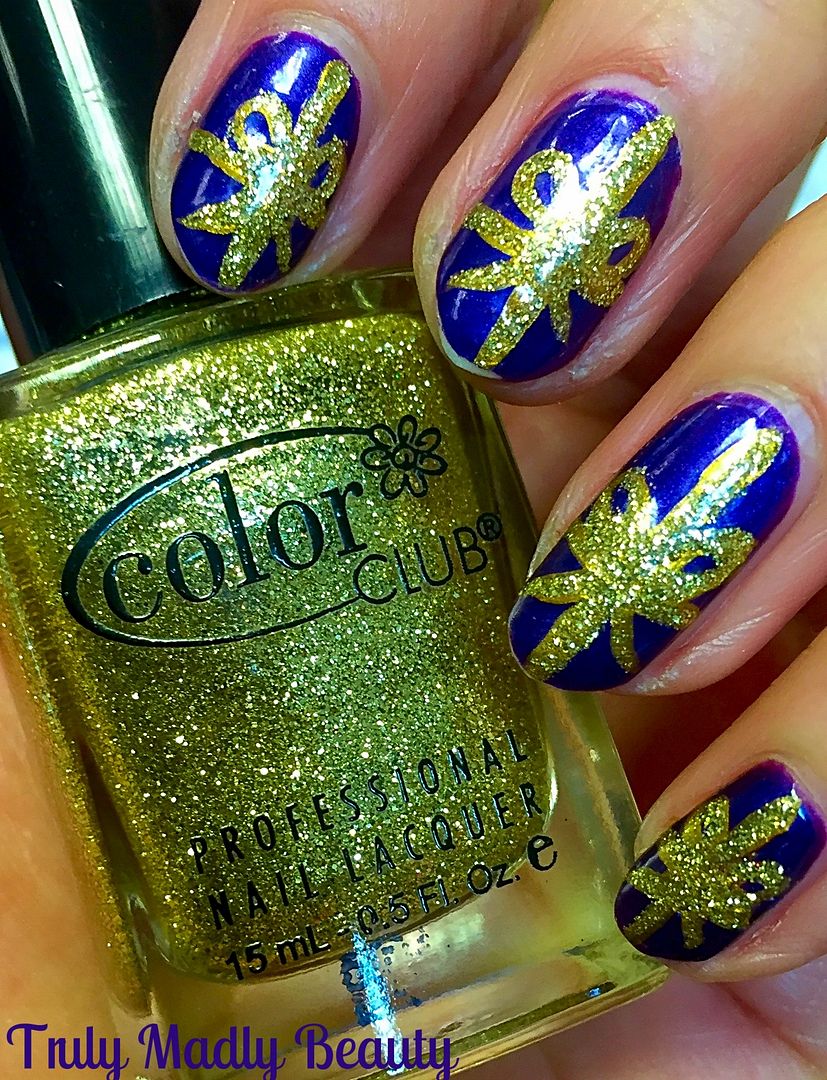
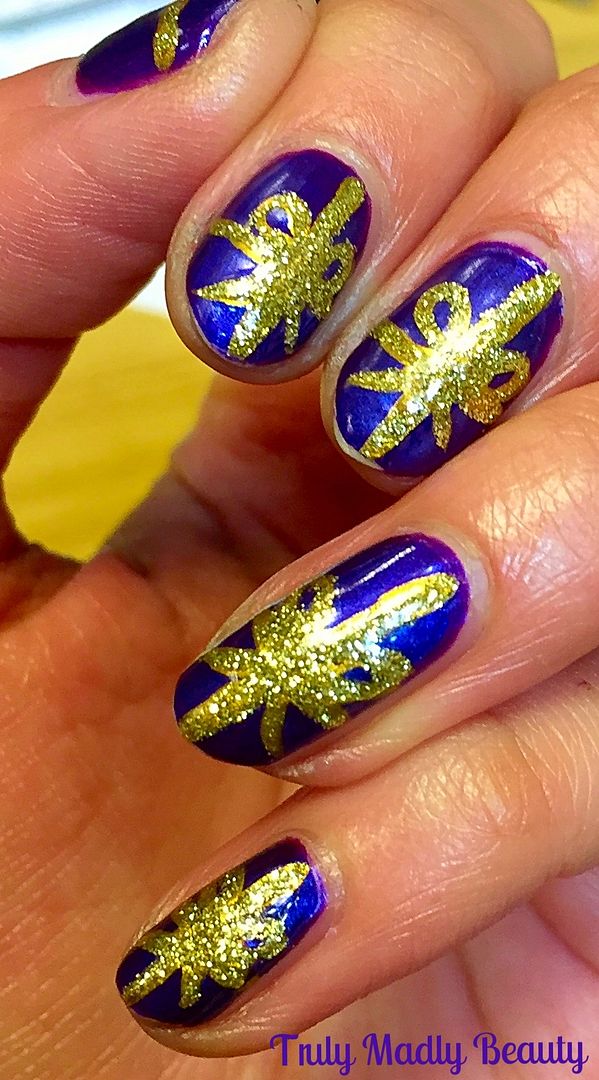
different yet no less merry shade for my first Xmas mani, with some Purple
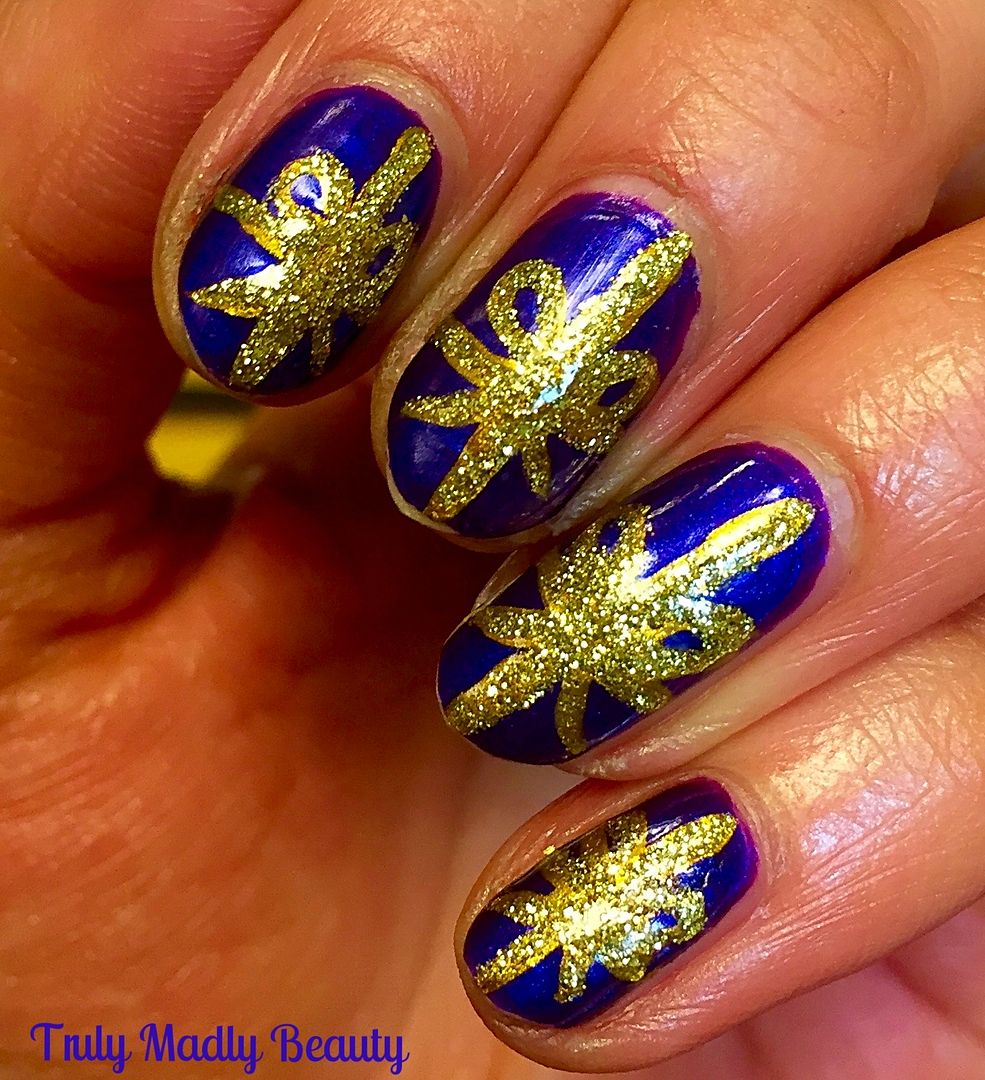
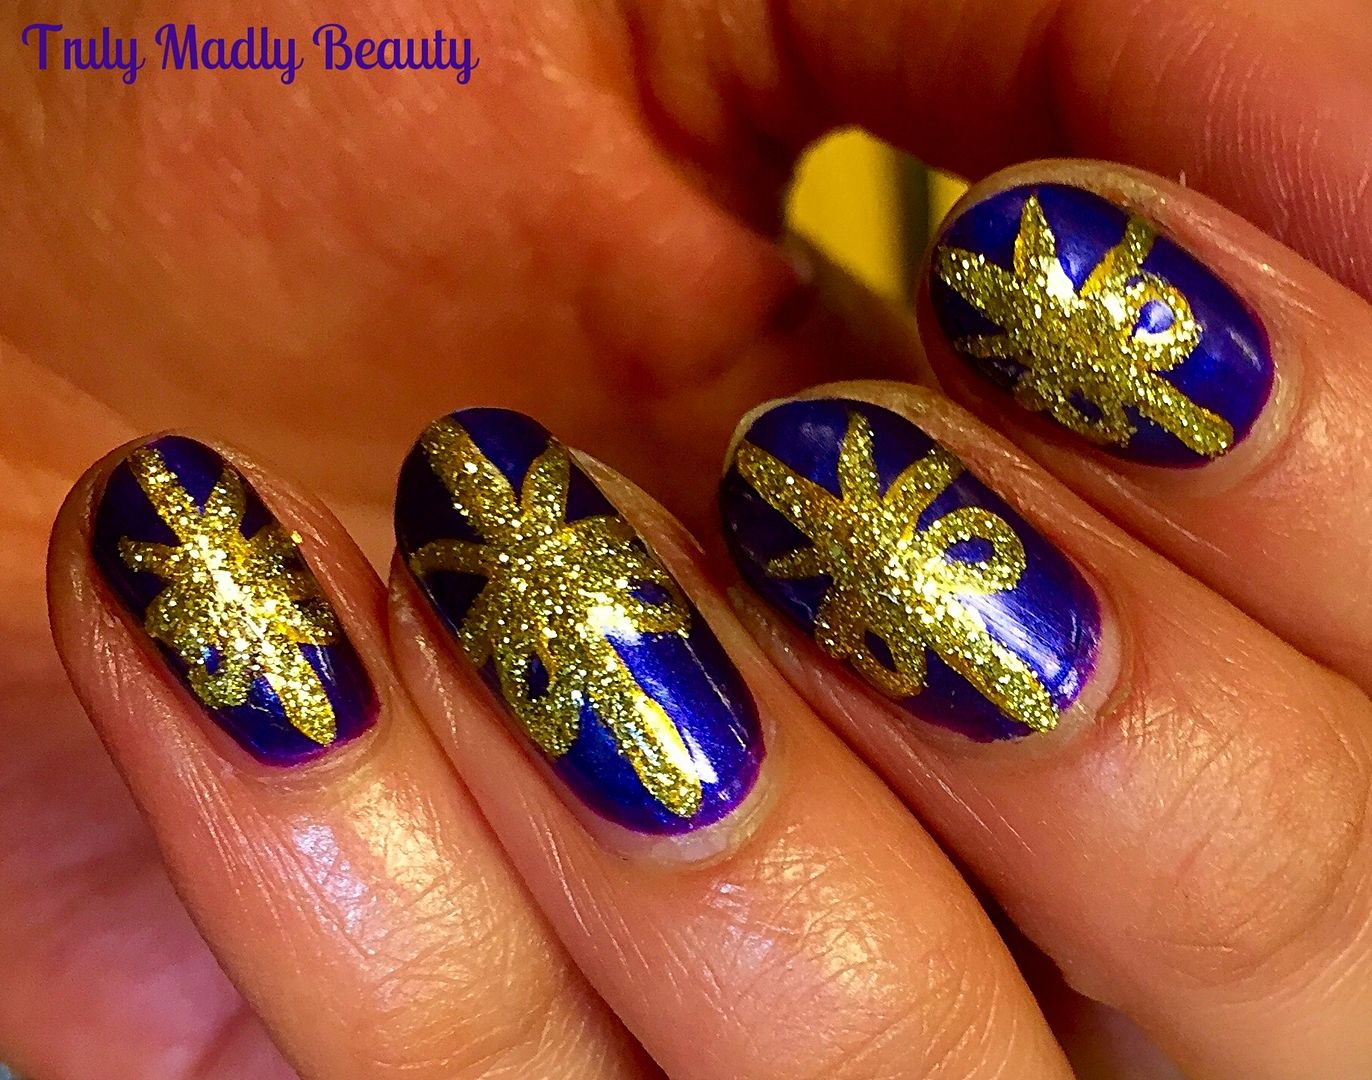
Presents!
To
create my Christmas Present nails I used the double ended Revlon
Expressionist Nail art polish in Vincent Van Gold, which I picked up
many moons ago, containing a beautiful bold purple polish on one end
& a shimmery smooth gold on the other.
Begin
with your base colour, of course you don't have to use purple go for
any shade you fancy! I love satin-y finish polishes for this style of
mani as they give the look of shiny wrapping paper. The purple in
this duo is so gorgeous, a really rich, luminous, what I call
'Cadbury' purple, reminiscent to the pretty packaging of the famous
chocolate brand. It has the most divine pearlescent blue shimmer
running through that really makes it glow. This is two coats.
Next
you need to add your bows & ribbon, the gold end of the Revlon
duo does have a thinner brush for nail art however I still found it a
tad too thick so instead used my new Pure Color 10 brush from WhatsUp Nails which I am in love with as its perfect for creating fine
nail art.
Dipping
your brush into the gold polish, draw a vertical line straight down
the nail, slightly to the right instead of directly in the centre, then draw
another horizontal line across the nail so you'll have a gold cross.
Then
dipping again into your gold, add two loops side be side in the
centre of your cross where the lines meet for the top of your bow,
before doing the ribbon flicks underneath.
For
a final touch I decided to go over the gold with this simple yet
super sparkly Color Club gold glitter polish, just doing this
additional step really does make a difference allowing that mani to
pop!
Finish
with the obligatory topcoat, I of course use my much loved CND AirDry & you're done!
Lotsa love to ya!
Subscribe to:
Posts (Atom)