Showing posts with label sheer tint. Show all posts

12.24.2018

Festive NOTD - Sweet Sparkly Layered Snowflakes

Hello there lovely readers!

As Christmas is now on our doorstep I thought I'd squeeze in one last festive nail art look for the year! I've actually done better than I anticipated, rolling out 4 different designs: Vintage Gold Festive Roses, Minty Snowflakes, Winter Wonderland Christmas Trees & also a Disney special with some Frozen nails. A little life update also, I handed in my notice this month so I will be starting a new job in the new year which I am very excited about! How that will leave me for time to blog...I don't know yet, but lets see! Blogging has always been so therapeutic for me hence why I've continued at it after so long & its something I definitely strive to continue with!

For my last look I've done another Snowflakes design. However I've gone a different route this time & thus doing so I think I may have discovered my new favourite thing...LAYERED jelly stamping! What on earth is this you ask? Do you happen to have any of those sheer tinted polishes in your stash but no clue how to use or what to do with them? OPI Color Paints were the first of these kind (according to my knowledge anyhoo) & a few brands jumped on the bandwagon shortly after including Barry M with their Lolly Gloss Range which I blogged about HERE.

I decided to use these & my trusty stamper to create this sweet snowflake look & I think this may be my favourite festive design of the lot this year! I got the idea of layering from the fab Kate aka @Alterego_nails on IG. It was she who also inspired me for the Sharpie Nails I did HERE...what can I say, the girls got mad skills & ideas!

To start I needed an opaque base to work on first...as the two Lolly Gloss polishes I have were pink & purple, then those were the base shades I went for as well. For my purple nails I applied one coat of Models Own Roxy & for the pink nails I applied one coat of a fuchsia pink European brand polish I picked up on my travels.

Now for the first round of stamping. I have a few festive stamping plates from Born Pretty Store which also have single snowflake patterns, perfect for this. Using white polish I stamped about 3 snowflakes to each nail.

I then reached for the tinted Lolly Gloss polishes & applied one coat over the snowflakes which gives that awesome "submerged in jelly" like look! Obviously using the purple tint on the purple nails & pink tint on the pink nails. Once this was dry I then went in again & stamped on 2 more snowflakes on top.

You can keep on going with the layering if you wish but I stopped here. For a final touch I added a pretty pink rhinestone to the center of my 2 top snowflakes & though you can't really see I also added a coat of glitter topcoat for some extra powow SPARKLESSSSS. 

A final coat of topcoat to seal those stones & add shine & you're done! Thanks again to the fab Kate for this awesome idea. I now need to get hold of more tinted sheer polishes so I can do ALL the layered stamping! Thanks as always for reading darling ones & I wish you the merriest of Christmases whatever you may be doing! See you in 2019!

Lotsa love to ya!


5.12.2016

NOTD - Stained Glass Swirl Nails & Tutorial!

Hey there lovely readers!

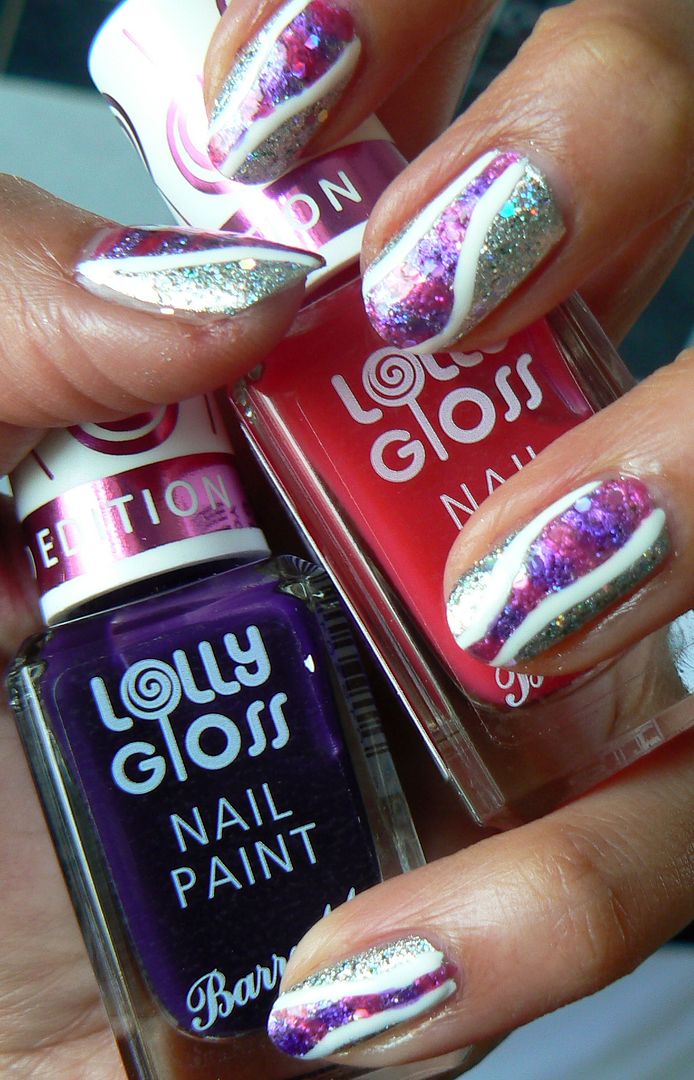
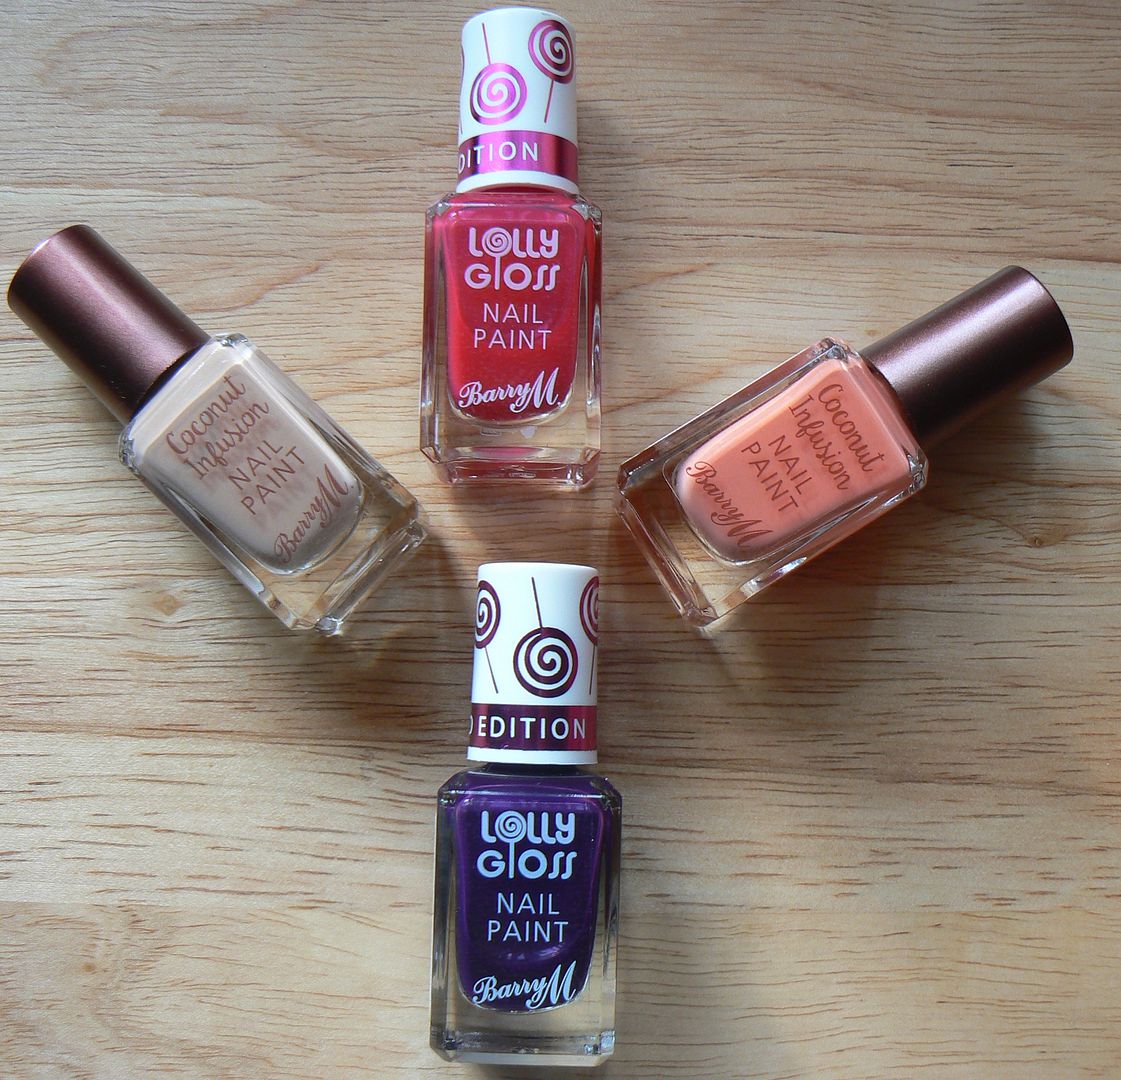
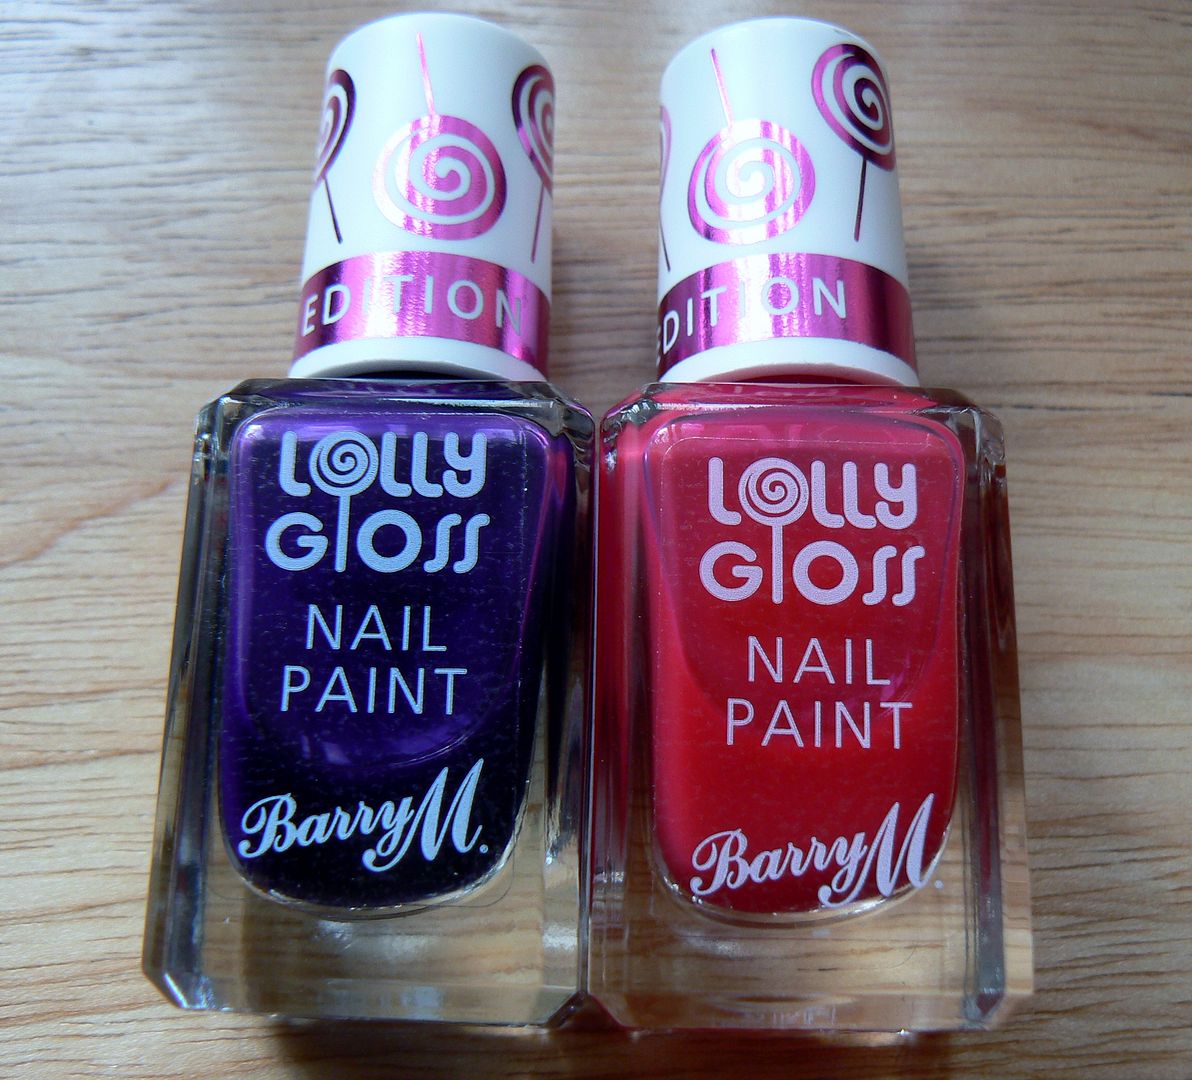
If you caught my last post, I recently added a few of the new Barry M releases to my collection including the Limited Edition Lolly Gloss Paints in Pink Candy and Purple Pop. You can see swatches of these sweet juicy jelly shades HERE.

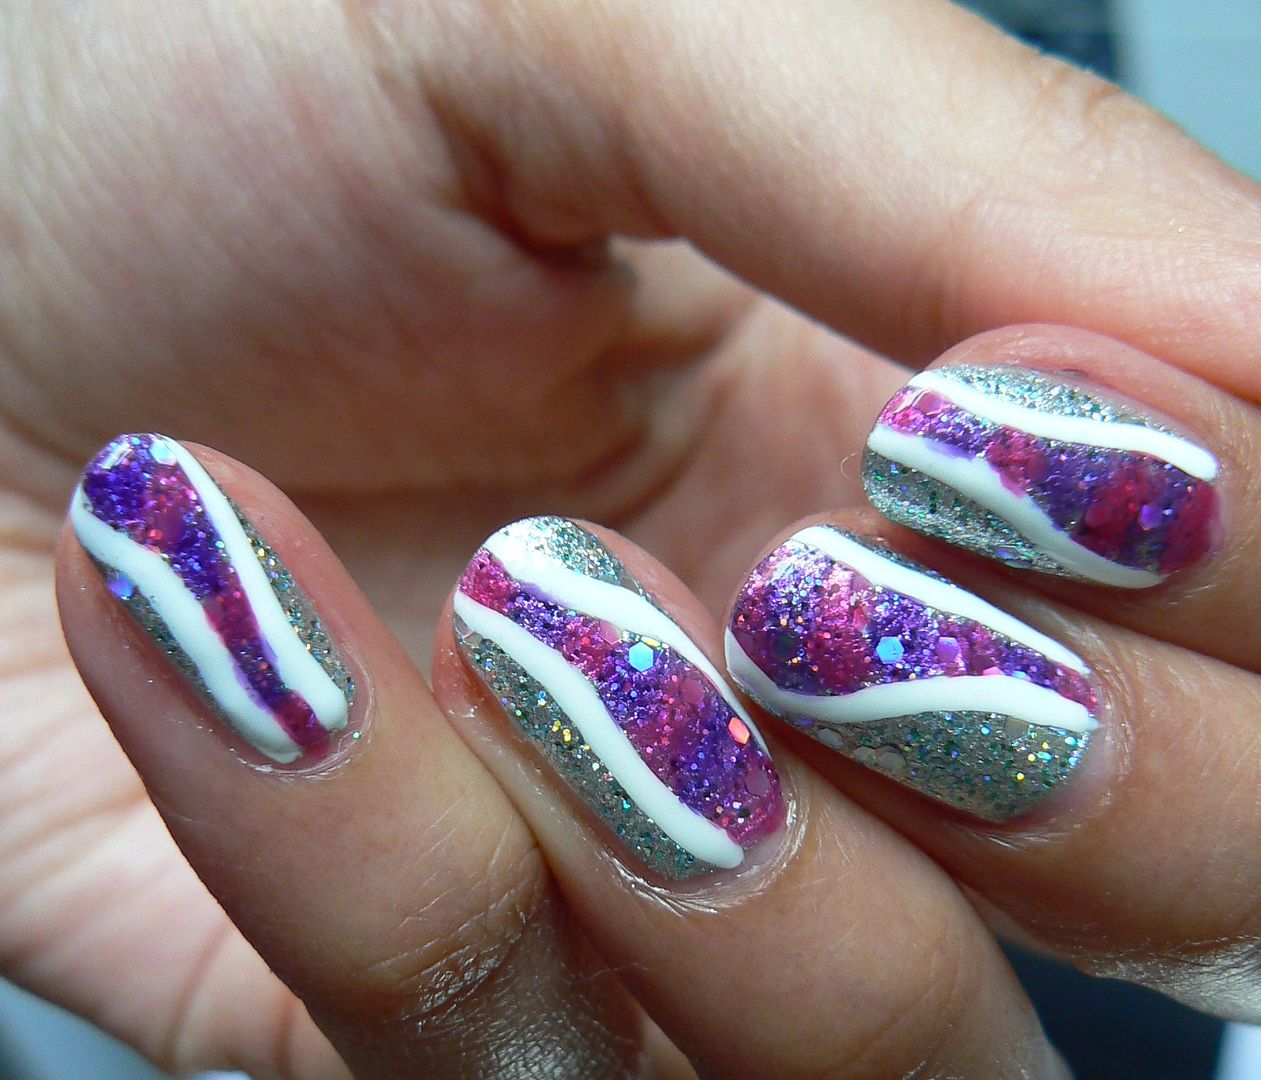
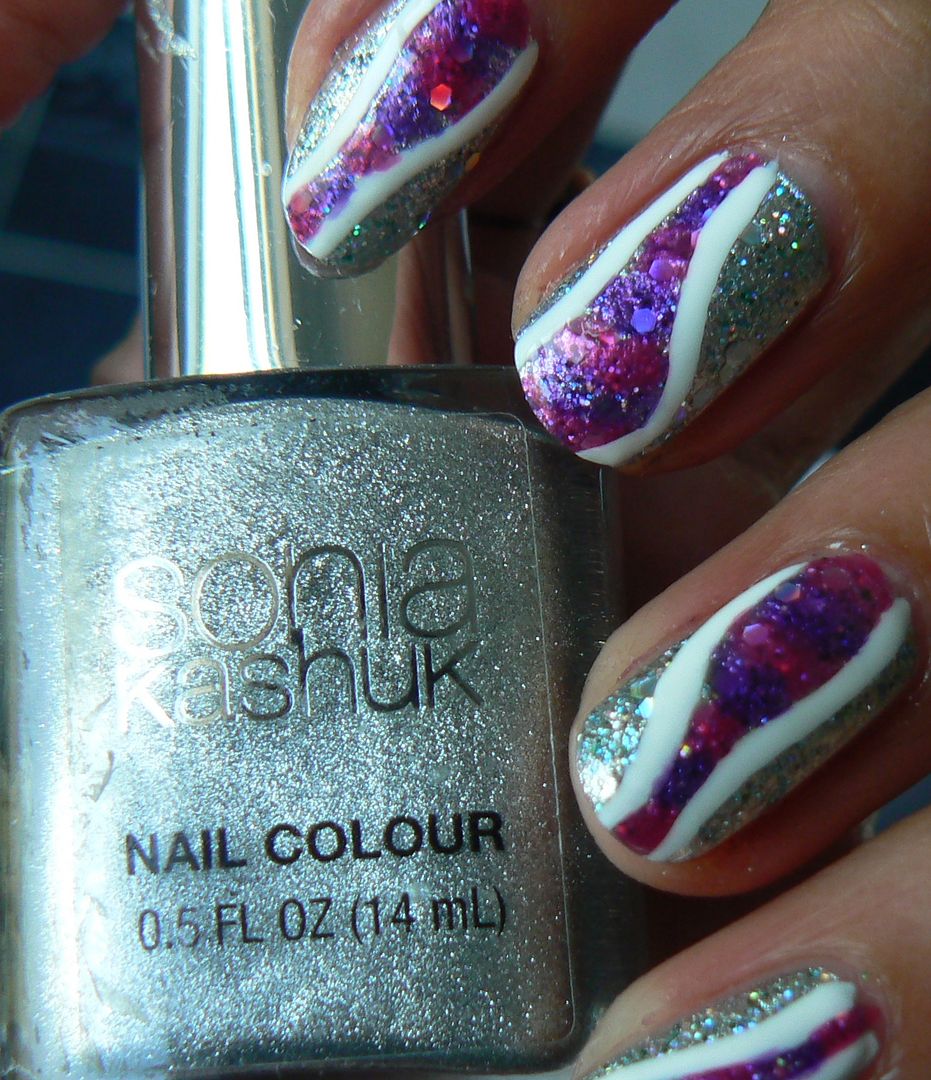
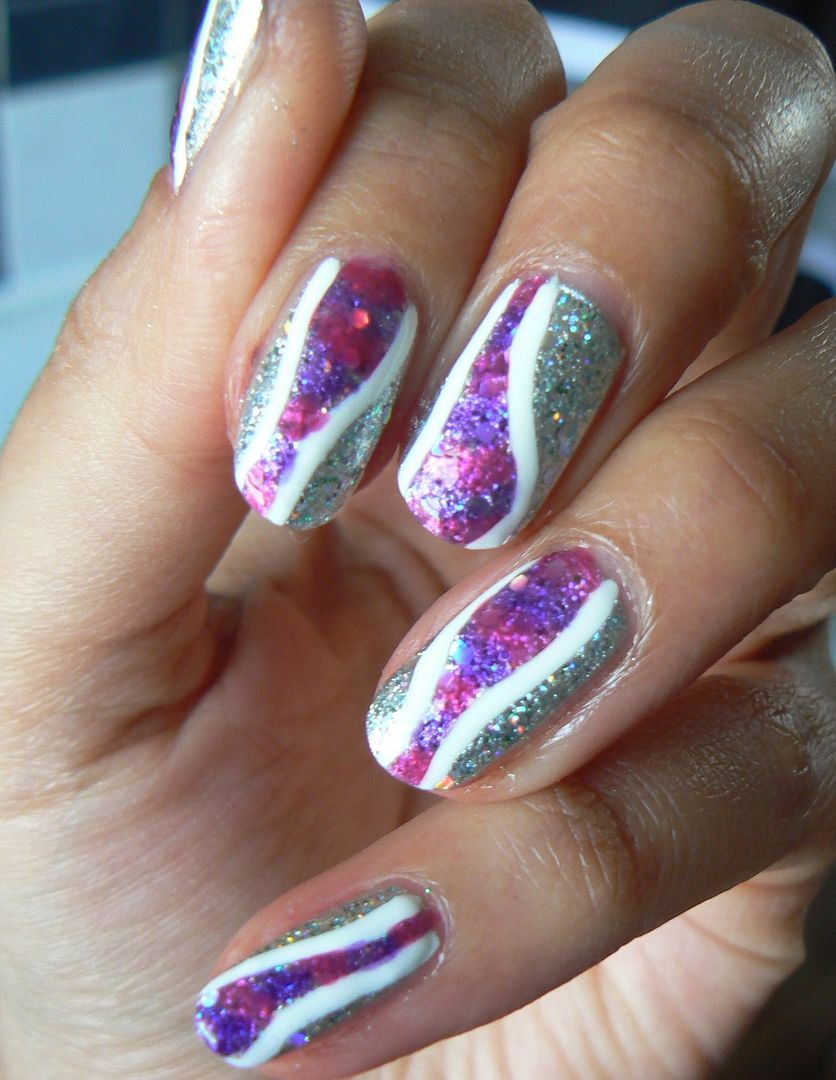
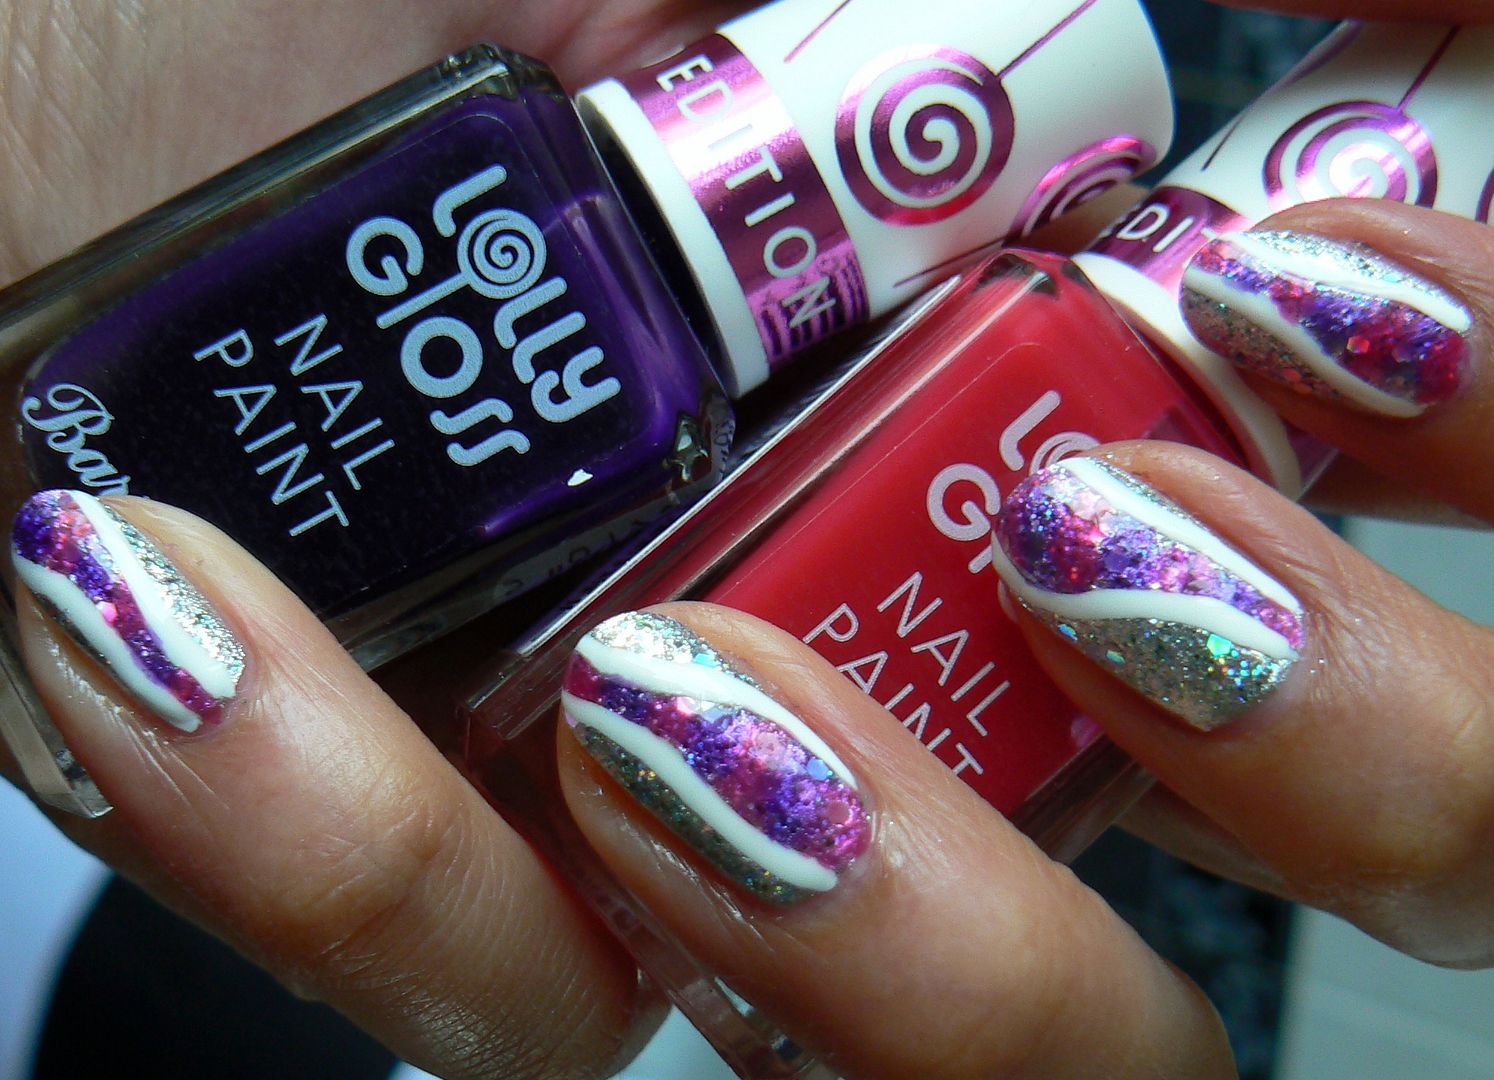
These polishes are sheer formulas therefore perfect for a bit of nail art experimentation! You can smoosh all the jellies together to create a marbled effect, apply on top of another shade to create a whole new one, dab on to silver or white for a watercolour rainbow look, similar to what I've done HERE. I decided to do a stained glass type effect using the Lolly Gloss on top of silver & glitter & this is what I came up with...


Instead of going over the whole nail I decided to just add the pop of colour in the centre in a swirl down the nail. 


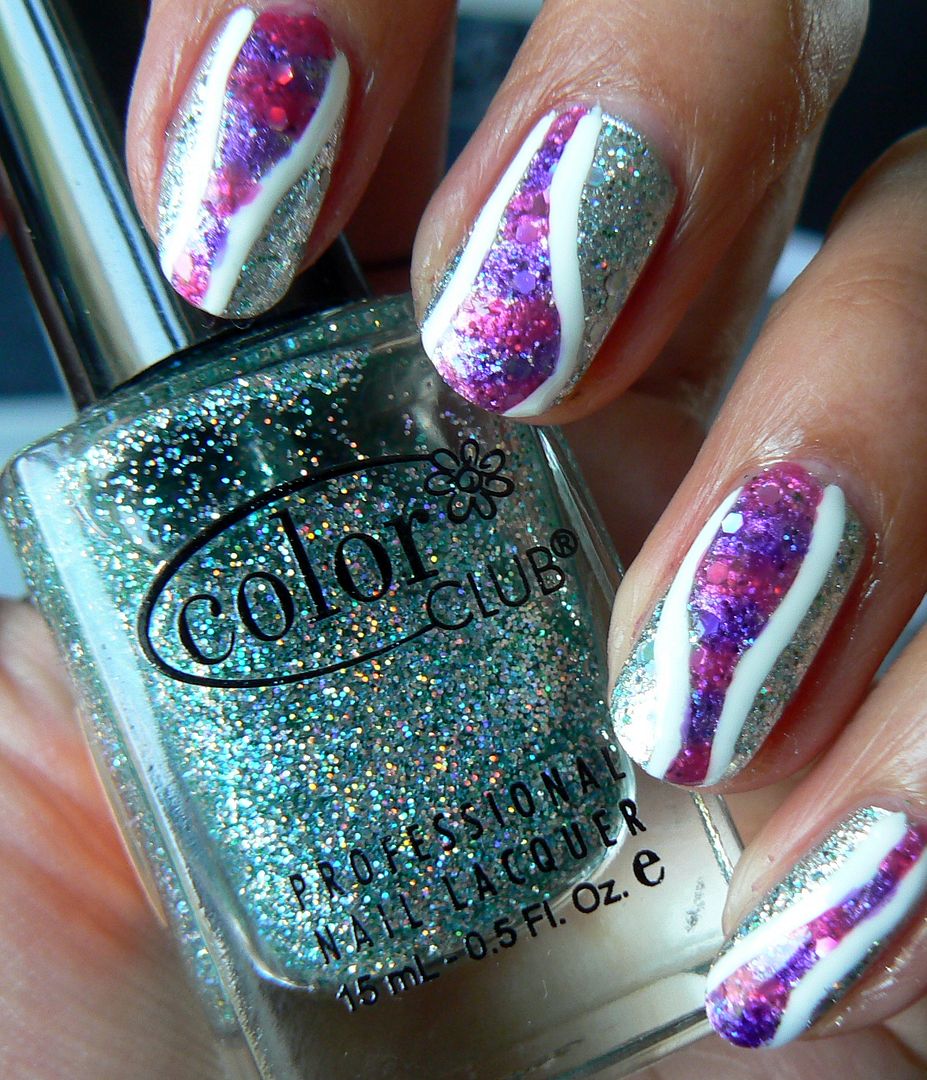
For my base to really make the Lolly Paints pop I used not just silver but also a holographic glitter for extra sparkle!


To create the design I've done a simple step by step tutorial for you so you can recreate these too...


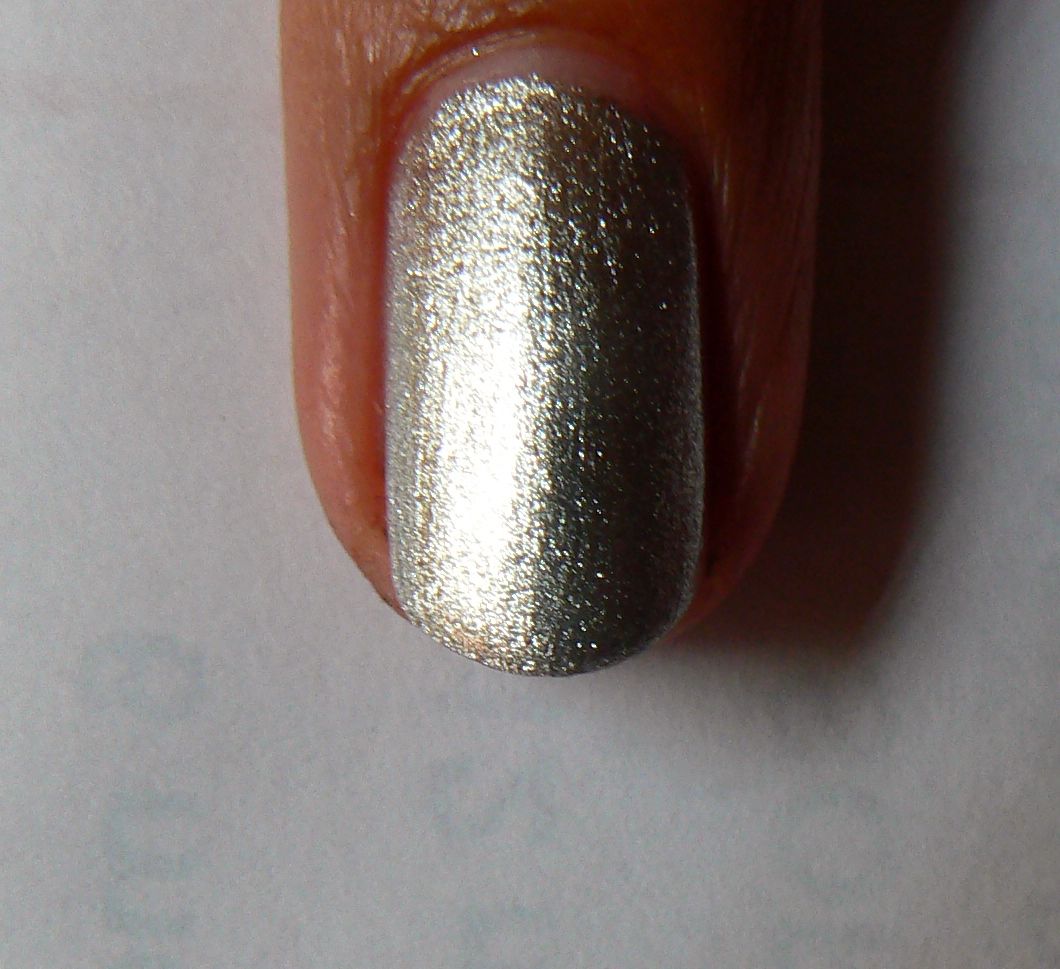
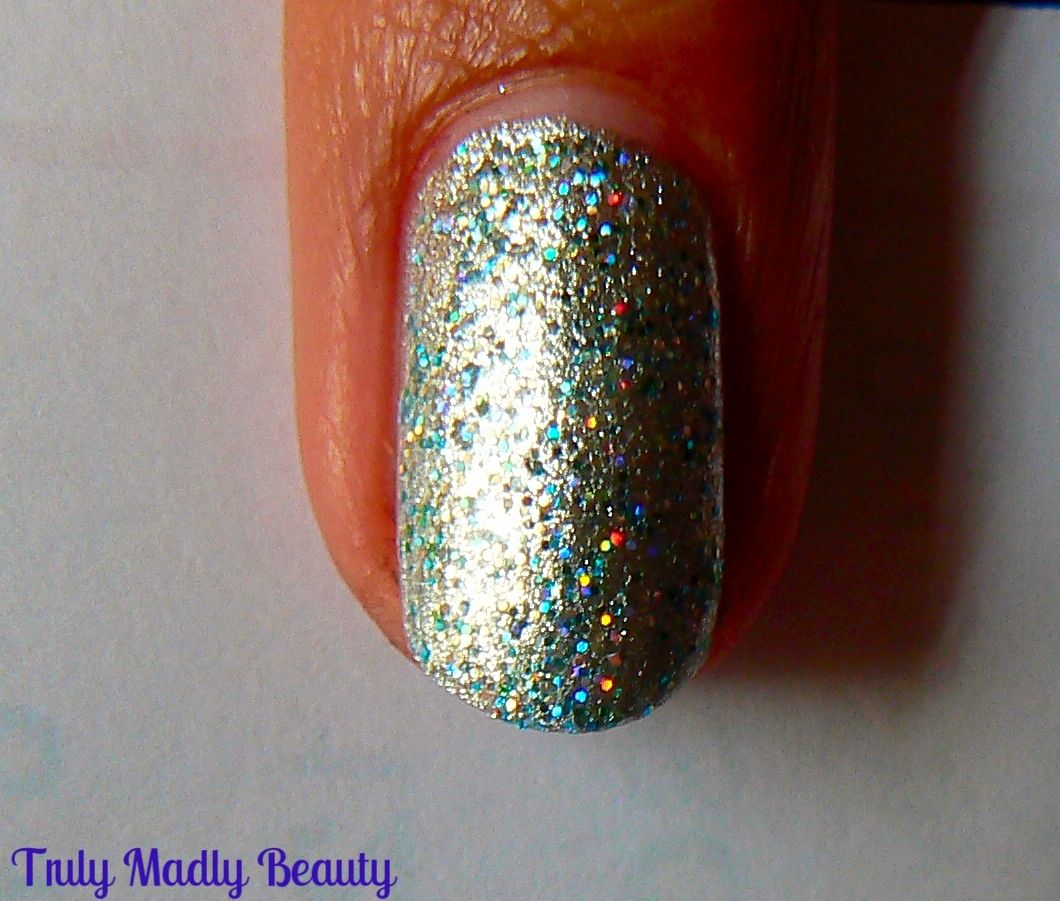
Start with your silver base, here I've applied one coat of Sonia Kashuk Smoke and Mirrors.


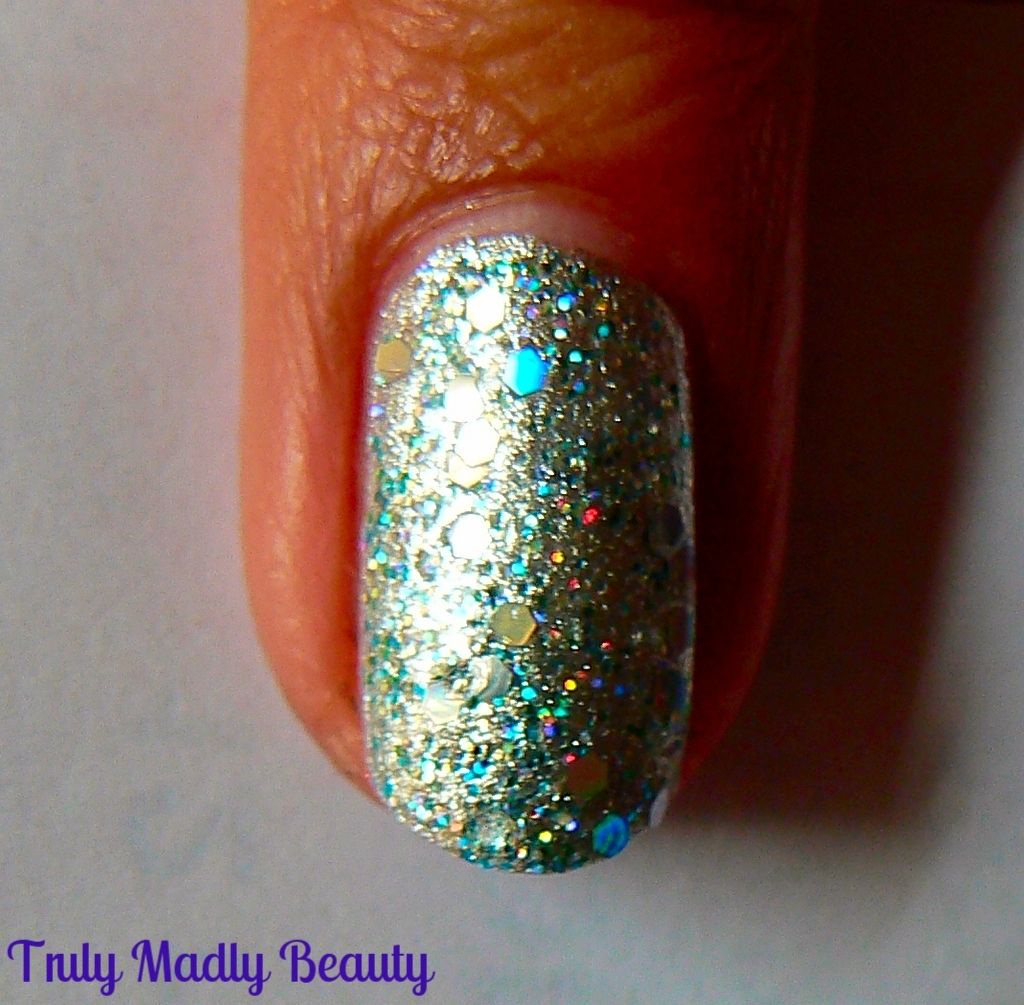
Next apply your holo glitter, the one I've used here is by Color Club & contains a rainbow of macroglitter that really makes the silver go disco!


This was an additional step that you can skip but being the glitter fiend that I am I couldn't resist adding on a few large hexagonal holo glitter pieces using Barry M's Hologram


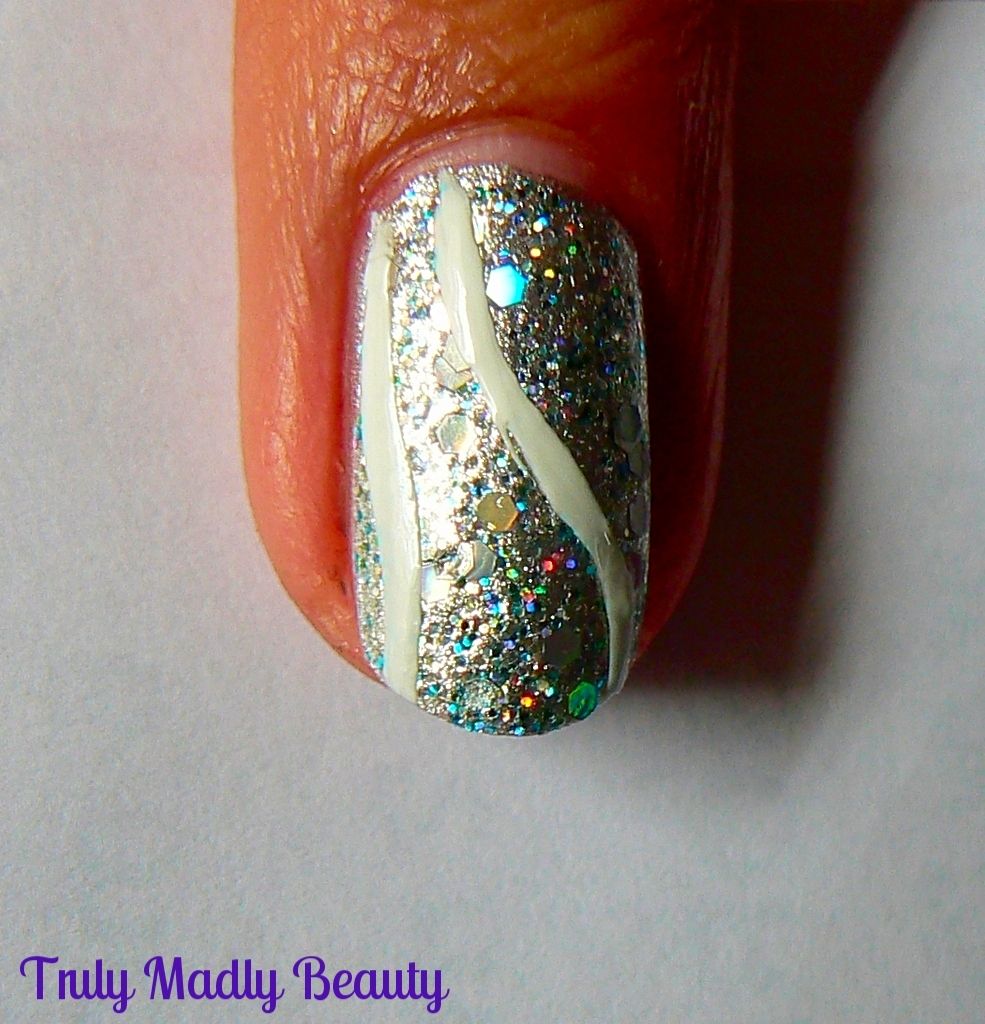
Next apply the white outline of where you want your stained glass pop of colour to be, using a nail art pen or some white polish & a thin brush


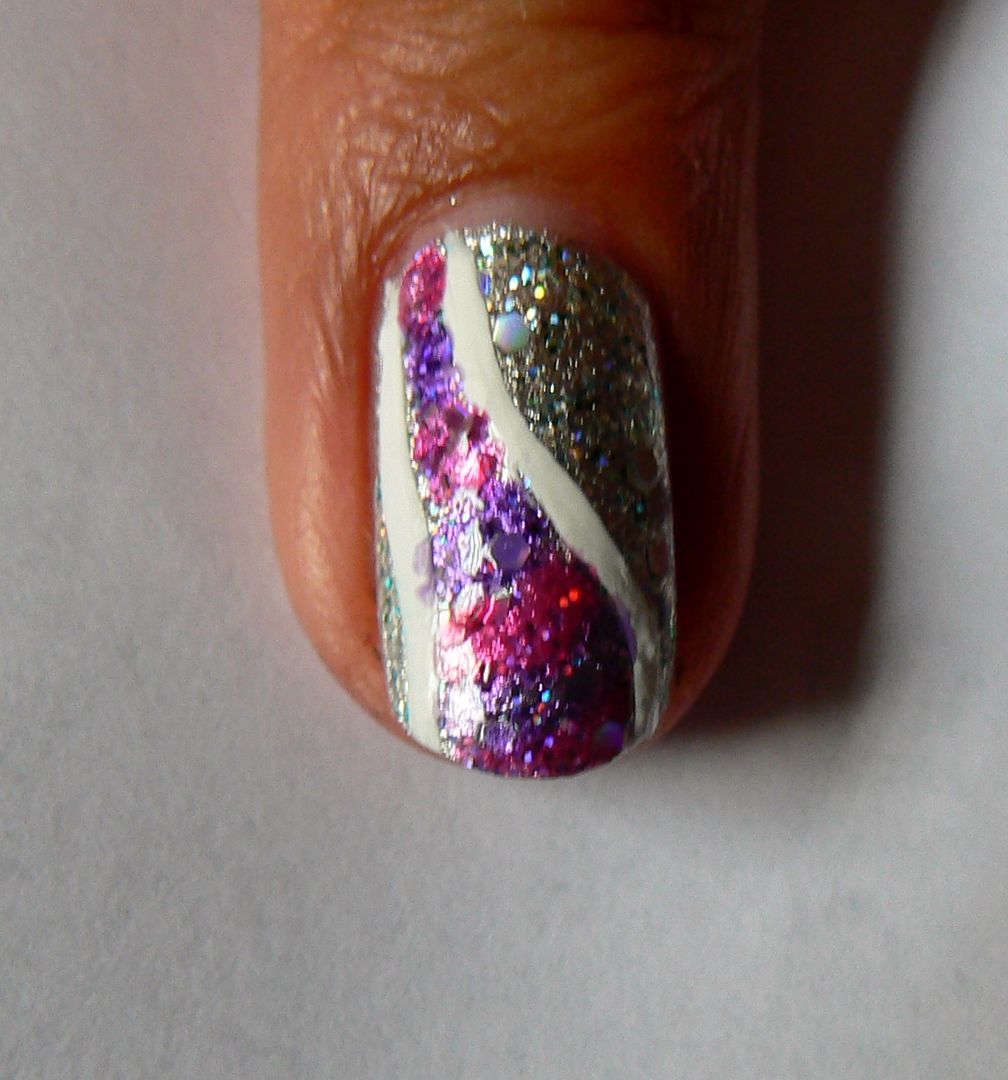
Then using 2 more smaller nail art brushes as the brushes that come with the polish will be too big/thick,start applying each of the Lolly Gloss Paints, here I have Pink Candy & Purple Pop, alternating between the two until you fill in the whole shape.


Don't worry if the colours merge into each other, you kind of want that to happen to help create the effect!


Once done, go over the white outline again, before finishing with a coat of topcoat & thats it!


Super sparkly stained glass effect nails! If there had been more shades available I would have definitely picked up more to create a multicolored rainbow finish! Hint hint Barry M... ;)

Hope you liked the design dolls, do let me know if you give these a try or have created your own designs using these or similar tinted polishes, I would love to see!

Lotsa love to ya!  


5.11.2016

NOTD - New Barry M Lolly Gloss Polishes!

Hello there lovely readers!

Its been a while since I've treated myself to a pretty new polish, so when I noticed that Barry M have been busy bees of late & released some exciting new paints, I couldn't resist picking up a few, for blogging purposes of course. It would've been rude not to ;)

I decided to nab a couple of the new Coconut Infusion shades, which I'll share in another post. Apparently these formulas contain such nail nourishing ingredients along the lines of coconut water and oil that no base coat is required! One less step? Happy days. But will put to the test soon.


The main polishes which caught my radar were the new Limited Edition Lolly Gloss Paints, a range of 4 fruity jelly like sheer polishes that have been compared to the OPI Sheer Tints & Color Paints. I confess I was a wee disappointed at the lack of colours, it would've been fab to have a rainbow of different tints, so I only picked out two shades, Pink Candy and Purple Pop


Each polish is delightfully scented with a yummy sweet strawberry note, not overpowering at all & my nails stayed smelling fab all day. I often at times wondered what the lovely smell wafting around me was, then realised it was my mani!

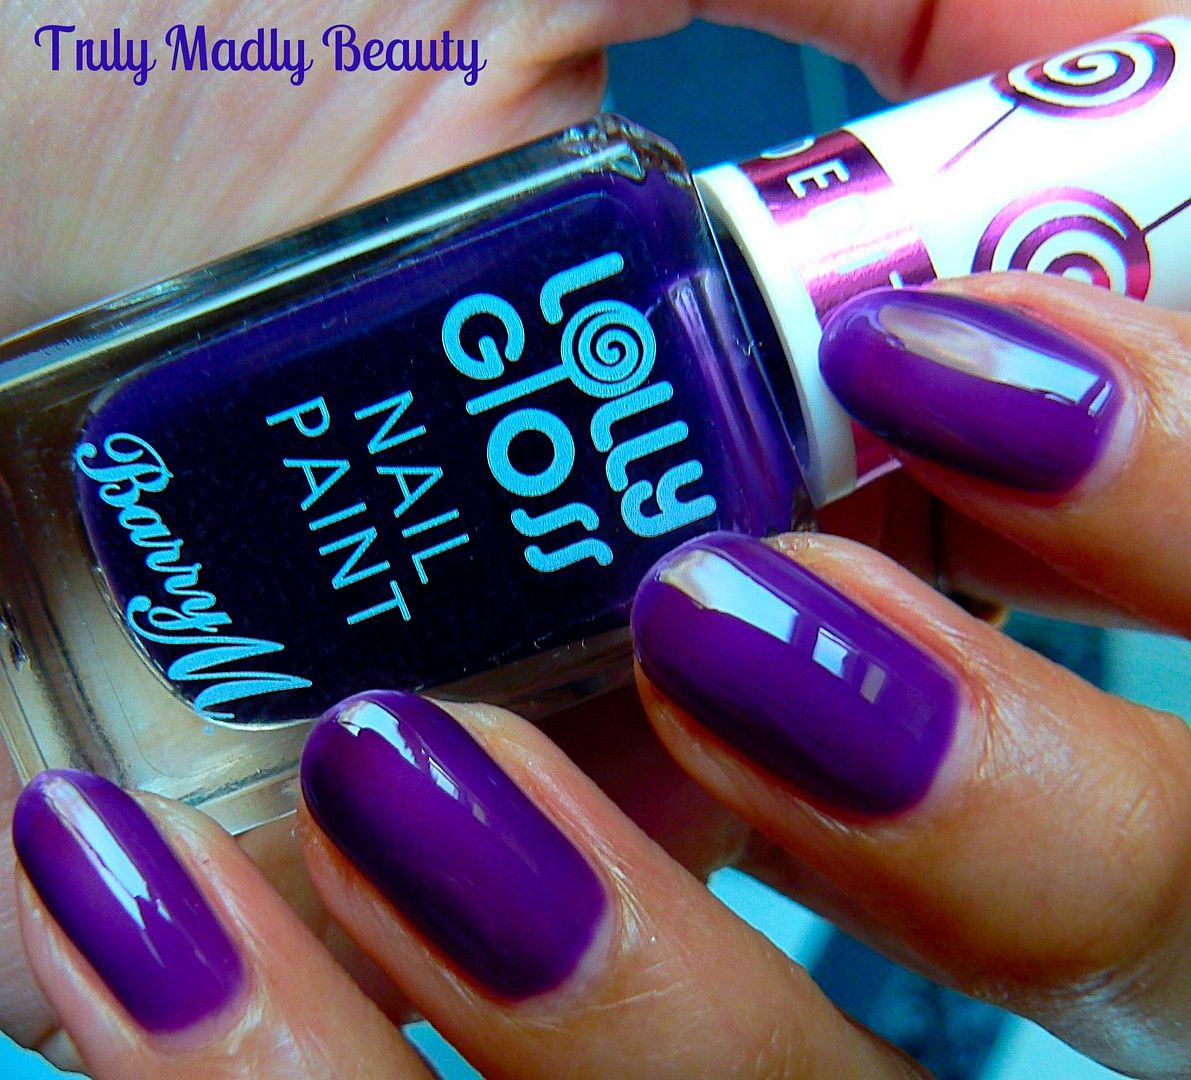
The finish of these polishes is sheer, almost jelly like, I love SQUISHY polishes! So these were definitely satisfying. However despite that I still found 2 coats to be sufficient enough for coverage which is great! On to the swatches...


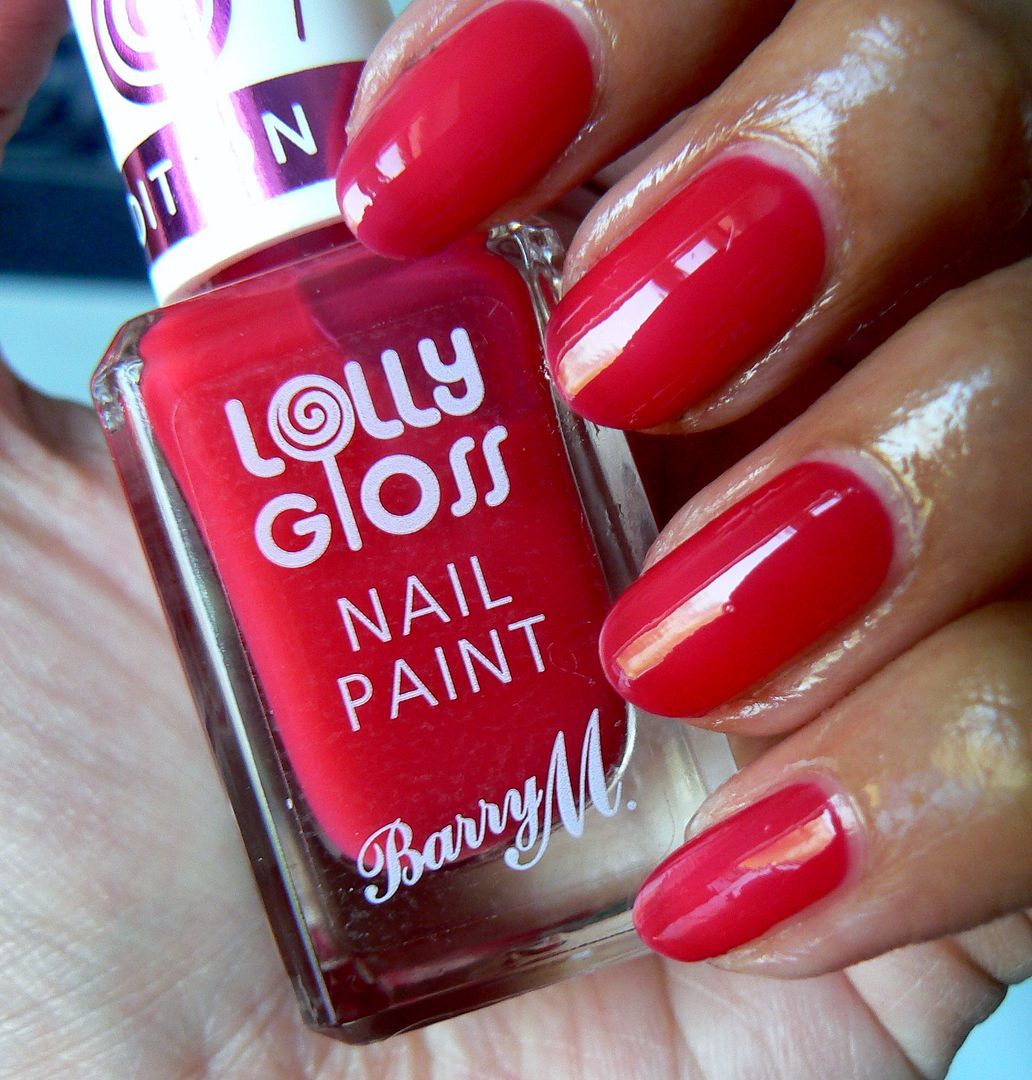
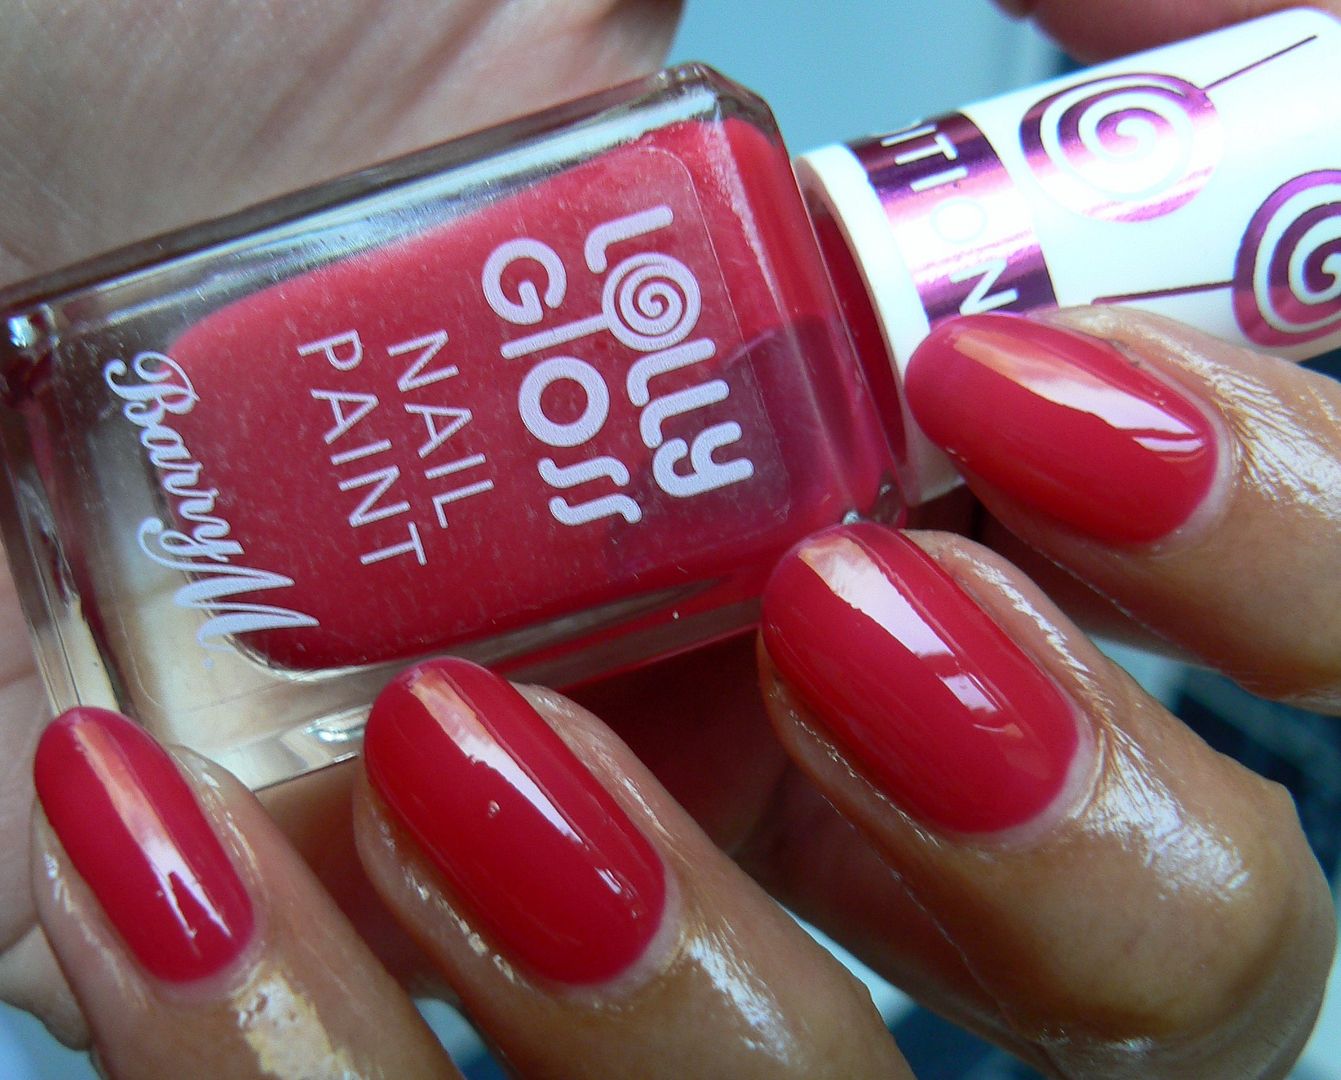
This was two coats of Pink Candy applied without topcoat, look how glossy! A cheerfully bright pink perfect for the summer. I love the finish & the formula was wonderful to work with, You can easily apply a 3rd coat if you want a super opaque gel like finish


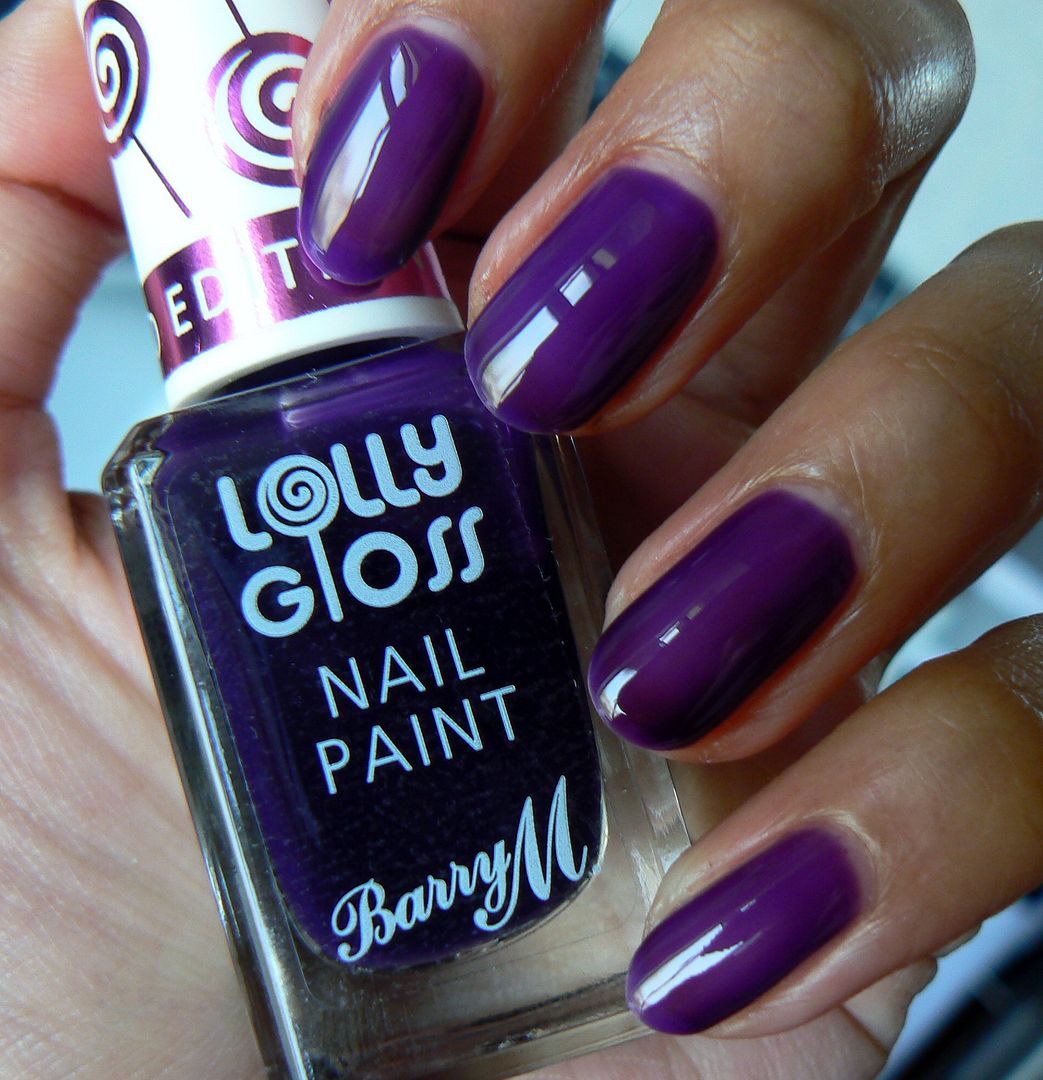
Purple Pop went on very sheer on the first coat but darkened up nicely on the second one. A nice dark grape alternative to the pink. You can still see a slight visible nail line which can again easily be rectified with a 3rd coat.


Both polishes applied beautifully & the brushes are fab quality making application even smoother. Of course sheer tint polishes are a nail artists DREAM, so many ideas floating around on how to use these, Glitter Jelly sandwiches...Stained Glass effect...Rainbow nails...


Naturally I couldn't resist having a play around & come up with a fun design with these which I will share with you along with a step by step tutorial in my next post to give you an idea on how they can be used!

The Barry M Lolly Gloss polishes are Limited Edition so grab them while you can! Available from all Barry M counters for £3.99 & as mentioned Superdrug currently have them on offer for but 1 get 1 half price!

Lotsa love to ya!