Showing posts with label Poundland. Show all posts

12.10.2018

Festive NOTD - Winter Wonderland

Hey there lovely readers!

I'll be honest with you, this year I have been struggling with Christmas nail art inspiration...not sure what the cause is but every design I attempt never goes according to plan resulting in a fail of epic proportions thus causing mini psychotic episodes to ensue...most frustrating & not good for ones mental health 

But I am not one to give up, especially because getting creative & challenging myself when it comes to nail art is what I love the most...masochistic tendencies much? :) Every year I like to do some type of Christmas Trees design so this year is no exception. This time I've gone for a more natural vibe with a Winter Wonderland forest setting...


10.29.2018

NOTD - Pumpkin Patch!

Hey there lovely readers!

I wasn't initially going to blog this nail art as I classed it as a bit of a mani FAIL really but I still thought it cute & heck if I didn't just wanna squeeze in as many Autumn manis as possible!

When I was in NYC *sobs* I stumbled across some of the loveliest  Autumnal displays overflowing with pumpkins & pretty fauna in shop windows, quaint neighbourhoods, outside  homes...not that I loitered like a weirdo at all... O_o Before I left for my trip I threw together this Pumpkin Patch look which NONE of my work colleagues guessed it was meant to be thus shattering my hopes in to a thousand pieces but hey ho...


8.21.2018

NOTD - Pitch Purple & Pink!

Hey there lovely readers!

Coming at you today with a vibrant & uplifting nail art look, because why the heck not! 


7.03.2017

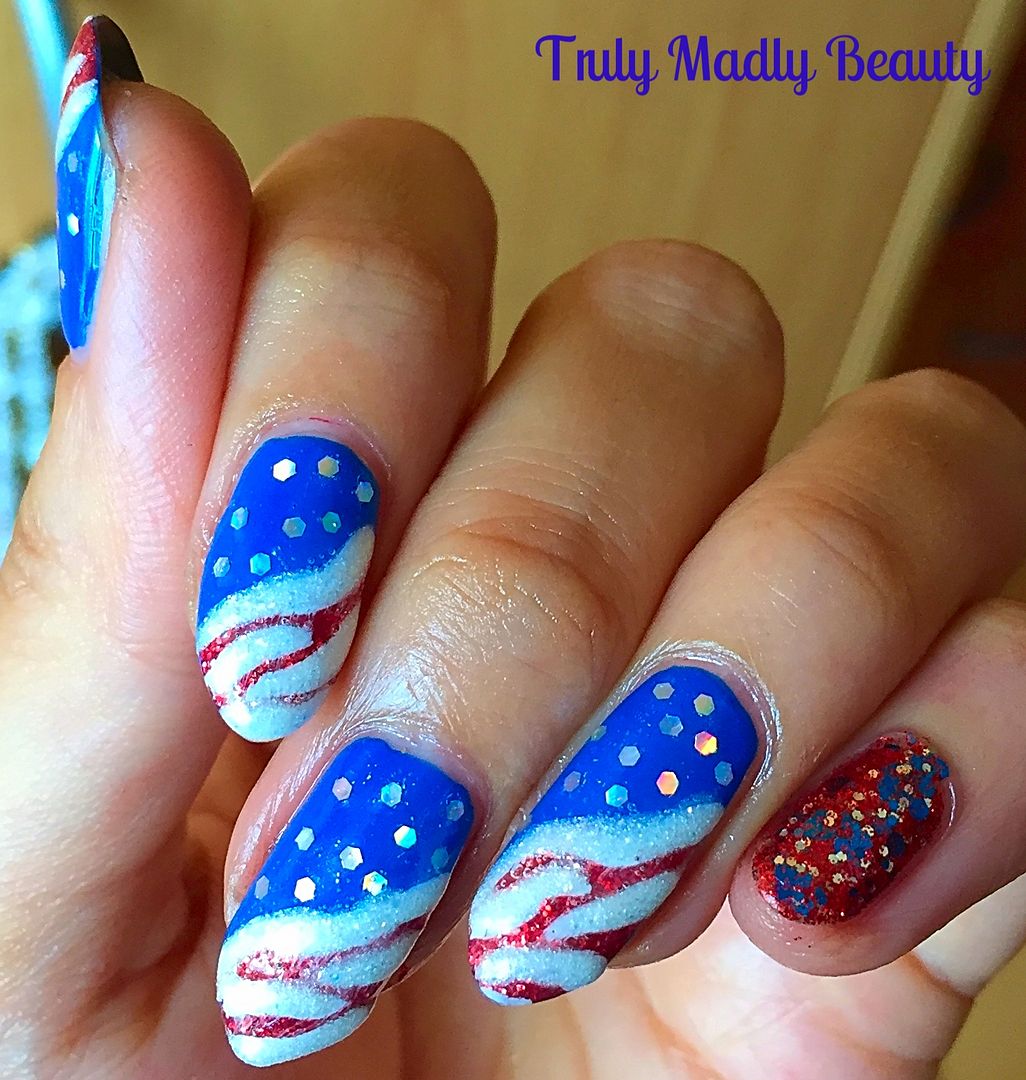
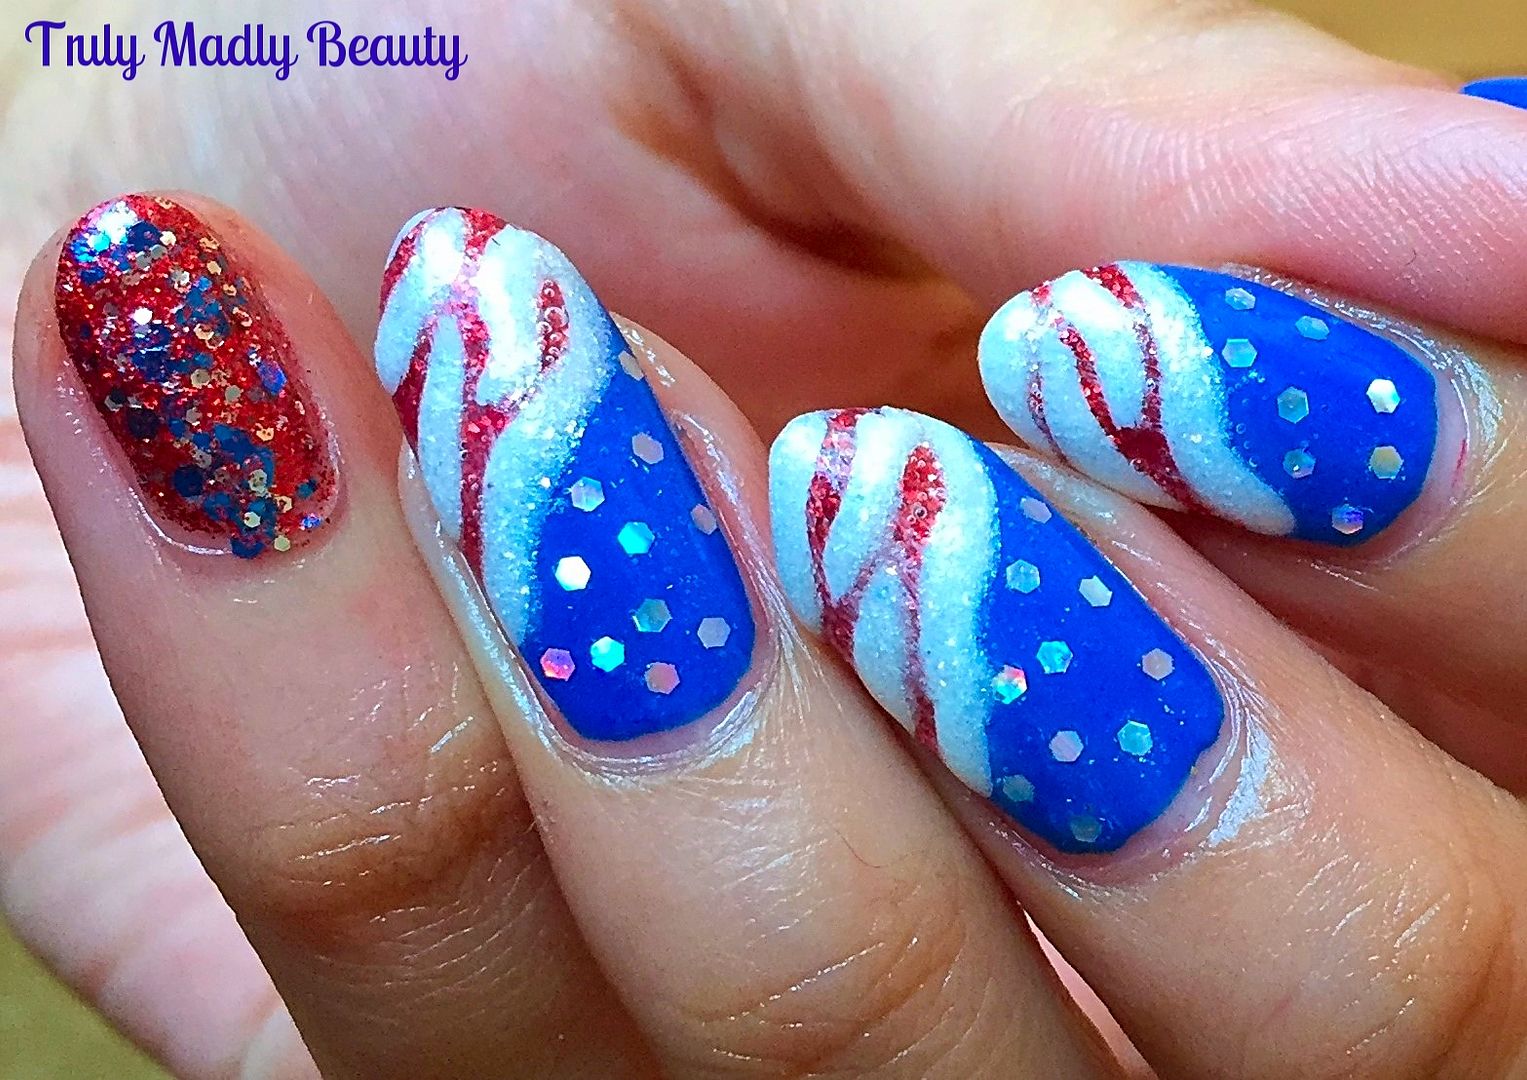
NOTD - Fourth of July Nails!

Hello there lovely readers!

As today's nail art has distinct red, white and blue vibes going on I think its obvious what occasion is inspiration is here ;) Every year I like to throw together a mani to mark my American cousins over on the other side of the pond's Independence Day celebrations. Any excuse to get my nail art on!


I was muchos happy with my Fourth of July nails last year which featured blue dripping glitter & a step by step tutorial so go have a peek at those HERE. I loved them so much & didn't think I could top them...maybe it was a mistake to go in with that attitude as I really wasn't happy with how these ones for this year came out but meh you win some, you lose some & I'm gonna roll with this FAIL of immense proportions!


4.04.2016

Loreal Color Riche Nail Wraps Review

Hey there lovely readers!

In this day & age we all love to find quick solutions to certain beautifying steps, nails included! Nail wraps are the perfect answer to this, straightforward & no fuss waiting for polish to dry. I found myself drifting away from the nail wrap world of late, I'll put it down to experiences with a few dud ones that I didn't get on with & were just too fiddly when it came to application! However I have rediscovered my love for nail wraps thanks to these lovely offerings from Loreal!


I wasn't actually planning on blogging about these, but they are so good I had to share with you my lovelies. I literally picked these up in a rush when I saw them in the Poundshop across the street from where I work as I had a serious chip situation going on with plans in the evening which left me little time for refreshing the mani!


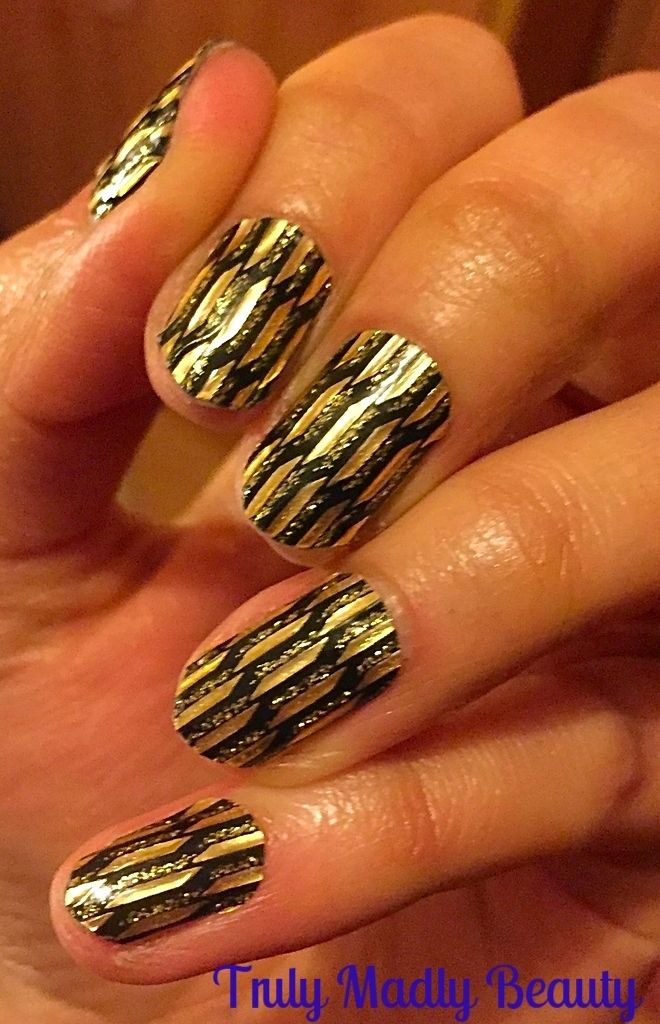
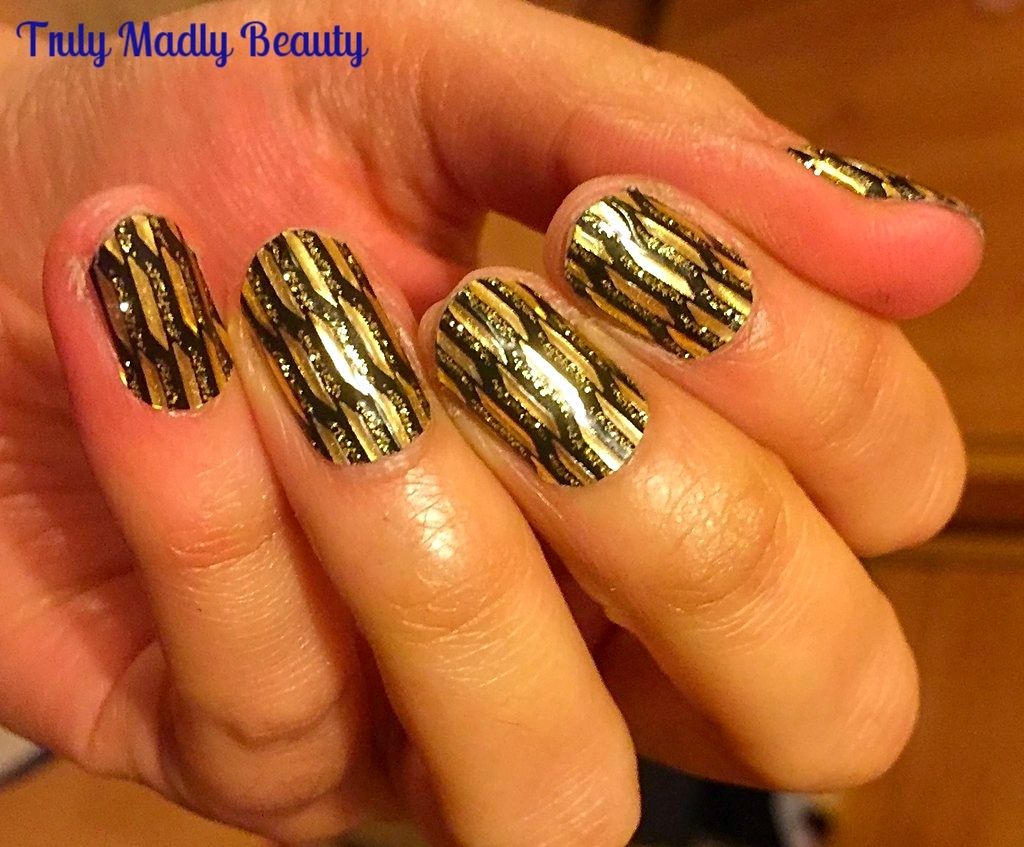
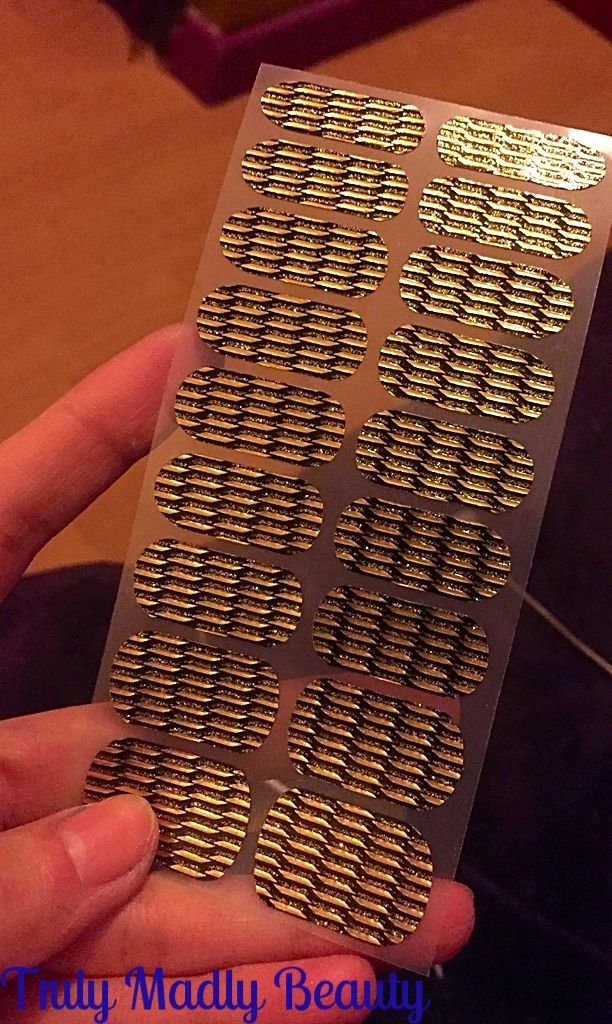
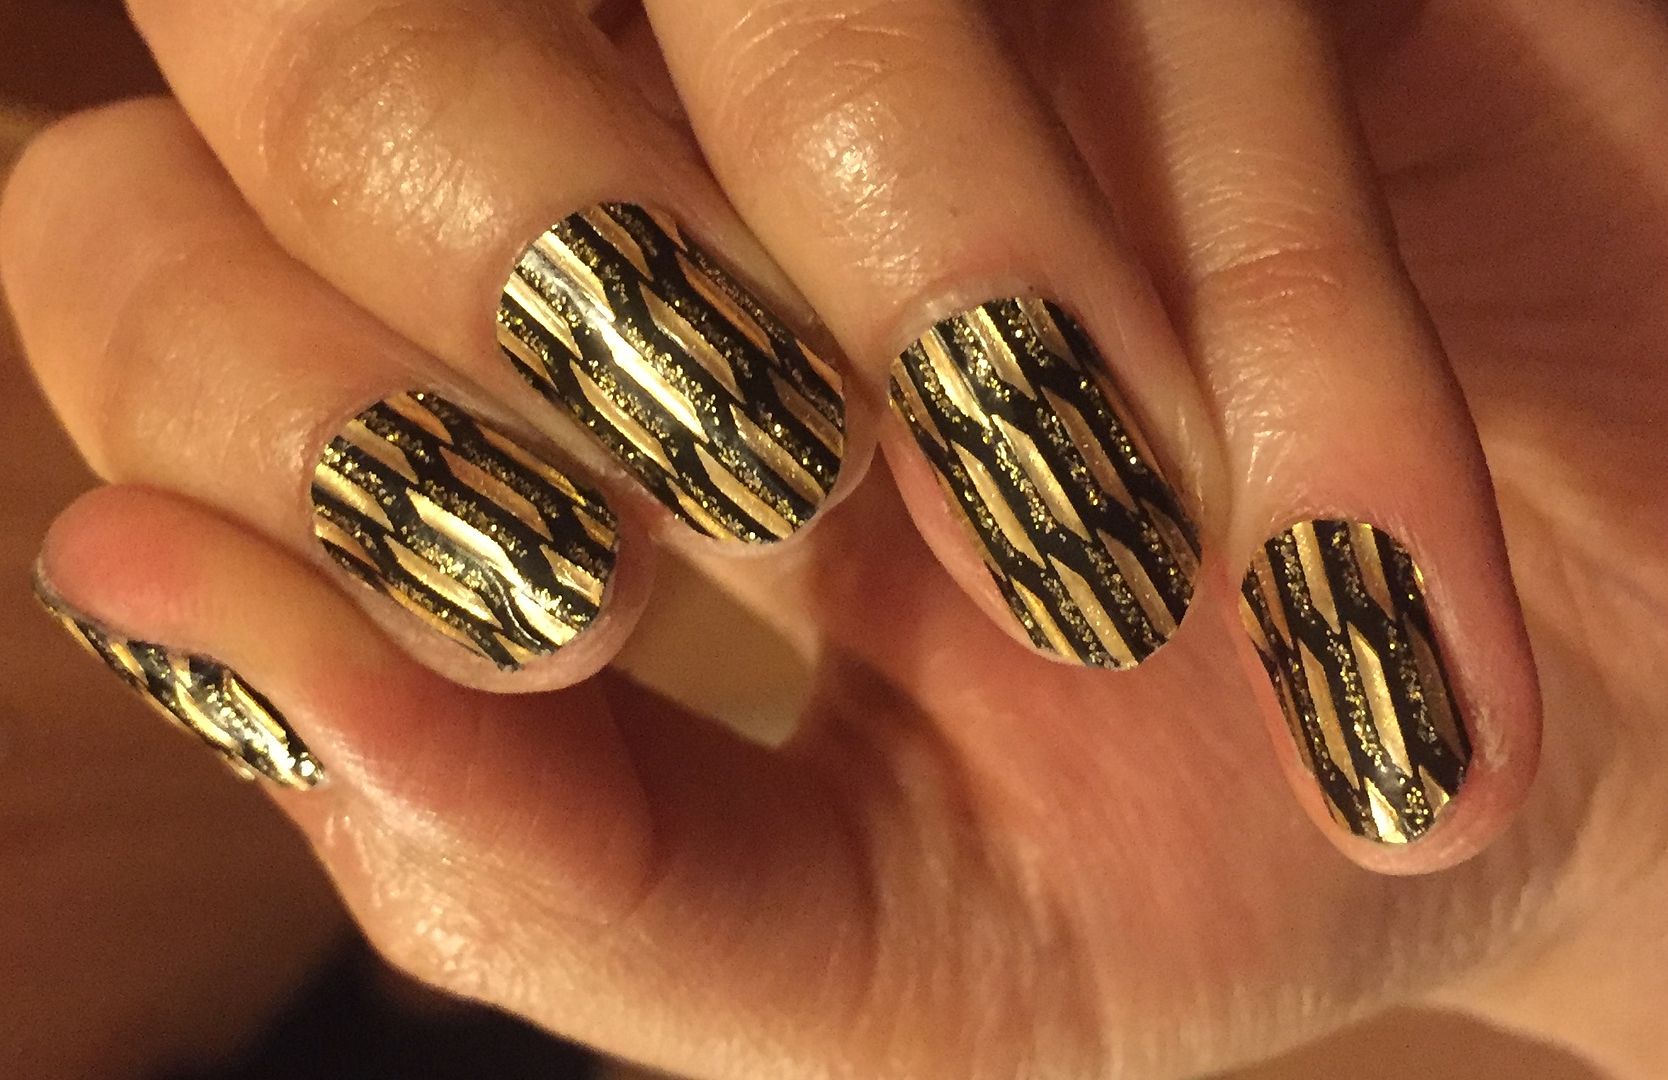
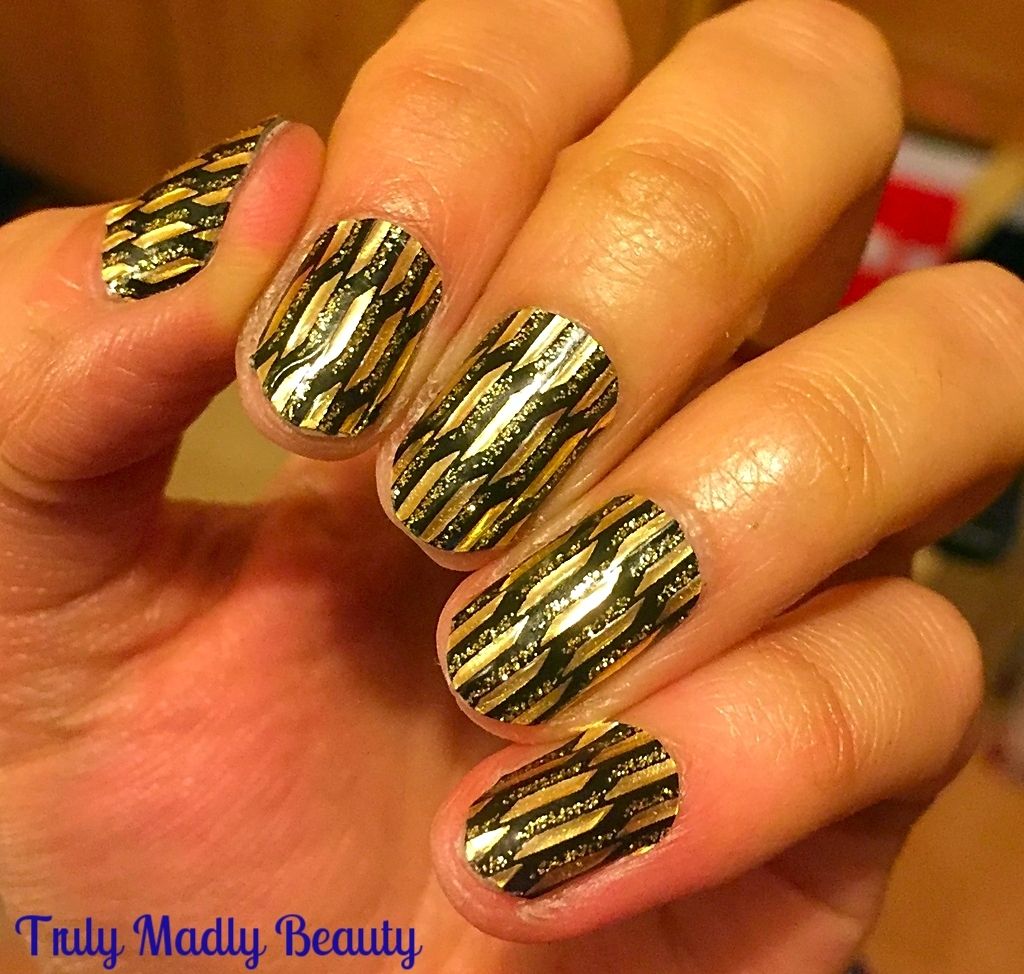
However these blingy Loreal Color Riche nail wraps in design “Or Lame” caught my eye so I decided to pick them up on a whim & boy did they succeed in saving the day!

Once home I quickly removed the traitorous chipped polish with my new favourite, the delicious scented nail polish removers from True Brit London which I've blogged about in detail HERE & then got to work with applying the wraps, a task which was completely literally within minutes.


Applying the wraps could not be easier, starting with a clean bare nail. Nail wraps adhere better to a dry surface so its important to ensure that the nail doesn't have any oils or moisture, of course the polish remover helps remove any excess moisture as well.


Select the nail wrap which fits the size of your nail best, the Loreal ones have a nice selection of various sizes so finding a match shouldn't be problematic.

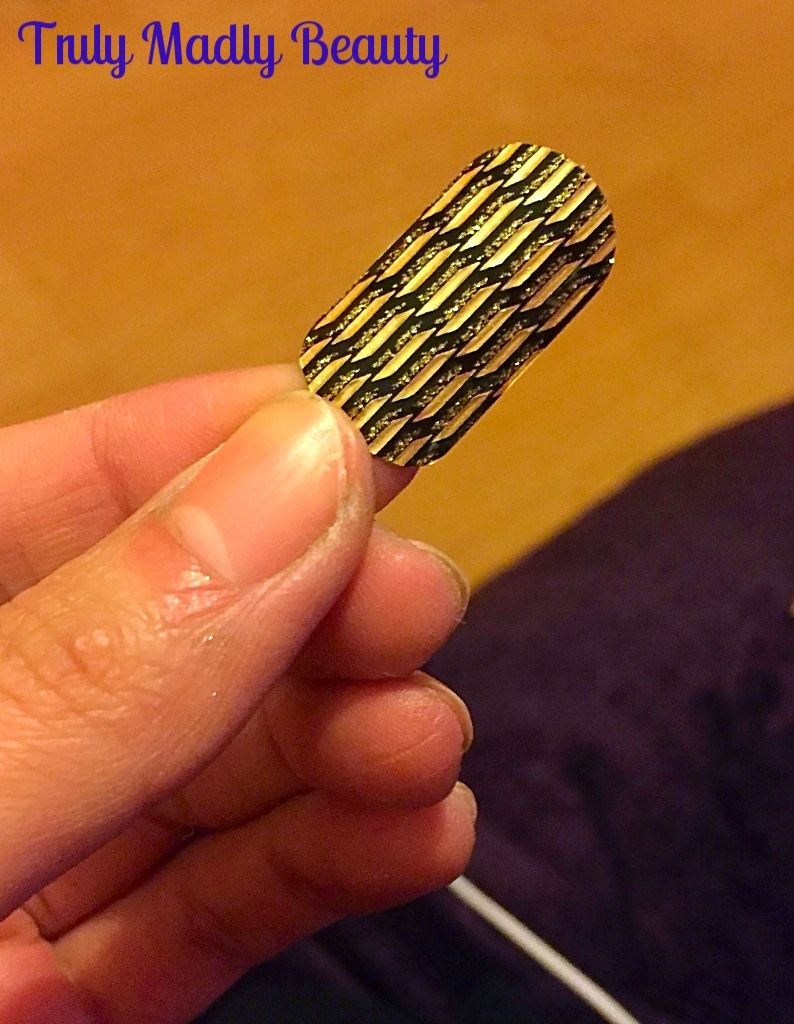
Peel off the nail wrap, which comes away very easily like a sticker, then place on to the nail starting at the cuticle first, then slowly pressing down the length of the nail to the tips. Despite being thin, the Loreal wraps were very easy to place, if you are not happy with your positioning then you can easily lift the wrap off & try again which is great.


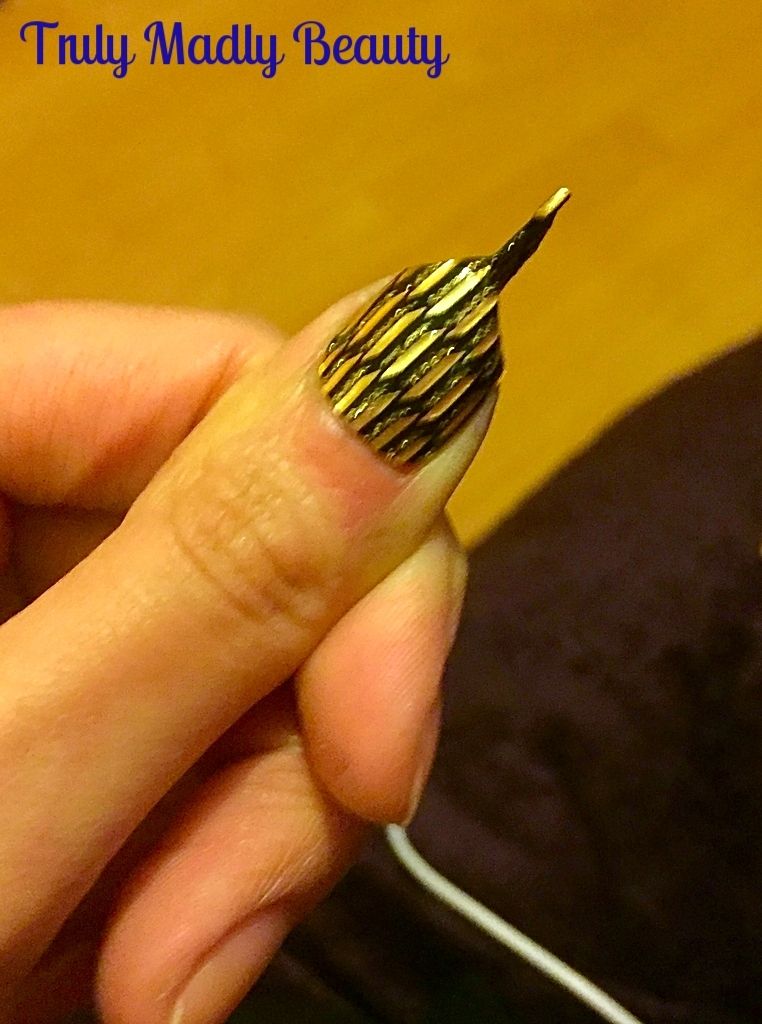
Once happy you the need to file off the additional nail wrap that you don't need. In the past when filing, I've often had half the wrap come away with the file which was quite frustrating! I find the easiest way to file off is by sticking the remaining wrap together (as pictured above) at the edge of the nail, then filing downwards until the excess wrap comes away completely.


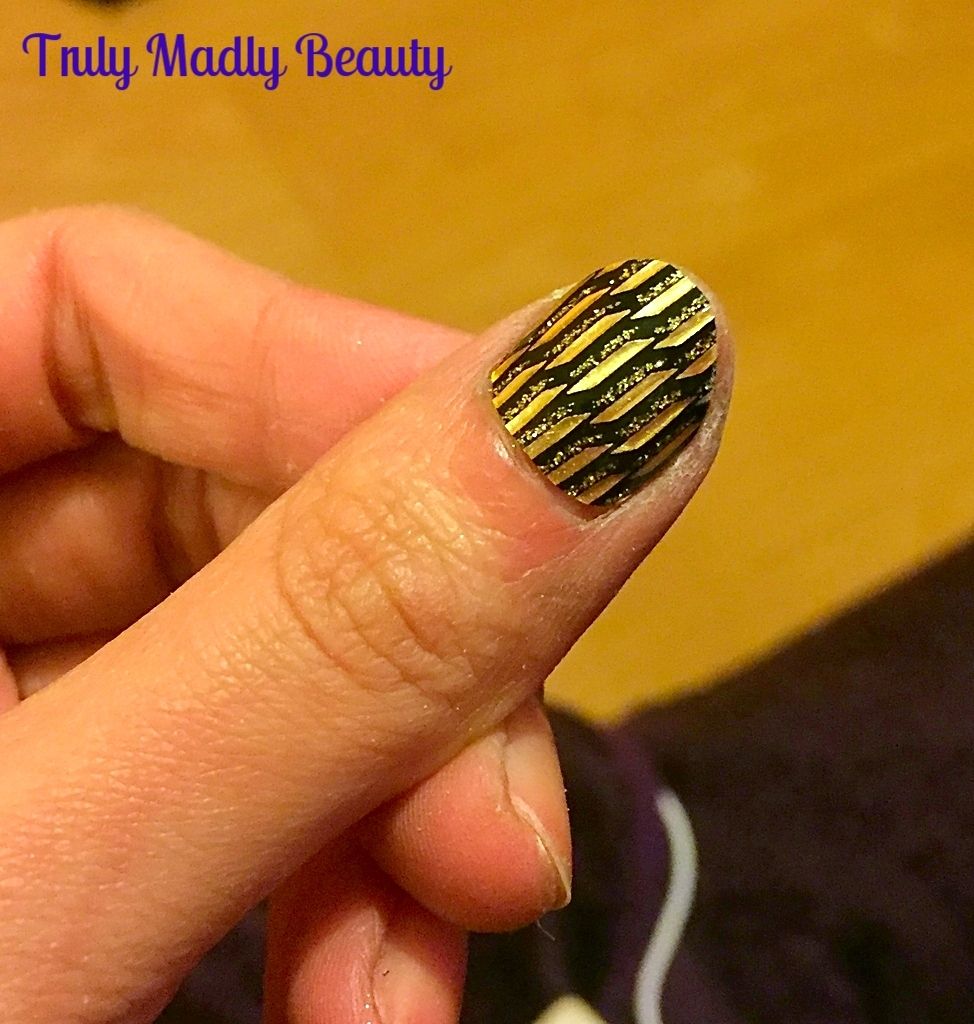
Neaten up the edges of the nail to get rid of any little bits of wrap that might be sticking out & voila! Beautiful blingy nails ready to go!


I also absolutely love the gold and black art deco style design of these nail wraps as they will pretty much go with anything & would be fantastic for last minute nights out when your in a rush but don't want bare nails.


Removal is also super quick, simply lift up the edge of the wrap using an orange stick & then using your finger, the wrap will peel off completely leaving no sticky residue at all, another bonus! I can't comment on longevity as I removed these the next day, however they were all still firmly in place!

I will most definitely be picking up more of these to have as back ups in case of mani emergencies!  If you can't find the wraps in stores then they can also be found online on Amazon HERE.

Are you a fan of nail wraps? Thanks for reading beauts!

Lotsa love to ya!


10.19.2015

NOTD - Bonprix Luxe Sequin Dress Inspired Nails! #PartyPolished

Hello there my lovely readers!

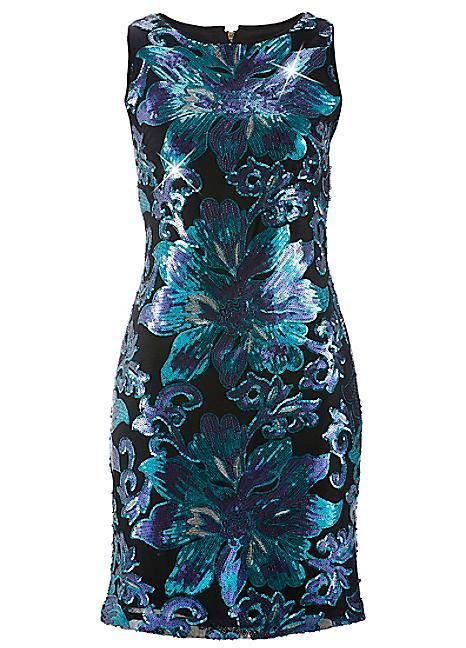
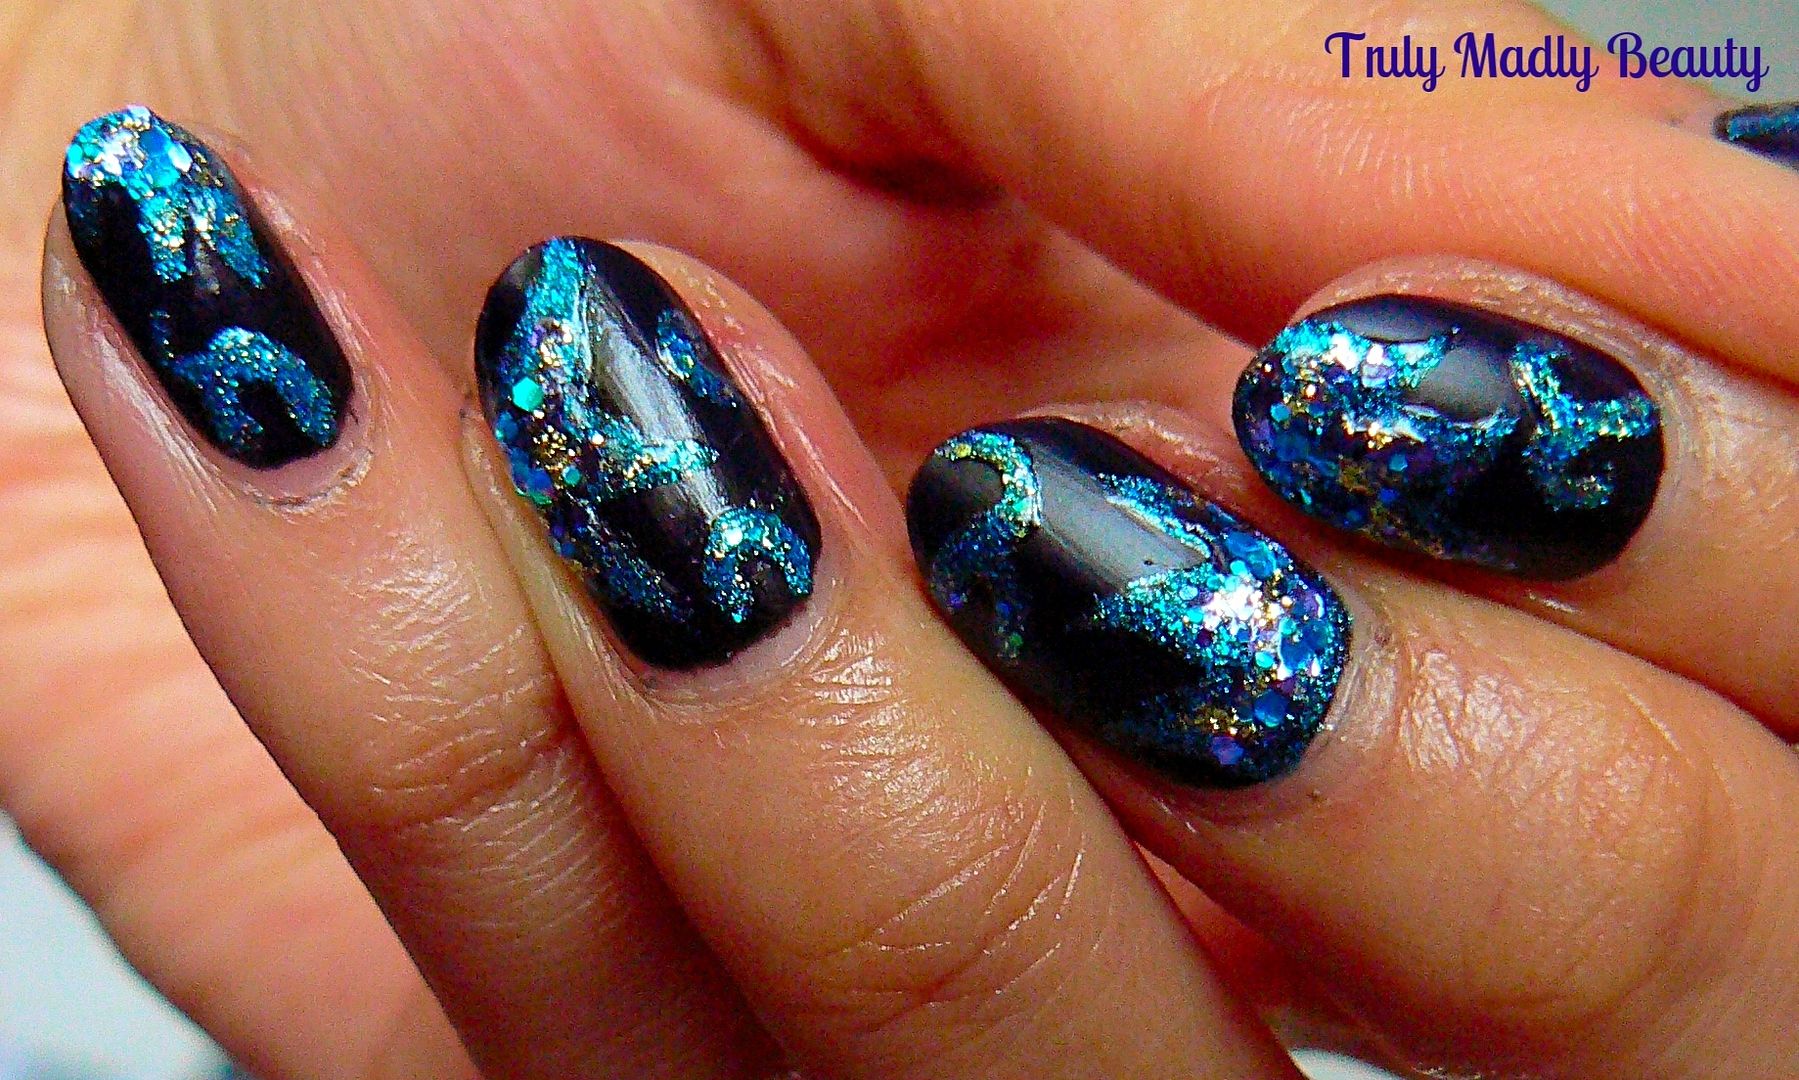
Taking a wee reprieve from Halloween today lovelies. You may recall the Colour Block Nails I did a few posts back for the #PartyPolished competition online fashion retailer Bonprix are currently running with Barry M Cosmetics. The rules of the competition are simple, to create a manicure using one of Bonprix dresses as inspiration! I fell in love with pretty much all of their dresses so I couldn't resist coming up with another nail art design, this time using the Luxe Sequin Shift Dress as inspiration because well...SPARKLES!


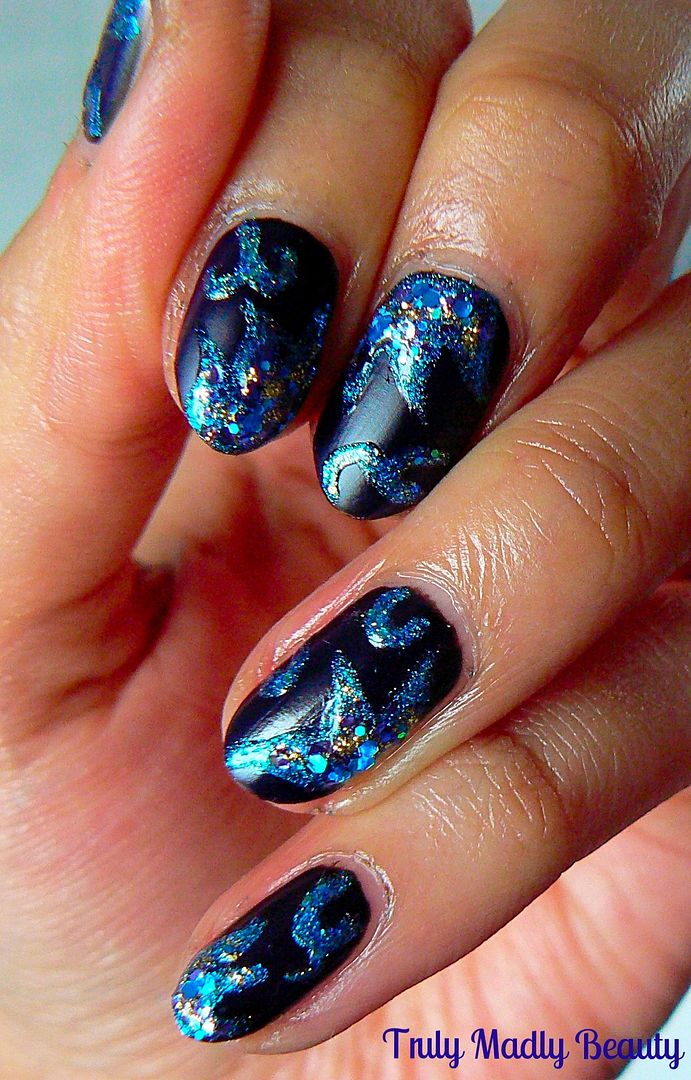
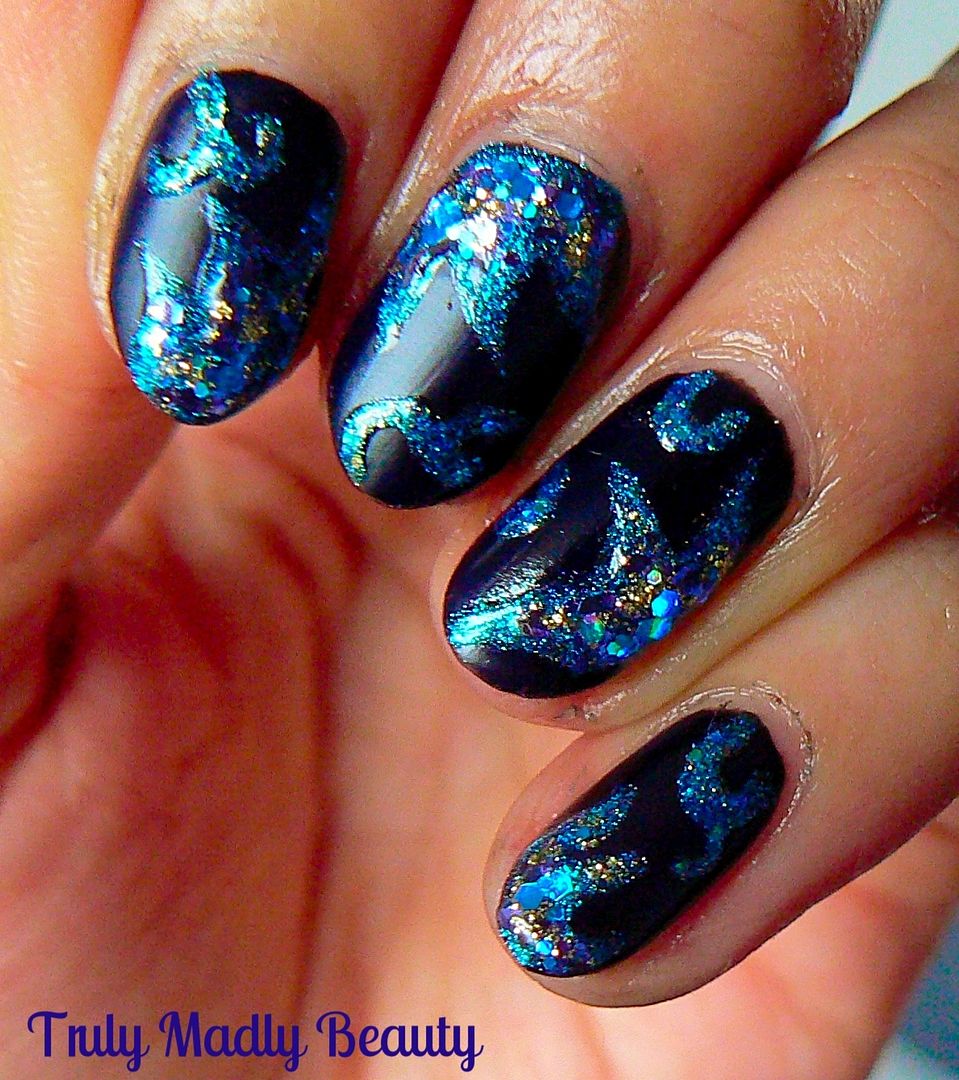
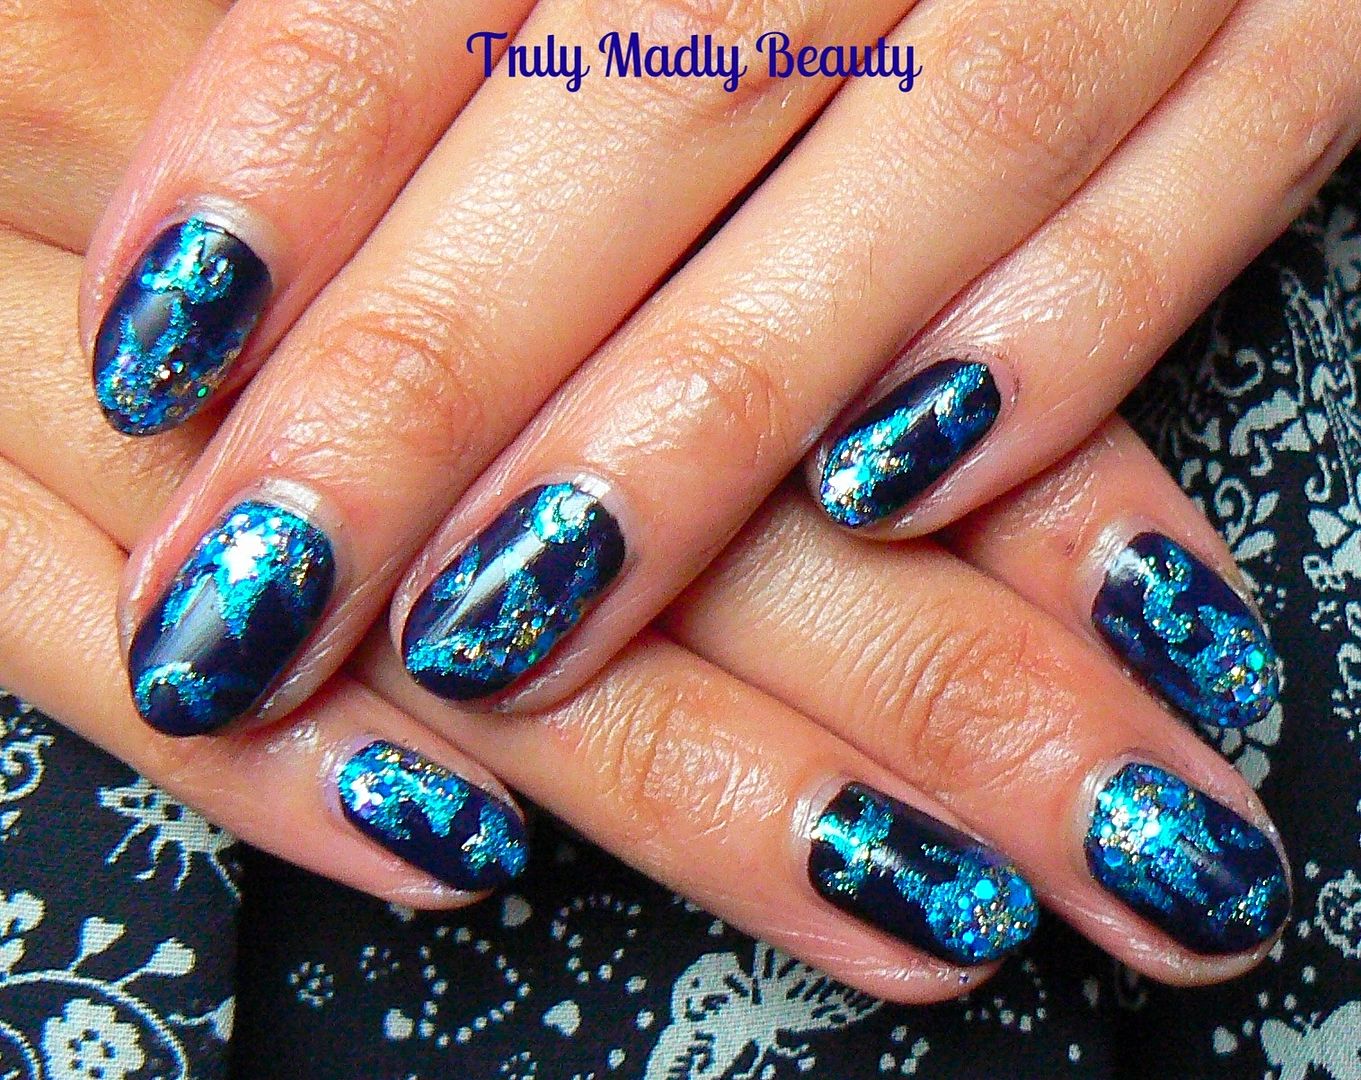
You know I love my sparkles, so I was looking forward to getting the glitter out & satisfying my inner magpie. Using the lovely shimmering floral design of the dress this is what I came up with...


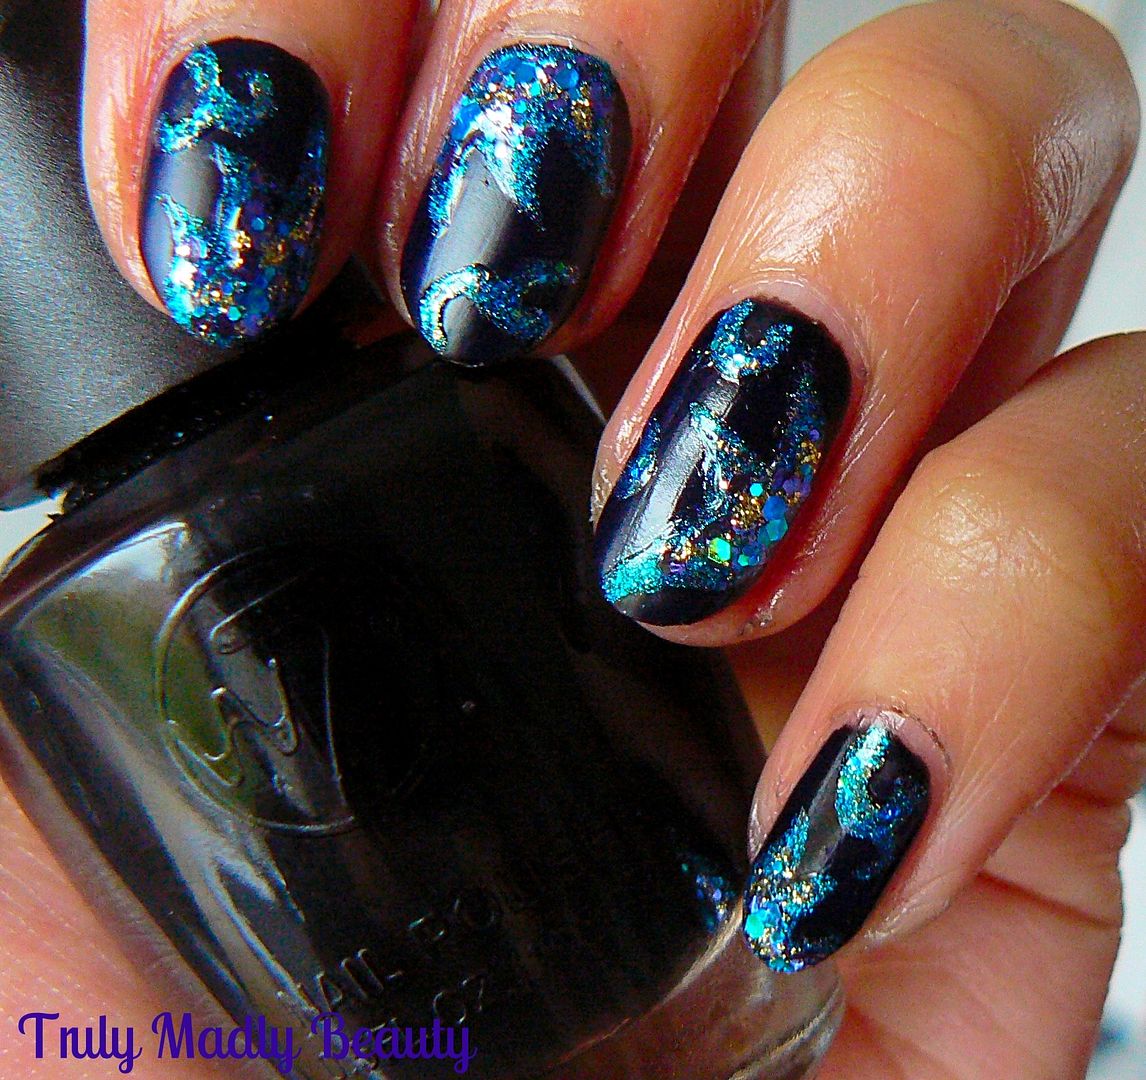
I've always been a gloss top coat girl through & through, preferring a shiny finish to my manicures, which with the help of my beloved CND Air Dry topcoat, I manage to achieve. However lately I've really gotten a feel for matte finishes with their sleek & sophisticated look. I also really wanted the sparkles to stand out in this mani so I decided to apply a matte black base to start.


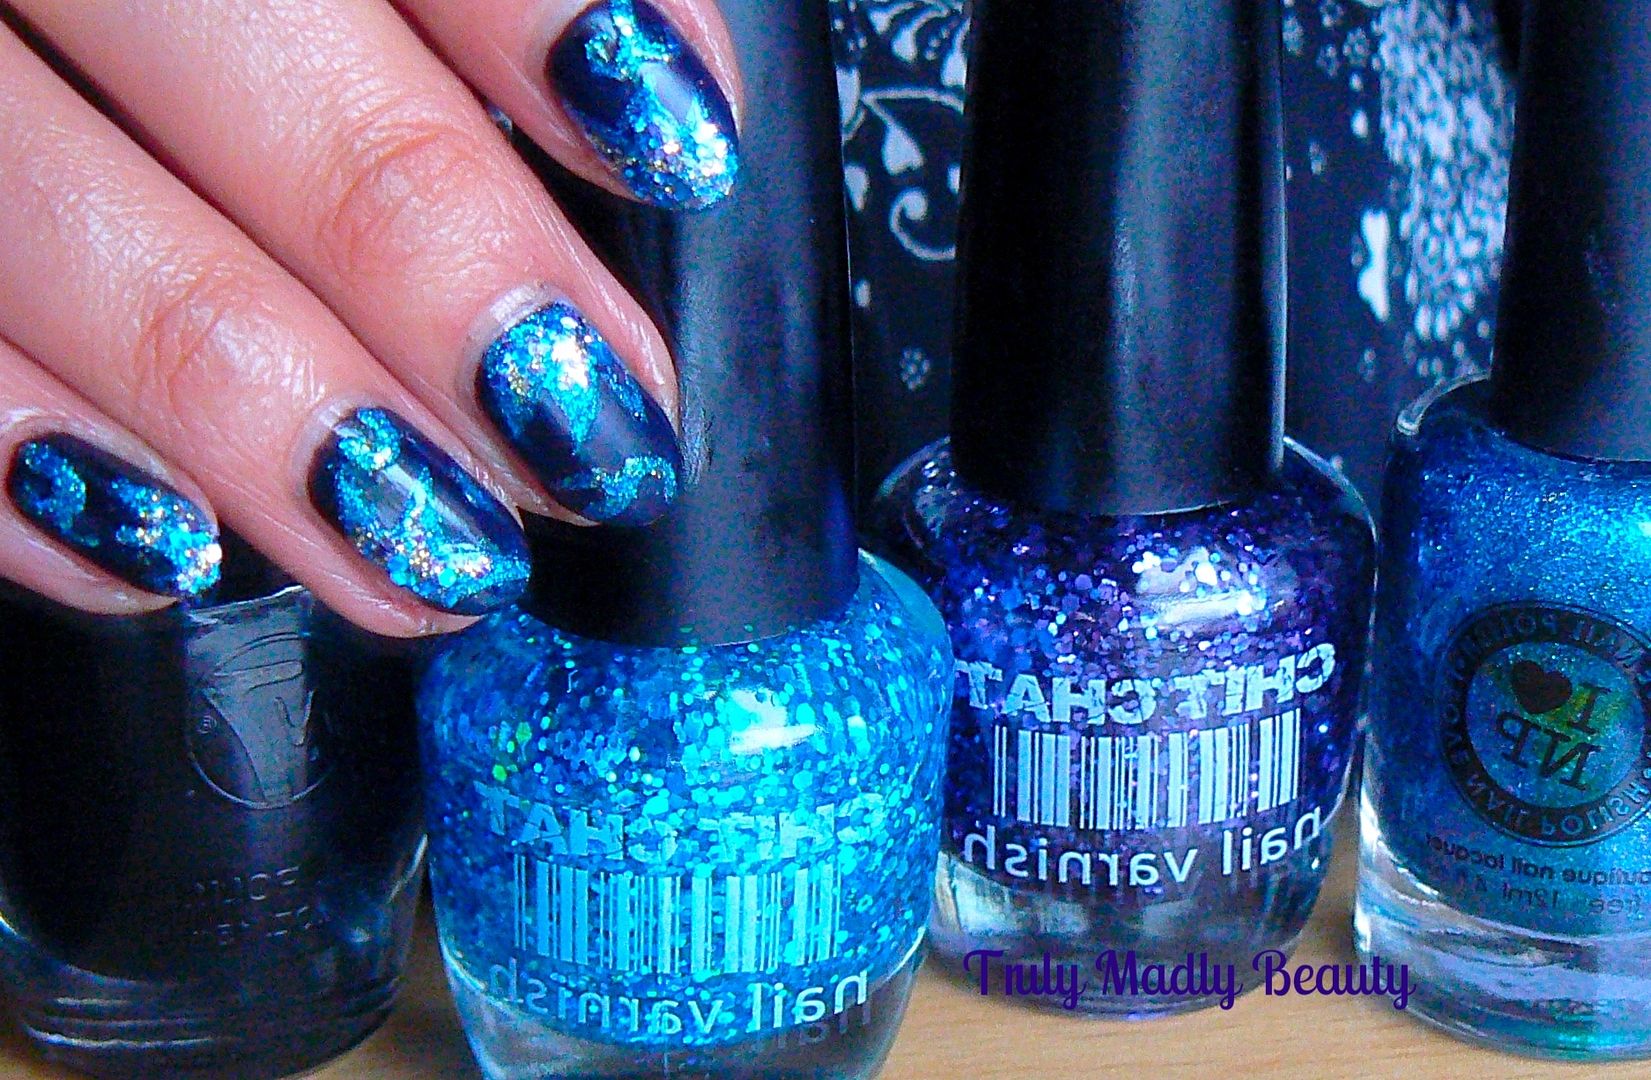
Here I've just used two coats of W7 black to which I applied one coat of Rimmel Matte topcoat. Matte black may be my new favourite thing, it reminds me of a chalkboard & has me itching to do some neon nail art on top...idea for next time...


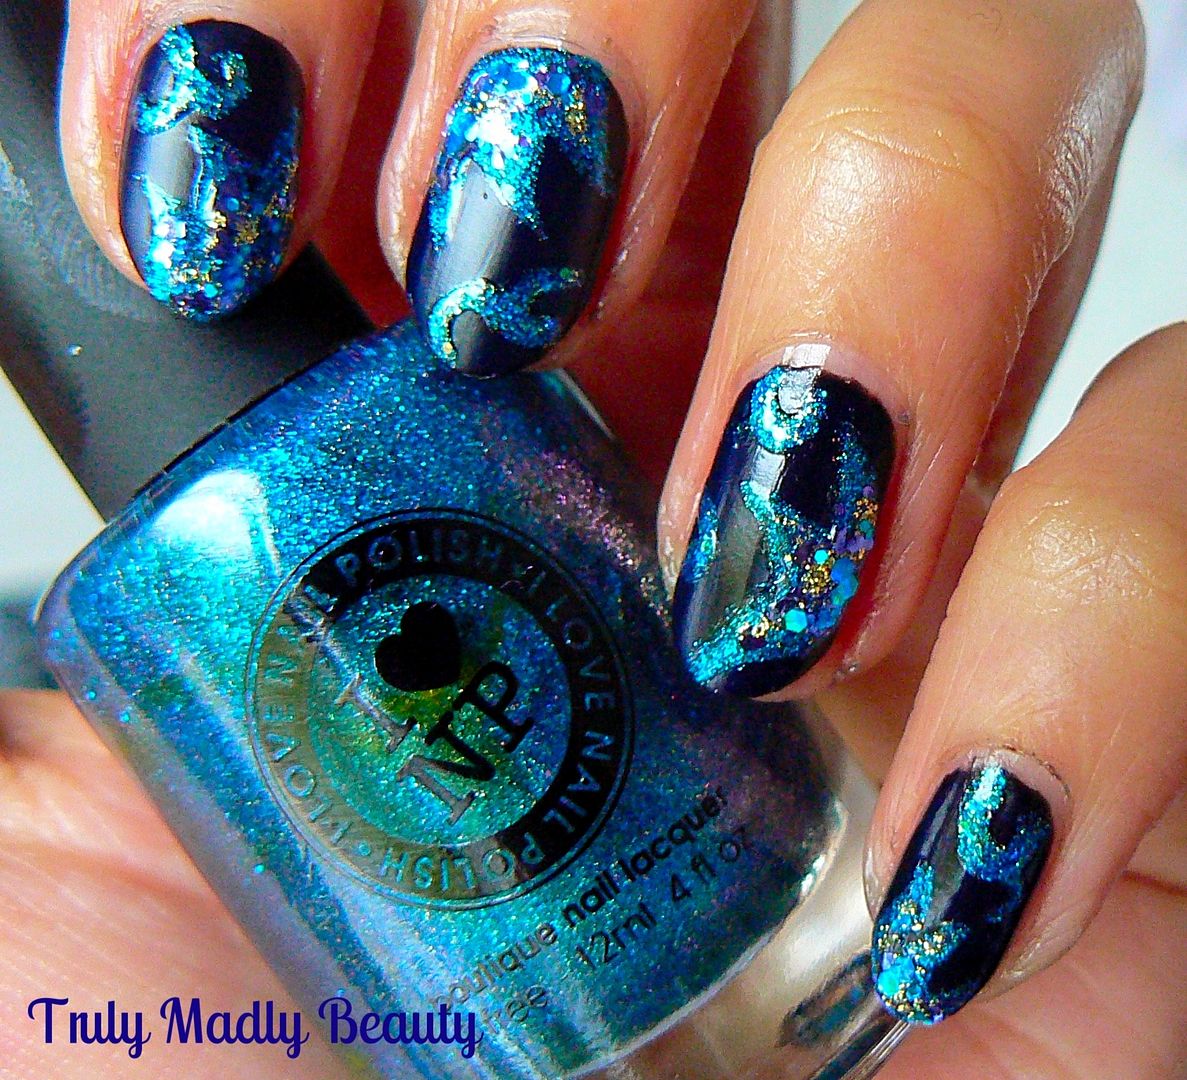
For the floral pattern I grabbed I Love Nail Polish's Admire Me. This polish is just SO stunning in real life, I Love Nail Polish really know how to do holographic well! Heck they know how to do ALL polish well & my wishlist is never-ending! Using a thin brush I free-handed a random floral like design with a few petals & additional swirls onto each nail.


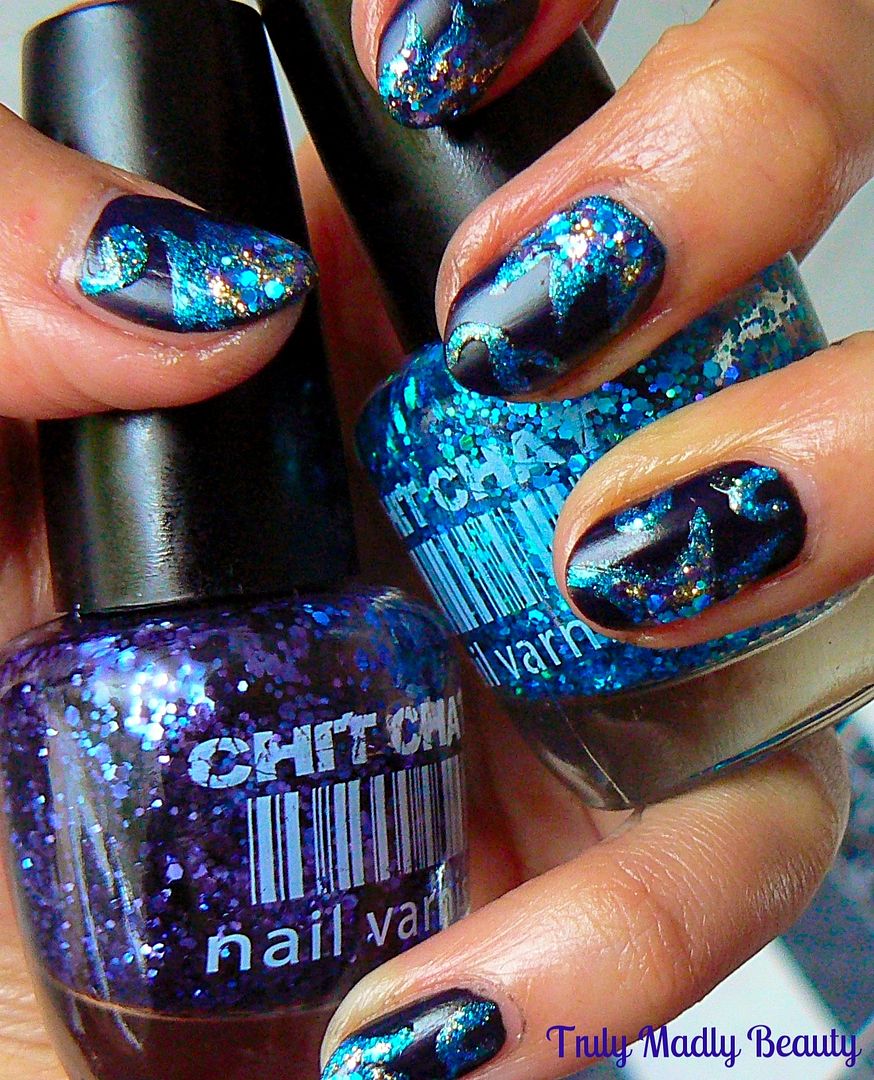
Next for the GLITTAH! I dug out these two ace Chit Chat glitters in turquoise blue & indigo purple which I picked up in Poundland...yes Poundland! :) Using the brush I dabbed a bit of each on to each petal till I was satisfied with the amount of sparkle


For a final hit of glitter I dotted on a few pieces of large hexagonal gold glitter on to the petals.


As I wanted the floral design to stand out I skipped topcoat & kept that lovely matte base, as the glitter is suspended in clear polish it almost gives an interesting wet on matte look! 


Hope you liked the mani dolls! Thanks as always for reading!

Lotsa love to ya!