Showing posts with label Autumn. Show all posts

10.29.2018

NOTD - Pumpkin Patch!

Hey there lovely readers!

I wasn't initially going to blog this nail art as I classed it as a bit of a mani FAIL really but I still thought it cute & heck if I didn't just wanna squeeze in as many Autumn manis as possible!

When I was in NYC *sobs* I stumbled across some of the loveliest  Autumnal displays overflowing with pumpkins & pretty fauna in shop windows, quaint neighbourhoods, outside  homes...not that I loitered like a weirdo at all... O_o Before I left for my trip I threw together this Pumpkin Patch look which NONE of my work colleagues guessed it was meant to be thus shattering my hopes in to a thousand pieces but hey ho...


10.19.2018

Halloween Dripping Blood Scream Nails!

Hey there lovely readers!

Holy moly its been a minute! I had hoped to get in the spirit of Halloween with my nail art but time it would seem has run away with me! I've just returned from a much needed & most amazing break in New York City, my most favourite place on earth! With that, work & also the fact that I had me some beautiful gel nails did whilst out there means any new nail art looks will be put on hold for a month or so...thankfully I have a backlog of looks & also managed to throw together one spooky look before I left so woohoo!

I always like to do some form of dripping blood nails every year so keeping in with tradition that's what I've done but this time with a spooky twist!

10.02.2018

NOTD - Autumn Trees!

Hey there lovely readers!

I don't know about you guys but I am SO ready for the change of season already! Yes sunshine & Summer you've been delightful, but I'm all for the blankets, candles & hot cocoa life now...I am an Autumn baby after all!

11.27.2017

NOTD - Autumn/Fall Tree Dotticure

Hello there lovely readers!

Before we wave a fond farewell to Autumn this year I wanted to share with you one of my favourite Fall Nail Art designs I did but totally forgot to put up on here! Plus I'm just not yet ready to get rid of all the comforting Autumn feels just yet!


11.20.2017

NOTD - Thanskgiving Three Tone Ruffians!

Hey there lovely readers!

There's currently a technique that I am utterly addicted to right now & that is Ruffian Nails! If you are unfamiliar with this look, a Ruffian design is basically a french manicure....reversed. So the trademark smile line is down by the cuticle end of the nail instead of the tips as is the norm for your standard french manicure.


11.13.2017

NOTD - Moustache Nails for Movember plus Tutorial

Hey there lovely readers!

You may be aware already that during the month of November, many menfolk partake in Movember, a great initiative where the month is spent abstaining from shaving & an attempt to grow some stellar facial hair goes into effect, the purpose being to raise awareness for men's health issues & specifically cancer. 


11.12.2017

NOTD - Warm Lace

Hello there lovely readers!

Today I have another nail art design I created for this months Instagram nail art challenge I always love to partake in, these are hosted by the fab Clairestelle8 FYI & are always so much fun to do! Every month there are weekly themes for us nail art addicts to create a design for. Come find me on @aysh_xox :) Anyhoo the theme next to come up for this month was Lace.


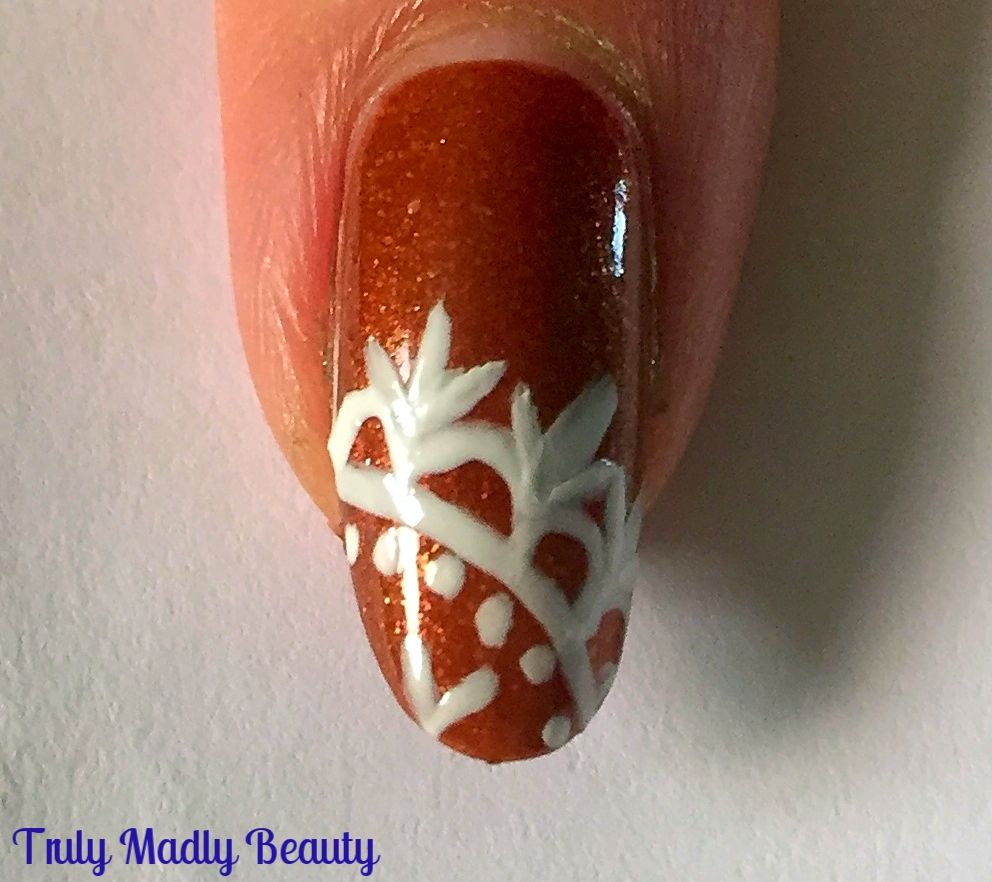
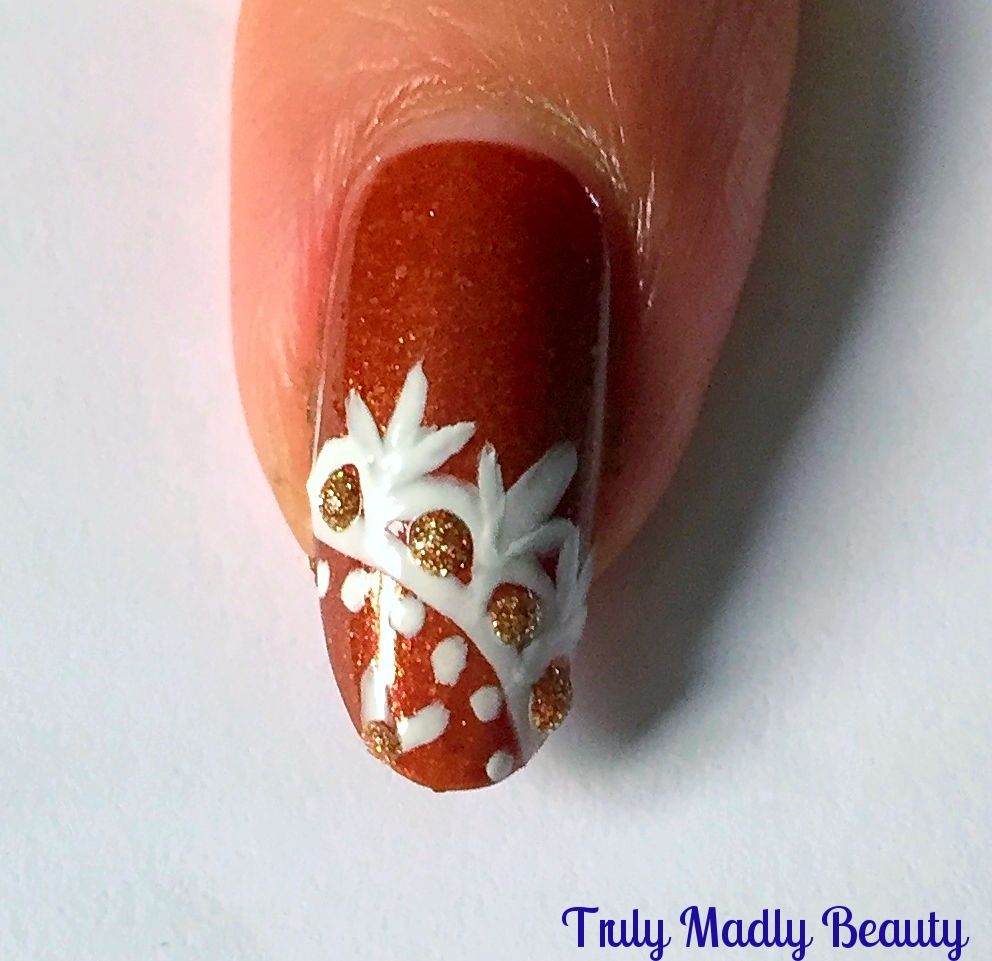
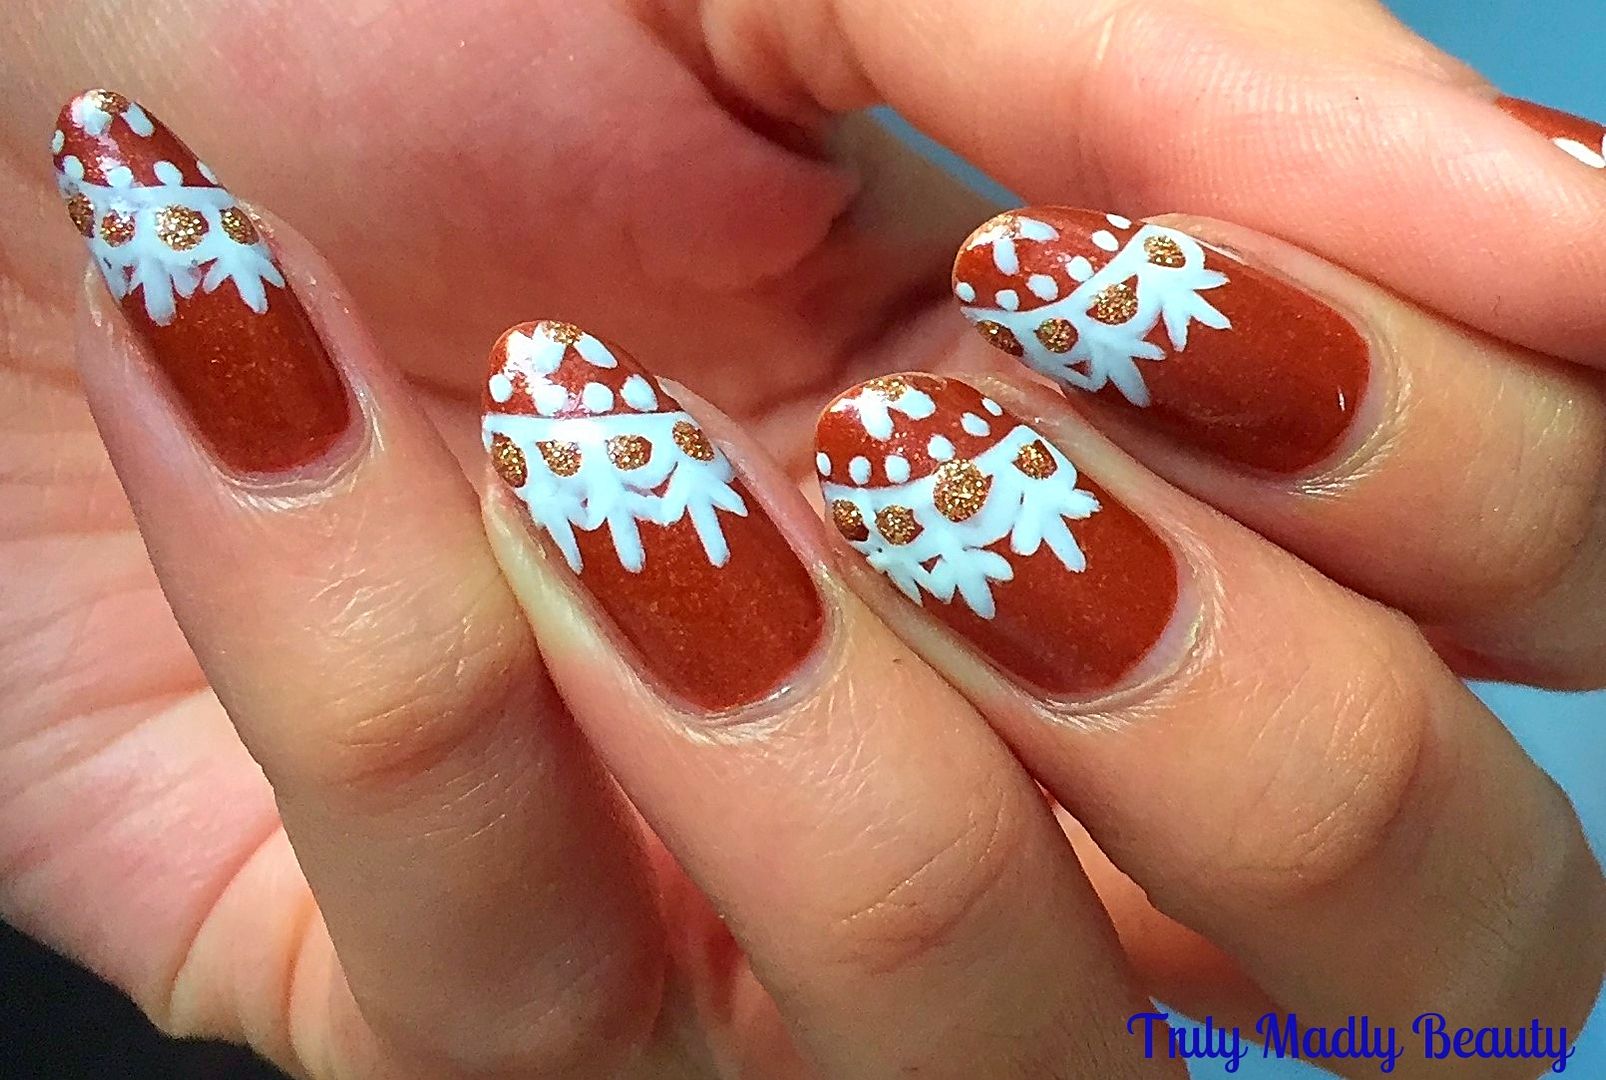
I wanted to freehand a white lace pattern onto a warm duochrome base as I really feel white pops so stunningly on duochrome's especially!

11.07.2016

NOTD - Bronze and Lace Nail Tutorial

Hello lovely readers!

Squeezing in a last Autumnal manicure for you beauties today! One of the things I've repeatedly told myself can definitely be considered one of the positives of moving has been that I've had to select only a few of my polish drawers from my stash to take with me...This naturally grieved me greatly at first, but it does mean that I'm getting usage out of many polishes that I would probably normally skim over in favour of my other more well know brands. See? Positive mental attitude FTW


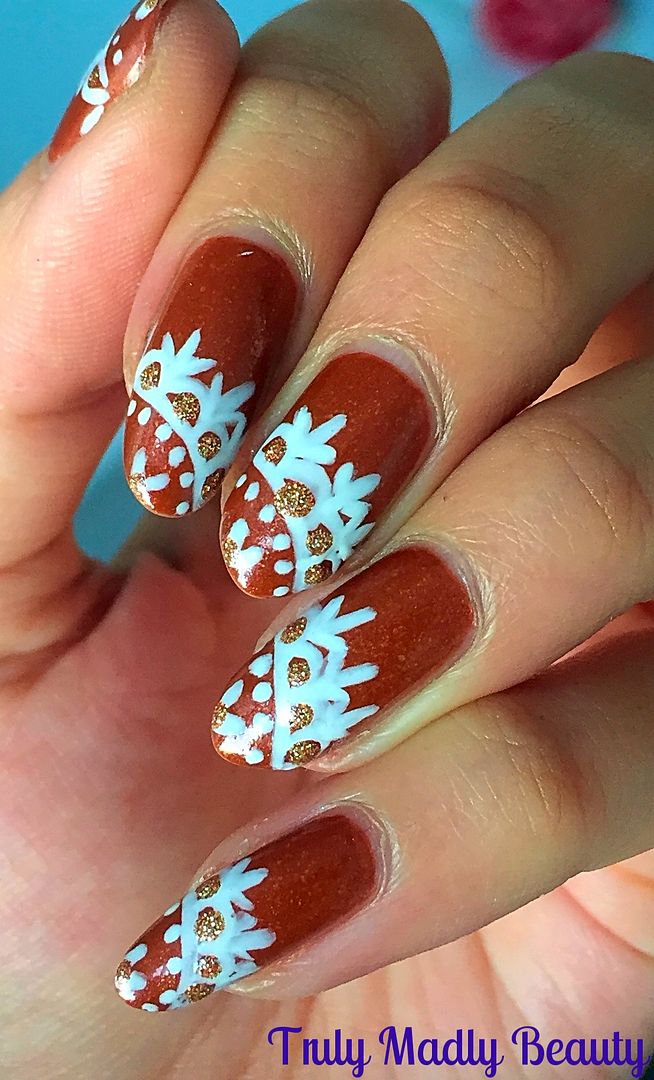
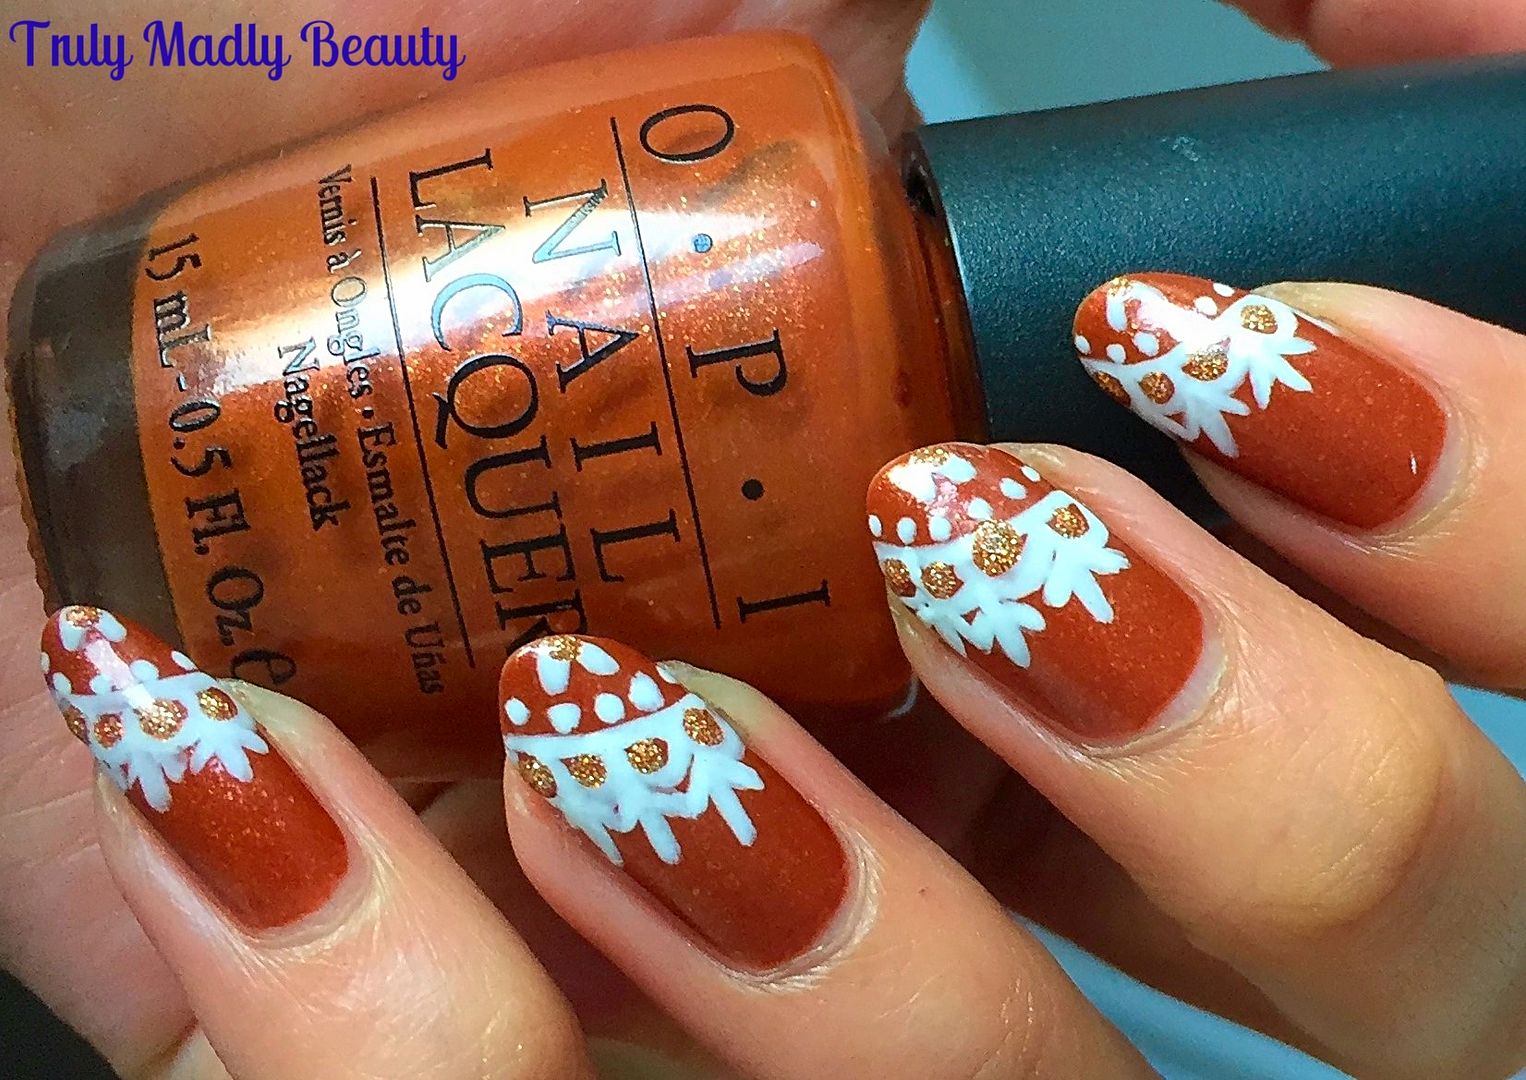
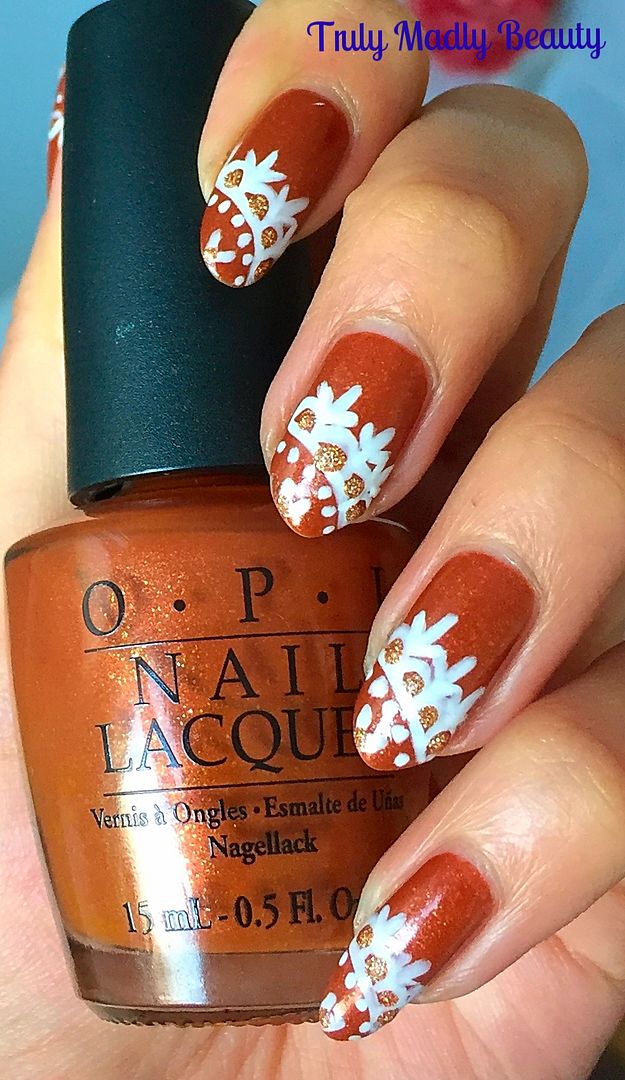
This also includes finding myself reaching for shades that I would not normally choose, including this offering from OPI which I have for you today & goes by the name of Bronzed To Perfection

Normally, a shade such as this would not particularly grab me, but with its burnt orange brown tones it seemed the perfect colour to dig out for the season & I confess it has most certainly grown on me greatly.


A beautifully warm, caramel brown with coppery shimmer touches Bronzed To Perfection definitely screams Autumn vibes. As pretty as it is by its onesie I decided to jazz it up a tad with some lace nail art touches.


To recreate this lace pattern is super simple and its become one of my favourite quick nail art designs to do, just read on to see how you can create this design as well in a quick step by step pictorial I've put together for you....

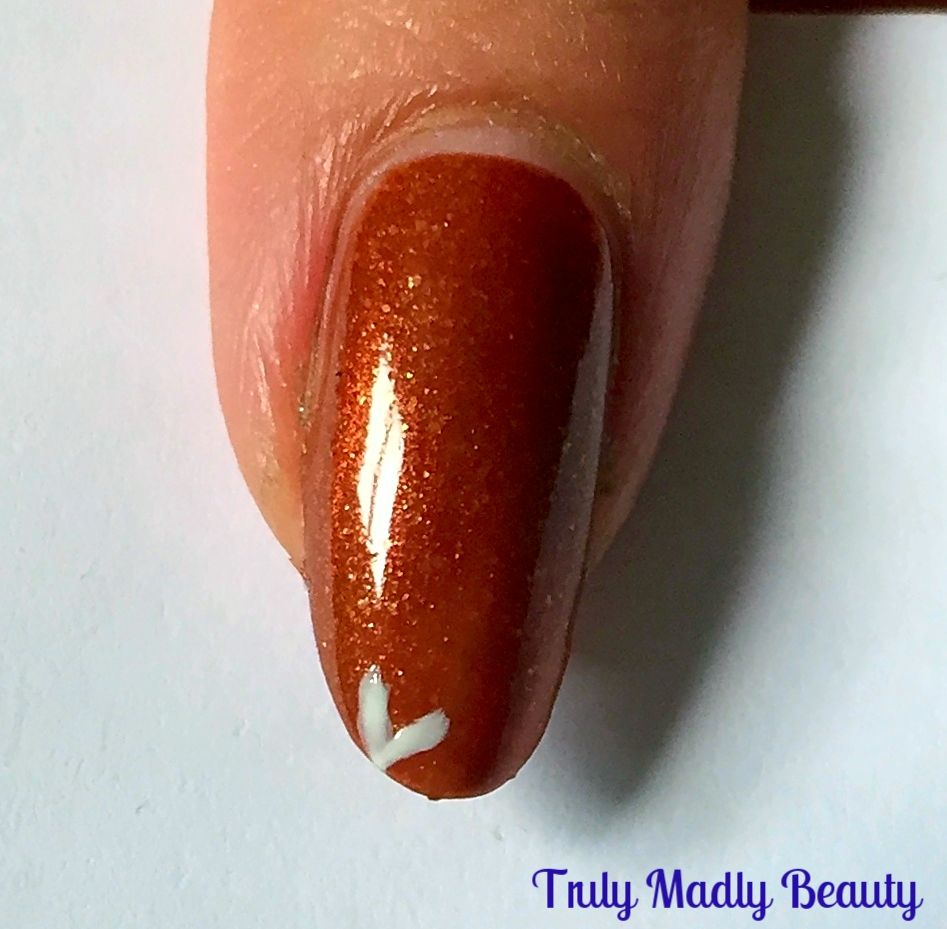
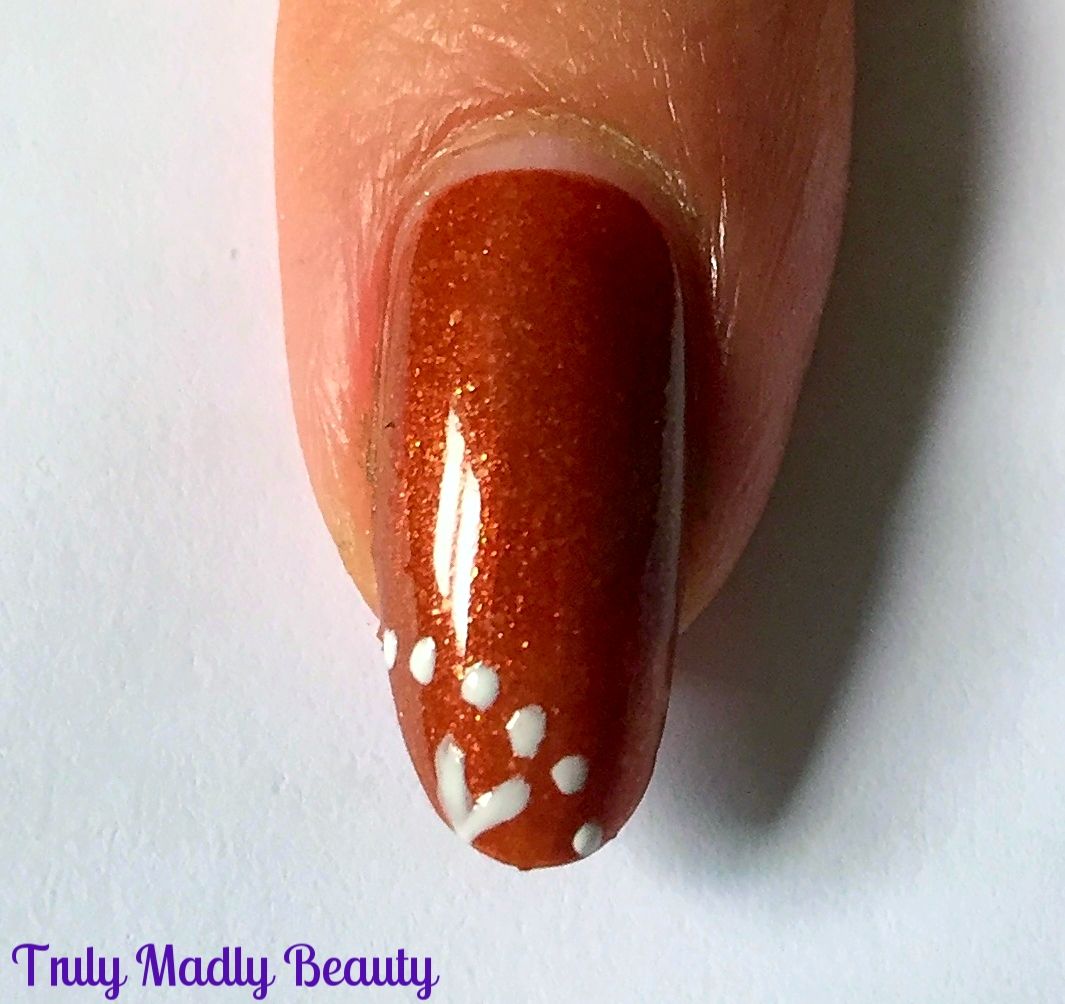
After your base colour has dried, grab your nail art brush & some white polish and begin by applying a tiny V on the side of the tip like so...


Next, using a wee dotting tool, apply a curved row of white dots around your V.


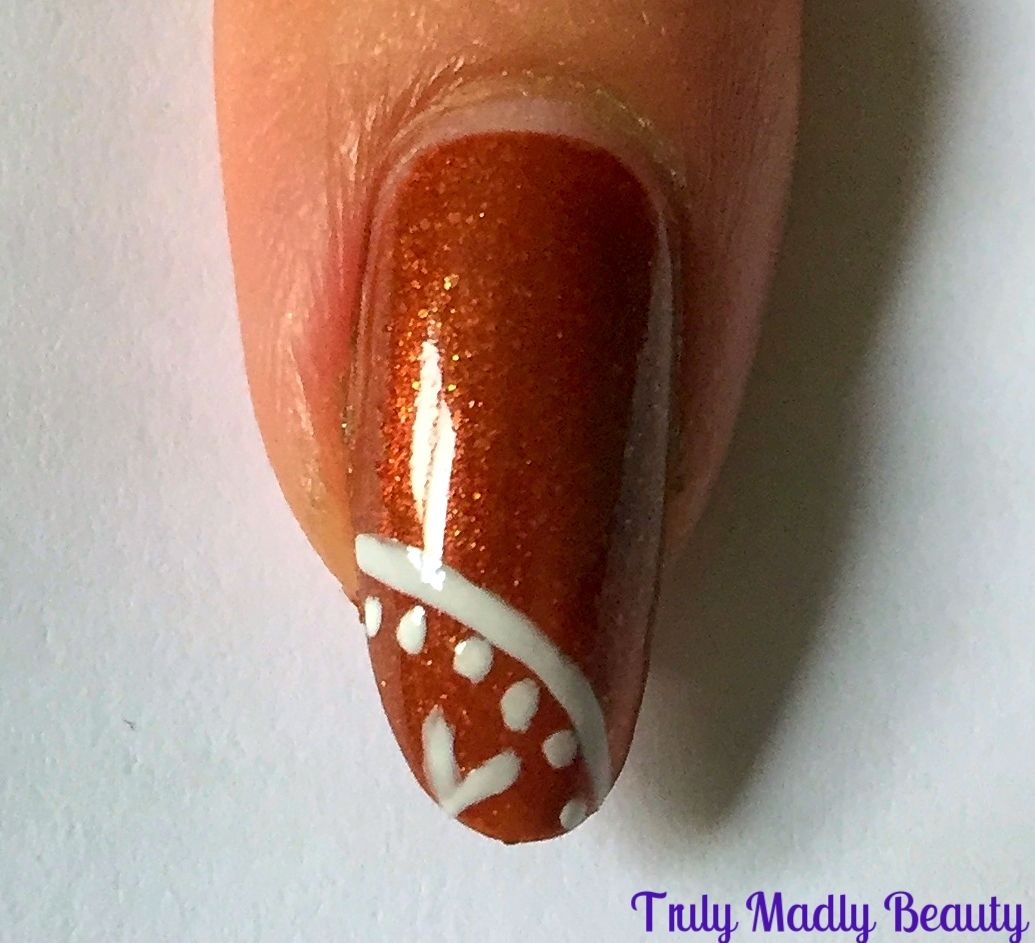
Then grabbing your brush again, apply a curved line just above your dots.


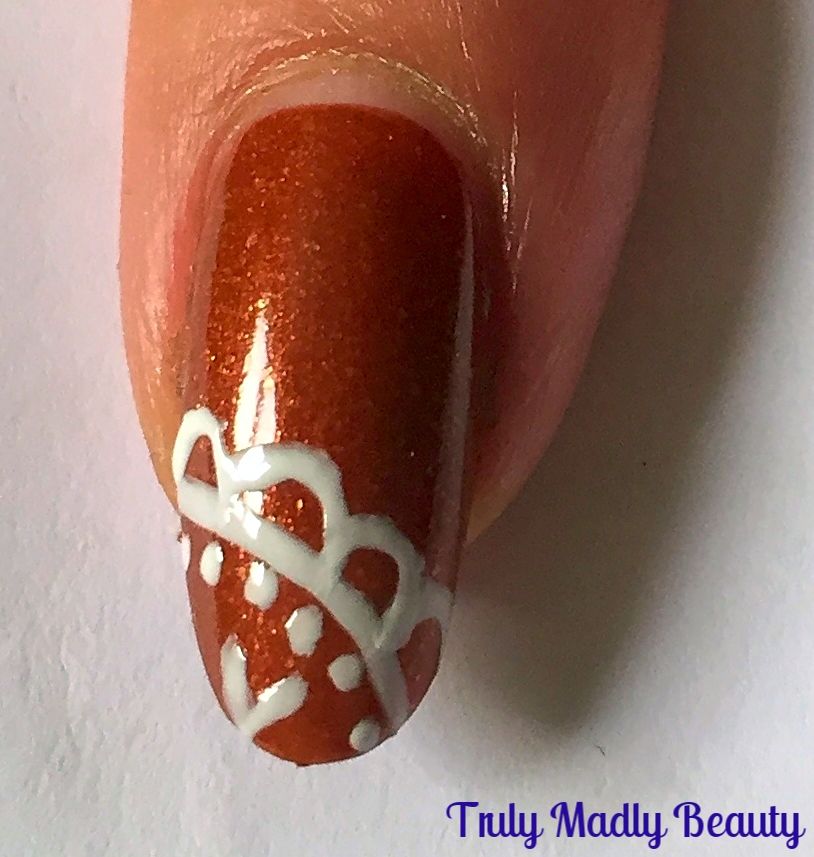
For the next part of the design, again with your fine brush & polish, apply a row of small semi-circles along the top of your curved line...


See the pretty lace design slowly coming together? Next step is to apply a straight line in between each of your little curves as shown....


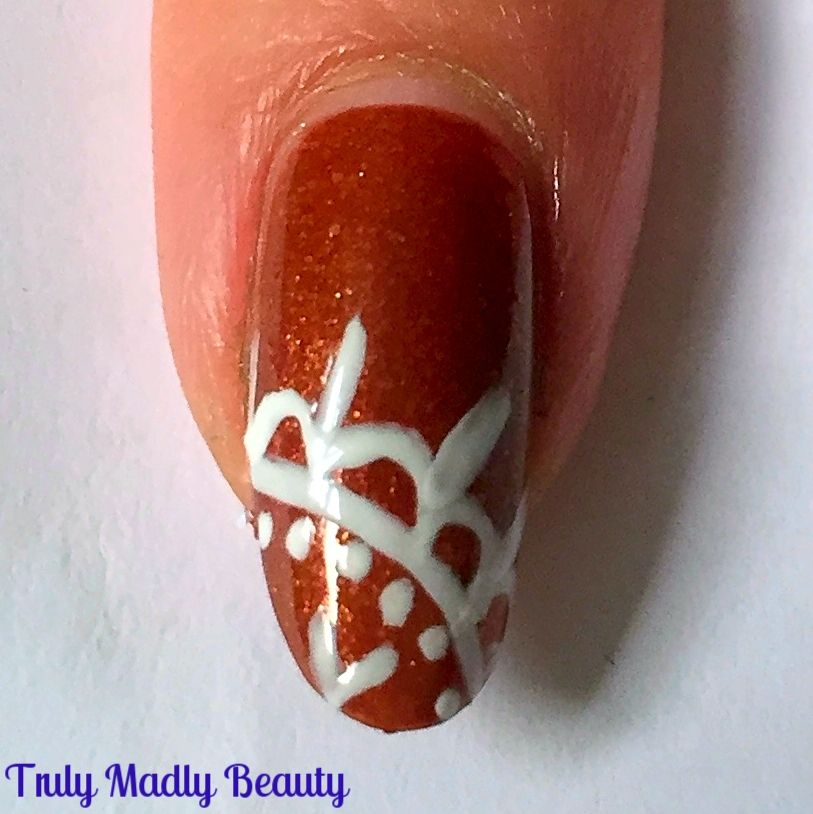
Then finally to finish your lace pattern, add on two little lines either side of the straight line.


This is an additional step you can skim over but I naturally couldn't resist adding a touch of golden glitter in between the gaps.


Finish with top coat and thats it! Easy peasy right?! I love doing lace details to jazz up my block colour mani's :) Do give it a go!


Thanks as always for stopping by beauts!

Lotsa love to ya!


11.03.2016

Autumn/Fall Inspired Diva Nails & Tutorial!

Hello there lovely readers!

Halloween took precedence when it came to my nail art over the past few weeks but now that has passed *sobs* I can now embrace Autumn in all its glory with some Autumnal nails! There's still time non? Better late than never...I'm definitely an Autumn baby & adore this time of year with its abundance of burgundy tones, blankets, bubble baths, burning candles...ungh I LOVE IT!


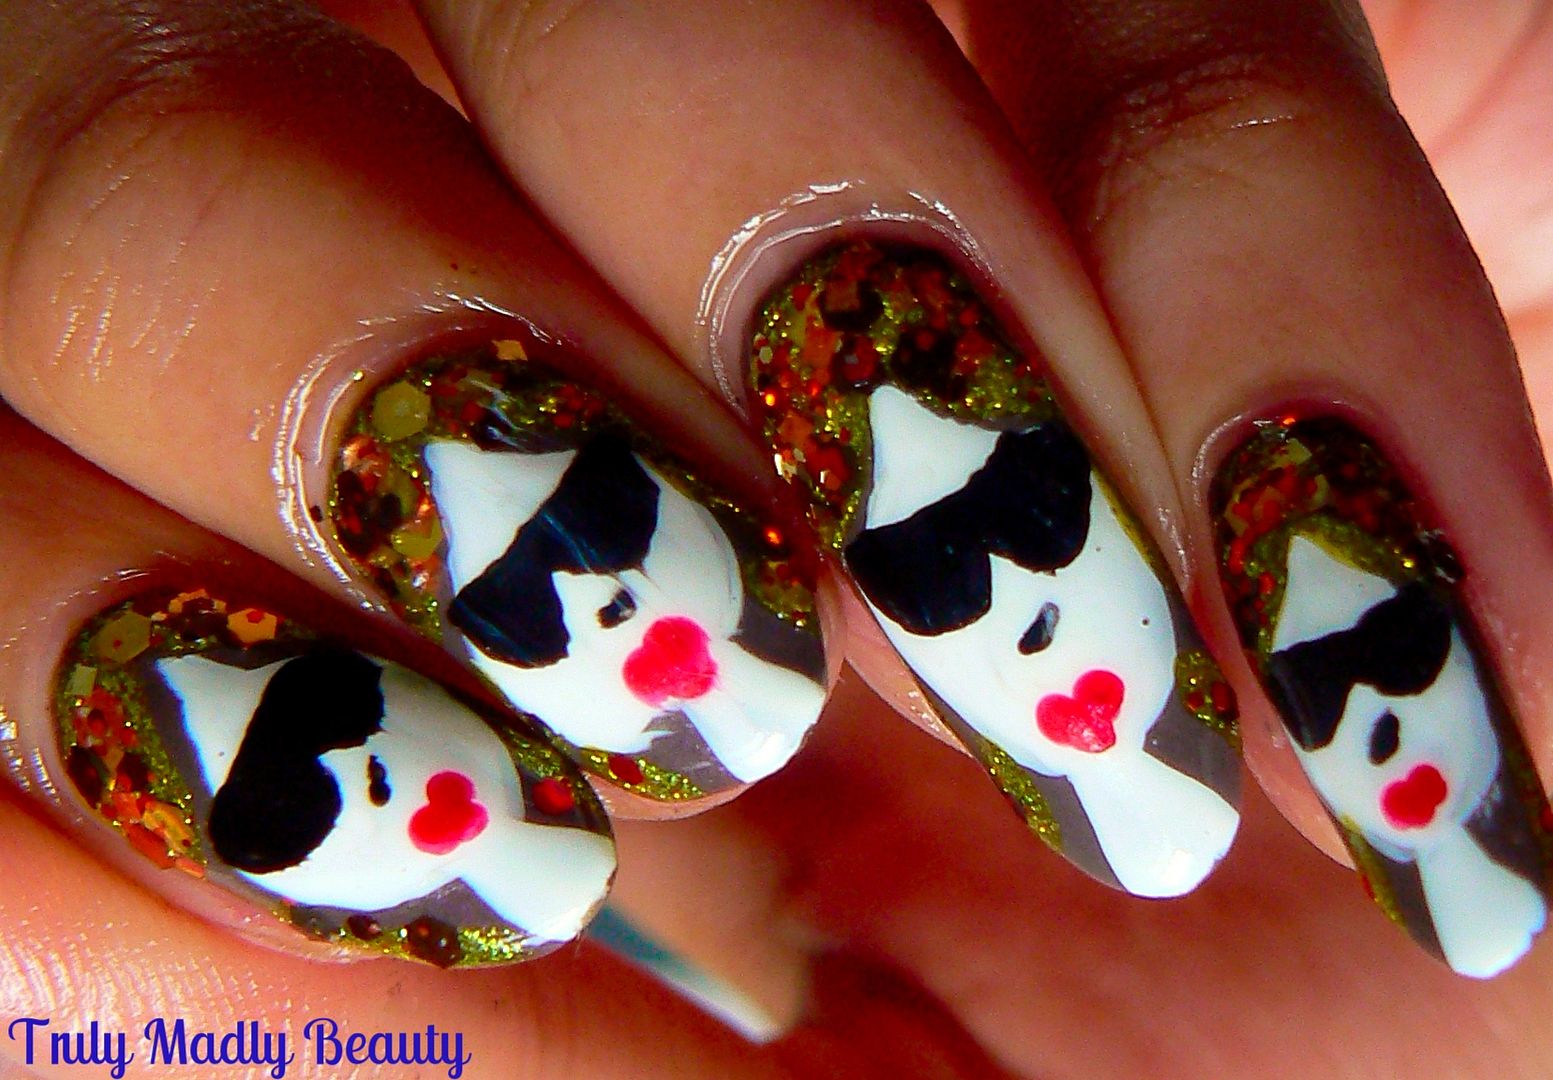
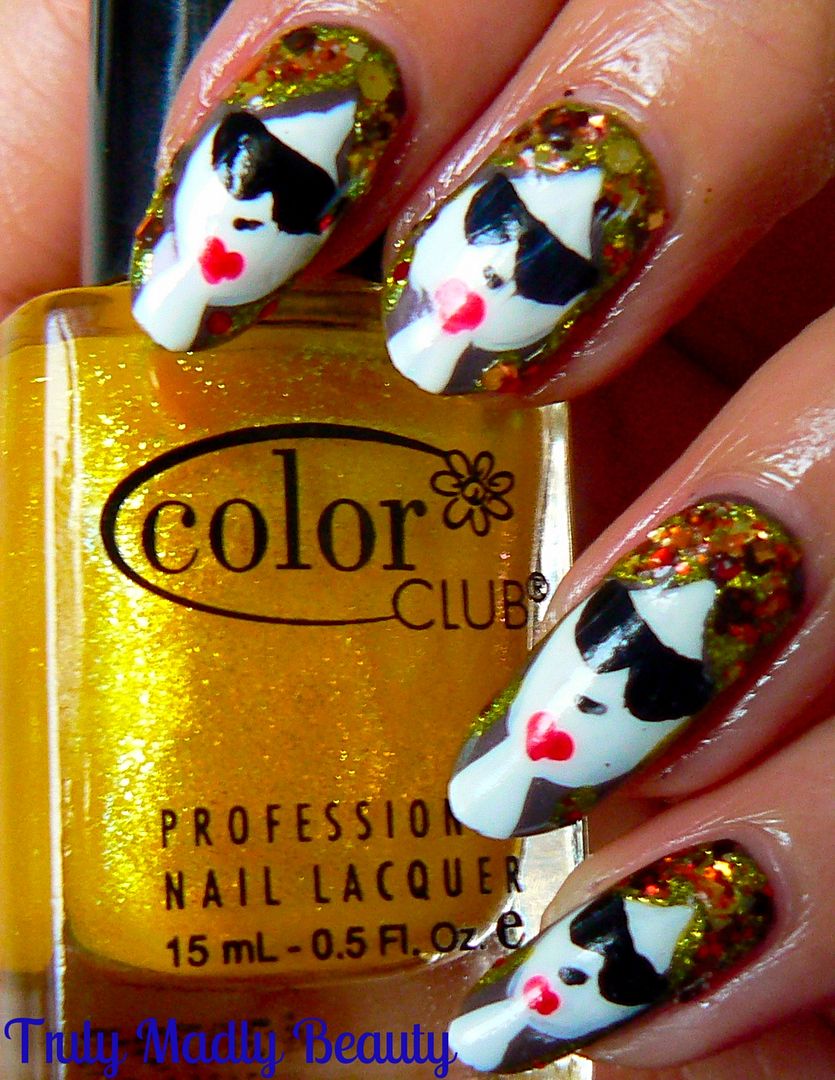
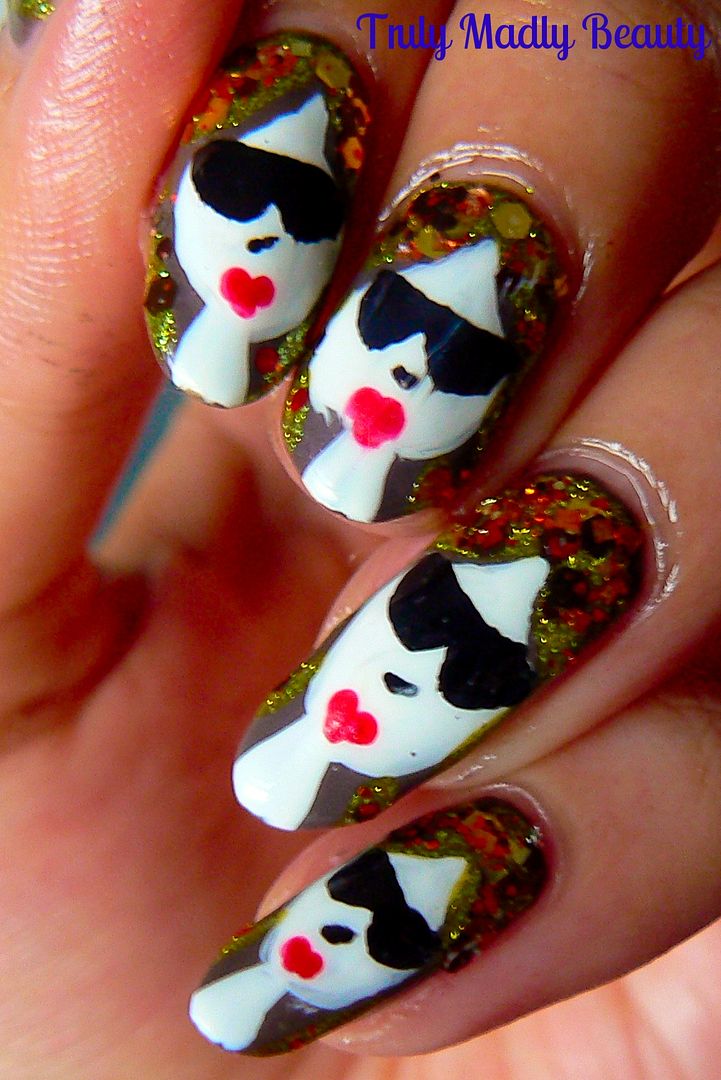
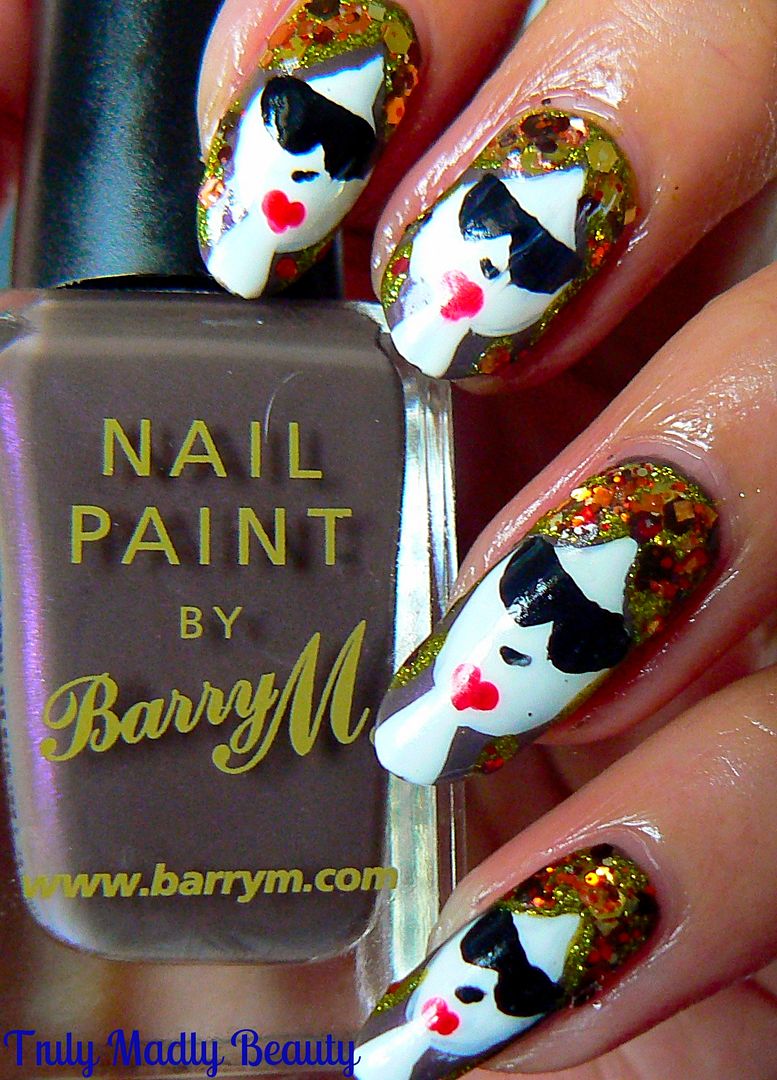
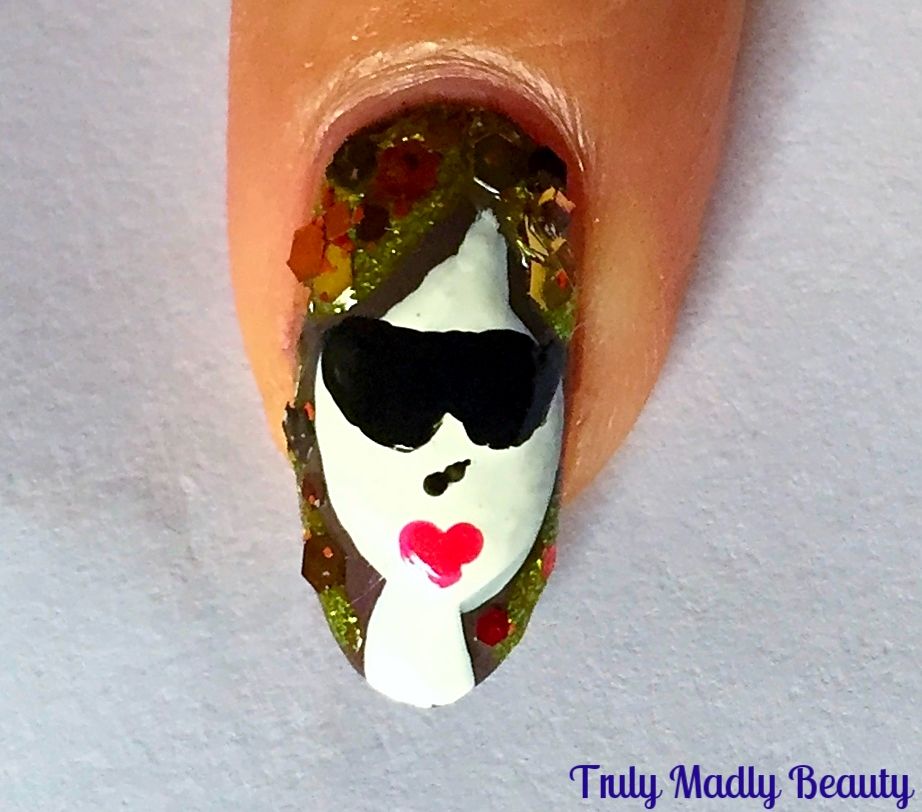
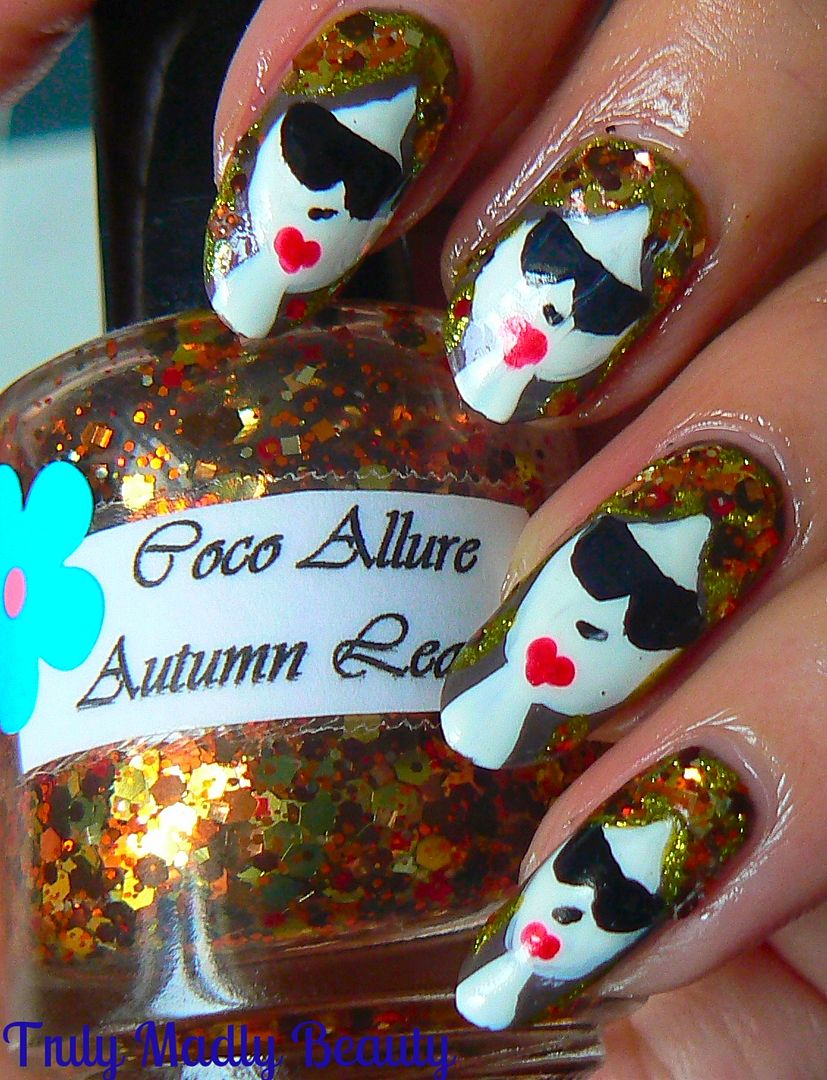
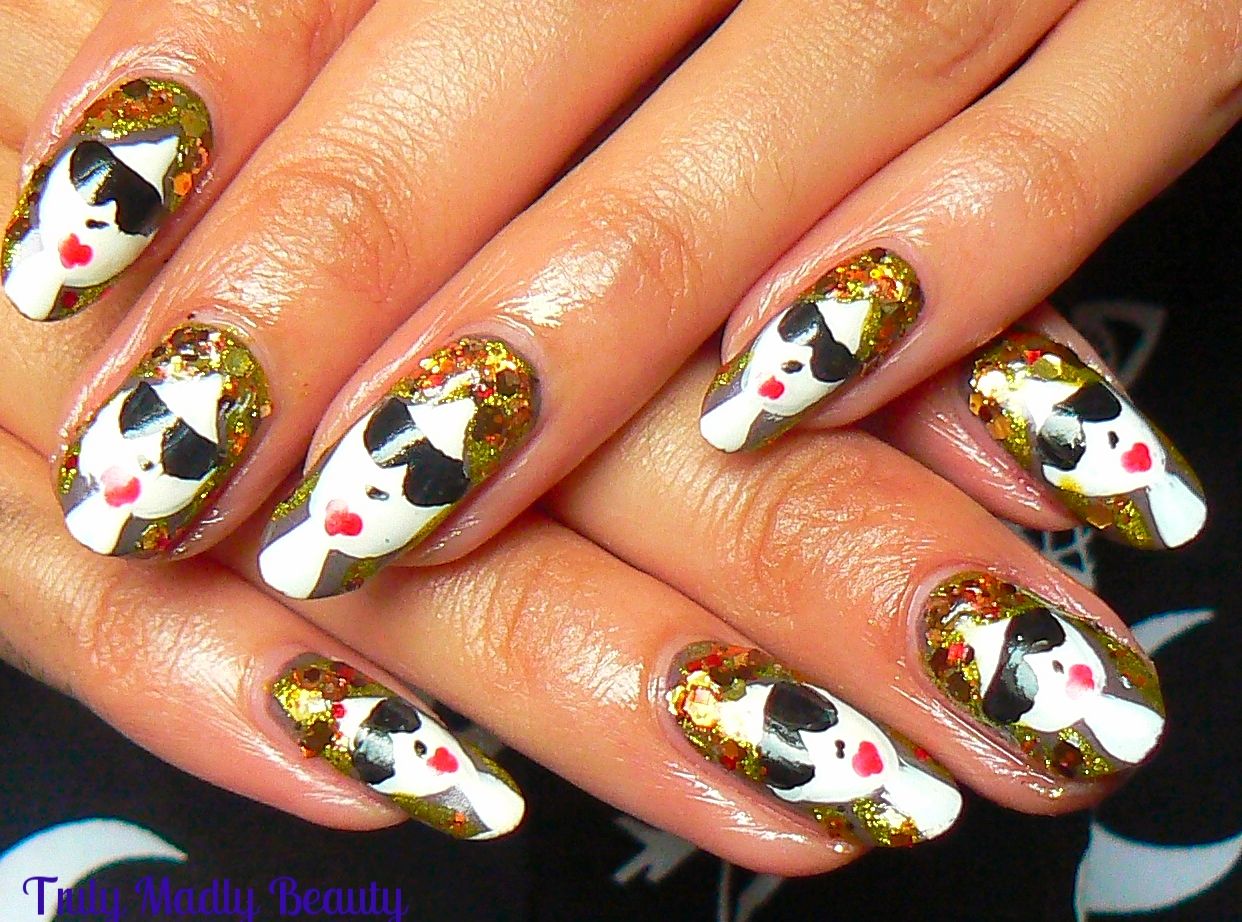
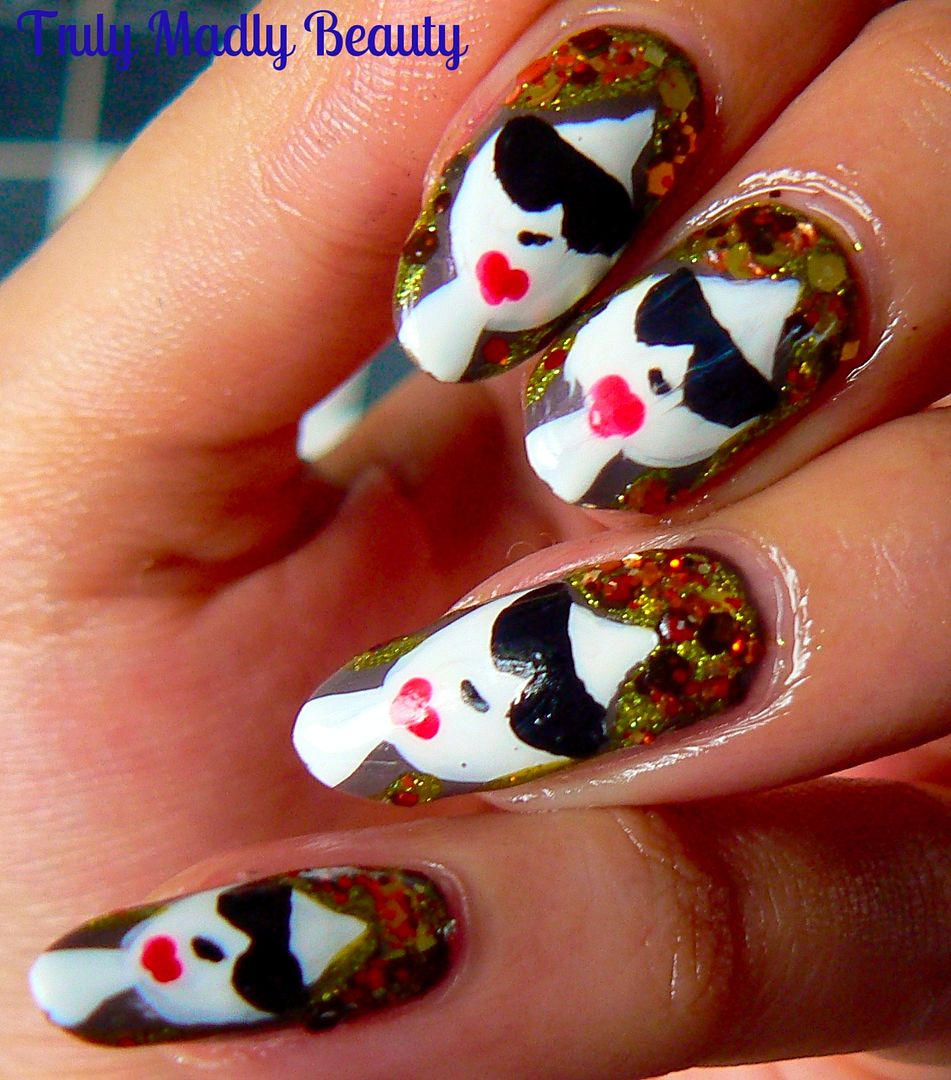
Naturally my favourite way of expressing myself is through my nails so I got to thinking & created this Autumn vibed design featuring a pouting painted diva with vibrant flowing hair reminiscent of burnt Autumnal leaves!


I was inspired by a Robin Moses Tutorial on YouTube, her nail art designs are wonderful, in her design she created the one lady accent nail & incorporated her flowing Autumn/Fall leaved hair over the remaining nails. I loved the look so much I decided to do an individual painted lady on every nail!


To re-create this design is easier than it seems & I've done a step by step pictorial for you to show how you I did mine...


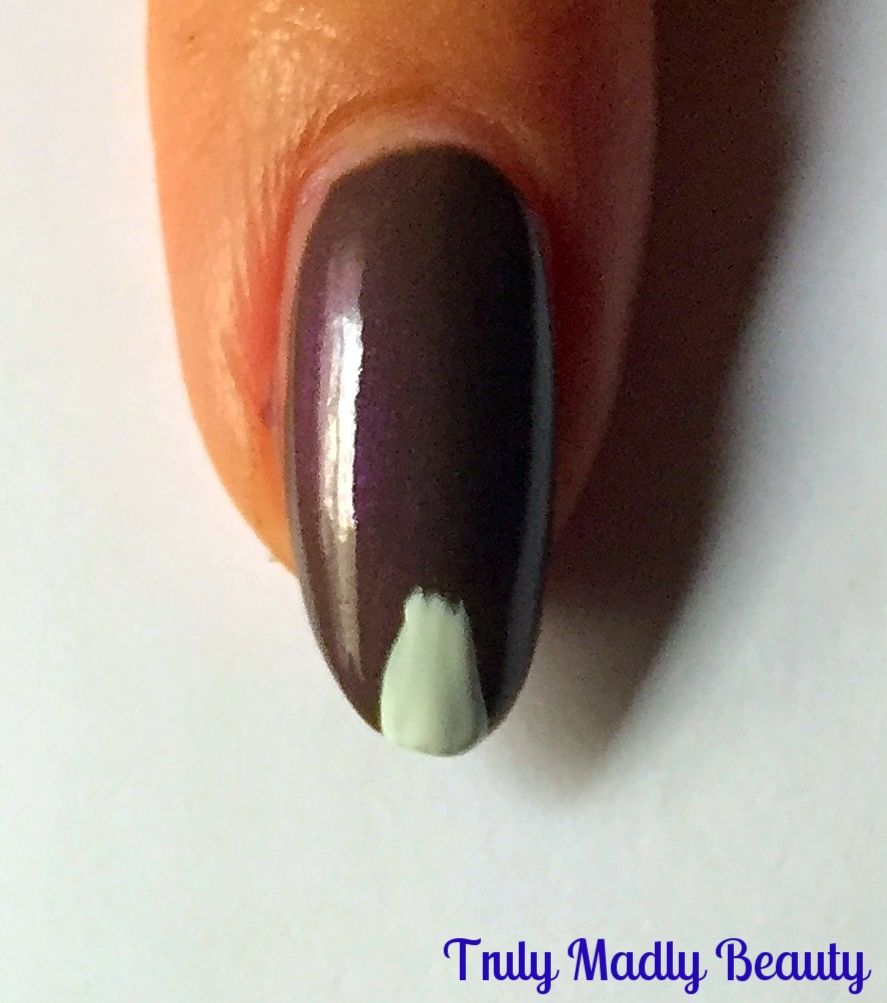
Begin with your base colour, wanting to keep with the Autumn tones I reached for Barry M Dusky Mauve. Remember when everyone went doolally over this shade due to its high dupe level of Chanel's Paradoxal? Here I've applied 2 coats of this lovely purple griege shade.


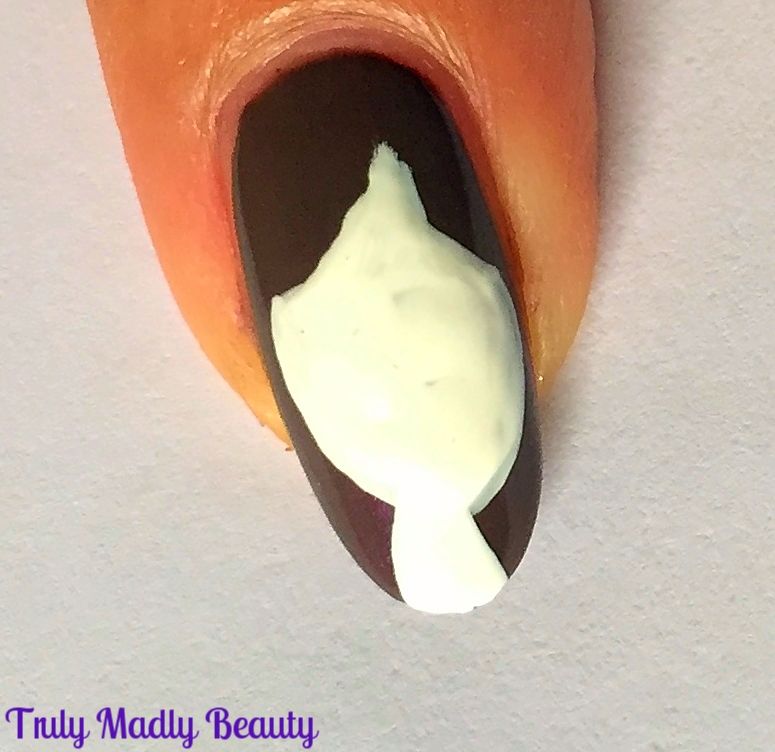
Now to begin creating our shaded divas, start with applying her slender neck starting at the tip of the nail, using white polish & a nail art brush.


Now to create the face, using your thin nail art brush & white polish, start about 3/4 of the way up your nail where you want the forehead to be & draw a curved triangle with the top point angled slightly to the right, to give the appearance of bangs/fringe, then continuing on from the two bottom points of your triangle,curve a round oval like shape down to the neck before filling in.


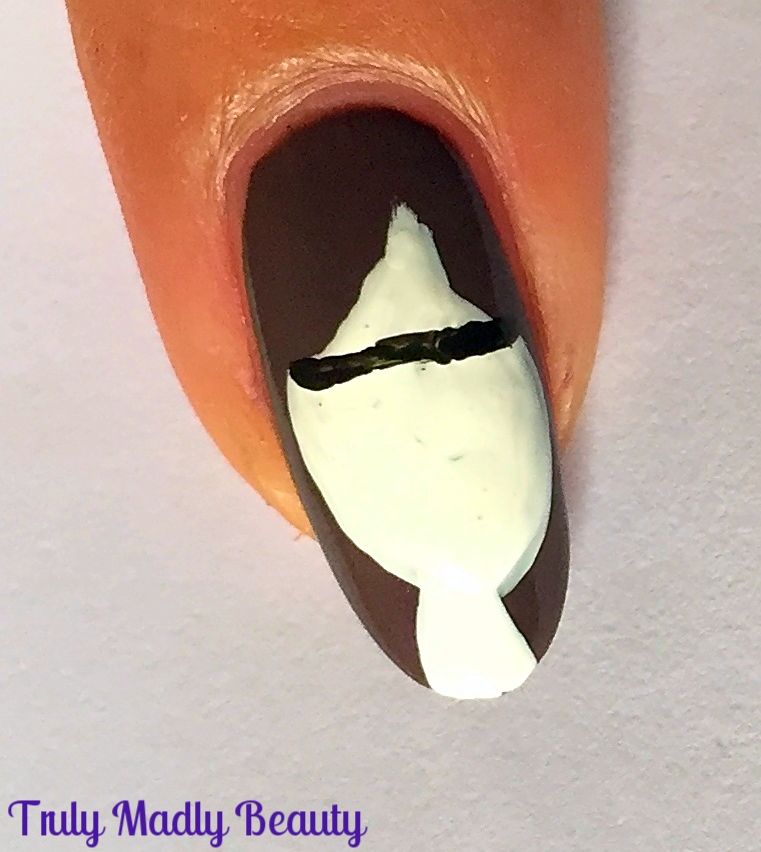
Next step is to add on our ladies sophisticated sunnies! Because even though its Autumn, shades can be rocked ALL YEAR ROUND. To do these simply start by adding a thin horizontal black line just underneath the fringe/bangs.


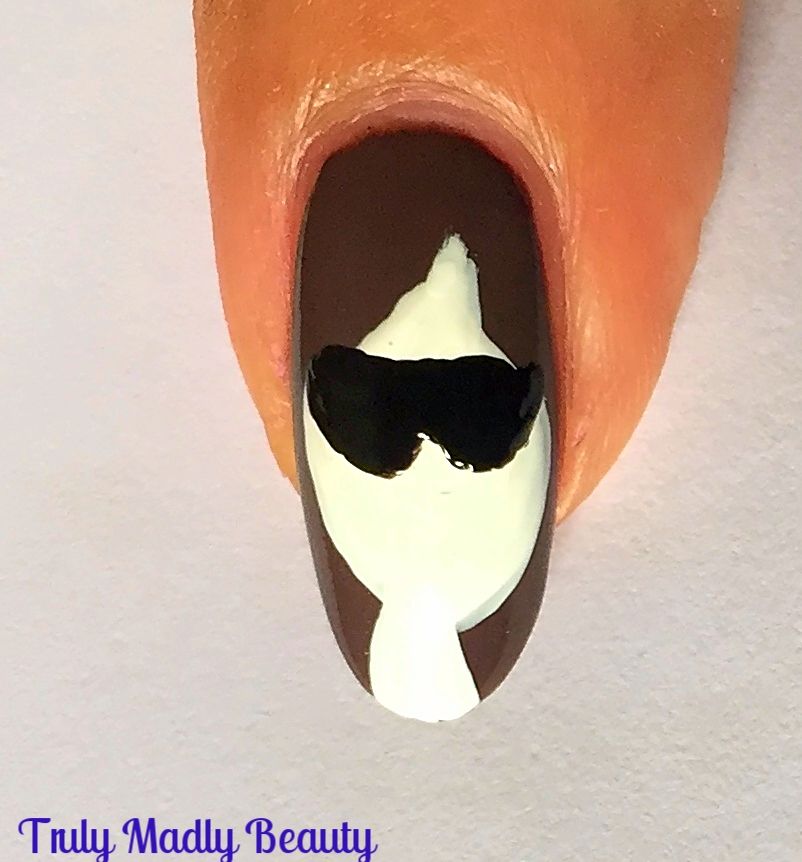
Then with the same black, underneath your line add two semi circle-esque shapes to create lenses.


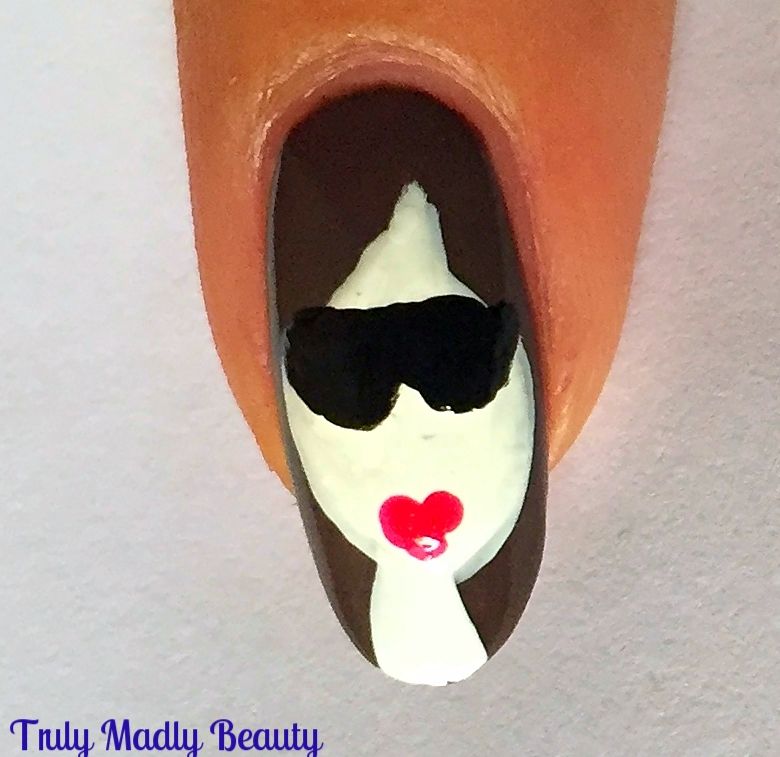
Now for our diva's pout, grab a pink or red polish & a dotting tool or a bobby pin & place two dots of red with one dot underneath, almost creating a heart like shape for the lips.


Final detail to the face is a tiny angled line for the nose before you can go to town with all the Autumn colours for her hair! I decided to use a shimmer yellow polish by Color Club to add on some strands in the brown, because its ALL about the balayage babes, before using the aptly named Autumn Leaves glitter polish by indie brand Coco Allure which I picked up from Etsy donkeys ago!


As the glitter in this polish is quite large I poured out a bit of the polish on to a piece of paper first & then used a toothpick to pick up the pieces of glitter which come in shades of burnt orange, reds, coppers & gold & just placed on to the hair.


Finish it all with a nice thick coat of topcoat & your done! Thank you Robin Moses as always for the inspo, a really fun & interesting way to wear Autumn/Fall nails! Hope you like them too!


Thanks as always for reading! 

Lotsa love to ya!


1.18.2016

NOTD - Burgundy Reign

Hello there lovely readers,

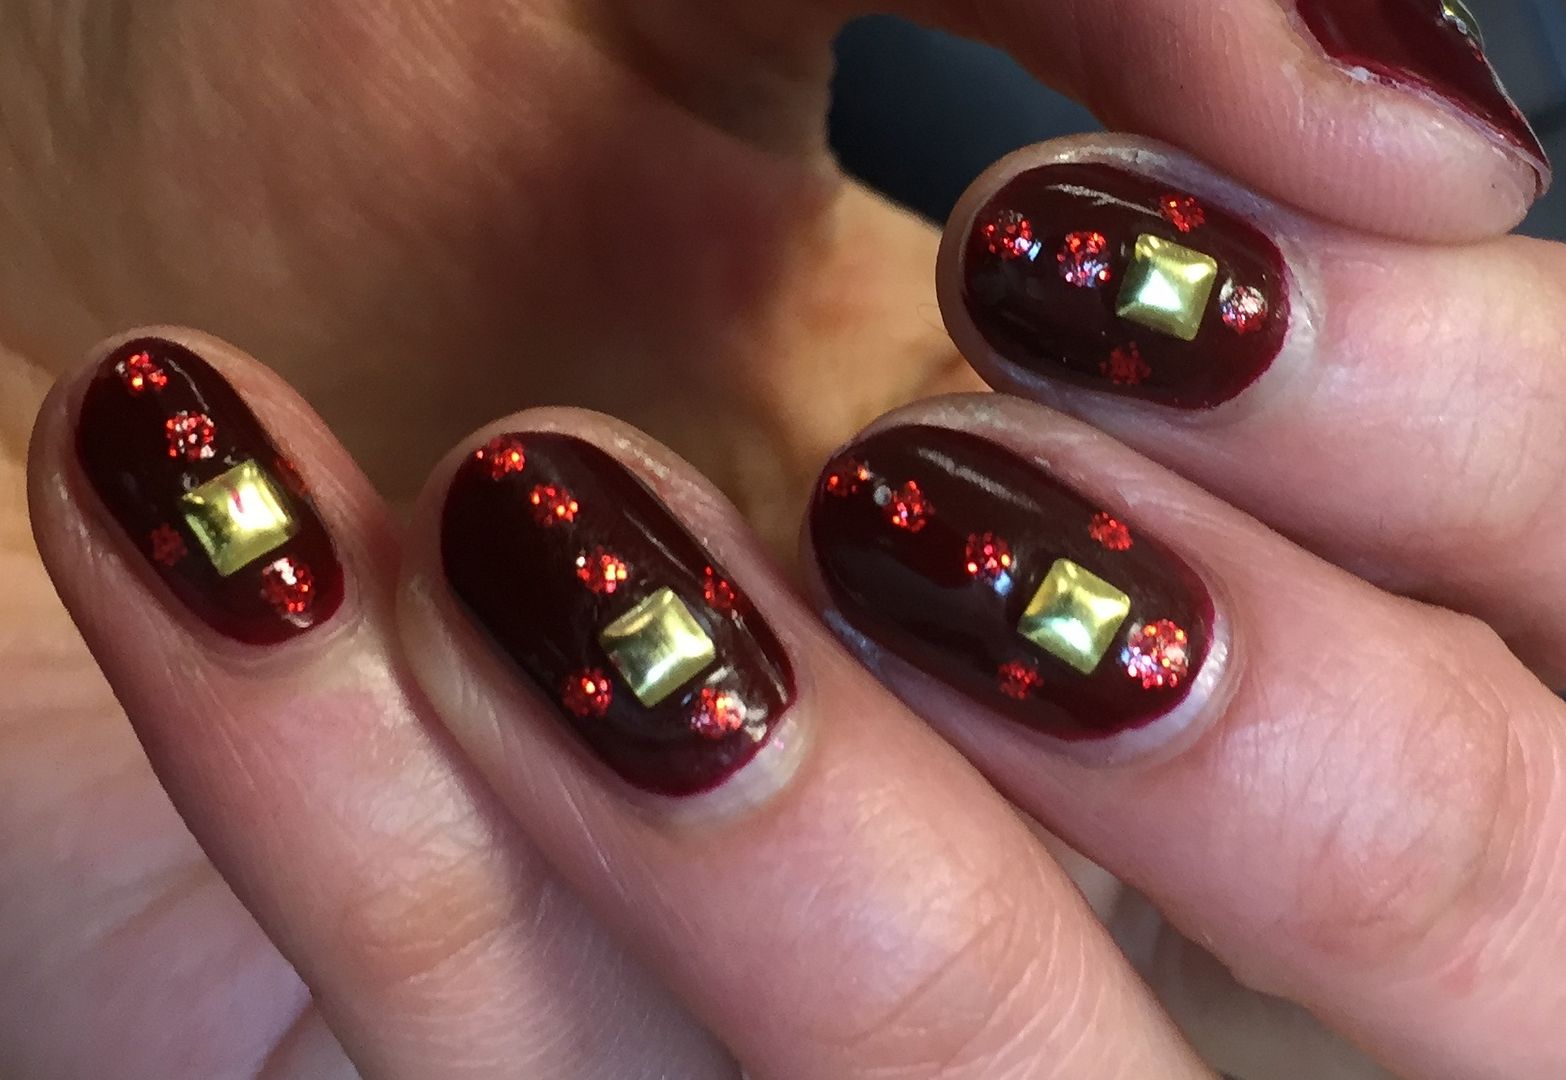
When it comes to nails as much as I adore all the colors under the sun, there are occasions when one desires to keep things simple & classic, whilst adding my own little twist naturally & one of my favourite ways of keeping things such is with a gorgeous glossy burgundy mani, which is what I've been rocking quite frequently of late.

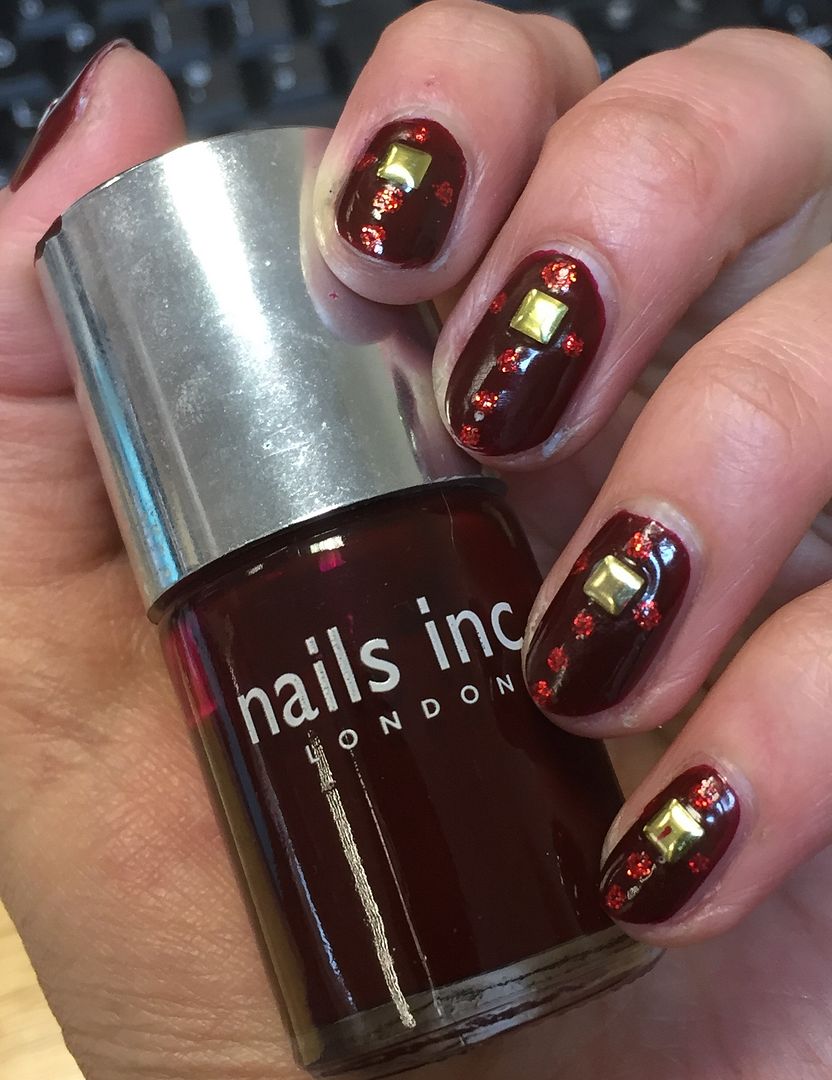
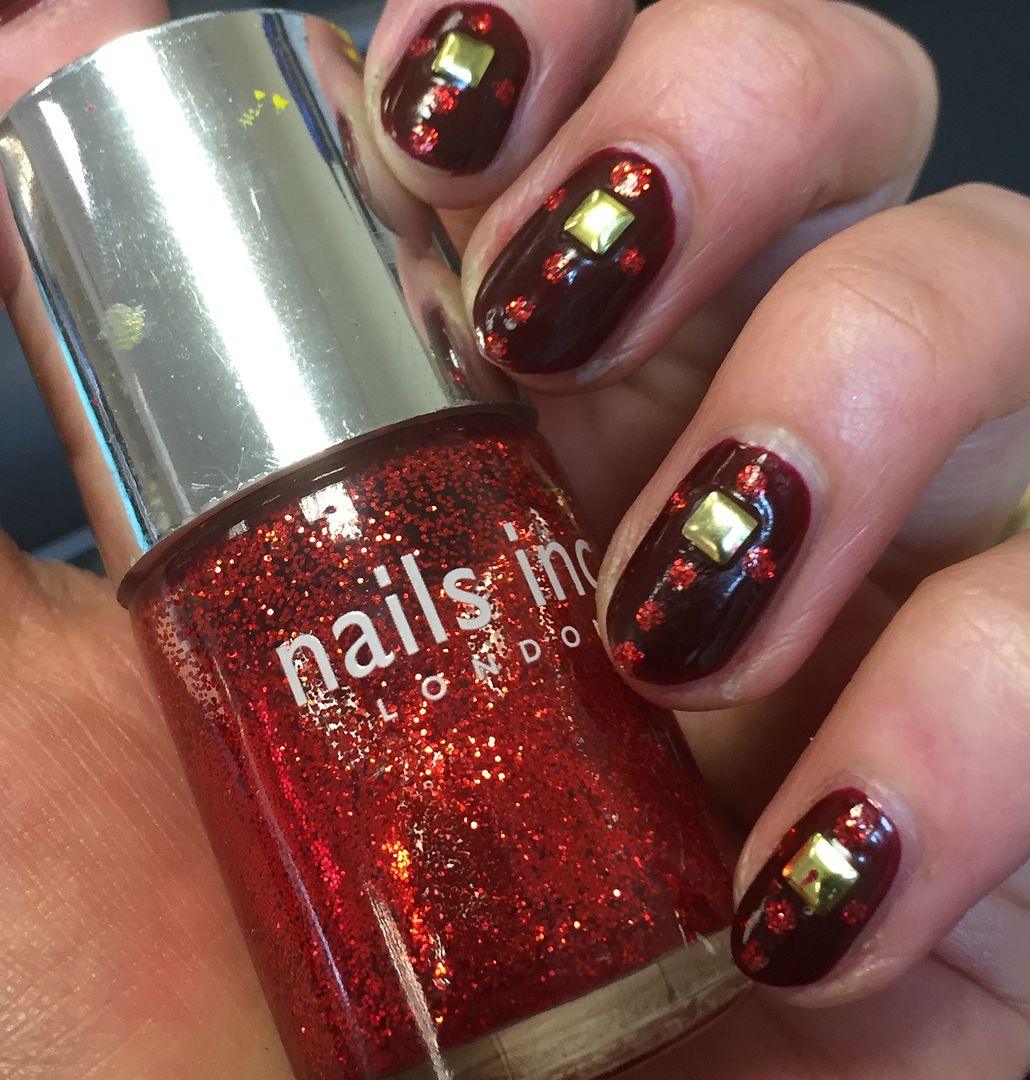
During a meeting at work the other week I noticed one of our clients had clearly recently paid a nail salon a visit & was sporting a gorgeous deep wine red glossy shellac mani. For someone who regularly changes their polish, shellac is not for me, up to 3 weeks of the same colour... *cue palpitations at the thought* I do however own many burgundy wine tones, would I say too many? NEVER. Ungh I just can't get enough of them! And so I rushed home & dug out the nearest which happened to be Nails Inc Chester Square...


Chester Square is exactly what I required to satisfy my mani needs, a dark, vampy, juicy wine red shade I almost have to stop myself from swooning & drooling during application I love it THAT much...what can I say, I get all kinds of emotional over polish...you KNOW this about me.


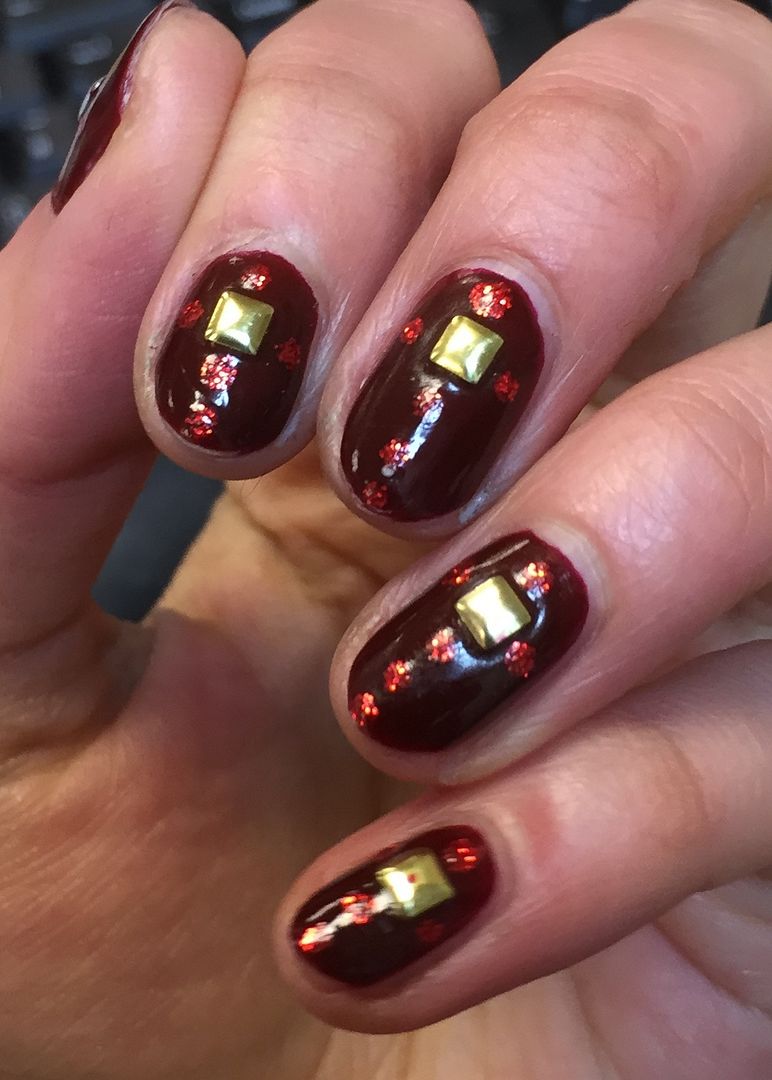
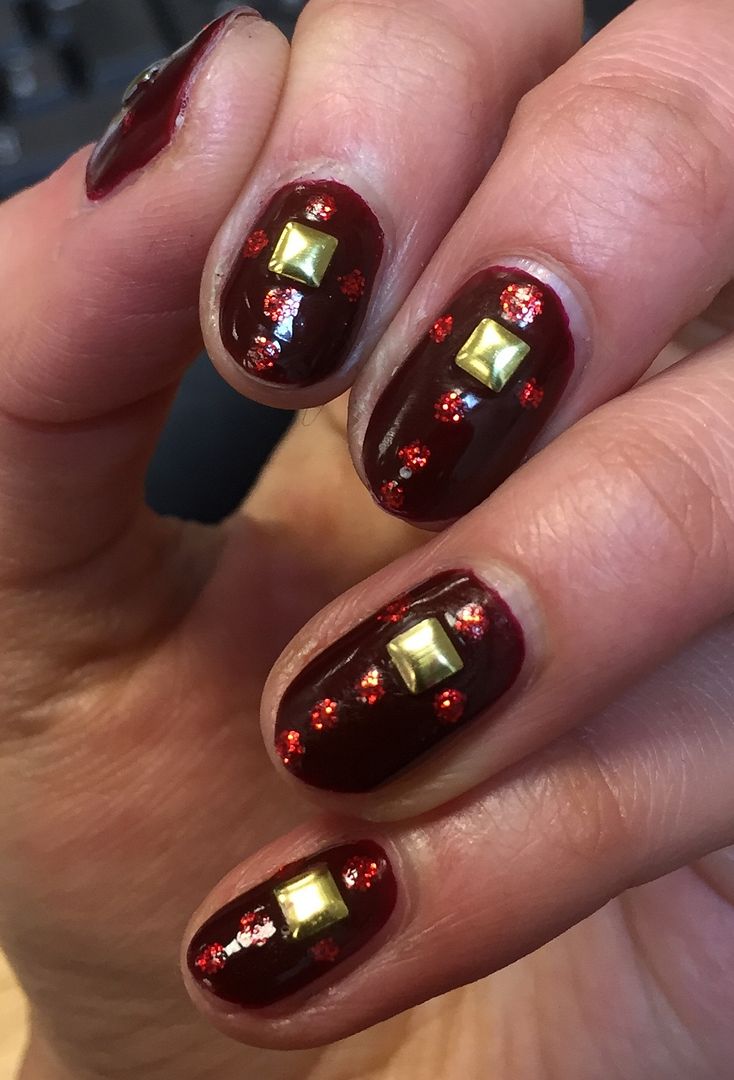
Application was lovely & smooth, two coats applied leaving a gorgeously glossy finish. Absolutely divine all by its onesie but you know I do like adding a little extra something something, in this instance I was feeling Tudor-esque Gothic vibes clearly...


My current Netflix addiction is Reign, a drama series telling the tale of Mary Queen of Scots. At first I didn't think much of it as whilst I adore anything historical, (The Tudors...now wasn't that a treat for the eyes that has nothing whatsoever to do with the presence of one Henry Cavill...O_O)


I didn't really like the modern twists i.e costumes, music tracks etc but it slowly grew on me & now I'm completely HOOKED! Anyhoos, I always associate rich jewel tones & Gothic cross emblems with that era, so incorporated those vibes into this mani.


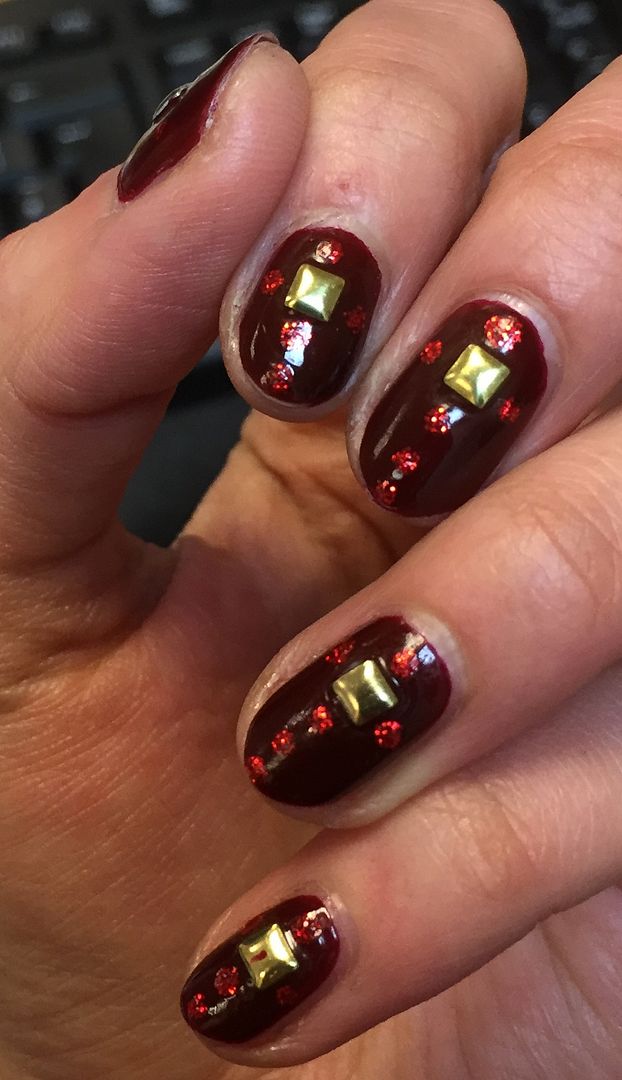
I applied a square gold stud to the centre of each nail, then added some small dots of red glitter to resemble a cross design using a simple dotting tool, one on each side of the stone & continuing down horizontally until you reach the tip. Easy peasy.


A slick of topcoat to seal the design & add even more shine & you're done, a lovely classic mani with a gothic twist :) I am satisfied.

Thanks as always for reading! Till next time!


11.19.2015

Polish & Poise - Adore Me Lingerie Inspired Nails!

Hello there lovely readers,

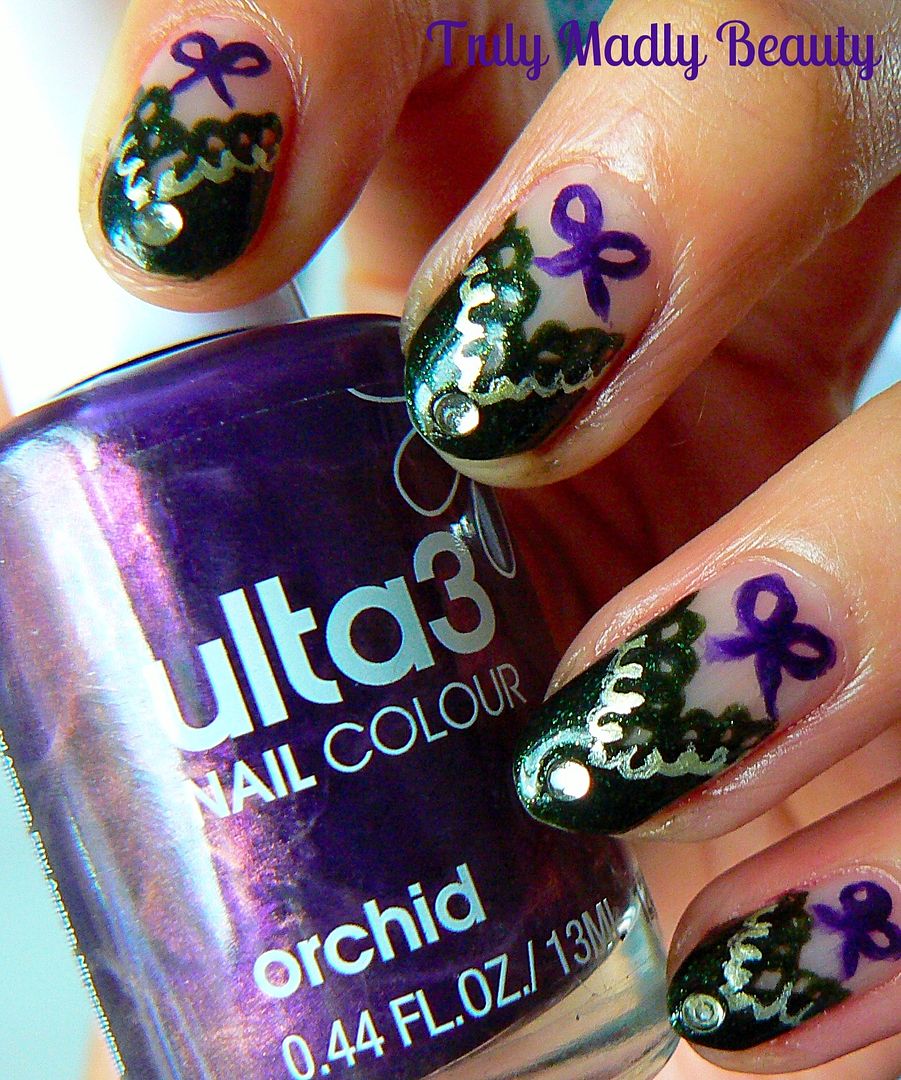
I do enjoy finding nail-spiration in all kinds of places, fashion, food, media, you name it. Lately I've loved creating nail art inspired by fashion, such as this Colour Block mani that was inspired by a beautifully printed dress. Another avenue I've found myself going down is lingerie. Think about it, all the pretty lace detail & jewel tones are perfect for nail art inspo! Just the simple task of wearing a pretty set underneath your winter layers can make you feel as good as when having a freshly painted manicure, so why not match both for extra brownie feel good points? When I came across lingerie brand Adore Me I became inspired to participate in their fun Polish n Poise project by creating some lacquered looks inspired by a few of their pretty pieces, I couldn't resist the challenge!

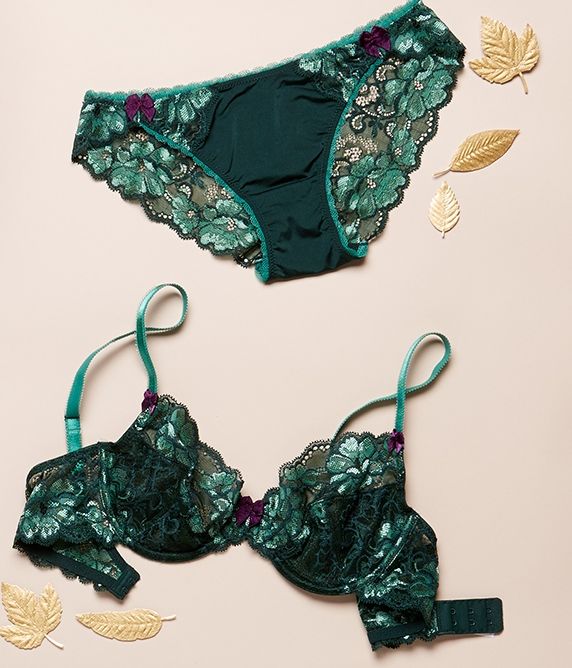
Adore Me is a New York based online lingerie company with a vast selection of pretty pieces to tempt. From dark vampy to angelic pastel sets there's something for everyone. This time of year, the warm tones especially draw me in & this gorgeous emerald two piece Wilhemina set caught my eye with its gorgeous jewel green lace & bow details.


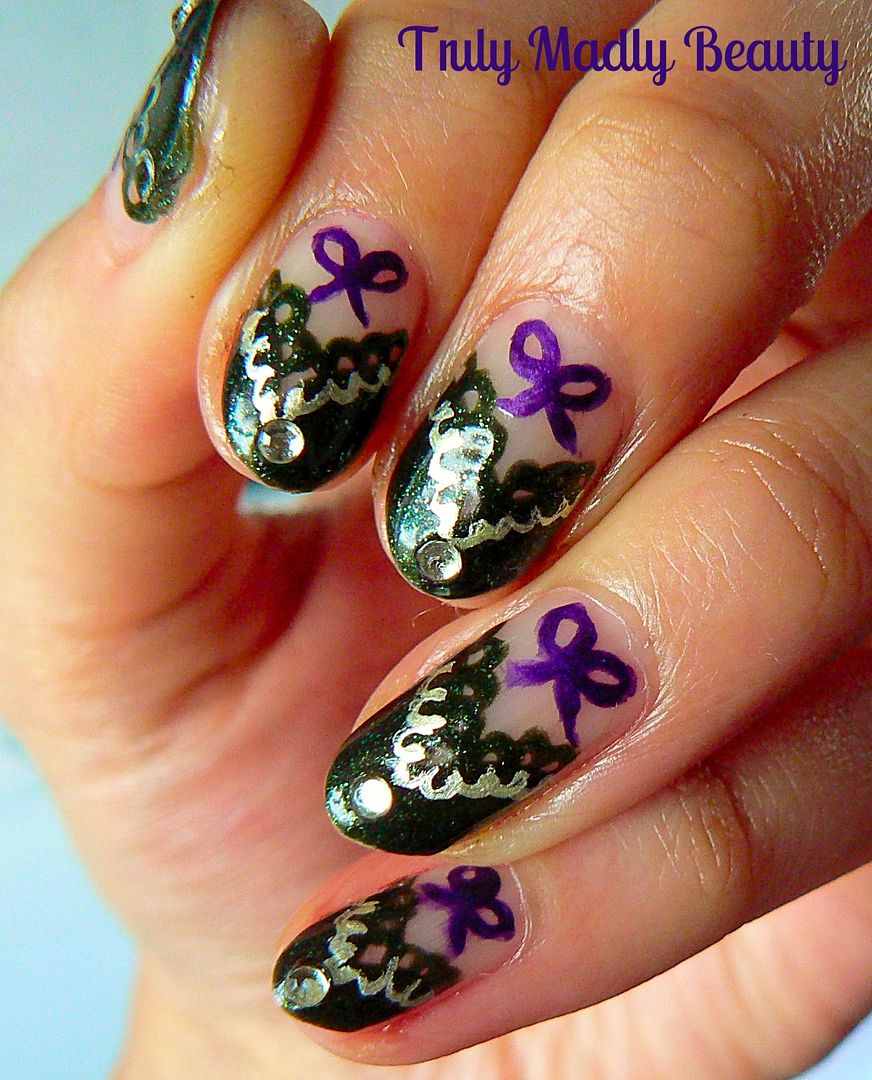
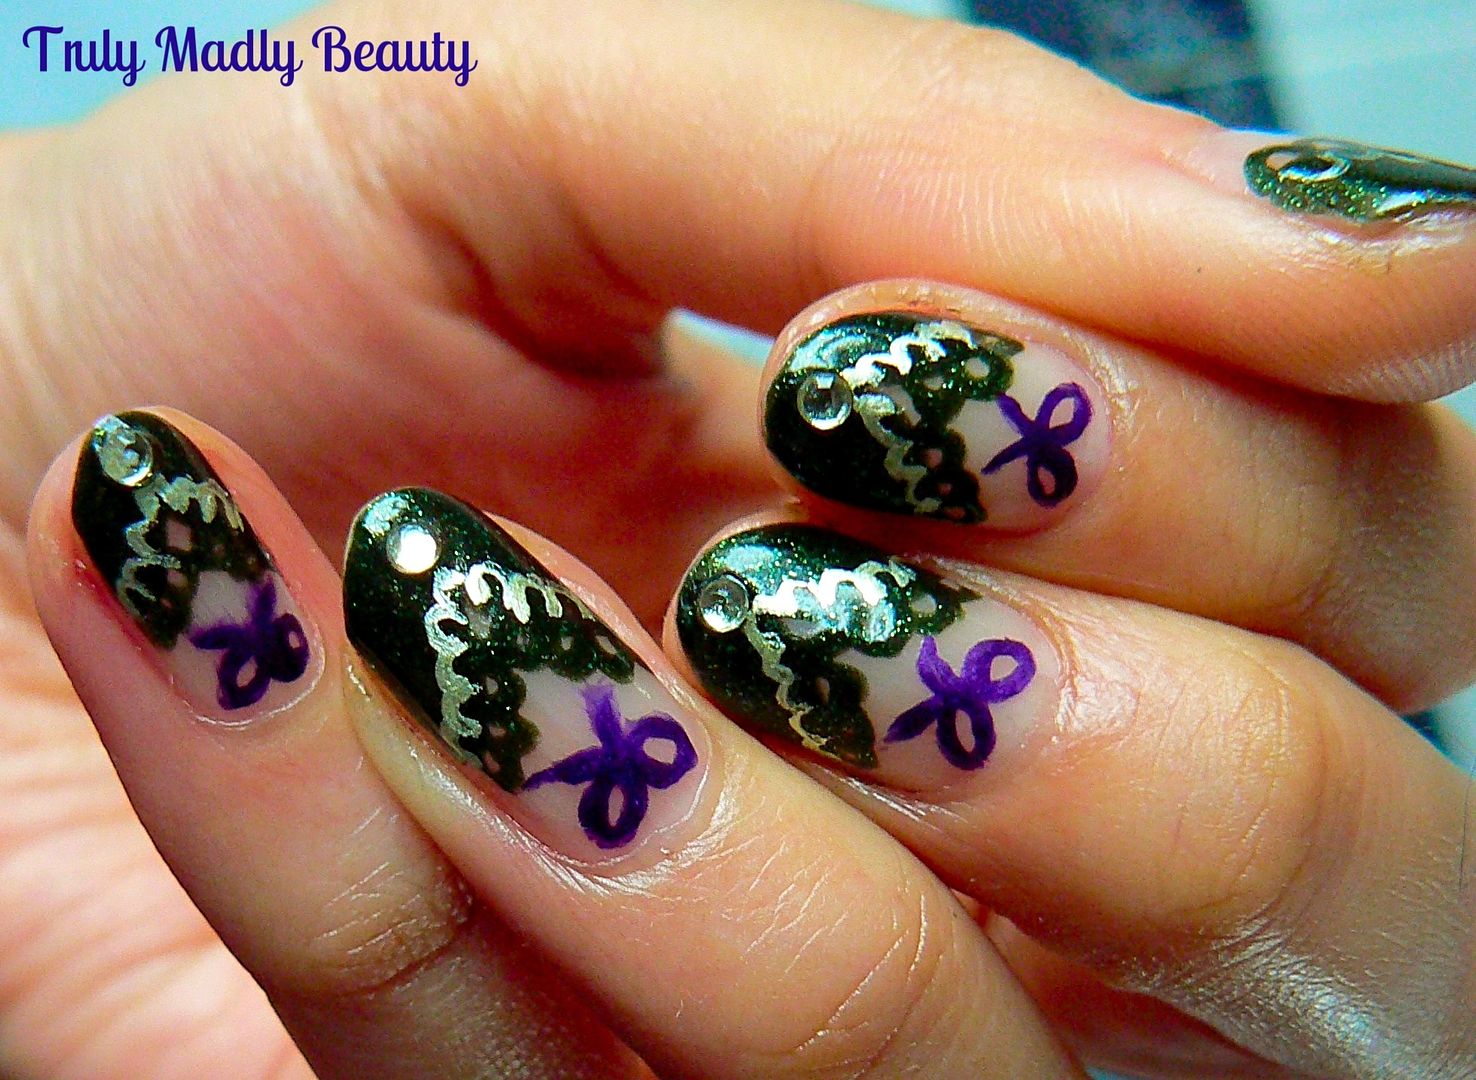
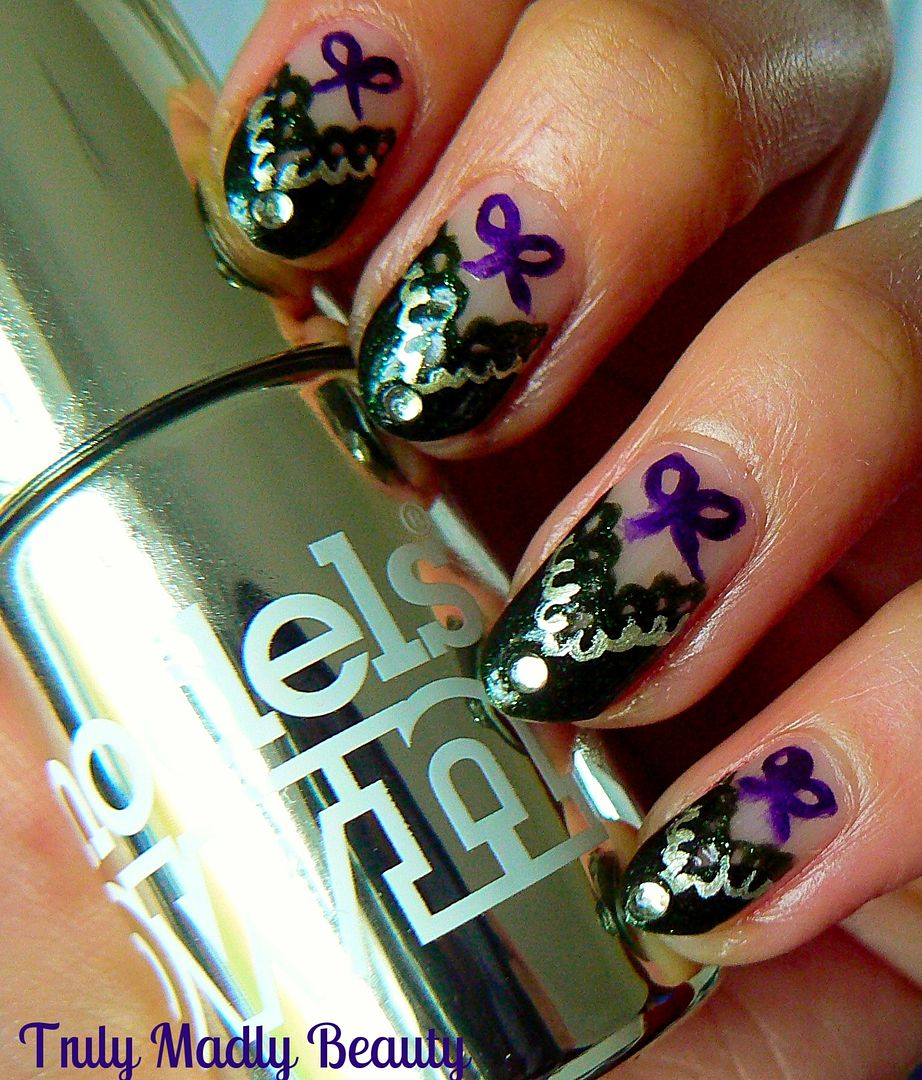
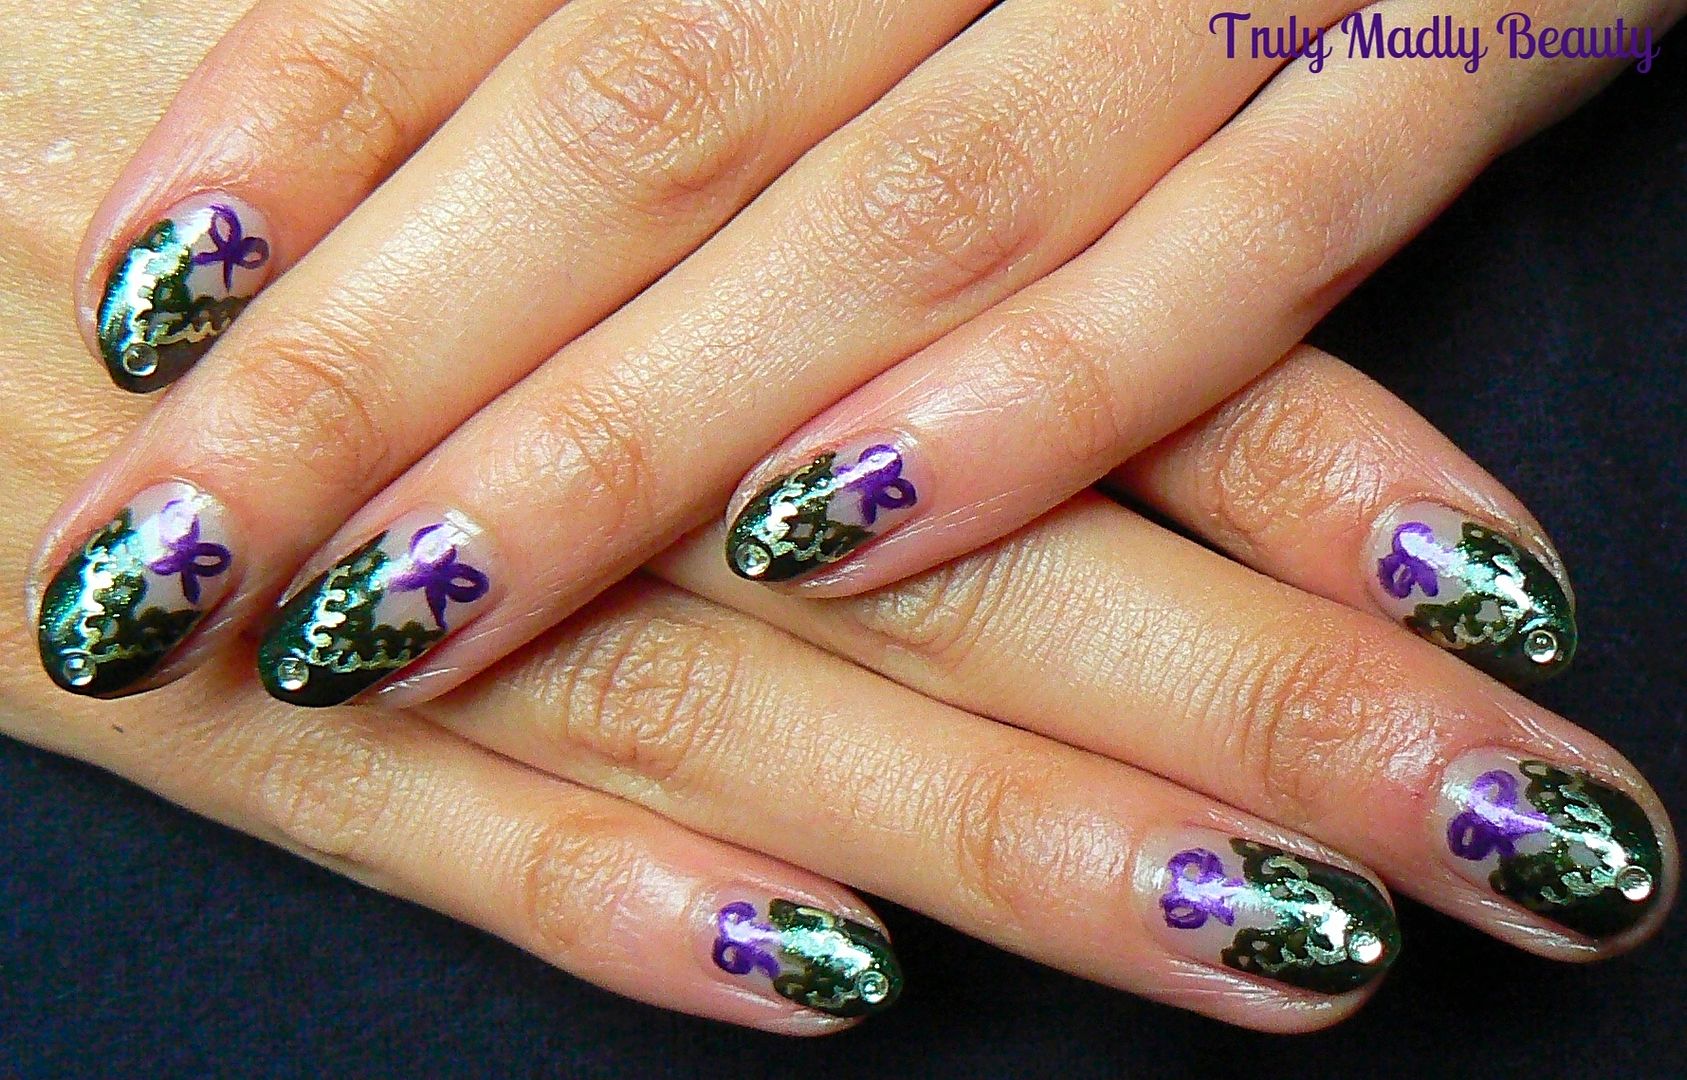
And here is the nail look I've created inspired by this lovely piece...


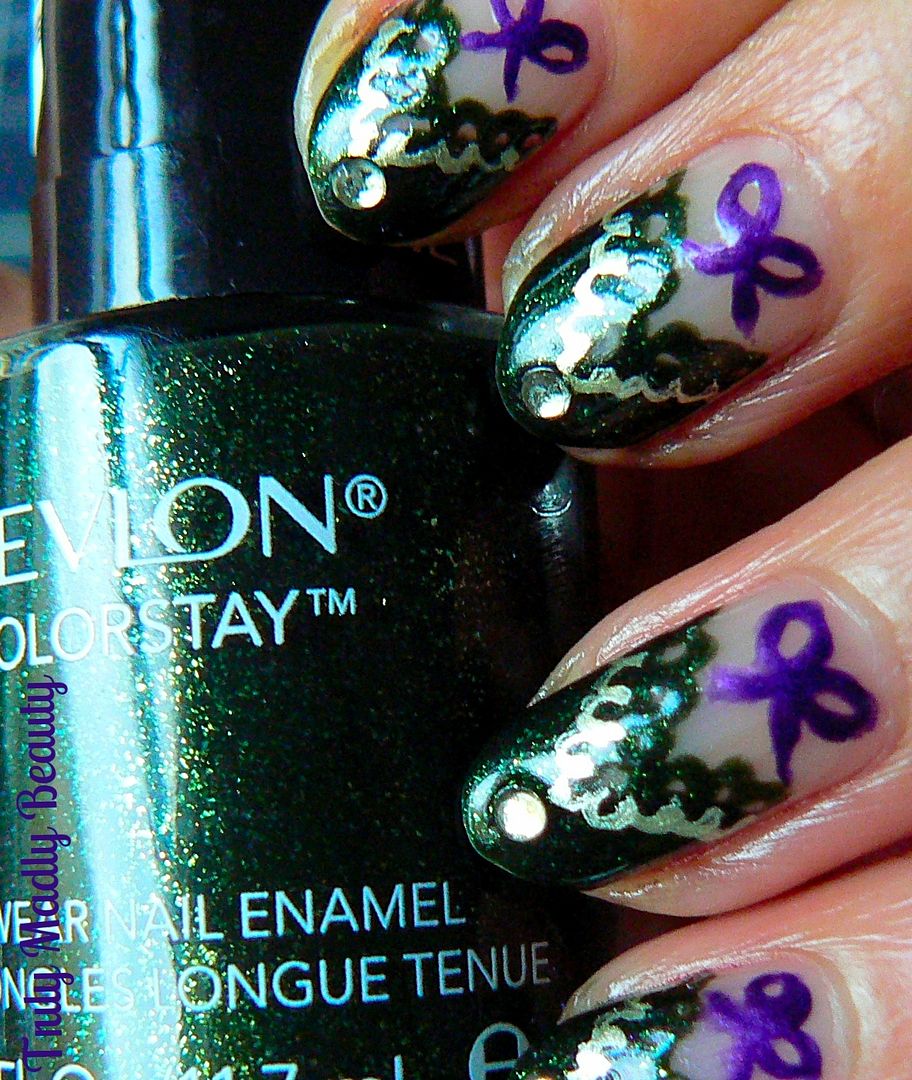
To create the design start off with your green, I'd been eyeing up the gorgeous Revlon Rain-forest polish for a while now so was happy to finally give it a whirl! Rain-forest is a delightfully deep green shade with pretty glitter particles suspended in the formula making it shimmer so nicely! Perfick for this time of year.


First step is to apply Rainforest as a V shaped tip to each nail. This is so easy to do & can be done using the brush with the polish, apply one stroke at a diagonal halfway across the tip before doing the same on the other side of the nail creating the V shape.


To start with the lace detail, grab a fine nail art brush & your green again & simply apply a row of small round circles along the top edge of your V.


For added detail do the same on the opposite inside edge using a lighter shade, here I used Models Own Chrome polish in Olive which is a beautiful green tinted gold that really stands out. Again using a fine nail art brush apply your row of circles mirroring the dark green.


Next to add on your little bows, again grabbing a fine nail art brush & a dark purple, I've used Ulta3 Orchid, simply freehand your bows by drawing on two loops with a couple of curved lines underneath for the ribbon strands.


For a final touch of bling I added a pale green rhinestone to the center of the tips before sealing it all with topcoat.


Thanks as always for reading, I hope you liked the lingerie inspired nails my lovelies! I've seen a few other sets that have got me itching to create some more nail art to accompany them! Why not try rocking your nails to match your lingerie next time?

Lotsa love to ya! 


11.14.2015

NOTD - Burgundy Beauty with Bourjois Rouge Diva!
Hey there lovely readers,

Burgundy is one of those shades that most definitely falls into the perfect tone category for the Autumn/Winter months & certainly gets a lot of love at this time of year especially! A warm & flattering shade which suits everyone, every girl needs at least one burgundy polish in her stash.
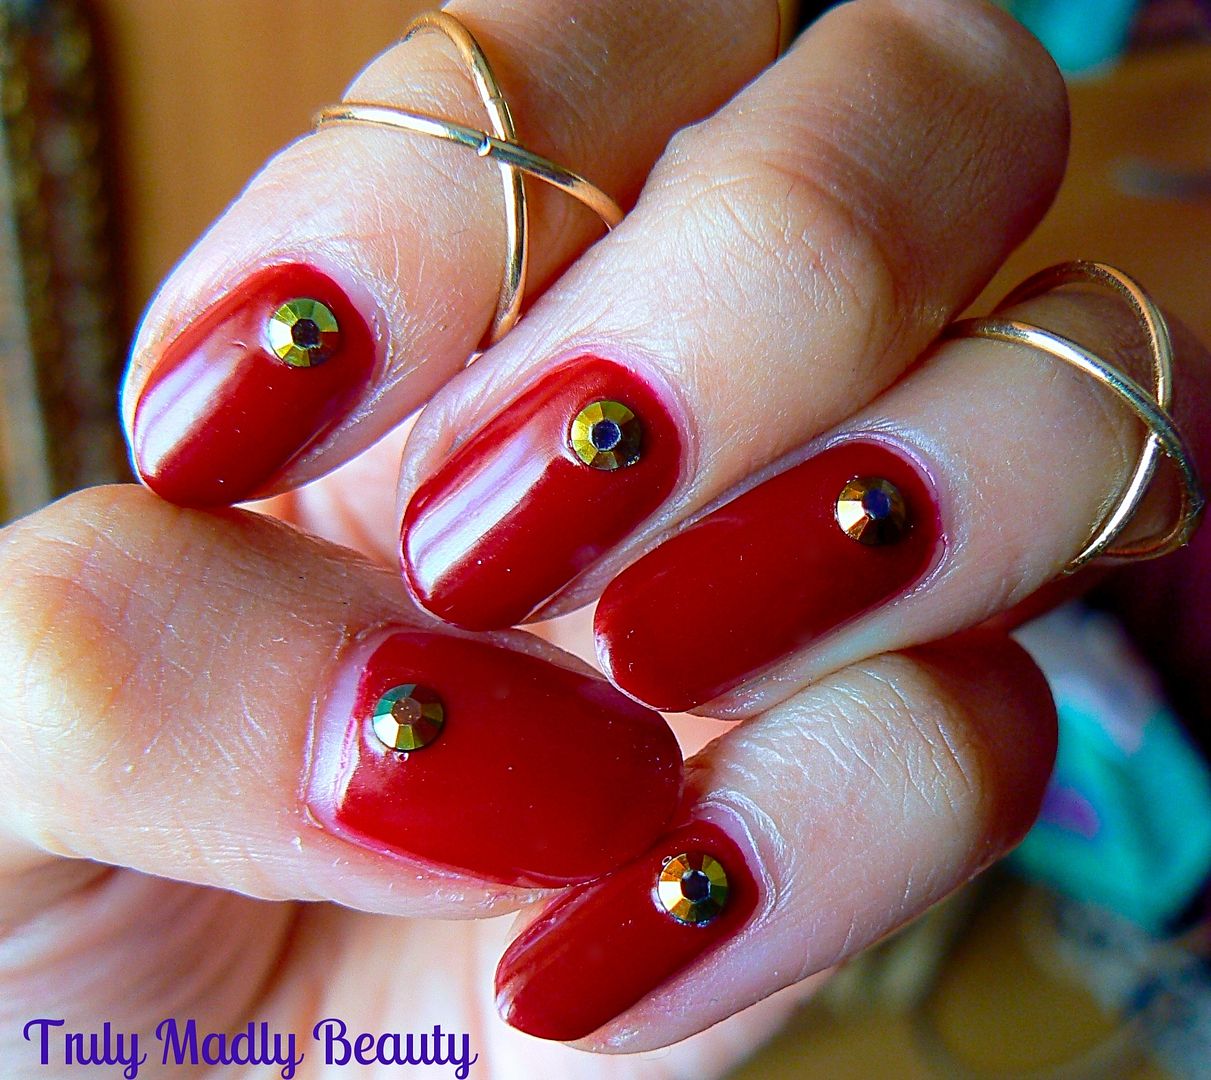
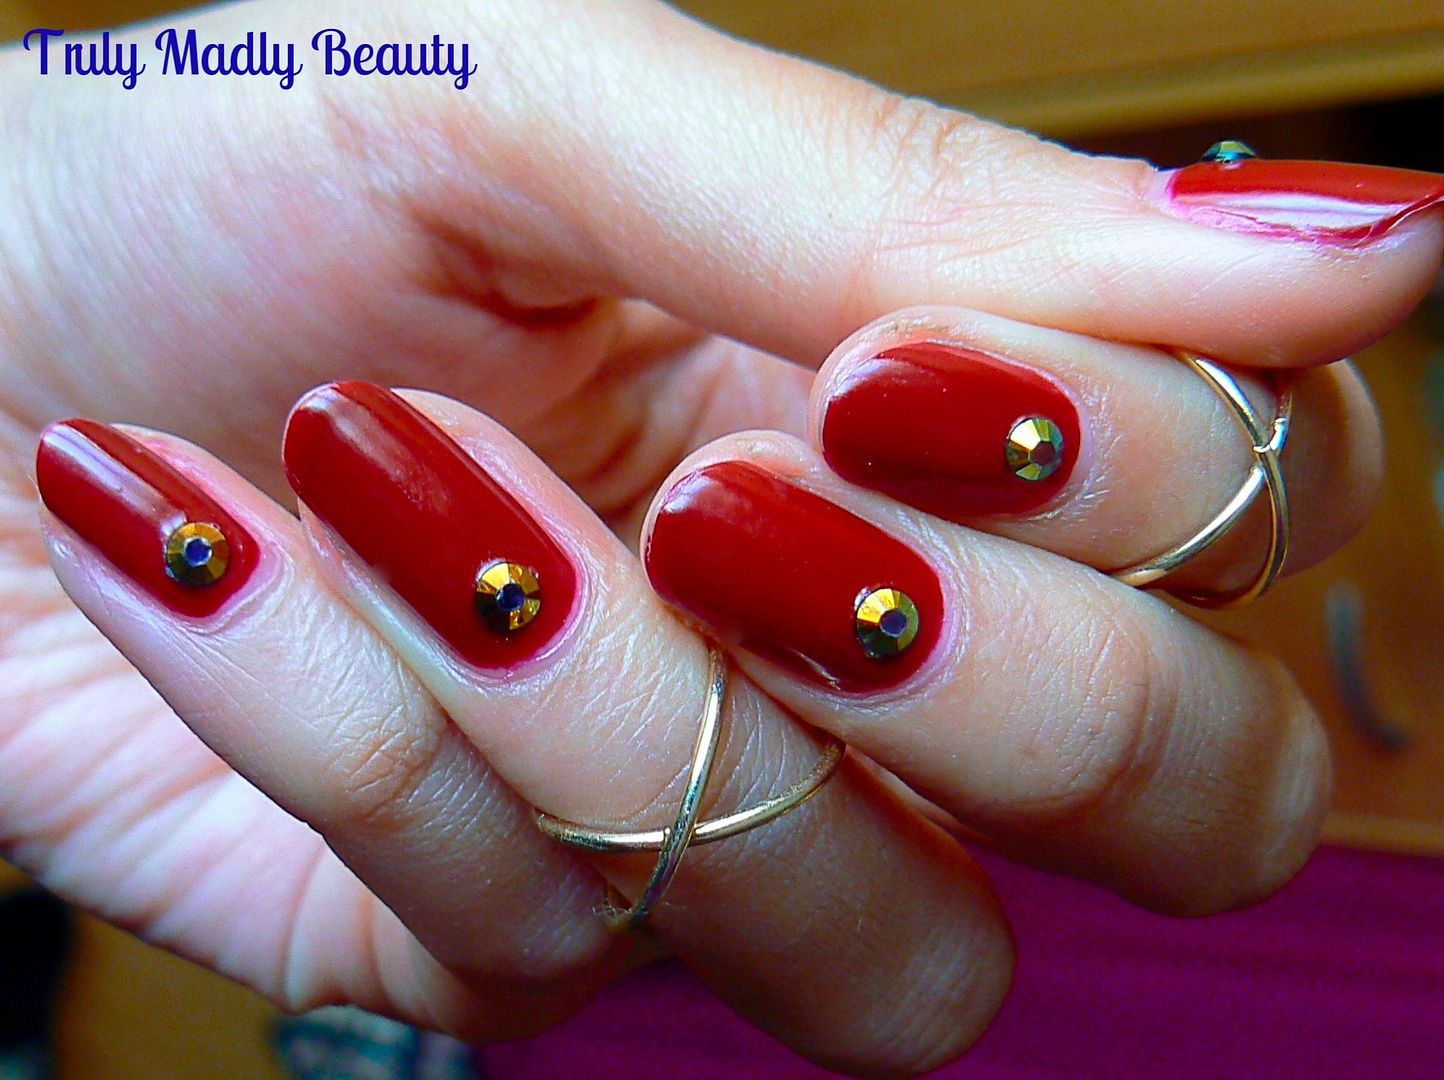
I wanted share with you one of my favourite Burgundy red polishes which I find myself reaching for time & again as it meets all my needs, everything from the colour to the formula is just perfection & is courtesy of good old high street brand Bourjois!


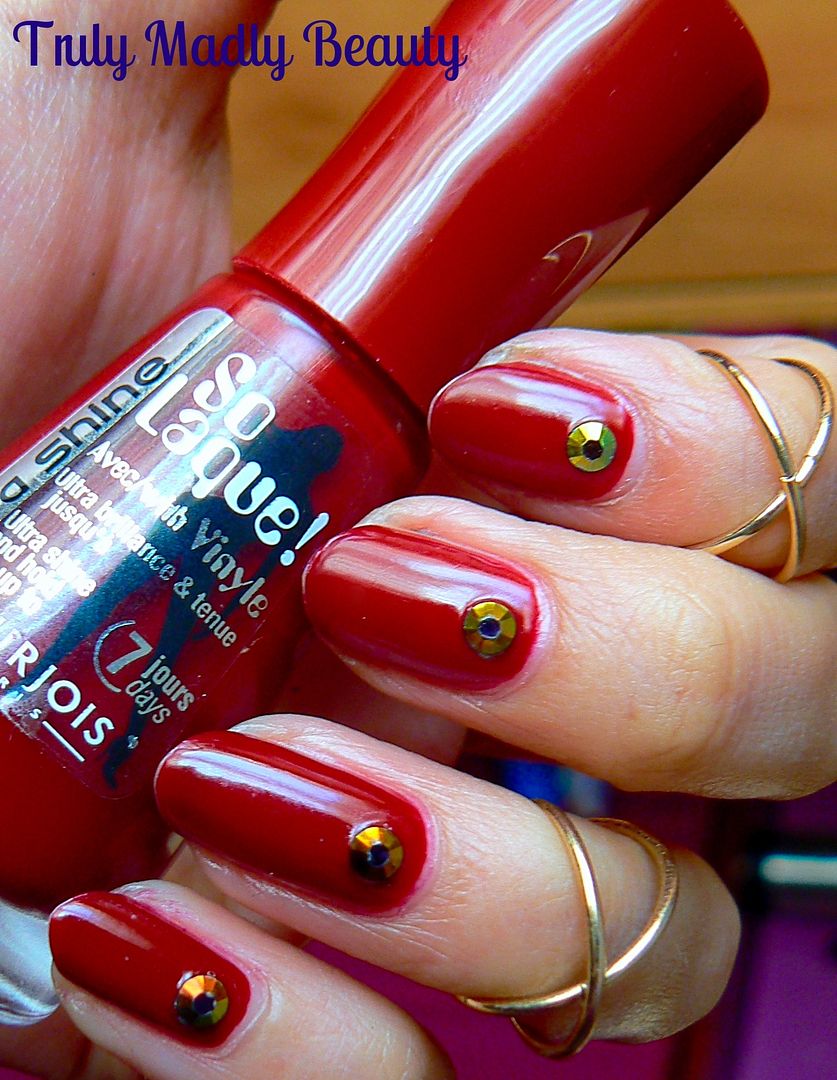
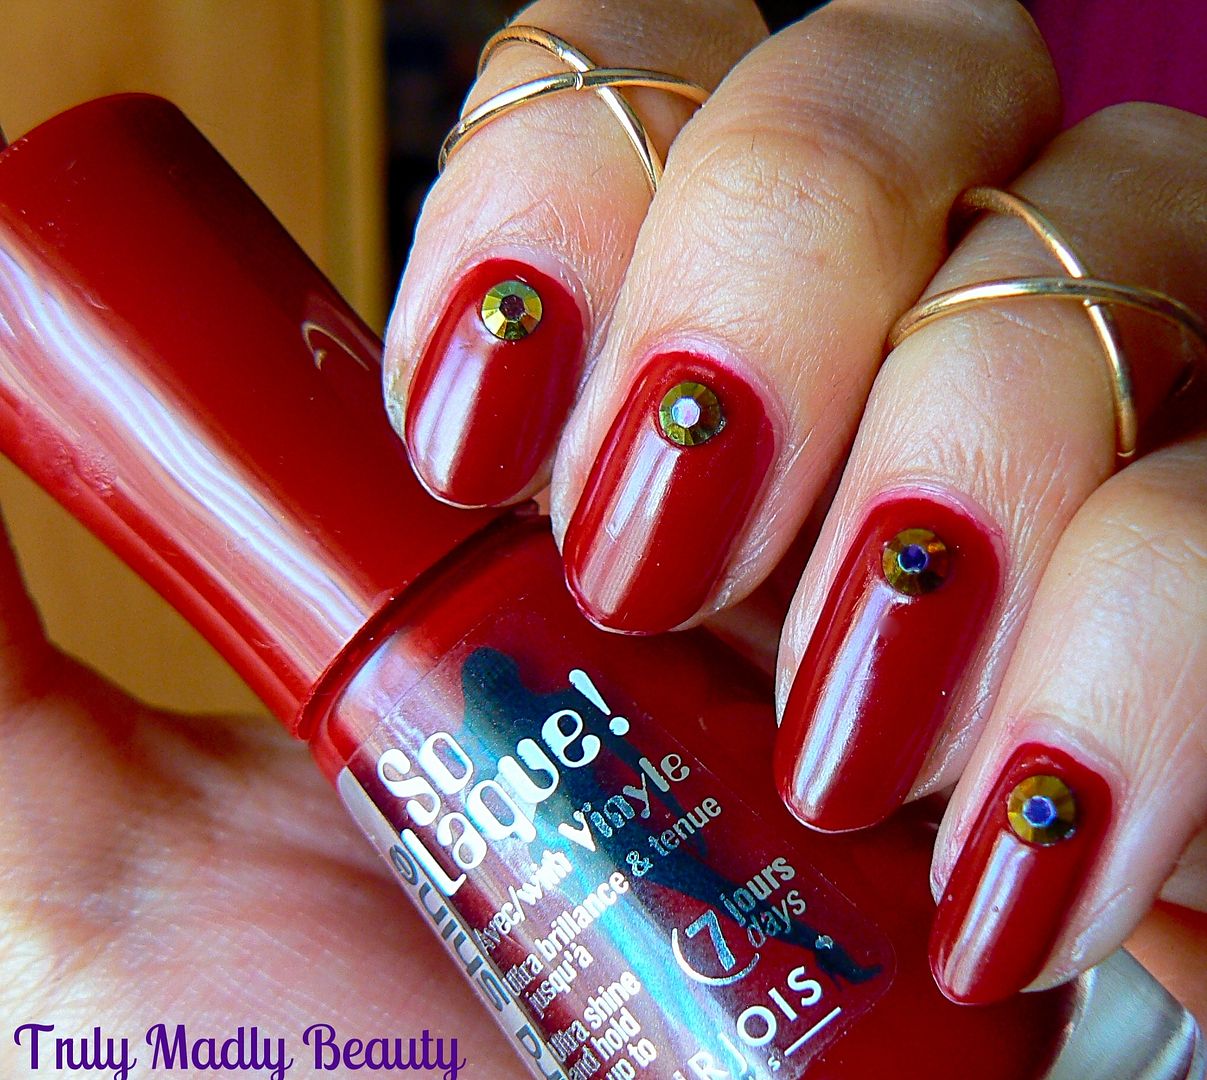
This little pretty goes by the name Rouge Diva & is from Bourjois So Laque Ultra Shine Range which retails for around £5.99.


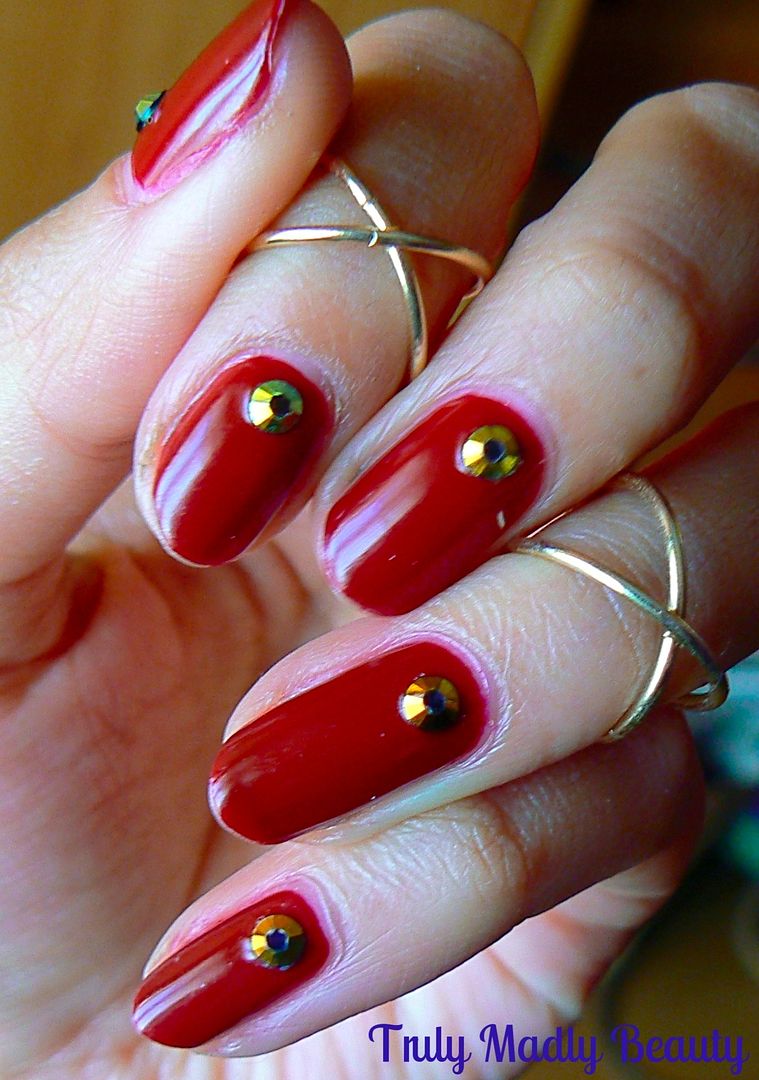
I don't know why I don't own more of these babies in my collection as the formula is fantastic. Rouge Diva is a lovely rich marsala red & applies like a dream.


The formula is smooth & enriched with twice as much vinyl giving it that thick glossy almost gel like finish. It could even pass as a one coater but of course I always go for my obligatory two, creature of habit is me!


Rouge Diva is lovely enough all by its onesie but I couldn't resist jazzing it up a tad as is my way with the addition of these pretty blue/black rhinestones available from Born Pretty Store. You can use my code TRUW10 to get 10% off of your order ;) The midi rings are Topshop, I do love me some finger bling I do :)


Thanks for reading my lovelies, do you have any favourite burgundy polishes?

Lotsa love to ya!