Hello my loveley readers!
So
I have some exciting nail related news to impart ;) Its always been a
wish of mine to incorporate my passion for nails in, if not a career,
then something to pursue alongside my work, well now I have been
given the opportunity to do exactly this & I am eager to share it
with you lovelies...let me introduce you to Jamberry...

You
may have heard of Jamberry, a brand that has become rather big in the
nail wrap world & first launched in the US in 2010 by 3
sisters creating their own line of DIY nail wraps. It went down a
storm as the brand has now become a global success not only in the
states but Australia too. Well Jamberry has spread the love to our
shores, launching in the UK this month & not just that...but
yours truly is officially one of the first UK consultants to have the pleasure of representing the brand here, which I am very excited to be a part of as
it is a product I've gone gaga over big time & I will share with
you exactly why.
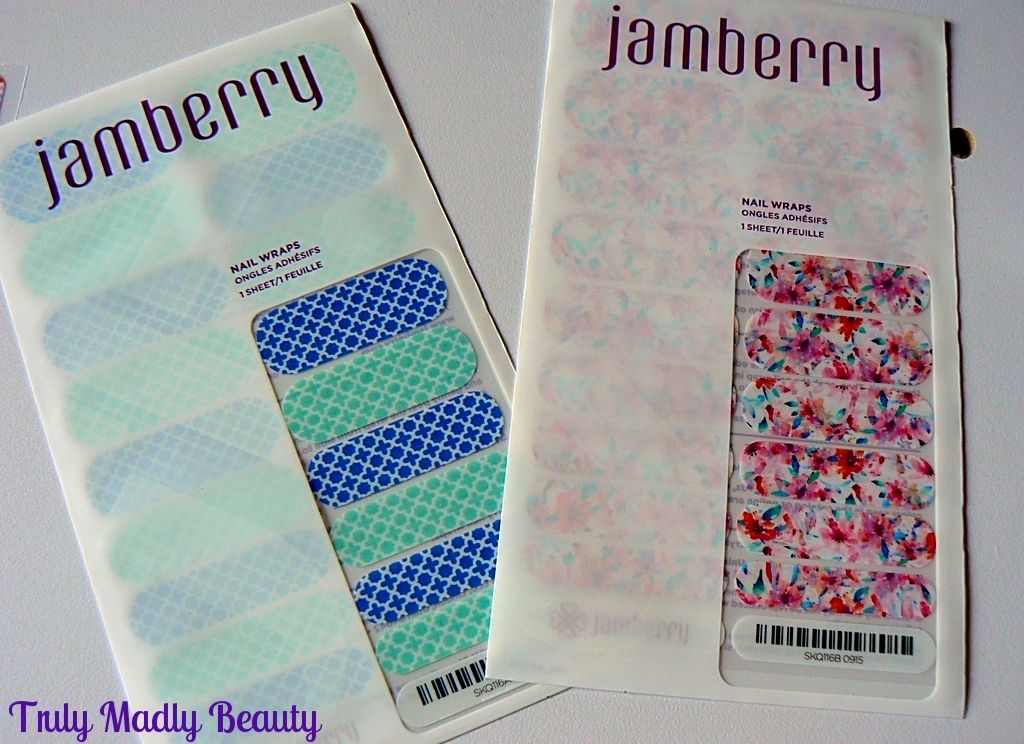
I'm
sure your thinking what makes these wraps so special compared to
others? You know I love my nail art, yet many of you I'm sure simply
do not have the time to even polish your nails let alone anything
else! If you love having jazzy nails (who doesn't) yet can't deal
with the faff of waiting for polish to dry or finicky nail art then
Jamberry is your answer my beauts.
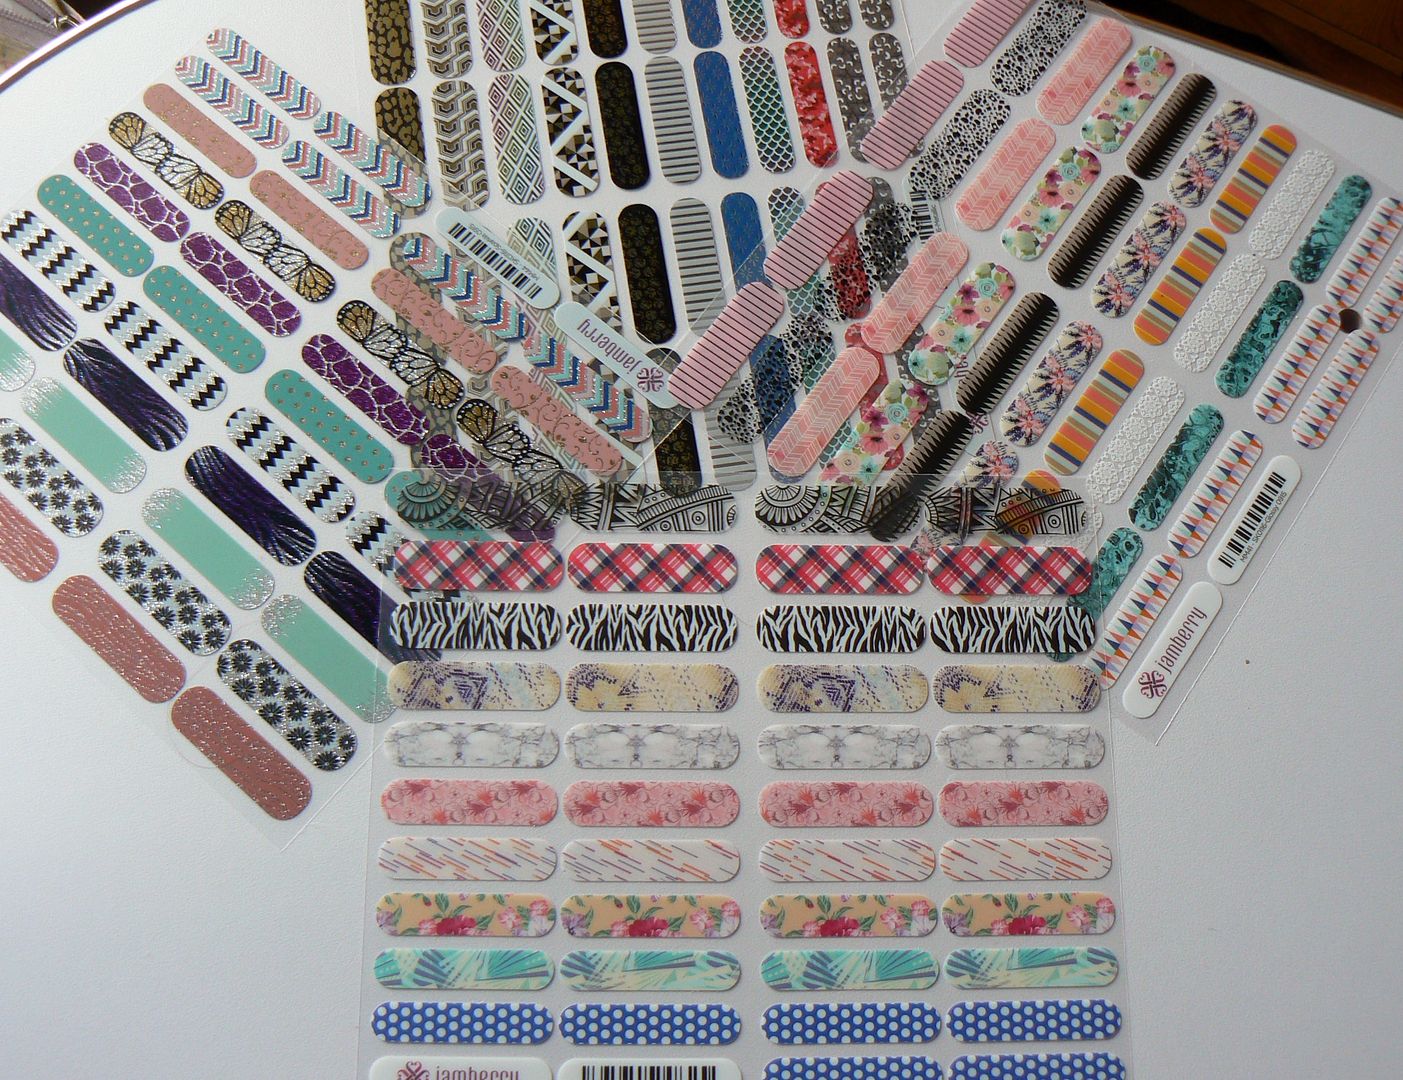
Available
in over 300 different designs, so your bound to find something to
your liking, these wraps can be used over both natural nails & gels/acrylics & will last for up to 2 weeks on the hands & 4
weeks as a pedi. Not only do they have a superb longevity they are
also:
- Non toxic
- Five free
- Easy to apply at home
- Require ZERO drying time
- Durable for long lasting wear without chipping, fading or peeling
There
are some really beautiful designs available, I already have a wish
list of ones to try & these can be used in any way to customize
your own mani, be it full on Jam, mixing up different designs or just
an accent nail :)
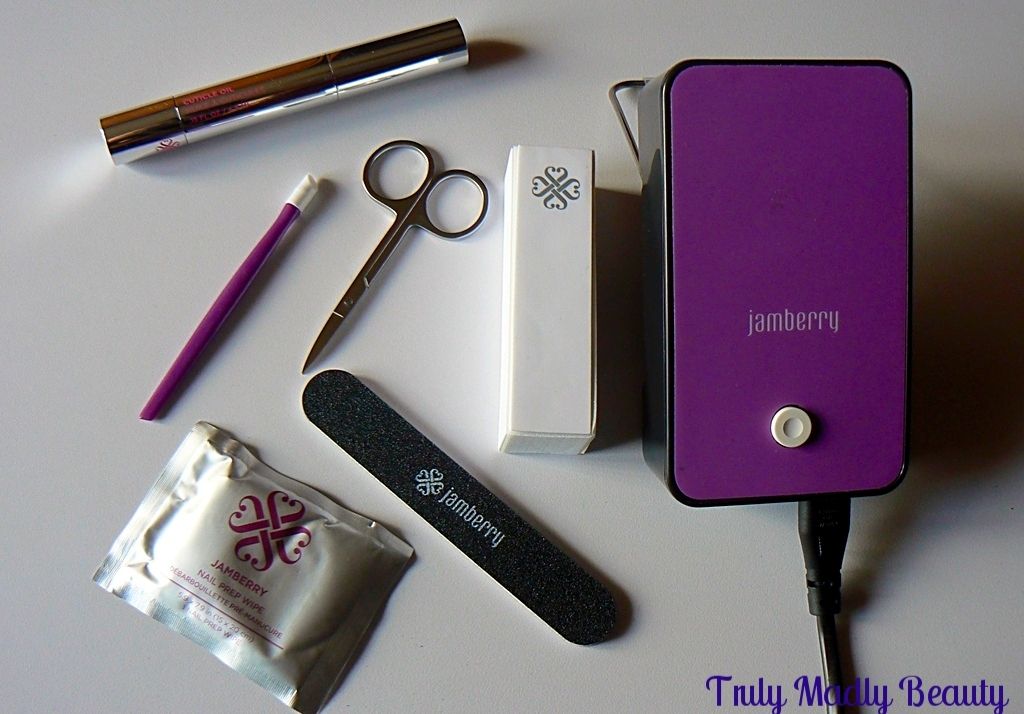
The
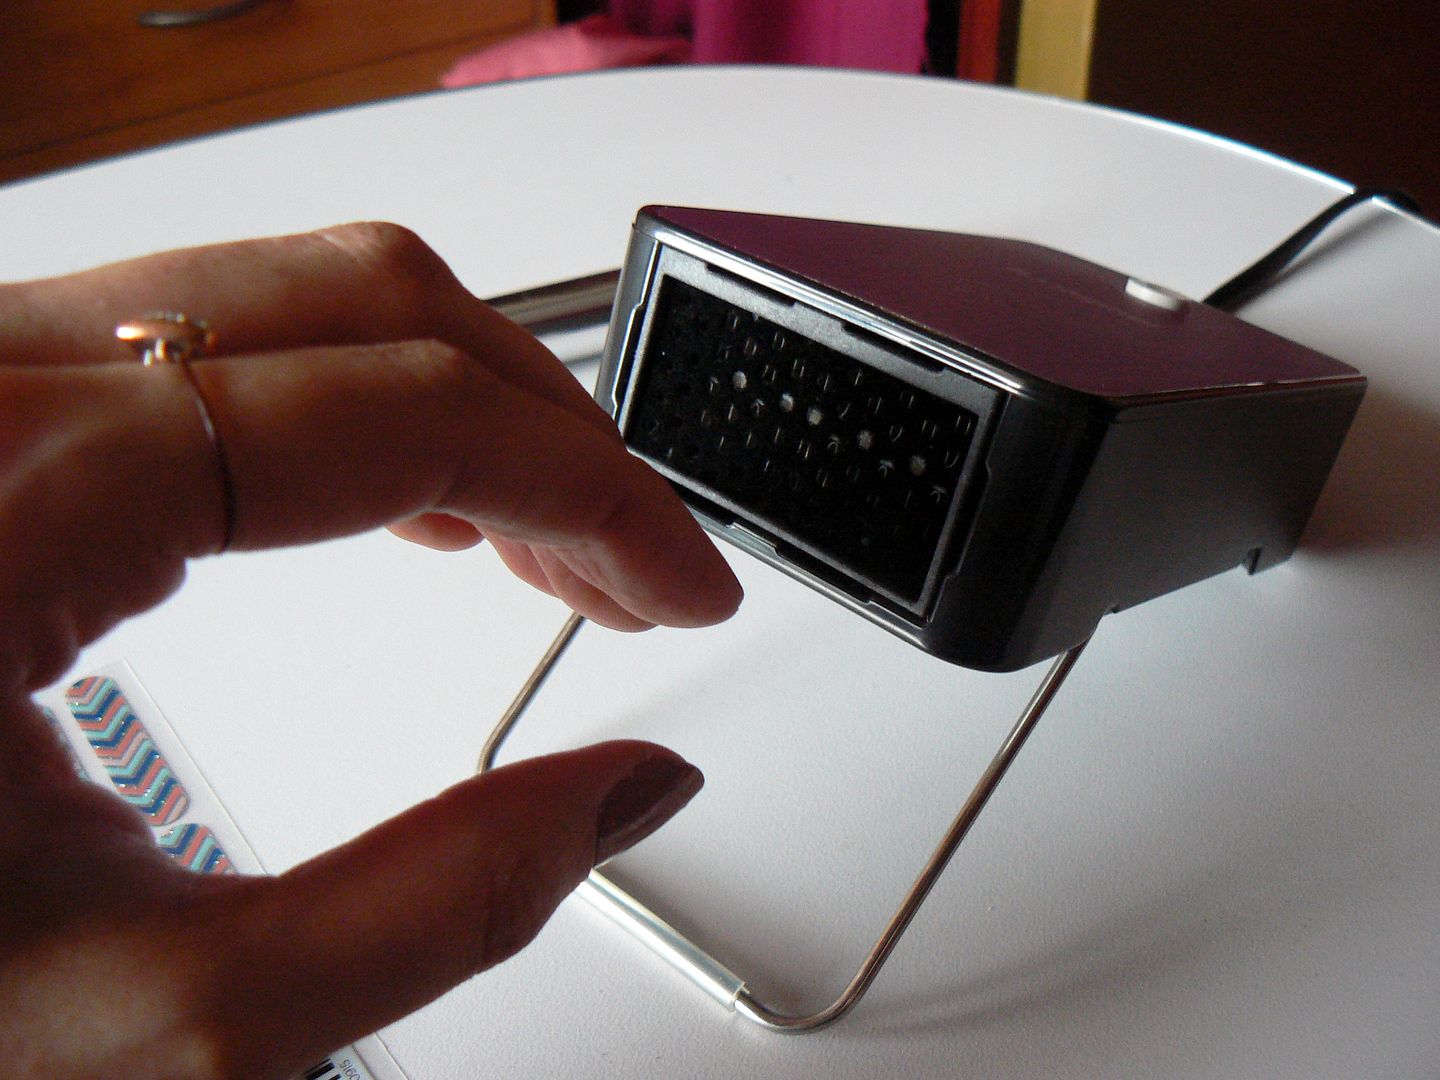
wraps are applied with heat & pressure, I'm sure every gal has a
hair dryer in their arsenal? If not then Jamberry have their own Mini Heater available for £19 which has a wee stand making the process
even more easy! I've purchased one of these myself & can confirm
first hand that it is an ACE wee thing.
There
is also a LUSH Cuticle Oil available in both Pen & Bottle form
which smells SO GOOD, I plan on keeping this by my work desk, as well
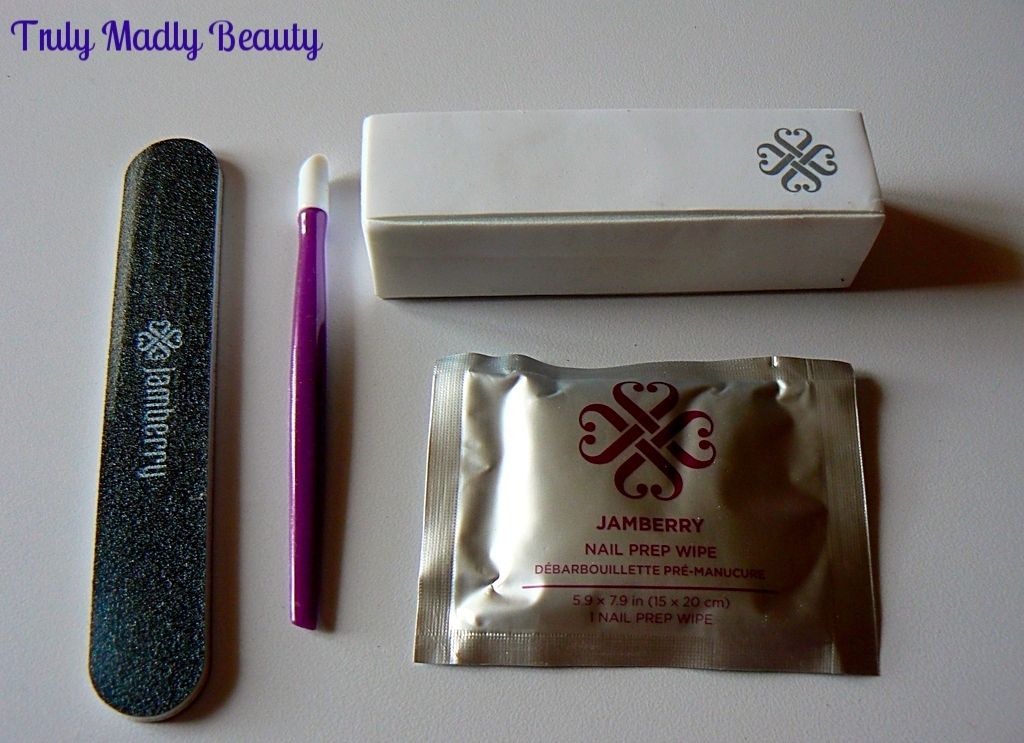
as other tools such as buffers, cuticle pushers & nail files,
which are available as part of the Application Kit, of which I was
very impressed with the quality of in all.
I confess, when Jamberry first came to my attention I was a tad
dubious with the claims of easy application, however once I'd
given it a go myself I was truly blown away with the results & am now in love with the nail wrap revolution! And
I'll show you just how easy it is with a wee step by step
breakdown...
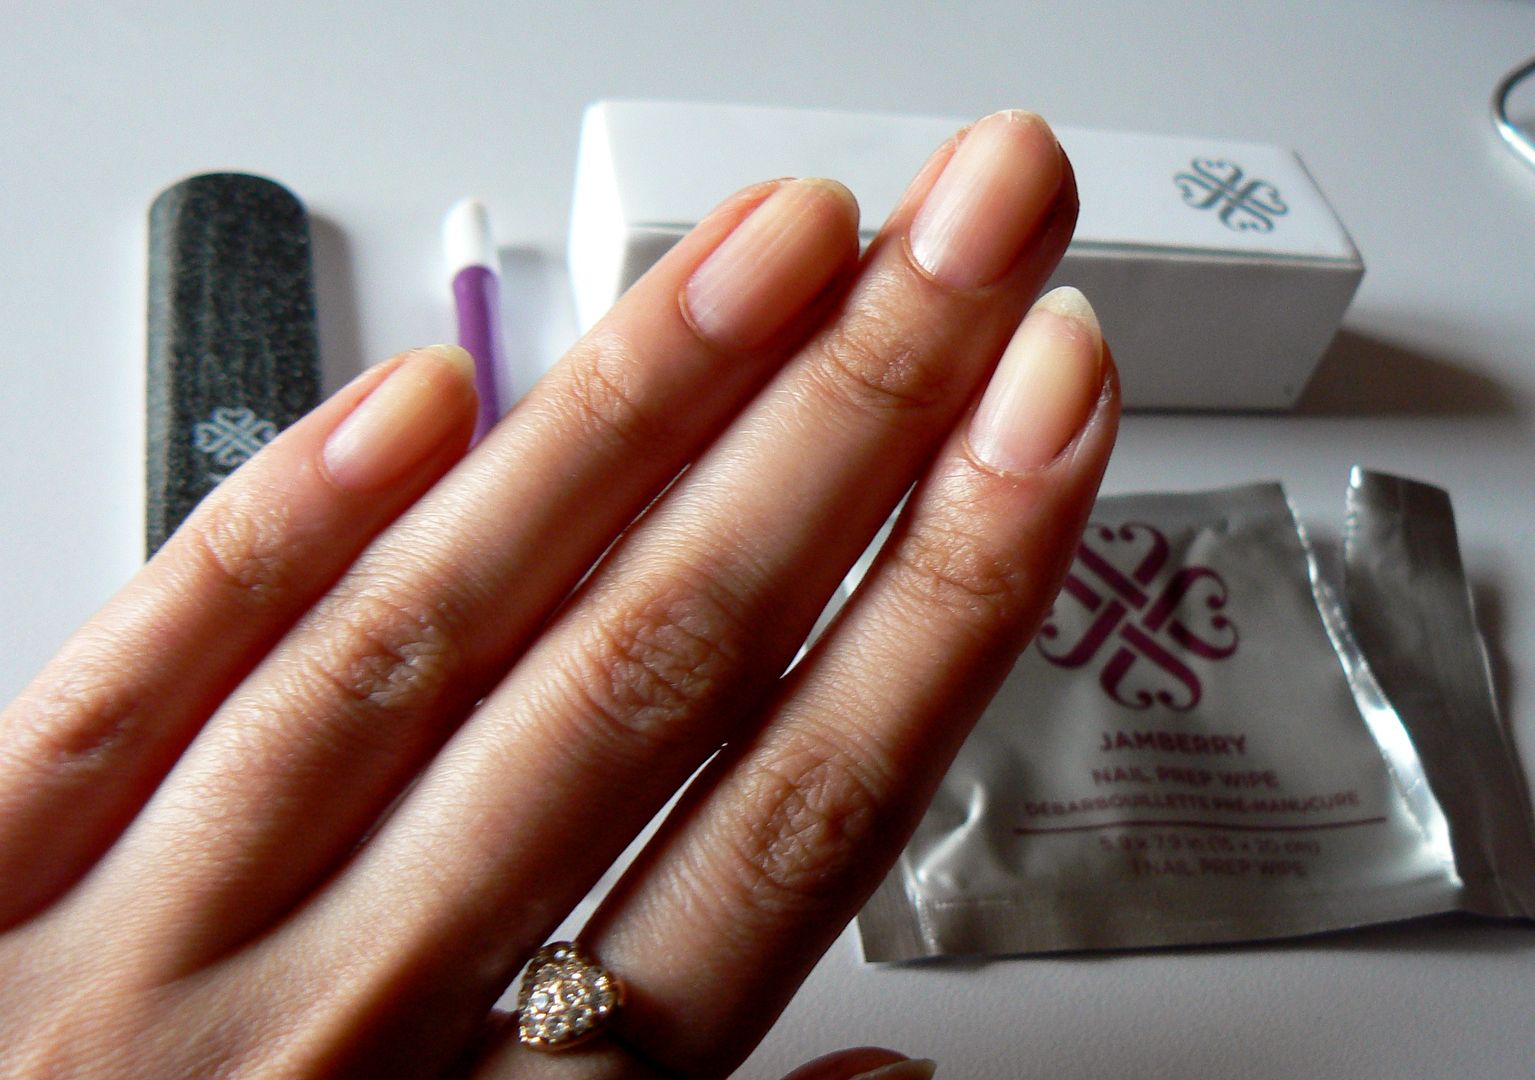
To
start you'll need to prep your nails, simply push those cuticles
back, file the edge of your nails till are happy with the length,
buff the surface to smooth & then wipe the nail with an alcohol
wipe to shift any oils on the surface as this will all help the wrap
adhere to the nail. I have these prepared wipes from Jamberry which
come in the application kit, however you can use Isopropyl Alcohol
which can be found in pharmacies/supermarkets or even just good old
nail polish remover will do the job!
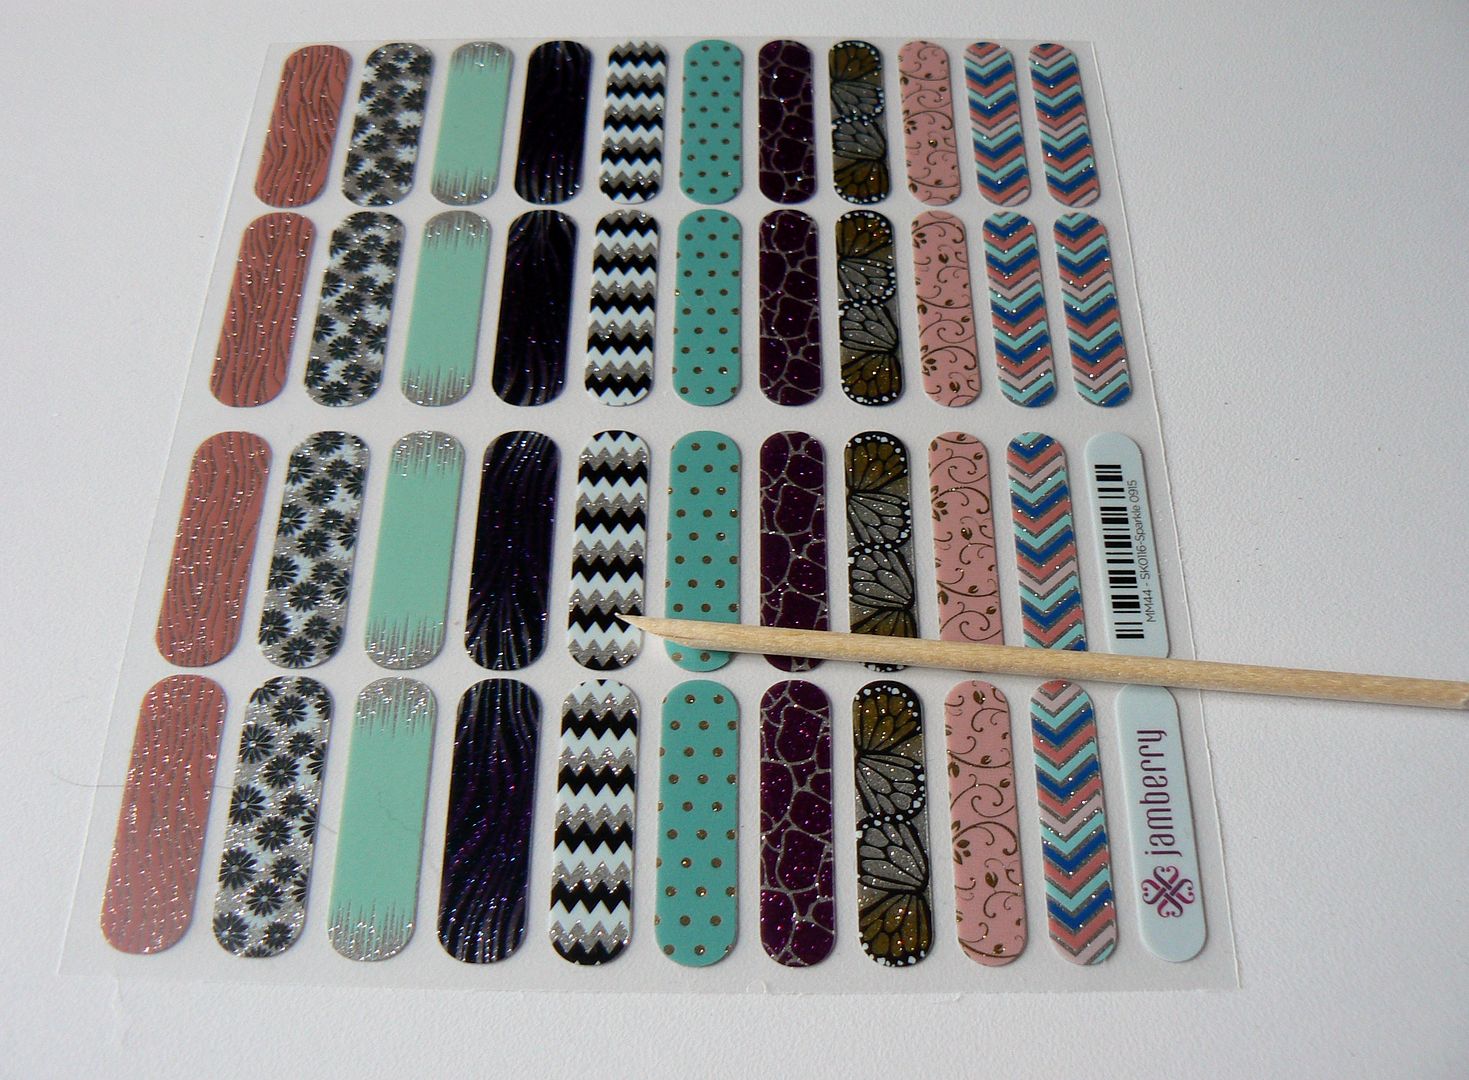
Next
grab your sheet of wraps & orange stick, I couldn't decide on a single one, so went
for a skittle Jamberry mani using different sparkly designs! The
wraps are on a clear plastic sheet so you can easily match up the
right sized wrap to fit your nail by just placing your nail
underneath.
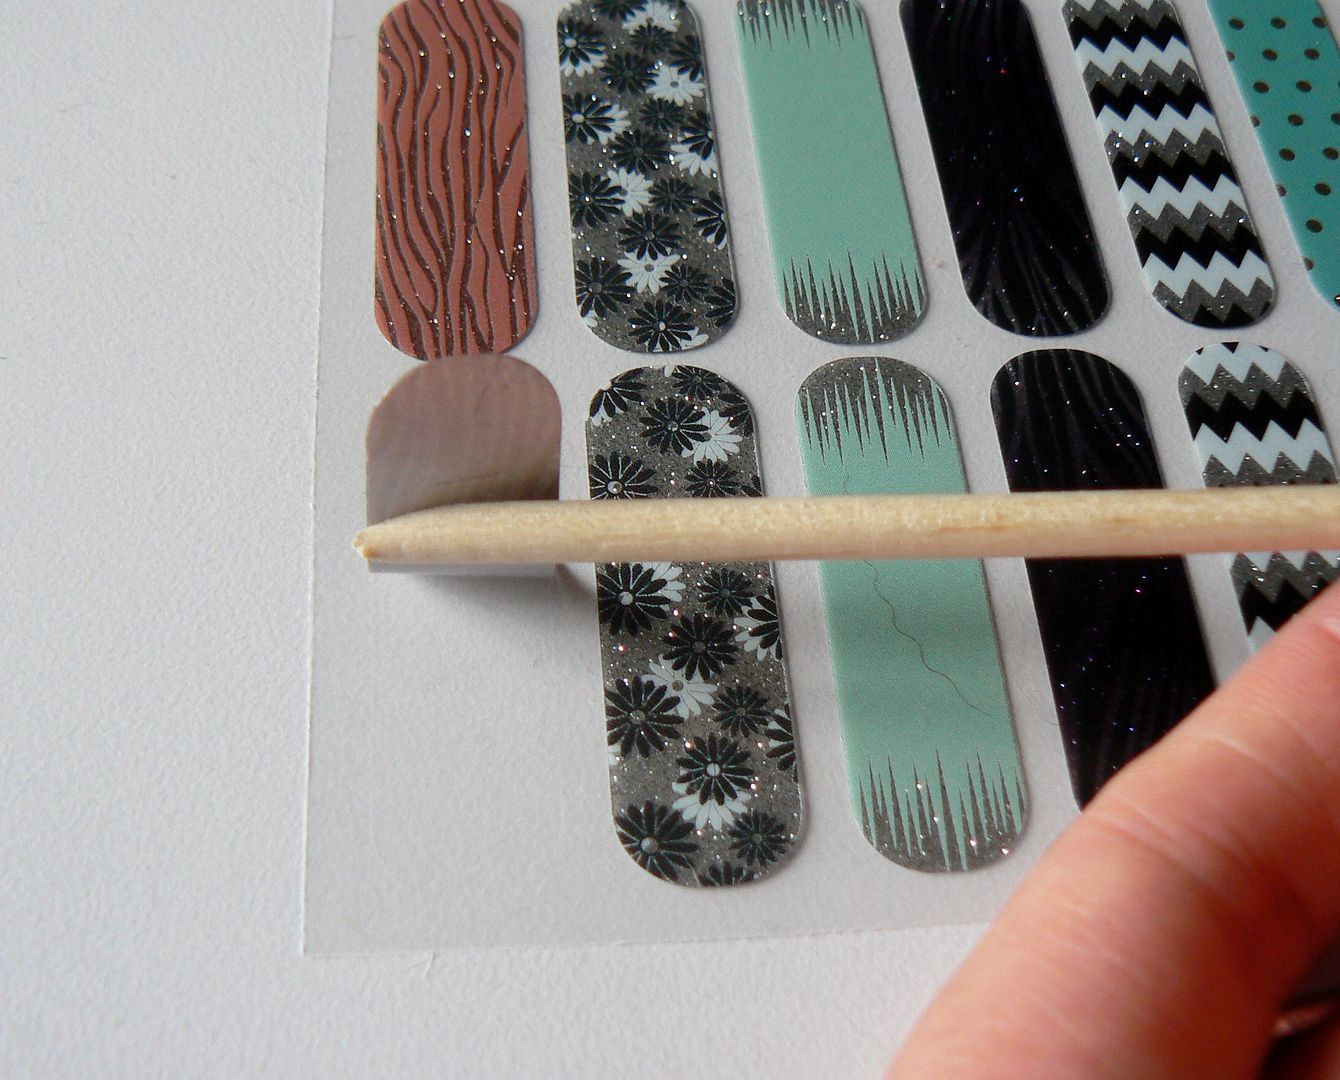
Each wrap should cover 2 nails depending on the size of your nail bed, mine are quite long therefore I can get two nails out of each, you might get more! Using an orange stick, gently lift up the wrap from the plastic, till you have the length you need, then simply cut across with the scissors.
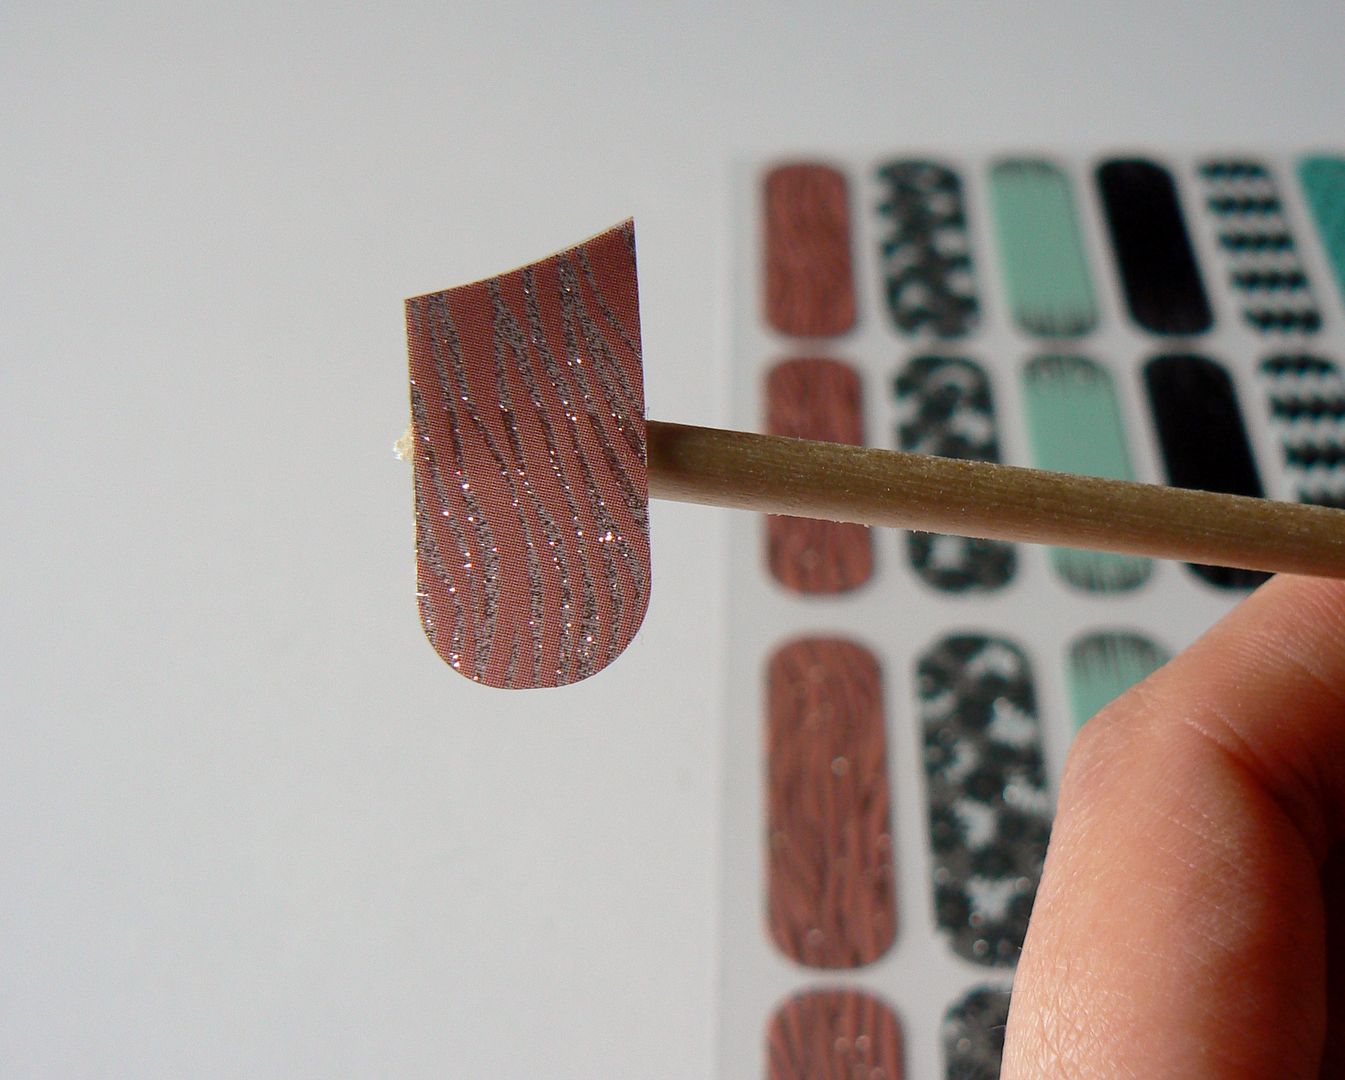
The
back of the wrap is tacky so will stay attached to the stick which
will now act as a holder of sorts. You then need to hold the wrap in
front of your heater for 3-5 seconds to activate the adhesive or if
you don't have a heater then a quick blast of your hair dryer! FYI those mini ones would be perfect for this!

Now
place the wrap on to the nail starting at the cuticle & pressing
down firmly with your finger, smoothing as you go.

Once
secure on the nail bed simply grab your file & file away the
excess wrap, which I found came away very easily, without ripping.
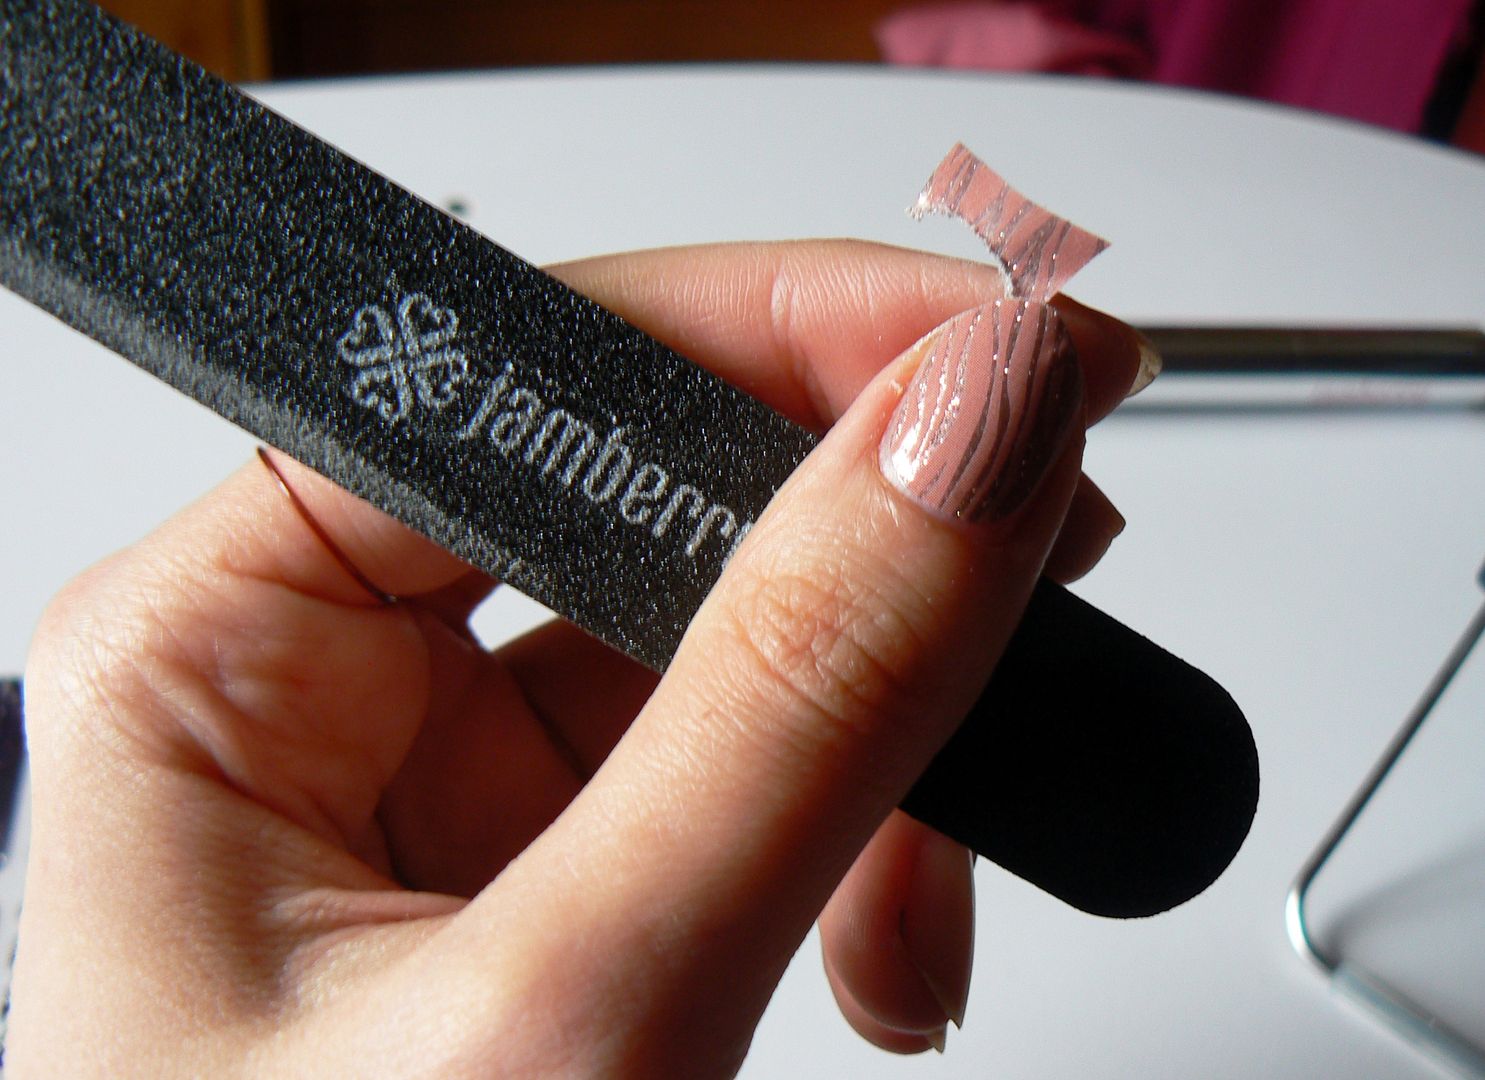
These wraps work
fab on both long & short nails, I'd sadly broken my
middle nubbin but still had no problems with filing away the excess...

Don't
panic if you find you have a few wrinkles on the nail, this happened
to me the first time, to rectify this I simply placed my finger back
in front of my heater to warm the wrap up again, then pressed down firmly
to smoothen out...problemo solved!!
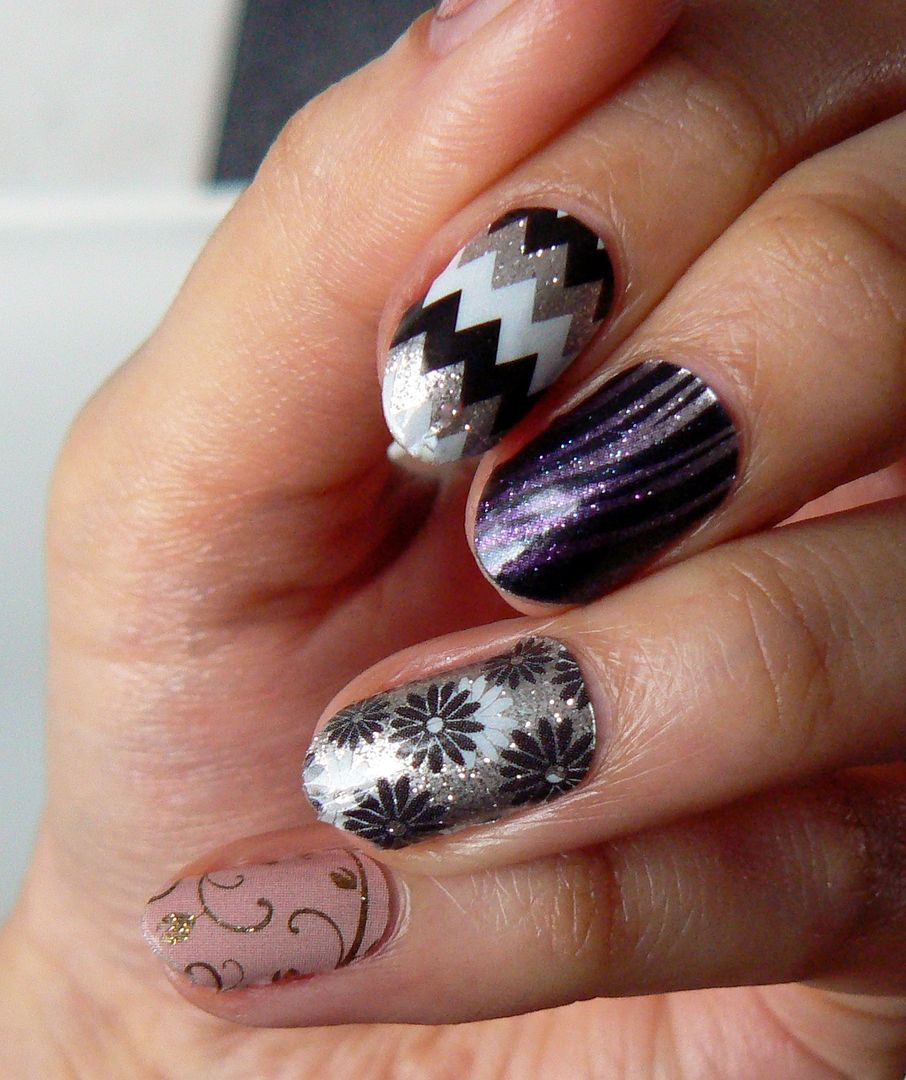
I
continued on, using different wraps until all ten nails were done which was in no time at all!
Once finished apply some cuticle oil around the edges, rub in &
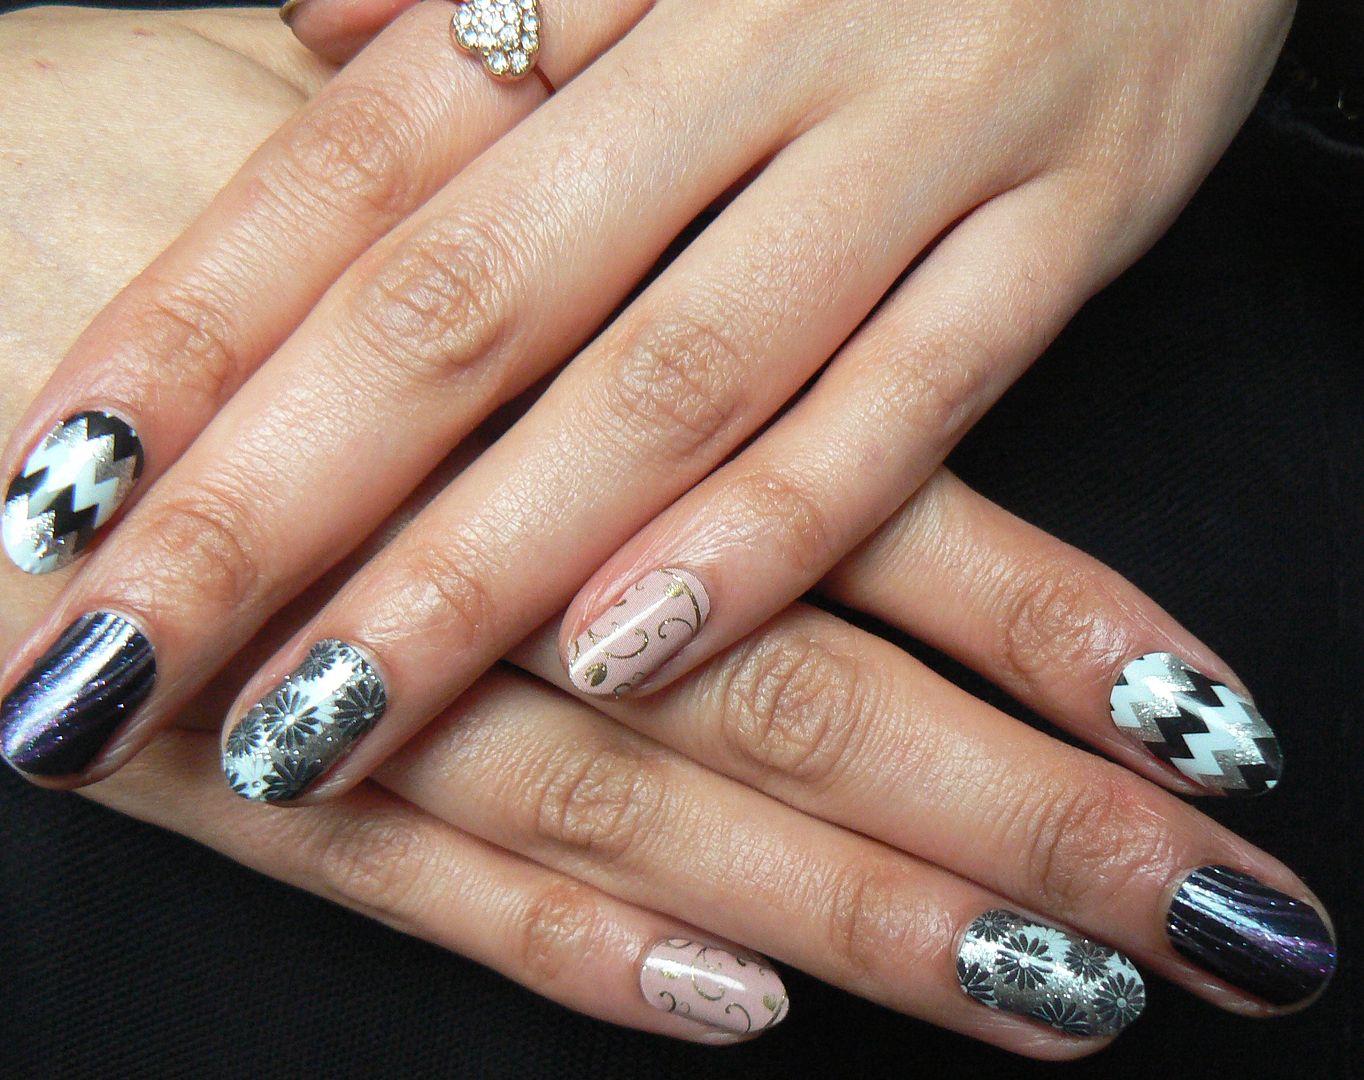
hey presto, Jamberry mani done! Here's the finished manicure.
To
remove the wraps also couldn't be easier, when your ready to take
them off simply lift the edge of the wrap with an orange stick, then
using cotton wool soaked in remover, rub across the surface before
slowly peeling off using the same cotton wool slowly. To make things
a bit easier here are some videos explaining both APPLICATION and REMOVAL of
the wraps...
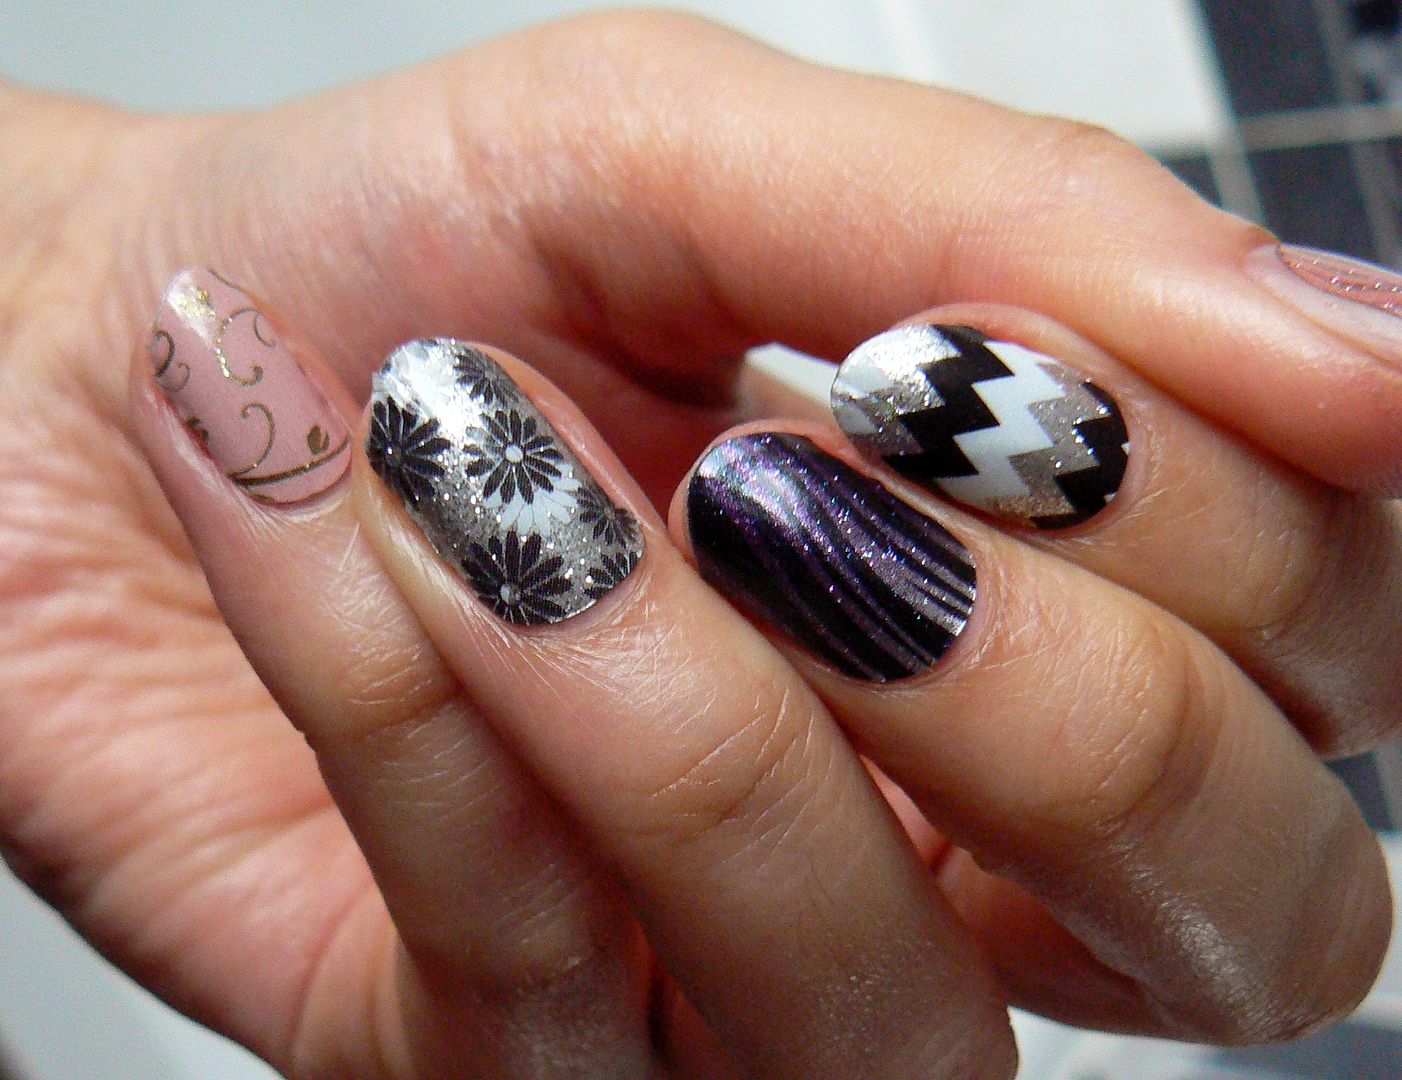
So
what do you think? Aren't the patterns PURDY?! And there's so many! As I'm a full on polish addict (noooo, REALLY
Aysh?!) for me 2 weeks is a long time to wear a mani, so I'm going to
enjoy incorporating the Jamberry nail wraps as funky accents in my
manis so keep your eye peeled in the future!
However
there's no doubt that the longevity of the wraps is truly impressive,
especially for the busy worker bee & application was so
straightforward once I'd given it a whirl myself!
Each
sheet is £15, contains 18 nail wraps & will give up to 2
manicures, 2 pedicures, with a bunch of spares leftover to rock as
accents if you wish, which in my opinion is such good value for
money. Especially when, if you buy 3 sheets you will get 1 free,
making each sheet just £11.25.
The
Jamberry nail wraps can be purchased online via my website Jam With Aysh where you'll also find all the information you need about the brand. If
you have any questions or if you would perhaps like a
sample to try then simply leave me a comment below with your email or
email me directly & I will happily send some your way!
I
can understand myself now why Jamberry has had such success & I'm
so excited to be a part of their journey here now in the UK! I
anticipate big things for these guys!
Thanks
as always for reading!
Lotsa love to ya!