Hey there lovely readers,
As much as I love challenging myself when it comes to my nail art with intricate & detailed designs...sometimes you just need to have something CUTE AF on your nails for a wee little boost if you will, which is how I came to have these extremely RANDOM yet satisfyingly cheerful Octopus Nails!
Showing posts with label Kawaii. Show all posts
8.27.2019
5.03.2017
New Shade from True Brit London - Sunday Best & Bow Tie Tutorial!
Hey
there my lovely readers!
So
May is upon us! And with it the return of 5 day working
weeks...*wails in despair* I confess one of the many reasons I love
Spring time (though its obvious that Spring is clearly broken at the
moment) is the abundance of bank holidays, oh how we've been spoilt
with these glorious long weekends.
Not
the greatest start to the month with yours truly having a wisdom
tooth extraction which I elected to have under local anesthetic
because I'm either mental or a masochist. Most likely a bit of both.
So one is currently on a cocktail of painkillers & anti-inflammatory's
that could knock an elephant on its ass. Happy Days *cue creepy drug
induced grin*
Powering
on, today I have another deliciously delightful nail polish offering
from True Brit London's newly released collection, pink ladies this
is one for you...
What
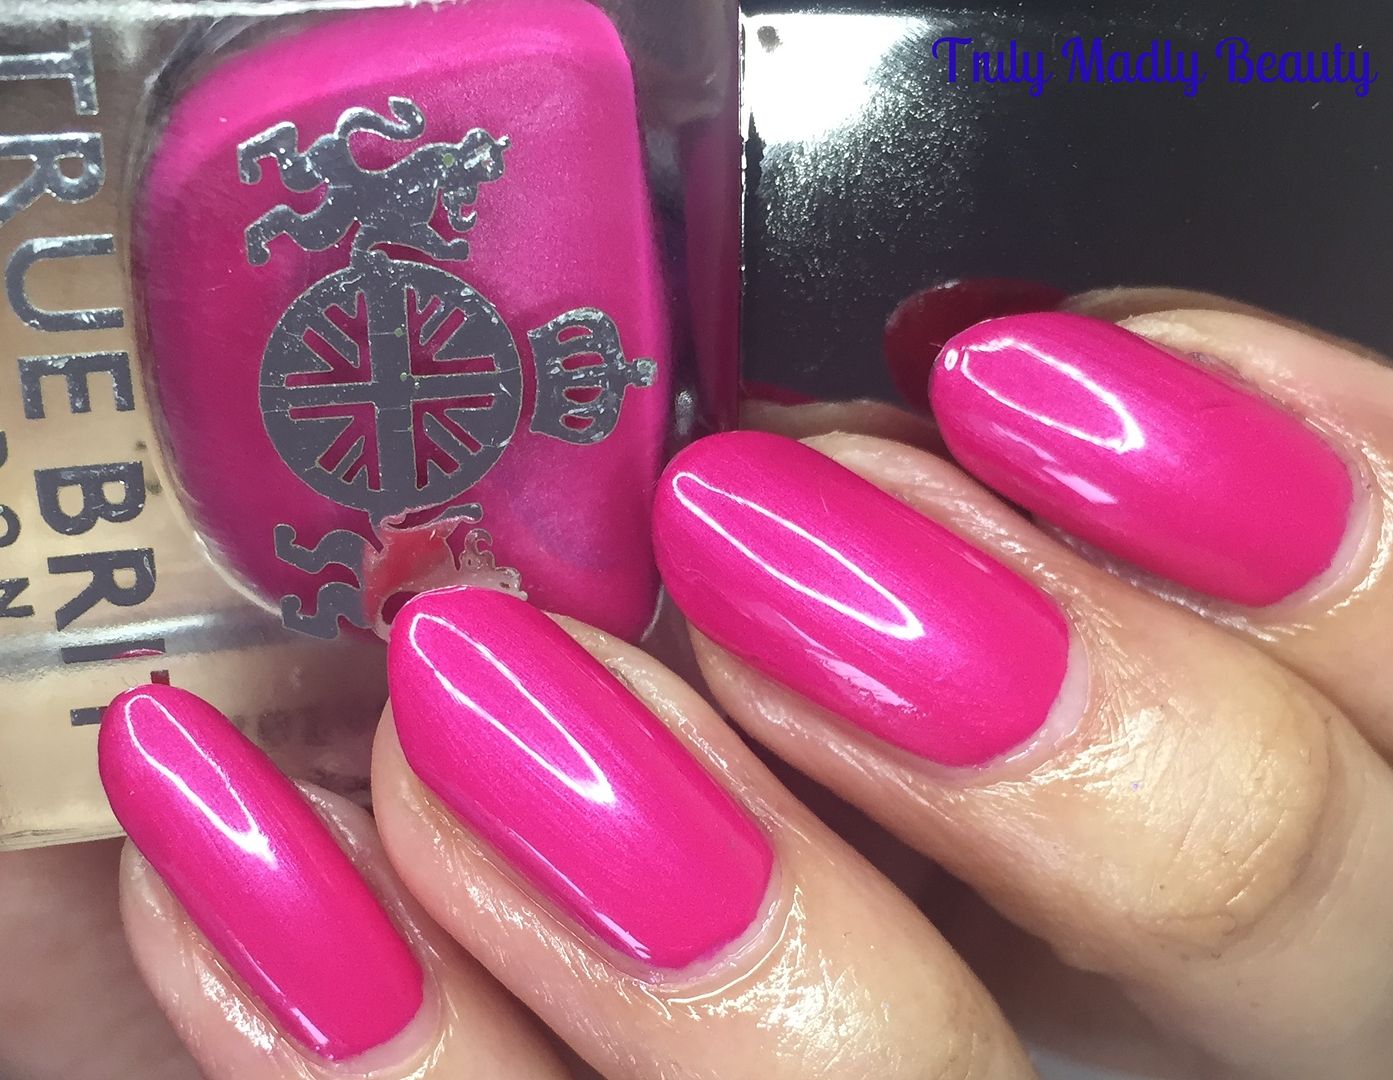
did I tell you? Swoon worthy right? This beautiful polish goes by the
title *Sunday Best & is a stunning glossy fuchsia peony pink that
gets its glorious edge with the addition of an opalescent pearly
shimmer giving this pink a magical iridescent glow.
Labels:
British,
Hello Kitty,
Kawaii,
Luxury,
nail art,
NOTD,
Patriotic,
Pink,
TrueBritLondon,
Tutorial
9.09.2016
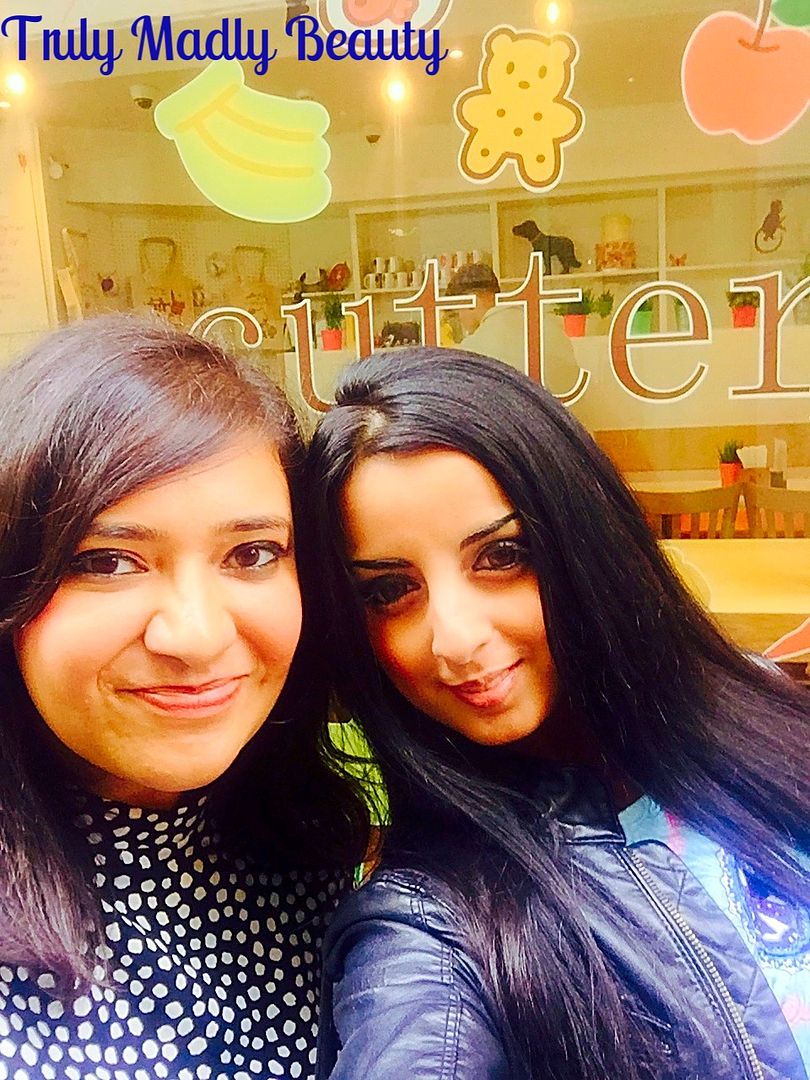
Afternoon Tea Adventures - Hello Kitty Afternoon Tea at Cutter & Squidge!
Hello
there lovely readers!
Oooh
its been a while, these past weeks have been all manners of madness as
I recently moved closer to my work. But things finally seem to be
falling into place & normality can resume! Though don't get me
started on how much I'm missing my furbaby Miss Kitty who had to stay
with the folks as I may become a sobbing wreck!
Labels:
Afternoon Tea,
cafe,
Cake,
Experiences,
Hello Kitty,
Kawaii,
London,
Pampering,
Restaurant,
Review,
Sweet tooth
3.09.2016
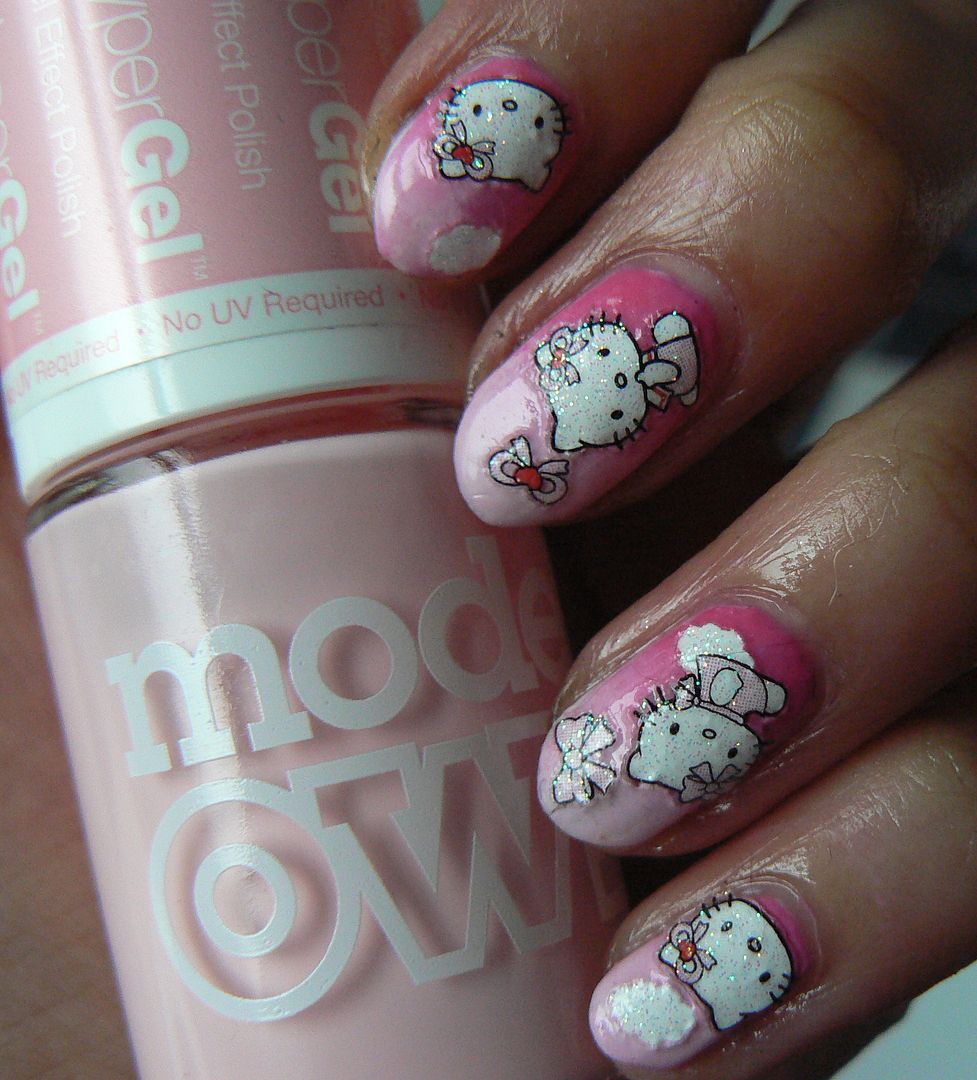
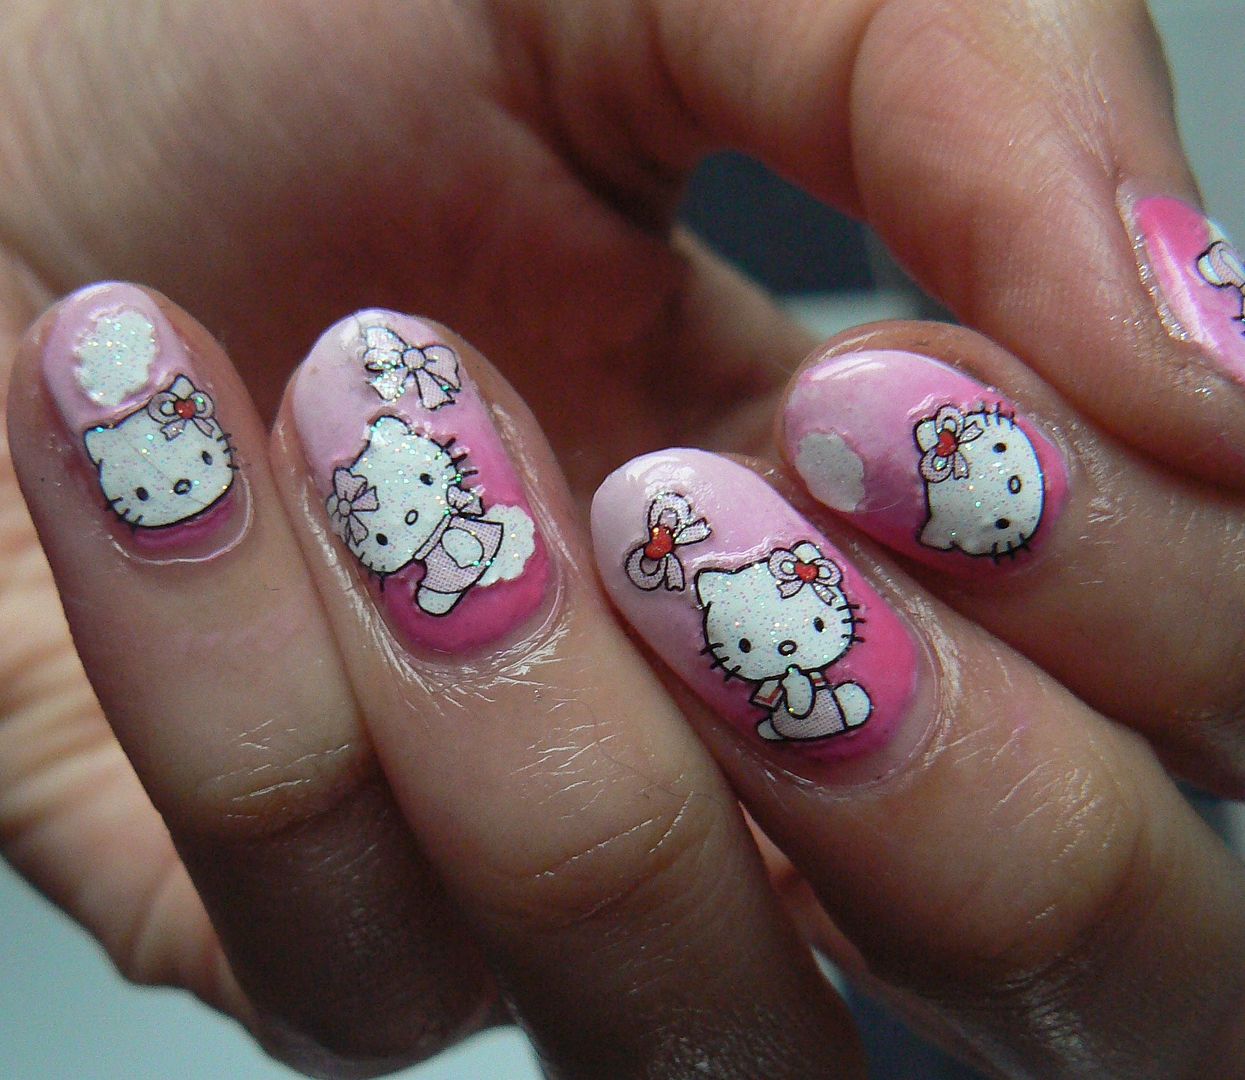
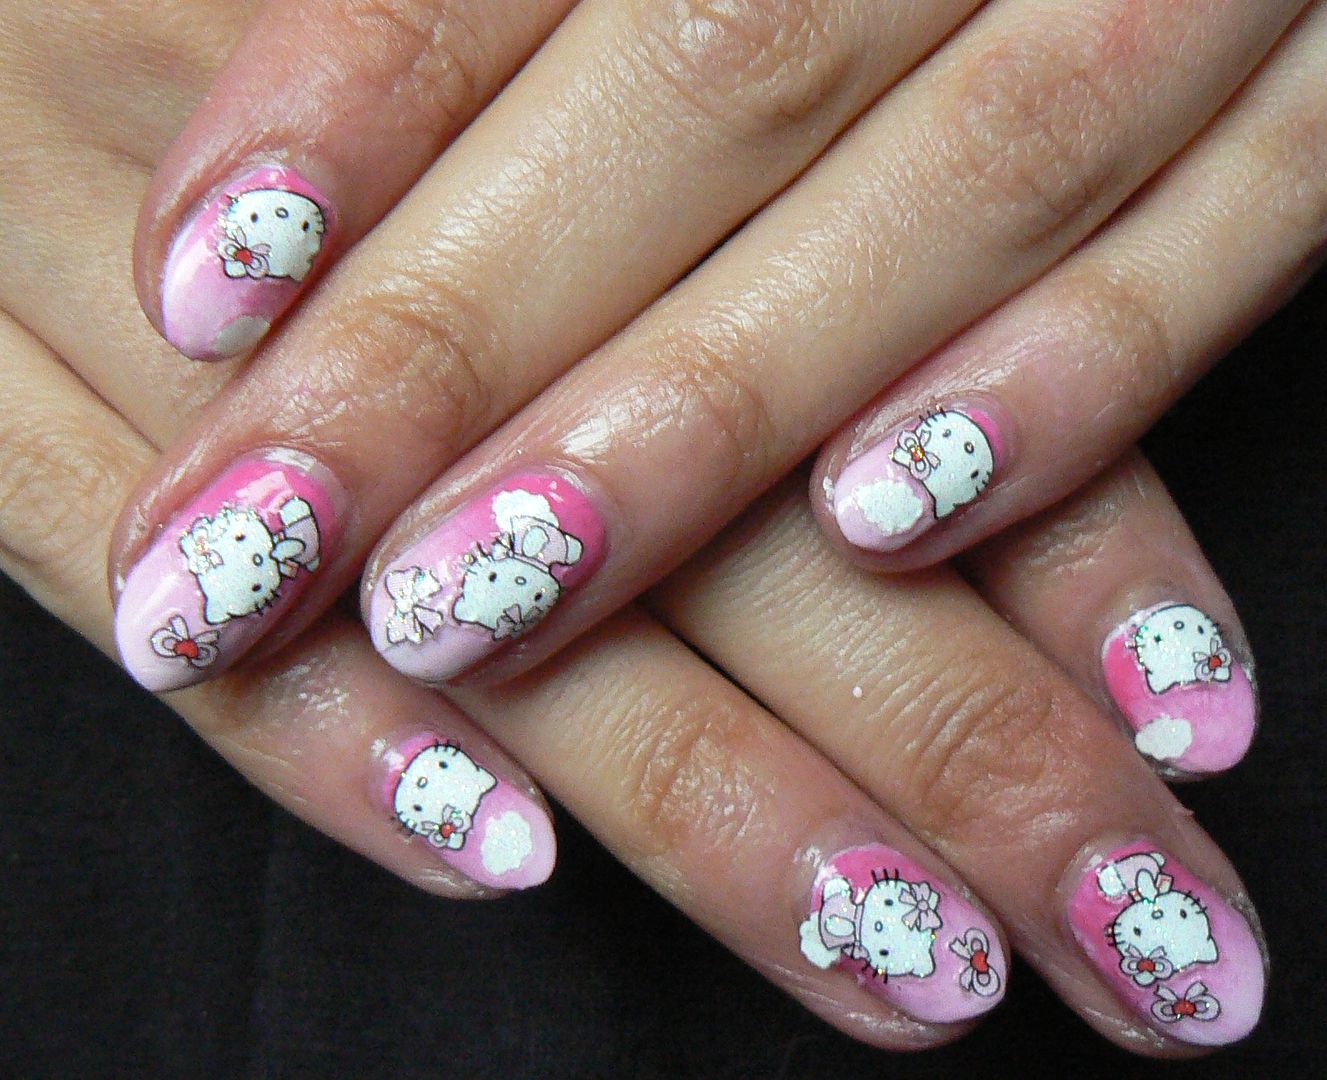
Hello Kitty Pink Gradient Nails
Hello lovely readers!
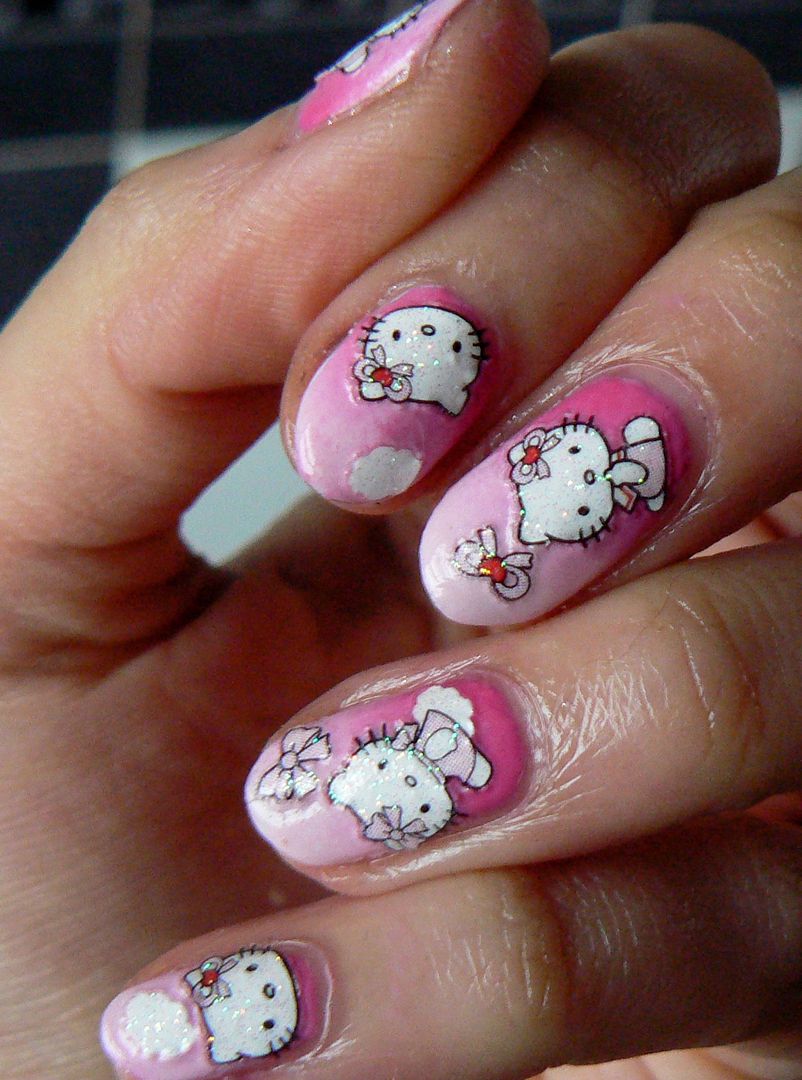
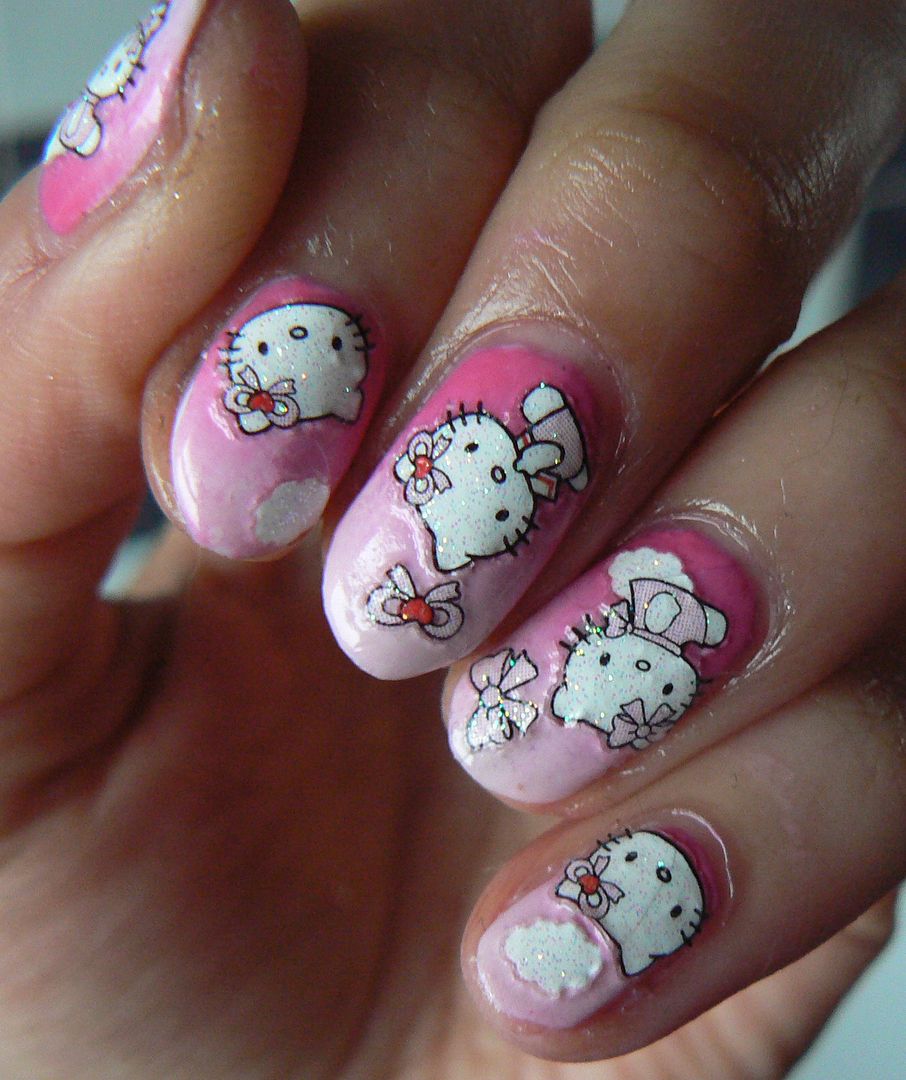
As much as I love my gothic vibe mani's, I do on occasion like to embrace the inner barbie girl that clearly still lingers in that dark soul somewhere, if this mani I have for you today is anything to go by!
I
wasn't kidding was I? ;) Recently OPI released an adorable Hello
Kitty collection filled with pretty pink tones, now whilst I don't
own these *sad face* I DO however have a wide choice of pinks to play
with, as well as finding some cute Hello Kitty nail art stickers
lying around in my stash. Putting the two together I rustled up a
quick pinky gradient mani.
Mmmmm
gradients...you are so satisfying! As usual when doing a gradient
start with a white base to make the colours pop! I did a post a while
back HERE with a brief guide on how to do gradients!
Then
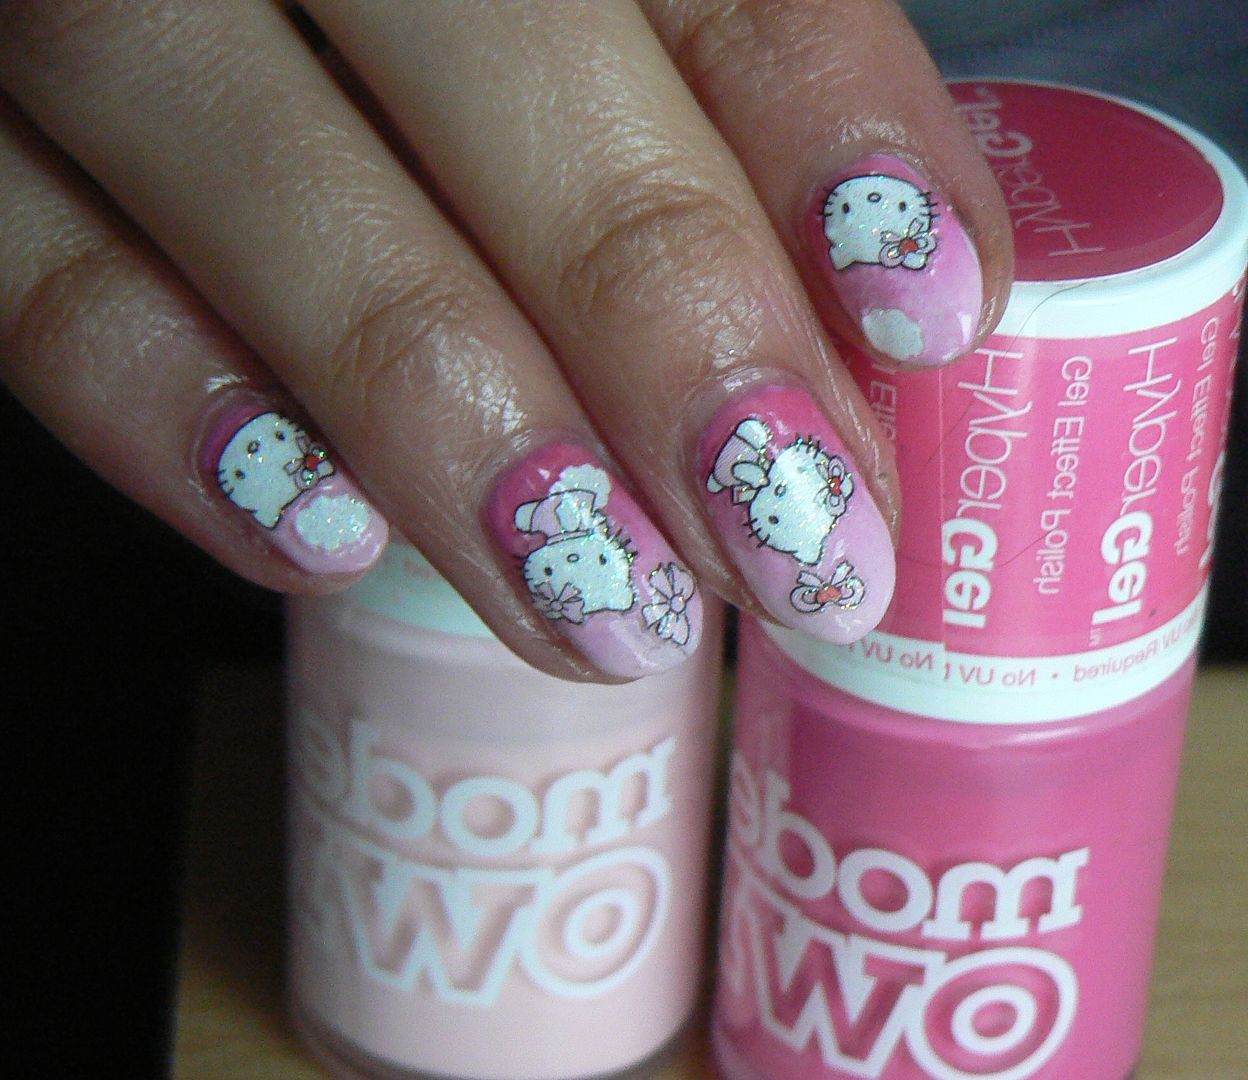
grab your two shades, here I've used Models Own HyperGels in Pink
Veneer and Cerise Shine as I love the thick formula of these, fab for
gradients!
Apply
a strip of each of the two polishes, side by side, on your piece of
make up sponge, then dab directly onto the the nail, using side by
side & up/down motions to create that fading two tone gradient effect.
If
your worried about lots of polish mess going on to your skin then
prep the nails before hand using some Latex Skin Protector which I've
blogged about HERE. This stuff is FABULARSE for this kind of nail
art!
Apply
your gradient a few times with the sponge until your happy with the
finish, I manage to get an opaque finish with two goes, especially
with the HyperGels.
Then
I just grabbed my Hello Kitty stickers & placed directly on the
nail in random places using a pair of tweezers.
Finish
with topcoat and done! Cute Kawai Kitty nails good to go! :)
Thanks
as always for reading!
Lotsa love to ya!
Labels:
Go Pink Wednesday,
gradient,
Hello Kitty,
Kawaii,
Model's Own,
nail art,
NOTD,
Pink
5.31.2015
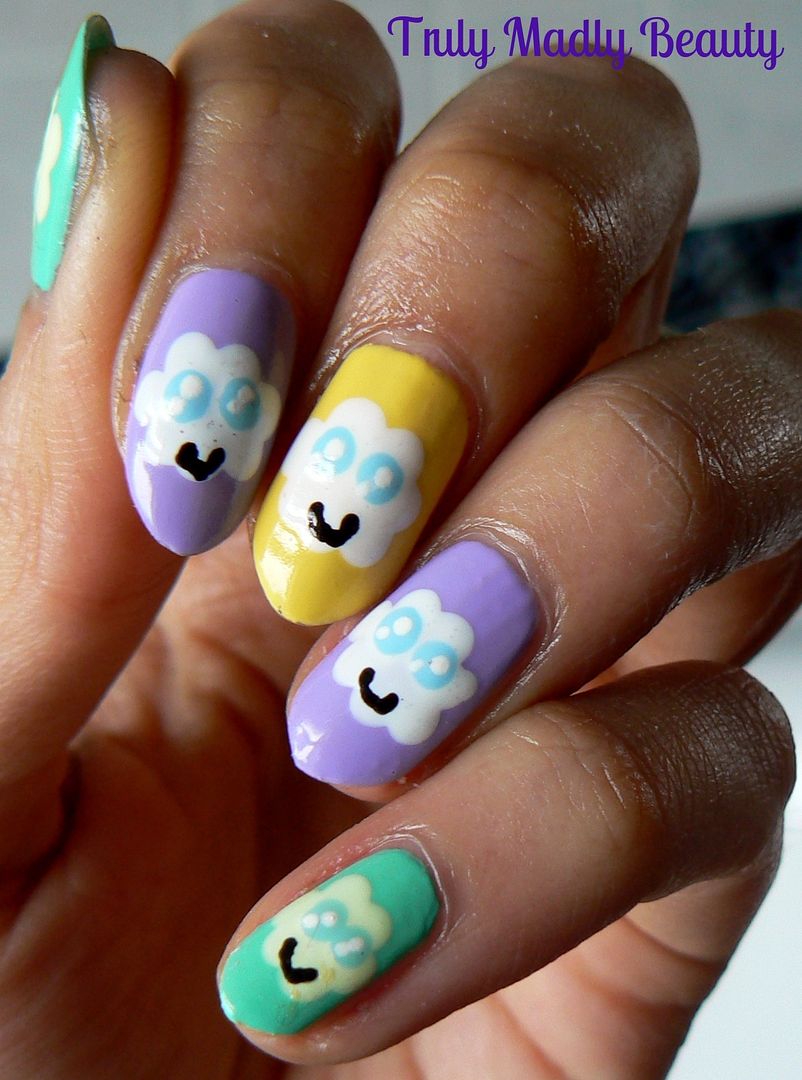
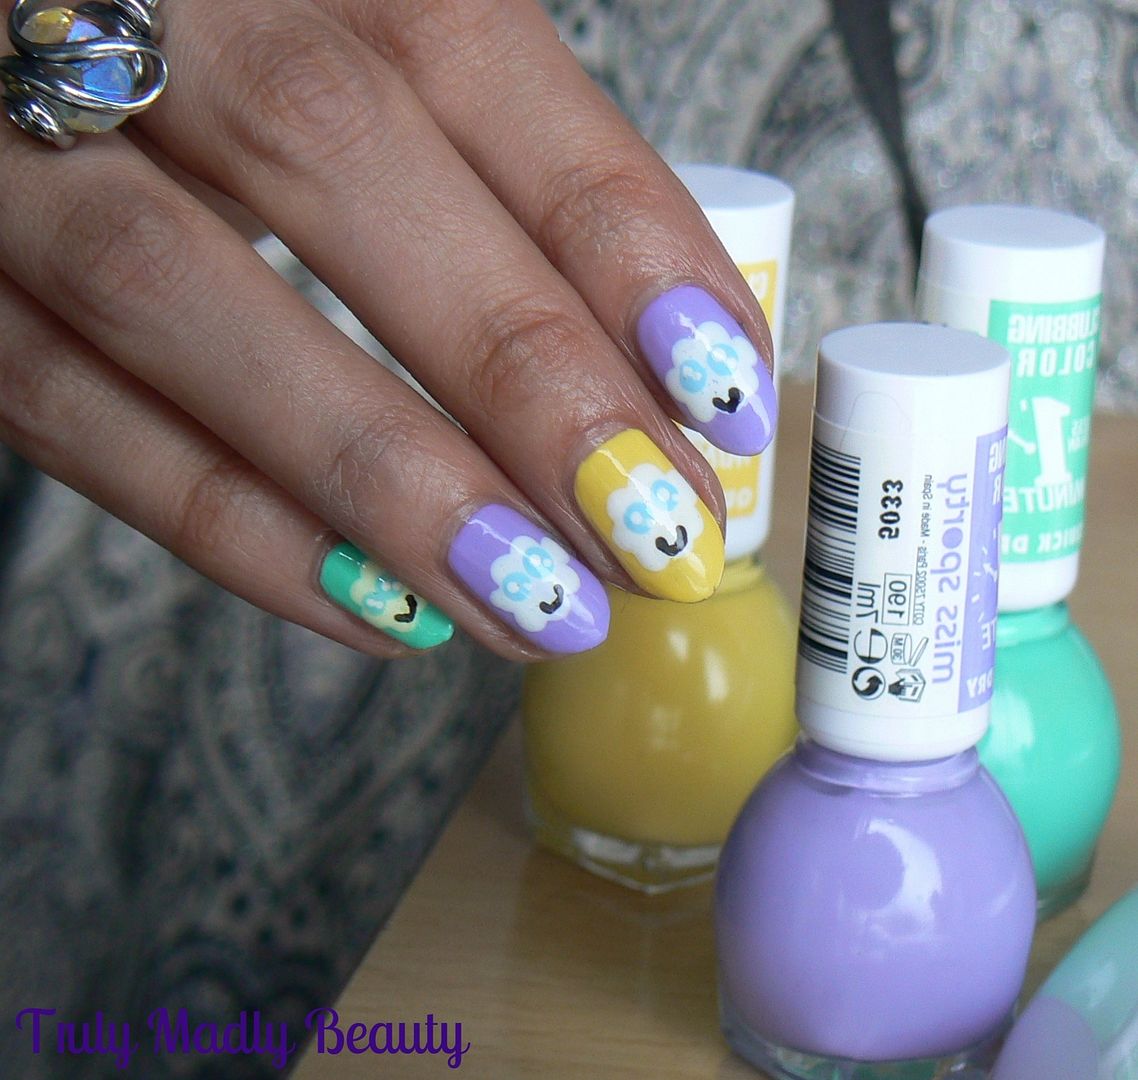
NOTD - Cute Kawaii Clouds!
Bonjour my beauts!
Can you believe we will soon be in June
already? You wouldn't think so by looking out the window, I'm
currently snuggled up within the confines of a fleecy jumper! Lets
hope Summer, wherever she may be, decides to join us all soon.
Yesterday twas a good un, if you
follow me on Twitter (@Aysh_tmb) you'll know the day was spent partaking in my favourite thing...Pampering! My lovely friend had a
voucher for a spa day at The Langham Hotel followed by a delightful
afternoon high tea at the Palm Court & was kind enough to take me
along with her. Such an amazing experience, the whole day was simply
perfect & I highly recommend you pay a visit if you can!
I thought I'd brighten up this slightly
dreary weather with a nice cheerful manicure to lift the spirits! I
felt a little cute Kawaii-ness was in order with a touch of pastel
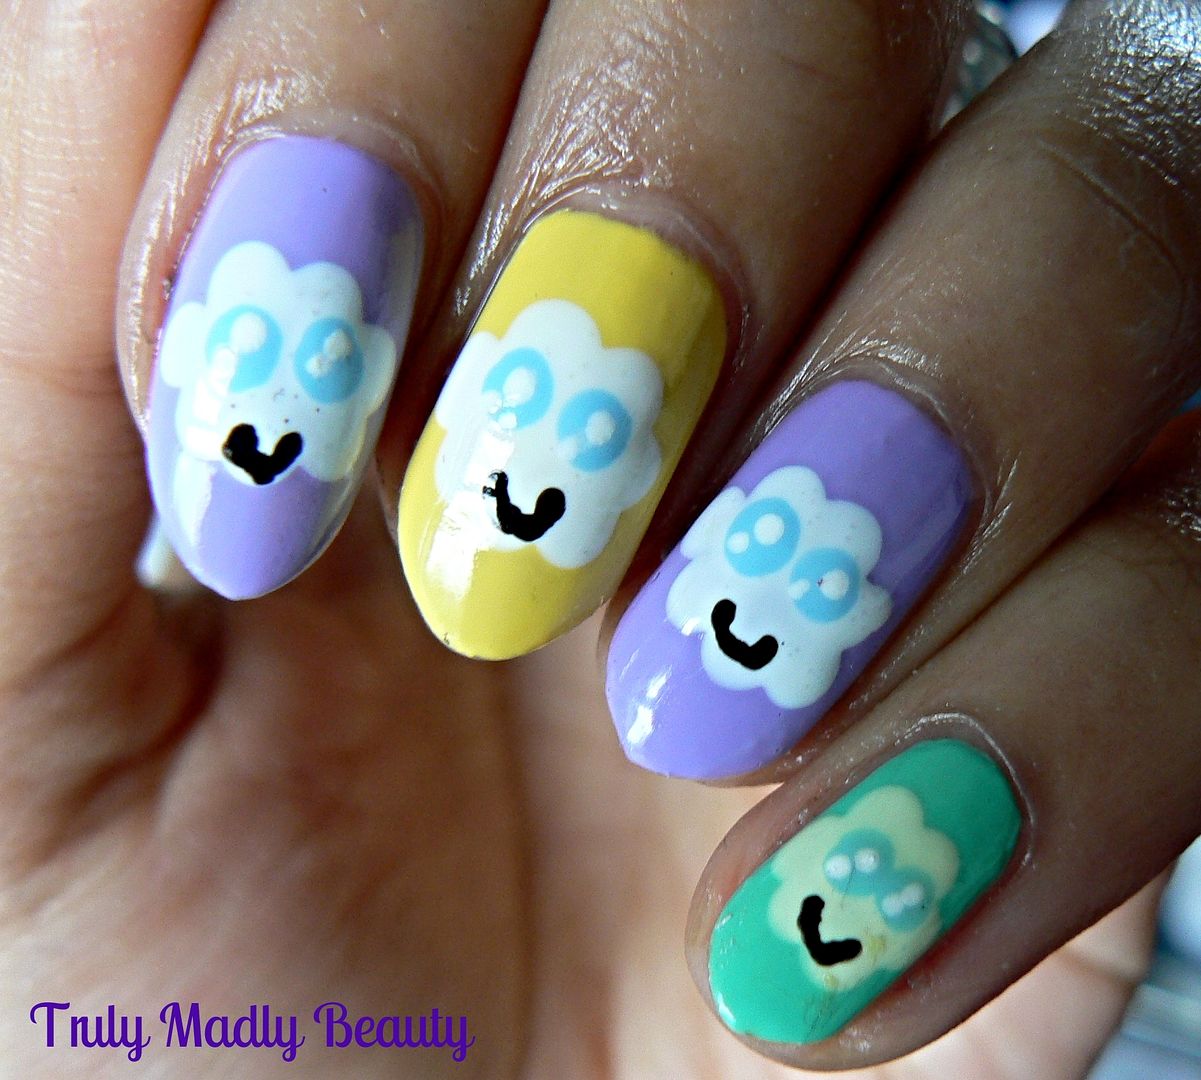
skittle thrown in so today I have some jolly little Kawaii Cloud
nails for you! :)
Hehe what do you think? I remember
seeing similar design on my IG feed a while back & I can't for
the life of me remember where as I follow SO many accounts! But I
remember thinking I definitely needed to try it out for myself &
I just love the cutesy design!
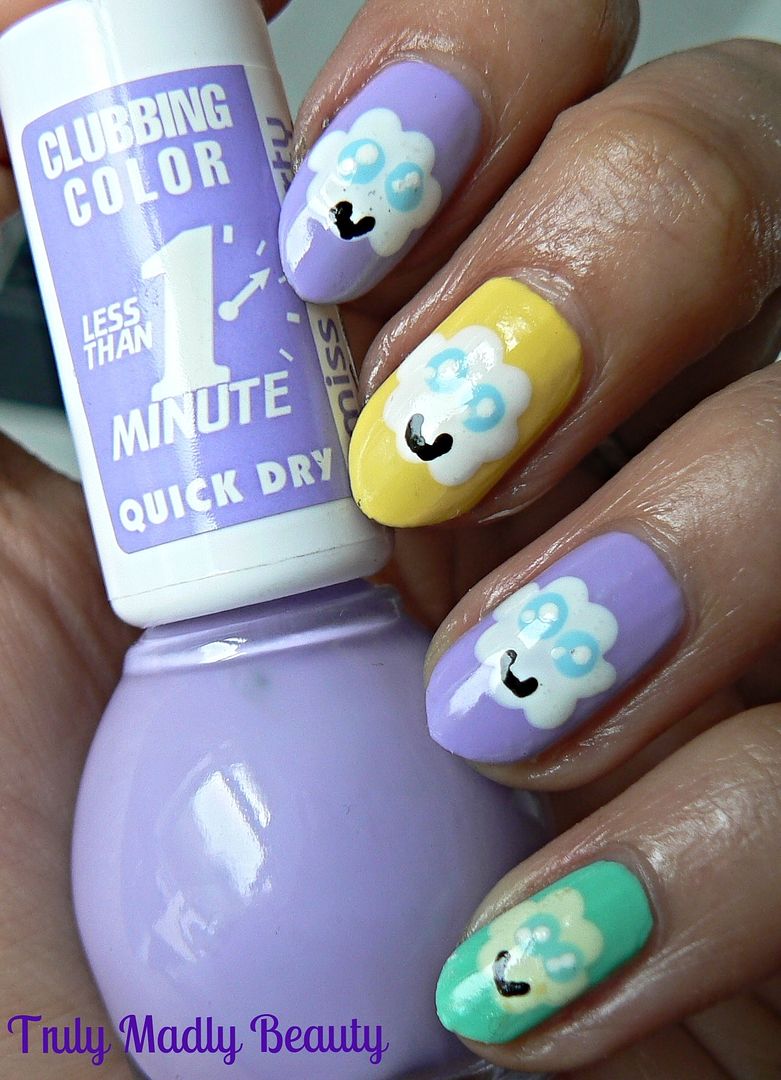
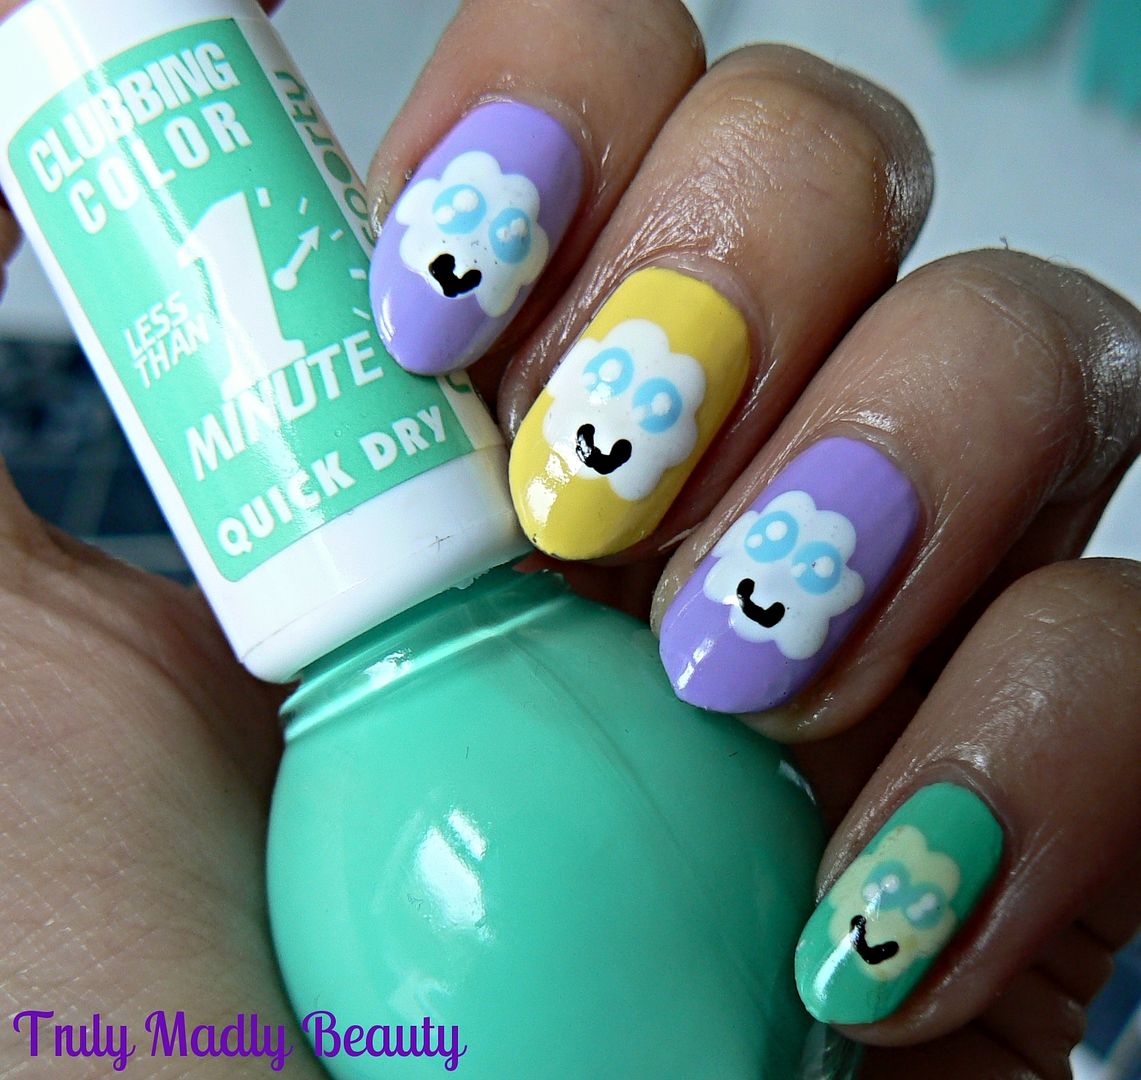
For this mani I've used three different
pastel cremes from the brand Miss Sporty. I never use to pay this
brand much attention I'll be honest, but I am totally in love with
their nail polishes! They have a great range of fab quality, pretty
shades that are absolute steals at £1.99!
I noticed that Superdrug had an offer
of three polishes for a fiver so I snapped up these three pretty
creme pastels from the Clubbing Colour Range. I couldn't decide on
one shade so I used all three in the mani haha!
On the thumb & little finger I
applied two coats of Green Whisperer (155), on the index & ring
fingers two coats of Lilac (190) & on the middle finger two coats
of Lemon Drop (140) All three applied perfectly, Lemon Drops formula
being slightly thicker than the others.
For my cute little Kawaii clouds I
grabbed my trusty dotting tool & with some white polish, dotted
on a circle of 6-7 dots on the centre of each nail before filling in
the middle with more white polish. I think the pigment in the Green
Whisperer polish is stronger than the others as it tinted my little
Kawaii cloud a pale green!
Next for the eyes I used a lightly
smaller dotting tool & No7 Duck Egg Blue, a pale pastel blue
crème. To create the Kawaii look in the eyes I added two smaller
white dots inside the blue using the Barry M white nail art pen.
Finally I used the Barry M nail art pen
in black to create the little smiles on my cheeky clouds before
adding a slick of topcoat to finish.
I hope you liked the Kawaii nails my
lovelies! Thanks as always for reading. Don't forget to enter my
GIVEAWAY for a chance to win the Giorgio Armani Luminous Silk
Foundation I recently reviewed!
Subscribe to:
Posts (Atom)