Hey there lovely readers,
As much as I love challenging myself when it comes to my nail art with intricate & detailed designs...sometimes you just need to have something CUTE AF on your nails for a wee little boost if you will, which is how I came to have these extremely RANDOM yet satisfyingly cheerful Octopus Nails!
Showing posts with label Essence. Show all posts
8.27.2019
1.03.2019
NOTD - Blue Porcelain Florals!
Hello there lovely readers & happy new year!
Rolling into 2019 my favourite way...with FLORALS! As you know florals are my absolute favourite when it comes to nail art, the possibilities are endless! I definitely want to work more on my freehand floral skills this year & that will basically involve watching ALL of Follow That Way's nail art tutorials. If you are not familiar, Follow That Way aka Annabel is the absolute QUEEN of delicate floral designs.
Seriously this girls skills are incredible & I hope one day to even have a fraction of her talent. I find watching her tutorials just mesmerizing, the way she slowly brings her floral designs to life. One such design I fell in love with was her Blue Porcelain Florals, which I've tried to recreate here.
Rolling into 2019 my favourite way...with FLORALS! As you know florals are my absolute favourite when it comes to nail art, the possibilities are endless! I definitely want to work more on my freehand floral skills this year & that will basically involve watching ALL of Follow That Way's nail art tutorials. If you are not familiar, Follow That Way aka Annabel is the absolute QUEEN of delicate floral designs.
Seriously this girls skills are incredible & I hope one day to even have a fraction of her talent. I find watching her tutorials just mesmerizing, the way she slowly brings her floral designs to life. One such design I fell in love with was her Blue Porcelain Florals, which I've tried to recreate here.
12.10.2018
Festive NOTD - Winter Wonderland
Hey there lovely readers!
I'll be honest with you, this year I have been struggling with Christmas nail art inspiration...not sure what the cause is but every design I attempt never goes according to plan resulting in a fail of epic proportions thus causing mini psychotic episodes to ensue...most frustrating & not good for ones mental health
But I am not one to give up, especially because getting creative & challenging myself when it comes to nail art is what I love the most...masochistic tendencies much? :) Every year I like to do some type of Christmas Trees design so this year is no exception. This time I've gone for a more natural vibe with a Winter Wonderland forest setting...
I'll be honest with you, this year I have been struggling with Christmas nail art inspiration...not sure what the cause is but every design I attempt never goes according to plan resulting in a fail of epic proportions thus causing mini psychotic episodes to ensue...most frustrating & not good for ones mental health
But I am not one to give up, especially because getting creative & challenging myself when it comes to nail art is what I love the most...masochistic tendencies much? :) Every year I like to do some type of Christmas Trees design so this year is no exception. This time I've gone for a more natural vibe with a Winter Wonderland forest setting...
Labels:
Christmas,
Christmas Trees,
Essence,
Festive,
Glitter,
Grey,
Model's Own,
nail art,
NOTD,
Poundland,
Primark,
Sally Hansen,
Xmas
6.12.2018
NOTD - Rose Quartz Semi Precious Stone Nails!
Hey there lovely readers!
If you caught my post a while back on my Jade Nails, you'll know that I'm going through a bit of an obsession at attempting to recreate some of my favourite semi precious stones on to my nails! Girl be on a mission!
There really is SO much nail-spiration to be found in stones, each with their own unique eye catching formulation & pattern. I was so happy with how the Jade nails turned out that I was eager to continue on my journey, so today I've given a go at some Rose Quartz!
5.02.2016
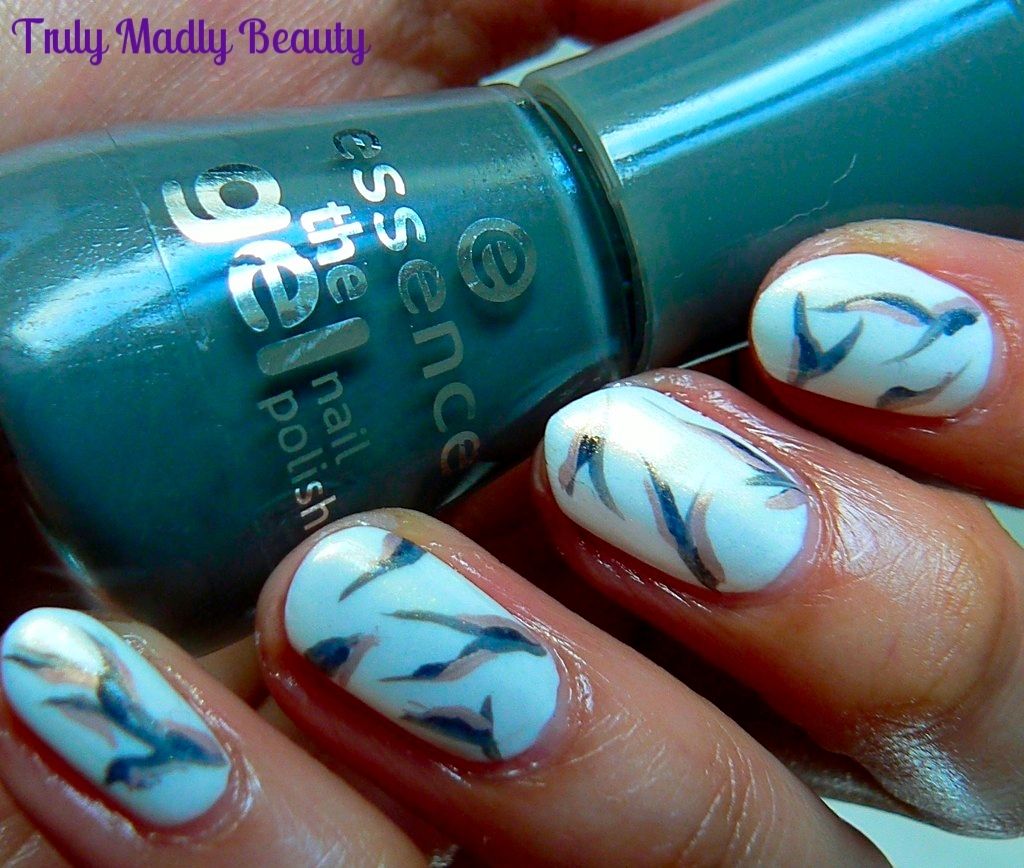
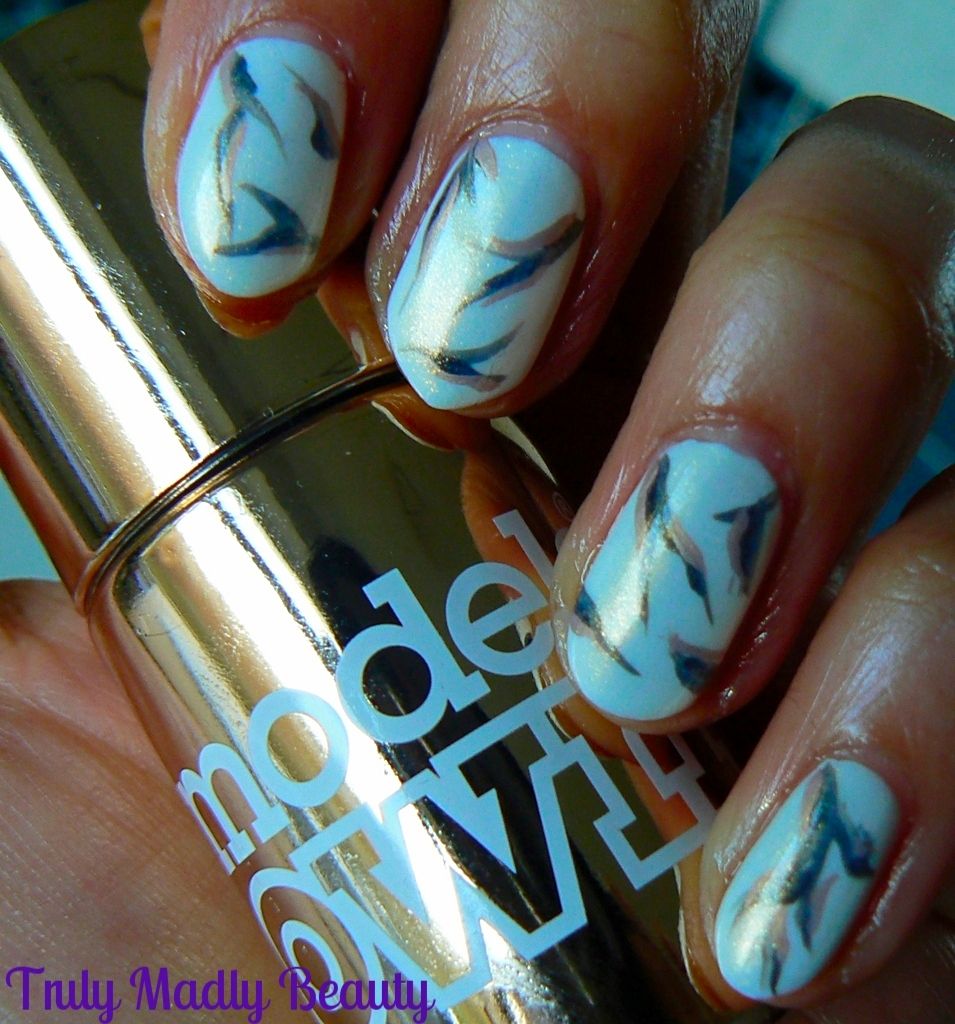
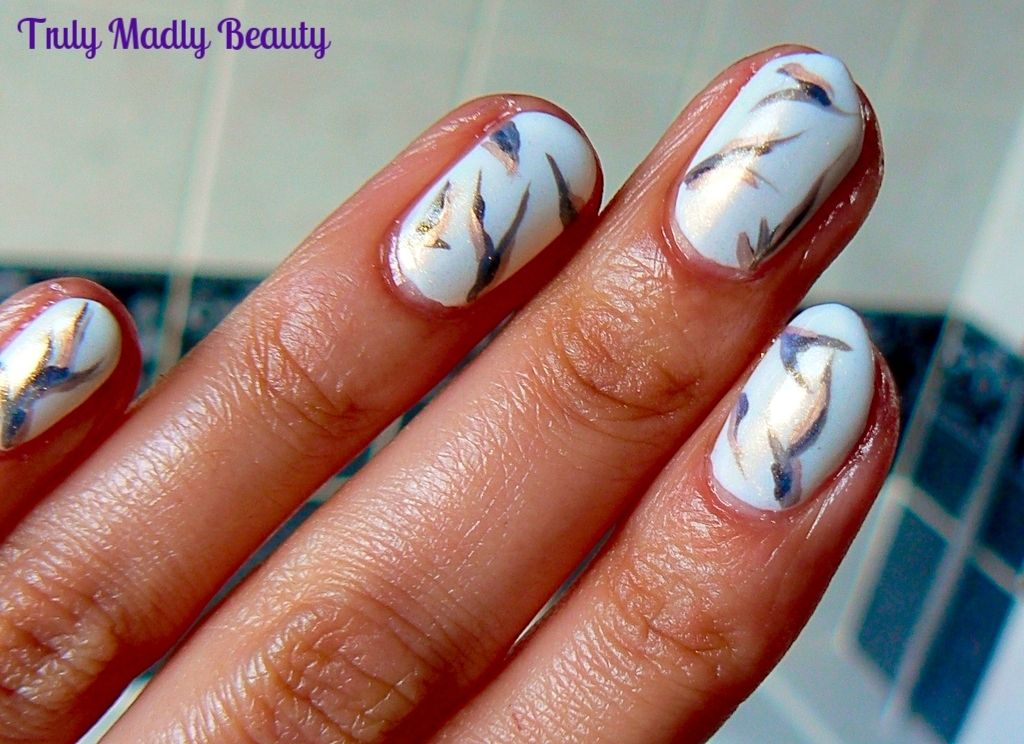
NOTD - Marble Stone Look Nails & Tutorial!
Hello
there my lovely readers!
How
have you all been? Attempting to restore some semblance of normality
after spending 7 blissful days in Antalya. My friend & I stayed
at the Litore resort & the holiday consisted of much sunbathing,
eating, relaxing before repeating it all over every day. Much needed
let me tell you & we had such an incredible time, it was
definitely hard to leave! But one must get back to the normal scheme of things now & that of course includes blogging!
You
may remember I went through a bit of a marbling phase recently when
it comes to nail art. I love playing around with different colours
not knowing what the finished result will be. However one effect that
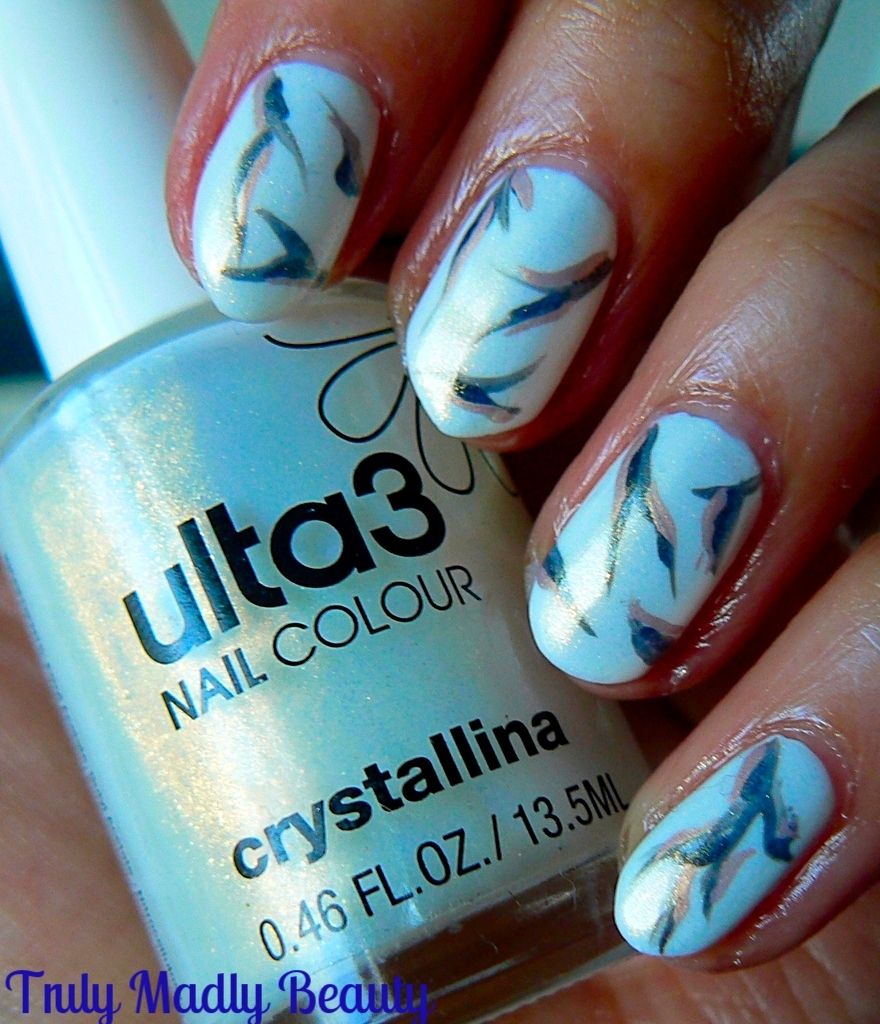
I adore is the pretty marble stone itself & one I wanted to
attempt to recreate on my nails...& this was the result
What
do you think? I tried to get my cracked stone lines to be as thin as
possible but I think I still need to get a thinner brush! Overall
though I was pretty happy with the finished look!
If
you want to see how I created my marble stone effect nails then read
on for a tutorial...
Start
off with a white base, here I've used one coat of my trusty Models
Own White Light. Normally I would apply two coats for a base however
I wanted to give it a bit of an edge so I applied one coat of Ulta3
Crytallina one of my fav topcoats which adds a subtle golden
luminescent glow to your polish
Now
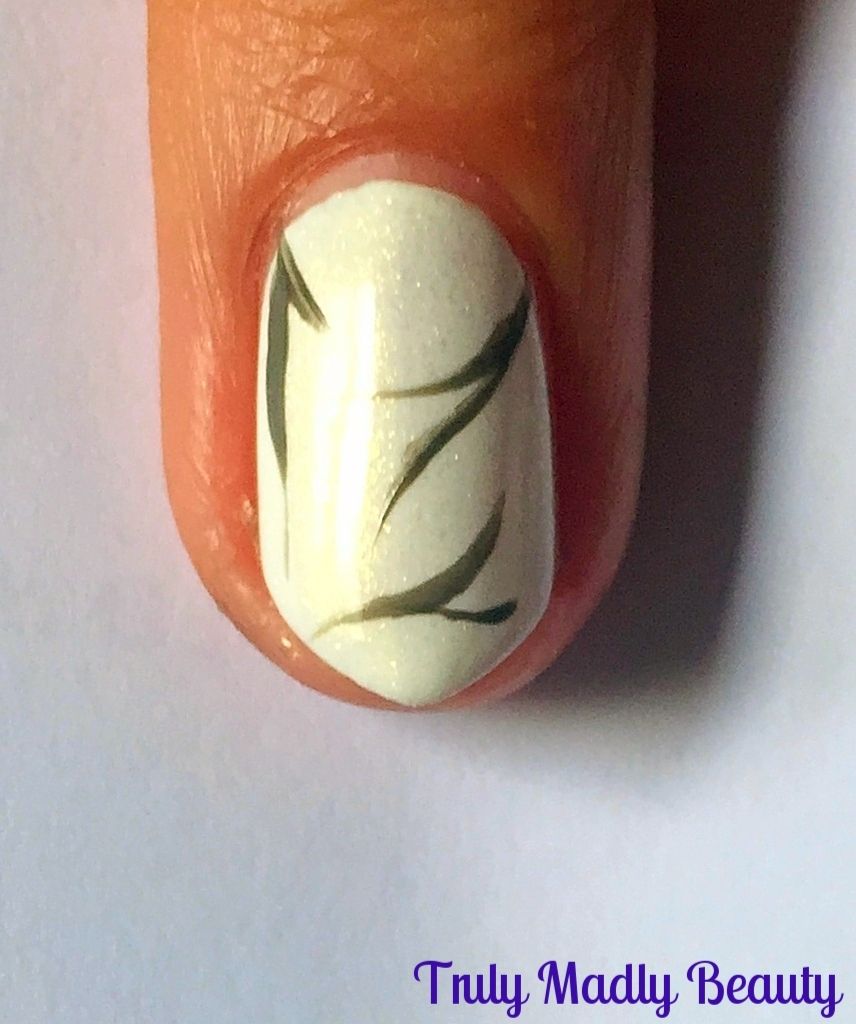
to start with the cracked lines to create that marble stone effect! I
first grabbed a grey polish, Essence Rock My World. Putting a blob of
polish on to some scrap paper, dip in your nail art brush & apply
two or three thin wavy lines starting from the edges of the nail
going in, with the line starting off slightly thicker before thinning
out at the tips...
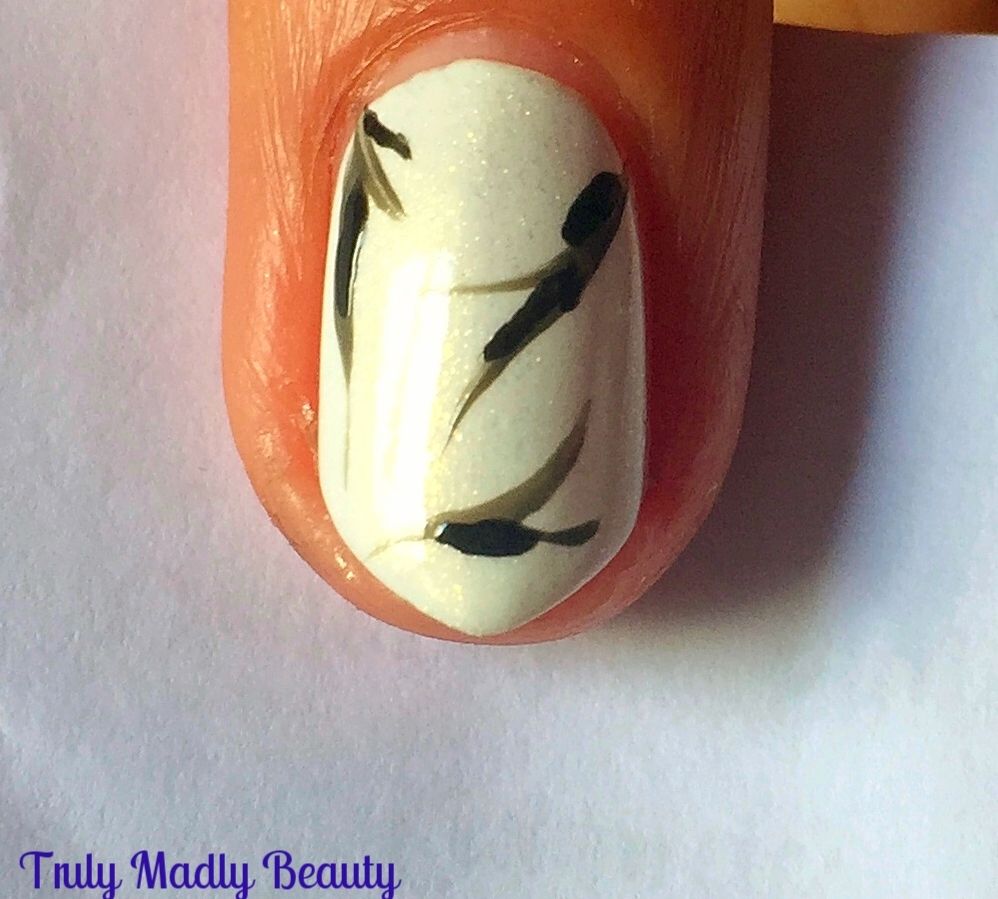
Then
to define the lines a bit more, again using a thin nail art brush &
now some black polish, apply some of the black along the edge of the
grey lines...
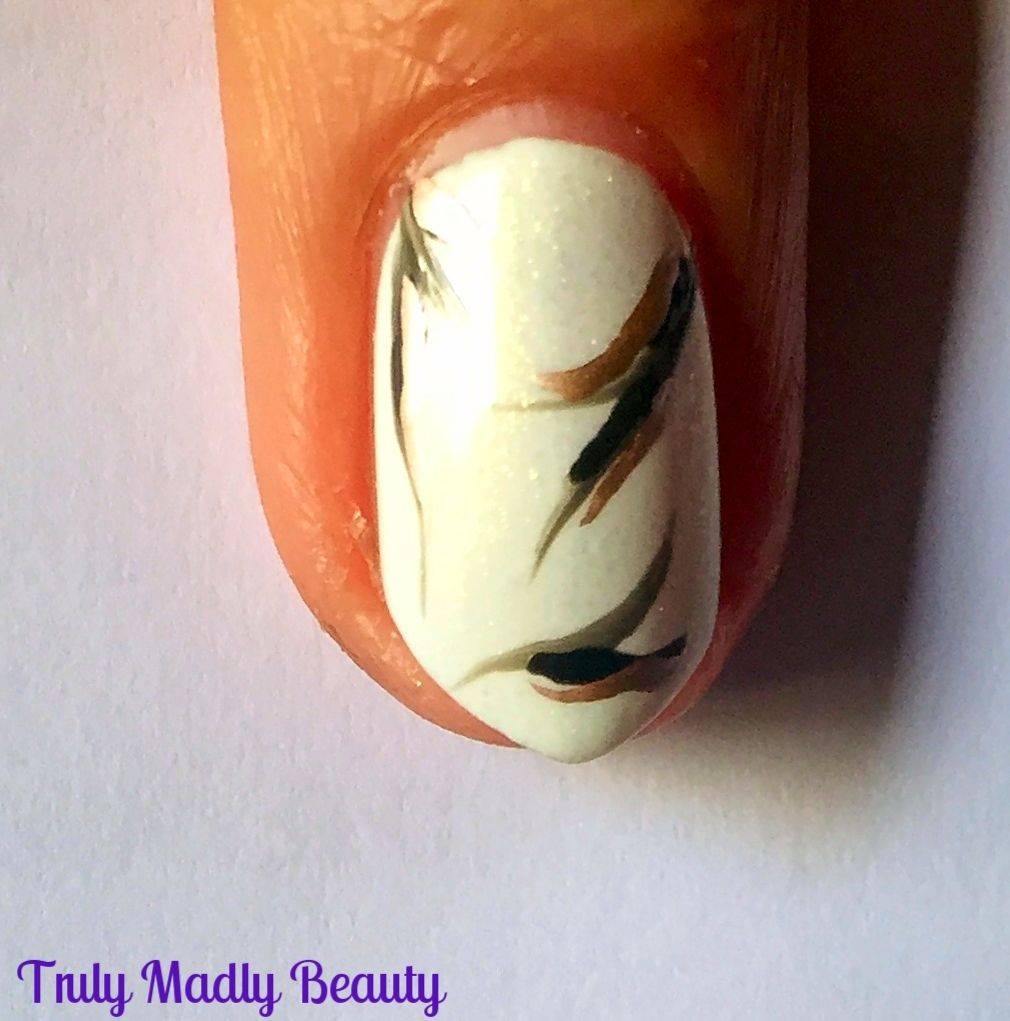
Finally
to give the look of jewelled marble stone, I grabbed some rose gold
polish in the form of Models Own Chrome Rose & using our thin nail
art brush again, applied a few delicate strokes of rose gold to my
lines.
I
decided to apply one last coat of Ulta3 Crystallina on top of it all
to give that slightly faded finish & thats it!
I
have a few ideas on techniques to try next time to help create this
marble stone look even better, maybe dabbing acetone on top to help
blur & blend the colours in to the white?
Also
the cling film method seems to be another way to achieve a marbled
look...I'm tempted to do some Jade stone effect nails next so when
doing so will give some of these ways a try!
Hope you liked darlings! Thanks
for reading!
Lotsa love to ya!
12.31.2015
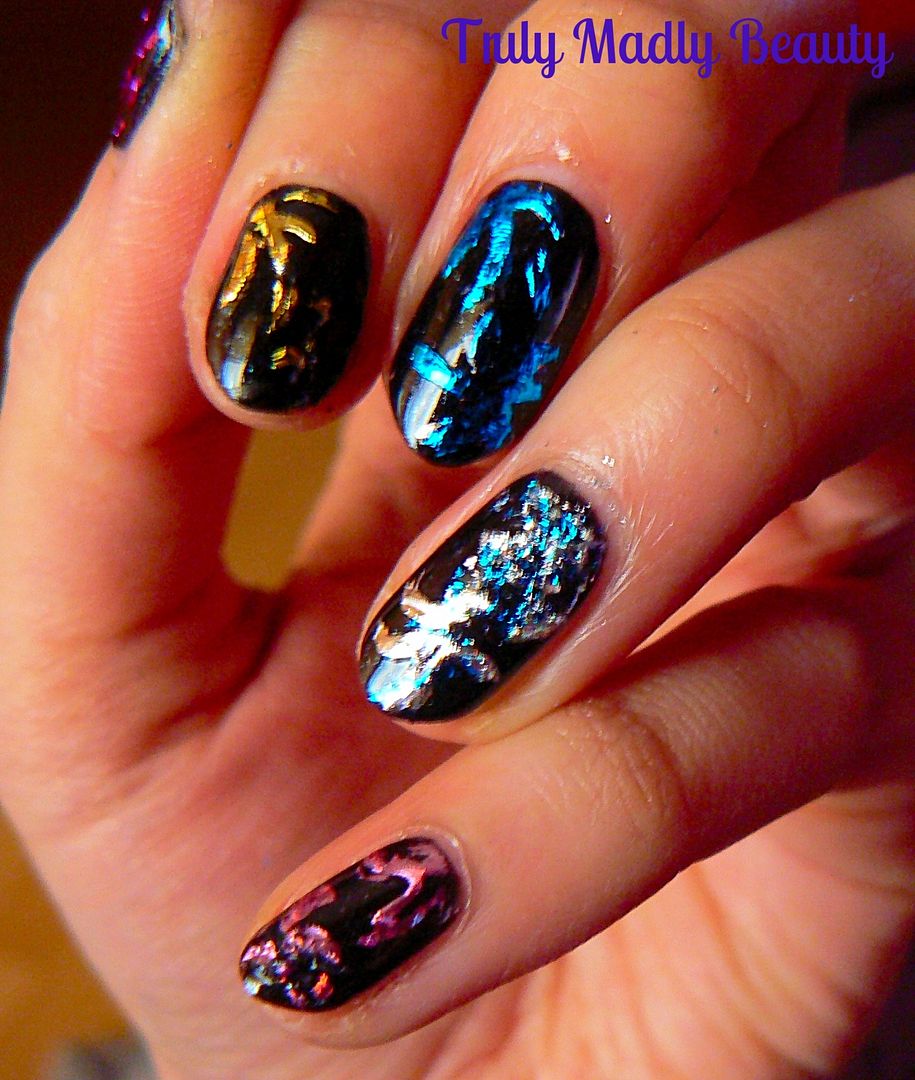
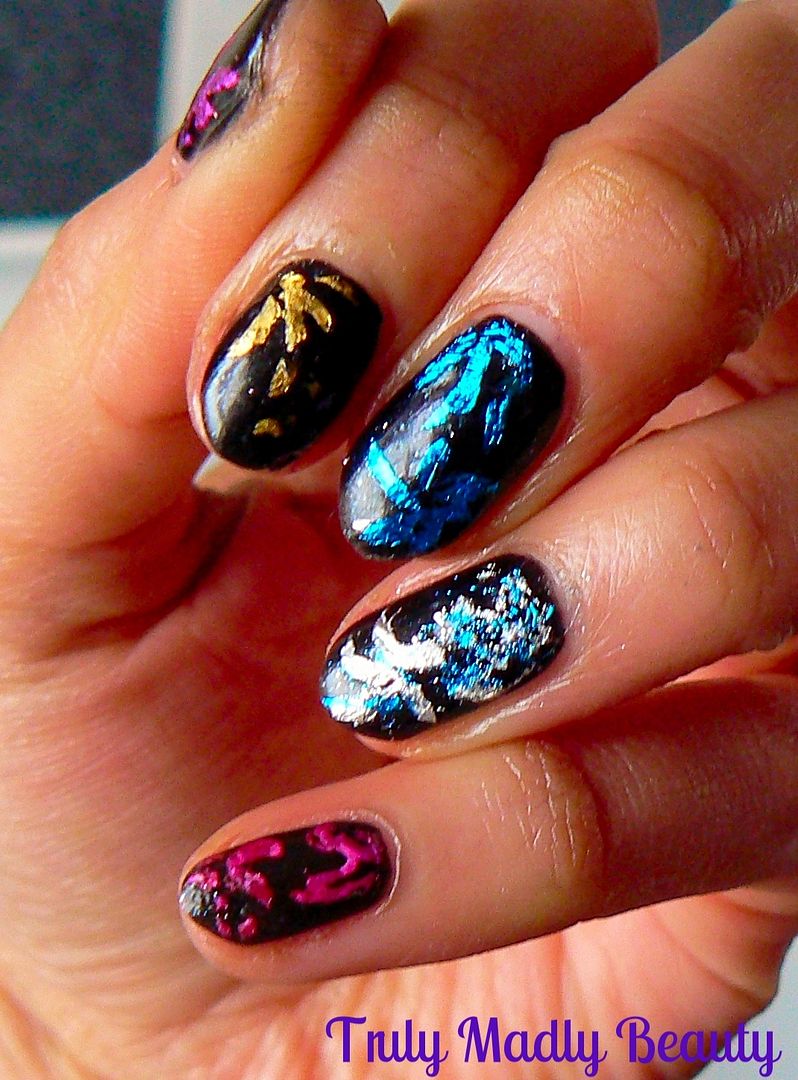
NOTD - Distressed Foil Fireworks Nails for New Years!
Hello
there my lovely readers!
So New Years Eve has creeped up on us already! I'd originally planned on keeping it a
quiet one this year however last minute spur of the moment plans have been
thrown together & I'm looking forward to getting my glad rags on
& seeing 2016 in with good food & friends! As usual I
couldn't resist rustling up some nail art to go with the
celebrations, so decided to go for some 'distressed' foil nails.
Now
this mani didn't turn out how I wanted, hence the strategically used
word 'distressed' haha! Believe me I have MANY mani fails! This is
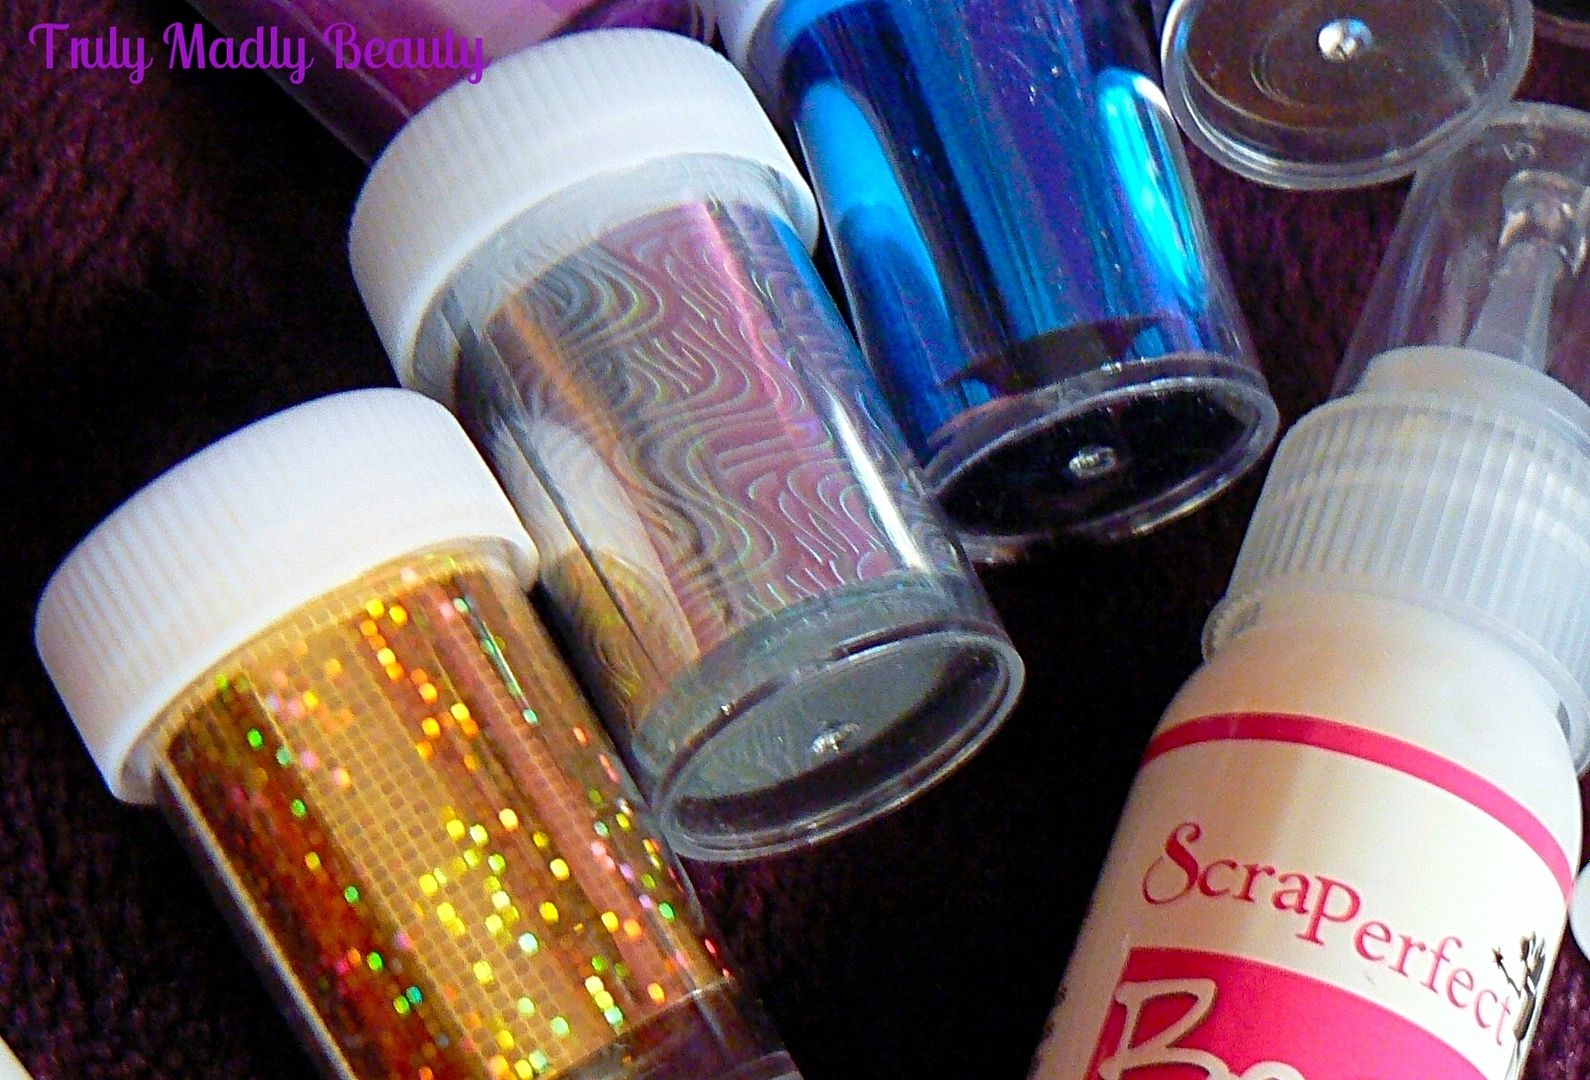
the first time I've used the transfer of nail foil with glue
technique, however I'm rolling with it anyhoos as its a concept I
love & will be practicing more of for sure! I was inspired by the
amazing Lucys Stash who used this technique HERE. The idea is
basically applying glue to certain parts of the nail where you want
the foil to be, then using special mylar nail foils, transfer on to
the nail!
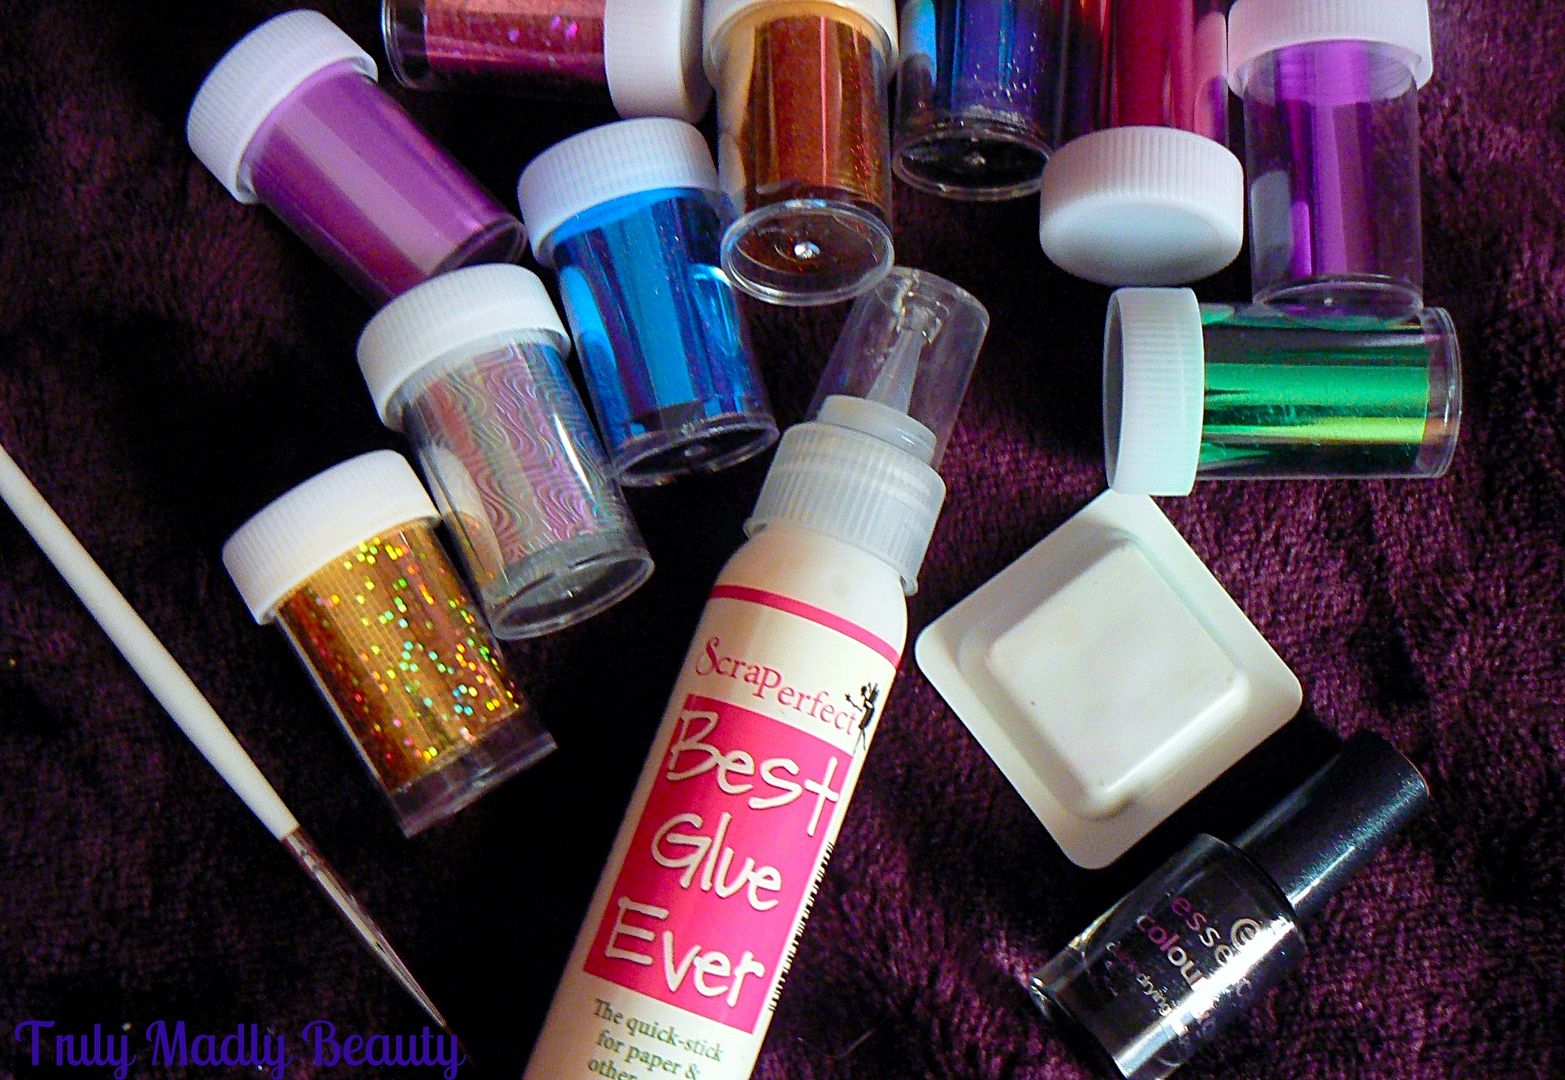
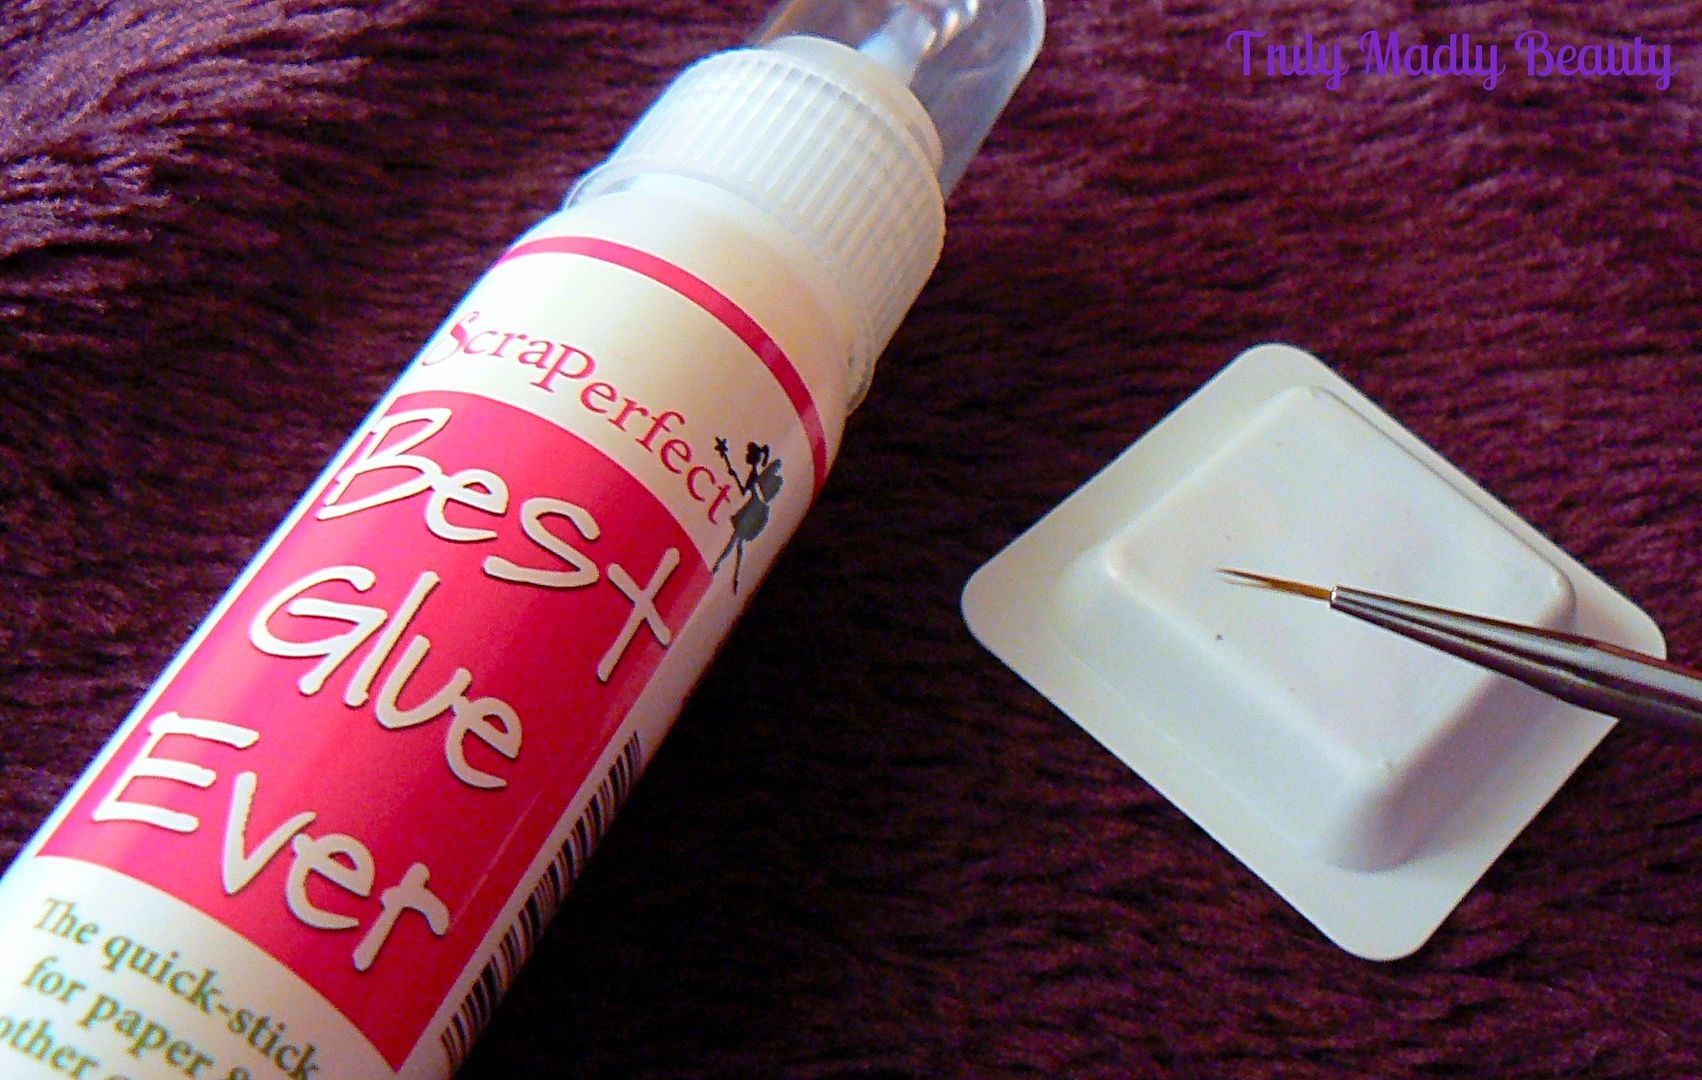
The
glue used is one that was recommended by Lucy, Best Glue Ever. I
purchased mine from Amazon a while back but I just googled it &
apparently there is a shortage due to the raw materials used to
manufacture being unavailable! There's a bottle on Amazon going for
£40! Mad! However the makers, ScraPerfect are hoping to have stock
available again early 2016. I picked up the nail foils from Ebay
yonks ago but I believe you can also get them from Born Pretty Store
who also sell special nail foil glue too just for this purpose which will make a perfect alternative to the Best Glue Ever. (get 10% off using my code TRUW10)
To
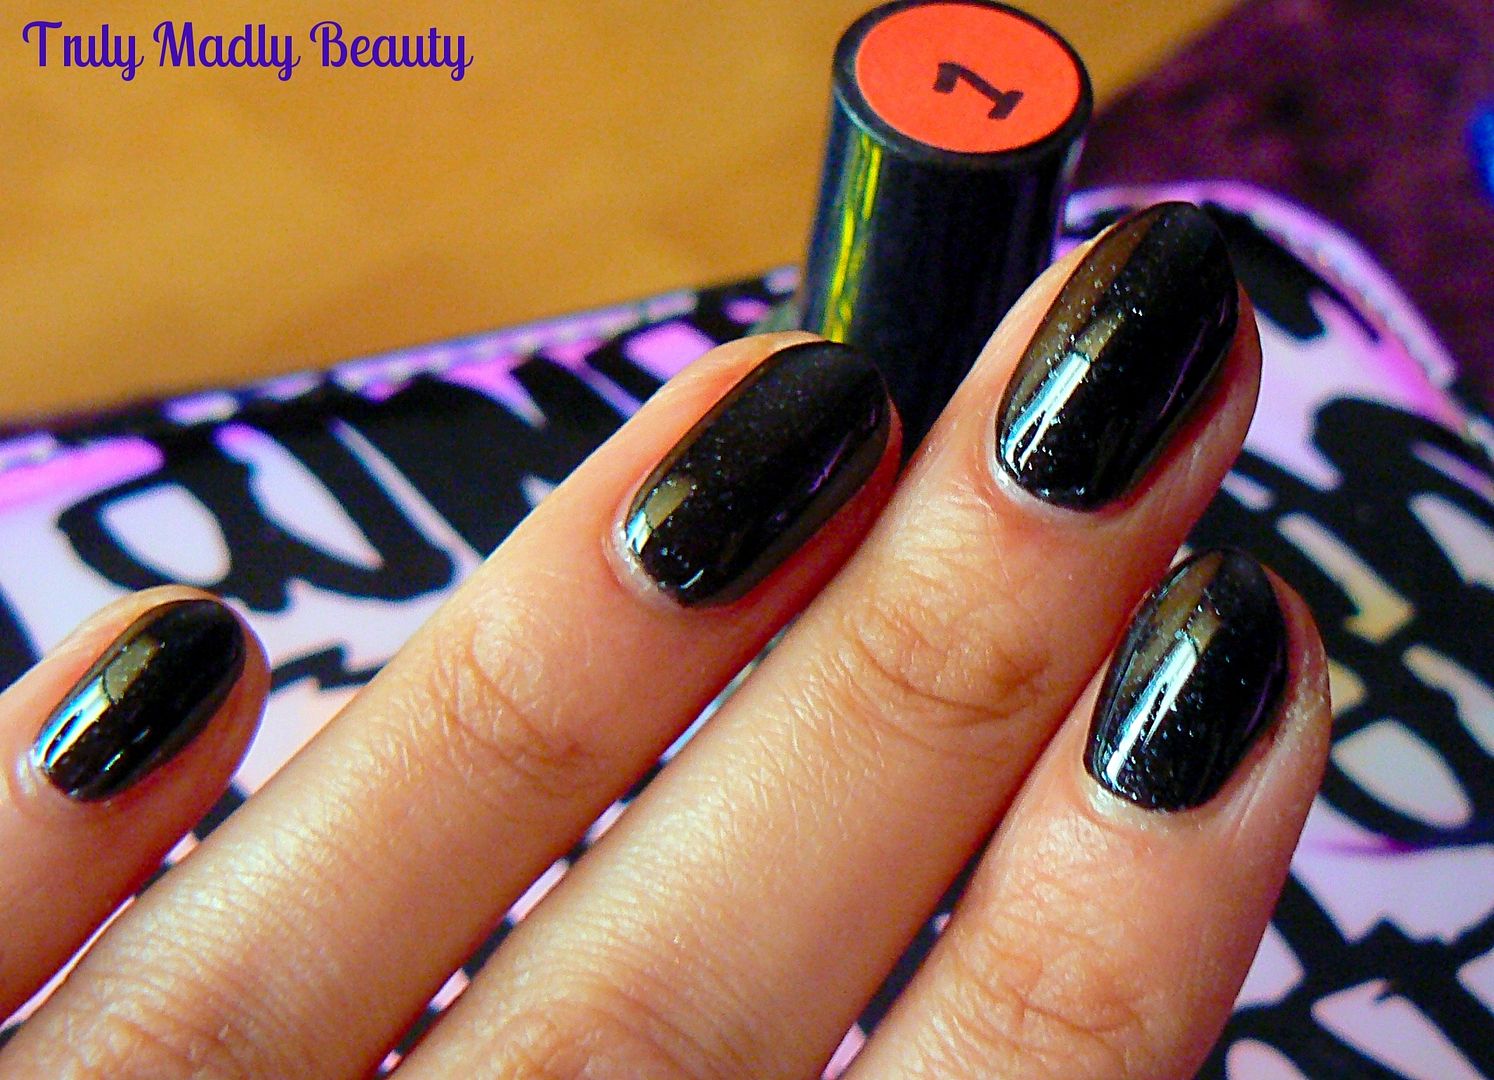
get the best finish with this technique its better to use a dark base
so that the foils can really dazzle on top, here I've applied two
coats of Essence Galactic Black which is a black with silver macro
glitter.
I
wanted to have a different colour foil firework on each nail so I cut
up a square piece from 5 different foils ready for me to use.
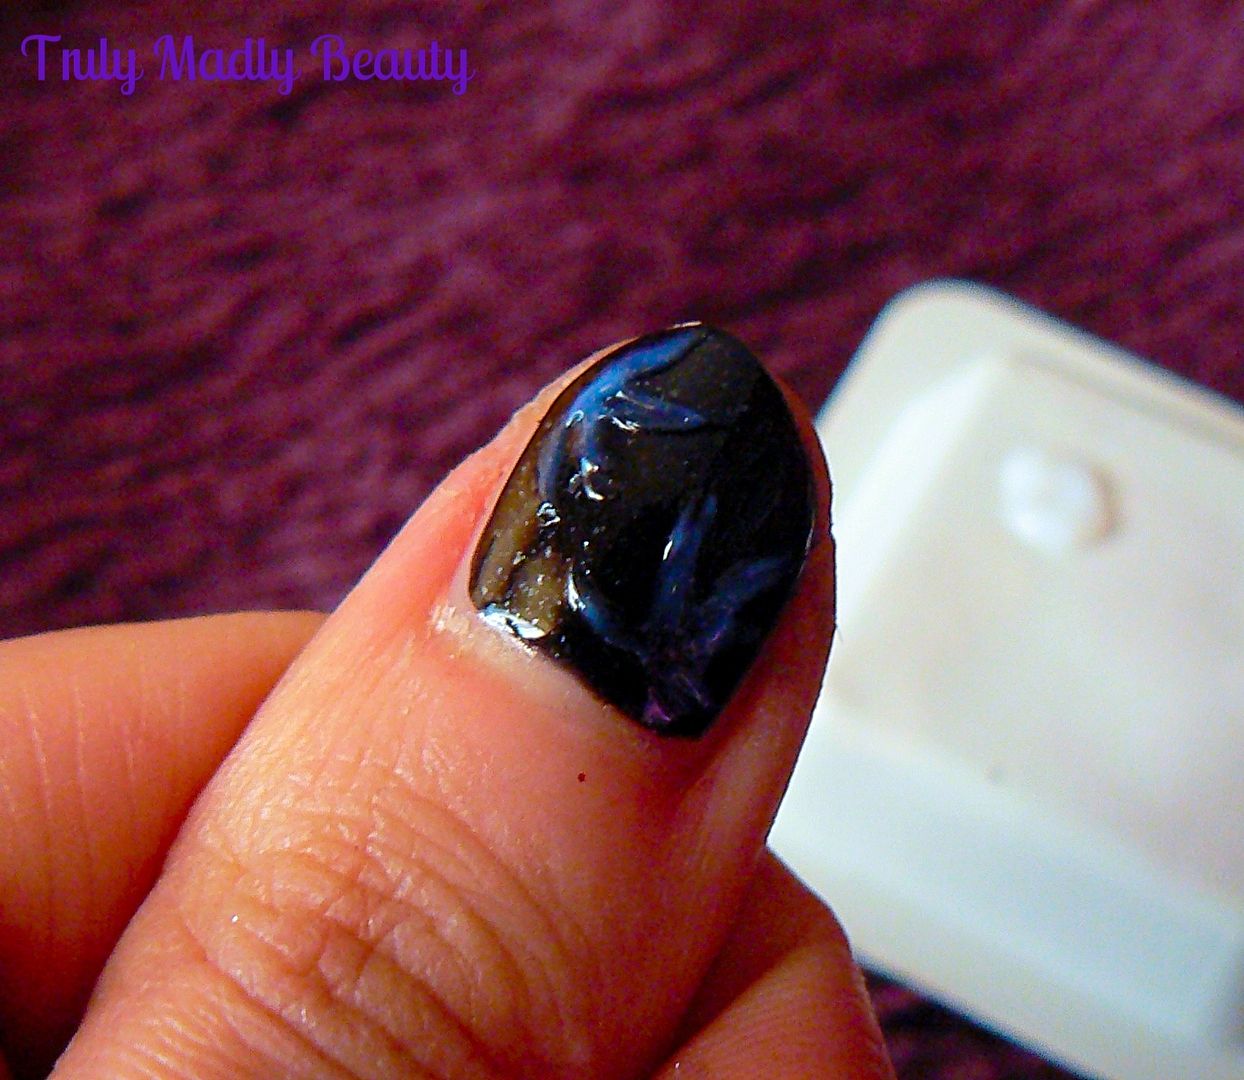
Using
a thin brush & a piece of plastic/paper/whatever you like to
dispense your glue on, dip your brush into a bit of glue & then
apply on to the nail in the areas you want the foil. I went for a
sort of firework type of pattern, needless to say it came out
successfully on only some nails more so than others....O_O
Wait
for the glue to COMPLETELY dry, this will be easy to tell as the glue
will dry clear, though this is probably where things went a bit tits
up for moi as I was just too impatient!
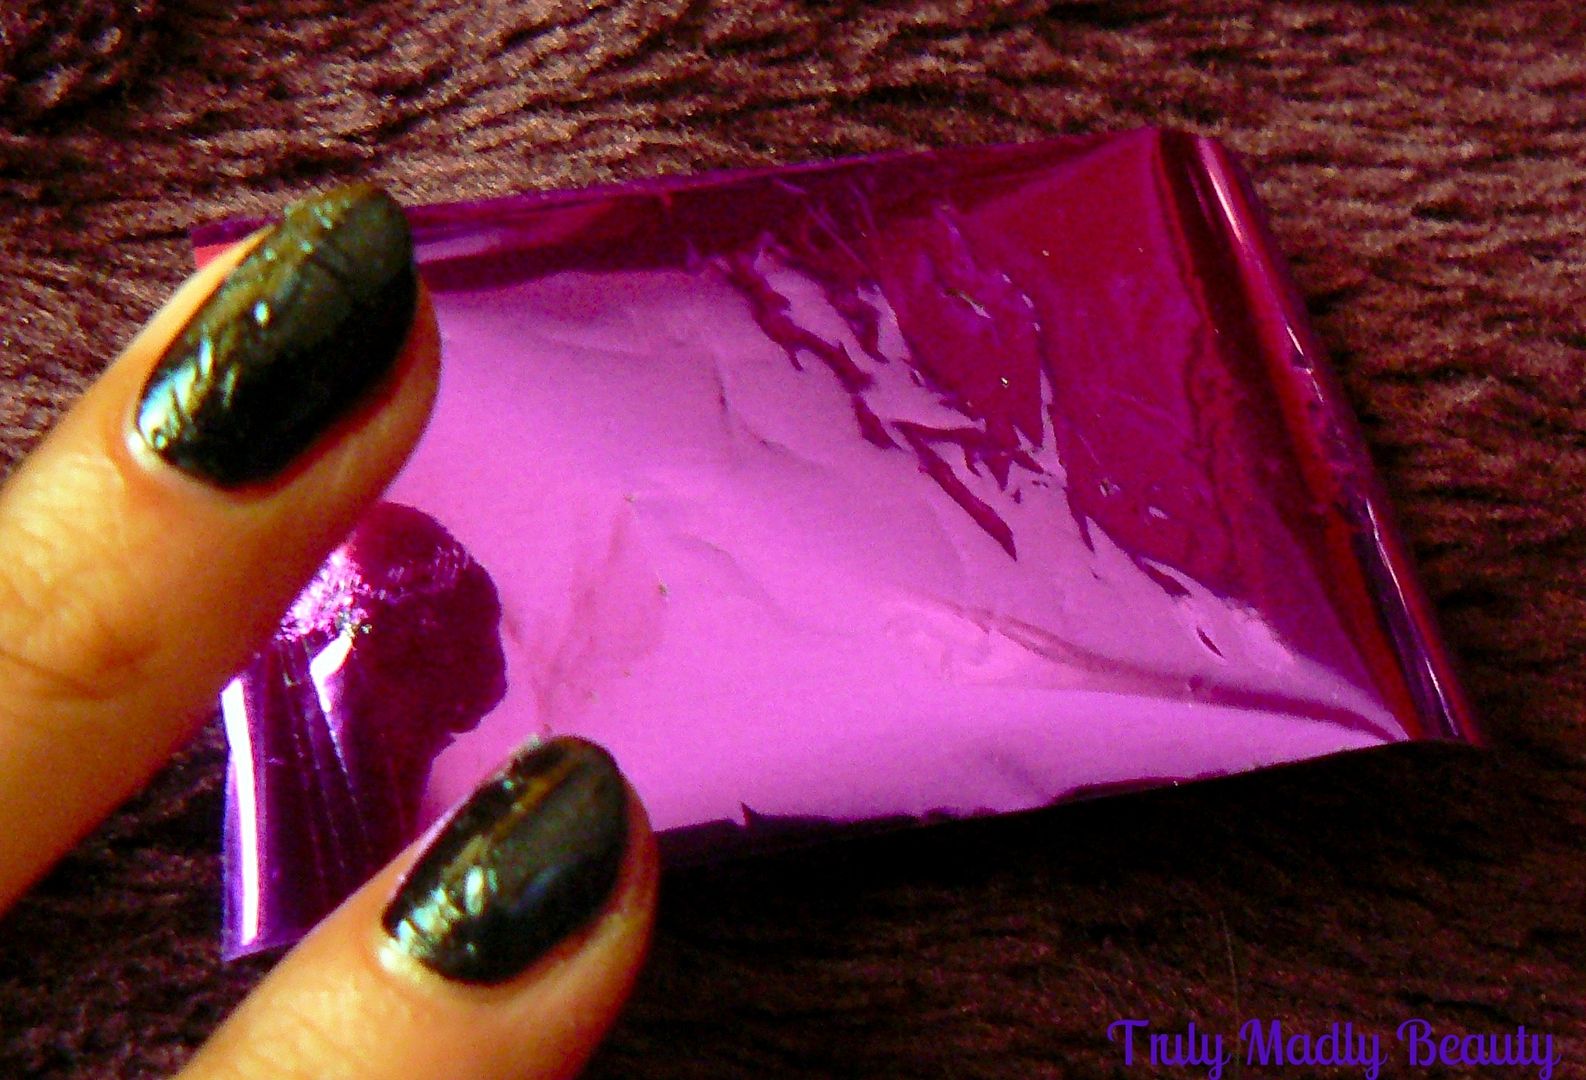
Then
grab your piece of foil, the mylar foil has two sides, matte on one
side & the coloured foil on the other. Its the matte side you
need to dab on the nail. Using light tapping motions, its easier if
you wrap the piece of foil around you finger when doing this, dab the
foil on to the nail until it has transferred on to the glue.
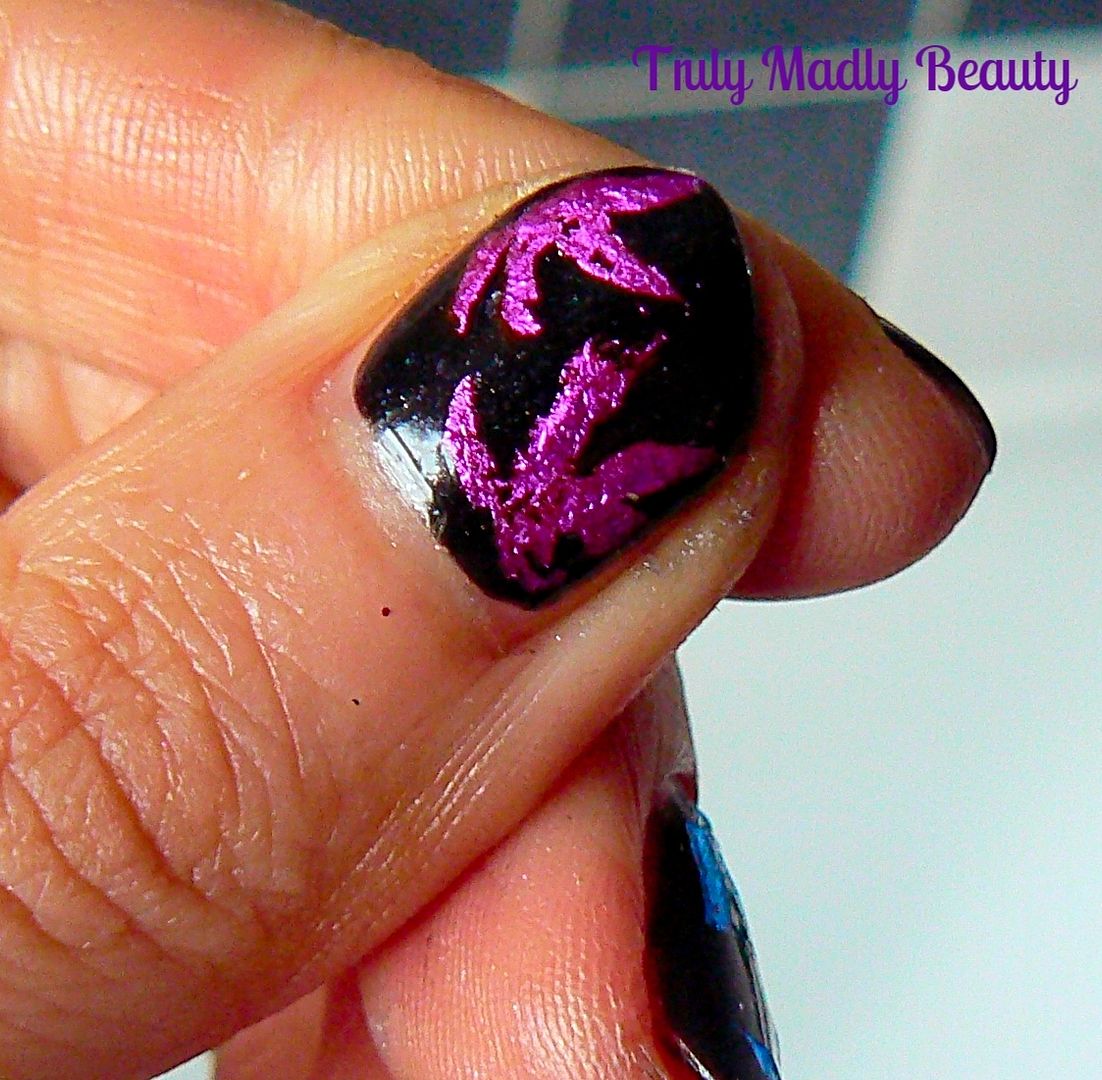
Do
this on every nail using your different colours until you've done all
ten, I decided to mix it up with both blue & silver on the ring
finger. I'm really happy with how my thumb came out, the others...not
so much ha! But you get the idea of it.
Finish
it all with a nice thick coat of glossy topcoat! As you can see I
still need a helluva lot more practice & playing around with
this, think I may give Lucy's Flame Effect nails a whirl with the foil
just on the tips!
Thanks
for reading lovelies & wishing you all a Happy New Year! See you
in 2016!
Lotsa
love to ya!
11.03.2015
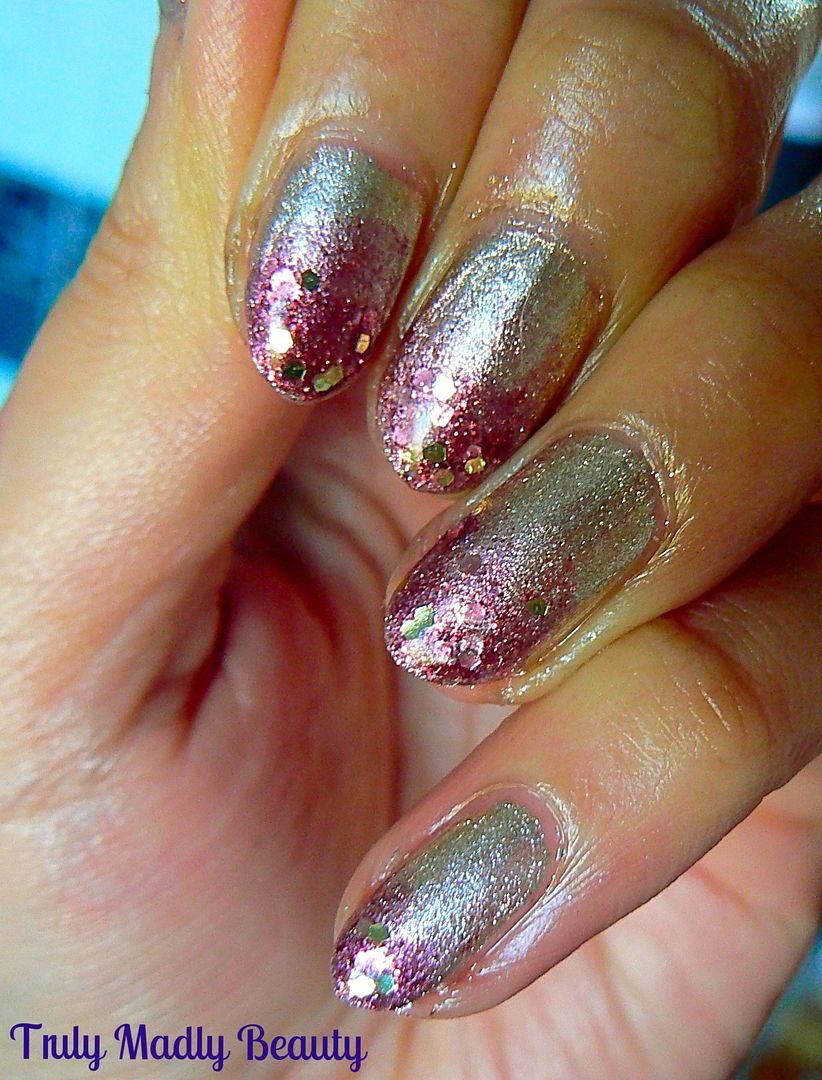
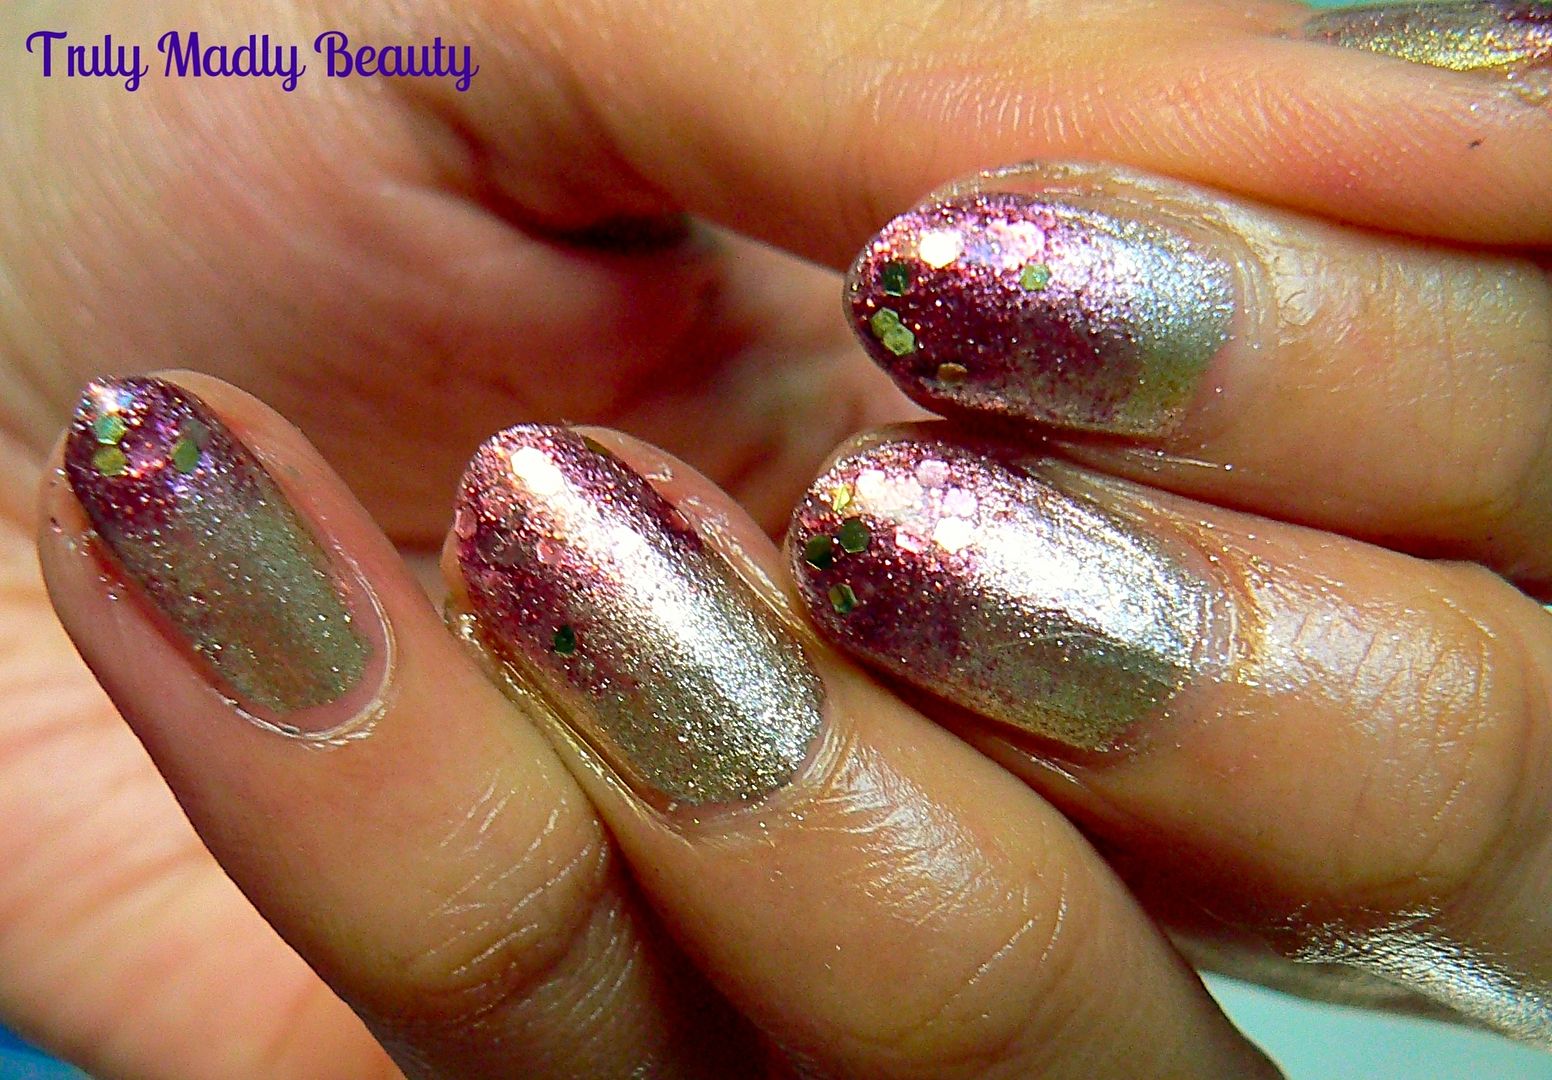
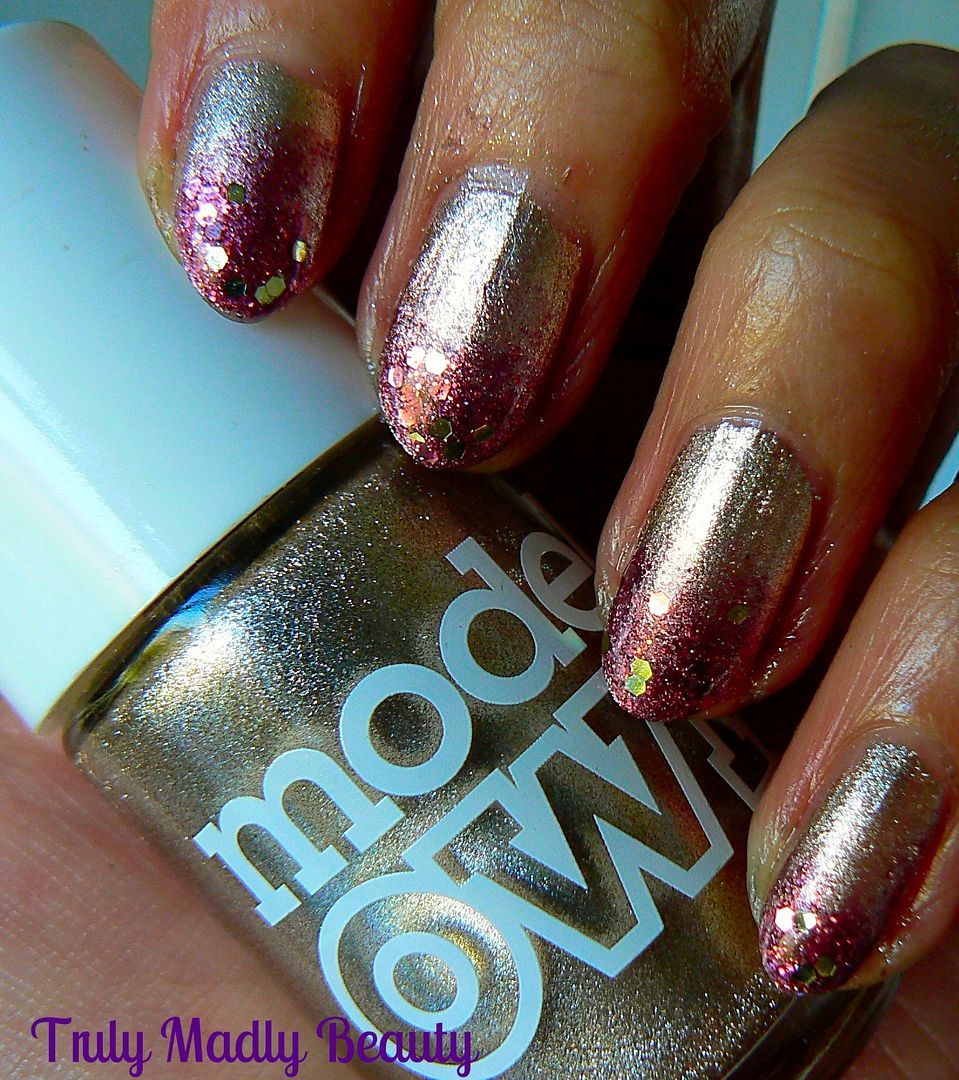
NOTD - Champagne & Burgundy Glitter Gradient
Hi
there lovely readers!
Now
that Halloween is done & dusted for the year *sobs!*, before one
can get stuck in with full on festive nail art fun, we still have a
month to go where I can try to squeeze in as many autumnal vibed
manis as possible :) This time of year the burnt golds, bronzes &
burgundy's become especially lush & its definitely those tones I
reach for most often.
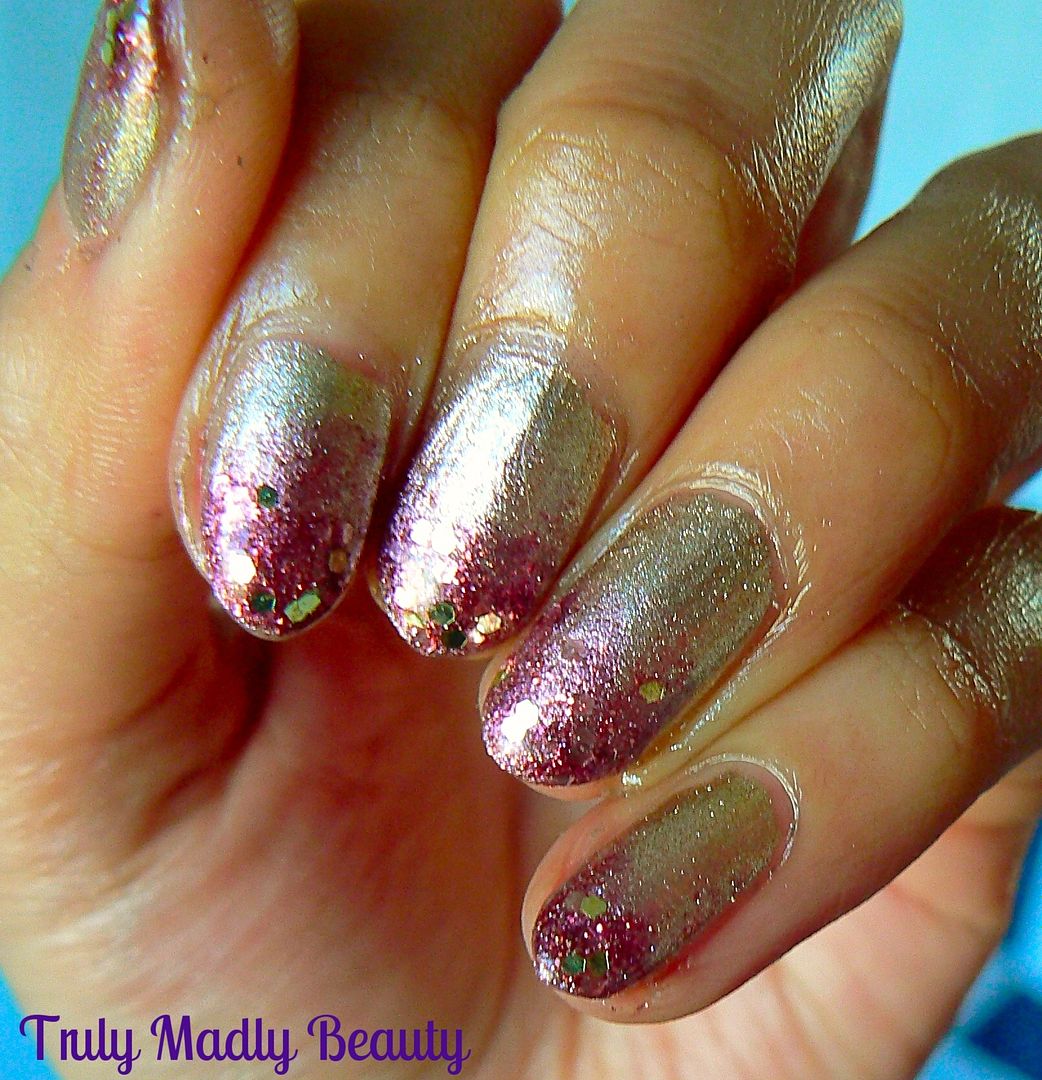
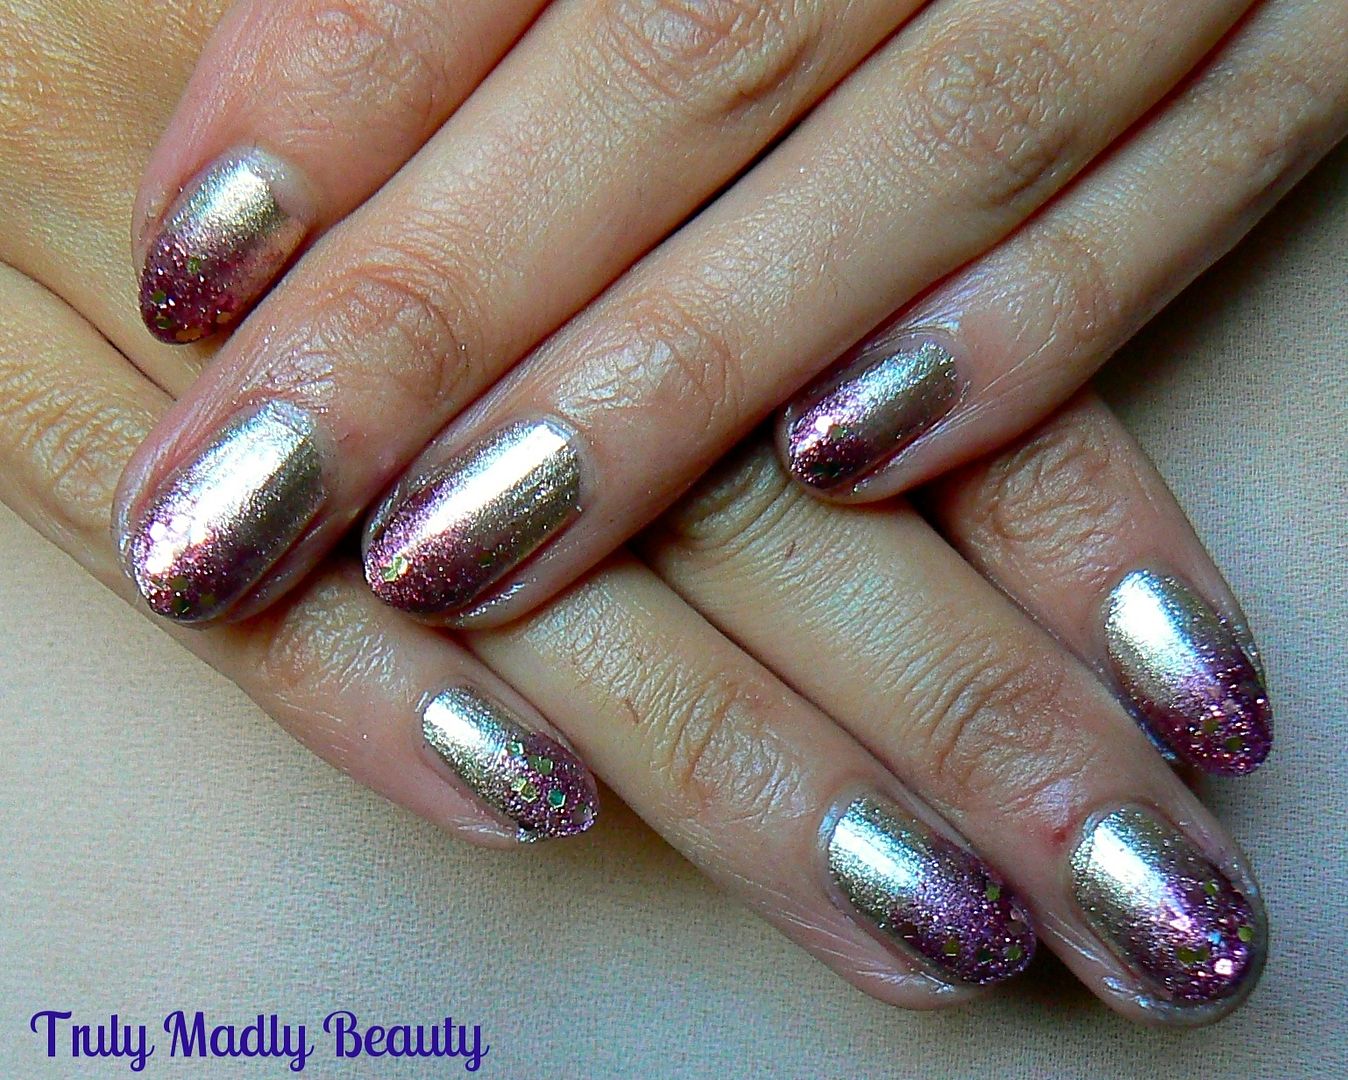
This
quick manicure I have for you today is what I actually wore for my
best friends wedding & went perfectly with the beautiful burgundy
bridesmaid gowns she kindly bestowed us with. Foils are so dreamy &
I do have a soft spot for the golden-y metallics
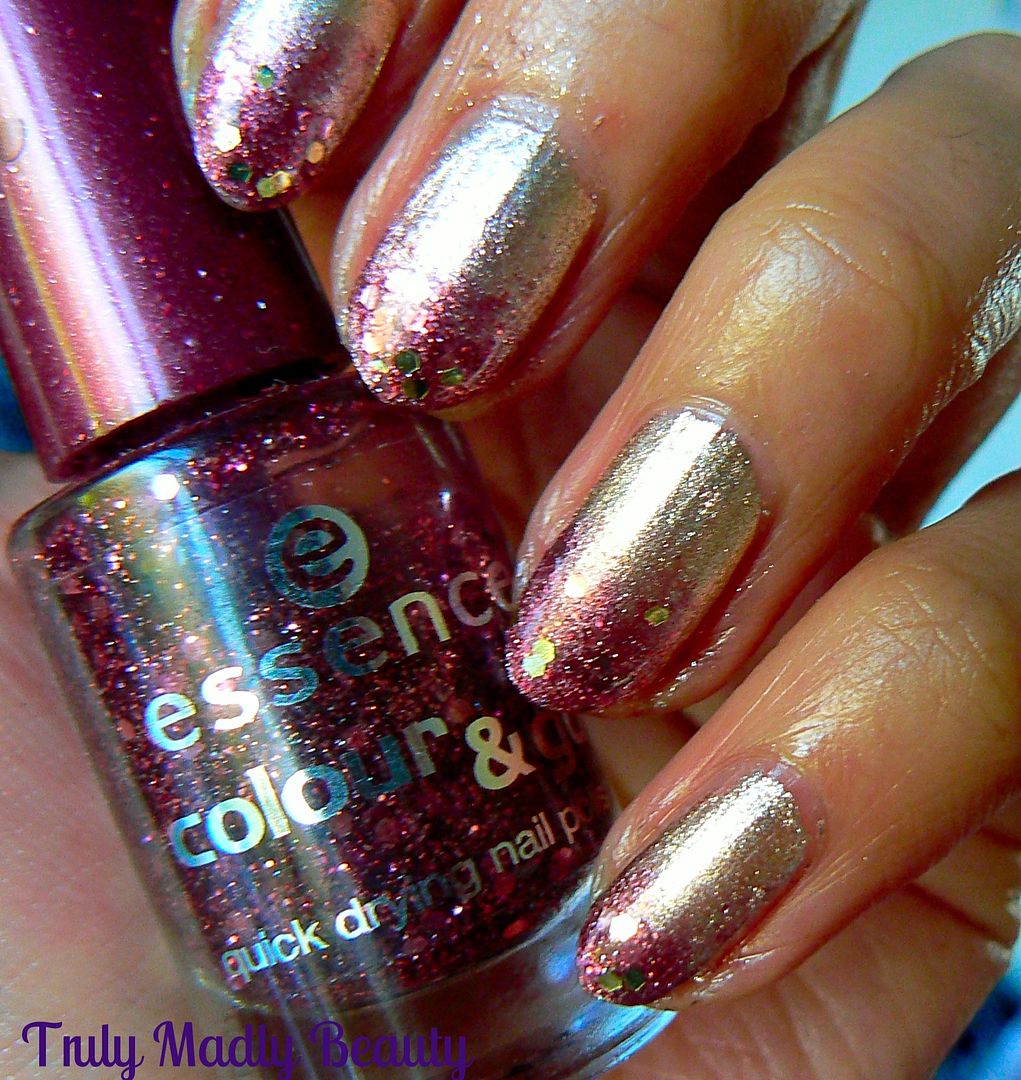
Here
we have an oldie but a goodie of mine, good old Models Own Champagne,
a truly lush pale golden foil that I always find myself coming back
to, I especially love wearing this on the tootsies as a pedi.
Another
fab thing about foils is they dry super fast! Great if you want to do
some nail art on top. This was two coats applied.
As
our bridesamids dresses were burgundy I wanted to incorporate some of
that warm tone into the mani so opted for a subtle glitter gradient
using Essence Time For Romance which is a lovely deep pink/maroon polish with
small and large hexagonal glitters within, a really pretty polish!
To
do the gradient, apply the polish to a piece of sponge, I use a bit
of make up sponge, & gently dab onto the tips, taking the
gradient down to about three quarters of the nail to give the slight
fading effect.
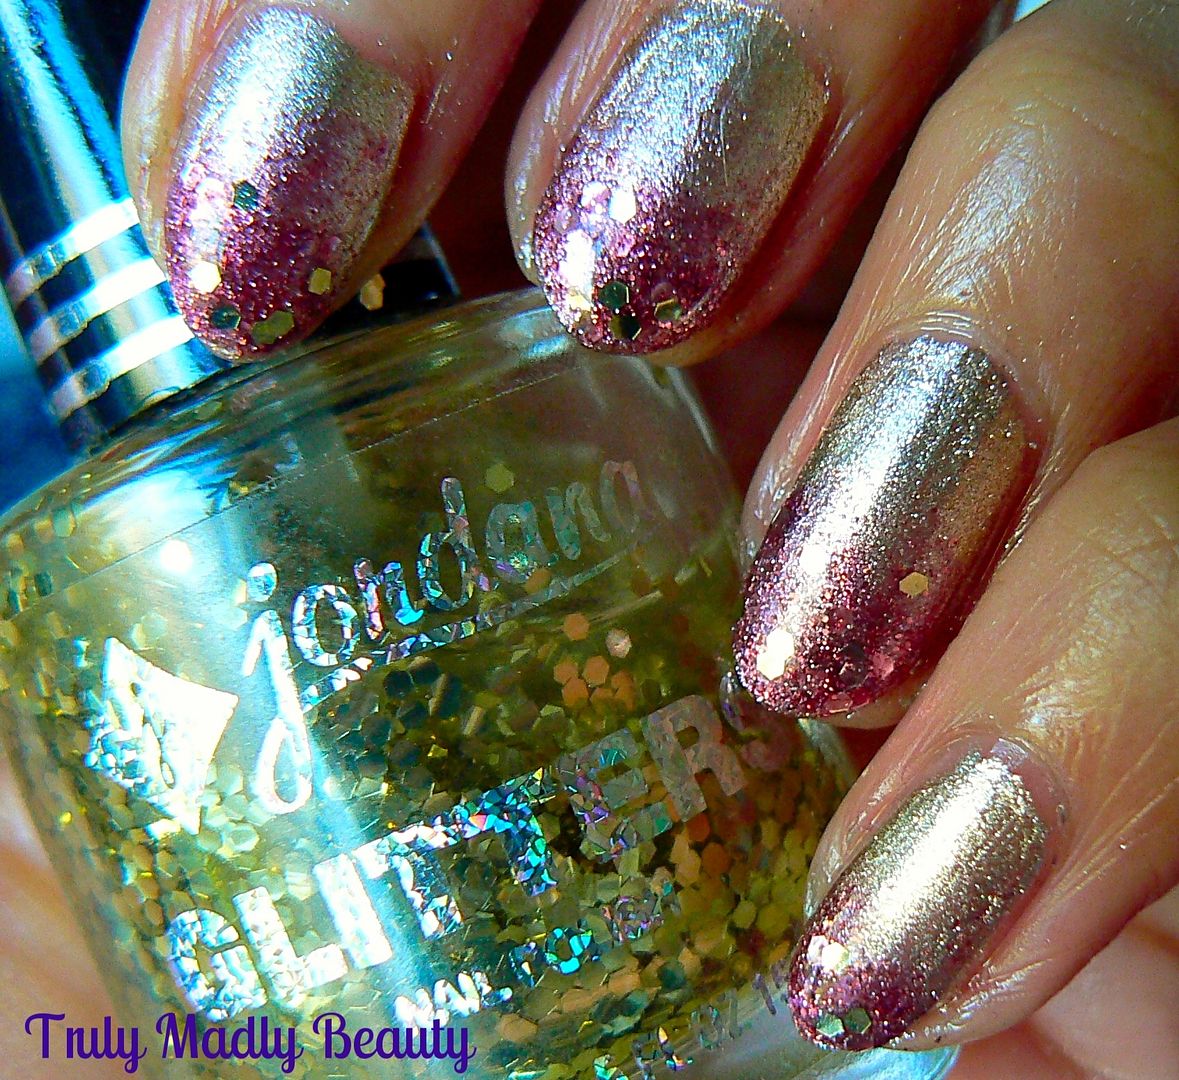
Do
this a few times on each nail until your happy & for a final
touch I like to add a bit of extra glitter onto the tips, here I've used a bit of Jordana Funky Gold Town.
Finish
with topcoat & that's it :) Thanks for reading, I hope you liked
the mani dolls, till next time!
Lotsa love to ya!
10.17.2015
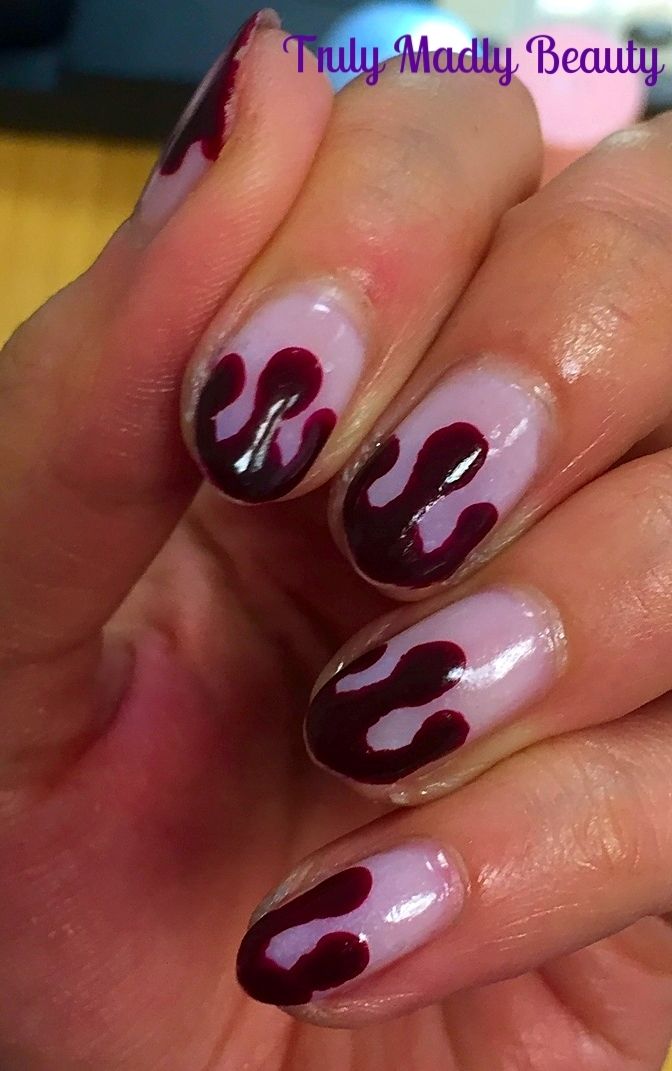
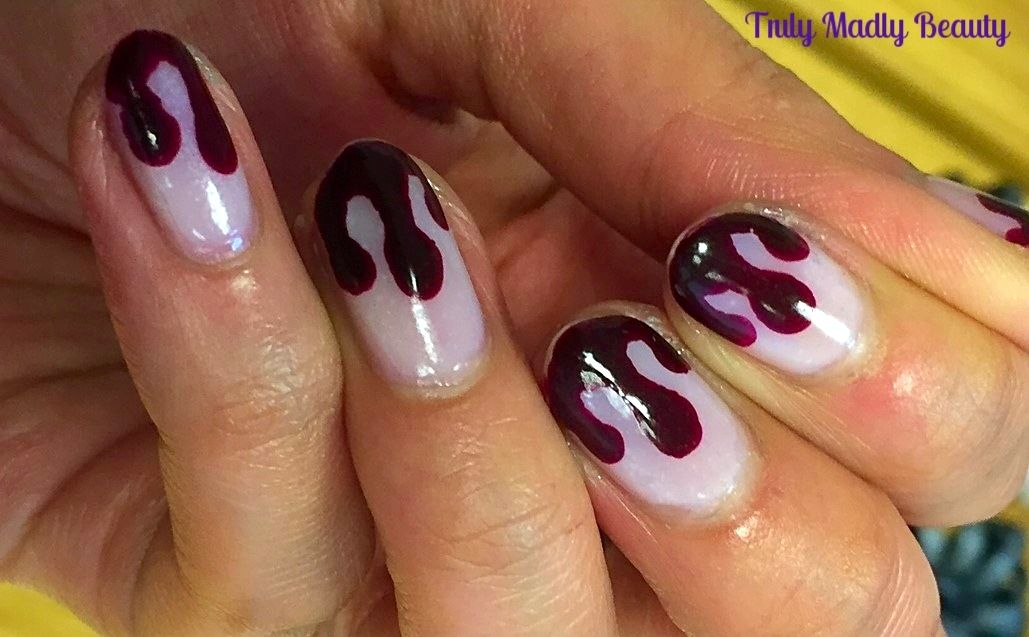
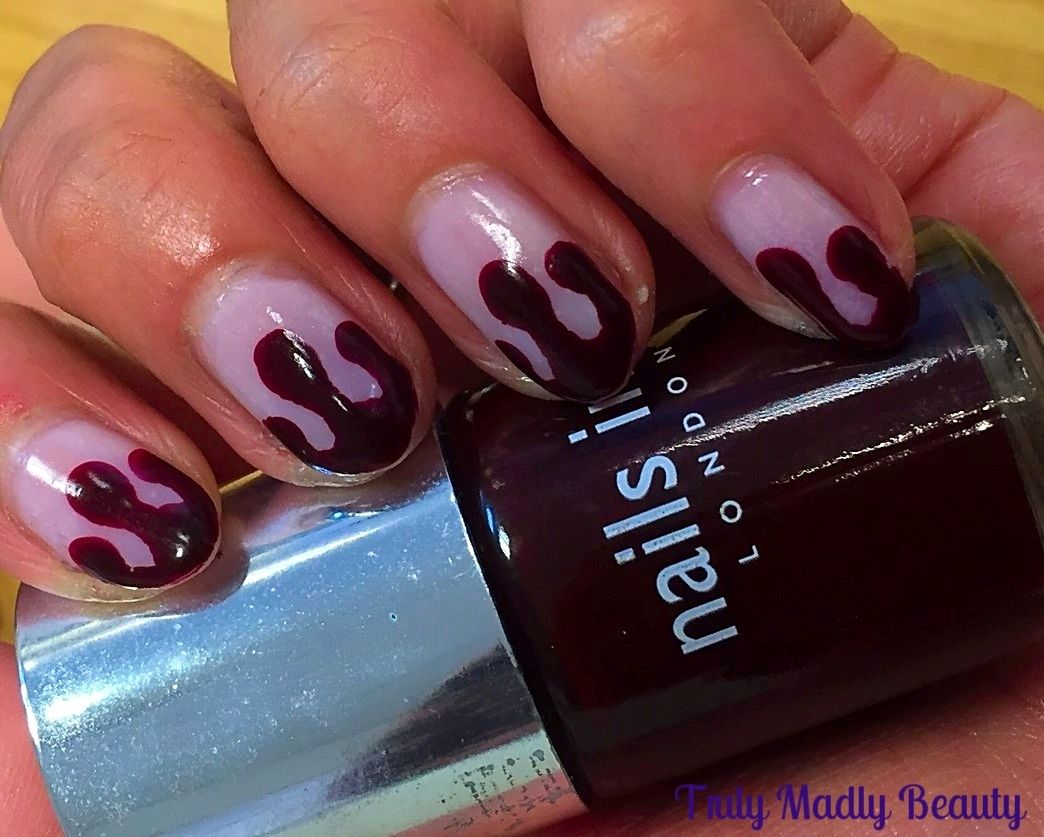
Halloween Nails - Dripping Blood Tips!
Hello there my
lovely readers!
Happy weekend! Now I couldn't let
Halloween pass by without rolling out some obligatory blood effect
nails! Its kind of a must really ;) Last year I decided to do things
a tad differently with these Chanel Dripping Blood Nails using the
well known emblem. This year I've gone for some simple yet satisfying
dripping blood on the tips!
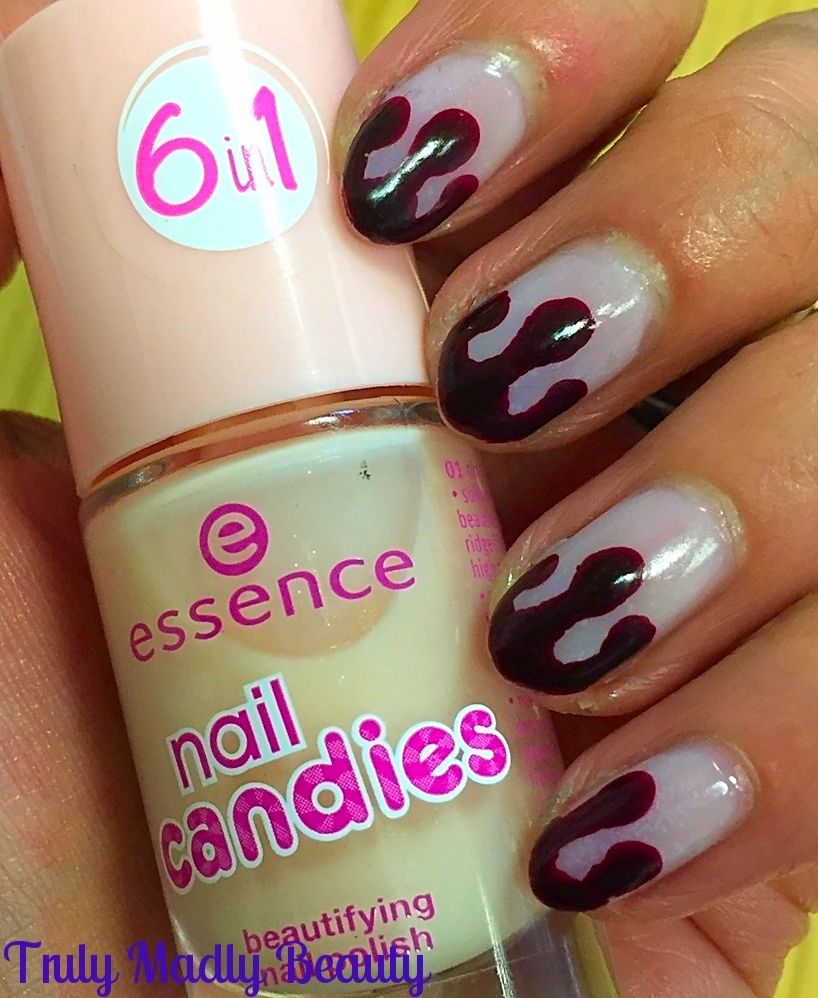
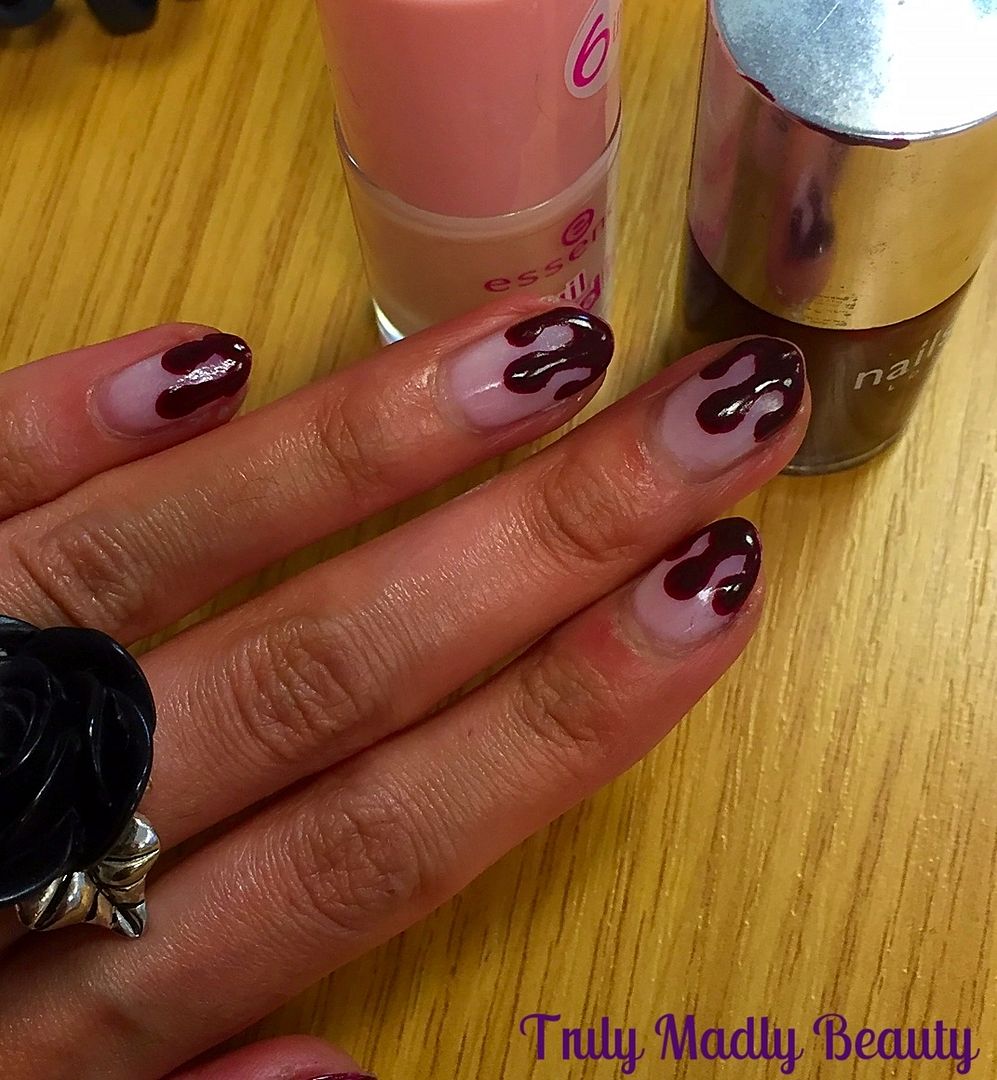
To start things off you need to have a
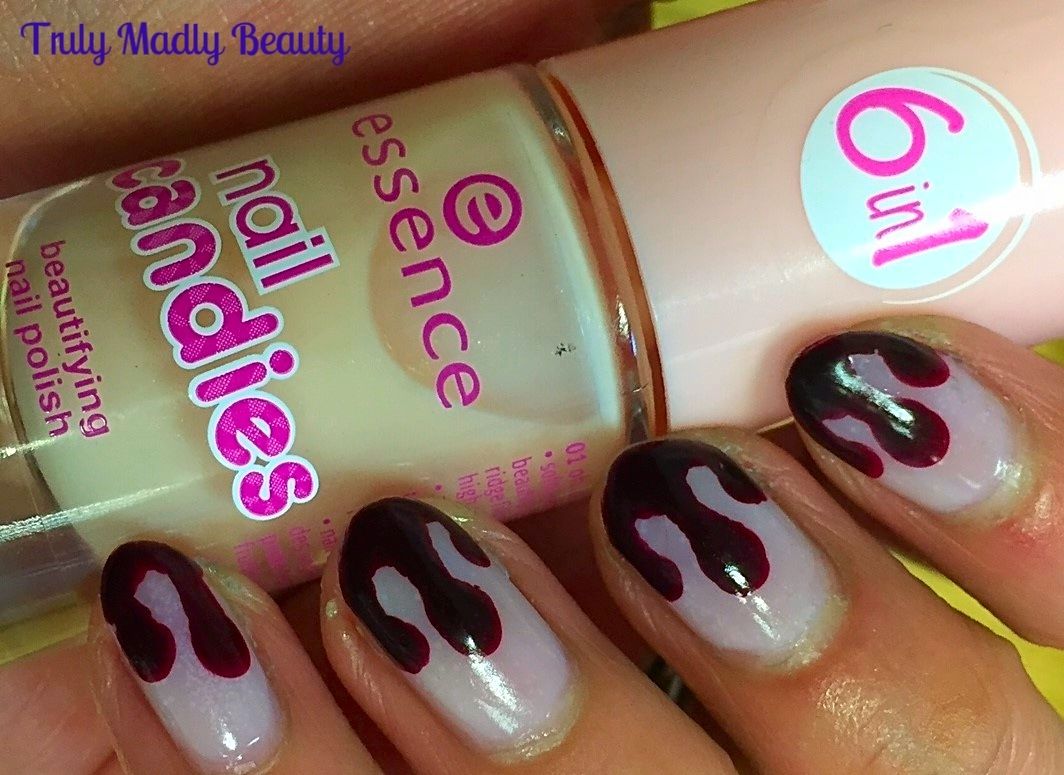
nice nude base to really make that blood stand out ;) I decided to
try out this Essence 6 in 1 Nail Candies polish which I picked up on
a whim when I was passing by the stand in Westfields.
The Nail Candies are a range of sheer
pastel polishes with 6 functions, to harden, protect, smooth out
ridges, dry fast to a high gloss finish with a delightfully fruity
scent. I do like me a multi-purpose product & I absolutely LOVE
this! Not only does it deliver on all of those but I adore the finish
it gives, so perfect for a 'my nails but better' look. The formula is
sheer but two coats gave a gorgeously glossy jelly like finish.
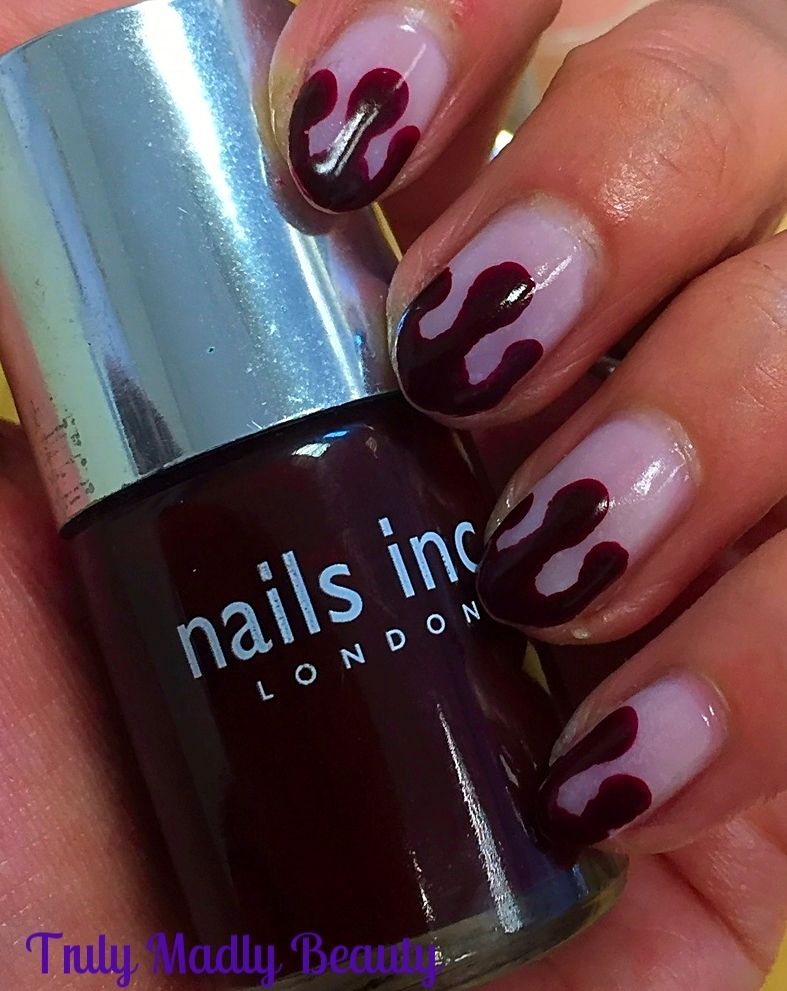
Next for the blood! Having a look
through all the vampy reds in my collection, of which there are an
embarrassingly large number, but hey one can never have too many
right, I decided on an old favourite, Nails Inc Chester Square.
Chester Square is a deep brown toned
burgundy red shade that dries to a lovely glossy finish, making it
perfect for a realistic blood look hehe! You can decide whether to
do your drips on the cuticles or tips, but having done my Toxic Slime & Tombstones Nails from the cuticles, this time I decided on
tips.
To create the dripping blood effect I
simply applied three thick dots of Chester Square using my dotting
tool, then using the same tool, dragged the polish drips up the nails
before adding more on to the tips.
Finish with a nice thick coat of CNDAir Dry for super glossy finish & your dripping blood nails are
good to go! And because of the Nail Candies even though my nails look
gruesome they smelled SO GOOD! Haha!
Thanks as always for reading dolls!
Till next time!
Lotsa love to ya!
5.26.2013
NOTD - Vampy Rose Gold Glitter Gradient
Hello there lovely readers!
Today I have another glitter gradient
to share with you lovelies, I absolutely love them & think its a
great way for adding a hit of sparkle to your mani without going the
whole hog. This time I went for a vampy burgundy base with some pale
rose pink & gold glitter tips & am so happy with how it came
out!
Subscribe to:
Posts (Atom)