Showing posts with label Lace. Show all posts

11.12.2017

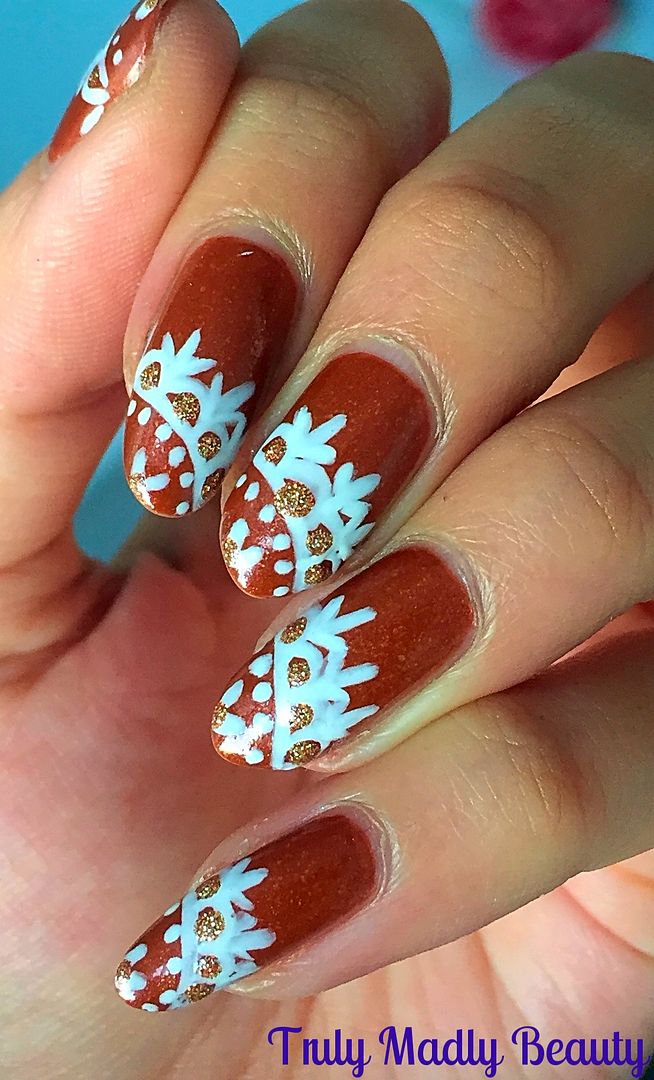
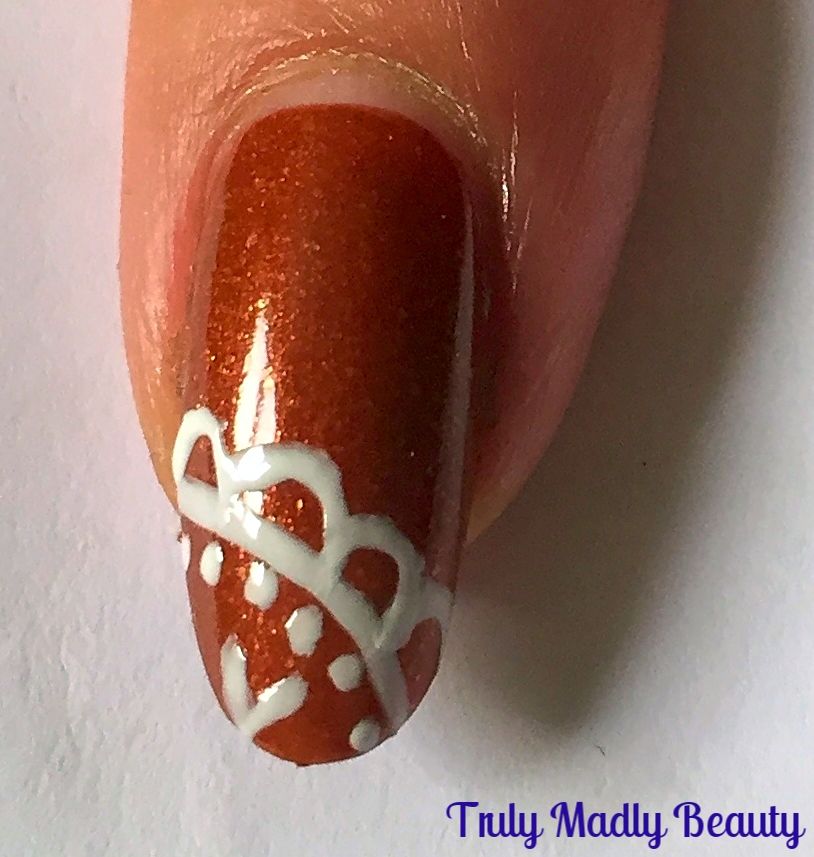
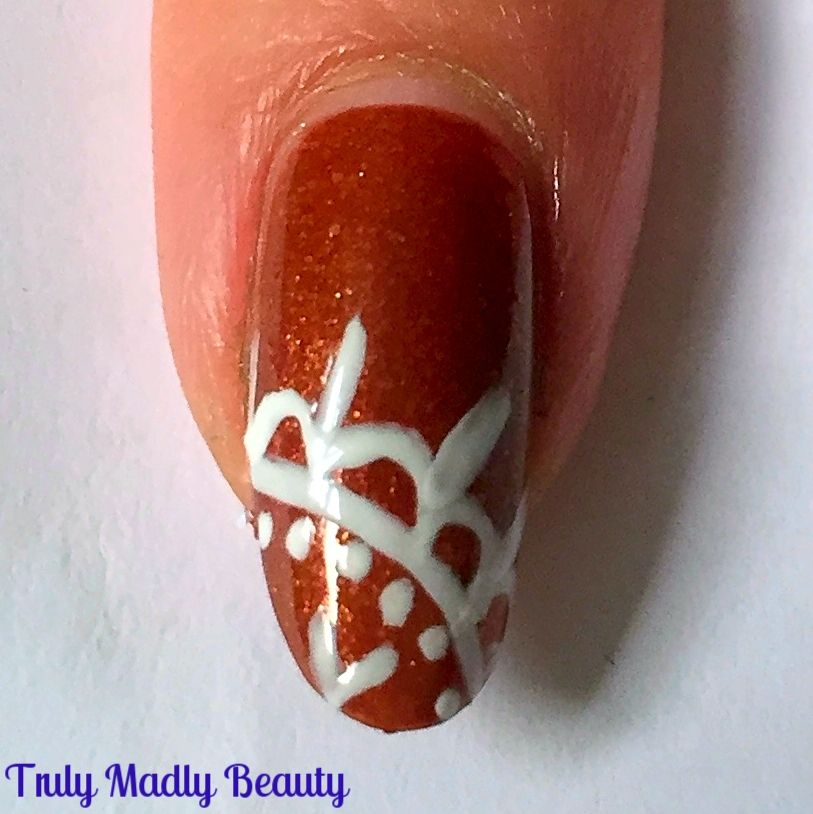
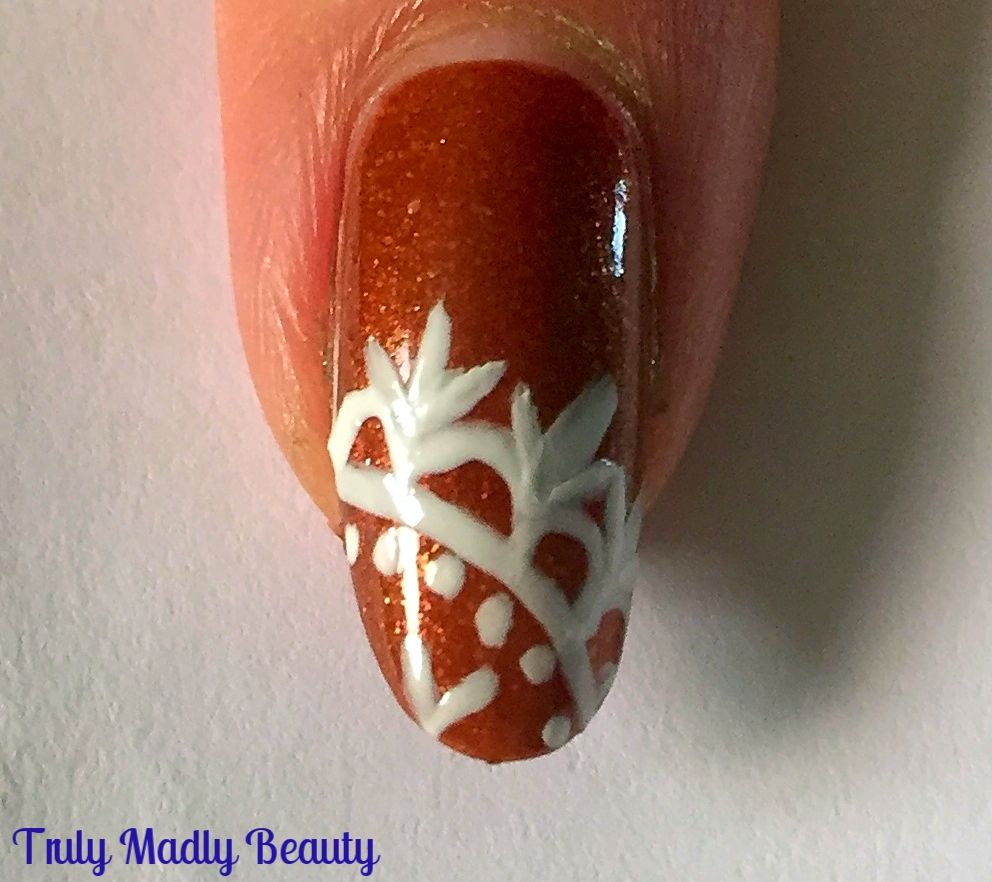
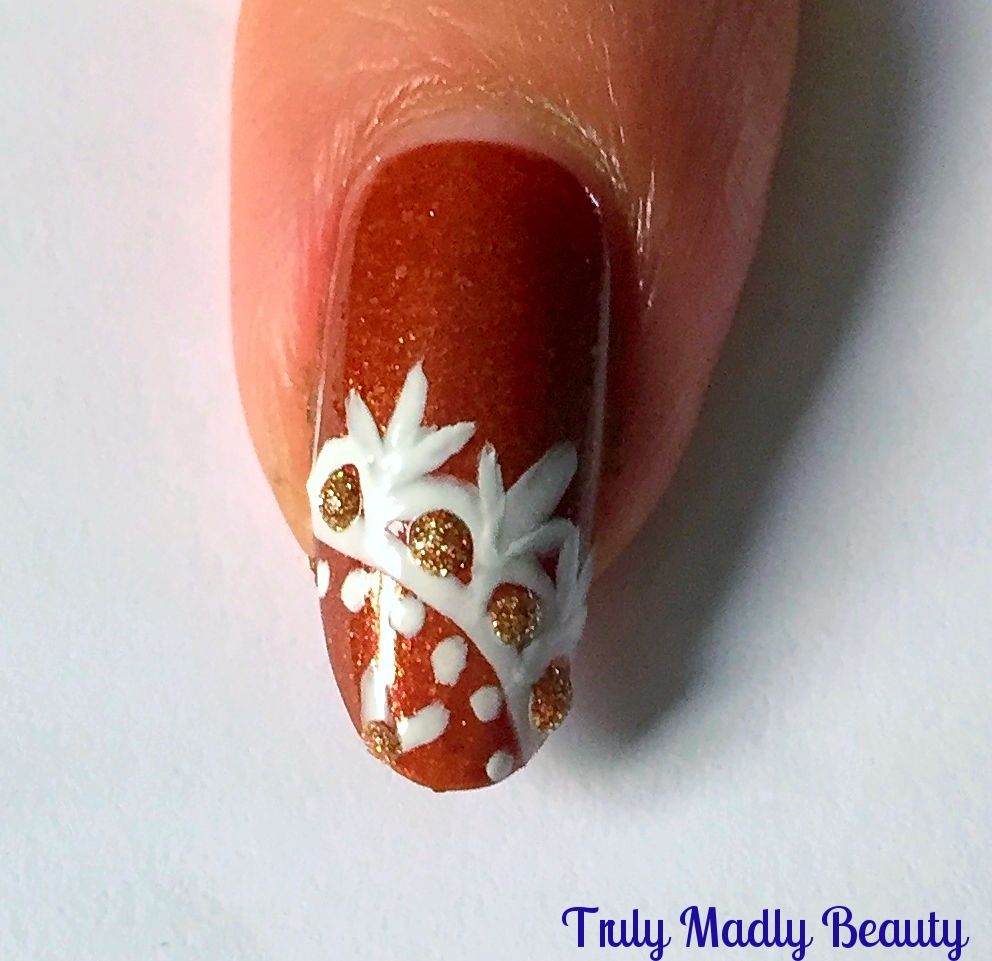
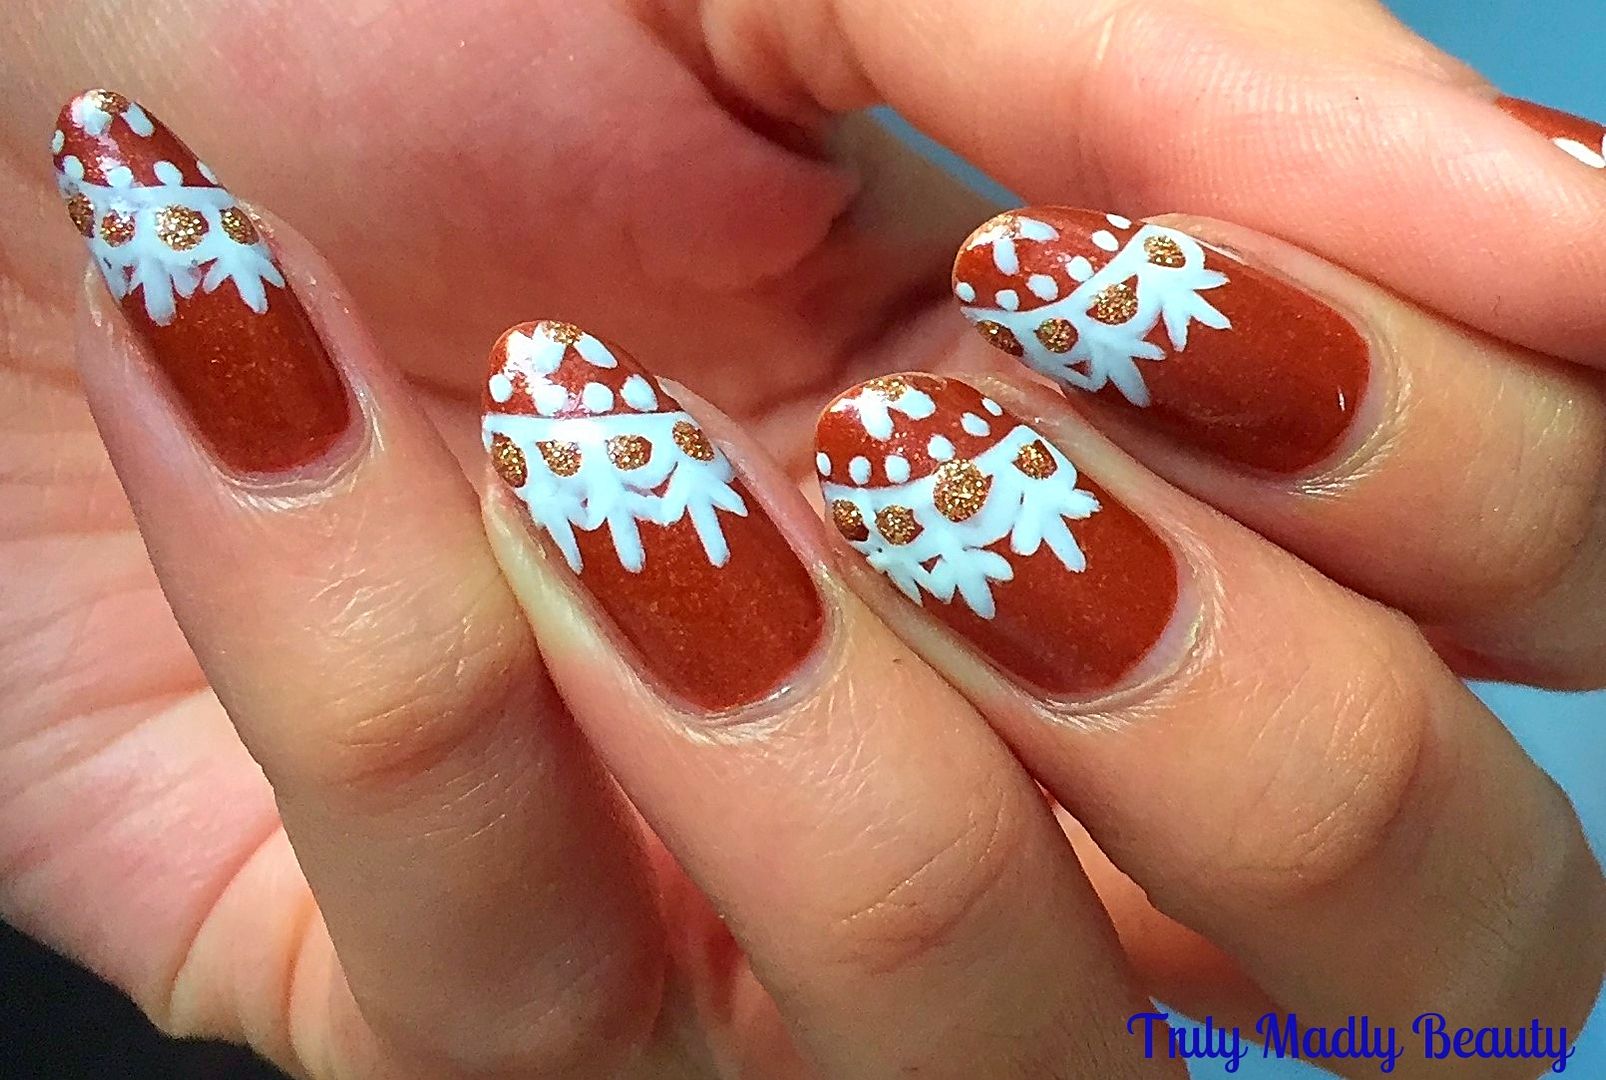
NOTD - Warm Lace

Hello there lovely readers!

Today I have another nail art design I created for this months Instagram nail art challenge I always love to partake in, these are hosted by the fab Clairestelle8 FYI & are always so much fun to do! Every month there are weekly themes for us nail art addicts to create a design for. Come find me on @aysh_xox :) Anyhoo the theme next to come up for this month was Lace.


I wanted to freehand a white lace pattern onto a warm duochrome base as I really feel white pops so stunningly on duochrome's especially!

4.02.2017

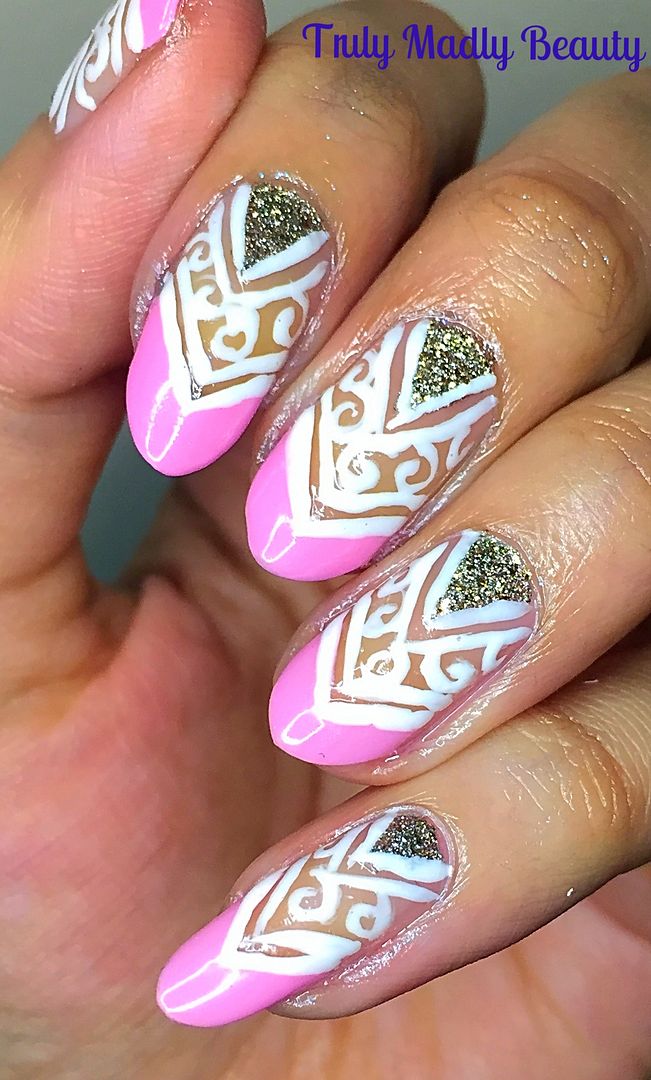
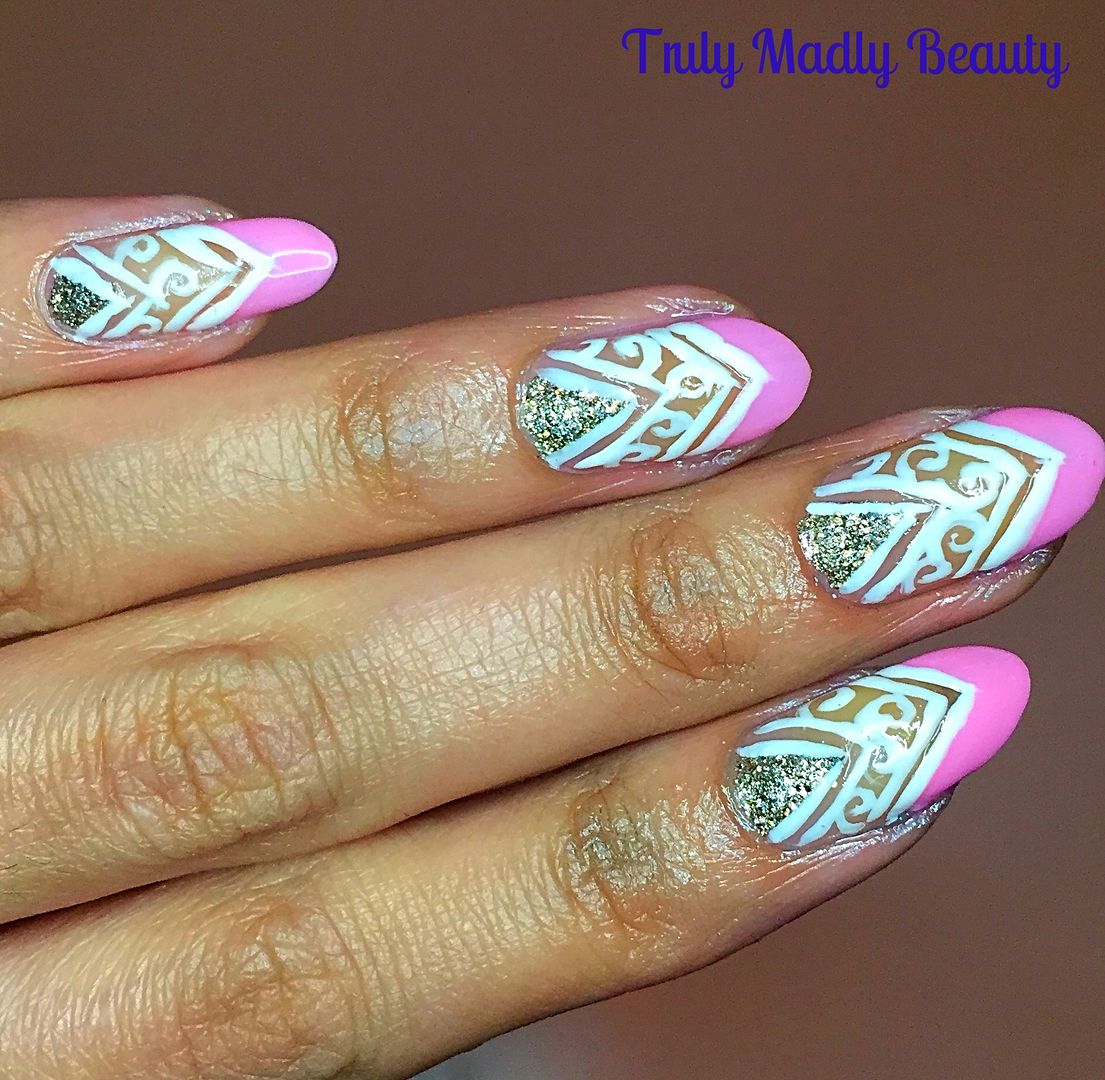
NOTD - Pink Chevron & Pretty Lace Nails

Hello there lovely readers!

I've found myself with the rare treat of free time on my side of late which has given me opportunity to take part in a few nail art challenges that I've come across, not only are they fun to do but also such a great way to connect with other nail obsessed lovelies!

They also give me a chance to challenge myself with different designs, especially freehand. Todays nail art that I have to share with you is an entry I've done for a competition that my nail art Queen Yagala is holding at the moment. The challenge being to recreate one of her designs.

Haha if only the competition happened a few weeks ago when I recreated this Jewel Bloom Ornament Nail Art which I was inspired to do by Yagala herself. But hey I was up for the challenge again as I adore all her designs so after having a sift through her gorgeous Instagram feed, I came across this pretty Pink Chevron & White Lace Design that was just so gorgeous I definitely wanted to give it a go myself


And I'm actually so chuffed with how it came out! Of course it is in no way anywhere near the league of the guru herself, but for a first attempt at this type of design I was really happy with the result.


11.07.2016

NOTD - Bronze and Lace Nail Tutorial

Hello lovely readers!

Squeezing in a last Autumnal manicure for you beauties today! One of the things I've repeatedly told myself can definitely be considered one of the positives of moving has been that I've had to select only a few of my polish drawers from my stash to take with me...This naturally grieved me greatly at first, but it does mean that I'm getting usage out of many polishes that I would probably normally skim over in favour of my other more well know brands. See? Positive mental attitude FTW


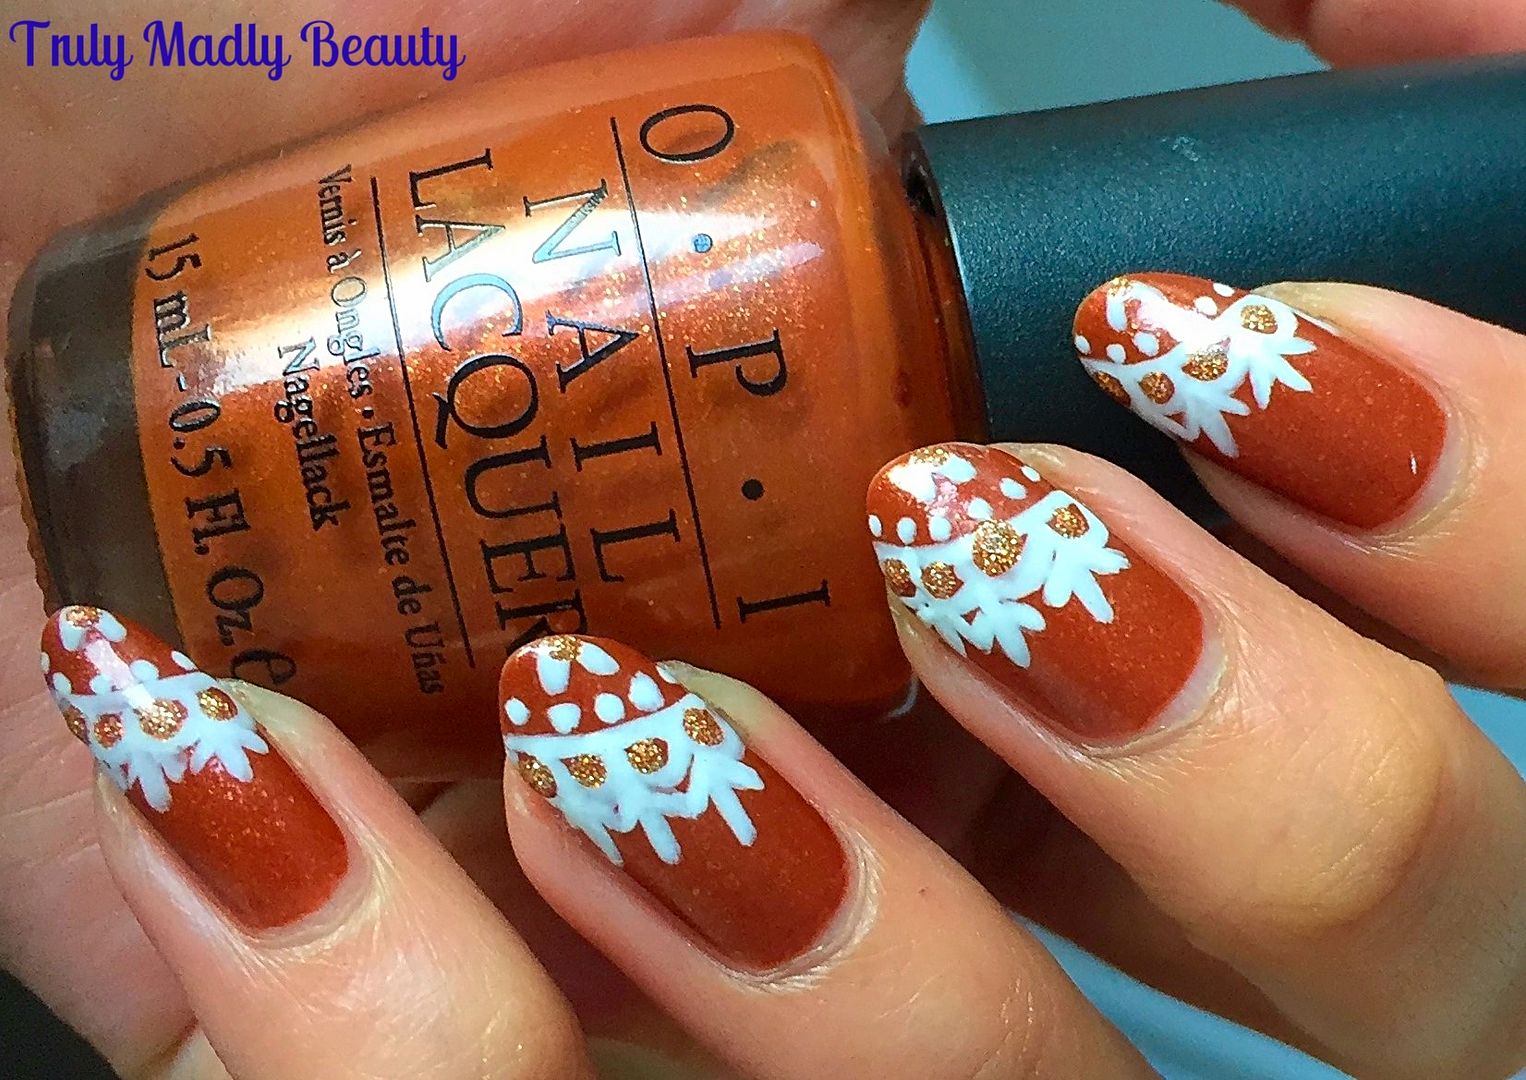
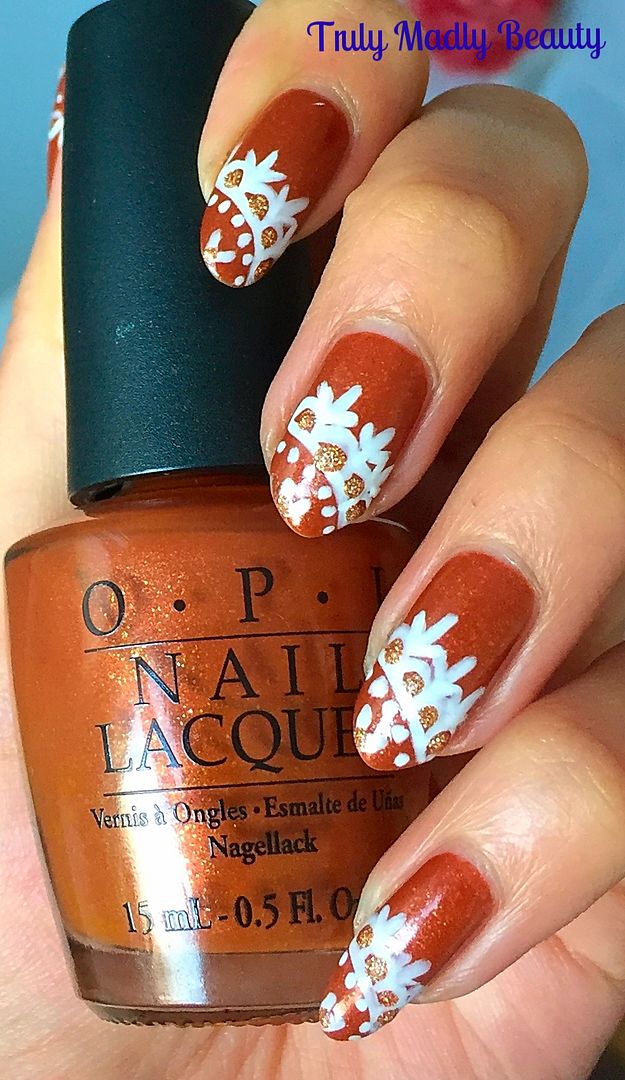
This also includes finding myself reaching for shades that I would not normally choose, including this offering from OPI which I have for you today & goes by the name of Bronzed To Perfection

Normally, a shade such as this would not particularly grab me, but with its burnt orange brown tones it seemed the perfect colour to dig out for the season & I confess it has most certainly grown on me greatly.


A beautifully warm, caramel brown with coppery shimmer touches Bronzed To Perfection definitely screams Autumn vibes. As pretty as it is by its onesie I decided to jazz it up a tad with some lace nail art touches.


To recreate this lace pattern is super simple and its become one of my favourite quick nail art designs to do, just read on to see how you can create this design as well in a quick step by step pictorial I've put together for you....

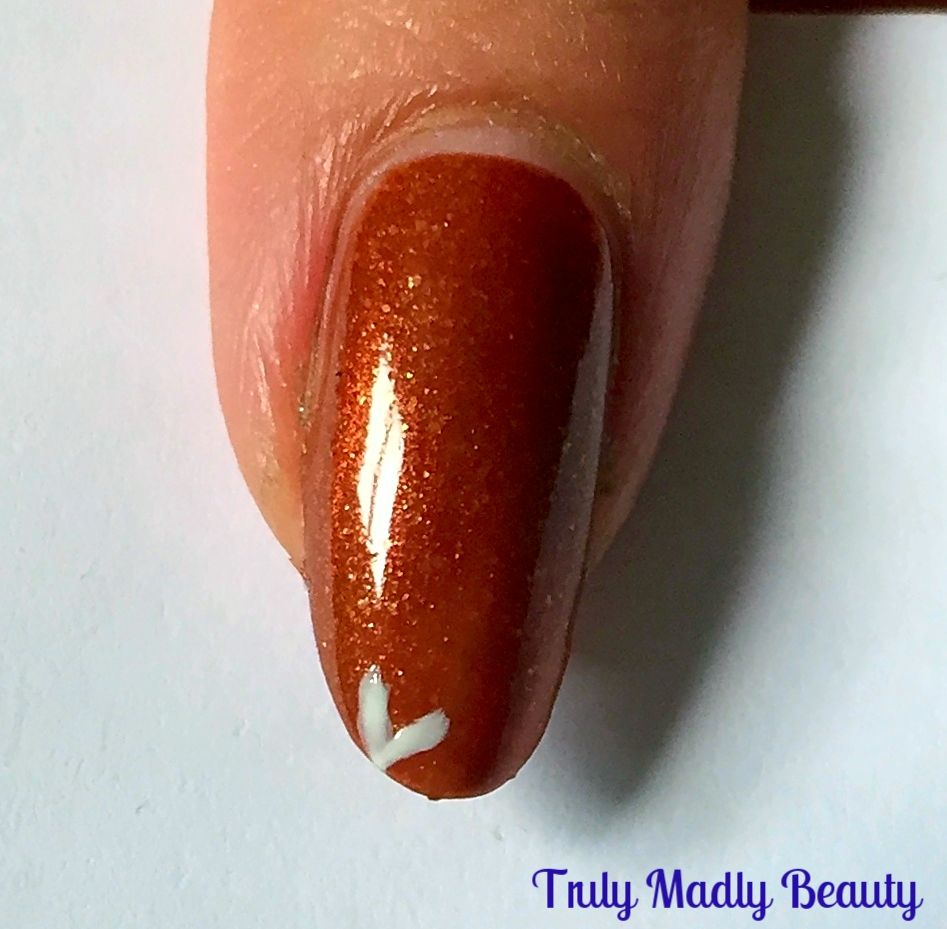
After your base colour has dried, grab your nail art brush & some white polish and begin by applying a tiny V on the side of the tip like so...


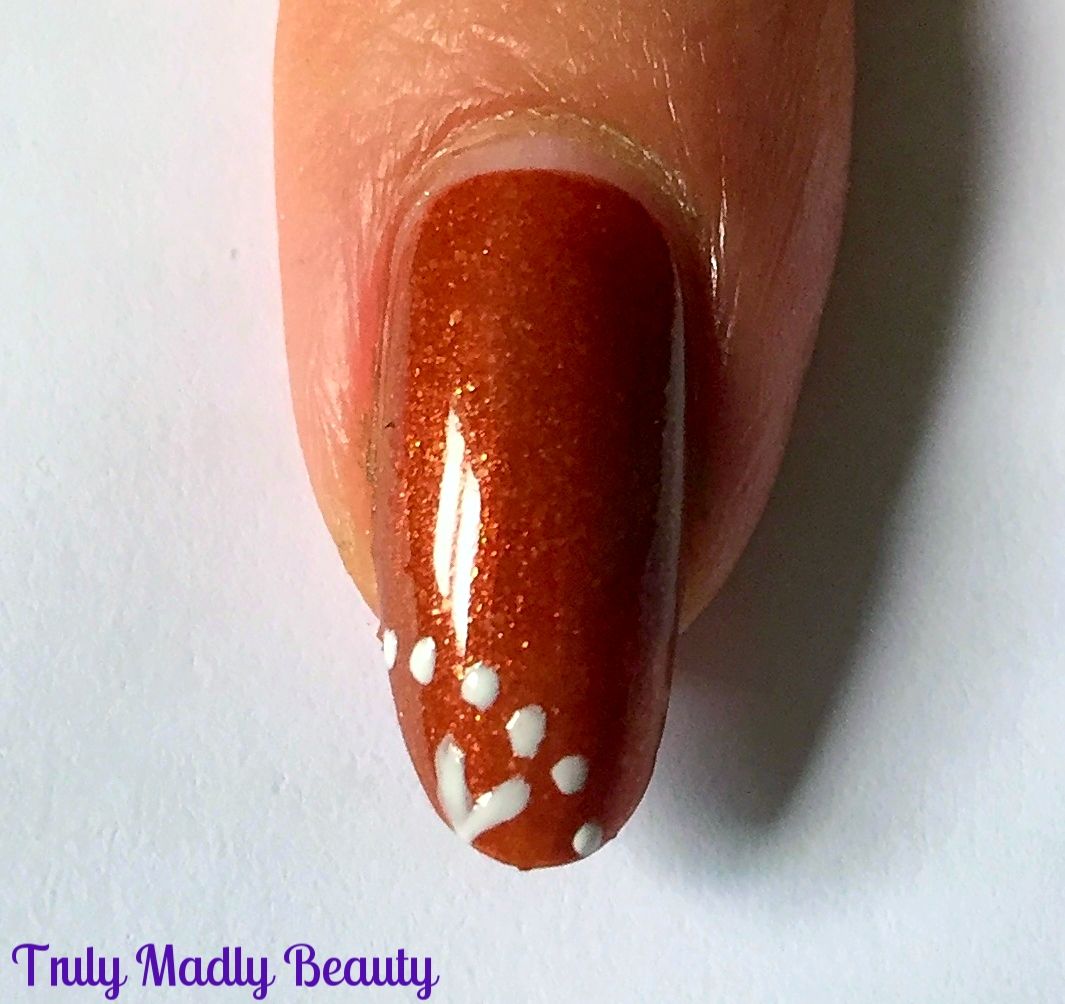
Next, using a wee dotting tool, apply a curved row of white dots around your V.


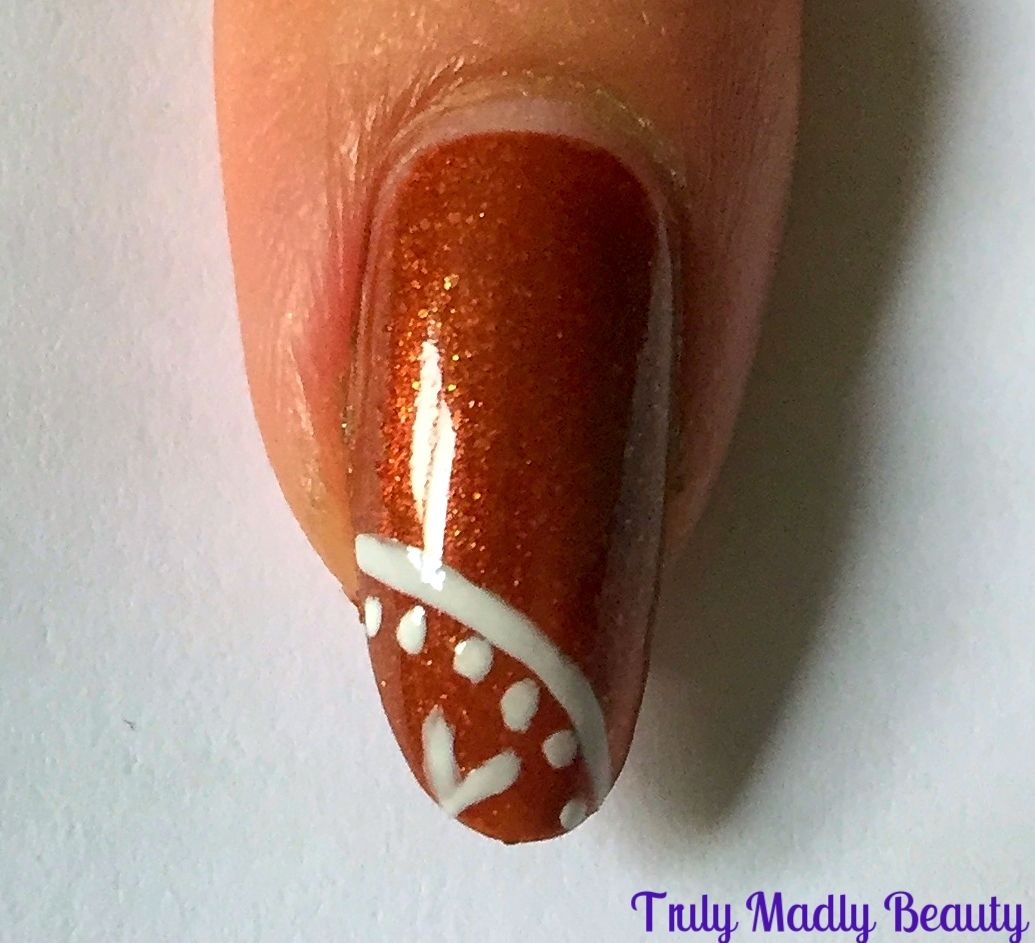
Then grabbing your brush again, apply a curved line just above your dots.


For the next part of the design, again with your fine brush & polish, apply a row of small semi-circles along the top of your curved line...


See the pretty lace design slowly coming together? Next step is to apply a straight line in between each of your little curves as shown....


Then finally to finish your lace pattern, add on two little lines either side of the straight line.


This is an additional step you can skim over but I naturally couldn't resist adding a touch of golden glitter in between the gaps.


Finish with top coat and thats it! Easy peasy right?! I love doing lace details to jazz up my block colour mani's :) Do give it a go!


Thanks as always for stopping by beauts!

Lotsa love to ya!


1.06.2016

Star Wars Storm Trooper Nails & What I Wore....

Hello there lovely readers!

Still very much on the Star Wars high here dolls. I thought I'd share with you the nails & outfit I wore to watch the film with my gang of fellow sci fi fans last week. Don't worry I didn't go as an ewok or jawa or any of the other wonderful suggestions my work colleagues kindly recommended to someone of my height... O_o Though there were a few Jedi's Knights strolling about!

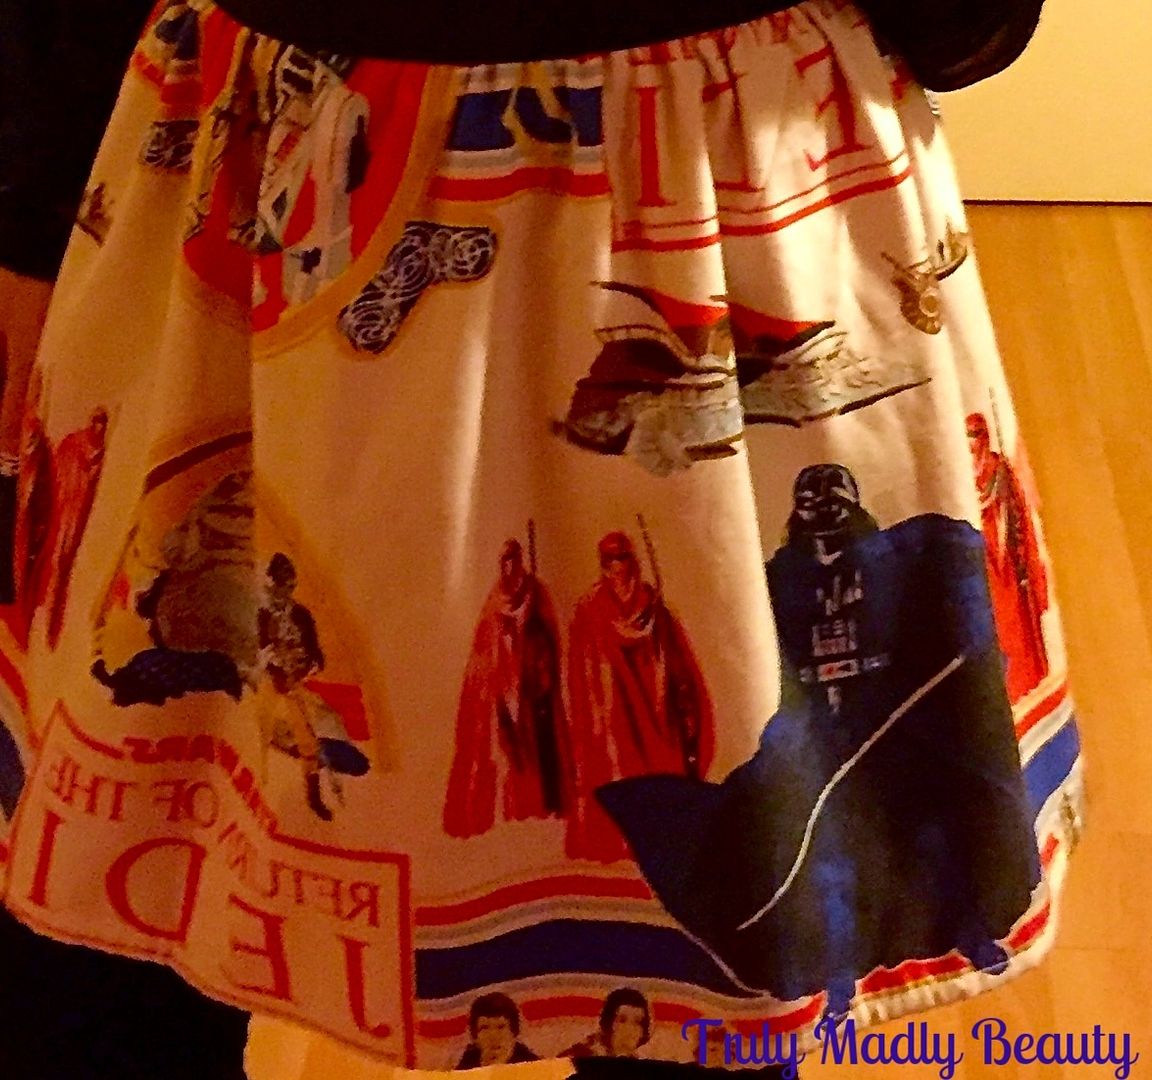
I did however manage to nab this beaut one off piece vintage skirt from Depop, my favourite shopping app, I am seriously addicted to it! You can find such great bargains, I recently picked up a stunning brand new Lolita coat for a fraction of the retail price & this was another one of my finds. Do excuse the quick mirror selfie snaps! But...at least I can show you my snazzy new phone cover... ;) Also a Depop purchase!


The skirt is originally from brand MyTribe & made from the most superb vintage Return of The Jedi print material, with an elasticated waist, no belt is required so I can eat to my hearts content whilst wearing it which is most important. I paired it with a simple black lace top & knee high boots. It may be my new favourite piece & will definitely get a lot of loving! 


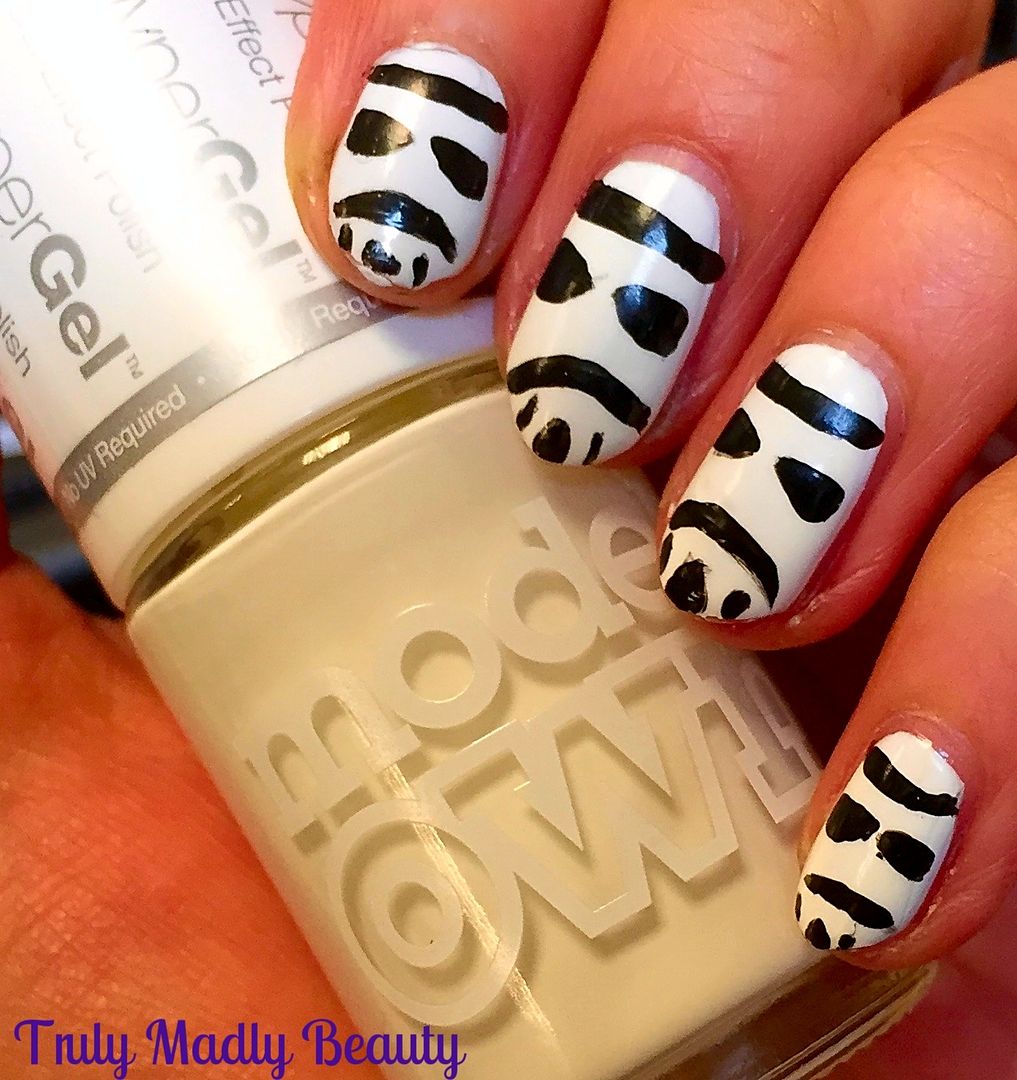
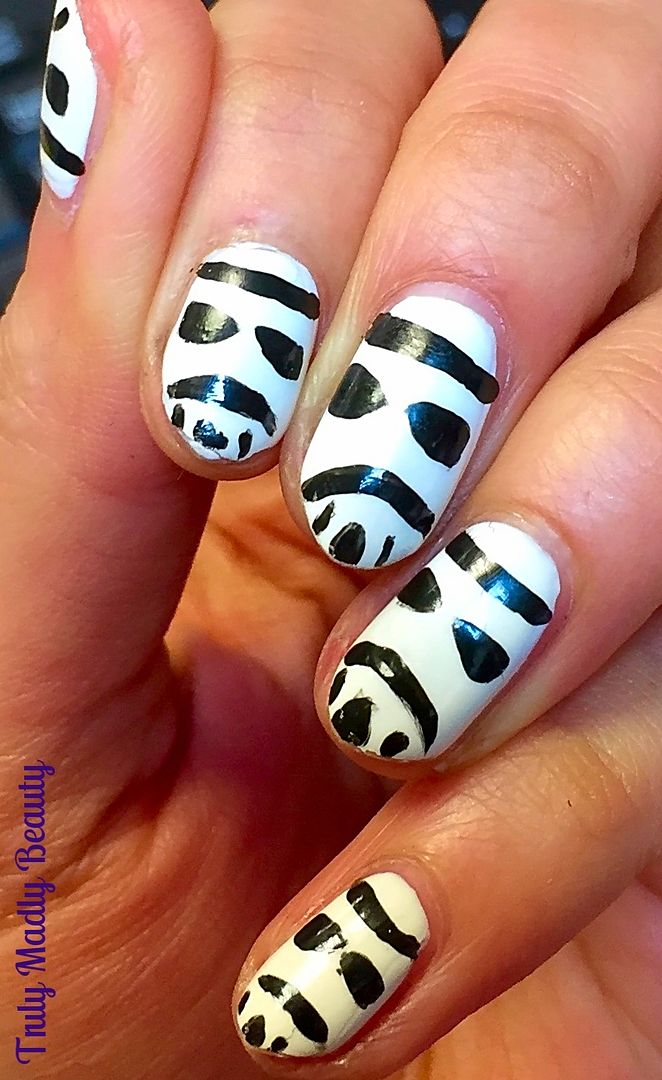
Moving on to the nails, if you caught my LAST POST you'll know that I recently recreated some R2D2 nails! As much as I loved these, the design was a bit palpitation inducing with its detail so for this occasion I decided to simplify it a tad with some black & white storm trooper nails!


For these you need just a white & black polish or nail art pen which I'm sure every gal has in her arsenal :)


For my white base I used two coats of Models Own White Out Hypergel, I absolutely love this range of polishes from Models Own, the white especially is guaranteed a glossy smooth opaque finish & they are also great for gradients!


I decided to use black polish with a fine brush instead of a nail art pen but use whatever you fell most confident with! Dipping your brush into you polish, start with two triangular shapes side by side for the storm troopers eyes.


Then draw a slightly upwards curved horizontal line above the eyes for the top of the helmet. Next draw another curved line, this one curving downwards below the eyes for the mouth.


Finish with three small vertical lines on the tips of the nails below the mouth to complete the ventilator of the mask.

Topcoat & that's it! I would've like to have added more detail but these were done in a rush as is obvious from a few of the lines looking more like grimaces haha! Storm troopers with gas alas.


Thanks as always for reading & may the force be with you always my lovelies!

Lotsa love to ya!

4.26.2015

NOTD - Pastel & Lace...

Hullo there lovely readers! 

Now when is there a more perfect time for digging out those pretty pastel shades than in Spring eh? Today I have suitable-y Spring-y pastel-y manicure with some lace nail art to share with you using two polishes from the brand Makeup Revolution.