Showing posts with label St Patricks Day. Show all posts

3.16.2016

NOTD - St Patricks Day Shamrock Nails & Tutorial

Hello my lovely readers!

Grabbed a cheeky midweek reprieve from work today & what better way to spend it than a trip to Hogwarts! The matey & I paid visit to the Harry Potter studios & had a magical time going in to full on geek mode, prowling through Diagon Alley, popping by Number 4 Privet Drive & sampling Butterbeer. Which was actually a bit of a let down! I was expecting liquid Werthers or something but it definitely wasn't to my taste haha! I'll be Instagramming some memories from the day so do pop by! @Aysh_xox

As promised I've thrown together another St Patricks Day mani for you, this time with some Shamrocks! You can check out my previous post HERE in which I've shown you how to create some Gothic Celtic Love Knot nail art in honour of the Irish holiday also :)
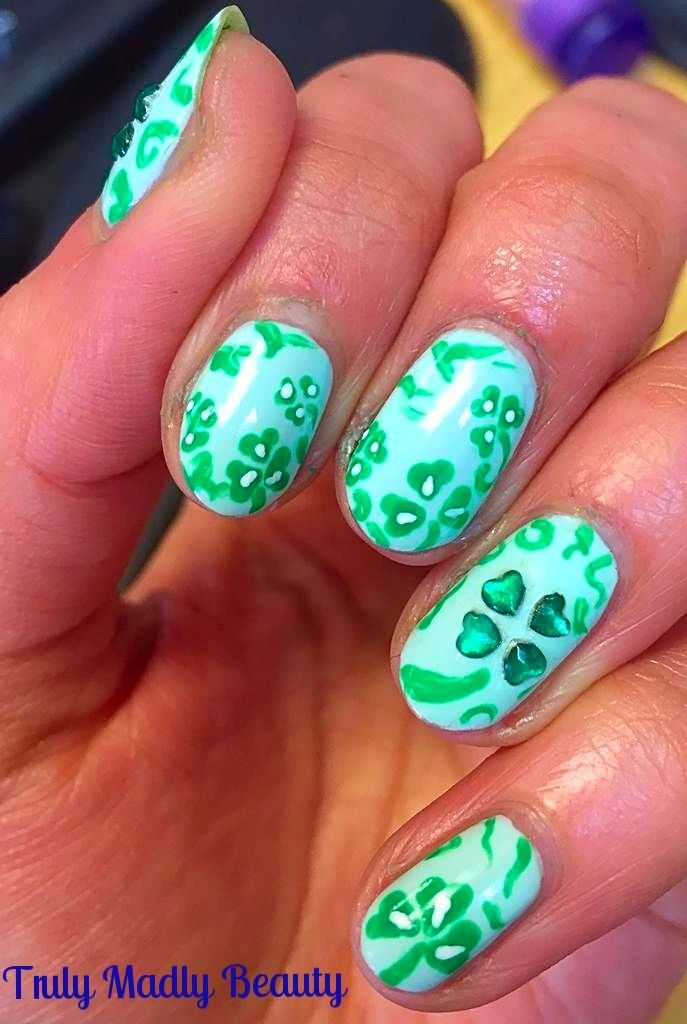

However if that design feels a bit too complicated then these sweet & simple Shamrocks are much more easier to do!

Whereas with the Celtic Knot I went down the dark gothic vampy route, with a deep Ebony Green & Antique Copper, which you know I LOVE, this time I felt some refreshing pastel & bright tones were called for. 
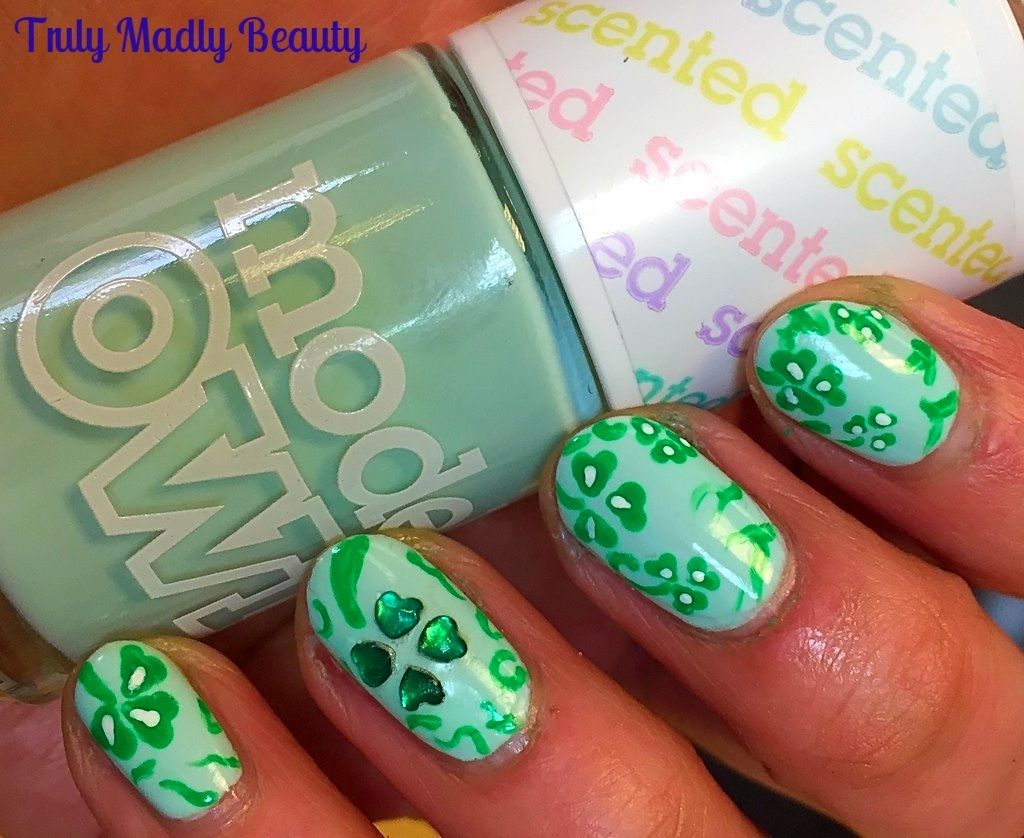

For my base shade I've used two coats of Models Own Apple Pie from their scented range, a beautiful creamy mint, so bright, cheerful & yes indeedy...delightfully apple scented! Yum!

Then for my Shamrocks I reached for an old favourite of mine Barry M Spring Green, a bright & almost fluorescent green that really pops!
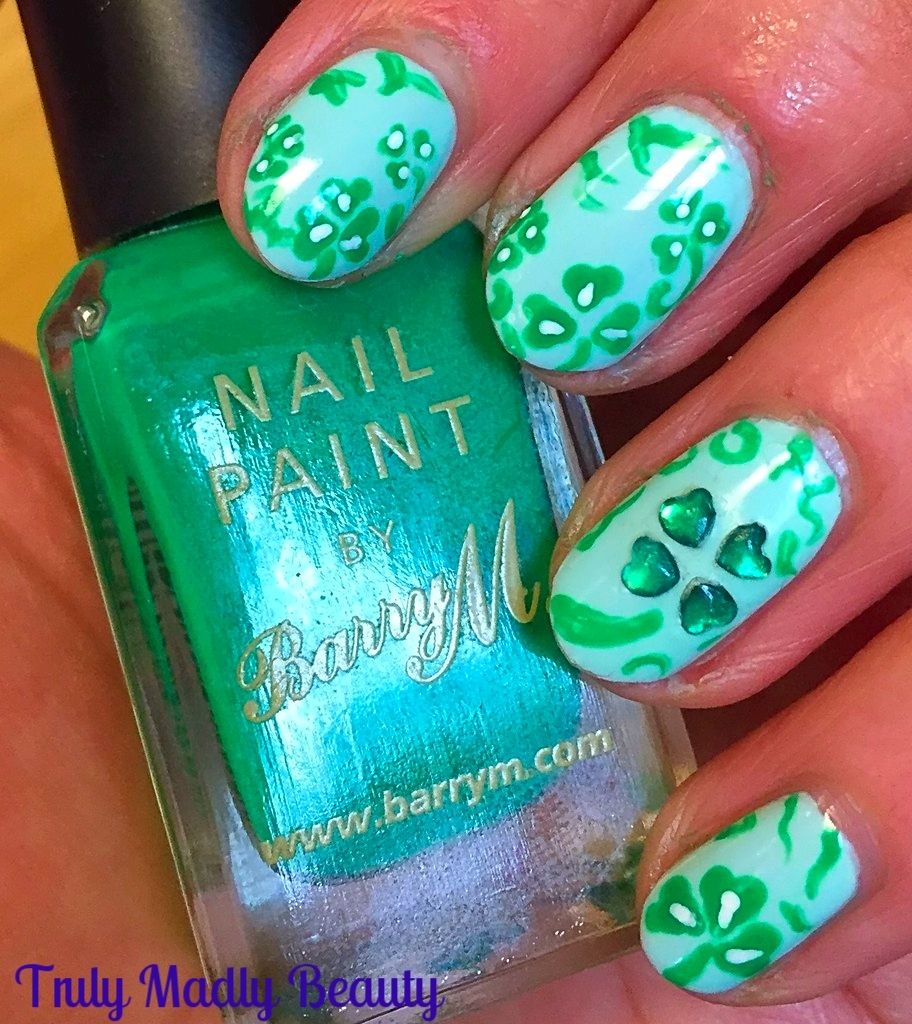

Using a dotting tool I managed to fit on about three shamrocks on my index & middle fingers around the border & one large one on my pinkie. To create your shamrock just follow these simple steps...
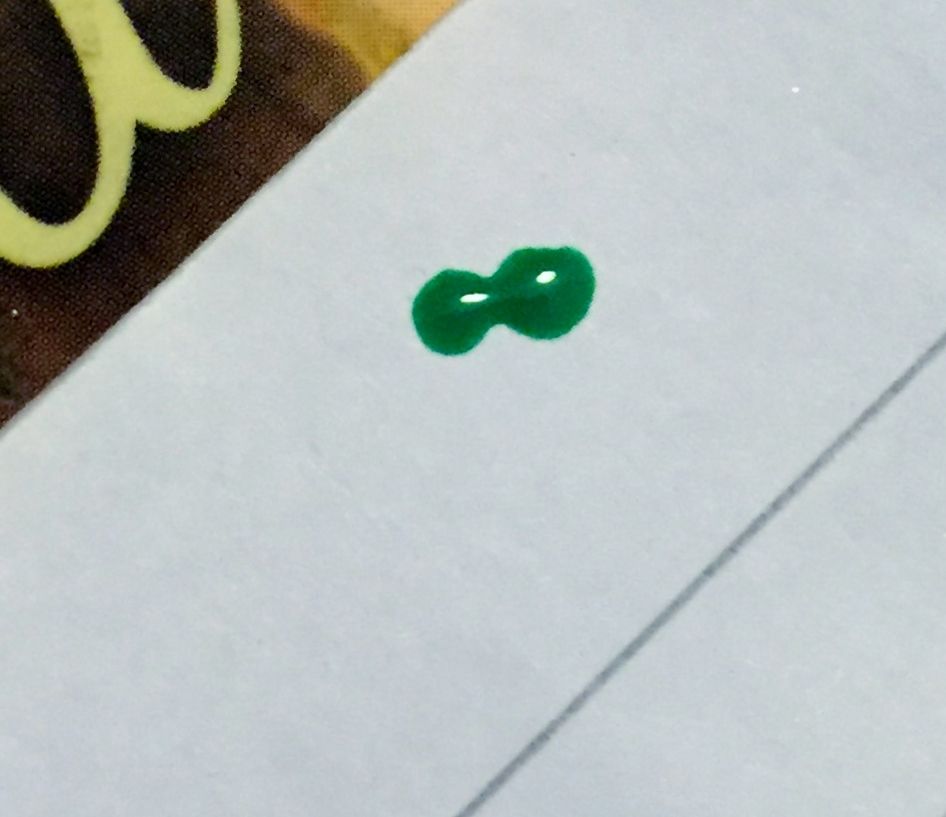

Using a dotting tool or toothpick place two dots of green polish side by side
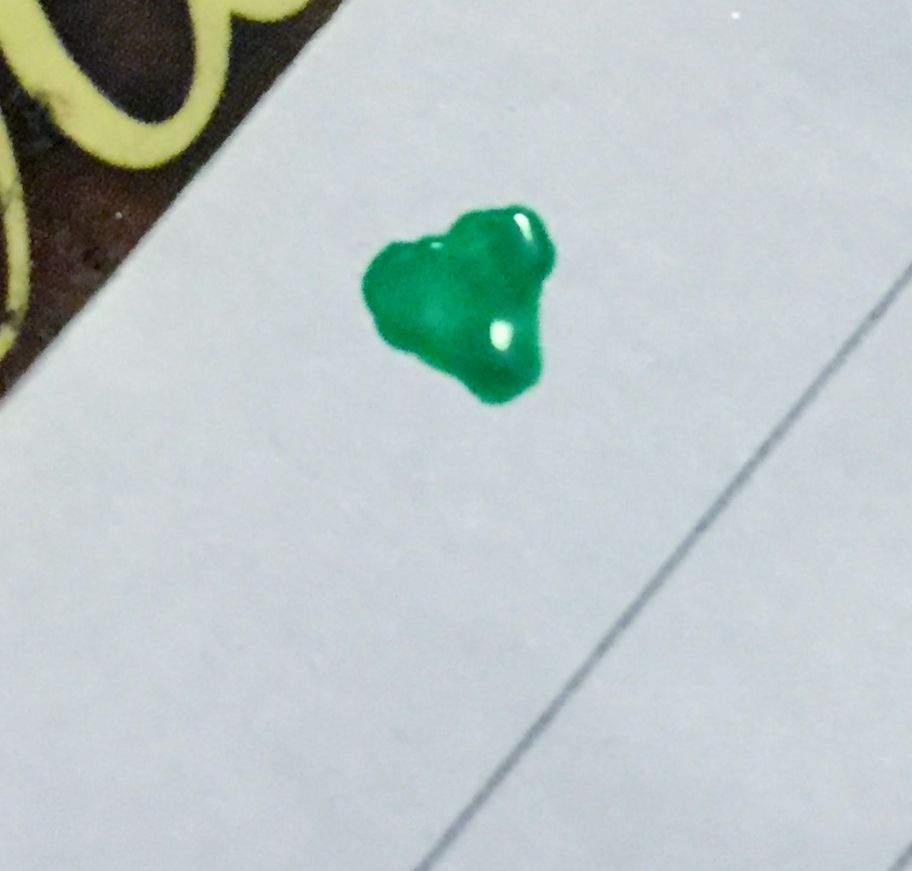

Then using the same tool, bring the two dots together at the bottom joining together to create a heart shape
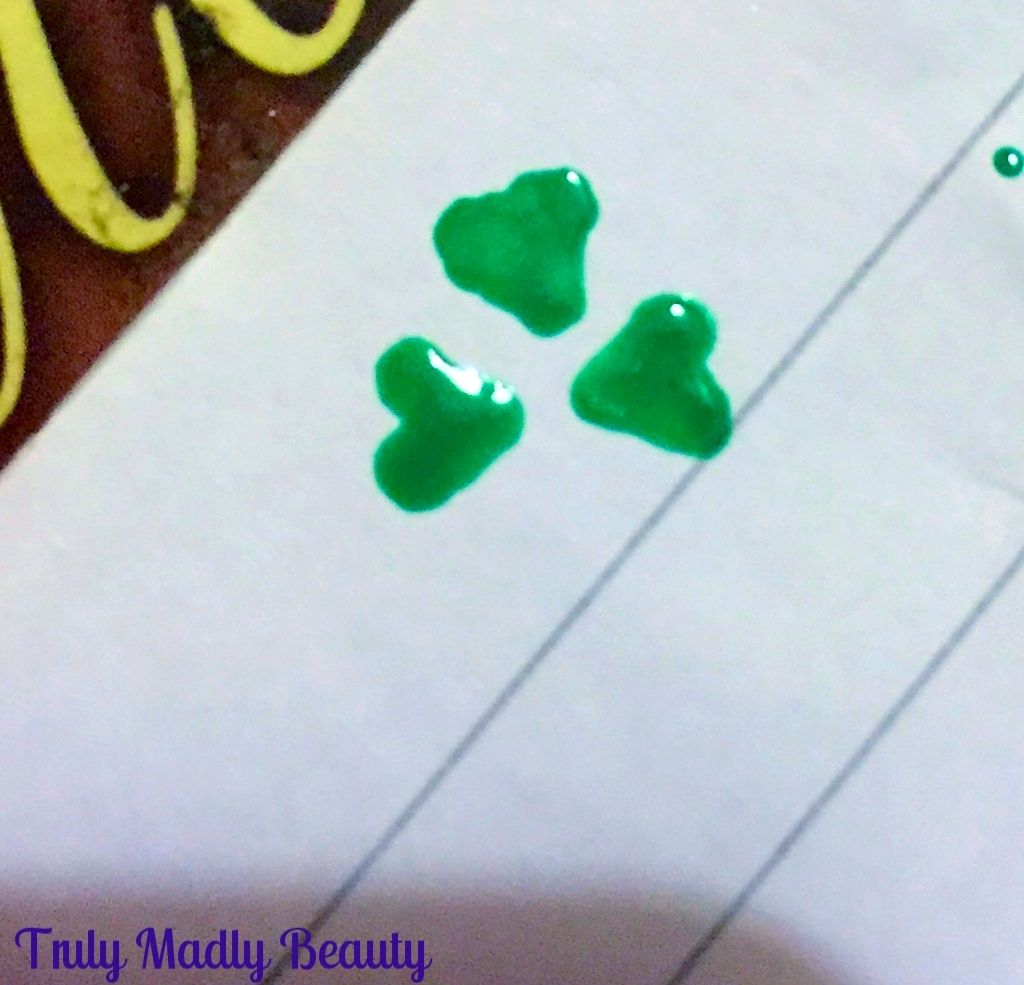

Do two more of these underneath, this time making these two leaves face each other
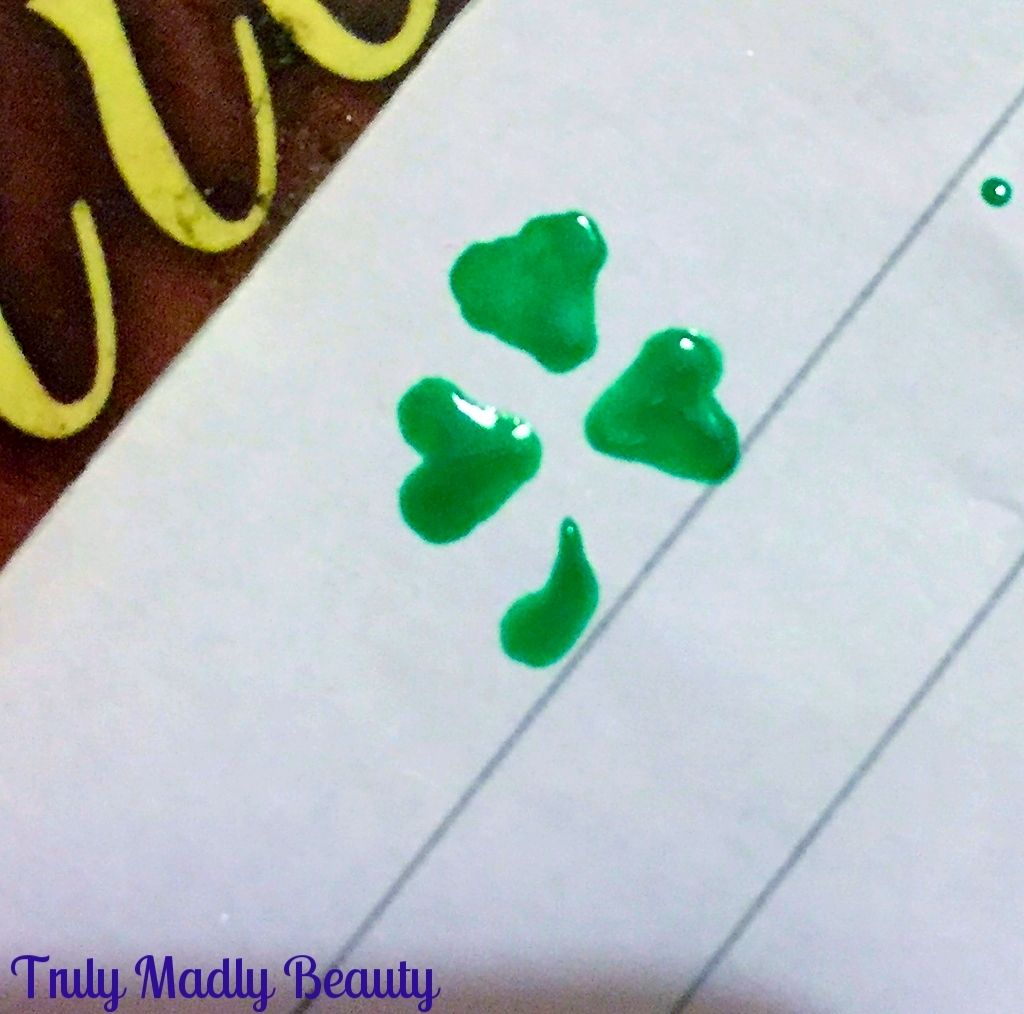

Apply your stem using a nail art brush
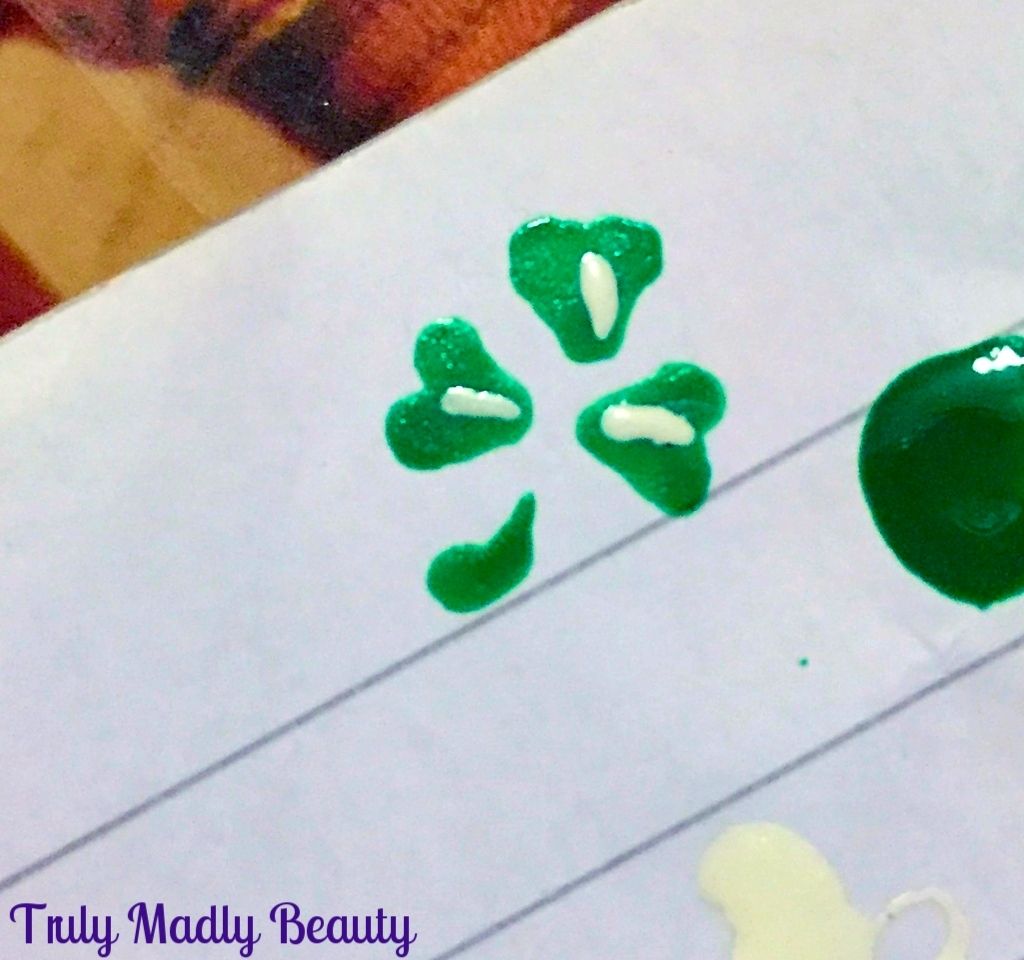

Finish with a thin line of white polish on top of the leaves in the centres for added detail.
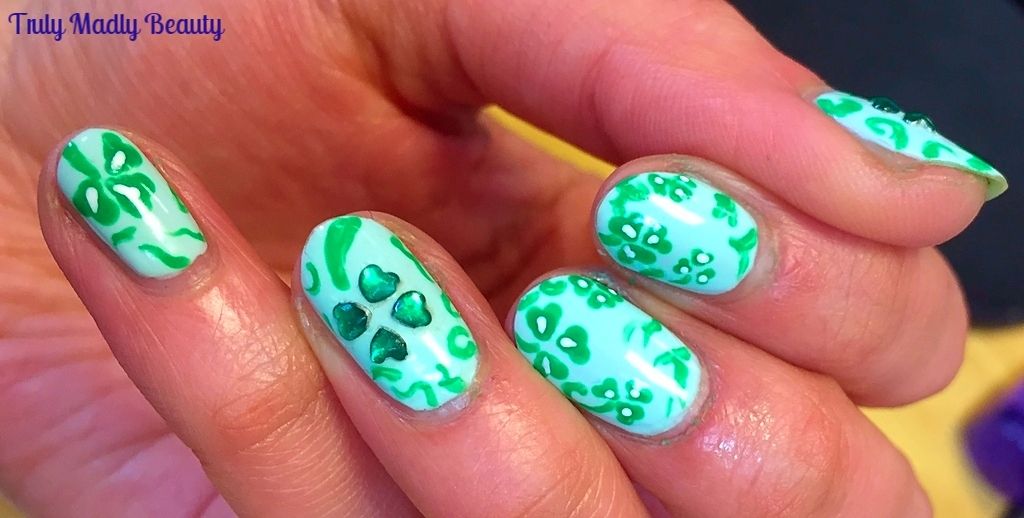

To fill up the nail a bit more I simply added a few strokes of green around the border creating some additional fauna using a fine nail art brush.

On my thumb & ring fingers I decided to use some heart shaped green rhinestones instead of polish to create some 3D  four leaf clovers for luck :)
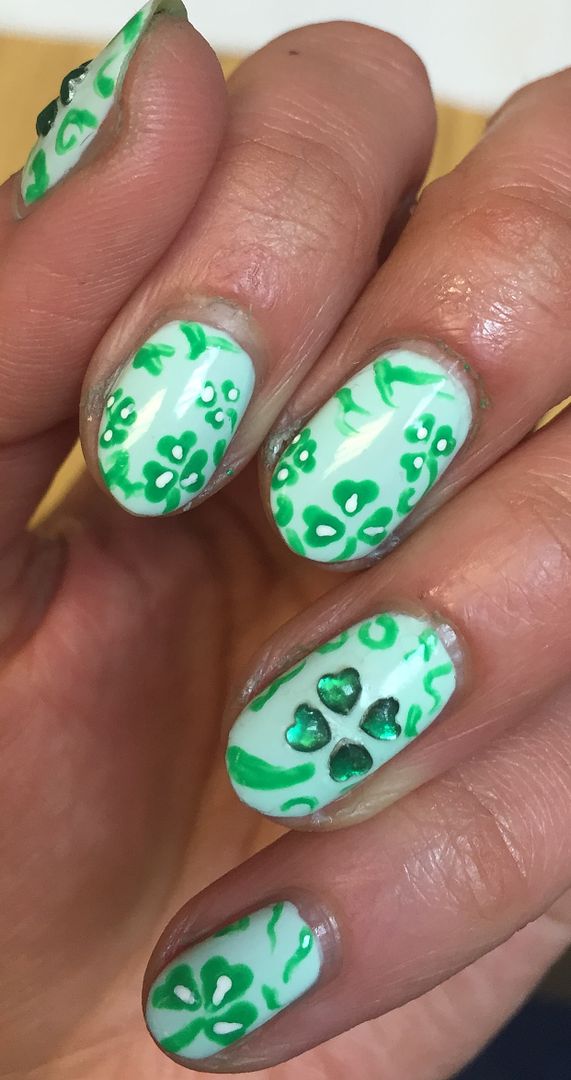

Finish it all with topcoat & you have your Shamrock nails ready for St Paddys day! Thanks as always for reading & I hope you have a lovely one if celebrating!

Lotsa love to ya!


3.14.2016

NOTD - Celtic Love Knot Nail Art Tutorial for St Patricks Day!

Already Easter is approaching! How do I know this? (apart from the abundance of bunny filled promos in every retail store) The arrival of Milkybar Mini Eggs of course! Whilst everyone goes crazy for those pretty pastel original mini eggs, I myself await eagerly for the white chocolate form, if you haven't tried these yet...RECTIFY.

Apologies, I digressed there, tends to happen when chocolate is involved. Before Easter however is St Patricks day! So prior to going all Easter obsessed with the nail art, I always love to do a mani or two to celebrate the Irish holiday, especially as green is one of my ultimate favs :) I've just remembered that I was in NYC for the St Patrick's day parade last year...sigh *reminisces* Twas a good day, the Irish sure do know how to put on a good show!


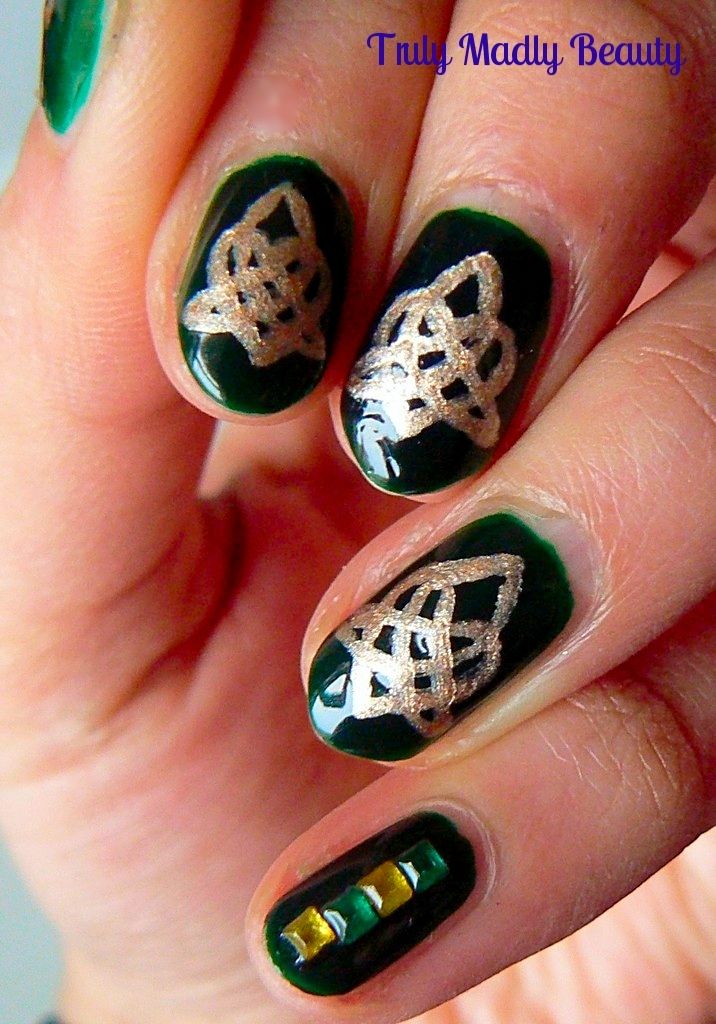
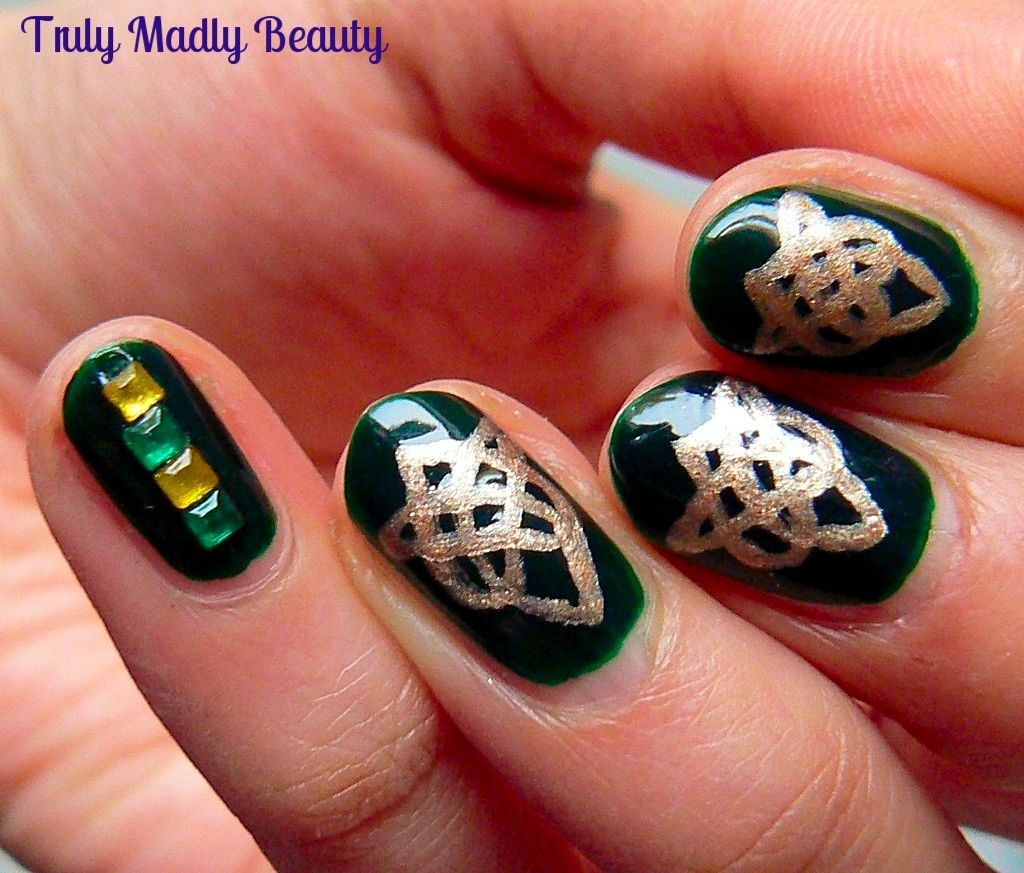
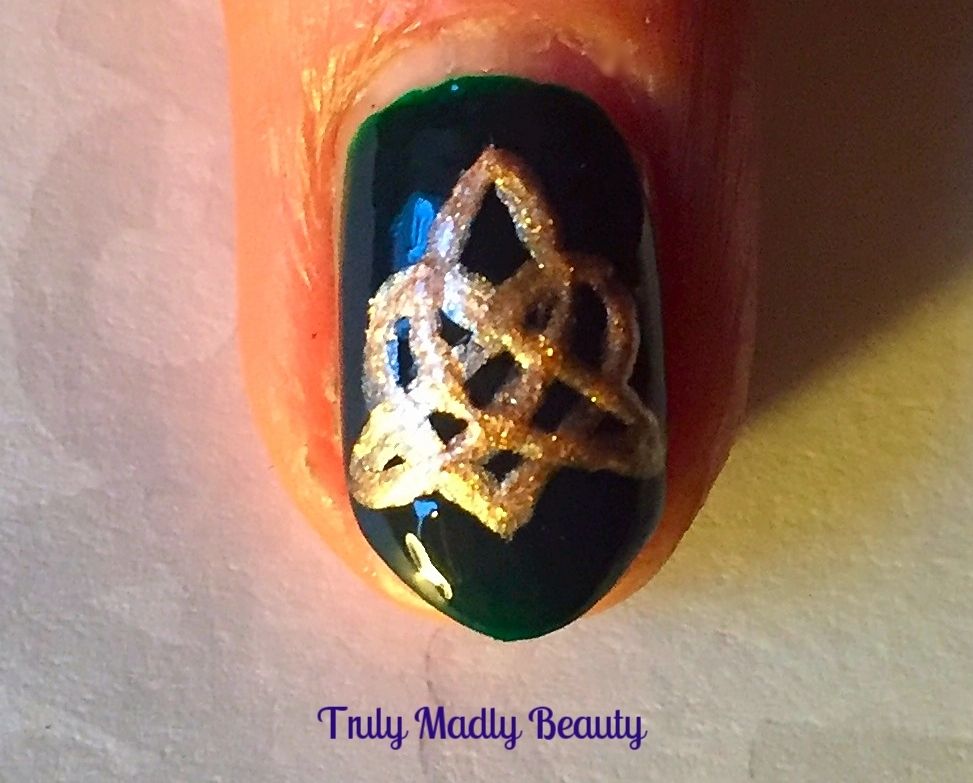
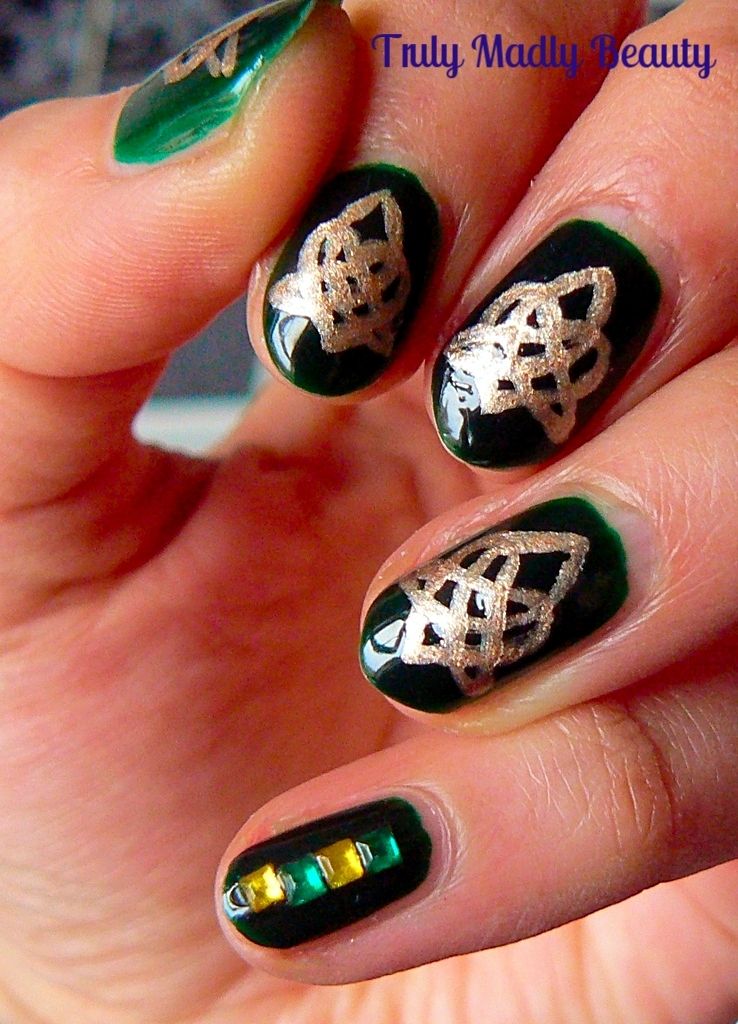
I wanted to challenge myself with doing something a wee bit different for my first St Patricks Day mani, so I decided to create this Celtic Love Knot design, which I'll show you how to do as well in 3 steps. Why I do this to myself I don't know. I must be a closet masochist!


However I exaggerate, despite the intricacy of the design, once you get the hang of it, it really is straightforward I promise you! After one or two FAIL nails, I was pretty chuffed with the finish. I adore Celtic designs & jewellery with their Gothic vibes & I thought it would be quite fitting for the Irish occasion. 


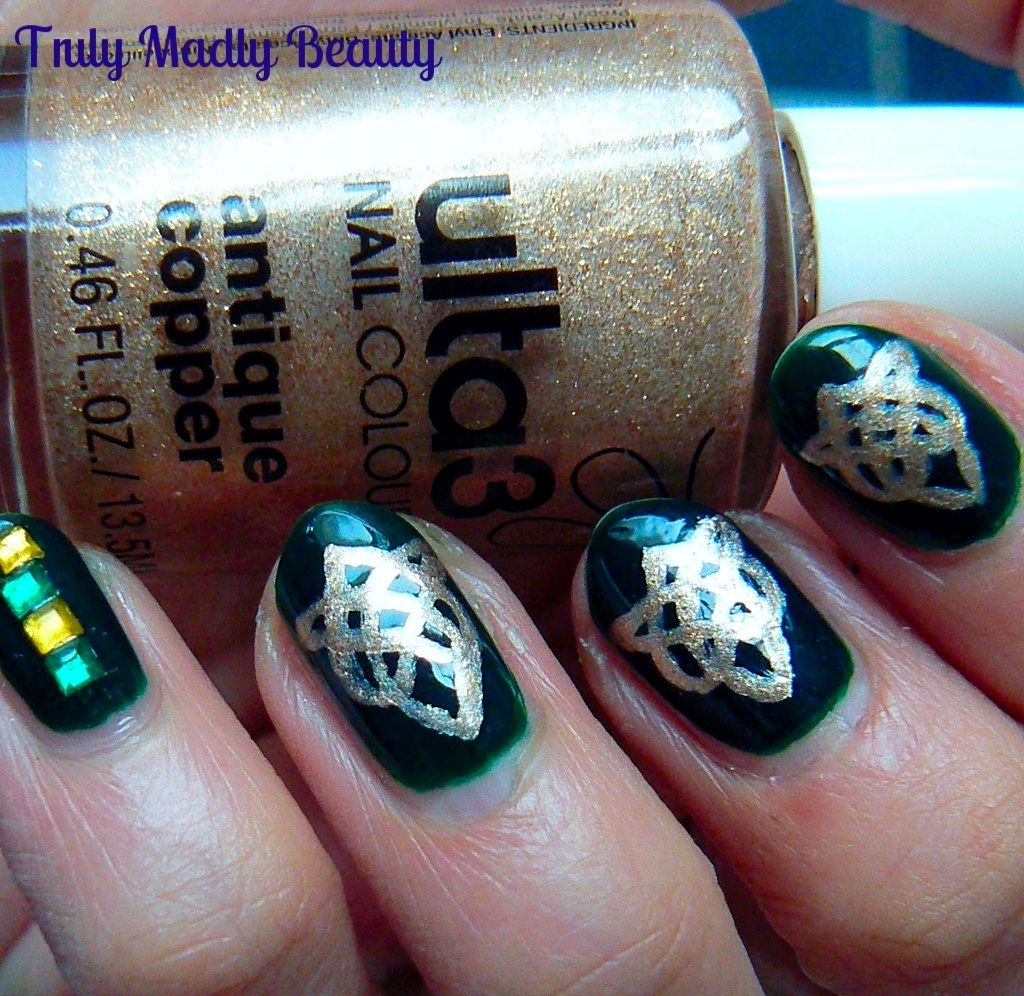
To start with you of course needed a green base, for this I reached for Models Own in Ebony Green, an absolutely gorgeous Gothic vampy green. I don't know...can a green be vampy?! But this one somehow manages it, I just LOVE it. Two coats applied leaves a divine glossy finish.


Now to create the Celtic Knot I wanted a pretty pale bronze gold for that Medieval feel & for this Ulta3 in Antique Copper was just perfect. Grabbing my Pure Color 10 nail art brush which is great for detailed nail art I got started with creating my knots...

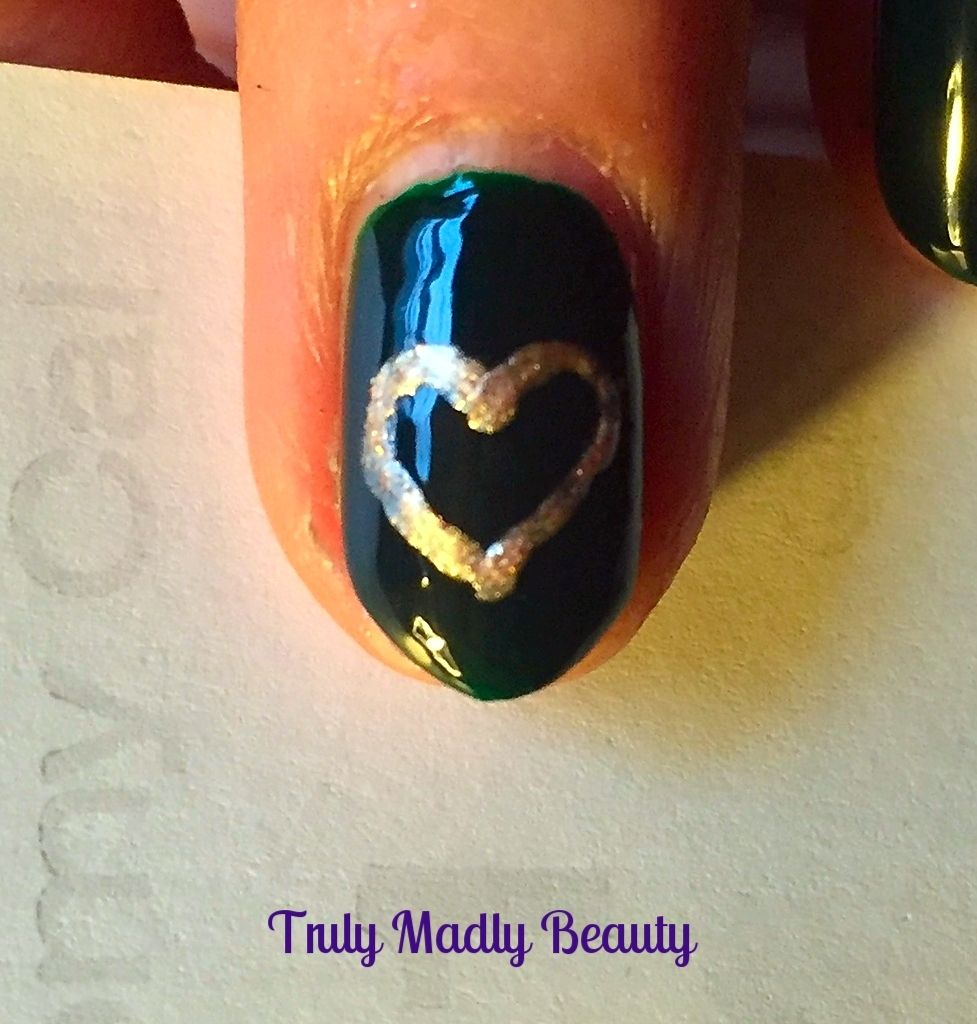
To begin, you first need to draw a heart shape on to the centre of the nail.


Then starting from the centre of the top of the heart (where the two curves meet) draw a straight line going to the left, at a 45 degree angle, down till you pass through the left side of the heart. Then continuing from this point slowly bring up a curved line that goes through the heart again & up past the right curve at the top, stopping just above the middle of the top of the heart.


Now do the exact same thing for the opposite side, this time drawing a line to the right, then bringing up another curved line, all the way to the centre of the top of the heart, joining the two lines together at the top. Hopefully that made sense & if not then at least the pics can show you each step in detail!


I couldn't fit a knot on to my pinkie finger so instead just applied some green & yellow square stones in a row down the centre.


Finish with topcoat & you're done :) Needless to say for this particular design my left hand looked a lot better than my right & my patience was most definitely tested but I'm so glad I persevered as I loved the finish look & will definitely attempt again!

Thanks as always for reading! I'll try & roll out another, more simple mani idea for St Paddys day later on in the week so keep posted! 

Lotsa love to ya!