There is one event that is currently on everyone's social media's right now..the pinnacle Oscar caliber festival of festivals...Coachella. Alas I was not one of the lucky humans to go...my invite must've gotten lost in the post....Until then I'll have to get my festival vibes in another way...Now these nails are totally giving me ALL the Coachella vibes, what do you think? I may not be there in body but most definitely am in spirit!
Showing posts with label Sponging. Show all posts
4.13.2018
NOTD - Coachella Festival Vibe Nails
Hey there lovely readers!
Labels:
Coachella,
Festival,
gold,
Metallic,
Model's Own,
nail art,
Nail Decals,
NOTD,
Ombre,
Sponging
12.18.2017
Festive NOTD - Lilac Pastel Starry Night Sky
Hello there lovely readers!
So I'm back from my holiday in the beautiful Dubai, which has completely captured my heart & then some, I already cannot wait to return next year! But for now lets get back to continuing all things FESTIVE with some suitably Christmas-y nail art shall we?
8.27.2017
Disney Nail Art Series - The Lion King
Hello there lovely readers!
I could not let August go by without throwing in a new manicure for my Disney Nail Art Series now could I? Speaking of, how on earth is it almost September already? This year seems to be going by at an alarming rate!
My next Disney manicure is a bit special to me I guess as it is up there as one of my favorite Disney films & was actually the very first Disney movie I went to watch at the cinema...The Lion King.
Labels:
Acrylic Paint,
Bourjois,
Disney,
Disney Nail Art Series,
gradient,
nail art,
NOTD,
Sponging,
TrueBritLondon
6.28.2017
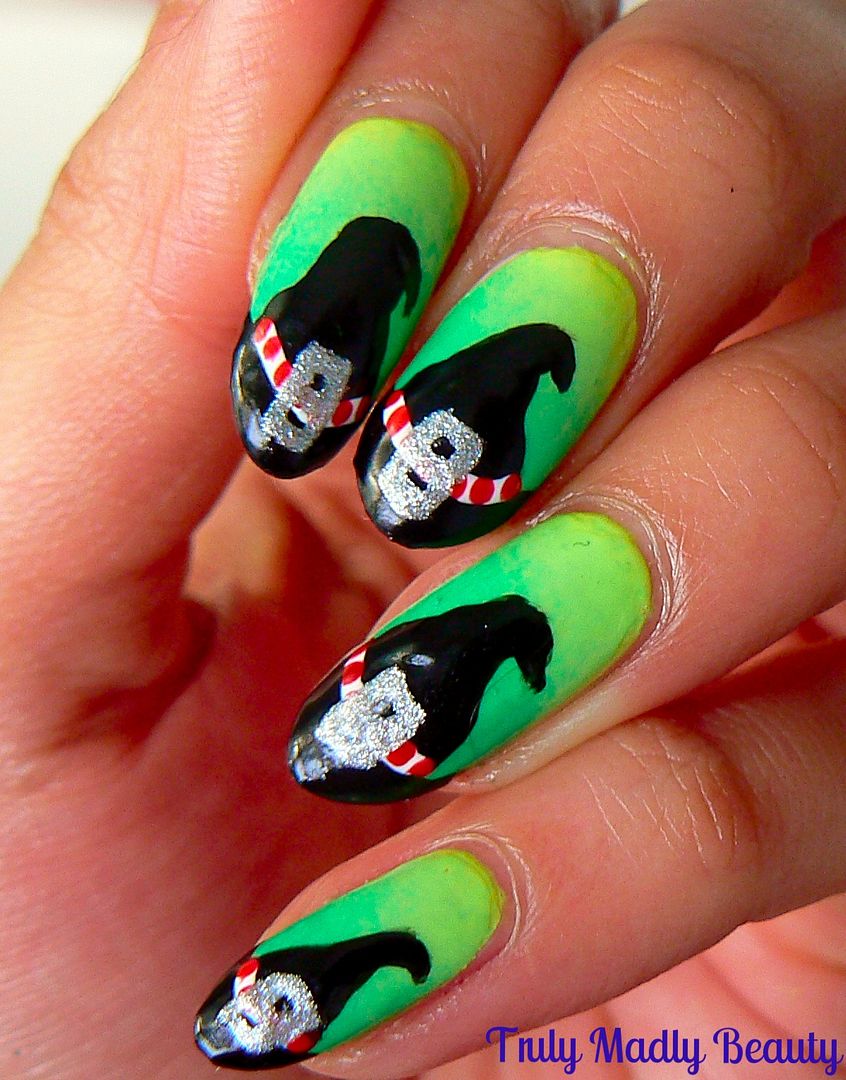
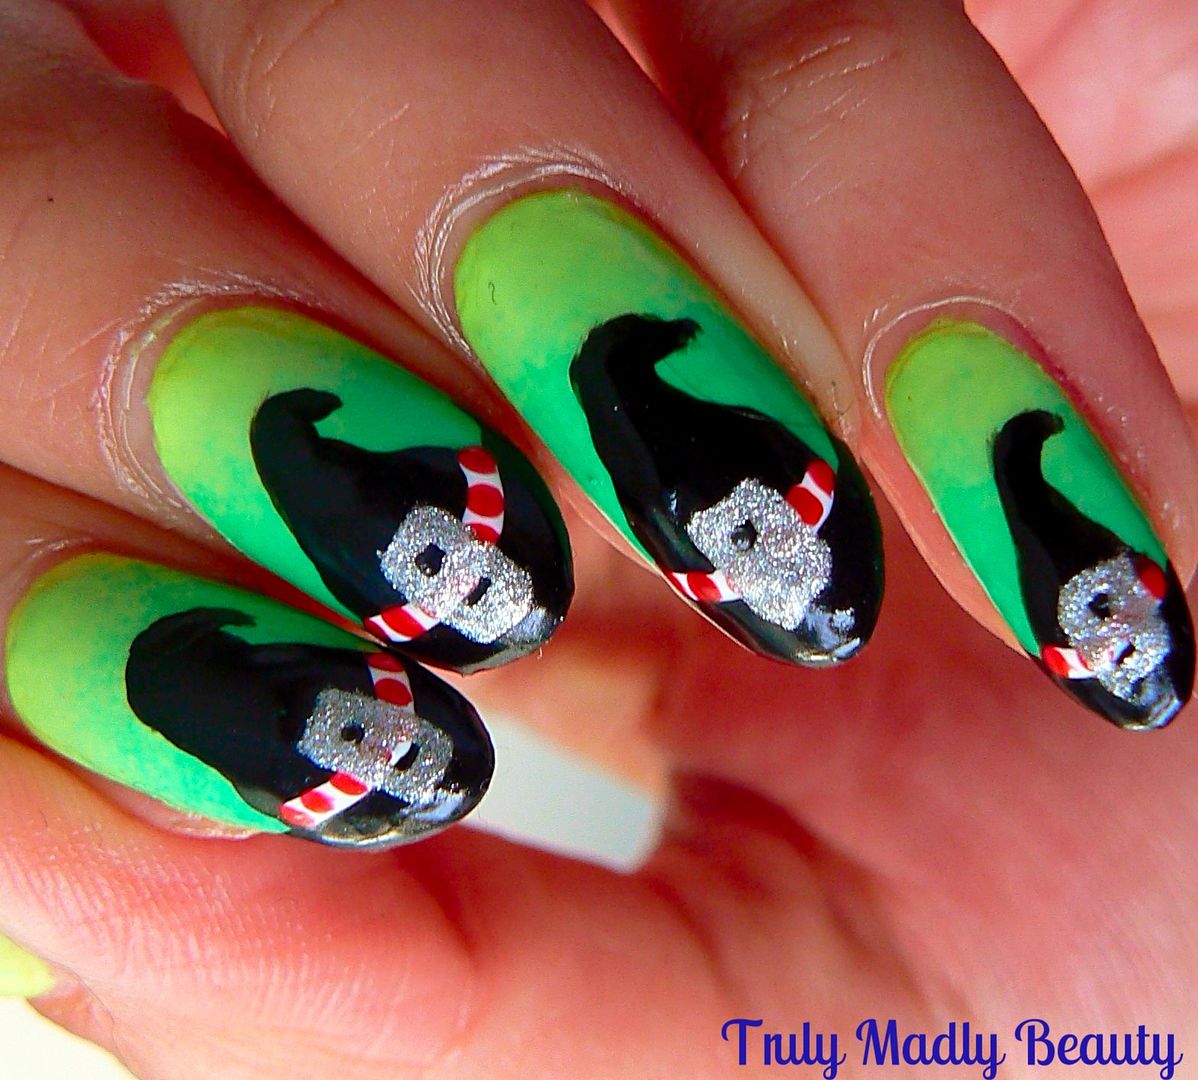
NOTD - Wicked Inspired Nails Tutorial!
Hey
there my lovely readers!
If
you caught my last post where I reviewed the Mitty Burns Peel Off Tape Barriers for easy nail art clean up, you'll remember how we left
things...with a neon gradient nail base of yellow & green that
was begging for some nail art action...
Well
I had me some plans for this base & in particular with this
colour combo especially. I recently went on a little London adventure
with my dearest chum which saw us popping by the Apollo Theatre to
finally watch the award winning show Wicked which (no pun intended) we absolutely
loved. Honestly we must've been the last humans on earth NOT to have
seen it & I'm glad to finally tick it off my list.
6.27.2017
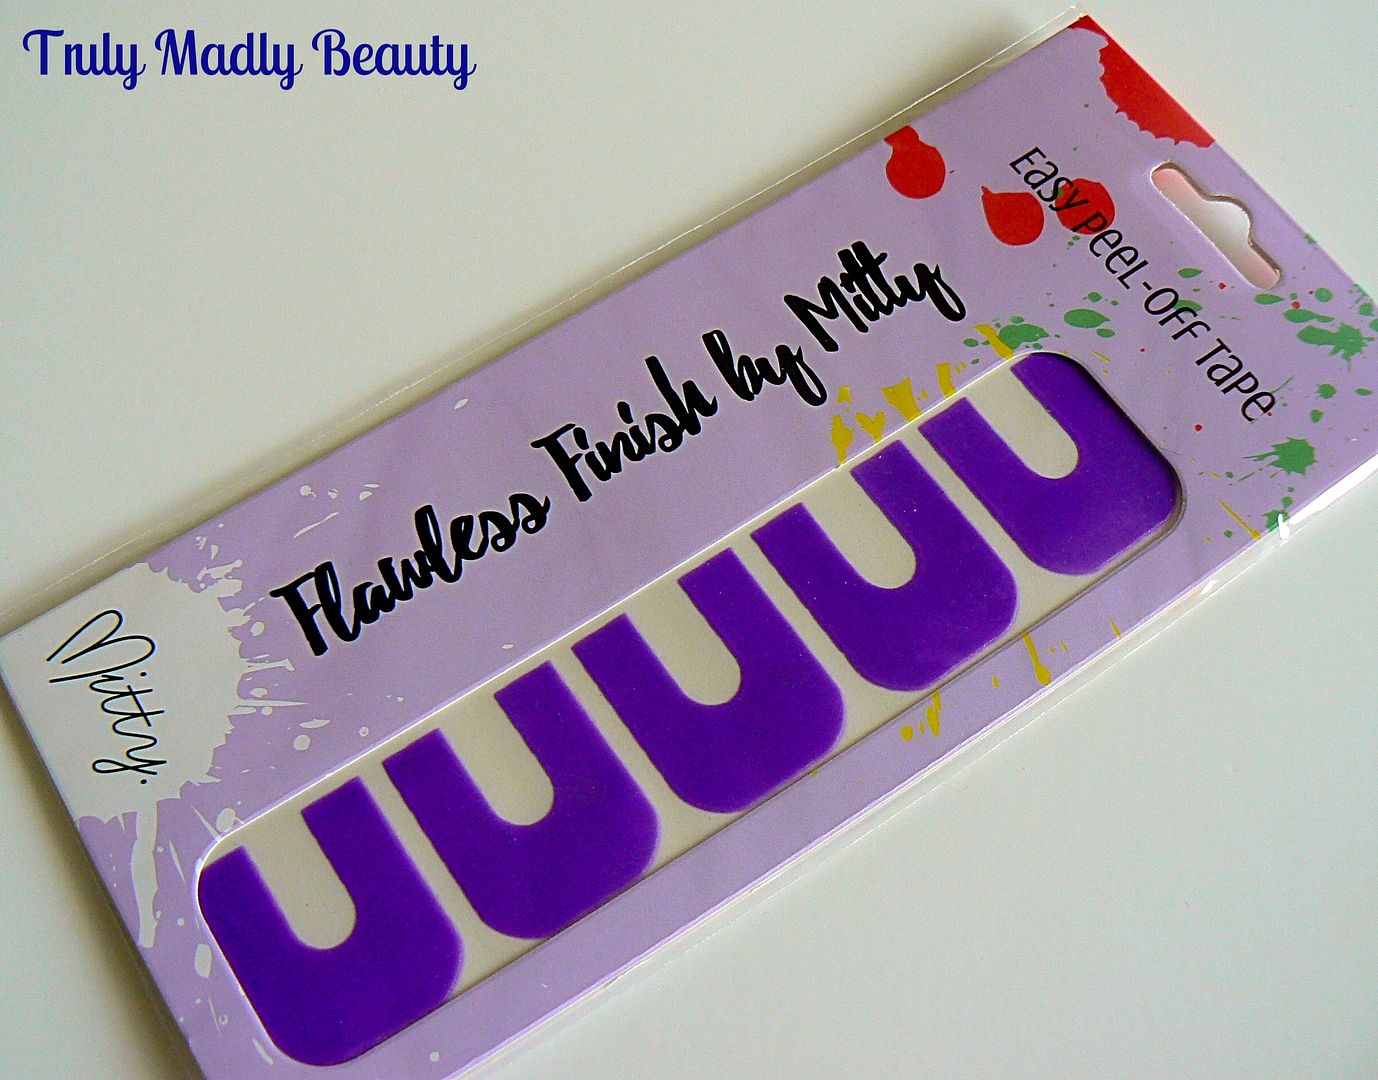
Mitty Flawless Finish Peel Off Mani Tape Review
Hi
there lovely readers!
When
it comes to doing nail art, no one likes a lot of mess. And yup there
are a number of techniques that can cause just that, thus putting
many people off doing them. Sad times. However nail art has come a
long way & now there are lots of ways to make the whole process
so much easier with minimal stress & easy cleanup! Happy times!
I'm
sure you've heard of the method of using liquid latex as a skin
barrier when doing messy nail art such as sponging, stamping, water
marbling etc. If not then go have a peek at my post touching on that
HERE.
Using
liquid latex really has been a game changer for sure, waving goodbye
to the days of having to wrap cellotape around your cuticles, praise
the gods!
One
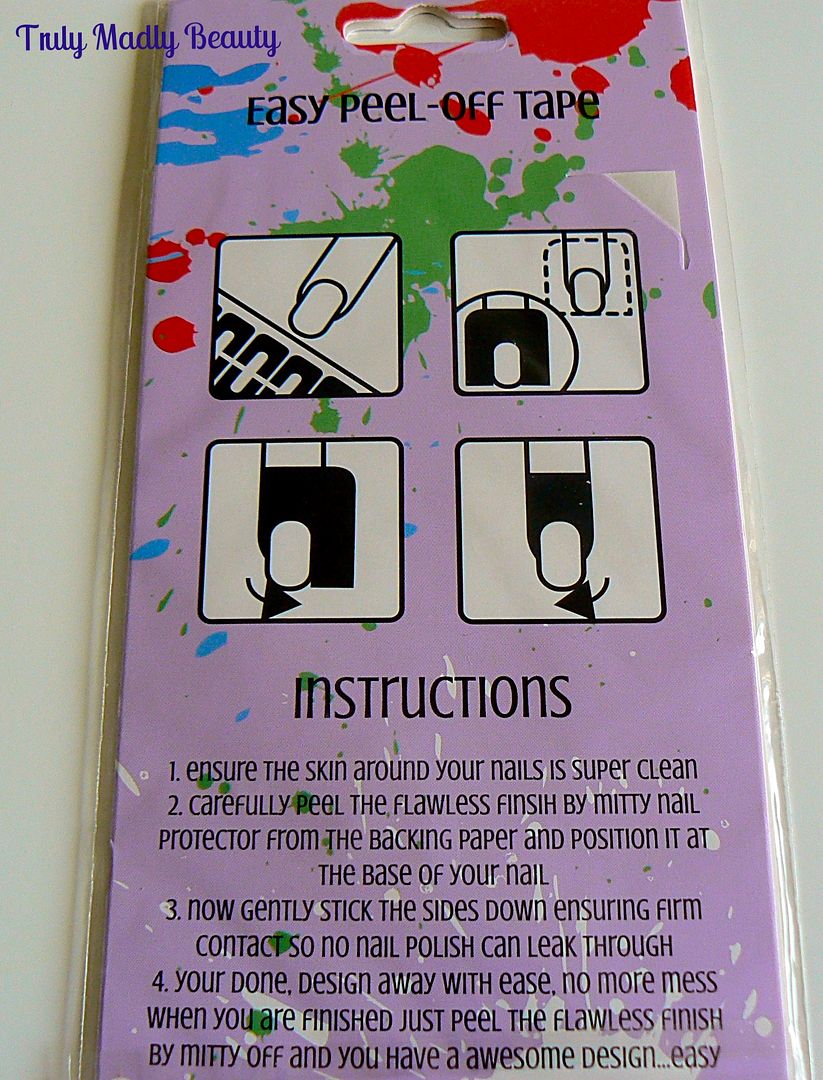
little product that caught my eye were these peel off mani
tape barriers from Mitty Burns that basically work in the same way
except, not only are they latex free which is fab news for those who
have skin allergies but also no fiddly bottle or brushes required, or
waiting around for the barrier to dry, you simply peel the tape from
the sheet, wrap it around the skin, then peel off in one go after
you've done you nail art! Nifty!
Labels:
gradient,
Liquid Latex,
Mitty,
nail art,
Nail Art Tips,
Neon,
Review,
Sponging
6.20.2017
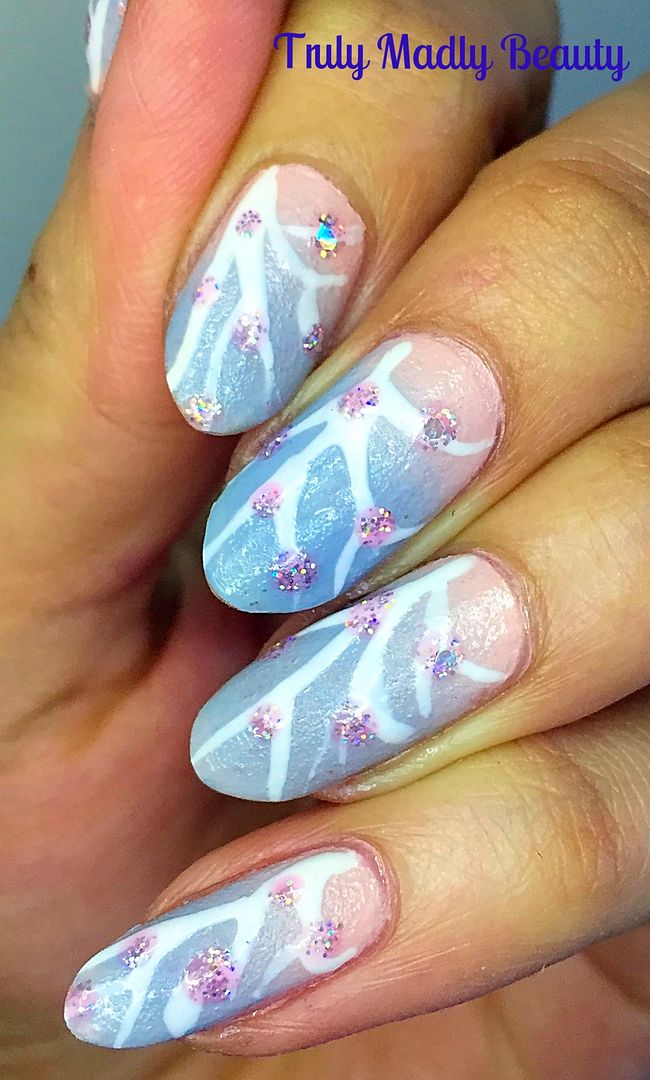
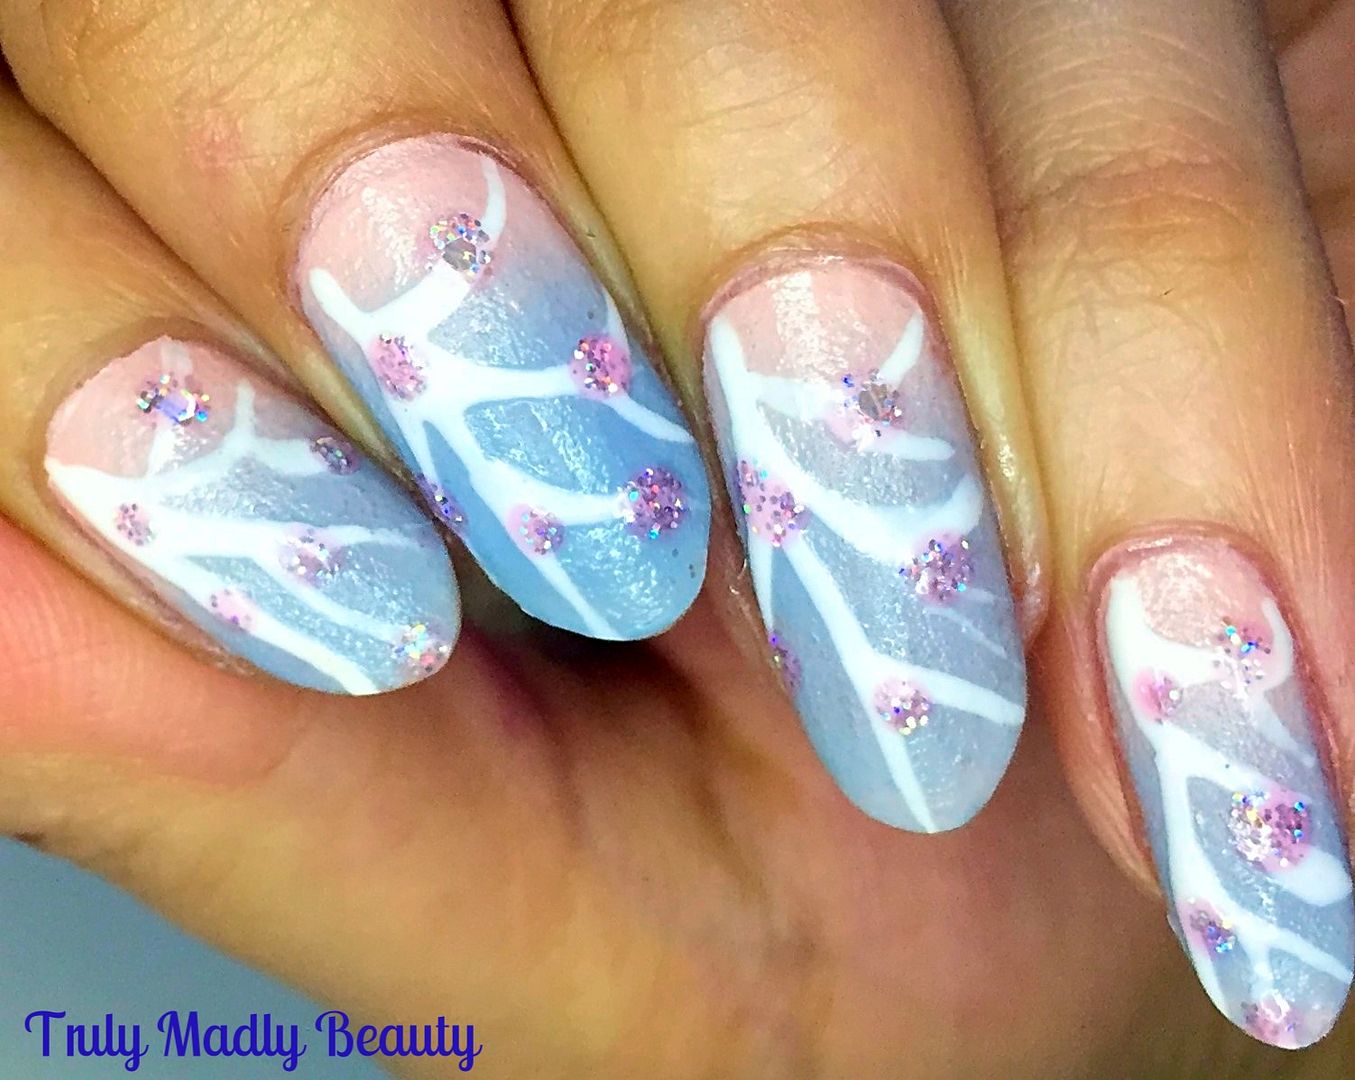
NOTD - Pastel Cherry Blossoms
Hey
there lovely readers!
Cherry
Blossoms have to be one of my favourite blooms with their pretty,
feminine & elegant presence. Not only do I adore the florals
themselves when they come out in all their glory every year but I am
a sucker for anything cherry blossom print & especially
(surprise surprise) nail art!
I've
done a couple of different takes on the design, which you can see
HERE & HERE. This time I was in the mood for some soft
pastel tones & gradient nails as its been a while since
I've done me some good ol sponging & this was the outcome!
5.07.2015
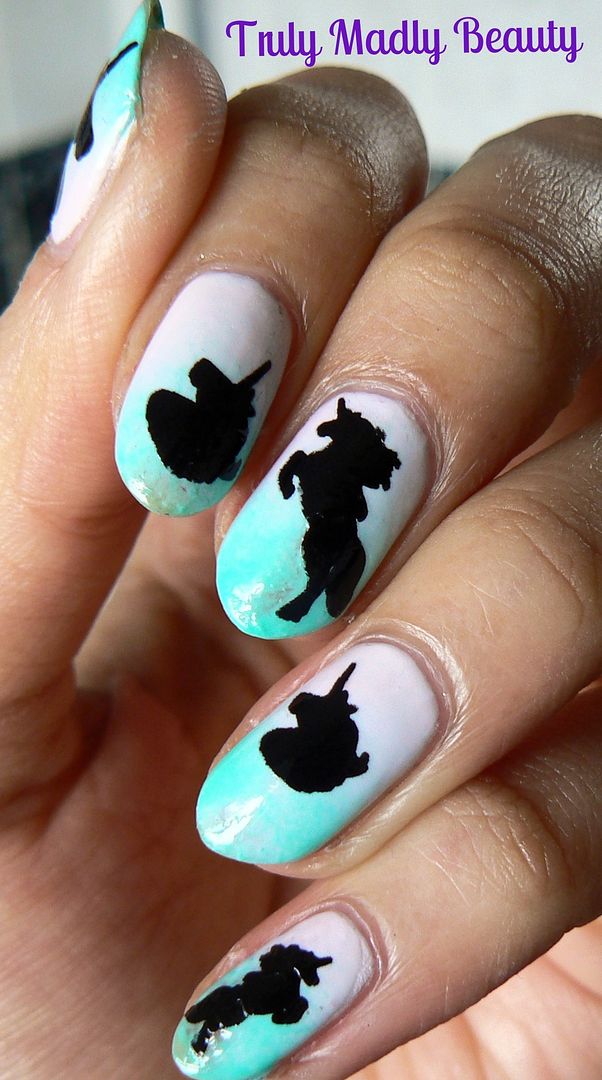
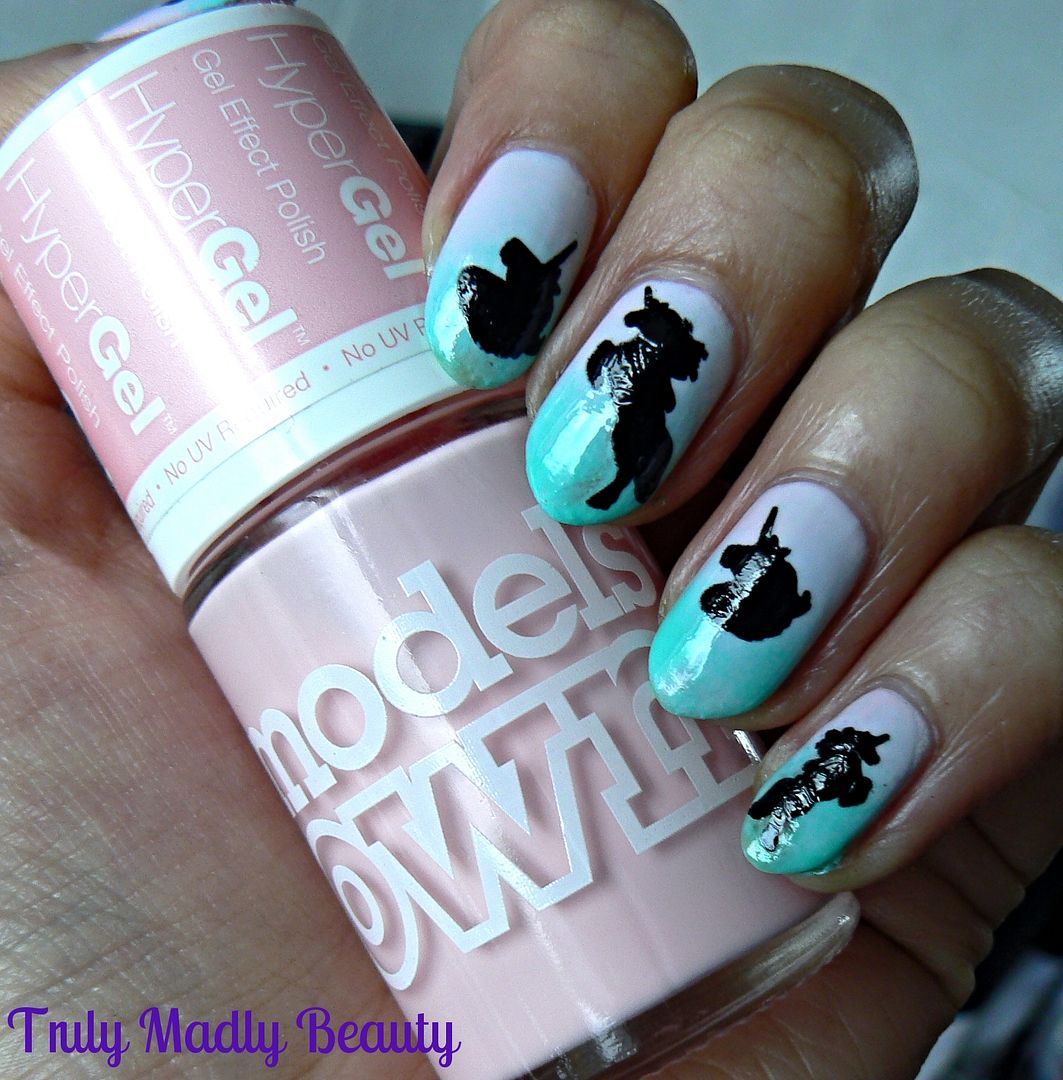
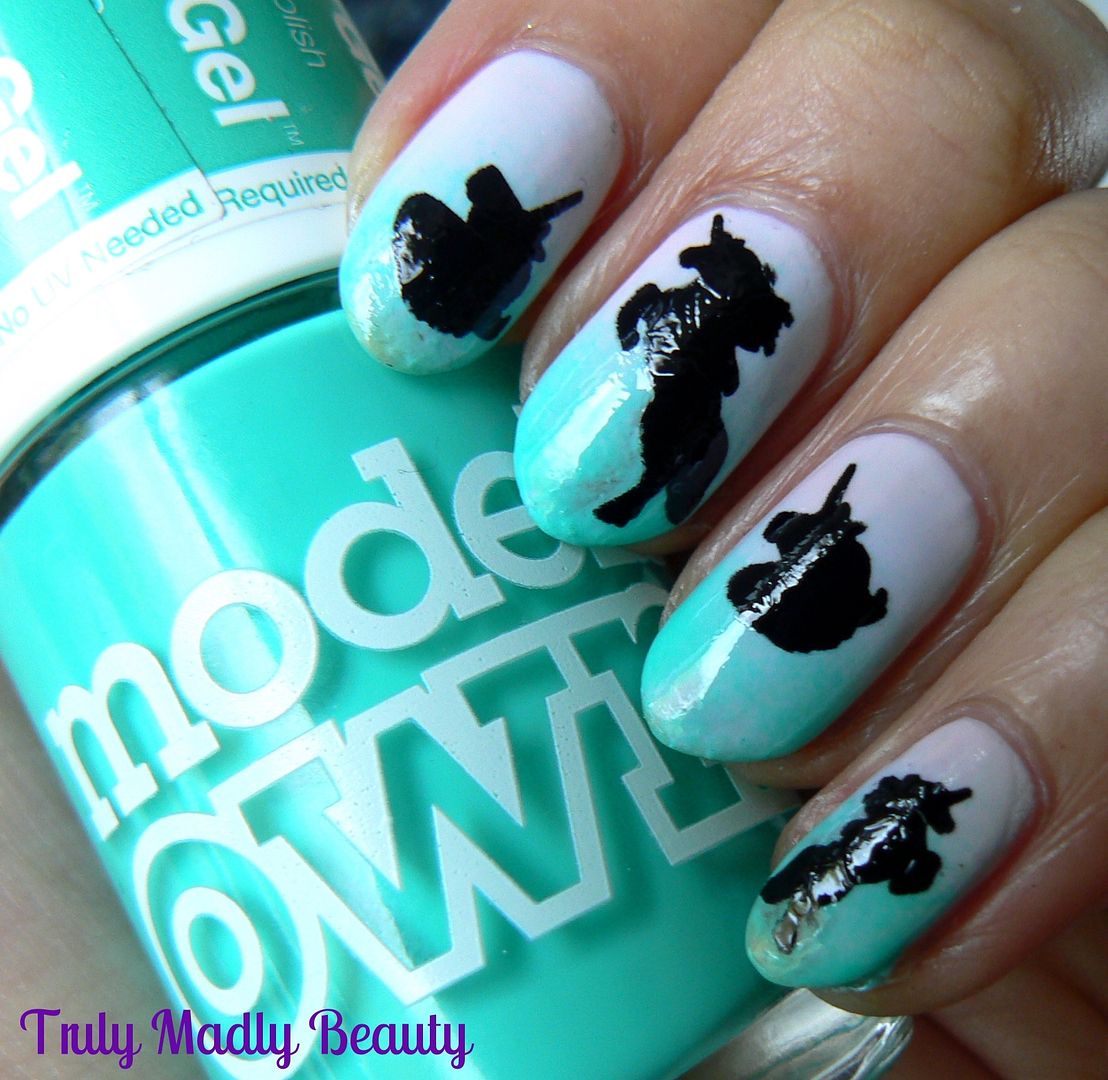
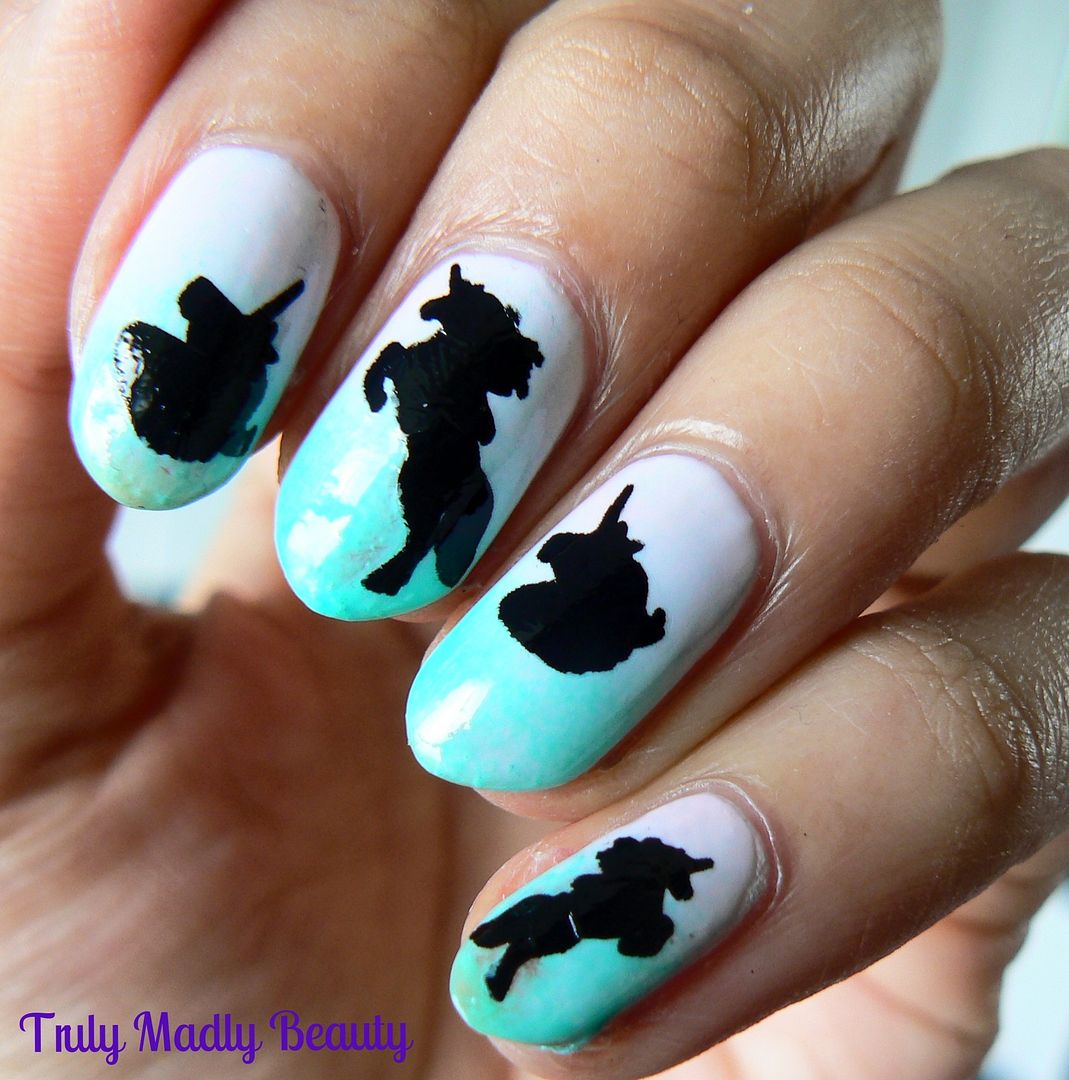
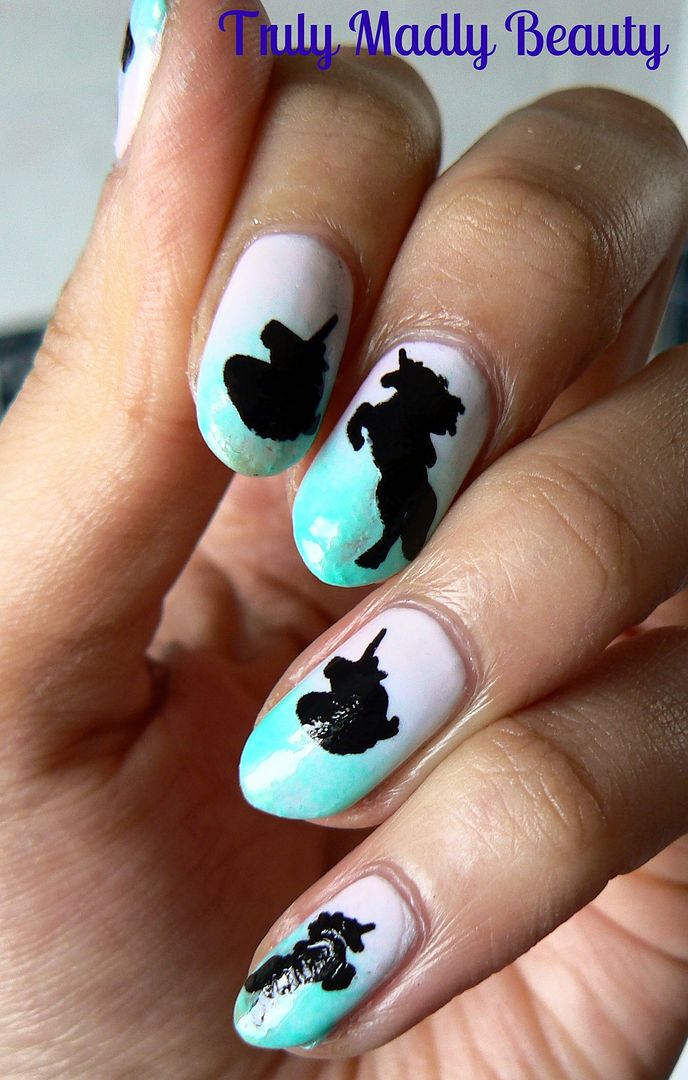
NOTD - Unicorn Nails!
Ello ello me lovelies!
This week I've been sporting a 'dragged backwards through bush' look thanks to the glorious gale force wind we've been blessed with the past few days. I think if I actually attempt to run a brush through my hair it'll get lost forever in the forest of knots never to see the light of day again O_o Guess its updo's for the time being eh?!
If you caught my previous post on how
to use Masking Fluid as a barrier for easy nail art clean up, you'll
remember that I also shared how to do a quick & simple pretty
sponge gradient. All the details on the process can be found on that
post HERE!
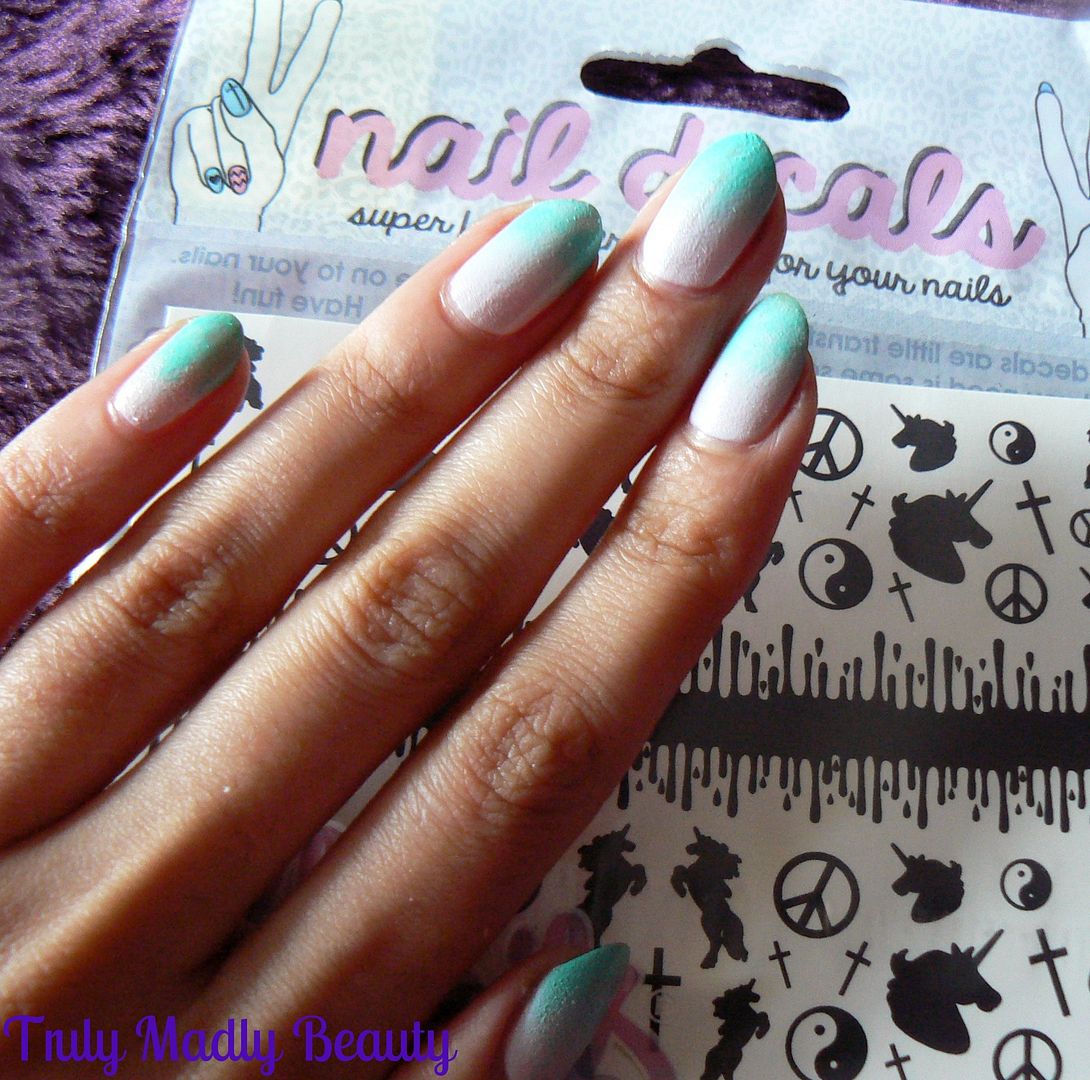
The gradient created a canvas that was
begging for a bit of extra attention so twas the perfect opportunity
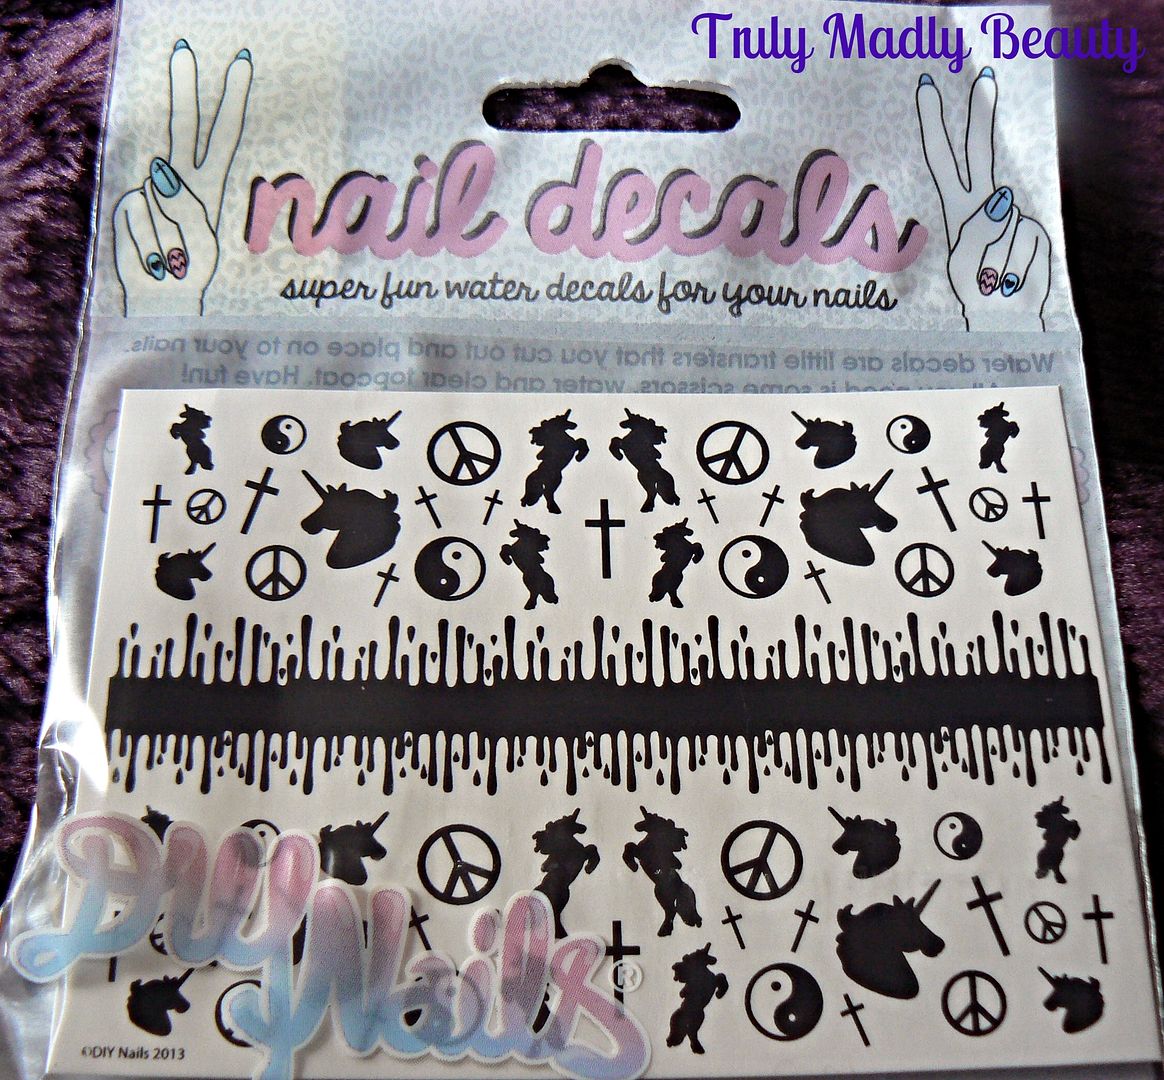
to test out the new DIY Nail Decals I picked up recently. The colour
combination of pastel pink & turquoise blue immediately brought
mystical unicorns to mind so I couldn't resist applying the fab
unicorn decals!
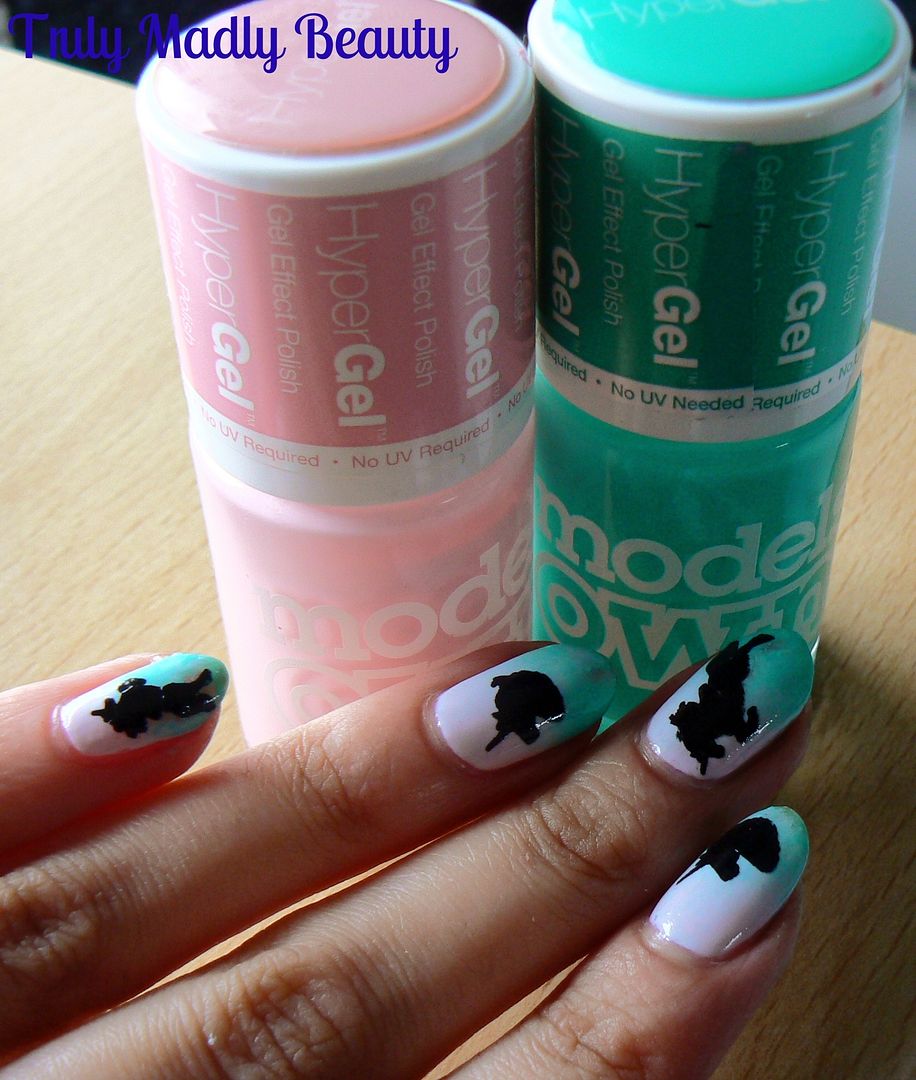
For the gradient I used Models Own
Hypergels in Pink Veneer & Turquoise Gloss applied over a white
base, I love this combo! I think I may have a new found addiction to
gradients now that I know how easy they are!
For some reason I've always avoided
using nail decals, I guess I was under the impression that they were
majorly complicated to use. However I couldn't have been more wrong!
To apply the decals you simply choose
which design you wish to use, so I picked out the ten different
unicorn decals I wanted to apply & cut them out. Then doing one
nail at a time, pick up your nail decal & plop it on the surface
of a cup of water to soak for 5-10 seconds.
Once done simply lift the decal out of
the water & wait for another 5-10 seconds or so & the decal
should slide right off the backing paper, remove with the tip of your
finger & position on to the nail (polish must be dry!)
Pat the surface dry with a bit of
tissue then finish with a slick of topcoat to seal the design &
make your decal last longer. Hello magical unicorn nails!
I picked up quite a few different nail
decal sheets with funky designs from DIY Nails which I can't wait to
try out! Thanks as always for reading my beauties!
Labels:
DIY Nails,
gradient,
Model's Own,
Mythical,
nail art,
Nail Decals,
nail stickers,
NOTD,
Pastel,
Sponging,
Unicorns
5.04.2015
Tips & Tricks - Masking Fluid For Easy Nail Art Clean Up!
Happy Star Wars Day loves! May the Fourth be with you! I confess I'm disappointed in
myself in that I've not done a Star Wars theme mani in honour of the
day...bad form Aysh. Oh well there'll always later on this year when
the new film is released, excitement is hard to contain!
When it comes to nail art, there are
some techniques that can be a tad, messy shall we say? Such as
sponging, water marbling etc. resulting in polish ending up all over
the skin not just the nail, which can make the task off putting for
most. Therefore any short cuts available to make said tasks much
easier to do & clean up after are most welcome.
One method that's taken the nail world
by storm is liquid latex, yup you heard me right. When I first
investigated on social media the result was, lets just say quite
amusing. I believe its something that was started by the brand
Kiesque who released Liquid Palisade, a liquid barrier that is
applied on the cuticles & once dry, simply peeled off after nail
art is done. However the $22 price tag that came with did make one
wince! Recently a few online polish retailers have jumped on this & begun selling little bottles of liquid latex barrier
at a friendlier price. Though I've purchased one myself
which I look forward to trying when it comes, I first wanted to
investigate an option that's more easily available & I'd heard
works just as well as liquid latex, the product in question...masking
fluid.
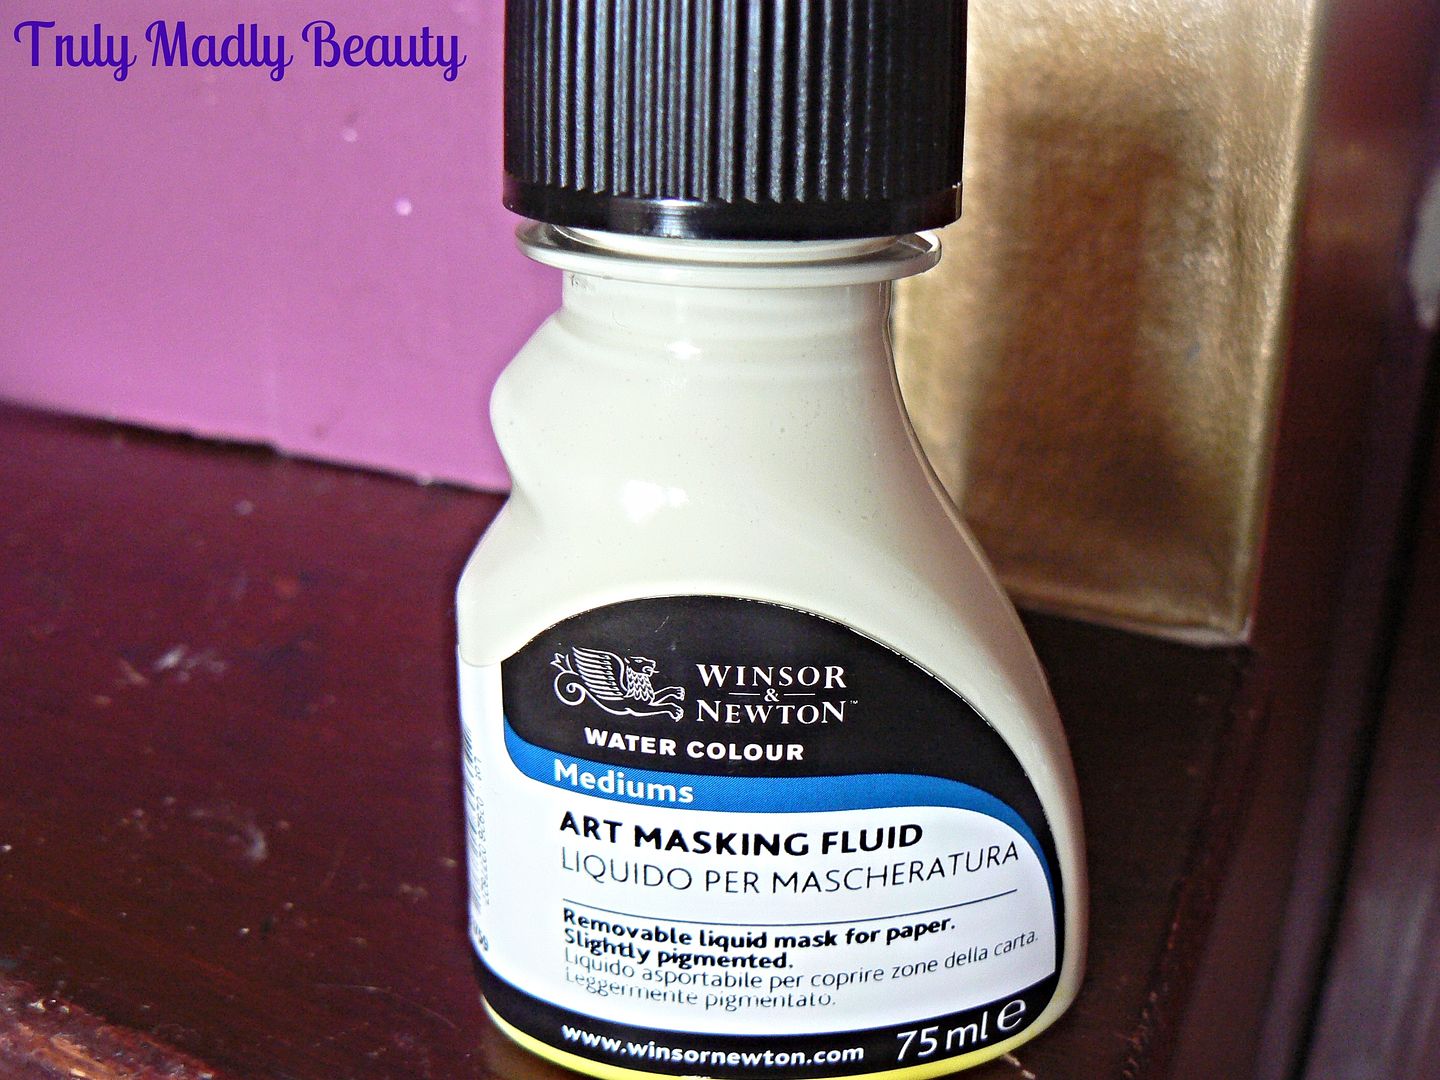
Masking fluid is a product used by
artists who need to mask areas of their work needing protection when
colour is applied in broad washes. Once dry the barrier is simply
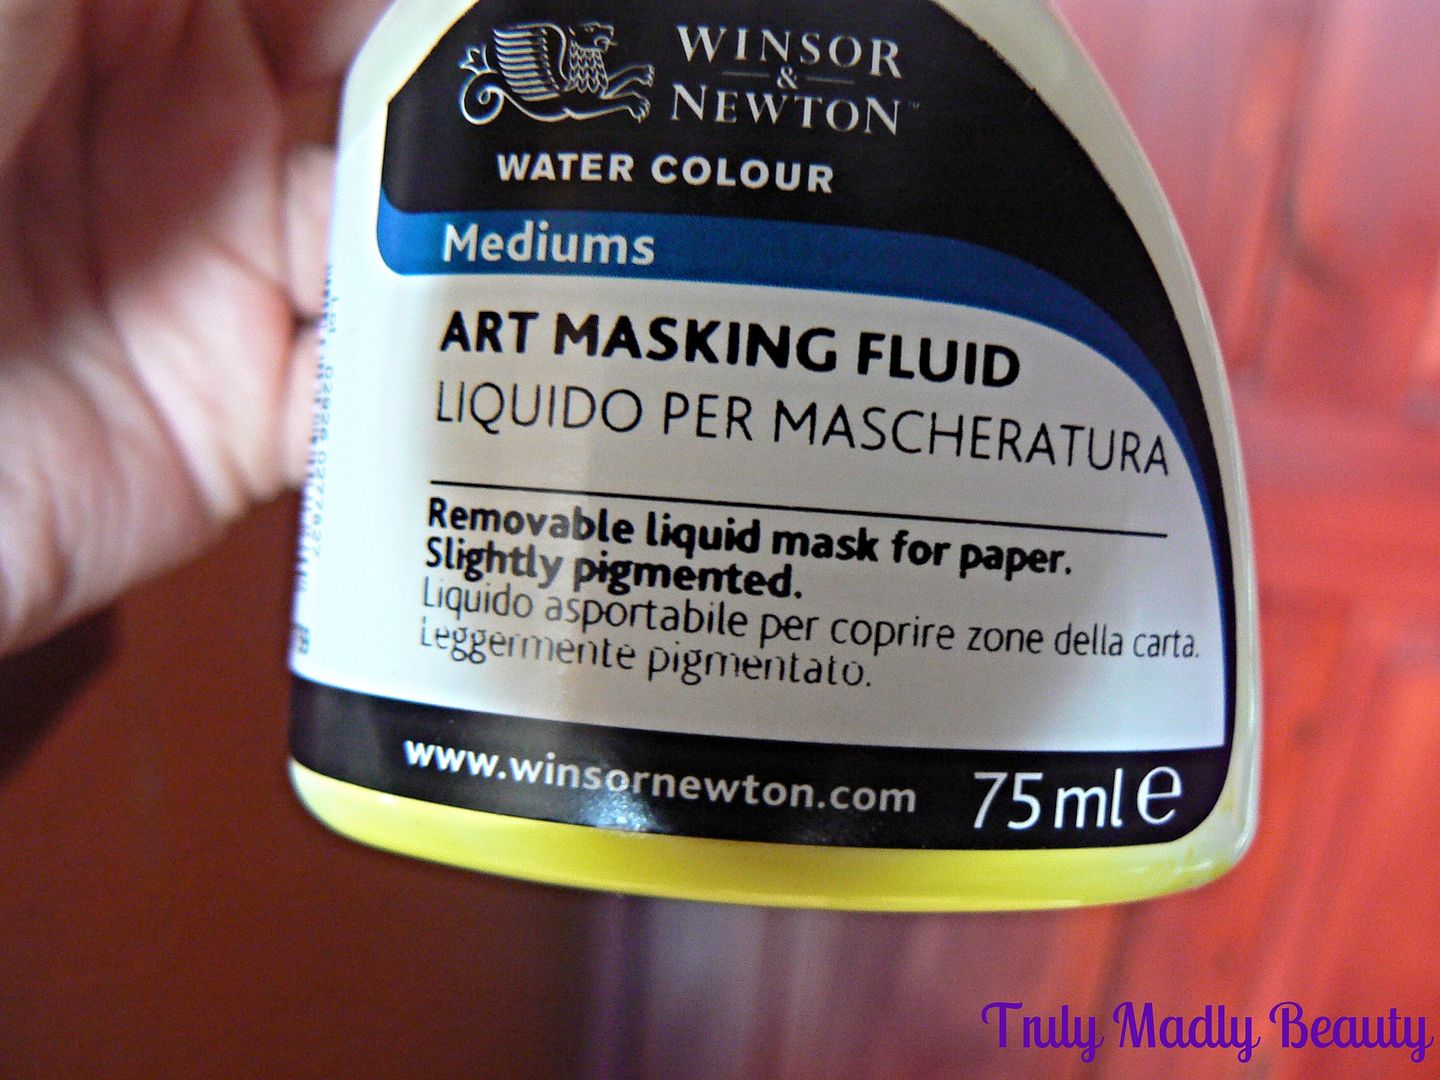
peeled away. I picked up this bottle of Windsor & Newton Art
Masking Fluid from WH Smiths for just a fiver. So yup, definitely a
much nicer price!
The fluid is composed of rubber latex &
a yellowish pigment. The formulation of it is quite runny,
though not so much so that its hard to work with. It also has a
slight odour to it that reminded me of stationary glue. To apply the
masking fluid I dug out an old art brush.
Now water marbling is a nail art form I
have not ventured towards yet, however I am becoming very much
addicted to gradient nails which of course require the sponging
technique so that's what I have to show you today.
Before doing your gradient you need to
have a white base, here I've applied two coats of No7 Snowflake, not
the best of whites as it wasn't fully opaque but it was just the
first one I saw & grabbed haha!
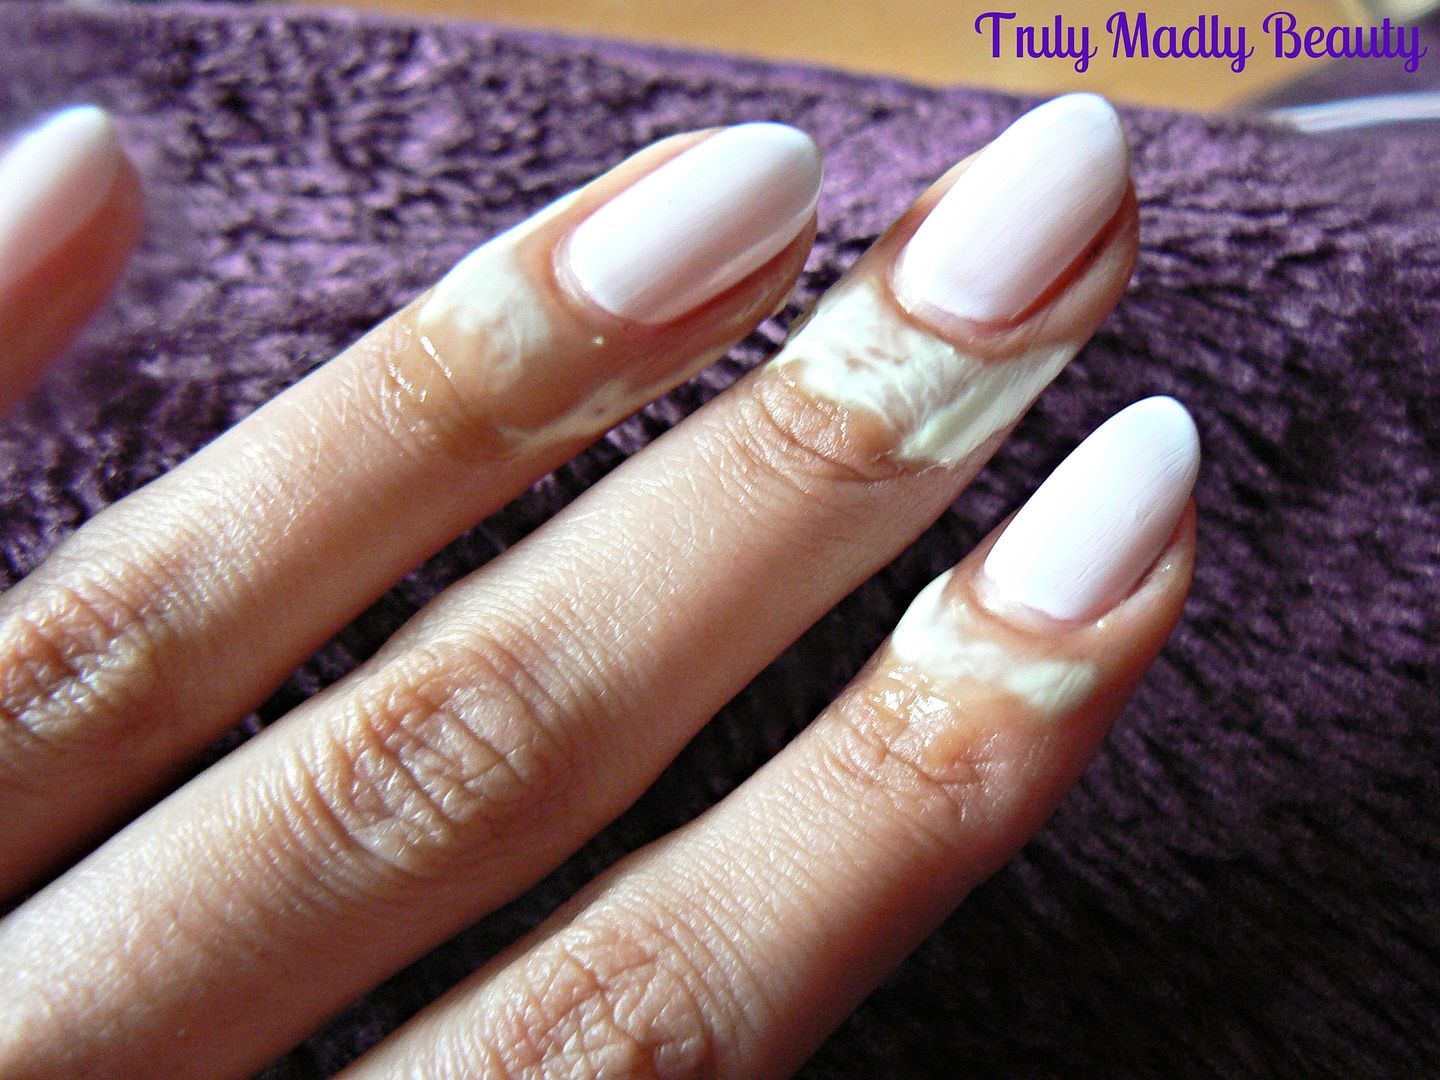
Using the old art brush, I dipped the
brush into the fluid from the bottle & applied it around the skin
of the cuticle area & sides as shown. Like I mentioned, the formula is a tad
runny, but not problematic to work with thankfully. I made sure to
apply the masking fluid quite thickly so it is noticeable where its
applied.
The masking fluid dries clear, much
like PVA glue, so you know when you can start with your sponging. For
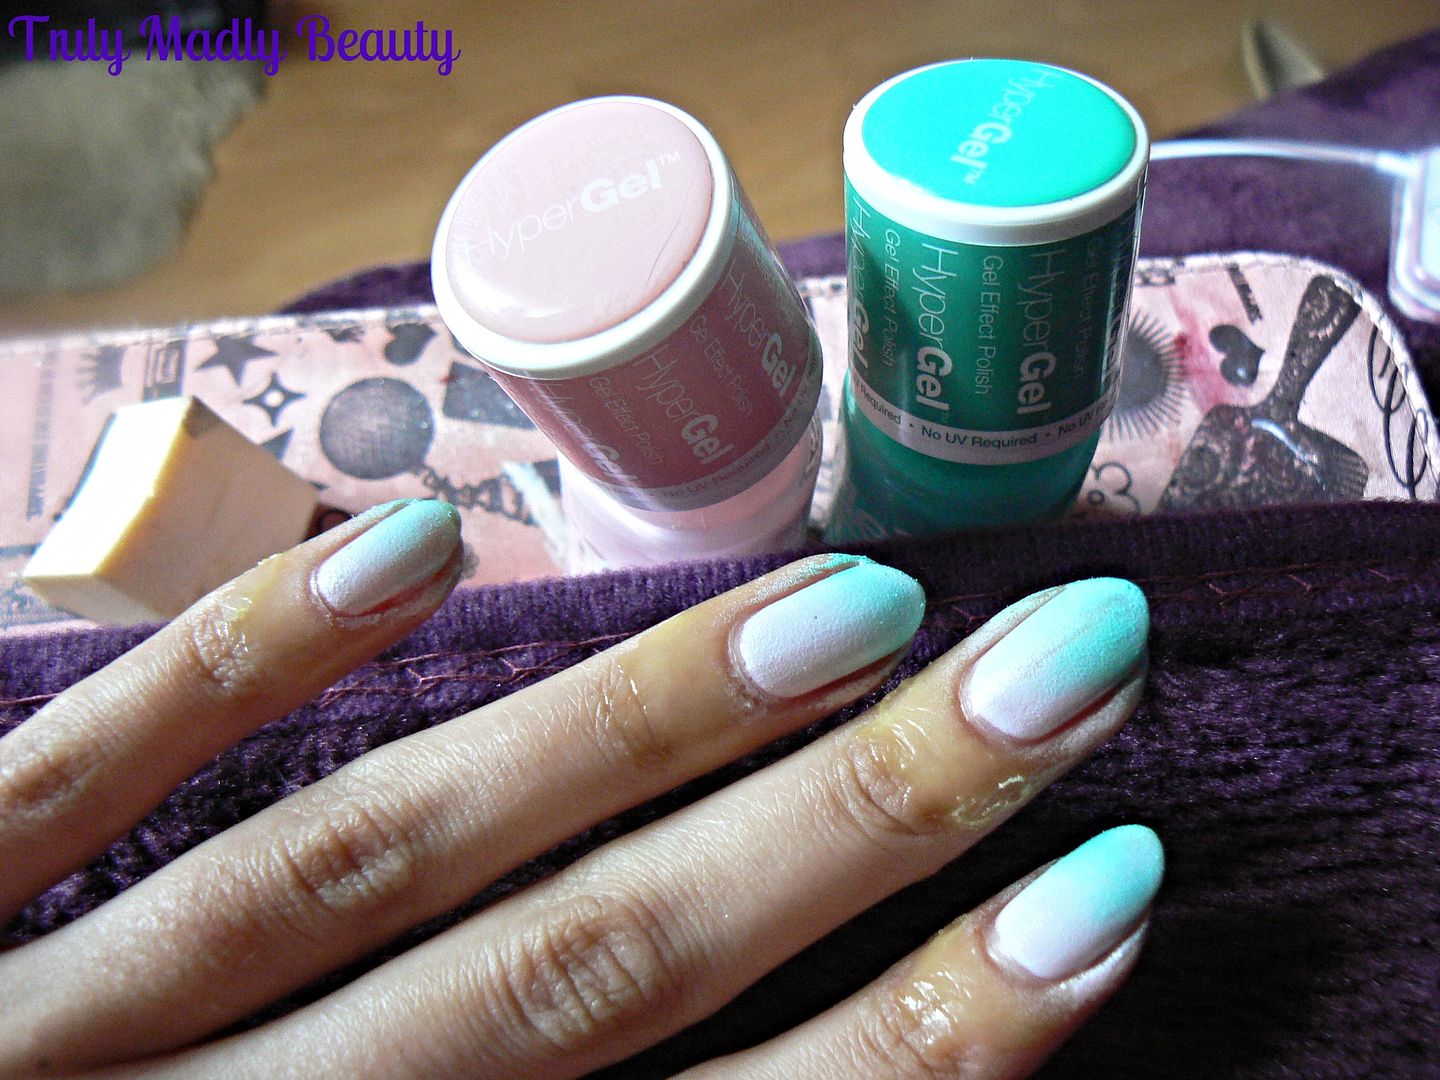
my gradient I've used Models Own Hyper Gels in Pink Veneer &
Turquoise Gloss. The formulation of these are quite thick making them
great for sponging.
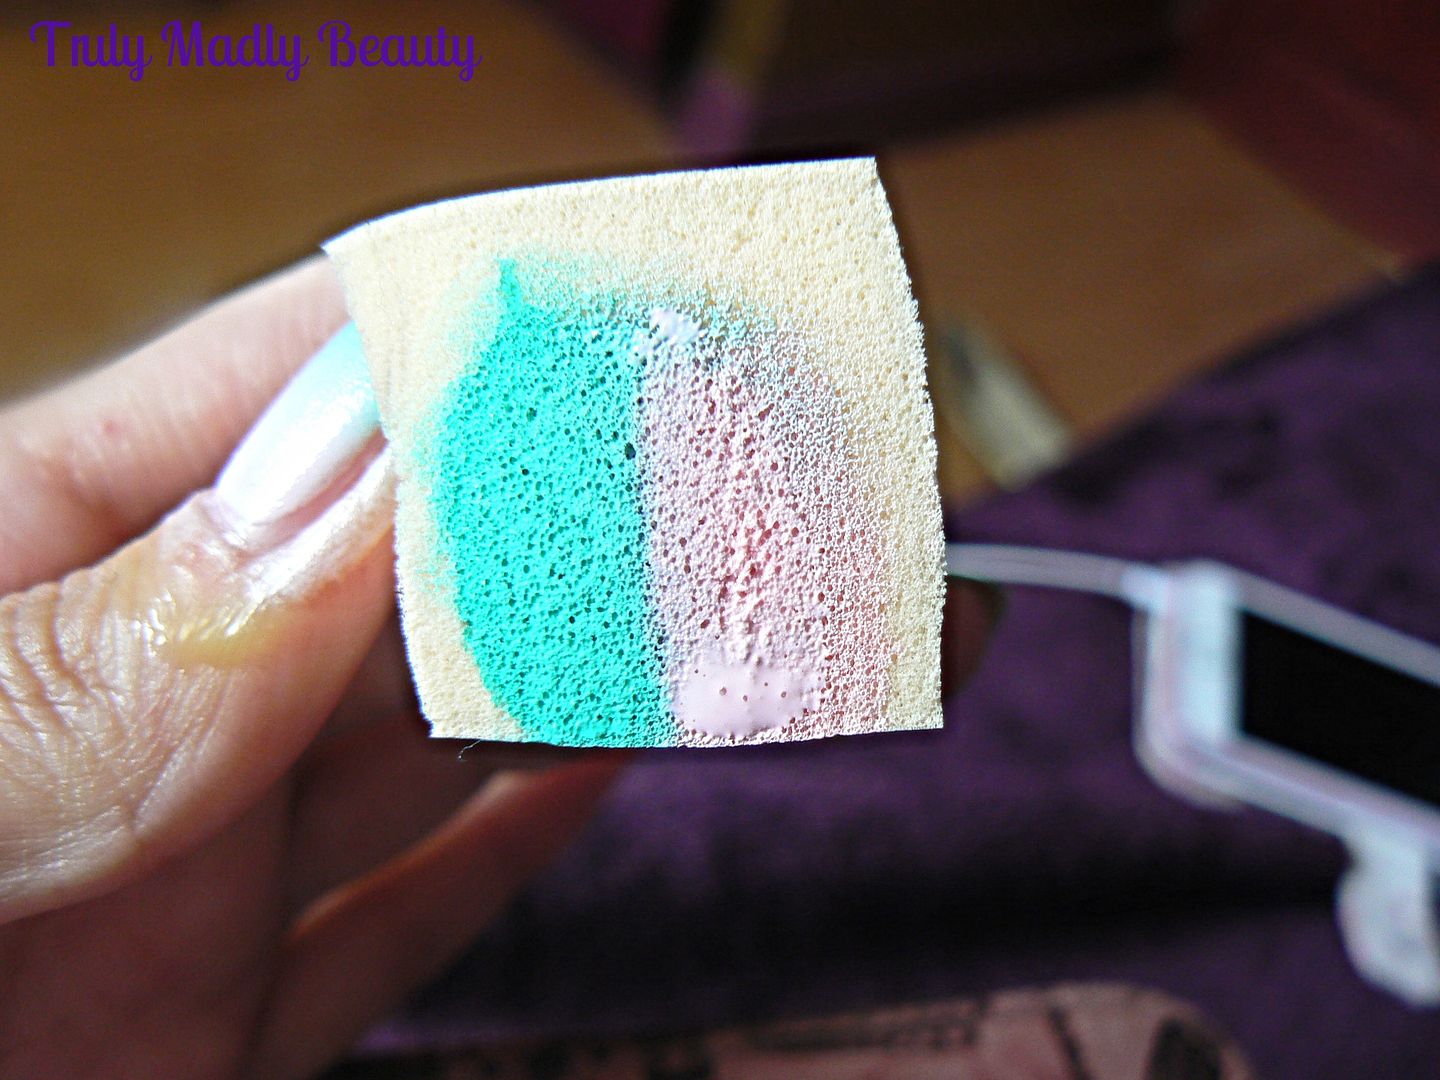
Apply the two polishes next to each
other on a piece of makeup sponge then dab onto the nail, applying in
an up/down & side to to side motion. Depending on the type of
polishes used, this needs to be done two or three times to get a nice
opaque finish. As you can see with this technique, a lot of polish
ends up on the skin around the nail.
Once I'd done all ten nails & was
happy with the finish, I simply grabbed a pair of tweezers & very
gently, being careful not to pull the skin, lifted up the dried
masking fluid, which I'm happy to say peeled off easily! Of course
there were some areas I missed but this was easily cleaned up with a
spot of acetone & a brush.
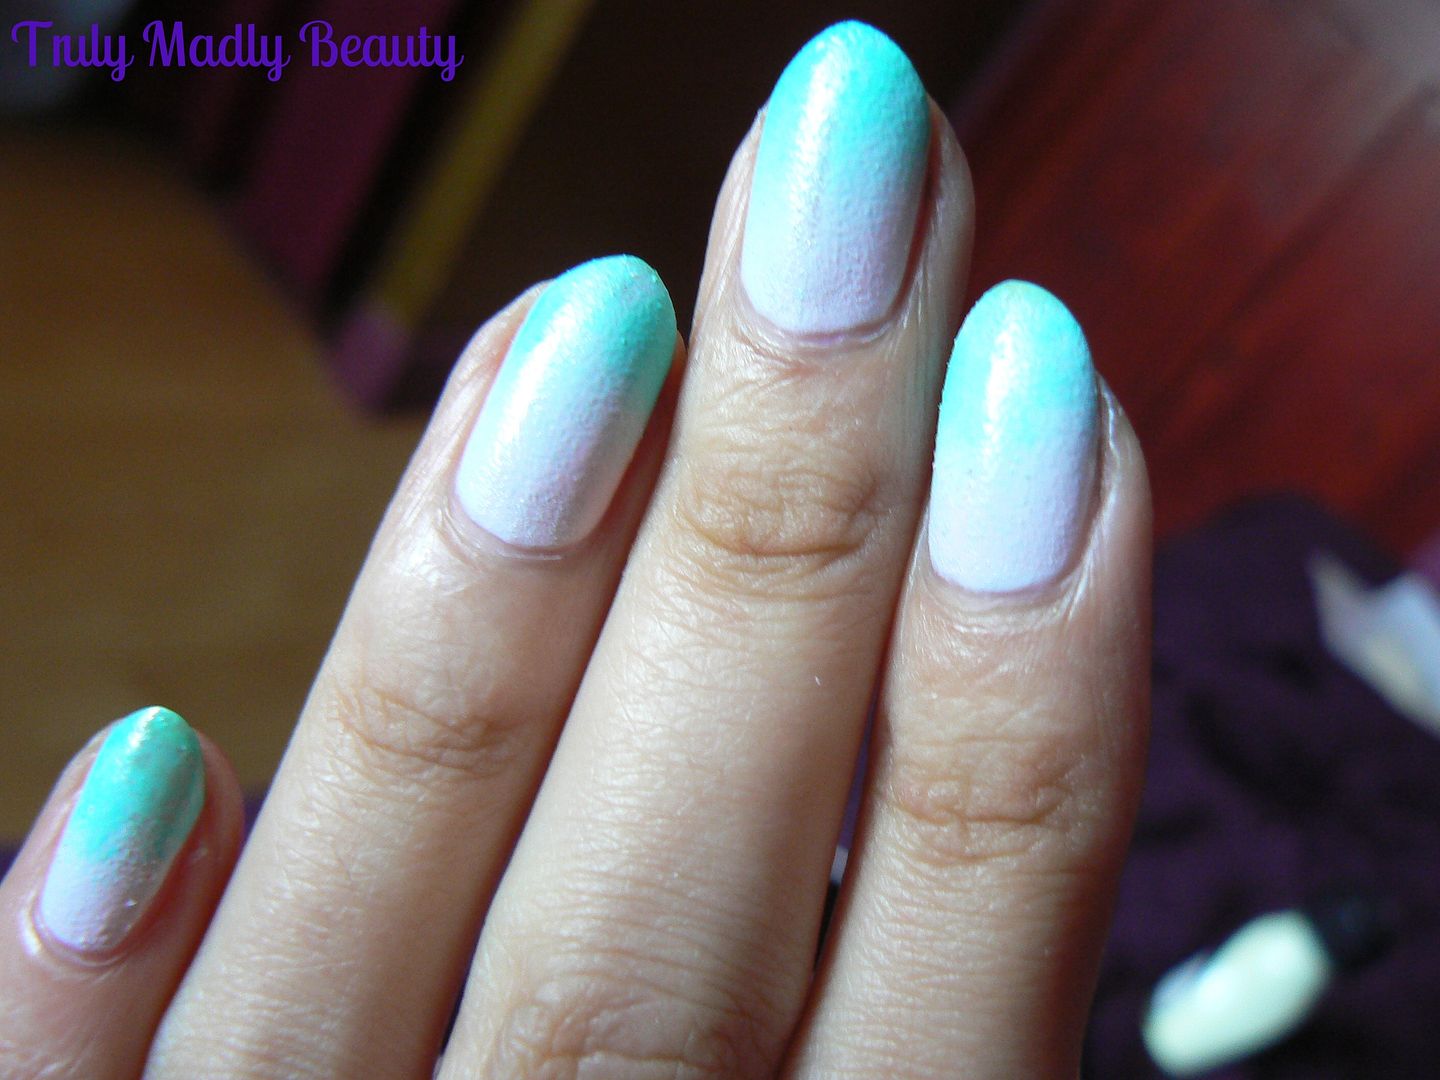
The end result, mess free sponged
gradient nails! I'm really happy with how well the masking fluid
worked & will definitely be using it again as a barrier when
doing sponge gradients. However when I receive the bottle of liquid
latex I've purchased online I'm eager to do a comparison to see how
well it works compared to masking fluid. I'll be sure to report back!
Thanks as always for reading dolls!
Lotsa love to ya!
Labels:
gradient,
Helpful Tips,
Model's Own,
nail art,
Nail Art Tips,
NOTD,
Shortcuts,
Sponging
Subscribe to:
Posts (Atom)