Showing posts with label Marble. Show all posts

7.31.2018

NOTD - Marble Stone Nails!

Hey there lovely readers!

A while back I started a Semi Precious Stones nail art series as not only am I obsessed with pretty gemstones but I also found they make for fab nail art! So far I've done some Jade Stone inspired nails as well as giving Geode Rock and Rose Quartz a go. 


6.12.2018

NOTD - Rose Quartz Semi Precious Stone Nails!

Hey there lovely readers!

If you caught my post a while back on my Jade Nails, you'll know that I'm going through a bit of an obsession at attempting to recreate some of my favourite semi precious stones on to my nails! Girl be on a mission!

There really is SO much nail-spiration to be found in stones, each with their own unique eye catching formulation & pattern. I was so happy with how the Jade nails turned out that I was eager to continue on my journey, so today I've given a go at some Rose Quartz!


2.19.2018

NOTD - Jade Semi Precious Stone Nails

Hi there lovely readers!

I have a particular fondness for semi precious stones, not just for their magical properties of course, I always have a few lying around the place, but you can find some truly stunning rocks with beautifully intricate patterns woven within the stone which means one thing...NAIL INSPIRATION!

You've probably seen & are familiar with the Geode nail art trend that was pretty big last year, I gave it a go myself & absolutely loved it, take a peek at my step by step tutorial HERE

I wanted to go further & explore other stones for which I could attempt to recreate on my nails, I have a long list...Rose Quartz, Marble, Amethyst, Opal....but first I wanted to give Jade Stone nails a try & so that is what I have for you beauties today!


12.06.2017

Festive NOTD - Red, Green & Gold Smoky Ombre

Hello there lovely readers!

Tis the season to be jolly & thus one is finally getting up my first nail art for the season! 


6.08.2017

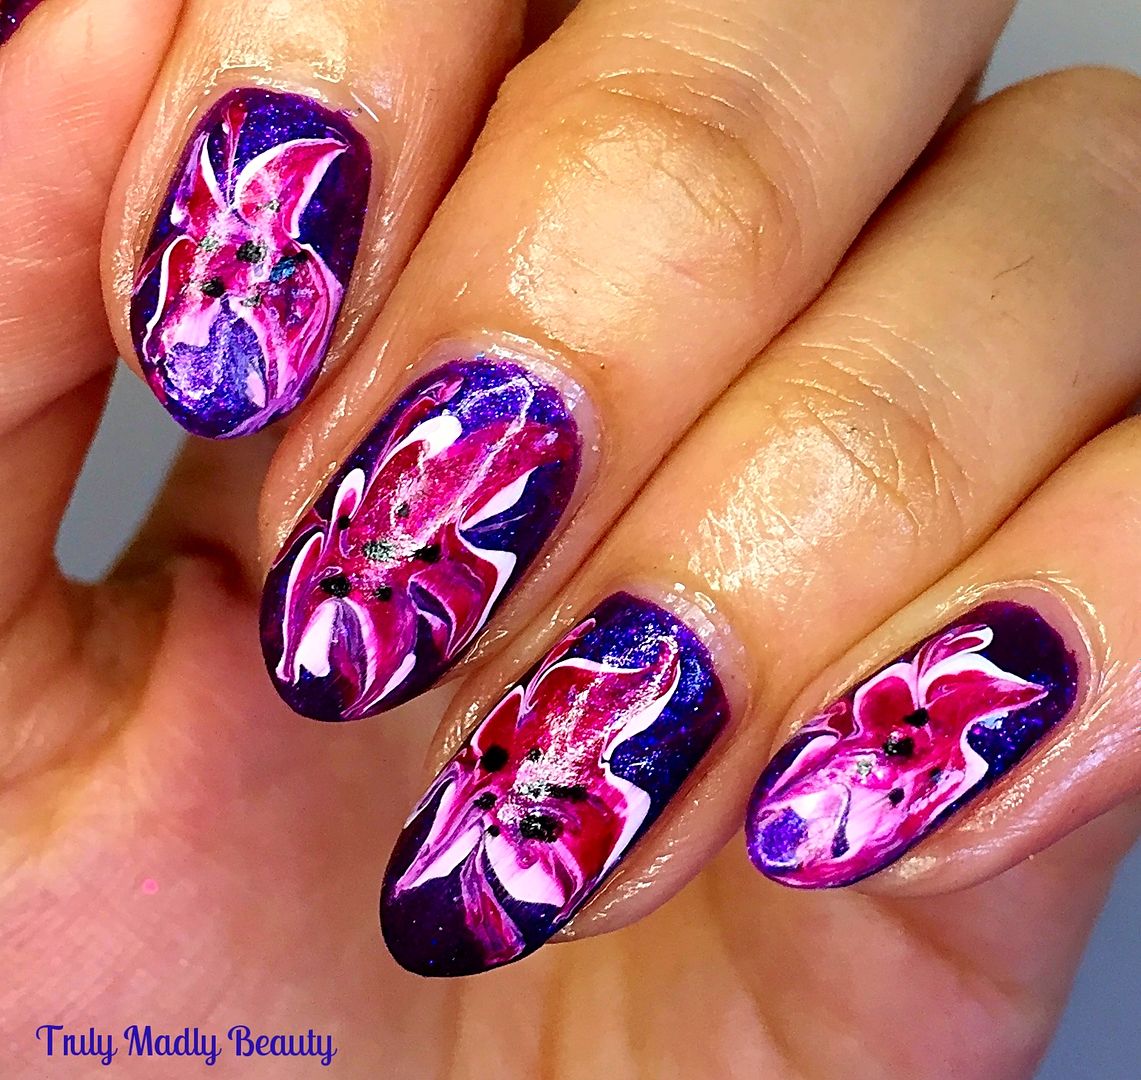
NOTD - Dry Marble Lily Nail Art

Hi there lovely readers!


Now I have me my fair share of nail art FAILS. Dreadful & dark times indeed when these events occur let me tell you. Times that are frequenting more of late, mostly (okay entirely) due to a certain cheeky little fluffball...if you follow me on social media (Twitter @aysh_tmb/Instagram @aysh_xox) you'll know that we now have a new addition to the family in the form of Lunar, our new kitten! Needless to say we all miss our beloved Hoshi muchly, so we all needed to have that gaping hole she left behind filled with another sweet soul to cherish & Lunar certainly is that. Even at a young age I can see she is such a character & its been an eventful couple of weeks! Lets just say nail painting when I'm at home is gonna be a whole new challenge!

However, pardon my digression there, I do occasionally have moments when (if I'm not being distracted by a curious little kitty) a design turns out far beyond my expectations & then the world is put to rights again...life is all about balance eh? Though to be fair I could do WITHOUT the fails that see me losing my hair & ageing at a more drastic rate...


Anyhoo mani WINS are much more welcome naturally & such is the case with today's design which features what is becoming one of my favourite nail art techniques...dry marbling. Until the day comes when I find the inner mental & emotional strength to even think about tackling the intimidating task that is water marbling...I shall get all my marble fix needs met this way!


3.08.2017

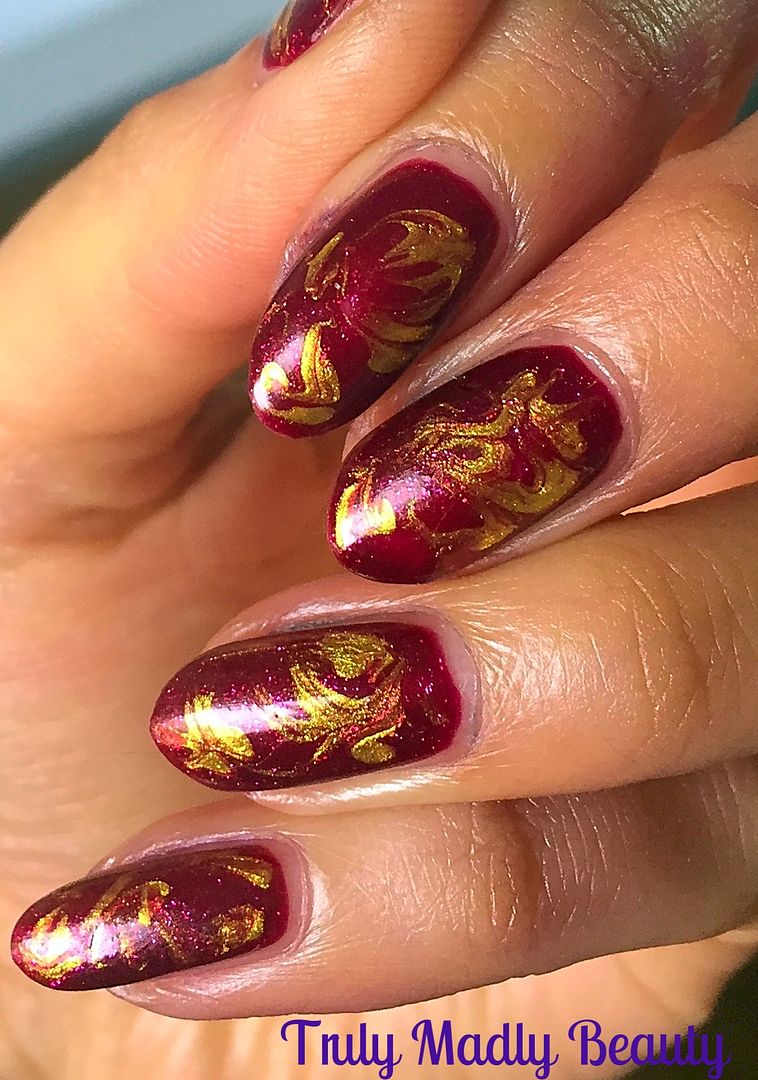
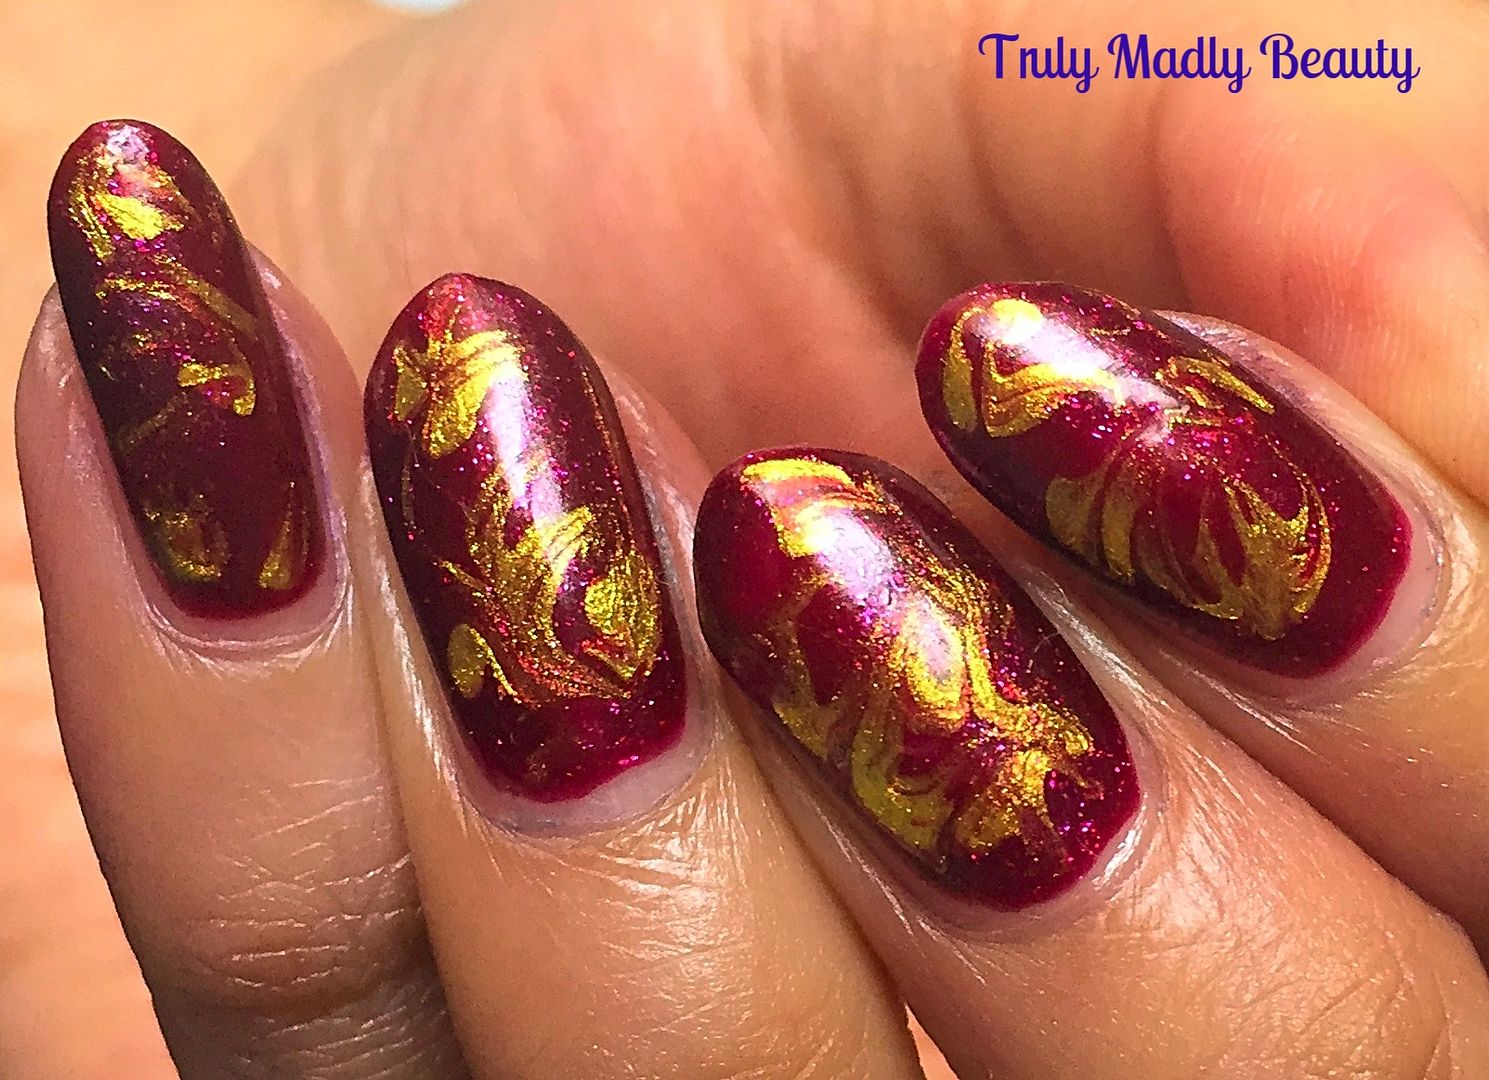
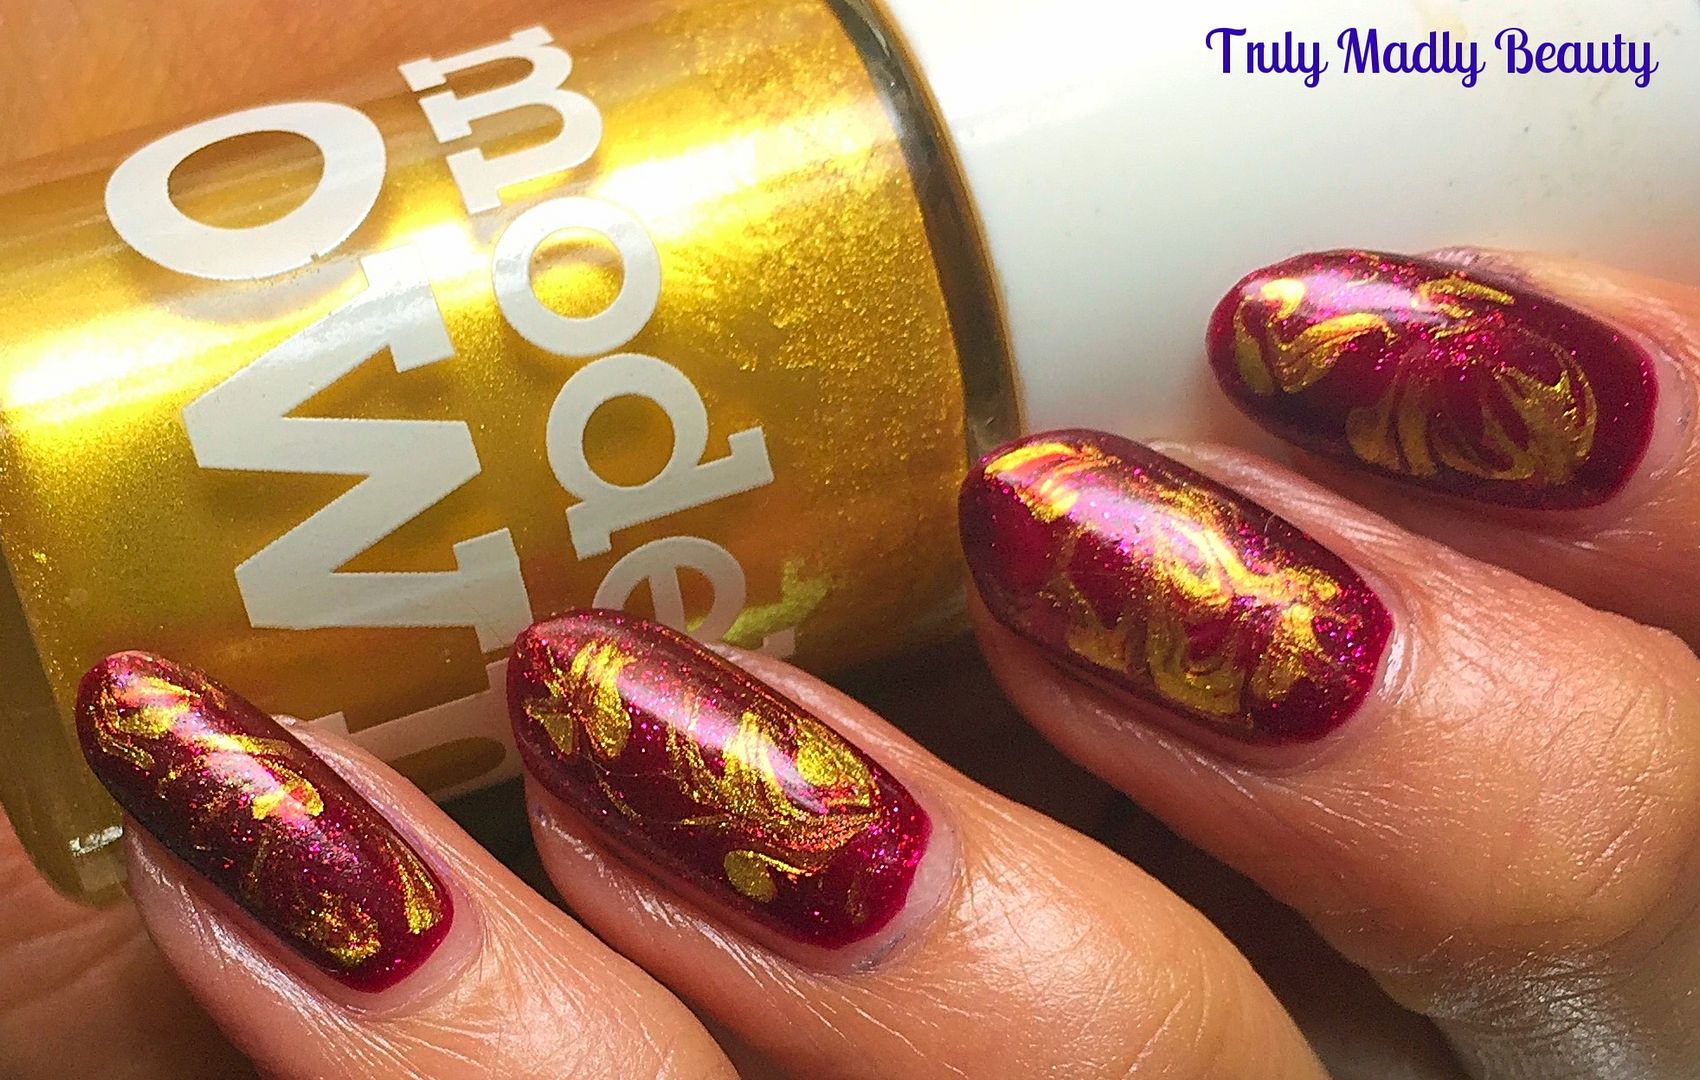
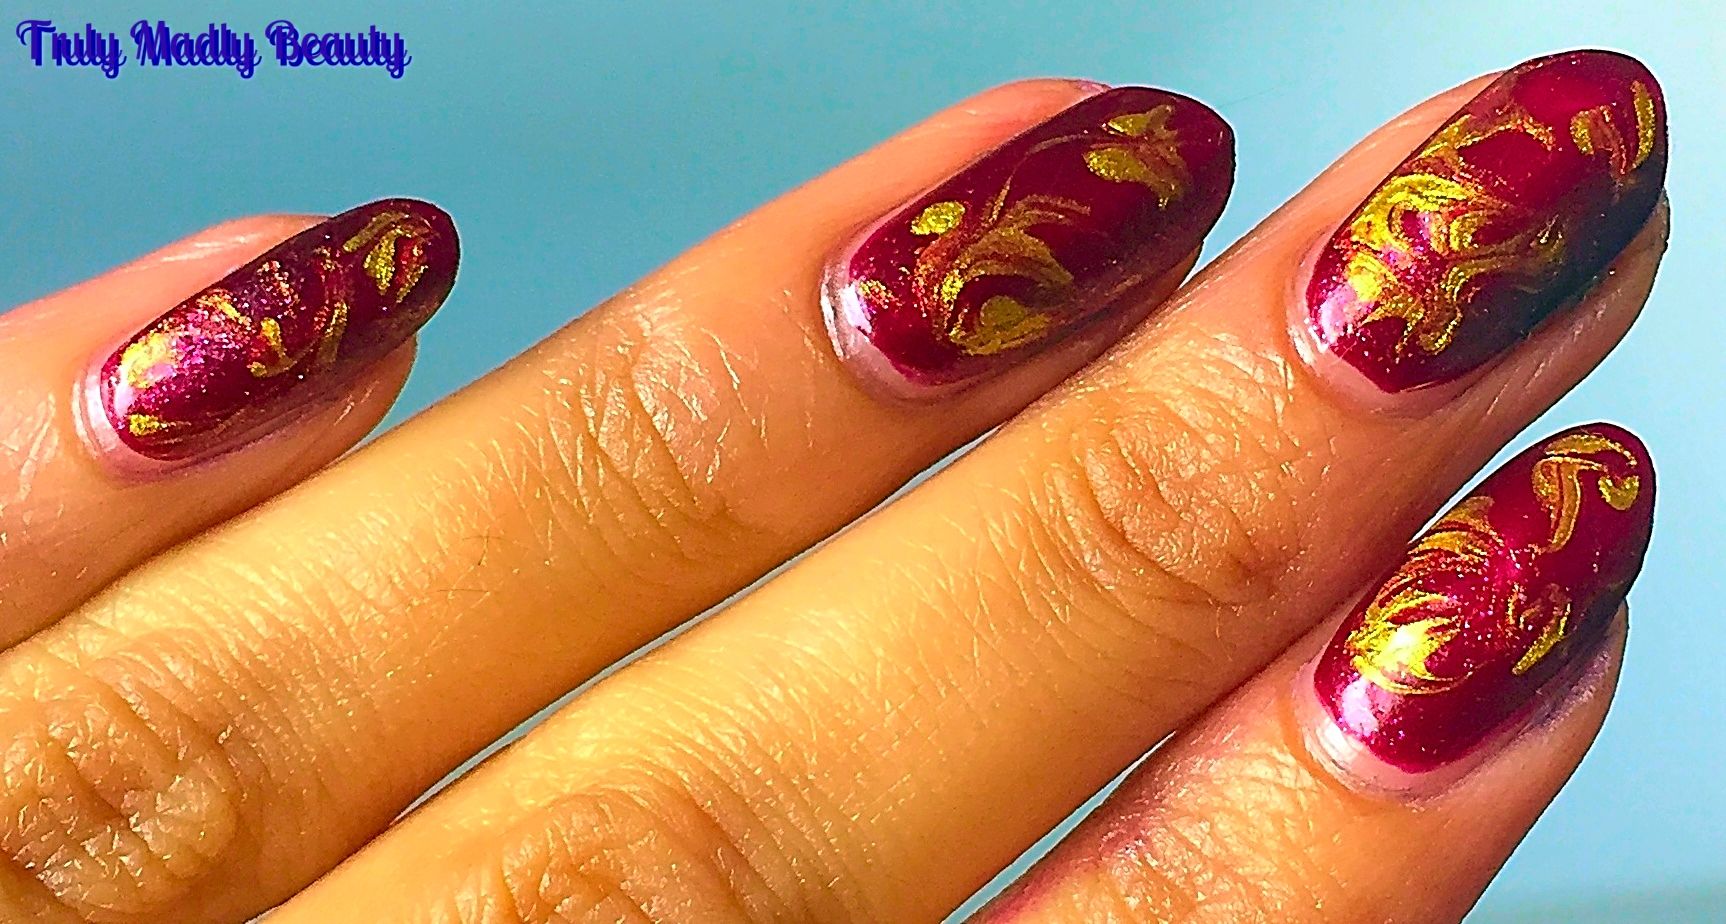
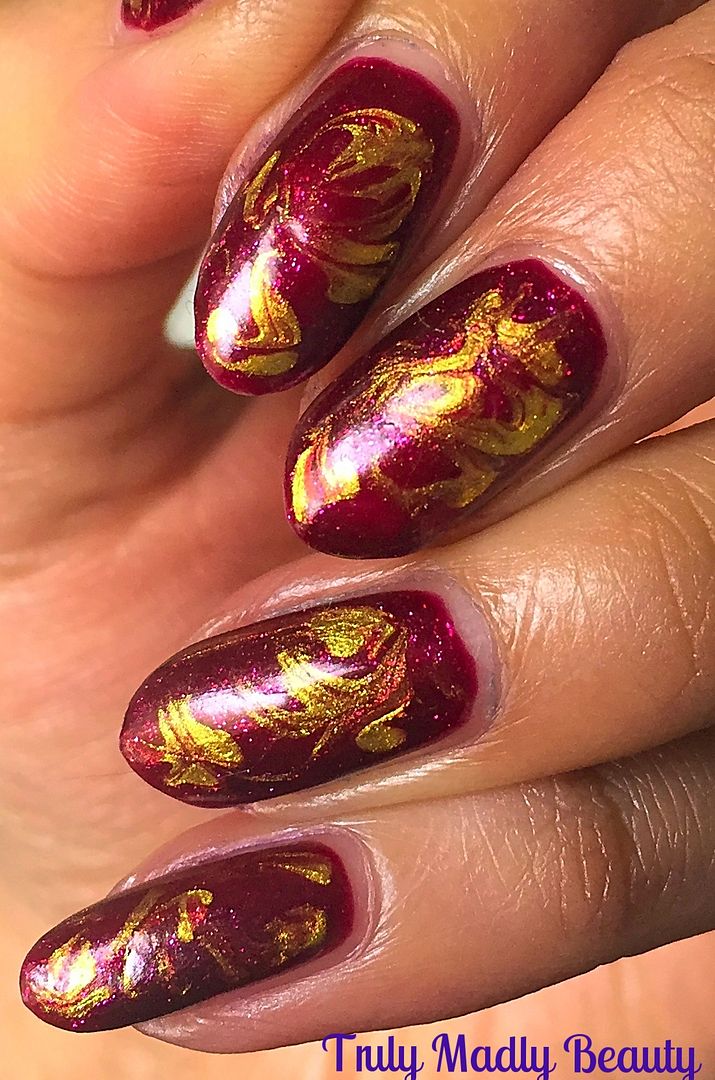
NOTD - Marble Flames

Hello there lovely readers!

So I have recently rediscovered the love for dry marbling nail art. Still feeling somewhat daunted at even the thought of attempting water marbling, I WILL man up & try it one day I'm sure, but until that day arises dry marbling on the other hand is one nail art technique I am totally on board with. 


Not only is it super easy to do but the results can be so pretty as well. I love having a play around with different colours & tones to see which ones mesh well together. You can see some of my previous dry marbling manicures HERE.


To do a dry a marble all you need is two polishes, or more if you wish to have a mixture of more colours & a tool to create the marble. This can be either a toothpick, dotting tool or brush. You can have a peek at some of my previous marble nail art posts, in particular my favourite one HERE, where I've done some more in depth step by step pictorials on how to create this effect.


I personally prefer to use a brush as it allows you a lighter hand when marbling your colours together on the nail. Whenever I've used a dotting tool or toothpick I've always found myself pressing too hard & going straight through the polish to the nail bed.


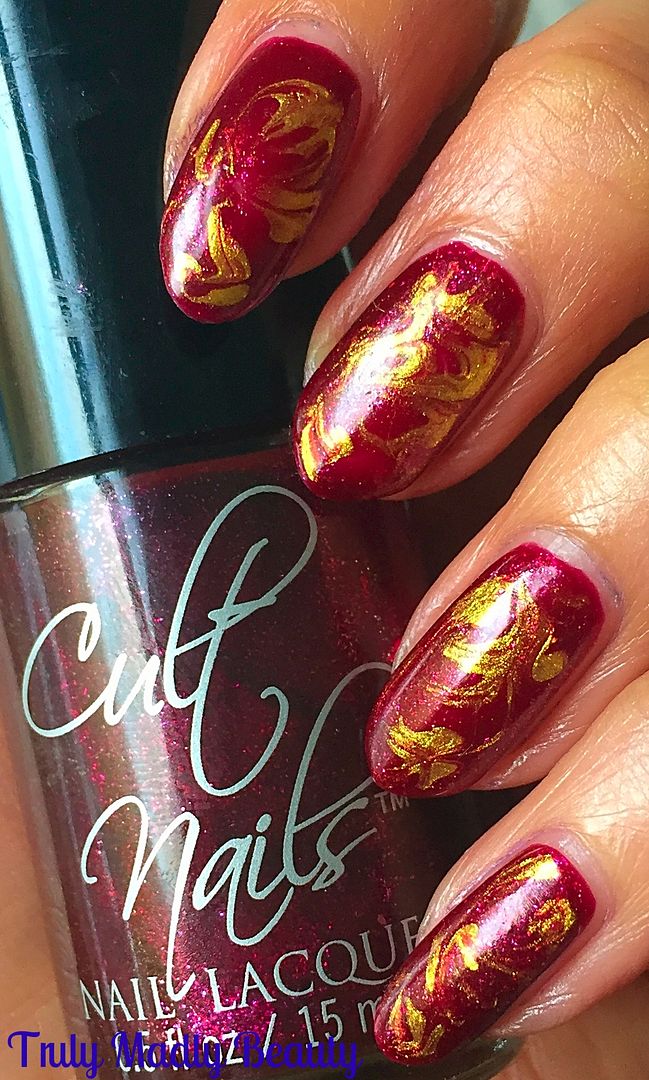
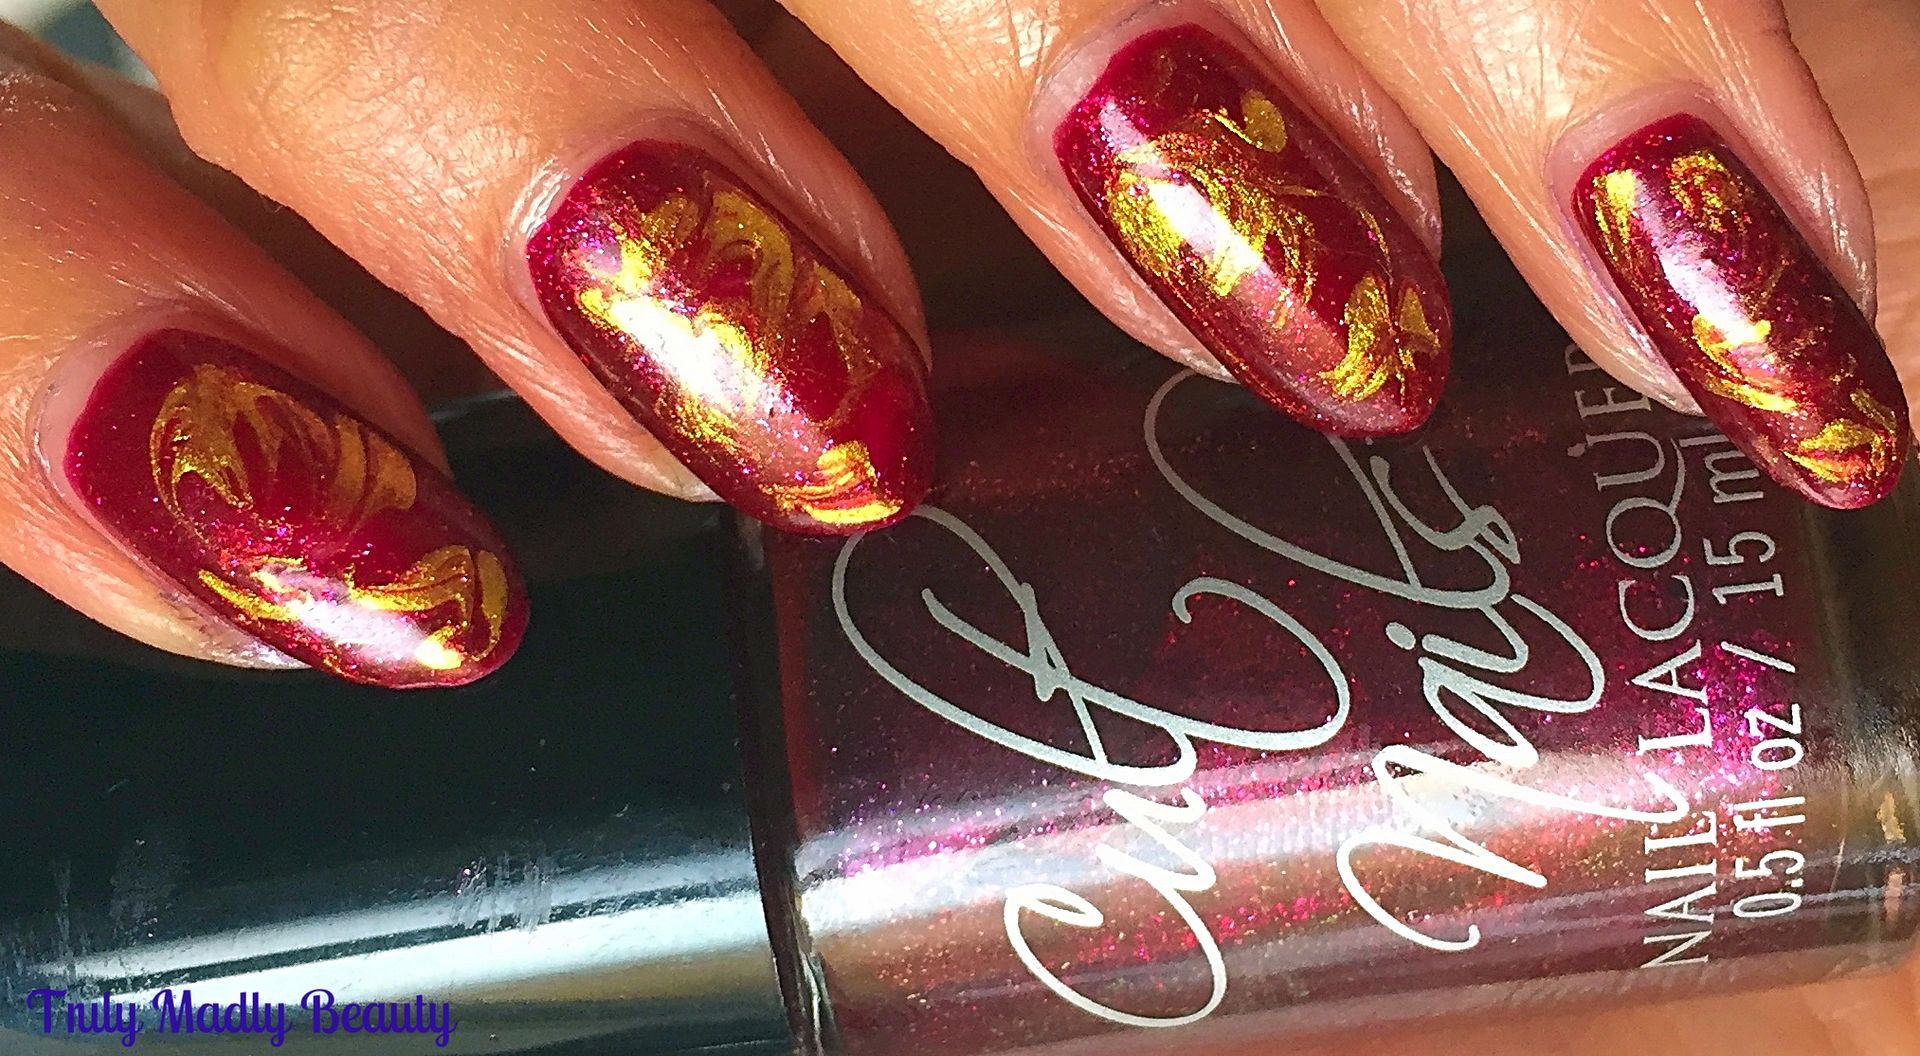
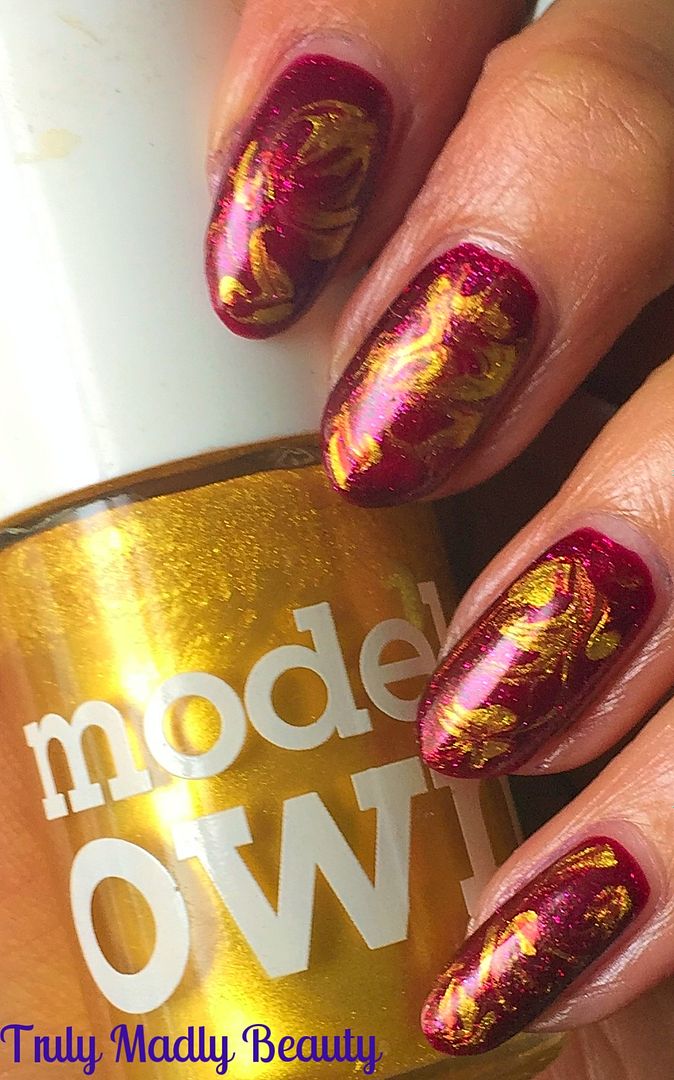
The color combo I've used in this manicure is red & gold, I absolutely love mixing these two jewel tones together as the colours really contrast & stand out so beautifully creating a fab flame like effect.


My red polish of choice is Bitten from old indie brand Cult Nails, & was part of the Behind The Closed Doors collection, a stunning raspberry red glossy shimmer. This polish is just so gorgeous, I'm an absolute sucker for these kinds of gothic-y reds & I can't wait to use it again. Apply one coat of red & then apply your second coat ready to marble!


Whilst your second coat of polish is still wet, add about two drops of gold, here I've used Models Own 25 Carat Gold, & then using your brush or whichever tool you prefer, swirl the gold in to the red using light strokes, not blending too much that you lose the gold.


If you think you've applied too much gold you can always add a couple of drops of red & blend some more, careful not to overload the nail with polish though otherwise you'll end up with puddles of polish in your cuticles. 


Once you are happy with the design seal with topcoat. Done! I have lots of ideas floating around for some more marble designs so keep posted. Let me know if you give it a try!

Thanks as always for reading!

Lotsa love to ya!


5.19.2016

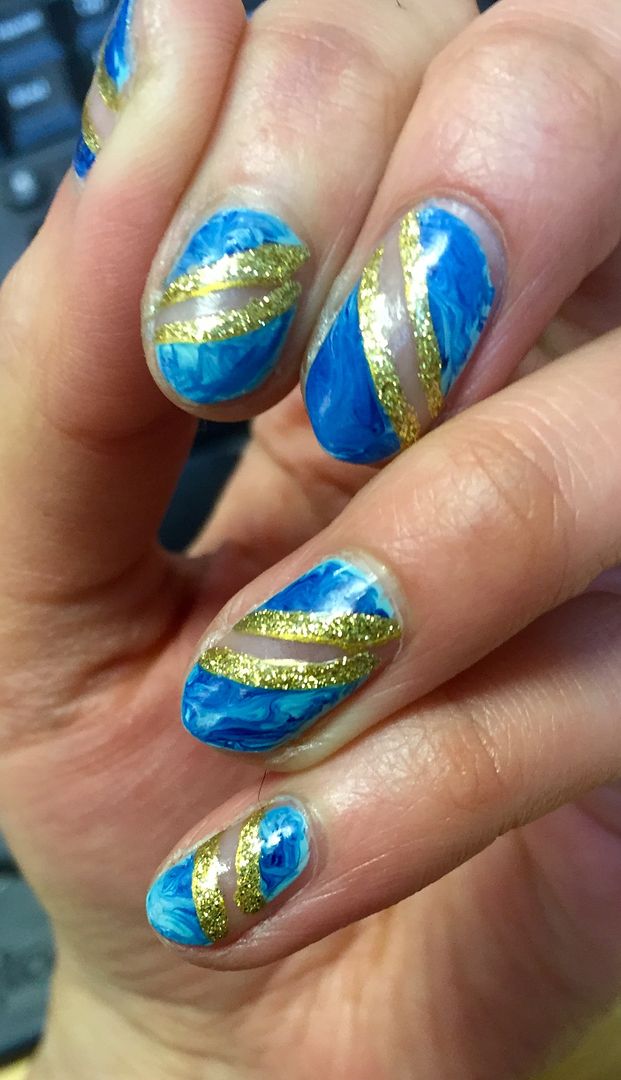
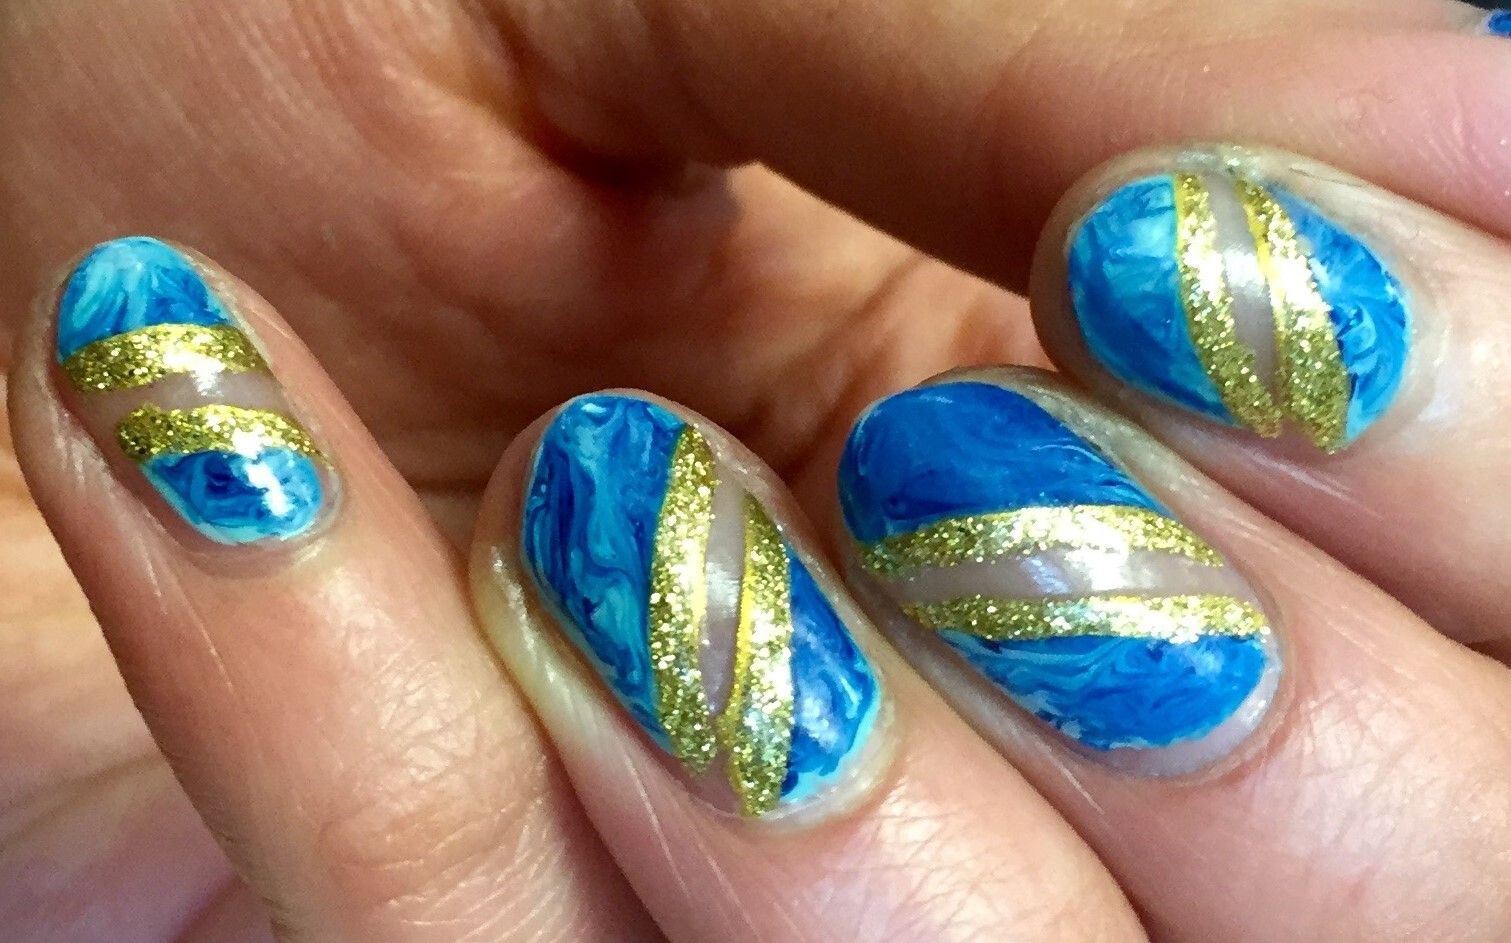
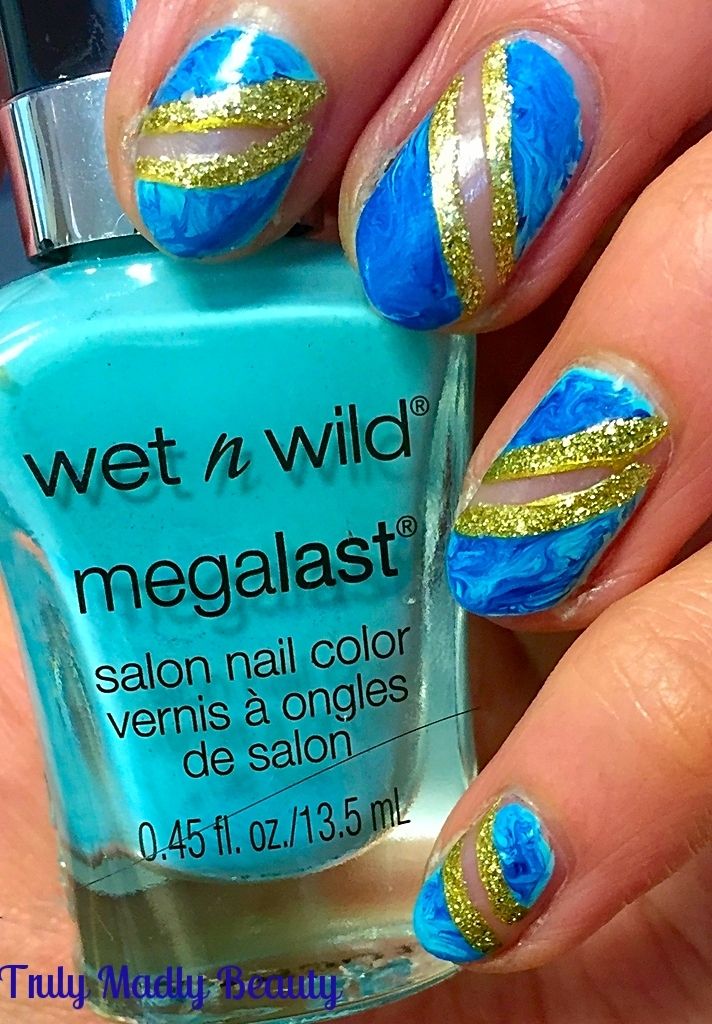
NOTD - Negative Space Marble Eclipse Nails & Tutorial!

Hello there lovely readers!

Hope you're all well! Things have been a tad hectic of late, hence the lack of posts, but I'm currently settling into a new job, which is going really well I'm thankful to say, SO glad I made the change, but I'm happy to get back a bit of normality with the blogging & another marble mani tutorial for you beauts today.


I hope you're not getting tired of these as I'm still very much obsessed with dry marbling & I love sharing how easy they are to do with you. You can catch some of my previous designs HERE and HEREas well as an actual marble stone effect look I did recently HERE. I've mixed things up a tad with this manicure incorporating a little bit of negative space action too!


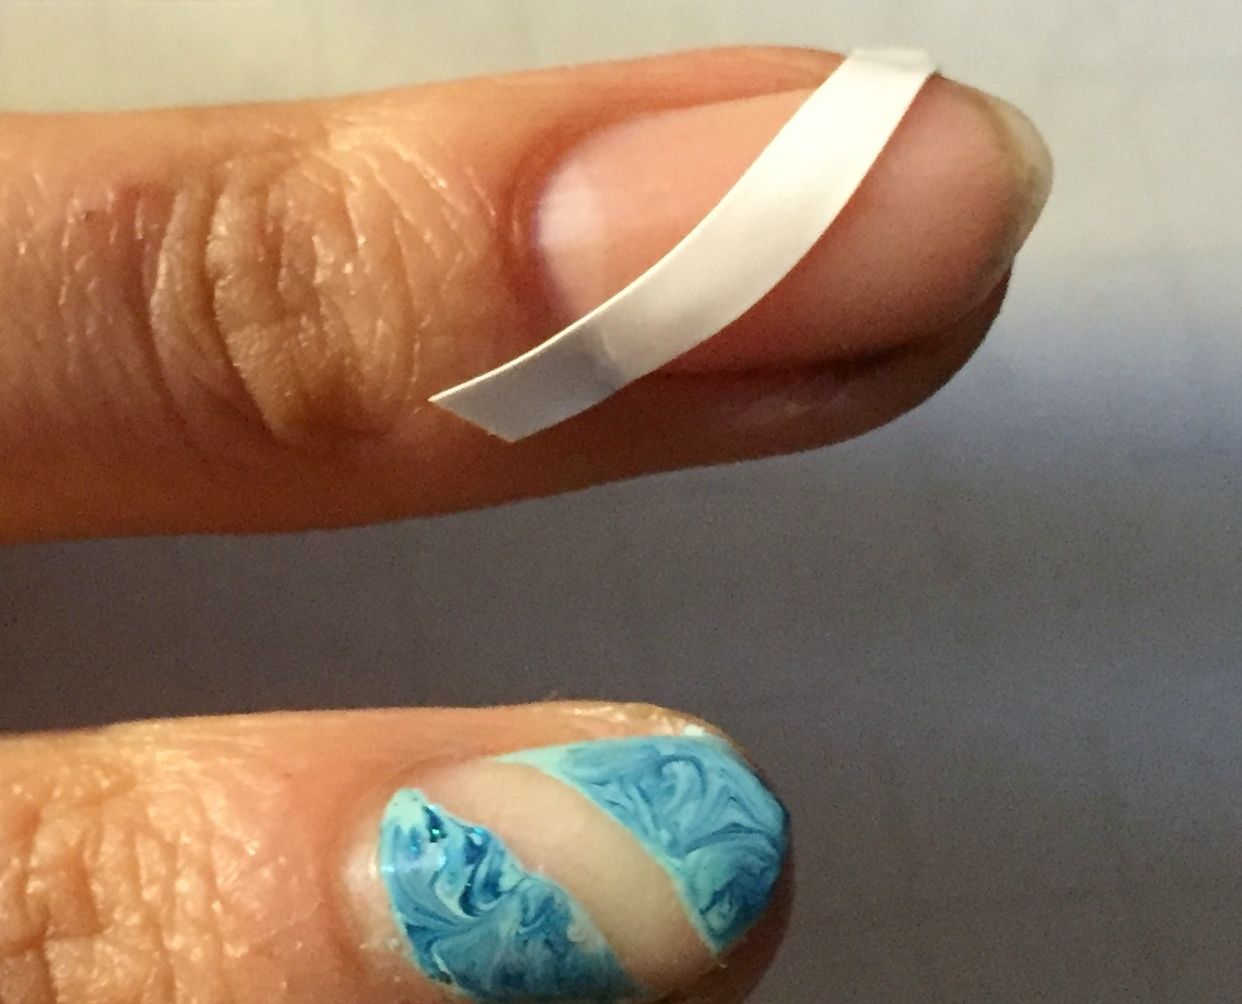
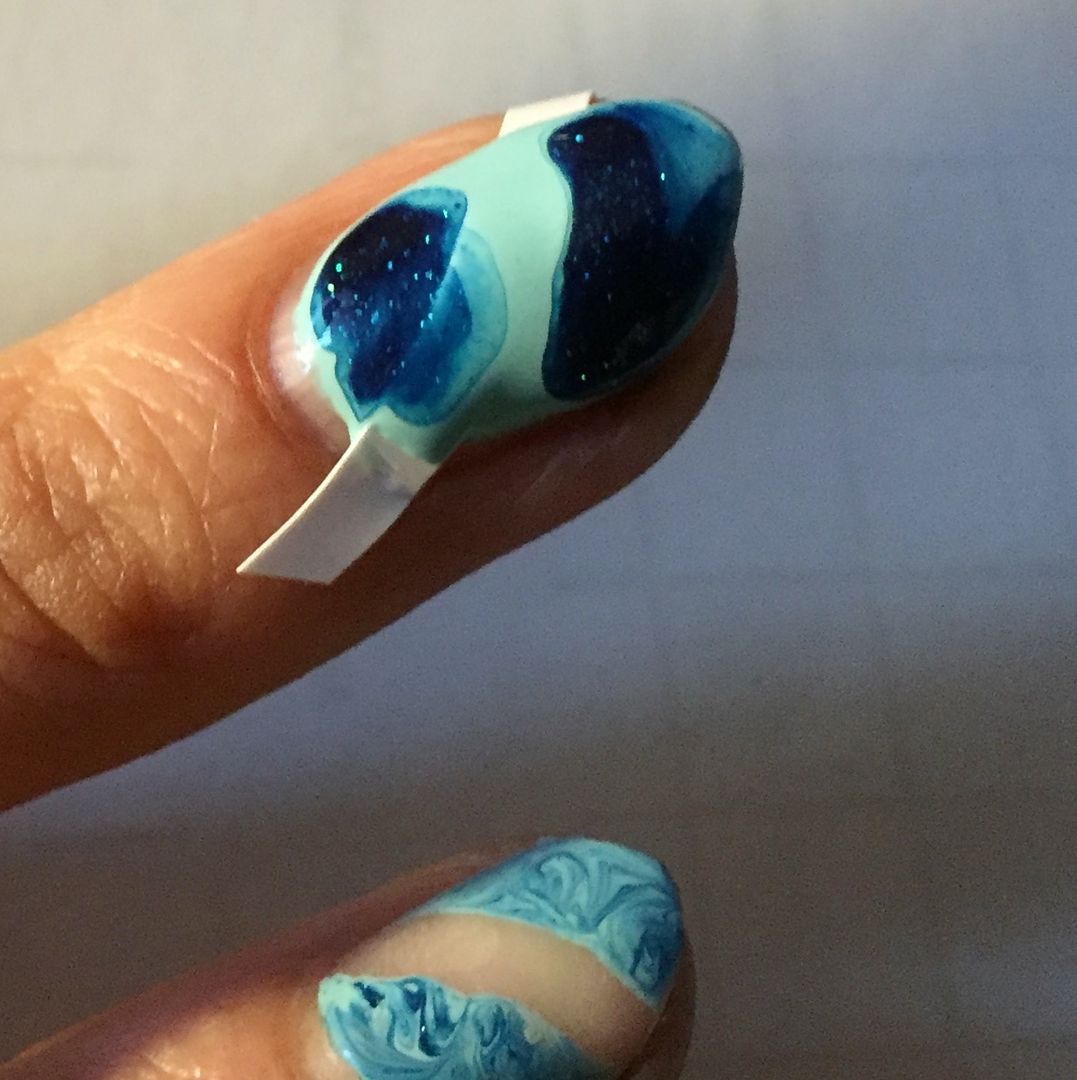
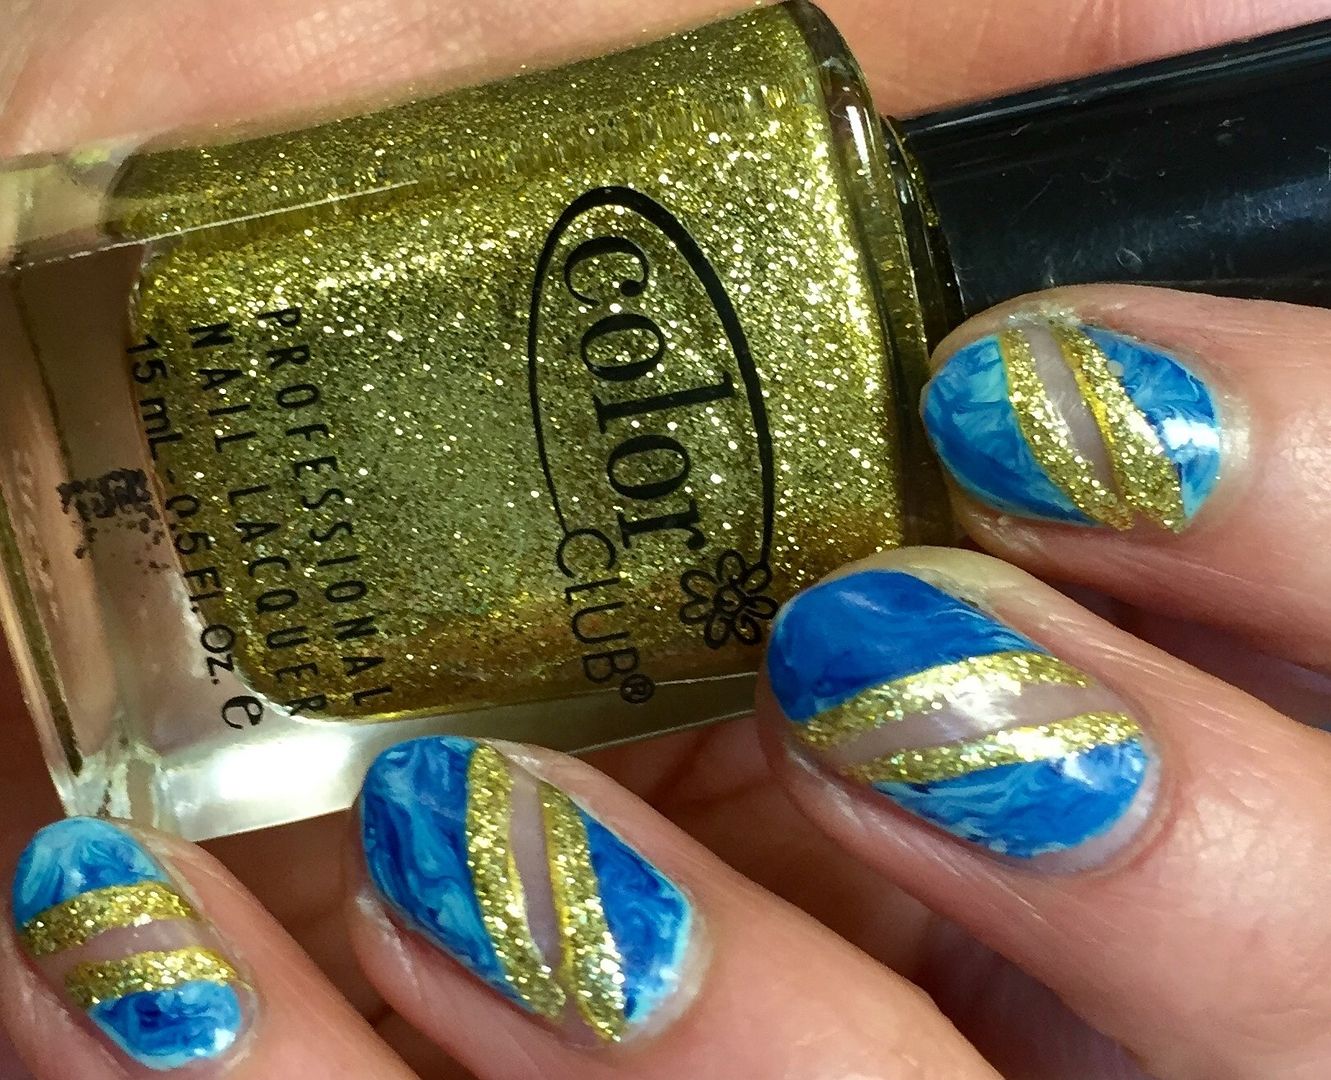
All you need to create the negative space through the centre of the mani is some french mani guides, I purchased a bunch of these super cheaply off of ebay. Starting with a bare nail, position your mani guide across the nail at whichever angle you like until you are happy.


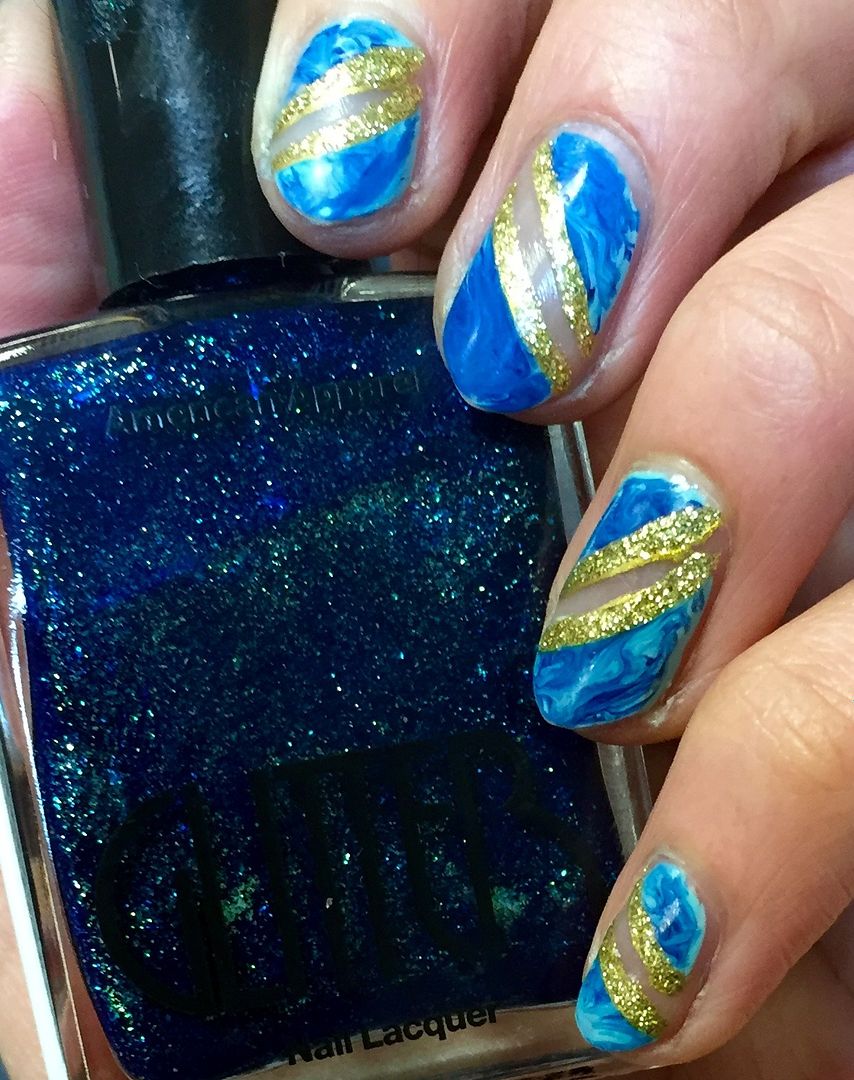
Then apply your polish shades, for this mani I've used this yummy Wet n Wild creme I Need A Refresh Mint & American Apparel Eclipse which is a veritable DISCO of a polish with its vibrant turquoise shade filled to the max with multi tone holo glitters!


I applied one coat of the Wet n Wild polish first, then immediately dotted on a drop or two of the American Apparel.


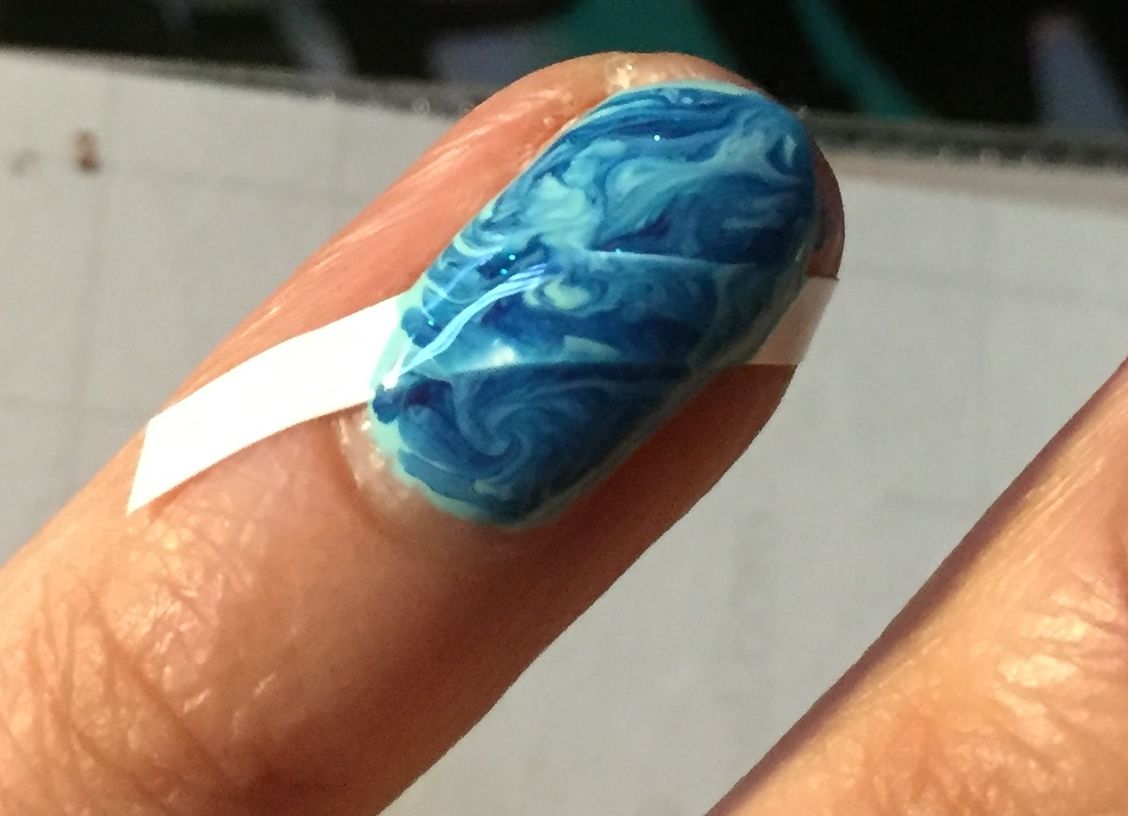
Grabbing your tool of choice, here I've used my trusty nail art brush again as this works best for me, swirl the two colours together to create a marble effect you are happy with. 


A couple of tips I've learnt along the way, more polish is definitely NOT better necessarily! I've had many nails which ended up a big puddle of polish mess from being a tad too heavy handed.


Another tip is to use a light touch, hence why I find the brush better for marbling, as with a toothpick I'd find myself going through all the polish layers directly to the nail bed. But everybody is different, use whatever you're comfortable with!


You then need to remove your mani guide whilst the polish is till wet. Clean up any smudges with a brush & acetone.


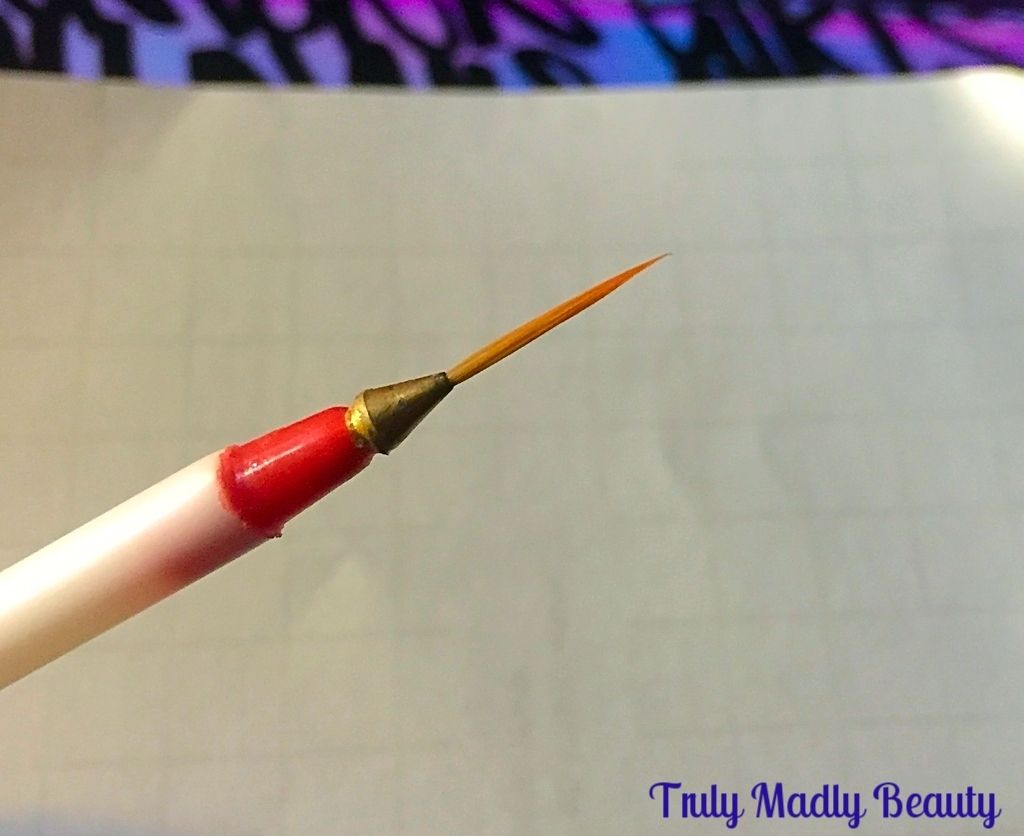
Then using a fine nail art brush & some pretty gold glitter, simply apply your sparkle along the curved outer edge of your negative space.

Finish with topcoat & you're done! Thanks for reading lovelies! Let me know if you give dry marbling a go, I'd love to see!

Lotsa love to ya!


5.02.2016

NOTD - Marble Stone Look Nails & Tutorial!

Hello there my lovely readers!

How have you all been? Attempting to restore some semblance of normality after spending 7 blissful days in Antalya. My friend & I stayed at the Litore resort & the holiday consisted of much sunbathing, eating, relaxing before repeating it all over every day. Much needed let me tell you & we had such an incredible time, it was definitely hard to leave! But one must get back to the normal scheme of things now & that of course includes blogging!


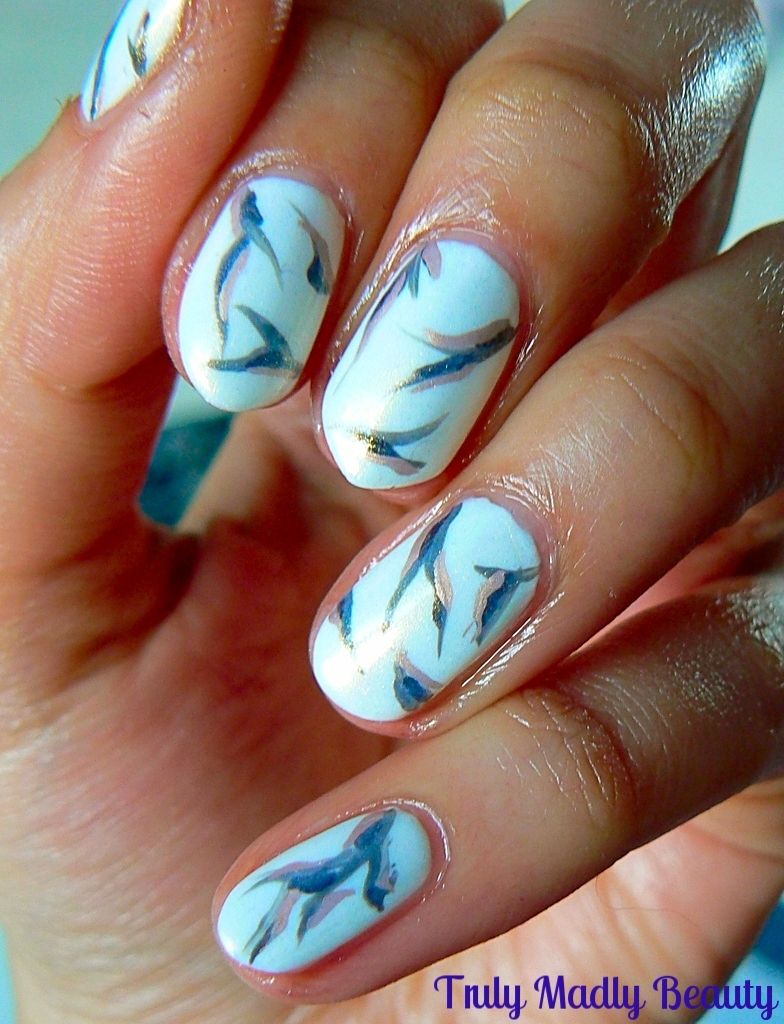
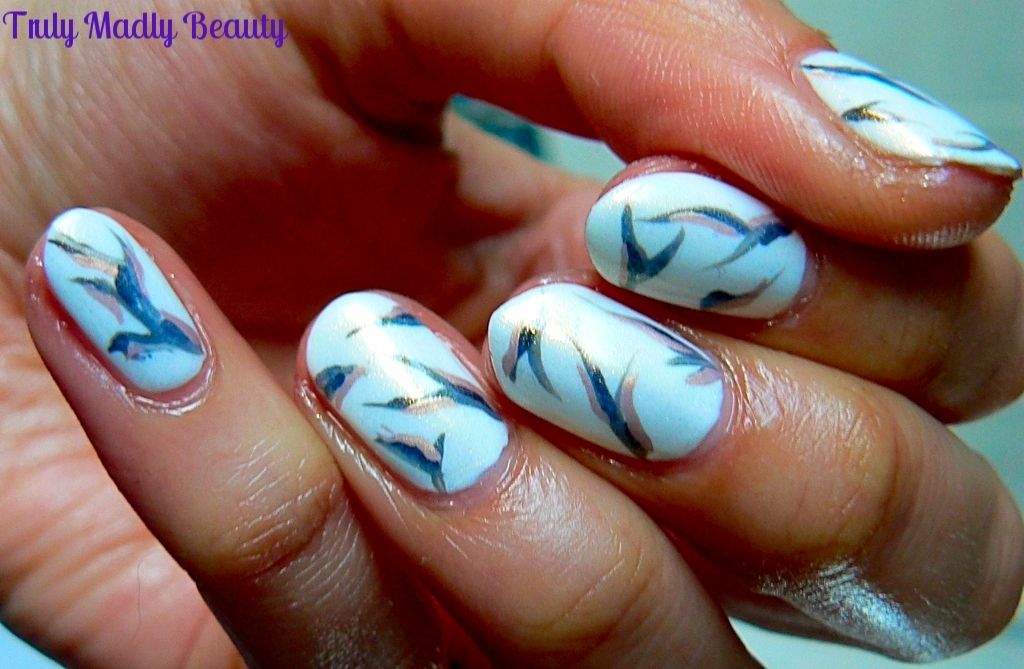
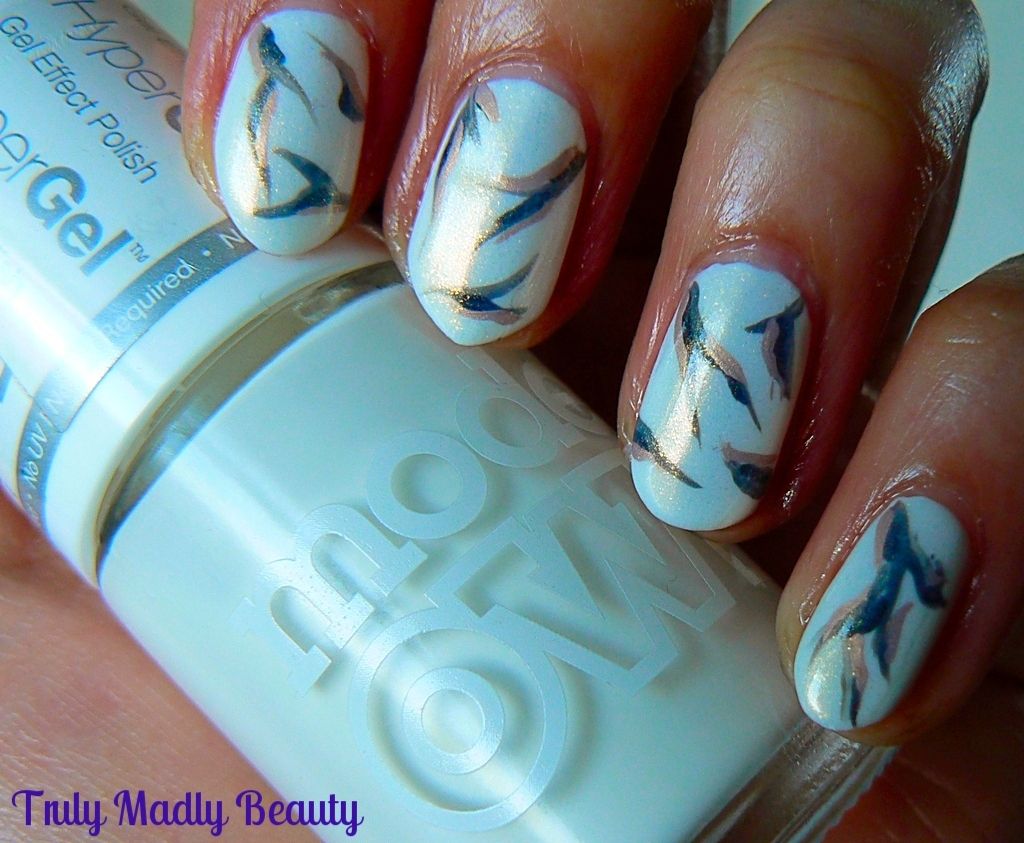
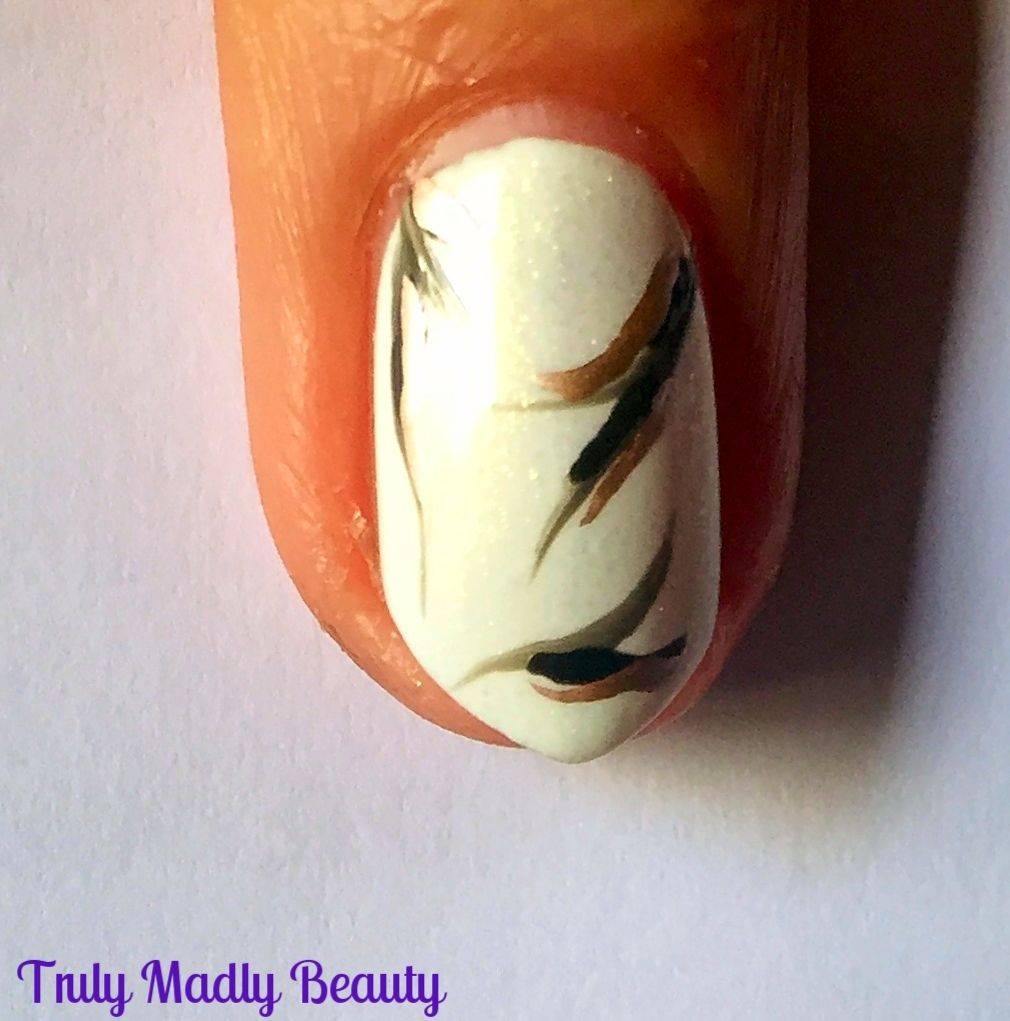
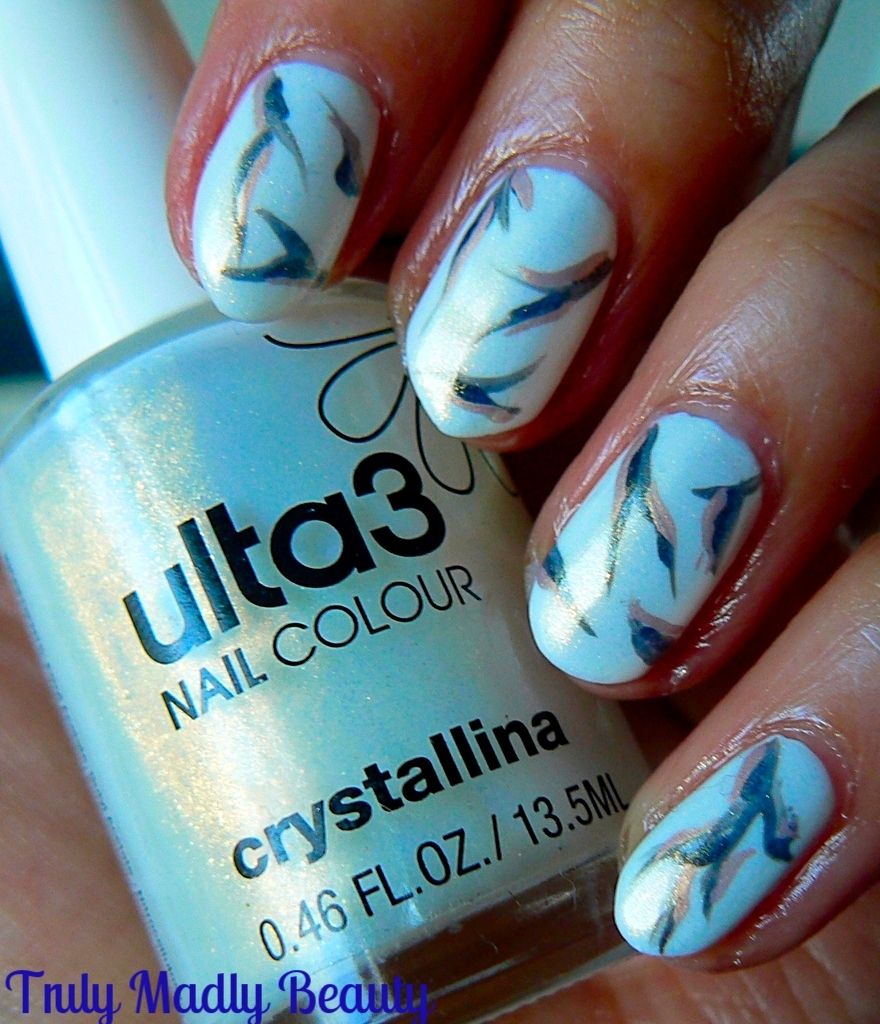
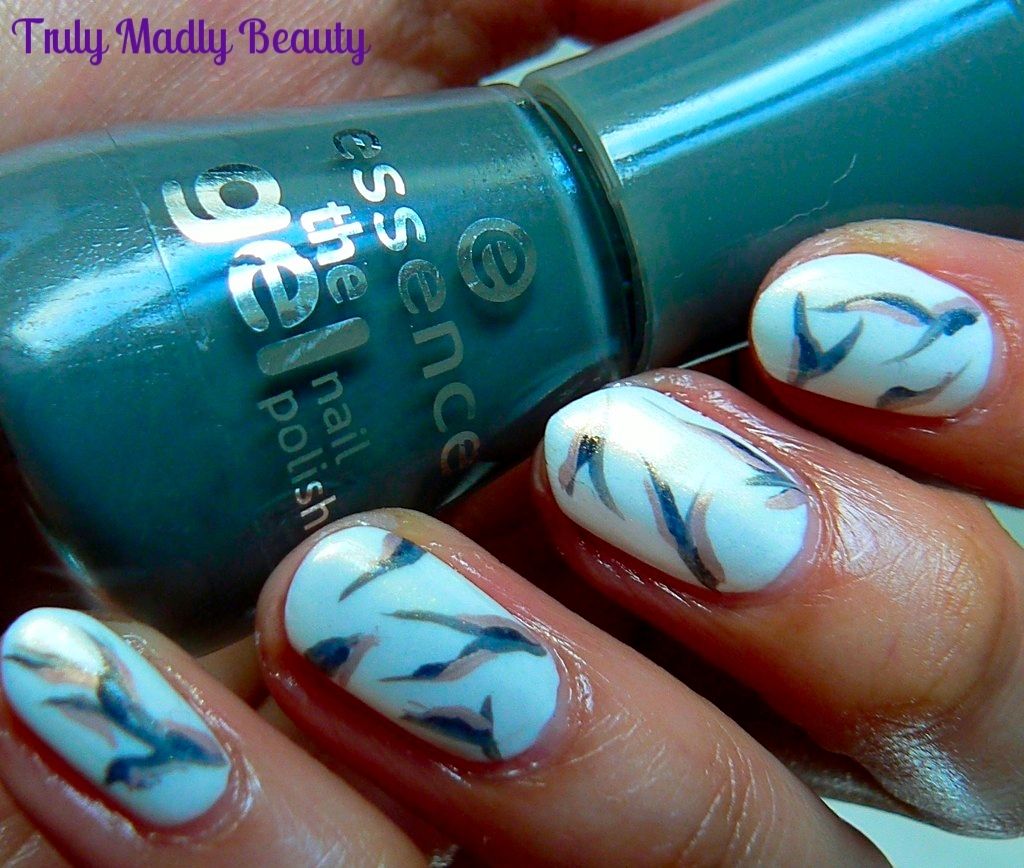
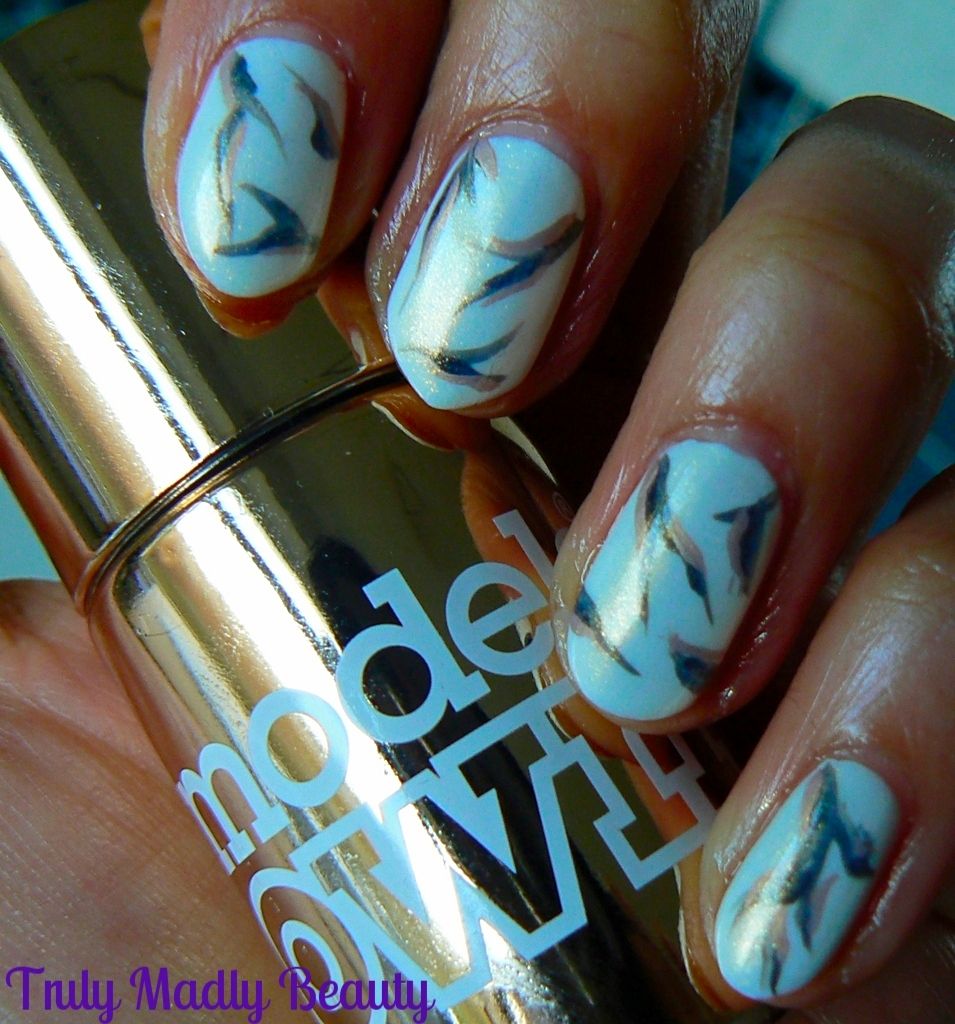
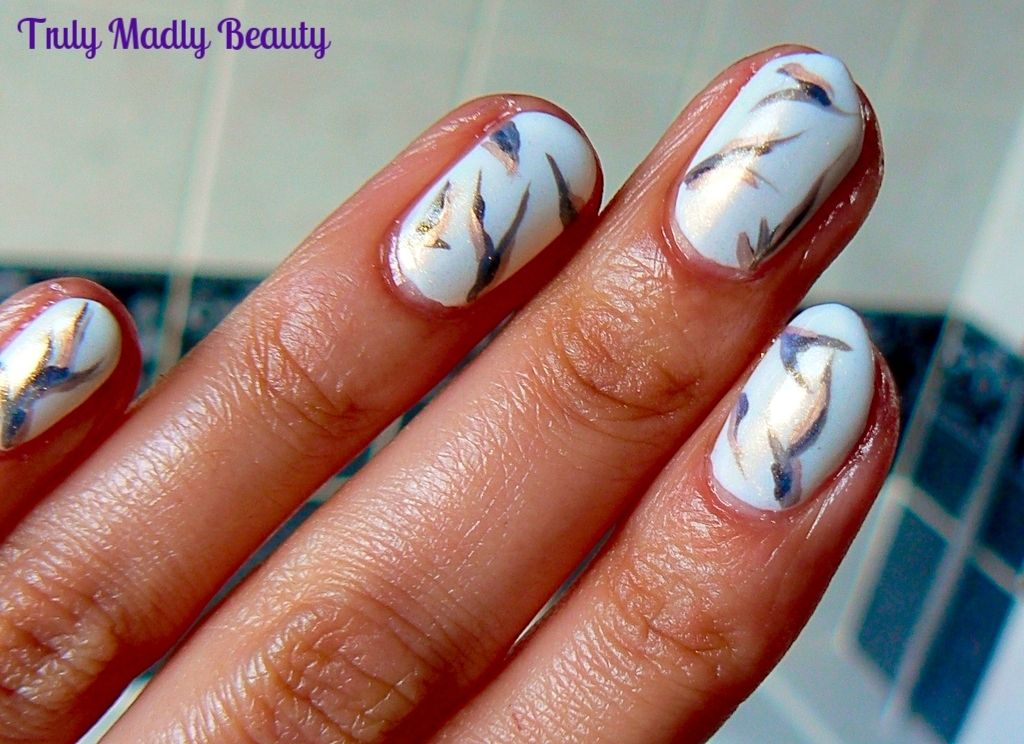
You may remember I went through a bit of a marbling phase recently when it comes to nail art. I love playing around with different colours not knowing what the finished result will be. However one effect that I adore is the pretty marble stone itself & one I wanted to attempt to recreate on my nails...& this was the result


What do you think? I tried to get my cracked stone lines to be as thin as possible but I think I still need to get a thinner brush! Overall though I was pretty happy with the finished look!


If you want to see how I created my marble stone effect nails then read on for a tutorial...


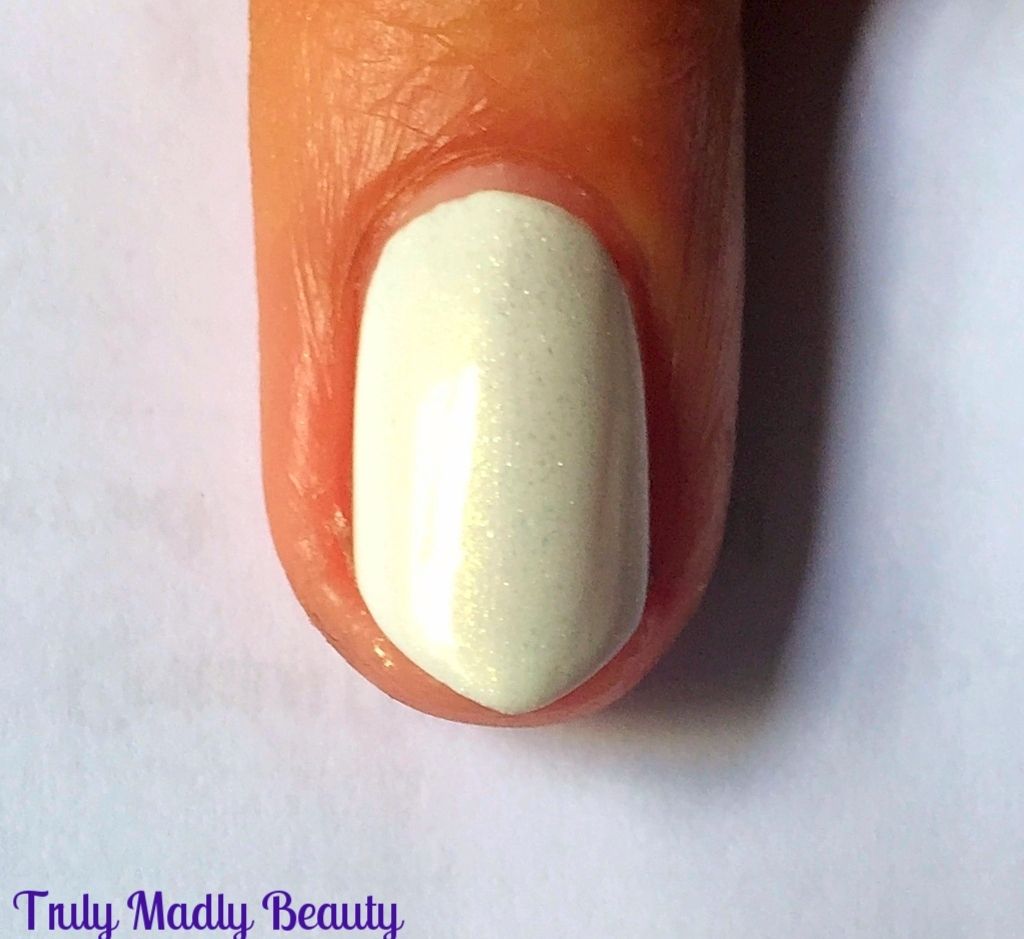
Start off with a white base, here I've used one coat of my trusty Models Own White Light. Normally I would apply two coats for a base however I wanted to give it a bit of an edge so I applied one coat of Ulta3 Crytallina one of my fav topcoats which adds a subtle golden luminescent glow to your polish


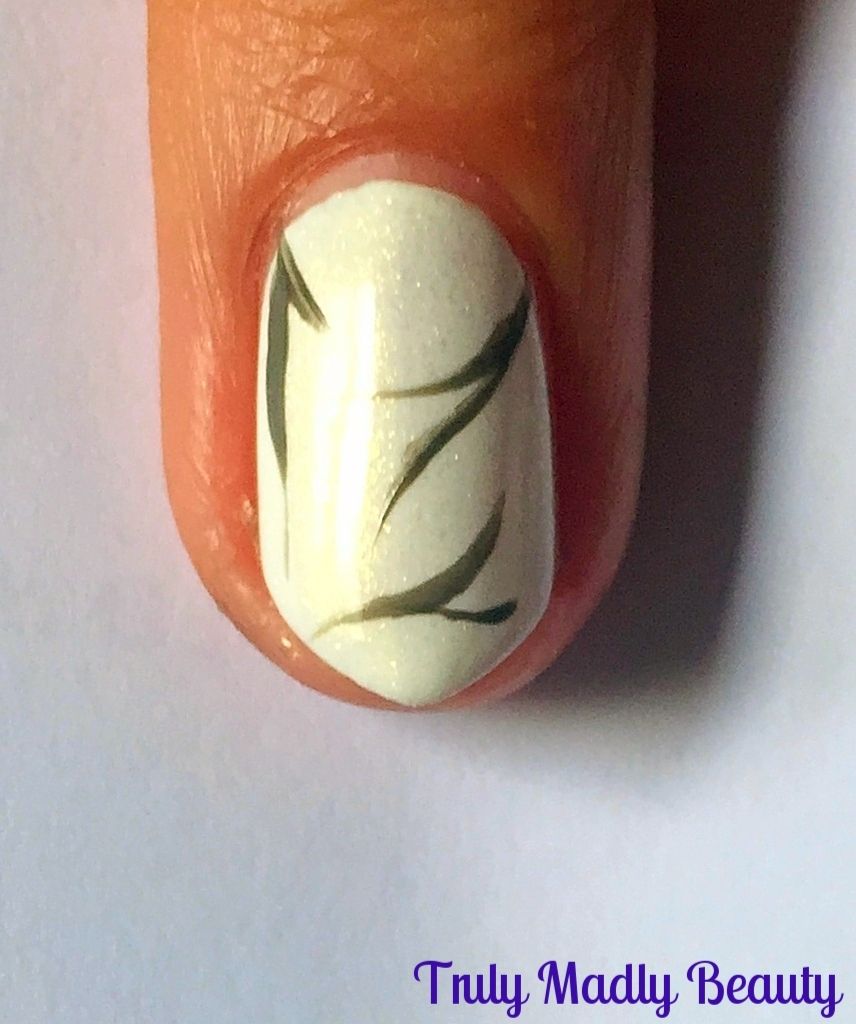
Now to start with the cracked lines to create that marble stone effect! I first grabbed a grey polish, Essence Rock My World. Putting a blob of polish on to some scrap paper, dip in your nail art brush & apply two or three thin wavy lines starting from the edges of the nail going in, with the line starting off slightly thicker before thinning out at the tips...


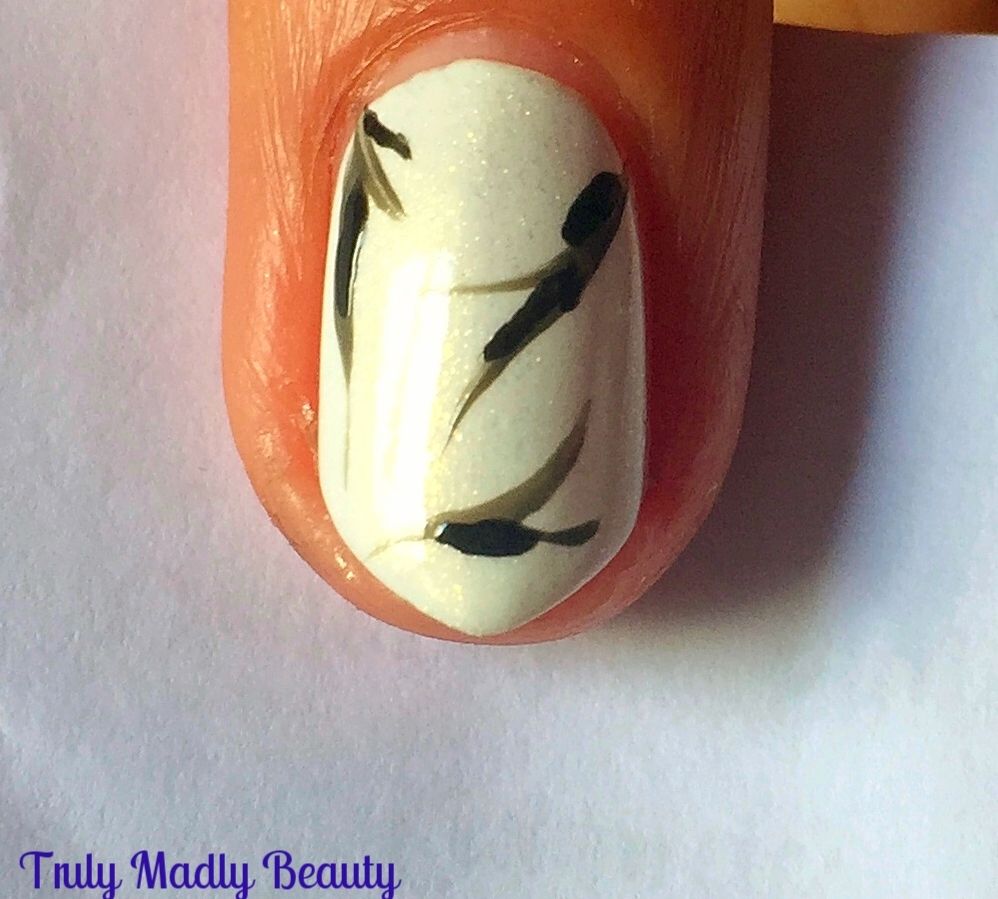
Then to define the lines a bit more, again using a thin nail art brush & now some black polish, apply some of the black along the edge of the grey lines...


Finally to give the look of jewelled marble stone, I grabbed some rose gold polish in the form of Models Own Chrome Rose & using our thin nail art brush again, applied a few delicate strokes of rose gold to my lines.


I decided to apply one last coat of Ulta3 Crystallina on top of it all to give that slightly faded finish & thats it!


I have a few ideas on techniques to try next time to help create this marble stone look even better, maybe dabbing acetone on top to help blur & blend the colours in to the white?


Also the cling film method seems to be another way to achieve a marbled look...I'm tempted to do some Jade stone effect nails next so when doing so will give some of these ways a try!


Hope you liked darlings! Thanks for reading!

Lotsa love to ya!


3.03.2016

NOTD - Faded Lavender & White Marble Nails...

Hello lovely readers!

Anyone else a tad freaked that we are in March already?! Wooo where is the time going? Anyhoos my dears, the dry marbling obsession continues, I can't get enough of this fun nail art technique, experimenting away with different shades & combinations! Check back to my Blue Marbled Nails post for a wee guide on how to create dry marbled effect nails. 


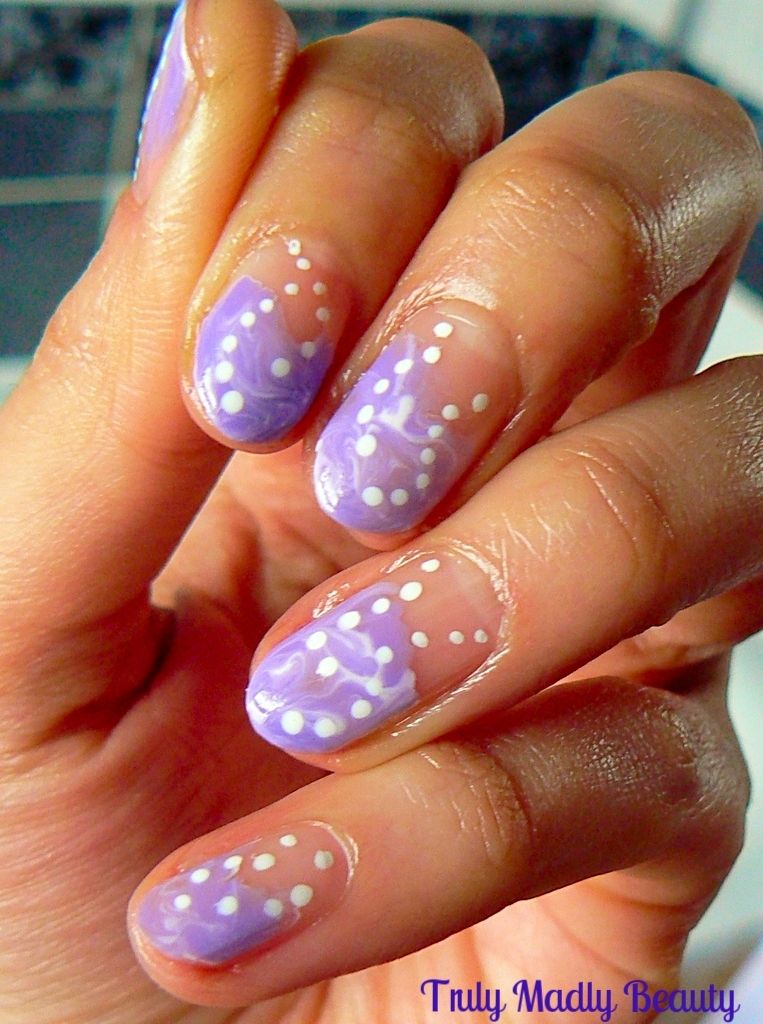
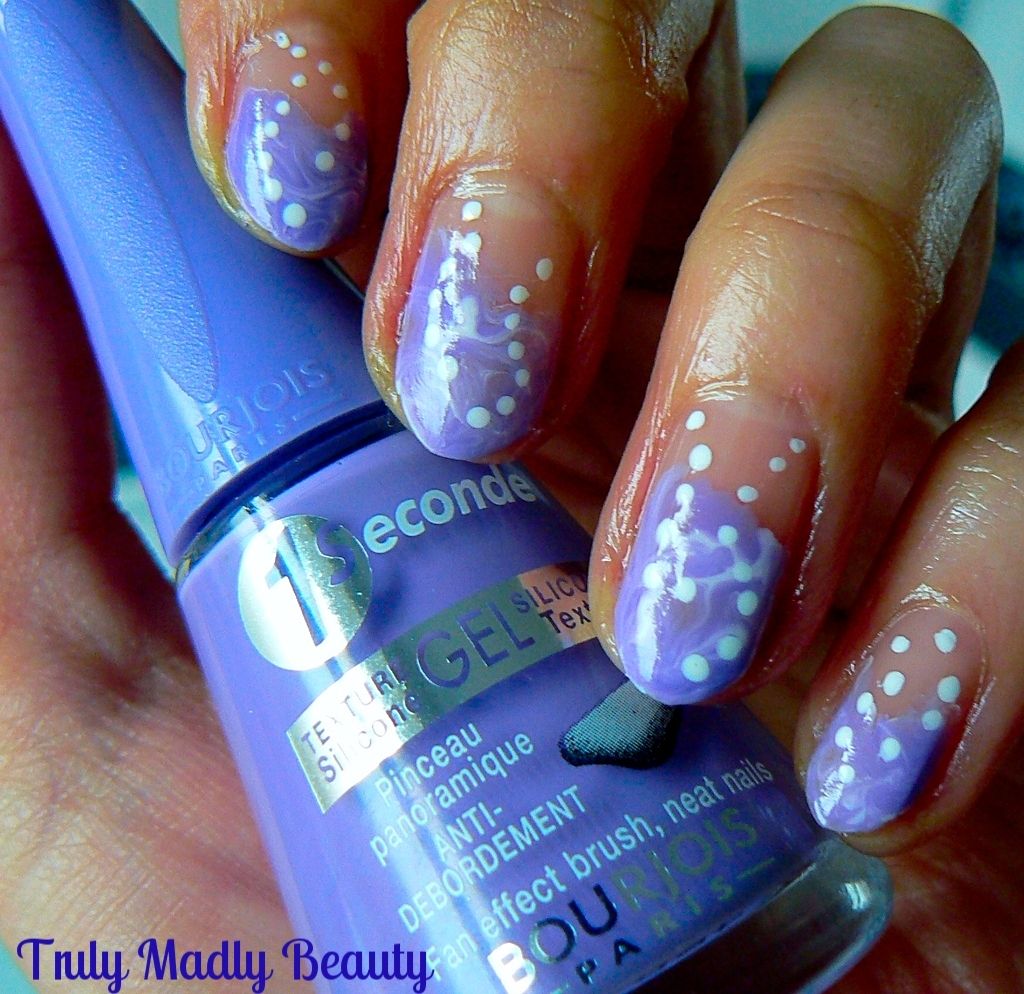
For this mani I found myself prowling through Instagram & @Yagala's account in particular for inspiration, her designs are simply incredible. I saw her mani for marbled tips in pretty lilac tones & just had to recreate!


Obviously my skills aren't a patch on this talented ladies but I'm super chuffed with how these came out. I love the idea of just applying to the tips, ending three quarters of the way down the nail, almost giving it a fading effect.

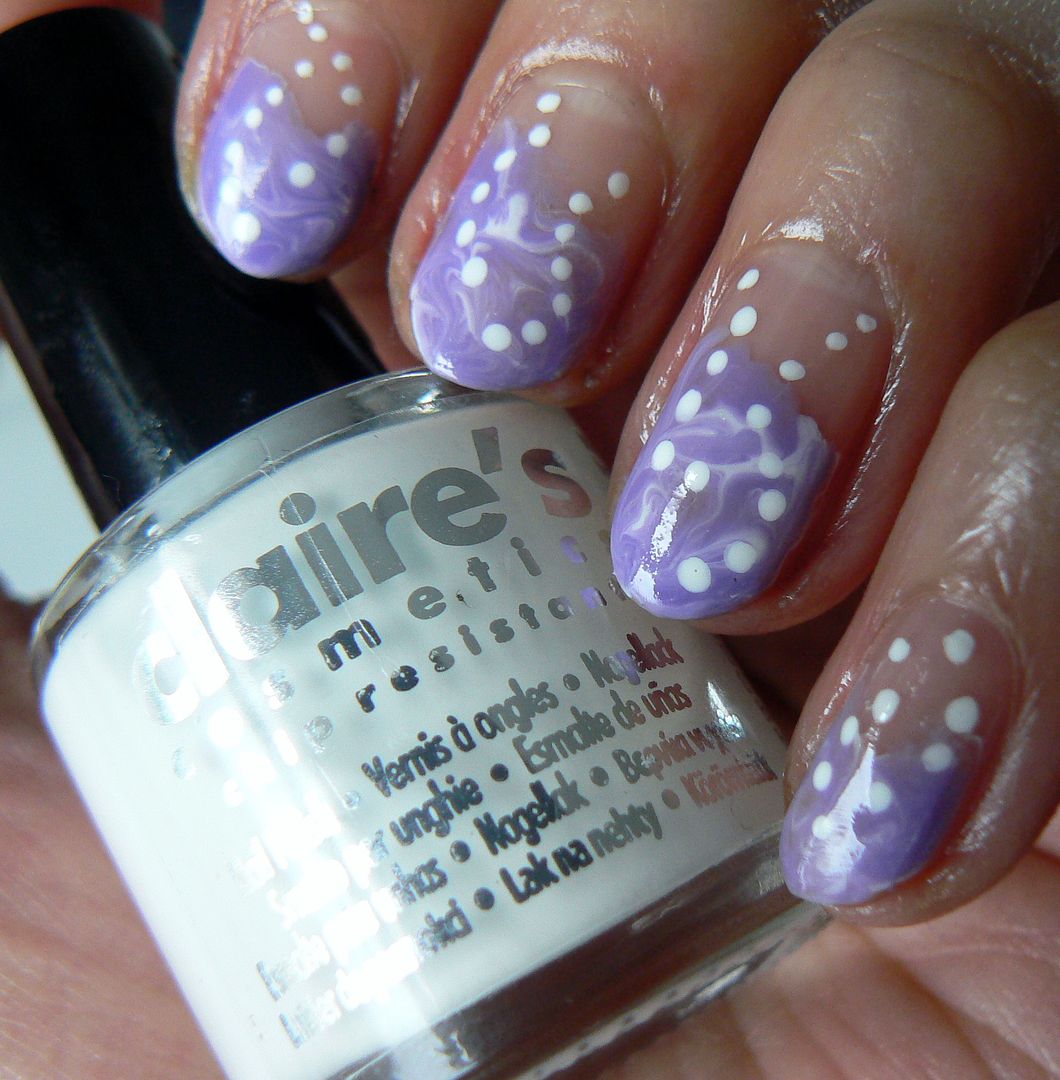
For this I used Bourjois Lavender Esquisse for my lilac shade & a random Claires polish in white. 


These two polishes actually worked so perfectly together, not only due to the colours but also the formulas. The Bourjois is a thick creme whereas the Claires polish is actually extremely watery, so I'd flung this into the back of my drawer with the idea that it would never be used on account of this!


However because the Claire's white formula is so watery, it actually made the marbling with the thicker Bourjois much better, huzzah! Well done Claire's you sly dog you, forgive me my impulsive error.


Start with applying a coat of clear base polish to your nail, I dug out this random Miss Sporty one, these polishes retail for just £1.99 & are fab in my opinion, this clear one was perfect for the task! Then whilst the polish is still wet apply a few dots of purple & a few of white on to your tips & marble together using your brush/toothpick/dotting etc bringing the polish down as you marble to wherever your happy!


To finish add two curved rows of little dots down the nail in various patterns on each nail using a nail art pen or white polish & dotting tool. Add your topcoat & your done!


Oooh these nails make feel so ready for Spring now! :)Thanks as always for reading!  

Lotsa love to ya!


2.22.2016

Blue Dry Marble Nails & Tutorial

Hello there lovely readers!
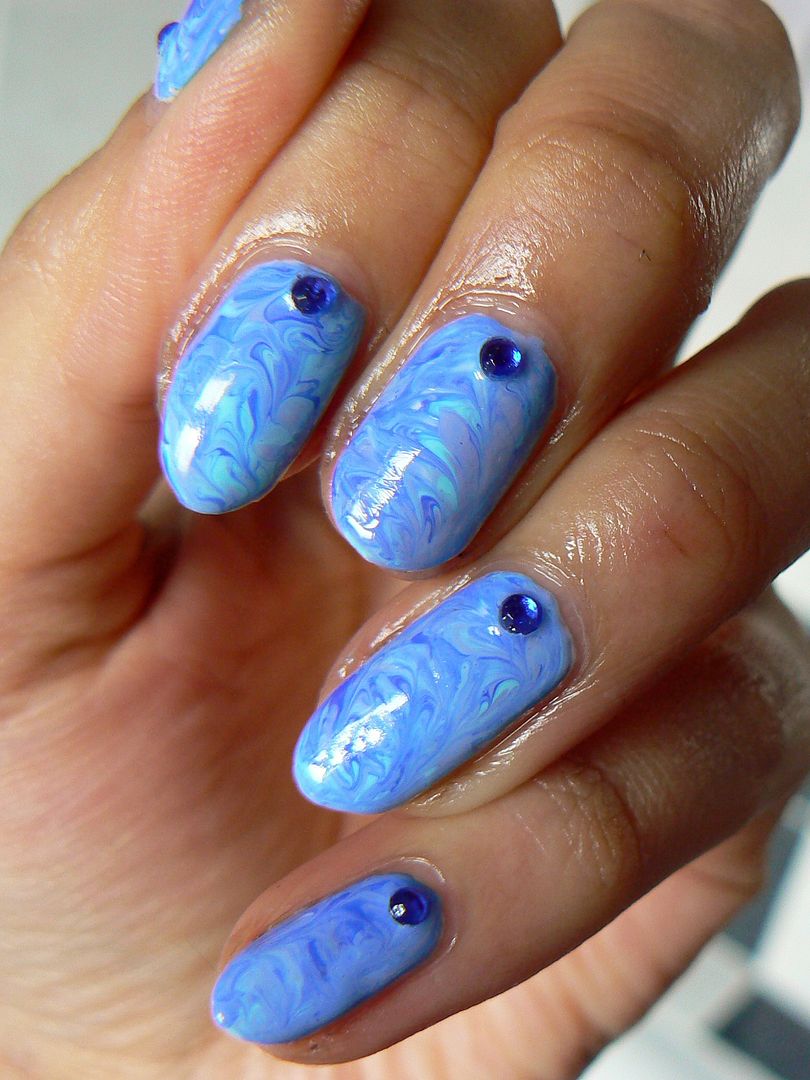
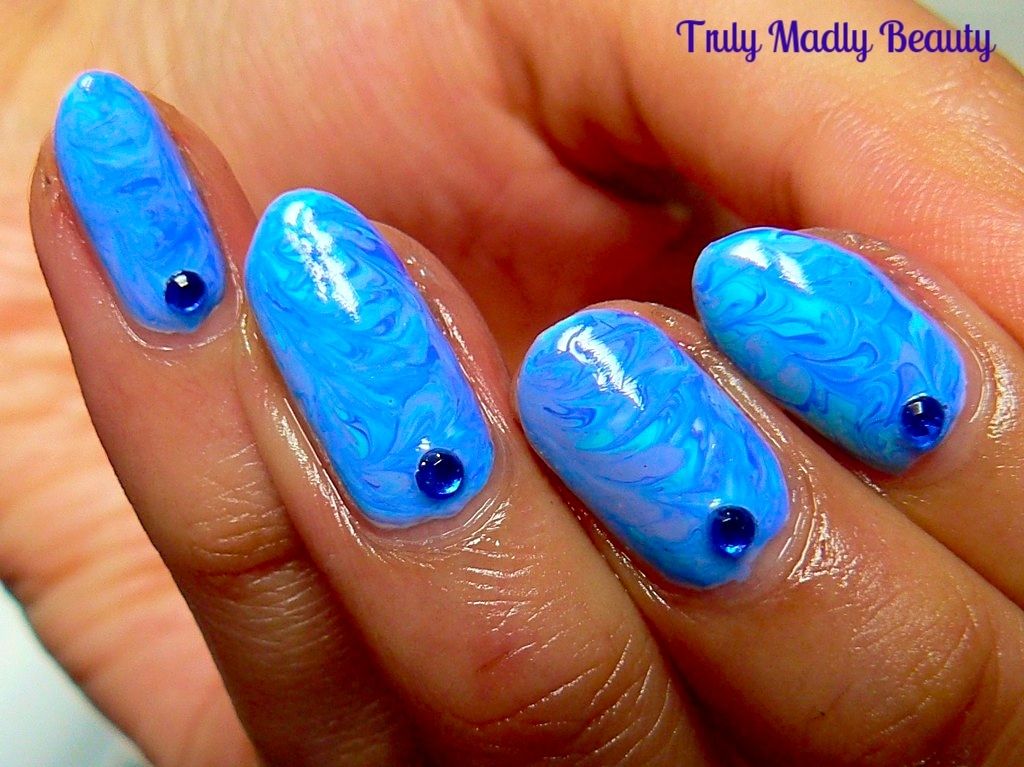
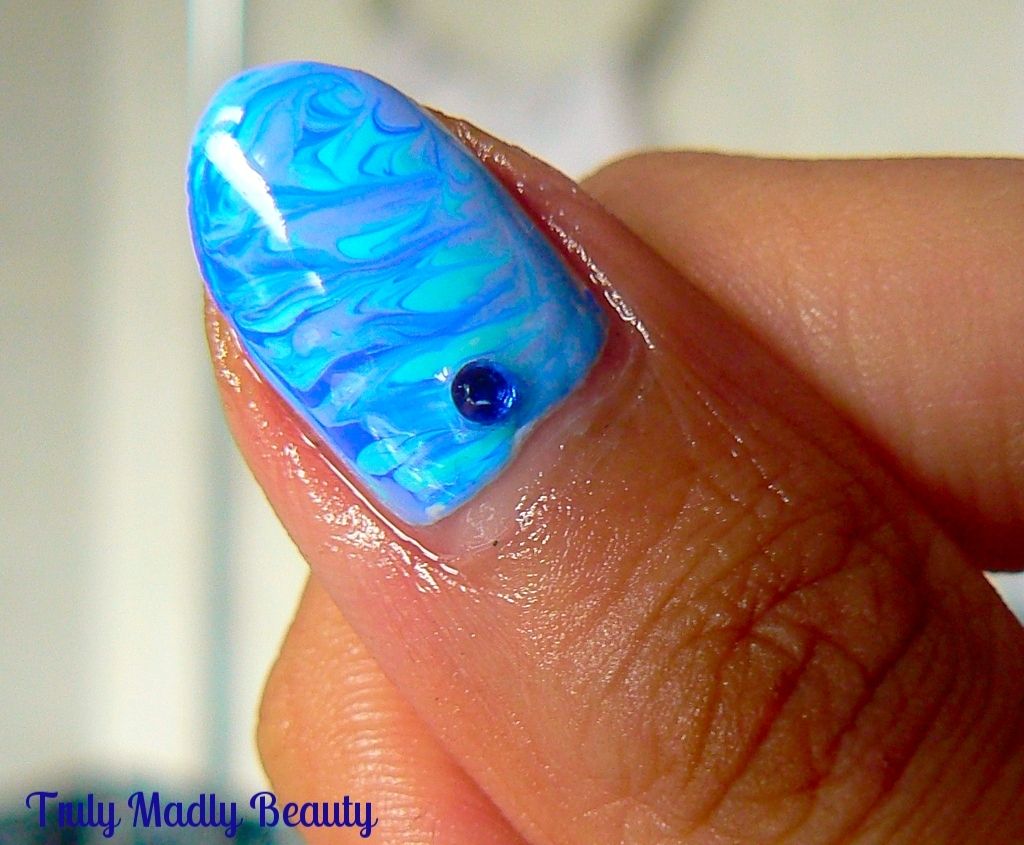
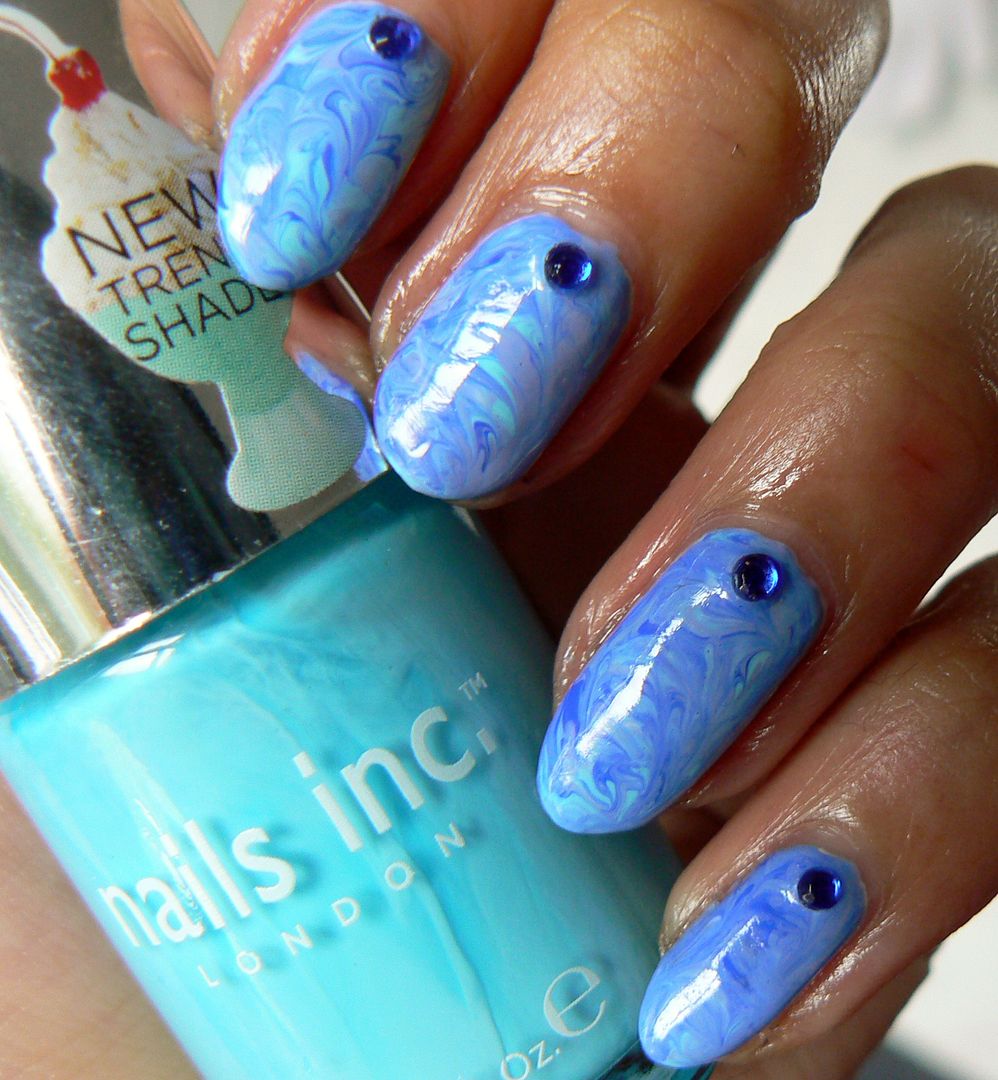
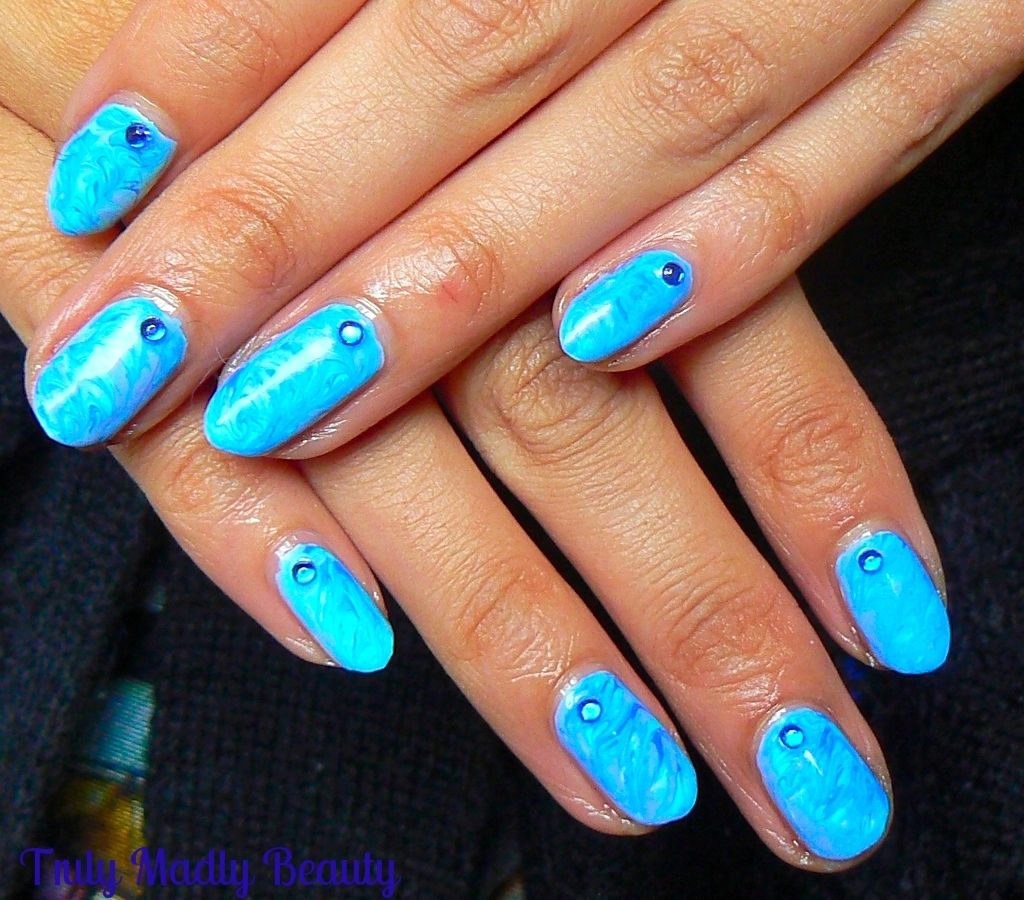
So I'm currently completely obsessed with one form of nail art - dry marbling. I can't seem to get enough of it at the moment! What I love the most is that its fun, easy to do plus it doesn't bring about a panic attack of epic proportions at the thought of doing which would be the case if I even attempted water marbling O_O So today I have for you these blue marble nails & I'm so chuffed with how they came out, I predict many more marble nails in the near future!


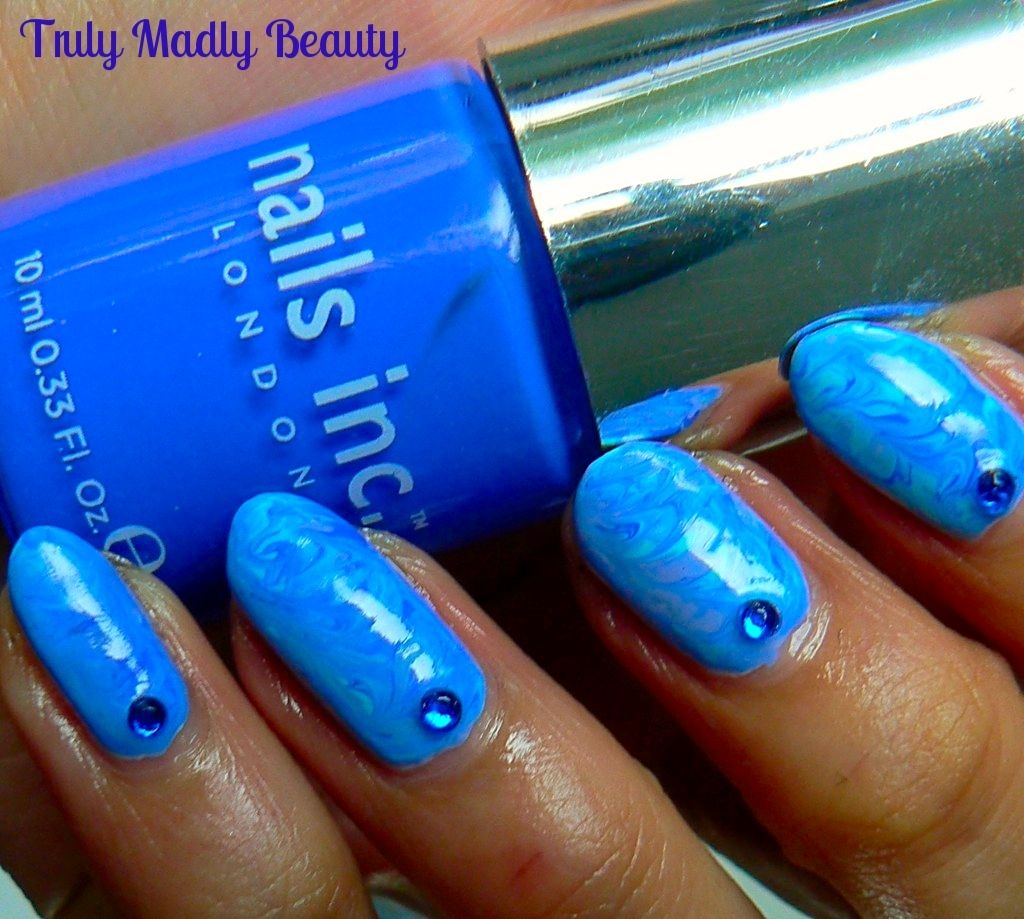
I was in the mood for blue tones clearly & decided to reach for Nails Inc to deliver on all three shades used, each one of them equally as pretty as the other & which I thought went really nicely together.


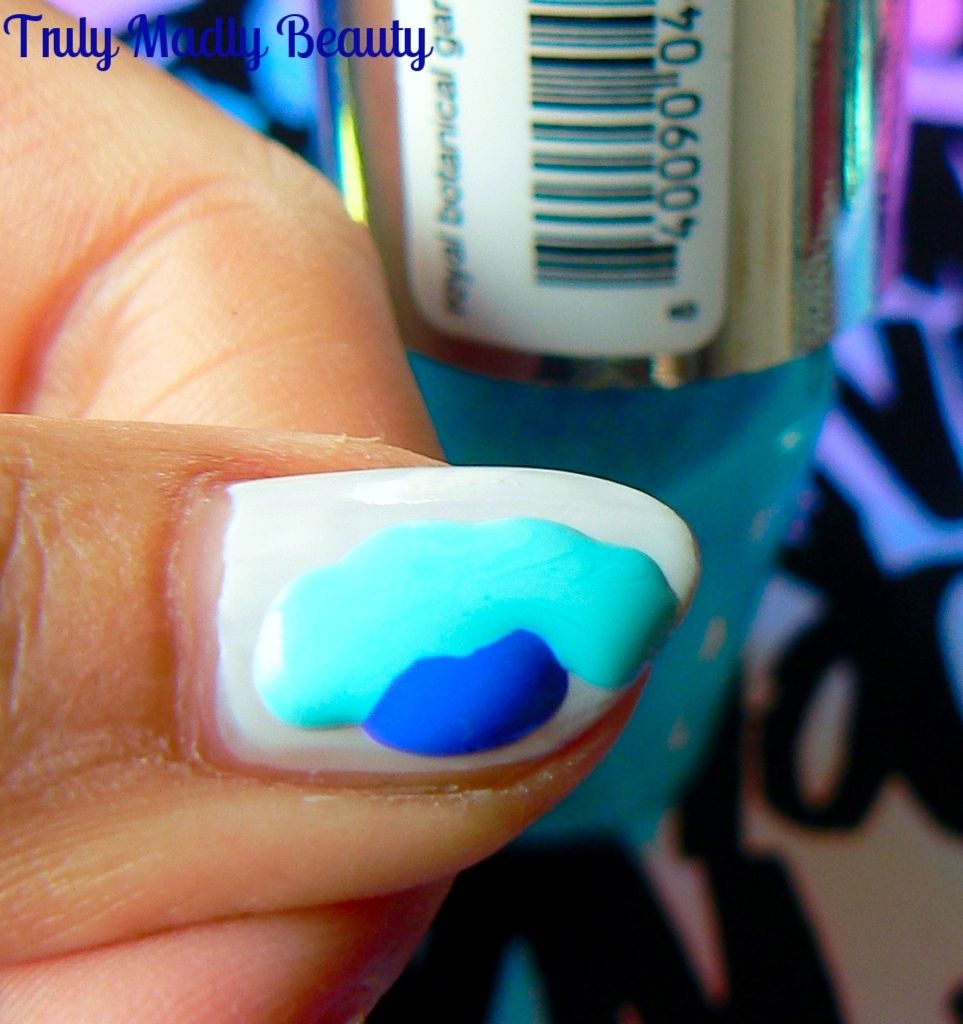
The three shades I've used are Baker Street (Royal Blue), Royal Botanical Gardens (Turquoise Blue) & Bluebell (Lavender Blue) all lovely cream formulas. To create these marbled nails couldn't be simpler, to show you how here's a wee step by step breakdown for you.


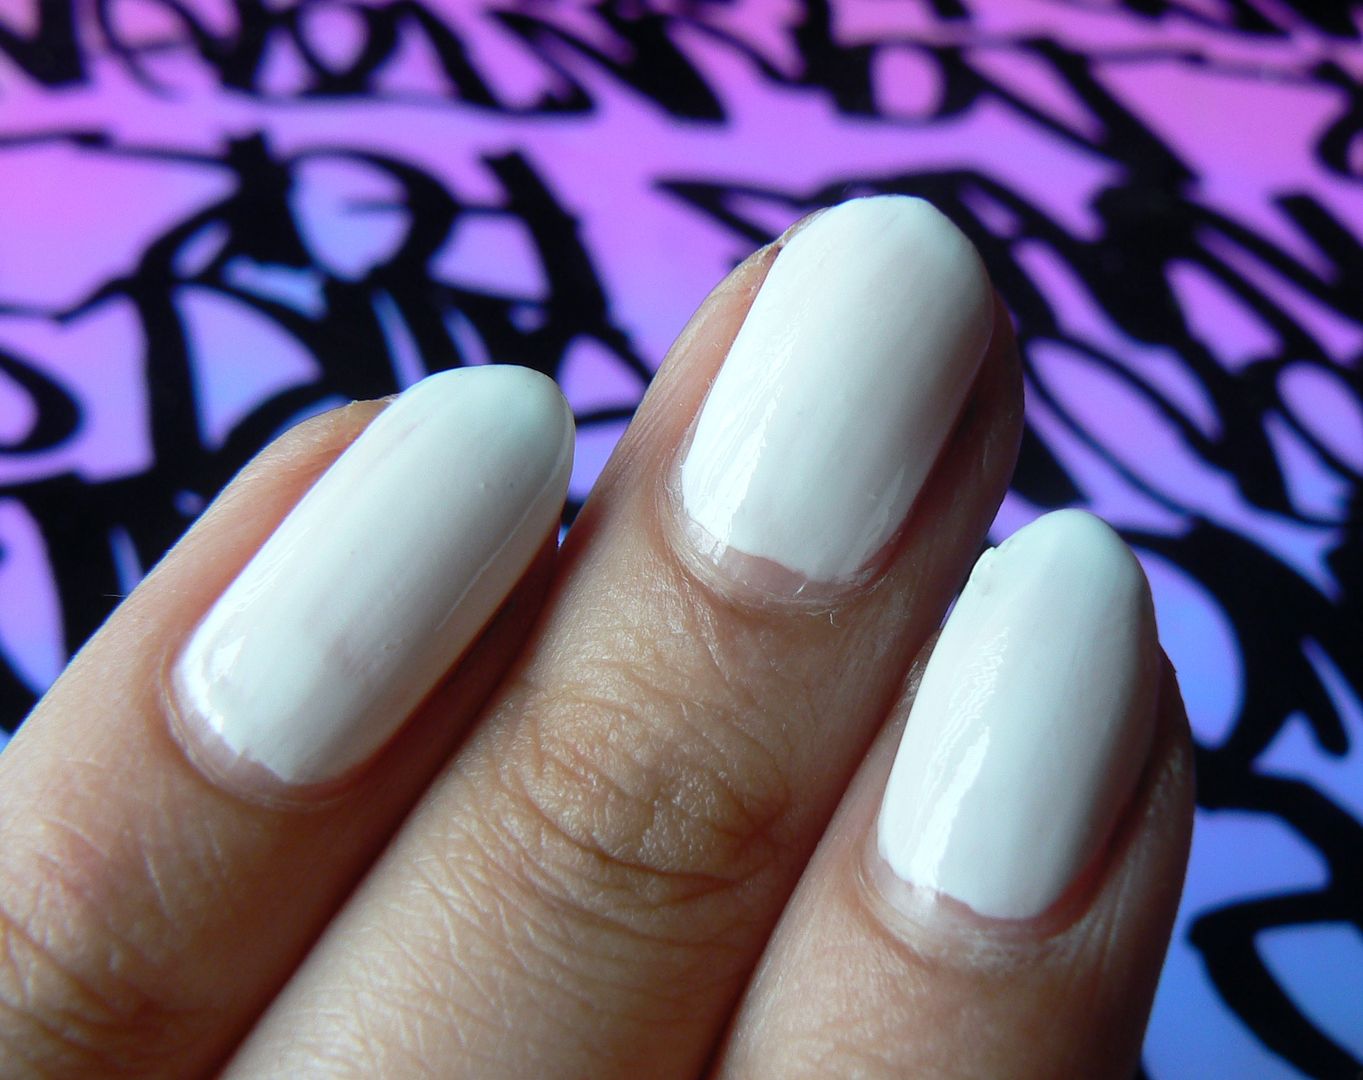
Start with applying your base colour, which when marbling/gradienting etc, I find white to be the best as it really brings out those colours! Go in with your second coat of white polish & now is when you need to start moving a bit quickly.


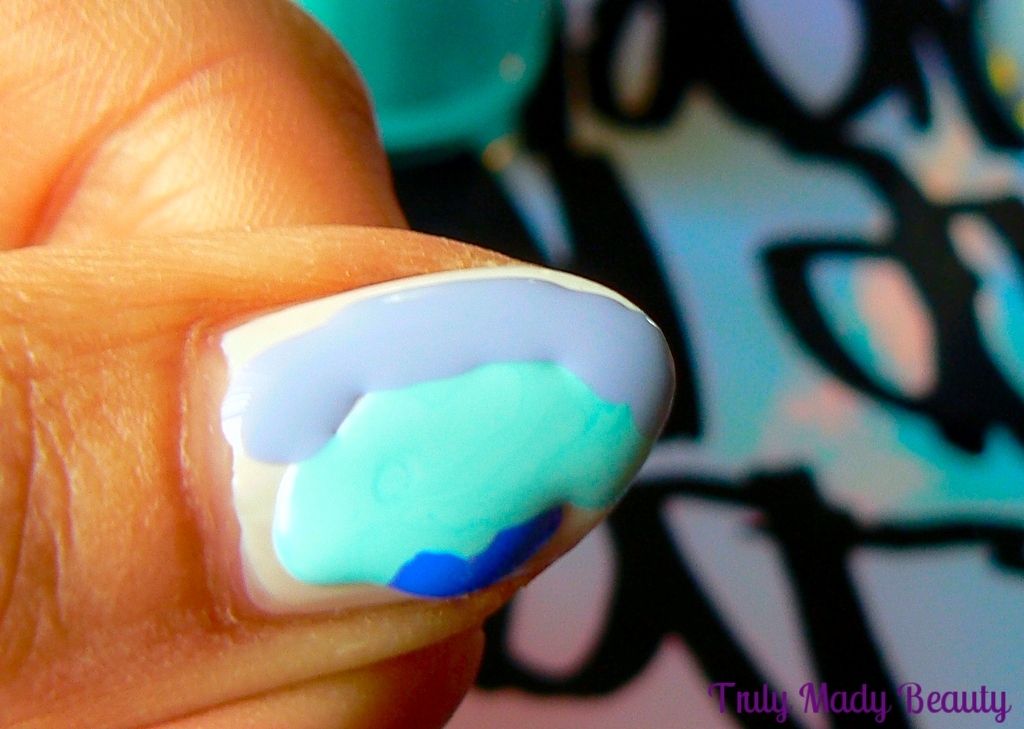
Whilst the second coat is still wet, apply a drop each of your three chosen shades on to the wet nail. Starting with a drop of dark blue first, then the turquoise next to it & finally the lavender.


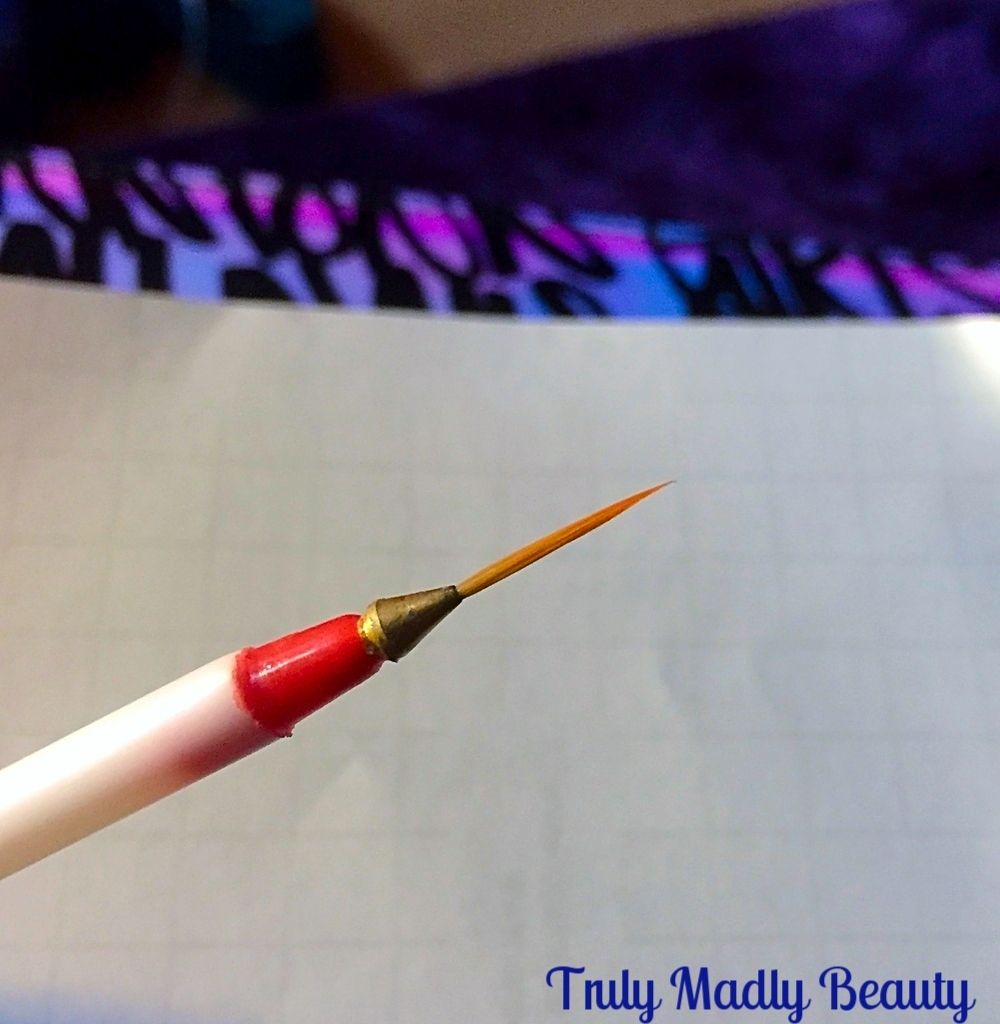
Then grab your tool to create the marble design, now you can choose whatever you feel confident/comfortable with, after having a play around I've found some work better than others, you could use a toothpick, a small dotting tool or a nail art brush, which is what I've opted for here


The reason I've gone with the brush is that enables you to have a lighter touch whilst marbling. In some of my experiments using a toothpick, despite trying to be as delicate as possible, the toothpick often went right through the polish to the nail bed.


Once you've added your drops of colour, quickly go in with your brush & delicately swirl all the colours together, but not too much that you lose any of the shades, until you've gotten your desired marble effect.


Whilst you need a thick layer of polish to do your marbling be careful not to put too large drops of colour otherwise you'll find marbling the colours together difficult plus risk having polish pouring all over your skin area too! However if this does happen then you can always prepare your nails/hands beforehand with some Masking Fluid/Liquid Latex skin protector which I've blogged about HERE and HERE.


For a final detailed touch I added a wee blue stone to each nail before going over with my trusty HG CND Airdry Topcoat.


Thanks as always for reading lovelies, hope you liked the Marble nails! I can't wait to try in a rainbow of different colours!


Lotsa love to ya!