Showing posts with label Sonia Kashuk. Show all posts

9.11.2017

NOTD - Birthday Celebrations & Back To School Nails!

Hey there lovely readers!

Mondays are always rough but returning back to work was a struggle this week. If you follow me on the socials you'll know I waved goodbye to my twenties this weekend so saw fit to celebrate with some of my favourite things in the capital! Starting things off with The Tale As Old As Time Afternoon Tea which I had booked earlier this year & have practically been counting down the days for! To say I was excited is putting it lightly & it was just as wonderful as I'd hoped...review to come soon of course!
We then went to see Aladdin at the theatre & whilst The Lion King still has my heart, this definitely comes up as a close runner up as it was fantastic! Before finishing the night on a high in Soho (where this now 30 year old STILL got asked for ID, high fives!)


My friend & I then spent a blissful Sunday recuperating with Brunch in Westfield Stratford at Balans Soho Society (highly recommend) before heading to The London Cat Village to spend some time with the fur babies. I seriously need to right up a review of this place as I love it...cake AND cats? Basically heaven ;) So all in all a pretty darn satisfactory birthday I'd say. Bring on the thirties!

Speaking of returning back to things, last week saw the younger human generation head back or begin that time where their young minds are molded for the future! Not that I envy them, even though adulting can be majorly hard at times, the thought of going back to school fills me with dread!

5.12.2016

NOTD - Stained Glass Swirl Nails & Tutorial!

Hey there lovely readers!

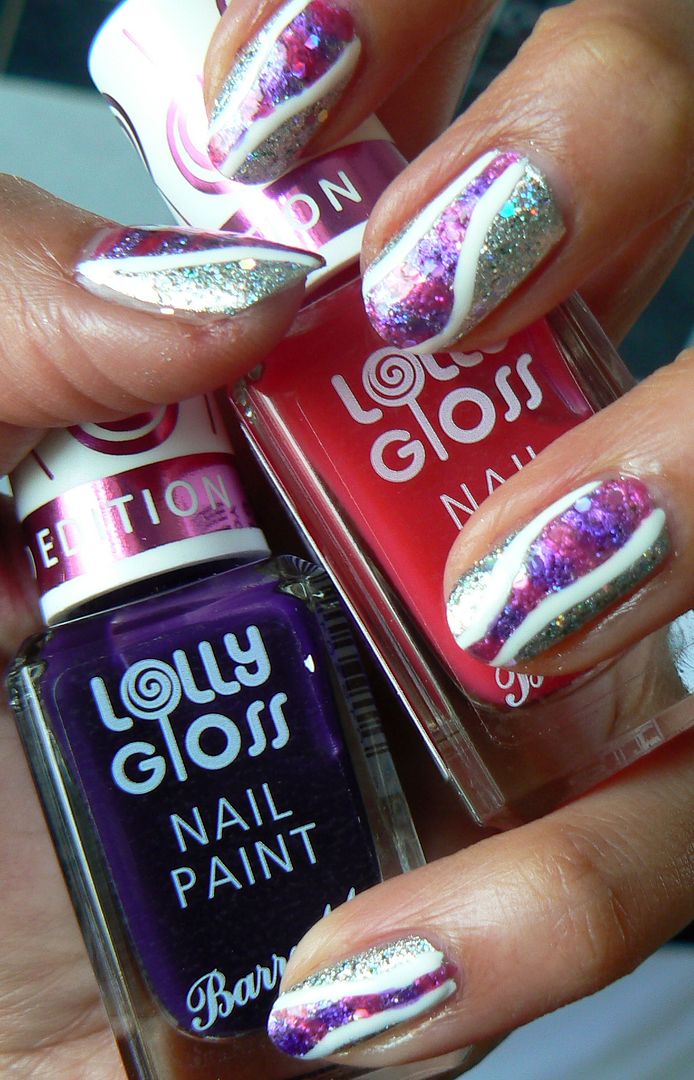
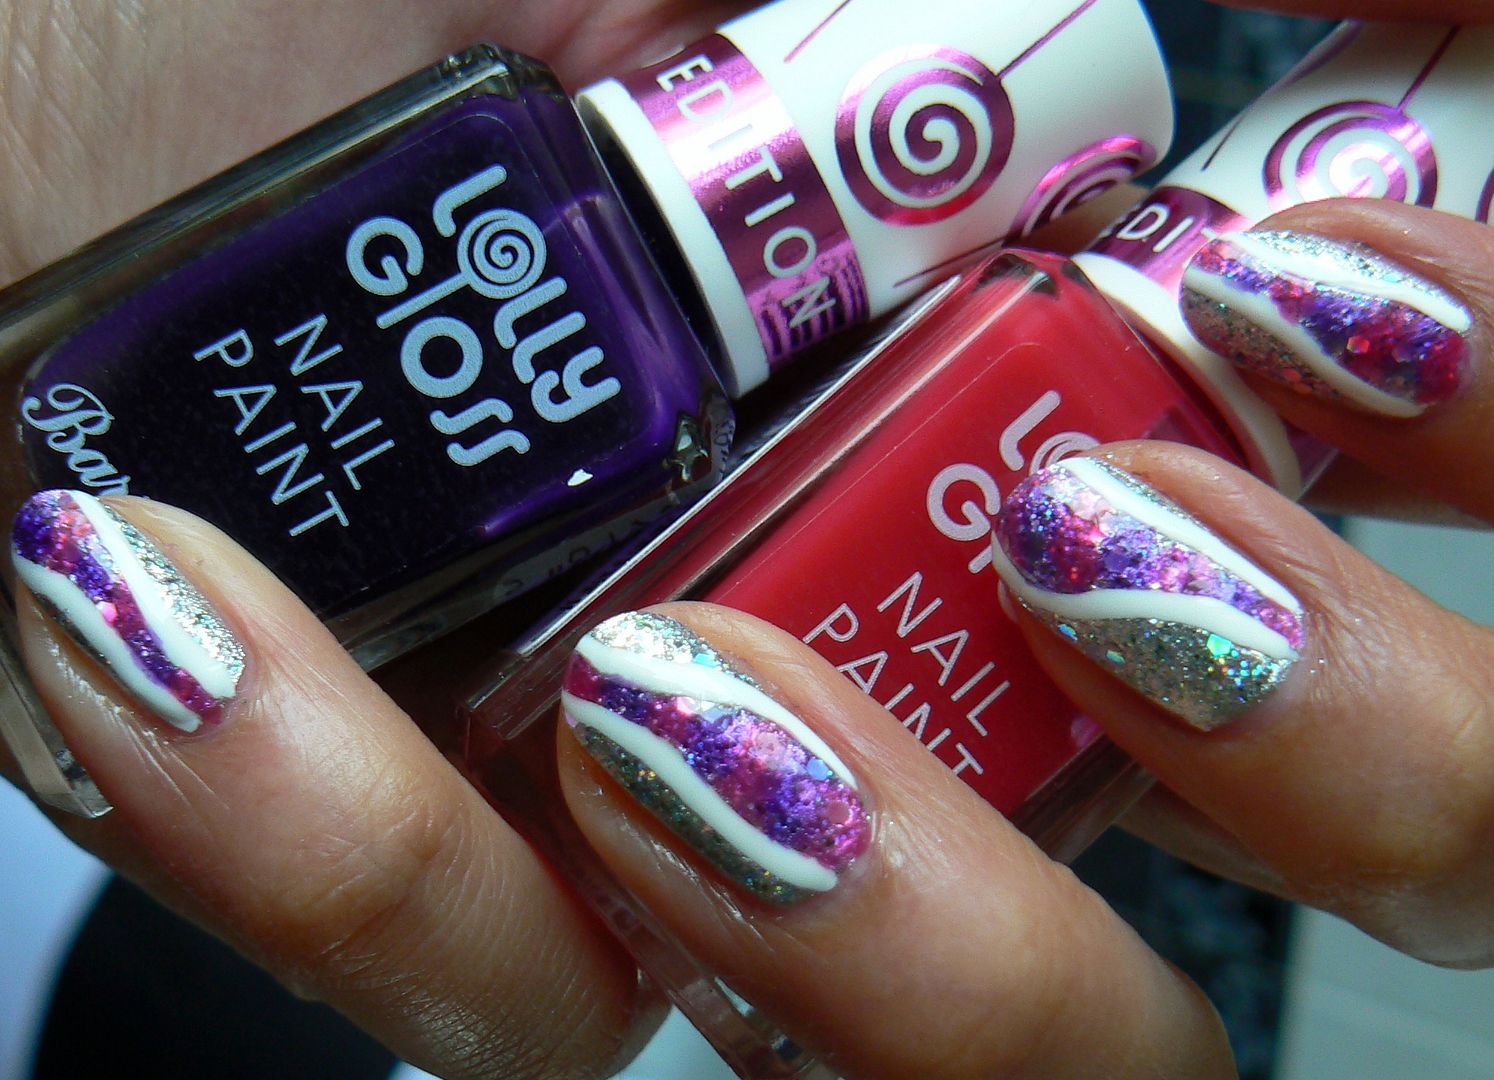
If you caught my last post, I recently added a few of the new Barry M releases to my collection including the Limited Edition Lolly Gloss Paints in Pink Candy and Purple Pop. You can see swatches of these sweet juicy jelly shades HERE.

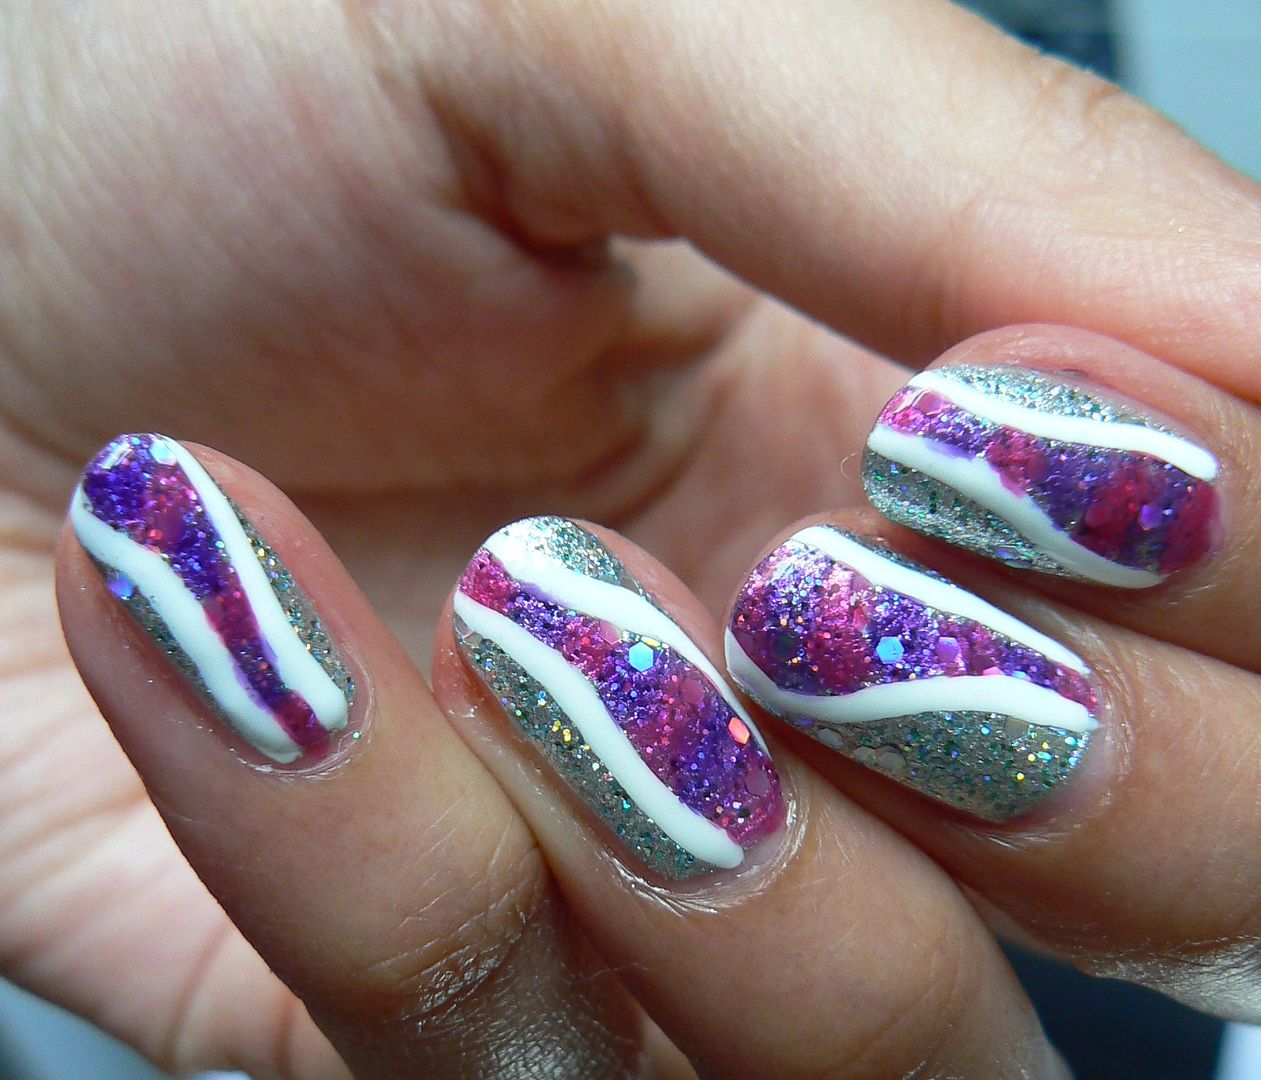
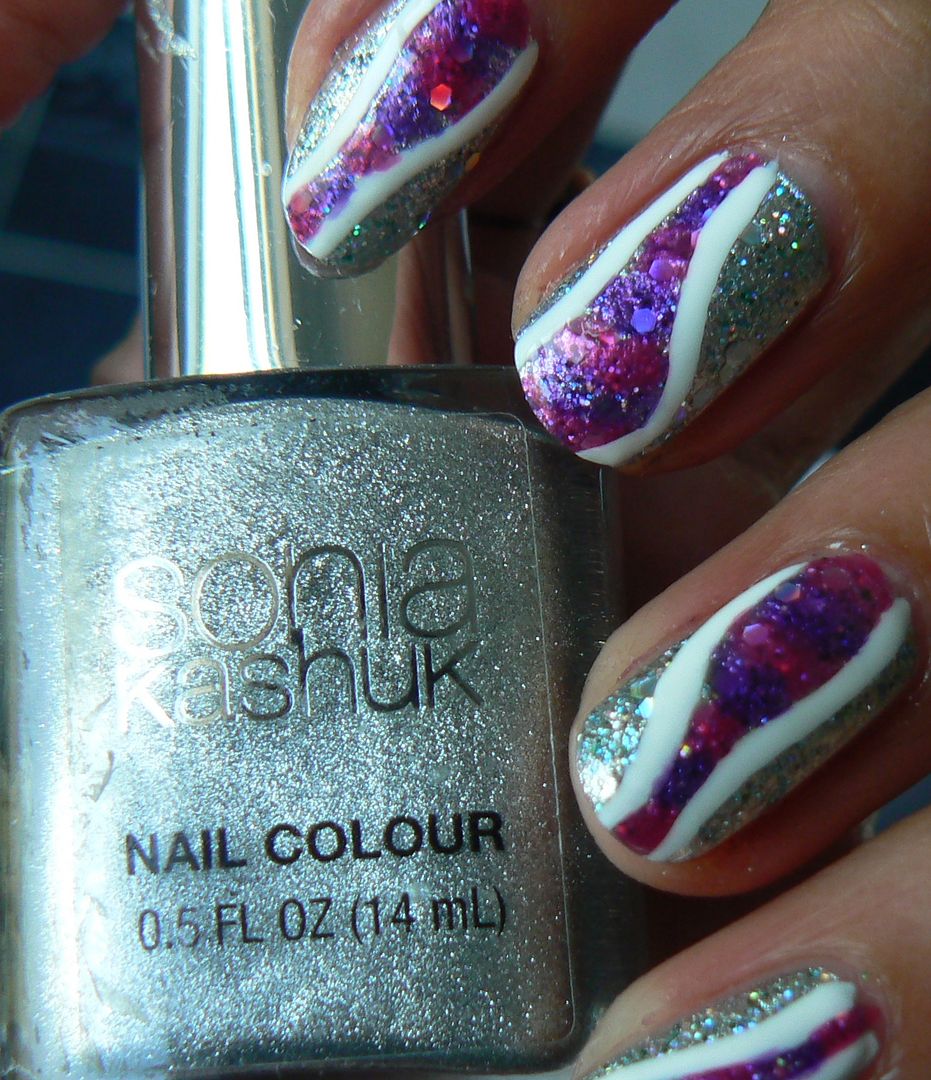
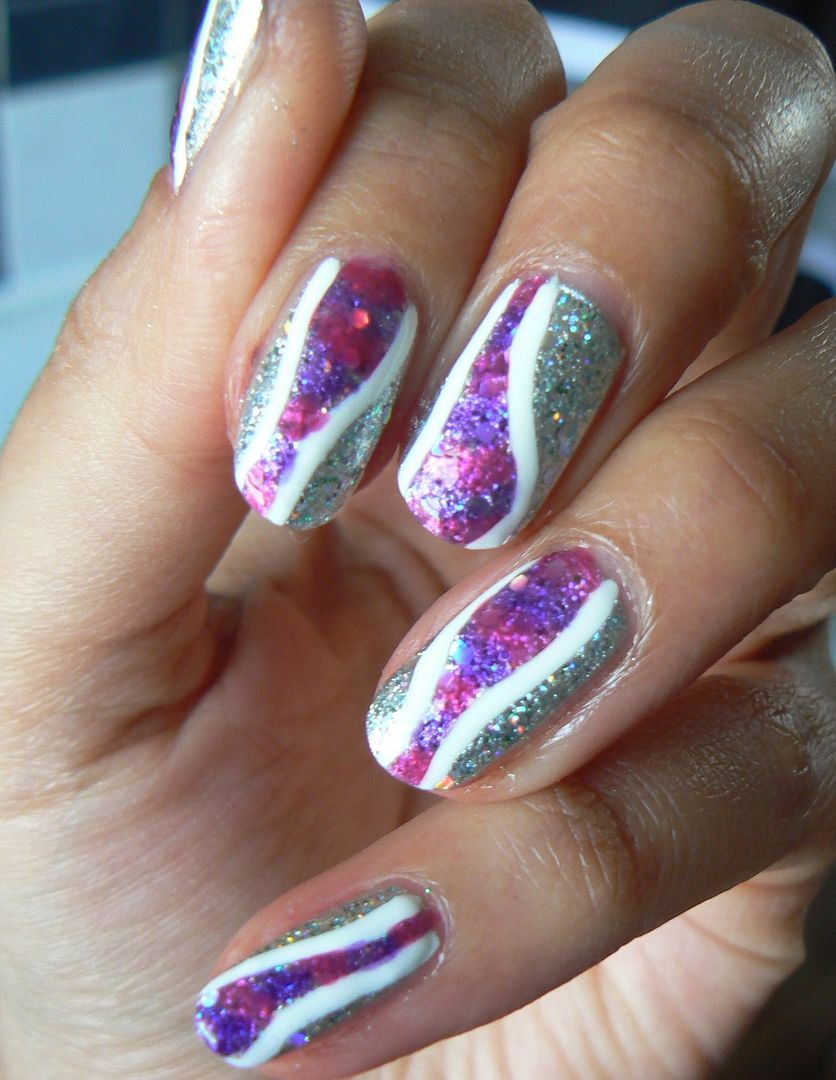
These polishes are sheer formulas therefore perfect for a bit of nail art experimentation! You can smoosh all the jellies together to create a marbled effect, apply on top of another shade to create a whole new one, dab on to silver or white for a watercolour rainbow look, similar to what I've done HERE. I decided to do a stained glass type effect using the Lolly Gloss on top of silver & glitter & this is what I came up with...


Instead of going over the whole nail I decided to just add the pop of colour in the centre in a swirl down the nail. 


For my base to really make the Lolly Paints pop I used not just silver but also a holographic glitter for extra sparkle!


To create the design I've done a simple step by step tutorial for you so you can recreate these too...


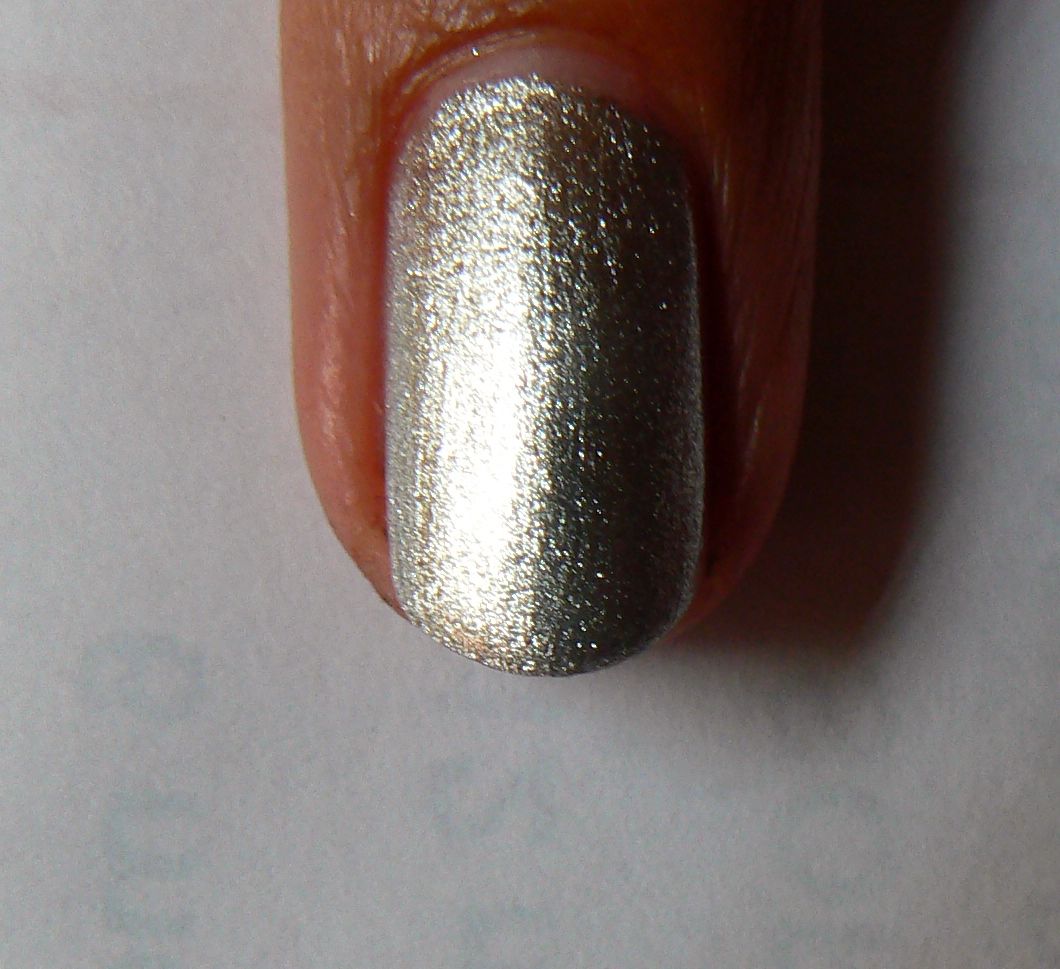
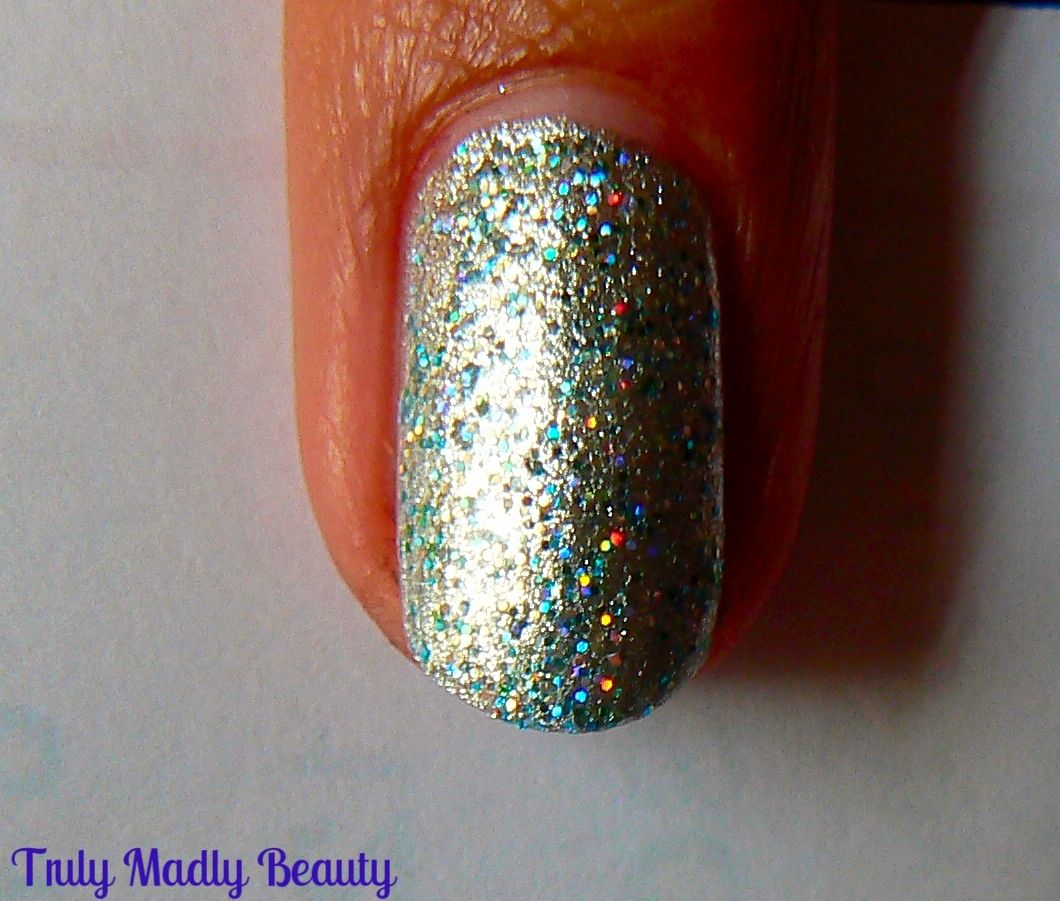
Start with your silver base, here I've applied one coat of Sonia Kashuk Smoke and Mirrors.


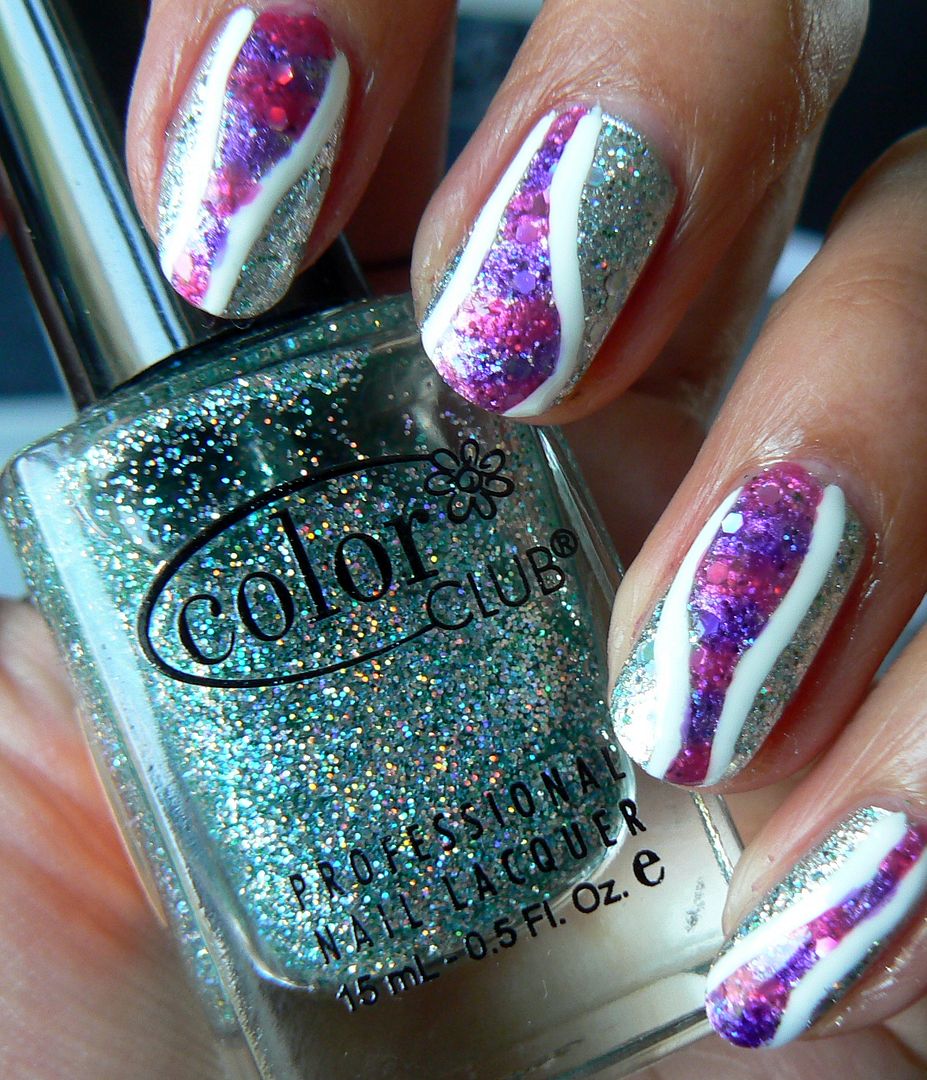
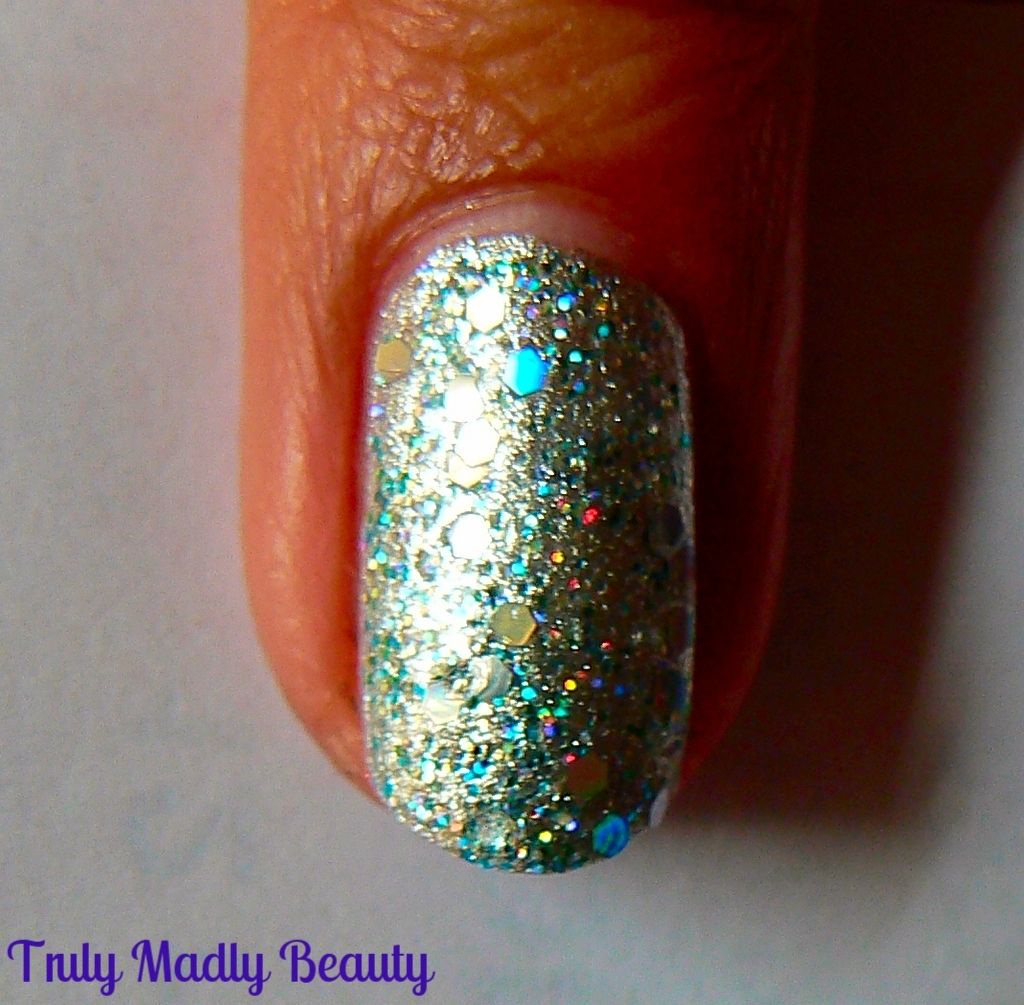
Next apply your holo glitter, the one I've used here is by Color Club & contains a rainbow of macroglitter that really makes the silver go disco!


This was an additional step that you can skip but being the glitter fiend that I am I couldn't resist adding on a few large hexagonal holo glitter pieces using Barry M's Hologram


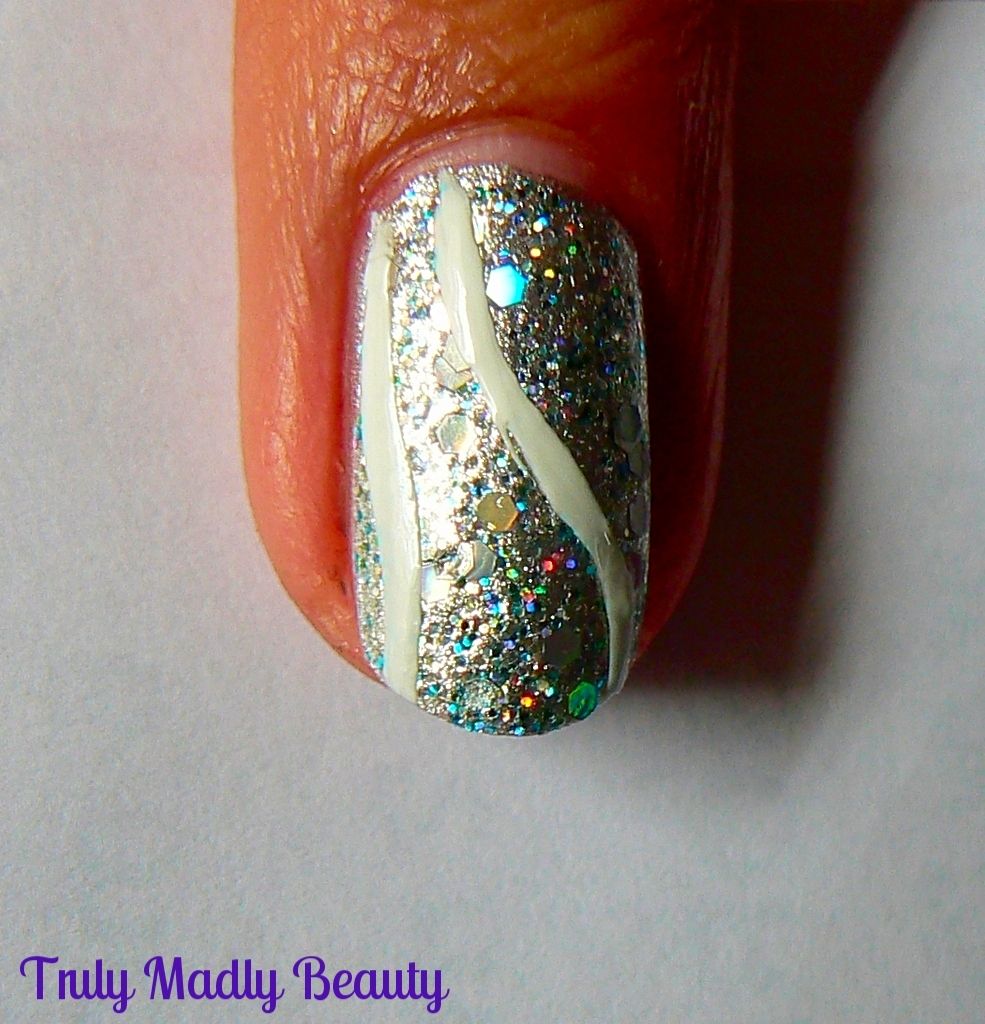
Next apply the white outline of where you want your stained glass pop of colour to be, using a nail art pen or some white polish & a thin brush


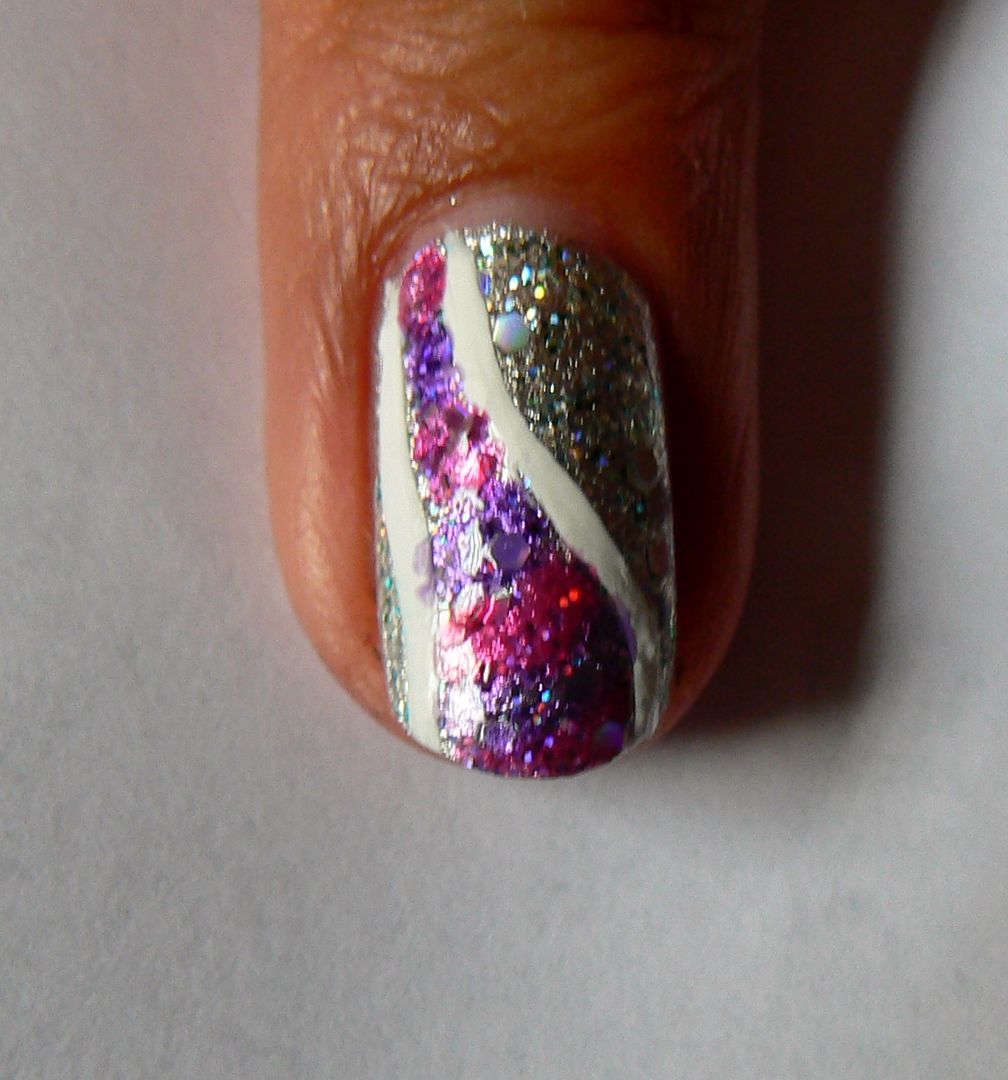
Then using 2 more smaller nail art brushes as the brushes that come with the polish will be too big/thick,start applying each of the Lolly Gloss Paints, here I have Pink Candy & Purple Pop, alternating between the two until you fill in the whole shape.


Don't worry if the colours merge into each other, you kind of want that to happen to help create the effect!


Once done, go over the white outline again, before finishing with a coat of topcoat & thats it!


Super sparkly stained glass effect nails! If there had been more shades available I would have definitely picked up more to create a multicolored rainbow finish! Hint hint Barry M... ;)

Hope you liked the design dolls, do let me know if you give these a try or have created your own designs using these or similar tinted polishes, I would love to see!

Lotsa love to ya!  


1.04.2016

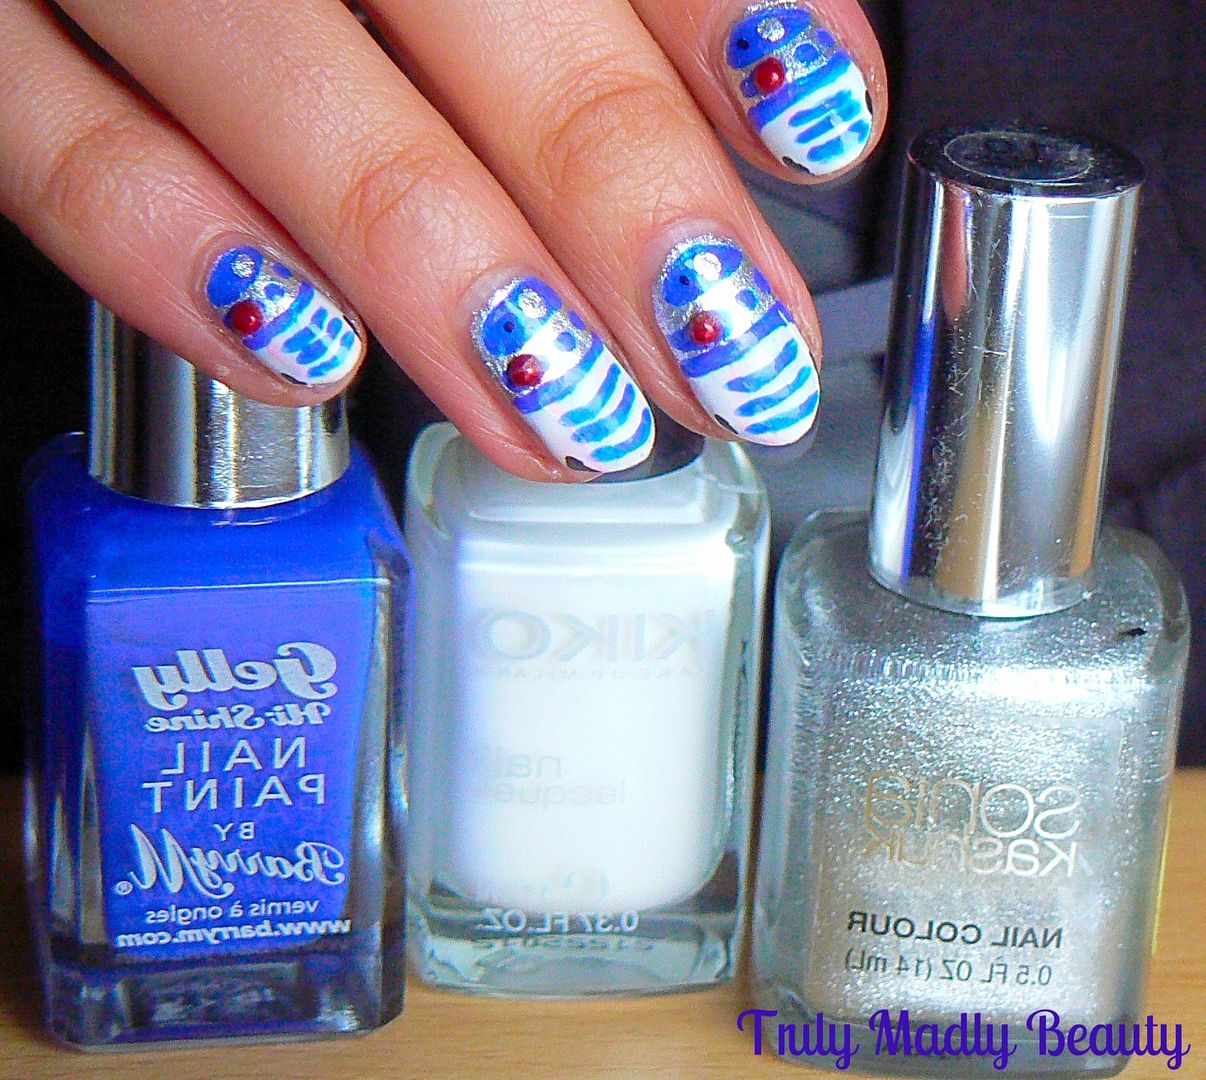
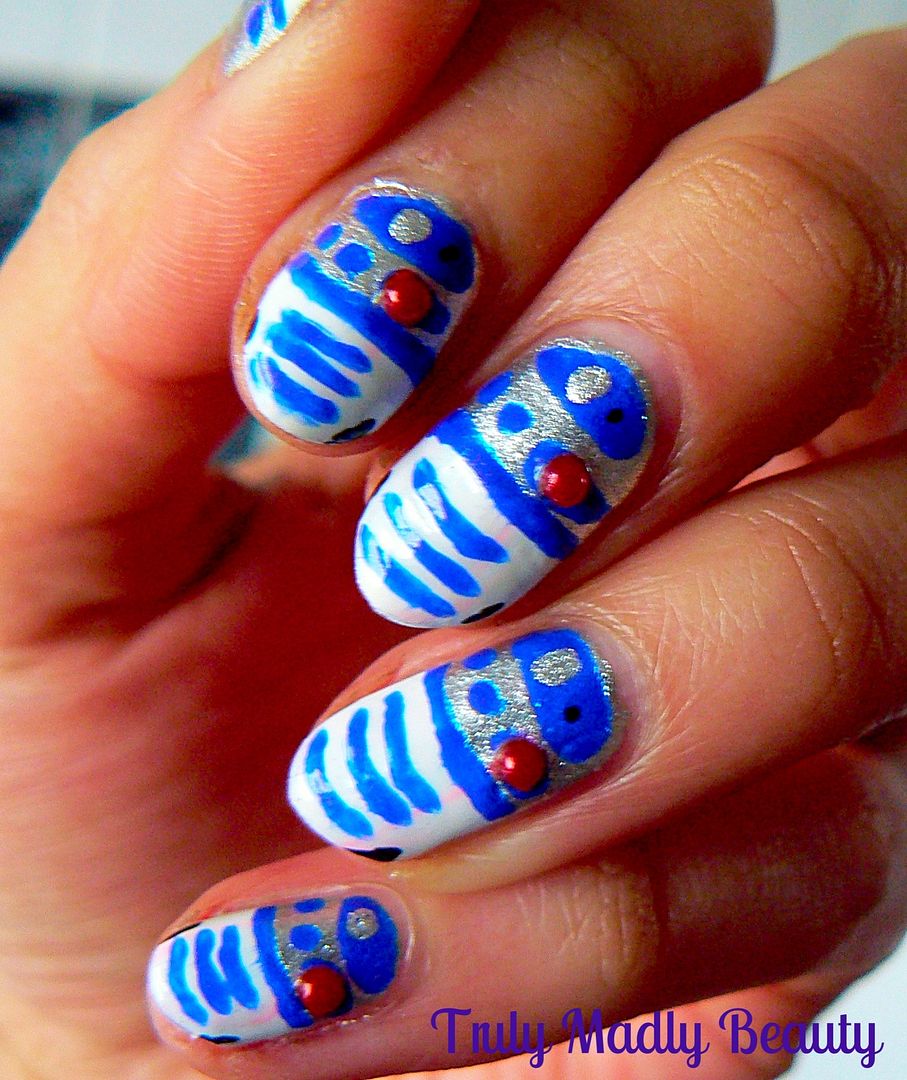
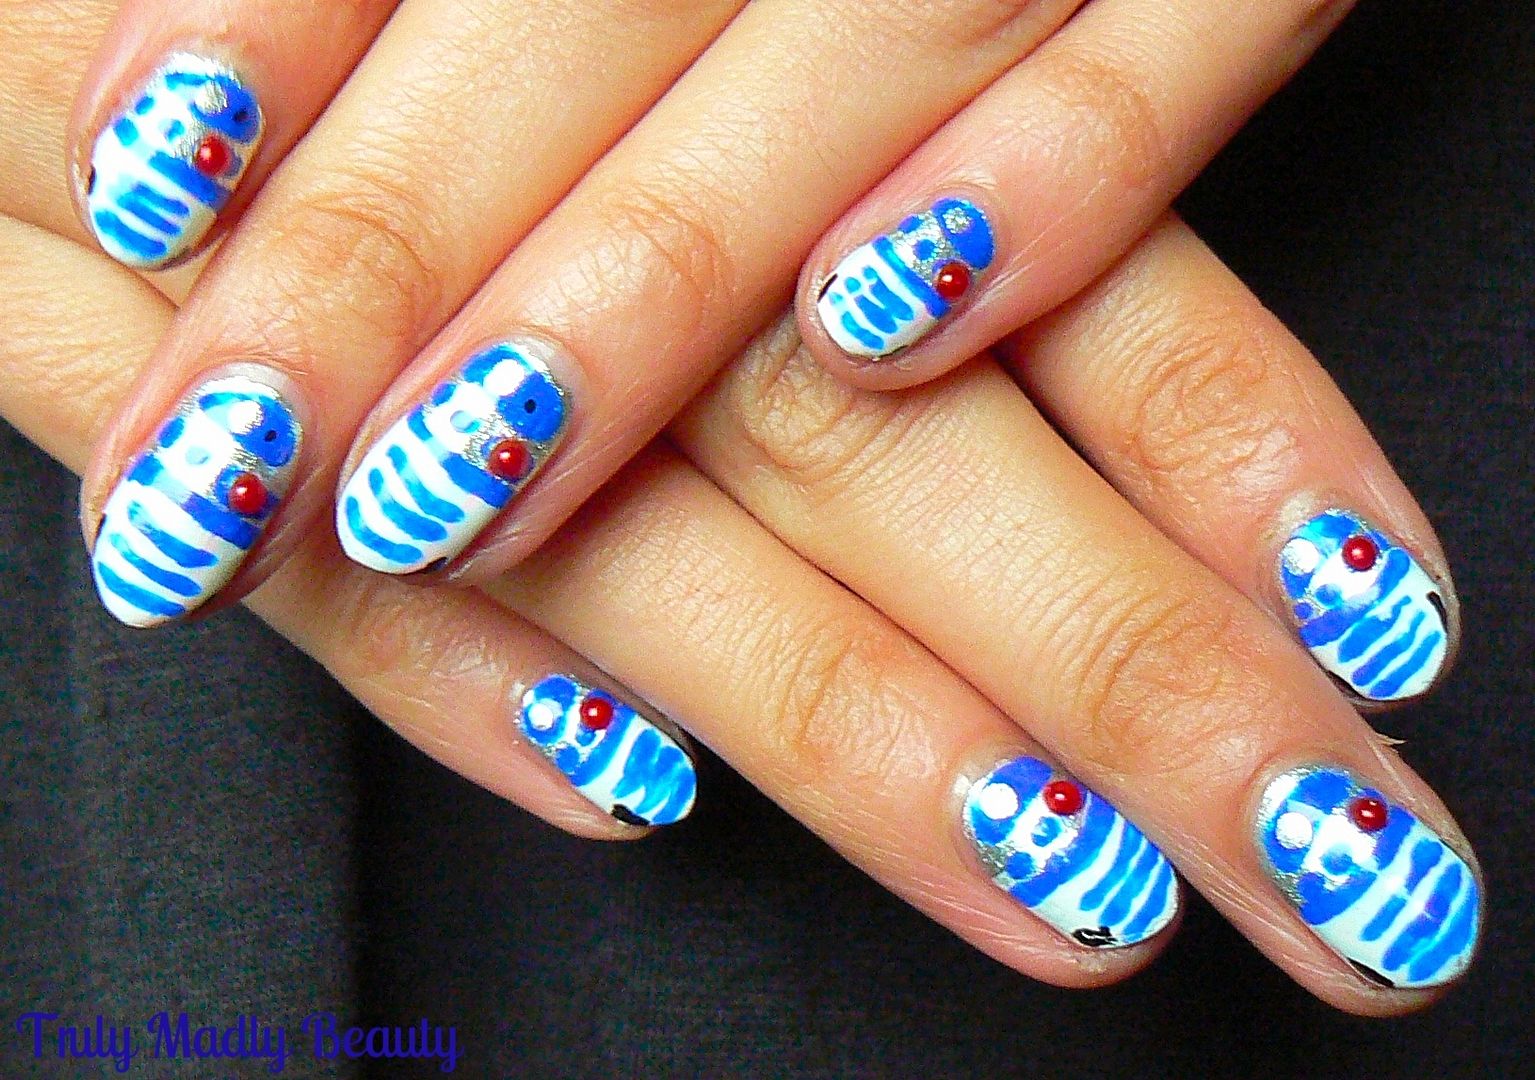
NOTD - Star Wars R2 D2 Nails!

Hello there lovely readers!

Last week was a momentous occasion as I finally went to see the new Star Wars film & it was simply...EVERYTHING. When I heard that J J Abrams had taken the helm & would be directing the movies I knew that Star Wars would be in good hands & he did not disappoint! The new film exceeded all hopes & expectations, succeeding in erasing the disastrous tragedies that were Episodes 1,2 & 3 from memory...lets just pretend they never happened. Now I know what my papa bear went through all those years ago when the original films came out, it will be hard to wait patiently for the next instalment but I cannot wait!


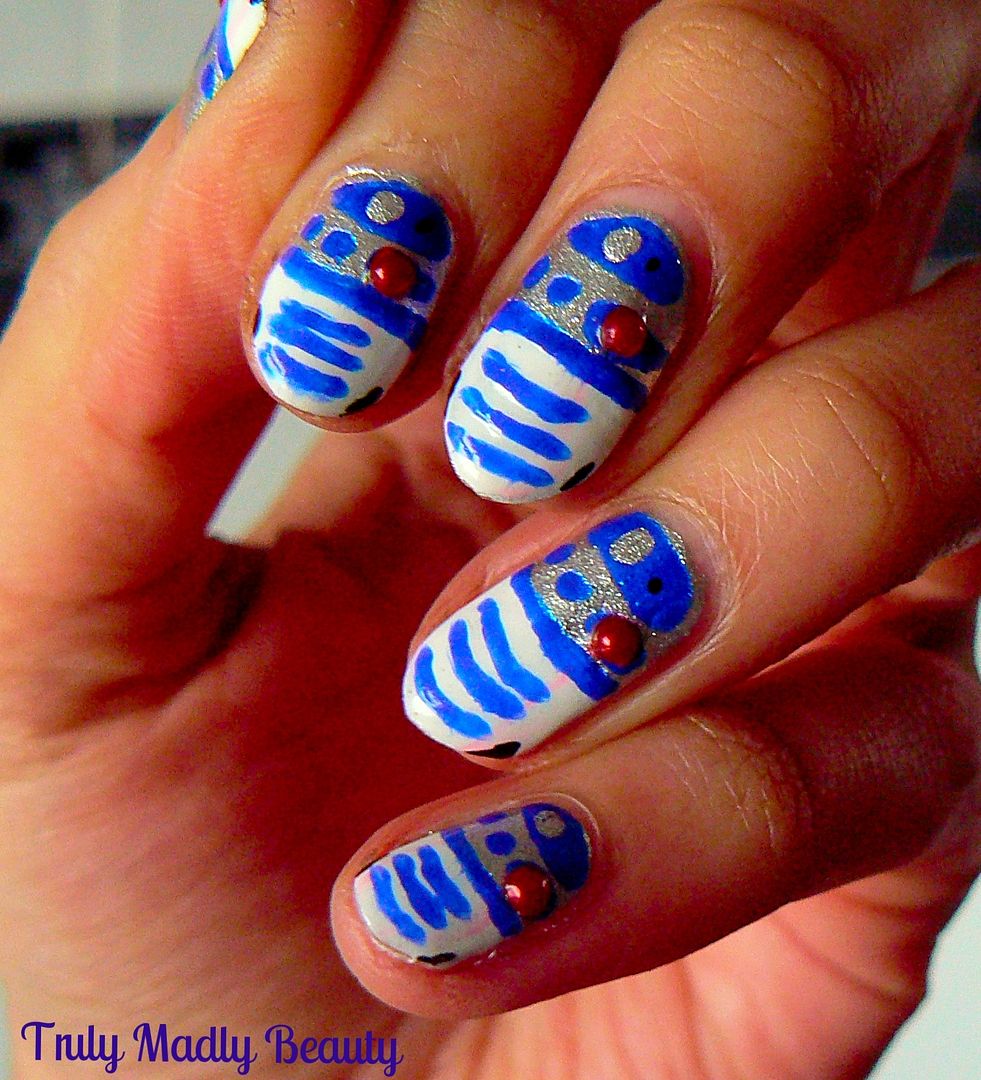
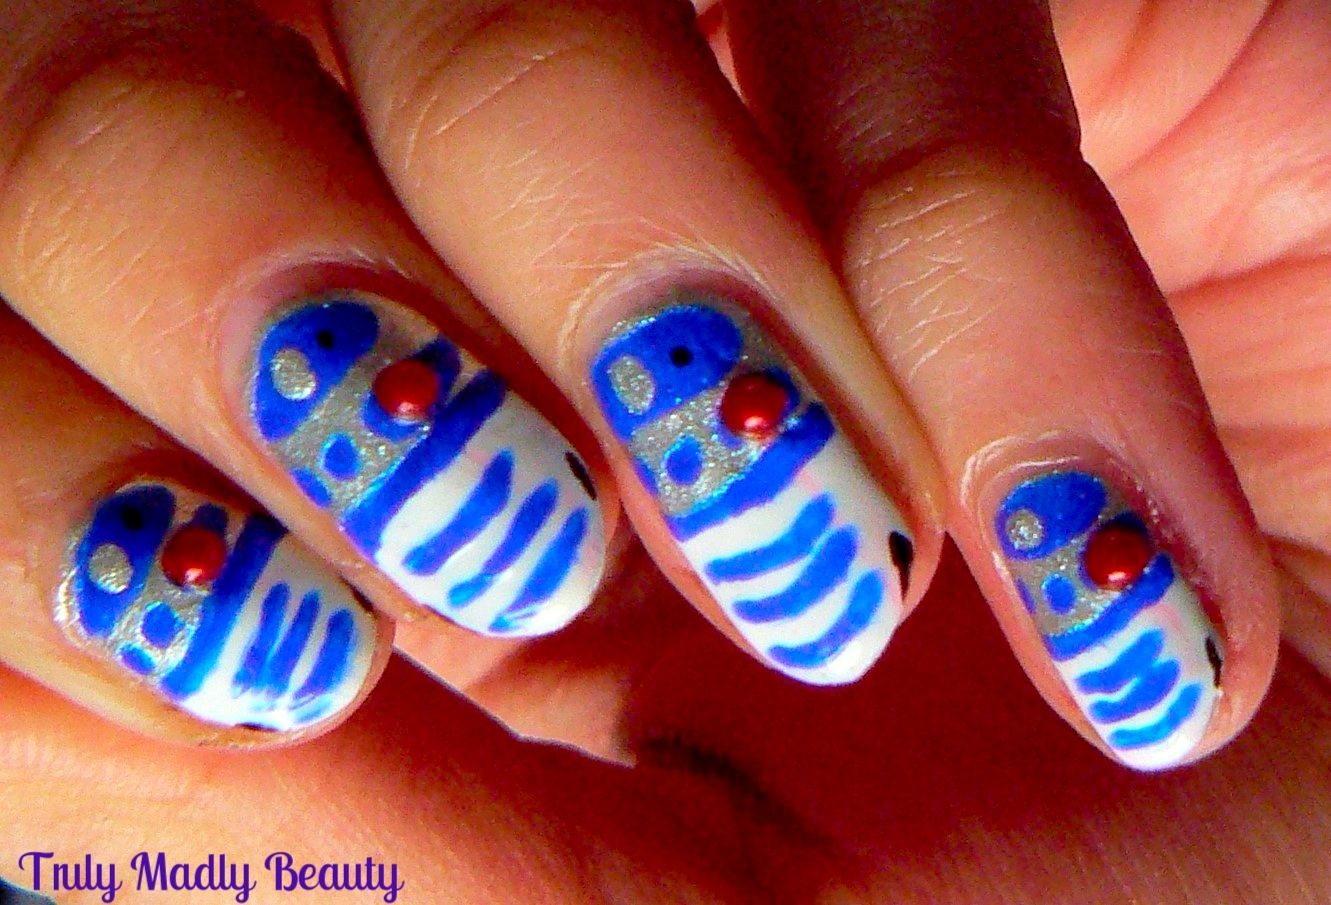
Inevitably I couldn't resist embodying this magical sci fi world that first fascinated me as a child on to my nails in some way or other & the first thing that came to my mind was everyone's favourite wee droid (though he may have some serious competition in the new film!) R2 D2!


After having had a closer look at all the detail involved on this little droid I did wonder what I had let myself in for, but I'm nothing if not determined, especially when it comes to a nail art challenge! So grabbing the shades required I got to recreating R2 D2 as best I could in nail form.


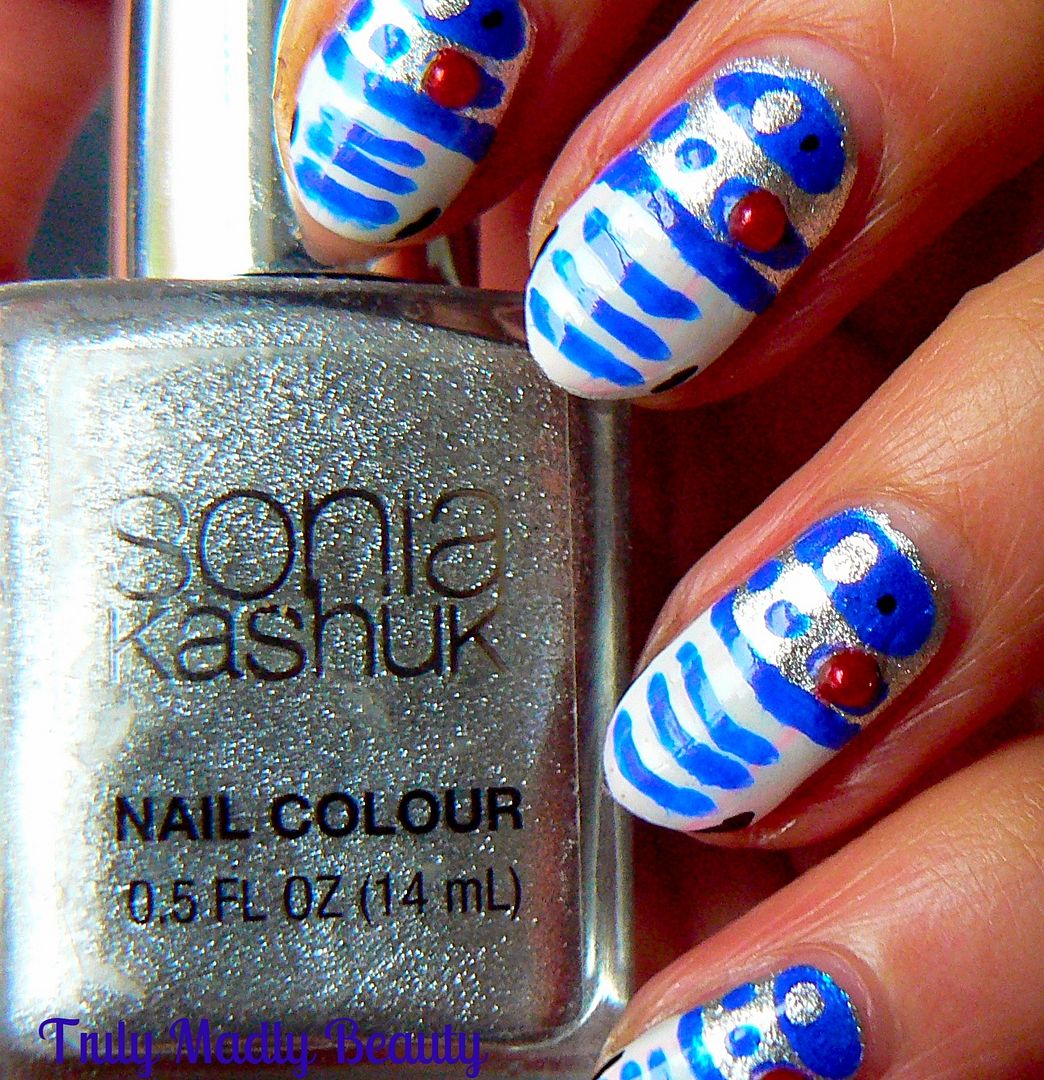
First step is to start with a silver base, I've used one coat of Sonia Kashuk Smoke & Mirrors, one of my favourite silvers as its so metallic & opaque.


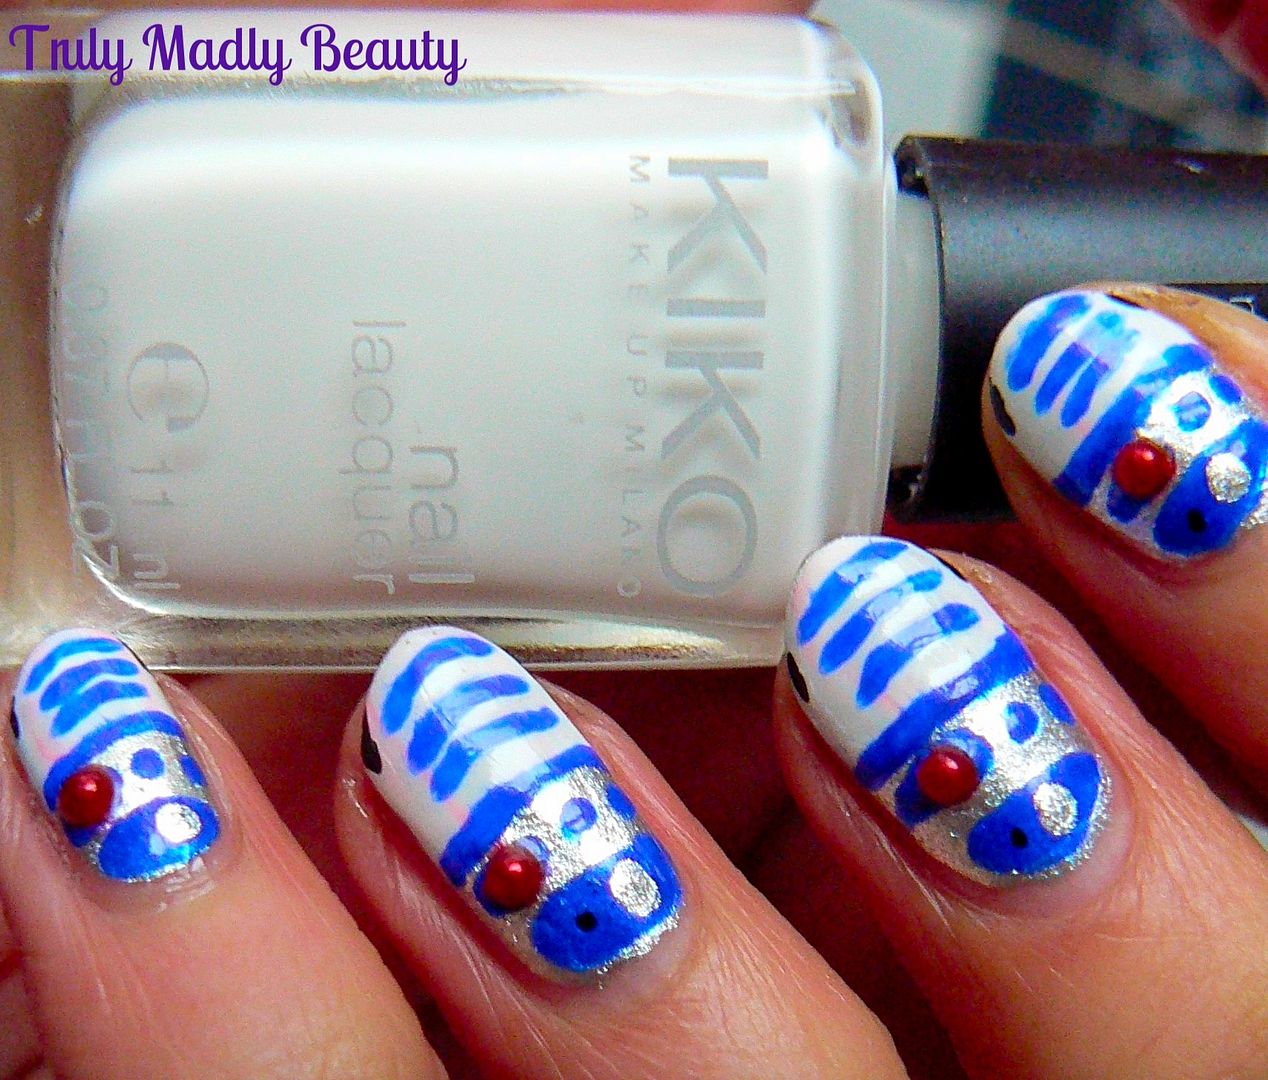
Then using Kiko white nail lacquer for French Tips which has a fine brush perfect for nail art, I applied the white on to the bottom half of the nail.


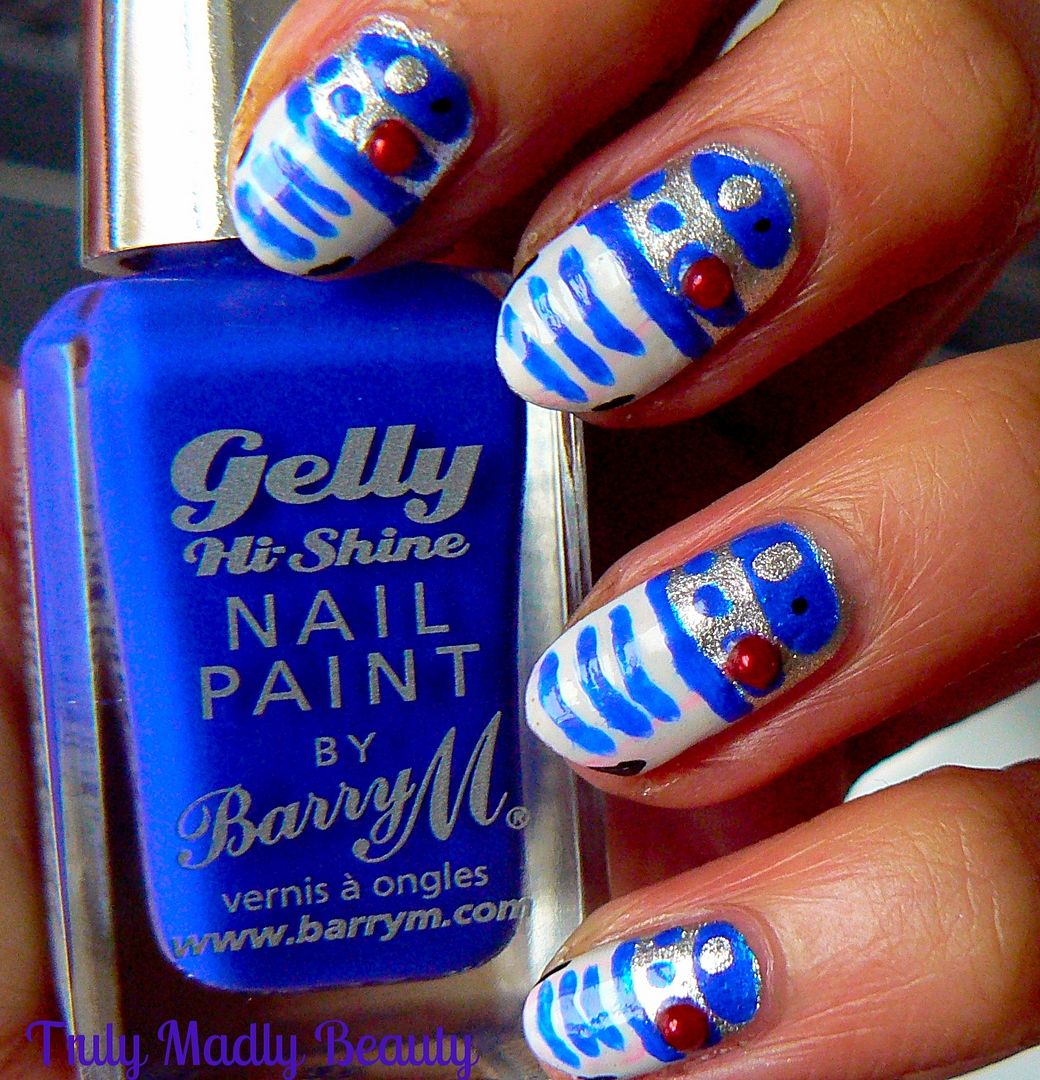
Next up are the blue details for which I used Barry M Gelly in Blue Grape which is the perfect R2 D2 blue! Using a fine nail art brush I free handed on all the little droid details, so three small lines along the white body, one long line along the width of the nail in the middle, a row of small squares above that, before finishing with a roundish semi circle on top.


Grabbing the silver polish again, add a large dot on to the large blue semi circle, with a smaller black dot next to it. Then still using the black add on a couple of small lines on the tips of the nails for R2's legs.


Finally I stuck on a red stud for R2'S little light before sealing it all with topcoat to finish. Though I very nearly ruined everything as I didn't realise that the colour from the stone would drag when topcoat was applied! Lets just say thumb R2D2 had a distinct red tint to him O_O Topcoat was applied with a bit more care on the other nails...


Thanks for reading as always, I hope you liked the R2 D2 nails! I've got a couple more Star Wars themed nail art ideas floating around in the ol noggin, including The Force Awakens new little star droid so stay tuned my fellow sci fi lovers!

Lots of love to you!