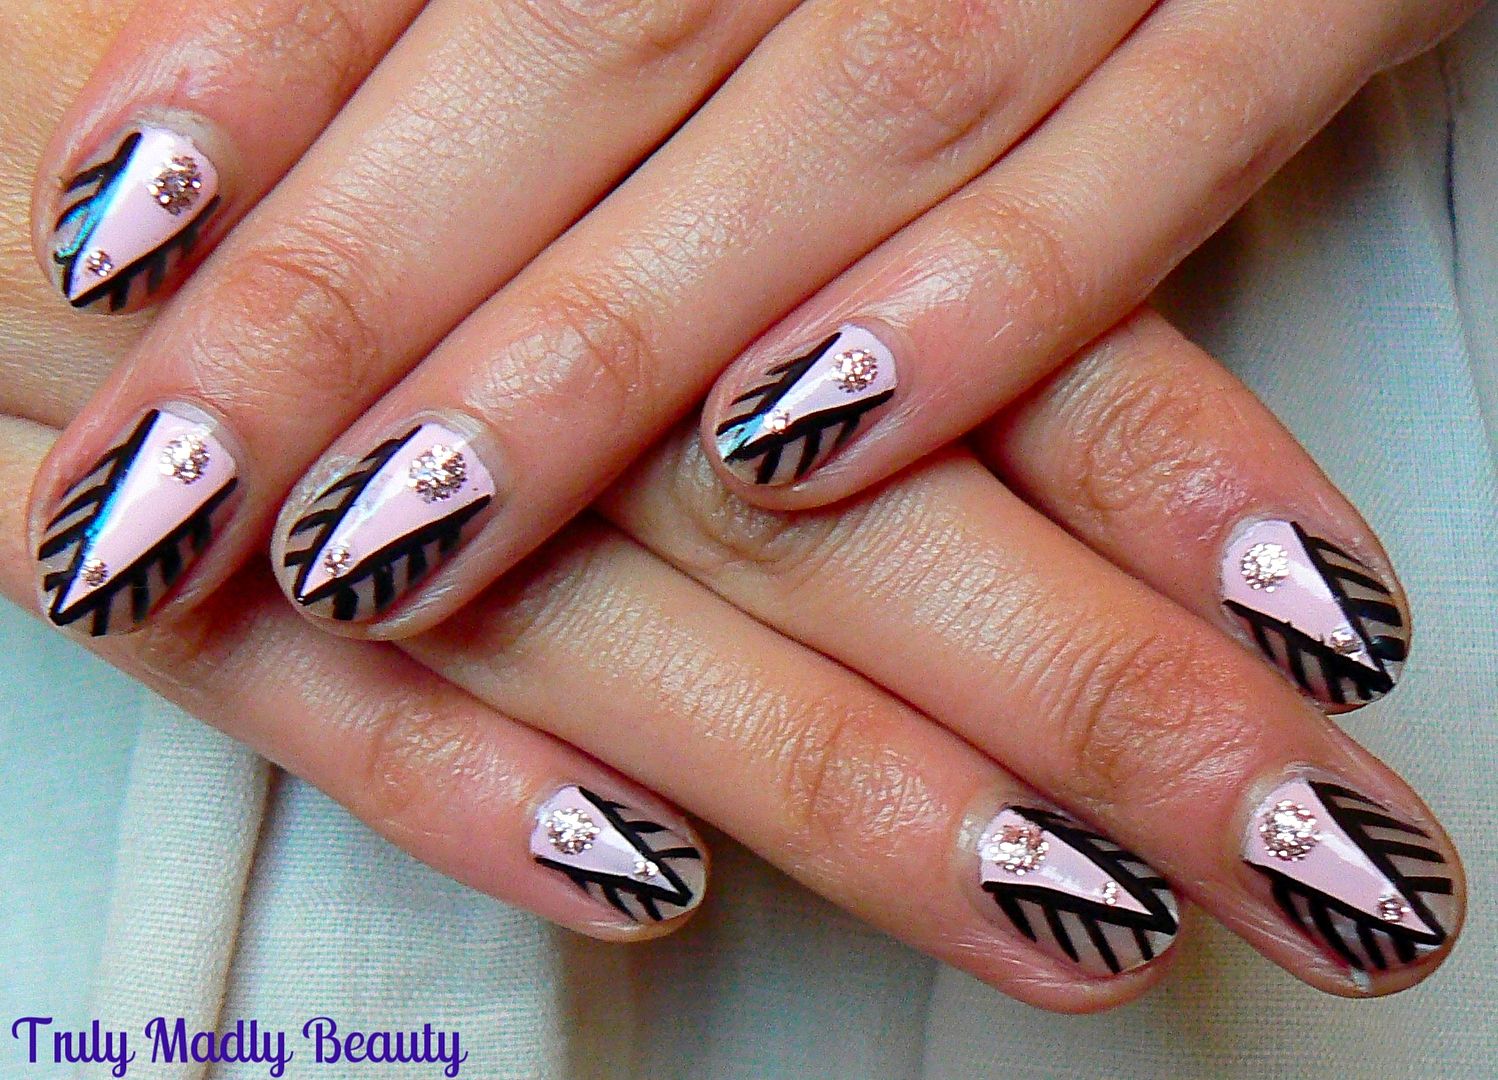
Hello there lovely readers!
Hope
you had a lovely bank holiday weekend? Yay for a shortened working
week!
I
seem to be having a phase at the moment & find myself reaching for
the pink polishes more of late! I do that sometimes...but you really
can't beat a pretty pink mani can you? If your in the mood for pink
nails but after something a bit edgy & different then why not try
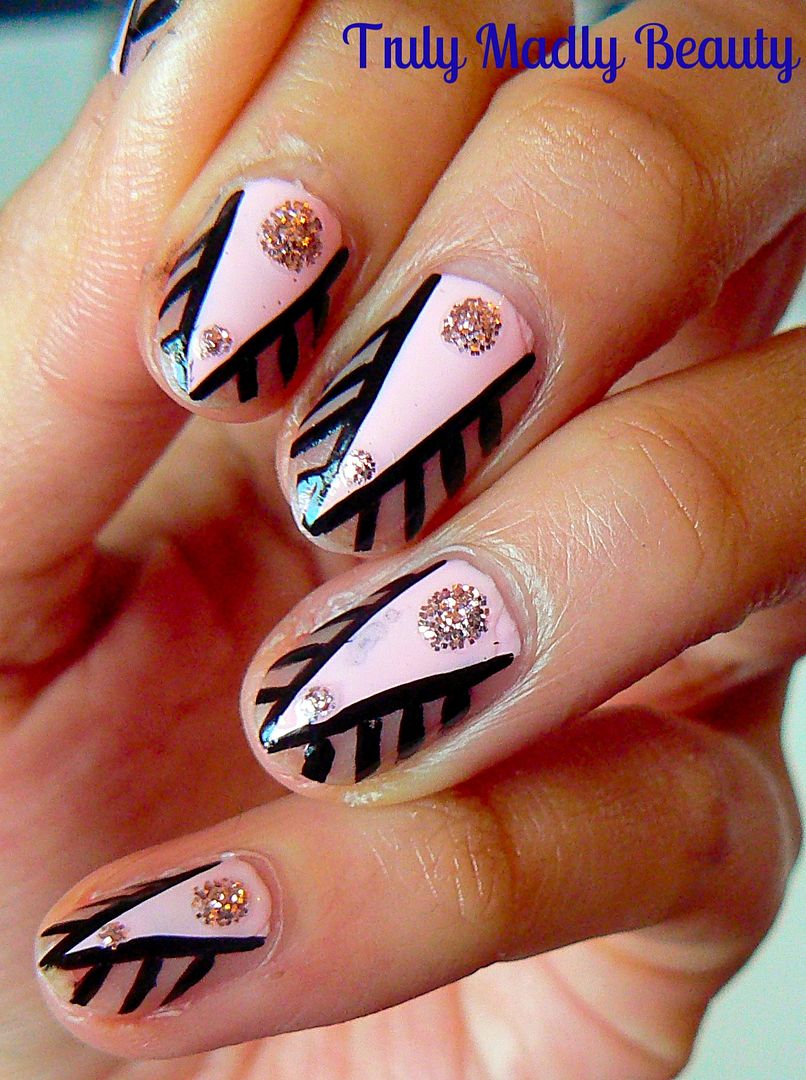
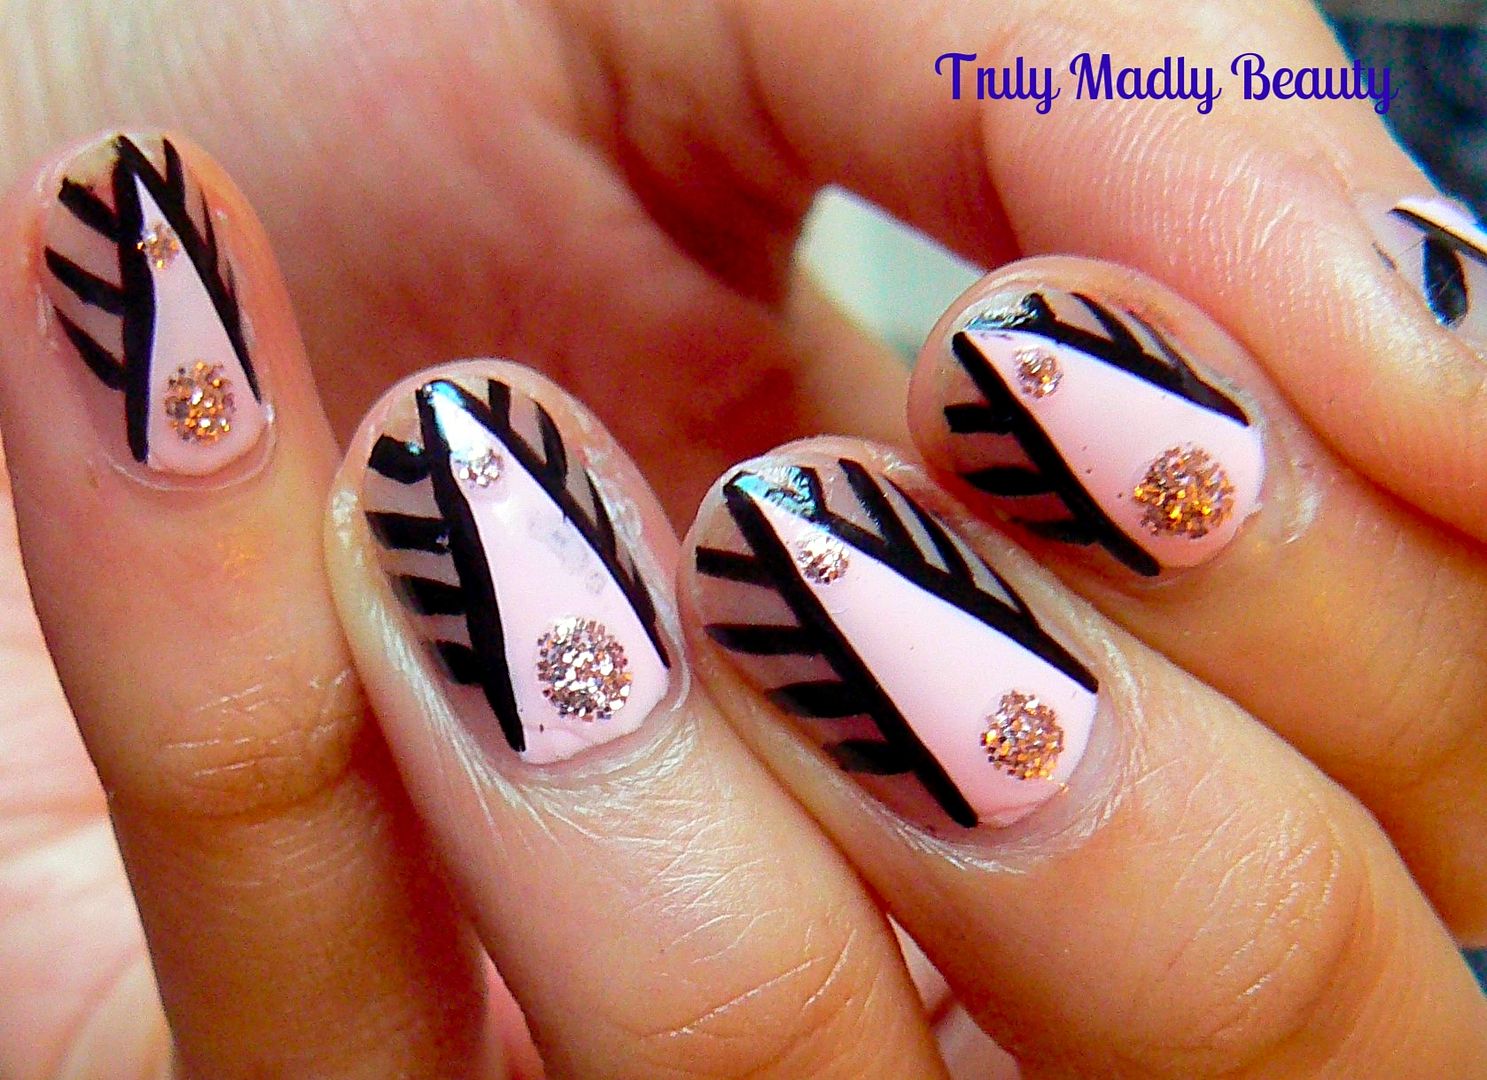
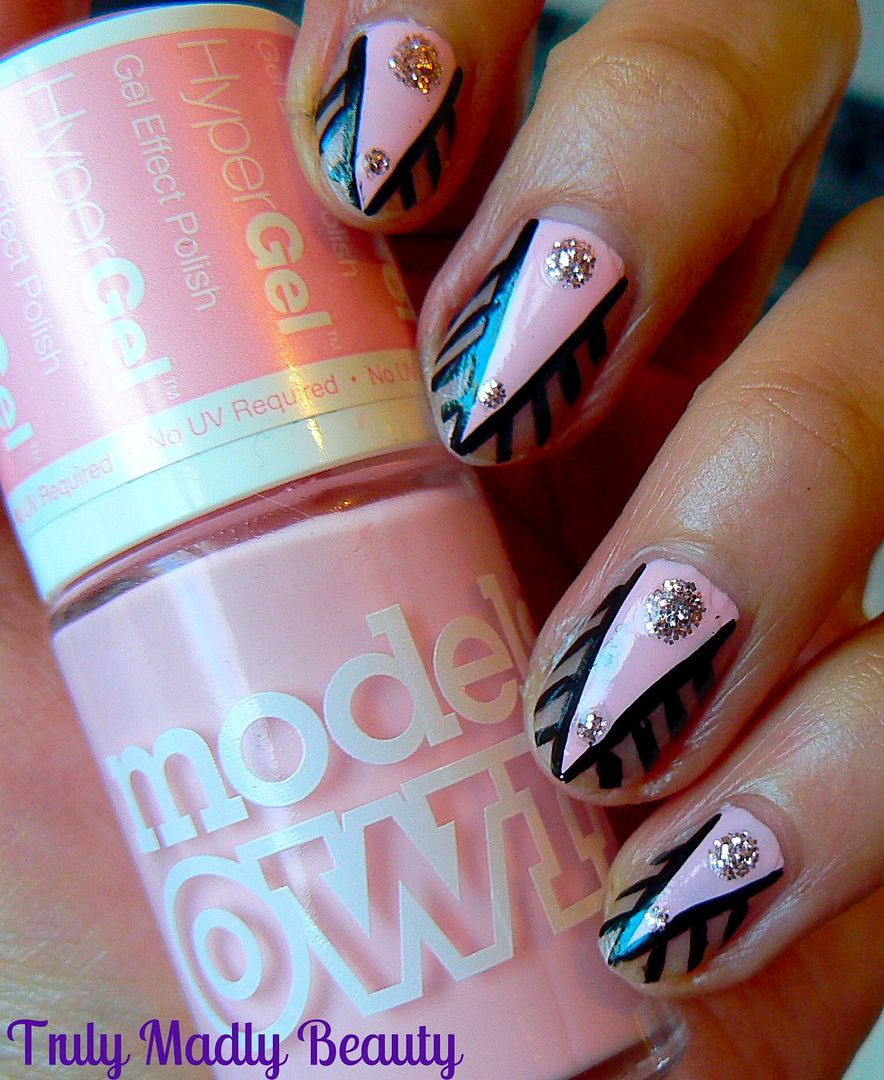
this Art Deco design that is so much simpler to do than it looks!
To
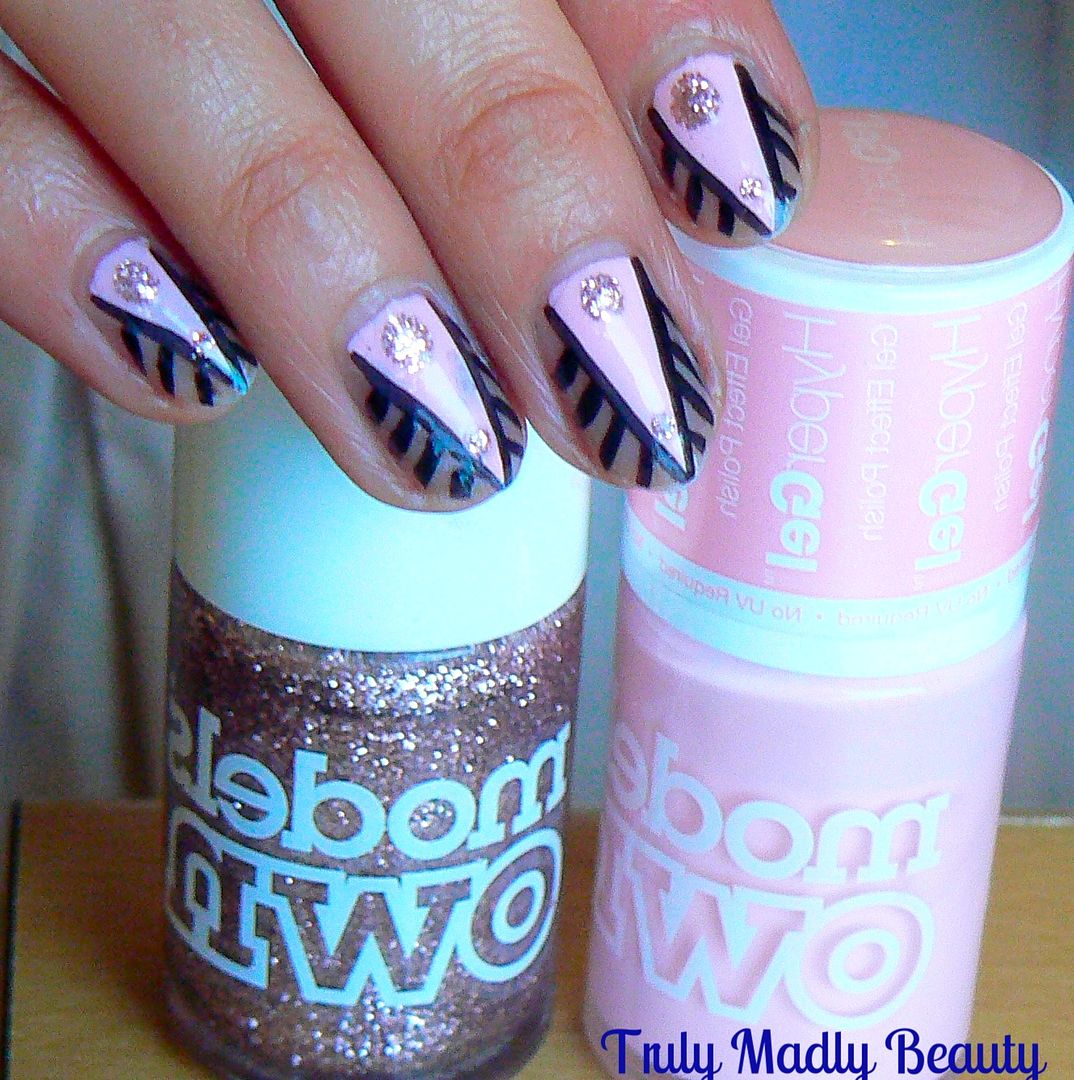
start you need your pink, here I've used Models Own HyperGel in Pink
Veneer, a really lovely marshmallow pink creme. To create the
triangle shape I used some square pieces of cellotape which you place
on the nail, next to each other at an angle to create your guide.
Fill
in your gap with polish & peel away the cellotape immediately
whilst the polish is still wet. Don't worry if your edges aren't
completely sharp & clean as this will get covered.
Next,
either using a black nail art pen or fine brush & black polish,
start by applying a thin outline of black along the outer edge of
your pointed pink triangle.
Once
done, using the same brush/pen apply horizontal lines angled upwards
along the bare space left on the nail, either side of the pink
triangle starting from the top going all the way to the bottom, you
should be able to squeeze in about four lines either side.
Reaching
for my beloved Pink Fizz, gods I cannot express my adoration of
this champagne rose glitter bomb, its definitely goes under the “if
you only own ONE polish in your life then it must be THIS”
category.
I
finished the design with a couple of wee dots of Pink Fizz, one at
the bottom & a smaller one at the top of my triangle using
dotting tool.
Apply
your obligatory topcoat & you are done! Told you it was easy eh?
Thanks as always for reading!
Lotsa
love to ya!