Showing posts with label Silver. Show all posts

5.31.2019

NOTD - Voodoo Child

Hey there lovely readers!

Jumping from the sweet Spring vibes of the previous post right into some gothic goodness...that's how I roll ;) 

Its true that as much as I love my dark side muchly, the inner Disney pastel princess still manages to seep through often & I love both worlds ;) My last nail art look was suitably sweet so today we have some dark Voodoo action...

My inner witch is content :) I've wanted to do a fun witchy Voodoo symbol style nail art look for some time & I'm chuffed with how these came out!

This look was the perfect opportunity to use one of the Primark Limited Edition Dusk collection polishes I picked up a while back. Did I buy these purely for the badass (& obviously Louboutin inspired) bottle? Maybe. But they also happened to be gorgeously gothic duochromes so WIN WIN in my book. 

I applied two coats of the Primark shade Cosmic, a beautiful dark purple flakie duochrome to my pointer, ring & pinkie fingers. Wanting a bit of contrast to the design I decided to paint the remaining nails in A England A Midsummer Nights Dream, a truly beautiful pale pink lavender holo, a bit of light to the darkness as its all about balance right?

I then googled some Voodoo symbols that I could attempt to freehand & picking a few different ones I used a fine nail art brush & some silver polish for the dark nails & black polish for the light nails.

For that extra touch of magic I added a pretty rhinestone to the middle finger before finishing with topcoat. Nails ready to cast some spells! Thanks as always for reading lovelies! Till next time!

Lotsa love to ya!


2.01.2018

Nail Stamping For Beginners - My First Foray In To The World Of Nail Art Stamping!

Hey there lovely readers!

Grab yourselves a cuppa dear ones as this is a bit of a one! As I'm sure is QUITE clear by now if you are a regular peruser of my blog & basically just by looking at my page...nail art is my passion. Nails, beauty, food & cats...pretty much in that order most of the time. But yus, nothing makes me happier than when I'm sat down at my work station (aka the dining room table) with all my nail art bits & bobs laid out in front of me ready to get to creating something fun on my nails. 

I mostly love experimenting & playing around when it comes to my nail art designs, some projects more successful than others! Let me tell you there is nothing more devastating for a nail artist than spending time on a design you had such high hopes for it to turn out an epic FAIL. However as much as I love getting arty with my brushes, I also like to delve further & try out different techniques. One such technique, which has been around for quite a time now is Nail Art Stamping & I'll confess...its one that has had me in palpitations at the thought of attempting.


1.10.2018

NOTD - Sharp Galactic Nails!

Hello there lovely readers!

You may recall a while back I blogged about the stunningly pretty Chameleon flakies from Beauty Big Bangs that give a magical dragon skin finish to your nails when applied over polish. If not then go have a peek at its prettiness HERE.

Needless to say I became completely obsessed with the stuff & next created a Dragon Egg nail design using another shade of Chameleon Flakies, 4A, which were perfect for the finished look I wanted to achieve. I also did a step by step tutorial on this look as well which you can check out in detail HERE f you want to have a go at recreating yourself!.


4.07.2017

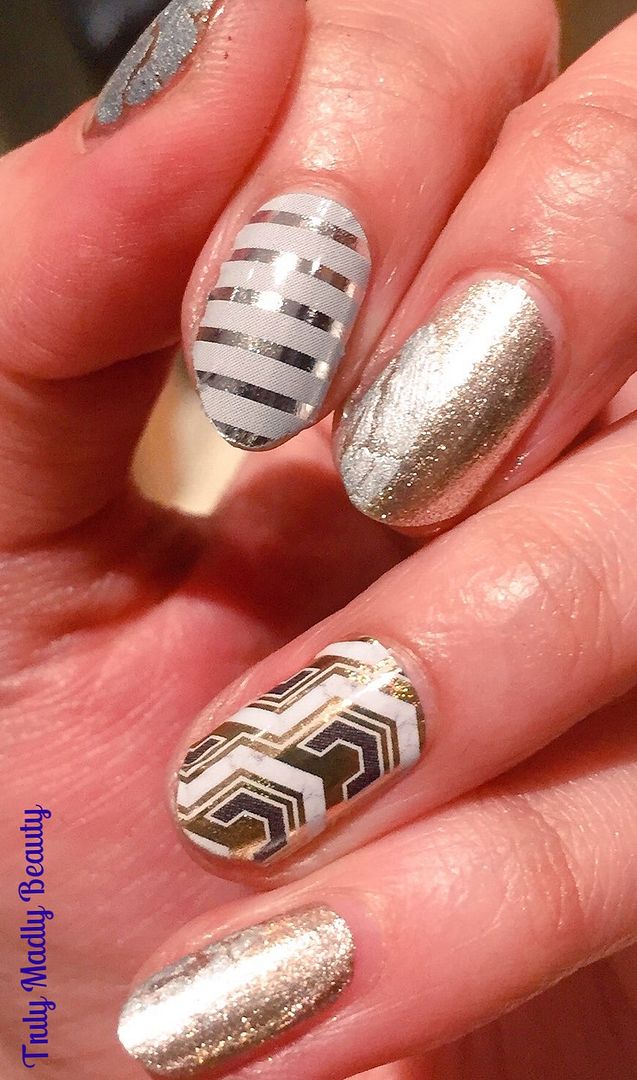
NOTD - Golden Chrome Nails with Jamberry Nail Wraps & Champagne

Hi there lovely readers!

Chrome nails were a BIG trend last year & still going strong. I'm sure you've seen the Youtube & IG videos showing how to achieve this metallic look using the magical pot of powder. However a lot of these chrome powders seem to only work with gel polish & I've yet to try them myself, but I've ordered a pot to play with from Born Pretty Store that supposedly works with regular polish so I will report back! In the meantime I'm finding easier means to get me some chrome metallic goodness on my mani's with a little help from Jamberry nail wraps & Models Own.


10.11.2016

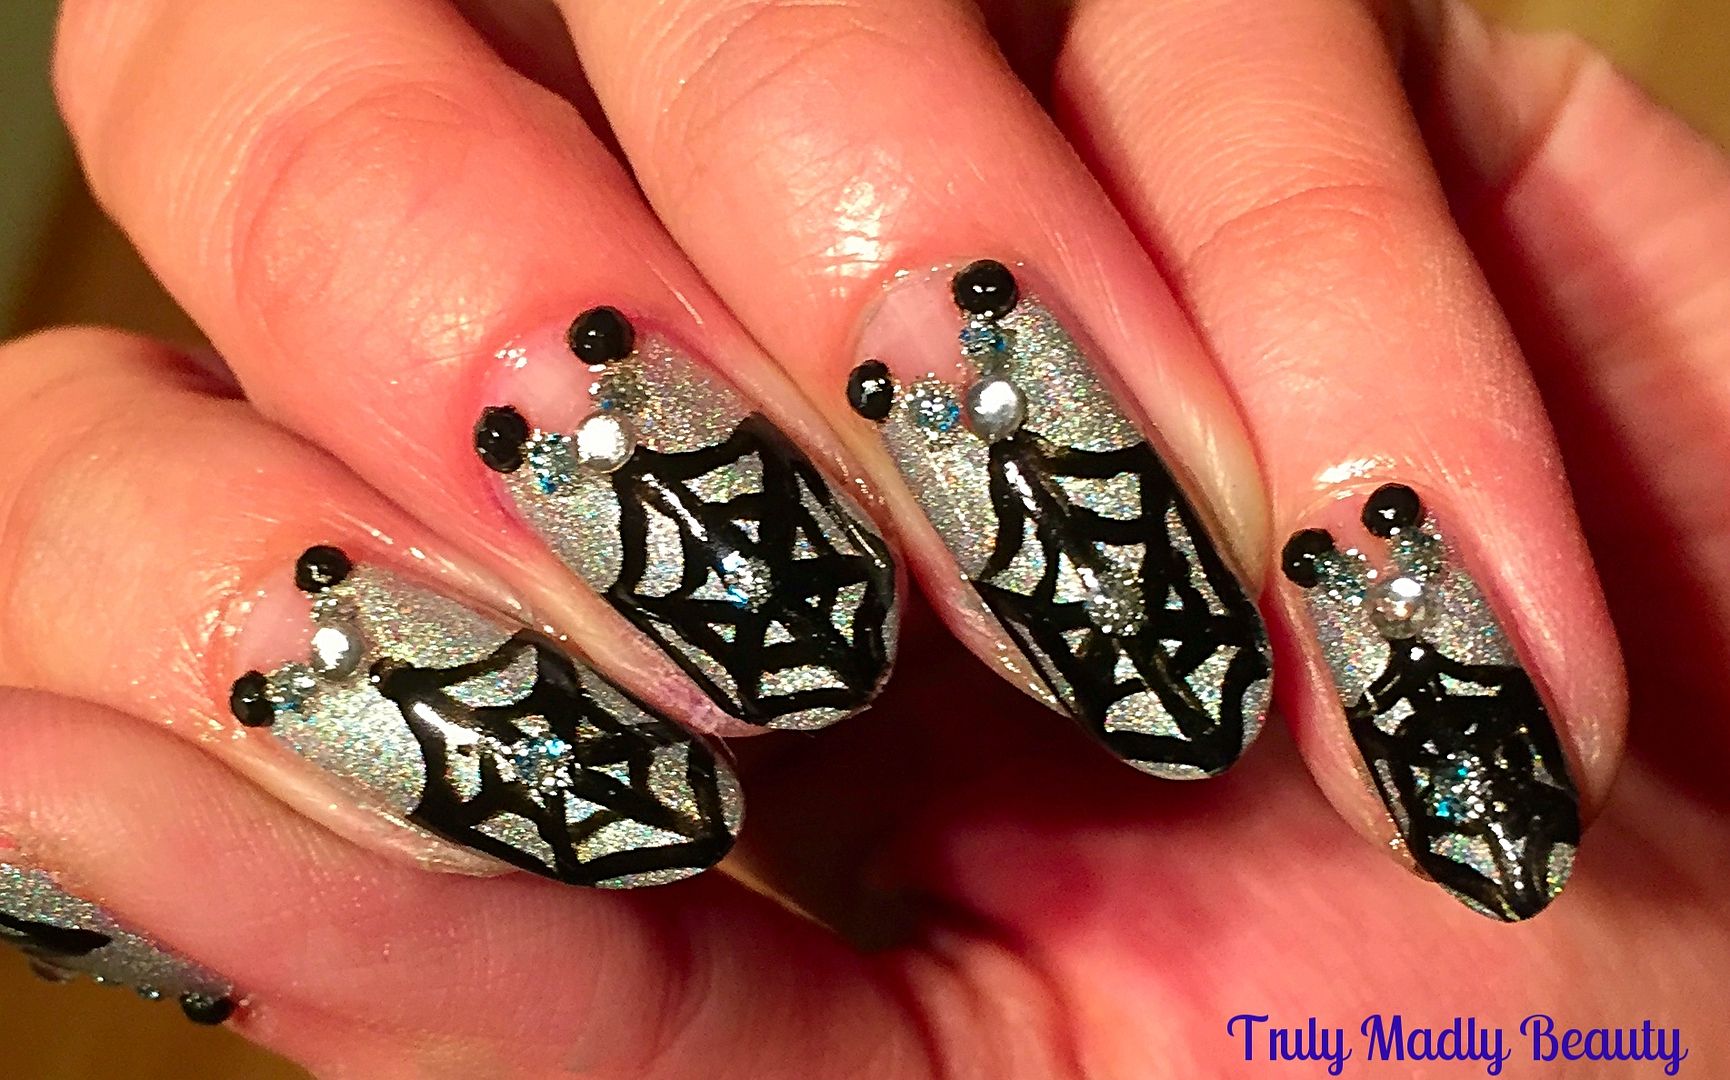
Halloween NOTD - Holo Cobwebs!

Hello lovely readers!

So the time hath come to start getting spooky on the nails my dears! My goth side is so satisfied this time of year but then with me its all 365 days not just October with its main event of Halloween, I'm dark souled pretty much all year round ;) But tis now especially my oddness can come out in full force haha!

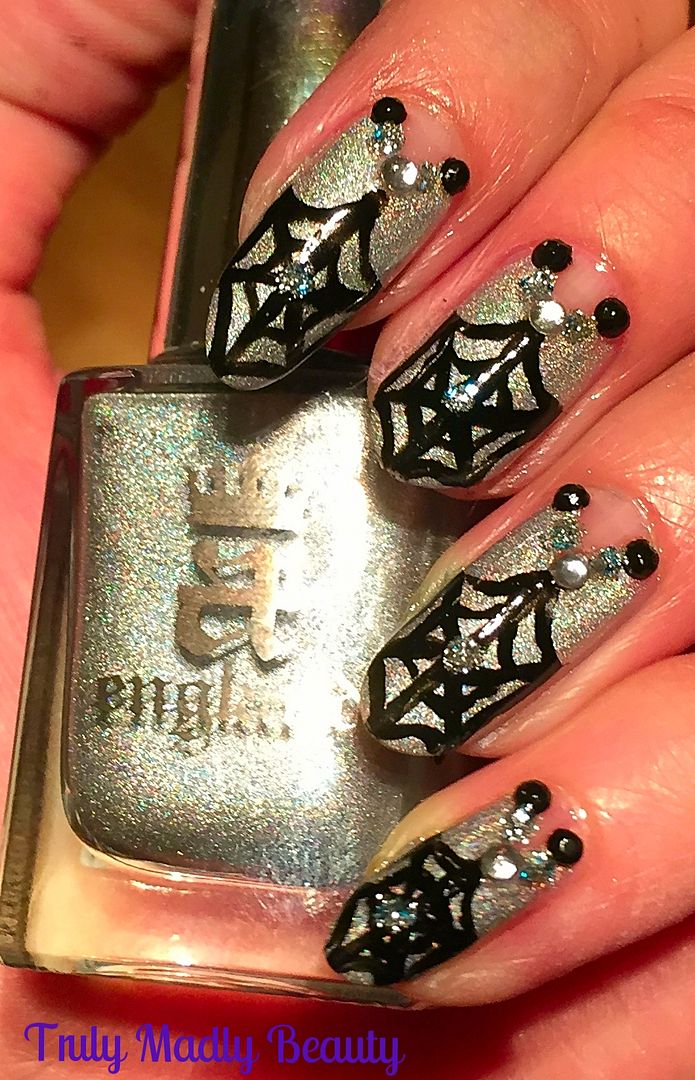
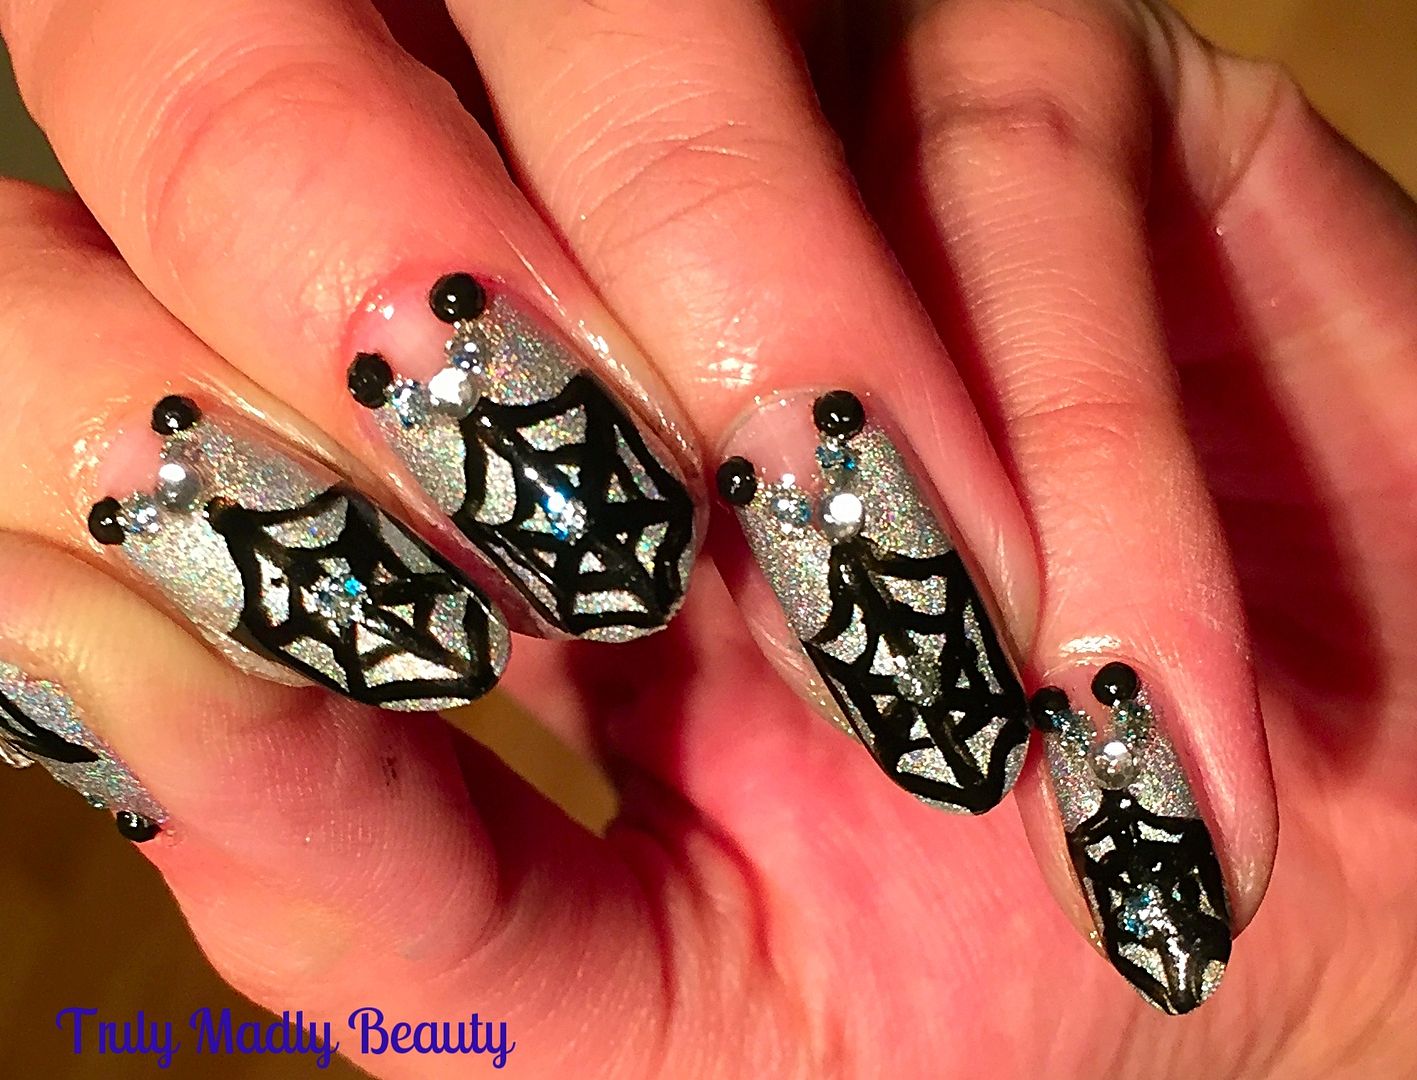
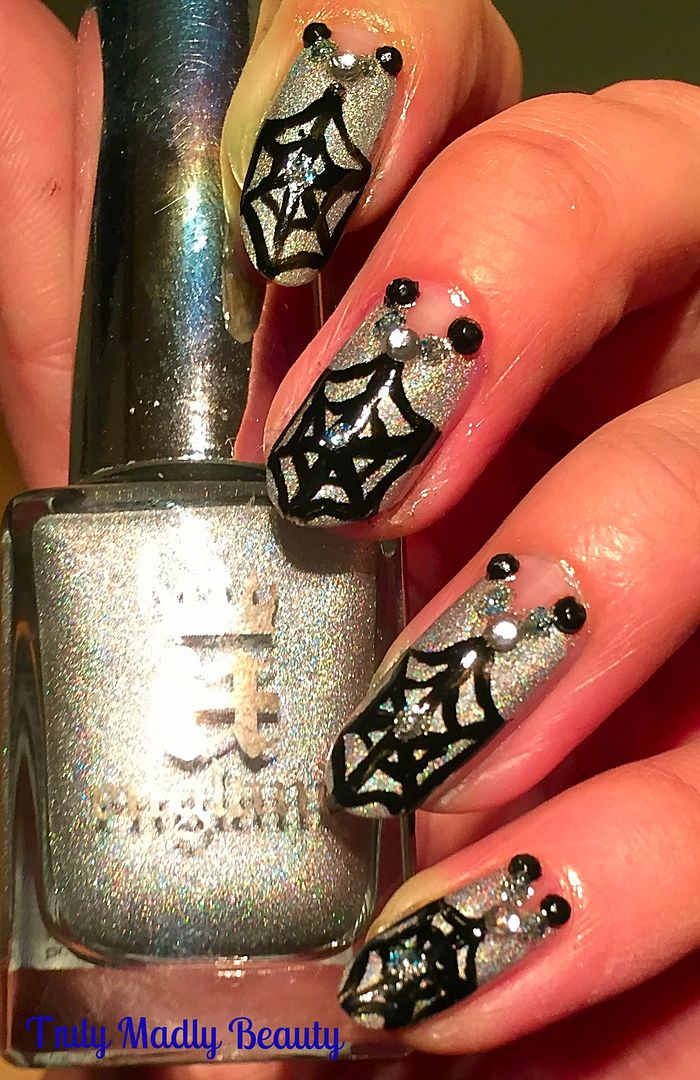
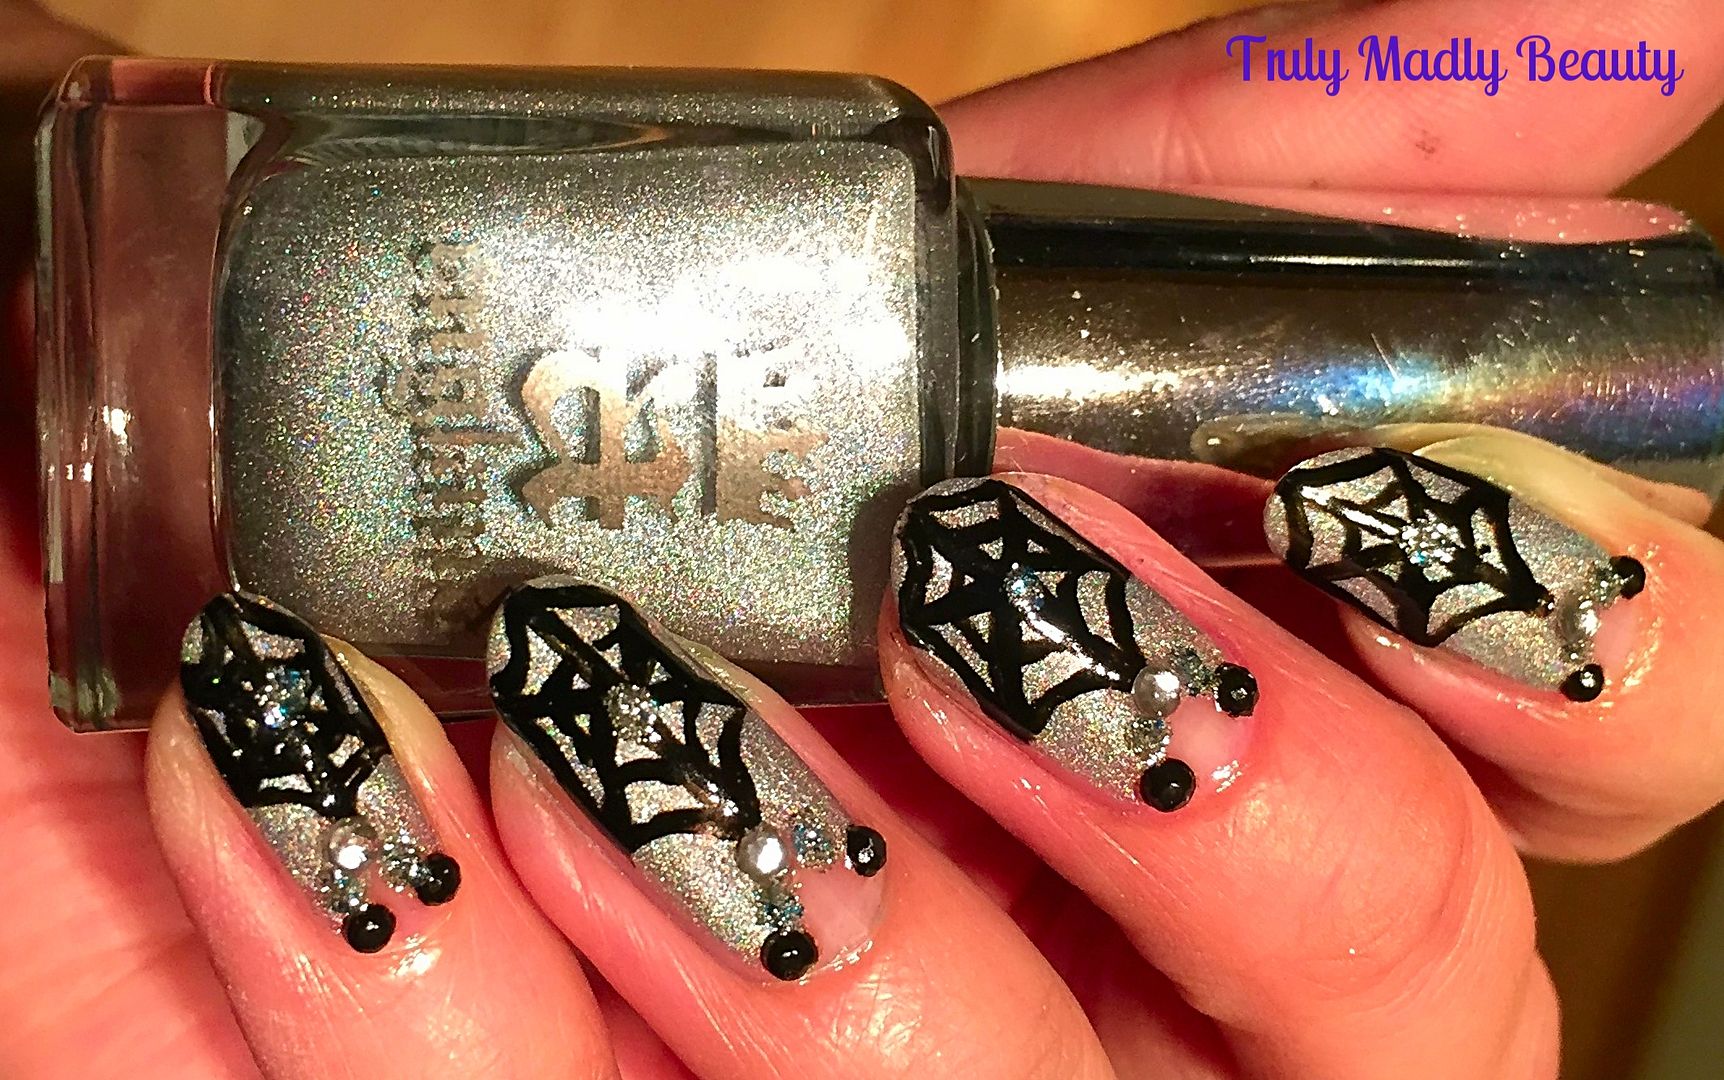
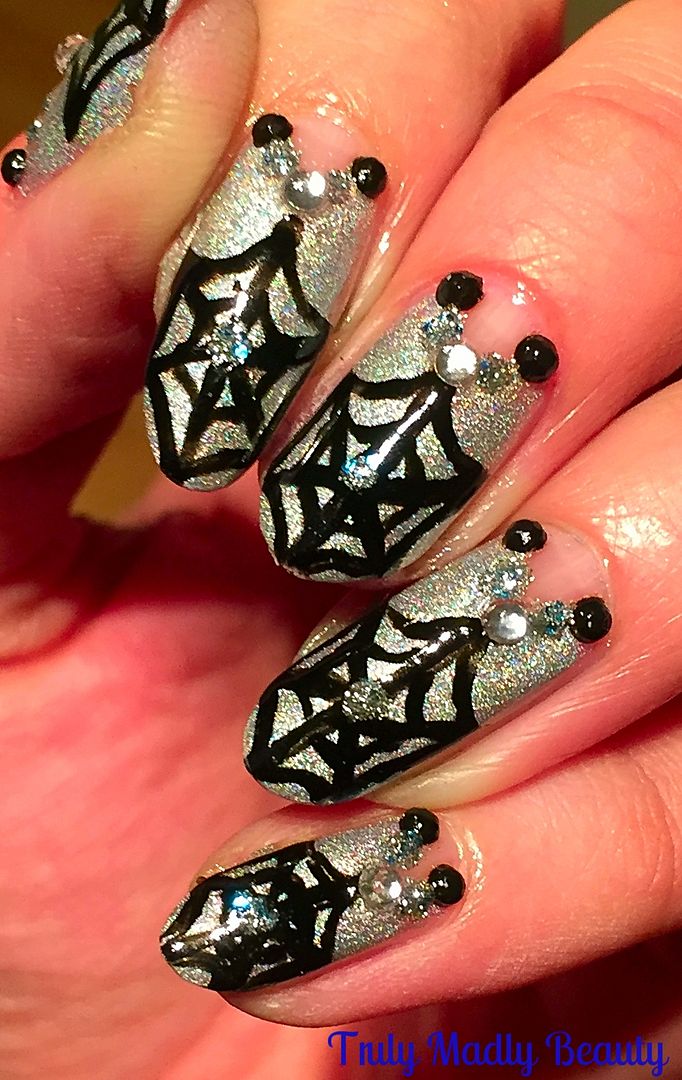
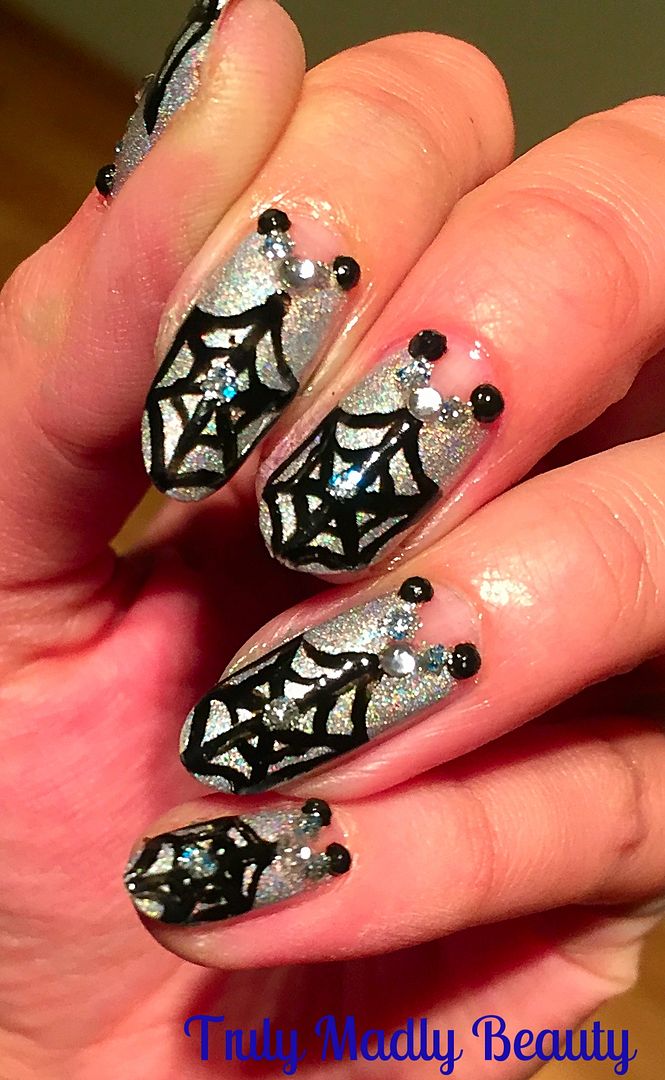
So for my first Halloween mani I've decided to go for some creepy cobwebs which I've glammed up with silver holo because life is always brighter when there's holo dolls. Halloween doesn't always have to be dark & spooky, though I totally dig that too 


Please excuse the quality of the pics beauts, I've never been over the moon with my photo skills in the first place but I've recently moved & struggling to find which areas have the best lighting, so far the kitchen is winning... O_O Not to mention that the winter months means early darkness which, as you know my fellow bloggers out there, is our worst nightmare!


Anyhoo I digressed there with that mini rant, apologies. For my base polish I've used the glorious A England shade Encore Margot. I ADORE the lovely Adina's brand of polishes with their beautifully gothic & medieval collections, I URGE you to check them out.


Encore Margot is a dreamy blue toned silver holo which I've applied two coats of on most of the nail, leaving a wee angled part by the cuticle end bare...not sure why, just felt the mood for a bit of random negative spaceage.

Once dry I then grabbed my nail art brushes including my new Nailbees brush which is so fine & perfect for details! The lovely Minnie also sent me a Freddo chocolate with my order along with a cute little note, such a sweetie!


Using some black polish I proceeded to add on my cobwebs. To create the design begin by drawing two diagonal lines to create a cross on to the nail before adding a horizontal line down the middle so that you have the 6 triangle sections of your cobweb


Then using the Nailbees brush & more black polish just add on the final details of two small curved lines in between your triangles & hey presto you have your cobwebs!


I couldn't stop there so for some extra glam factor I applied one clear & two black rhinestones on to the negative space as well as a couple of dots of China Glaze Lorelai's Tiara which is one of my favourite sparkly glitters with its silver & ice blue tones.

I also added on a final dot of glitter on to the centre of my cobwebs before coating it all with obligatory topcoat to seal.


And thats Halloween mani number 1 for this year done! You can have a peek at all of my Halloween mani's HERE. Racking my brains now on what to rustle up next...until then beauts! Thanks for reading!

Lotsa love to ya!


6.28.2016

Armour Your Nails with All That Jazz Nail Filigree!

Hello there lovely readers!

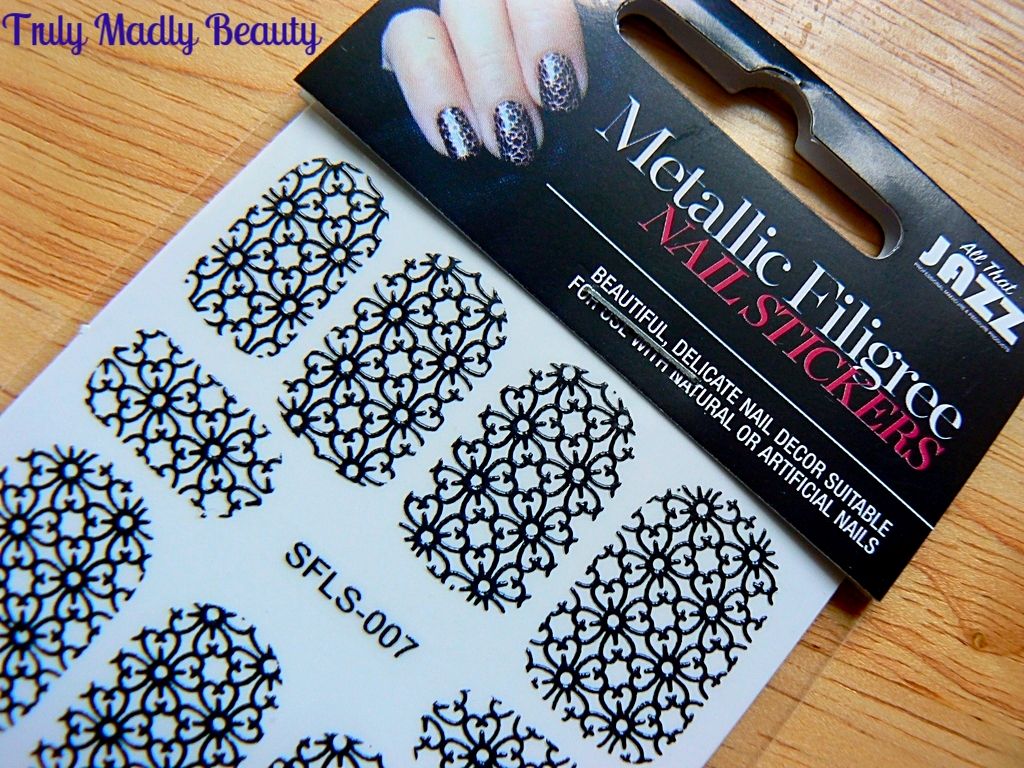
I'm always on the lookout for intriguing & innovative new ways to jazz up my nails & today I have such a nifty nail art product to share with you that will help do just that in the most blingy beautiful way courtesy of All That Jazz Nail Filigrees*!


Nail filigrees are a fantastic option if nail art or nail wraps feel too complicated & time consuming. What I adore about these is not only how easy they are to use, but also the range of pretty designs that are available in a selection of gorgeous metallic finishes including white, silver, black, gold & rose gold.


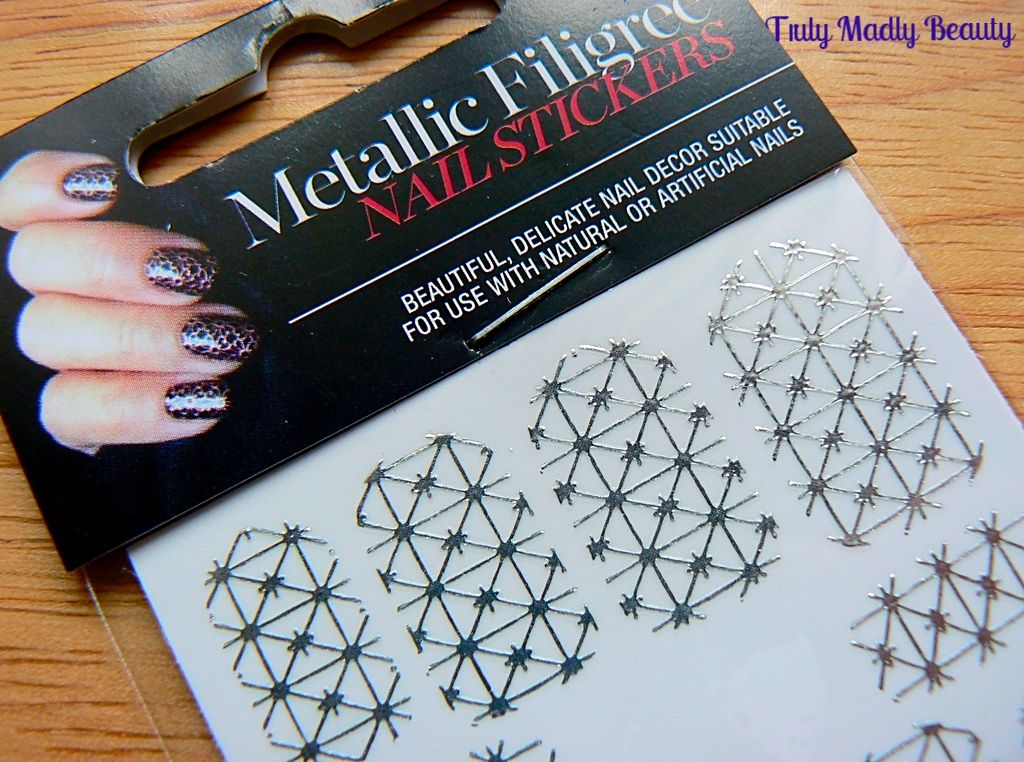
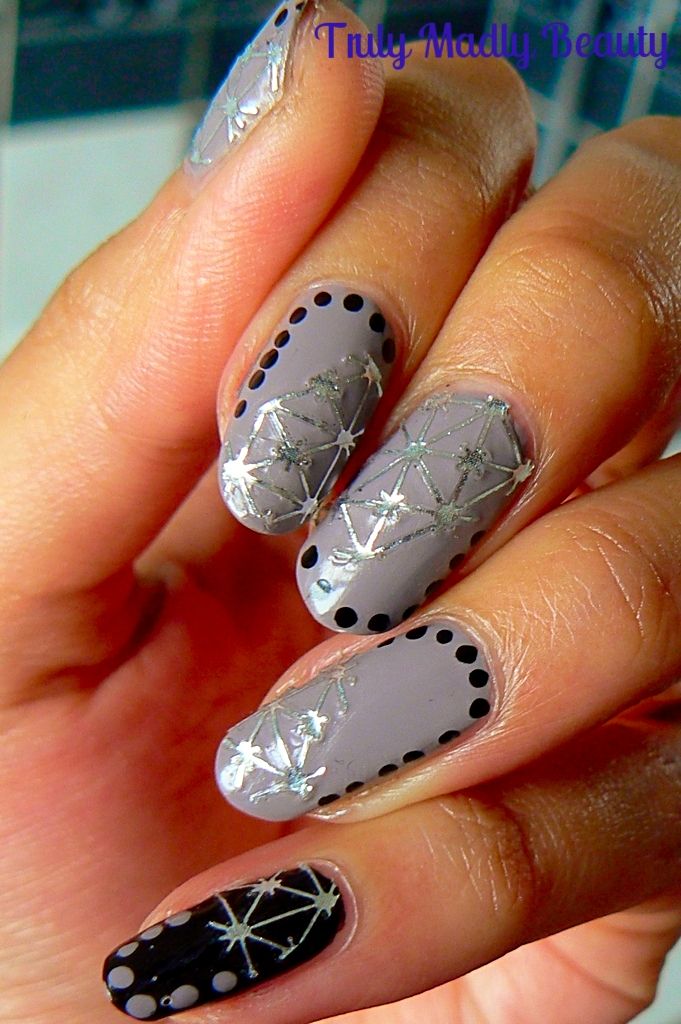
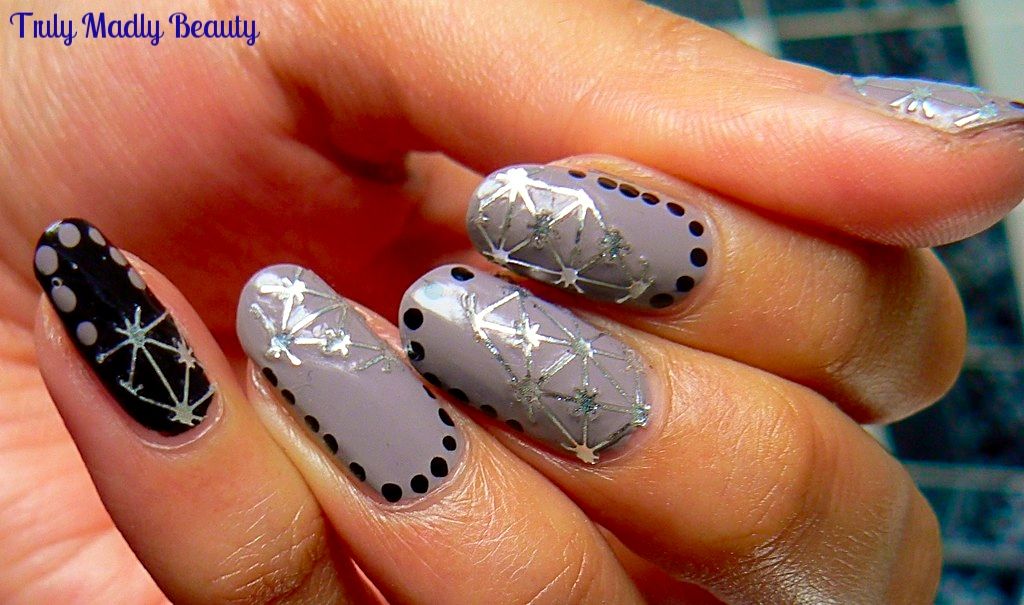
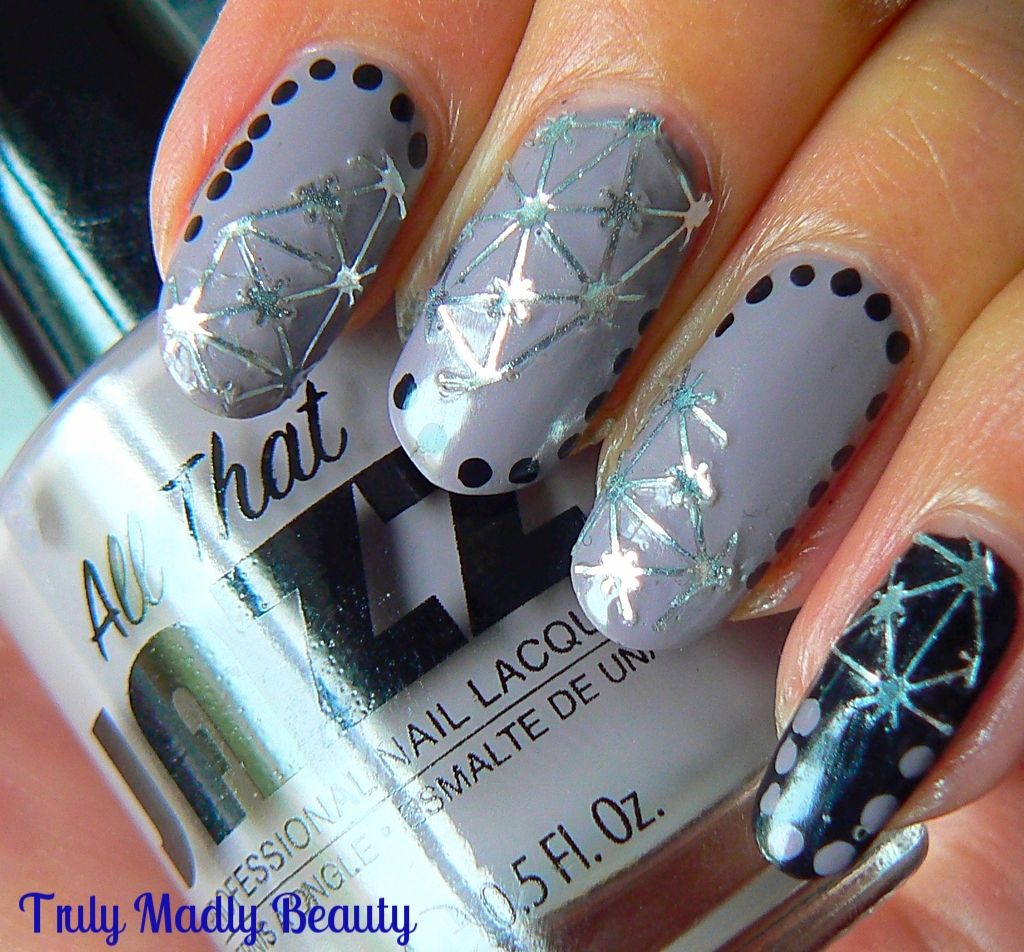
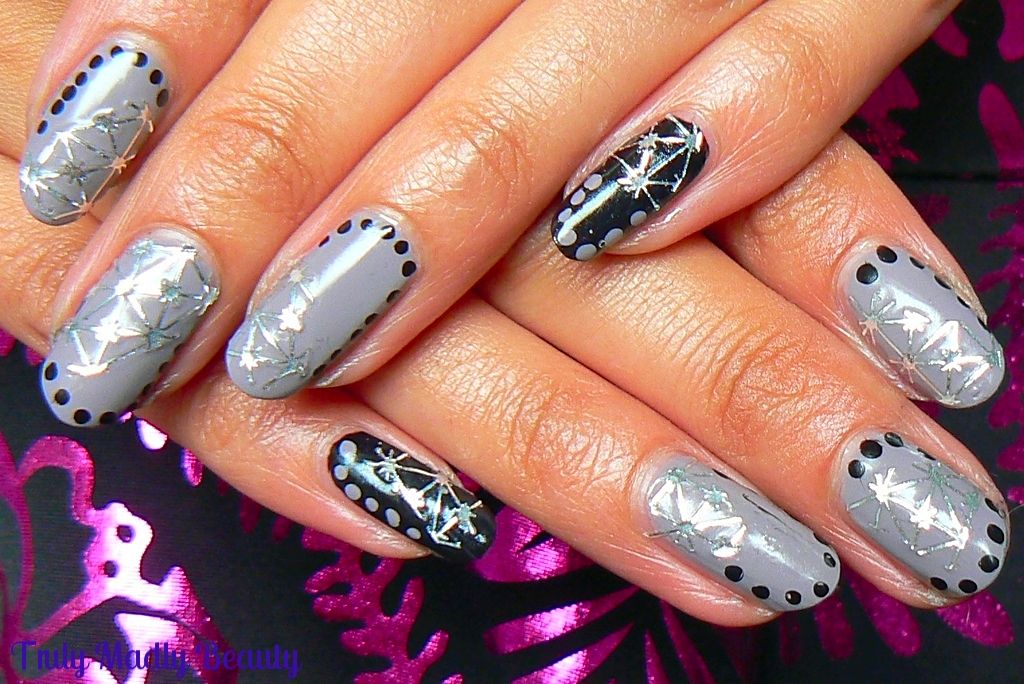
I couldn't wait to try & decided to give the silver a whirl first, the design here is the cross pattern which reminds me of star constellations! The filigrees are quite fine so require a bit of delicate care when handling.


In each pack you get a sheet of 10 filigrees, one for each nail, however my favourite way to use these is by cutting each filigree & just covering part of the nail as I've done for this mani. Not only do I love the finished effect but it'll make the nail filigrees last longer too. WIN!


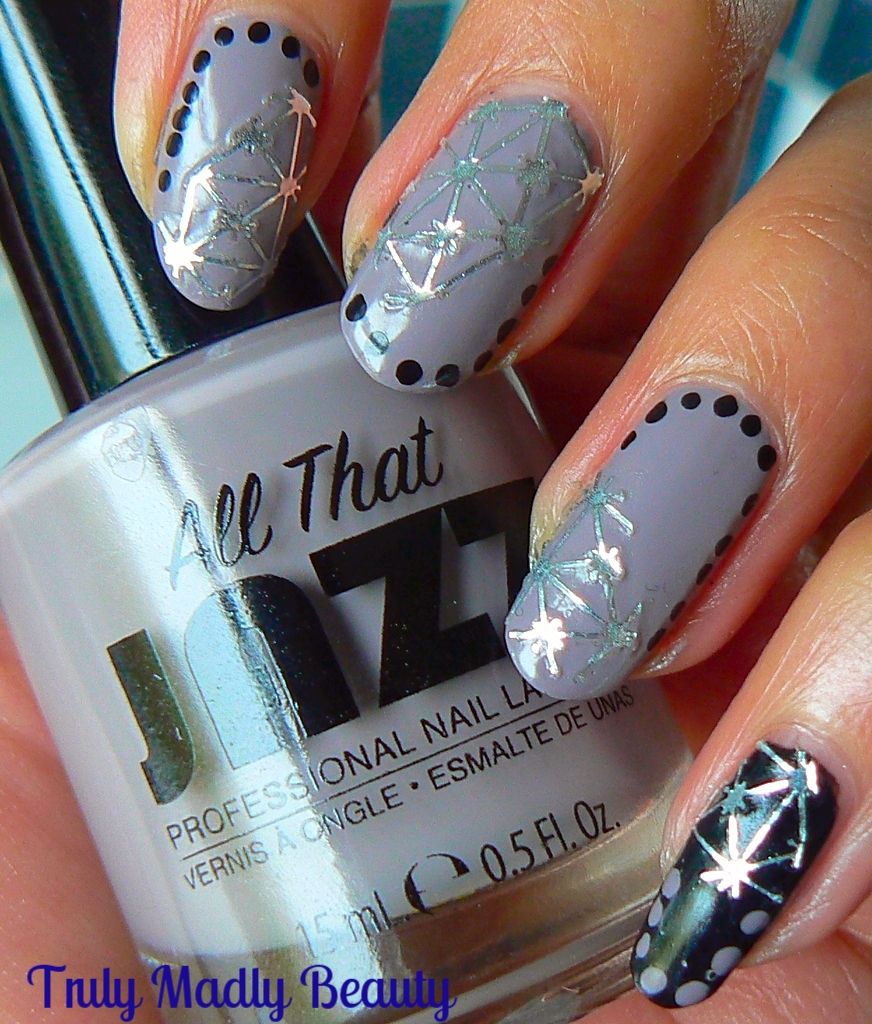
For my base shade I applied two coats of All That Jazz nail lacquer in Total Eclipse*, a lovely creamy grey. This is my first time trying All That Jazz polishes & I am mightily impressed, I can understand why they have such a large fan base. Quality formula, smooth & opaque in two coats, simply sublime! I decided to paint the pinkie in black to really bring out the silver filigree.


As mentioned, instead of using the entire filigree, what I've done is cut the filigree in half at an angle. It doesn't have to be neat, in fact the more random the cut the better it looks in my opinion!


You then have 2 pieces of filigree which can be then positioned on to each nail wherever you like, using tweezers to help place them. Important note – make sure that your polish base is completely dry! A good idea can be to simply apply the filigree the next day if you don't have a speed dry topcoat.


After applying my filigree pieces, as fab & blingtastic as they look I couldn't resist adding a bit of extra detail with some black dots around the edge of the nail which was done with a dotting tool & alternated with the grey on the pinkie.


Finish with topcoat to seal & you have your gorgeous filigree armored look nails ready to rock! I'm utterly digging these so much & cannot wait to incorporate more into my mani's, you can be sure I'll be stocking up on some rose gold ones!

You can find the All That Jazz Nail Filigree (RRP £1.79) & NailLacquers (RRP £9.98) online.

Thanks as always for reading!


Lotsa love to ya!


Disclaimer - * products featured were sent to me for my consideration. I am not affiliated with the brand nor paid for this post, this review has been as always my 100% honest opinion! :)

5.12.2016

NOTD - Stained Glass Swirl Nails & Tutorial!

Hey there lovely readers!

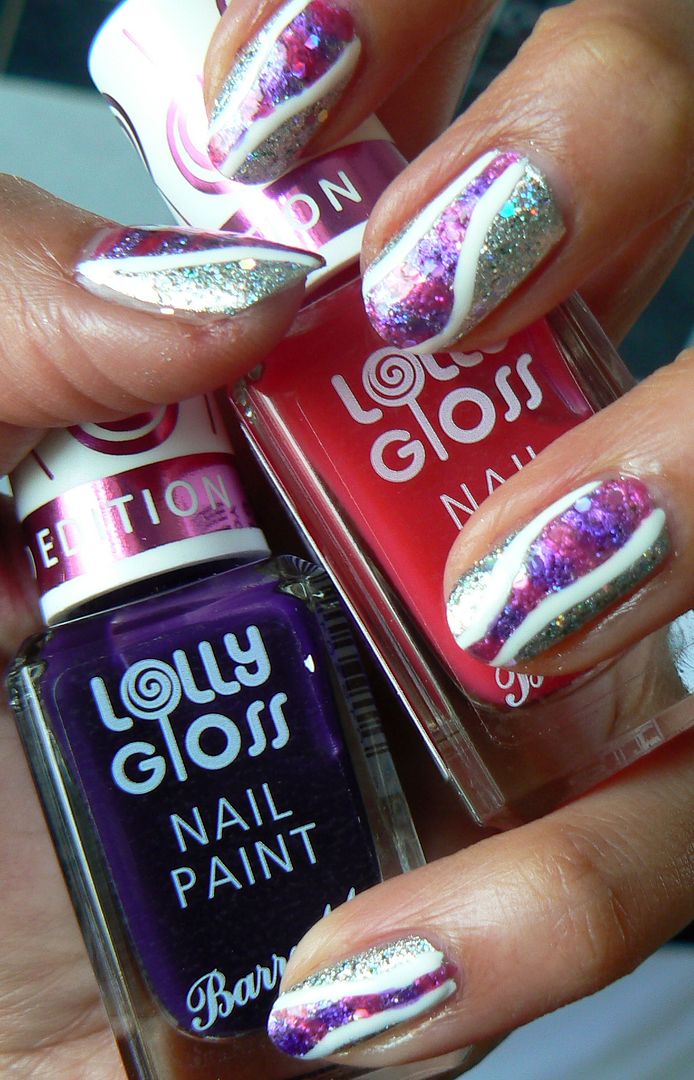
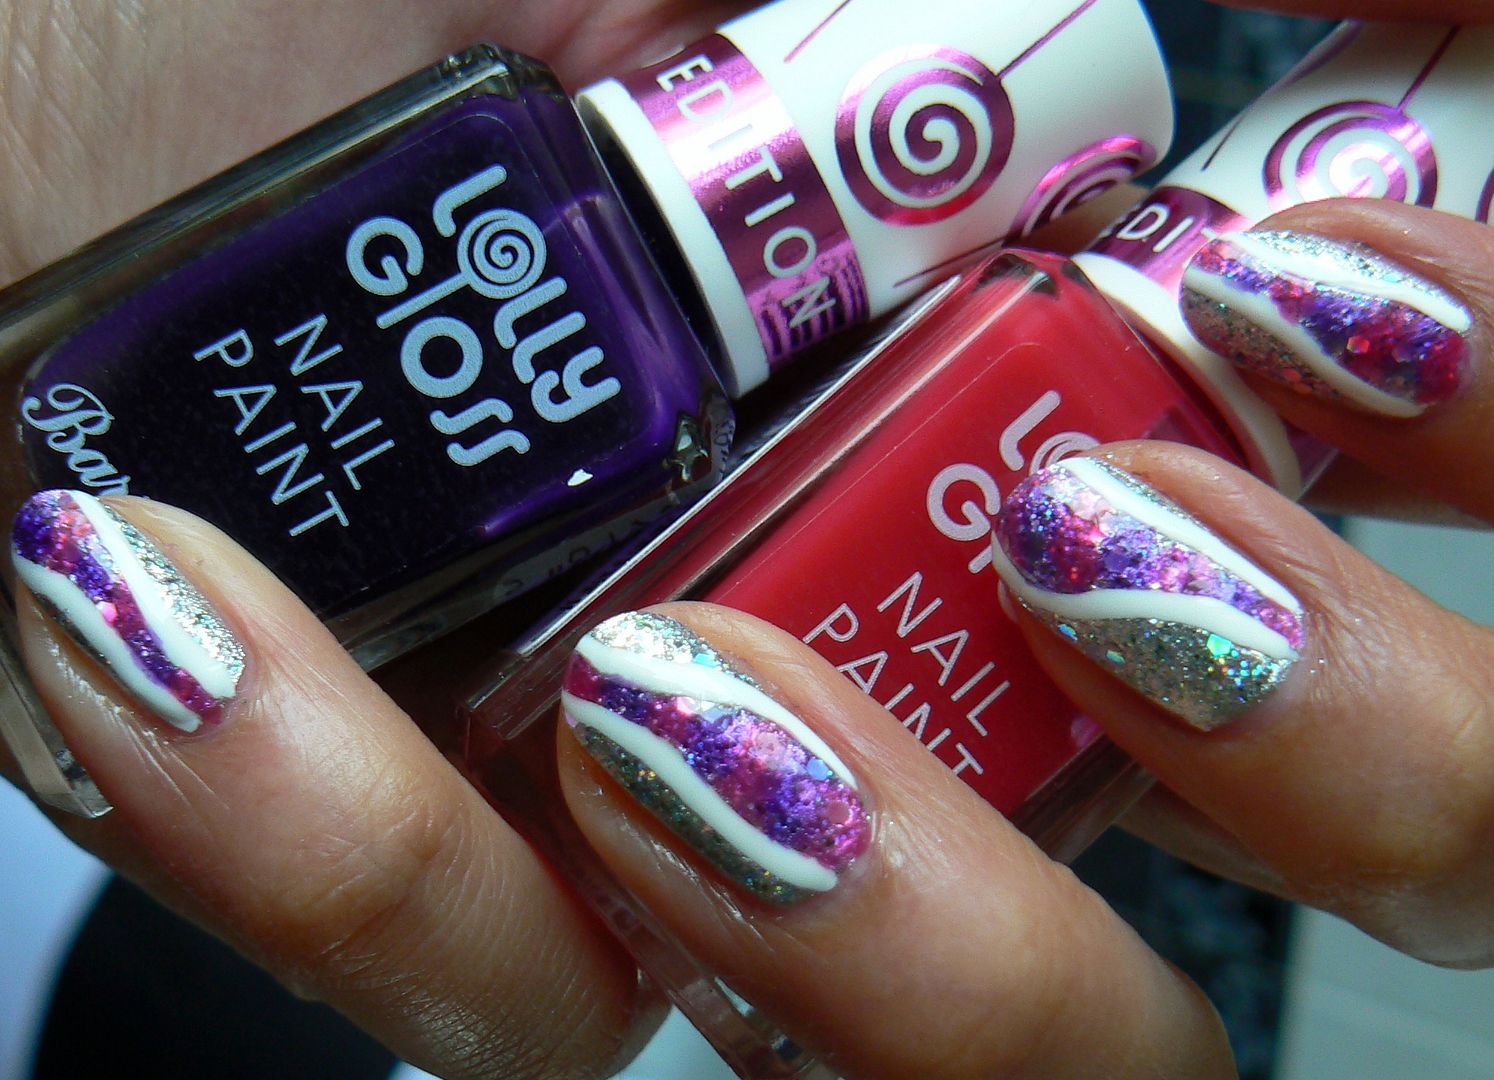
If you caught my last post, I recently added a few of the new Barry M releases to my collection including the Limited Edition Lolly Gloss Paints in Pink Candy and Purple Pop. You can see swatches of these sweet juicy jelly shades HERE.

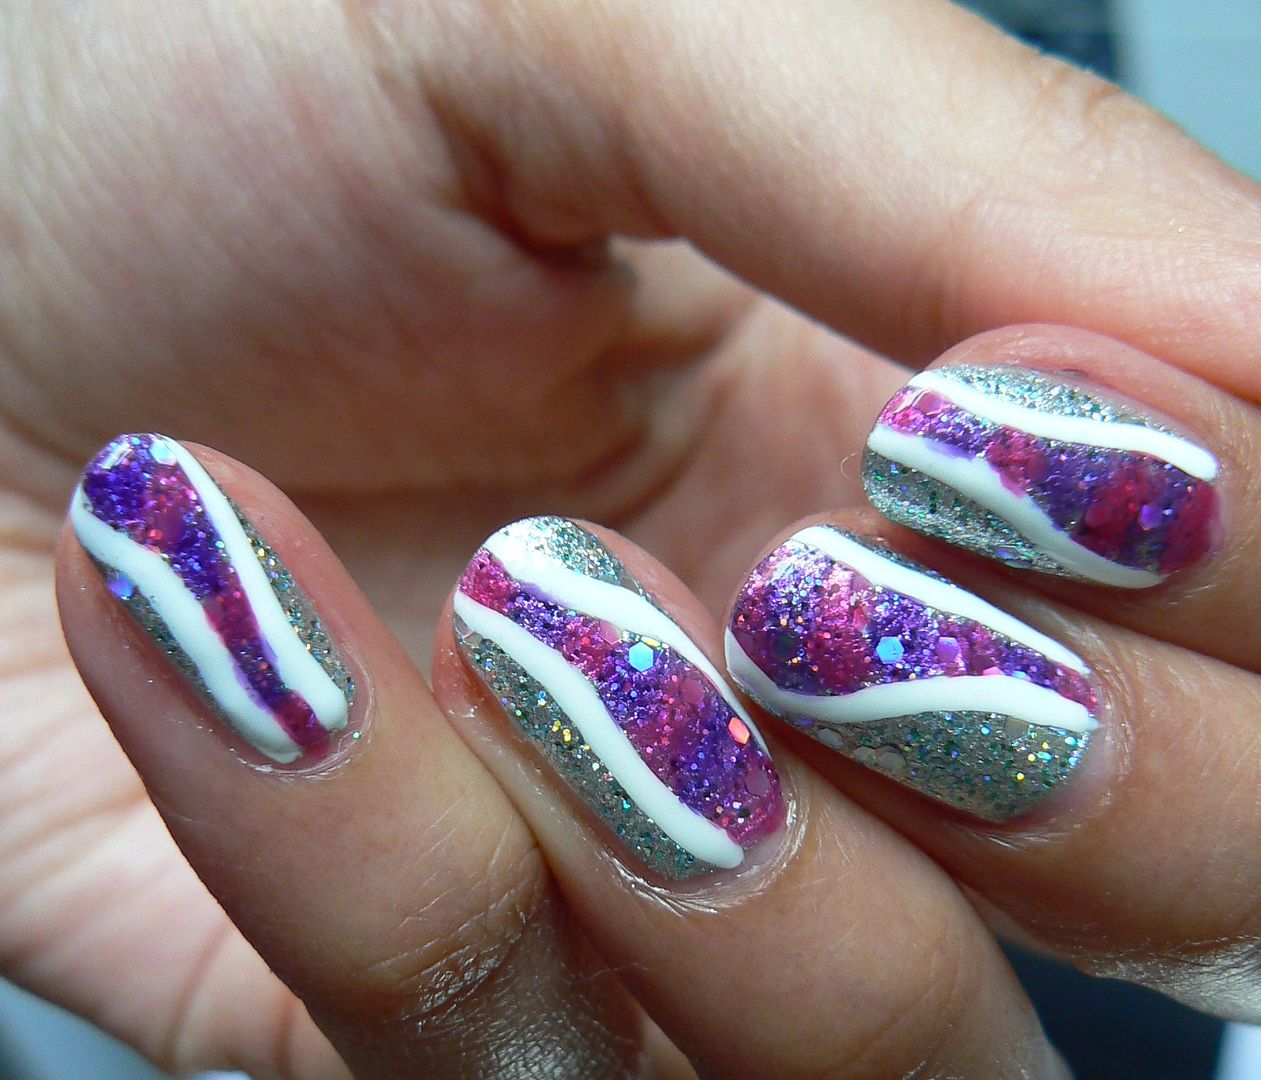
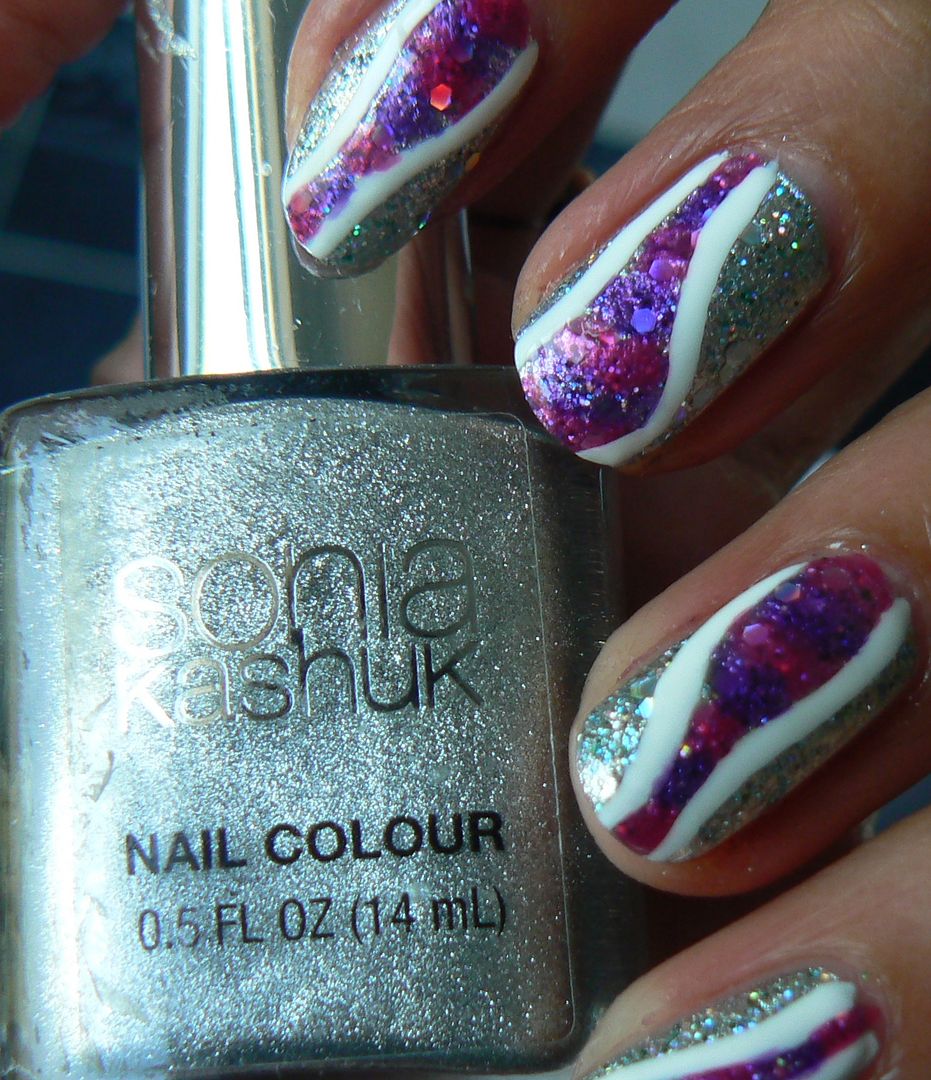
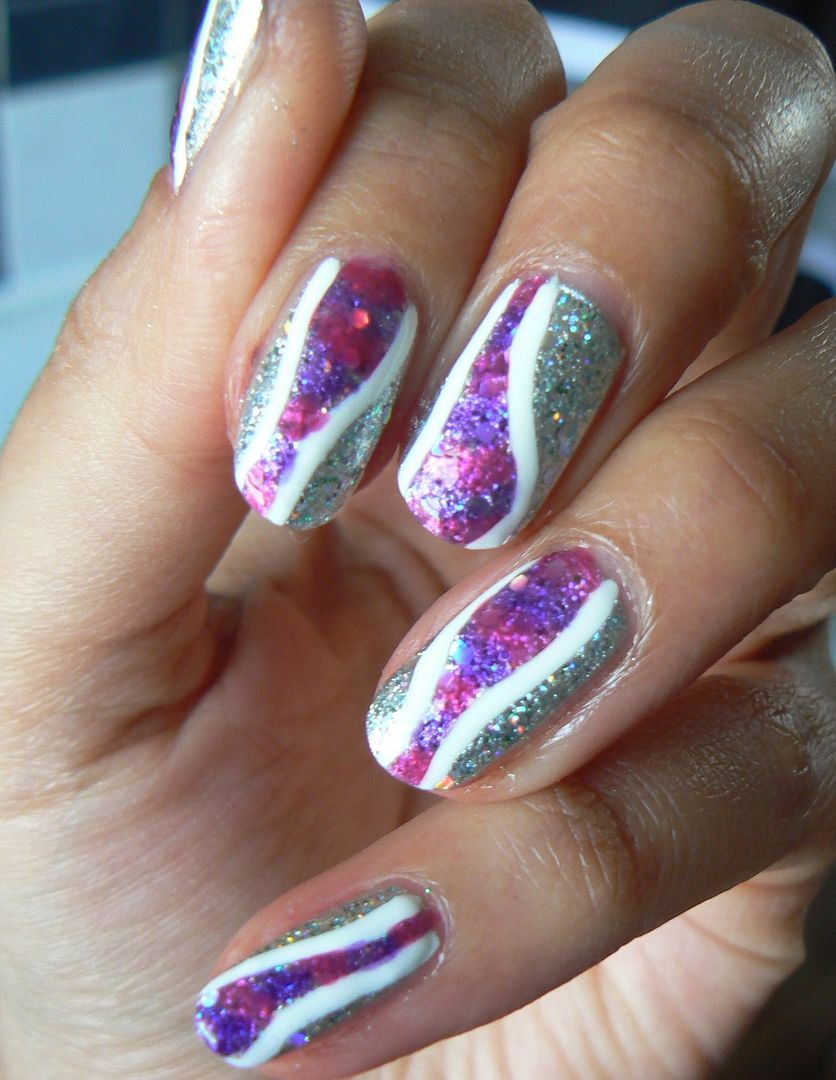
These polishes are sheer formulas therefore perfect for a bit of nail art experimentation! You can smoosh all the jellies together to create a marbled effect, apply on top of another shade to create a whole new one, dab on to silver or white for a watercolour rainbow look, similar to what I've done HERE. I decided to do a stained glass type effect using the Lolly Gloss on top of silver & glitter & this is what I came up with...


Instead of going over the whole nail I decided to just add the pop of colour in the centre in a swirl down the nail. 


For my base to really make the Lolly Paints pop I used not just silver but also a holographic glitter for extra sparkle!


To create the design I've done a simple step by step tutorial for you so you can recreate these too...


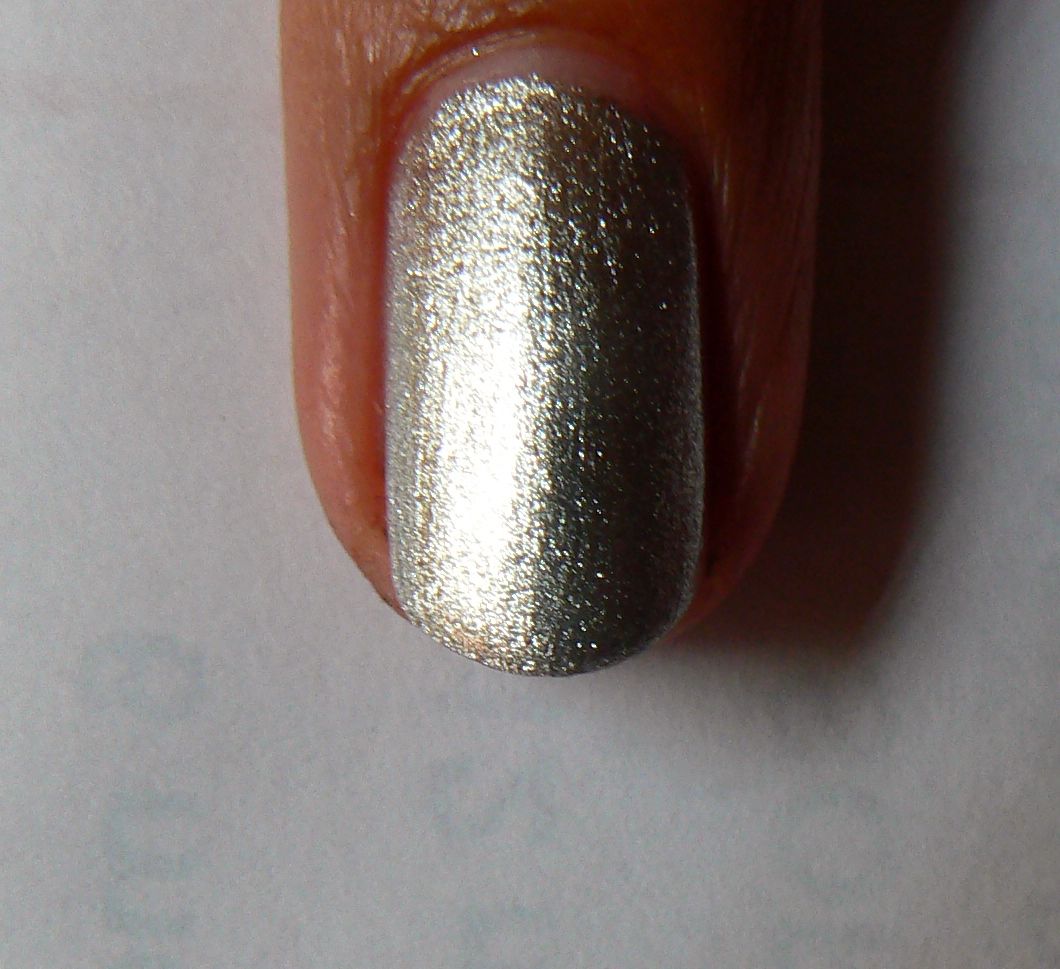
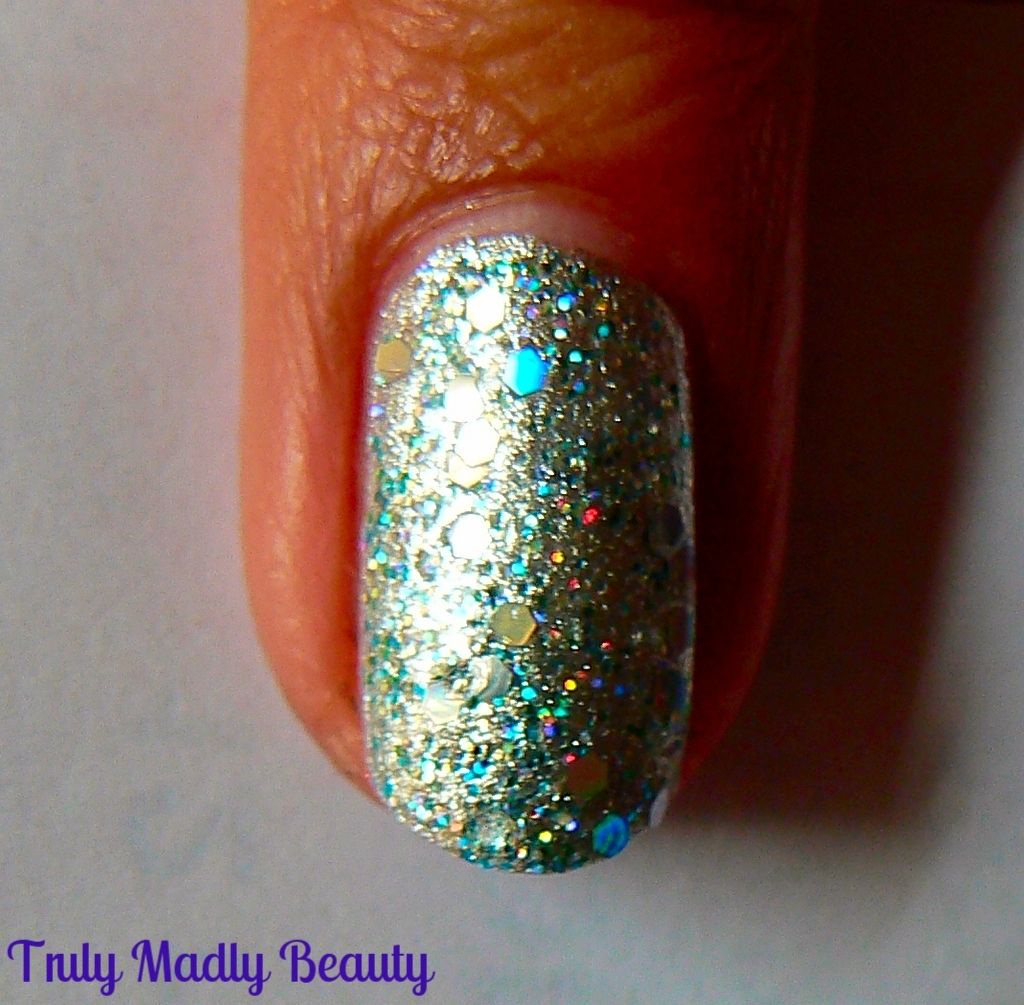
Start with your silver base, here I've applied one coat of Sonia Kashuk Smoke and Mirrors.


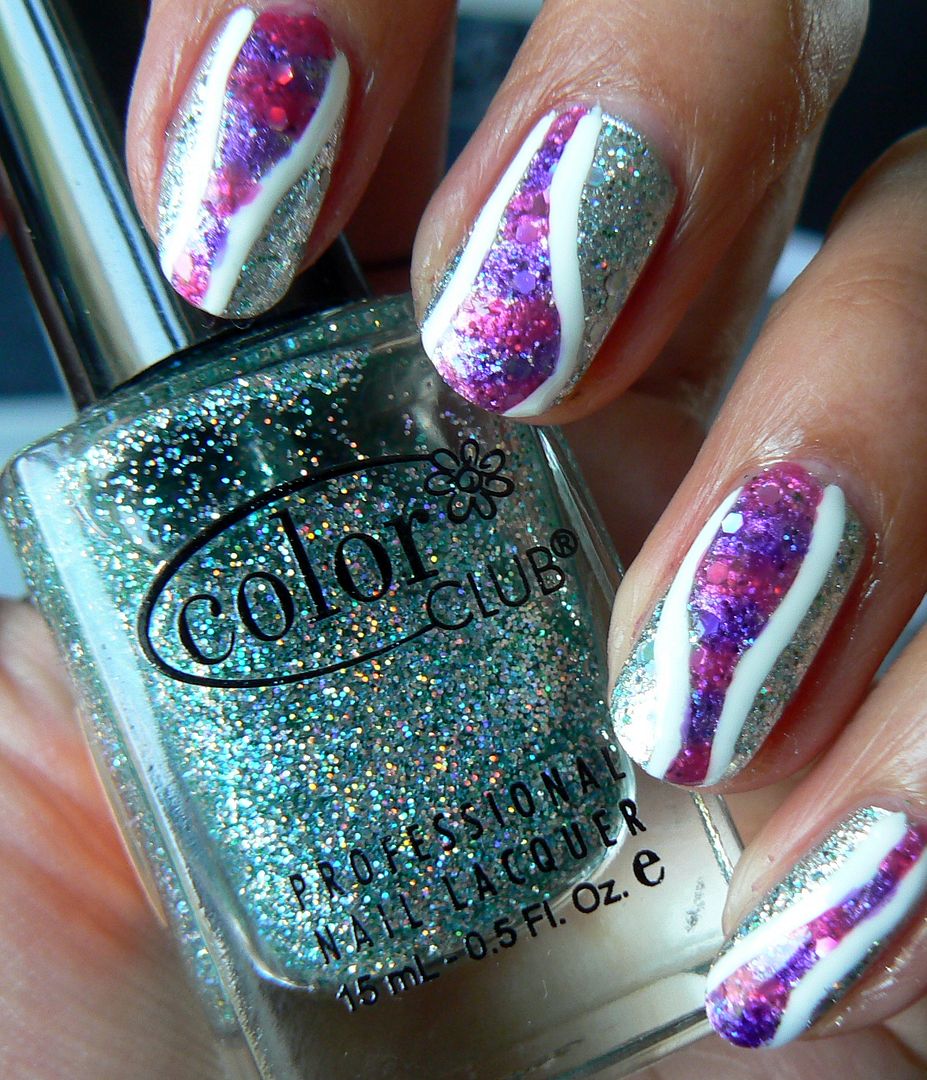
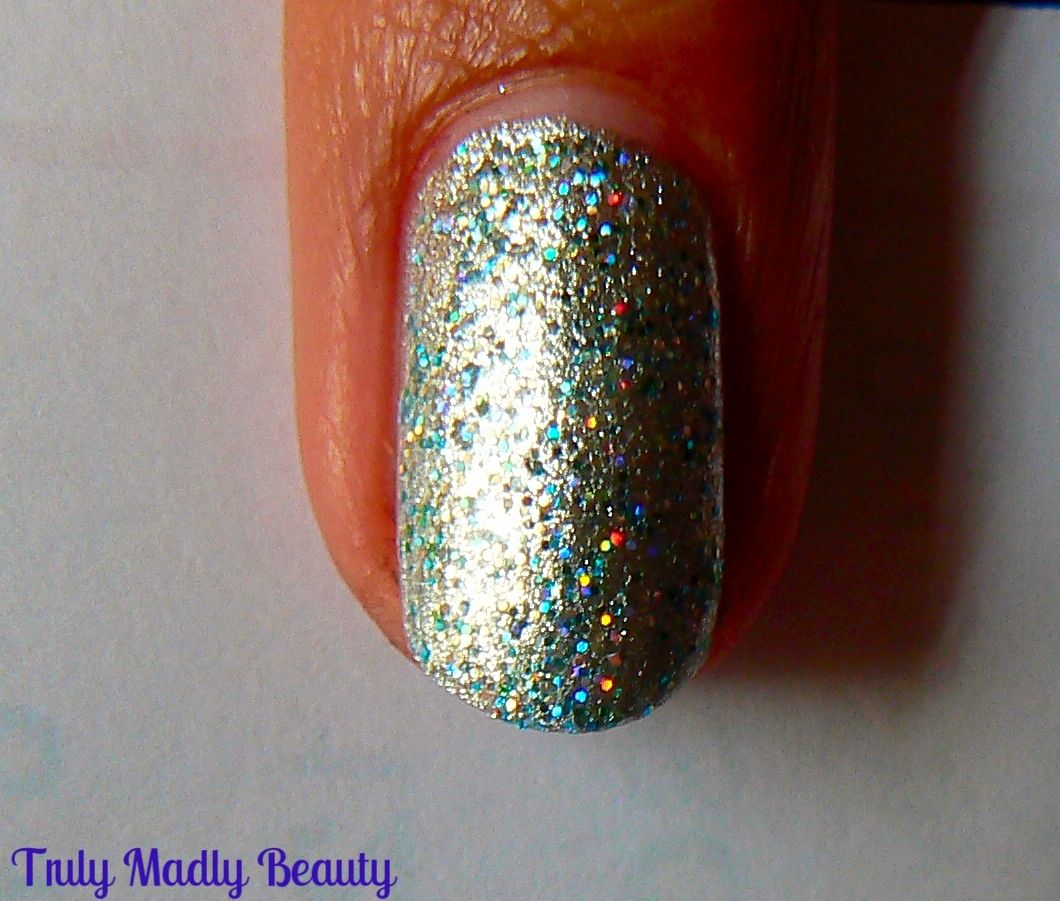
Next apply your holo glitter, the one I've used here is by Color Club & contains a rainbow of macroglitter that really makes the silver go disco!


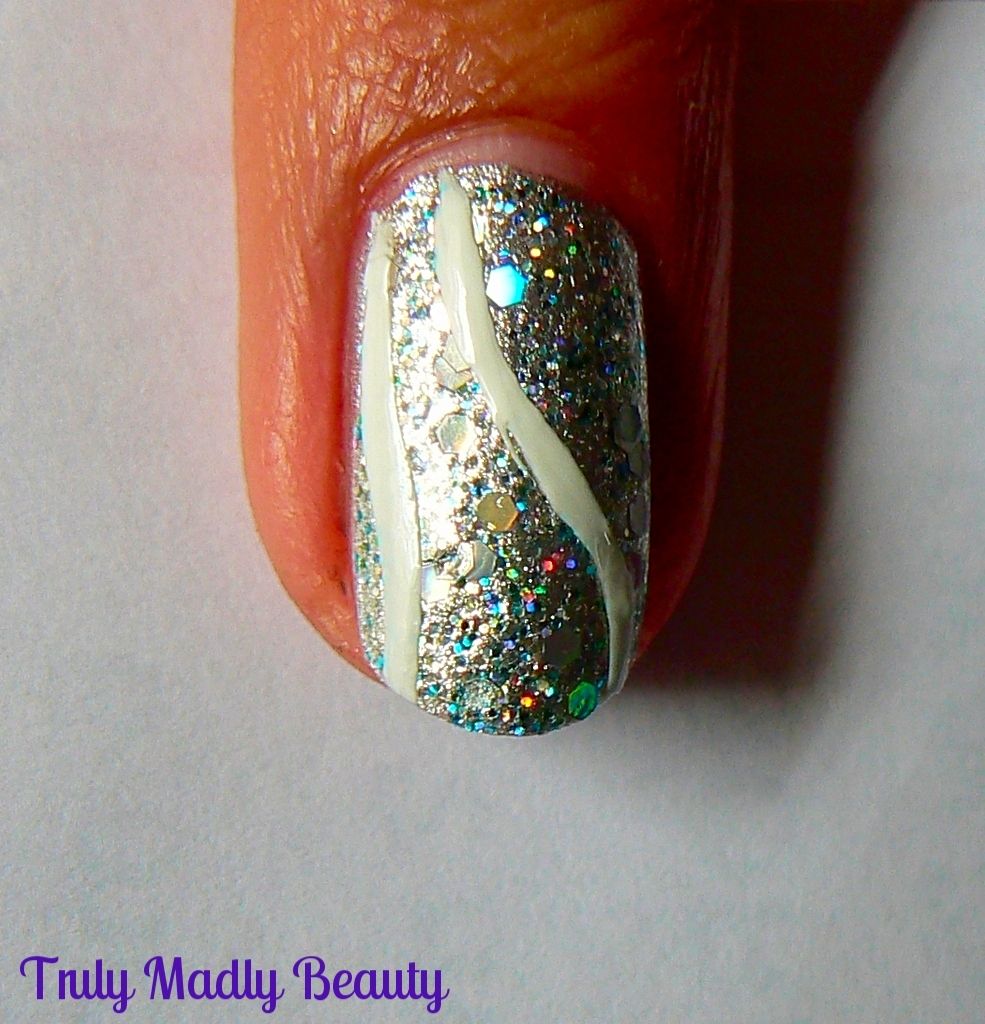
This was an additional step that you can skip but being the glitter fiend that I am I couldn't resist adding on a few large hexagonal holo glitter pieces using Barry M's Hologram


Next apply the white outline of where you want your stained glass pop of colour to be, using a nail art pen or some white polish & a thin brush


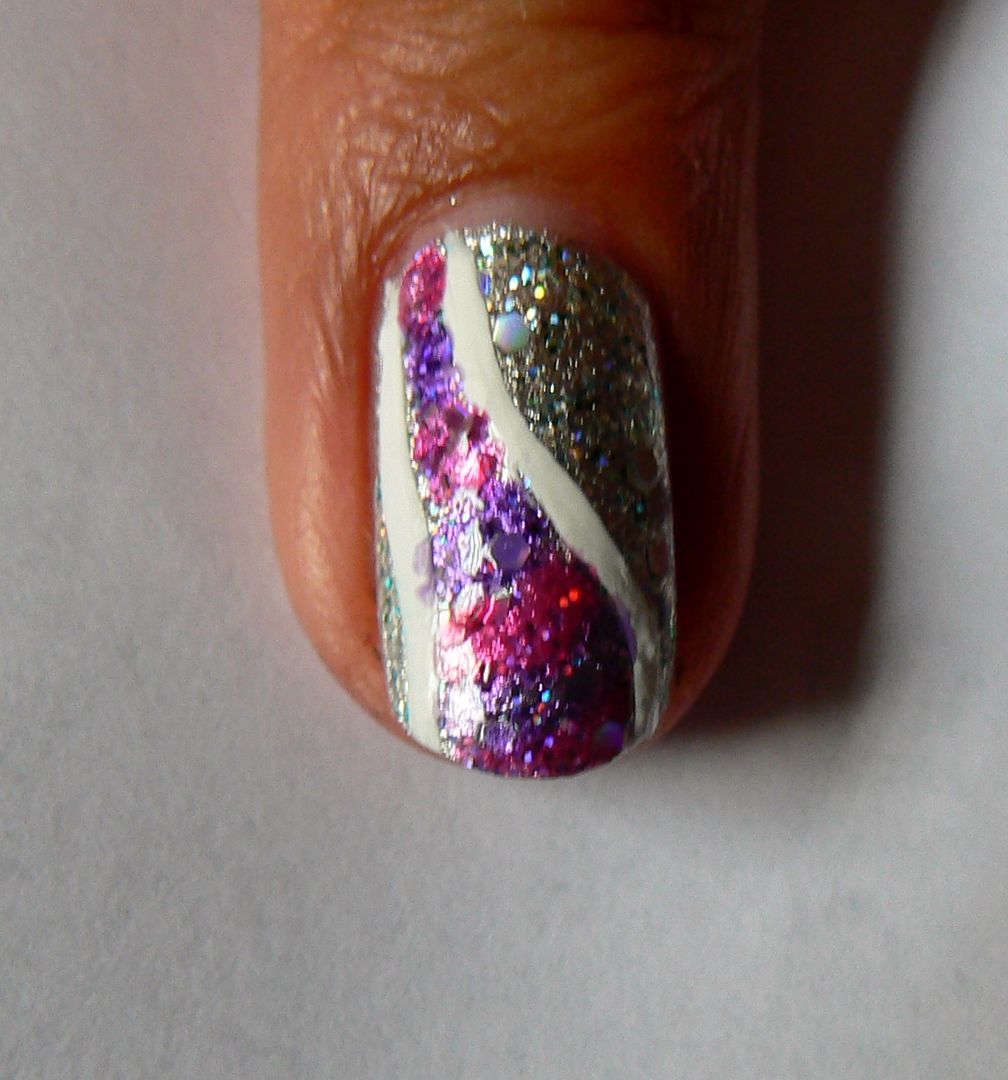
Then using 2 more smaller nail art brushes as the brushes that come with the polish will be too big/thick,start applying each of the Lolly Gloss Paints, here I have Pink Candy & Purple Pop, alternating between the two until you fill in the whole shape.


Don't worry if the colours merge into each other, you kind of want that to happen to help create the effect!


Once done, go over the white outline again, before finishing with a coat of topcoat & thats it!


Super sparkly stained glass effect nails! If there had been more shades available I would have definitely picked up more to create a multicolored rainbow finish! Hint hint Barry M... ;)

Hope you liked the design dolls, do let me know if you give these a try or have created your own designs using these or similar tinted polishes, I would love to see!

Lotsa love to ya!  


9.28.2015

NOTD - Chelsea Frost ft True Brit London

Greetings lovely readers!

Things I've learnt of late? NEVER get smug thinking you've successfully avoided the flu bug that everyone & their dad has had because it is when you're in this clearly vulnerable state that it decides to ensnare you into its clutches. So yah...not feeling so smug now. Thankfully I've got the day off to attempt to defeat the bugger where much chocolate therapy (for medicinal reasons obvs) will be involved to help speed up the recovery process.

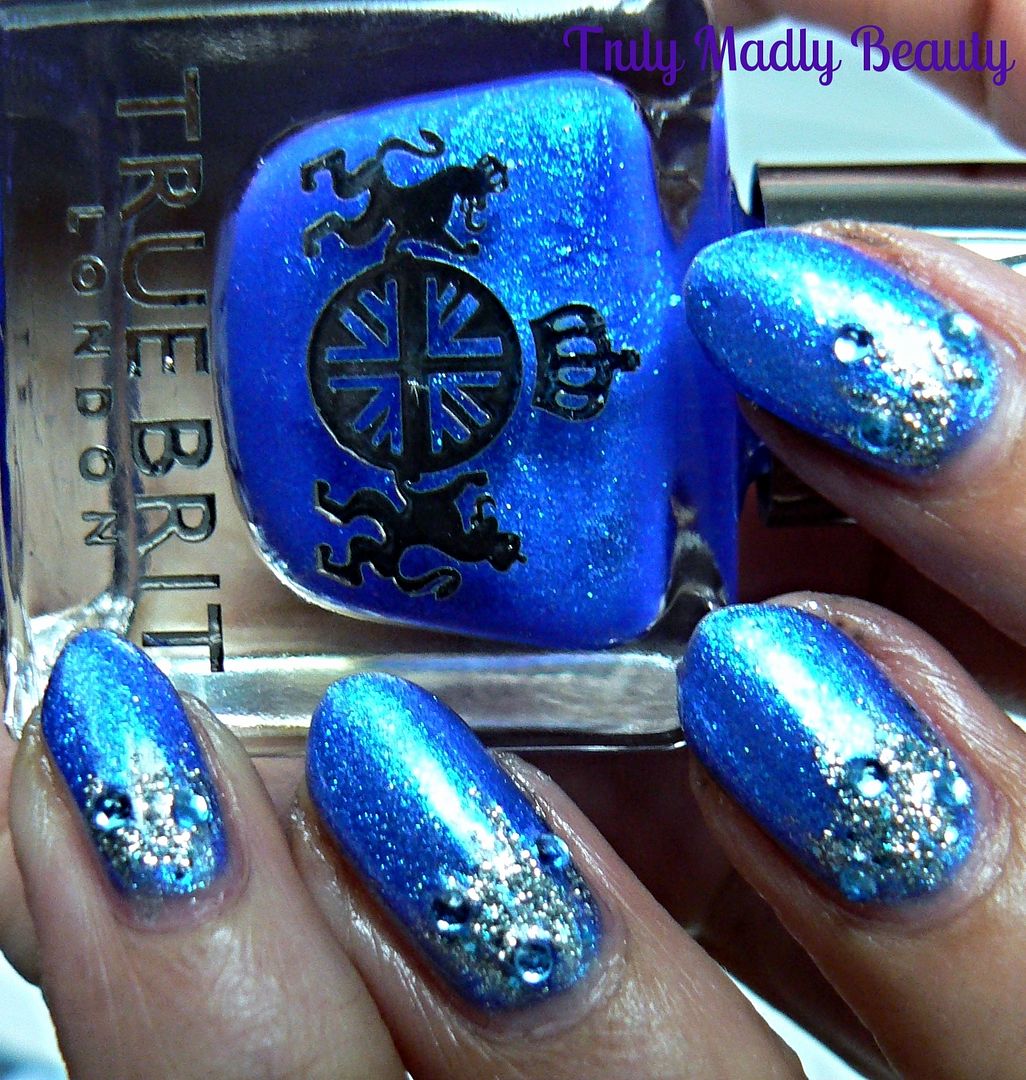
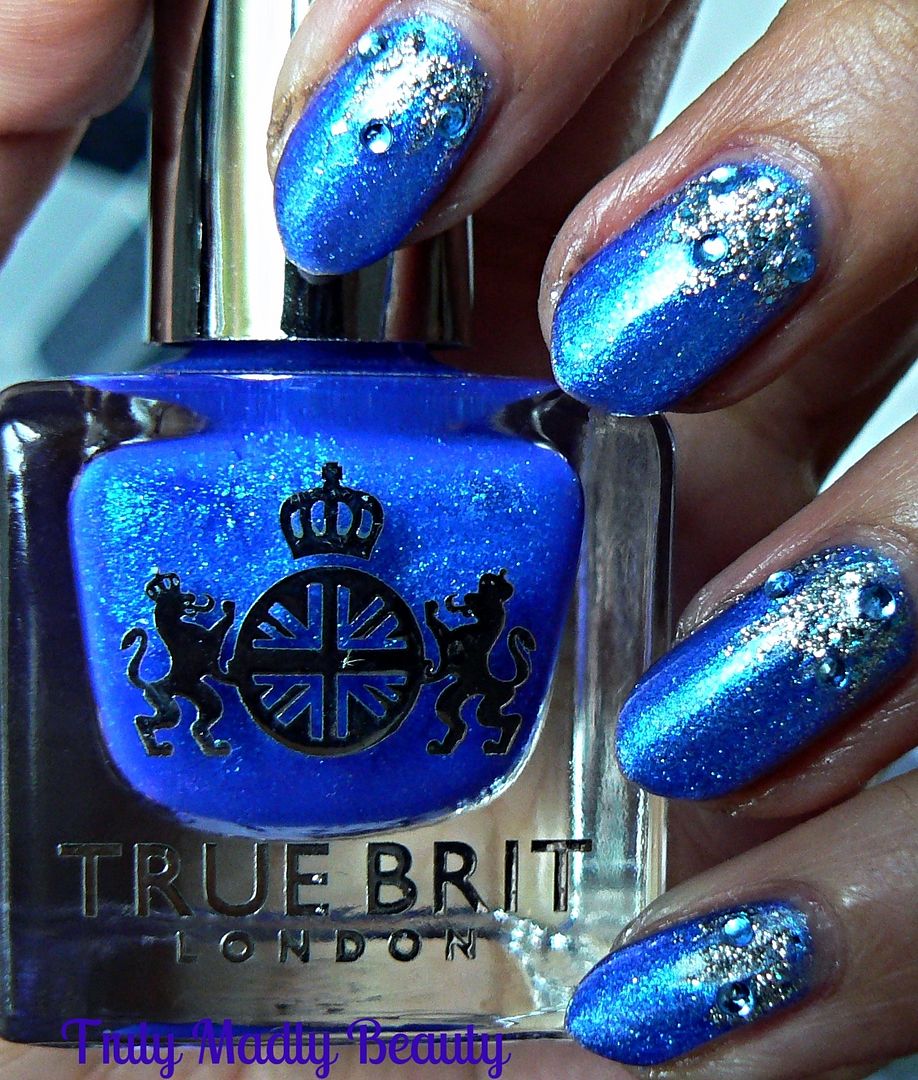
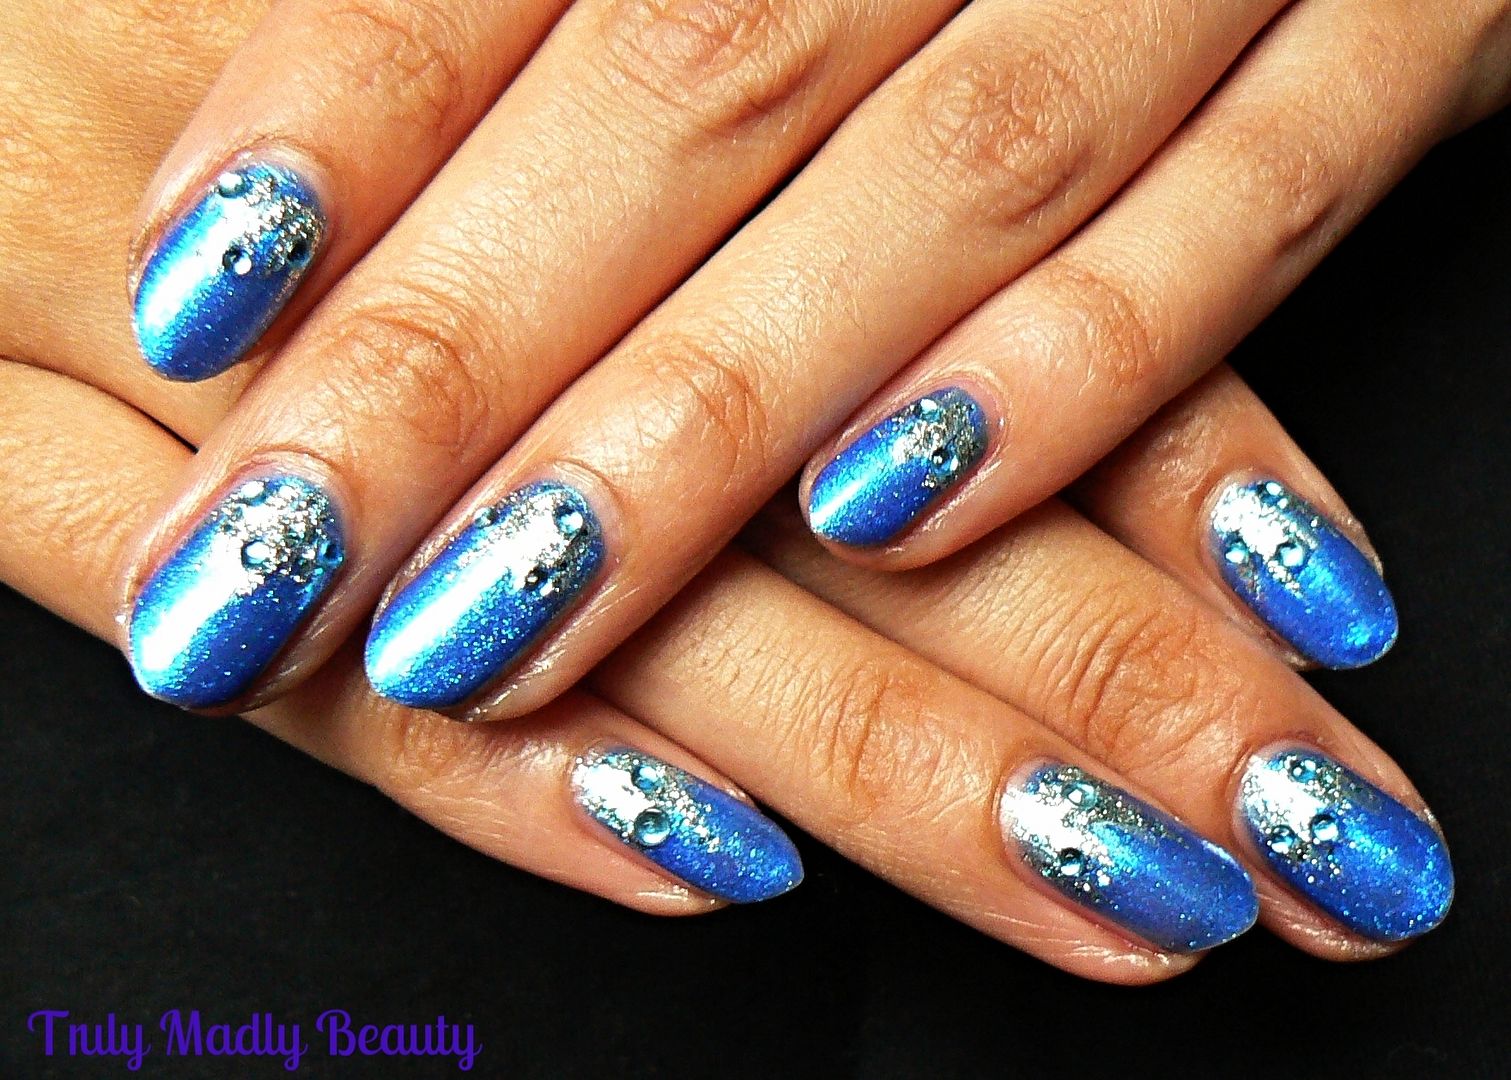
Of course another way to brighten up the day is with the help of a pretty polish, so that's precisely what shall be done! Many pair Monday's with the blues, but this doesn't have to be a negative thing at all, so I have a super pretty blue shade to share with you lovelies today in the form of Chelsea* from True Brit London.


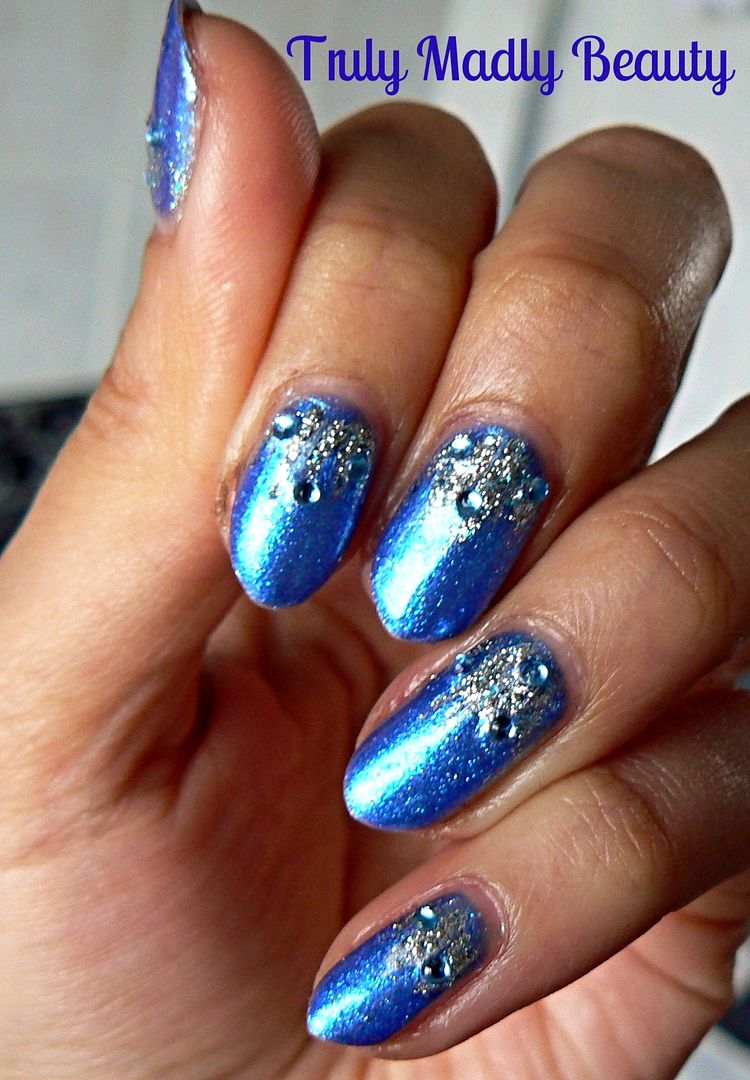
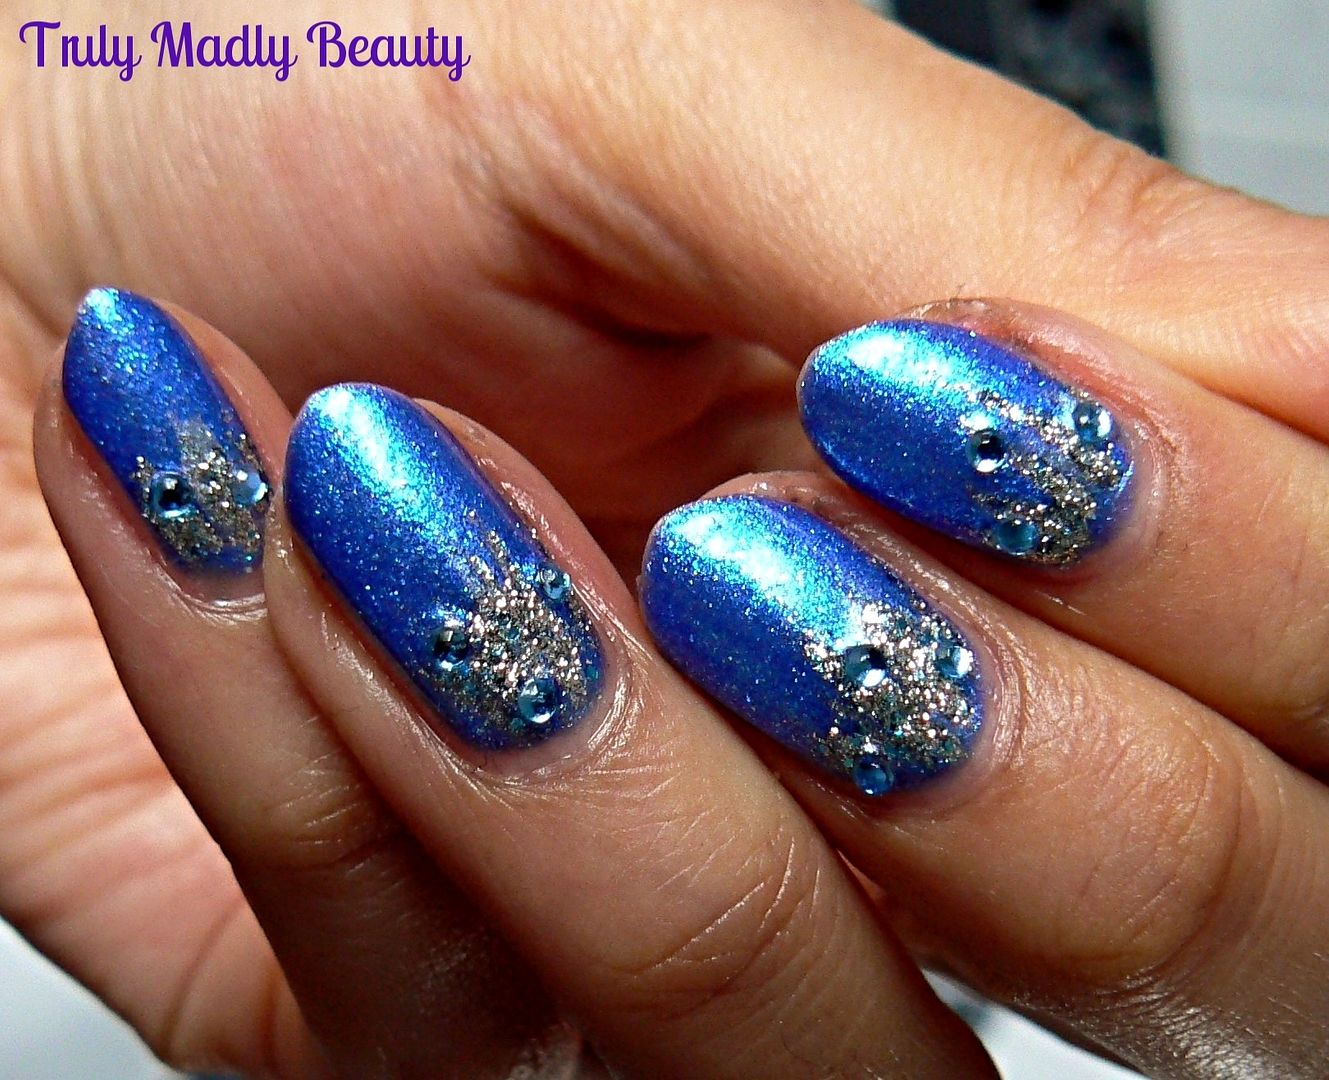
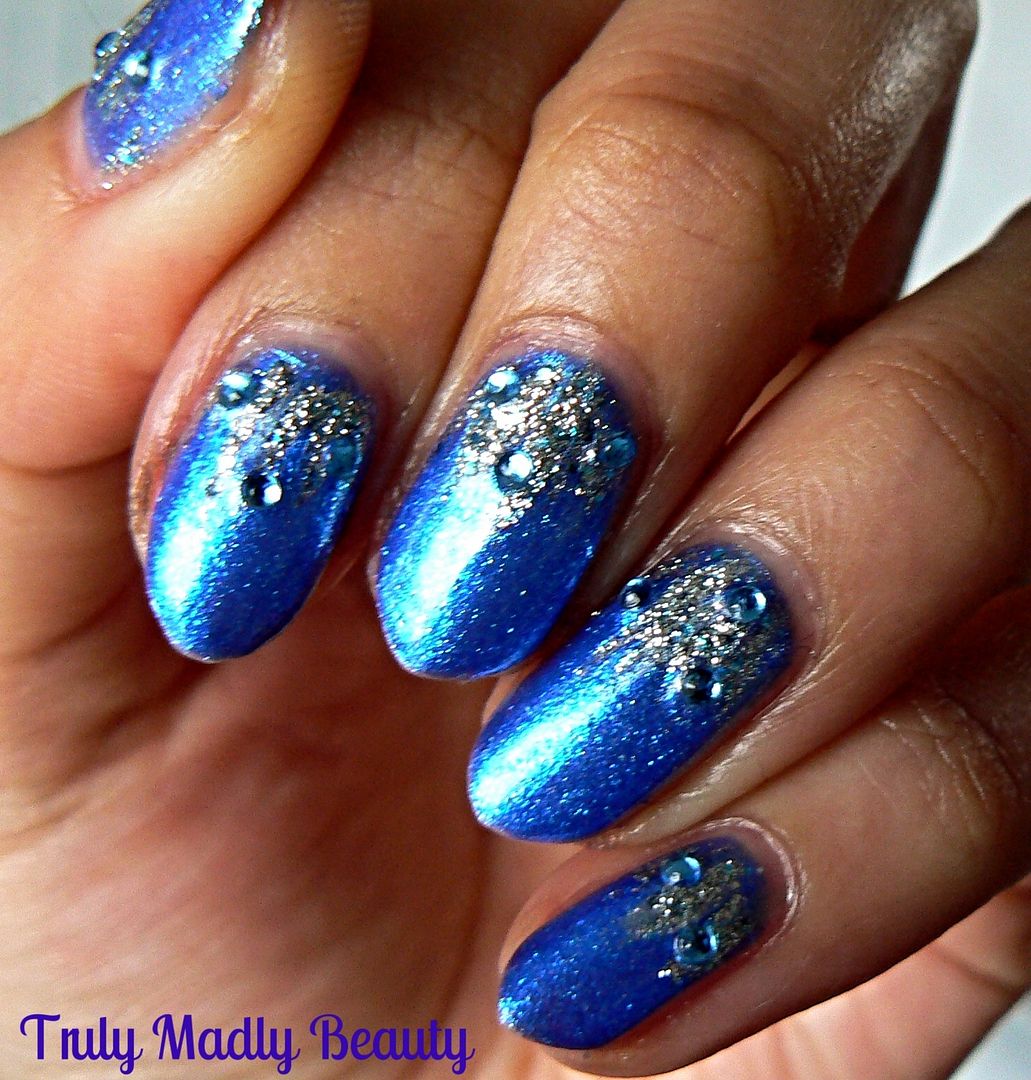
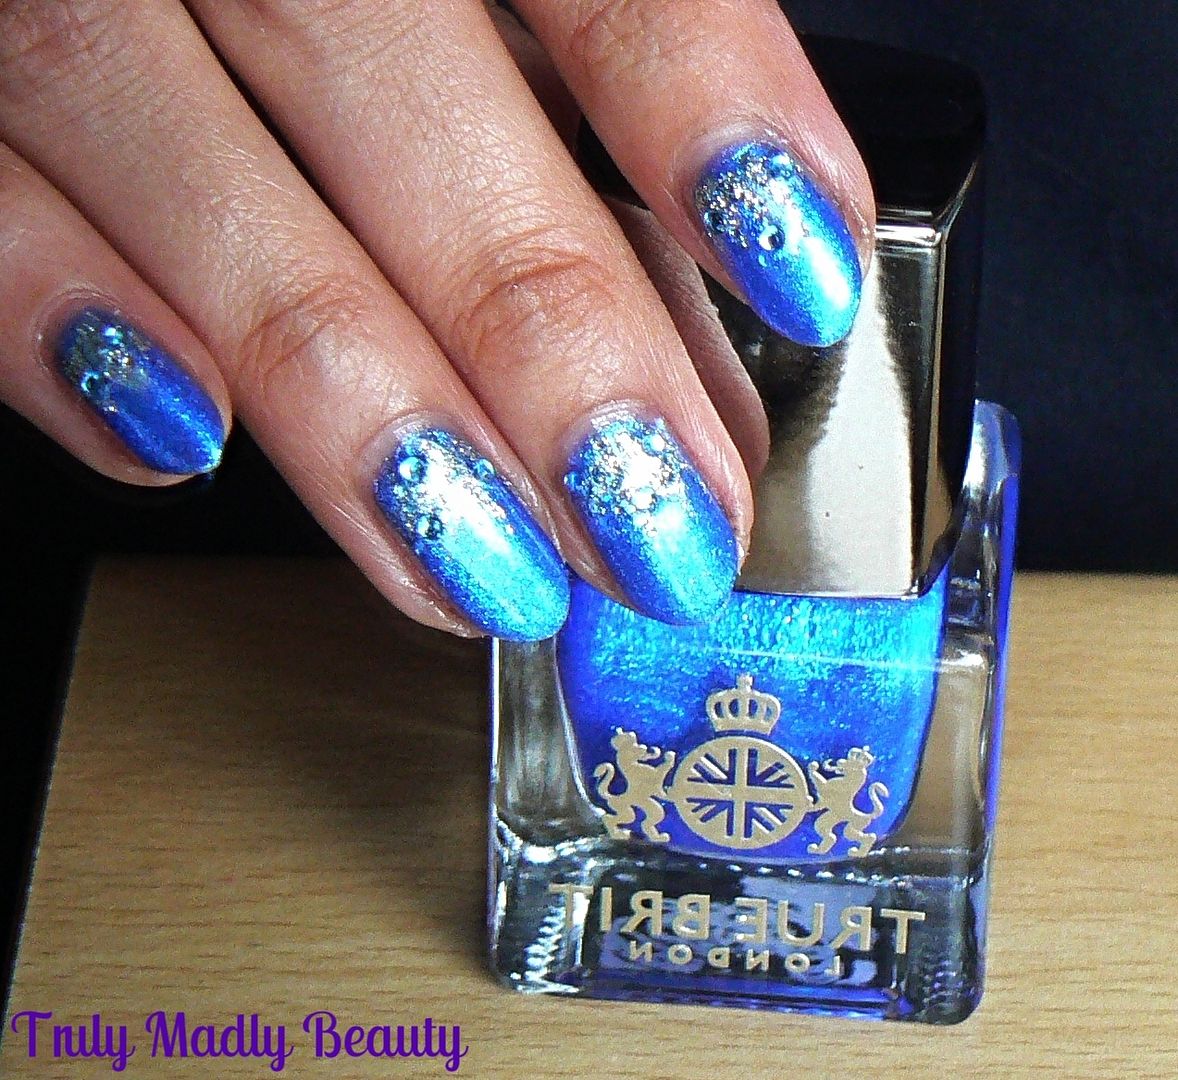
I wasn't kidding was I? Mighty puuuurdy this blue most definitely is. Chelsea is a gorgeous jewel cobalt blue with an interesting shimmery edge thanks to the addition of finely milled pearls giving it a lush luxurious finish.


The formula of Chelsea was slightly sheerer than others I've tried from this range so two coats is definitely required with this one, three if you really want a pop of colour!


Not that this beaut of a blue needs jazzing up, but I seem to have rediscovered my love for glitter gradients again so I couldn't resist adding a touch of sparkly goodness in the form of China Glaze's Lorelai's Tiara.


Lorelai's Tiara definitely ranks up there as one of my top glitters, a gorgeous molten silver with pretty ice blue flecks dotted in there, worn alone it is truly an eye catcher! I actually lent this to a work colleague for her wedding day polish as her something borrowed AND something blue! :)


For the gradient simply dab & drag the glitter down from the cuticles till you get the desired finished effect. For a final glam touch I also added a few pretty pale blue rhinestones on top of the glitter.


Finish with your obligatory topcoat to seal the stones & glitter & you’re done! Feeling some seriously frosty vibes with this icy mani!


Thanks as always for reading dolls! Don't forget you can get 10% off True Brit London polishes which are available online using my code TRULY10. Till next time!

Lotsa love to ya!
Disclaimer - * products featured were sent to me for my consideration. I am not affiliated with the brand nor paid for this post, this review has been as always my 100% honest opinion! :)
7.20.2015

Pretty Bling from Cheap Frills!

Hello there my lovely readers!

I hope your weeks gotten off to a good start! Truly did not want to return to work after a blissful weekend spent with family on Saturday for Eid, followed by a divine day perusing my favourite place on Earth, Brighton! I got to meet up with the lovely Jayne whilst there also which was the cherry on top of an ace weekend :)

Just one of the many wonderful things I love about the world of Twitter (come find me @Aysh_tmb) is it often brings you into contact with many incredibly talented independent jewellery businesses that I wouldn't know existed otherwise.


I've already become addicted to a number of boutiques which produce some stunning pieces. One that I have a soft spot for in particular is Cheap Frills, which is run by the lovely Georgie, who actually resides in Brighton the lucky thing, not jelly at all, & has such a delightful selection of pretty vintage bling. I thought I'd share with you beauts a few bits & bobs I've picked up from this store which has become a firm fav of mine...


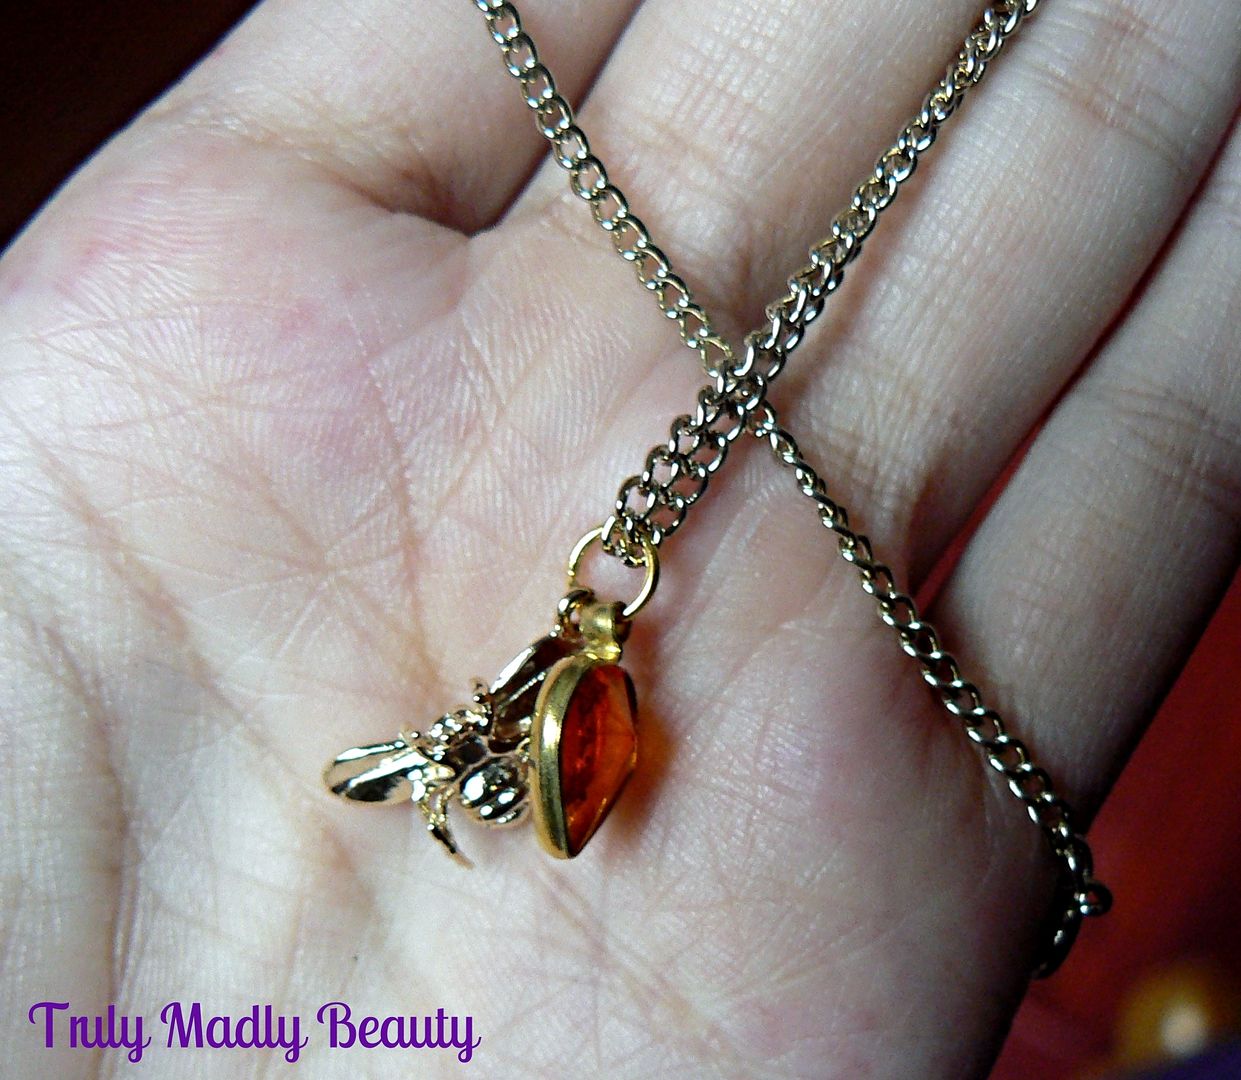
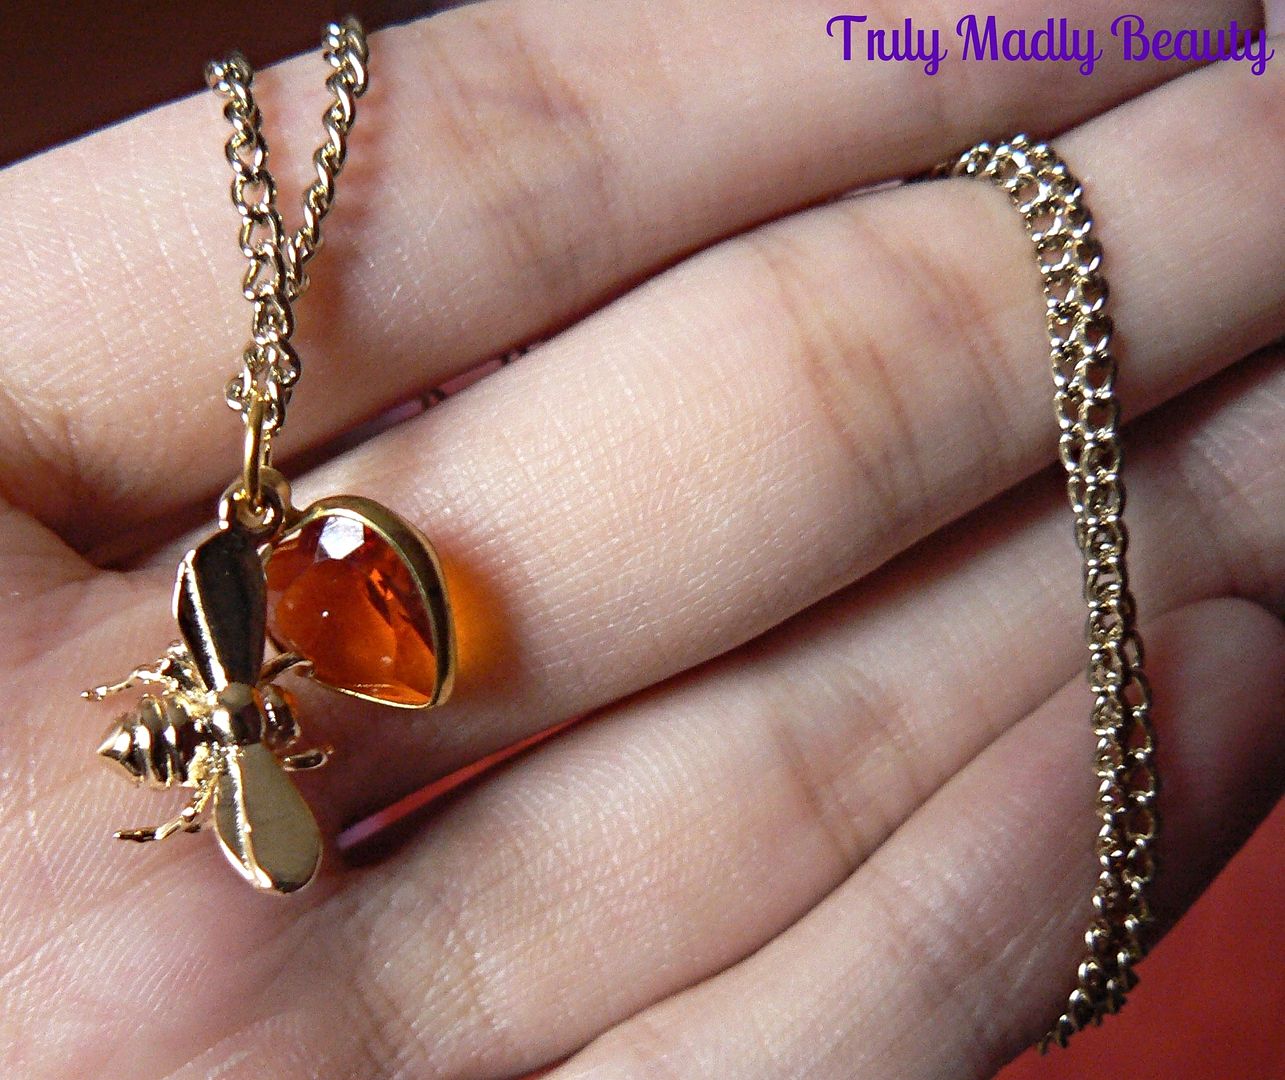
One of the first items I ever purchased after having a browse through all the delightful wares on offer was this adorable golden bee & amber stone necklace...isn't it so puuuurdy?


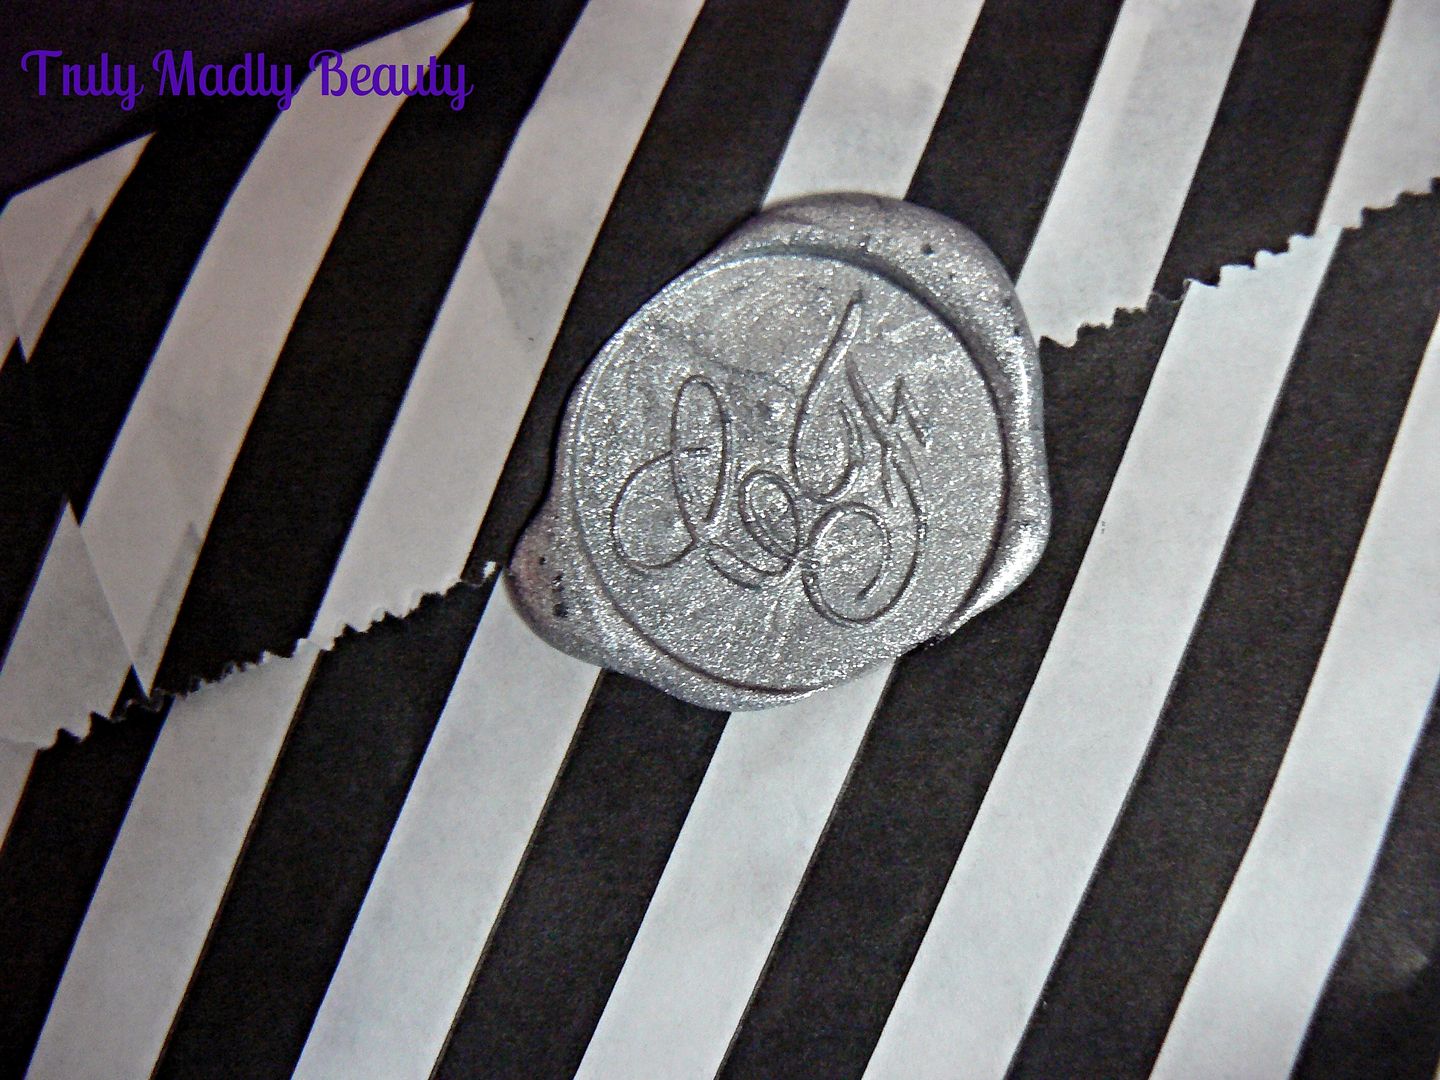
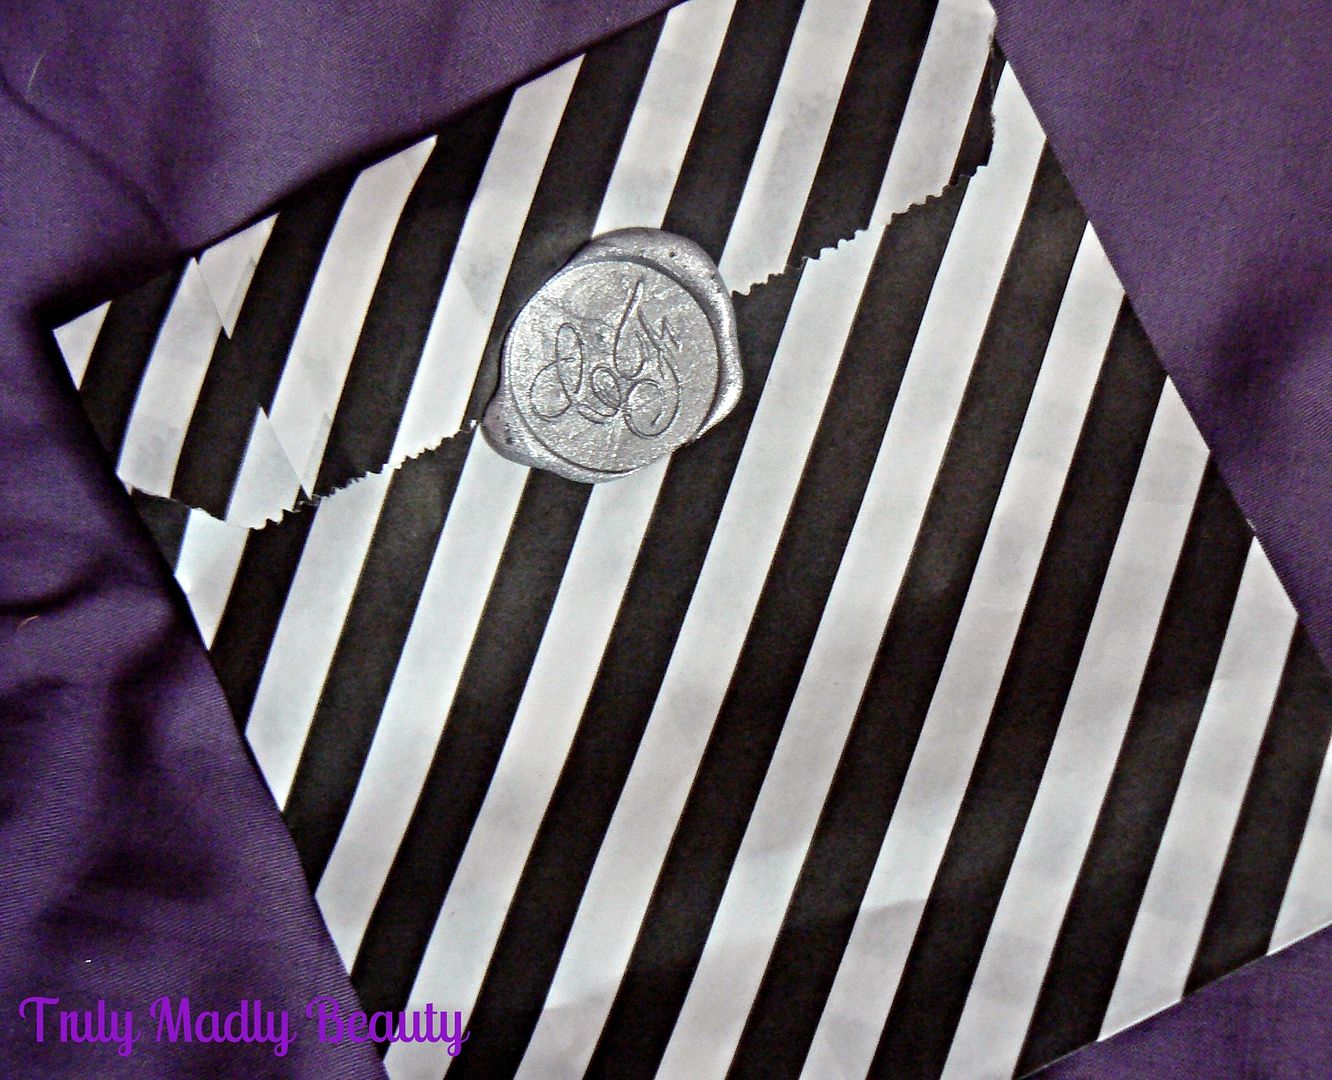
First things first though I absolutely adored how the necklace came packaged when it arrived. Each piece is parceled inside a cute paper bag & sealed with wax & a Cheap Frills stamp embossment which I thought to be so quaint & its little touches like this that really endear me to a product!


The necklace itself is exceptionally pretty with the delicate gold chain, intricately detailed solid bee pendant & the pretty amber heart stone to complete the whole piece. Now in reality bees actually scare the beejesus (pun totally intended...sorry) out of me. However in jewellery form...no such problems. Weird.


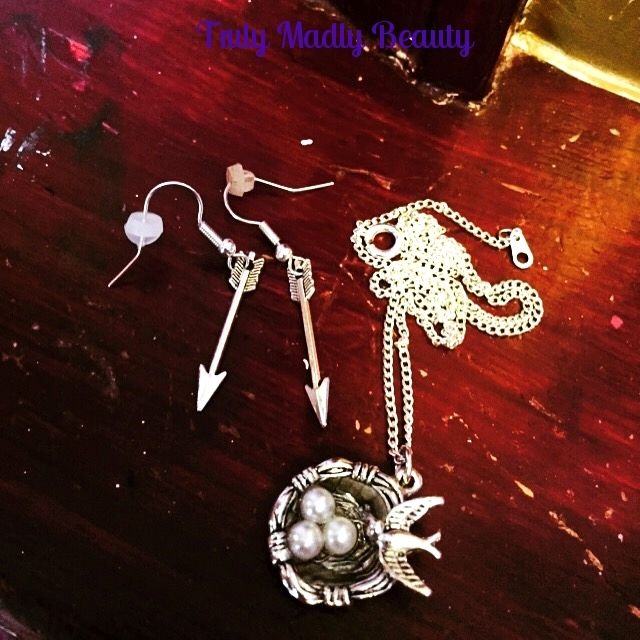
Another couple of pieces I couldn't resist hauling a little later on were these super cute silver arrow earrings & swallows nest necklace which came with it. These pretty items of bling have all gotten a lot of usage!


Lovely right?  I definitely urge you to check out Cheap Frills if you're looking for pretty cameo jewellery & accessories. I already have my eye on the Oxblood Vintage Cocktail Ring! Unfortunately I don't think the Bee & Amber necklace is available any more (I did get it a while back!) however Georgie is forever introducing new equally stunning pieces & FYI there's always some fab bling around Halloween time so defo worth keeping an eye out!

Thanks as always for reading lovelies! Till next time.

Lotsa love to ya!