Showing posts with label Pastel. Show all posts

4.09.2019

NOTD - Peek-A-Boo Panda Nails for #artists4earth

Hey there lovely readers!

Coming at ya with some cuteness today with these sweet Peek-A-Boo- Panda Nails, not just for the good vibes because who DOESN'T want an adorable bear on their nails, but more importantly for a good cause too!   


2.05.2019

NOTD - Opal Semi Precious Stone Nails

Hello there lovely readers!

I've been on a bit of a mission you may call it to try & recreate as many semi precious stones as I can in nail art form. I've always adored gemstones & being part witch of course I fully appreciate their healing & mystical properties! ;)

You can catch all my Semi Precious stone recreations HERE, including the likes of Jade, Rose Quartz & Marble. This time I wanted to attempt one of my favourites which is the milky magical Opal stone!


4.03.2018

Meebox Nail Subscription Box Review plus Spring Nail Art!

Hello there lovely readers!

Now I am sure we are all familiar with Beauty Subscription boxes non? I can't exactly recall myself WHEN these became a thing, but I do vividly remember the beauty world going completely gaga over the concept of them & I can understand why as it has become a great & more affordable way to try out numerous different brands & products all in one go!


3.27.2018

NOTD - Fancy Faberge Egg Nails for Easter!

Hello there lovely readers!

Gosh I've been on really bad form lately when it comes to producing new nail art for the occasion! Not only did I completely miss St Patricks Day but Easter is around the corner already & I've not done a single look! 

Blaming it entirely on the new job taking centre stage right now, but anyhoo do go have a peek at some of my previous Easter Nail Art Looks HERE, for some inspiration including cheeky bunnies & chicks galore! However if you fancy something a bit different...FANCY being the operative word here, then how about some glam Faberge Egg style nails?


3.16.2018

NOTD - Napping Unicorns!

Hey there lovely readers!

In today's hectic world its muchly important to get plenty of rest, even for mythical creatures.. If anything they require it more so on account of all the wish granting, rainbow farting & other strenuous fairytale activities. So today I have some magical unicorns getting some shut eye partaking in one of my favourite hobbies...napping!


2.12.2018

NOTD - Romantic Pink Lotus

Hey there lovely readers!

Okay so I'm clearly feeling all the Valentines/Galentines vibes as the majority of my mani's at the moment seem to be ending up distinctively pink/red in tone! ;)

And today's nail art look is no exception, another floral design no less as well! What can I say, I adore them. Going for a different bloom from my recent Roses, this time I've done a romantic Pink Lotus floral look & I am so happy with how these turned out! 


1.22.2018

NOTD - Valentine's Holo Pink Roses Tutorial

Hello there lovely readers!

Out of all the ENDLESS nail art possibilities in the universe, there is one look in particular that will forever remain a firm favourite of mine & that is FLORALS!


12.18.2017

Festive NOTD - Lilac Pastel Starry Night Sky

Hello there lovely readers!

So I'm back from my holiday in the beautiful Dubai, which has completely captured my heart & then some, I already cannot wait to return next year! But for now lets get back to continuing all things FESTIVE with some suitably Christmas-y nail art shall we?


8.09.2017

NOTD - Sweetpeas and Stripes

Hello there lovely readers!

Oooh its been a while! These past few weeks have been all manners of manic with work, life & everything in between. Thankfully I managed to squeeze in a brief holiday to the Poldark lands aka Cornwall to visit one of my lovely friends plus catch some much needed time out. I could happily have stayed there forever as I adore it there muchly....who knows maybe one day.

As we seem to have been rather cheated of a summer this year (seriously Mother Nature, whats the dealio, I thought you & I had a special arrangement?) I've been resorted to creating summer vibes via other means, mostly my favourite way of course, on my nails.

It really uplifts my mood greatly when I'm wearing a pretty patterned mani & I'm an absolute sucker for florals, they soothe me so much so whenever I get a chance you can be sure I'll be rocking a floral manicure a lot of the time! My wish one day is to recreate stunning floral mani's like Follow That Way...seriously this girls skills are insane, her floral mani's are like works of art!


6.20.2017

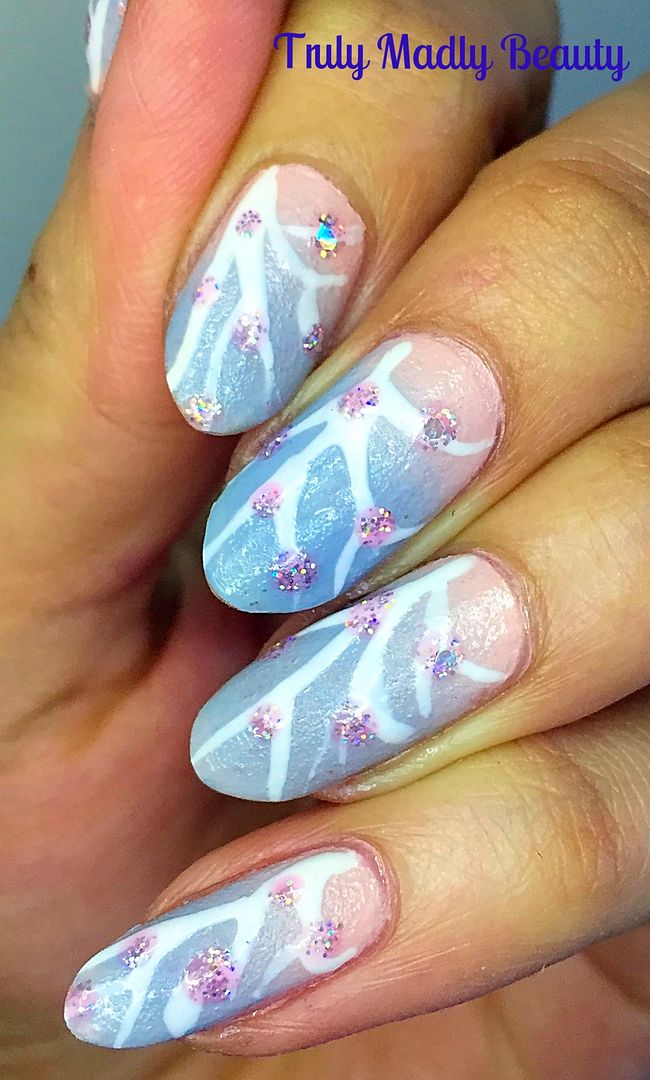
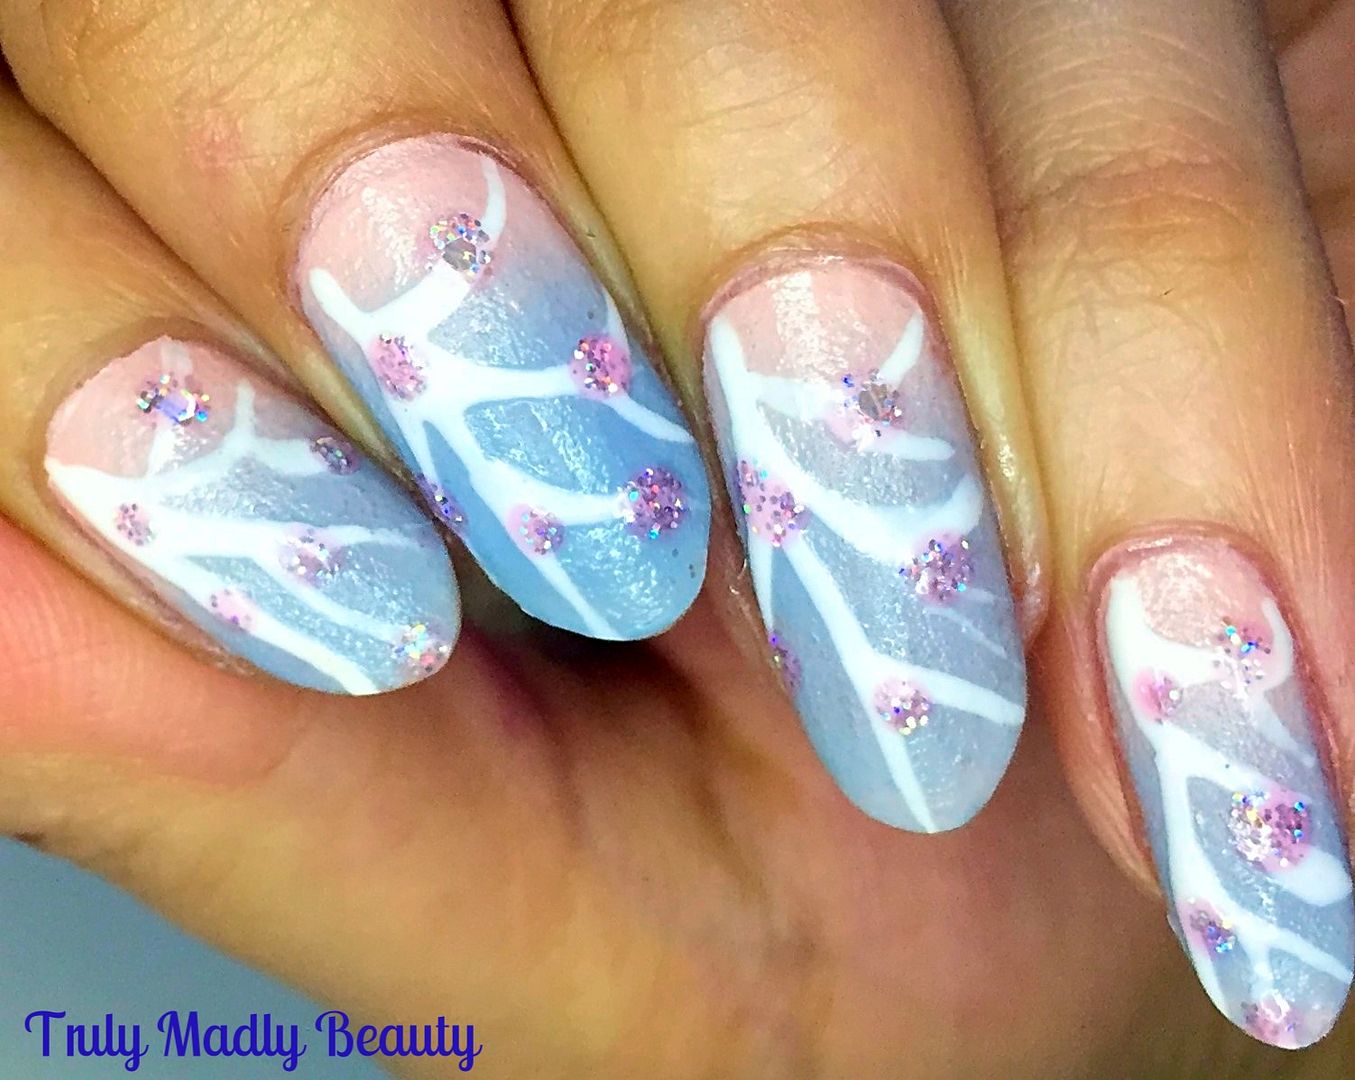
NOTD - Pastel Cherry Blossoms

Hey there lovely readers!

Cherry Blossoms have to be one of my favourite blooms with their pretty, feminine & elegant presence. Not only do I adore the florals themselves when they come out in all their glory every year but I am a sucker for anything cherry blossom print & especially (surprise surprise) nail art!


I've done a couple of different takes on the design, which you can see HERE & HERE. This time I was in the mood for some soft pastel tones & gradient nails as its been a while since I've done me some good ol sponging & this was the outcome!


5.17.2017

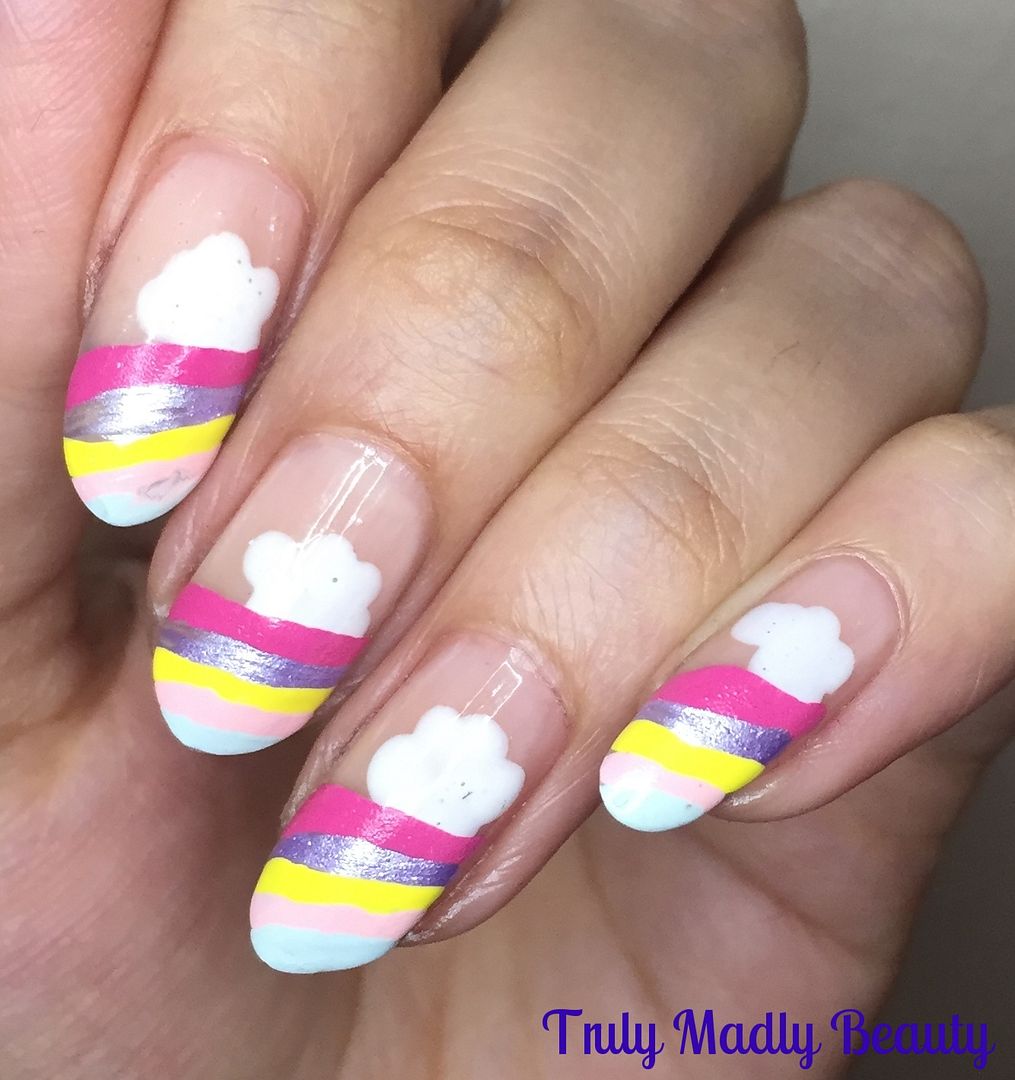
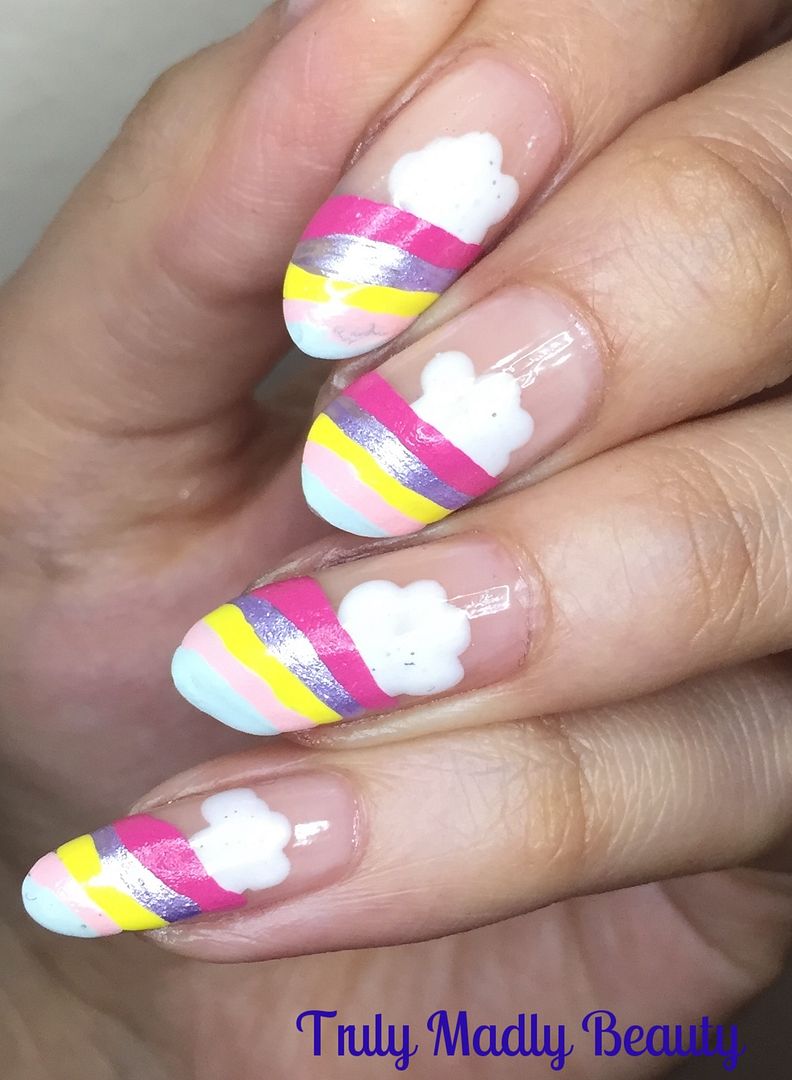
NOTD - Pastels & Rainbows!

Hello there my lovely readers!

Today's nail art that I have for you gives me ALL the happy vibes. For me nail art isn't just a passion but also incredibly therapeutic...not only does it make me feel fab when the tips of my fingers are sporting some form of funky coverage, heck who doesn't feel good when rocking pretty nails, but whereas for some it may be a chore of a task, for me the whole process of nail painting is relaxing as well.

I also find it to be the biggest mood lifter, its the little things that help make one feel not so rubbish & for me having a fun manicure is one them. After having a pretty darn down in the dumps week with my wisdom tooth extraction developing into a glorious infection which I wouldn't wish on my worst enemy & trying to recall a time when I wasn't on a diet of painkillers and antibiotics, I decided I needed something to lift my spirits & as usual resorted to some nail art therapy...& this is what I came up with...


It may be pouring outside but its all Pastels & Rainbows up in here! Well this definitely succeeded in uplifting my mood greatly & would you believe me if I told you this wasn't actually even done with nail polish but in fact acrylic paints?


4.18.2017

NOTD - Cute Kawaii Chicks!

Hello there lovely readers,

So this post is going up a tad delayed, I had initially planned on Good Friday but unfortunately I was hit with some very sad news on Thursday. if you follow me on social media you'll know that last week I lost my beloved Miss Kitty. I can't even begin to explain how devastated my family & I are with the loss of my sweet Hoshi, those who know me well know how much my little furbaby meant to me, but my little one was just too poorly & it would have been cruel to keep her with us. She was such a big character its hard to think her gone & I was so overwhelmed & touched with the thoughtful messages received over the Easter break, it truly meant a lot to me so thank you so so much. RIP my little star.


On to todays post...despite it being a bit late I couldn't very well let Easter pass on through without some form of suitably themed nail art now could I? As always nail-spiration is in abundance with pastels, speckles & cute creatures galore, I so love creating something fun every year. Have a peek at some of previous Easter themed nail art including, Cheeky Bunny Booty nails which remain a firm fav for obvious reasons, my Easter Minion Chicks Tutorial for a fun take on the design as well as a wee White Wabbit Tutorial featuring some speckled goodness too.

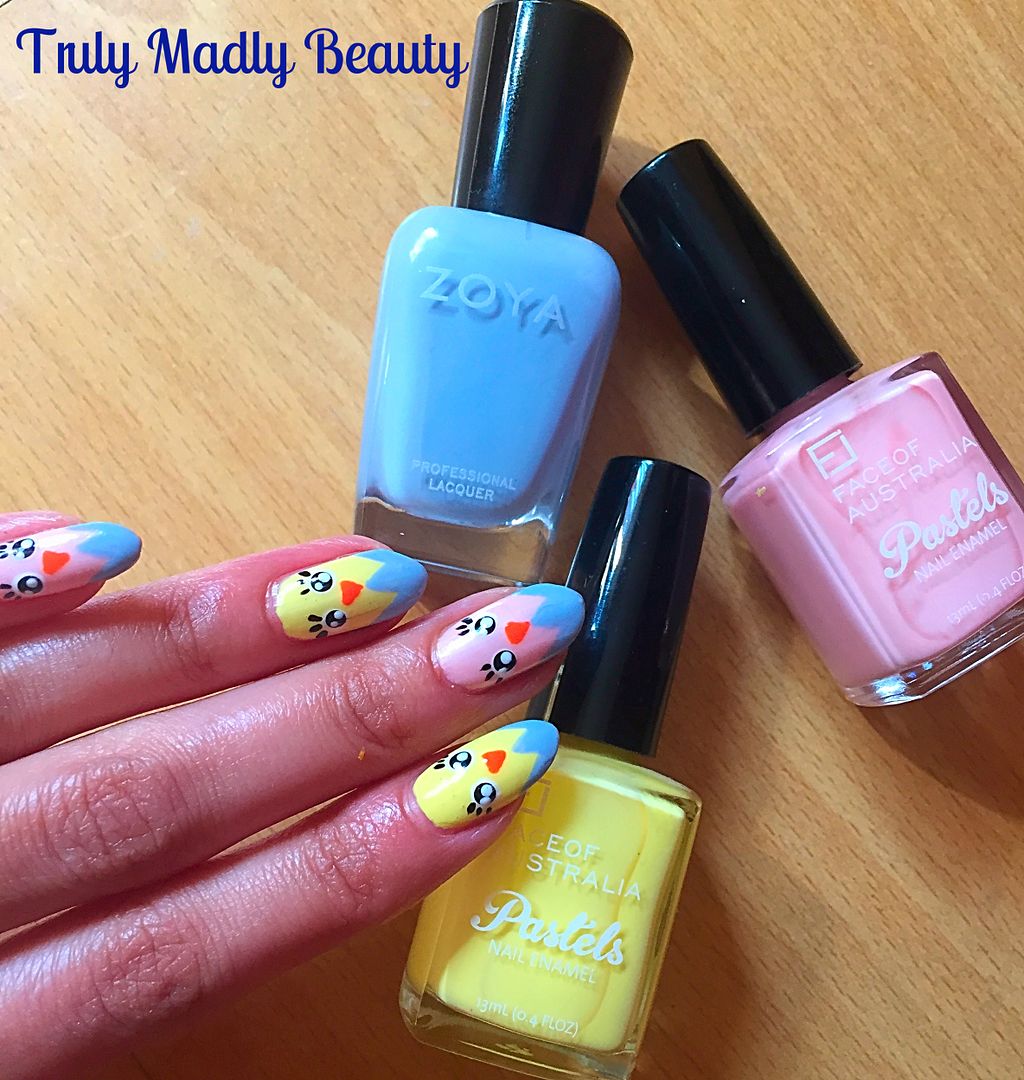
This year I decided to go down the chick route again but with a slight kawaii twist & created these cute little newborn chickadees popping out of their shells with their curious faces & batting us with their eyelashes :)


1.02.2017

NOTD - Pastel Winter Wonderland Nails

Hello there my lovely readers!

Happy new year to you all my beauts! I hope you all had a wonderful Xmas break & new years however you spent it. I'm certain my spirit animal is a bear as I've pretty much spent the holidays in hibernation which has been utter bliss! Like many I'm sure I'm now currently going through the “oh god no” motions at the thought of going back to work!

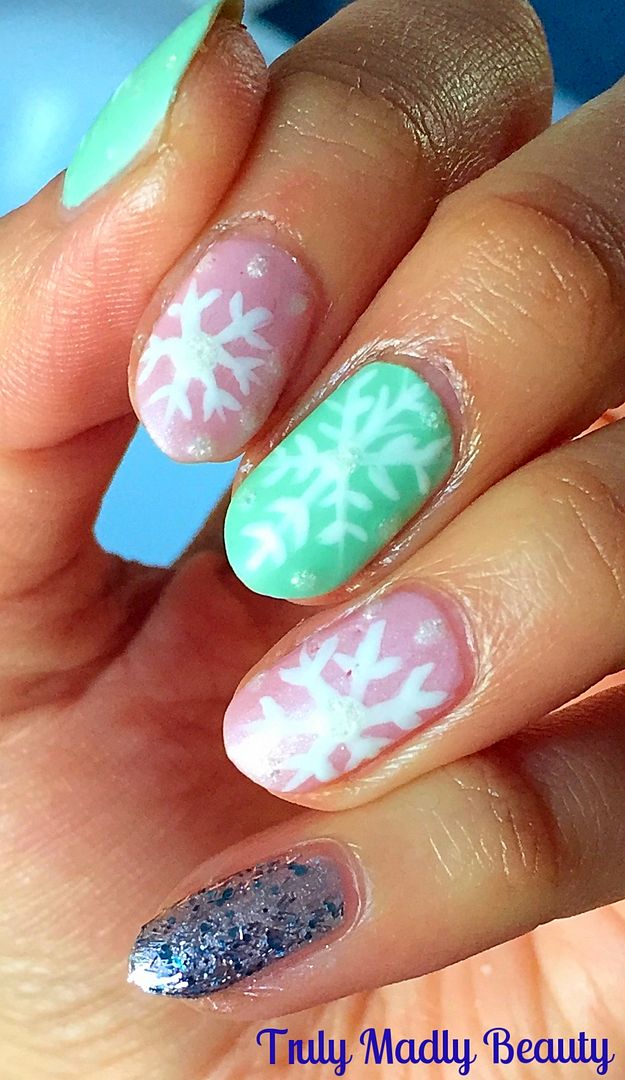
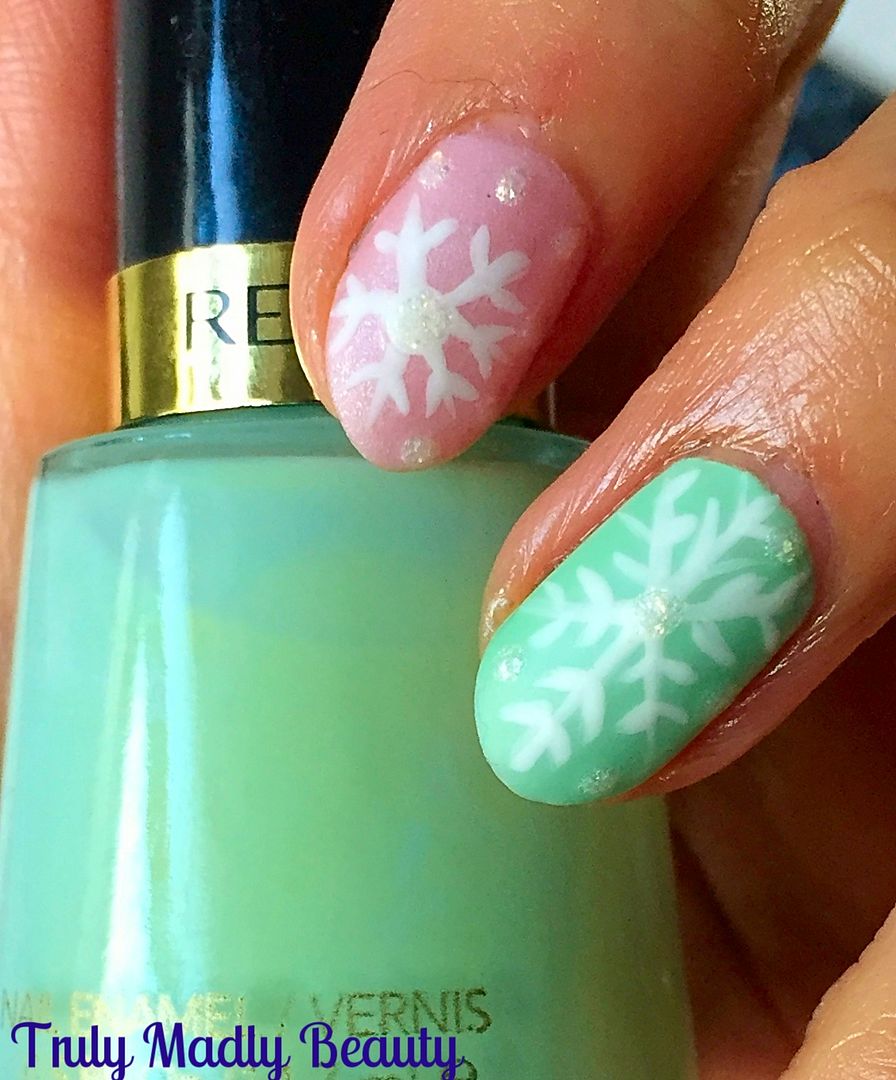
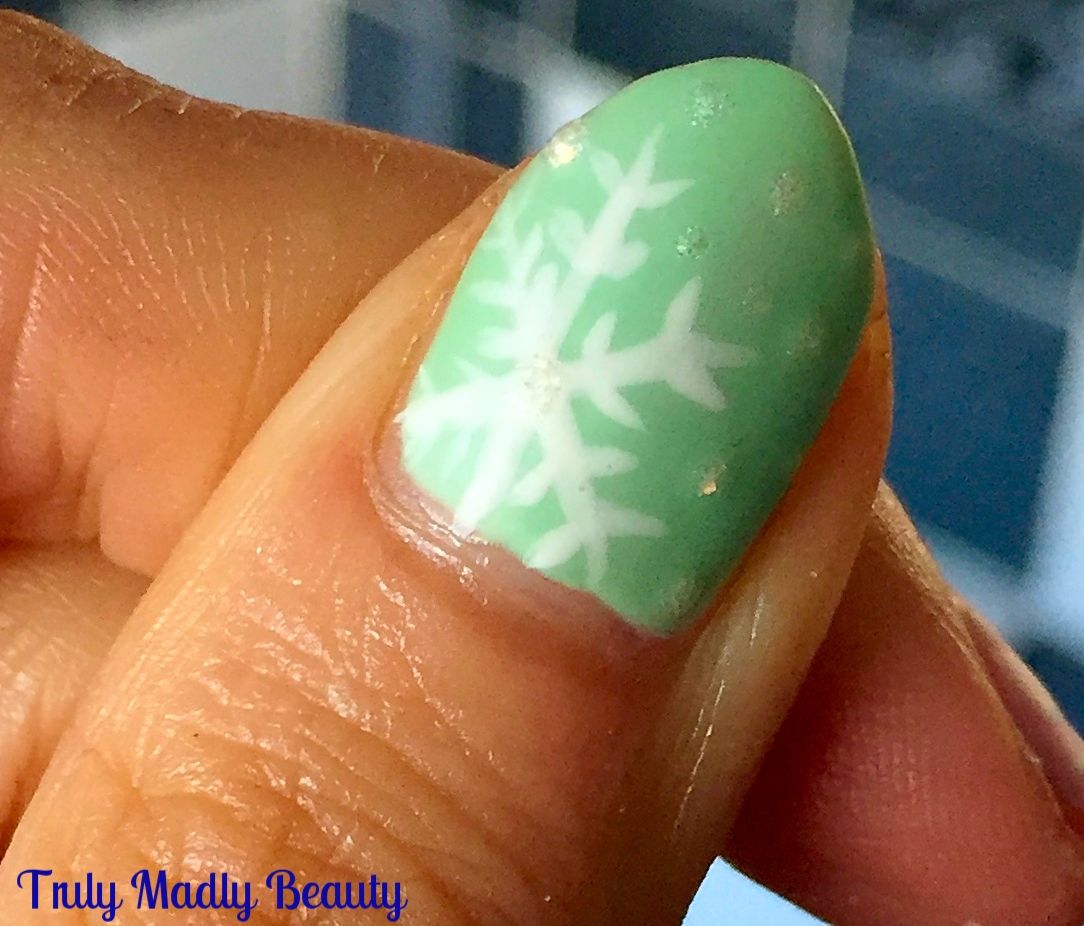
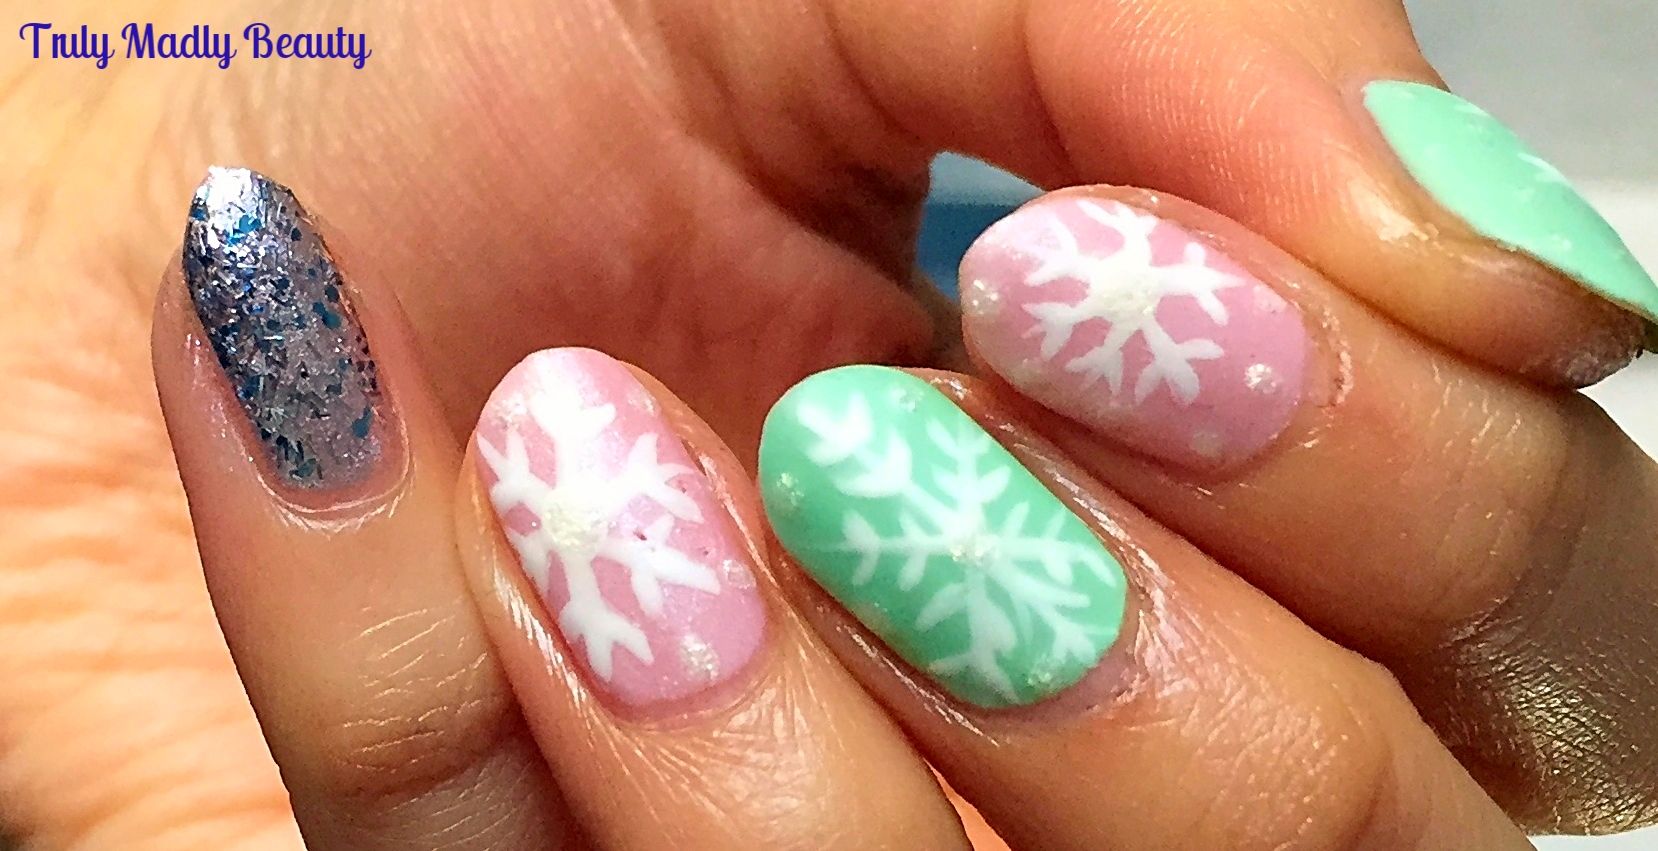
Not feeling QUITE so ready to part from the festive feels just yet here's a frosty Pastel Winter Wonderland mani using sugary soft tones, snowflakes & a bit of glitter thrown in! Normally I'm a glossy girl all the way, however for this mani I decided to mattify the finish & I must confess I dig it!


I wanted some pretty pastels for my base, not able to decide I went for a two tone using pale pink & mint.


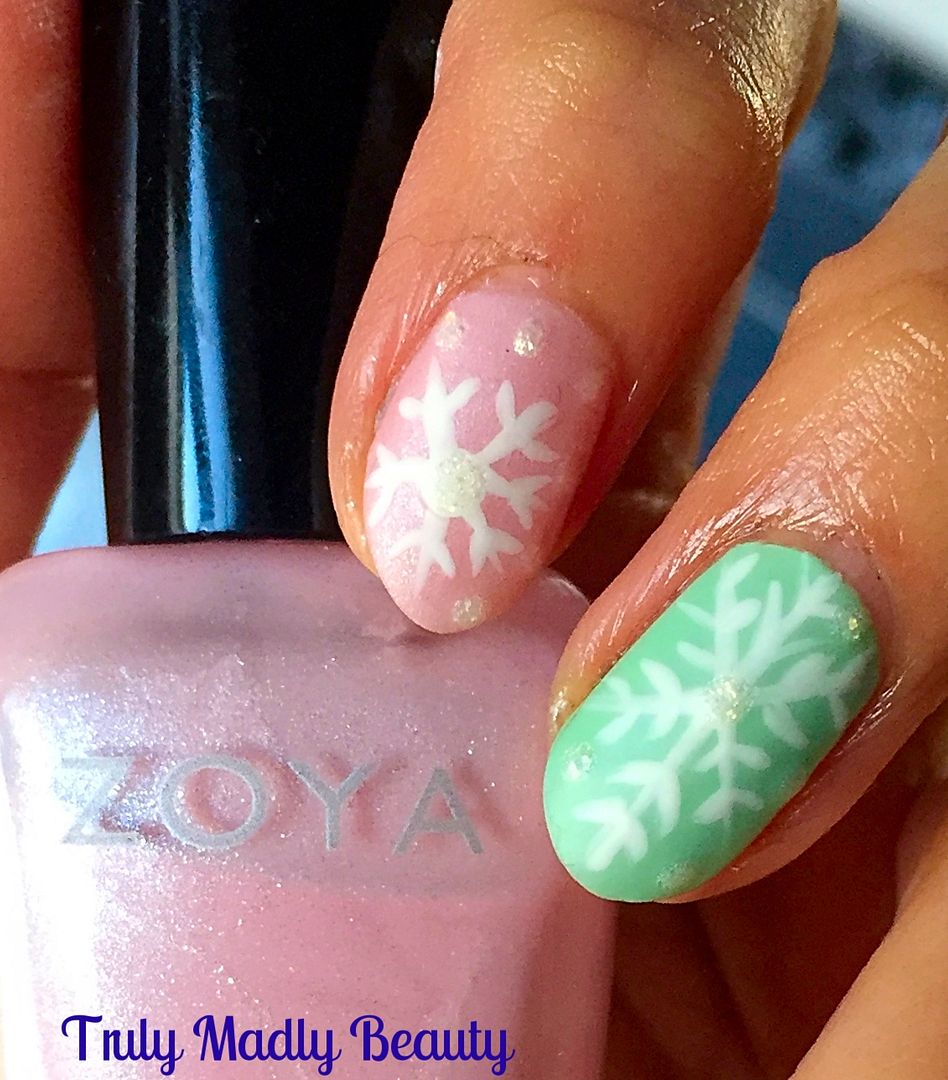
For the pink I've used two coats of Zoya Bailey, a gorgeous soft pink with a pretty pale silver shimmer running through it.


For my mint green nails I went for one of my vintage Revlon polishes, this is the aptly named Minted of which two coats were also applied.


Creating the snowflakes is easy peasy, using a fine nail art brush & some white polish simply draw an X on to your nail wherever you'd like your snowflakes placed, then draw a vertical or horizontal line on top.


Now add on your snowflake details by placing smaller angled lines along the cross, playing around with different styles, sizes & designs!

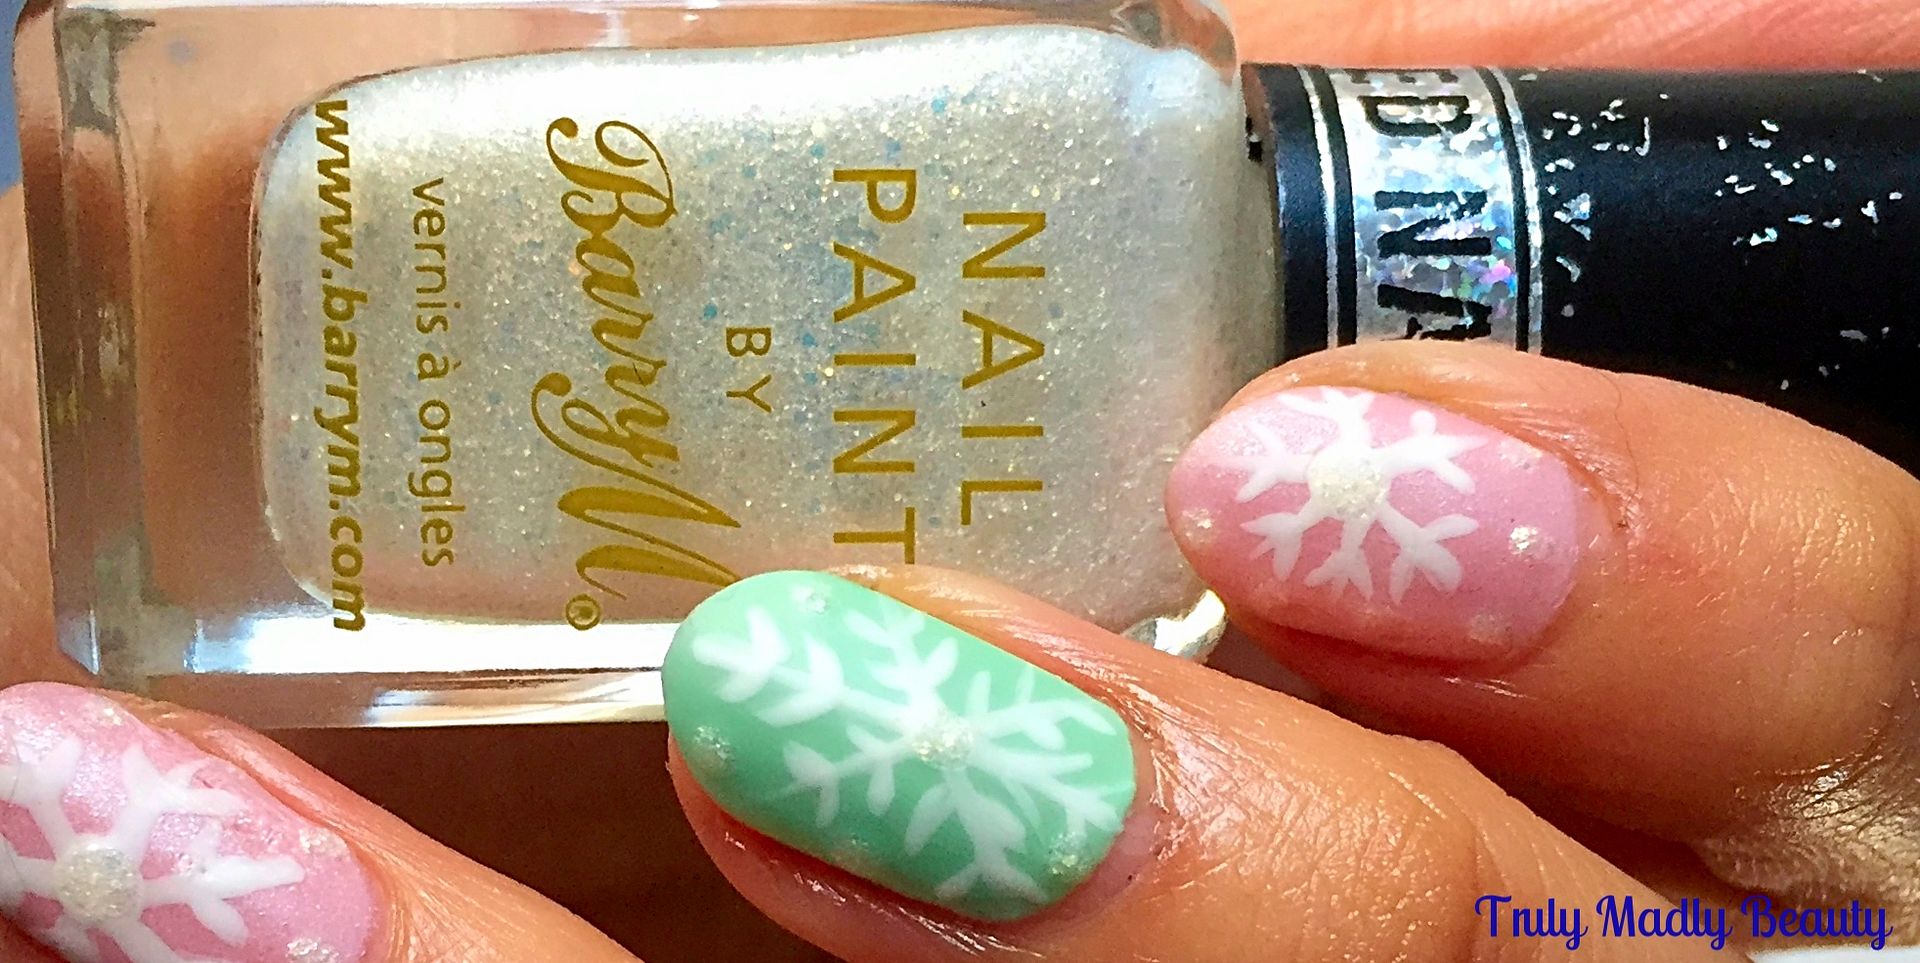
To add a bit of dimension to the pastel nails I dotted on a bit of Barry M textured polish in Lady which is a really unusual & pretty frost white shimmer.


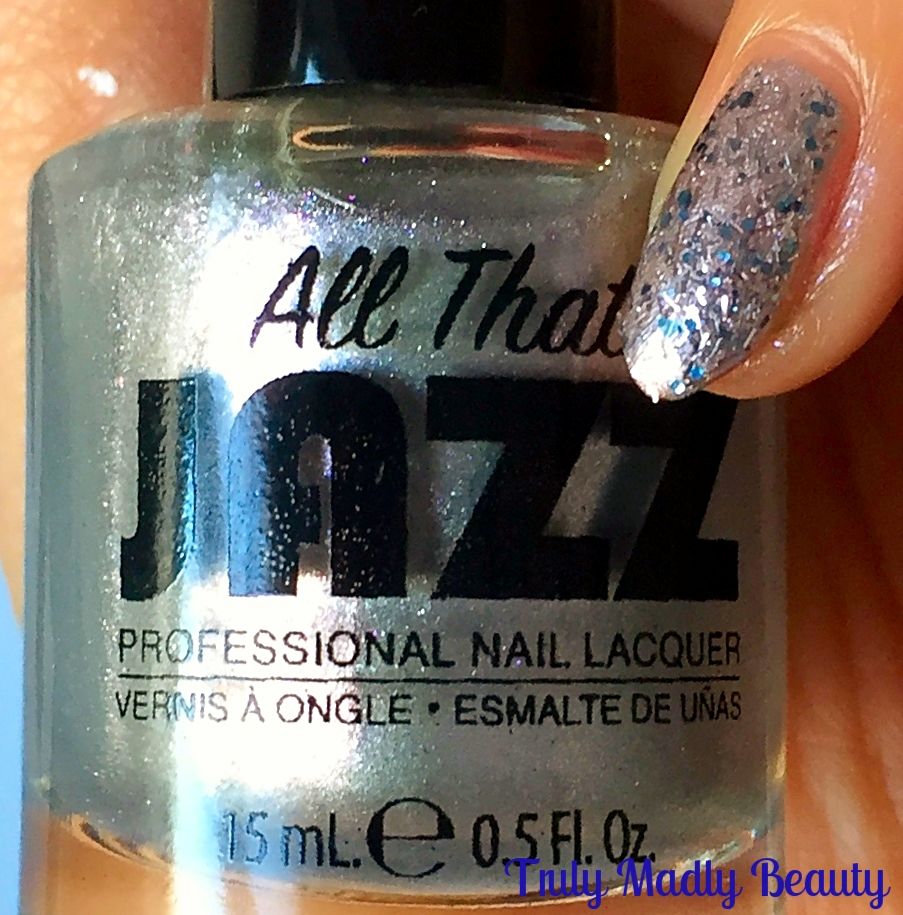
Then for the accent nail I applied two coats of this pretty silvery All That Jazz polish. I couldn't for the life of me find the name of the shade on my bottle, unless I was having a dunce moment which, lets be honest, is most likely, but it could be the shade Glam Squad


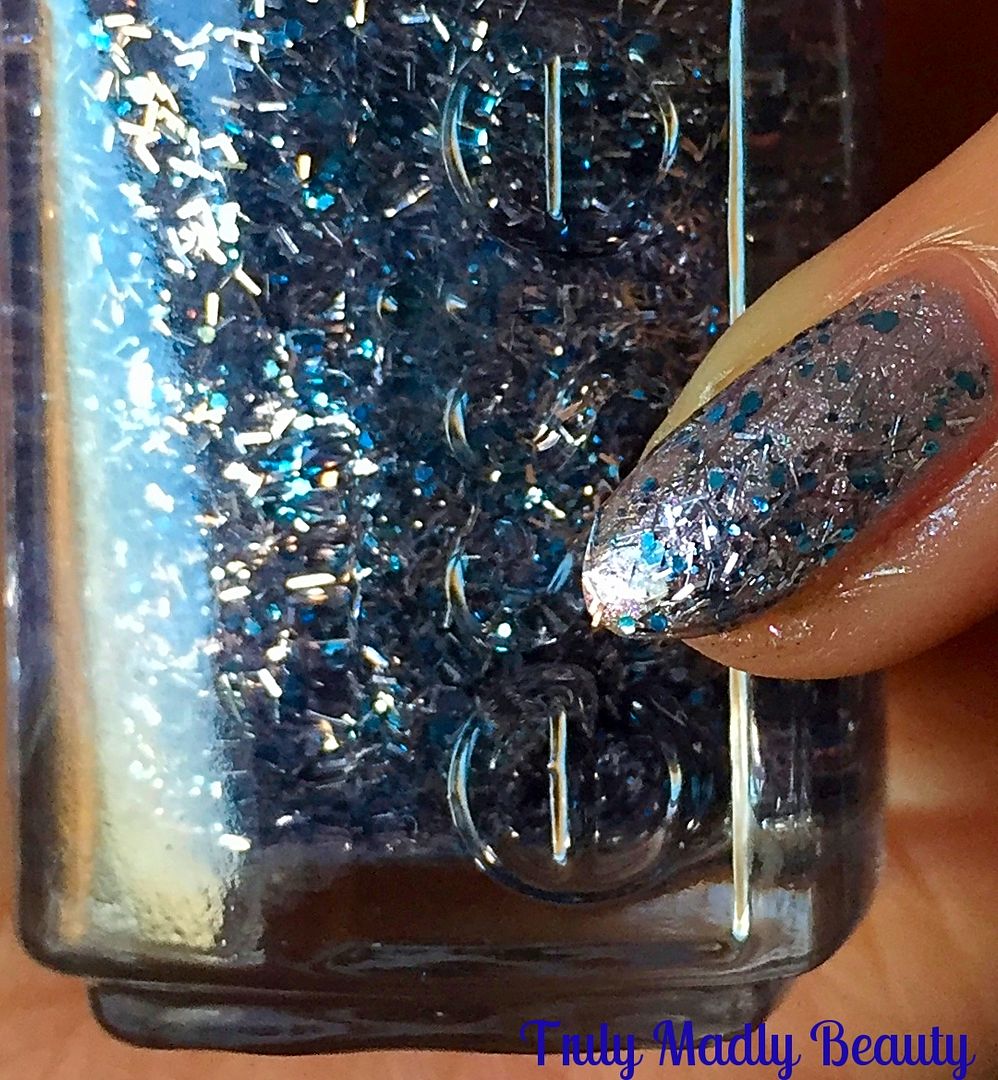
For the final touch I coated the silver pinkie with this beautiful silver & frosty blue bar & hexagon glitter mix courtesy of Essie Luxe Effects in Frilling Me Softly.


As mentioned before I decided to go for a matte look so to finish I applied a Rimmel matte topcoat to the pastel nails. Matte pastel manicures may just be my new favourite thing! I don't know if its the sweet tooth but this finish reminds me of cake frosting!

First post of 2017 done! Now I'm off to hunt down that Fondant Fancy that I know is in the cupboard begging to be eaten to satisfy the sugary sweet craving this mani has enabled. Thanks as always for sticking by to read my rambles, here's to a fab year!


Lotsa love to ya!


5.07.2016

NOTD - Dolly Mixture by True Brit London

Hello there my lovely readers!

If you follow my blog then I'm sure you're familiar with one of my favourite polish brands True Brit London.


I've shared a few of their beautiful polishes with you on HERE & my love for this British brand still goes strong. Everything about them appeals to my polish satisfaction needs, gorgeous packaging, divine formulas & most of all I adore the patriotic vibes of their collections, highlighting truly quintessential British vibes.


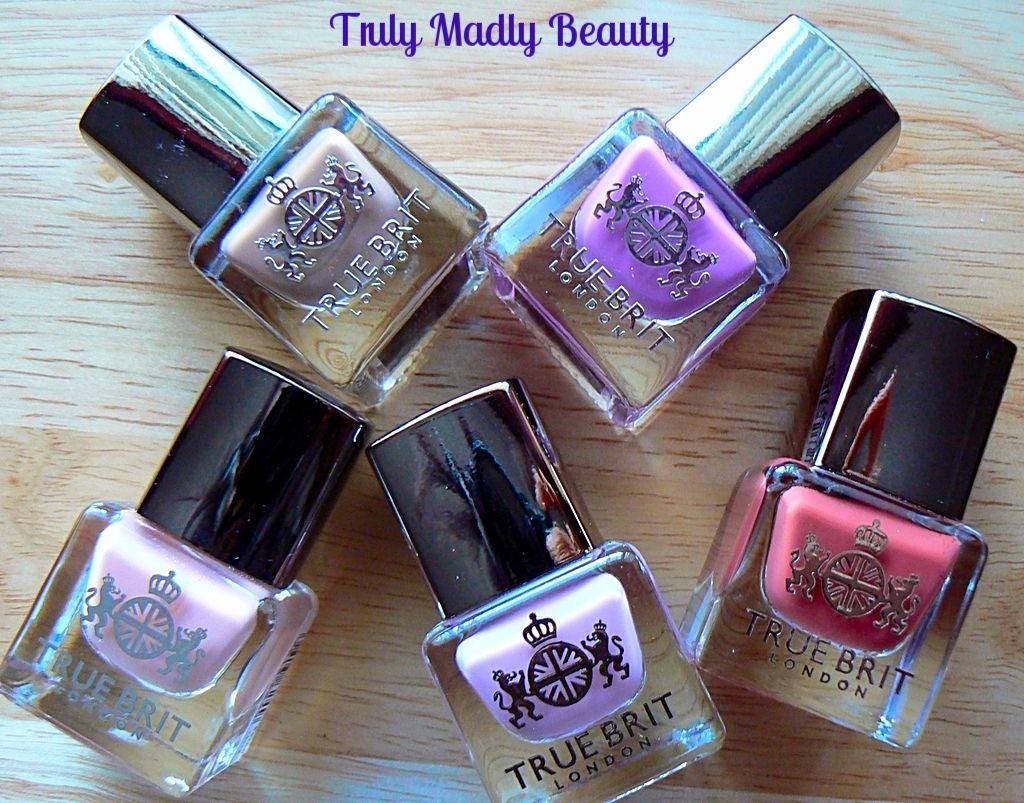
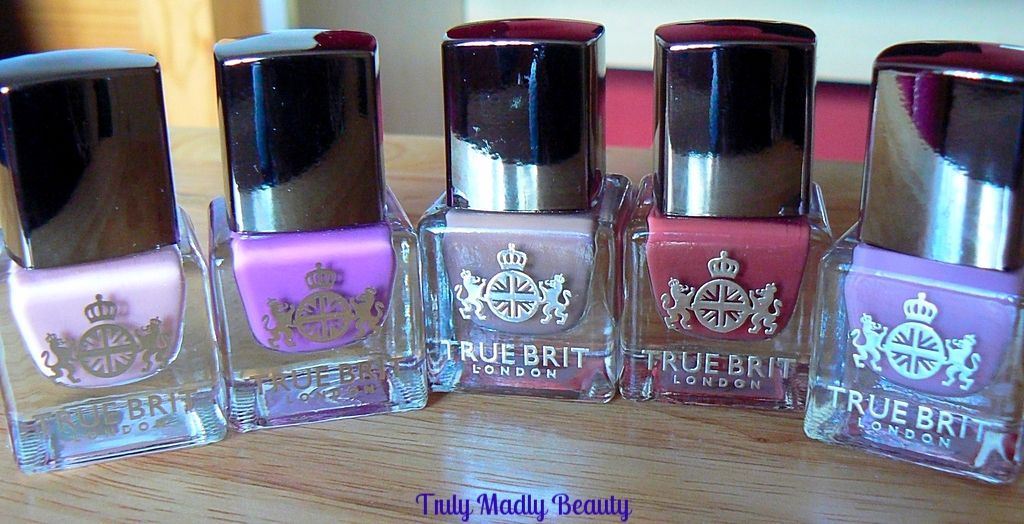
True Brit London have excitingly released some new pretty shades for Spring/Summer 2016 to add to their ever growing collections which I can't wait to share with you too. Take a looky...aren't they just completely SWOON worthy?


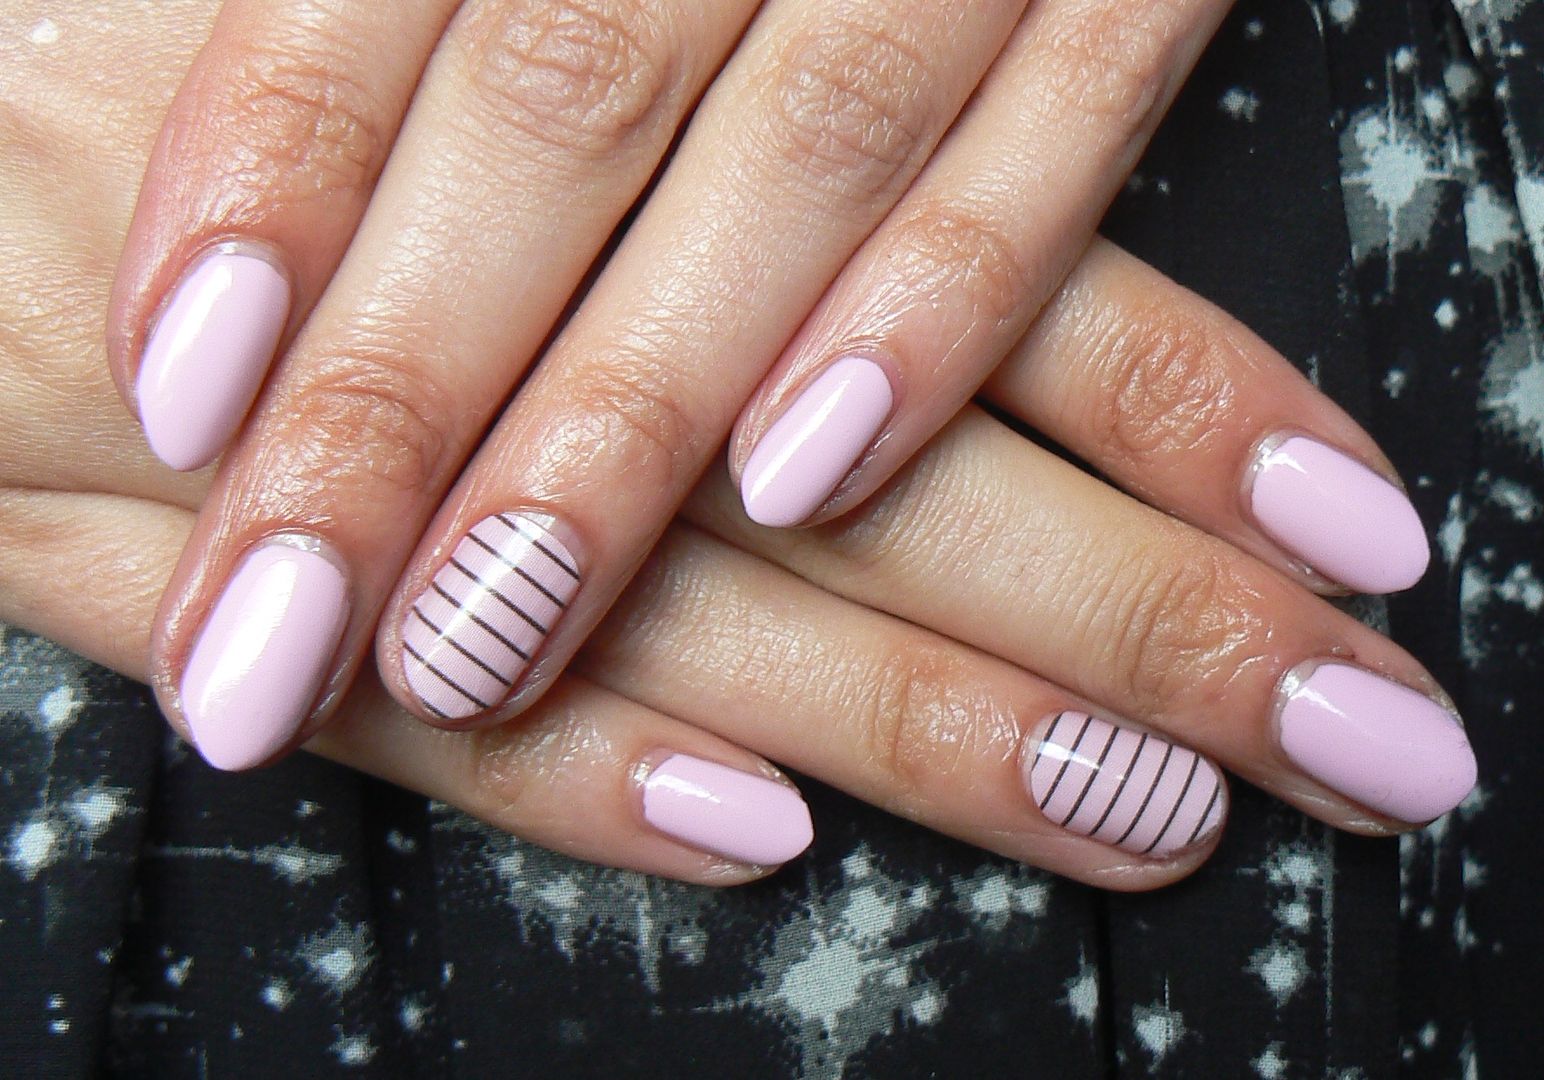
Ooooh decisions decisions...which one to try out first...twas a difficult one but I was in the mood for some sweet pinky goodness & *Dolly Mixture delivered on this perfectly!


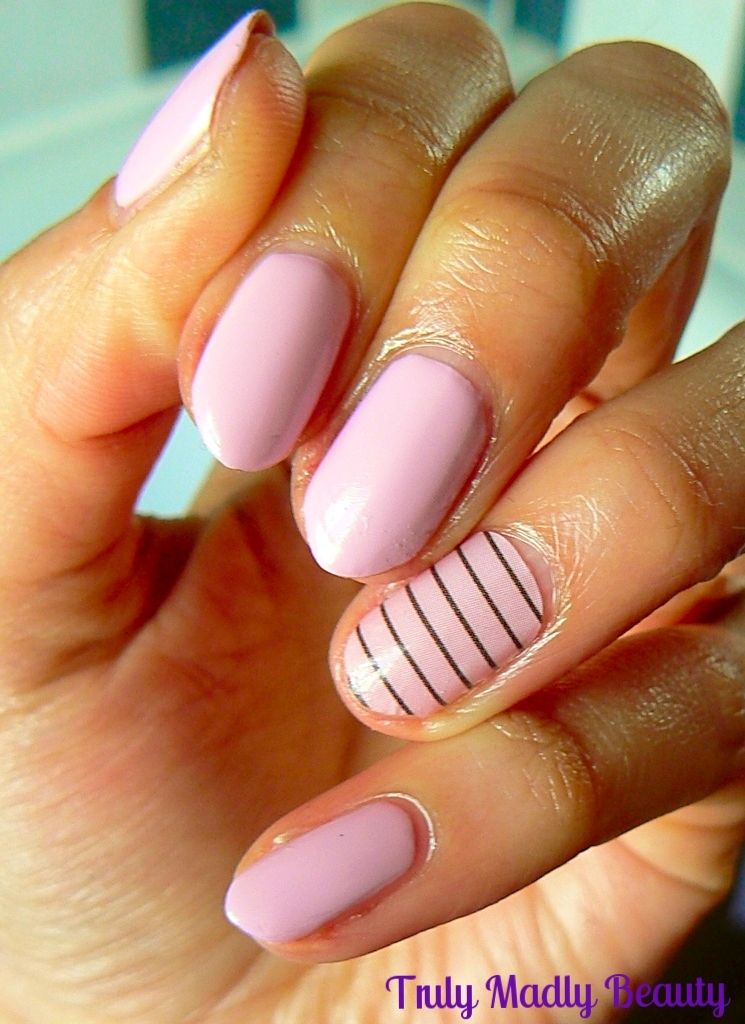
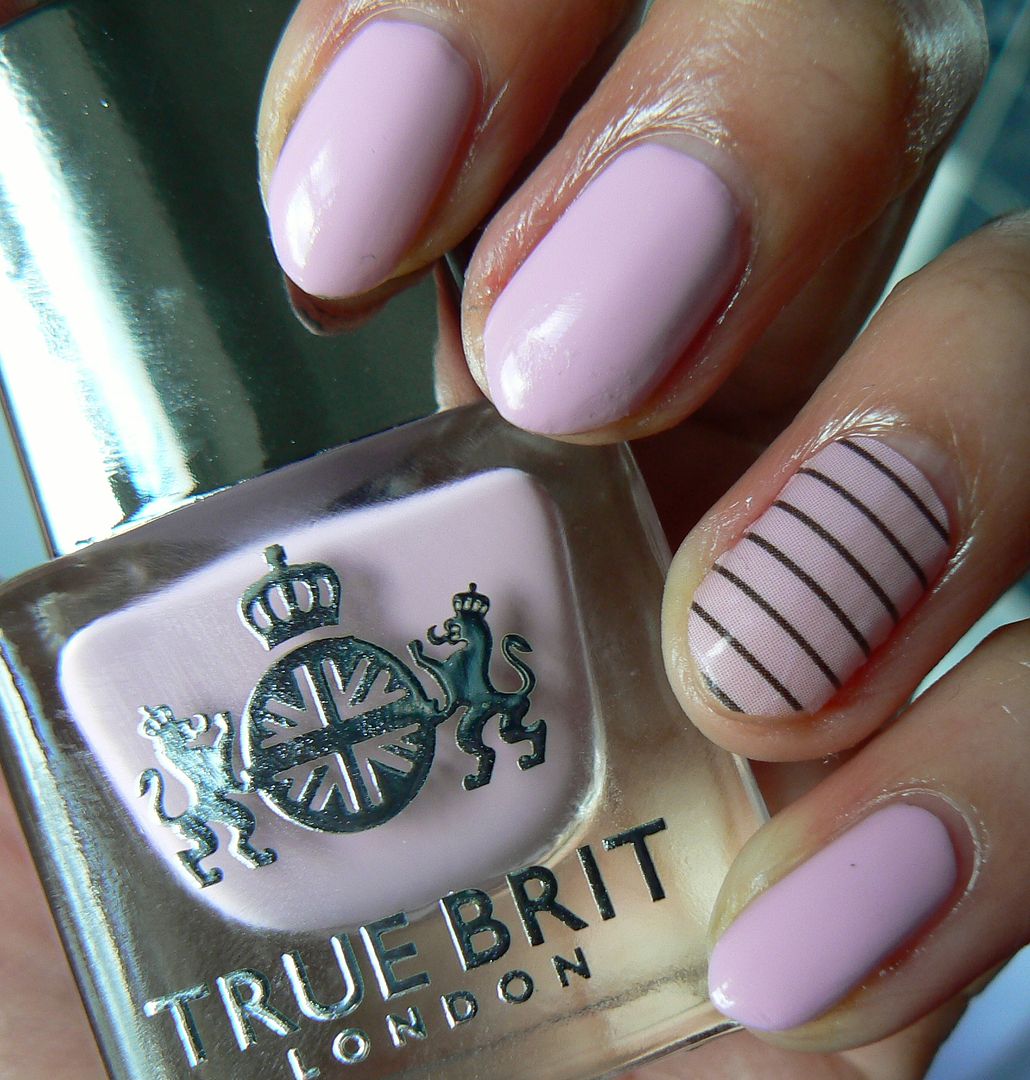
Dolly Mixture is part of the Garden Party collection & is as the name suggests, the most delightfully sweet confectionery pink creme shade.


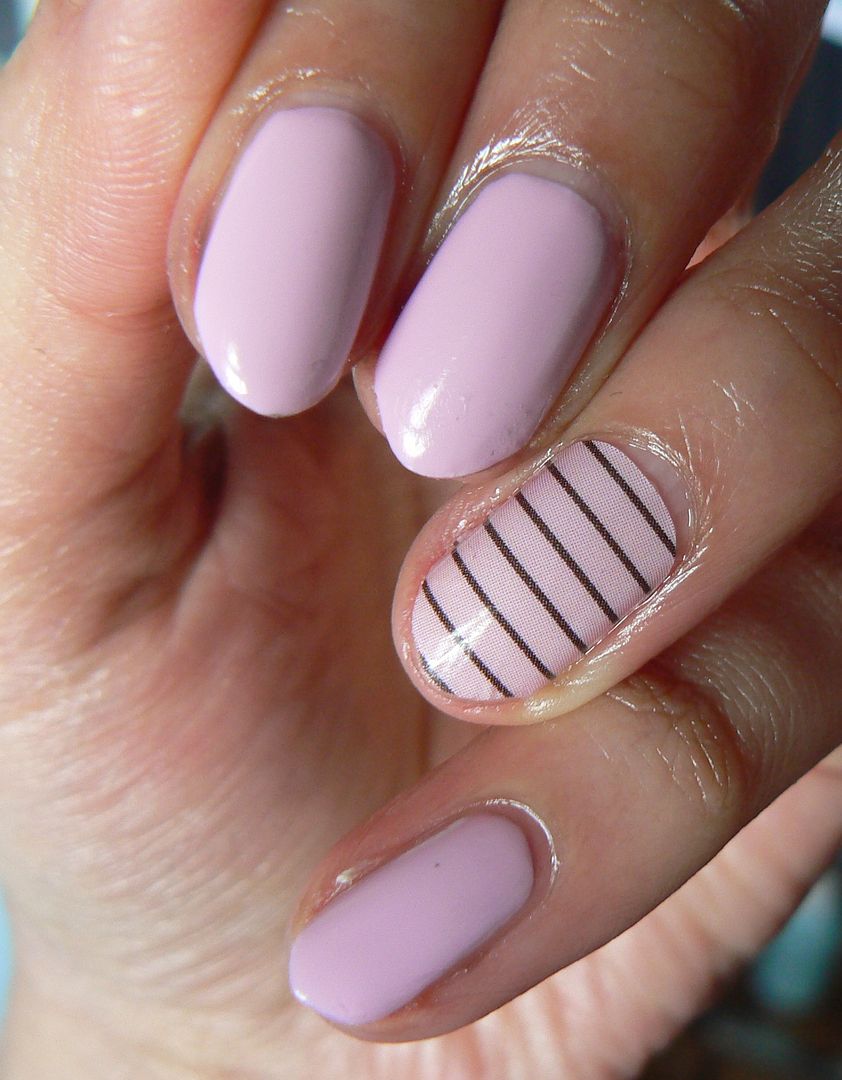
Here I've used two coats which applied beautifully, the formula is thick with the creme's however very easy to work with & you are left with a smooth glossy pretty pink mani almost gel like in its finish.


I decided to rock one of my Jamberry nail wraps as an accent with my Dolly Mixture nails & the Beverly Hills nail wrap went perfectly with it! 


I am utterly obsessed with these nail wraps which are a fab fun way to jazz up your mani's, available in over 300 different designs to choose from & have a longevity of 2 weeks.


They come in sheets of 18 wraps, enough for 2 manicure & 2 pedicures, or just use them all on your nails! I've written a full post on the Jamberry nail wraps HERE & you can purchase them via my website for just £15 HERE


I think Dolly Mixture would also look delightful with a white French tip, reminiscent of the sweet itself so will definitely try that out next time!


You can find True Brit London online for £12.50 a pop & you can also get 10% off your order using my code TRULY10. Keep posted for more swatches of the pretty new True Brit London polishes!

Thanks for reading!


Disclaimer - * products featured were sent to me for my consideration. I am not affiliated with the brand nor paid for this post, this review has been as always my 100% honest opinion! :)

3.21.2016

Easter NOTD - White Wabbits Tutorial!

Hey there lovely readers!

So I'm sure it won't have escaped your notice that Easter upon us, if the abundance of fluffy bunnys & cheeky chicks everywhere weren't a big enough giveaway then the lure of a four day weekend definitely catches attention!

Naturally I can't help getting in to the spirit of things by indulging in my favourite thing...nail art! As well as chocolate egg over eating...a skill I take most seriously. So I guess make that SECOND favourite thing ;)

Last year I created these pink Easter Bunny Booty nails which still make me giggle everytime I think of them. As cute as they were to wear they were also of course hugely impractical, but for the wee time they were worn the wabbits were dearly loved.


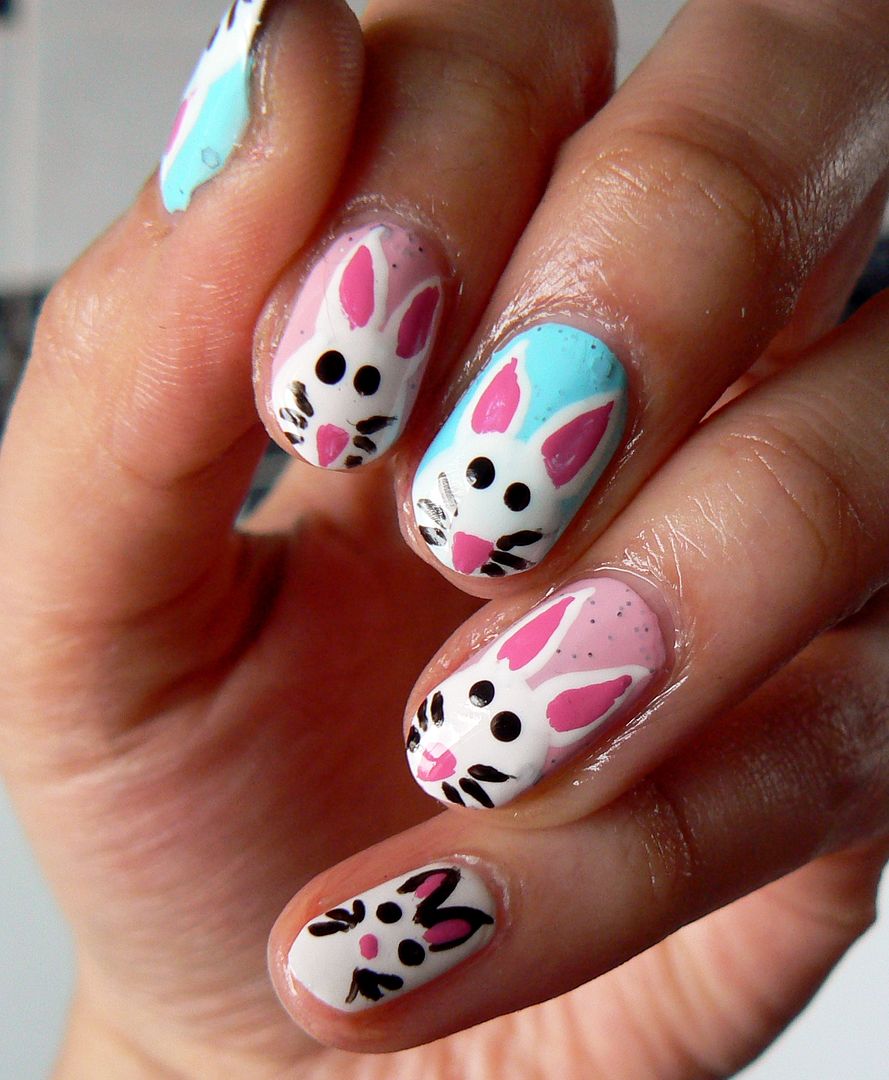
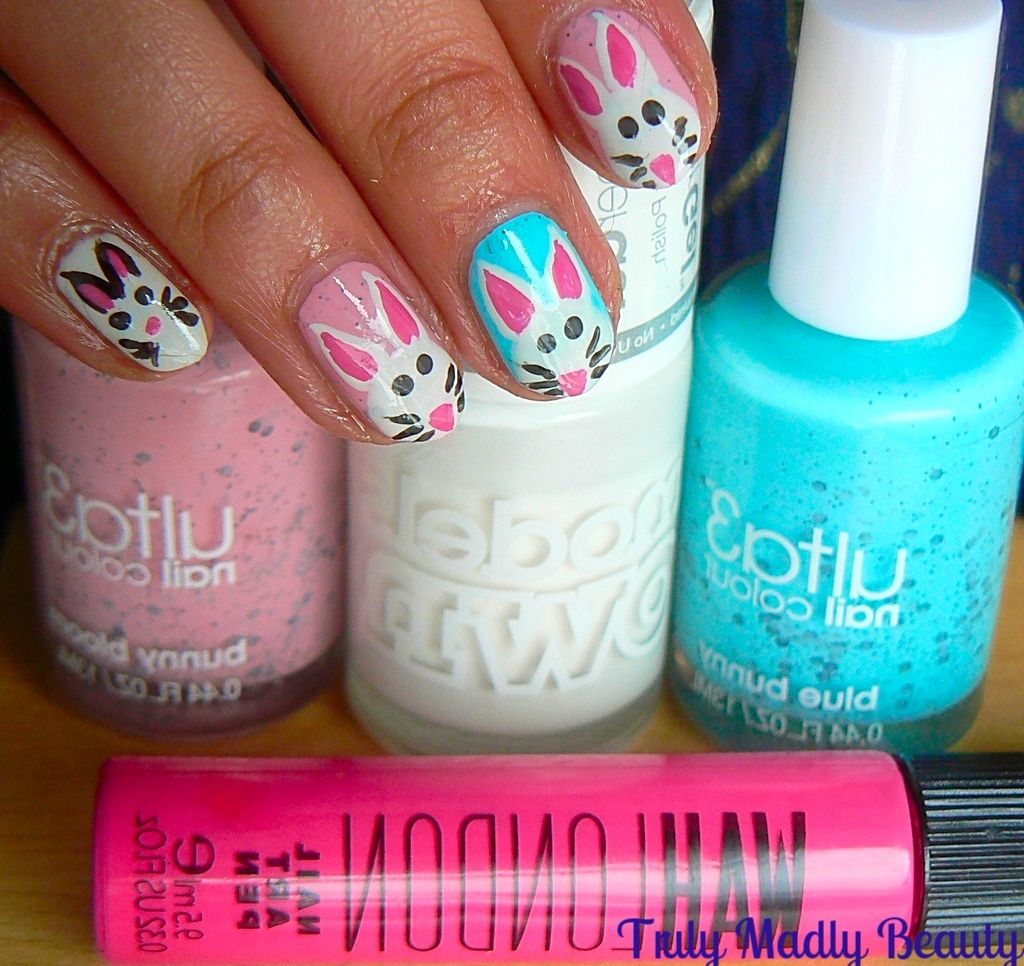
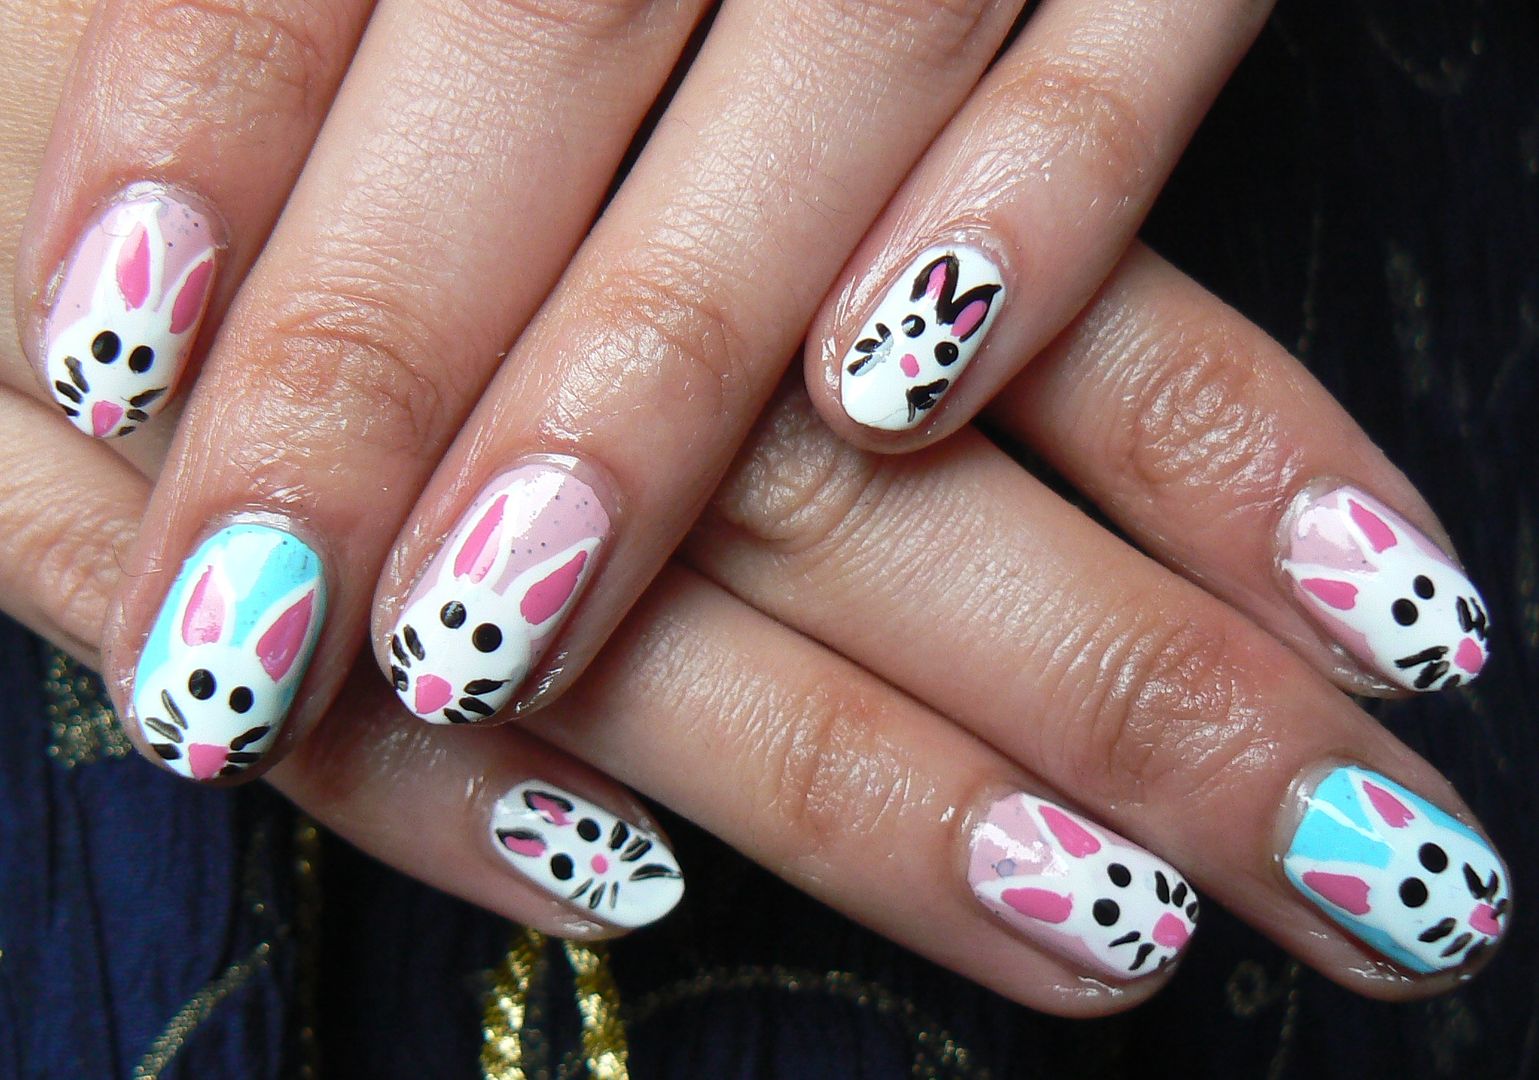
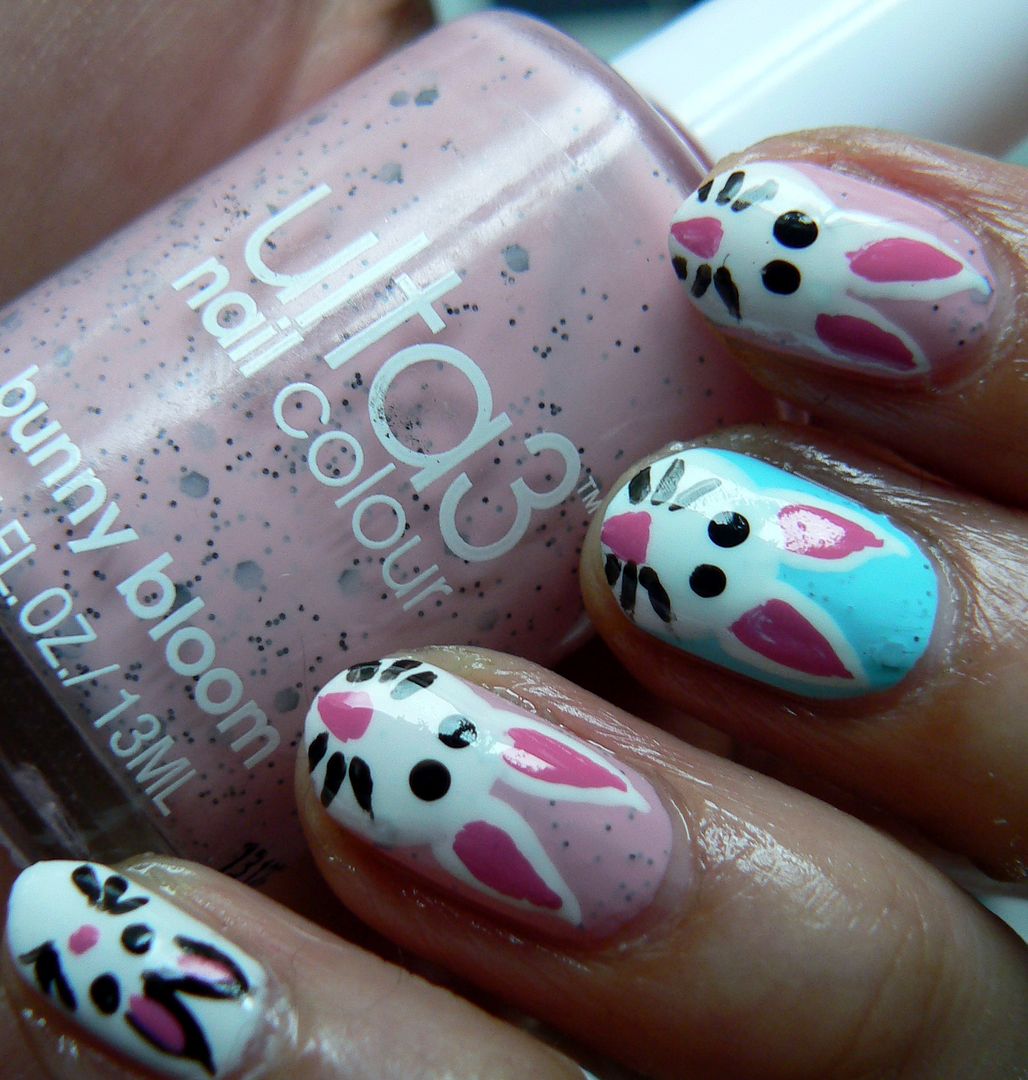
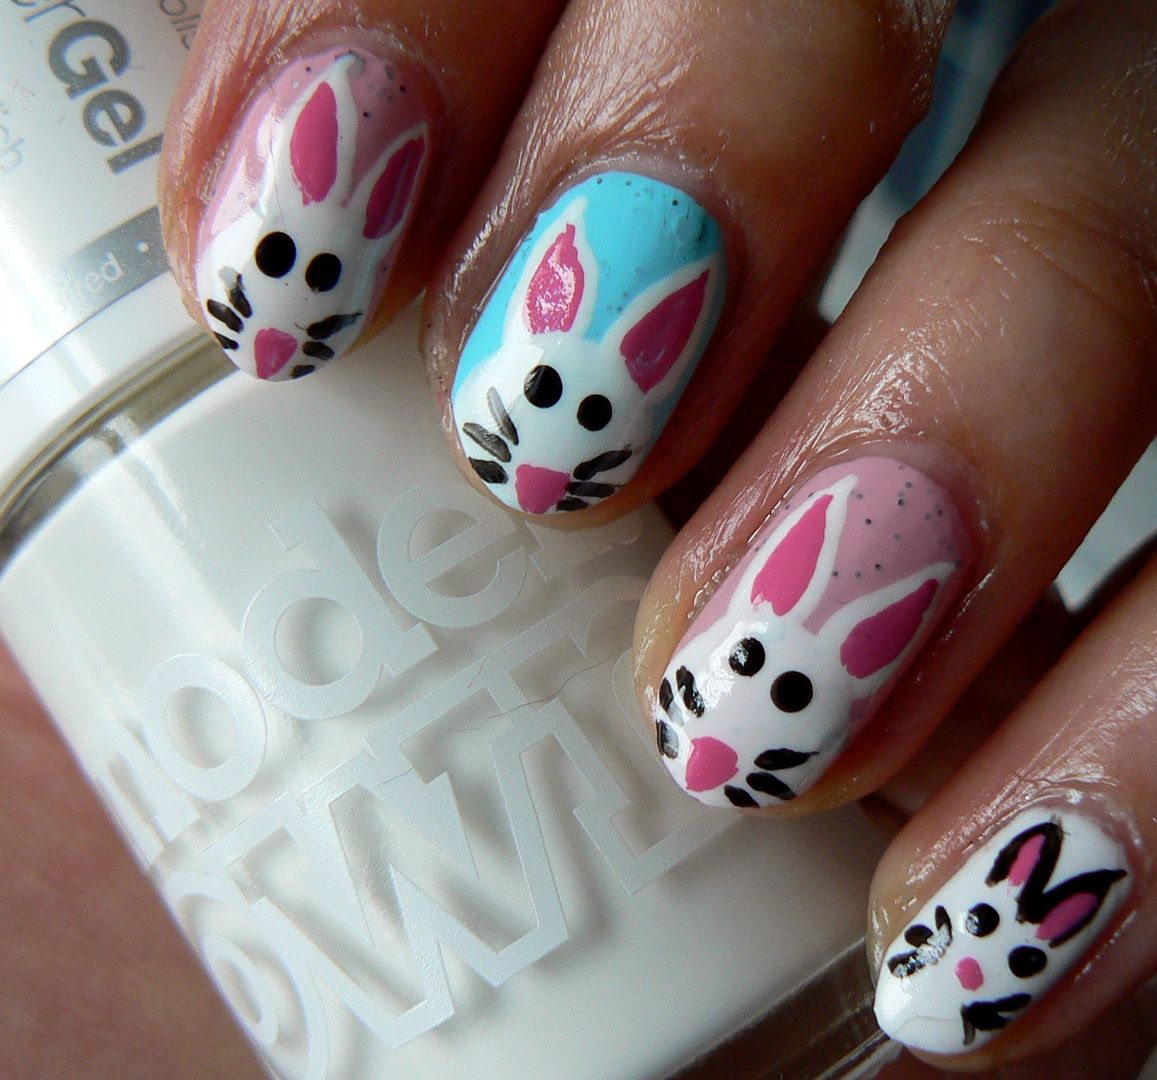
This time I decided to create some slightly better behaved bunnies, who instead of showing us their behinds, give us their best selfies smiles instead! :)

Easter time always makes me want to reach for pretty pastels & I had the perfect polishes to use  courtesy of Ulta3 who (along with many other brands I'm sure you remember!) released some speckled polishes a while back for the season each with delightfully bunny themed titles! 


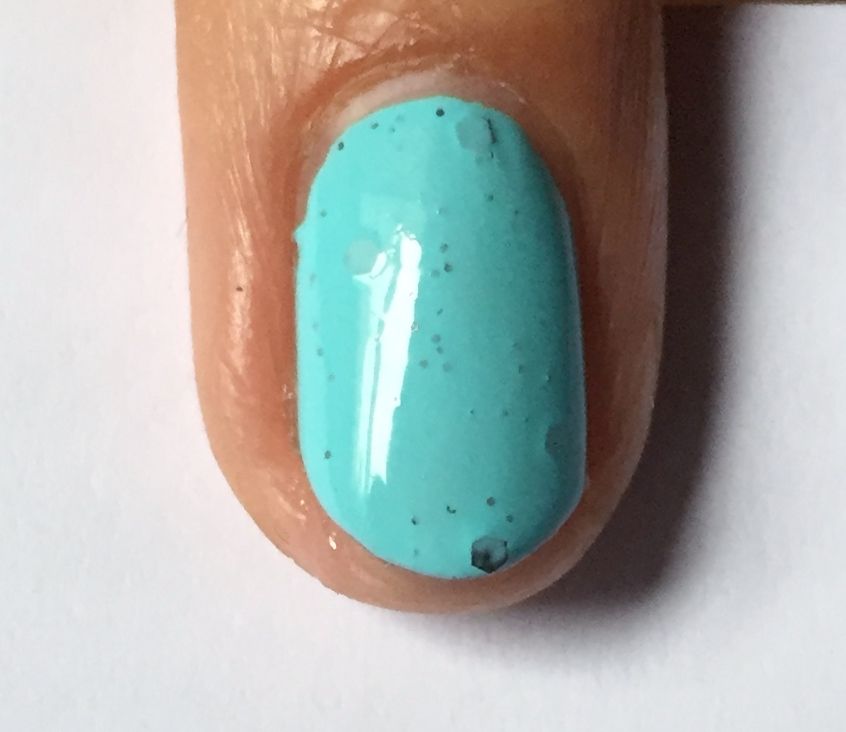
On my thumb & middle fingers I used one coat of Blue Bunny a bright blue pastel creme with teeny black glitters as well as a few larger hexagonal ones. 


On my index & ring fingers I went for the pink offering using one coat of Bunny Bloom, a pretty strawberry pink creme with the same black glitters. On my pinkie I decided to go all white using Models Own White Light HyperGel which is what I also used for my rabbits.


Now to draw our bunnies! Here is a wee step by step breakdown on how to create your own wee wabbits...


Begin with one or two coats of your base colour, with these Ulta3 polishes I felt one was more than enough, especially as I'd be adding more polish for my bunnies


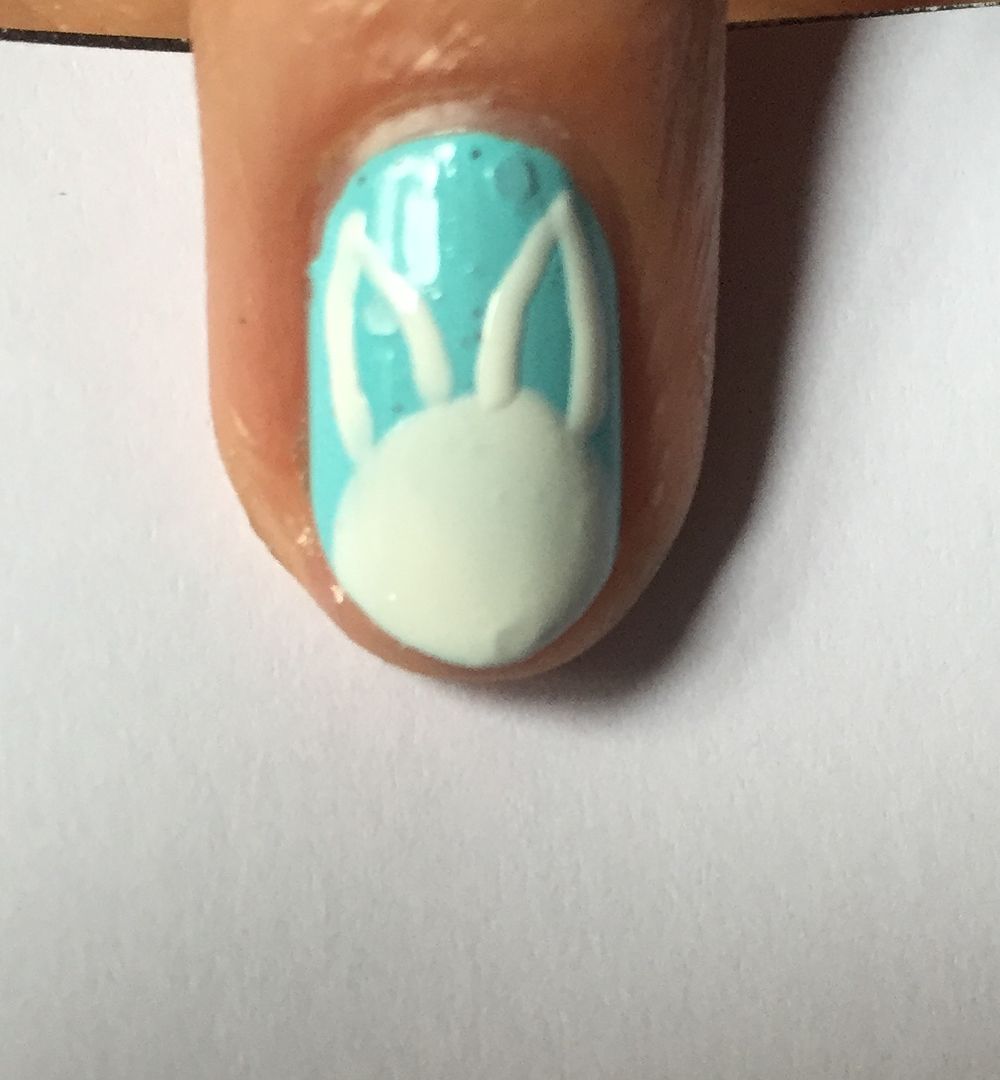
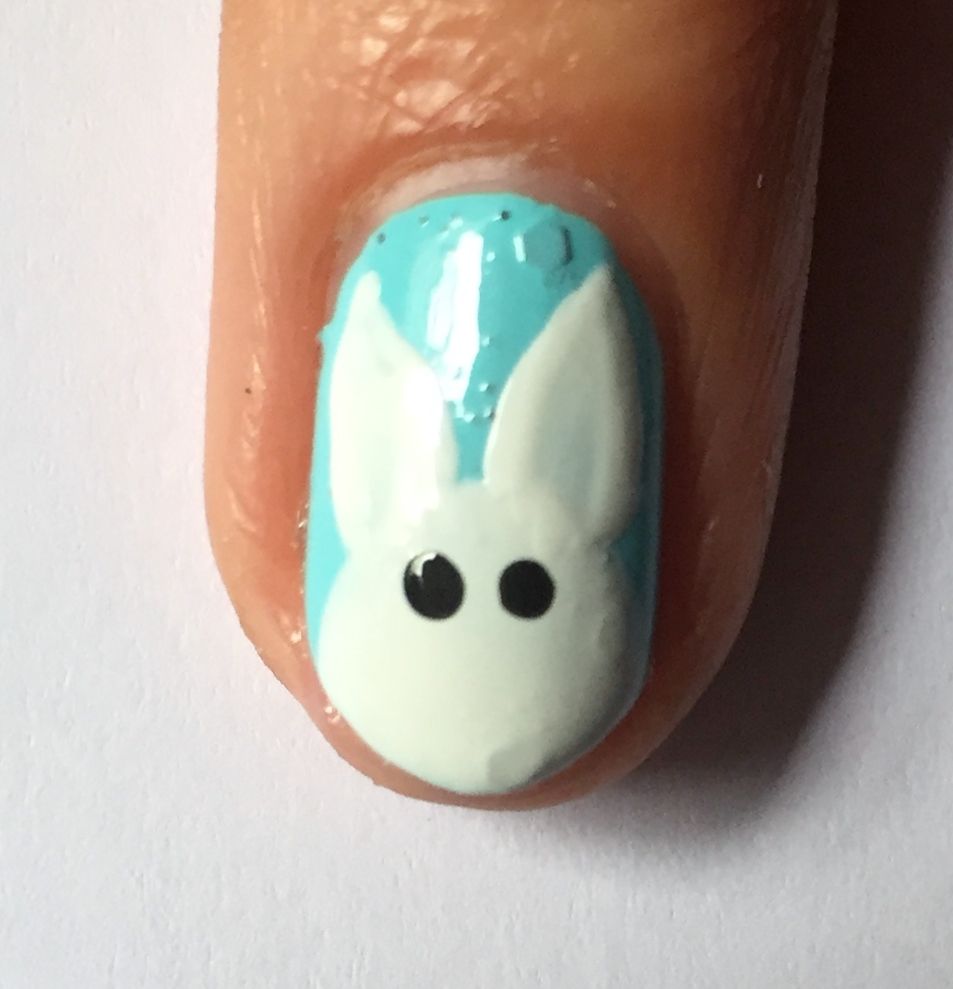
Start by drawing a round(ish) circle at the tips of your nails for the bunnies head using the brush that comes with the polish.


Then grabbing a finer nail art brush, dip into your white polish & draw on two ears above the head, if you want to make them floppy you can but I didn't have enough space. Fill in your two long triangular ears with more white


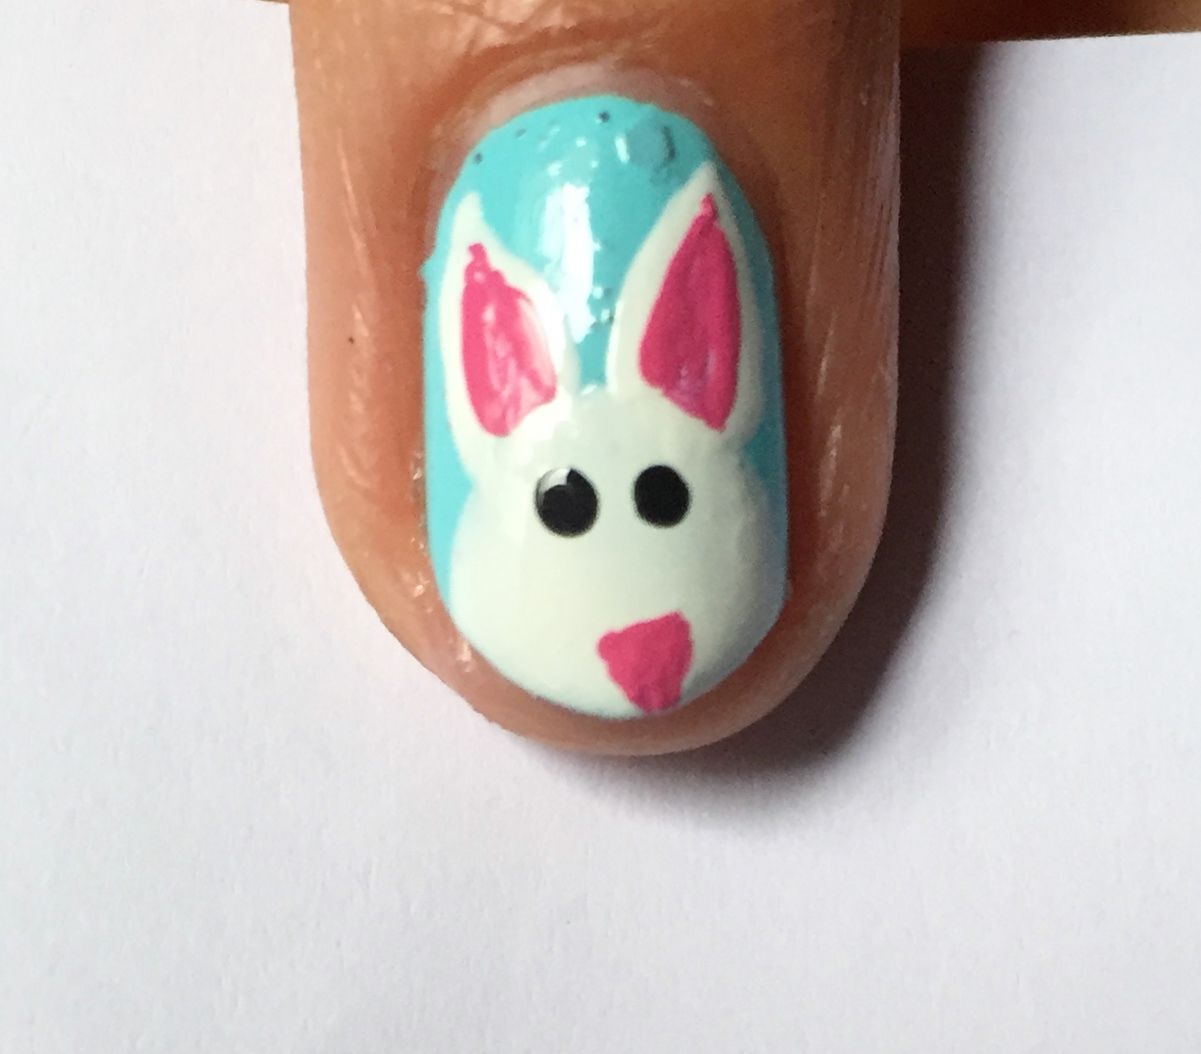
Then using some black polish & a dotting tool apply two dots next to each other for the eyes.


Next using a bright pink polish, here I've used WAH nail art pen in Pink & used the fine nib to apply a teeny nose & to fill in the inside of the ears with a smaller triangle.


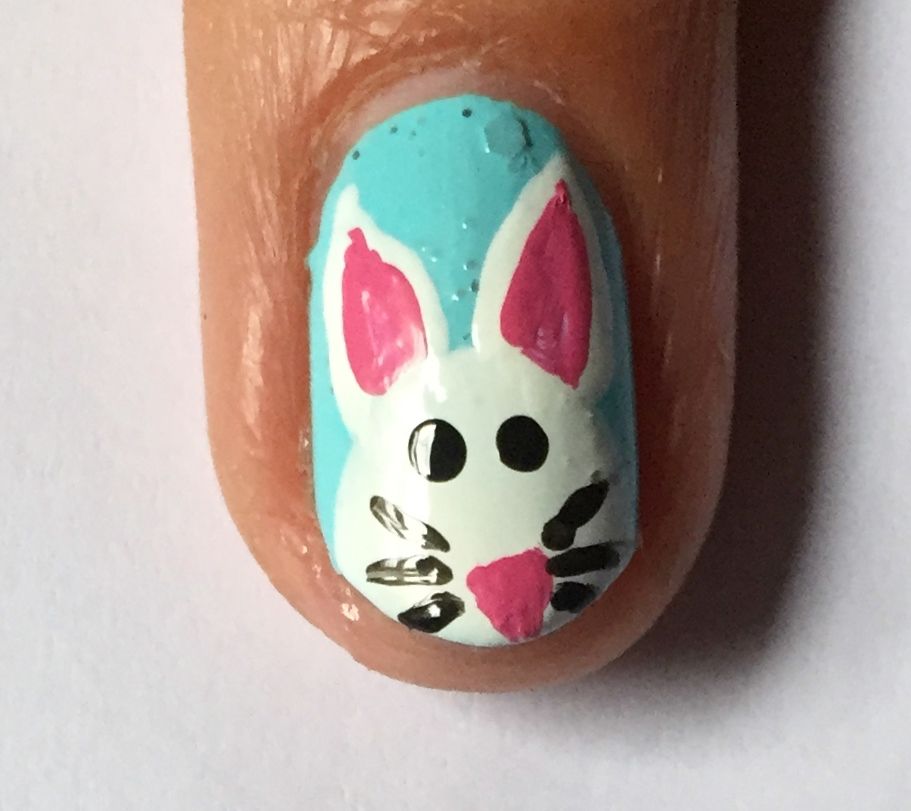
Final step is to add those whiskers by simply adding three small strokes either side of the nose with black polish


For my pinkie white bunny I simply used the black & pink polishes to draw on a rabbit face a little differently, more comic book, rustic arty style? That's what I'm telling myself with anyway...


Not forgetting a nice covering of glossy topcoat & your cute bunnies are ready to hop :) I have some googly eyes lying around that I'm itching to use & I've just had an idea for what they might be perfect for so stay tuned for more Easter nail art... 

Losta love to ya!


3.16.2016

NOTD - St Patricks Day Shamrock Nails & Tutorial

Hello my lovely readers!

Grabbed a cheeky midweek reprieve from work today & what better way to spend it than a trip to Hogwarts! The matey & I paid visit to the Harry Potter studios & had a magical time going in to full on geek mode, prowling through Diagon Alley, popping by Number 4 Privet Drive & sampling Butterbeer. Which was actually a bit of a let down! I was expecting liquid Werthers or something but it definitely wasn't to my taste haha! I'll be Instagramming some memories from the day so do pop by! @Aysh_xox
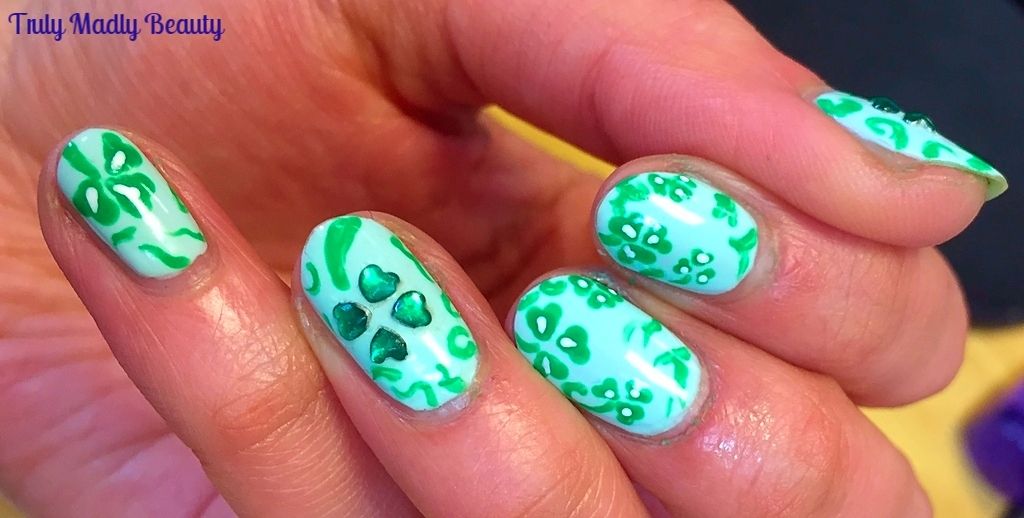
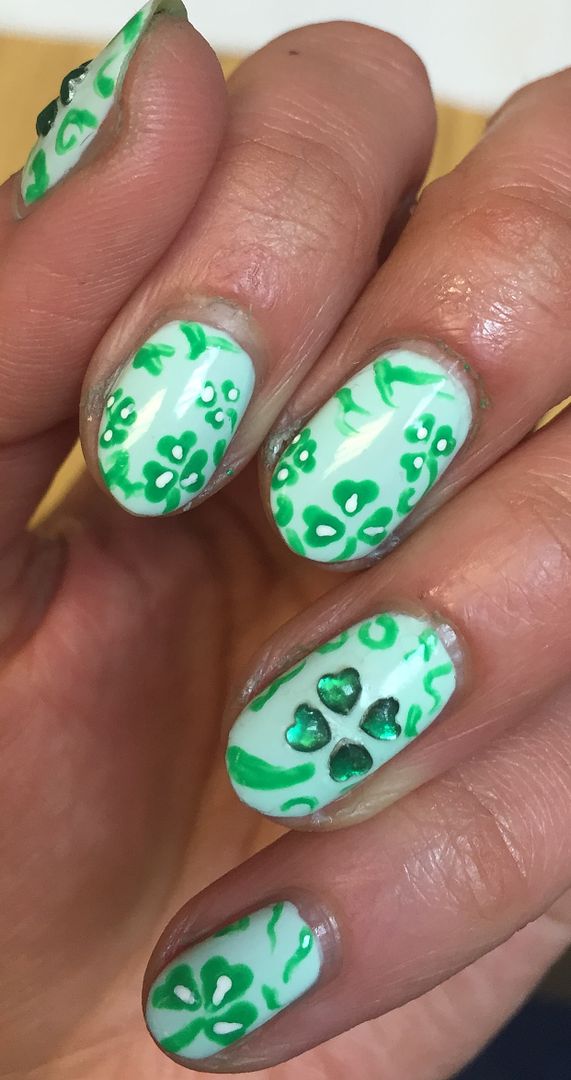
As promised I've thrown together another St Patricks Day mani for you, this time with some Shamrocks! You can check out my previous post HERE in which I've shown you how to create some Gothic Celtic Love Knot nail art in honour of the Irish holiday also :)


However if that design feels a bit too complicated then these sweet & simple Shamrocks are much more easier to do!

Whereas with the Celtic Knot I went down the dark gothic vampy route, with a deep Ebony Green & Antique Copper, which you know I LOVE, this time I felt some refreshing pastel & bright tones were called for. 


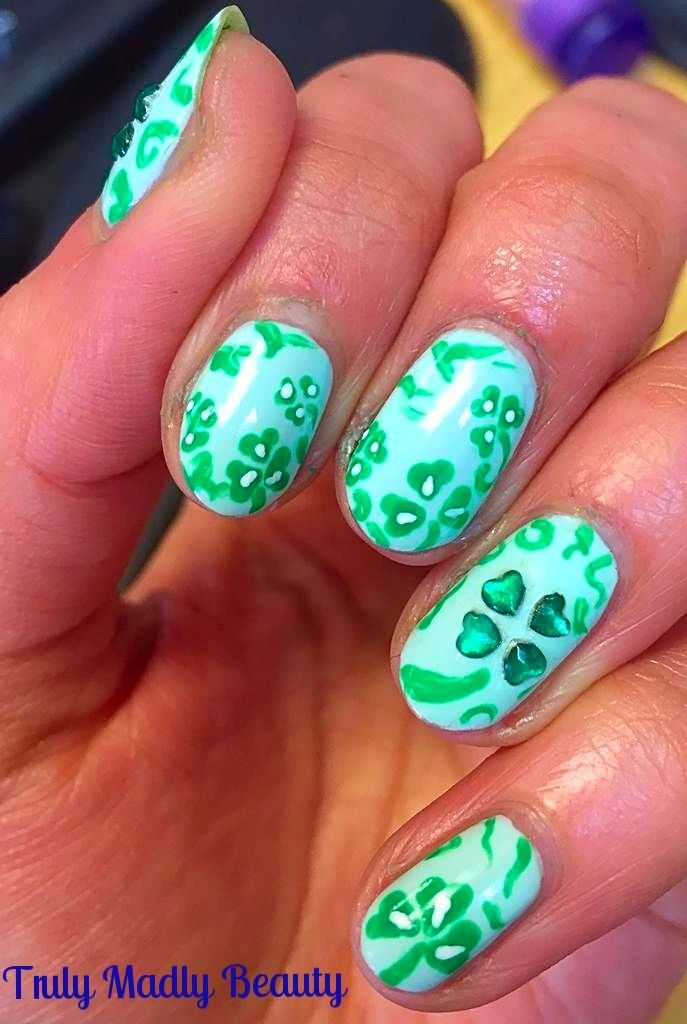
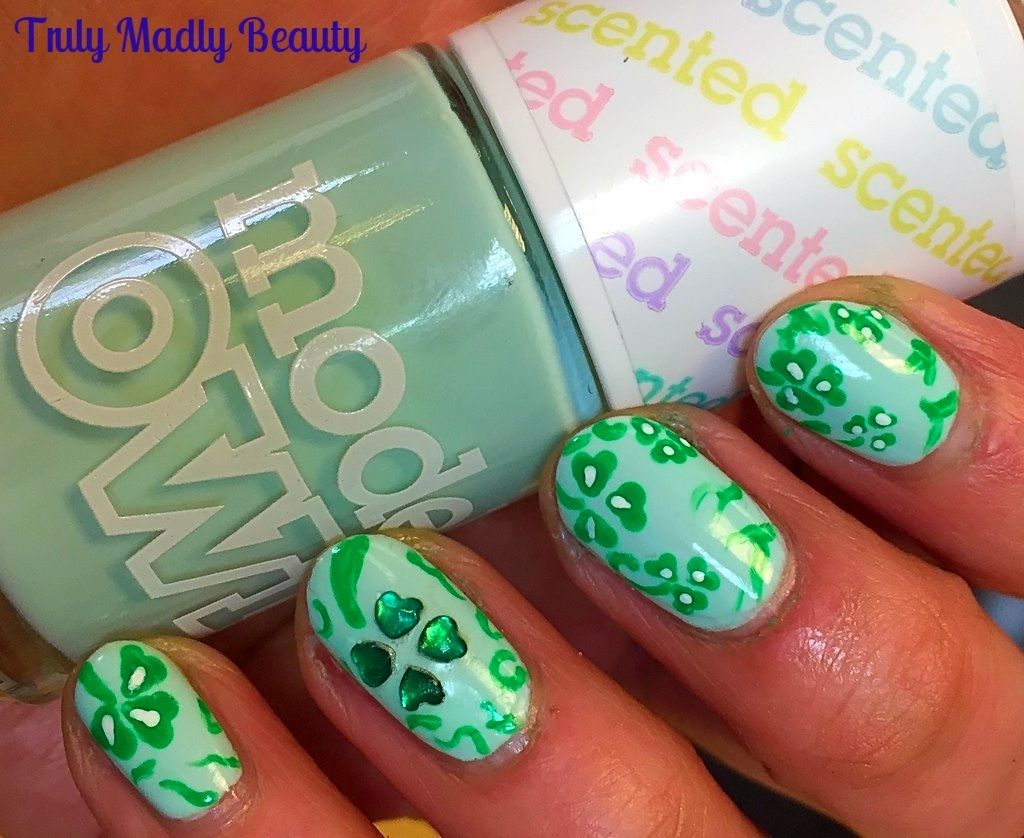
For my base shade I've used two coats of Models Own Apple Pie from their scented range, a beautiful creamy mint, so bright, cheerful & yes indeedy...delightfully apple scented! Yum!

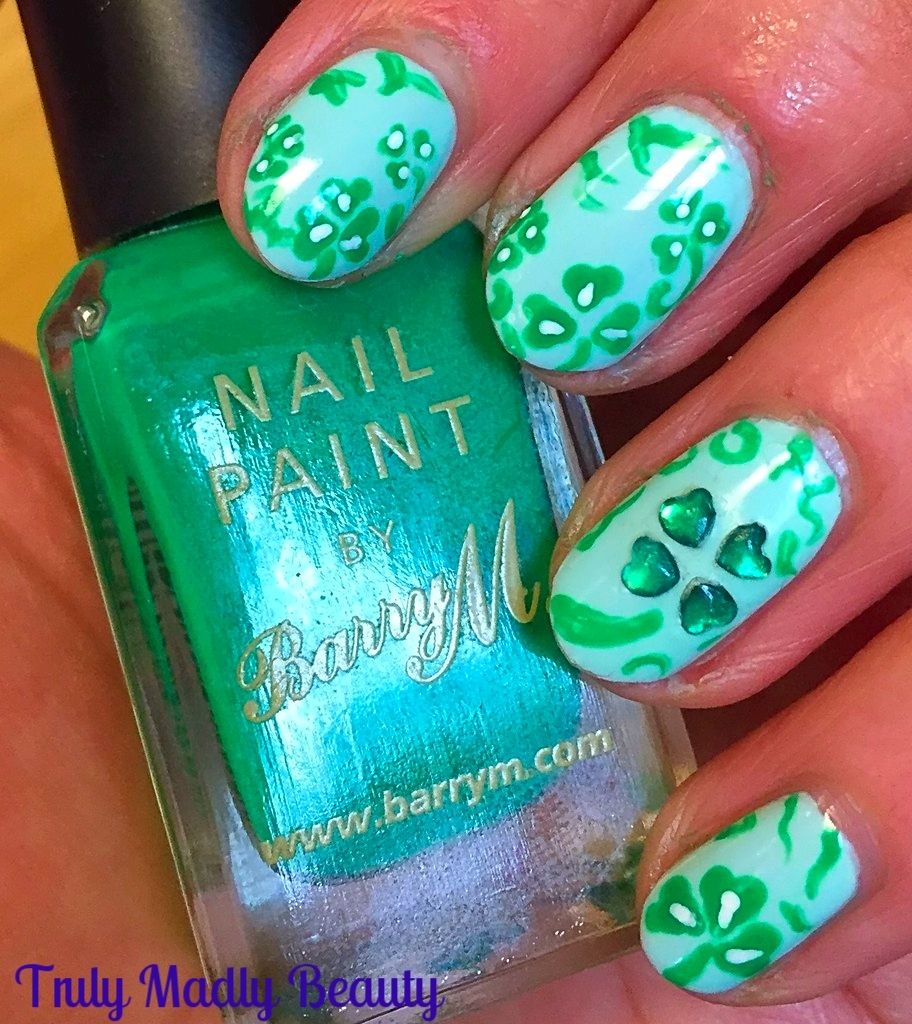
Then for my Shamrocks I reached for an old favourite of mine Barry M Spring Green, a bright & almost fluorescent green that really pops!


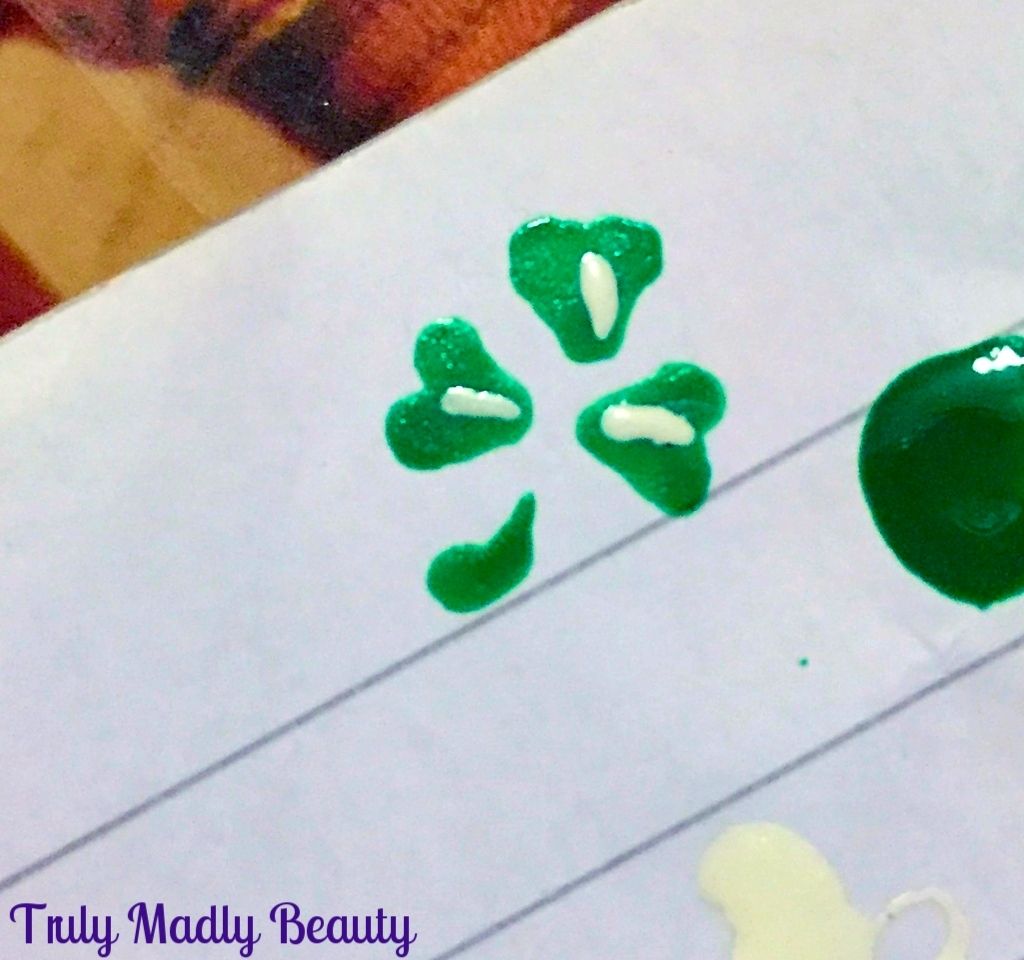
Using a dotting tool I managed to fit on about three shamrocks on my index & middle fingers around the border & one large one on my pinkie. To create your shamrock just follow these simple steps...


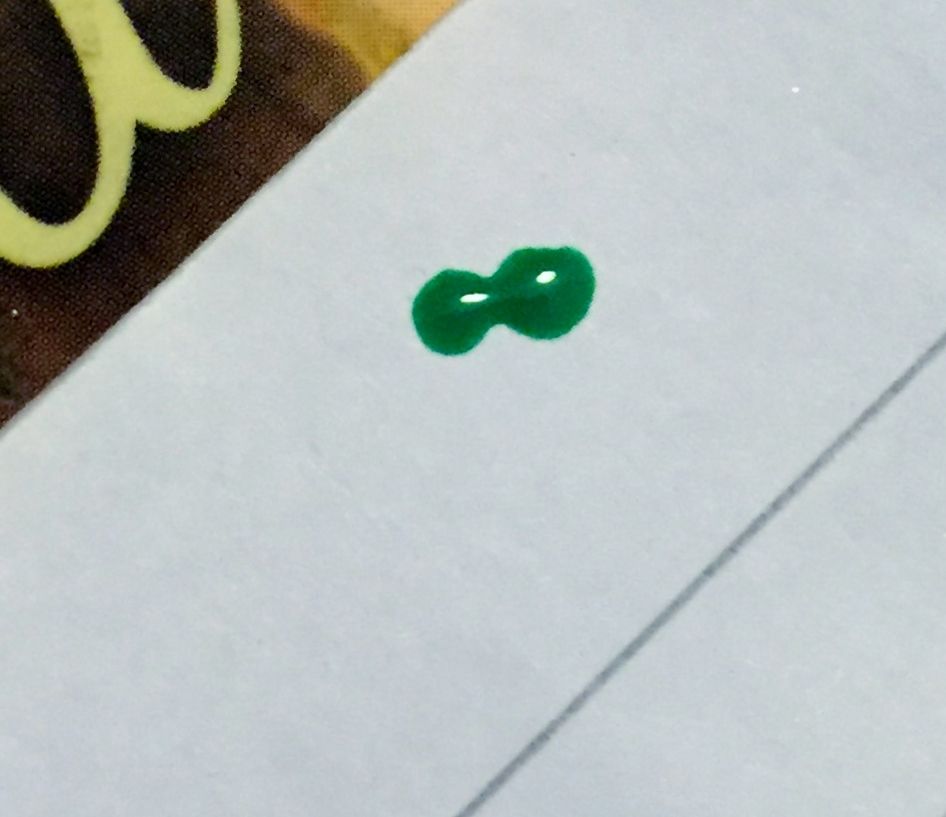
Using a dotting tool or toothpick place two dots of green polish side by side


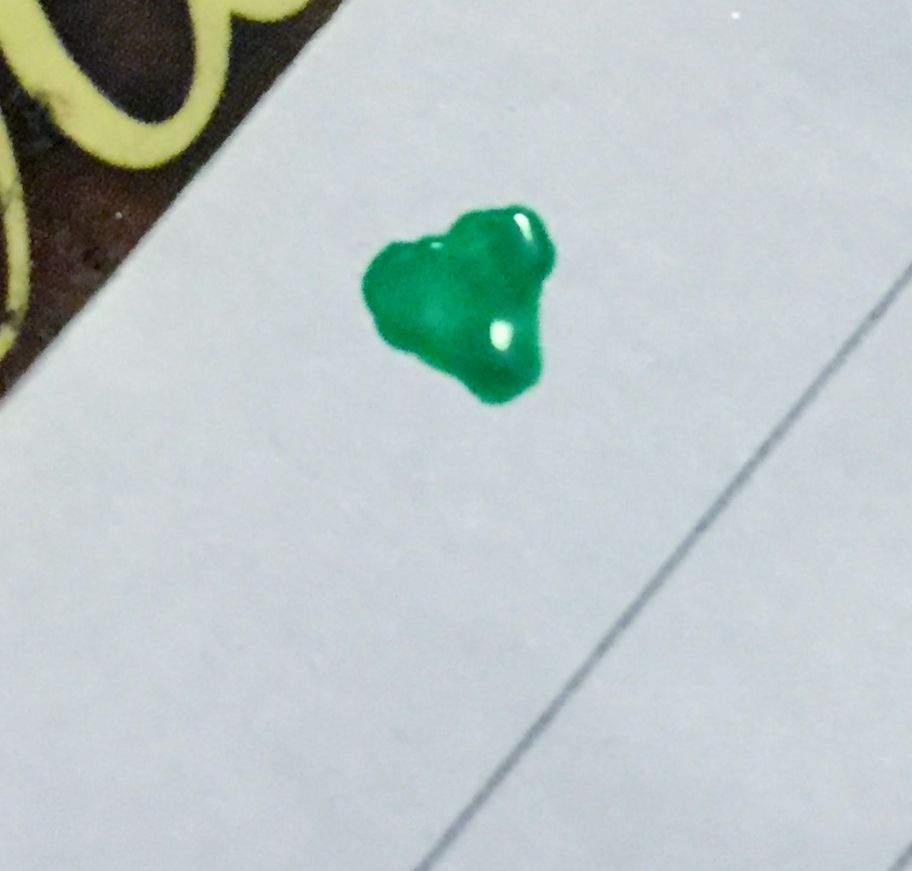
Then using the same tool, bring the two dots together at the bottom joining together to create a heart shape


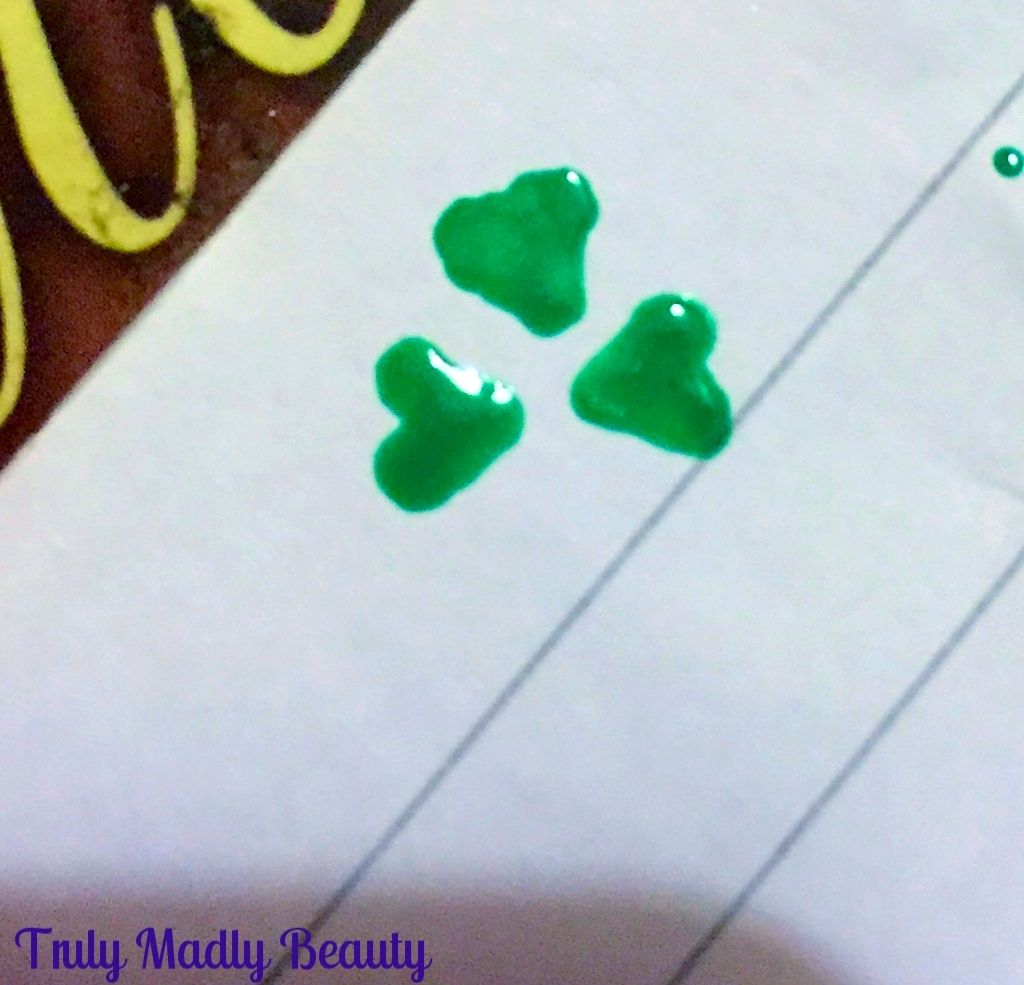
Do two more of these underneath, this time making these two leaves face each other


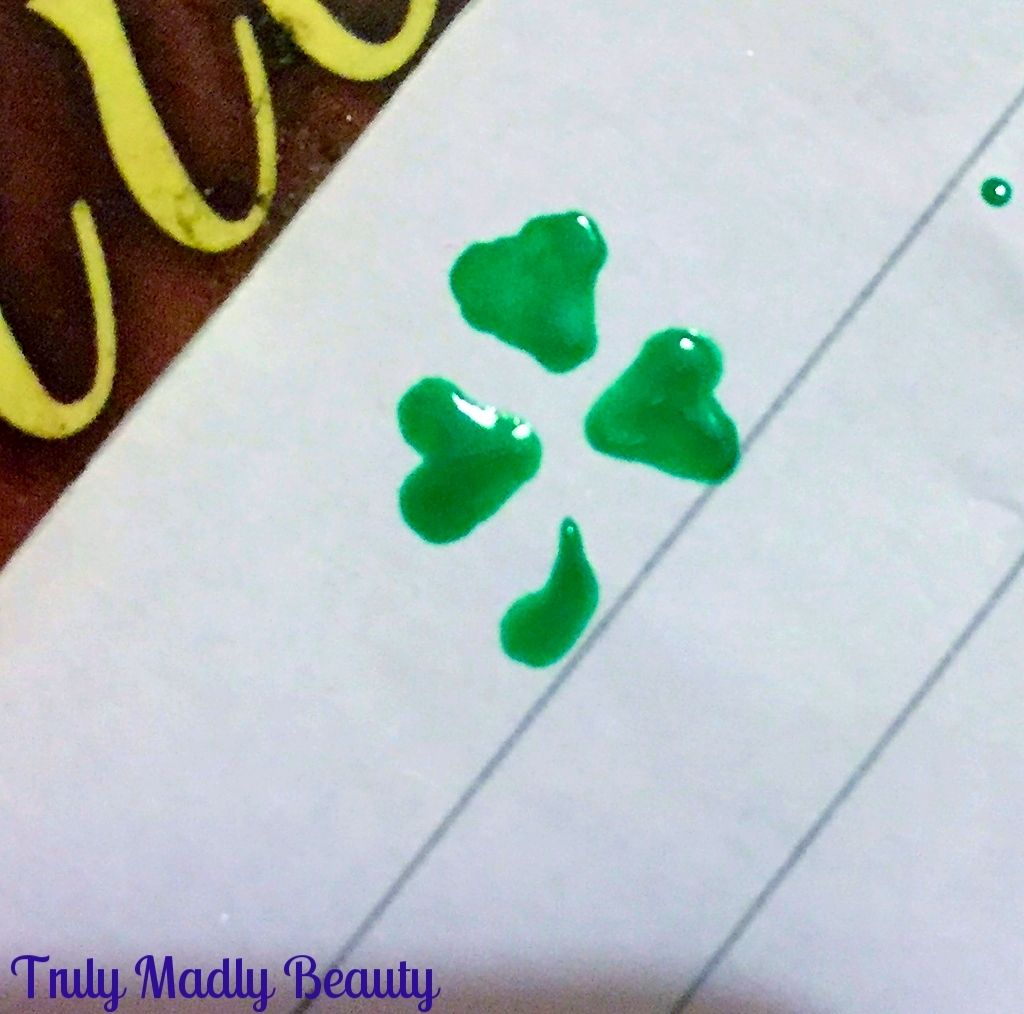
Apply your stem using a nail art brush


Finish with a thin line of white polish on top of the leaves in the centres for added detail.


To fill up the nail a bit more I simply added a few strokes of green around the border creating some additional fauna using a fine nail art brush.

On my thumb & ring fingers I decided to use some heart shaped green rhinestones instead of polish to create some 3D  four leaf clovers for luck :)


Finish it all with topcoat & you have your Shamrock nails ready for St Paddys day! Thanks as always for reading & I hope you have a lovely one if celebrating!

Lotsa love to ya!