Showing posts with label Red. Show all posts

2.10.2019

NOTD - Poppies & Gold for Galentines!

Hey there lovely readers!

Florals you'll know if you're a regular reader, are my jam & I don't see this love going anywhere anytime soon! Speaking of love it is of course Valentines season, but moi? I'm celebrating Galentines with my gals! Today's nail art is for Galentines Day babes & features one of my favourite red polishes which was sent to me by one of my darling friends Chelle all the way from Australia! Which I thought perfect for the occasion.


1.16.2019

NOTD - Three Quick & Easy Dotticure Looks ft Models Own SoFly Collection Review

Hello there lovely readers!

I stumbled across this post in my archives which I'd written as a guest post donkeys ago for the lovely Safiyah who kindly sent over to me the Models Own SoFly collection to review for her, where I also shared a few super quick nail art looks. In case you missed it I thought I'd whack it on here as well for your perusal as the easy peasy nail art is my favourite kind! :)


9.18.2018

NOTD - Easy Sci Fi Nails using Nail Wraps!

Hey there lovely readers!

Whilst having a sort through my nail art stash recently, I came across a bunch of old nail wraps which I'd accumulated quite some time ago, if the dust gathering on them was anything to go by! O_o


8.07.2018

A England "A Symphony In Green and Gold" and "Peaseblossom A Fairy" Polishes

Today I wanted to share two beautiful new additions to my polish collection from one of my all time favourite brands...A-England

A-England is an indie polish creation by the lovely Adina & the collections within her range seek inspiration from English history & myths...thus appealing to my aesthetic completely. Not only are the polishes themselves stunning with faultless formulas but the stories behind the collections are equally intriguing & magical. Collections such as "Tudoresque", which is dedicated to King Henry VIII & his 6 wives. "The Legend", which touches on the story of St George & the dragon and "To Emily Bronte", a collection inspired by the gothic novel Wuthering Heights...these are just a few of the magical collections...can you see why I am besotted?


6.05.2018

Meebox Nail Subscription Review - April's Material Girl Themed Box!

Hey there lovely readers!

Back in February I tried out my first Meebox Nail Subscription, a monthly beauty box JUST for nails. Perfect for the nail polish enthusiast! After being mighty impressed with the goodies included, of which you can read my full review of HERE, I promised myself that tempting though it is, I wouldn't succumb EVERY month, because your girl really has FAR too many polishes yet to try, instead opting to treat myself every now & again with a cheeky Meebox fix...as you can see I lasted a whole month before giving in! Nil points for self control Aysh...O_o

5.29.2018

NOTD - Infinity Stone Nails!

Hey there lovely readers!

So I, like much of the world of late went to see the greatly anticipated Avengers Infinity War, & boy did it leave a mark & then some! I am a huge fan of this incredible universe which I'm sure comes as no surprise. Having said that I DID have to do a bit of catching up with a Marvel marathon or two before going to see this instalment (don't judge me...there ARE a lot of films & I kinda lost track!) & I definitely advise you do as well to avoid any gaps in the story! 


4.09.2018

NOTD - Dr Seuss The Cat In The Hat Nails

Hey there lovely readers!

Something a tad, crazy & quirky, for today's nail art I think  is an apt way ti describe this design hah!


1.30.2018

Disney Nail Art Series - Queen Of Hearts!

Hey there lovely readers!

Its been a while since I've added a new look to my Disney Nail Art Series so I'm rectifying that today by dipping my toe into perhaps my favourite & most relatable Disney film...Alice In Wonderland! Now there are SO many different looks one can create & I definitely plan on visiting this Disney film a few times but I though I'd start with the diva herself...the Queen of Hearts!

12.06.2017

Festive NOTD - Red, Green & Gold Smoky Ombre

Hello there lovely readers!

Tis the season to be jolly & thus one is finally getting up my first nail art for the season! 


11.29.2017

NOTD - Creme & Chrome Geometric Nails

Hello lovely readers!

Here is a quick mani I put together where I couldn't decide if I wanted me some vampy, creme or chrome nails...so I decided to go for all three! Go hard or go home right?


7.03.2017

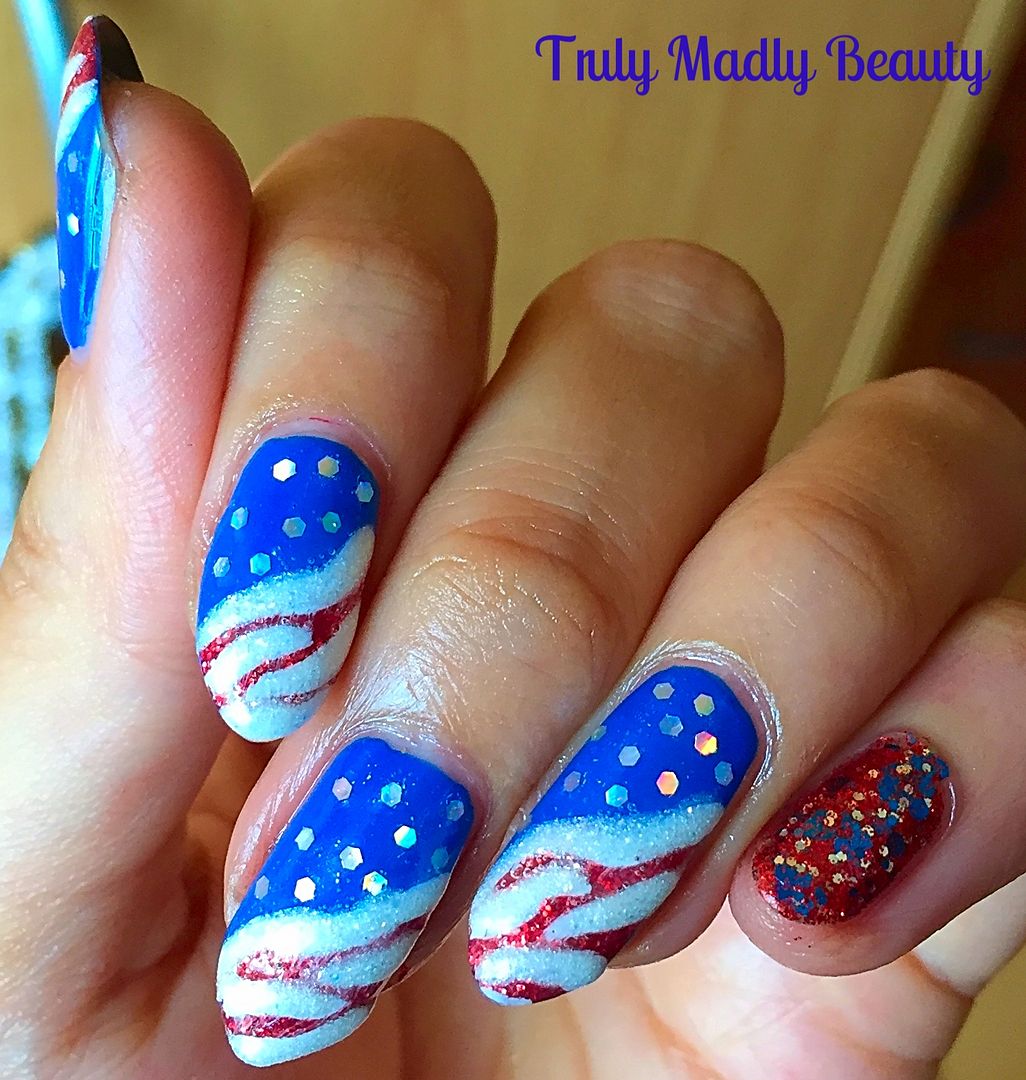
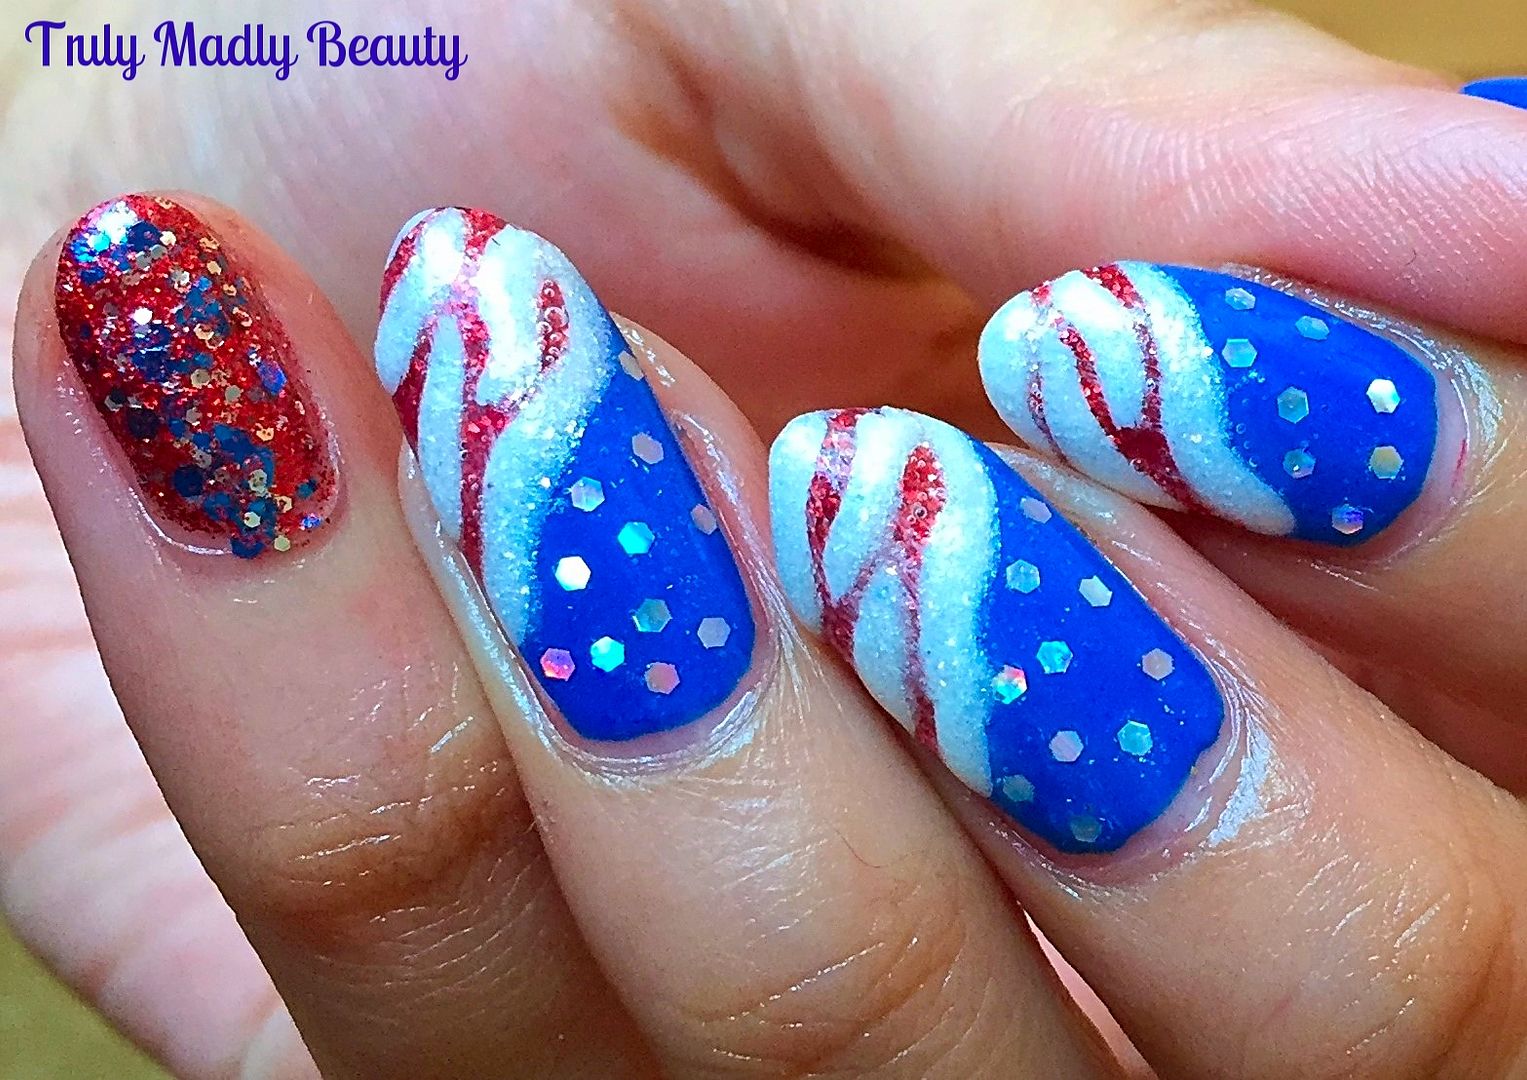
NOTD - Fourth of July Nails!

Hello there lovely readers!

As today's nail art has distinct red, white and blue vibes going on I think its obvious what occasion is inspiration is here ;) Every year I like to throw together a mani to mark my American cousins over on the other side of the pond's Independence Day celebrations. Any excuse to get my nail art on!


I was muchos happy with my Fourth of July nails last year which featured blue dripping glitter & a step by step tutorial so go have a peek at those HERE. I loved them so much & didn't think I could top them...maybe it was a mistake to go in with that attitude as I really wasn't happy with how these ones for this year came out but meh you win some, you lose some & I'm gonna roll with this FAIL of immense proportions!


6.12.2017

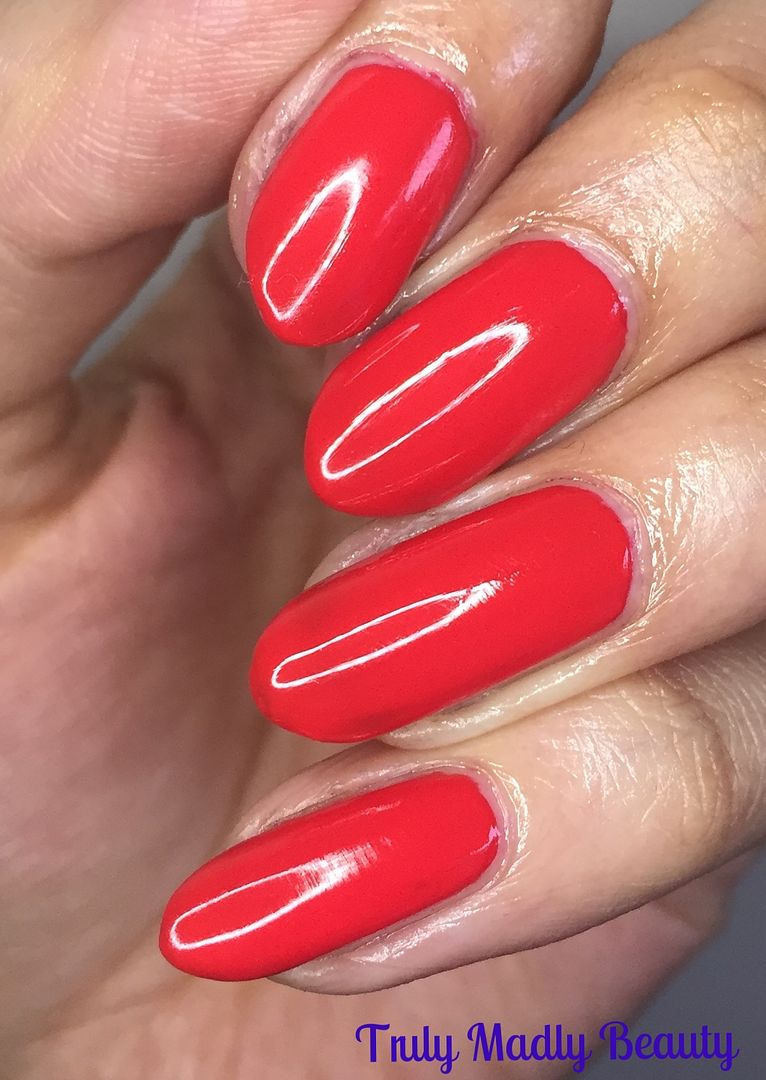
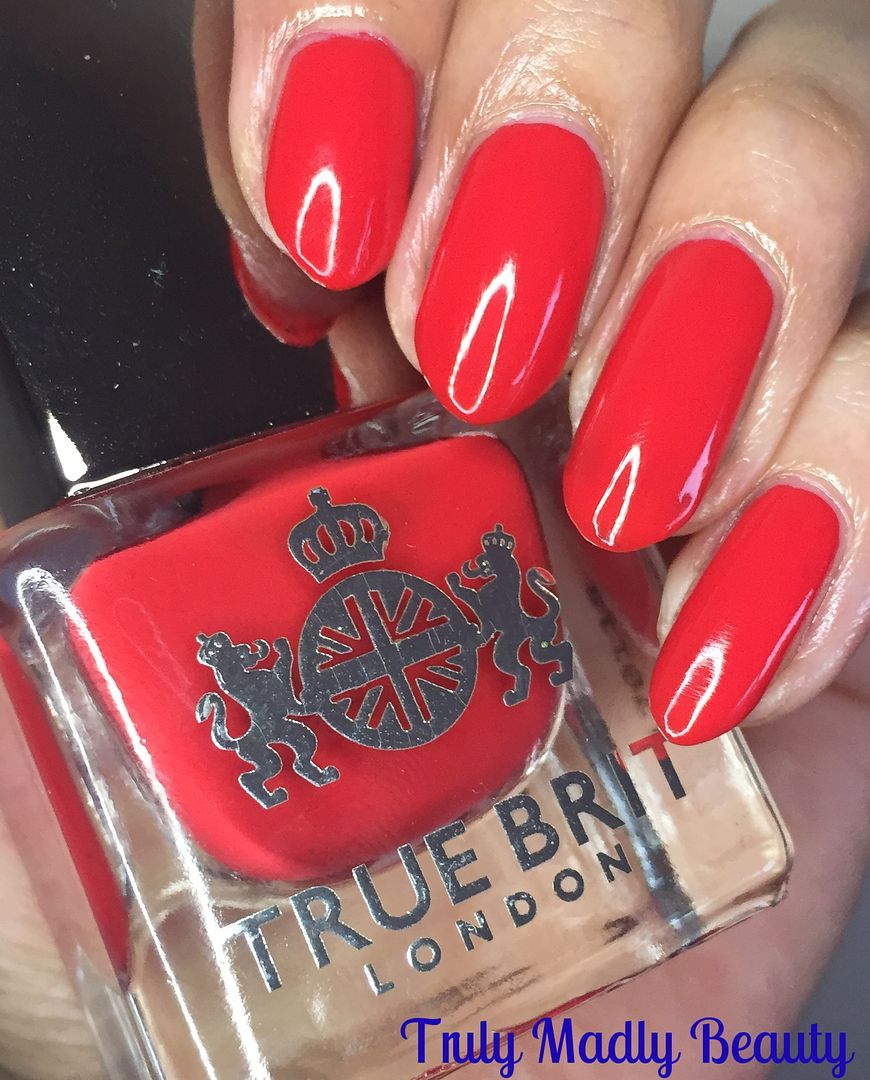
New Shade From True Brit London - Pillar Box & Royal Guard Nail Art Tutorial

Hello there my lovely readers!

Every girl needs a signature red polish in her stash. Although in my case lets just say its more likely to be a few dozen, yet I assure you that they are all unique & entirely different tones of red...o_O


But if you are looking for a perfect Pillarbox red then look no further because my friends at True Brit London have got you covered with one of the new additions to their already outstanding nail lacquer collection.


3.28.2017

NOTD - Pointed Angles & Polka Dots!

Hello there lovely readers!

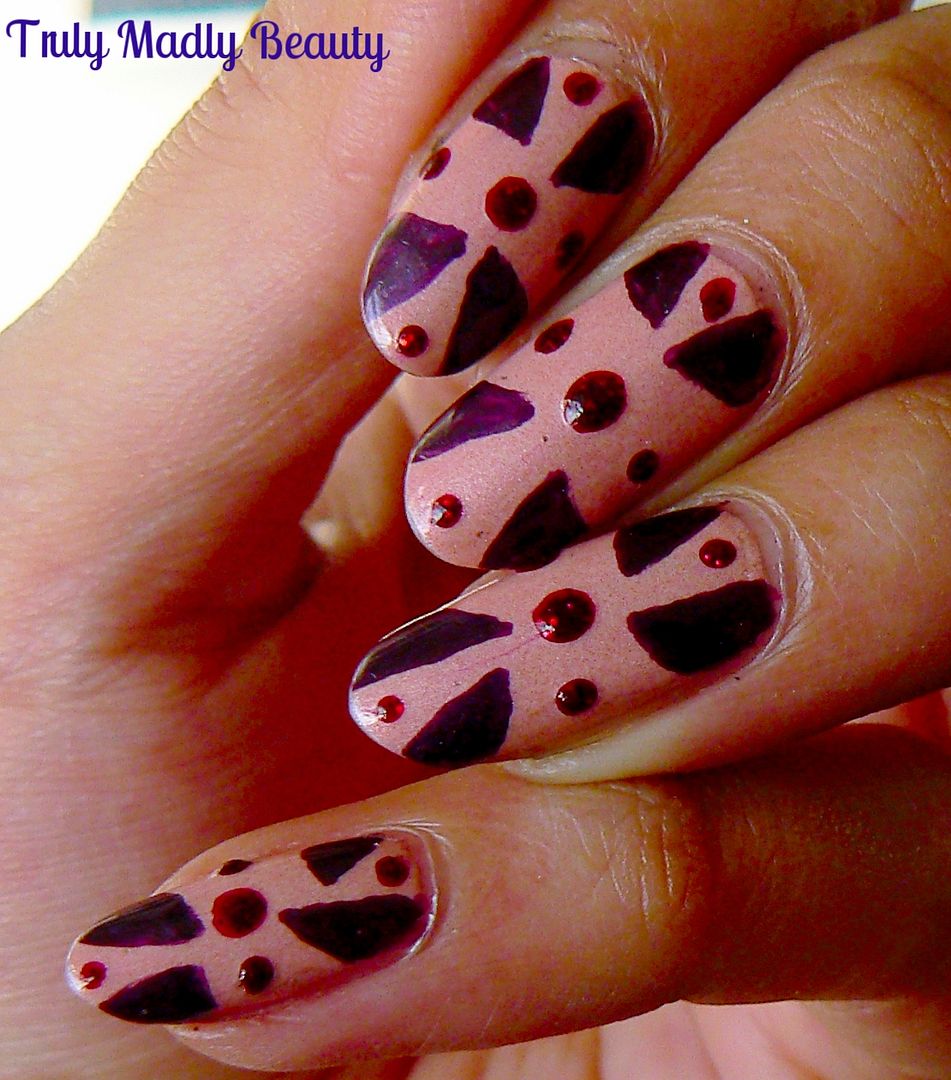
Today's nail art was one of my "extreme acts of randomness....just go in with a few magic spells and hope for the best" type designs & features a simple geometric style with pointed triangles & a few polka dots thrown in for luck. I find the combination of sharp pointy edges mingled with with soft round circles strangely satisfying 

3.08.2017

NOTD - Marble Flames

Hello there lovely readers!

So I have recently rediscovered the love for dry marbling nail art. Still feeling somewhat daunted at even the thought of attempting water marbling, I WILL man up & try it one day I'm sure, but until that day arises dry marbling on the other hand is one nail art technique I am totally on board with. 


Not only is it super easy to do but the results can be so pretty as well. I love having a play around with different colours & tones to see which ones mesh well together. You can see some of my previous dry marbling manicures HERE.


To do a dry a marble all you need is two polishes, or more if you wish to have a mixture of more colours & a tool to create the marble. This can be either a toothpick, dotting tool or brush. You can have a peek at some of my previous marble nail art posts, in particular my favourite one HERE, where I've done some more in depth step by step pictorials on how to create this effect.


I personally prefer to use a brush as it allows you a lighter hand when marbling your colours together on the nail. Whenever I've used a dotting tool or toothpick I've always found myself pressing too hard & going straight through the polish to the nail bed.


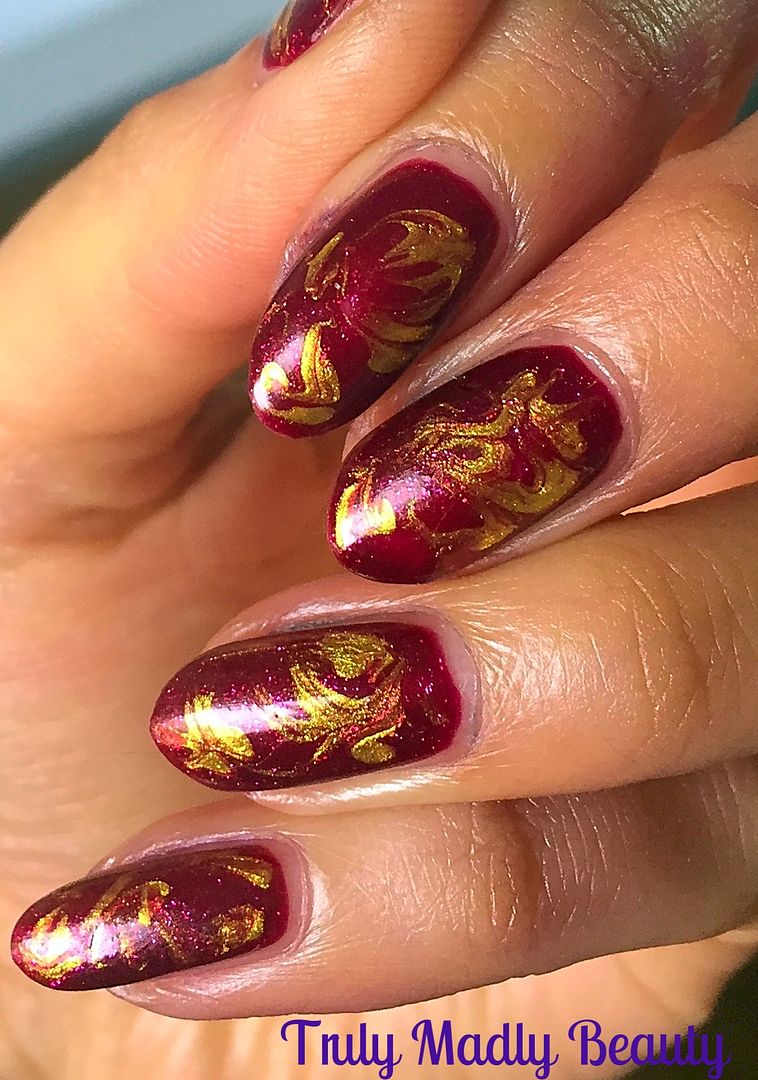
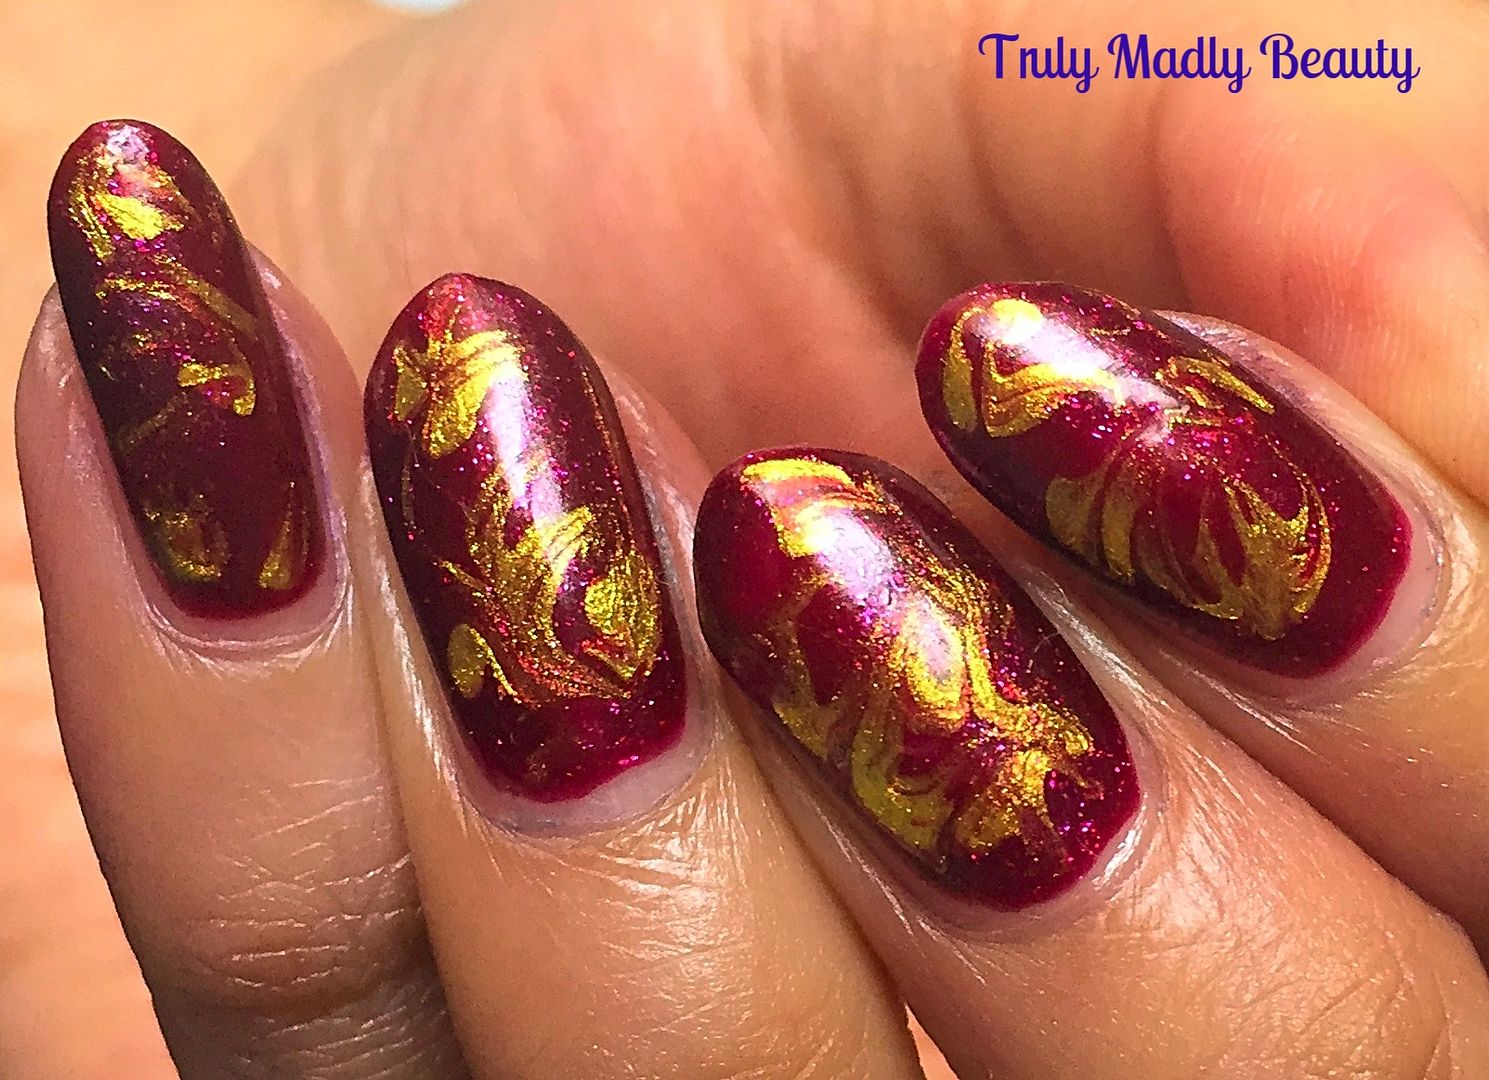
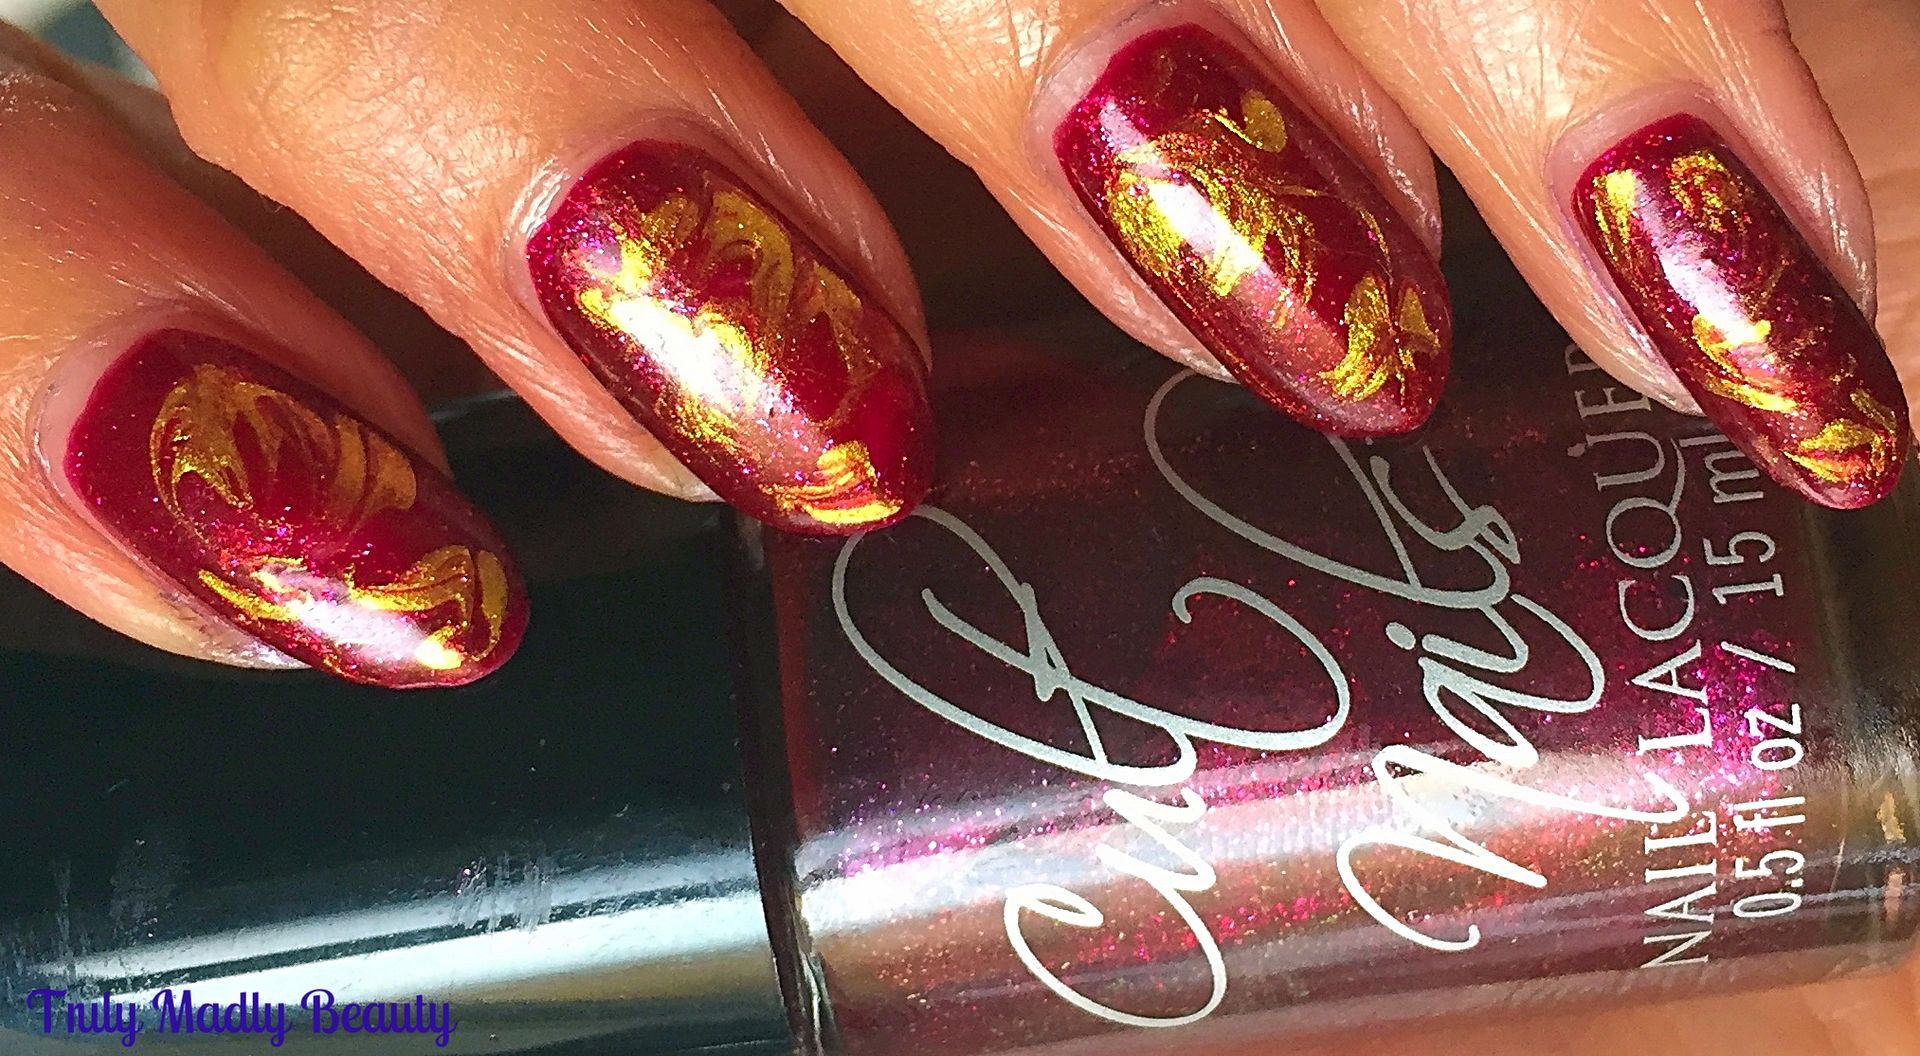
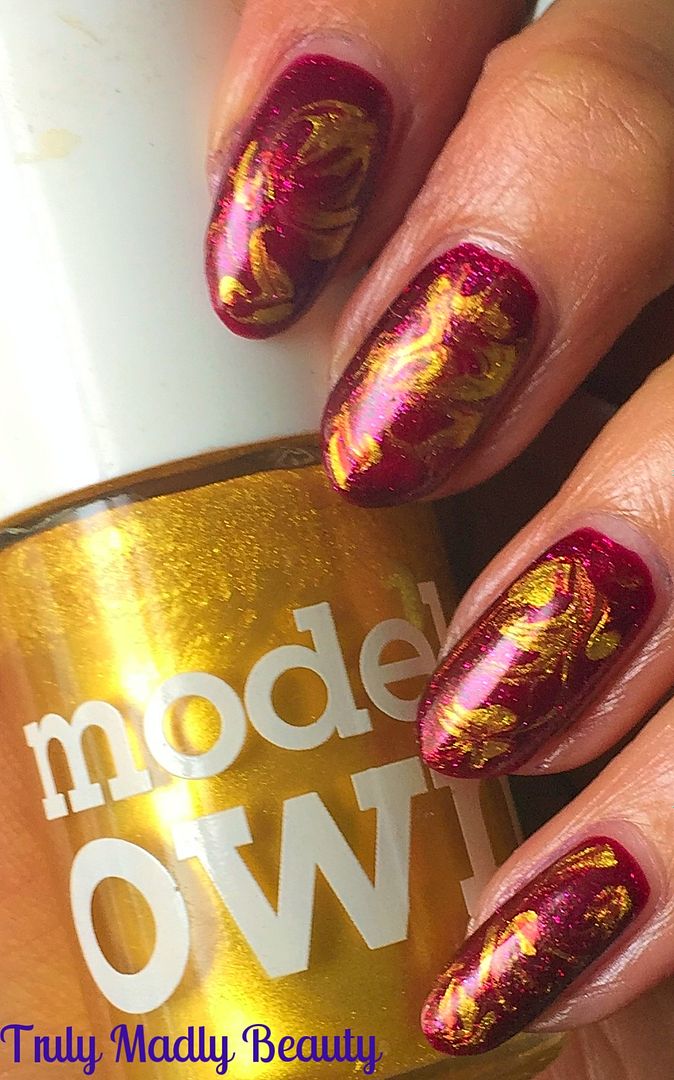
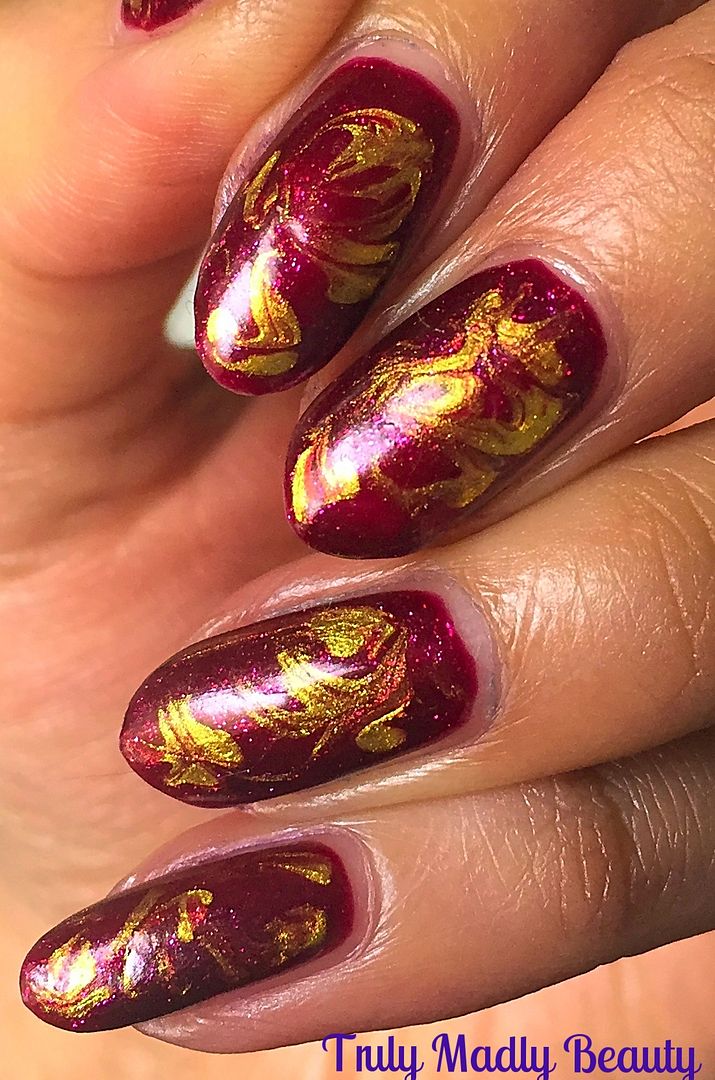
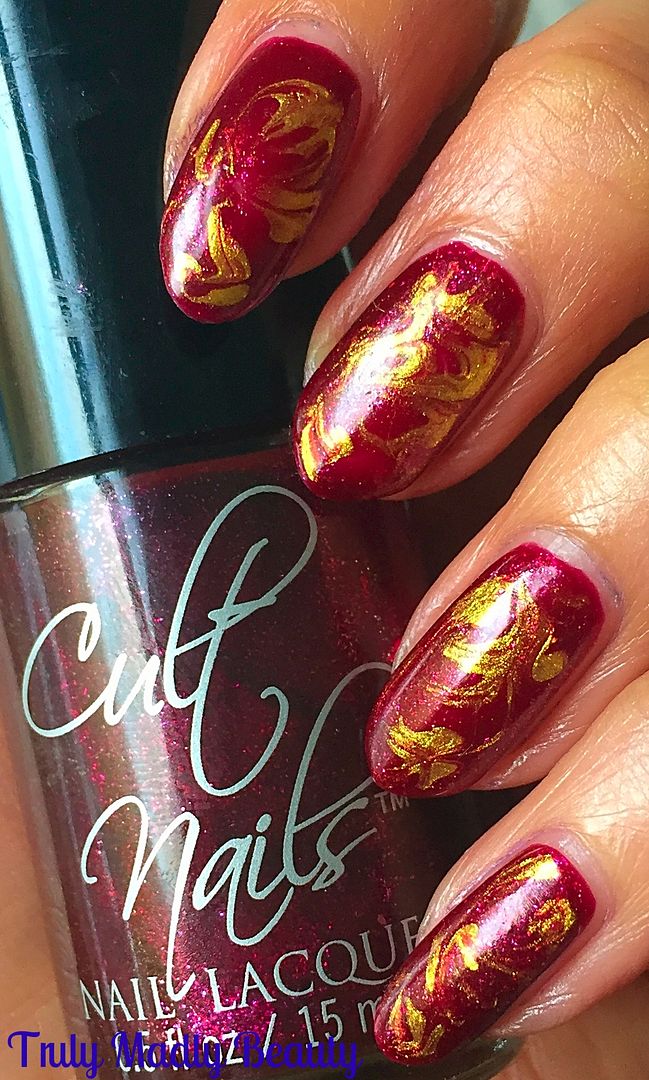
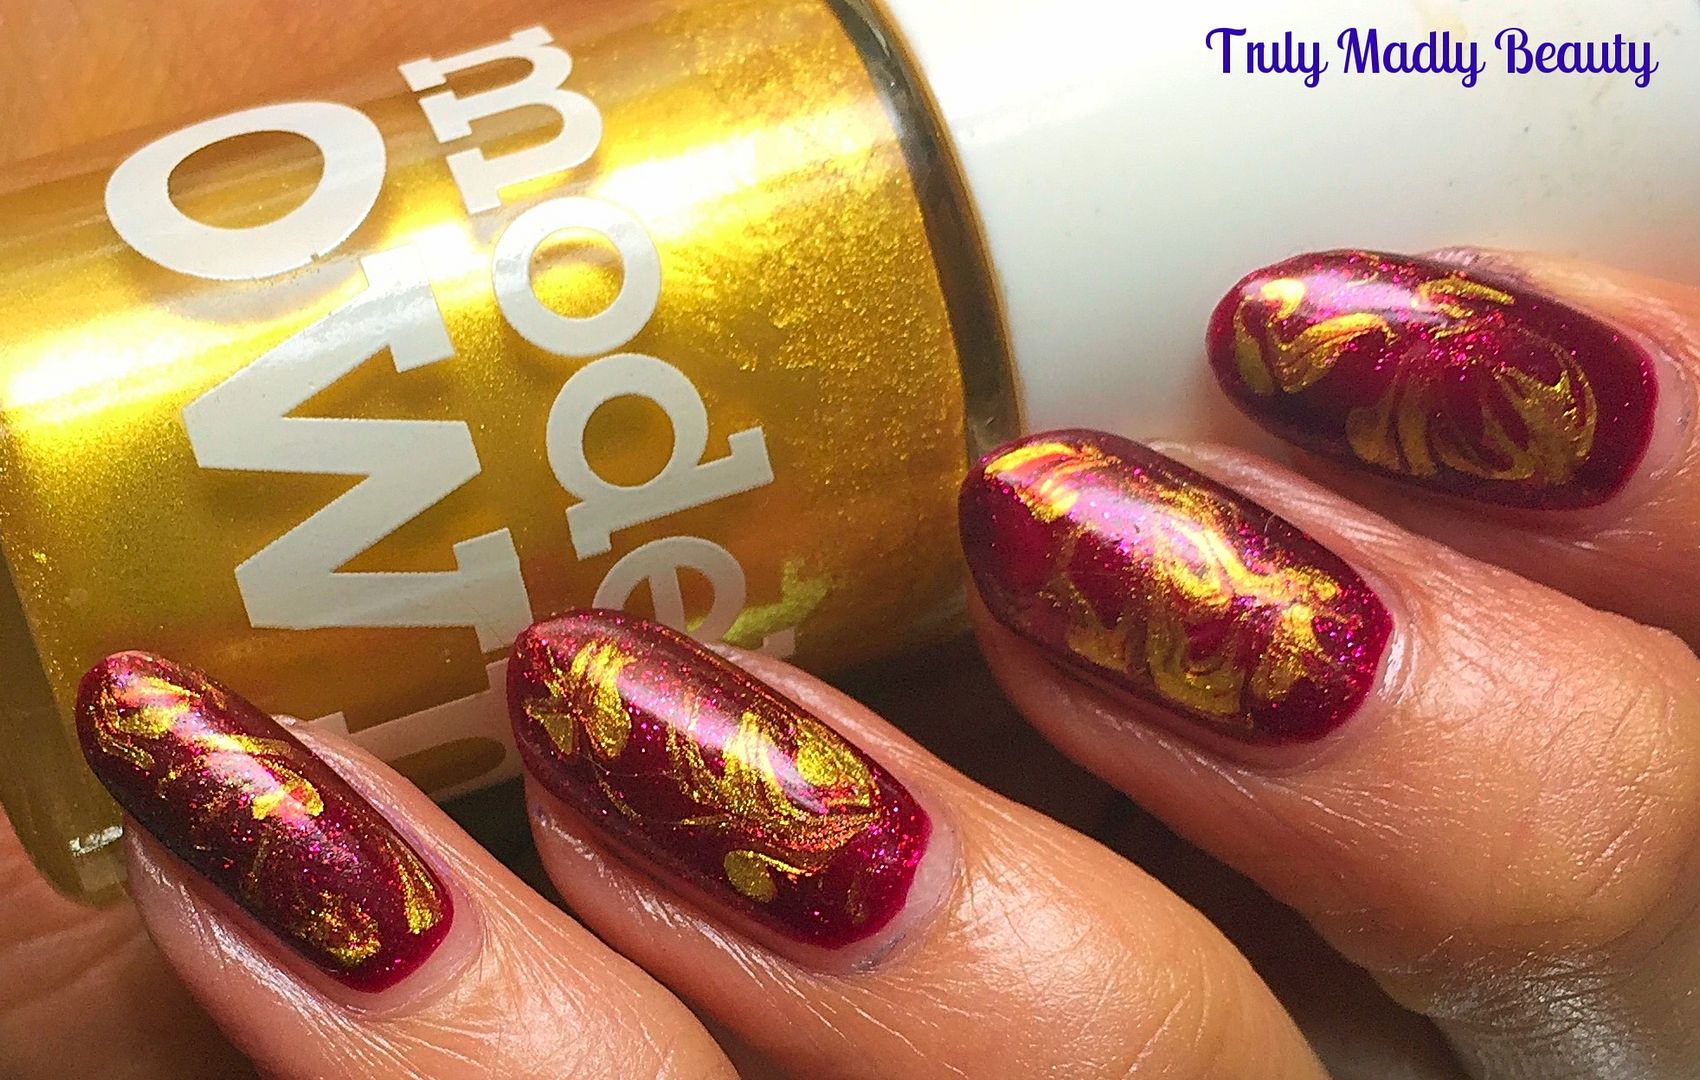
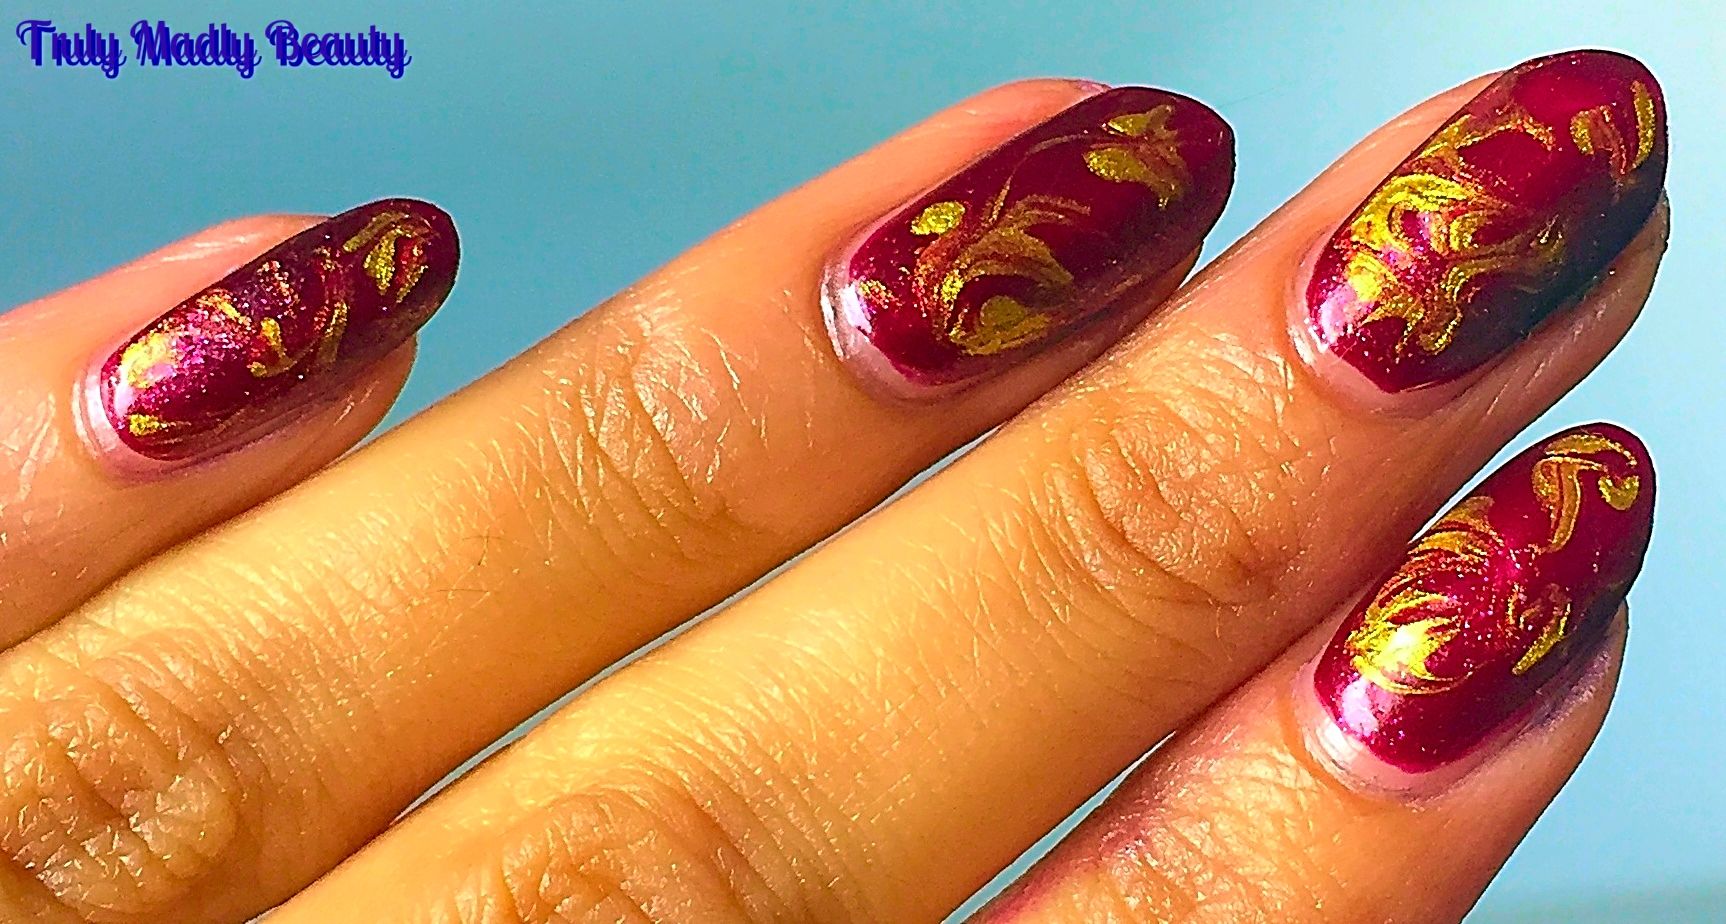
The color combo I've used in this manicure is red & gold, I absolutely love mixing these two jewel tones together as the colours really contrast & stand out so beautifully creating a fab flame like effect.


My red polish of choice is Bitten from old indie brand Cult Nails, & was part of the Behind The Closed Doors collection, a stunning raspberry red glossy shimmer. This polish is just so gorgeous, I'm an absolute sucker for these kinds of gothic-y reds & I can't wait to use it again. Apply one coat of red & then apply your second coat ready to marble!


Whilst your second coat of polish is still wet, add about two drops of gold, here I've used Models Own 25 Carat Gold, & then using your brush or whichever tool you prefer, swirl the gold in to the red using light strokes, not blending too much that you lose the gold.


If you think you've applied too much gold you can always add a couple of drops of red & blend some more, careful not to overload the nail with polish though otherwise you'll end up with puddles of polish in your cuticles. 


Once you are happy with the design seal with topcoat. Done! I have lots of ideas floating around for some more marble designs so keep posted. Let me know if you give it a try!

Thanks as always for reading!

Lotsa love to ya!


1.23.2017

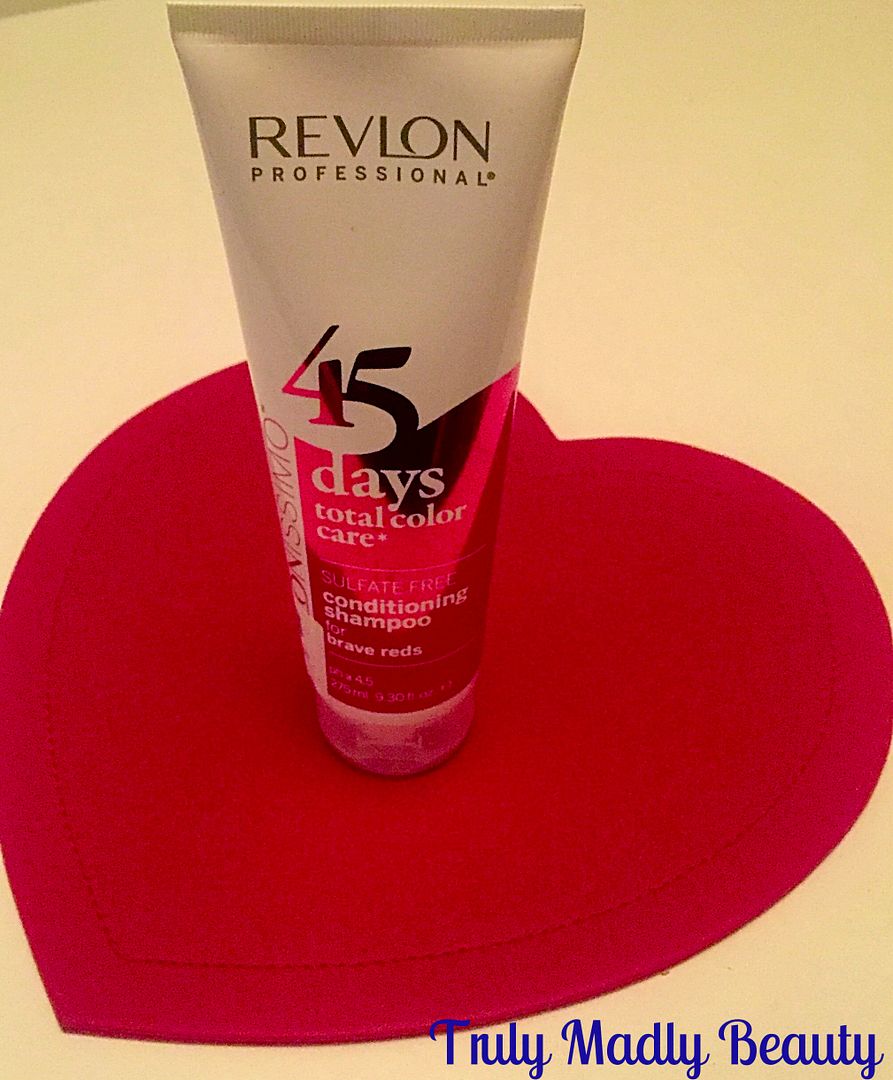
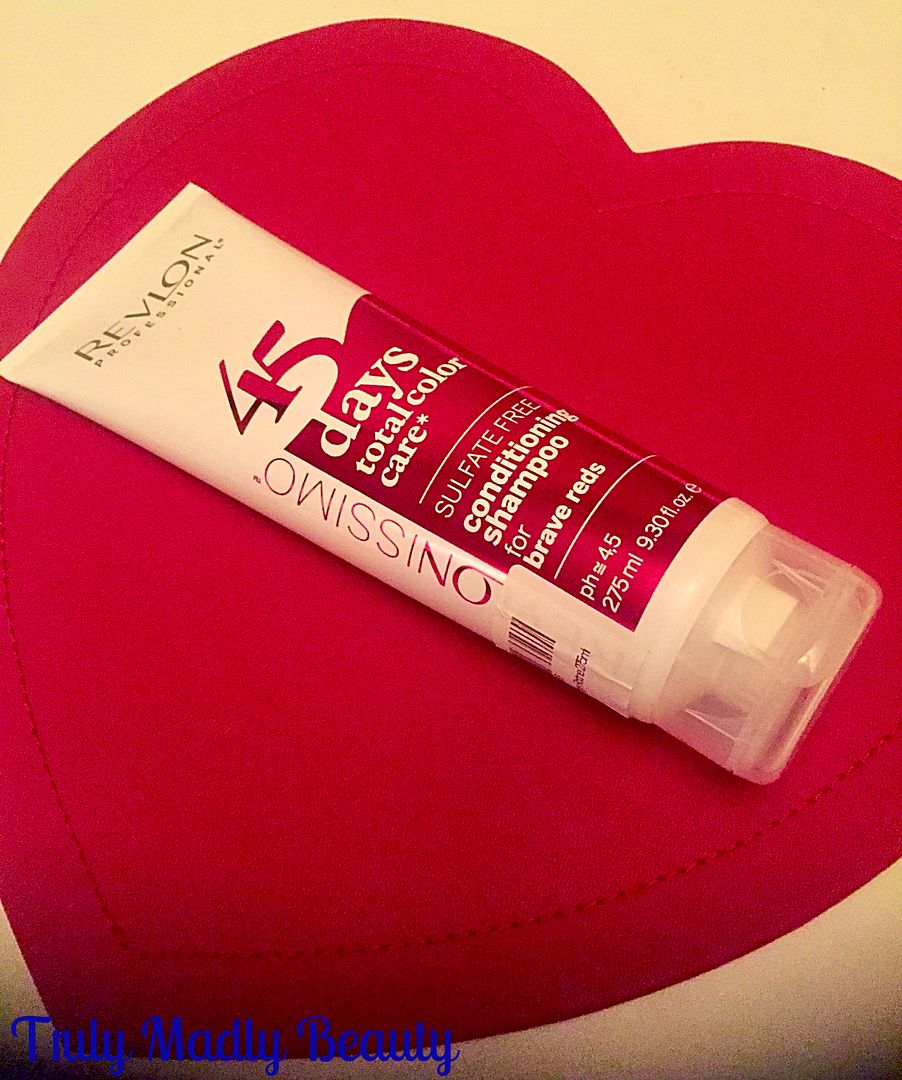
Review - Revlonissimo 45 Days 2 in 1 Shampooo & Conditioner for Brave Reds

Hello there lovely readers,

Every once in a while you stumble across one of those wonderful, life changing, world shifting products that you never knew HOW you coped without. Sounds a tad over the top maybe but such has been the case with this recent find & which ALL ladies who dye their hair regularly need in their life.

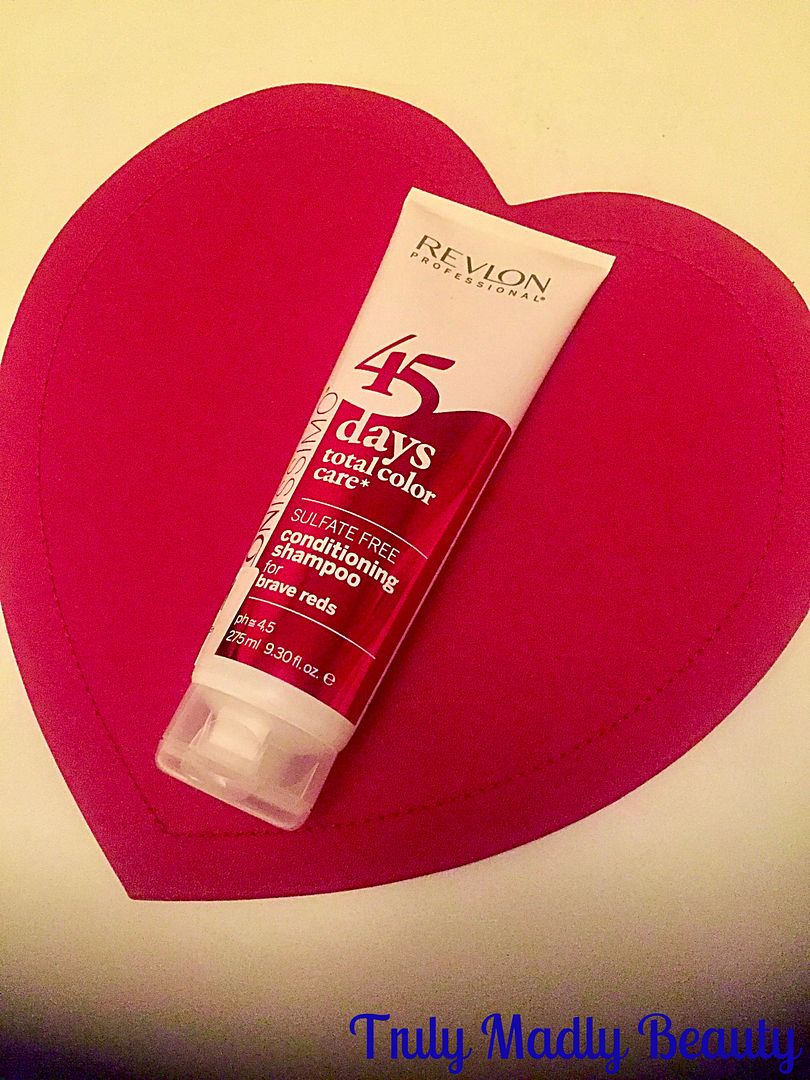
The Holy Grail product in question is Revlonissimo 45 Days Total Color Care, a 2 in 1 sulfate free shampoo & conditioner which I received at a PR event & only recently discovered the wonders of. I am a regular dyer of the hair, the colour requiring topping up at least every couple of months, a task which I don't exactly relish! Not only is it a long grueling process but the amount one spends on hair dye, especially with my long hair, can end up quite costly!


It was at a time when my hair was starting to look a tad dull that I dug out & used the Revlonissimo for Sensual Brunettes, simply because I had run out of shampoo & as soon as my hair was dry I was blown away at how beautifully vibrant the brown tones in my hair had become, it looked like I had just freshly dyed it when in fact it was done at least a good four months ago! The number of comments I received after using this asking what dye I was wearing I can't tell you.

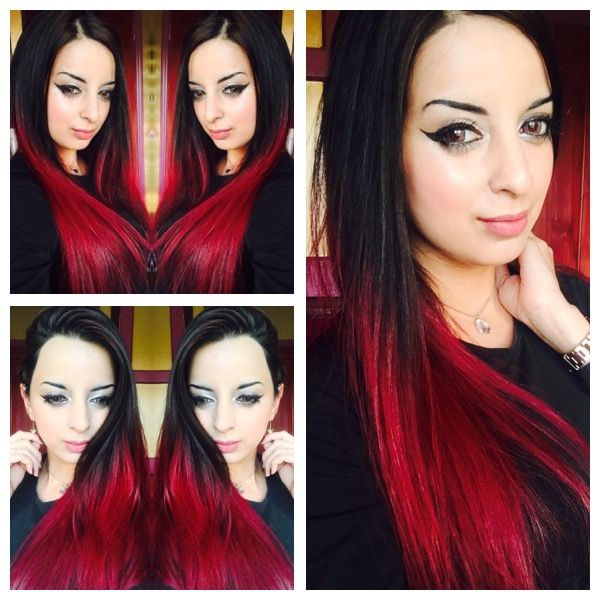
Upon discovering the wondering benefits of this little gem I went & purchased the version for Reds because as you can see below...I've now just recently had a revamp with red/black ombre hair courtesy of the fabulous Rockaily Cuts in London. 


I now incorporate this product in to my weekly hair care routine religiously. The instructions advise that you use this product twice each wash which in my opinion is not necessary at all. Not only is it completely unsavvy, why you would be out of product after only a few sessions! Plus it lathers up so well that one rinse is more than enough. 


The way I used to previously use this was by first using my regular shampoo, at the moment I am LOVING the OGX range. Once washed I would then lather in the Revlonissmo, massaging it in for a few minutes before rinsing out. However lately I've actually just been using the Revlonissimo on its own as I don't want to over wash my hair due to the red dye.

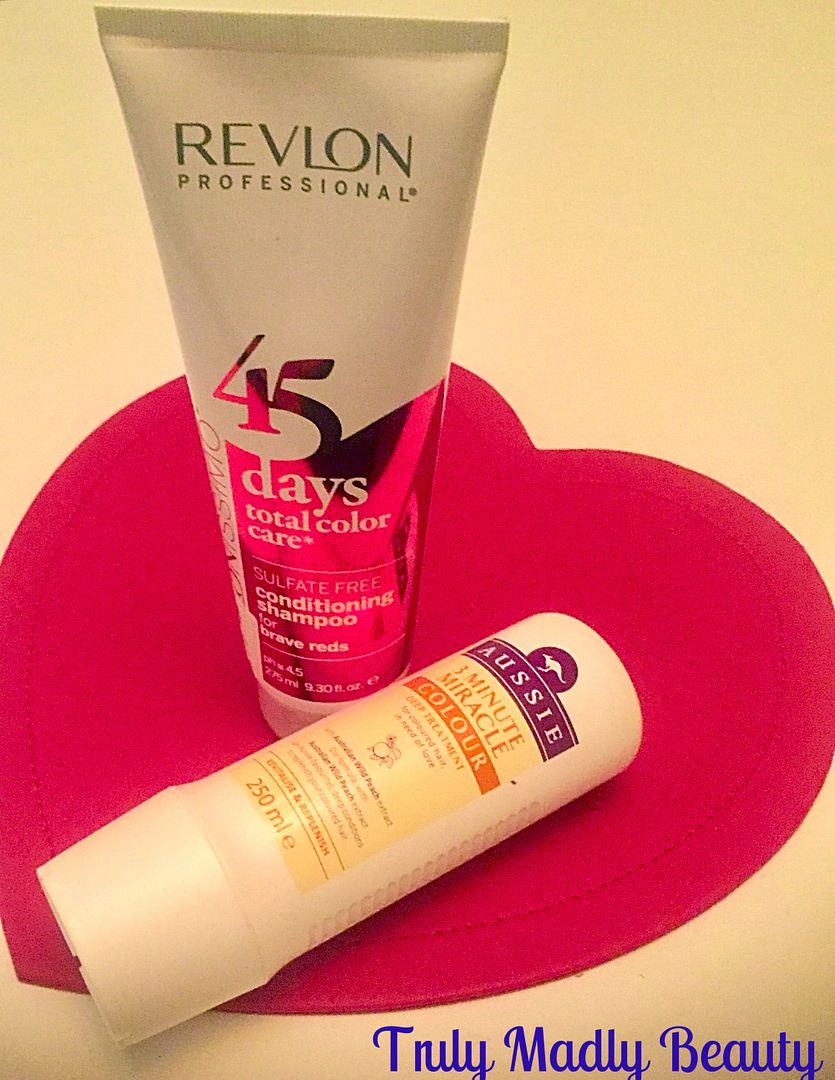
I then use the accompanying conditioner that goes with the OGX shampoo in to which I also add a squeeze of Aussie 3 Minute Miracle conditioner for a bit of extra TLC for the hair. I leave this for a good five minutes to work its magic before finally rinsing out as well.


I never blow dry my hair, preferring to let it air dry. This is partly because my hair is so long, to blow dry would be far too intense a workout which my wee arms just couldn't handle & yes I'll admit I'm just a lazy bum. Plus I straighten my hair, as it will be getting heat from that, to blow dry it too would definitely be overkill. But once dry the results after using this routine of late has been smooth, shiny & vibrantly coloured locks that look like they have been freshly dyed. Happy Aysh!


So my fellow hair dyers, if there is one product you NEED in your life it is this. Not only does it leave the hair looking, smelling & feeling wonderful but it will also save you a packet on hair dye as you'll find yourself needing to top up less often. The Revlonissimo comes in different shades for all hair types, the range includes variations suitable for Brunettes, Ice Blondes, Intense Coppers, Radiant Darks & Brave Reds. You can find it online on Beauty Bay HERE for £9.95...so what are you waiting for...go go go!

Lotsa love to ya!


12.22.2016

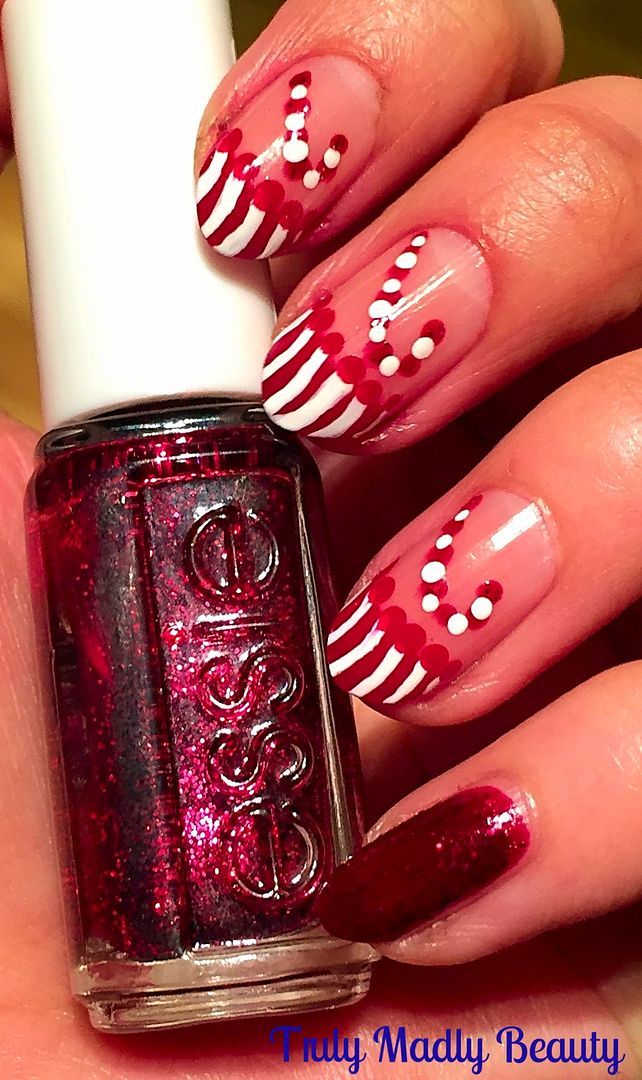
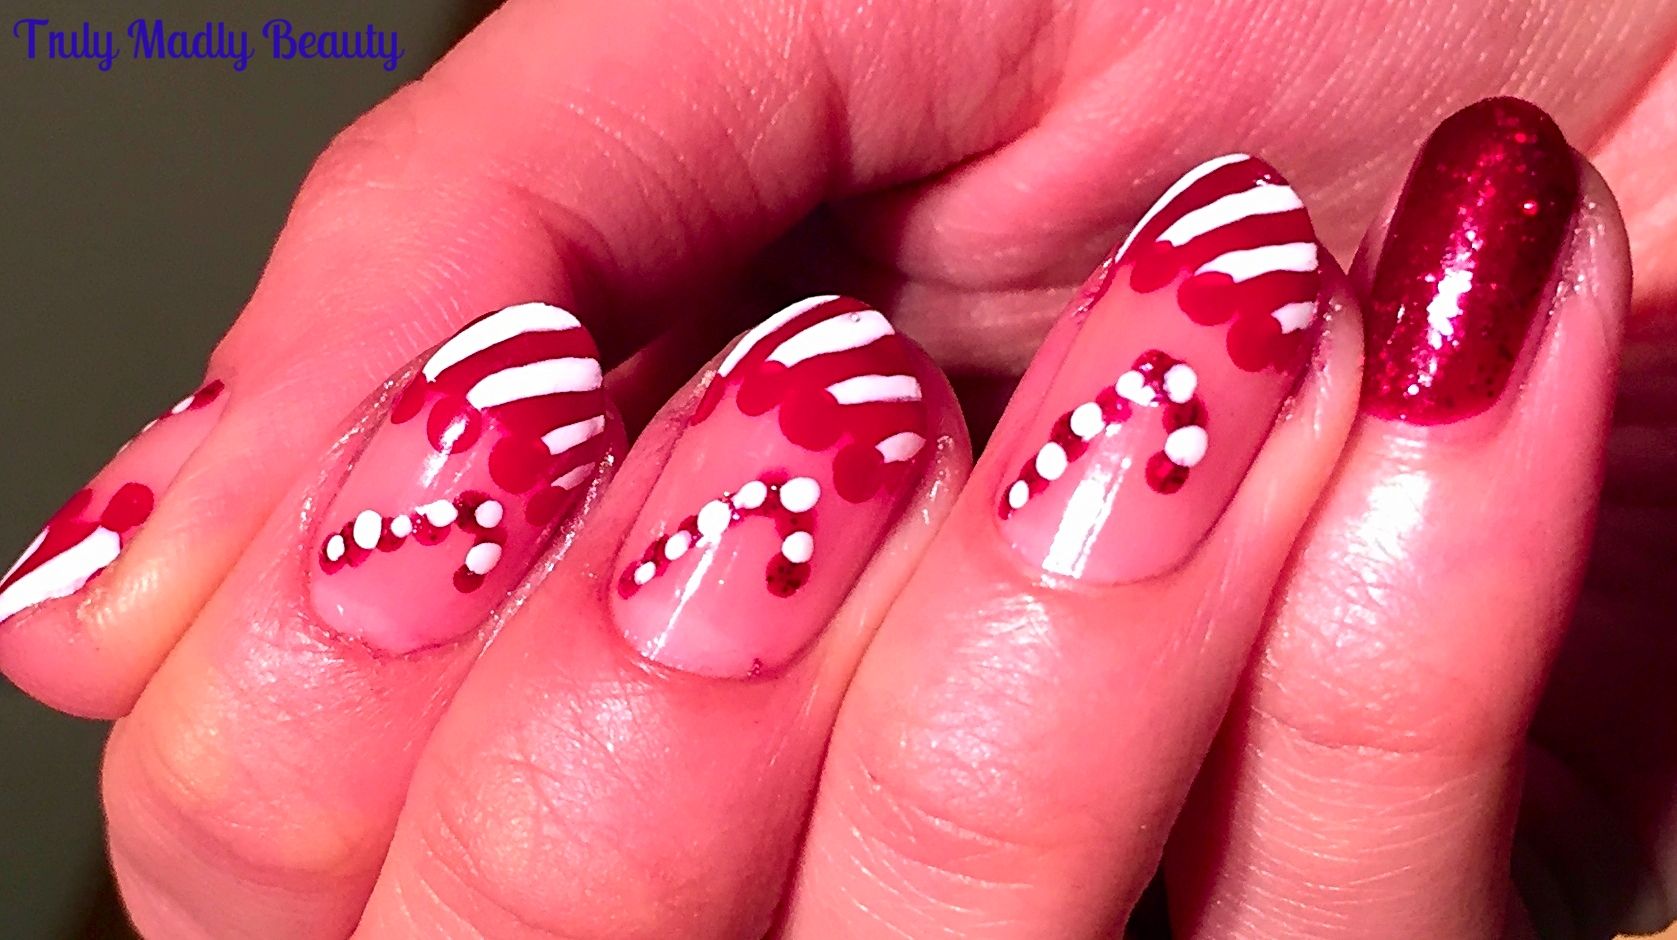
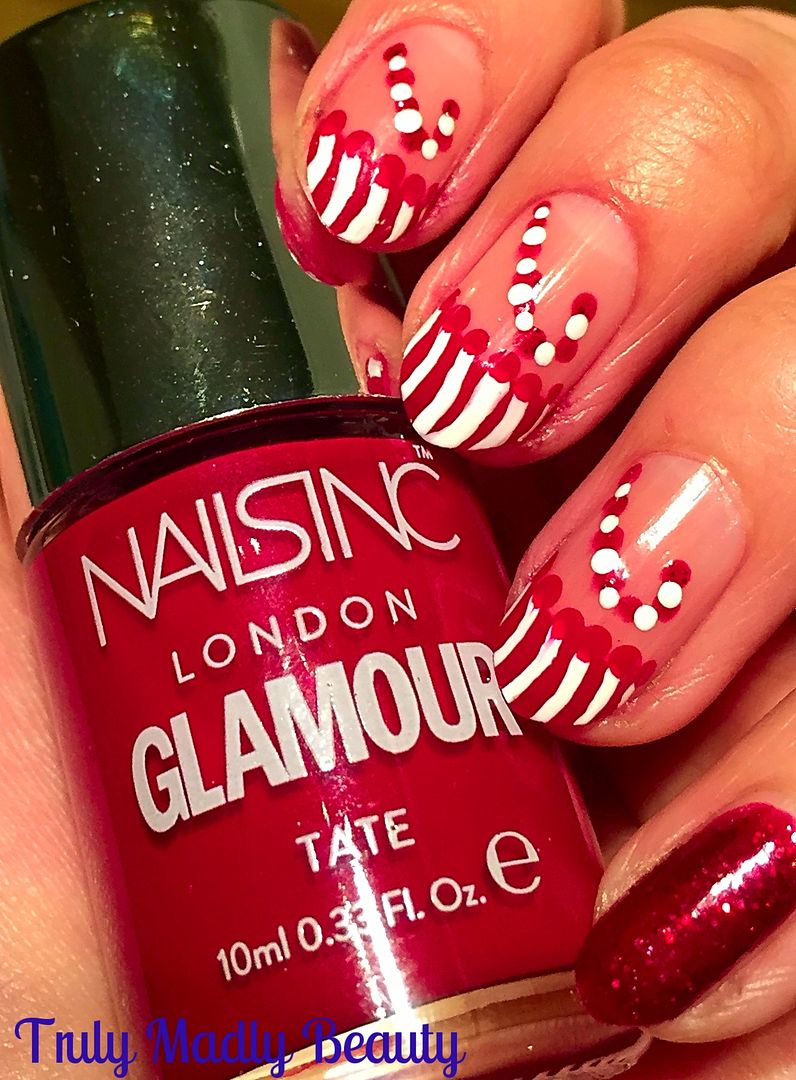
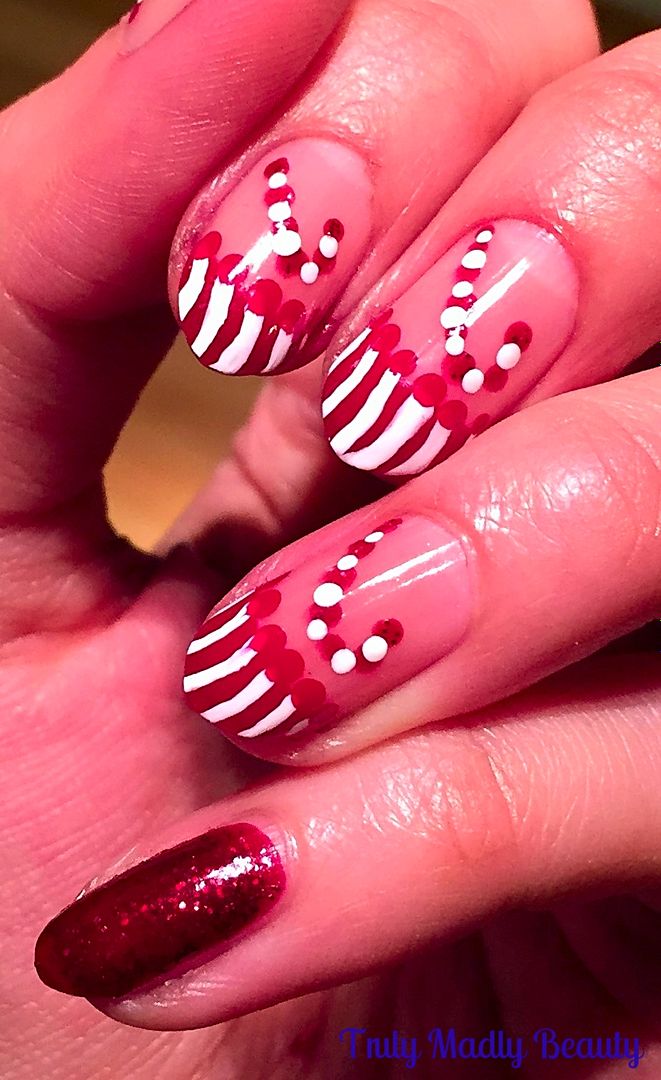
Festive NOTD - Candy Cane French Tips!

Hello there my lovely readers!

All ready for the Xmas weekend? I'm literally counting down the hours, for the first time since I left school (all those aeons ago in ye old ancient times) I'll be embracing a full festive break from next week up until the new year as my work shuts downs during this period. To be honest I've never been too fussed with working right up until & straight after Xmas but I'm actually looking forward to the treat of complete hibernation time haha!

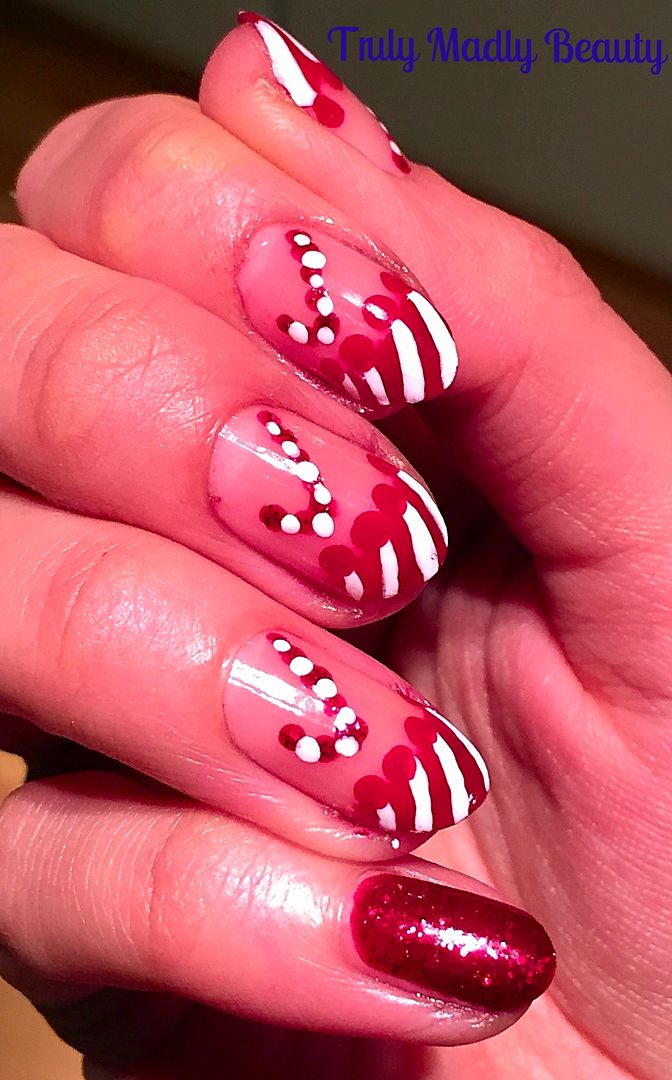
I've managed to roll out a few festive mani's this year starting with an obligatory Red Sparkle, the annual favourite that is Christmas Trees & my most popular one to date after the most lovely response on social media for The Christmas Puddings from a few days ago. Today I've decided to show you how you can Christmas up a standard French manicure with some Candy Cane tips!


If you want to feel festive on your nails but don't want to go all out seizure inducing sparkle then this is the perfect alternative! All you need is some red, white & sparkle to transform your french mani into something suitable for the season :)


To help create a neat smile line on my tips I use french manicure guides which you can pick up super cheaply off of Ebay or Born Pretty Store. If you don't have these then hole punch reinforcers work just as good!


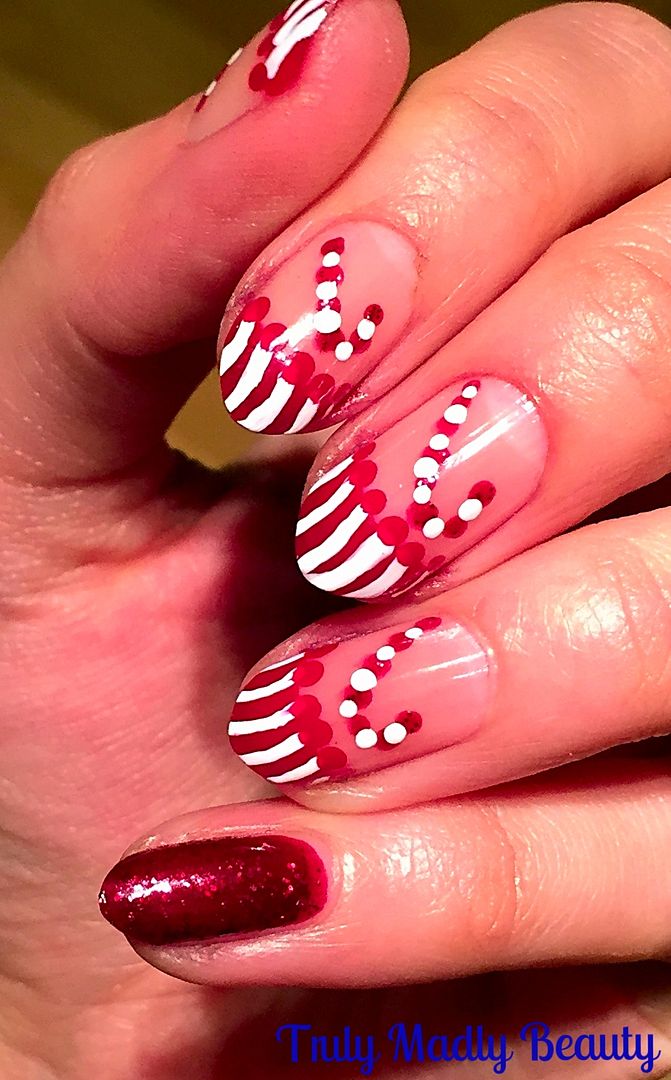
Using these & my red polish of choice, on this occasion a lovely deep red by Nails Inc called Tate, which was one of those fab magazine freebies they do on occasion, I painted on my red tips to all my nails bar my pinkie.


Next to create your candy cane stripes just grab a nail art pen in white, the Barry M ones are really good, or of course a fine nail art brush & white polish & apply a row of curved lines along your red tip. Of course you can also do this vice versa! Starting with white tips instead & adding red stripes...whatever you fancy :)


You can then neaten up your smile line if there is some smudging with a brush & acetone or you can do what i did & add an additional detail of red dots along the smile line to sneakily cover up any white that gone over...hehe ;) 


My pinkie was feeling a tad neglected so I rectified this by applying two coats of the gorgeous Essie Leading Lady, you can't beat a satisfying red sparkle can you & this is the most beautiful shade of wine red. Screams Christmas vibes!


Then for the candy canes, I just grabbed my dotting tool & using some more white & the red Essie glitter, applied some dots in the shape of a candy cane alternating the red & white.


Finish it all with topcoat of course. In a most odd turn of events my dears you are actually getting a rare shot of my right hand here! By some strange sorcery I actually ended up preferring how the right one came out using my non dominant hand...weird O_o

Hope you liked this festive take on a French manicure beauts! If I don't get a chance to blog before the big day, wishing you all the most merriest of Christmas's however you spend it. Thanks as always for reading!

Lotsa love to ya!


12.06.2016

Festive NOTD - The Obligatory Glitter Red Mani!

Hello there my lovely readers!

I think its safe to say we are officially in the festive season now which means ALL the Xmas nails! Unusually I've actually been hitting a bit of a blank when it comes to thinking up ideas this year, not sure whats going on there. Perhaps inspiration just a missed the bus & is a wee bit delayed...I'm sure it'll arrive in due time filled with apologies for such tardiness!

In the meantime however, to me nothing screams Xmas nails more than a really good red glitter manicure. 


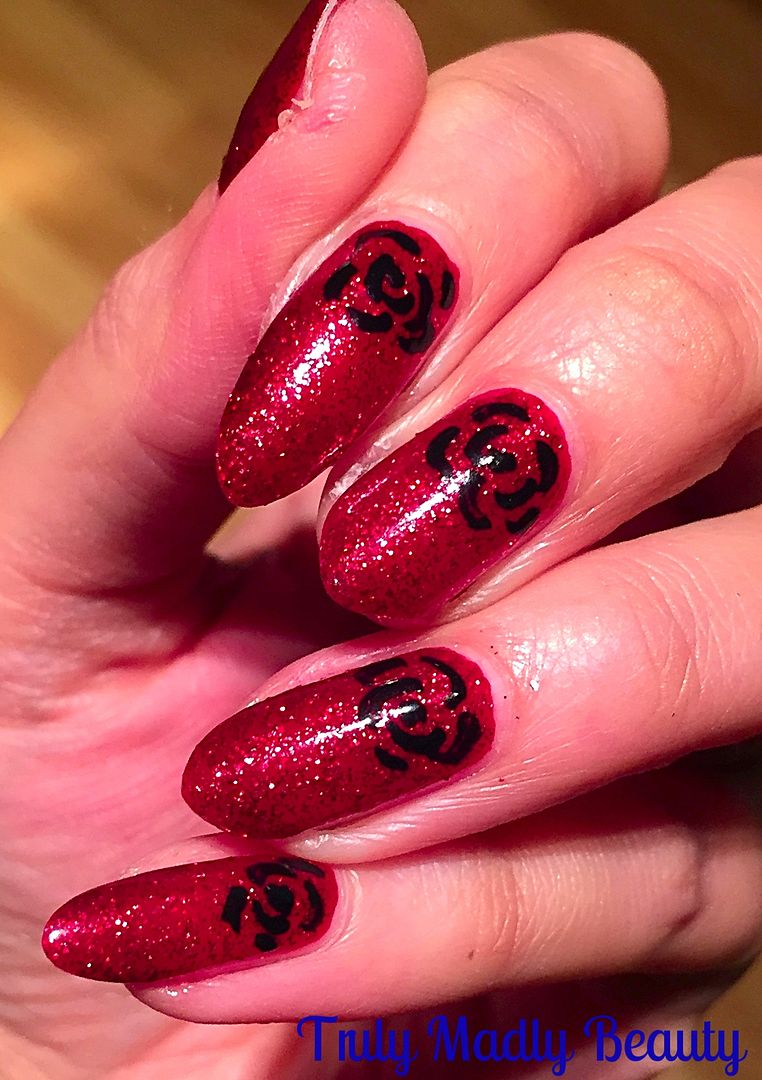
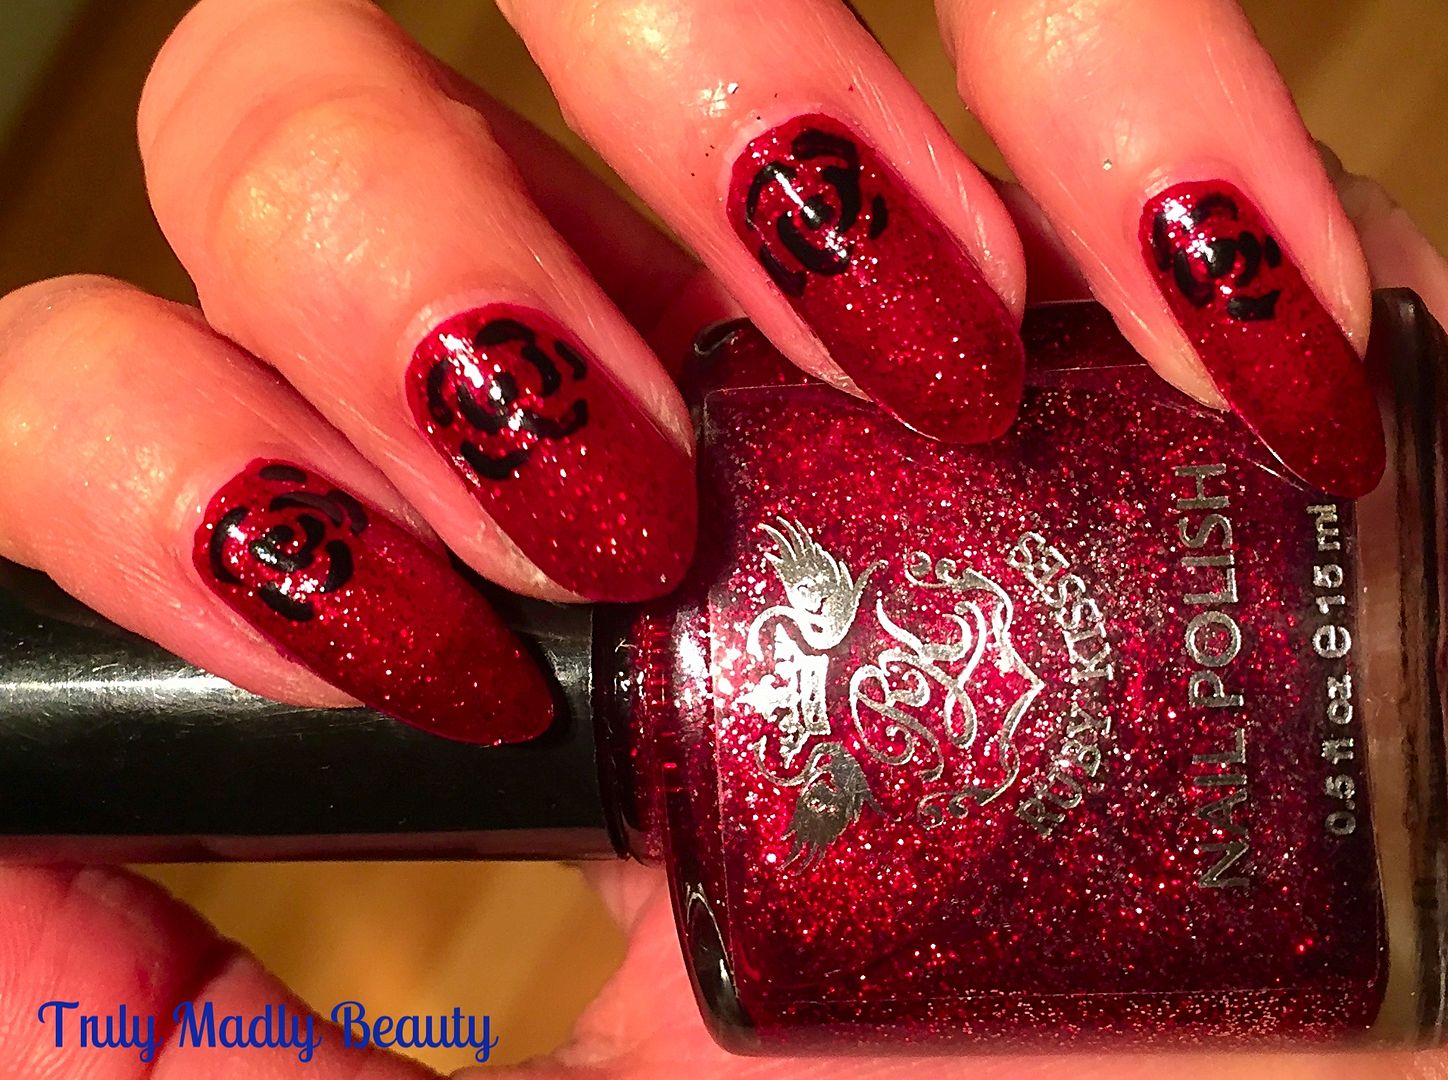
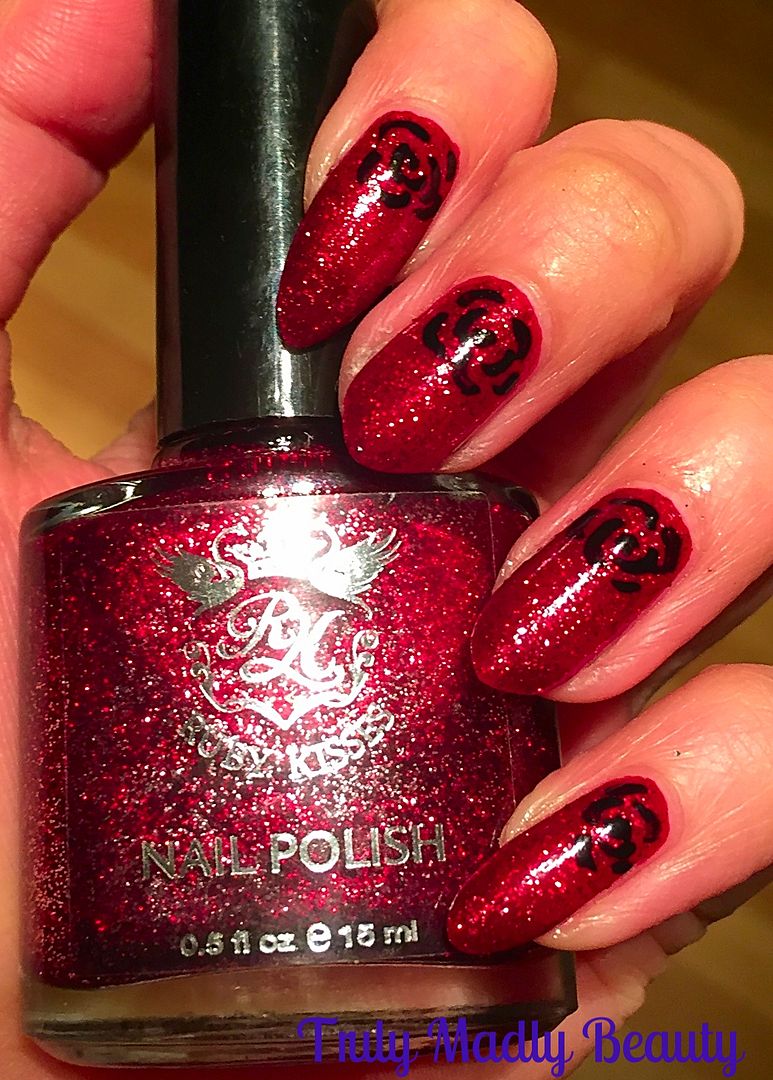
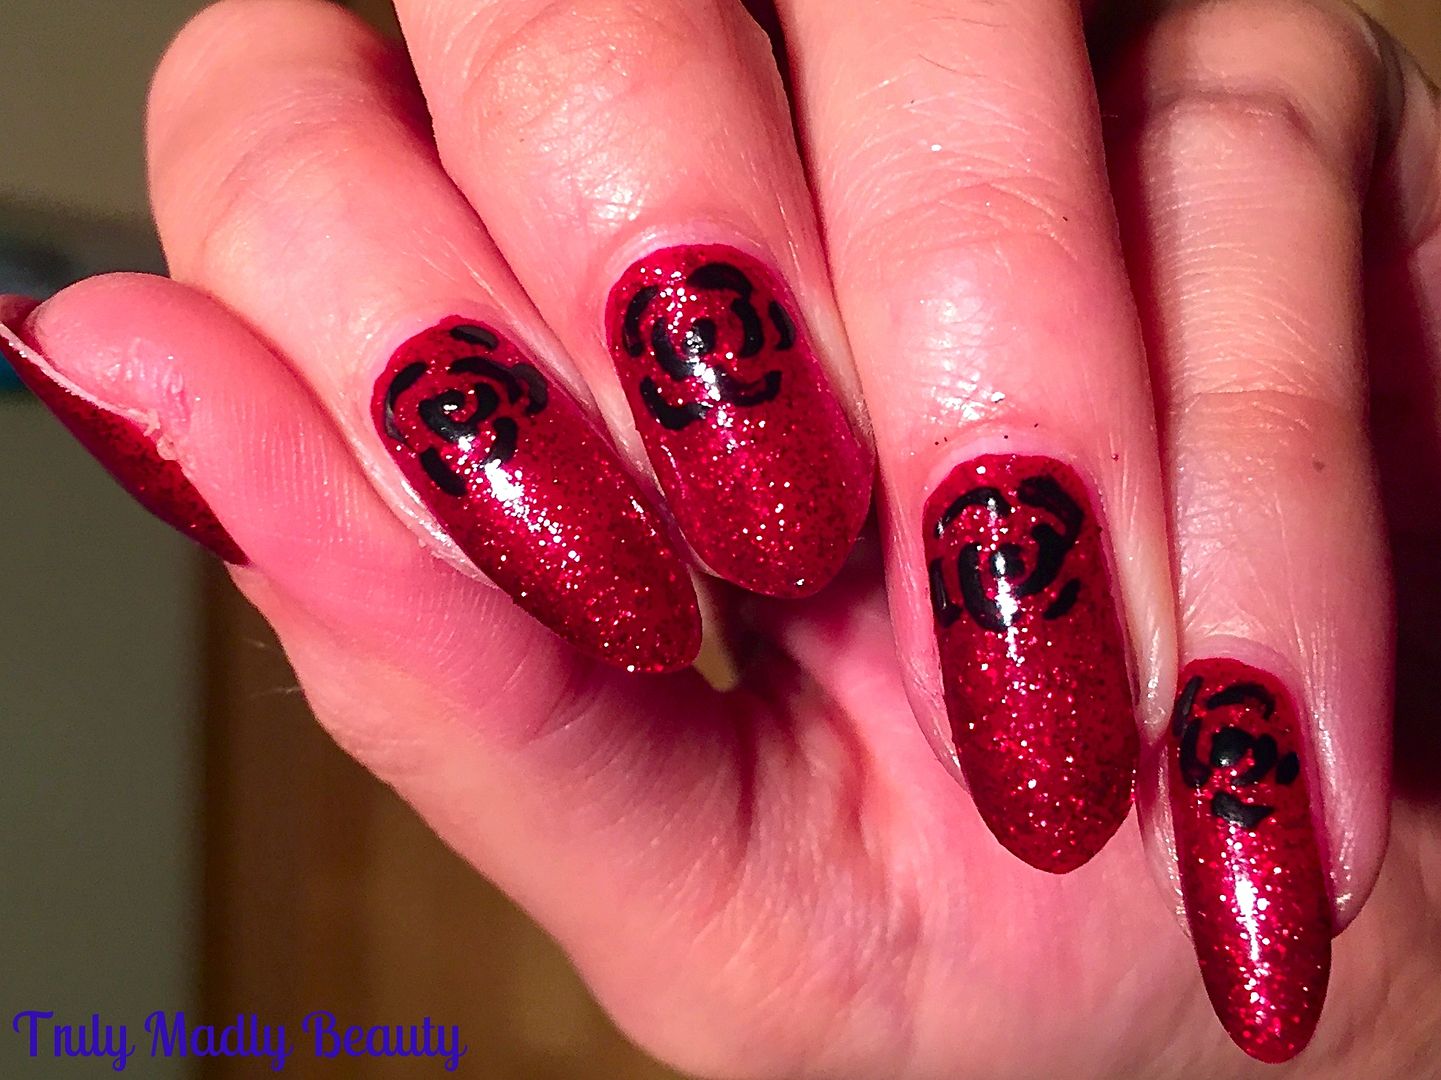
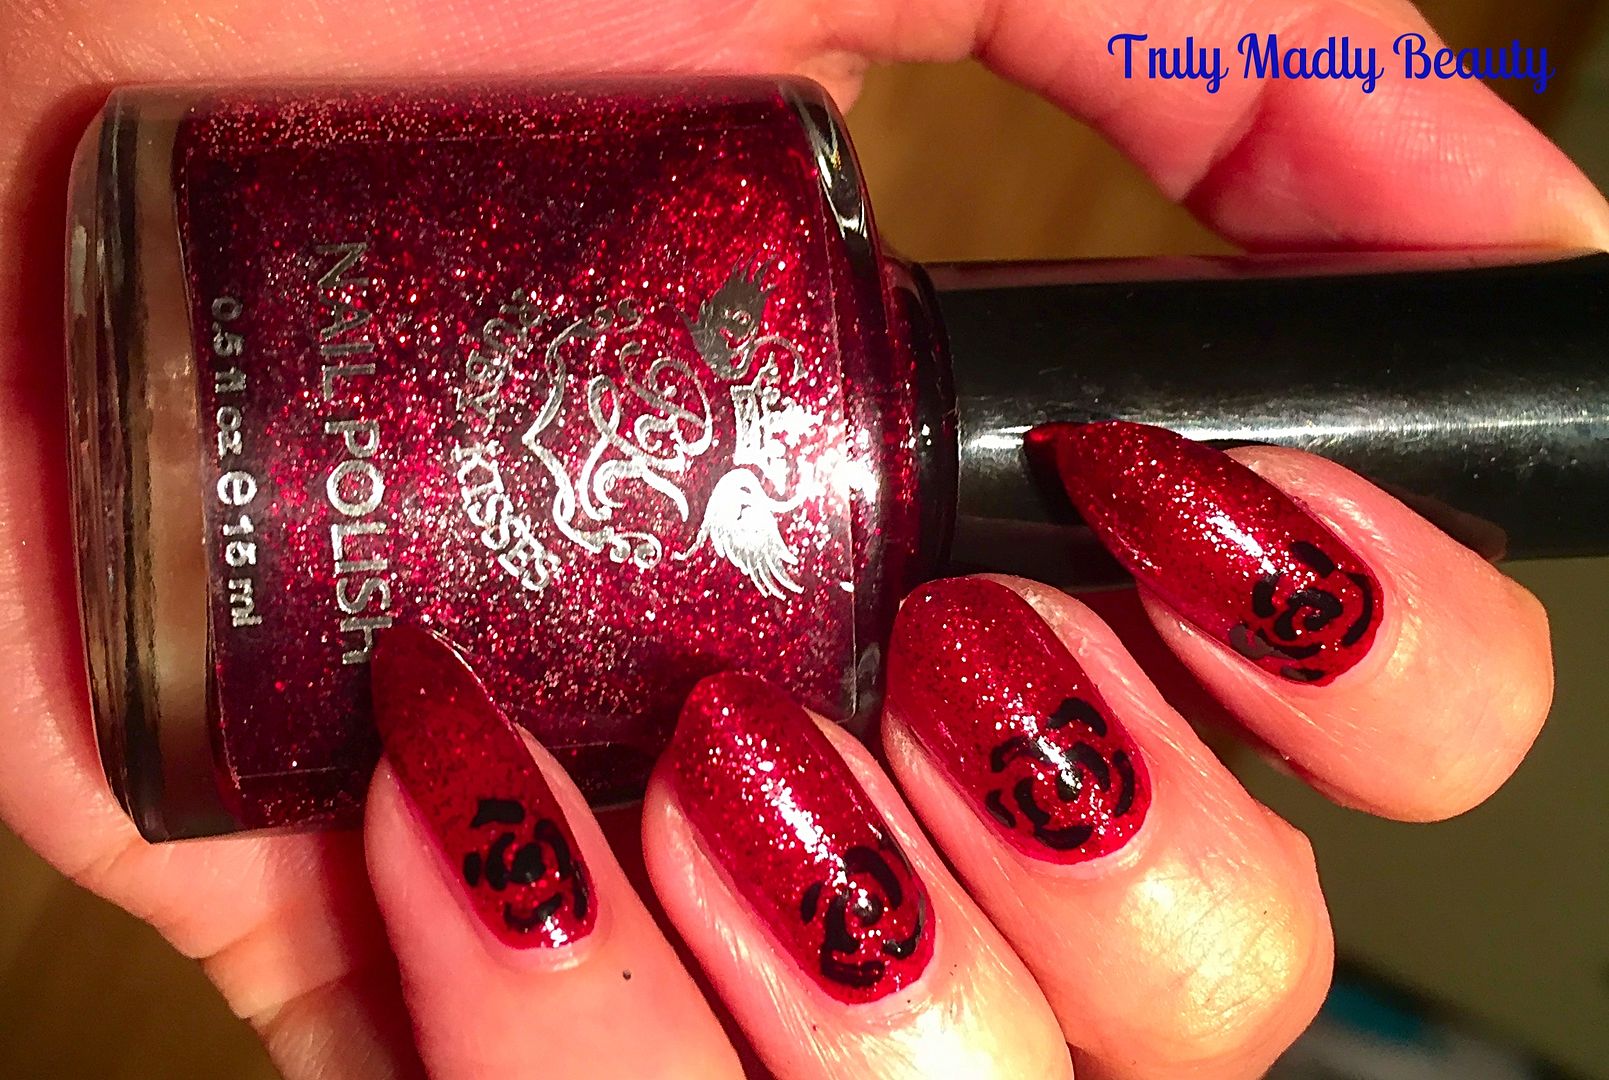
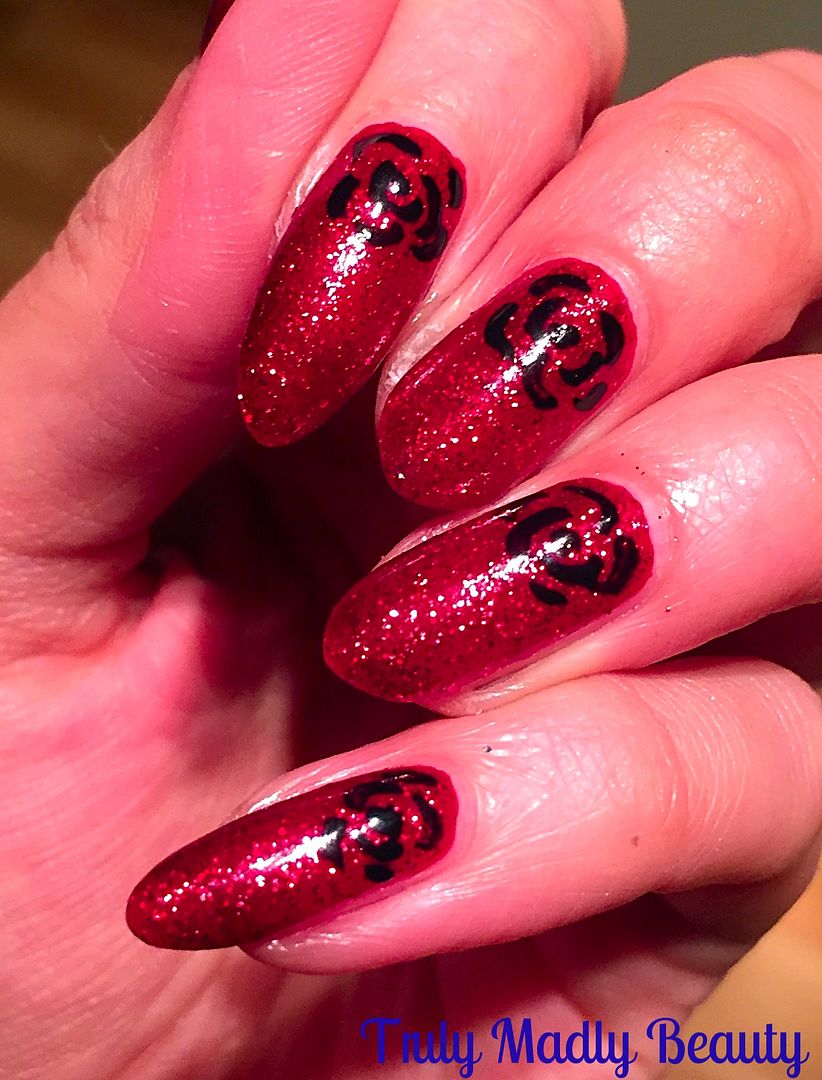
Sparkles...check. Rich red shade perfect for this time of year...check. Glossy finish...check! Ungh, SO satisfying! So to start things off simply, here are my glitter red nails for this Xmas using a lovely polish I picked up in a random chemist whilst in NYC earlier this year.


The brand is Ruby Kisses & actually goes by the name Ruby Slippers...which another rather well known brand has a similar version of also. But dare I say it...having the OPI in my possession also...I actually prefer this one!


Not only is it super sparkly, but the formula is gorgeous, giving full coverage in two coats & leaves an almost gel like finish. Its thick but NOT gloopy...WIN. I love the actual shade of the red also, the OPI version is a tad darker in tone than this one.


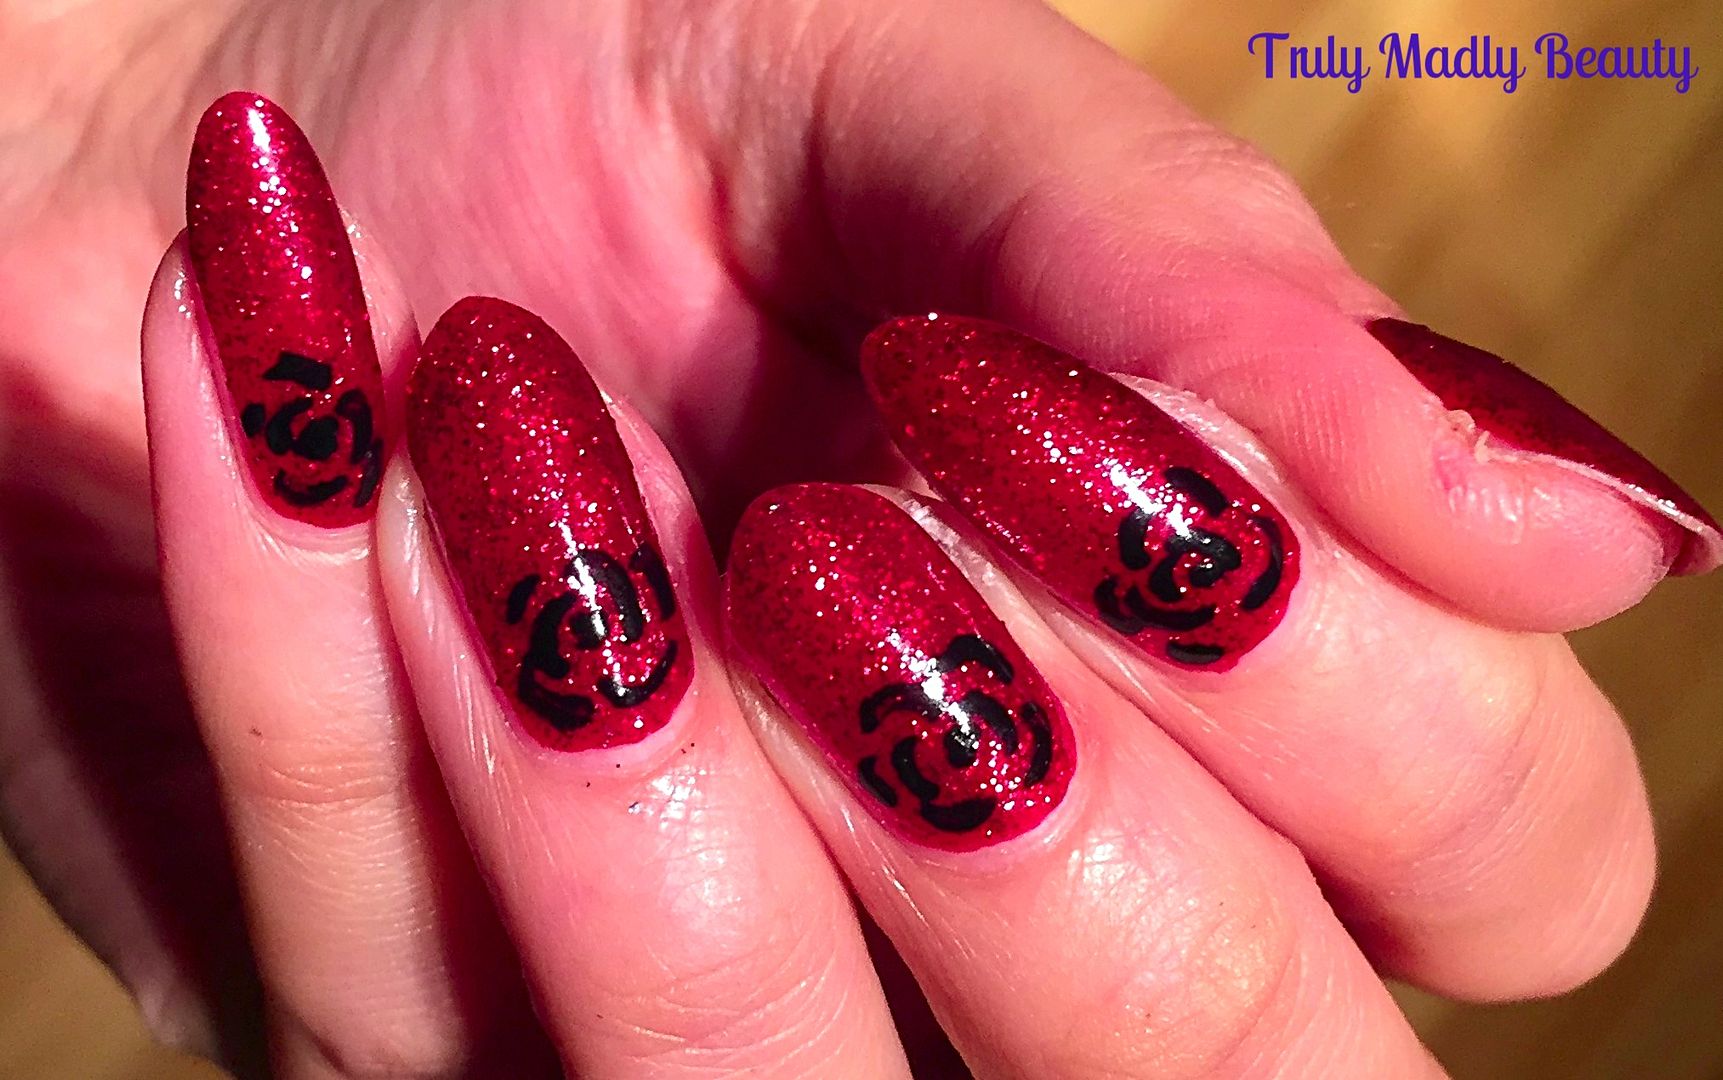
To add a bit of extra Gothic oomph if you will, though that red sparkly goodness is pleasing enough by its onesie, I added a little black rose to each nail. Though you can festive this up even more & use gold or green polish to give the look of wreaths!


There are so many different ways & techniques you can use to create roses. These ones are super easy to do, all you need is your nail art brush & some black polish. Starting with a dot in the middle, just add little curved swirls around it to create the petals, going outwards until you are happy. A really easy way to create some rustic roses.


Even though the finish was glossy I still out of habit finish with a topcoat to help the mani dry quicker, smooth out any grittiness from the glitter  & to add even more shine. 


ALSO FYI dolls I'm currently in mourning the loss of my talons...moment of silence please... Because I'm such a clumsy klutz I knocked a few nails resulting in me having to file them all down to nubbins! Time to reach for the MicroCell Nail Repair again...so the next few festive manis will be seen in noticeably shorter nails...but that never stops me! So stay tuned my merry little elves!

Lotsa love to ya!


11.01.2016

Klenspop 4 Color Red Circle Lens Review

Hello there my lovely readers!

Currently sat snuggled up surrounded by soothing scented candles burning away with a pot of tea & supply of sweet foodstuffs...BLISS & the perfect environment to get my blog on. FYI head over to your nearest B&M beauts ASAP to drool over their divine scented candle range...so impressive & better still such BARGAINS! Managed to snap up some of the leftover Halloween specials including delicious Vanilla Pumpkin...yummo.


I'm sure you're used to by now of my fondness for switching up my eye colour on occasion, in particular with my favourite lens brand Klenspop. Well I have another pretty lens to share with you today, something a little bit different this time with the Bunny 4 Colour Red* lenses


Like the lilac lenses from my previous post HERE, I was super excited to try out a shade of lens I'd also never ventured towards before, but fret not, if the idea of red lenses immediately brings to mind "newborn vampire out of twilight" vibes, which I confess it did with me & there's nothing wrong with that as I think they look incredible, I couldn't have been more wrong about these which are in fact rather natural in look!


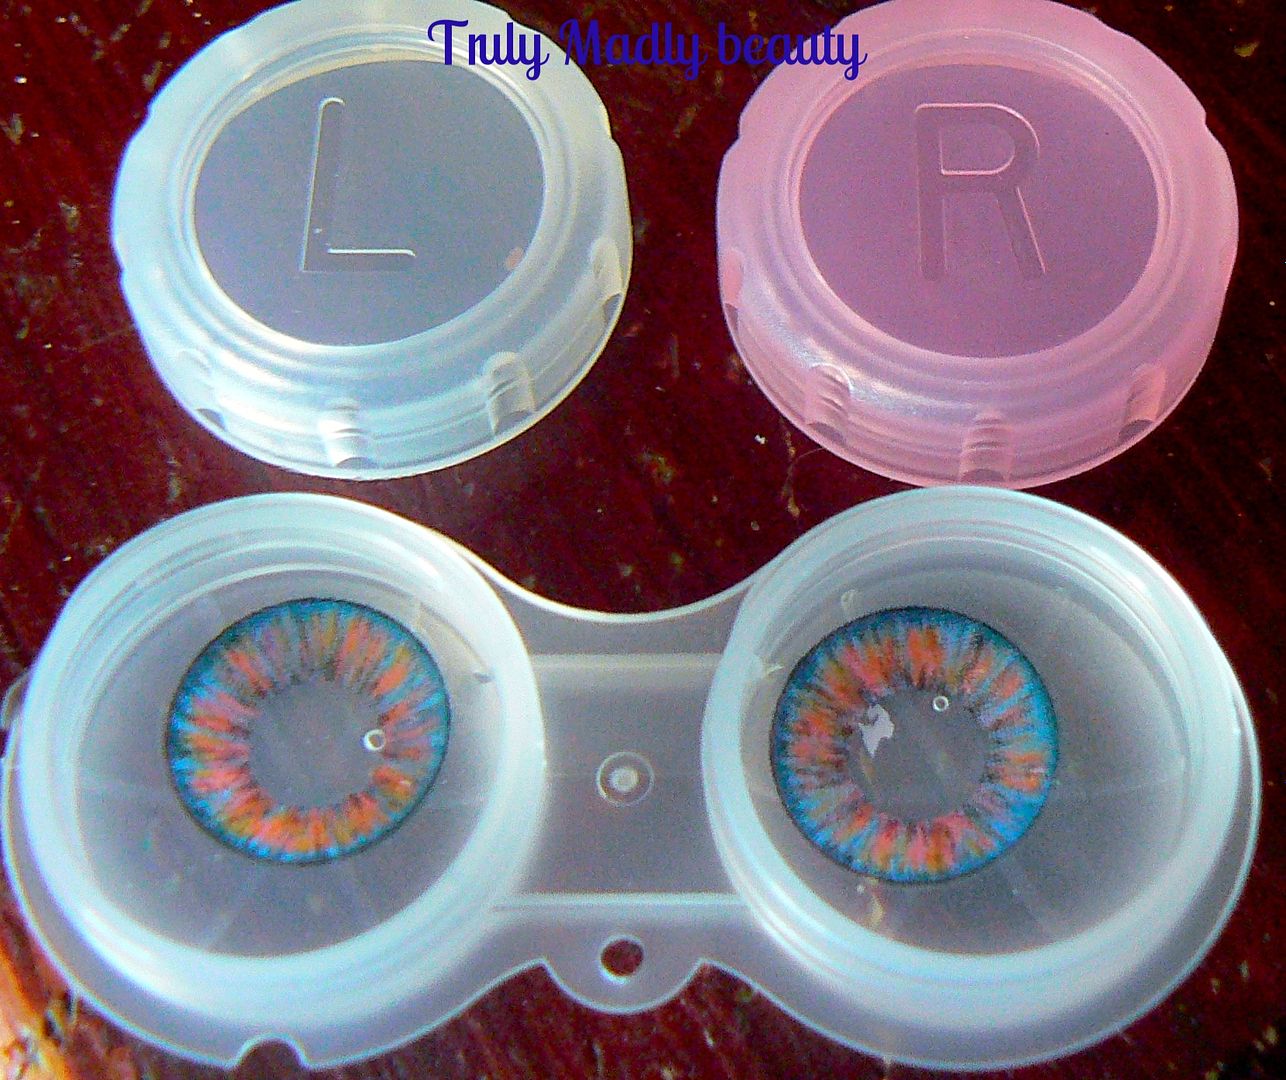
As usual your Klenspop lenses will arrive securely packaged in plenty of bubble wrap, in which you'll find your your lenses stored in the usual pretty packaging along with your wee tweezers and storage case.


As you can see from first look, far from being one block colour, the Bunny 4 Colour red lenses are an intriguing mixture of not just pale red, but also includes shots of blue, grey & brown thrown in to give a really unique look

Here's a wee breakdown on the lens details for you:

Diameter: 14.5mm
Graphic Diameter: 14.2mm
Basic Curve: 8.8mm
Using Period: 6 months
Water Content: 38%
Manufacturer: Lenspop

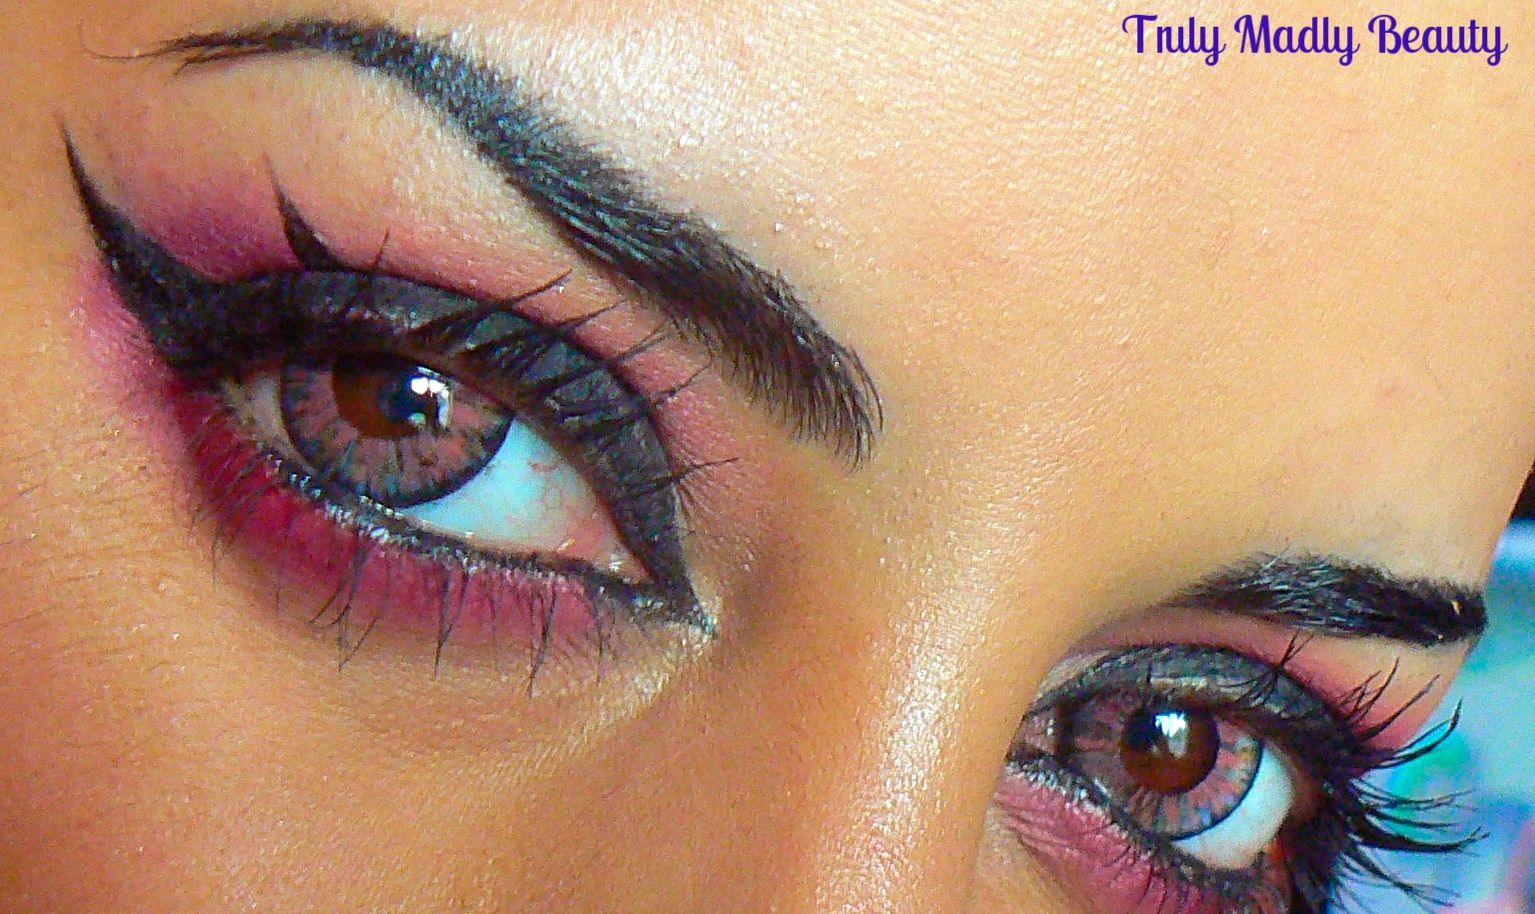
Now on to the pics! Here's a quick before pic of me with my natural eye colour, I decided to throw together an Amy Lee vibe red eyeshadow look to go with the lenses that completely had me reminiscing back to my teen years...


And here we have the Bunny 4 Colour red lenses in...


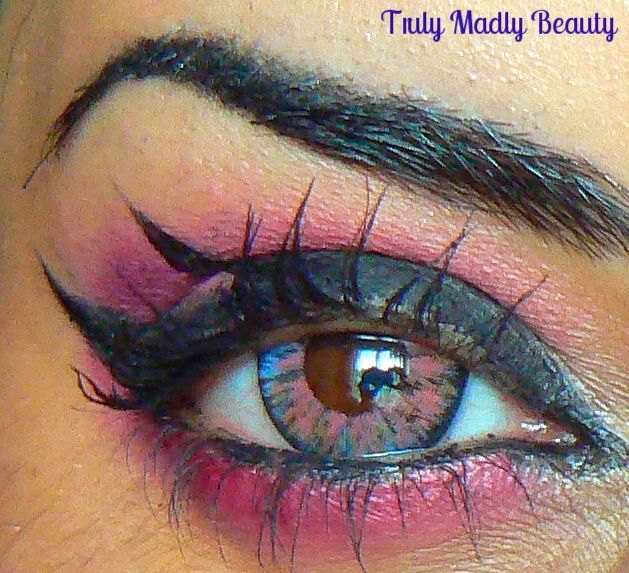
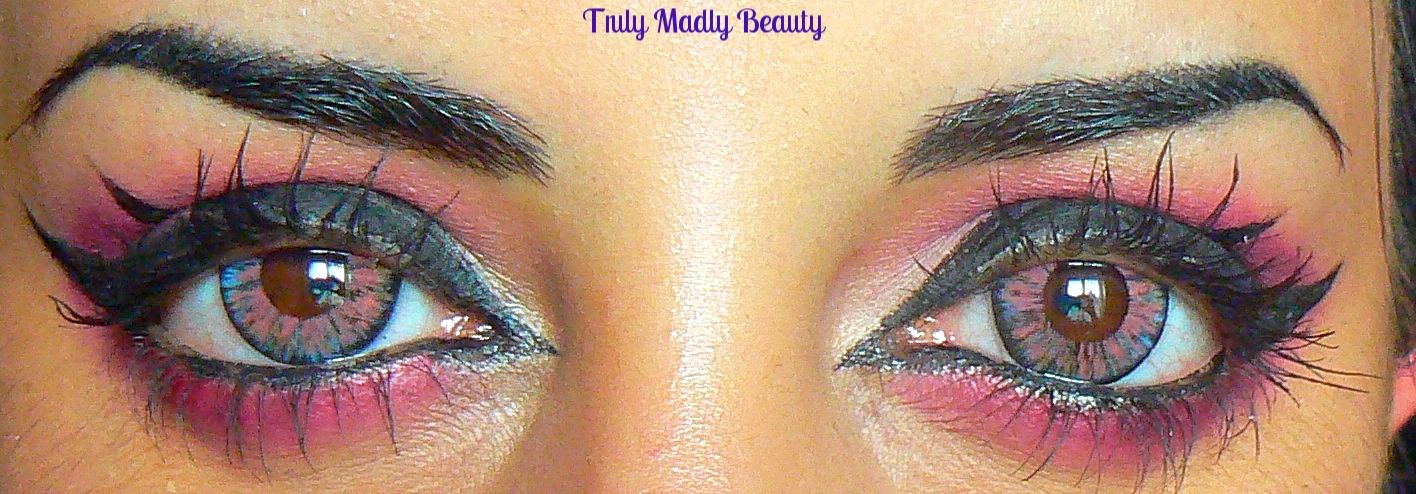
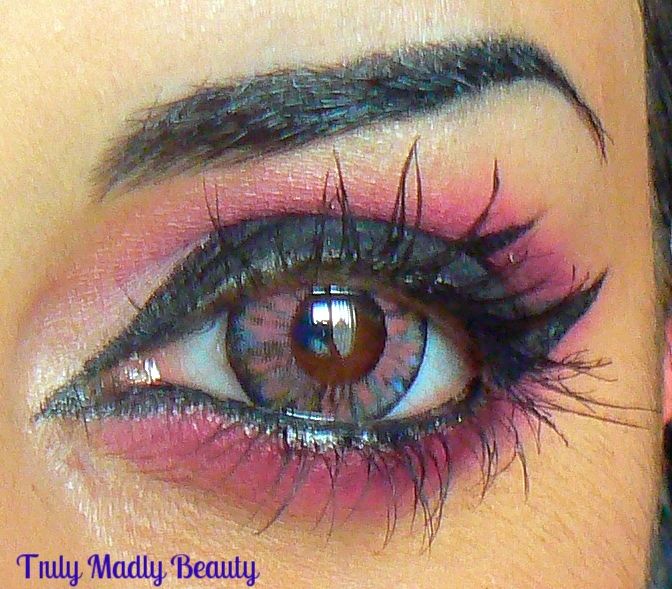
What do you think? I was so pleasantly surprised with how different yet natural the finish of these are, I absolutely love them!


The added touches of grey/blue/brown really tones down the look yet still makes the finish really eye catching. Because the red is so soft toned it almost gives a pretty pink like finish which I heart.  


Happy to report these are non irratable as Klenspop lenses always are & I can comfortably wear these for the whole day with the added help of MesmerEyez Milk Eye Drops which are by far the BEST eye drops I have ever used to help prevent eyes from drying when wearing lenses.


The Bunny 4 Colour Red lenses also enlarge the eyes slightly, but not a huge amount so the finish is still quite natural. However one thing I did notice with these is that one of the lenses kept shifting positions due to my dry eyes making my eyes look a tad odd haha! But that was rectified with a bit of moisture from the eye drops. ;)


Another hit with these babies! You can find these and many more on the Klenspop website where they are not only reasonably priced but fab quality too. You can check out my other Klenspop reviews HERE.

Thanks as always for reading!

Lotsa love to ya!


Disclaimer - * products featured were sent to me for my consideration. I am not affiliated with the brand nor paid for this post, this review has been as always my 100% honest opinion! :)