Showing posts with label Mint. Show all posts
4.09.2019
NOTD - Peek-A-Boo Panda Nails for #artists4earth
12.05.2018
Festive NOTD - Mint Sparkle Snowflakes
Hi there lovely readers!
I was in two minds about whether to share this nail art...Even though I loved the frosty mint colour, I think the pale base made my snowflakes & holo glitter stickers get a tad lost amongst the background so I kinda class this as a mani fail haha! But hey you win some you lose some right?
Labels:
Christmas,
Deborah Lippmann,
Essie,
Festive,
holographic,
Kiko,
Mint,
nail art,
nail stickers,
NOTD,
Snowflake,
SoNailicious,
Sparkle,
Unicorns,
Xmas
3.12.2018
NOTD - Aquamarine Semi Precious Stone Nails
Hi there lovely readers!
Often, when I am uncertain of what shade of polish to pick for my next manicure, because you know, there simply AREN'T enough colours in the world, I sometimes grab a couple of polishes & throwing caution to the winds, have a play around to see if I can make my own custom shade to suit my mood!
Sometimes, when the nail gods are on your side & you mix two shades together, a magical thing occurs & you find yourself with a stunning new shade which is why I really love doing this! Don't get me wrong though...there have been times when this method has been majorly UNSUCCESSFUL.
1.16.2018
NOTD - Abstract Nails
Hello there lovely readers!
Now I'm not sure what to call this nail art look I have for you today...You see it WAS meant to be an attempt at the arty abstract look that I've been seeing pop up on my IG feed so often of late, in particular by the awesome SoNailicious & was one of the hottest trends of last year.
1.02.2017
NOTD - Pastel Winter Wonderland Nails
Hello
there my lovely readers!
Happy
new year to you all my beauts! I hope you all had a wonderful Xmas
break & new years however you spent it. I'm certain my spirit
animal is a bear as I've pretty much spent the holidays in
hibernation which has been utter bliss! Like many I'm sure I'm now
currently going through the “oh god no” motions at the thought of
going back to work!
Not
feeling QUITE so ready to part from the festive feels just yet here's
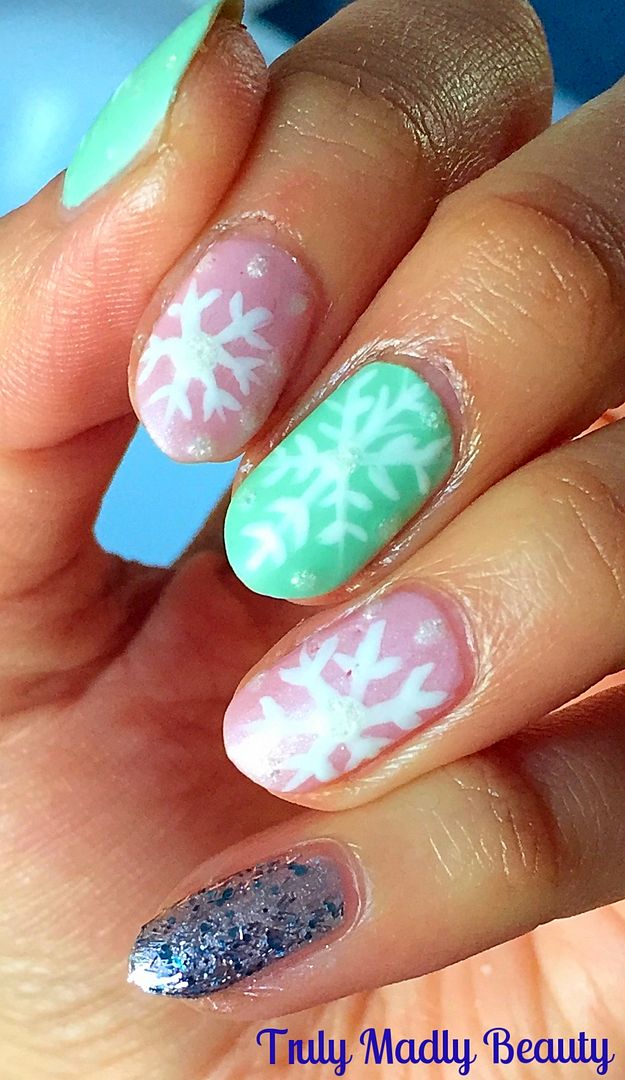
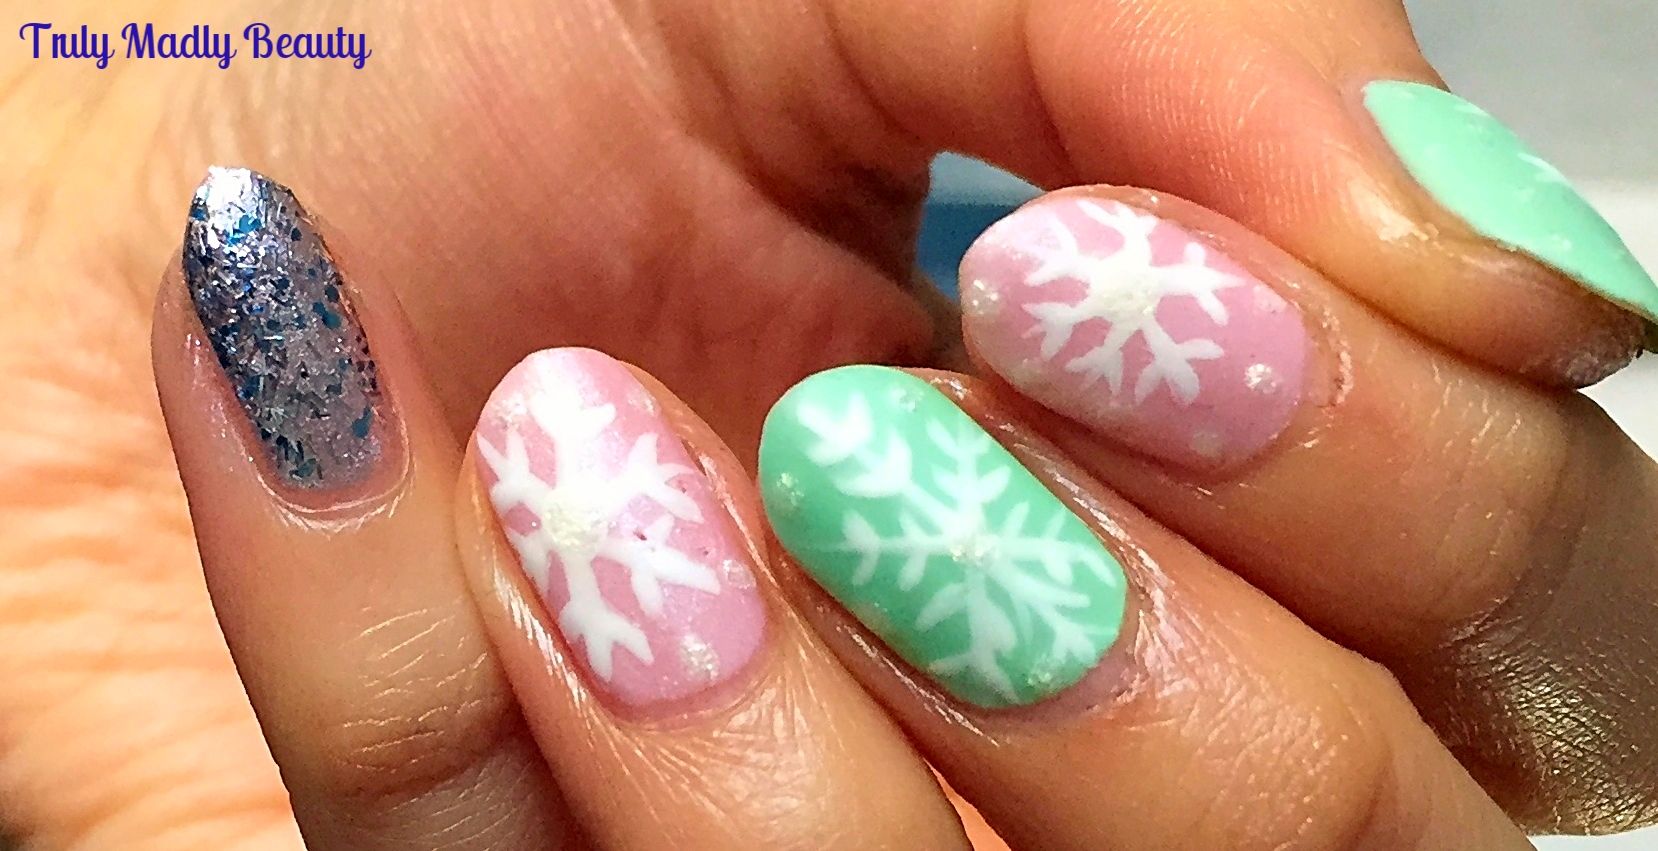
a frosty Pastel Winter Wonderland mani using sugary soft tones,
snowflakes & a bit of glitter thrown in! Normally I'm a glossy
girl all the way, however for this mani I decided to mattify the
finish & I must confess I dig it!
I
wanted some pretty pastels for my base, not able to decide I went for
a two tone using pale pink & mint.
For
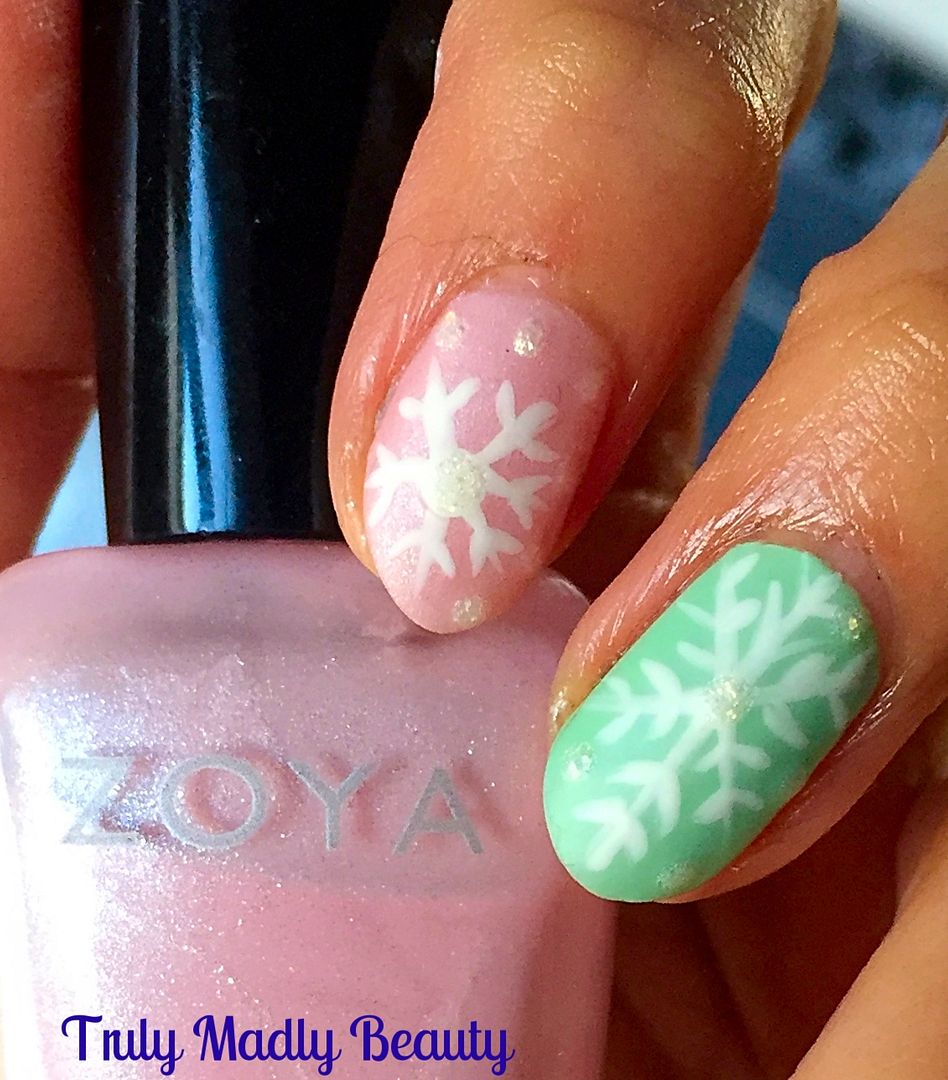
the pink I've used two coats of Zoya Bailey, a gorgeous soft pink
with a pretty pale silver shimmer running through it.
For
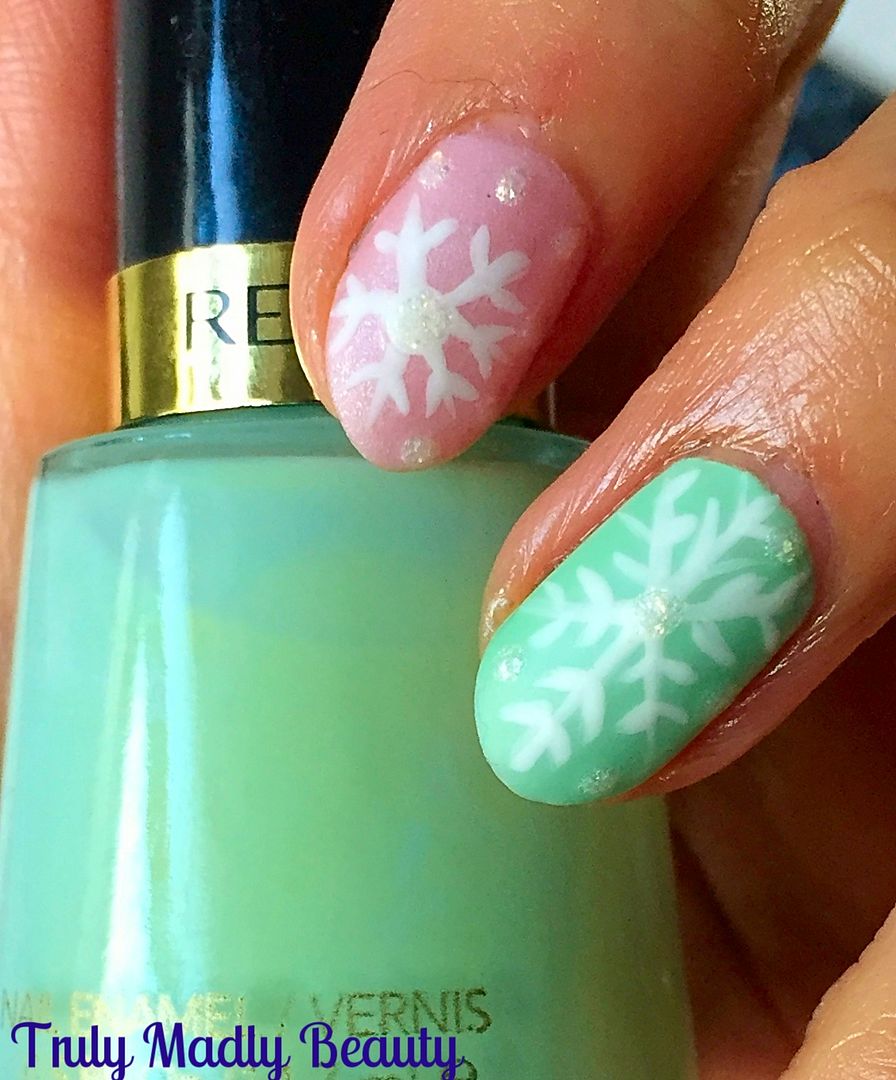
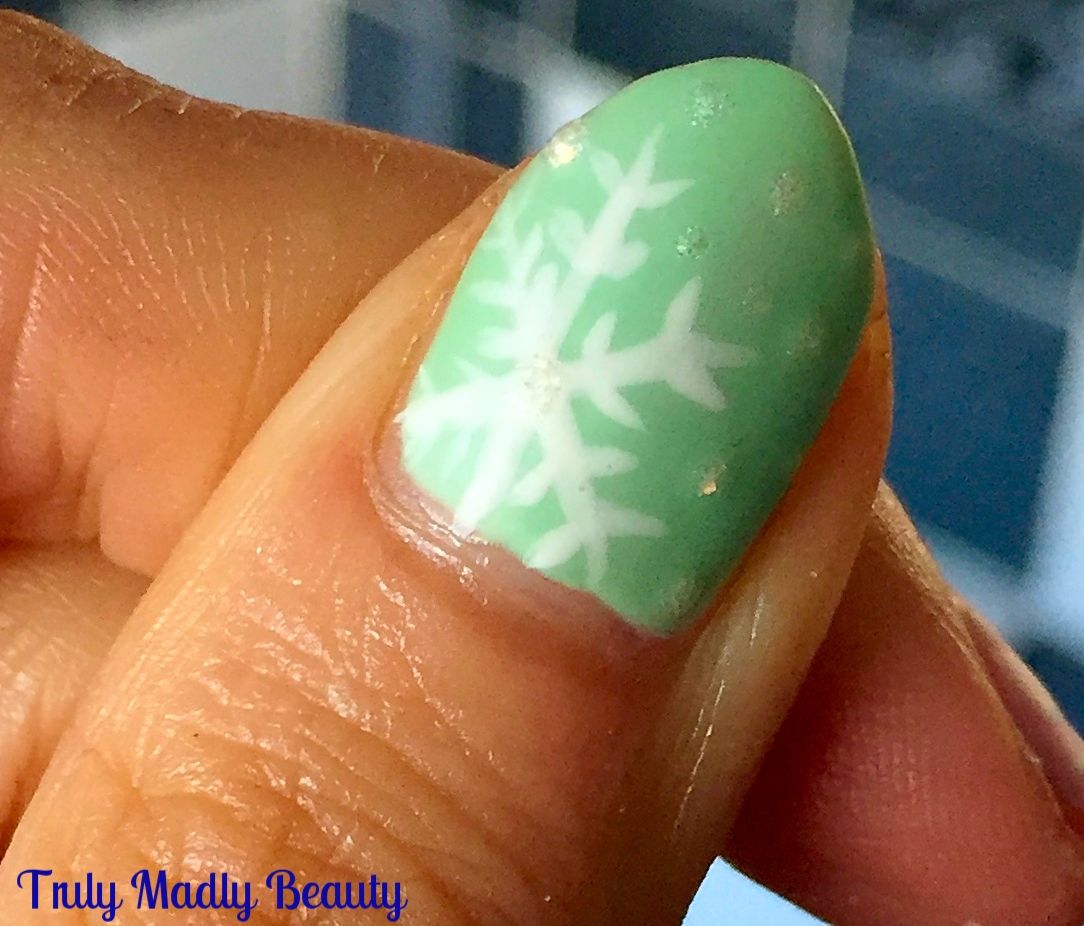
my mint green nails I went for one of my vintage Revlon polishes,
this is the aptly named Minted of which two coats were also applied.
Creating
the snowflakes is easy peasy, using a fine nail art brush & some
white polish simply draw an X on to your nail wherever you'd like
your snowflakes placed, then draw a vertical or horizontal line on
top.
Now
add on your snowflake details by placing smaller angled lines along
the cross, playing around with different styles, sizes & designs!
To
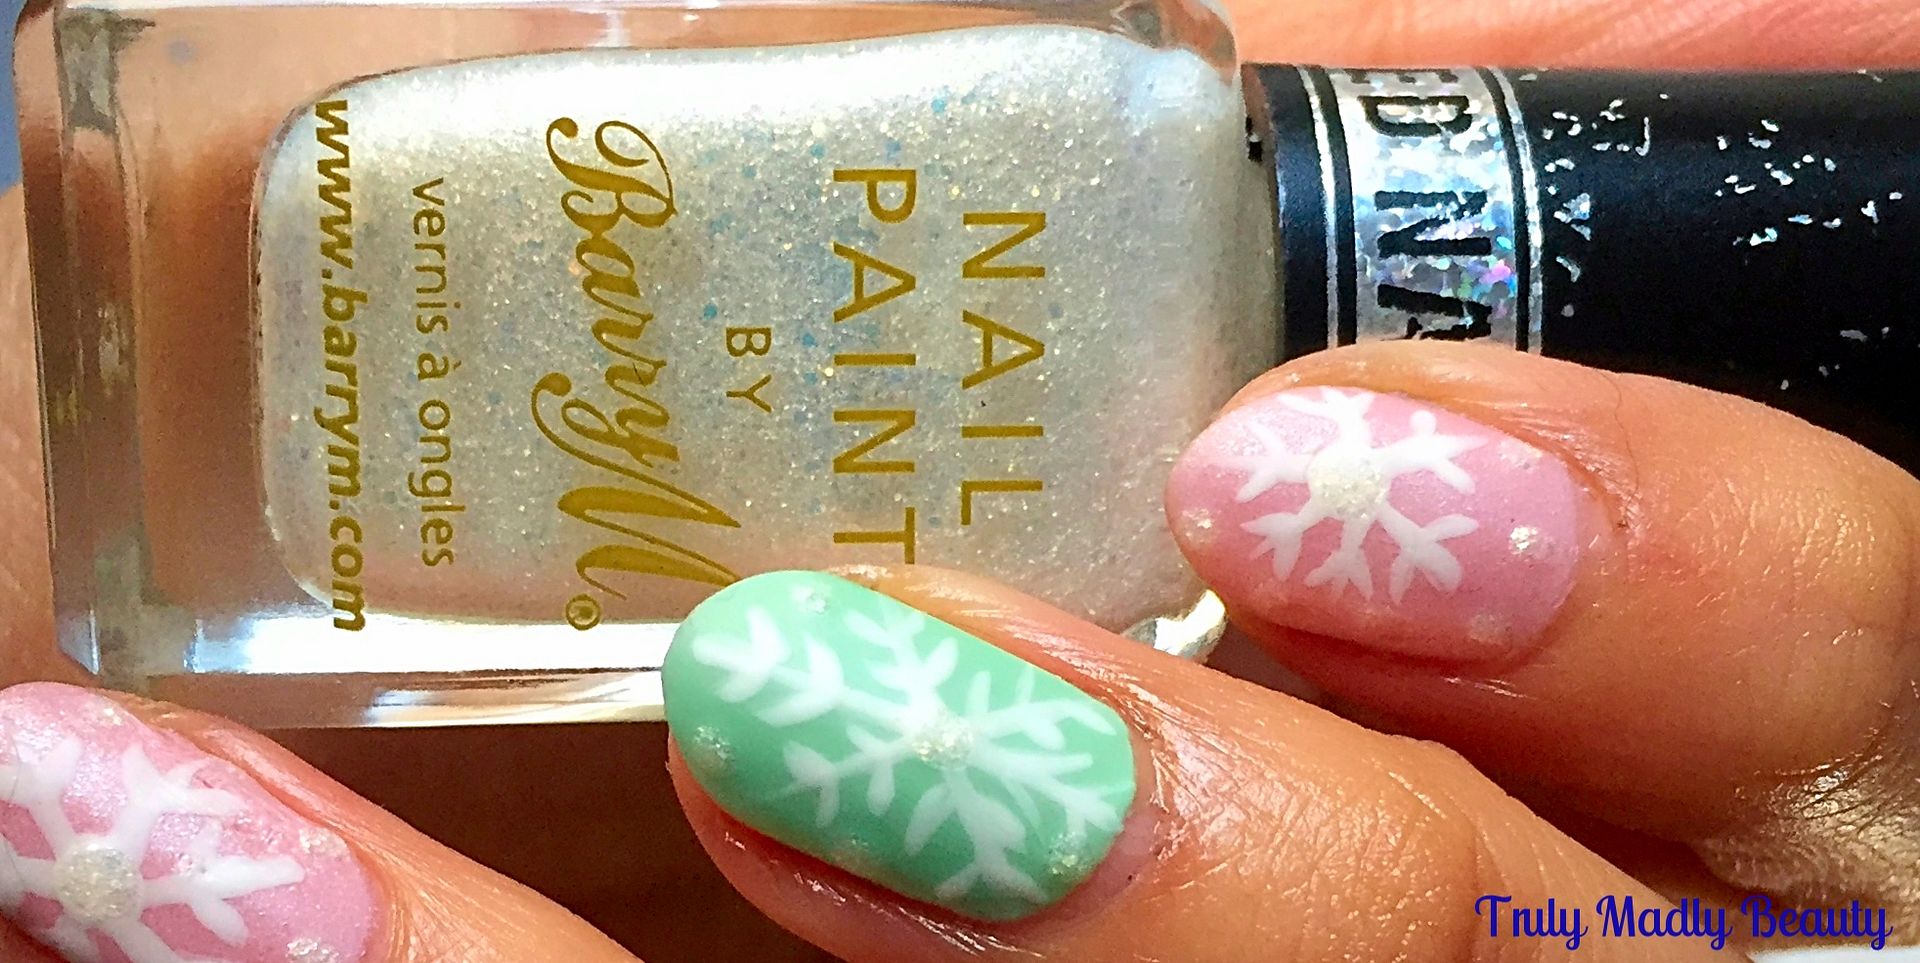
add a bit of dimension to the pastel nails I dotted on a bit of Barry
M textured polish in Lady which is a really unusual & pretty
frost white shimmer.
Then
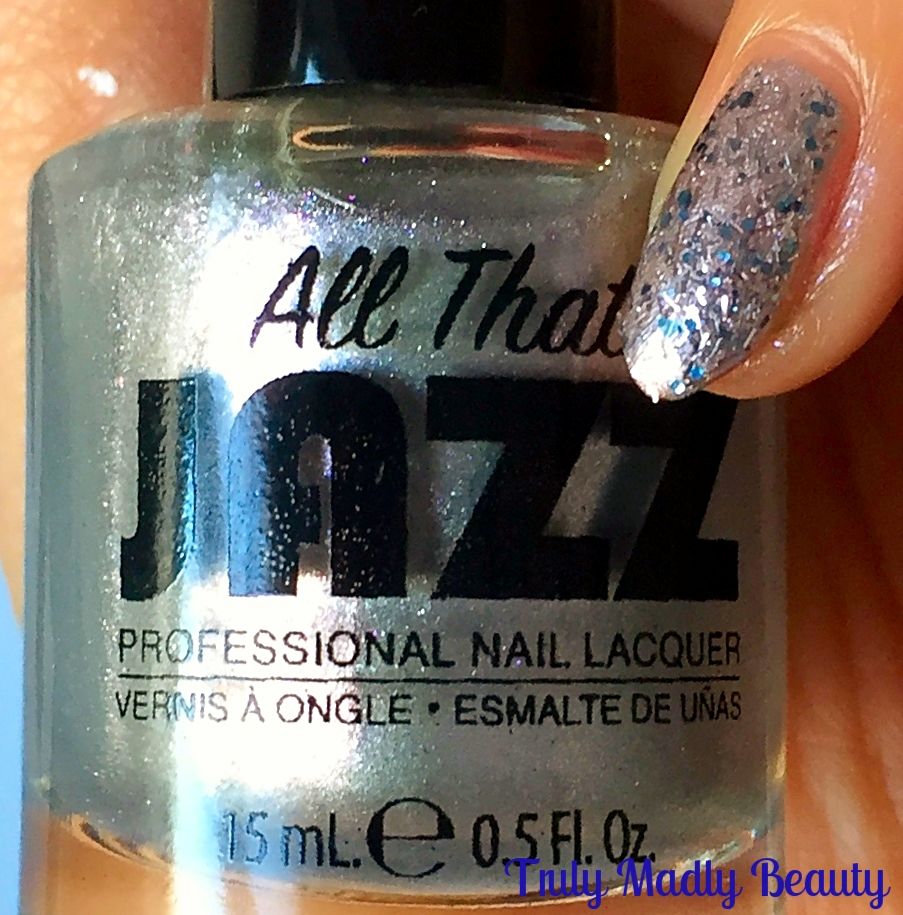
for the accent nail I applied two coats of this pretty silvery All
That Jazz polish. I couldn't for the life of me find the name of the
shade on my bottle, unless I was having a dunce moment which, lets be honest, is most likely, but it could be the shade Glam Squad
For
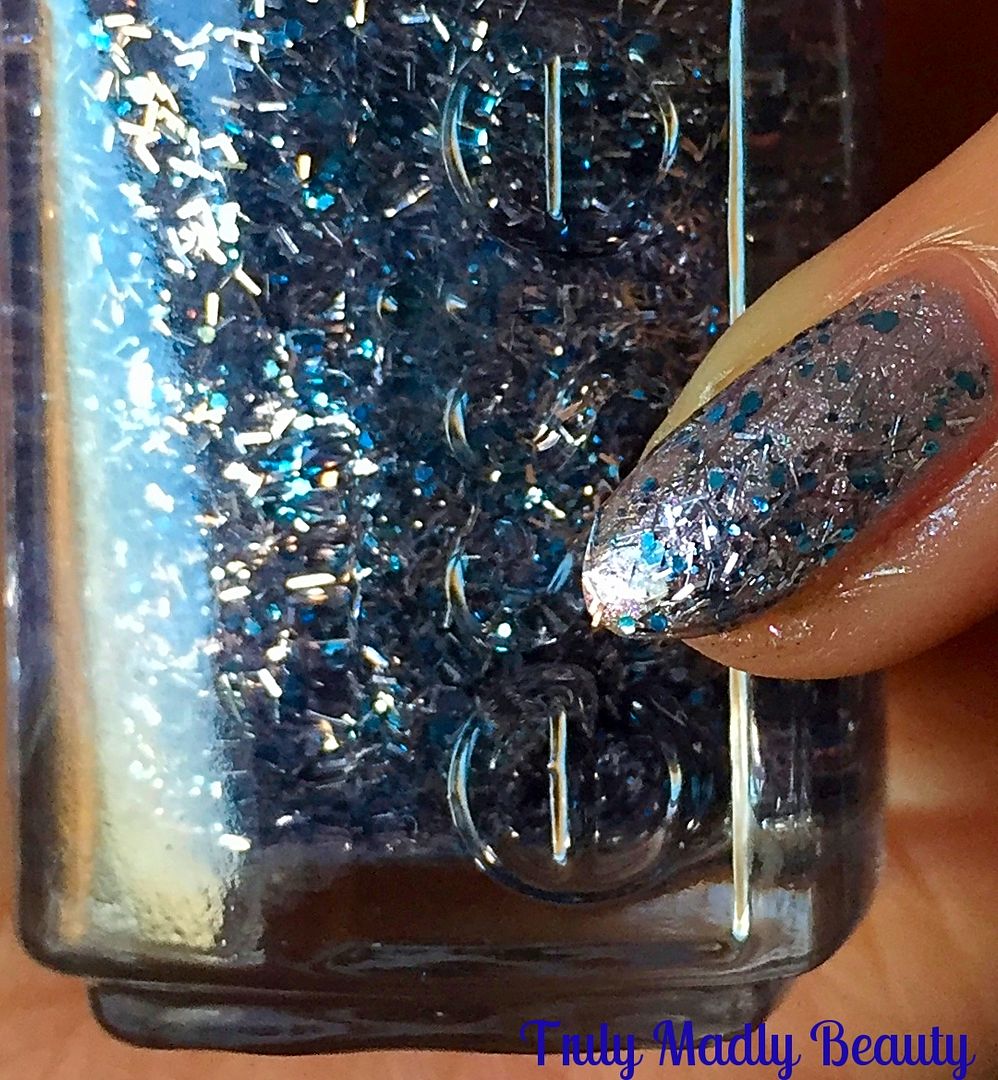
the final touch I coated the silver pinkie with this beautiful silver & frosty blue bar & hexagon glitter mix courtesy of Essie Luxe Effects in Frilling Me Softly.
As
mentioned before I decided to go for a matte look so to finish I
applied a Rimmel matte topcoat to the pastel nails. Matte pastel
manicures may just be my new favourite thing! I don't know if its the sweet tooth but this finish reminds me of cake frosting!
First
post of 2017 done! Now I'm off to hunt down that Fondant Fancy that I know is in the cupboard begging to be eaten to satisfy the sugary sweet craving this mani has enabled. Thanks as always for sticking by to read my rambles, here's to a fab year!
Lotsa
love to ya!
3.16.2016
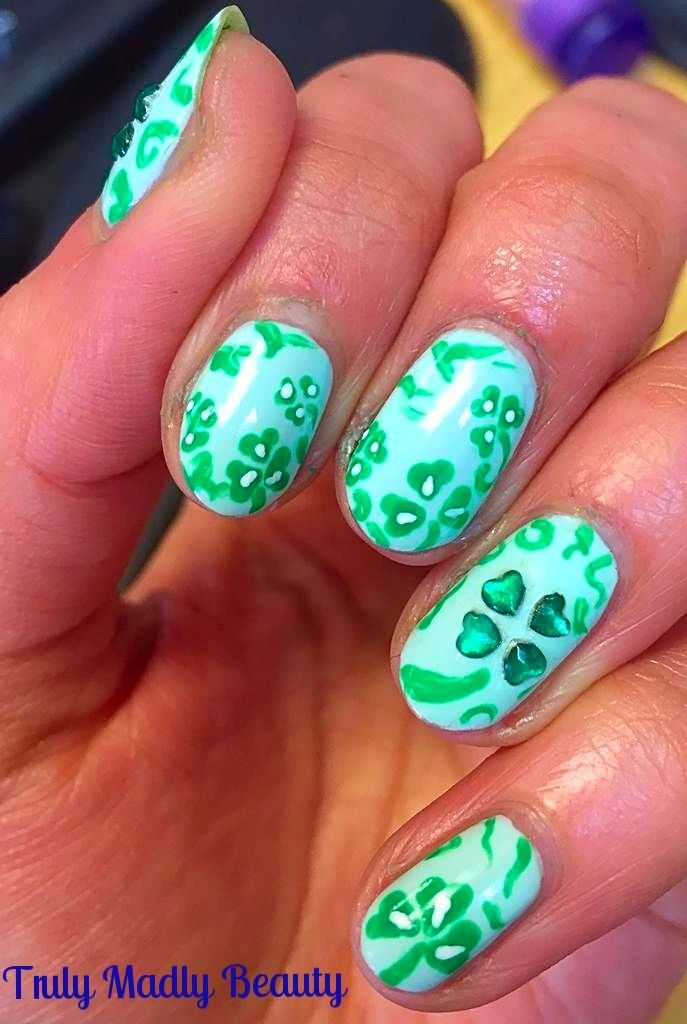
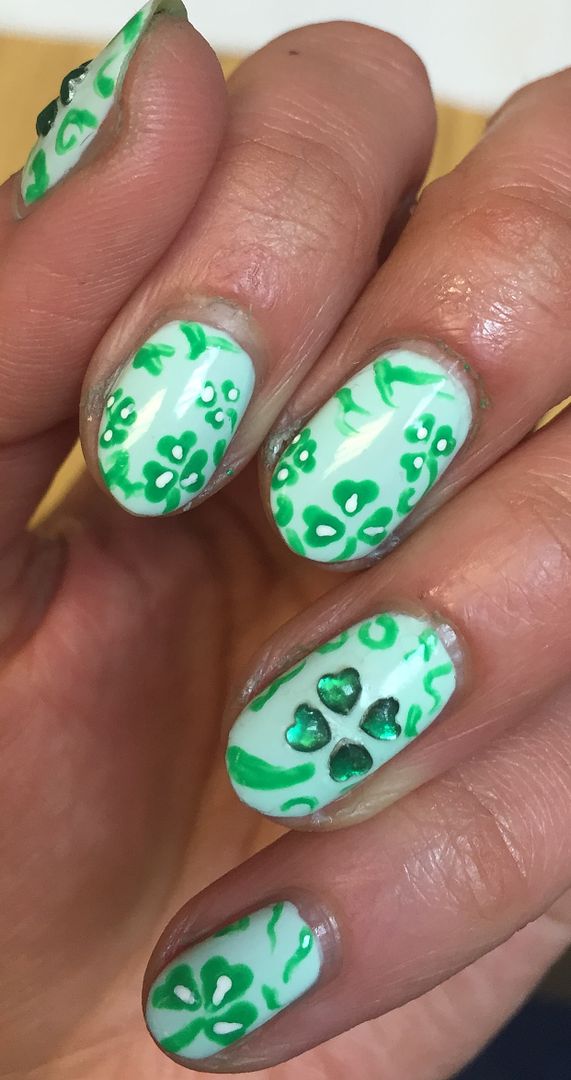
NOTD - St Patricks Day Shamrock Nails & Tutorial
Hello
my lovely readers!
Grabbed
a cheeky midweek reprieve from work today & what better way to
spend it than a trip to Hogwarts! The matey & I paid visit to
the Harry Potter studios & had a magical time going in to
full on geek mode, prowling through Diagon Alley, popping by Number 4
Privet Drive & sampling Butterbeer. Which was actually a bit of a
let down! I was expecting liquid Werthers or something but it
definitely wasn't to my taste haha! I'll be Instagramming some memories from the day so do pop by! @Aysh_xox
As
promised I've thrown together another St Patricks Day mani for you,
this time with some Shamrocks! You can check out my previous post
HERE in which I've shown you how to create some Gothic Celtic Love
Knot nail art in honour of the Irish holiday also :)
However
if that design feels a bit too complicated then these sweet &
simple Shamrocks are much more easier to do!
Whereas
with the Celtic Knot I went down the dark gothic vampy route,
with a deep Ebony Green & Antique Copper, which you know I LOVE, this time I felt some
refreshing pastel & bright tones were called for.
For
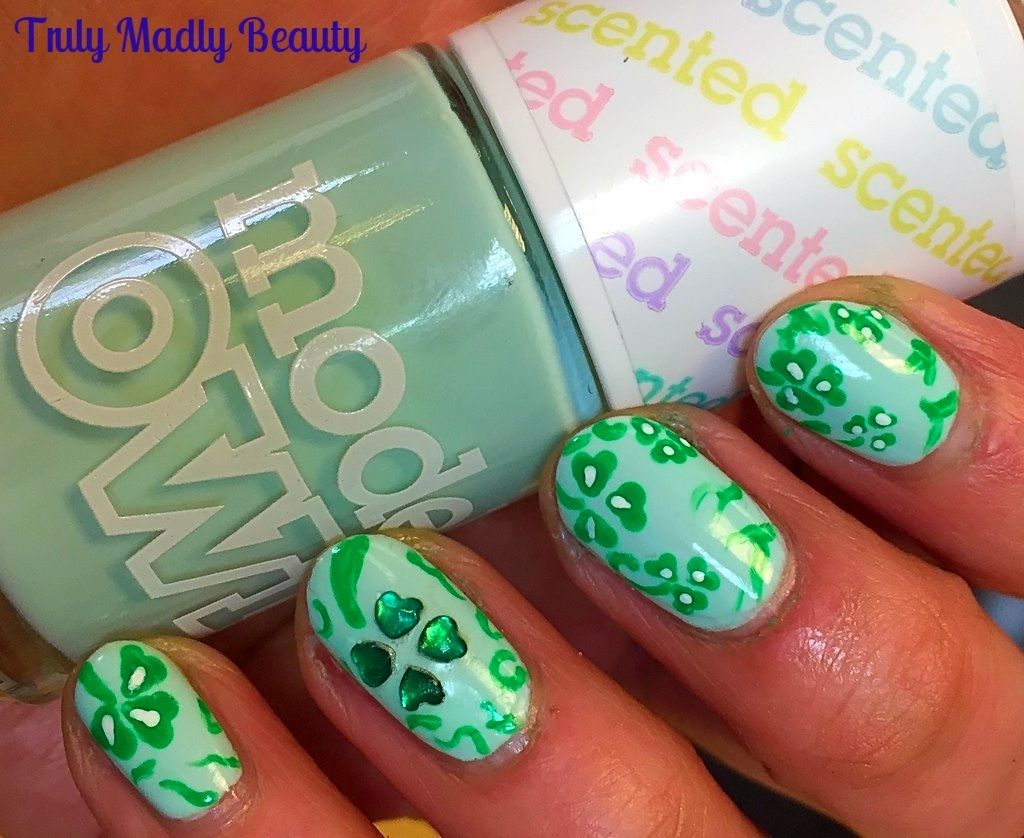
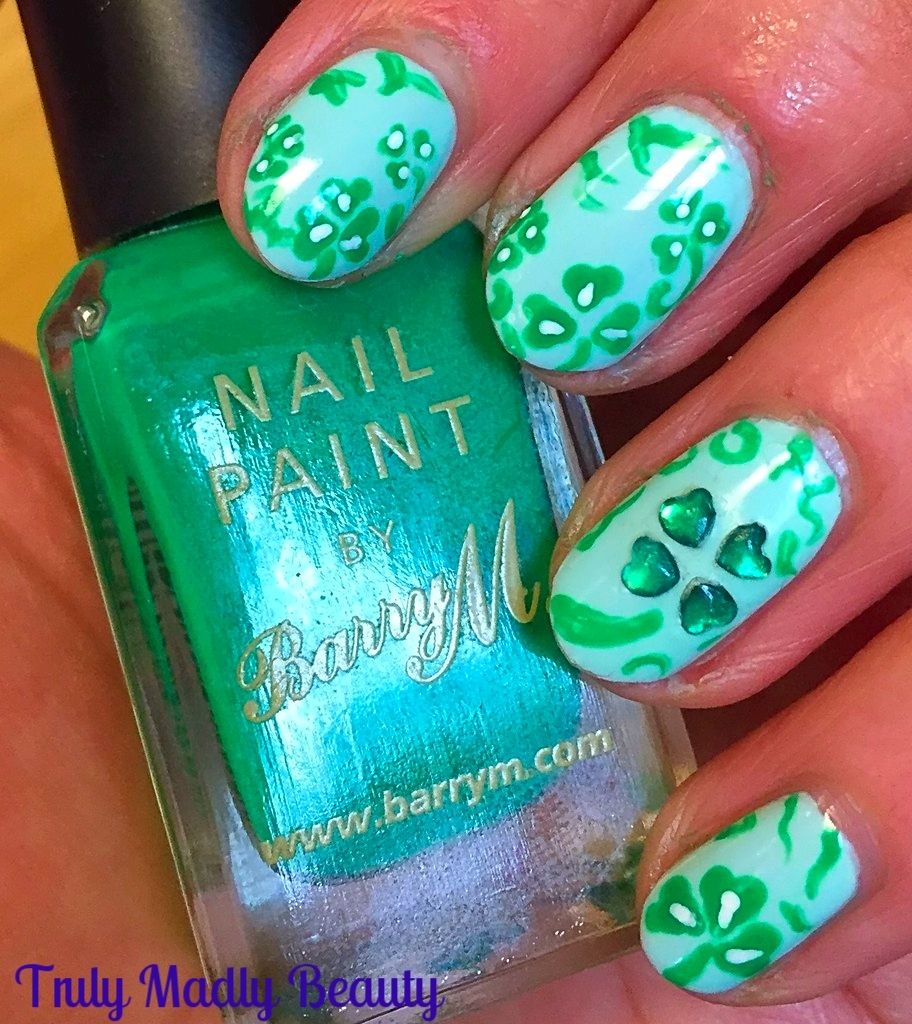
my base shade I've used two coats of Models Own Apple Pie from their
scented range, a beautiful creamy mint, so bright, cheerful & yes
indeedy...delightfully apple scented! Yum!
Then
for my Shamrocks I reached for an old favourite of mine Barry M
Spring Green, a bright & almost fluorescent green that really
pops!
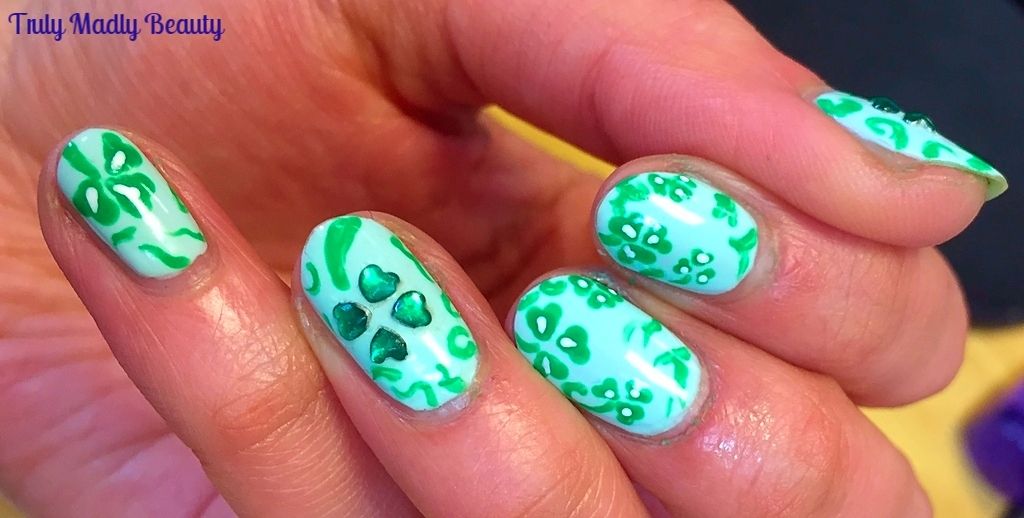
Using
a dotting tool I managed to fit on about three shamrocks on my index
& middle fingers around the border & one large one on my
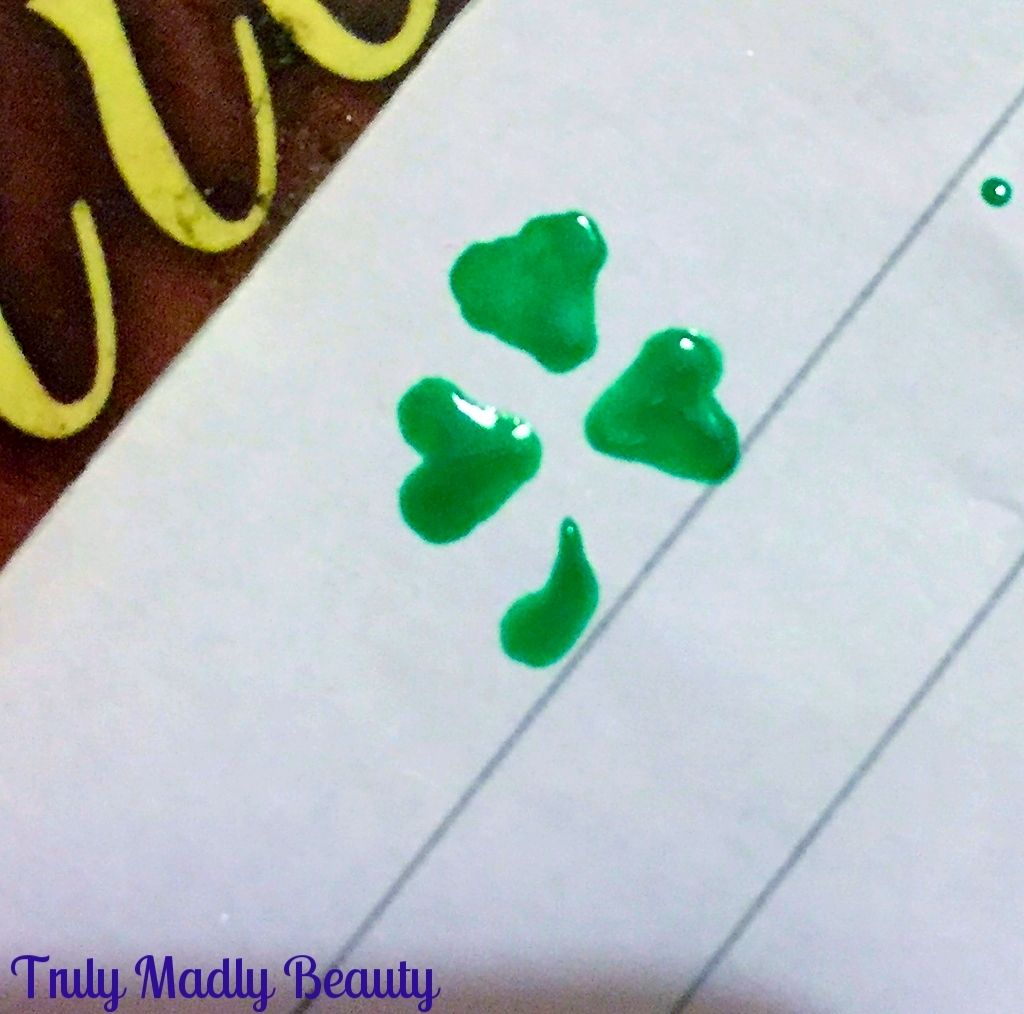
pinkie. To create your shamrock just follow these simple steps...
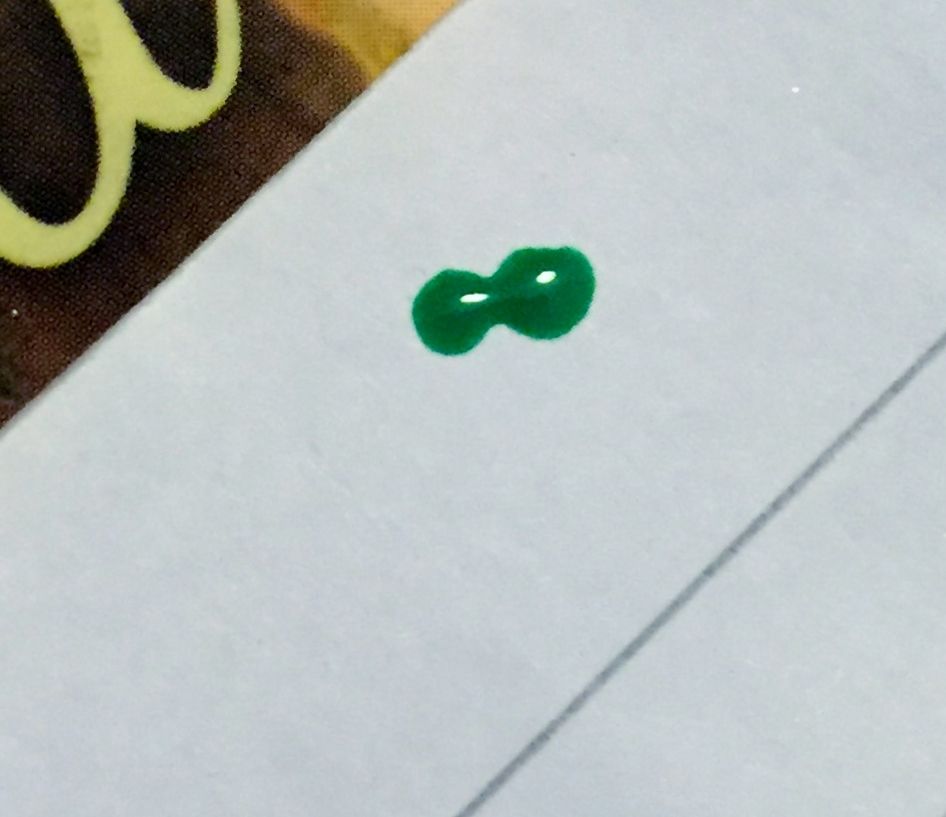
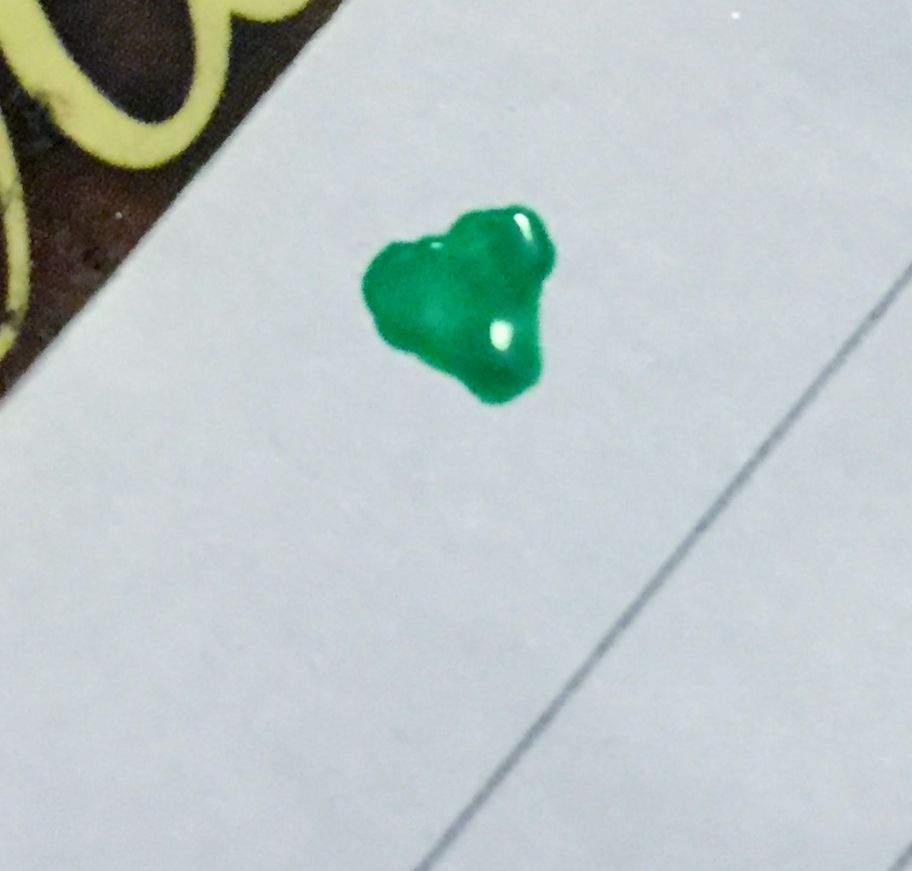
Using
a dotting tool or toothpick place two dots of green polish side by
side
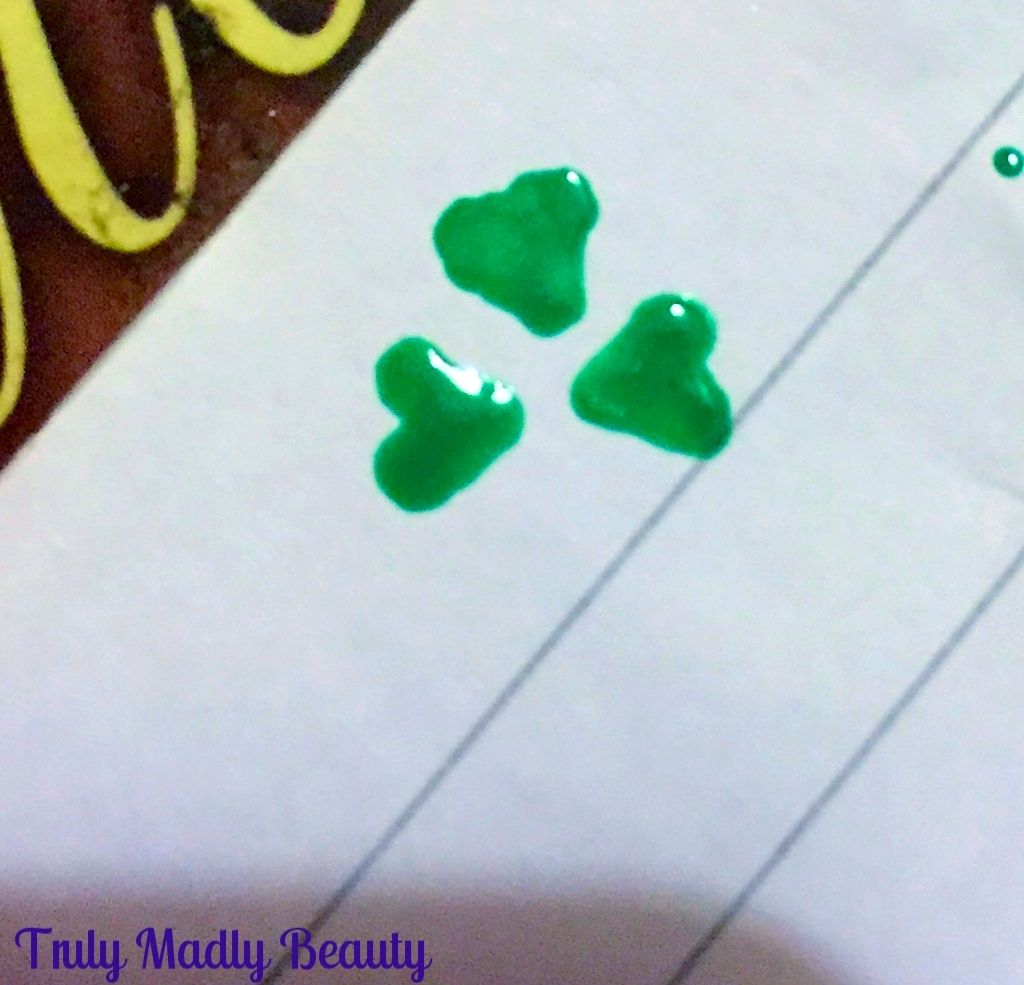
Then
using the same tool, bring the two dots together at the bottom
joining together to create a heart shape
Do
two more of these underneath, this time making these two leaves face
each other
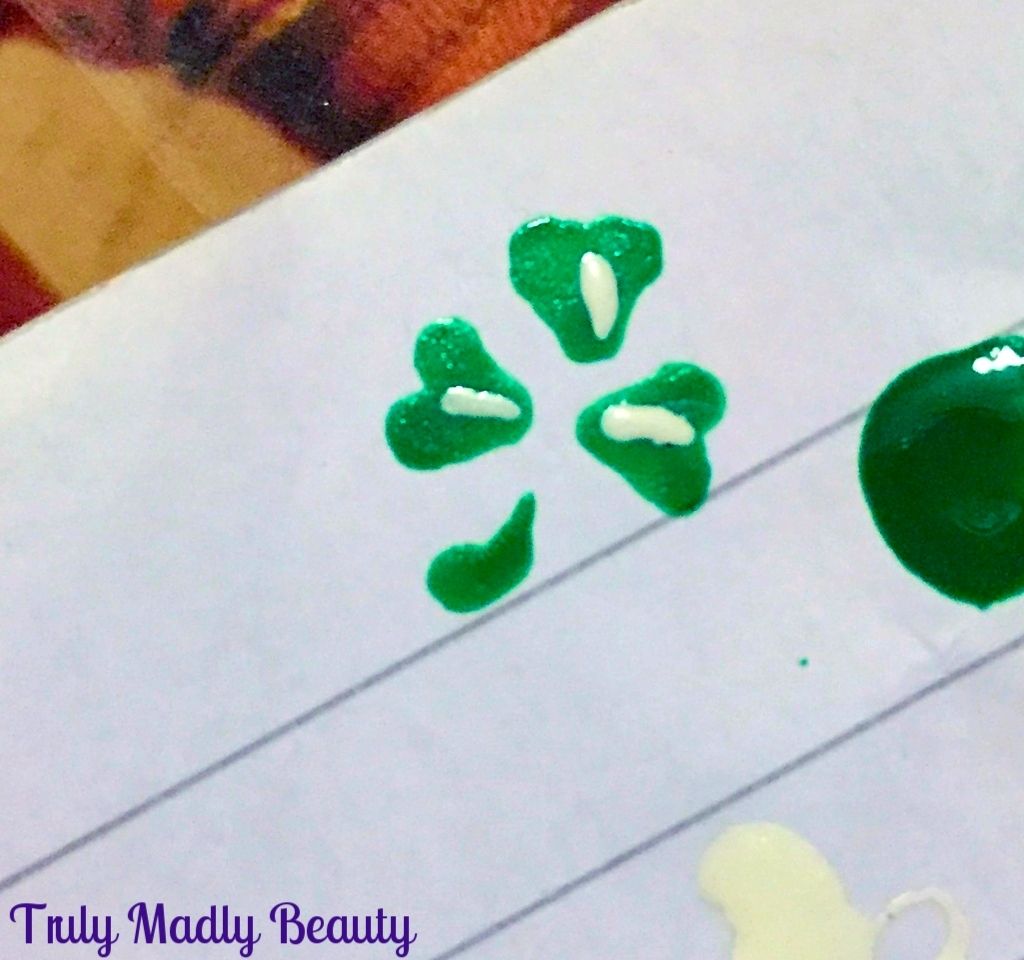
Apply
your stem using a nail art brush
Finish
with a thin line of white polish on top of the leaves in the centres
for added detail.
To
fill up the nail a bit more I simply added a few strokes of green around the border creating some additional fauna using a fine nail art brush.
On
my thumb & ring fingers I decided to use some heart shaped green
rhinestones instead of polish to create some 3D four leaf clovers for luck :)
Finish
it all with topcoat & you have your Shamrock nails ready for St
Paddys day! Thanks as always for reading & I hope you have a
lovely one if celebrating!
Lotsa love to ya!
Labels:
Barry M,
Green,
Mint,
Model's Own,
nail art,
Nail Art Tips,
NOTD,
Pastel,
St Patricks Day,
Tutorial
5.11.2015
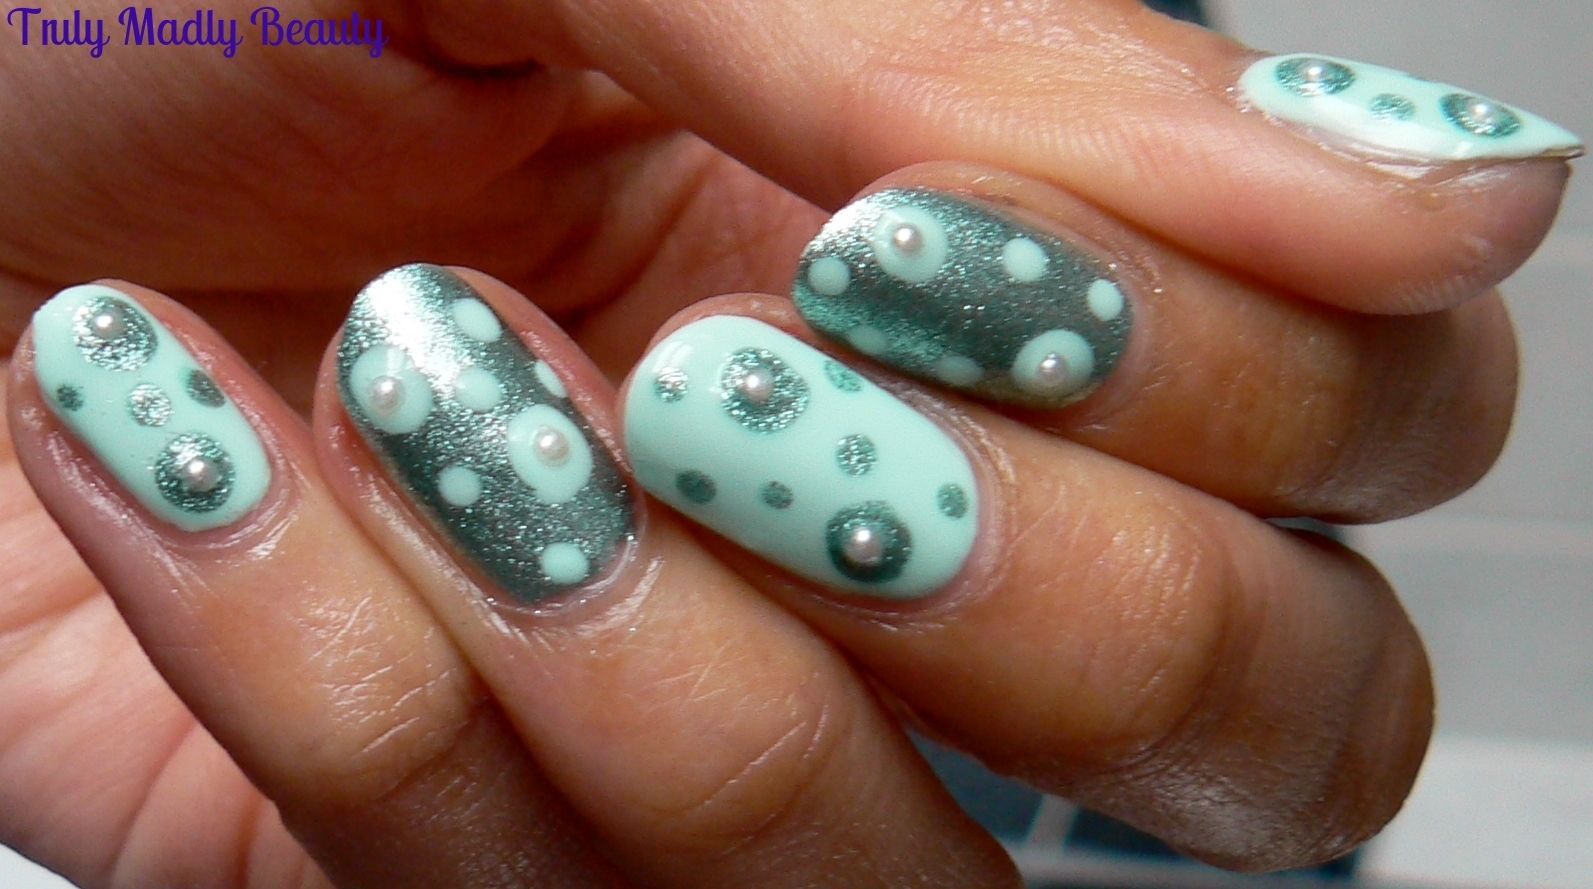
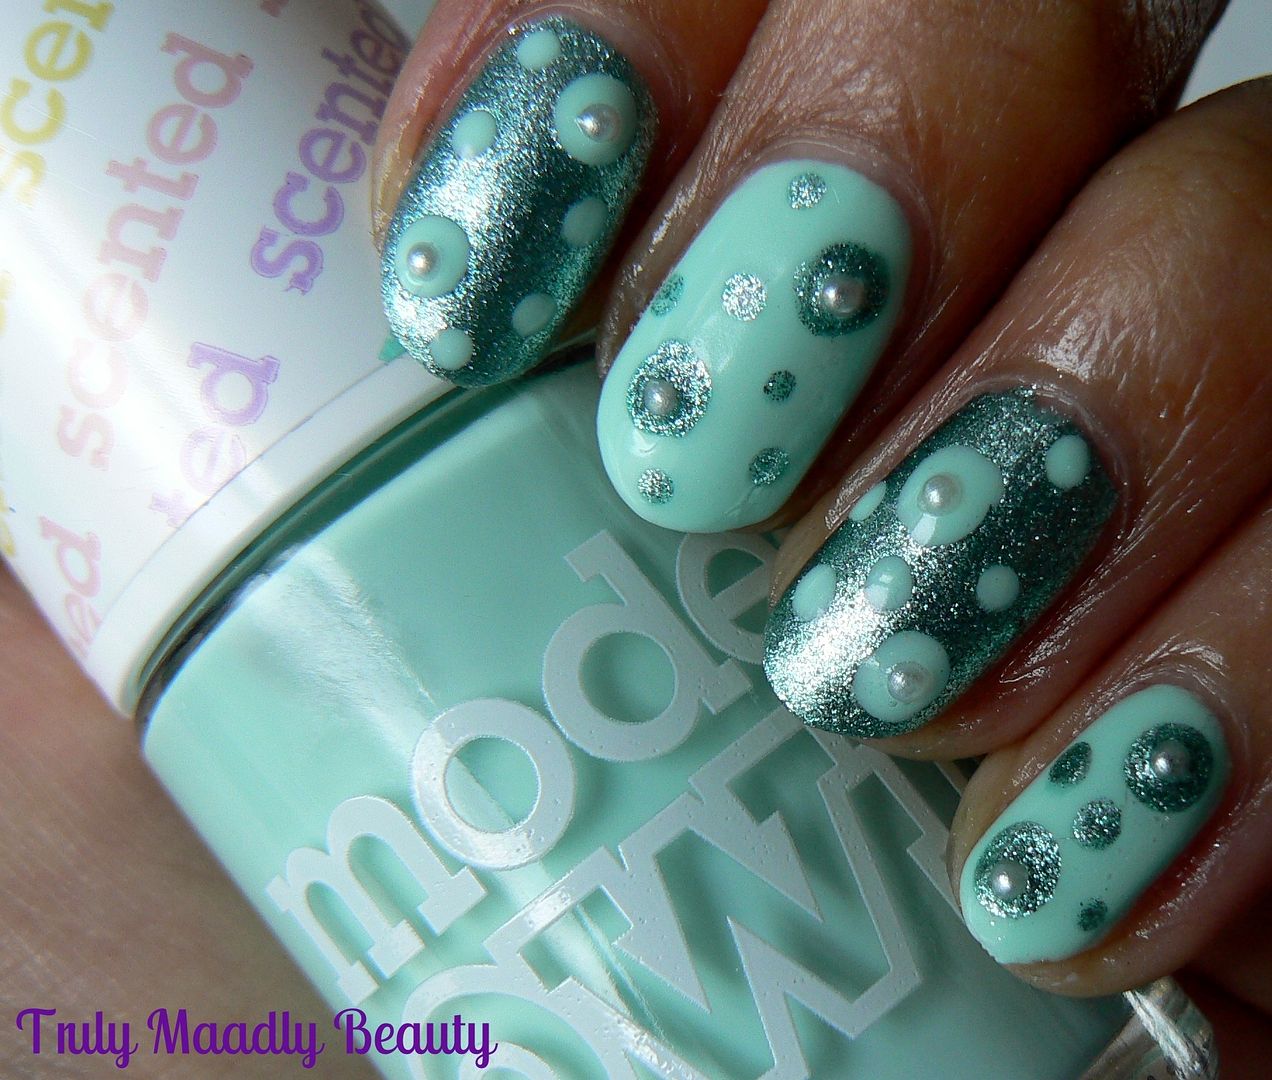
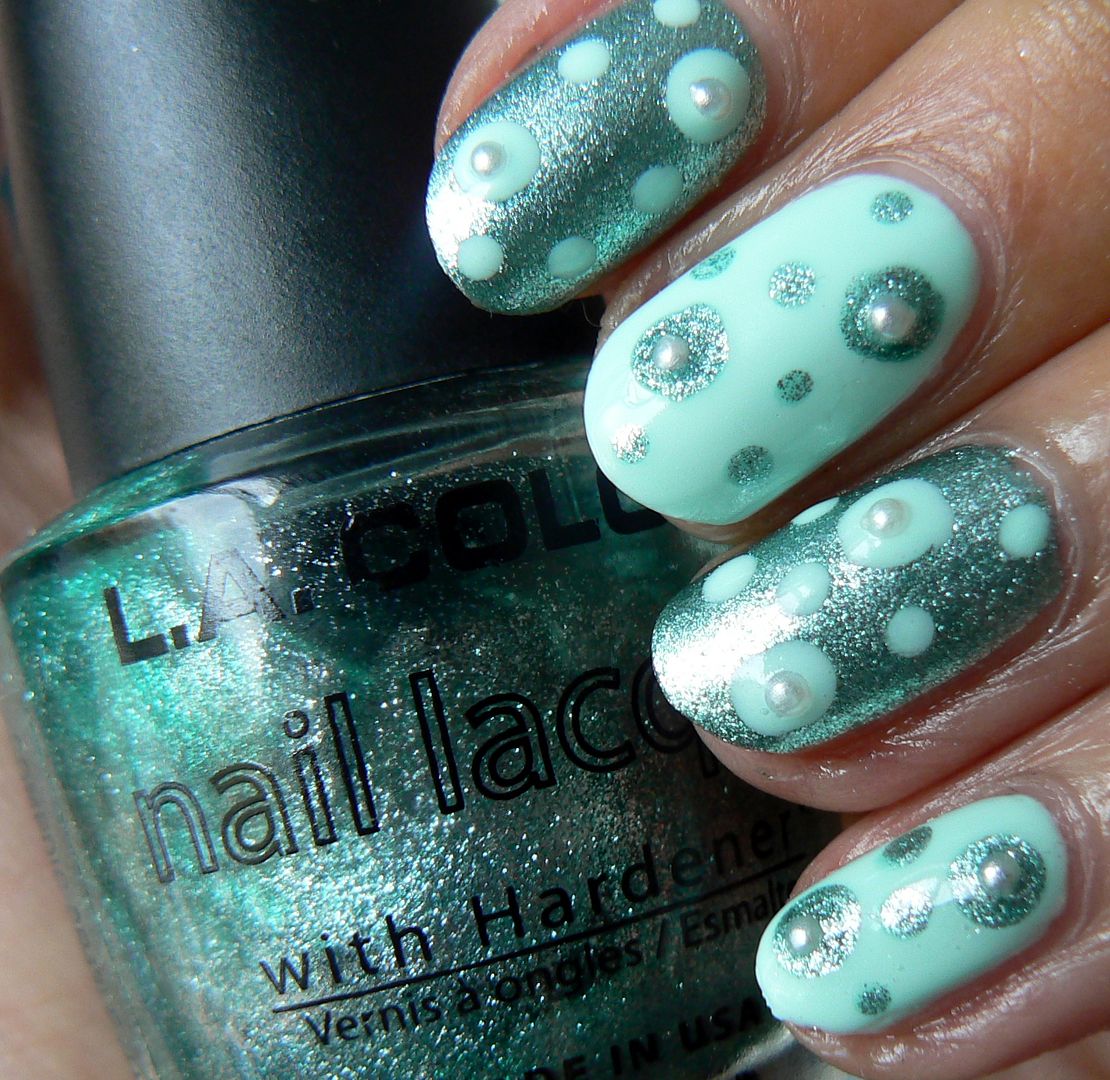
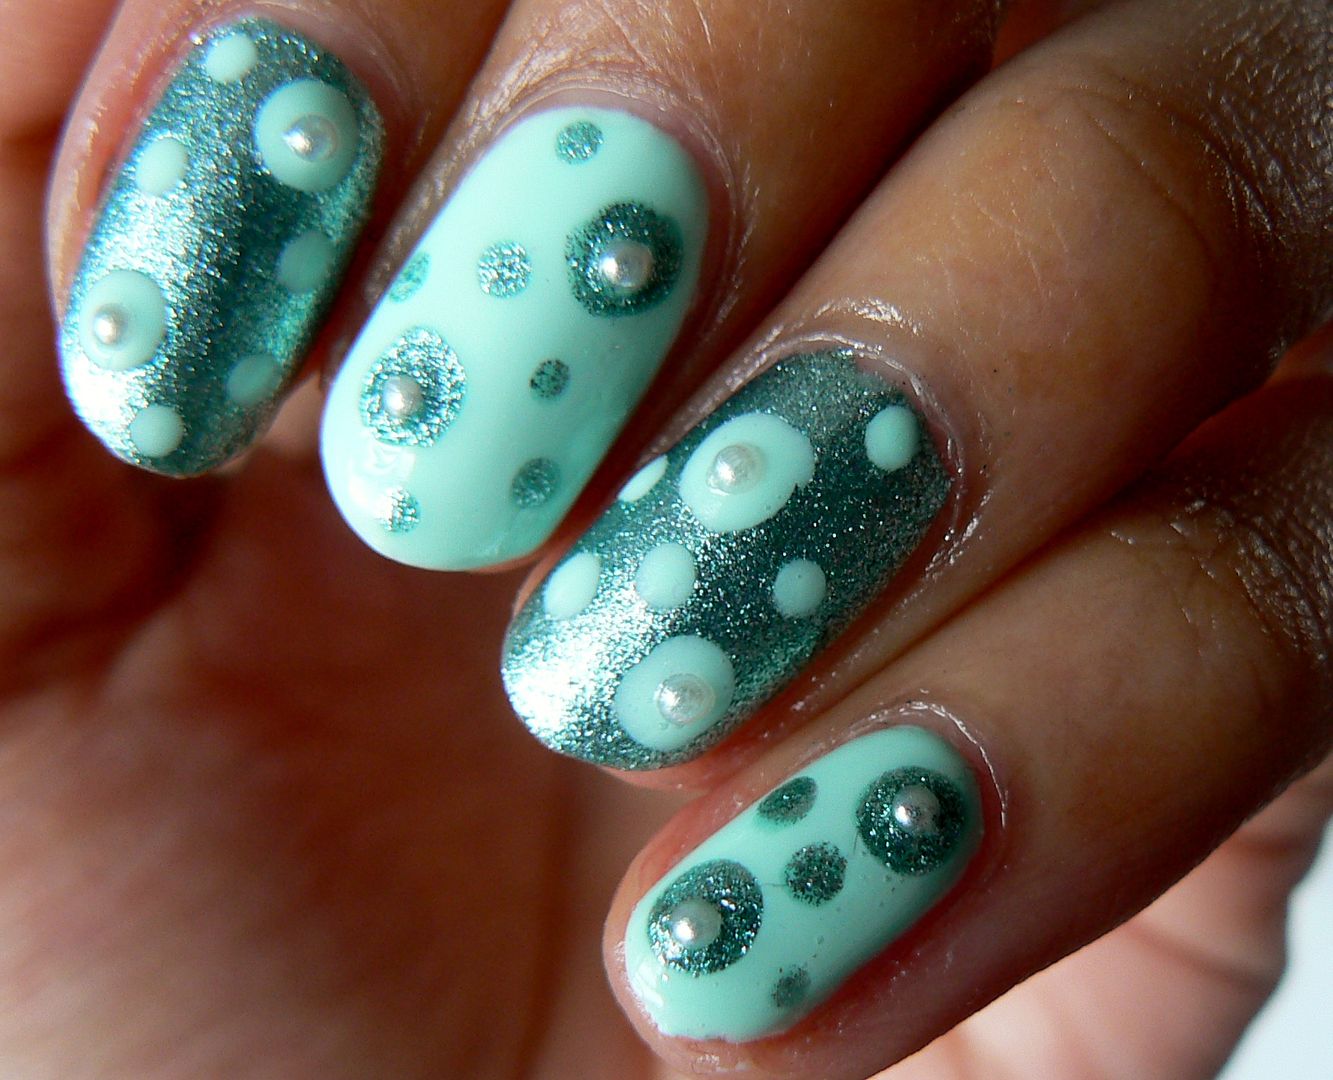
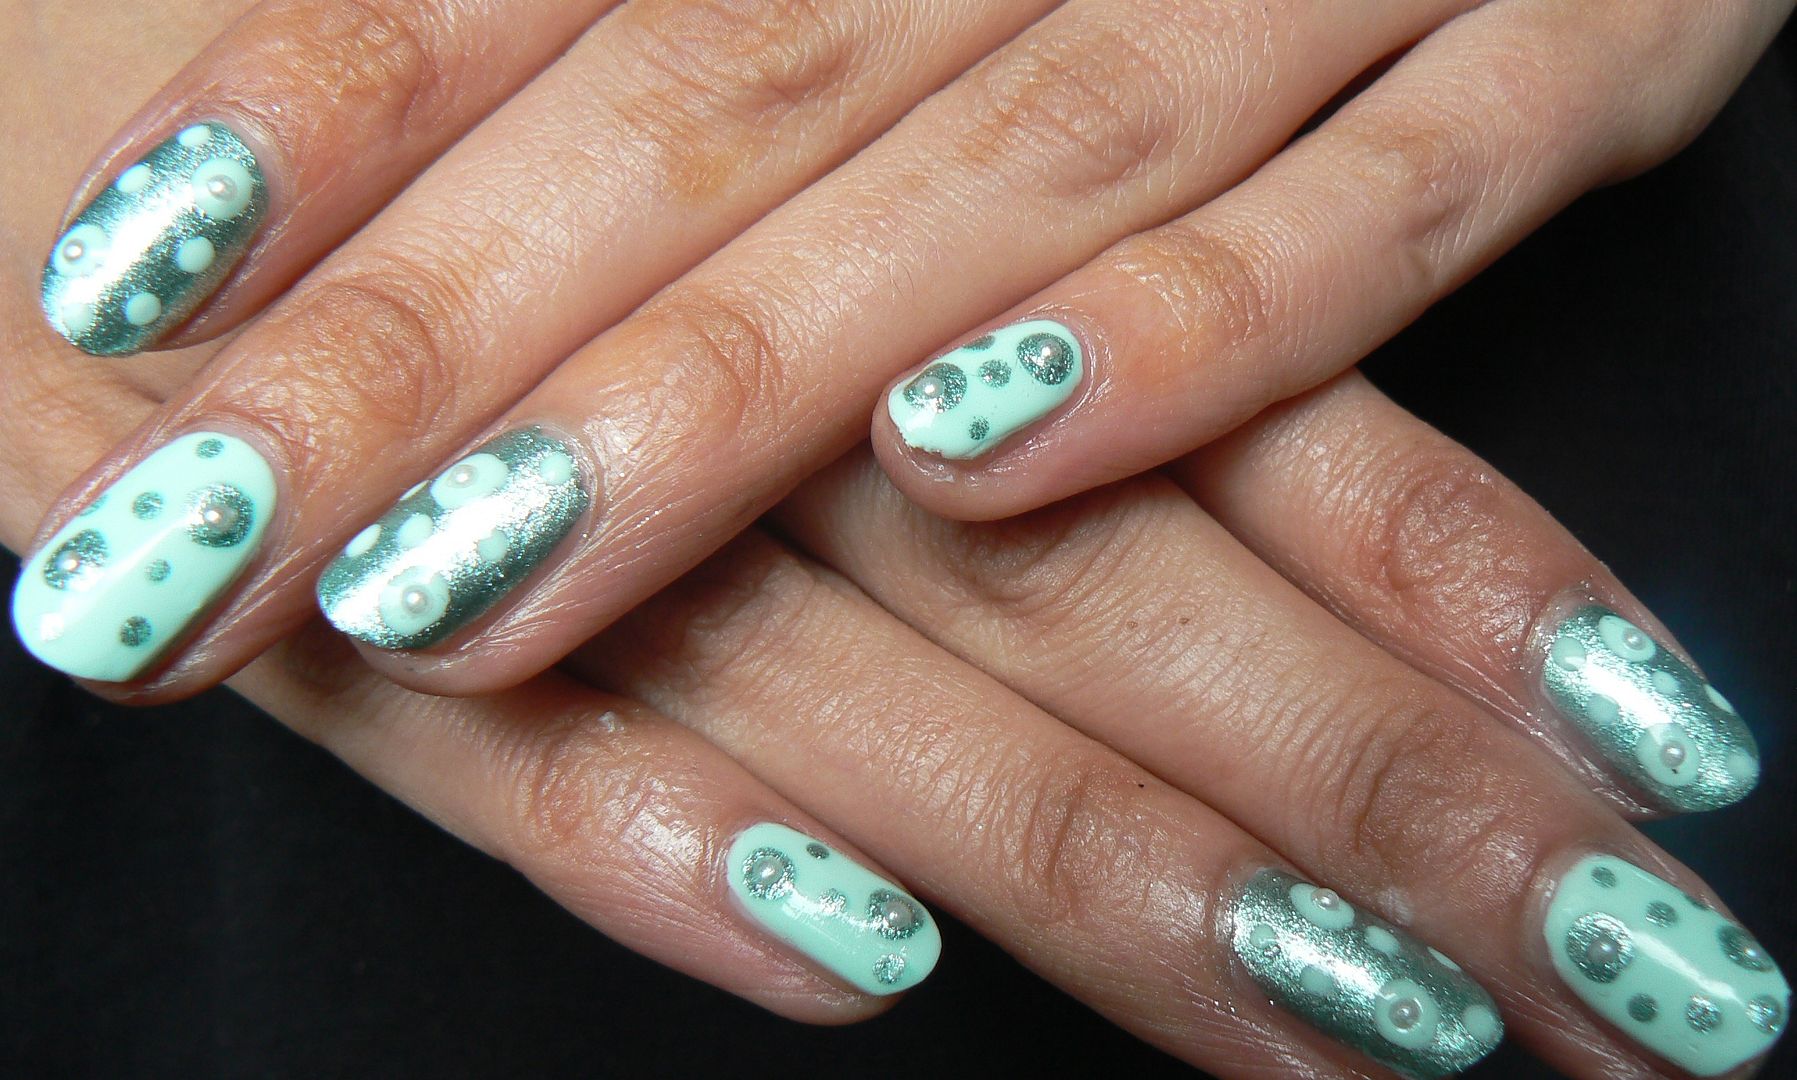
NOTD - Mint, Pearls & Polka Dots
Hello there lovely readers!
Anyone else wishing it was Friday
already? ;) But I am thankful to have a wee reprieve from the office
tomorrow with a trip into my fav city London for an appointment,
whilst also squeezing in a visit to the FIAT garage in Marleybone &
hopefully start the ball rolling in to getting a FIAT 500 into my
life, something that's been on my wish list for a while! Fingers
crossed! :)
Who doesn't love a hint of minty
freshness? And there's definitely plenty of that going on with this
super simply nail art I have to share with you beauts today with the
addition of some pretty pearls and polka dots too!
I really liked the idea of mixing a
cream pastel shade with some shimmery foil too for a nice contrast &
I wasn't disappointed. I love this combination together!
For my pastel polish I opted for Models
Own scented polish in Apple Pie, a divinely pretty pale pastel mint
Green. I applied two coats on to my thumb, middle & little
fingers
My foil of choice was LA Colors in
Metallic Green, a gorgeous smooth pale green foil, which I applied
two coats of on to the index & ring fingers. By the way did you
know LA Colors polishes retail for 99p in Beauty Base?! Yes!
I then grabbed the Models Own Apple Pie
again & used a double ended dotting tool to apply both small &
large polka dots on to the nails with the green foil. Then using the
LA Colors Metallic Green did the same but on the pastel mint nails.
Finally grabbing my nail art wheels I
picked out a few pretty pearls to apply on random dots for an added
3D touch.
Finish with a slick of topcoat & that's it! Super fun & quirky design in minutes!
Like I said, I personally loved the
colour combo, however my Uncle did so kindly mention that it kinda bought
mould to mind when he saw these...NICE. Maybe next time Uncle dearest
keep your comments to yourself...& perhaps I'll try a different
colour combo...*coughs* O_o
Thanks for reading lovelies!
Labels:
Foil,
LA COLORS,
Mint,
Model's Own,
nail art,
NOTD,
Pastel,
Pearl,
Polka Dots,
Rhinestone,
Spring
2.28.2015
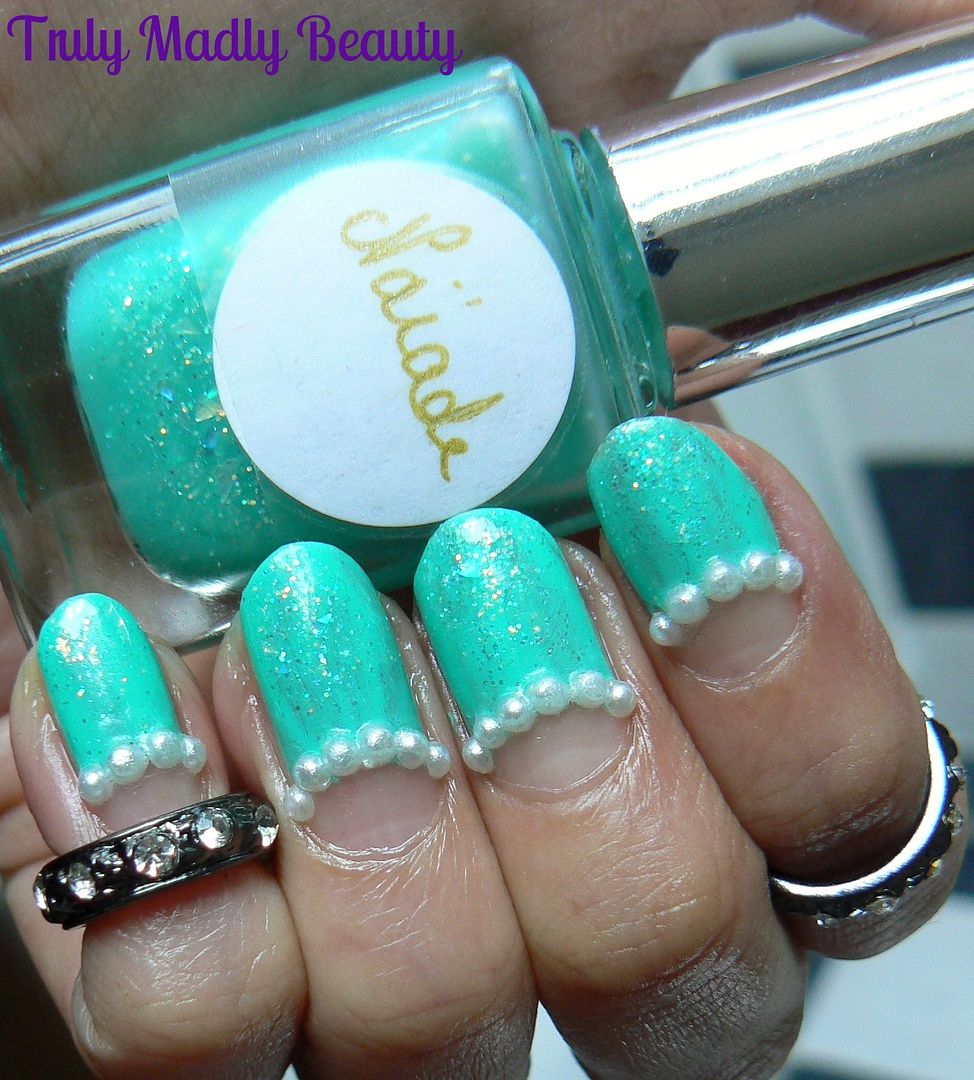
NOTD - Mint Pearl Vintage Nails ft HugoSophia Crystal Rings
Hello there lovely readers!
Today's nails feature a spot o' bling
detail in the form of some pretty crystal stack rings, who doesn't
love a bit of sparkle eh? But more on those later. For this mani I
went down the vintage route leaving a half moon at the bottom
of the nail bare. I love this style of manicure, so chic!
9.13.2014
NOTD - A Hint Of Minty Freshness...
Hello there lovely readers!
Hope you're all well & enjoying the much welcome prolonged sunshine we seem to have been blessed with :) The past week saw yours truly celebrating becoming another year older with a rather lovely mini break in Brighton with my buddy Ram. It was our second time visiting & we both have just fallen in love with the place even more so if possible! A couple of days spent in the sun by the sea eating good food was just the nicest way to celebrate this year :)
I normally like to get my nail art on &
do a suitably birthday vibe mani however what with work being so
crazy of late I find myself going down the simple quick nail art fix
route these days! But sometimes simple is good & I do love
reaching for the rhinestones to create quick yet quirky nails. So
this was my birthday mani this year!
Subscribe to:
Posts (Atom)