Showing posts with label Foil. Show all posts

8.16.2017

NOTD - Rose Gold God by NEXT

Hello there lovely readers!

Whilst browsing through NEXT the other day waiting on my friend who was picking up an order, I found myself drawn like moth to flame towards the beauty section as I always like to have a peek at their perfumes. During my perusal I was delighted to notice that NEXT seem to have expanded on their cosmetics significantly with the Make Me Beautiful range including an intriguing selection of face & lip products, however me being me I was naturally drawn to the nail polish offerings of which I was happy to notice was very vast indeed & features a wide collection of mattes, shimmers, glosses & glitters. 


4.07.2017

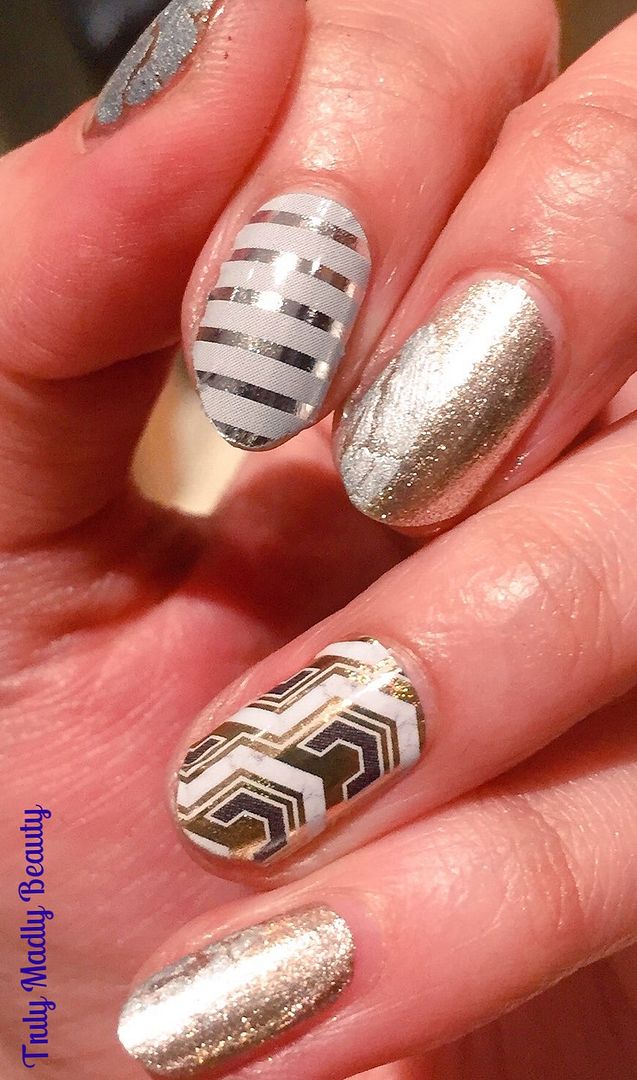
NOTD - Golden Chrome Nails with Jamberry Nail Wraps & Champagne

Hi there lovely readers!

Chrome nails were a BIG trend last year & still going strong. I'm sure you've seen the Youtube & IG videos showing how to achieve this metallic look using the magical pot of powder. However a lot of these chrome powders seem to only work with gel polish & I've yet to try them myself, but I've ordered a pot to play with from Born Pretty Store that supposedly works with regular polish so I will report back! In the meantime I'm finding easier means to get me some chrome metallic goodness on my mani's with a little help from Jamberry nail wraps & Models Own.


4.16.2016

Huntsman Winters War - Snow Queen Freya Inspired Nails!

Hey lovely readers!

After watching the Huntsman Winters War movie recently I was inspired to create some nail art after the two stunning, if a wee bit evil/bat shit crazy/mad, queens of the film portrayed by the gorgeous creatures Charlize Theron & Emily Blunt.

My previous post was what I came up with for Charlize's Evil Queen Ravenna & featured lots of dark gothic gold vibes. This time I used Freya's frosty magic as inspo to create an icy manicure suitable for the snow queen & this is what I came up with...


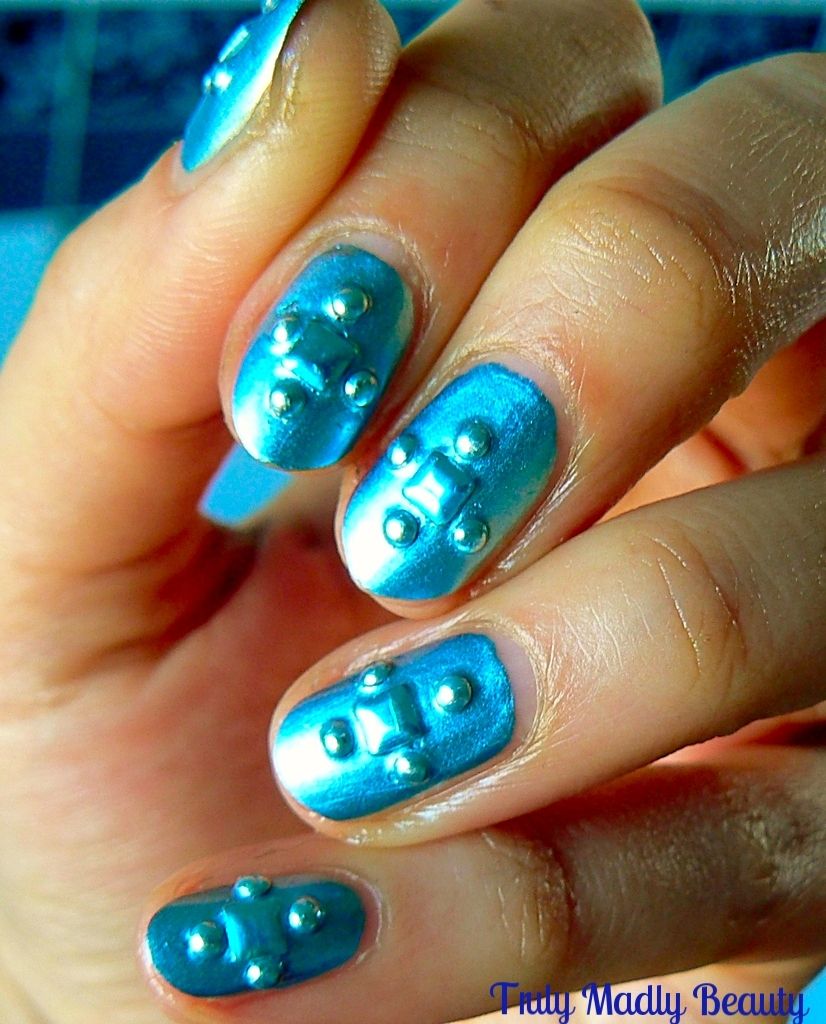
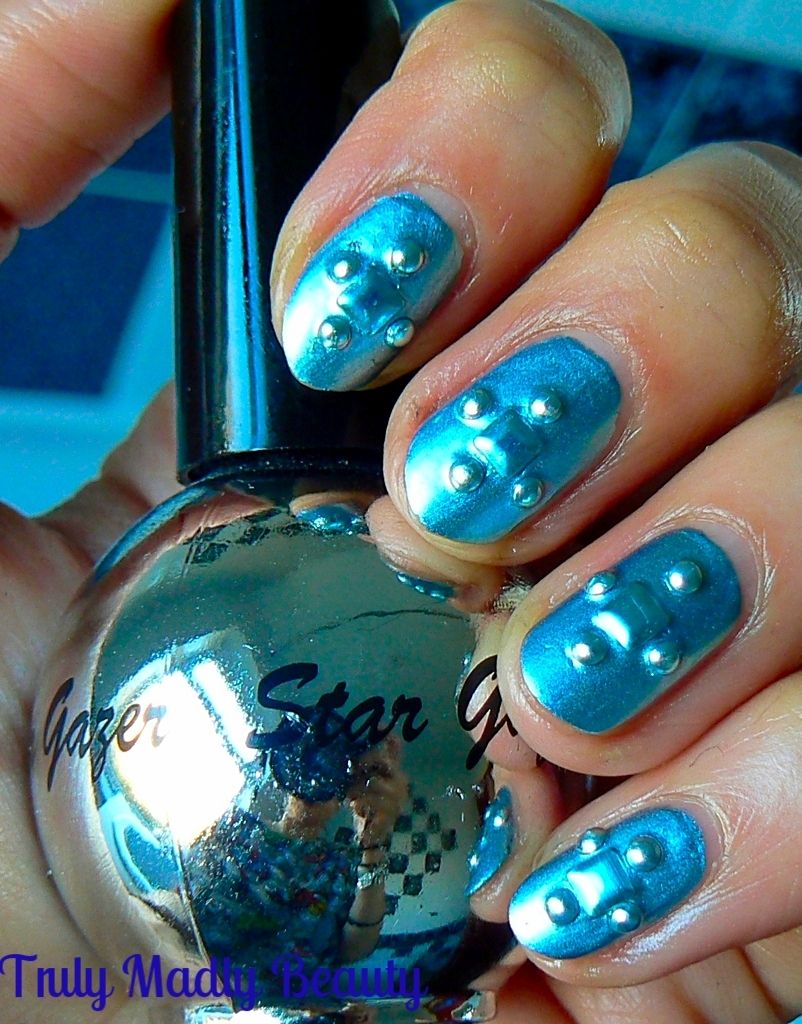
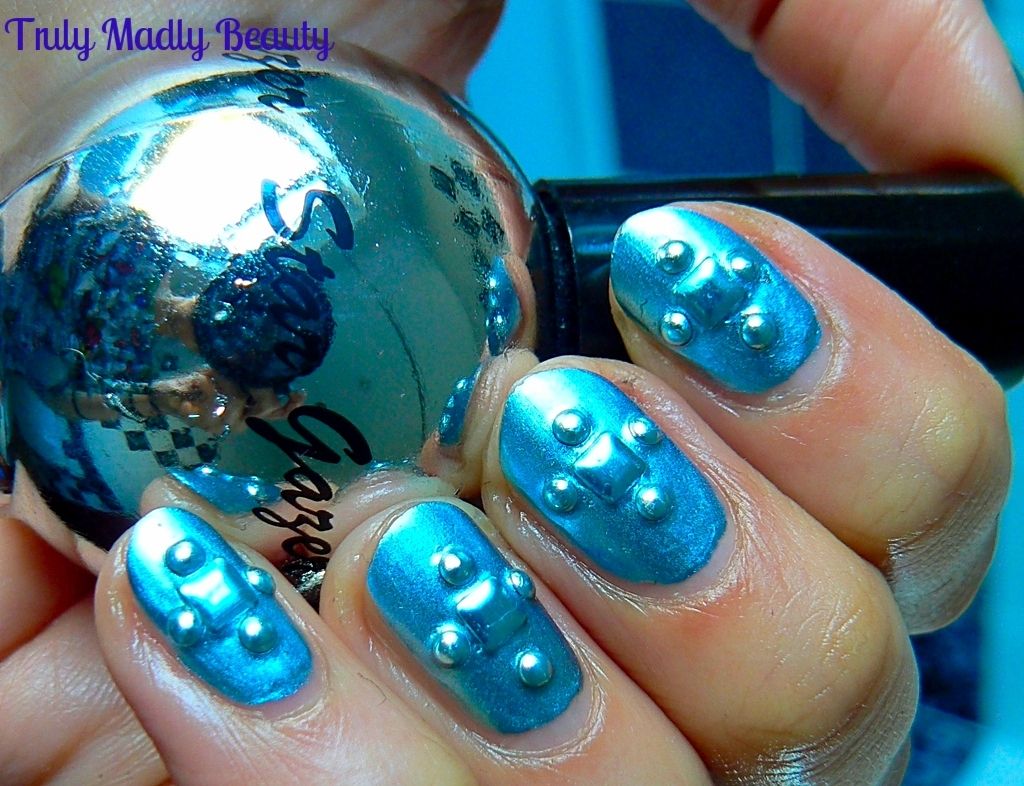
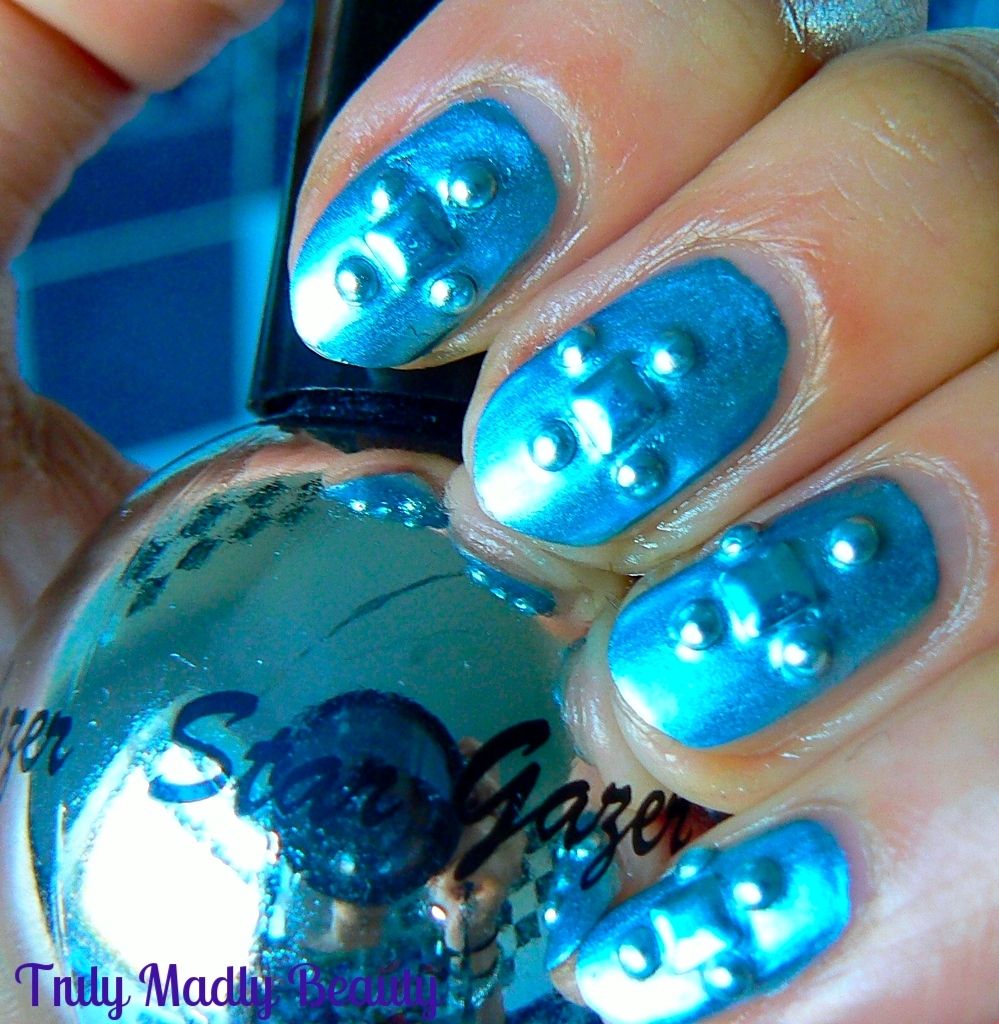
I knew a foil was required for this mani to get the look I wanted & I couldn't have found a more perfect one than this offering from Stargazer. When I picked this up at a beauty expo I actually had no idea what the colour would be as the bottle is a completely opaque silver like a mirror, why you can even see my reflection...*waves* But I threw caution to the winds & to my utter delight I discovered 233 to be an absolutely stunning silvery blue metallic foil! LOVE IT.


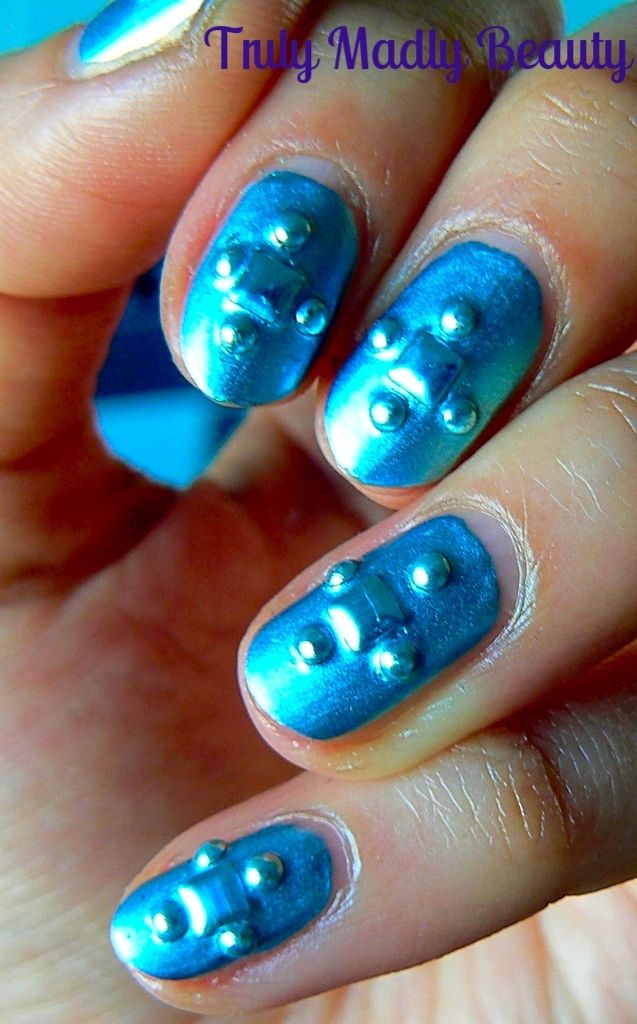
I do love foils, if not for their stunning mirror-y finish then definitely for their speedy drying time! This is two coats which applied nice & smoothly without streaking & dried super quick!


For the nail art I decided to actually keep things a bit simple & low key for once (GASP!) but I thought it suitable as Snow Queen Freya's demeanor is as cool & composed as Ravenna's is over the top mad.


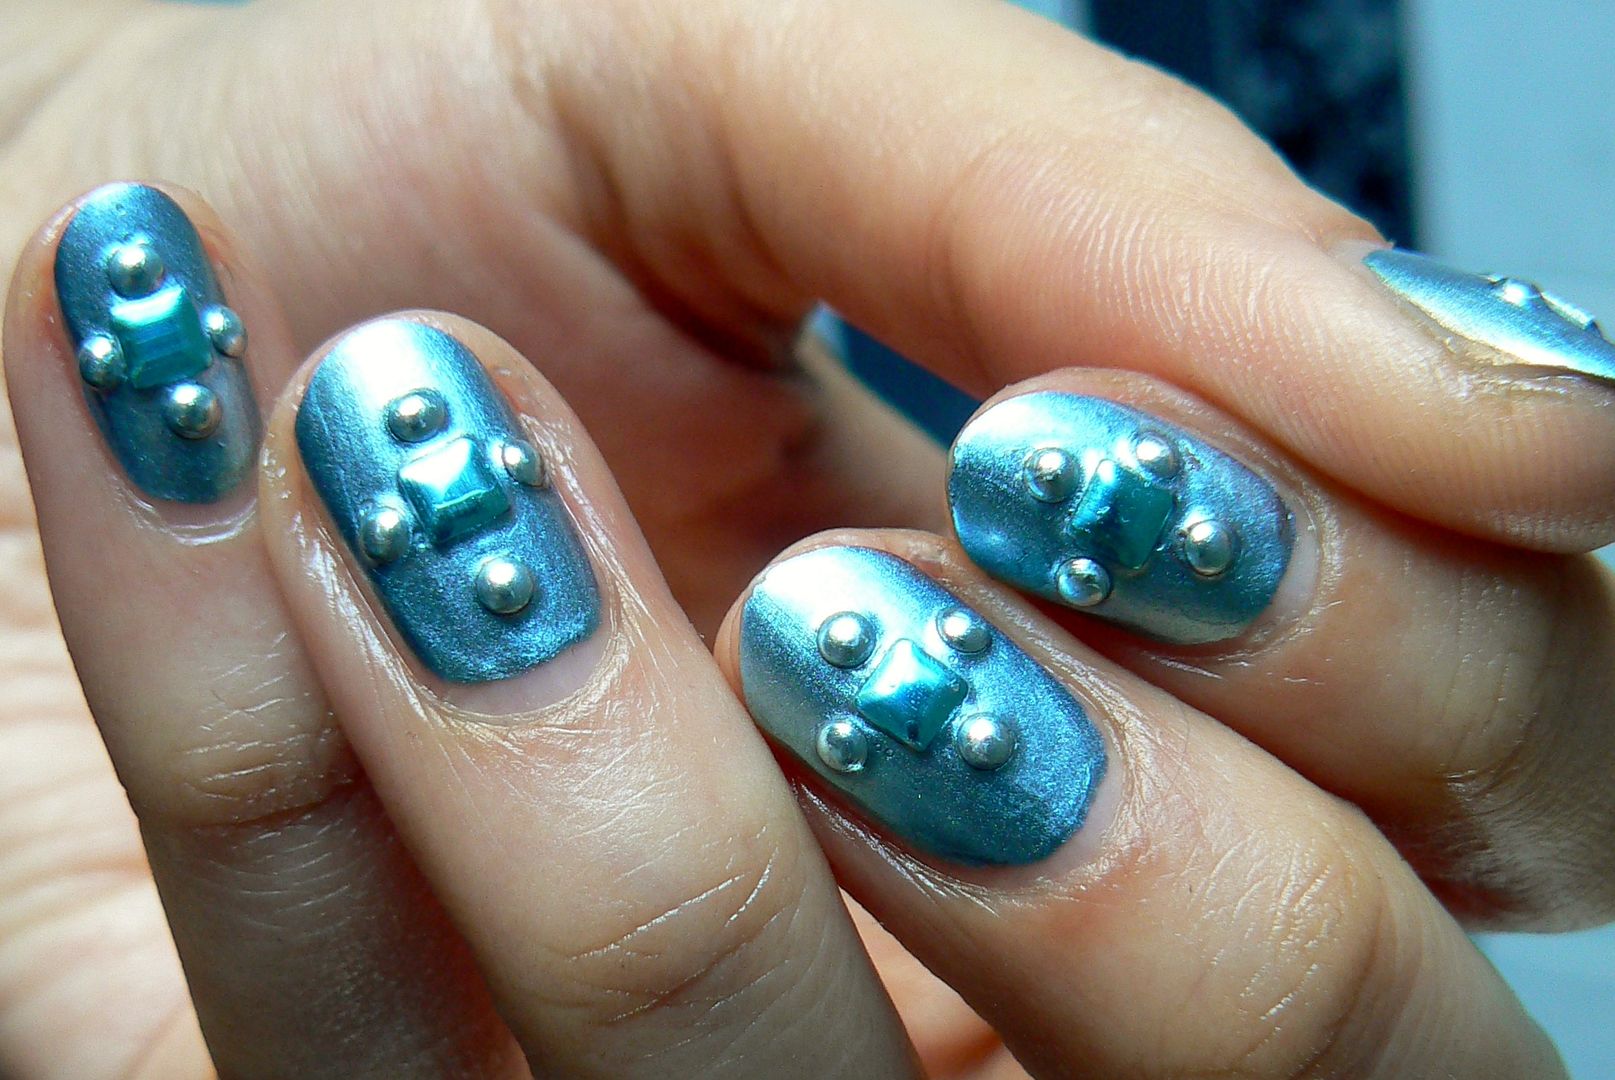
I reached for some pretty ice blue silver square & round studs which I applied in a cross pattern on top of the foil, with the square in the centre, surrounded by four round studs, which added a nice medieval vibe to it that I love as its an era very in tune with the film.


Seal with a thick coat of topcoat to secure the studs & Freya's metallic frosty mani is done!


Thanks for reading! I'm trying to find some beautiful nail claw jewelery similar to the ones worn by the Queens in the film, hopefully Etsy? I think I may have found my seller...click on THIS link if you dare, you will want ALL THE GOTHIC NAIL BLING! I predict a cheeky haul in the very near future...

Lotsa love to ya!


3.12.2016

NOTD - British Blue by True Brit London

Hello lovely readers!

One of my favourite products to come out this year so far has got to be the delicious scented nail polish removers from True Brit London. Available in scrumptious Strawberry & Cream or Elderflower & Cucumber flavours, I think they are such a clever & innovative idea & you will literally be itching to take of that polish!

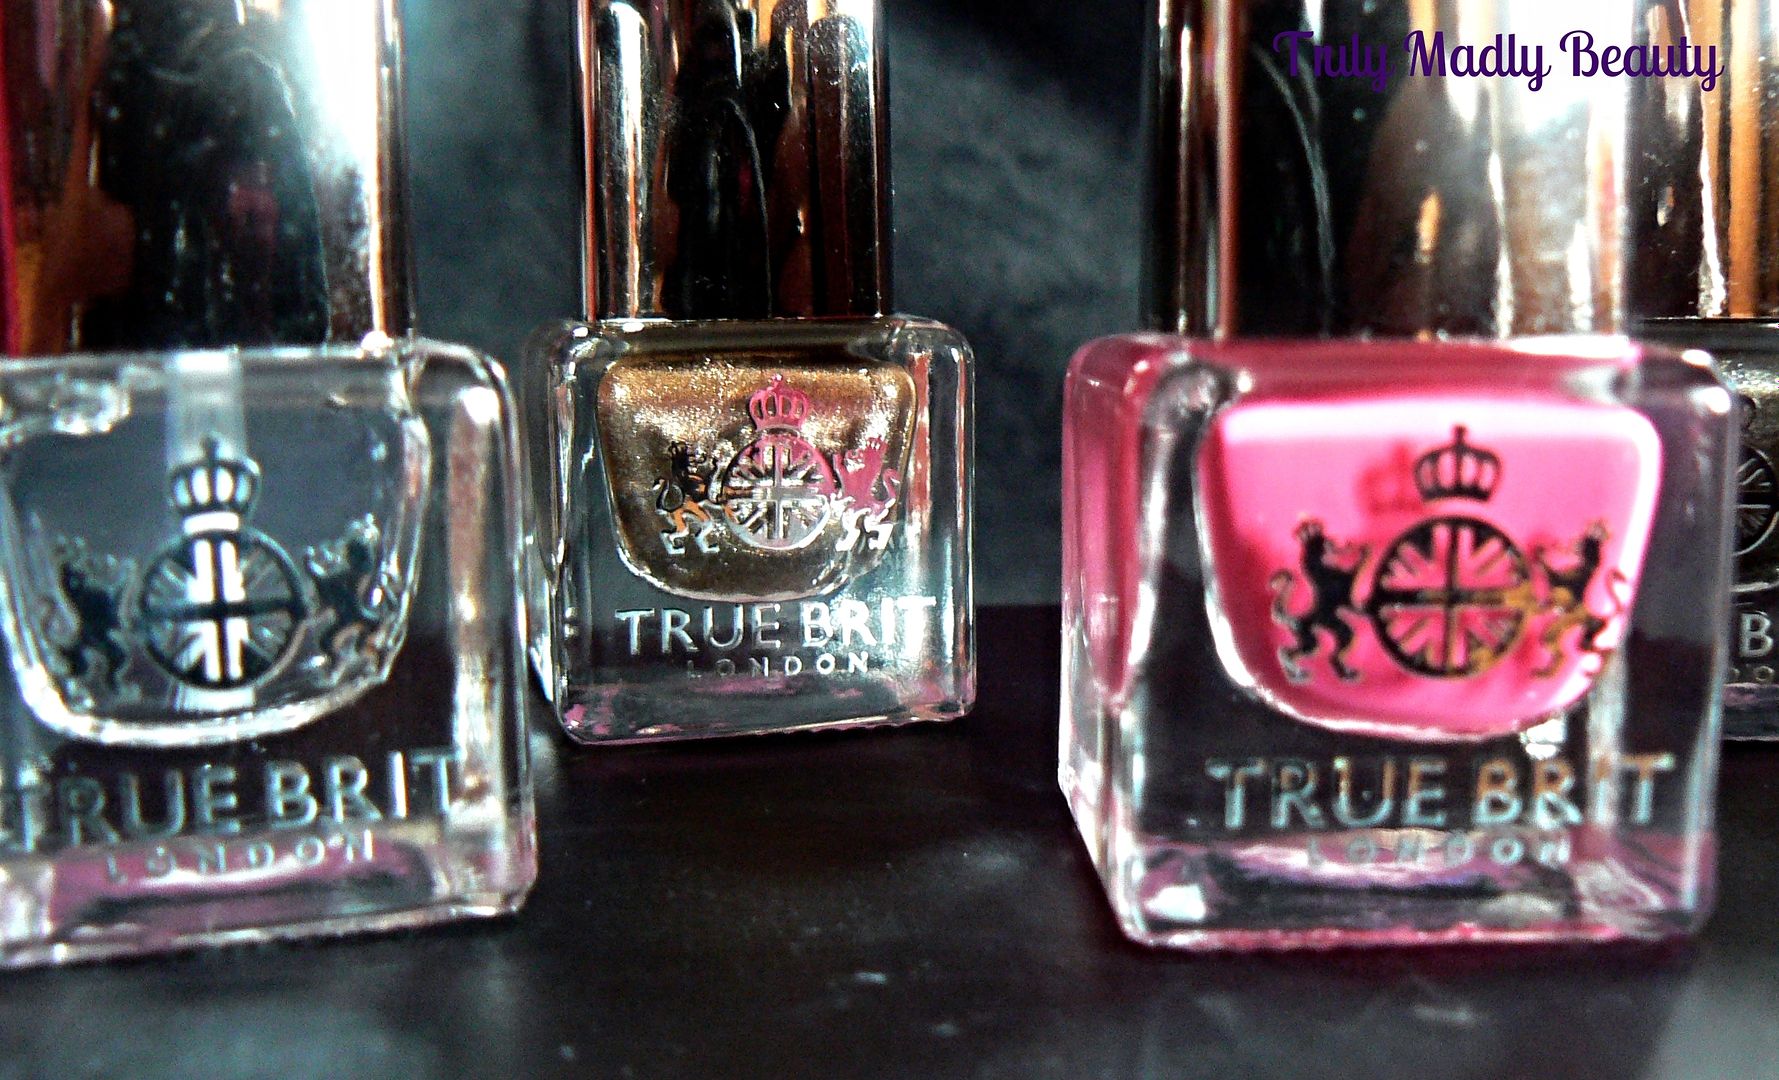
Of course True Brit London's pride & joy are their beautiful polishes, the packaging is just divine & I adore the patriotic British themes of their collections! You can check out some of the stunning shades which I have blogged all about HERE. Today I have another beauty for you dolls, the delightful & simply titled...British Blue


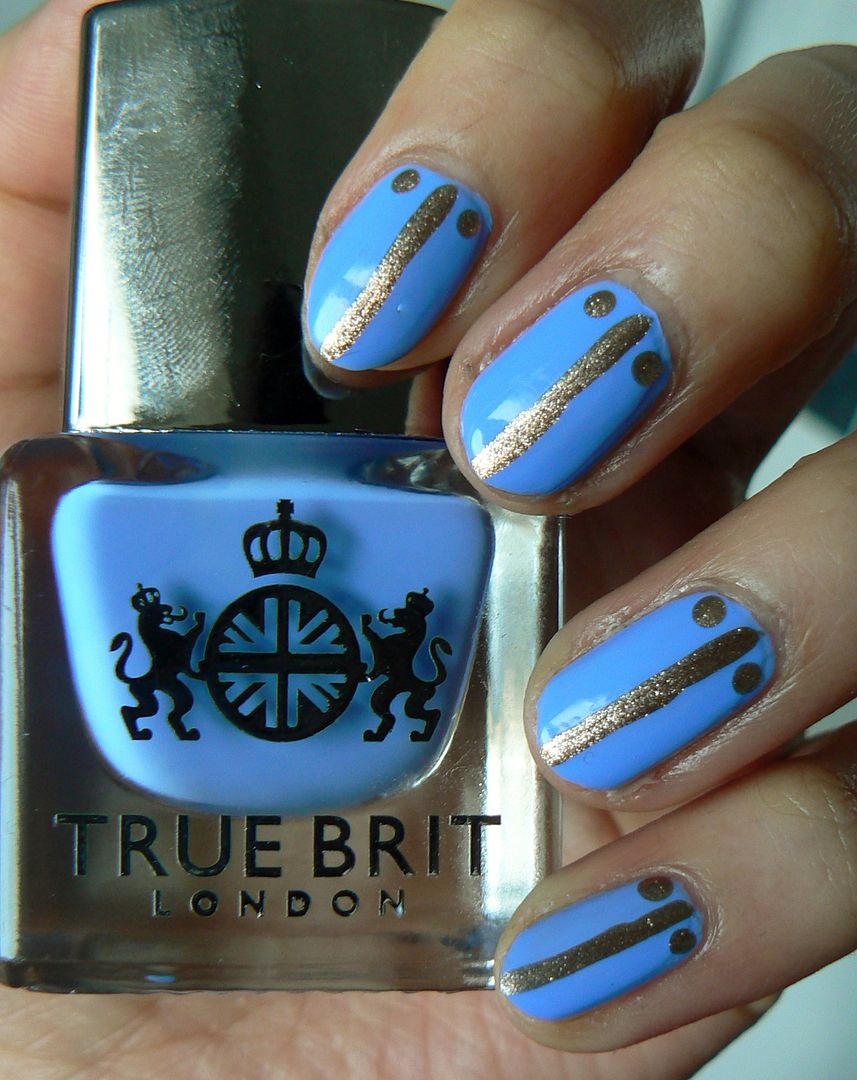
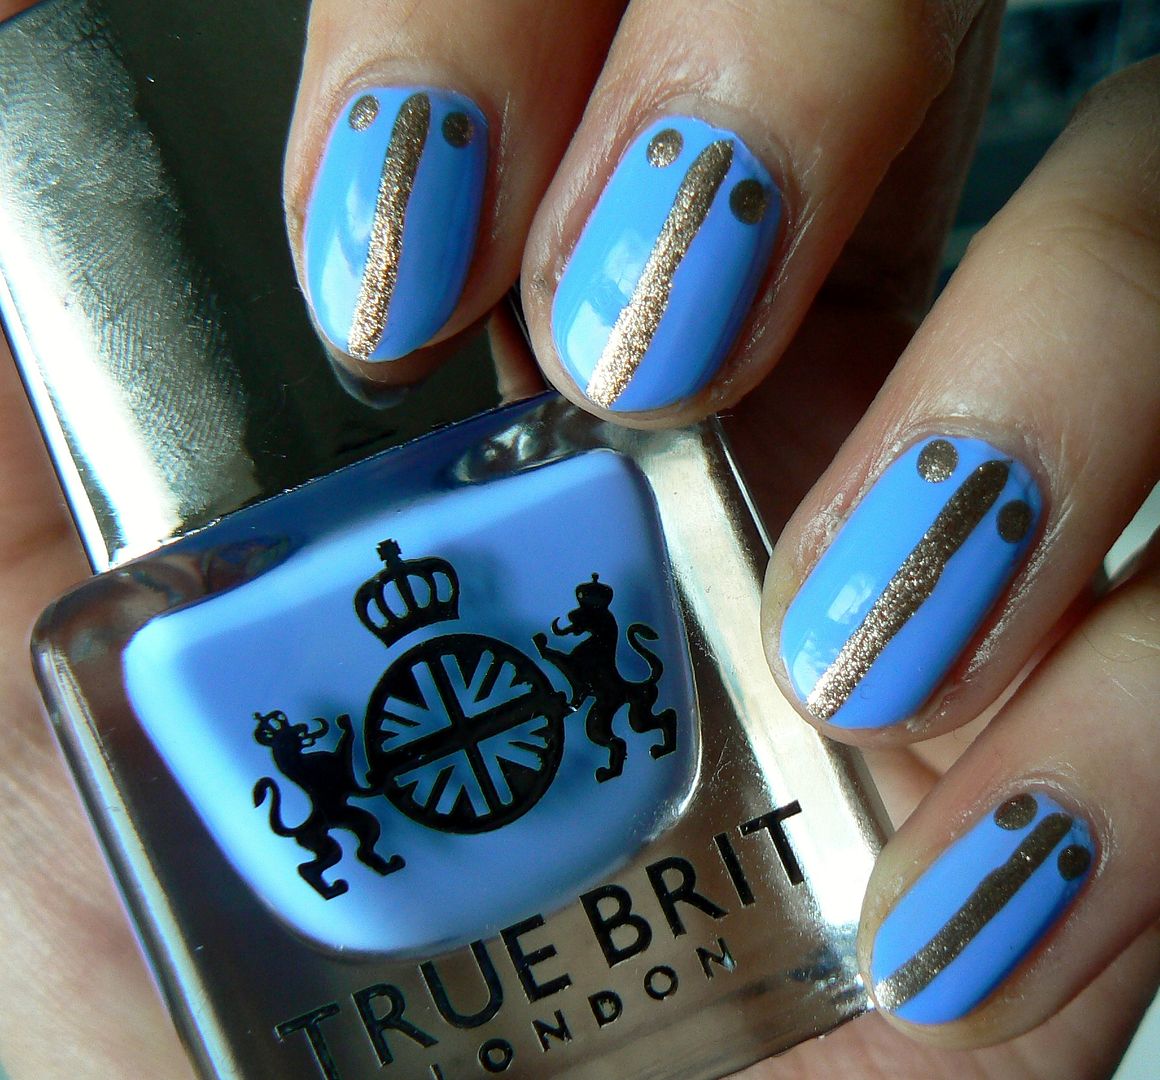
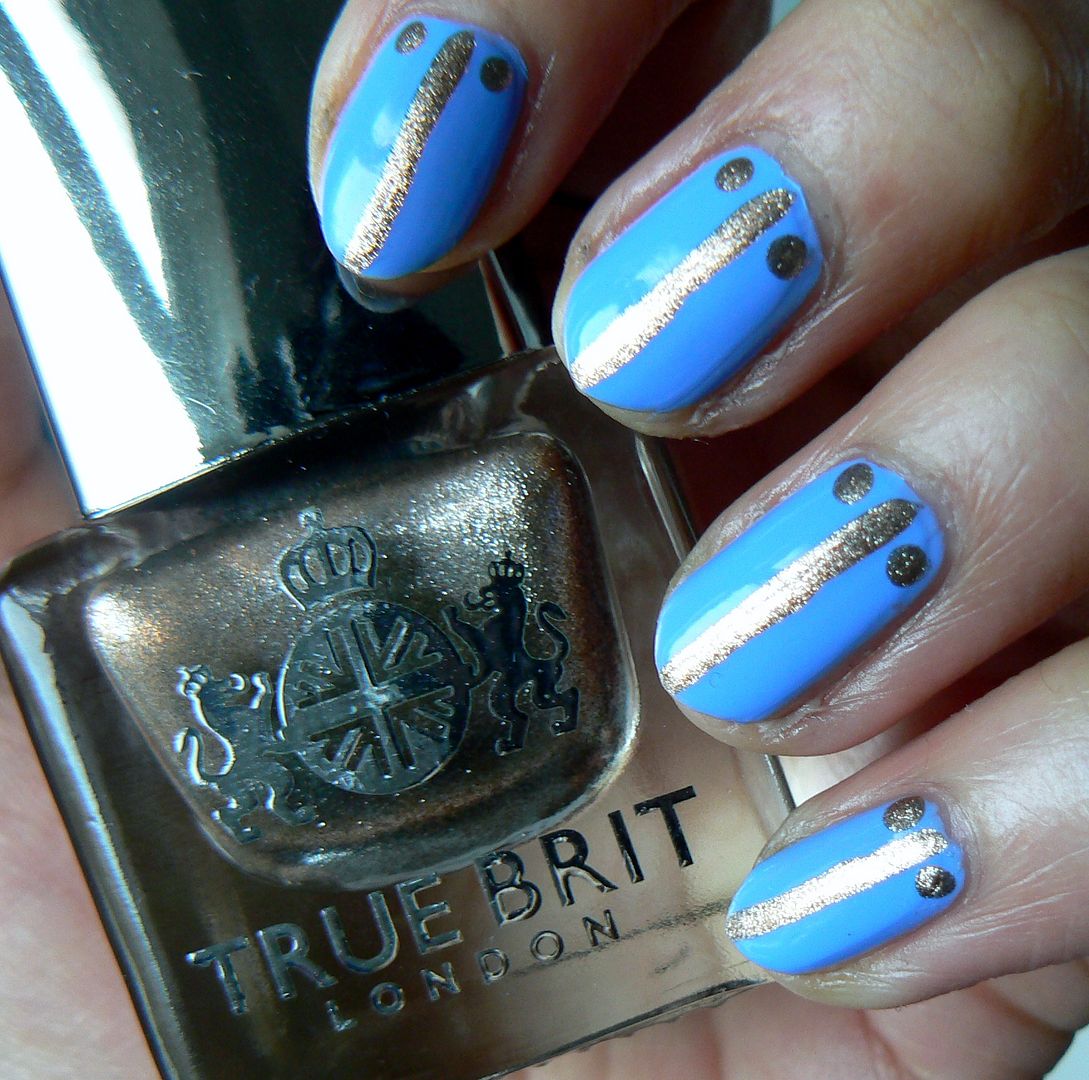
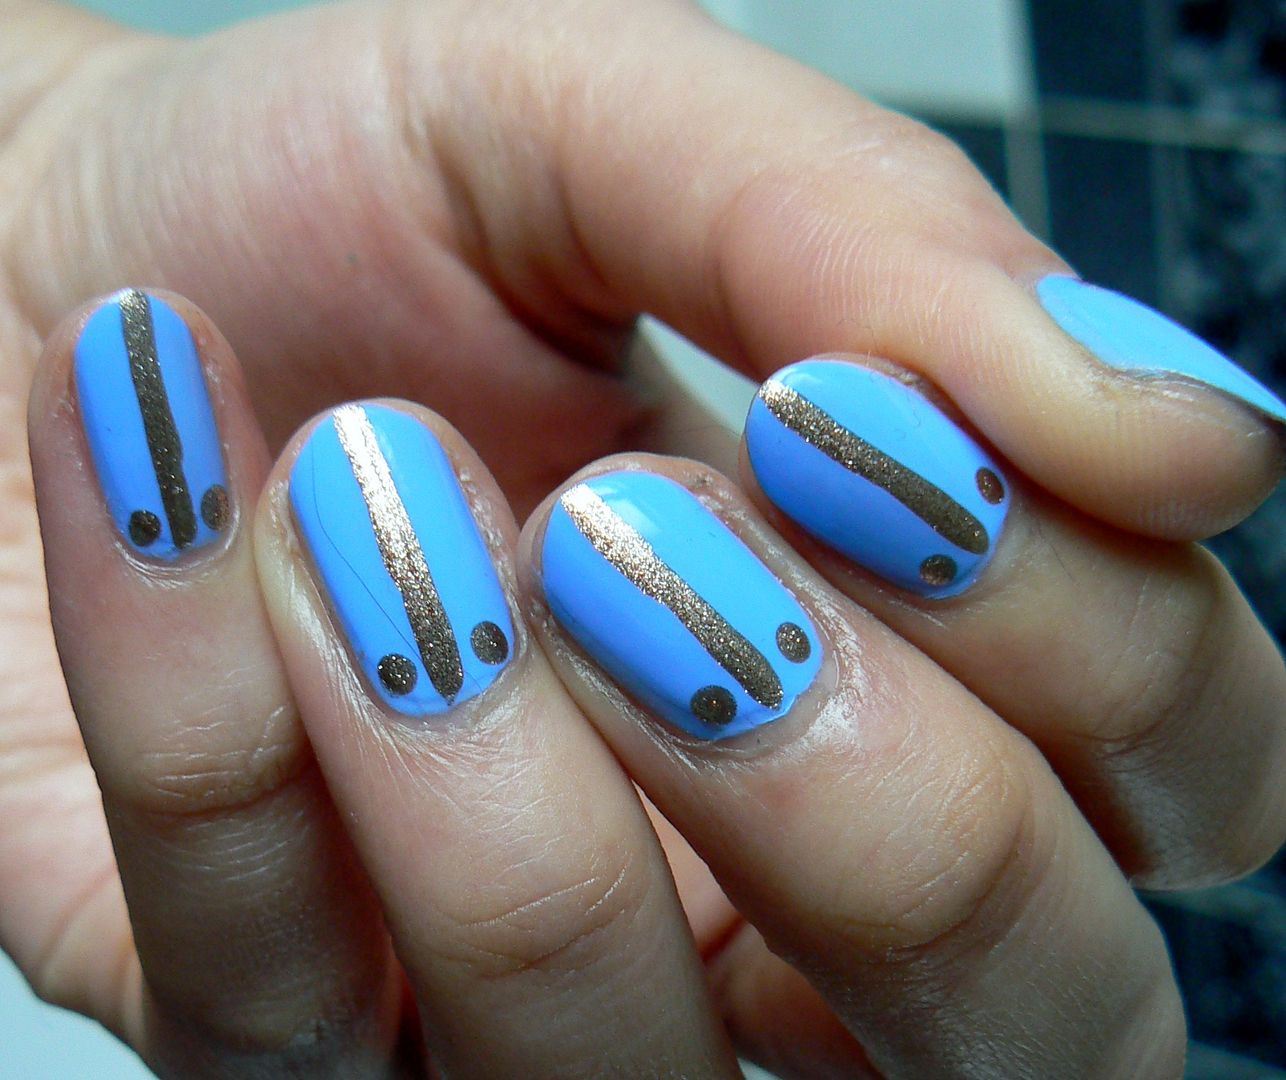
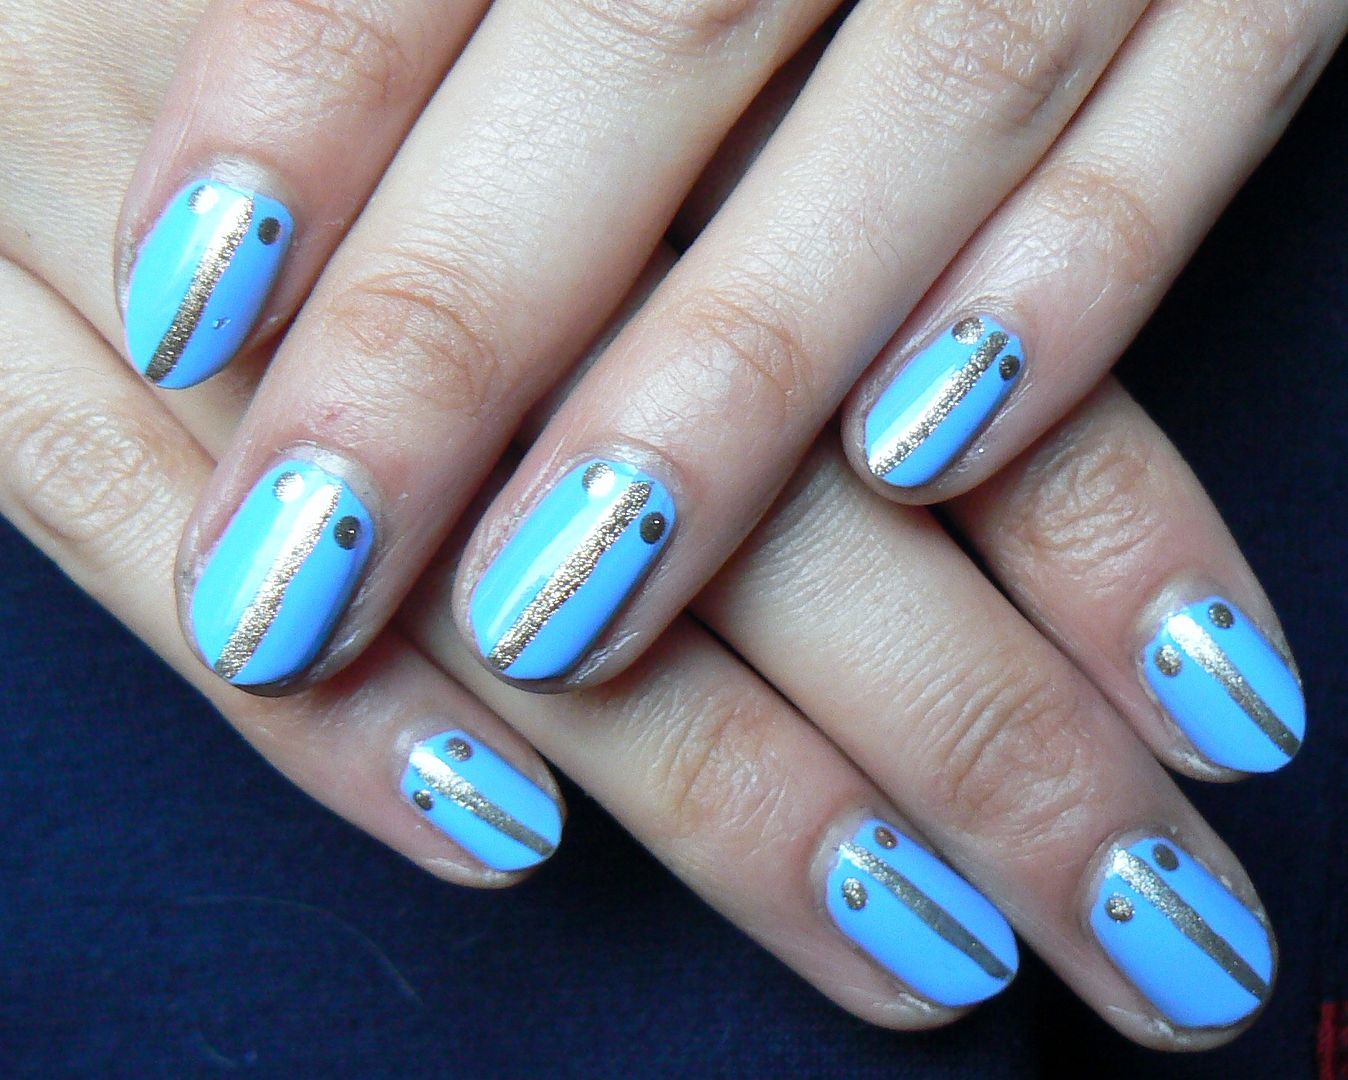
British Blue from the Contemporary collection, is a pretty perriwinkle blue creme formula & you'll be happy to hear...this un is a one coater! Despite being a religious two coater myself what you see here is one coat alone for a delightfully opaque creamy finish.


The formula was easy to work with, applying nice & smoothly & I adore the shade of this blue which immediately reminded me of the gorgeous Wedgwood crockery that is often present at afternoon tea, very British indeed! 


I wanted to add a little something extra so continuing with the Wedgwood theme, I recall seeing a pretty cup & saucer once with a beautiful gilded gold edging around the rim.


So I reached for True Brit London Heirloom, a gorgeous rose tinted champagne metallic foil, & applied a single vertical line down the centre using a fine nail art brush before adding a couple of dots at the bottom by the cuticle. Easy peasy nail art!


Finish with a coat of True Brit London Gloss Top coat & your done! True Brit London polishes (RRP £12.50) are available online as well as those delightful scented polish removers! (RRP £5.95) You can also get 10% off your order using my code TRULY10


Thanks as always for reading!

Lotsa love to ya!


Disclaimer - * products featured were sent to me for my consideration. I am not affiliated with the brand nor paid for this post, this review has been as always my 100% honest opinion! :)

12.31.2015

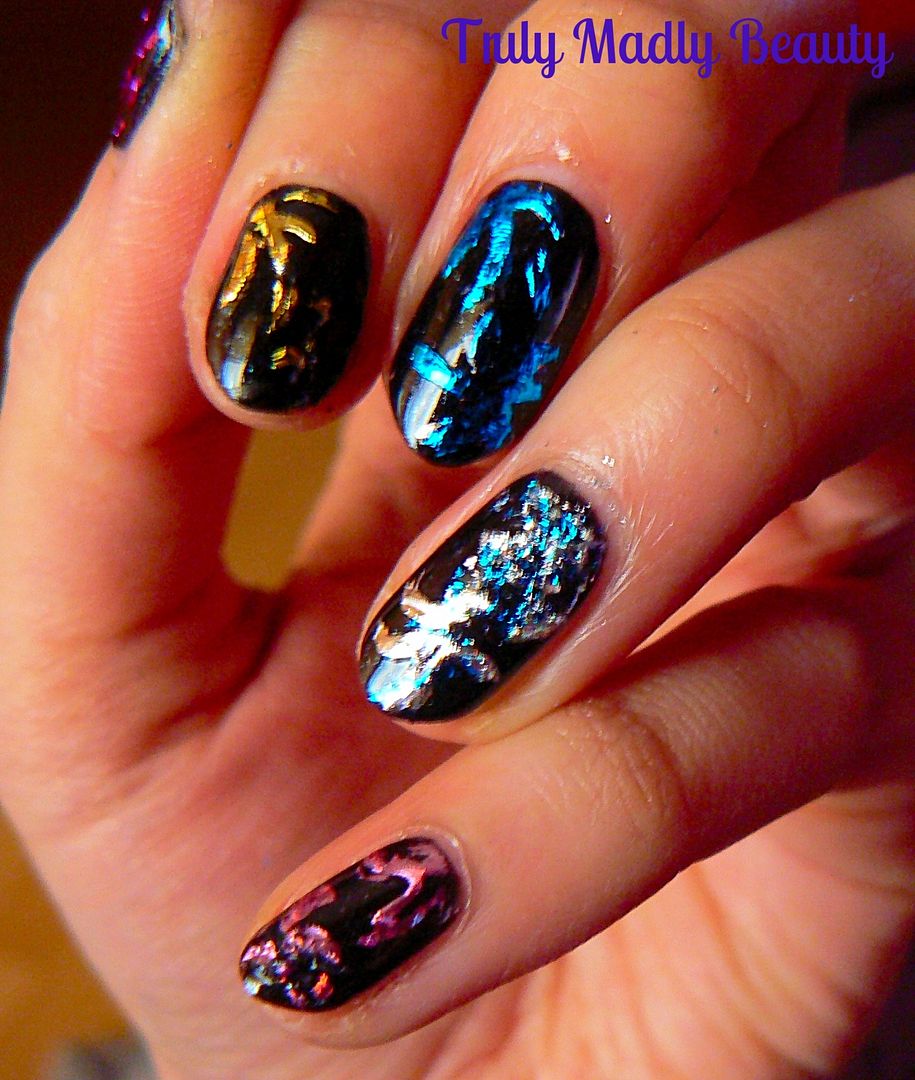
NOTD - Distressed Foil Fireworks Nails for New Years!

Hello there my lovely readers!

So New Years Eve has creeped up on us already! I'd originally planned on keeping it a quiet one this year however last minute spur of the moment plans have been thrown together & I'm looking forward to getting my glad rags on & seeing 2016 in with good food & friends! As usual I couldn't resist rustling up some nail art to go with the celebrations, so decided to go for  some 'distressed' foil nails.


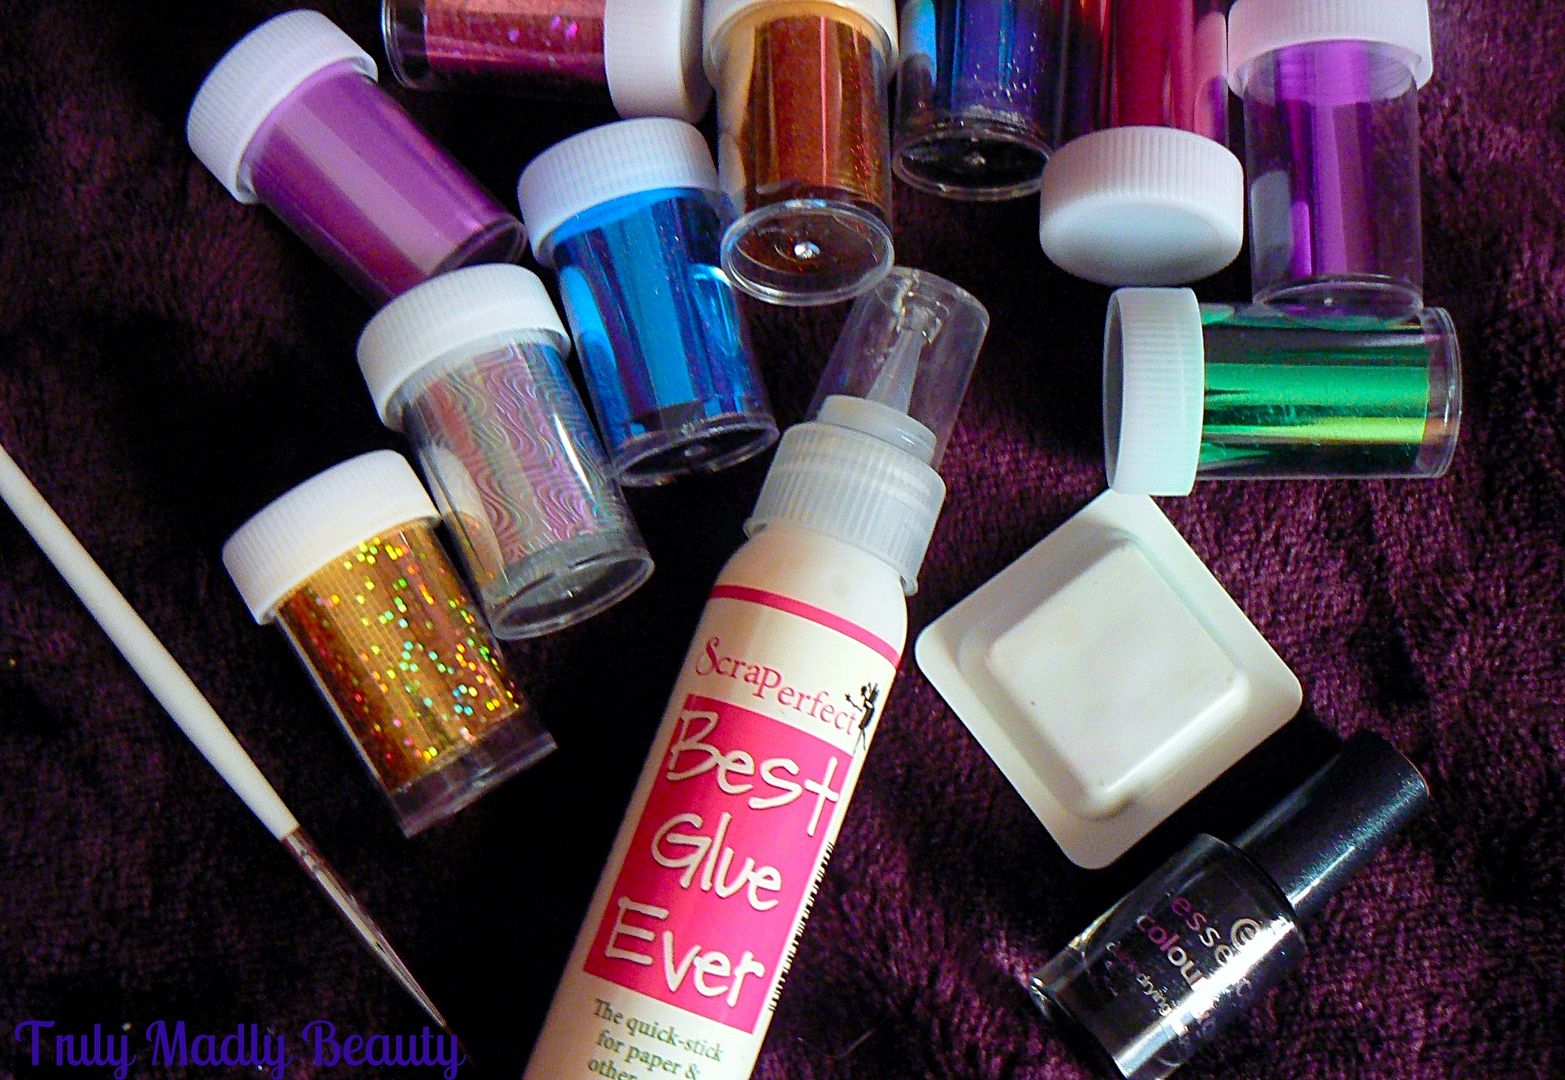
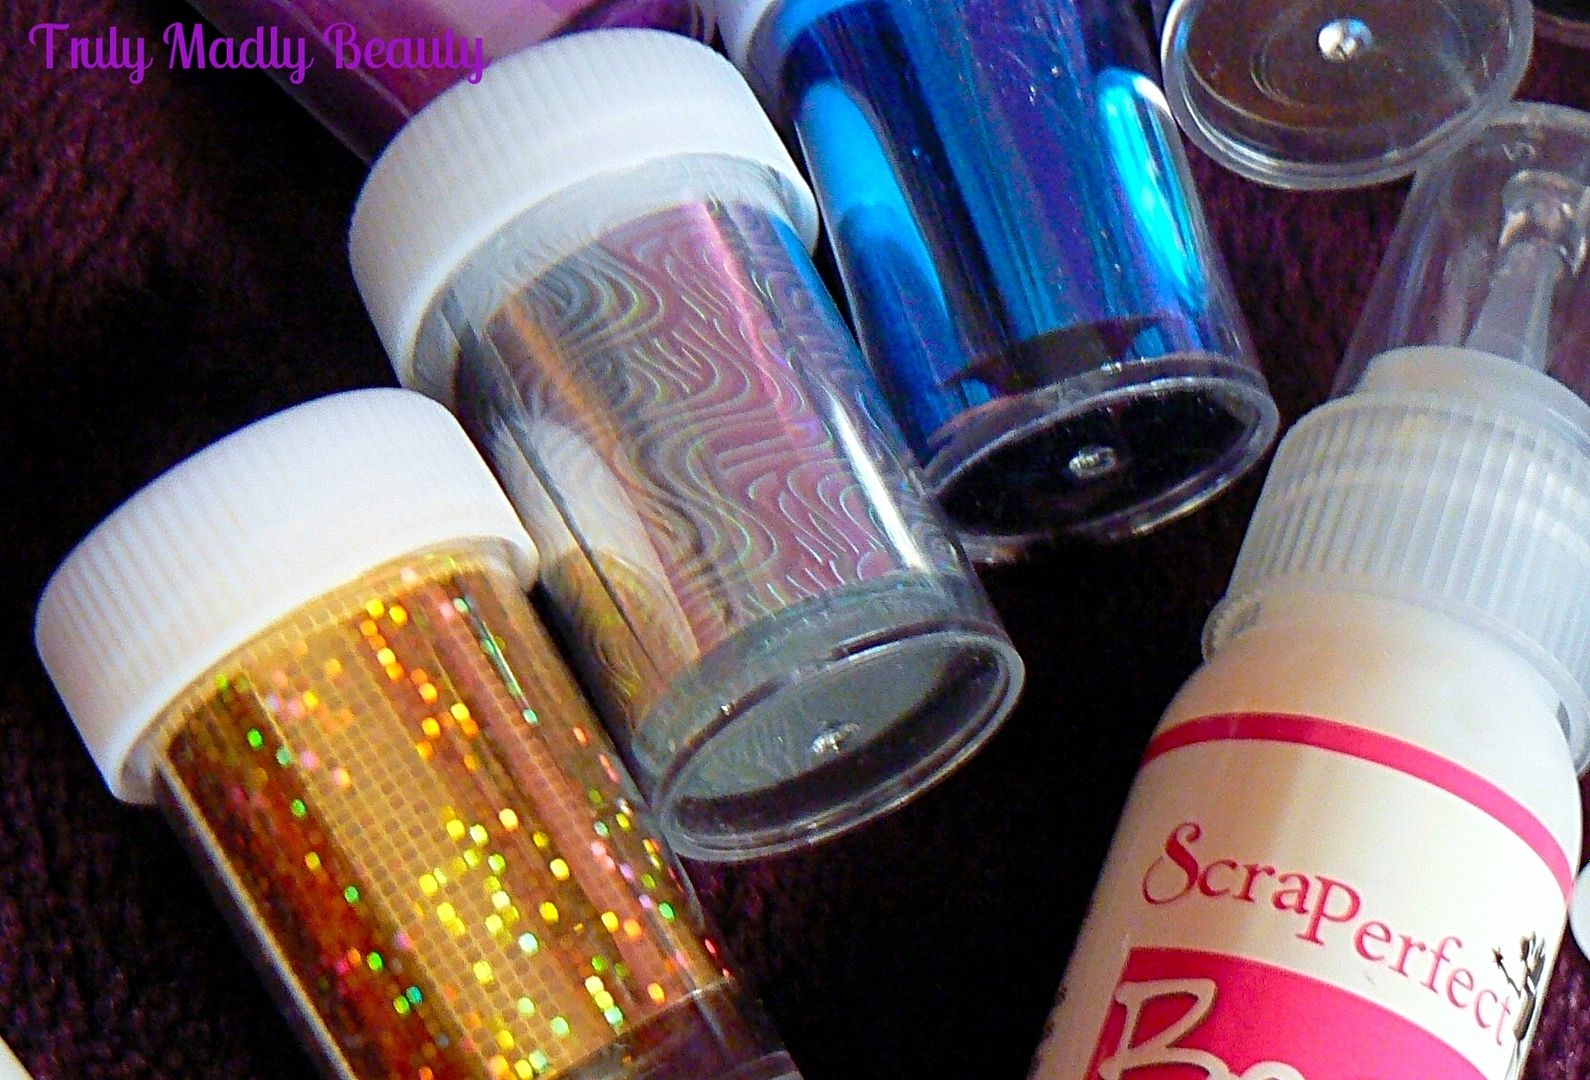
Now this mani didn't turn out how I wanted, hence the strategically used word 'distressed' haha! Believe me I have MANY mani fails! This is the first time I've used the transfer of nail foil with glue technique, however I'm rolling with it anyhoos as its a concept I love & will be practicing more of for sure! I was inspired by the amazing Lucys Stash who used this technique HERE. The idea is basically applying glue to certain parts of the nail where you want the foil to be, then using special mylar nail foils, transfer on to the nail!


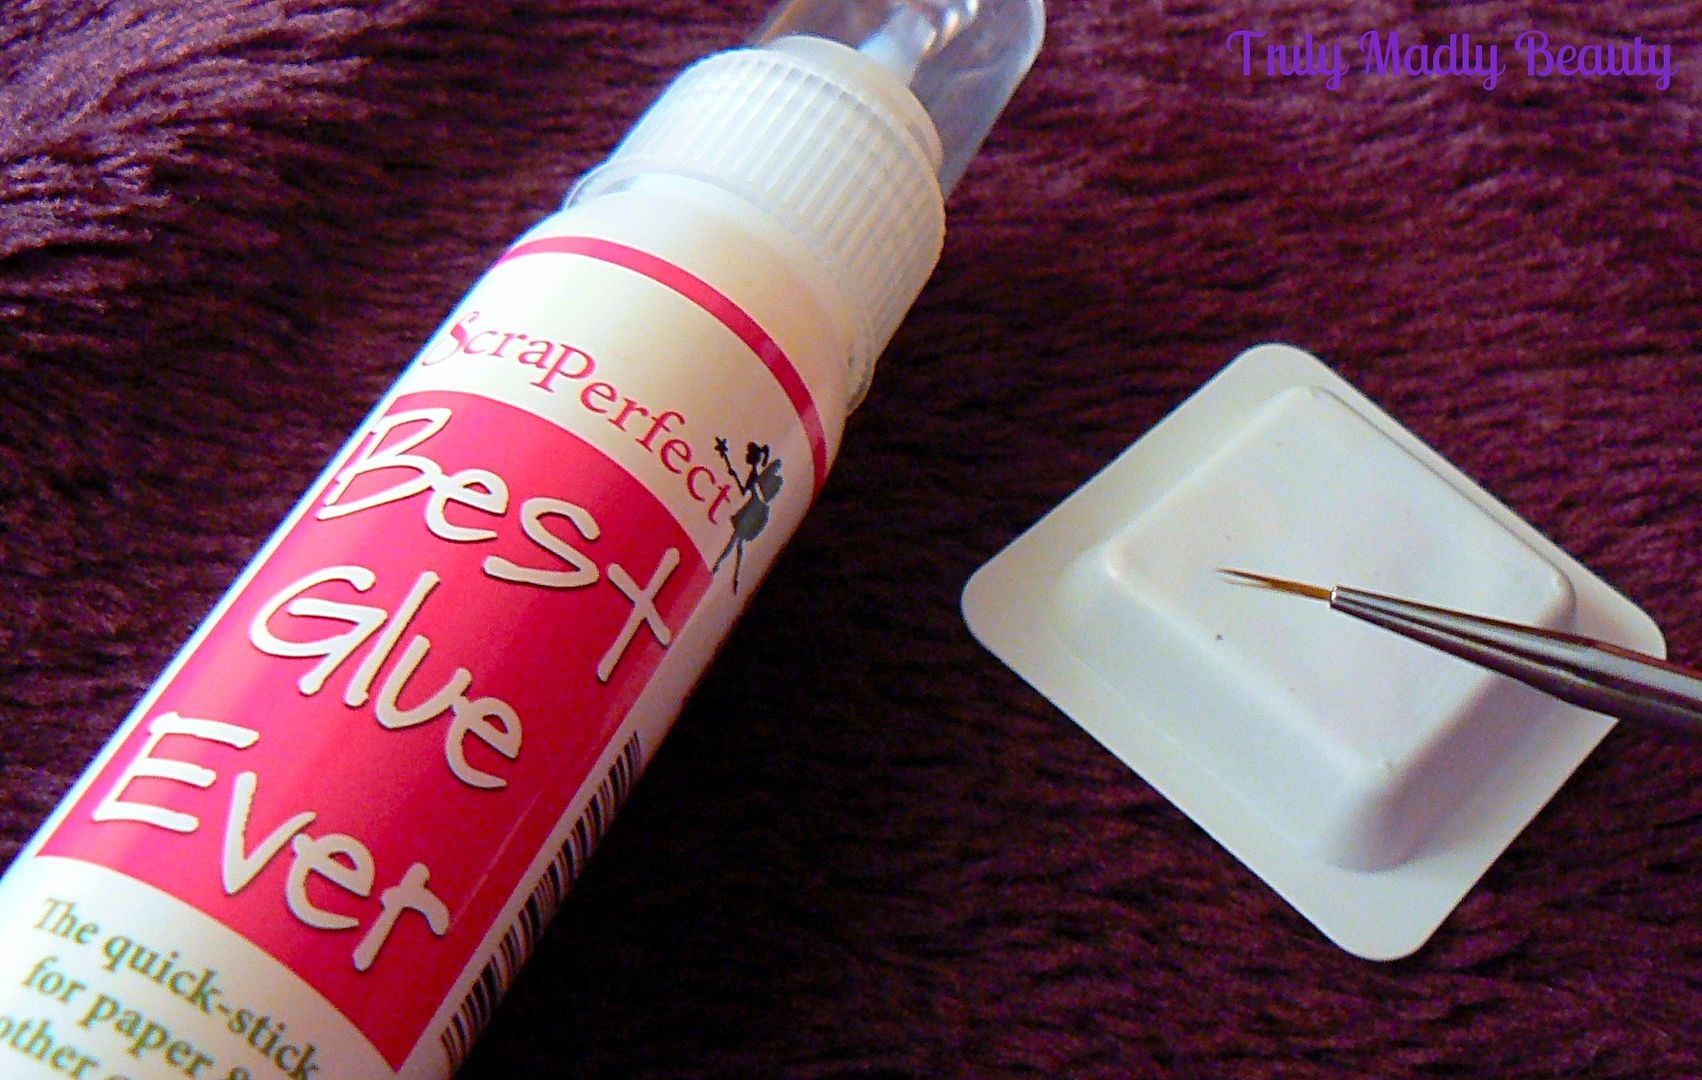
The glue used is one that was recommended by Lucy, Best Glue Ever. I purchased mine from Amazon a while back but I just googled it & apparently there is a shortage due to the raw materials used to manufacture being unavailable! There's a bottle on Amazon going for £40! Mad! However the makers, ScraPerfect are hoping to have stock available again early 2016. I picked up the nail foils from Ebay yonks ago but I believe you can also get them from Born Pretty Store who also sell special nail foil glue too just for this purpose which will make a perfect alternative to the Best Glue Ever. (get 10% off using my code TRUW10)


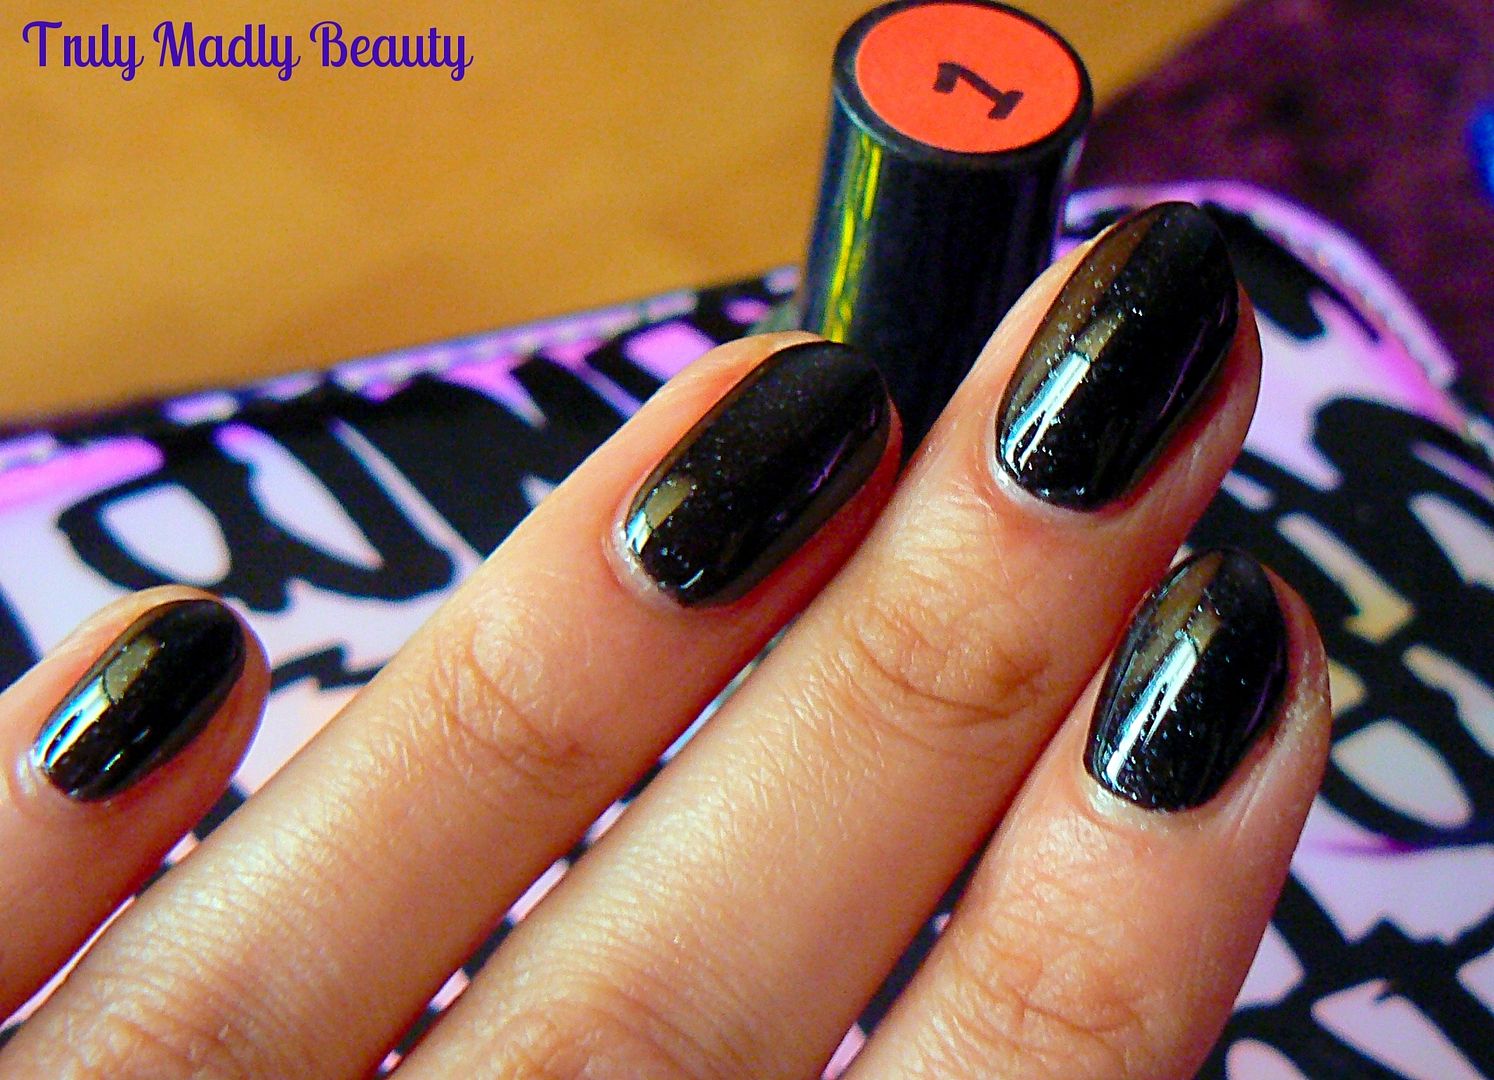
To get the best finish with this technique its better to use a dark base so that the foils can really dazzle on top, here I've applied two coats of Essence Galactic Black which is a black with silver macro glitter.


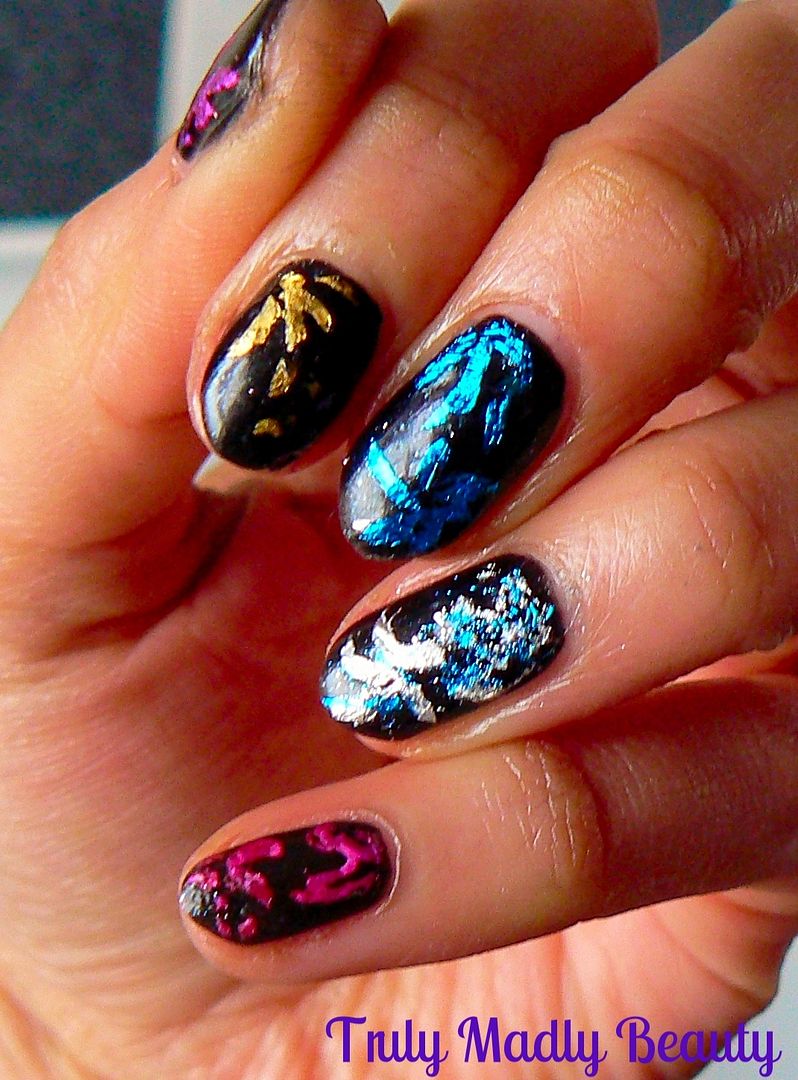
I wanted to have a different colour foil firework on each nail so I cut up a square piece from 5 different foils ready for me to use.


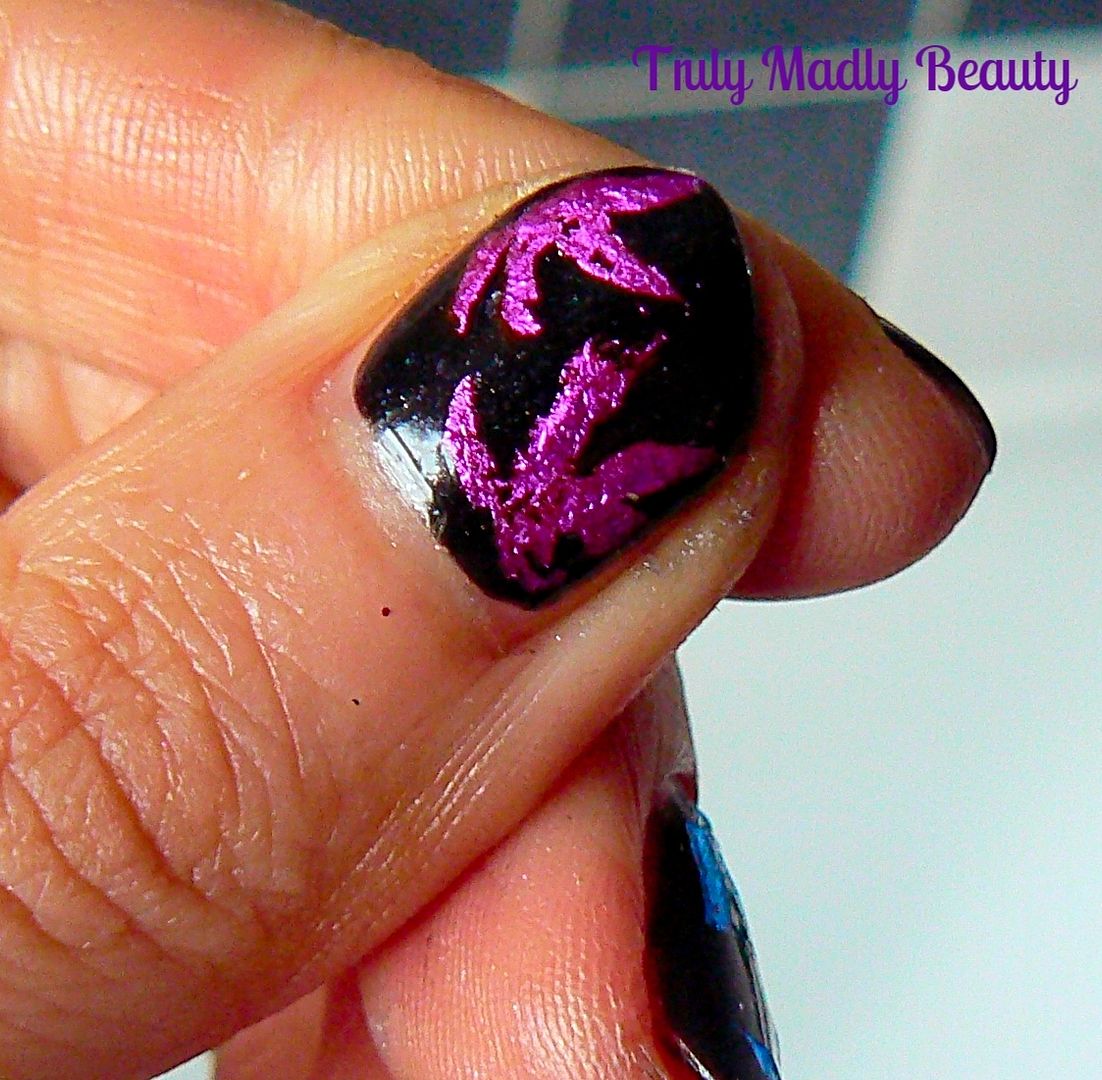
Using a thin brush & a piece of plastic/paper/whatever you like to dispense your glue on, dip your brush into a bit of glue & then apply on to the nail in the areas you want the foil. I went for a sort of firework type of pattern, needless to say it came out successfully on only some nails more so than others....O_O


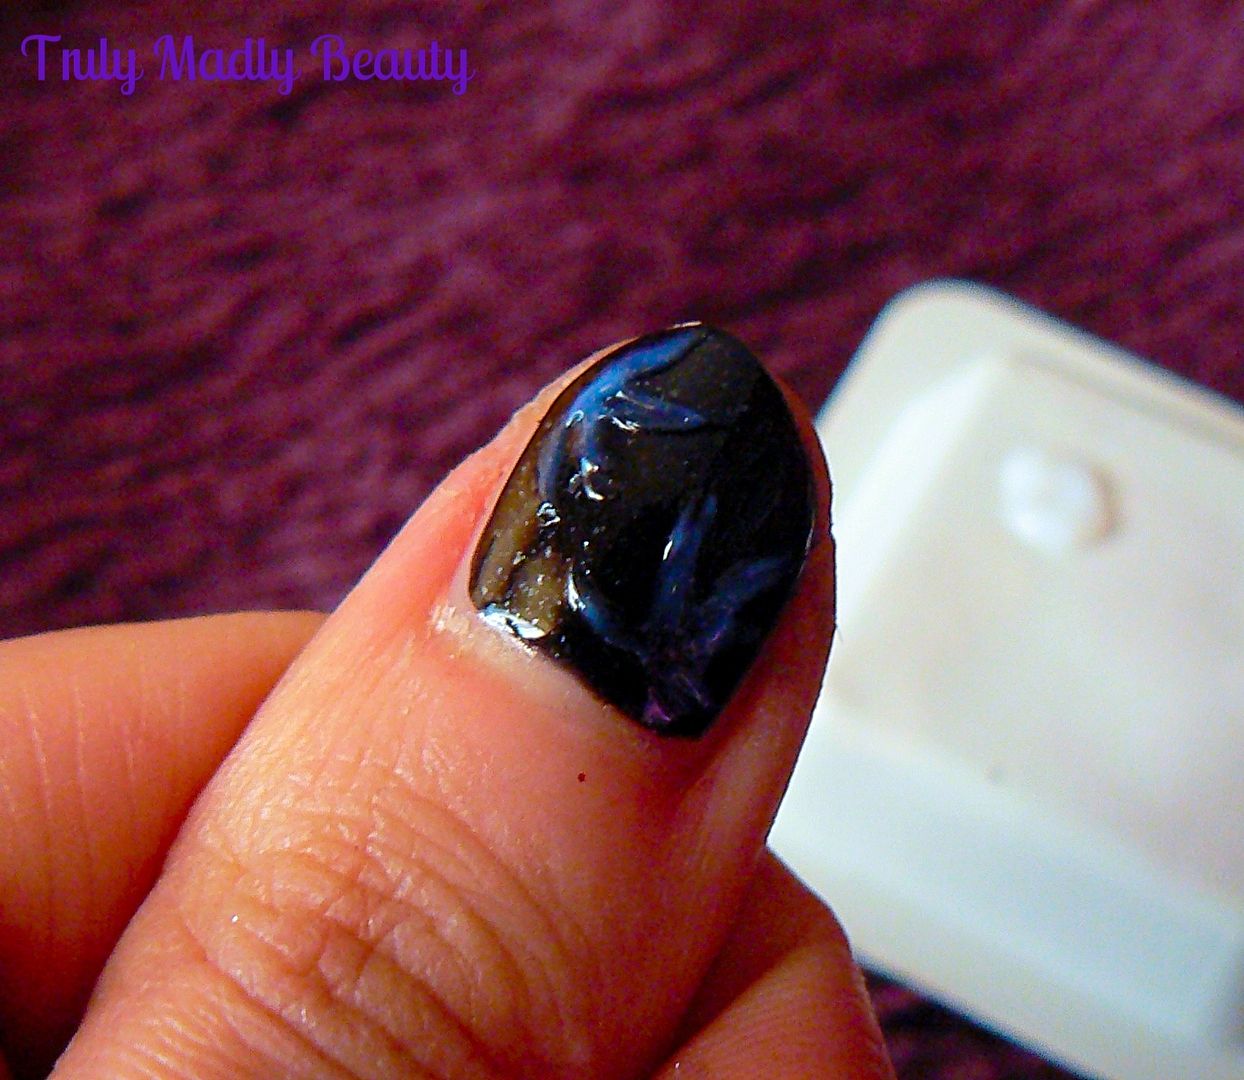
Wait for the glue to COMPLETELY dry, this will be easy to tell as the glue will dry clear, though this is probably where things went a bit tits up for moi as I was just too impatient!


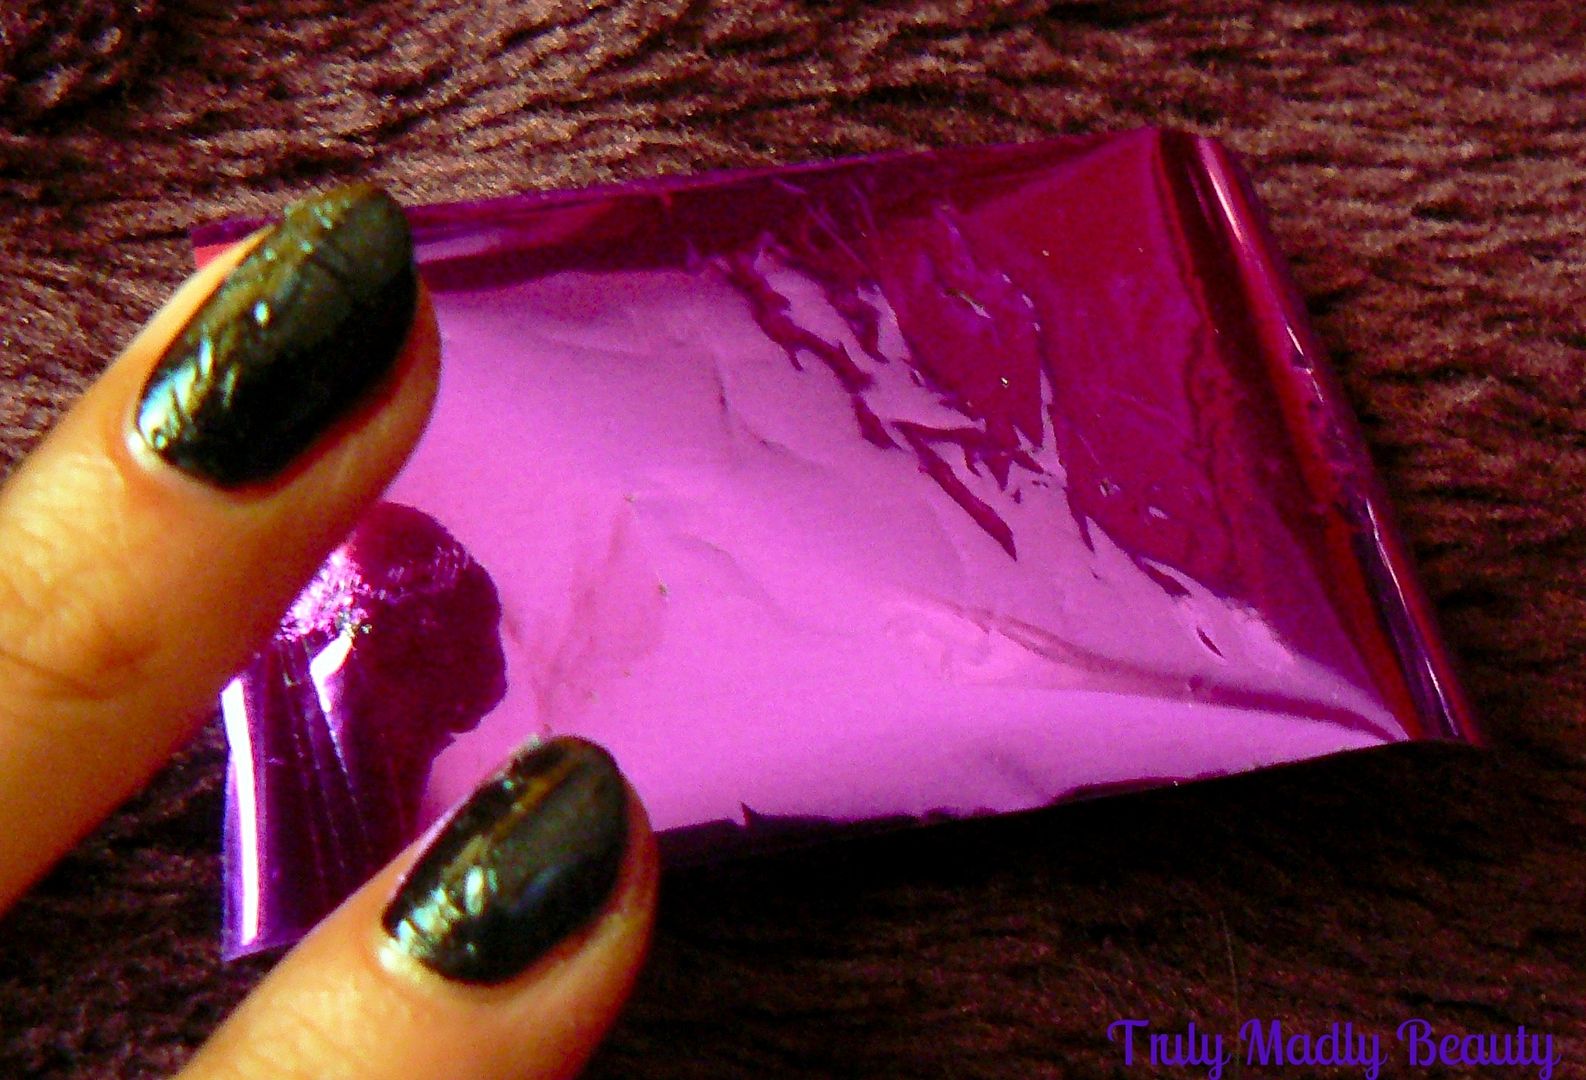
Then grab your piece of foil, the mylar foil has two sides, matte on one side & the coloured foil on the other. Its the matte side you need to dab on the nail. Using light tapping motions, its easier if you wrap the piece of foil around you finger when doing this, dab the foil on to the nail until it has transferred on to the glue.


Do this on every nail using your different colours until you've done all ten, I decided to mix it up with both blue & silver on the ring finger. I'm really happy with how my thumb came out, the others...not so much ha! But you get the idea of it.


Finish it all with a nice thick coat of glossy topcoat! As you can see I still need a helluva lot more practice & playing around with this, think I may give Lucy's Flame Effect nails a whirl with the foil just on the tips!

Thanks for reading lovelies & wishing you all a Happy New Year! See you in 2016!

Lotsa love to ya!


11.03.2015

NOTD - Champagne & Burgundy Glitter Gradient

Hi there lovely readers!

Now that Halloween is done & dusted for the year *sobs!*, before one can get stuck in with full on festive nail art fun, we still have a month to go where I can try to squeeze in as many autumnal vibed manis as possible :) This time of year the burnt golds, bronzes & burgundy's become especially lush & its definitely those tones I reach for most often.


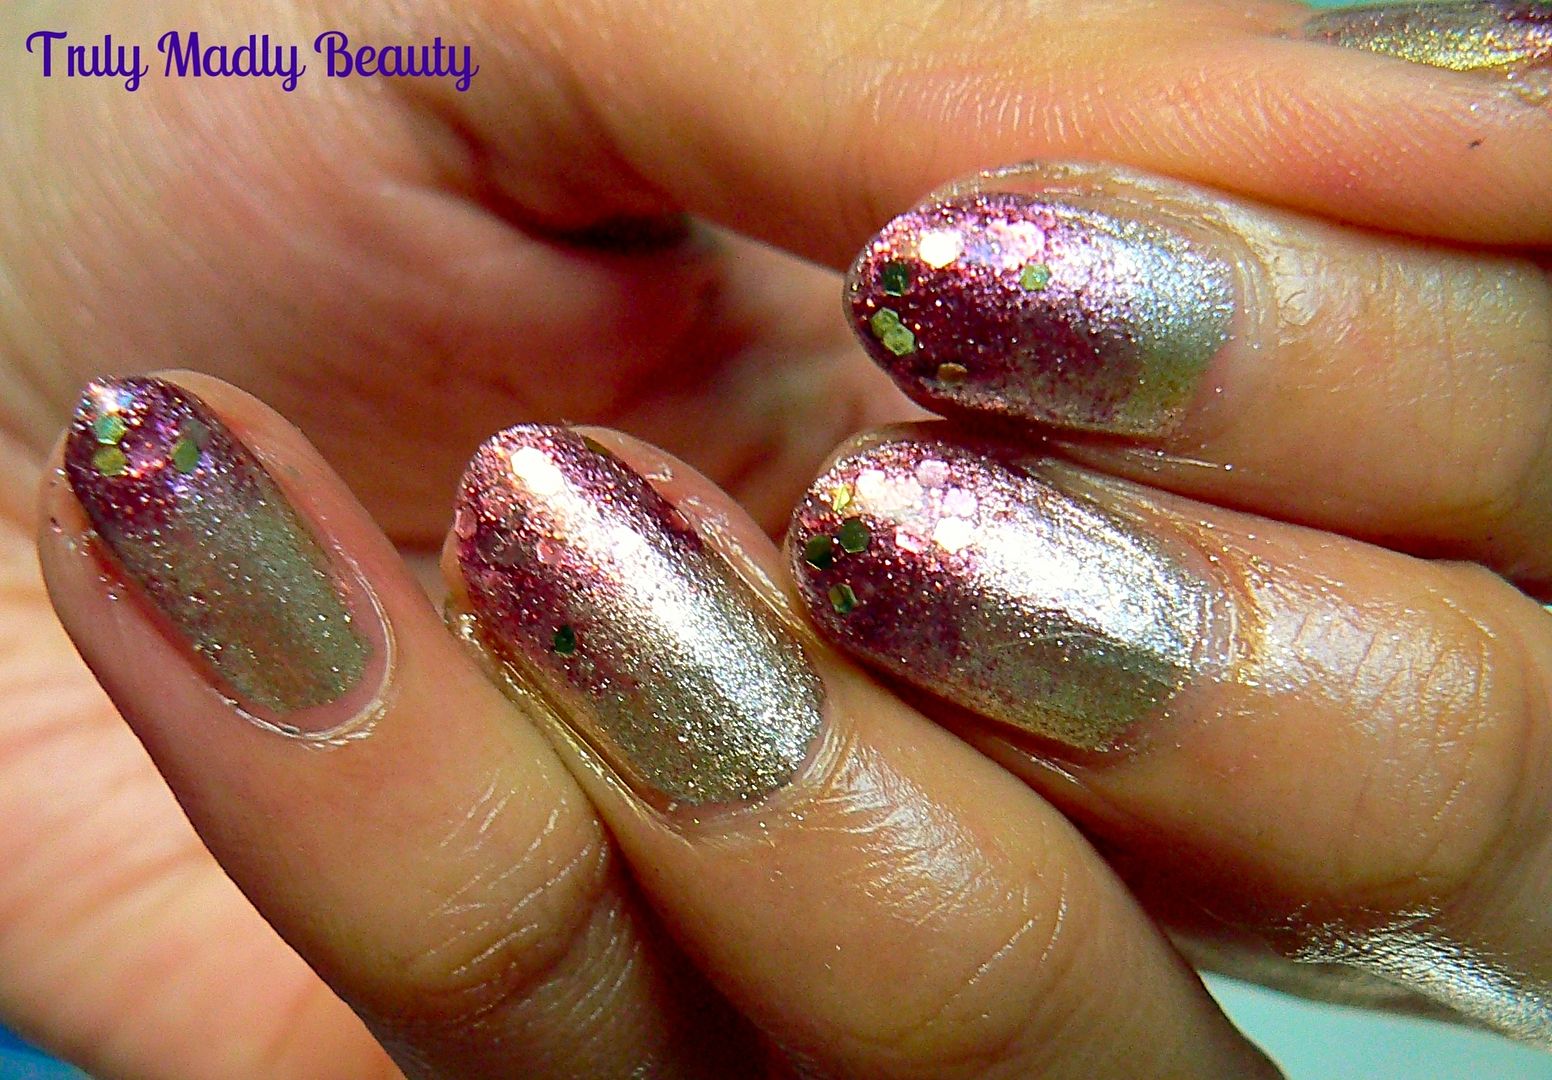
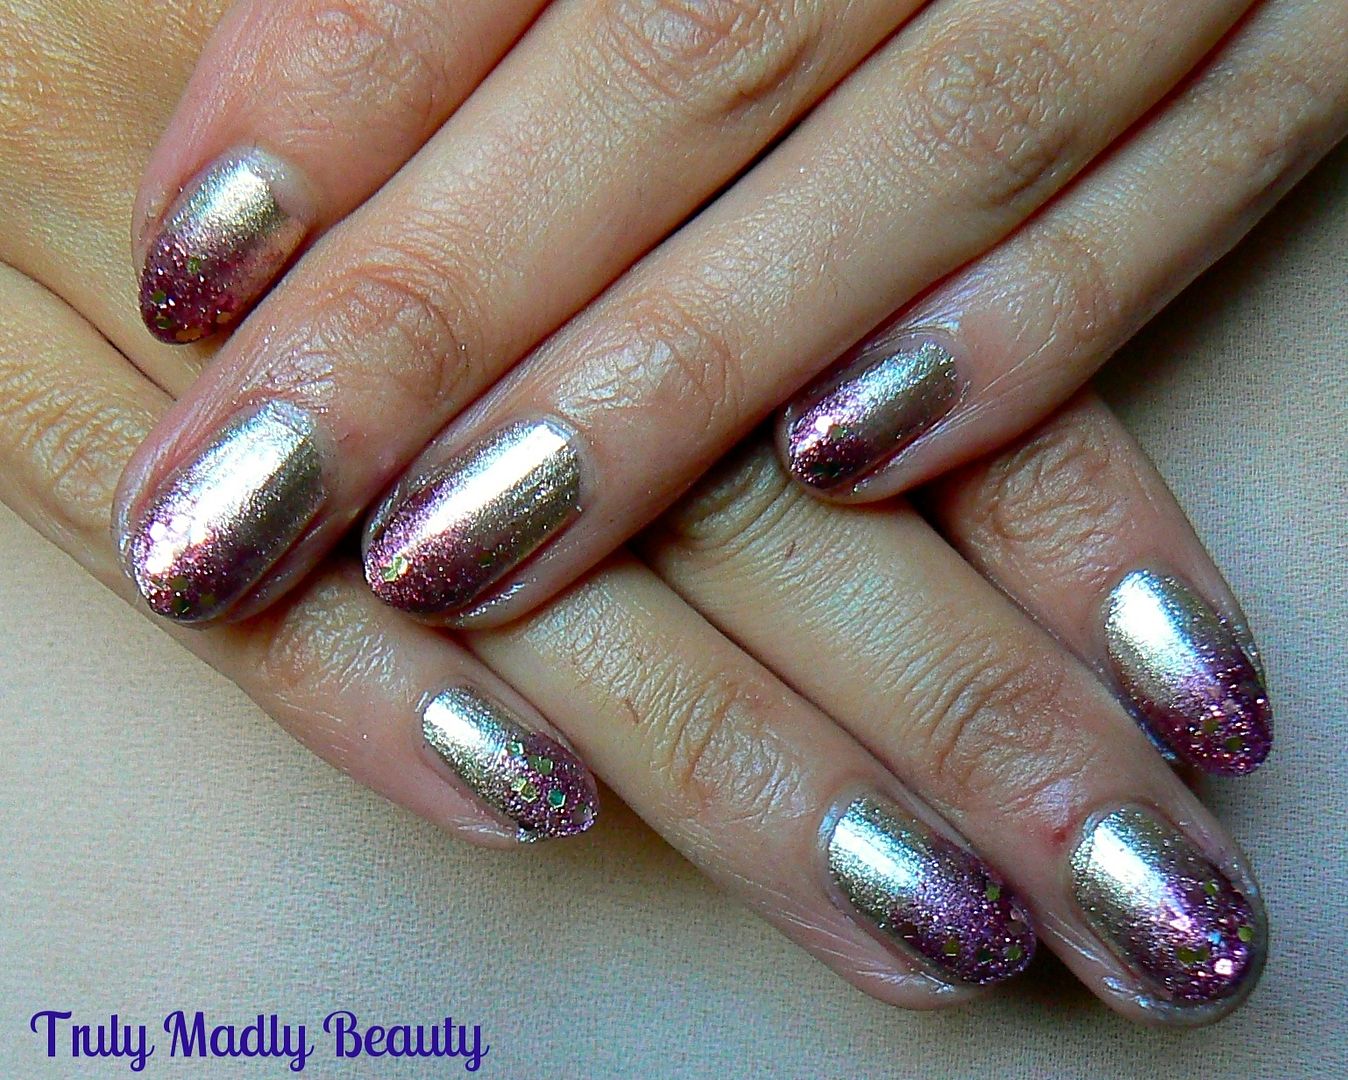
This quick manicure I have for you today is what I actually wore for my best friends wedding & went perfectly with the beautiful burgundy bridesmaid gowns she kindly bestowed us with. Foils are so dreamy & I do have a soft spot for the golden-y metallics


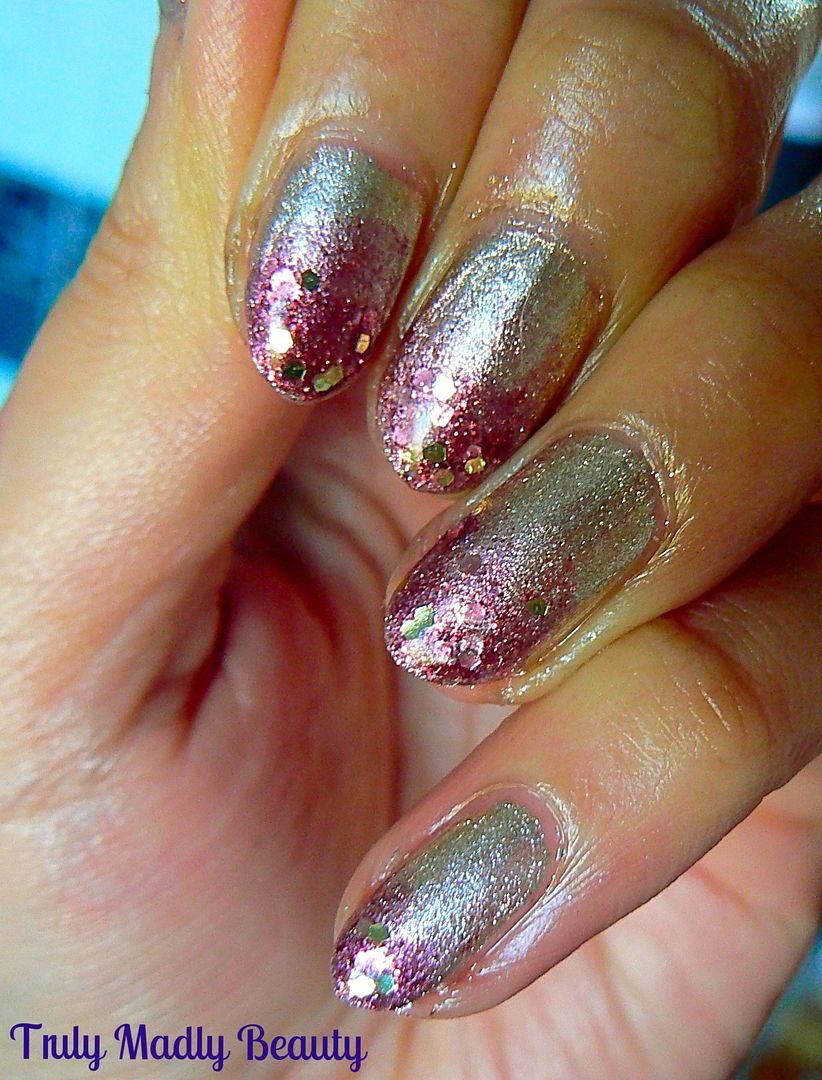
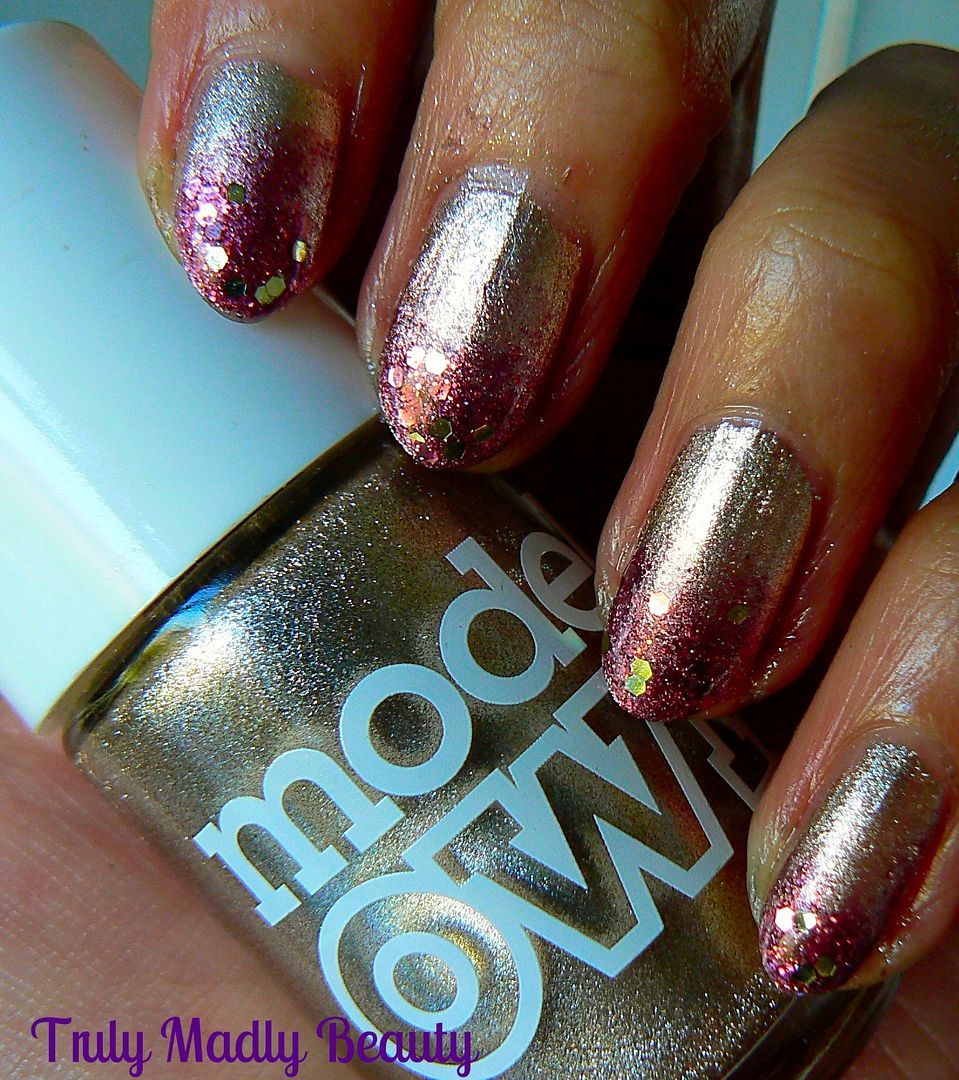
Here we have an oldie but a goodie of mine, good old Models Own Champagne, a truly lush pale golden foil that I always find myself coming back to, I especially love wearing this on the tootsies as a pedi.


Another fab thing about foils is they dry super fast! Great if you want to do some nail art on top. This was two coats applied. 


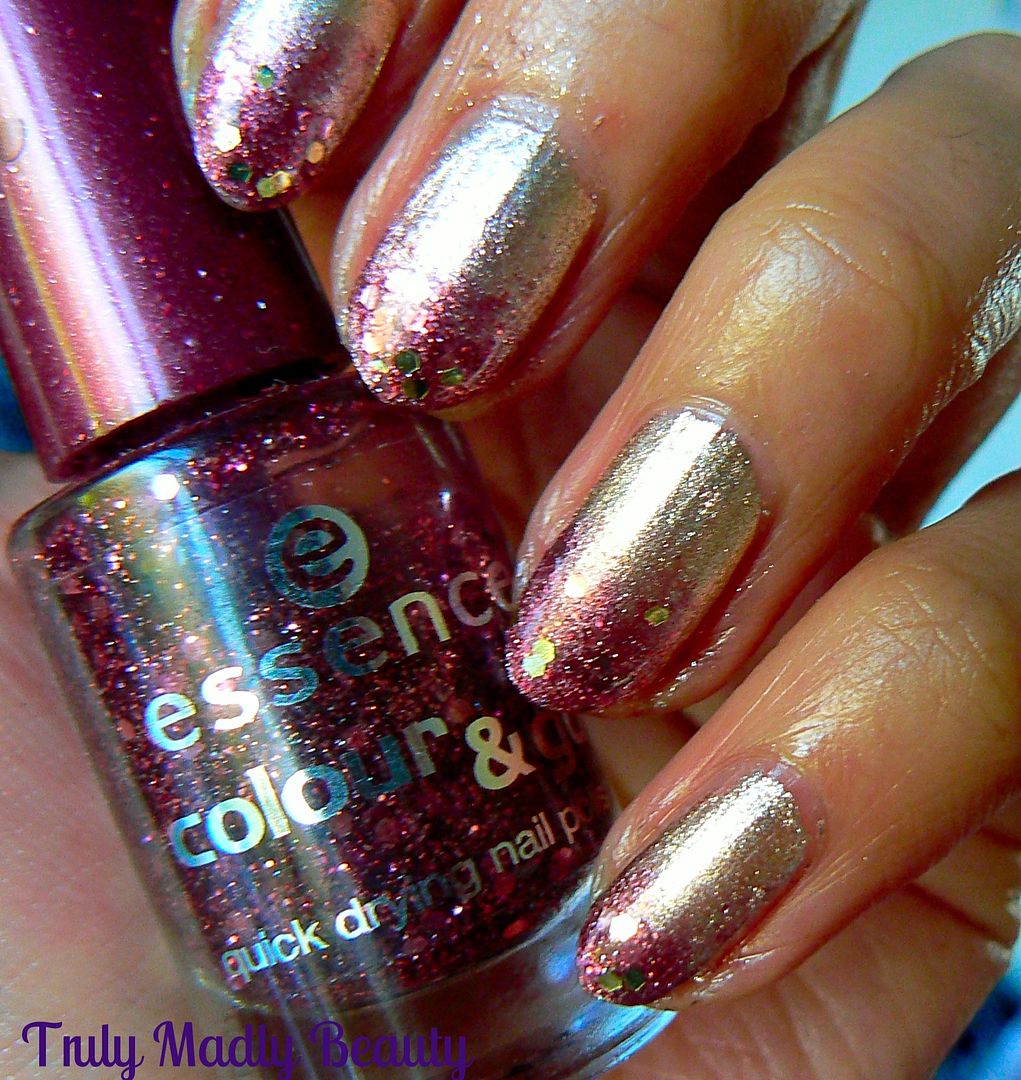
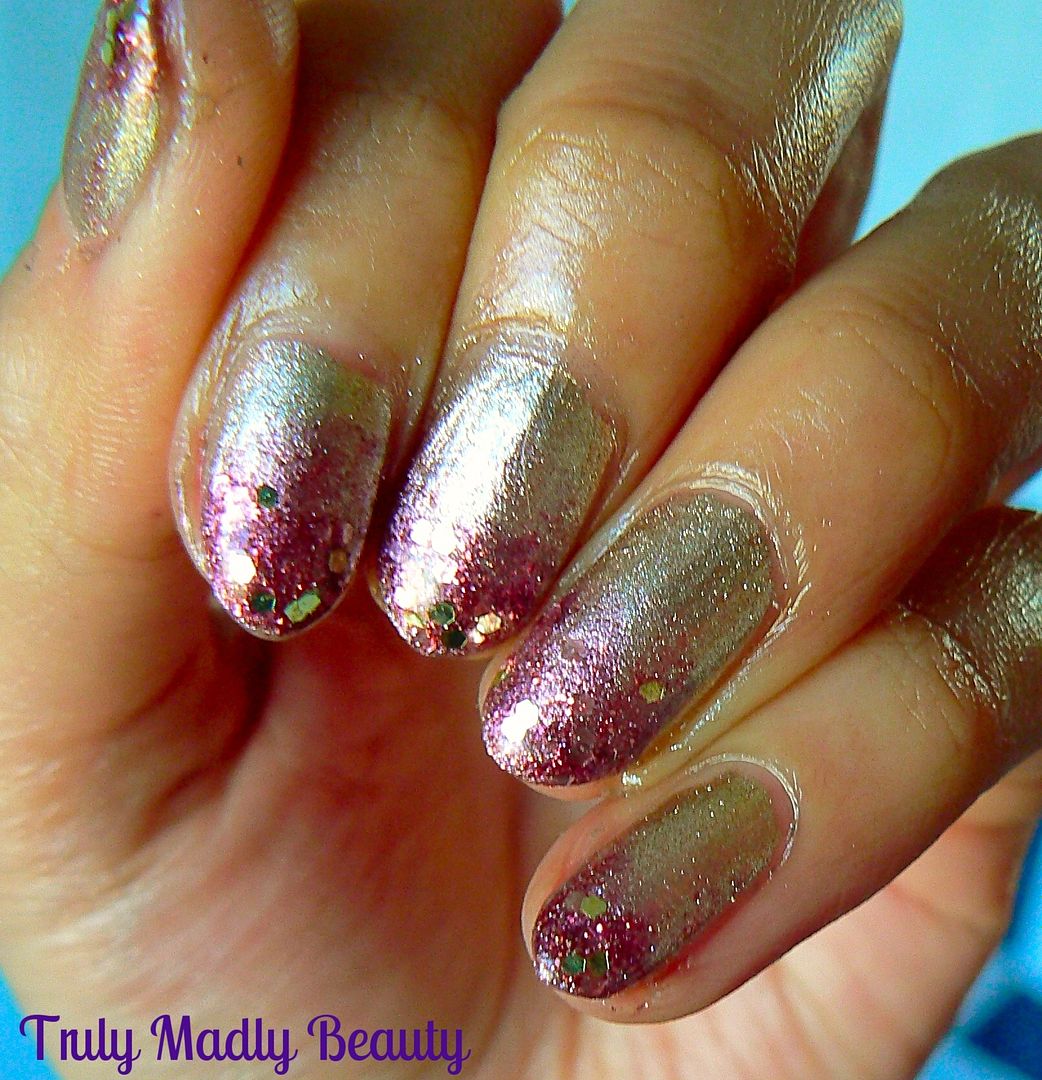
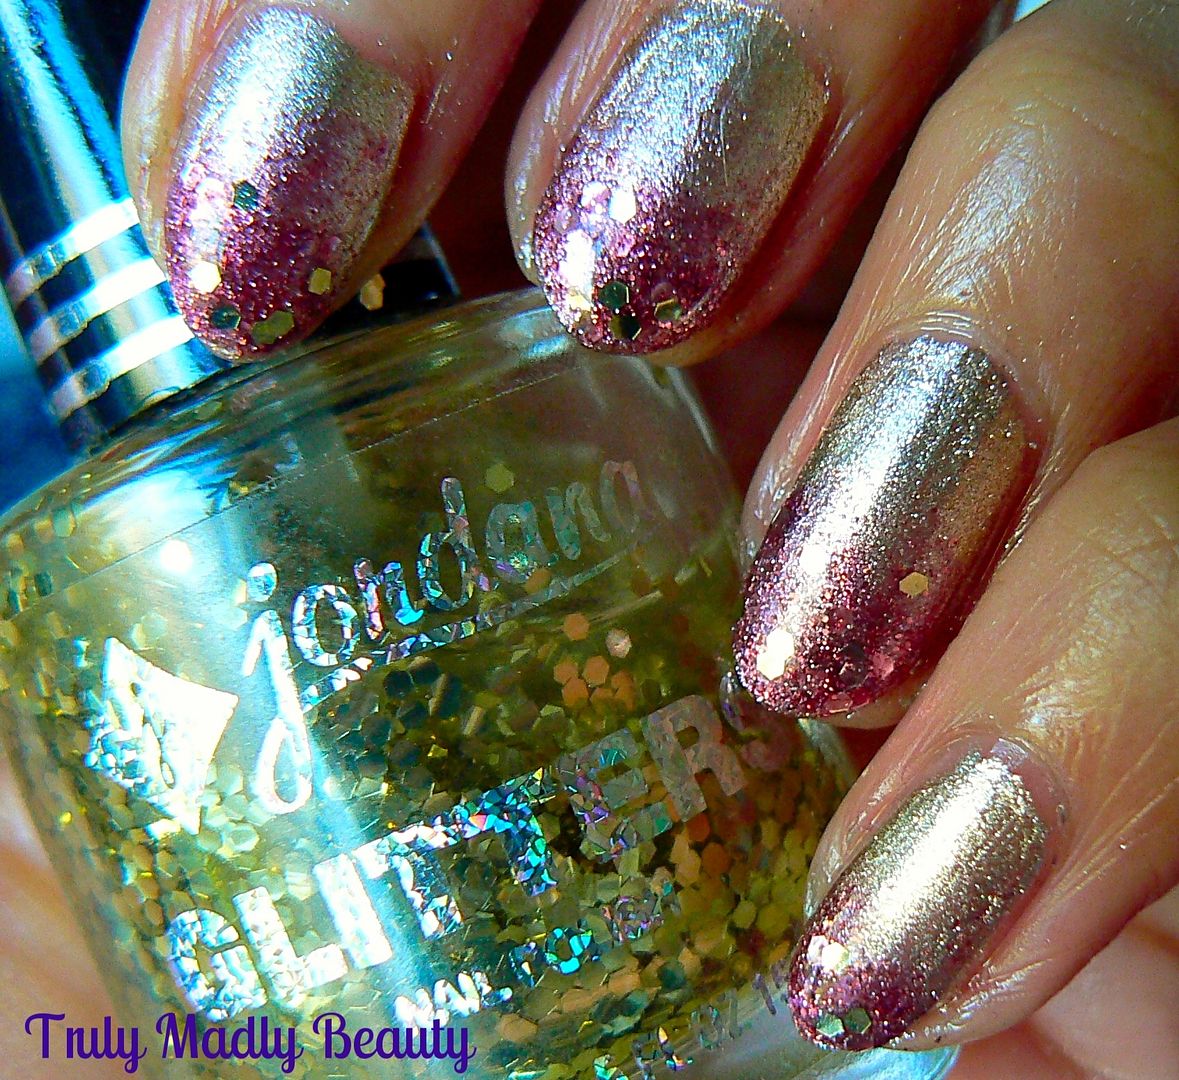
As our bridesamids dresses were burgundy I wanted to incorporate some of that warm tone into the mani so opted for a subtle glitter gradient using Essence Time For Romance which is a lovely deep pink/maroon polish with small and large hexagonal glitters within, a really pretty polish!


To do the gradient, apply the polish to a piece of sponge, I use a bit of make up sponge, & gently dab onto the tips, taking the gradient down to about three quarters of the nail to give the slight fading effect. 


Do this a few times on each nail until your happy & for a final touch I like to add a bit of extra glitter onto the tips, here I've used a bit of Jordana Funky Gold Town.


Finish with topcoat & that's it :) Thanks for reading, I hope you liked the mani dolls, till next time!

Lotsa love to ya!


7.09.2015

NOTD - Heirlom by True Brit London

Hello there my lovely readers! 

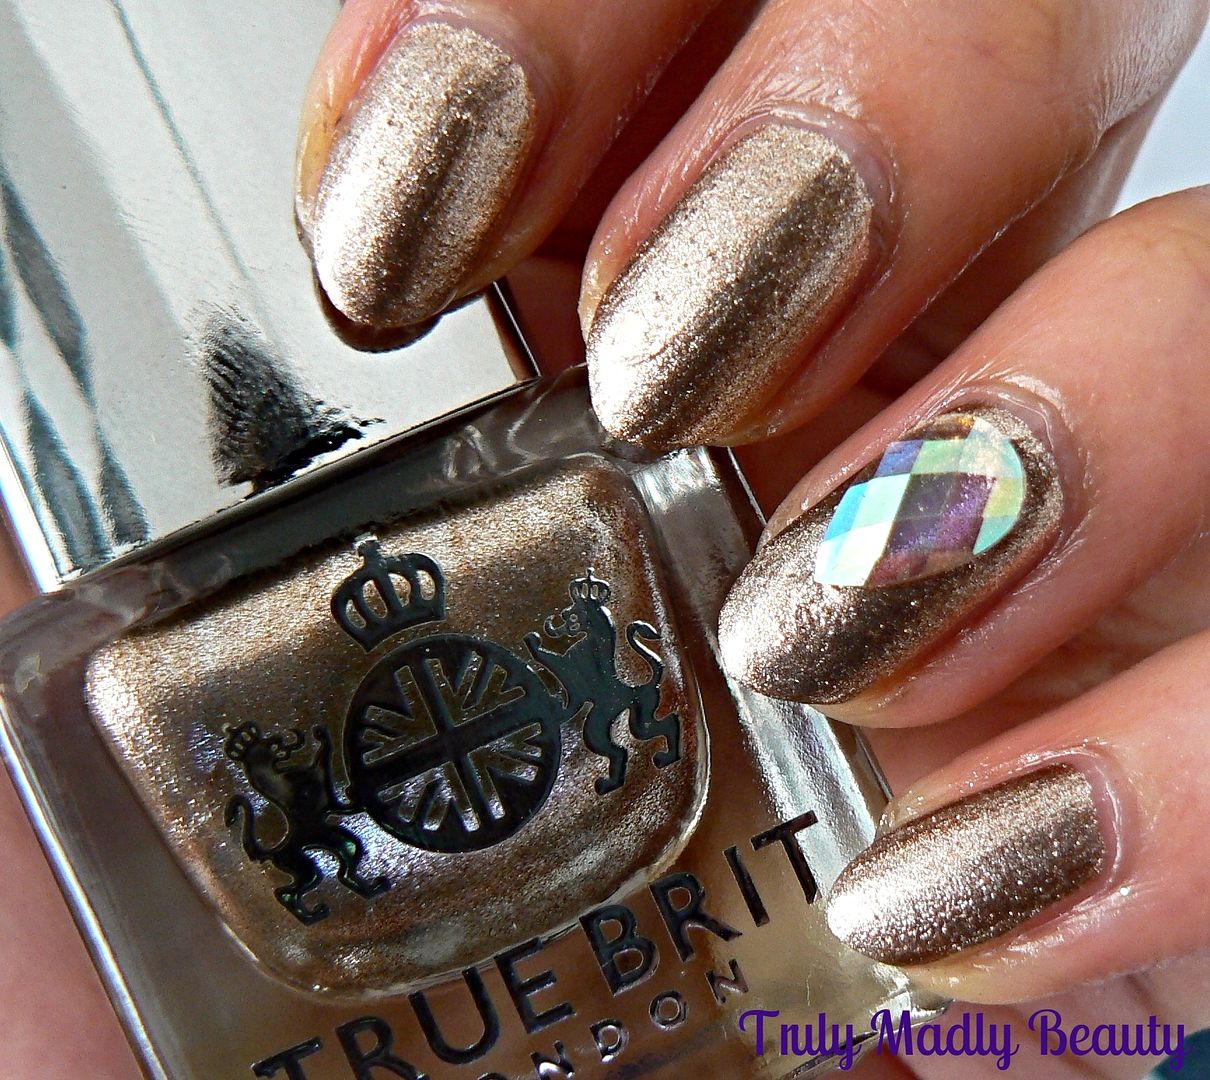
So the time has come to share with you the final polish from the brand True Brit London! I hope you've been enjoying these shades as much as I've had swatching them! As mentioned, its definitely a case of saving the best till last as this one is pretty special. Without further ado, here is the simply divine Heirloom from the Luxury Collection...


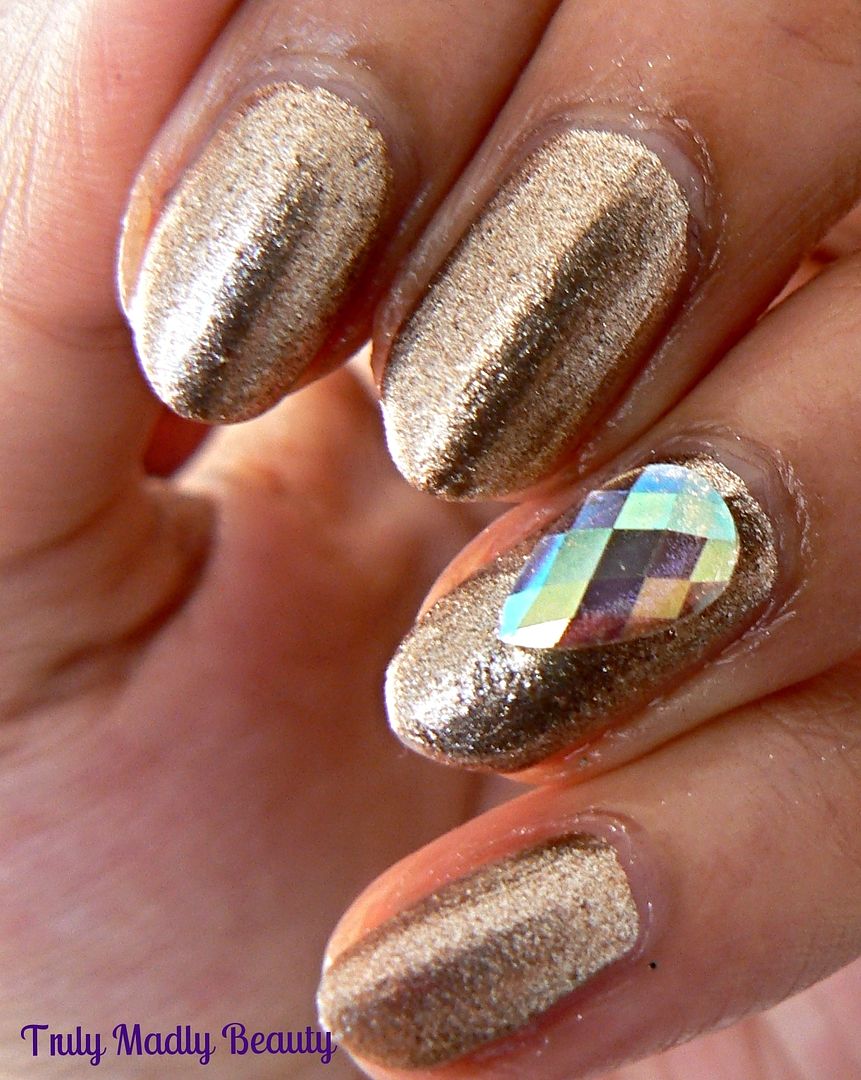
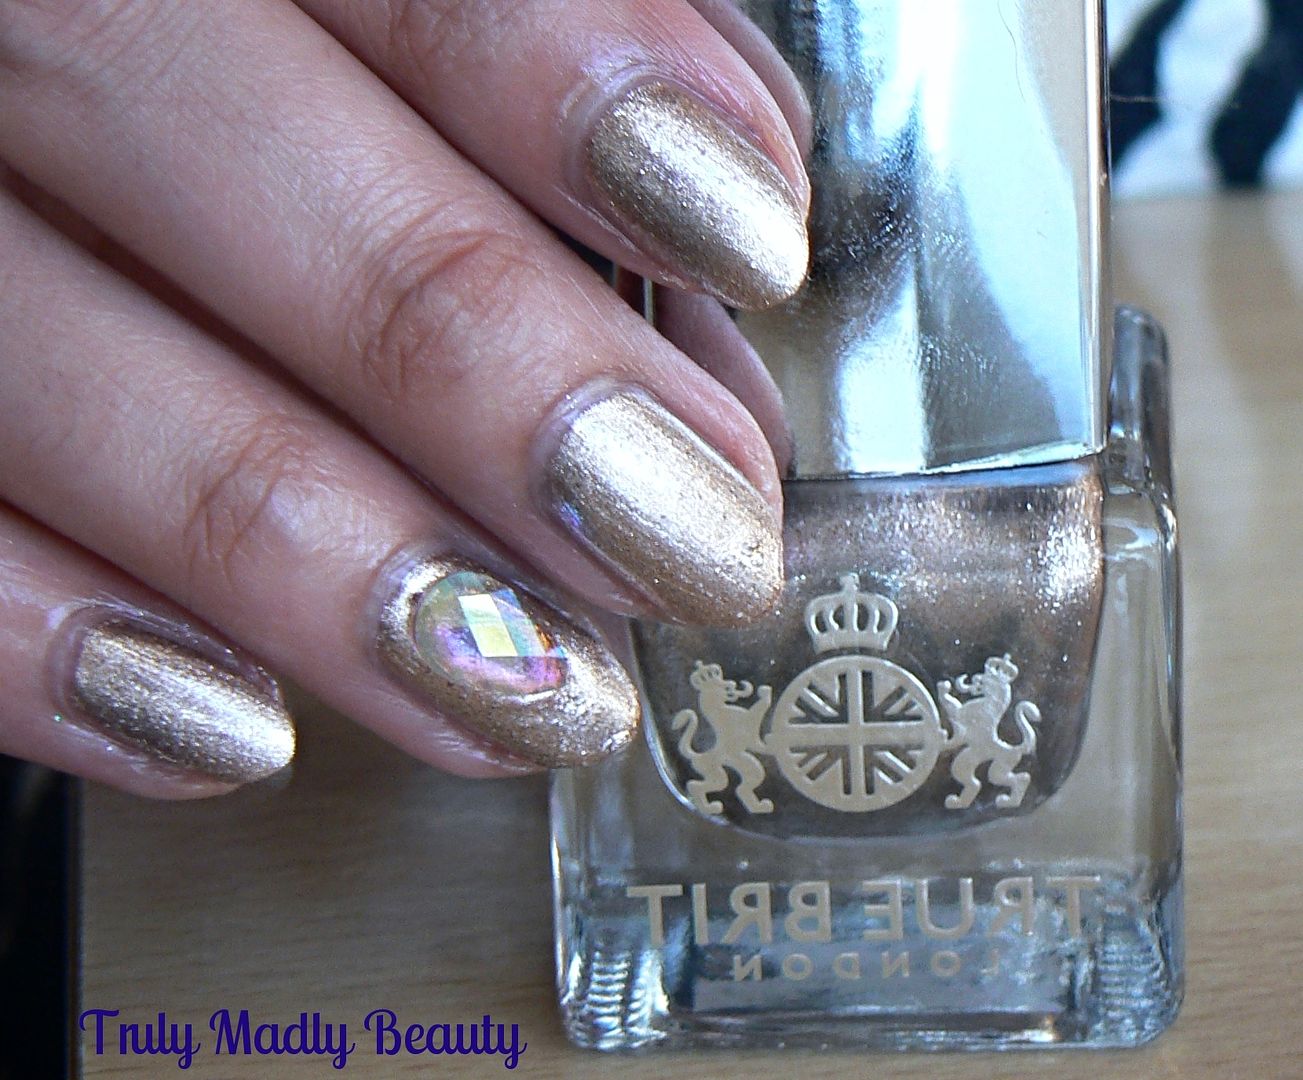
Luxurious indeed *swooooooons* what did I tell you? Its a stunner right? And being a huge fan of pretty much EVERYTHING rose gold this is definitely a winner for moi & a must have shade for my fellow rose gold lovers! 


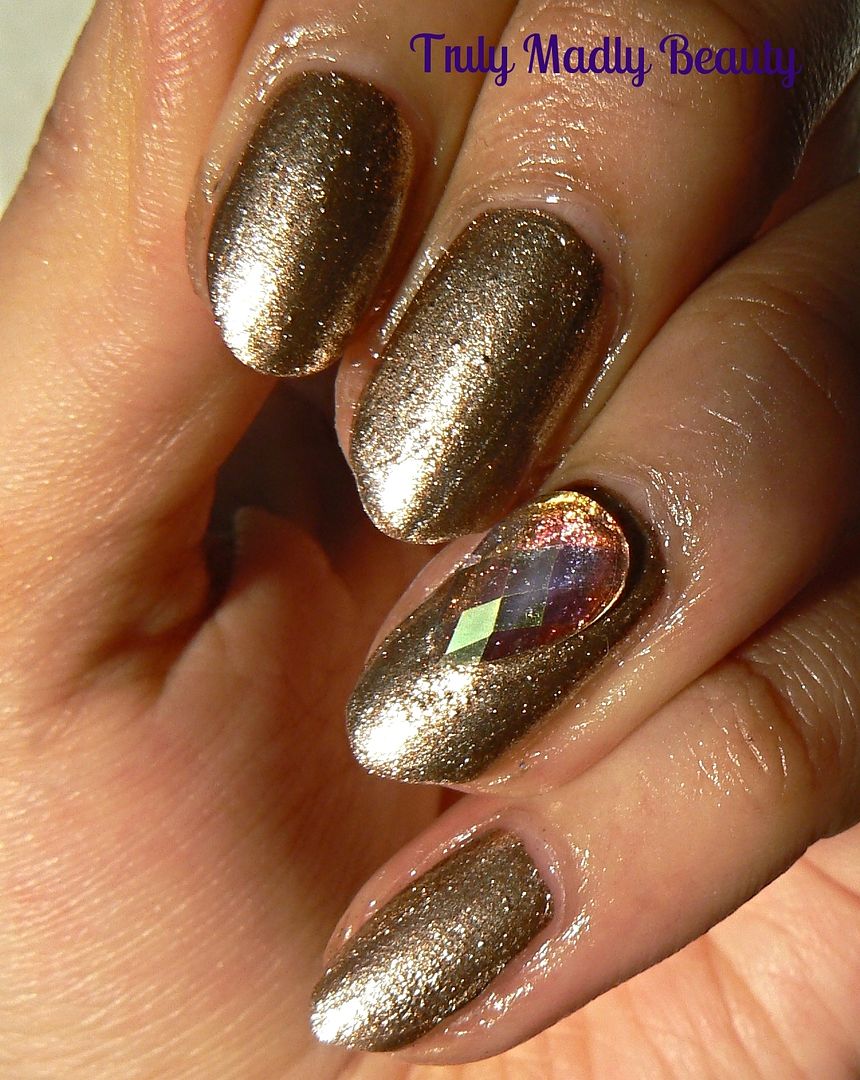
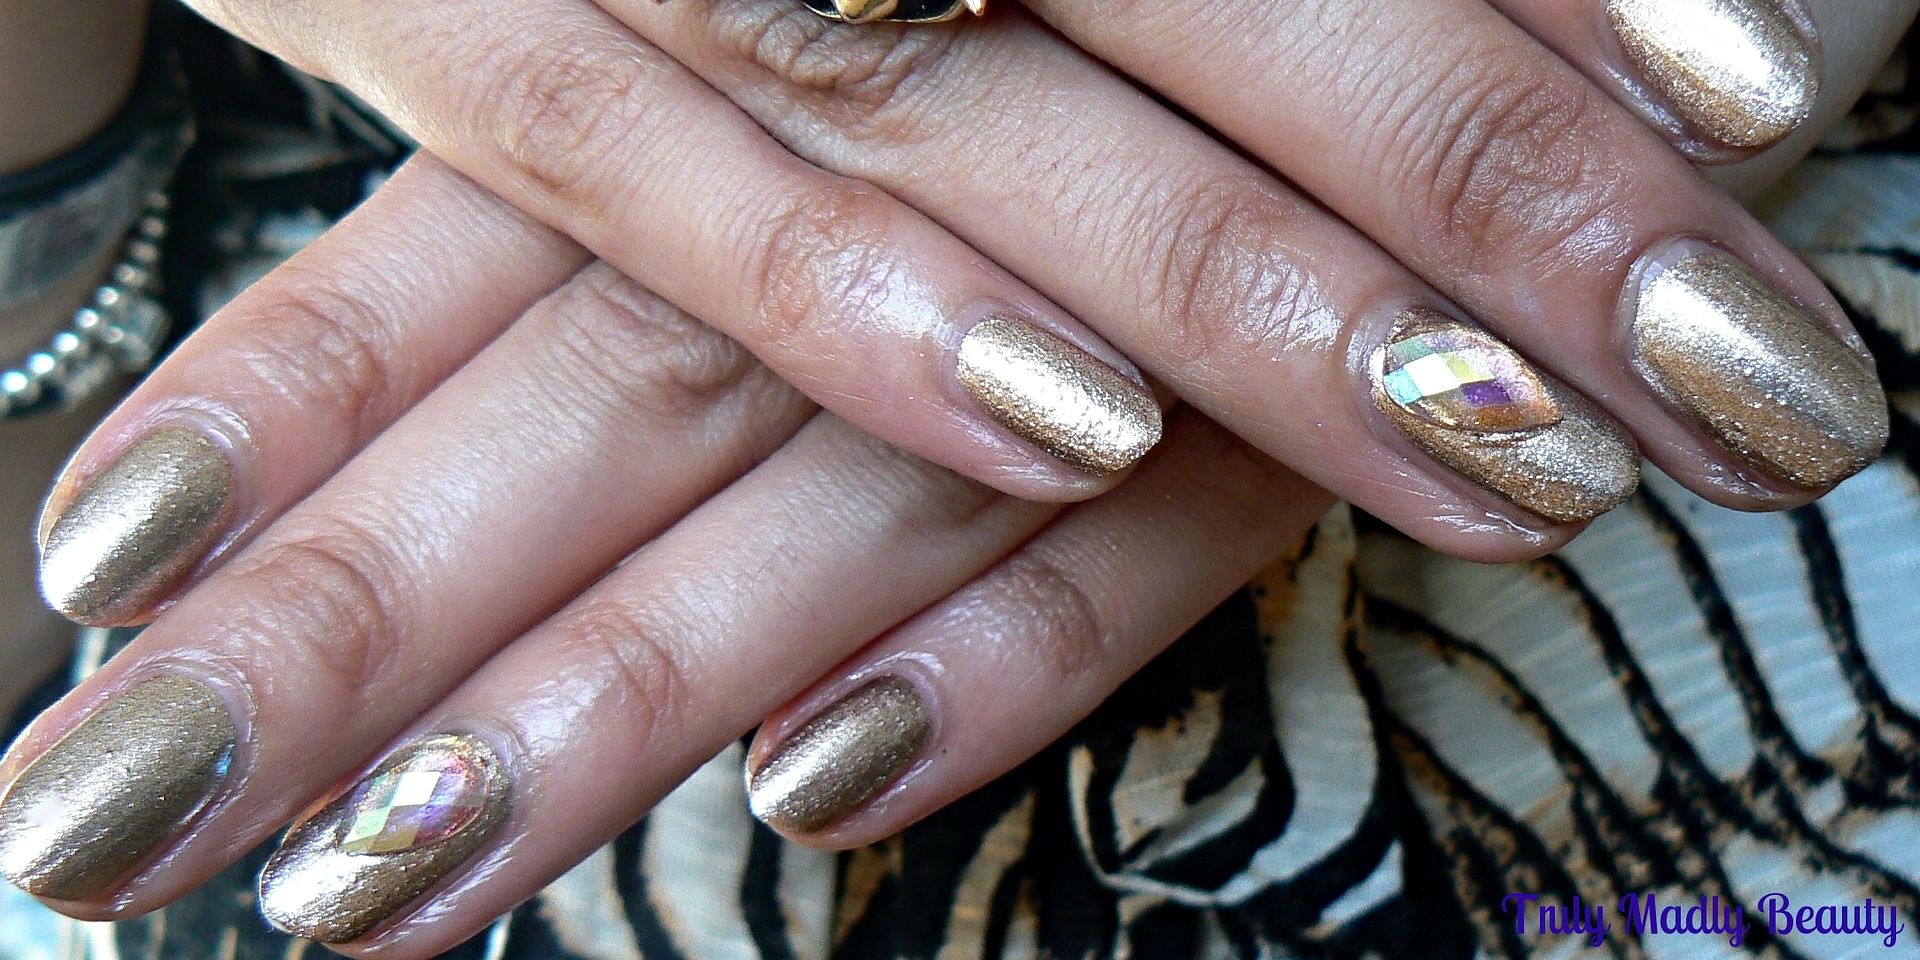
Heirloom is another beautiful metallic foil like Knightsbridge, however this little gem has the loveliest delicate Rose Gold hue running through it, resulting in a truly elegant looking manicure. The pretty pink champagne like shade is one that would suit all skin tones.


Application was lovely over the Caviar Base Coat & you could actually get away with just one coat, however you know me! Two coats left a gorgeously opaque mirror like finish. 


I can never resist adding a little something extra to my mani's but didn't want to draw the focus away from the Rose Gold prettiness, so applied a sparkly teardrop gem to the ring finger from Charlie's Nail Art store, isn't it lovely? With just the right amount of sparkle to satisfy my magpie tendencies, it adds a lovely touch of 3D glamour to a mani, j'adore!


With foils, you can normally forgo the topcoat, but for longevity I like to apply it anyway. Plus the True Brit London Gloss Topcoat is a thick formula, making it perfect for sticking on gems & charms! You do need to be patient with this topcoat & let it dry fully before carrying out your day to day activities!


So there you have it! Four delightful offerings from True Brit London; Cream Tea, Knightsbridge, Lady Penelope & Heirloom. Overall I thinks its obvious my thoughts on this new brand to hit the nail polish world. Not only am I impressed with the quality of the polishes, but I simply love the innovative & quintessentially British themes incorporated within the collections making it a unique, fun & interesting range. I do love a pretty bottle too so packaging gets a big thumbs up!          


The True Brit London polishes are all 6-free formula, so no harsh chemicals plus include goodness in the form of Vitamin E, Elderflower & Rose Extract. You're definitely getting high quality here without the hefty price tag. I'm excited to see some new collections have been added to the range which can all be found & purchased online for £12.50. If you use my code Truly10 you can get an extra 10% off, so what are you waiting for dolls? 

Thanks as always for reading!

Lotsa love to ya!  
Disclaimer - * products featured were sent to me for my consideration. I am not affiliated with the brand nor paid for this post, this review has been as always my 100% honest opinion! :)

6.26.2015

NOTD - Knightsbridge by True Brit London

Hi there lovely readers!

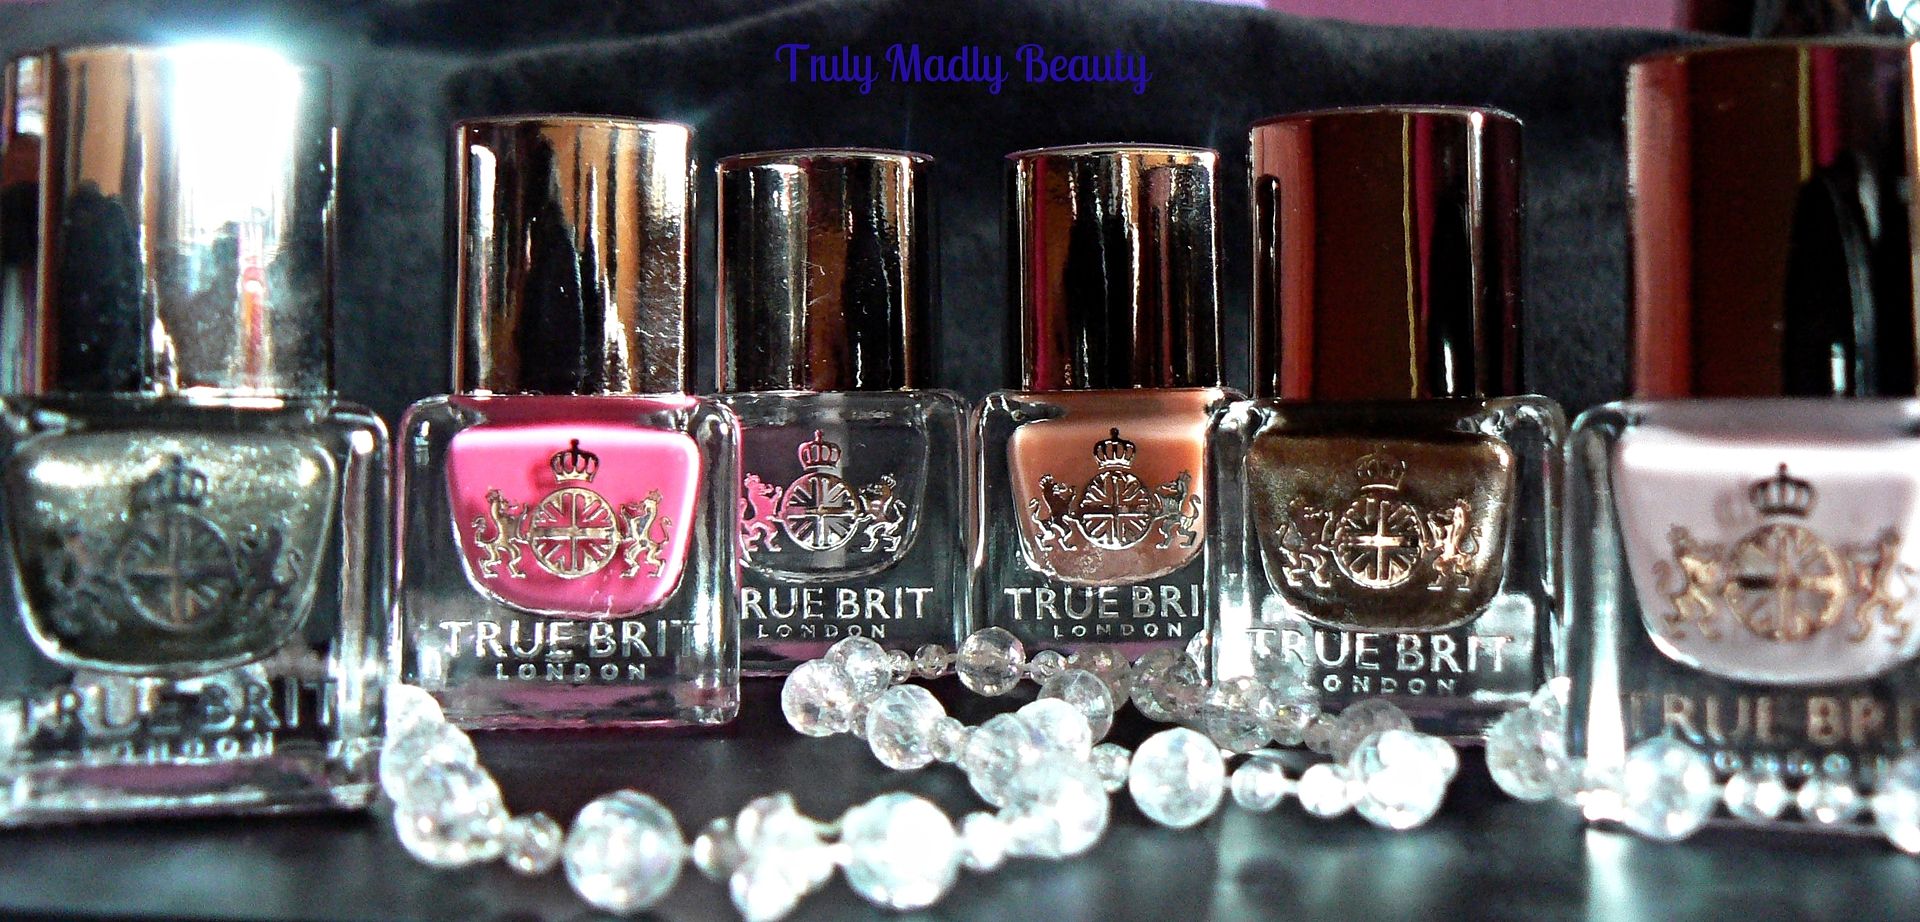
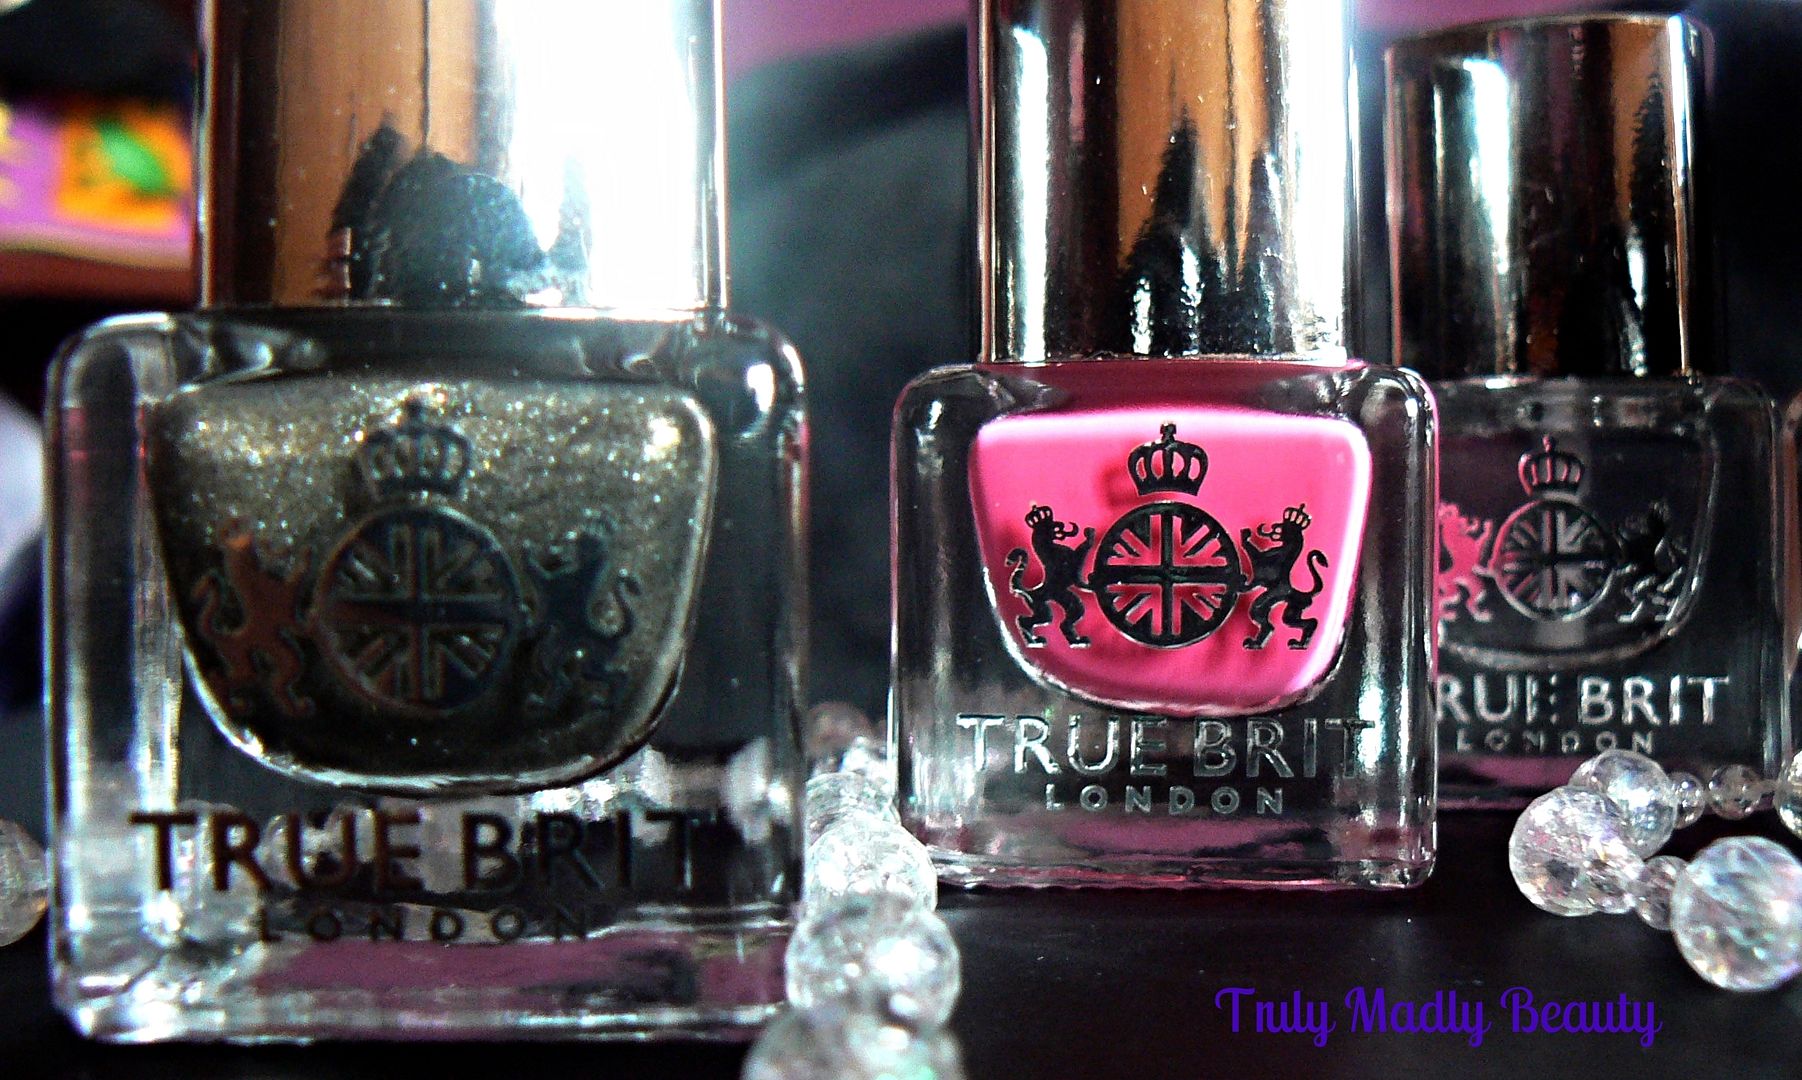
Earlier on this week I blogged about exciting new brand to enter the nail polish world, True Brit London*, today I have another offering from their range to share with you. So far I've shown you Cream Tea, a scrummy angelic baby pink creme. When it came to deciding which polish to play with next I opted for the beaut Knightsbridge* from the Signature Collection...


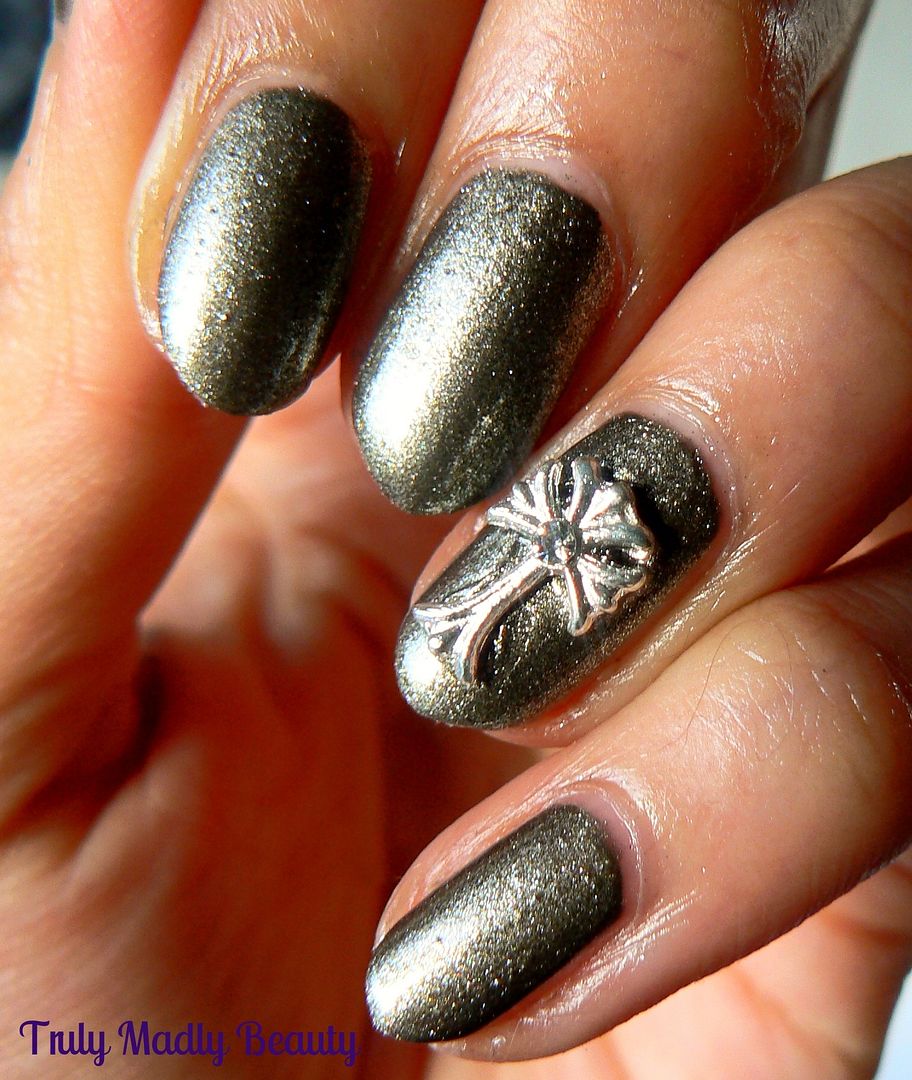
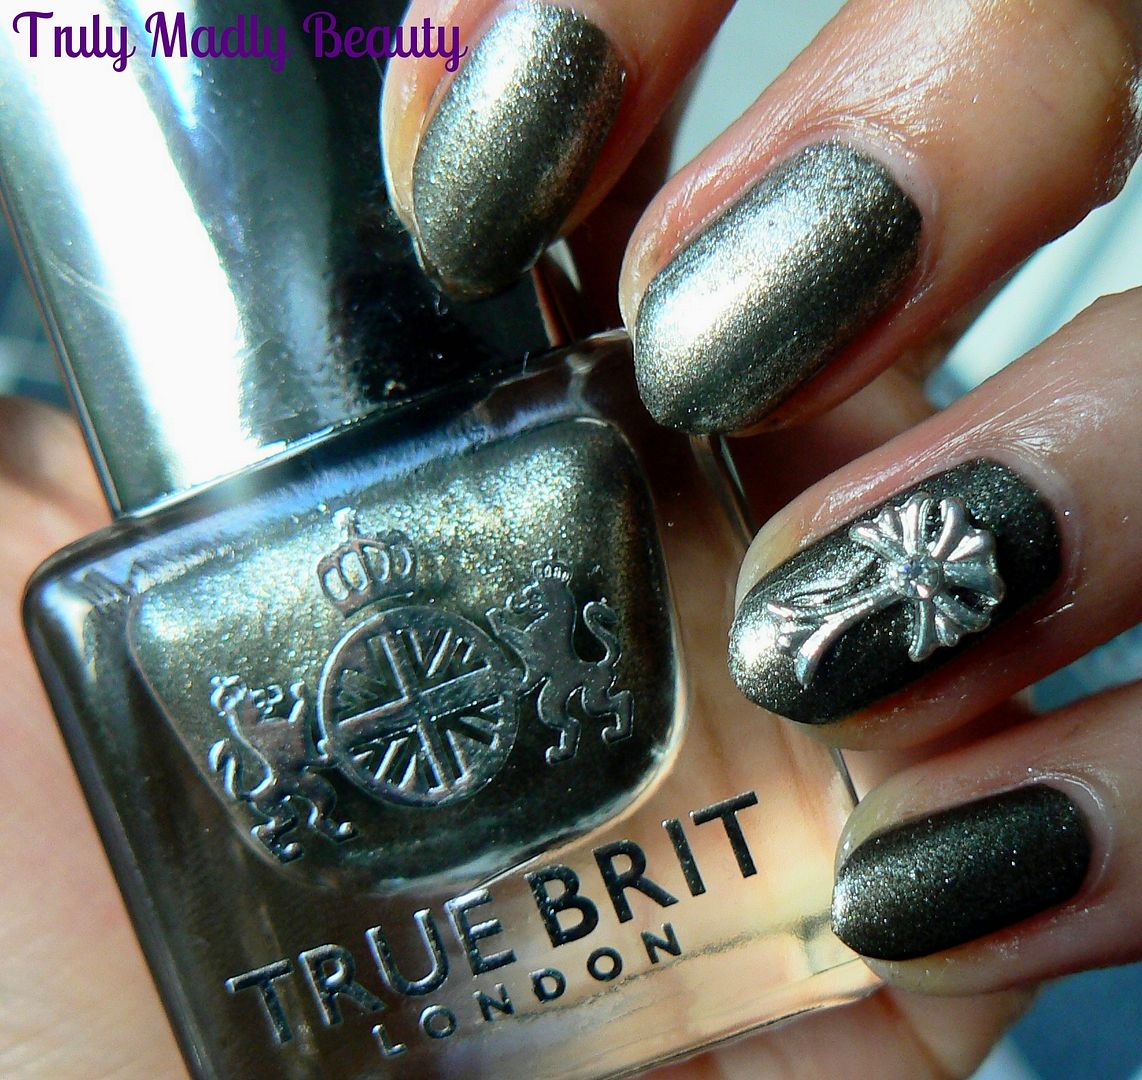
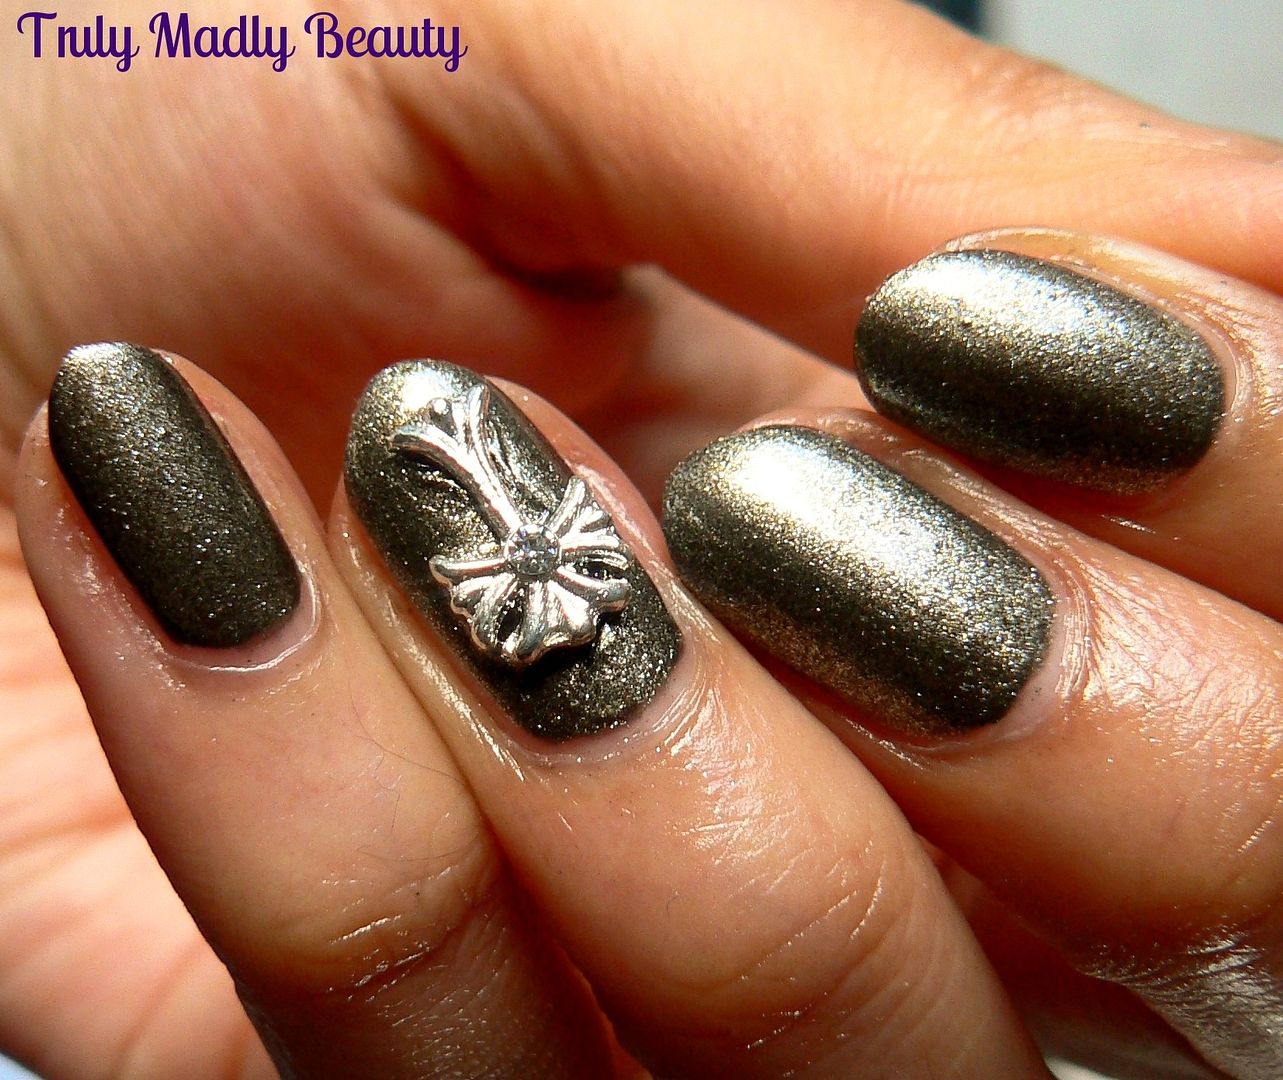
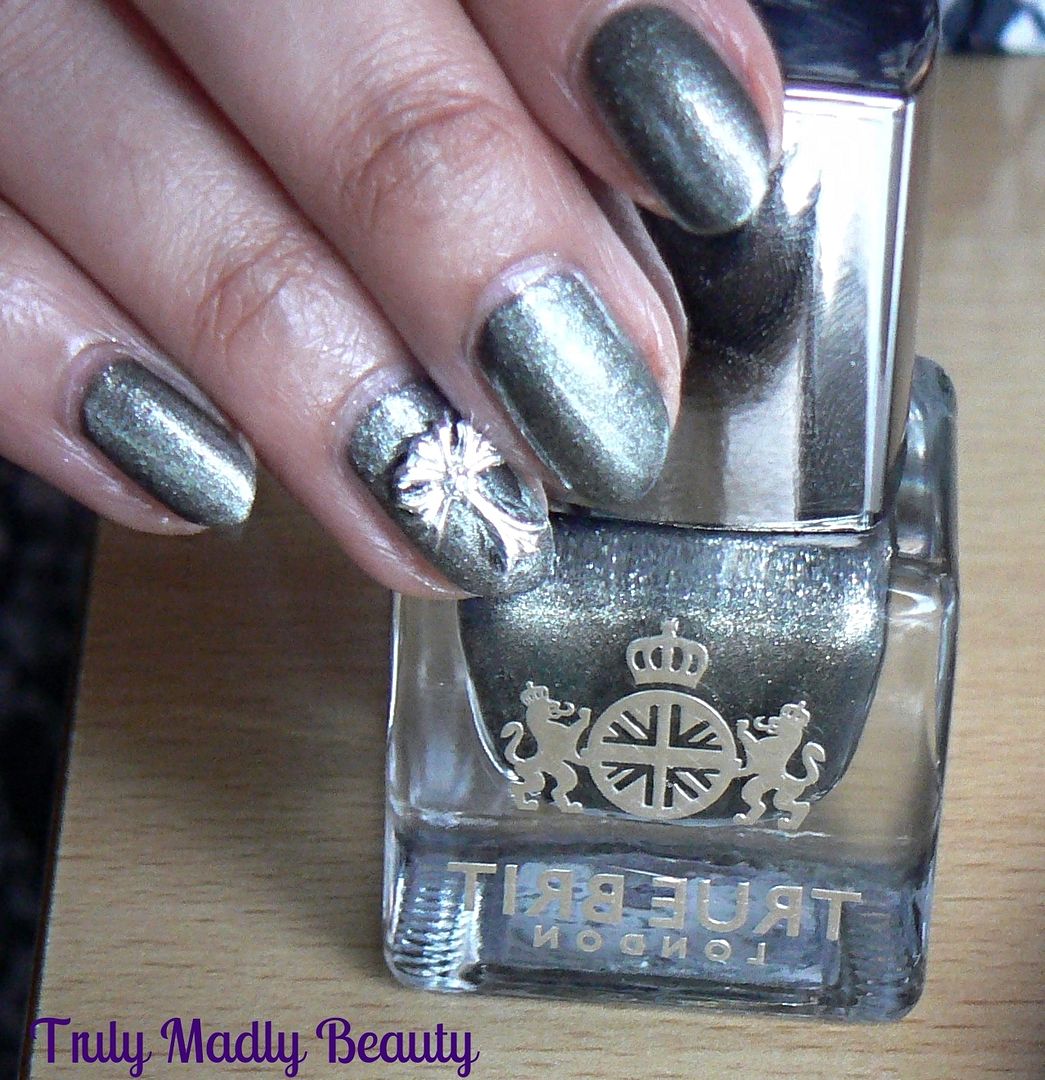
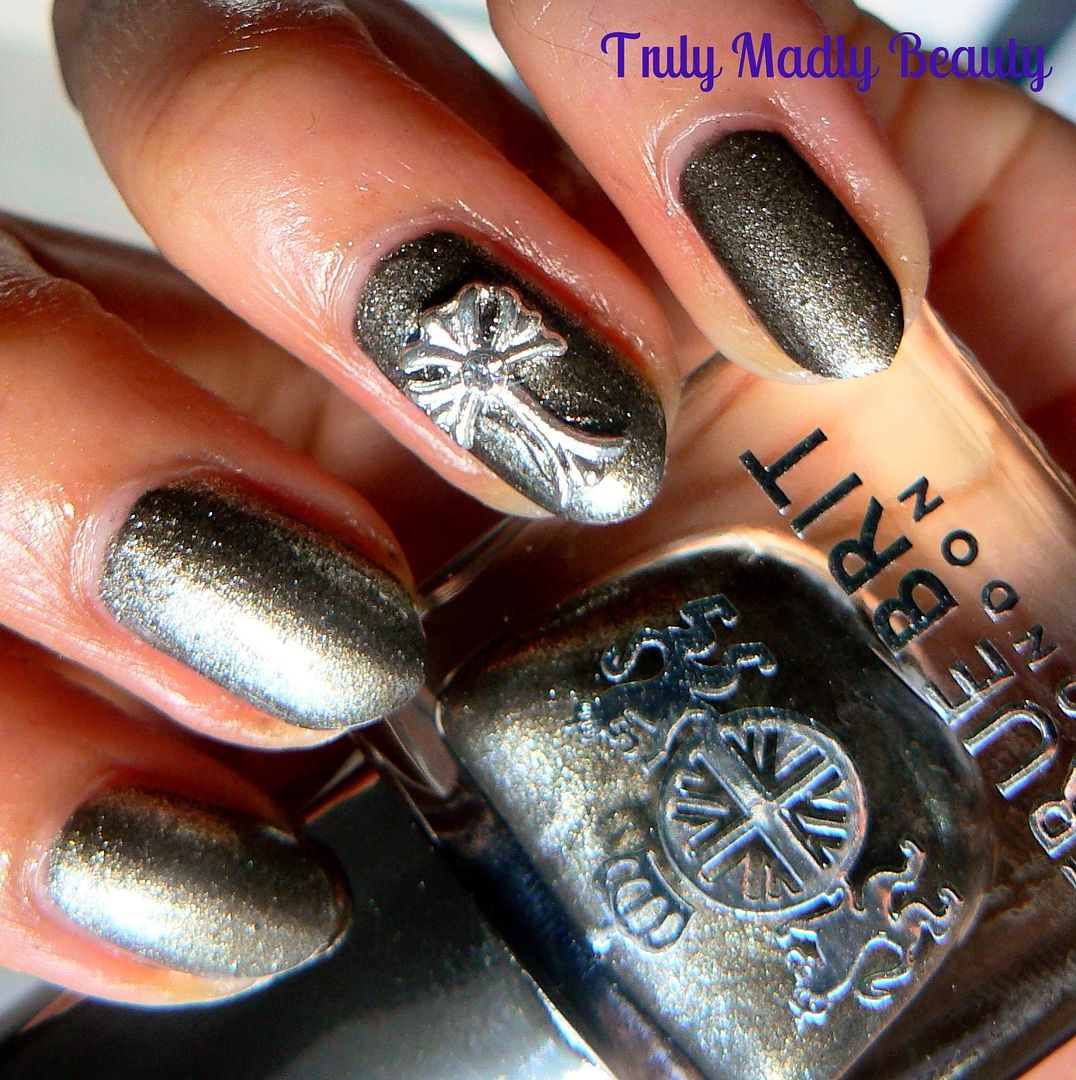
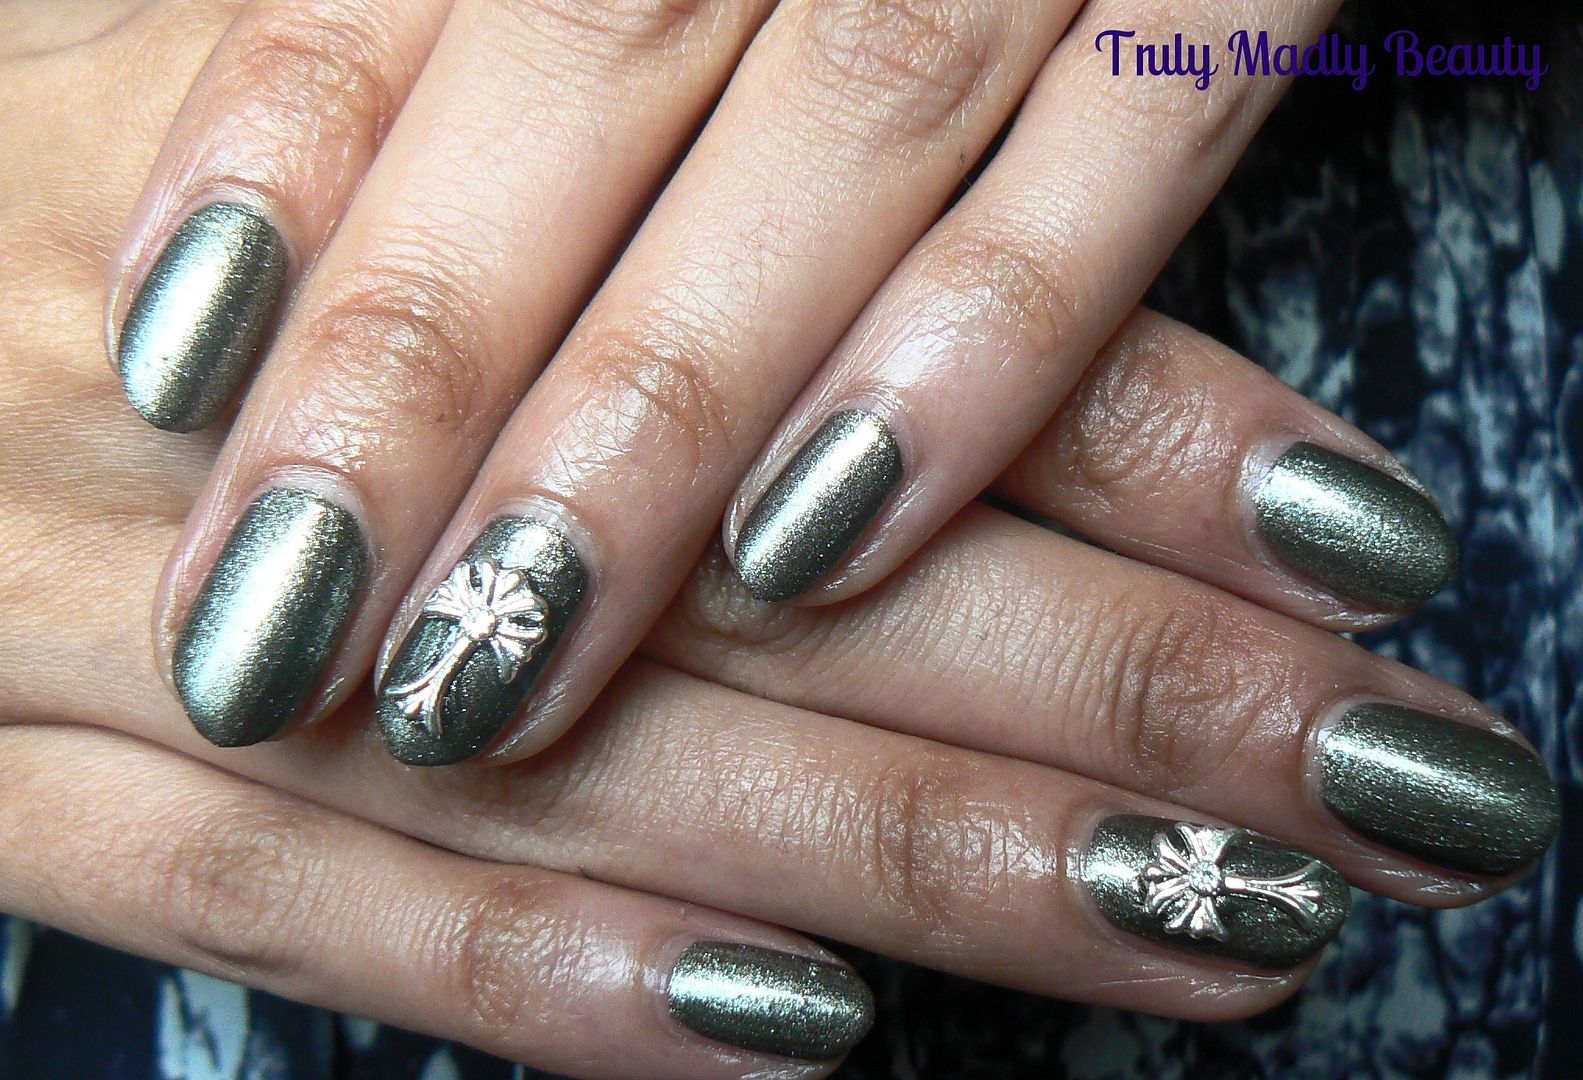
Knightsbridge* is a rather lovely, earthy grey/olive green toned foil, really unusual & from the top of my head nothing quite like anything I own, so I'm completely in love with the uniqueness of it.


The formula is thick yet applied smoothly over the True Brit London Caviar base coat. With foils there is the risk of serious streaking & a ridged finish however I experienced no problems with Knightsbridge* & you can actually get away with just one coat as it was totally opaque.


I'm a creature of habit however & stuck to my religious two coats which dried in quick time with a nice smooth & shimmery almost mirror like reflective finish.


I applied a coat of the True Brit London Topcoat on top & for a little added extra detail, stuck on a pretty cross nail charm which I purchased from Charlies Nail Art store. Definitely worth checking this online nail art store for bargainous supplies! 


The topcoat is lovely & thick therefore was perfect for sticking down the charm without the need for glue. I think the cross charm & polish go so well together, giving the mani a gothic Medieval vibe!


Definitely an interesting & unique one from the Signature collection! True Brit London polishes retail for £12.50 & are currently available online, however I anticipate they will be making their pretty way into retail stores soon!


Thanks as always for reading lovelies, I still have two shades to share with you from the range so stay tuned!


Lotsa love to ya!


Disclaimer - * products featured were sent to me for my consideration. I am not affiliated with the brand nor paid for this post, this review has been as always my 100% honest opinion! :)