Showing posts with label Jordana. Show all posts

2.26.2018

Disney Nail Art Series - The Little Mermaid!

Hello there lovely readers!

Ooooh I'm excited to share with you the latest addition to my Disney Nail Art Series as, closely following The Beauty and The Beast, this is definitely up there as one of my favourite Disney movies ever...it is of course...The Little Mermaid!


1.11.2016

NOTD - Egyptian Jewel Inspired Nails!

Hello there lovely readers!

I've always been fascinated with Egyptian history. I adore watching films depicting the time of the Pharaohs & I hope to visit Egypt one day, being a huge Poirot fan also, a Nile cruise has been on the bucket list for a long time!

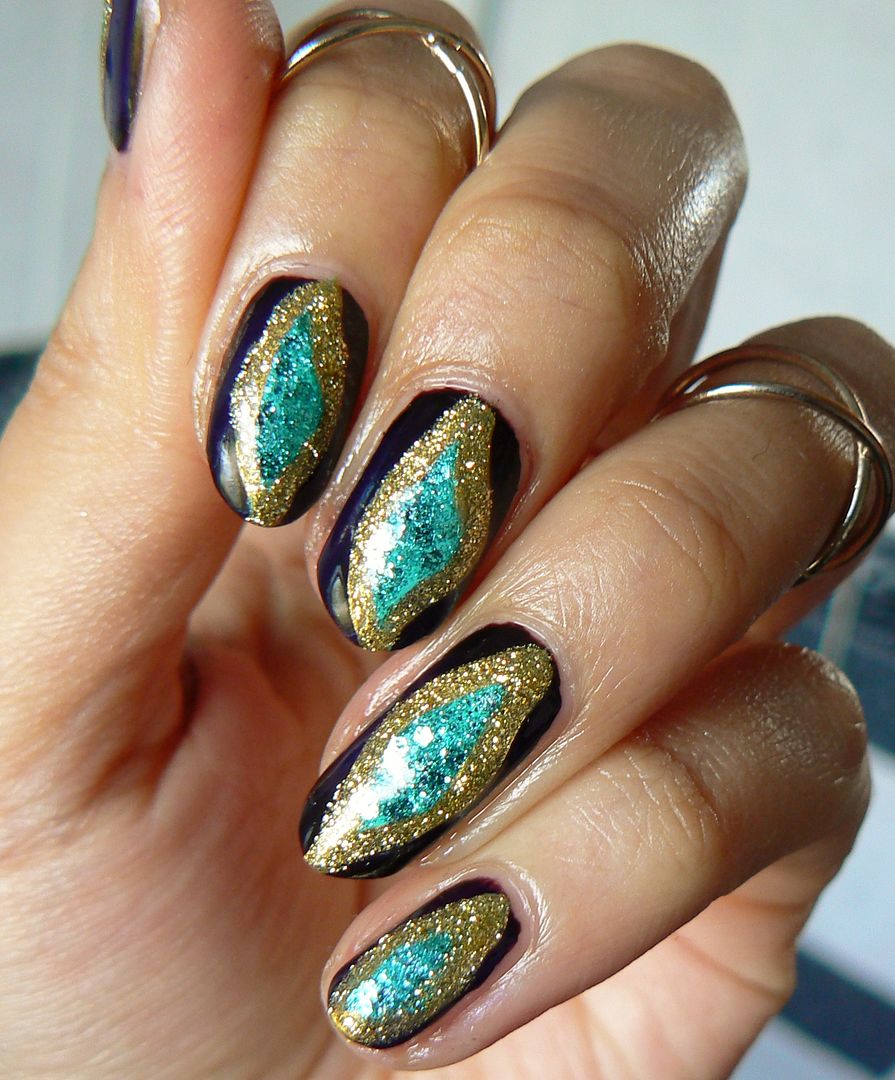
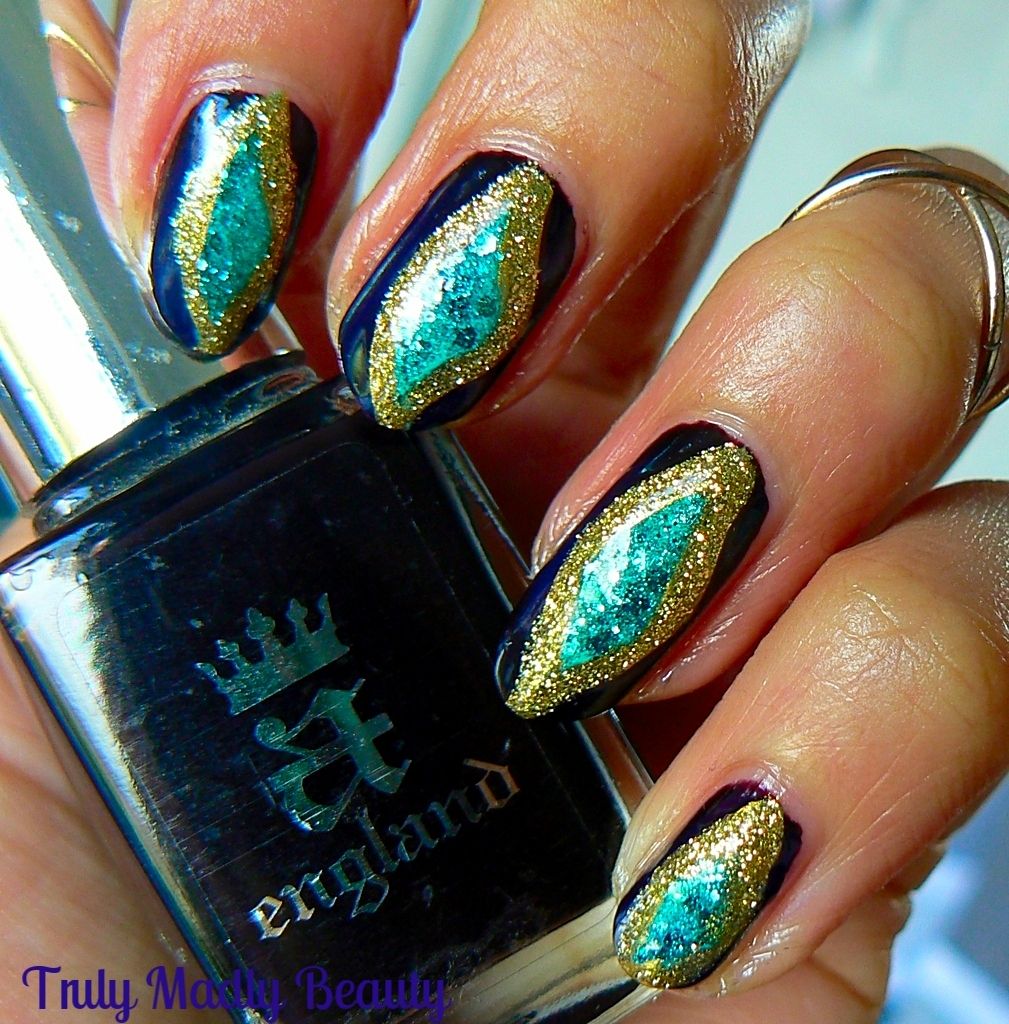
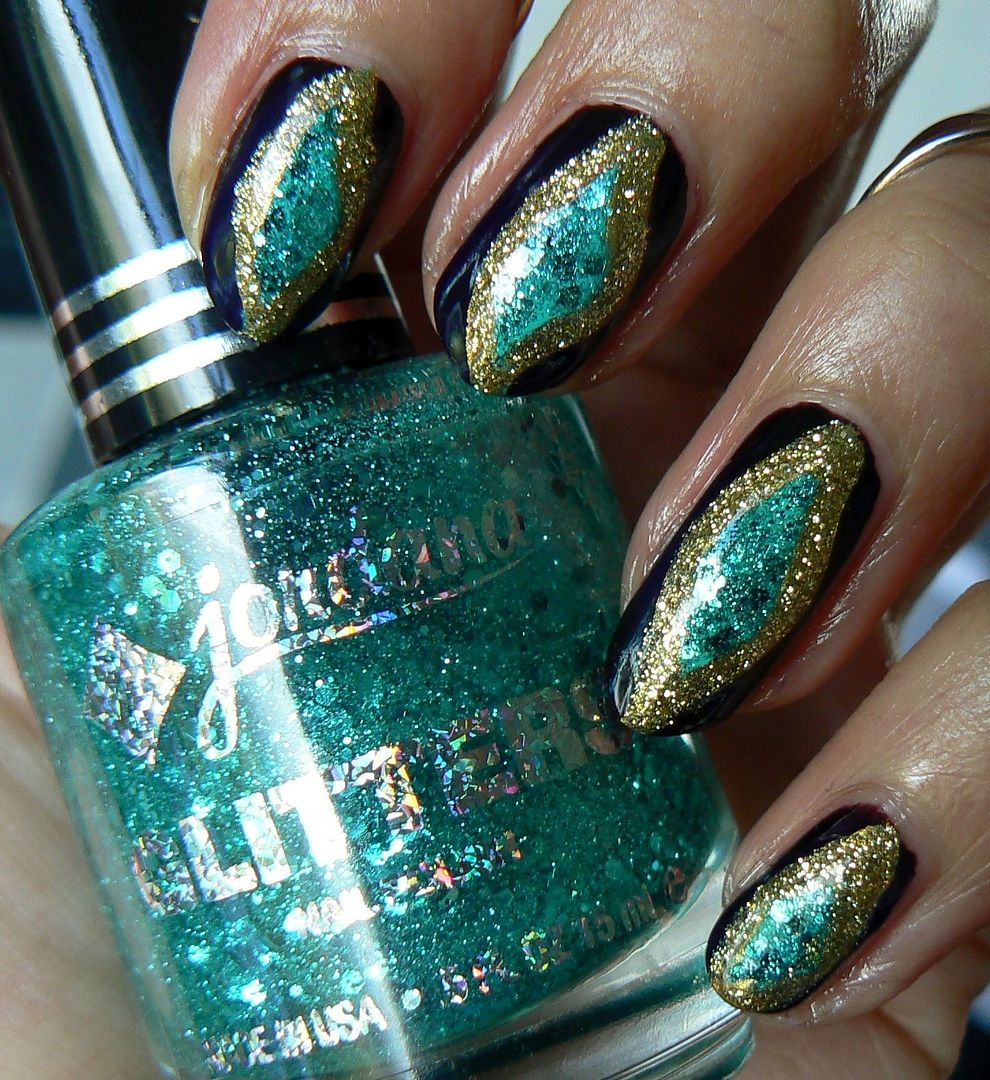
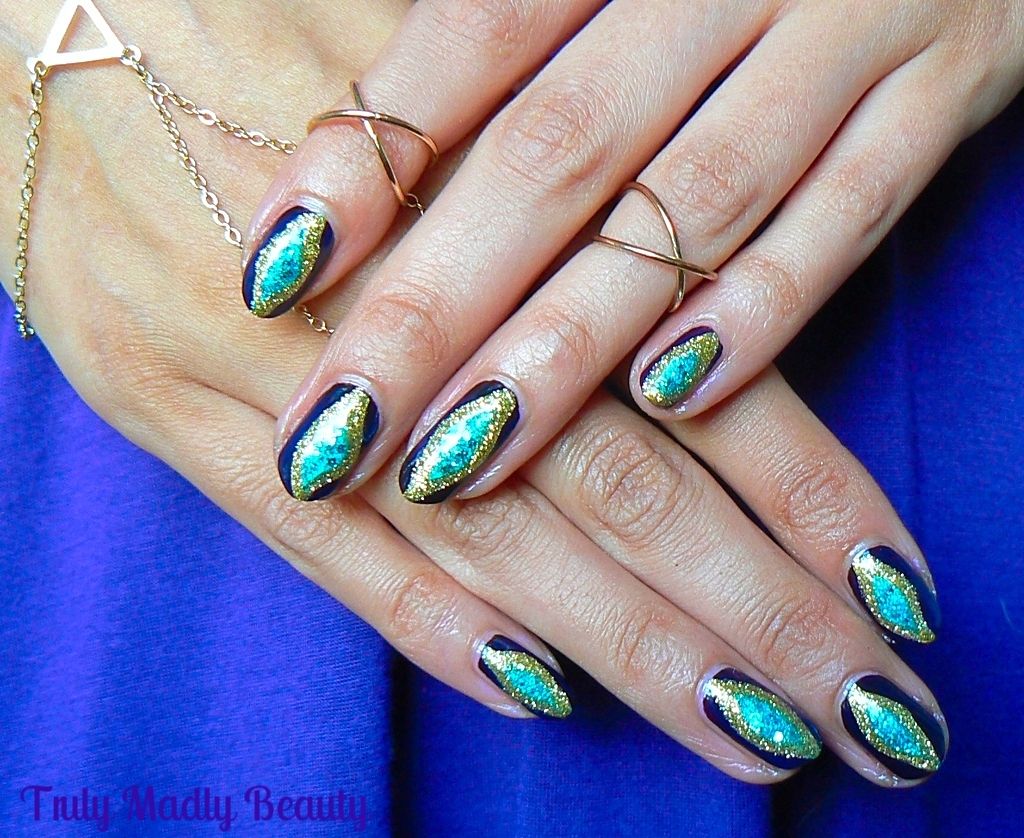
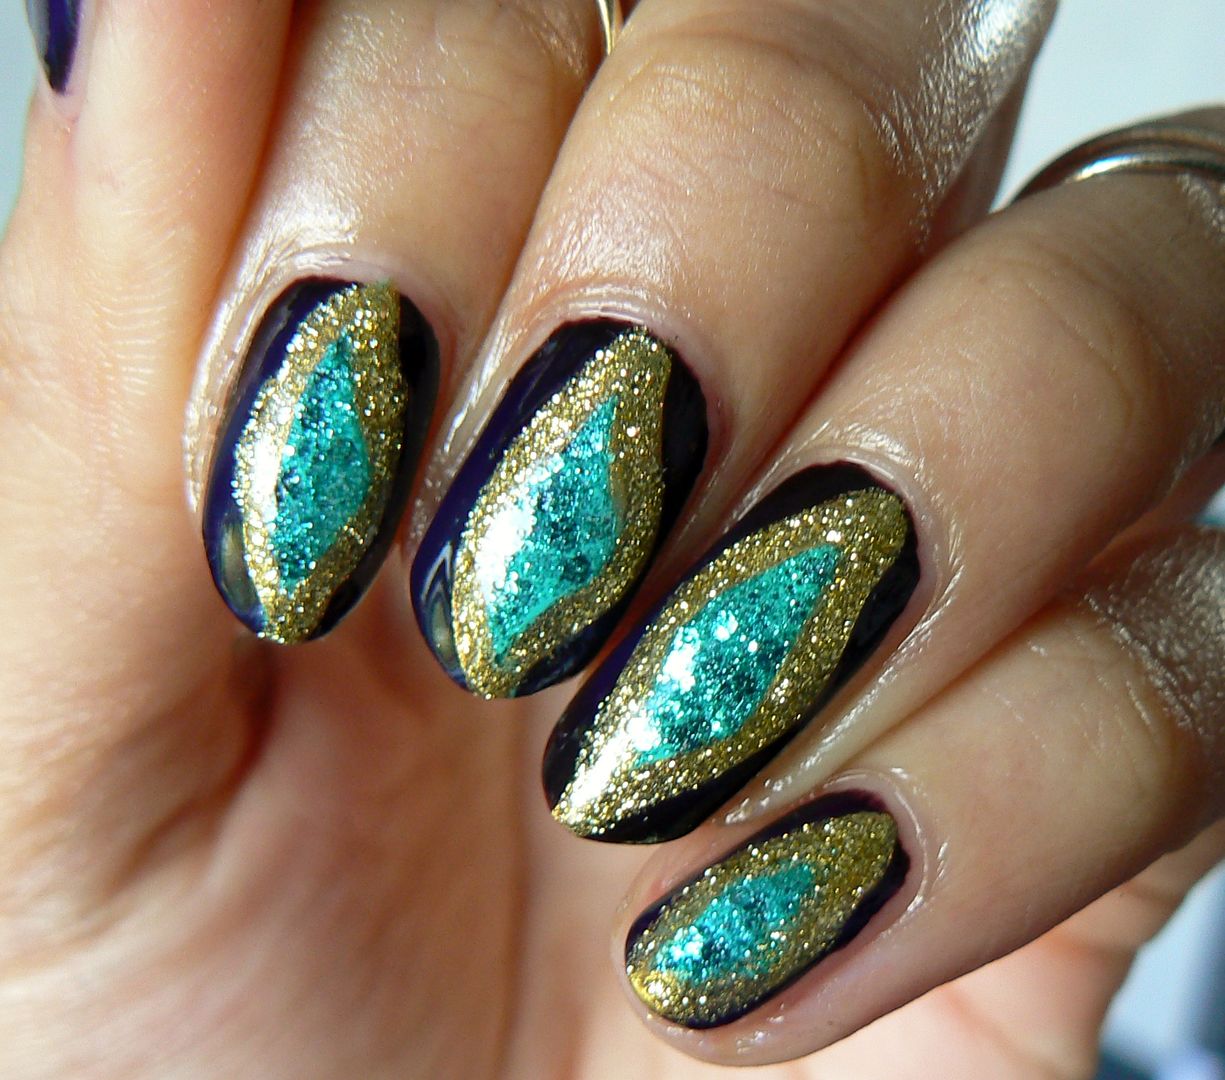
From a beauty addicts perspective, the Egyptian era is truly a feast for the eyes...the stunning hairpieces, the bold makeup, the eye catching jewels! Its the jewels in particular that inspired this particular mani I have for you today, using tones of black, turquoise & gold I came up with these Egyptian inspired jewelled stone nails.


To recreate these could not be easier. Start with applying a black base. Here I've used two coats of A England Lancelot, one of my favourite blacks, it has a divine Gothic red tint to it & a beautiful glossy formula.


Next apply your turquoise centre. To do this I used a fine nail art brush & Models Own Turquoise Gloss. Free hand a teardrop/diamond style shape in the centre of your nail, before filling in. Don't worry if they don't match, I actually think having each nail look slightly different is better!


You know I am a glitter FIEND so sparkle was definitely required. To bring out that turquoise I applied some of this gorgeous Jordana glitter in Celestial on top of the Models Own.


Then using a fine nail art brush & some gold polish or a gold nail art pen which I've done here & naturally forgot to photograph because...well...I'm a plonker, apply a gold border around the turquoise.


Finally grab that glitter again, this time some sparkly gold, I love my trusty Color Club & simply go over your gold border with the glitter using another fine brush.


Finish with a coat of topcoat & jazz up the hands with some hand jewellery if you like & your Egyptian inspired manicure is done!


This mani is actually from my archive from a few months back but I'm in mourning for how long my nails are here! Lately they've been breaking left, right & centre & its slowly driving me mad! *throws self down dramatically & wails in despair*


If anyone has any tips to share to help aid this wee problem I'd love to hear any recommendations! Thanks for reading!

Lotsa love to ya!


11.03.2015

NOTD - Champagne & Burgundy Glitter Gradient

Hi there lovely readers!

Now that Halloween is done & dusted for the year *sobs!*, before one can get stuck in with full on festive nail art fun, we still have a month to go where I can try to squeeze in as many autumnal vibed manis as possible :) This time of year the burnt golds, bronzes & burgundy's become especially lush & its definitely those tones I reach for most often.


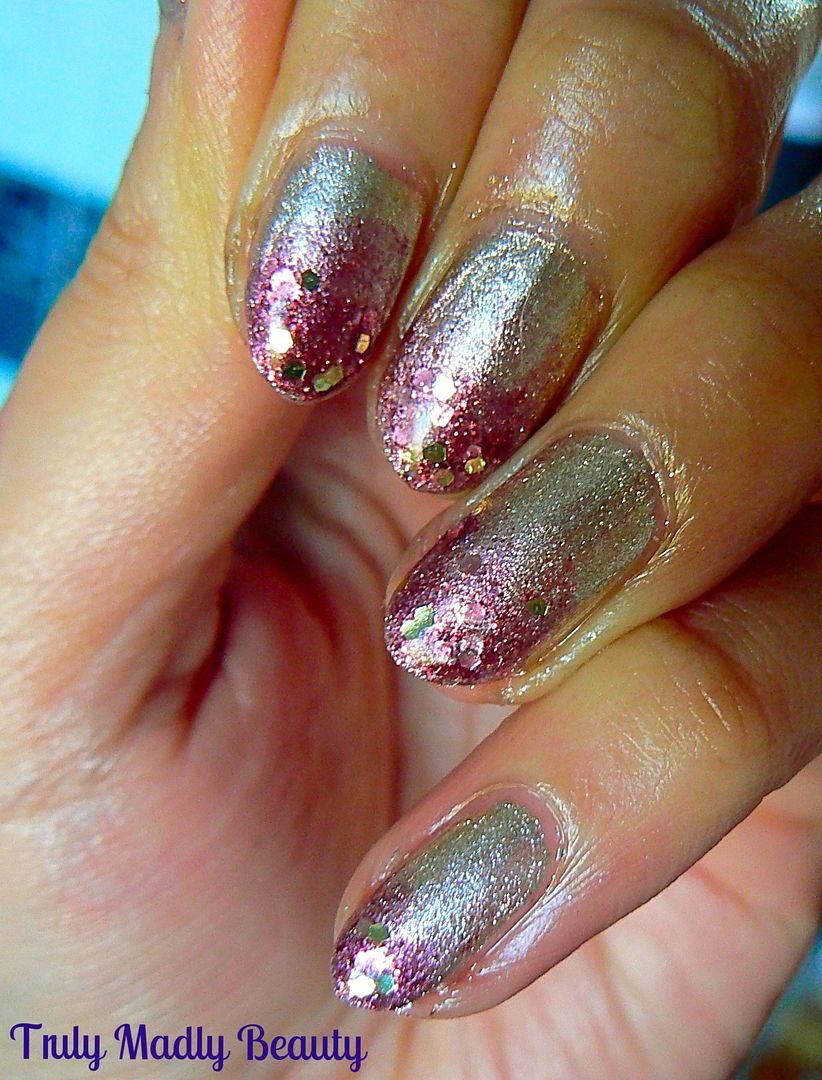
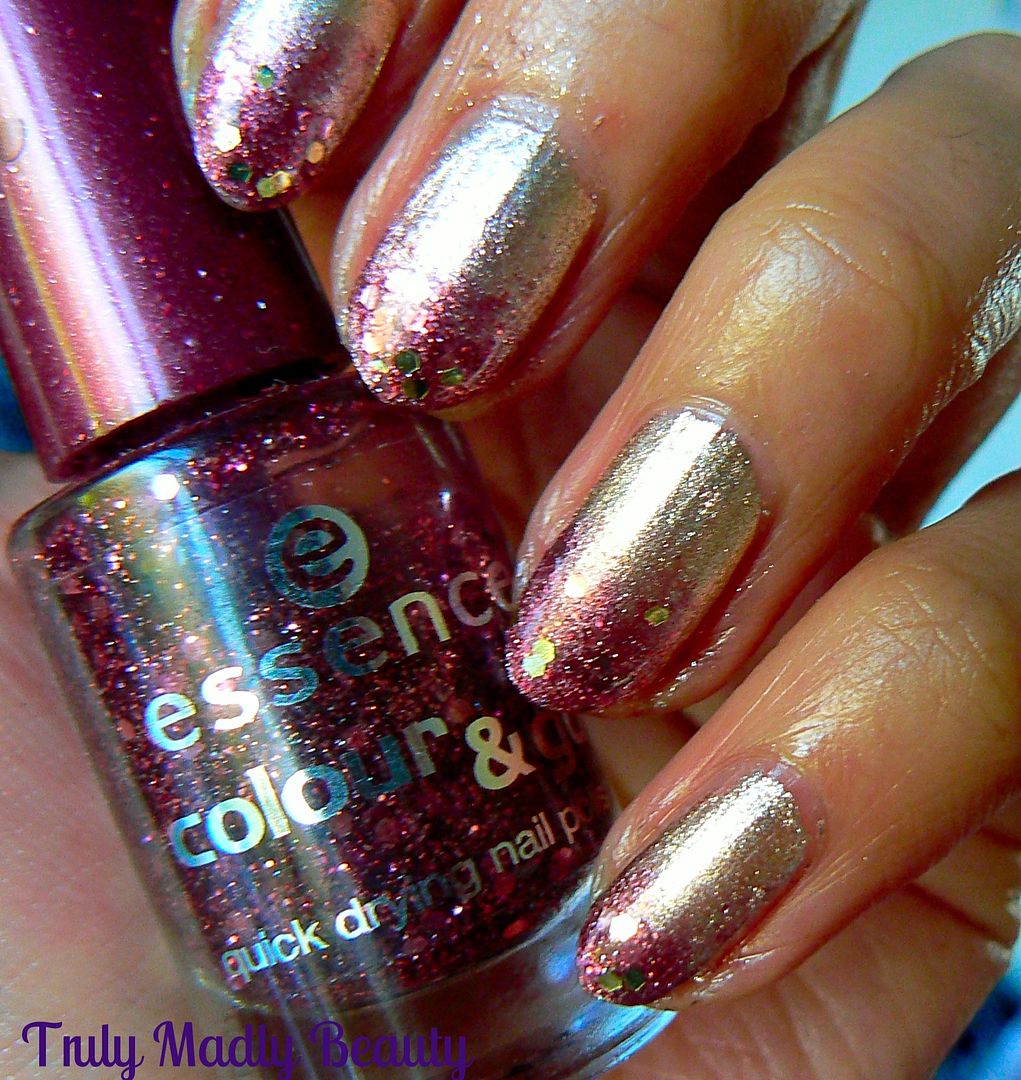
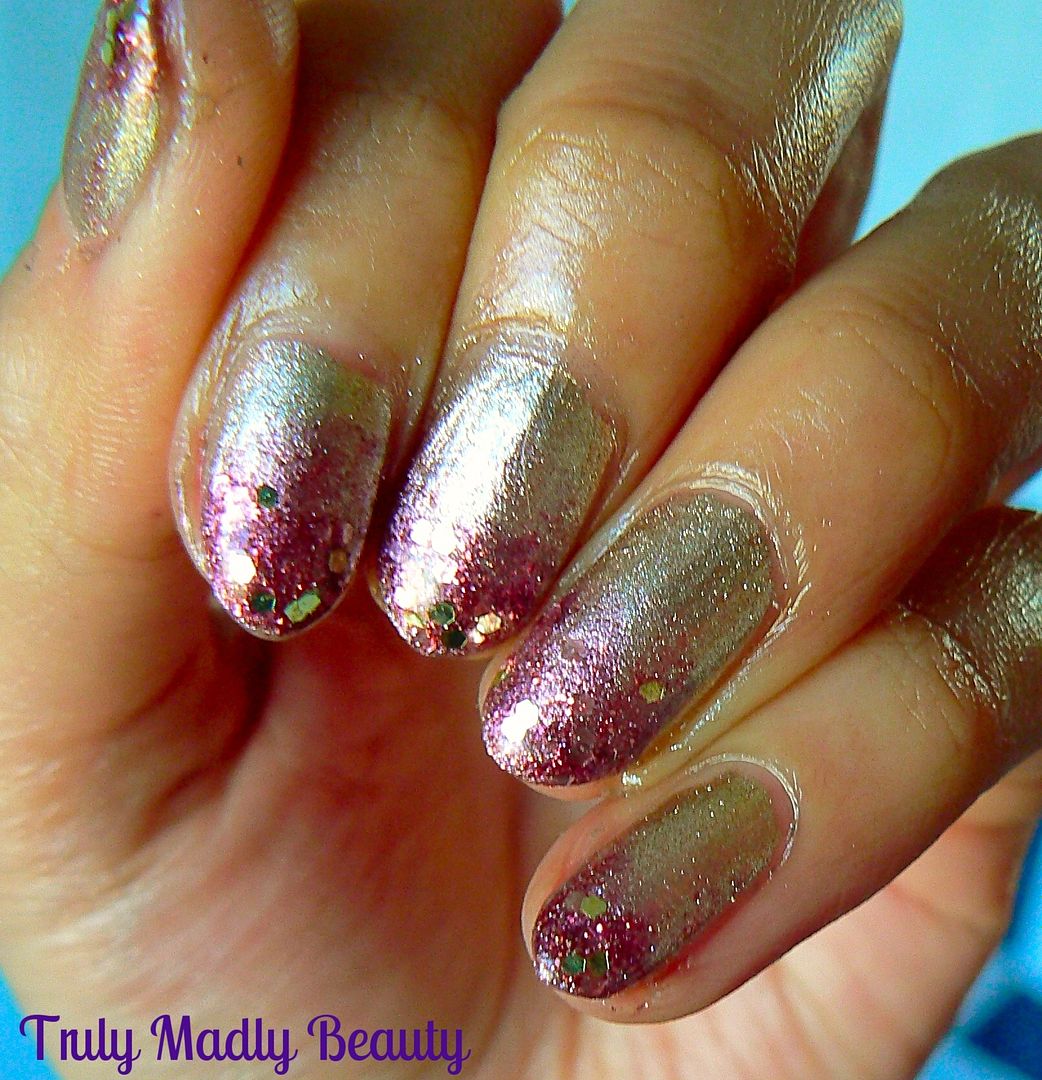
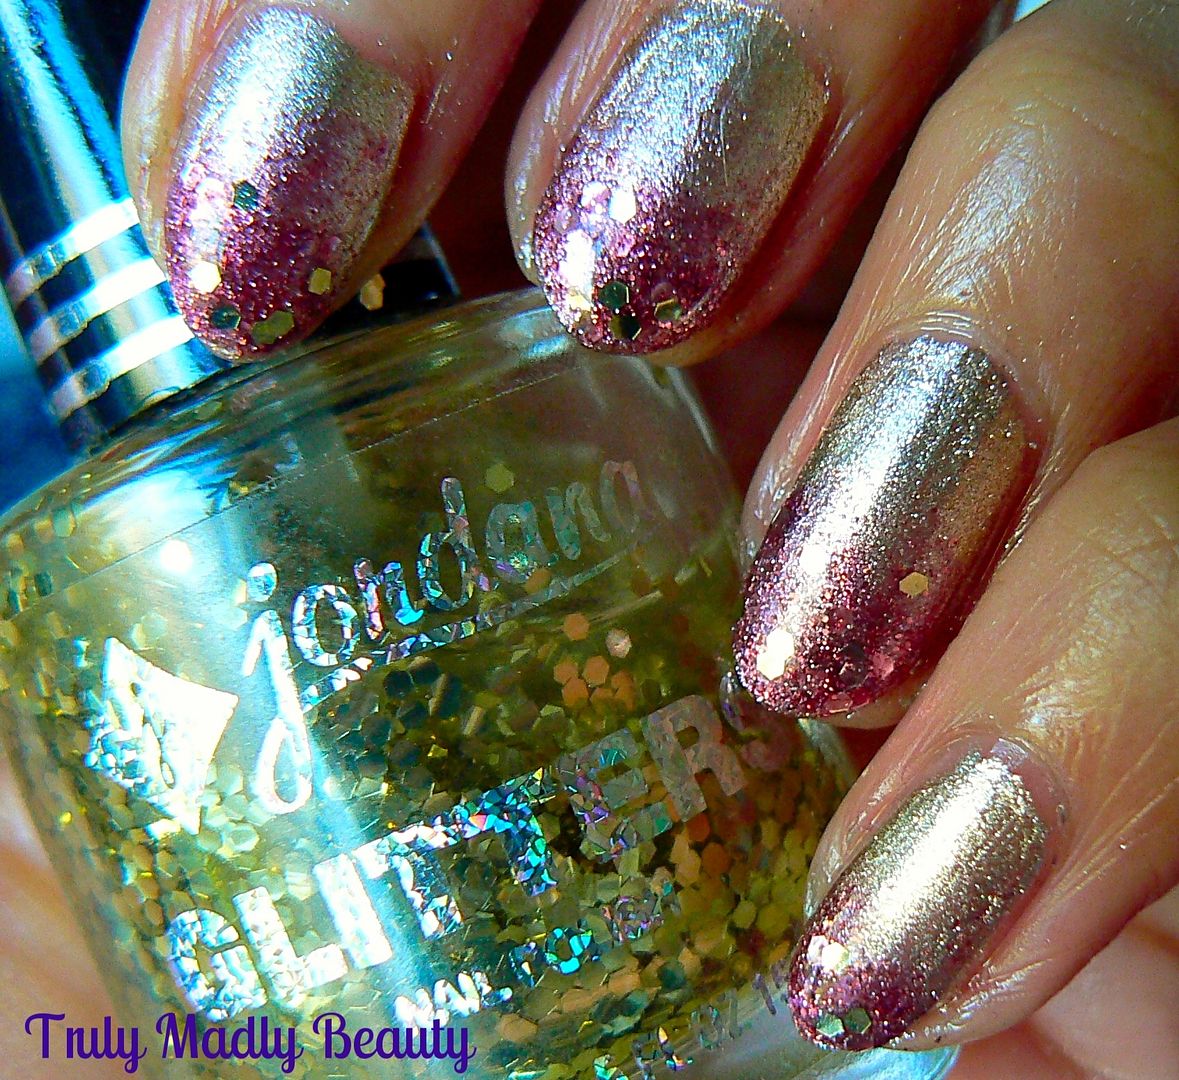
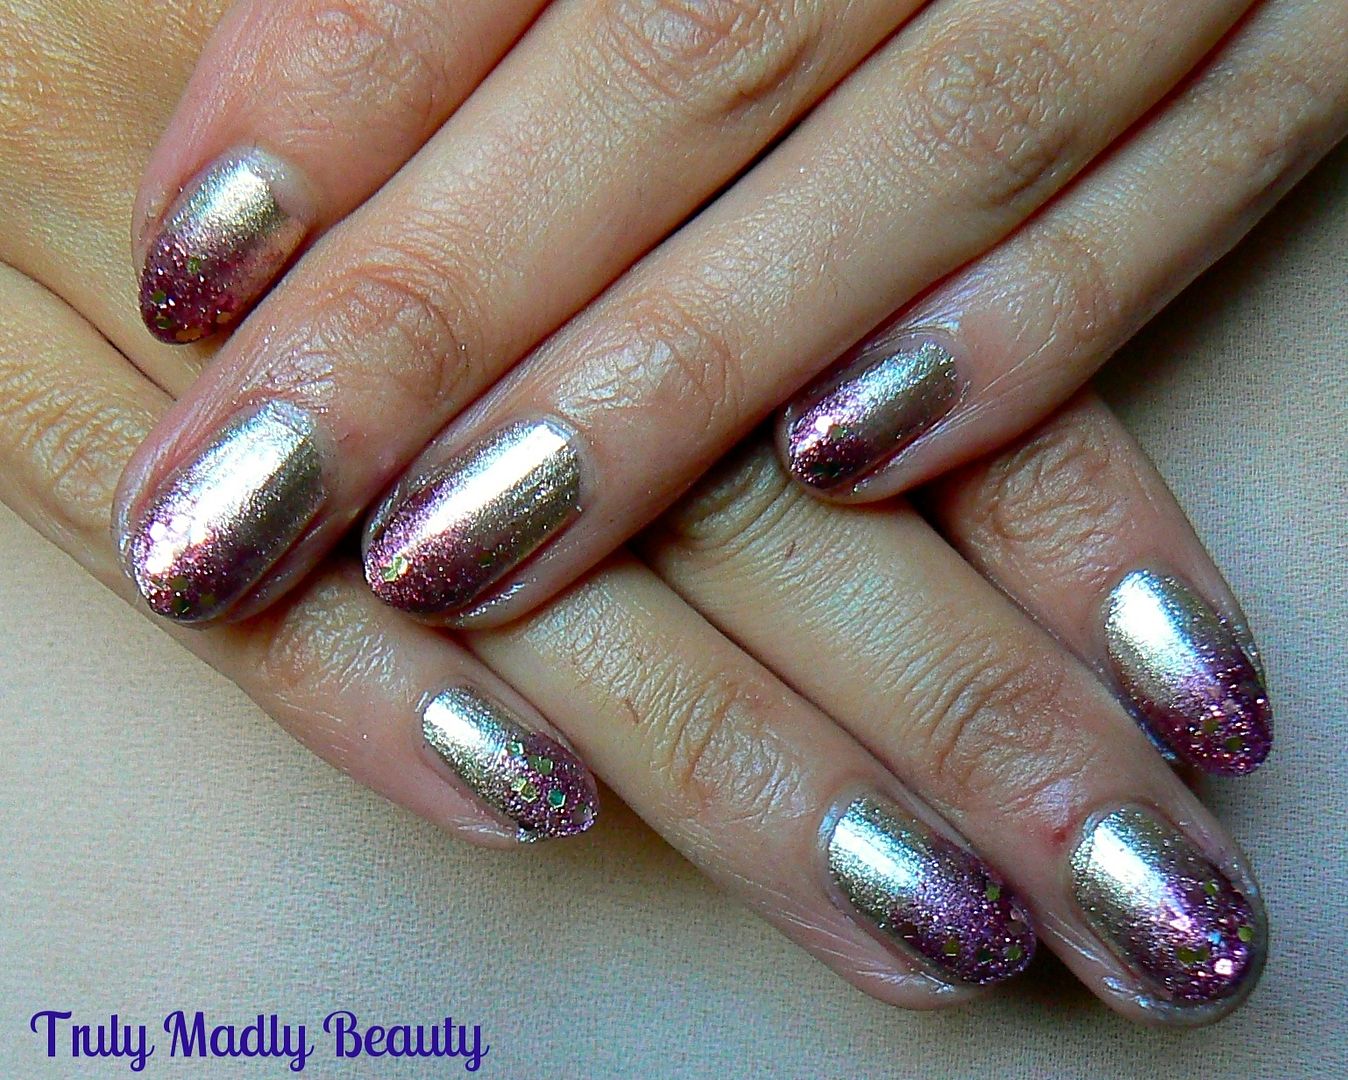
This quick manicure I have for you today is what I actually wore for my best friends wedding & went perfectly with the beautiful burgundy bridesmaid gowns she kindly bestowed us with. Foils are so dreamy & I do have a soft spot for the golden-y metallics


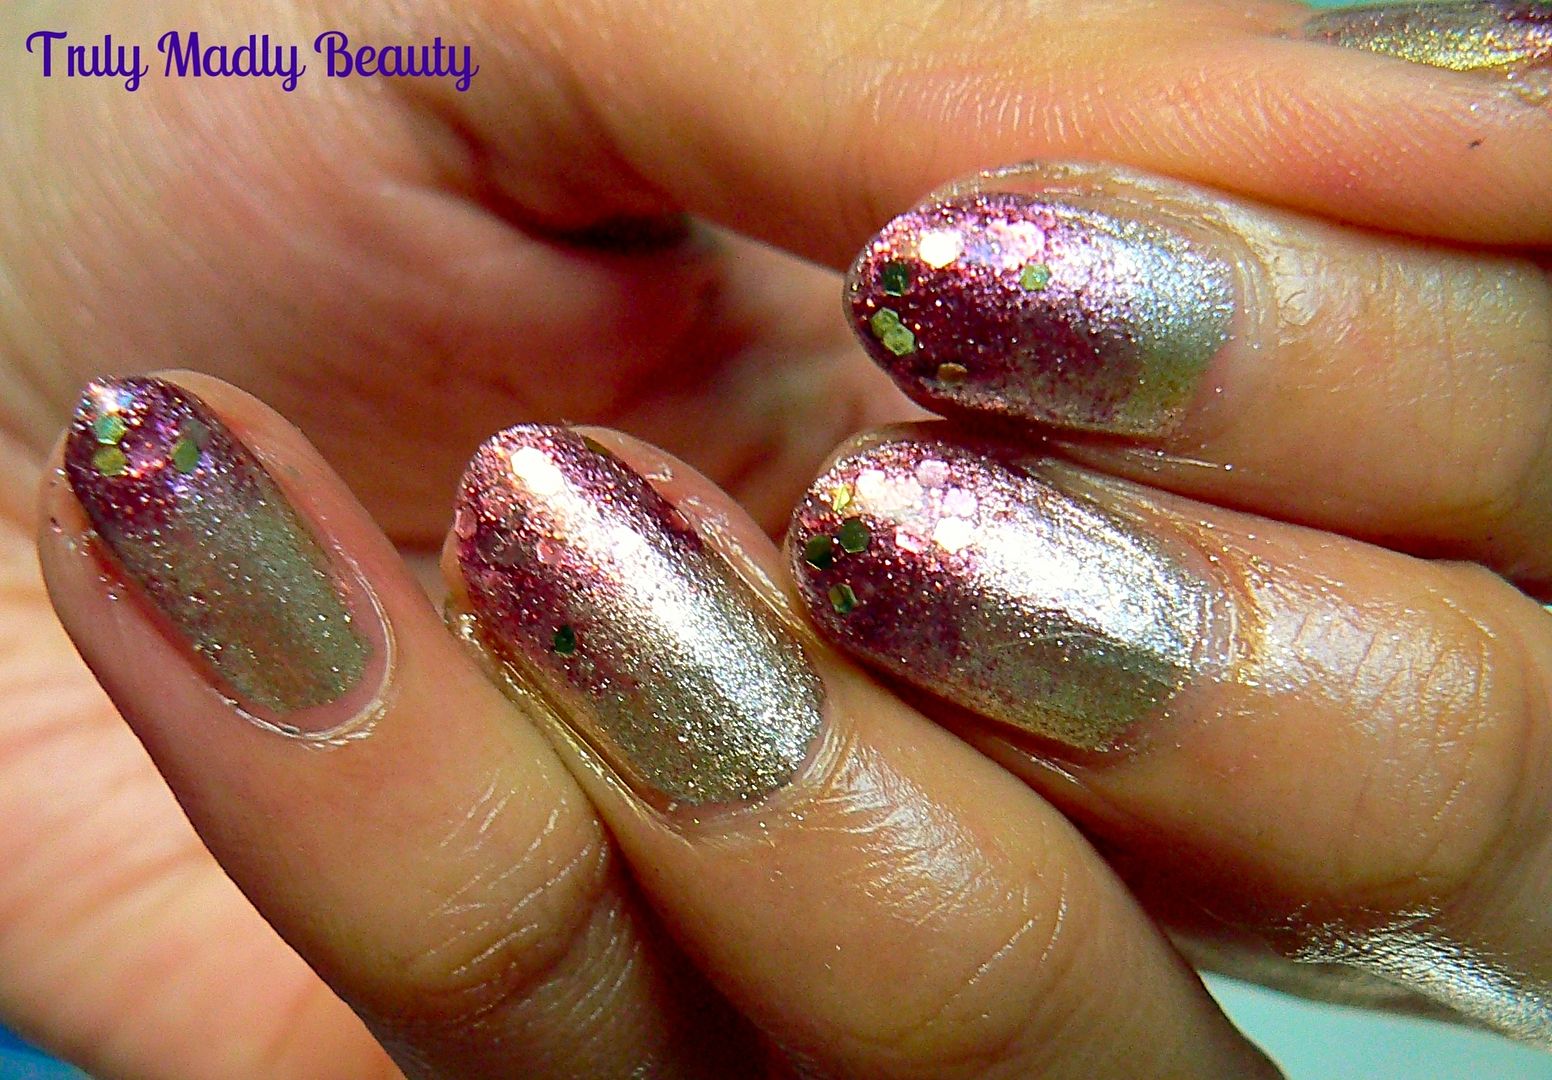
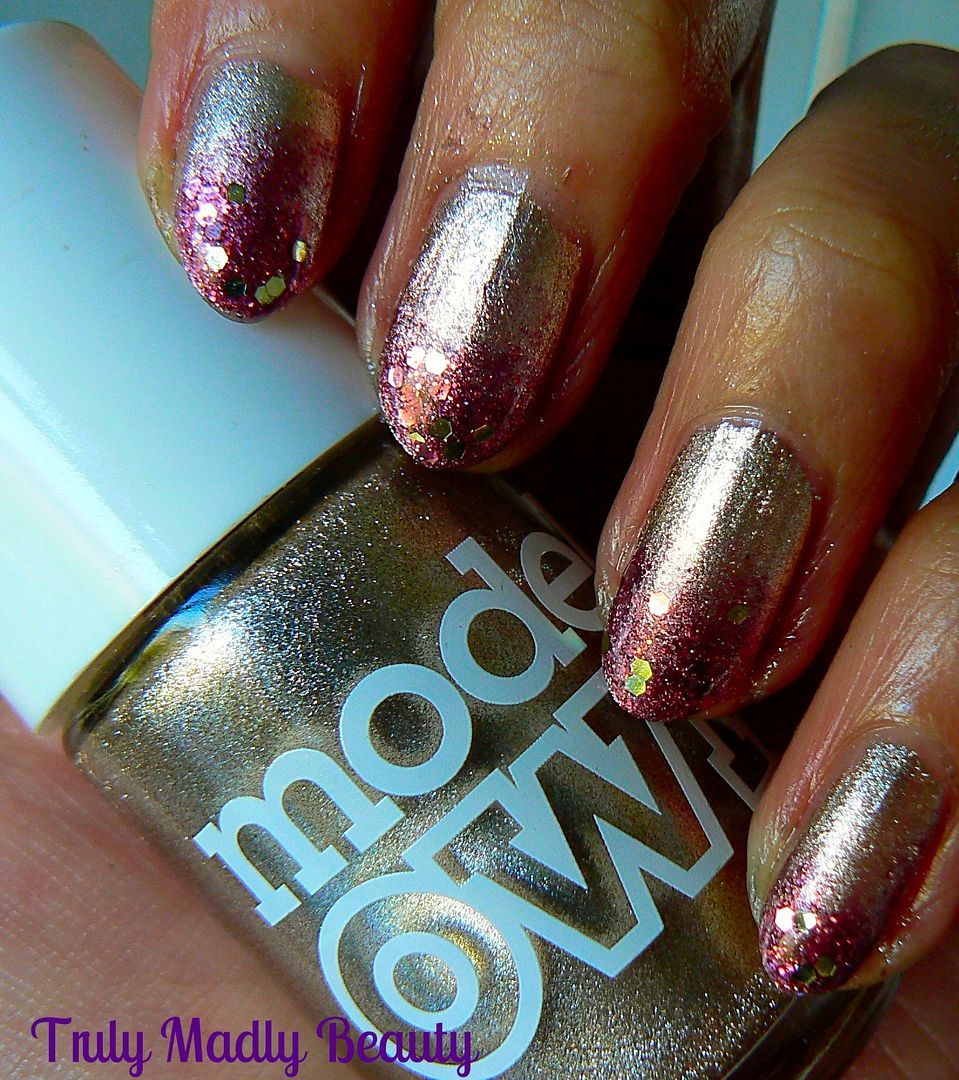
Here we have an oldie but a goodie of mine, good old Models Own Champagne, a truly lush pale golden foil that I always find myself coming back to, I especially love wearing this on the tootsies as a pedi.


Another fab thing about foils is they dry super fast! Great if you want to do some nail art on top. This was two coats applied. 


As our bridesamids dresses were burgundy I wanted to incorporate some of that warm tone into the mani so opted for a subtle glitter gradient using Essence Time For Romance which is a lovely deep pink/maroon polish with small and large hexagonal glitters within, a really pretty polish!


To do the gradient, apply the polish to a piece of sponge, I use a bit of make up sponge, & gently dab onto the tips, taking the gradient down to about three quarters of the nail to give the slight fading effect. 


Do this a few times on each nail until your happy & for a final touch I like to add a bit of extra glitter onto the tips, here I've used a bit of Jordana Funky Gold Town.


Finish with topcoat & that's it :) Thanks for reading, I hope you liked the mani dolls, till next time!

Lotsa love to ya!


5.26.2013

NOTD - Vampy Rose Gold Glitter Gradient

Hello there lovely readers! 


Today I have another glitter gradient to share with you lovelies, I absolutely love them & think its a great way for adding a hit of sparkle to your mani without going the whole hog. This time I went for a vampy burgundy base with some pale rose pink & gold glitter tips & am so happy with how it came out!