Showing posts with label holographic. Show all posts

3.05.2019

Easter NOTD - GoT Dragon Eggs ft Prism Polish Viserion

Hey there lovely readers,

So countdown is in motion for the final season of Game of Thrones...who else is excited?! I'm sure it comes as no surprise that yours truly is a fan. I am in equal parts over the moon excited for the new season but also devastated that it will all be coming to an end soon! How will we cope?! 

In honour of the occasion & also because Easter just happens to be around the corner, I thought it apt to recreate some Dragon Eggs nails using a very special polish!


12.05.2018

Festive NOTD - Mint Sparkle Snowflakes

Hi there lovely readers!

I was in two minds about whether to share this nail art...Even though I loved the frosty mint colour, I think the pale base made my snowflakes & holo glitter stickers get a tad lost amongst the background so I kinda class this as a mani fail haha! But hey you win some you lose some right?


11.12.2018

Meebox Review - August 3rd Birthday Pool Party Box!

Hello there lovely readers!

Today I have another Meebox review to share with you. I've blogged about a few of these delightful little box o' nail treats already which you can check out HERE. This time it is the August box (yes its a bit late!) we will be exploring & FYI I also have a bit of an exciting update regarding this fabulous nail service that I have become a huge fan of at the end of this post!


9.26.2018

NOTD - Quick & Easy Shattered Glass Nails!

Hey there lovely readers!

In this busy day & age sometimes a quick mani fix is required when it comes to the nails, but that still doesn't mean you have to restrict yourself with nail art! 

I'm ALL for finding quick & easy nail art hacks to achieve pretty nails that look like they took a lot longer than the 5 minutes they actually did for those occasions when I am running short of time. This is where nail art stickers are an absolute GODSEND.


8.07.2018

A England "A Symphony In Green and Gold" and "Peaseblossom A Fairy" Polishes

Today I wanted to share two beautiful new additions to my polish collection from one of my all time favourite brands...A-England

A-England is an indie polish creation by the lovely Adina & the collections within her range seek inspiration from English history & myths...thus appealing to my aesthetic completely. Not only are the polishes themselves stunning with faultless formulas but the stories behind the collections are equally intriguing & magical. Collections such as "Tudoresque", which is dedicated to King Henry VIII & his 6 wives. "The Legend", which touches on the story of St George & the dragon and "To Emily Bronte", a collection inspired by the gothic novel Wuthering Heights...these are just a few of the magical collections...can you see why I am besotted?


7.09.2018

NOTD - Peony and Mirage by For Your Nails Only

Hey there lovely readers!

Today I have another wee nail polish haul to share with you in which I picked up a couple more For Your Nails Only shades that I had my eye on to add to my collection :)


2.19.2018

NOTD - Jade Semi Precious Stone Nails

Hi there lovely readers!

I have a particular fondness for semi precious stones, not just for their magical properties of course, I always have a few lying around the place, but you can find some truly stunning rocks with beautifully intricate patterns woven within the stone which means one thing...NAIL INSPIRATION!

You've probably seen & are familiar with the Geode nail art trend that was pretty big last year, I gave it a go myself & absolutely loved it, take a peek at my step by step tutorial HERE

I wanted to go further & explore other stones for which I could attempt to recreate on my nails, I have a long list...Rose Quartz, Marble, Amethyst, Opal....but first I wanted to give Jade Stone nails a try & so that is what I have for you beauties today!


2.12.2018

NOTD - Romantic Pink Lotus

Hey there lovely readers!

Okay so I'm clearly feeling all the Valentines/Galentines vibes as the majority of my mani's at the moment seem to be ending up distinctively pink/red in tone! ;)

And today's nail art look is no exception, another floral design no less as well! What can I say, I adore them. Going for a different bloom from my recent Roses, this time I've done a romantic Pink Lotus floral look & I am so happy with how these turned out! 


1.22.2018

NOTD - Valentine's Holo Pink Roses Tutorial

Hello there lovely readers!

Out of all the ENDLESS nail art possibilities in the universe, there is one look in particular that will forever remain a firm favourite of mine & that is FLORALS!


1.11.2018

NOTD - 503 Orchid Holographic Magnetic by Wycon Cosmetics

Hey there lovely readers!

Boy do I have a pretty polish to share with you beauties today! Remember when Magnetic polishes came forth into the nail polish world & blew our minds into oblivion with their magical properties? Or was that just me...? I recall quite a few high street brands took a slice of this pie & released some lovely magnetic polishes however of late I've not seen so many which makes me sad!


1.05.2018

NOTD - Sea Breeze & Jax by For Your Nails Only

Hello there lovely readers!

You may recall a few posts back I shared with you a stunning colour shifting Ultra Chameleon Chrome polish called Zealous from indie brand For Your Nails Only.

I was so happy to have been able to snap up this pretty, you see Sharon's polish sell super quickly whenever she restocks her shop & understandably so as they are gorgeous. One haul saw me successfully nab two of Sharon's holo glitters, which are her signature polishes you might say as her holo glitter formulas are just so bobby dazzling sparkling!


12.23.2017

Festive NOTD - Christmas Wreath French Tips!

Hey there lovely readers!

I have seriously slacked with the Christmas nail art this year...bah humbug Aysh! But on account of being away in sunnier climates for part of the month (where, lets be honest, festive inspiration is harder to come by right?) I think I'll let myself off whilst at the same time pat myself on the back for managing to do any at all haha! But here we are with a fourth & final Festive mani for the year...Christmas Wreaths!

11.13.2017

NOTD - Moustache Nails for Movember plus Tutorial

Hey there lovely readers!

You may be aware already that during the month of November, many menfolk partake in Movember, a great initiative where the month is spent abstaining from shaving & an attempt to grow some stellar facial hair goes into effect, the purpose being to raise awareness for men's health issues & specifically cancer. 


11.06.2017

NOTD - Falling Feathers!

Hi there lovely readers!

Hope you are all well & had a good Halloween & Bonfire Night! I had so much fun putting together this years Halloween themed nail art, I hope you enjoyed them too! But, as sad as it makes me, tis time to close the door on the spookiness (for now!) However tis not quite December yet (seriously though, WHERE has this year gone?!) so before we get stuck in with all things FESTIVE, that still gives me November to squeeze in some other manicures, including a few fall themed designs, as it is my favourite time of year after all!

8.22.2017

NOTD - Holo Diamond Sequin Flowers

Hey there lovely readers!

I recently stumbled across this wee pot of pretty blue holo diamond sequins in my stash, I believe I must have picked them up on one of my Born Pretty Store hauls, my go to place when it comes to nail art supplies.


Slapping myself on the wrist right there at neglecting them so on account of them being just so darn pretty, I then went to thinking on ways in which I could incorporate these in a mani & the thought that immediately came to mind was using them as petals! The shape of the sequins are perfect to create some pretty blooms so I went on ahead & did just that.


7.03.2017

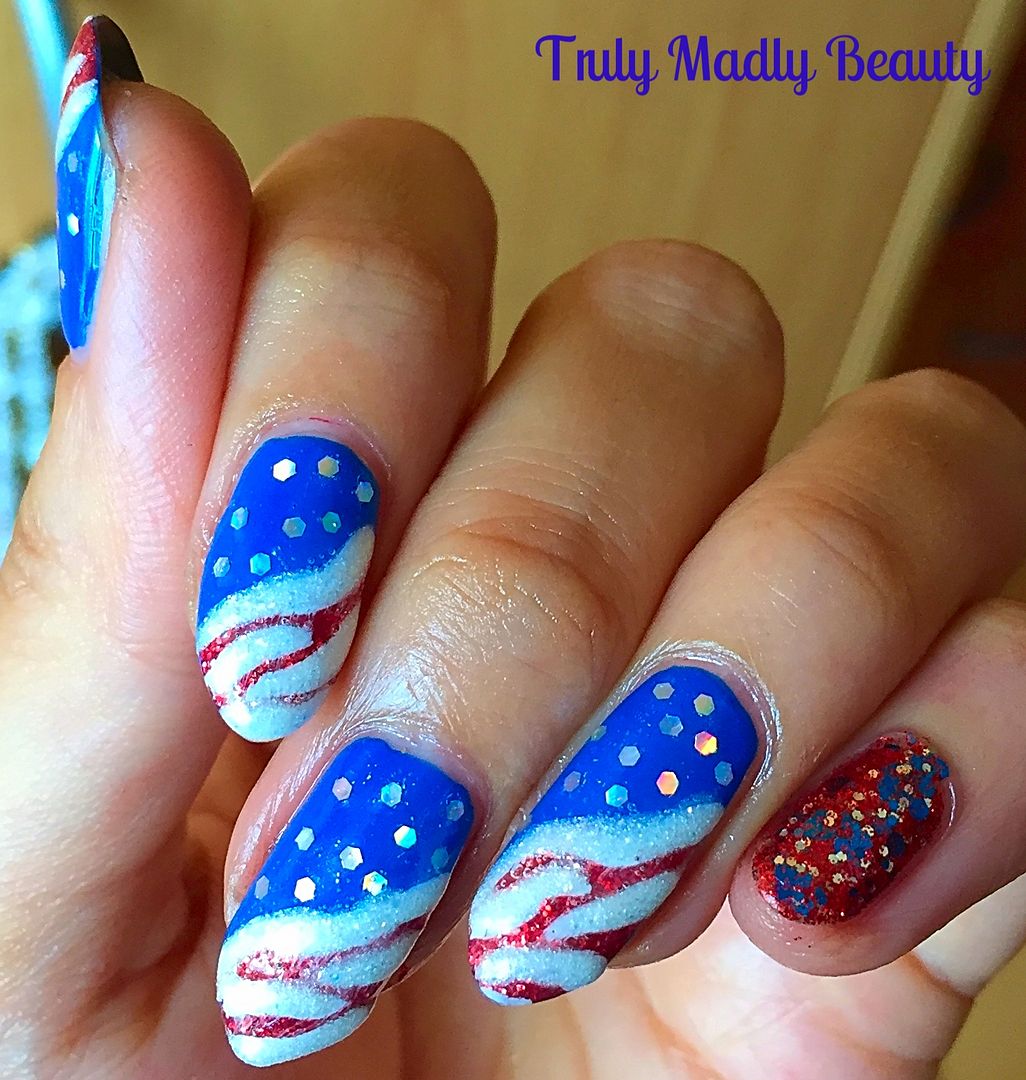
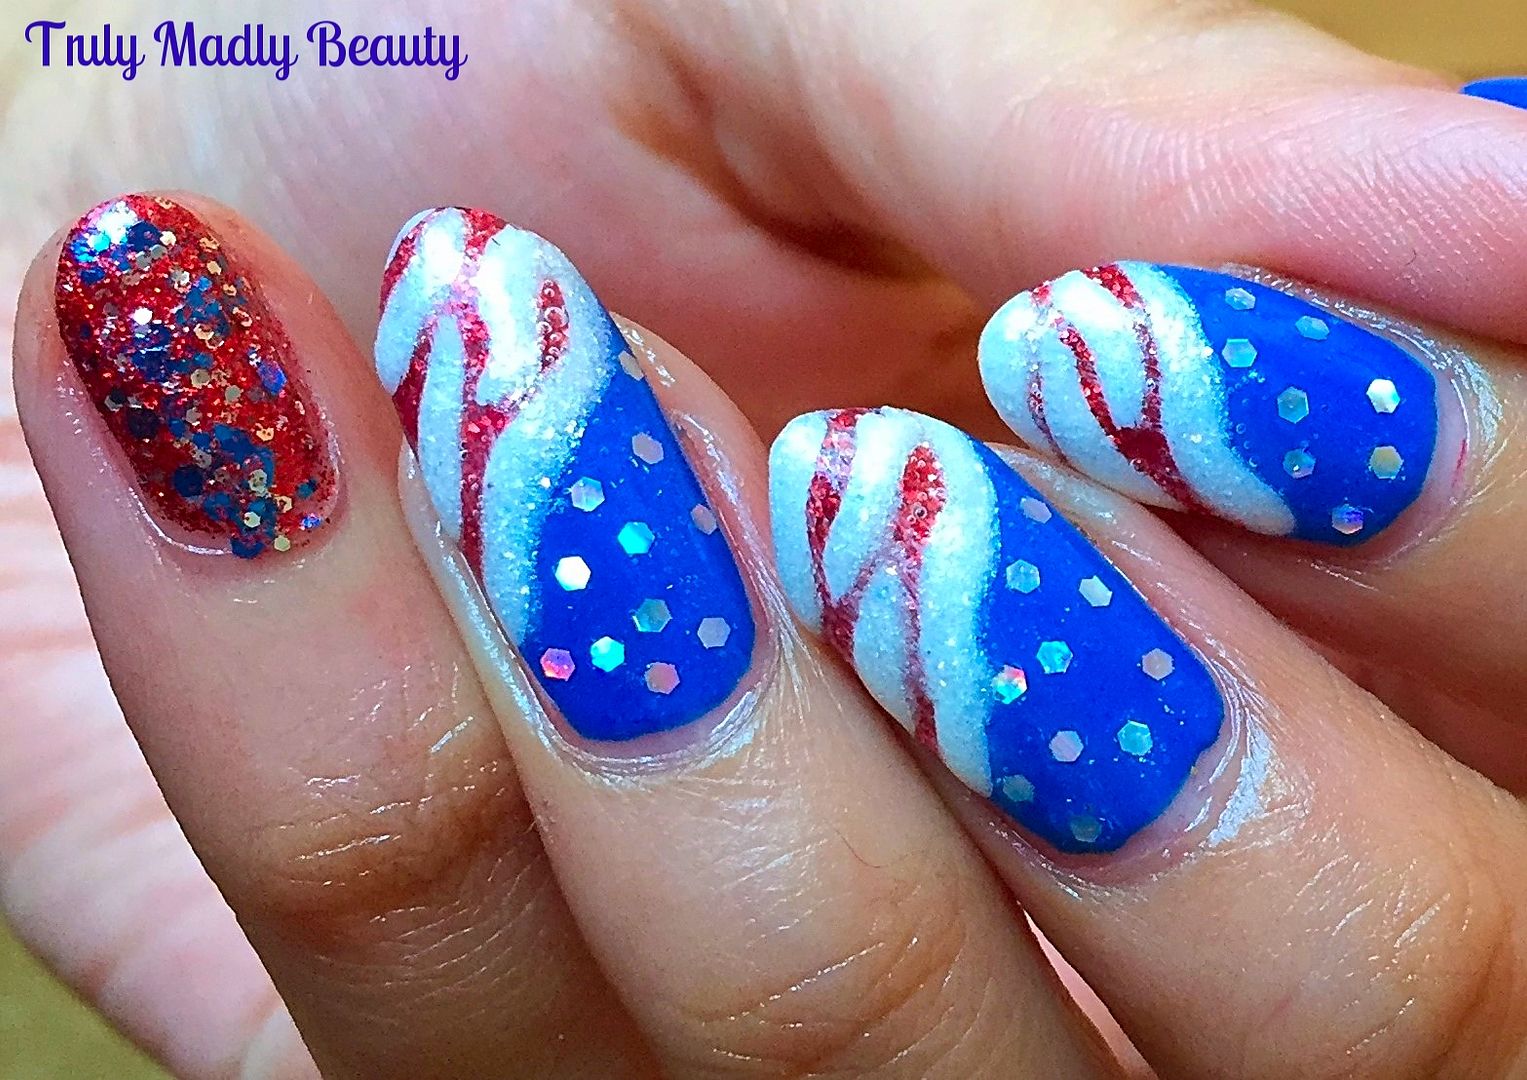
NOTD - Fourth of July Nails!

Hello there lovely readers!

As today's nail art has distinct red, white and blue vibes going on I think its obvious what occasion is inspiration is here ;) Every year I like to throw together a mani to mark my American cousins over on the other side of the pond's Independence Day celebrations. Any excuse to get my nail art on!


I was muchos happy with my Fourth of July nails last year which featured blue dripping glitter & a step by step tutorial so go have a peek at those HERE. I loved them so much & didn't think I could top them...maybe it was a mistake to go in with that attitude as I really wasn't happy with how these ones for this year came out but meh you win some, you lose some & I'm gonna roll with this FAIL of immense proportions!


10.11.2016

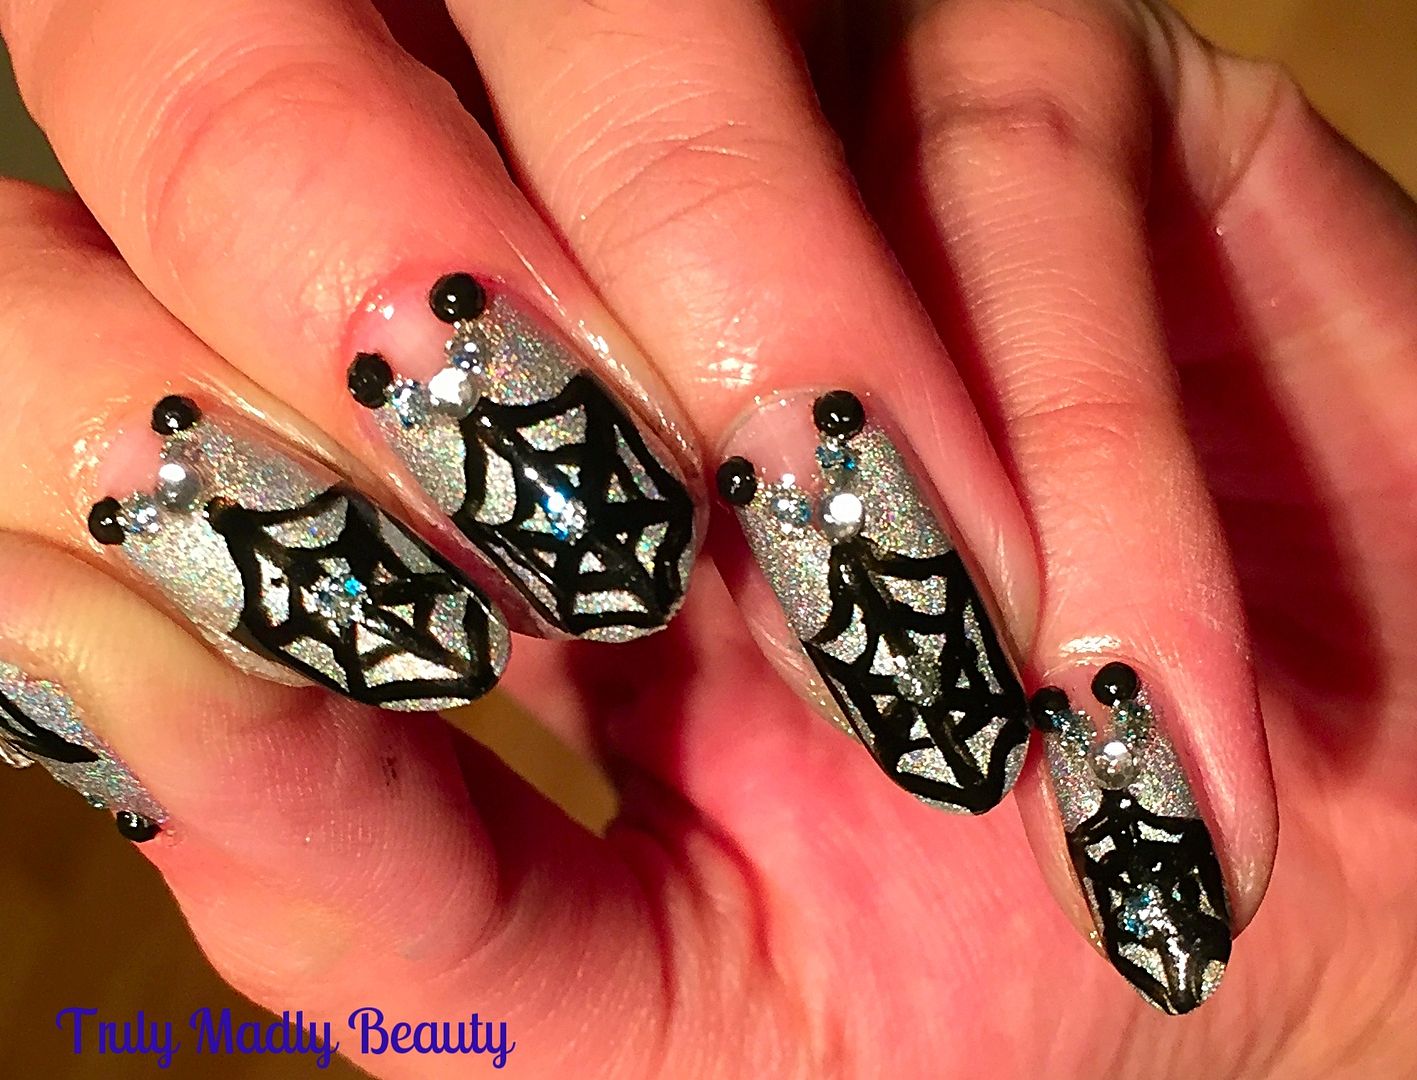
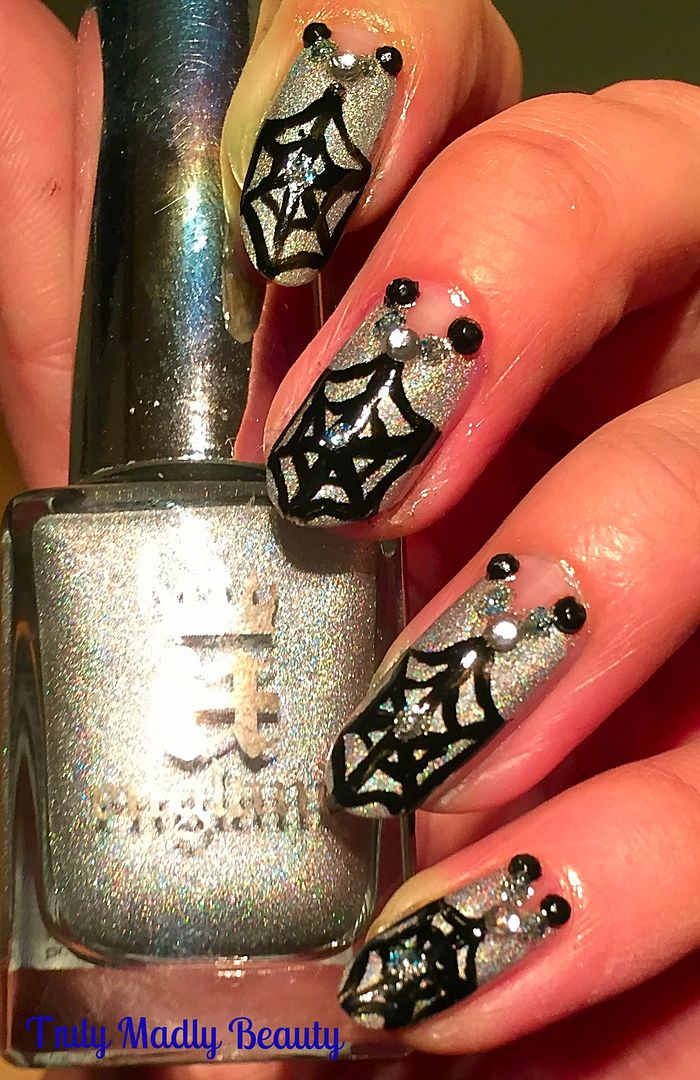
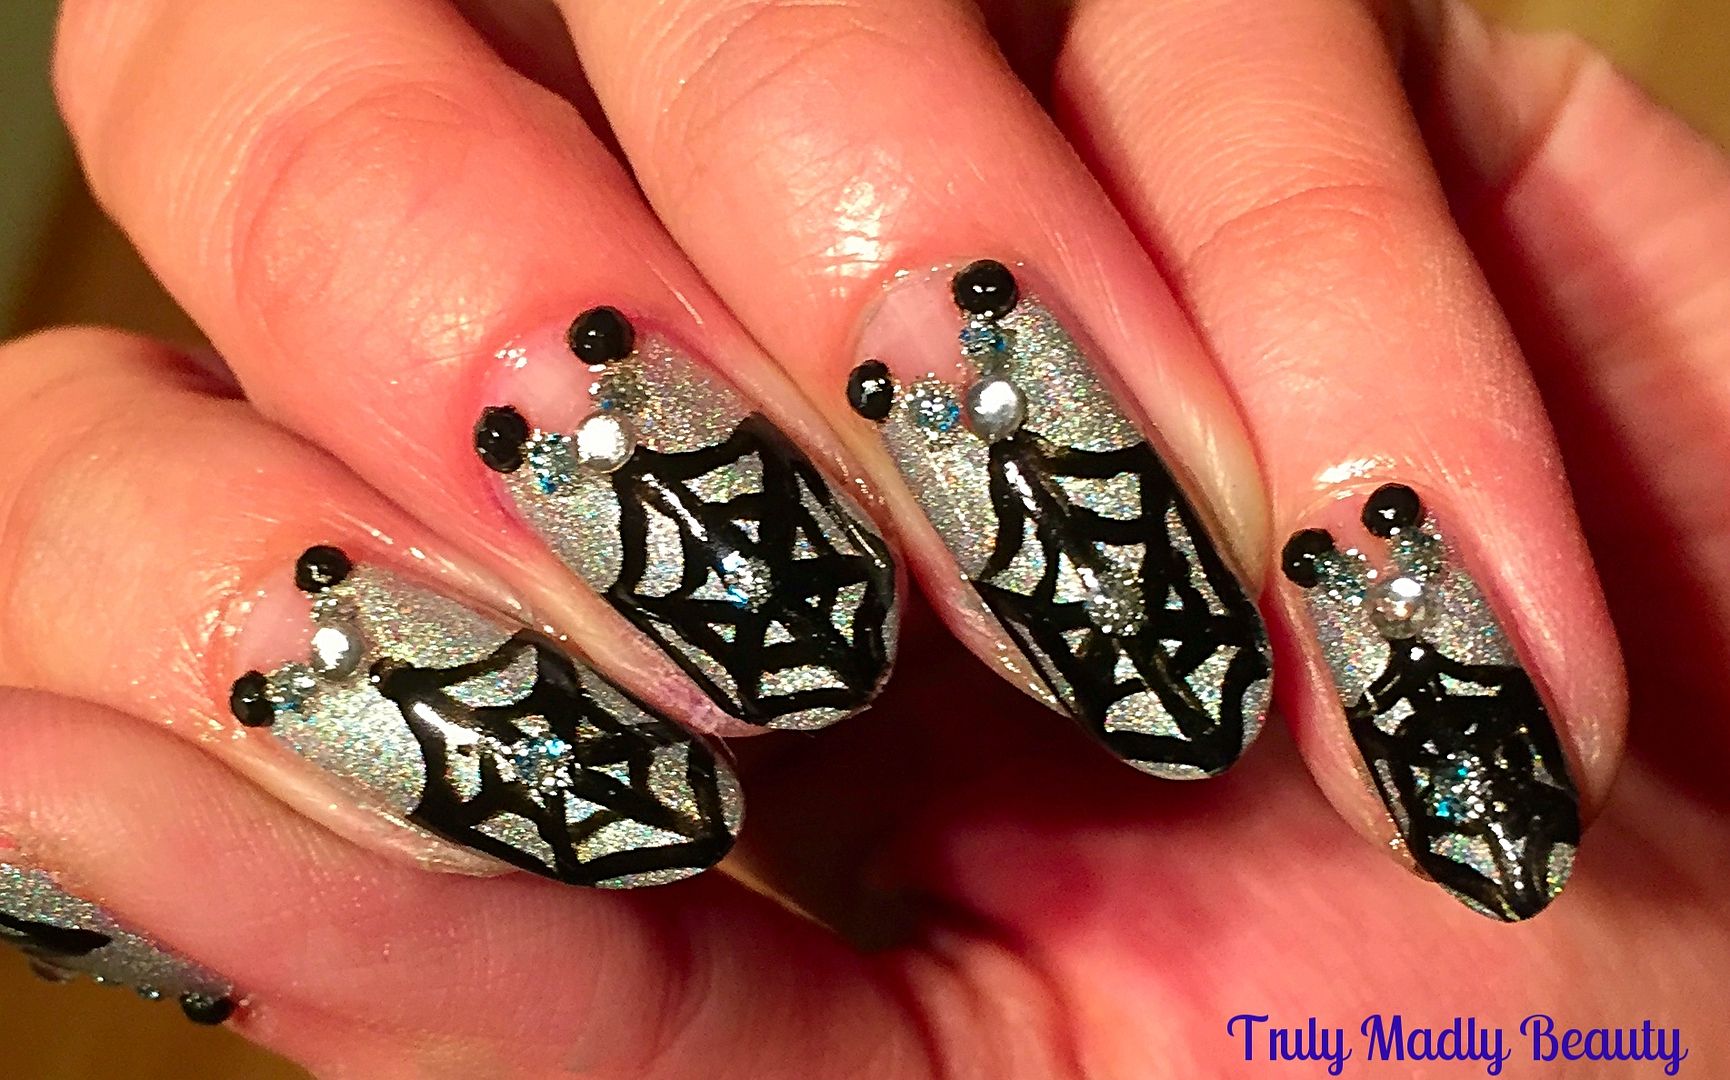
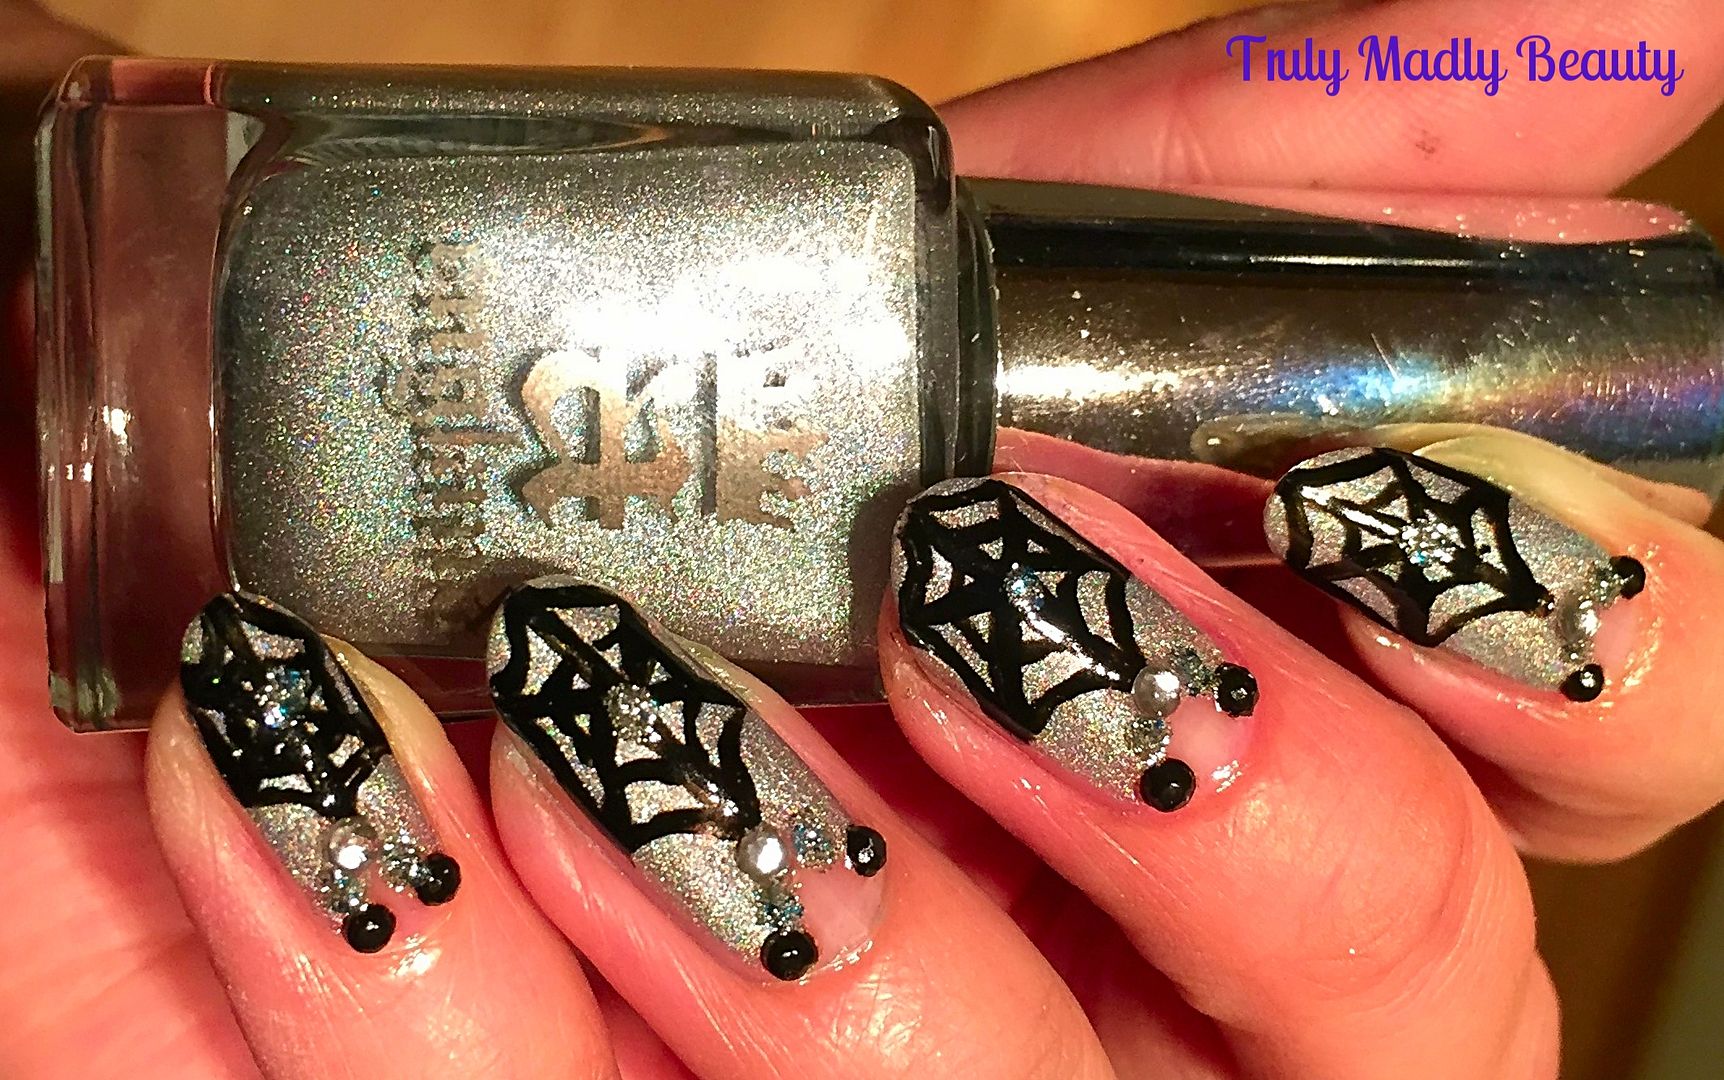
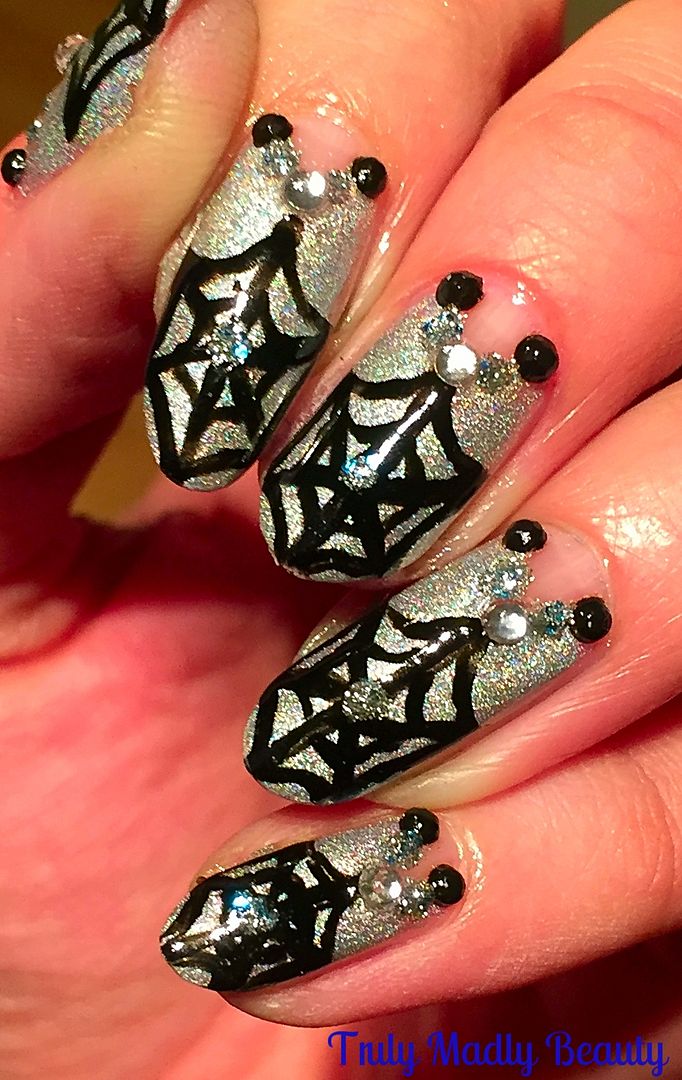
Halloween NOTD - Holo Cobwebs!

Hello lovely readers!

So the time hath come to start getting spooky on the nails my dears! My goth side is so satisfied this time of year but then with me its all 365 days not just October with its main event of Halloween, I'm dark souled pretty much all year round ;) But tis now especially my oddness can come out in full force haha!

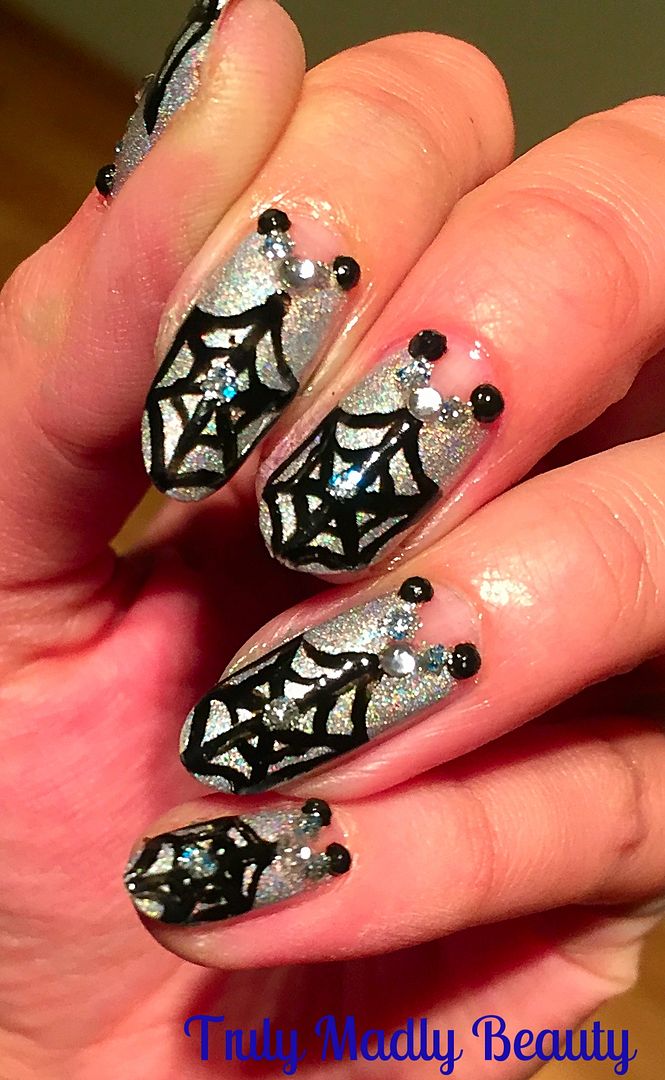
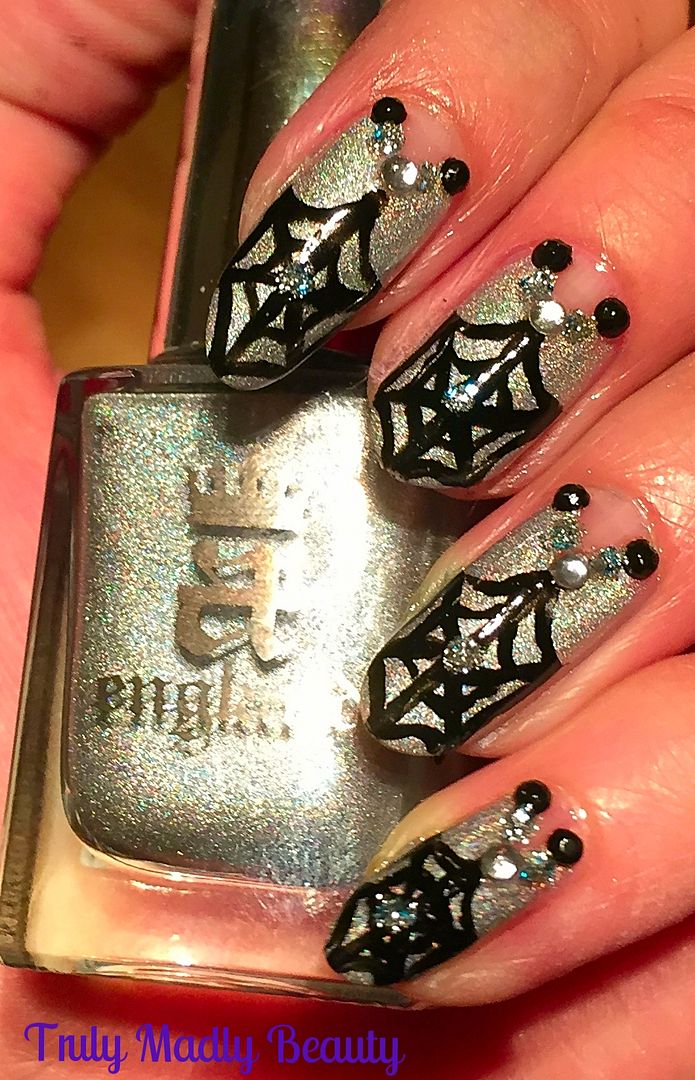
So for my first Halloween mani I've decided to go for some creepy cobwebs which I've glammed up with silver holo because life is always brighter when there's holo dolls. Halloween doesn't always have to be dark & spooky, though I totally dig that too 


Please excuse the quality of the pics beauts, I've never been over the moon with my photo skills in the first place but I've recently moved & struggling to find which areas have the best lighting, so far the kitchen is winning... O_O Not to mention that the winter months means early darkness which, as you know my fellow bloggers out there, is our worst nightmare!


Anyhoo I digressed there with that mini rant, apologies. For my base polish I've used the glorious A England shade Encore Margot. I ADORE the lovely Adina's brand of polishes with their beautifully gothic & medieval collections, I URGE you to check them out.


Encore Margot is a dreamy blue toned silver holo which I've applied two coats of on most of the nail, leaving a wee angled part by the cuticle end bare...not sure why, just felt the mood for a bit of random negative spaceage.

Once dry I then grabbed my nail art brushes including my new Nailbees brush which is so fine & perfect for details! The lovely Minnie also sent me a Freddo chocolate with my order along with a cute little note, such a sweetie!


Using some black polish I proceeded to add on my cobwebs. To create the design begin by drawing two diagonal lines to create a cross on to the nail before adding a horizontal line down the middle so that you have the 6 triangle sections of your cobweb


Then using the Nailbees brush & more black polish just add on the final details of two small curved lines in between your triangles & hey presto you have your cobwebs!


I couldn't stop there so for some extra glam factor I applied one clear & two black rhinestones on to the negative space as well as a couple of dots of China Glaze Lorelai's Tiara which is one of my favourite sparkly glitters with its silver & ice blue tones.

I also added on a final dot of glitter on to the centre of my cobwebs before coating it all with obligatory topcoat to seal.


And thats Halloween mani number 1 for this year done! You can have a peek at all of my Halloween mani's HERE. Racking my brains now on what to rustle up next...until then beauts! Thanks for reading!

Lotsa love to ya!


7.13.2016

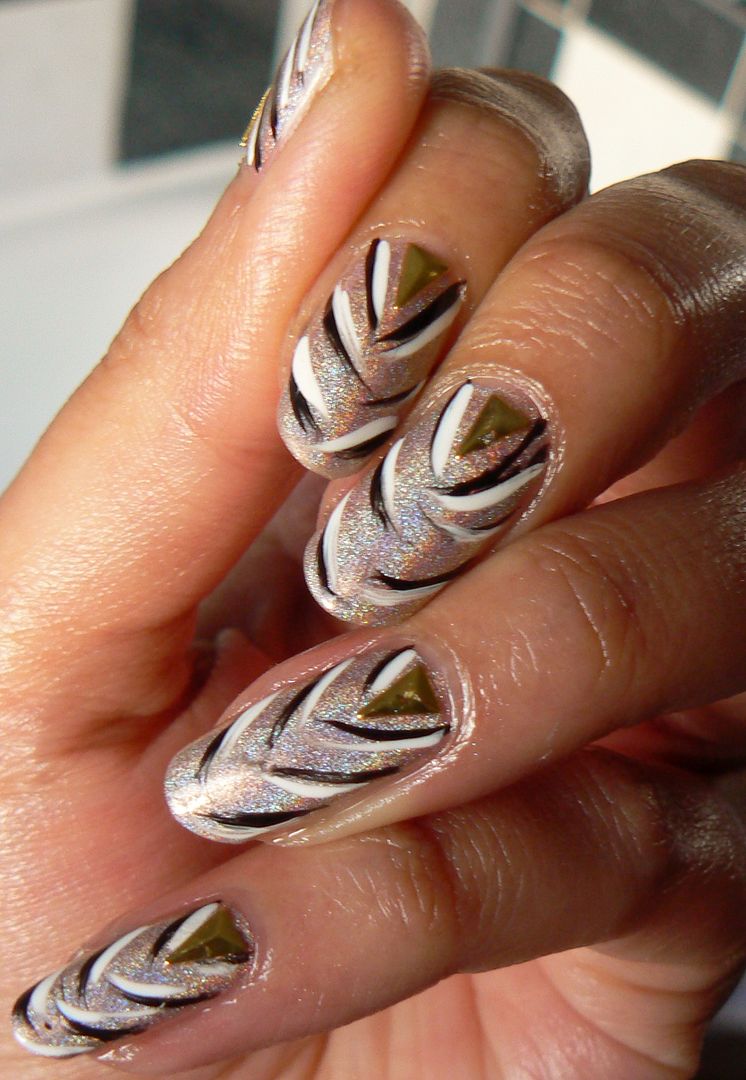
NOTD - Easy Holo Zebra Tutorial!

Hello there lovely readers!

Whenever I'm stuck for ideas or inspiration with nail art, I find you simply can't go wrong with rocking a bit of animal print! Be it spotty leopard or stripy like a tiger/zebra, both are equally easy to do & the finished look slays.


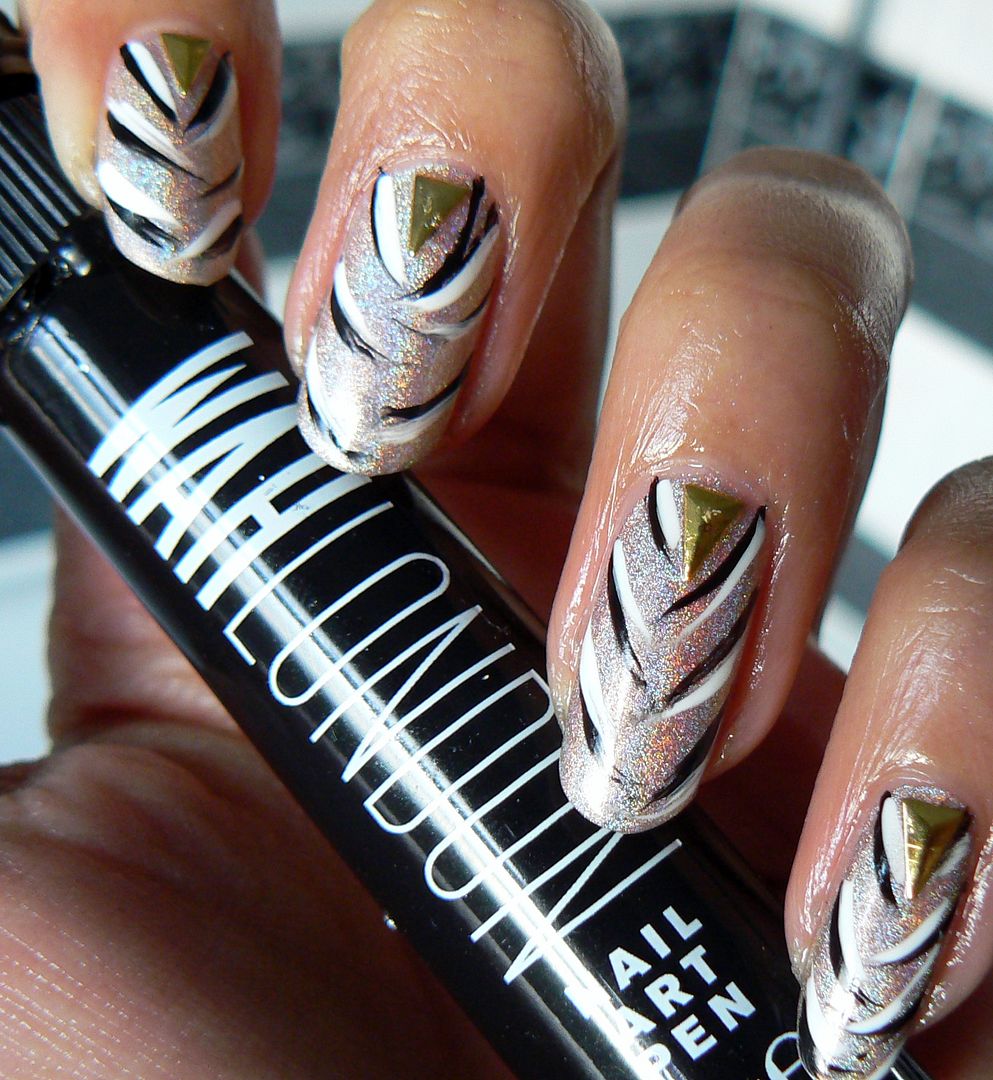
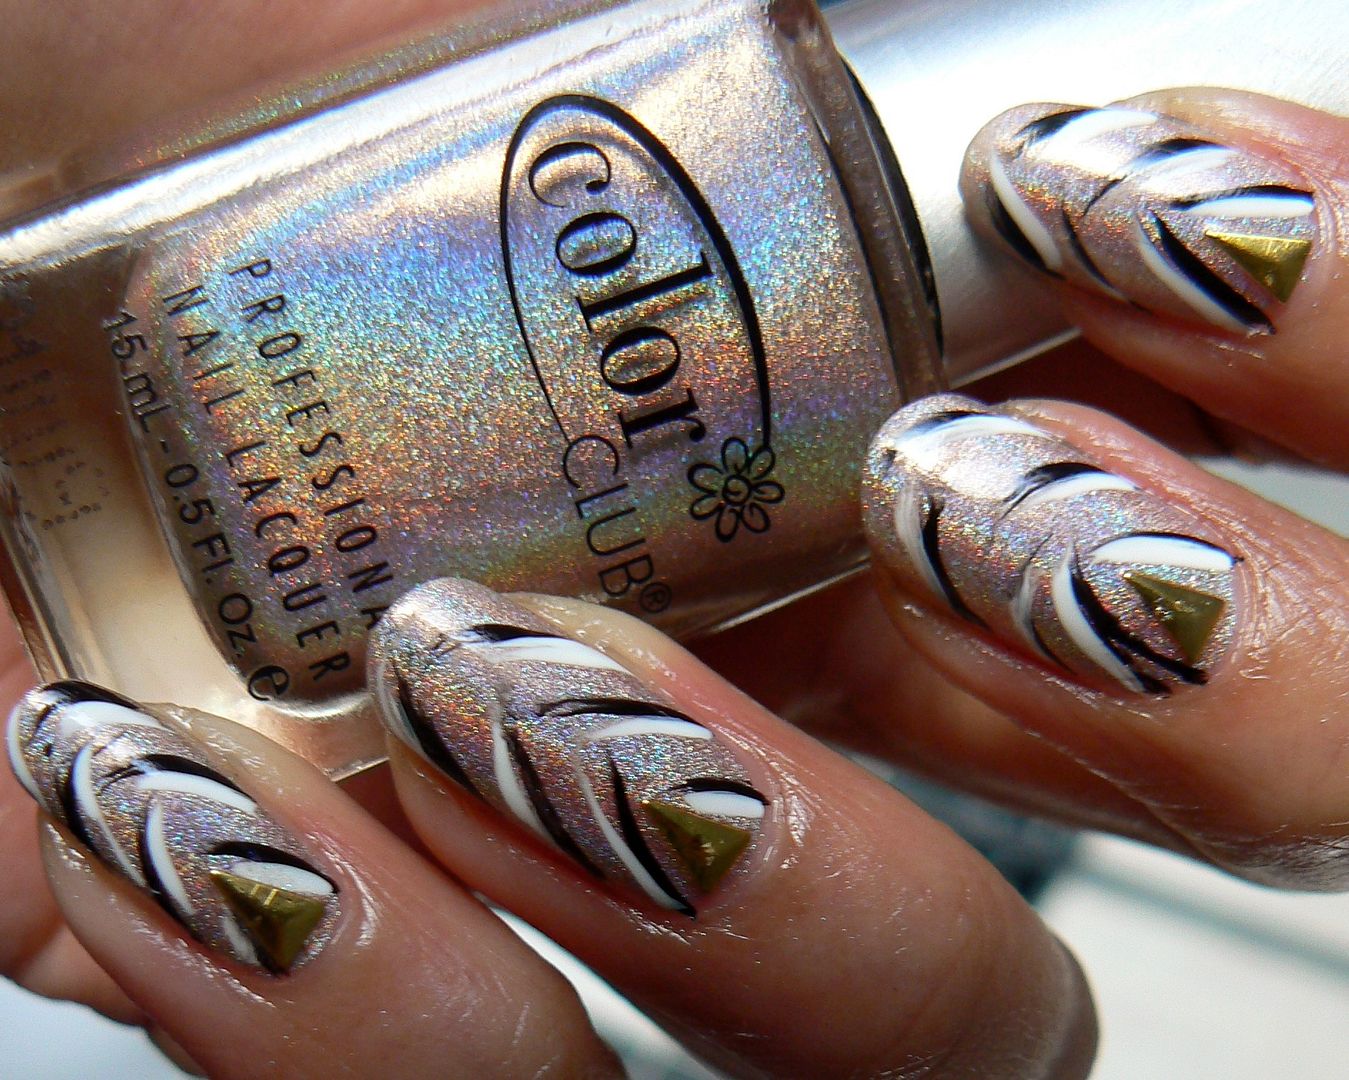
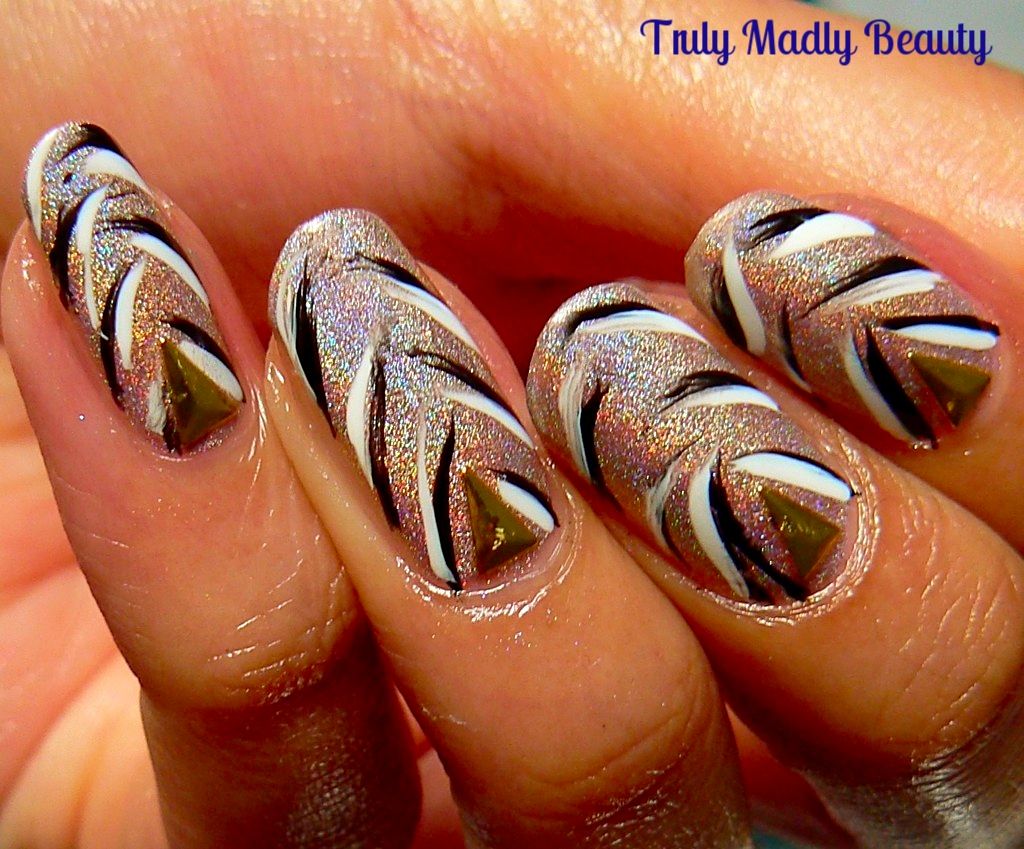
It just so happened I found myself in the mood for some stripes, but rather than just go for a simple two tone striped look, I decided to twist it up a tad by doing a holo base with slightly angled stripes!


Of course you can rock a black & white zebra or an orange & black tiger look but its always fun to play around with different colours I'm sure you'll agree!


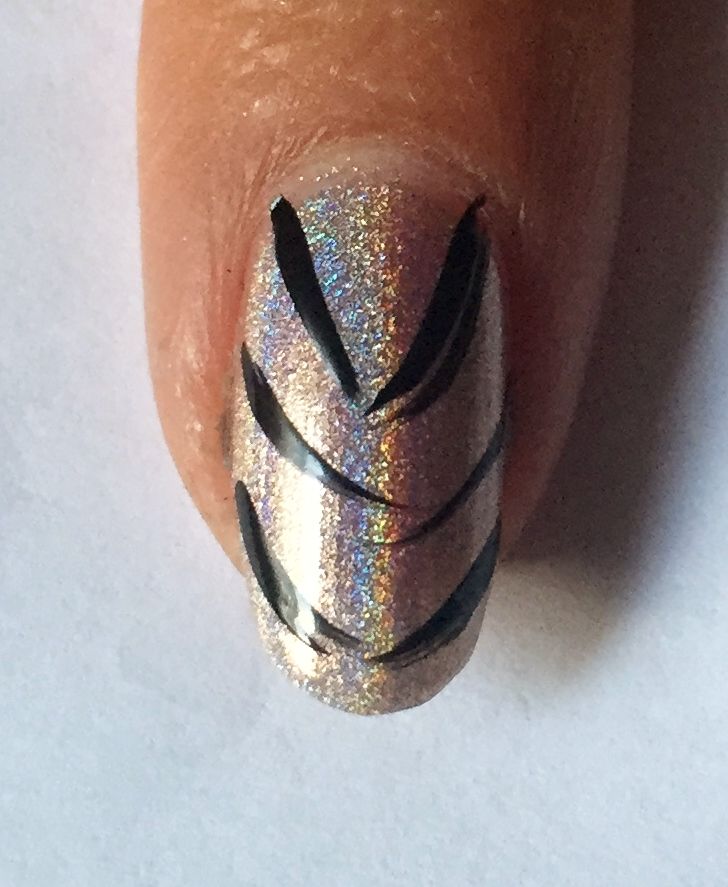
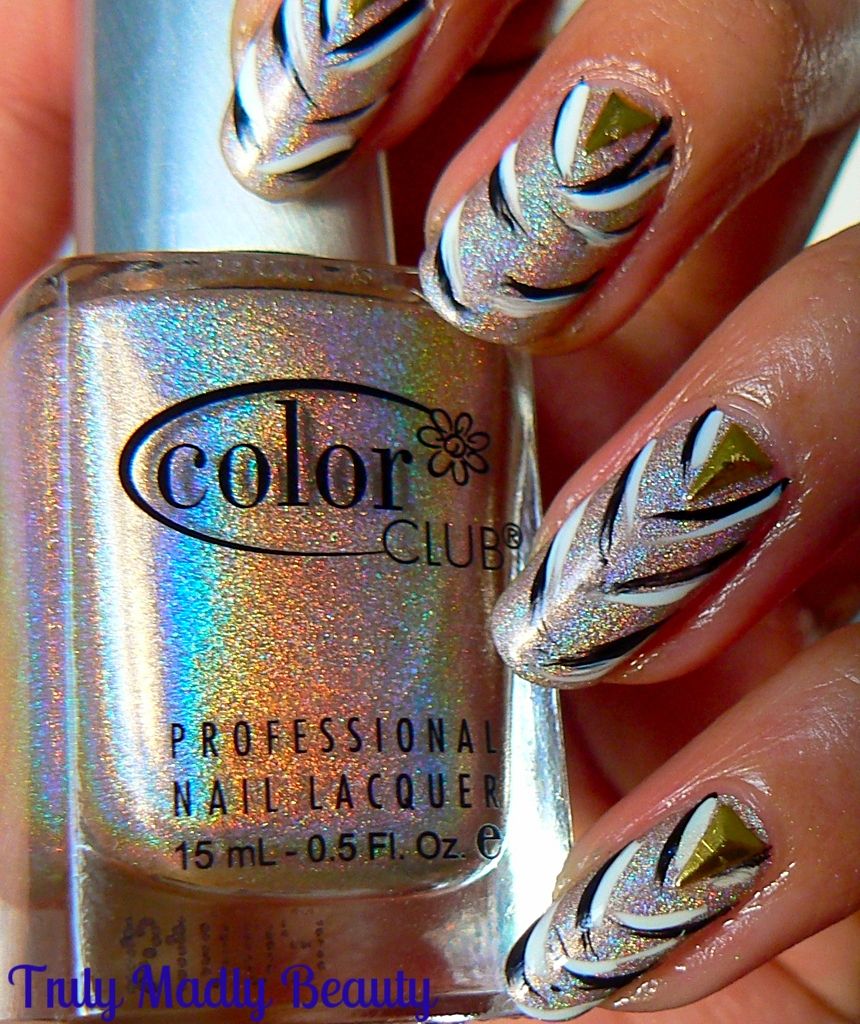
As mentioned for this mani I wanted some holograhic action so for my base colour I've applied two coats of Color Club Cherubic from their amazeballs Halo Hues collection which is a fabulous & unusual beige toned holo.


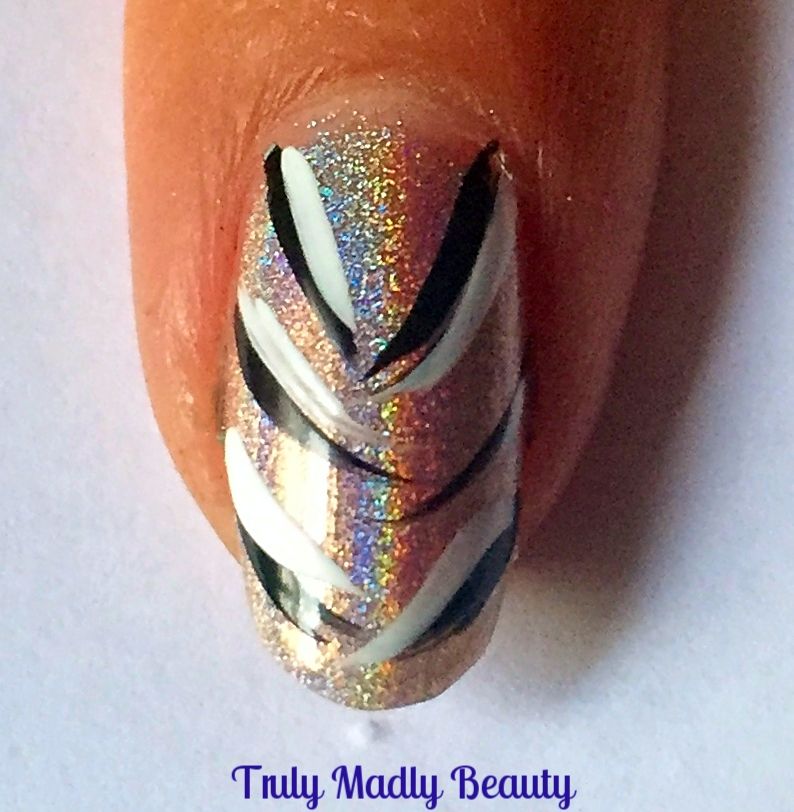
Then I added my black stripes first using the striper brush from my black WAH nail art pen, which is perfecto for this type of nail art. Rather than apply the stripes straight across horizontally, draw on the stripes angled downwards slightly, about three on each side, to give an edgier effect.


Next apply your white stripes, this time using a nail art pen in White,again I used good old WAH. Draw on the stripes in the same way, placing them directly next to the black, either under or above the black as shown.


For a final little optional step I stuck on a triangle gold stud at the centre bottom under the cuticle giving the mani a touch of punk-ness which I love!


Finish with your obligatory topcoat to seal & that is it! An eye catching yet easy design in seconds.


Hope you liked dolls, let me know if you give it a try, thanks for reading!


Lotsa love to ya!


5.12.2016

NOTD - Stained Glass Swirl Nails & Tutorial!

Hey there lovely readers!

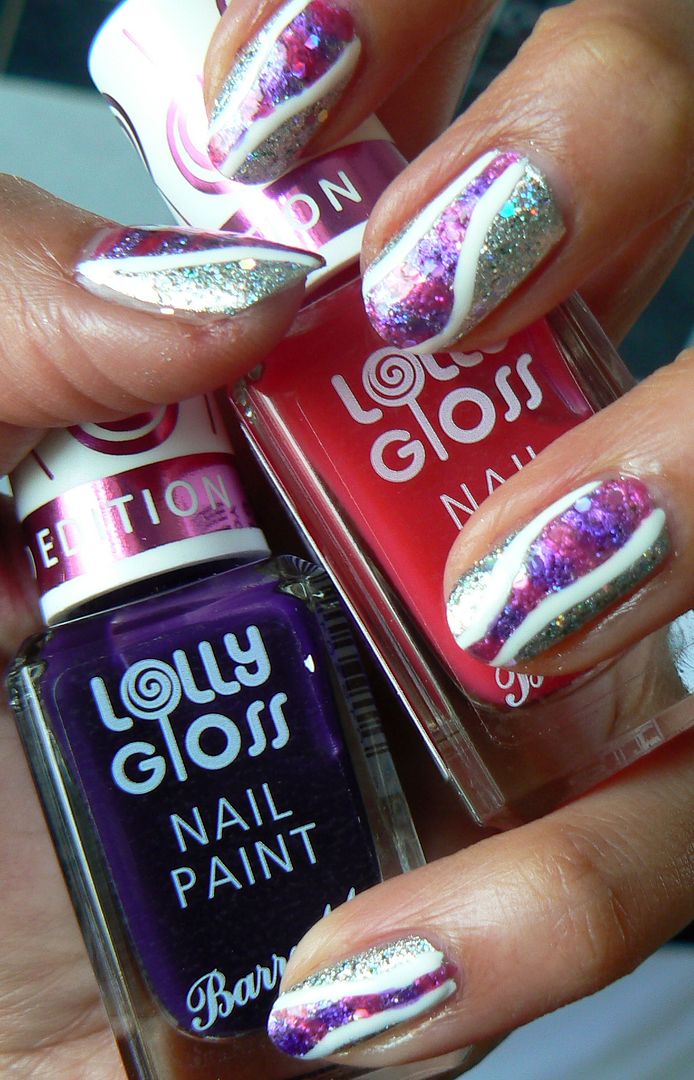
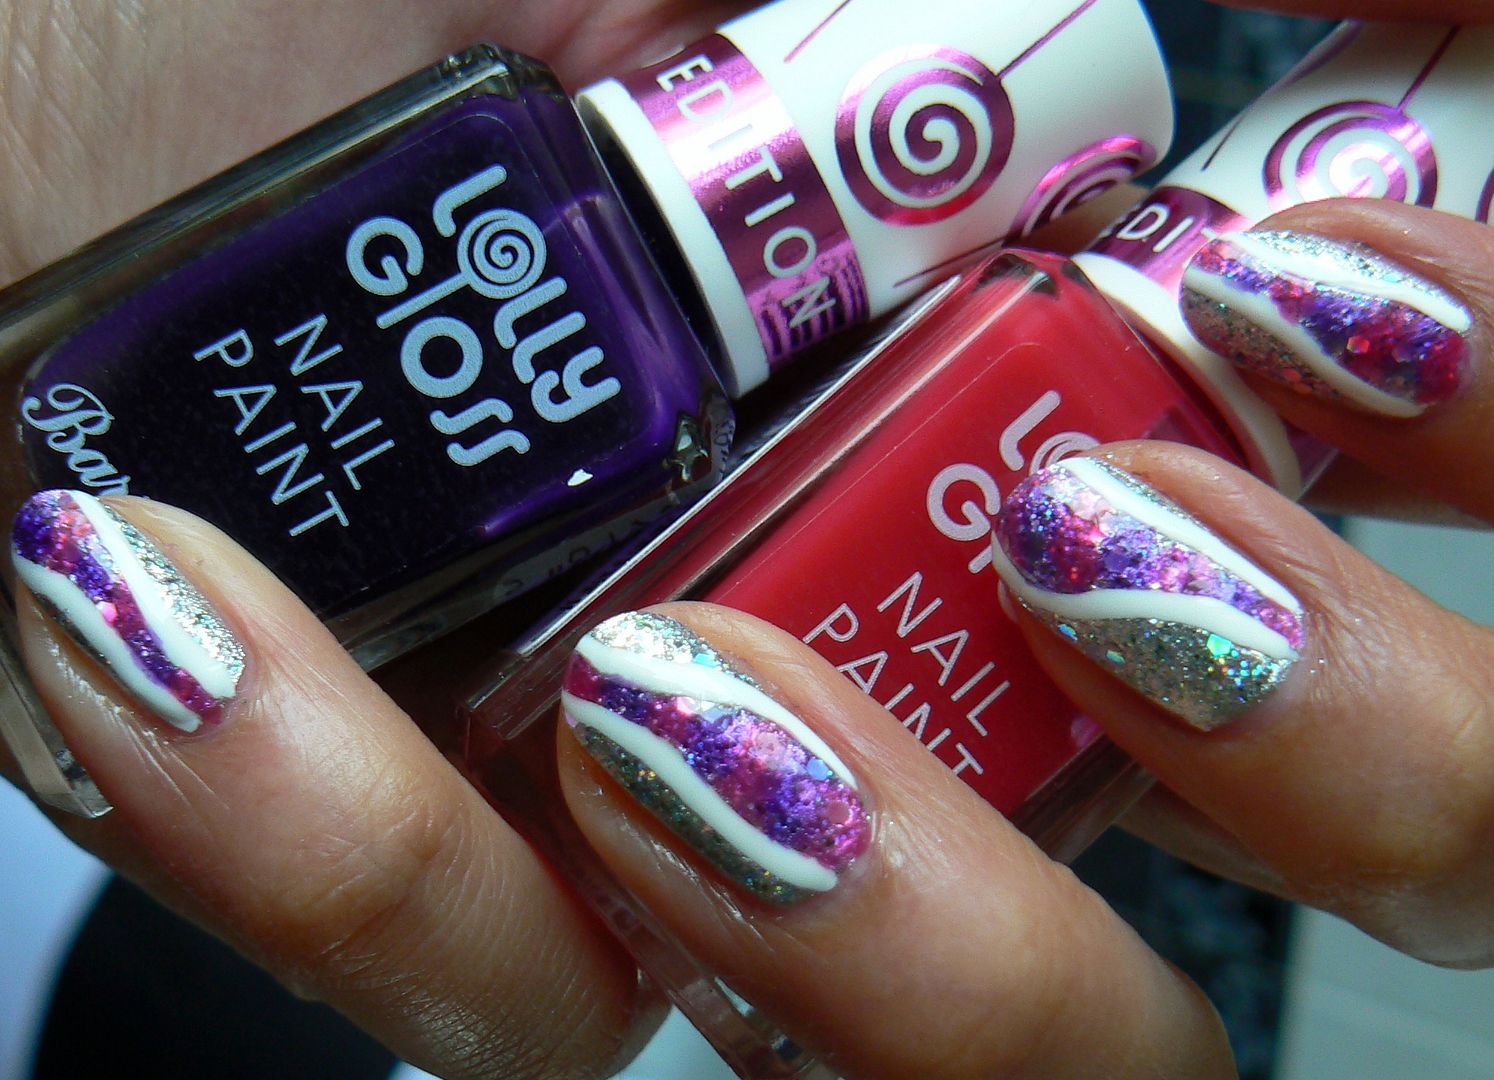
If you caught my last post, I recently added a few of the new Barry M releases to my collection including the Limited Edition Lolly Gloss Paints in Pink Candy and Purple Pop. You can see swatches of these sweet juicy jelly shades HERE.

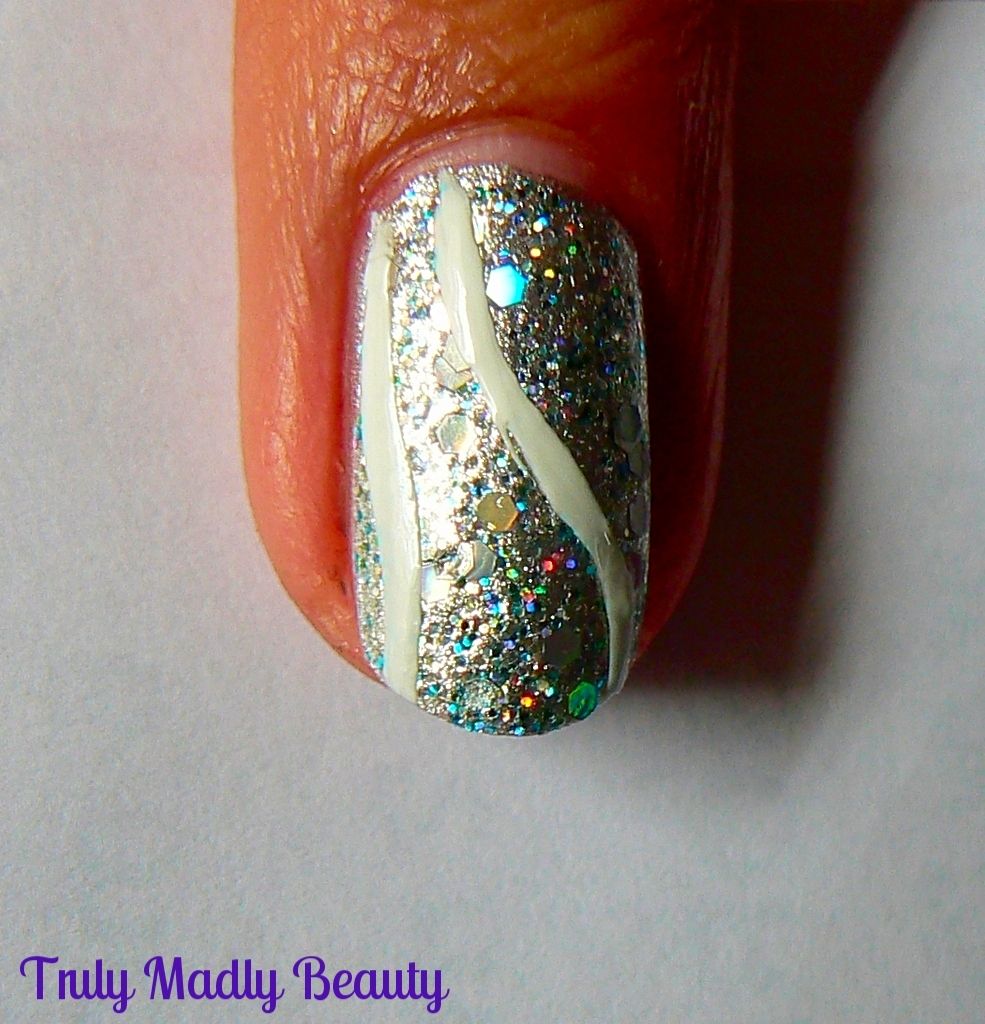
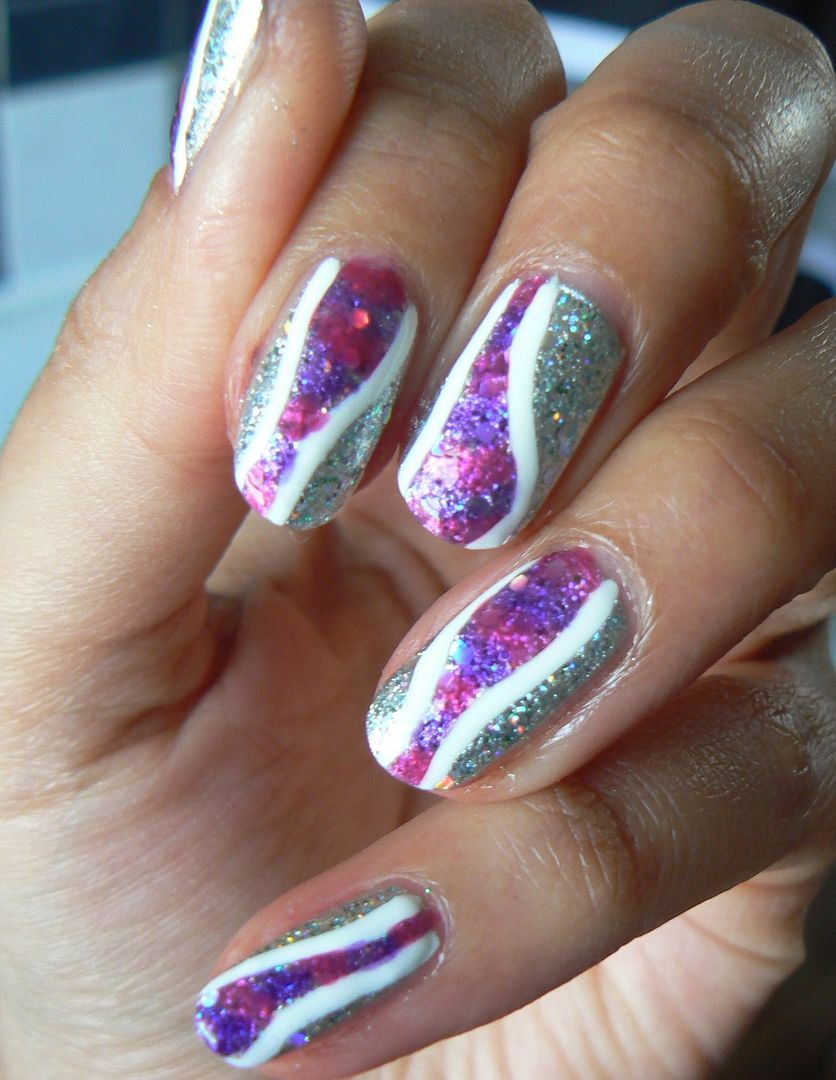
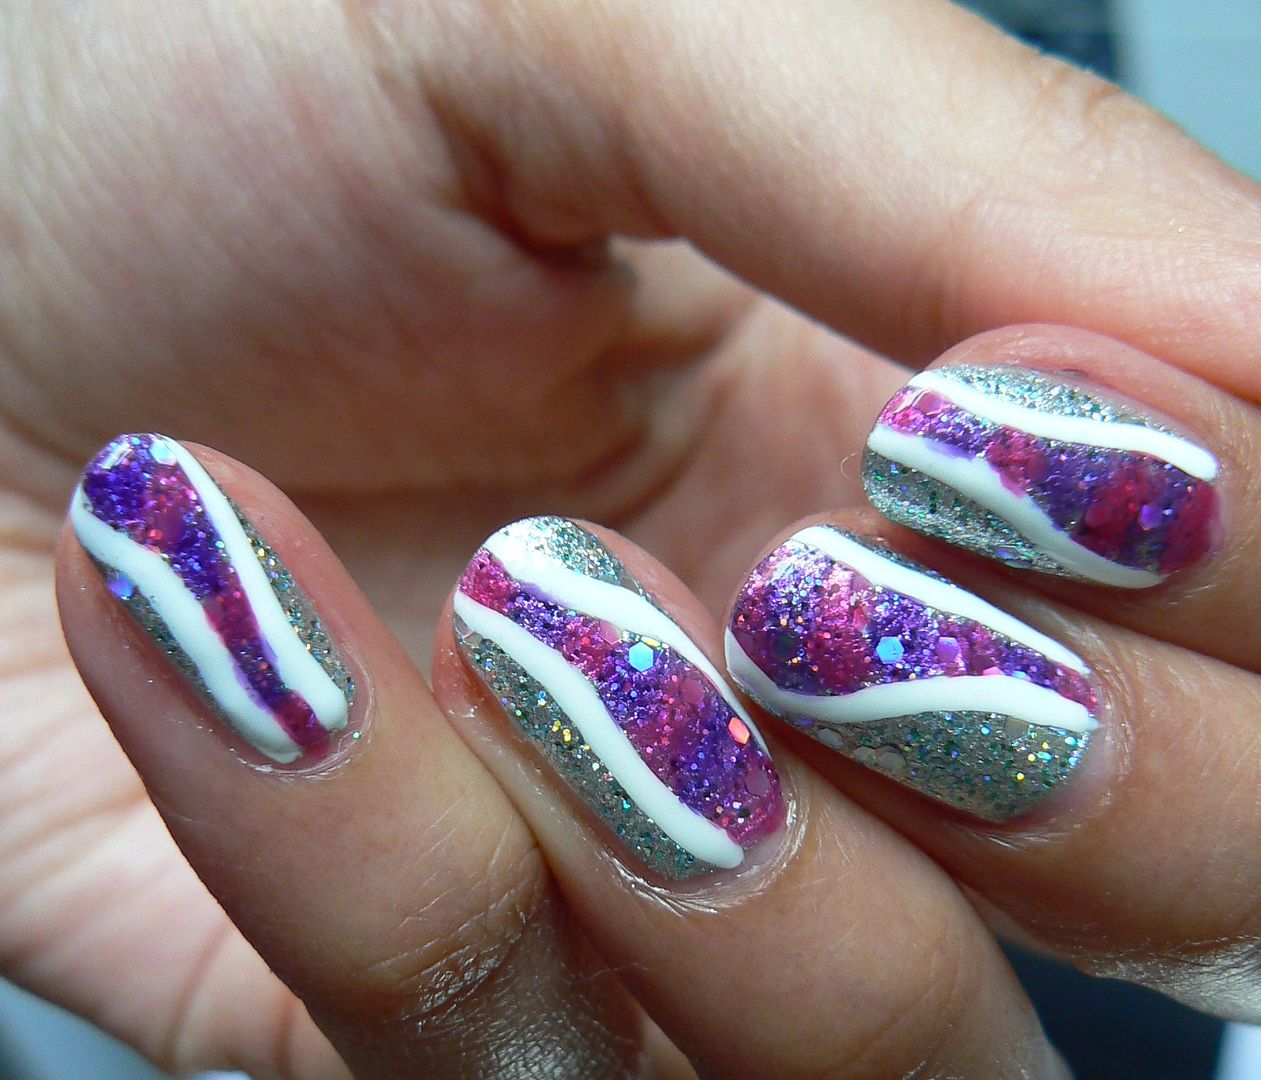
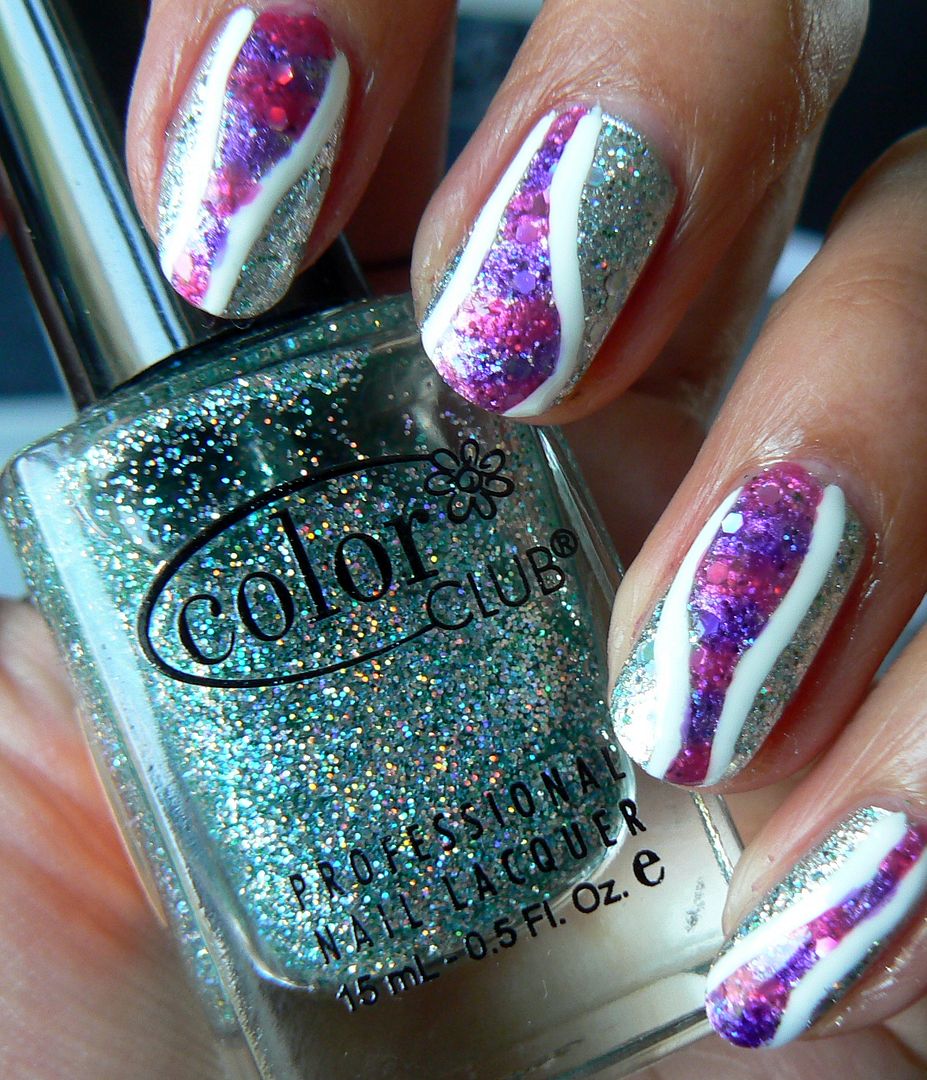
These polishes are sheer formulas therefore perfect for a bit of nail art experimentation! You can smoosh all the jellies together to create a marbled effect, apply on top of another shade to create a whole new one, dab on to silver or white for a watercolour rainbow look, similar to what I've done HERE. I decided to do a stained glass type effect using the Lolly Gloss on top of silver & glitter & this is what I came up with...


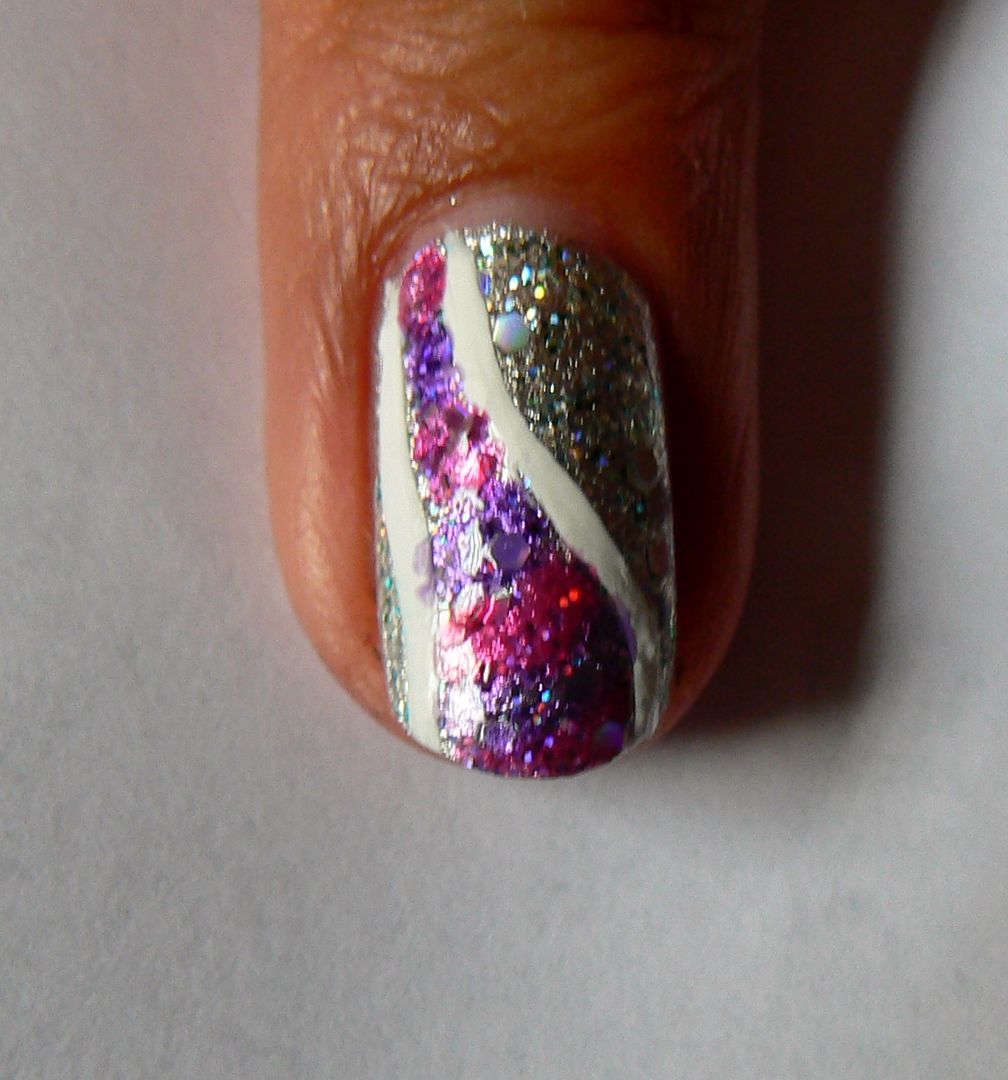
Instead of going over the whole nail I decided to just add the pop of colour in the centre in a swirl down the nail. 


For my base to really make the Lolly Paints pop I used not just silver but also a holographic glitter for extra sparkle!


To create the design I've done a simple step by step tutorial for you so you can recreate these too...


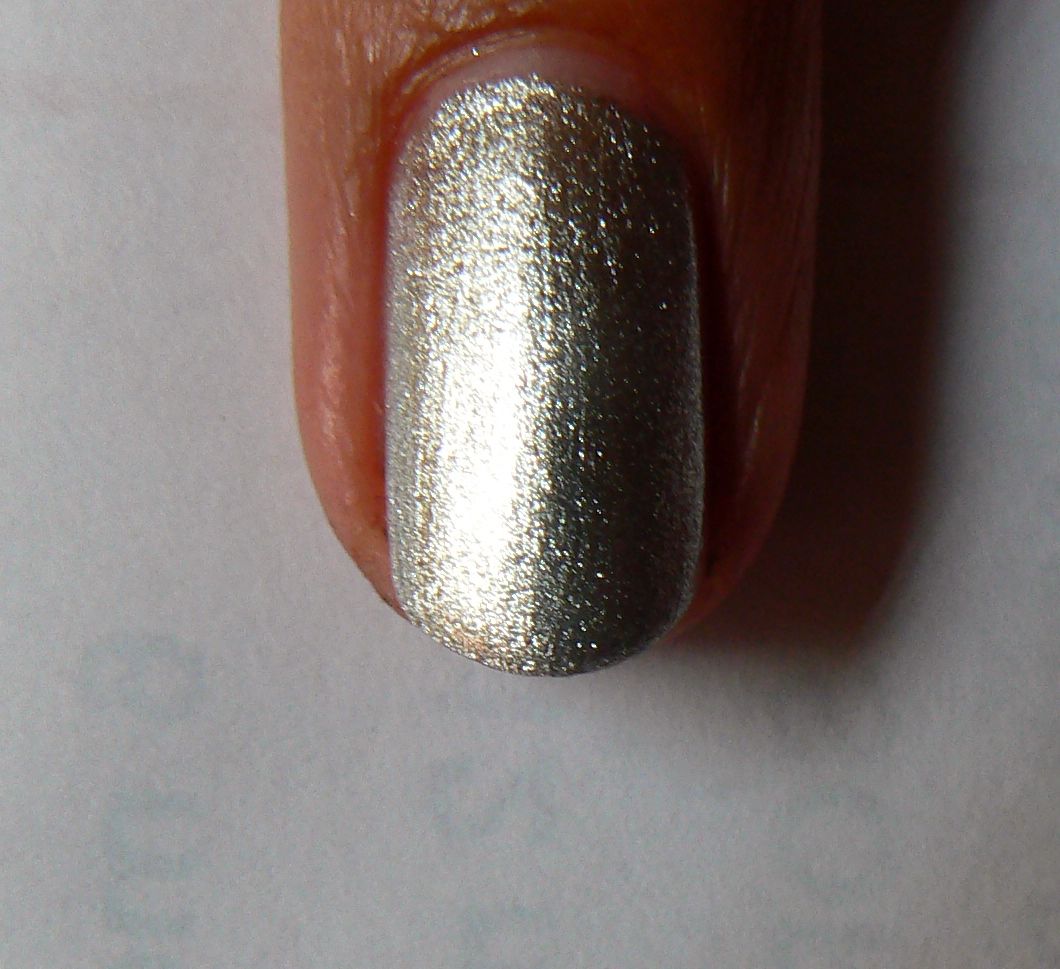
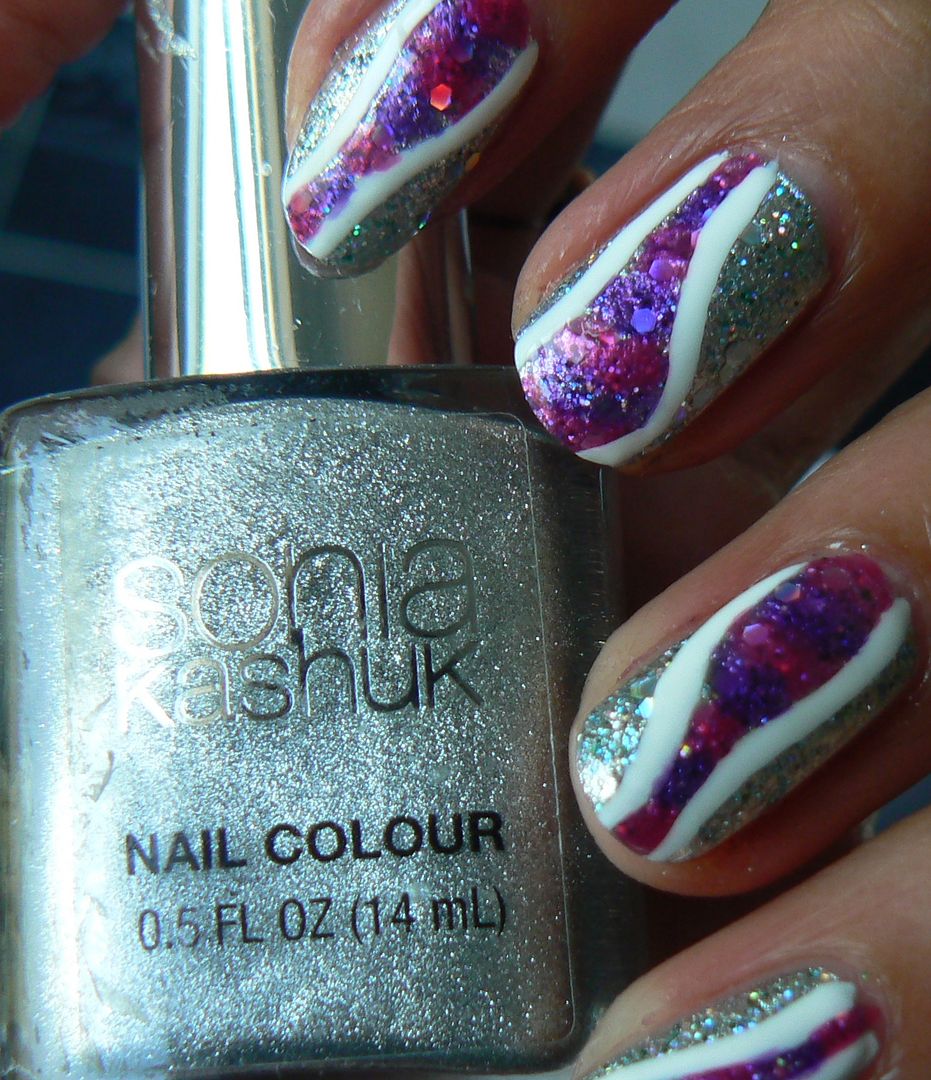
Start with your silver base, here I've applied one coat of Sonia Kashuk Smoke and Mirrors.


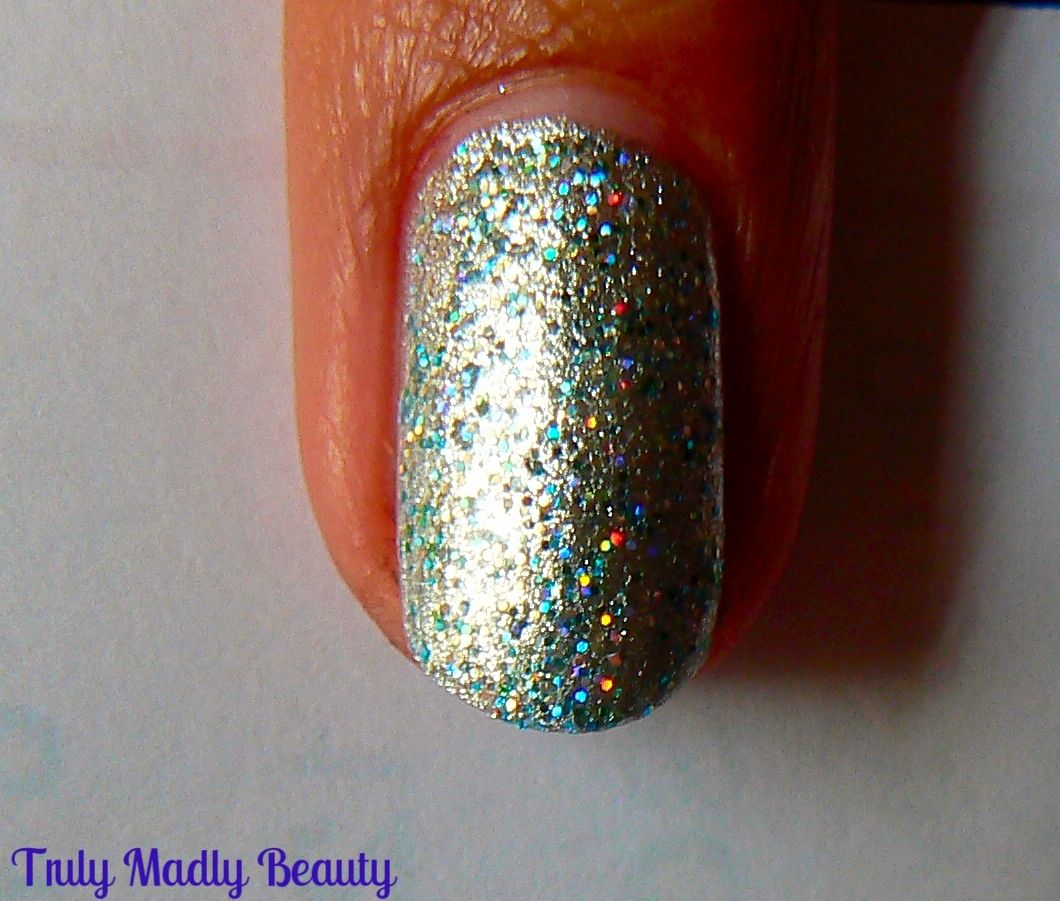
Next apply your holo glitter, the one I've used here is by Color Club & contains a rainbow of macroglitter that really makes the silver go disco!


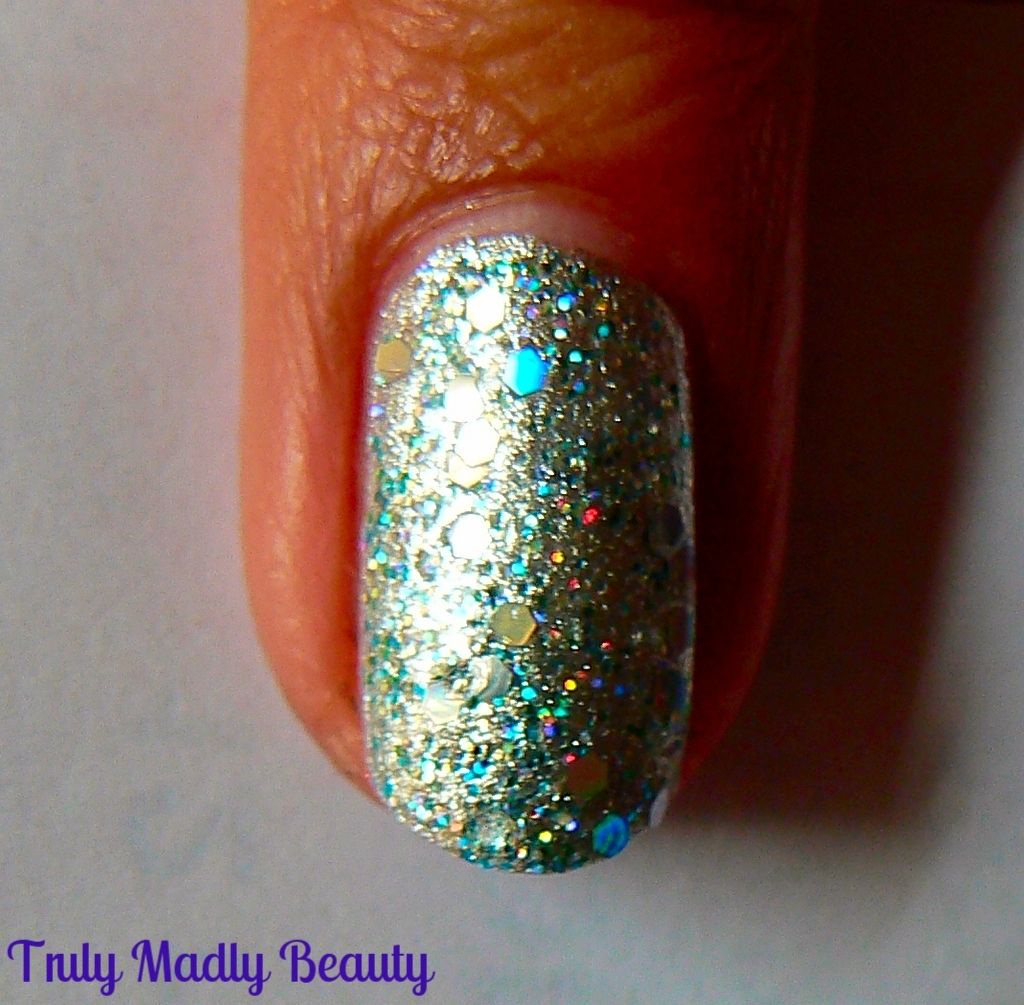
This was an additional step that you can skip but being the glitter fiend that I am I couldn't resist adding on a few large hexagonal holo glitter pieces using Barry M's Hologram


Next apply the white outline of where you want your stained glass pop of colour to be, using a nail art pen or some white polish & a thin brush


Then using 2 more smaller nail art brushes as the brushes that come with the polish will be too big/thick,start applying each of the Lolly Gloss Paints, here I have Pink Candy & Purple Pop, alternating between the two until you fill in the whole shape.


Don't worry if the colours merge into each other, you kind of want that to happen to help create the effect!


Once done, go over the white outline again, before finishing with a coat of topcoat & thats it!


Super sparkly stained glass effect nails! If there had been more shades available I would have definitely picked up more to create a multicolored rainbow finish! Hint hint Barry M... ;)

Hope you liked the design dolls, do let me know if you give these a try or have created your own designs using these or similar tinted polishes, I would love to see!

Lotsa love to ya!  


2.28.2016

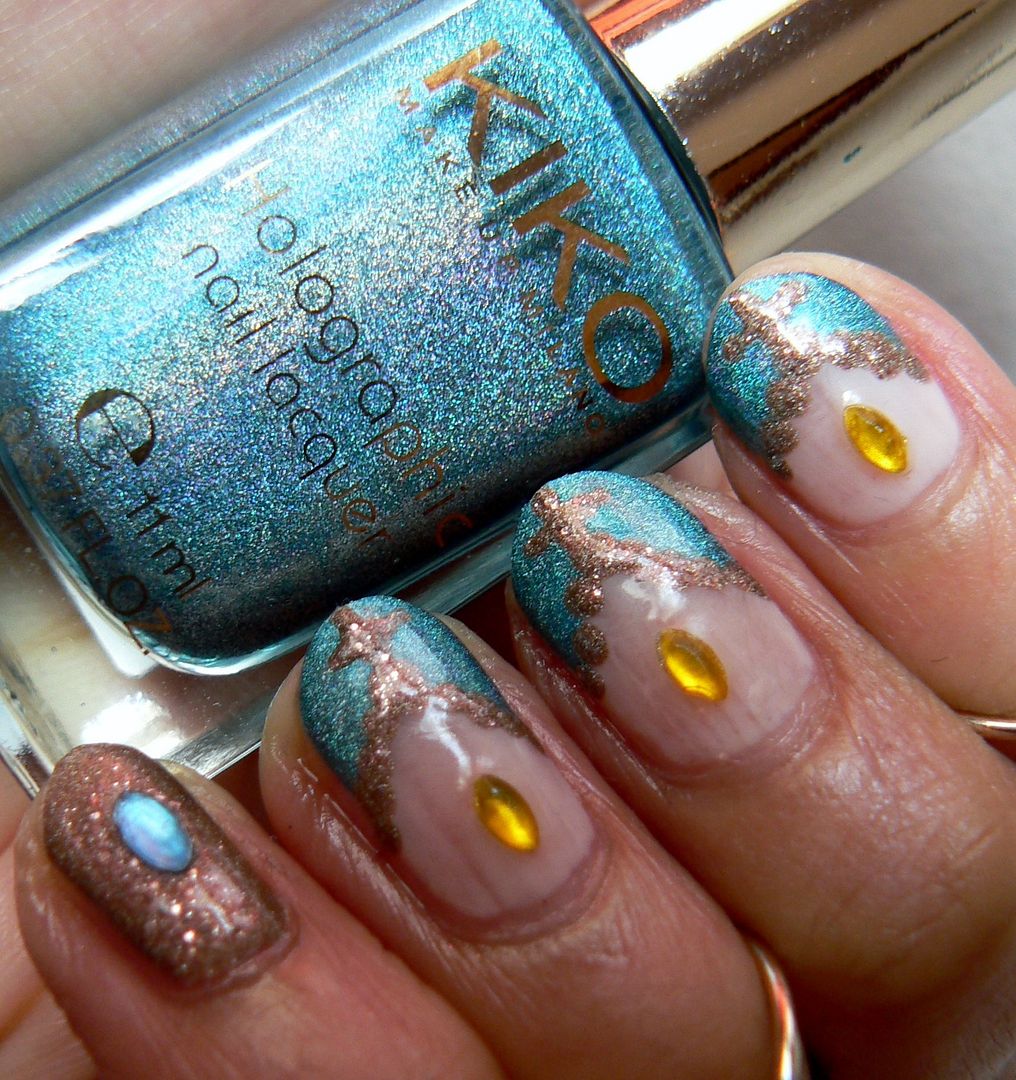
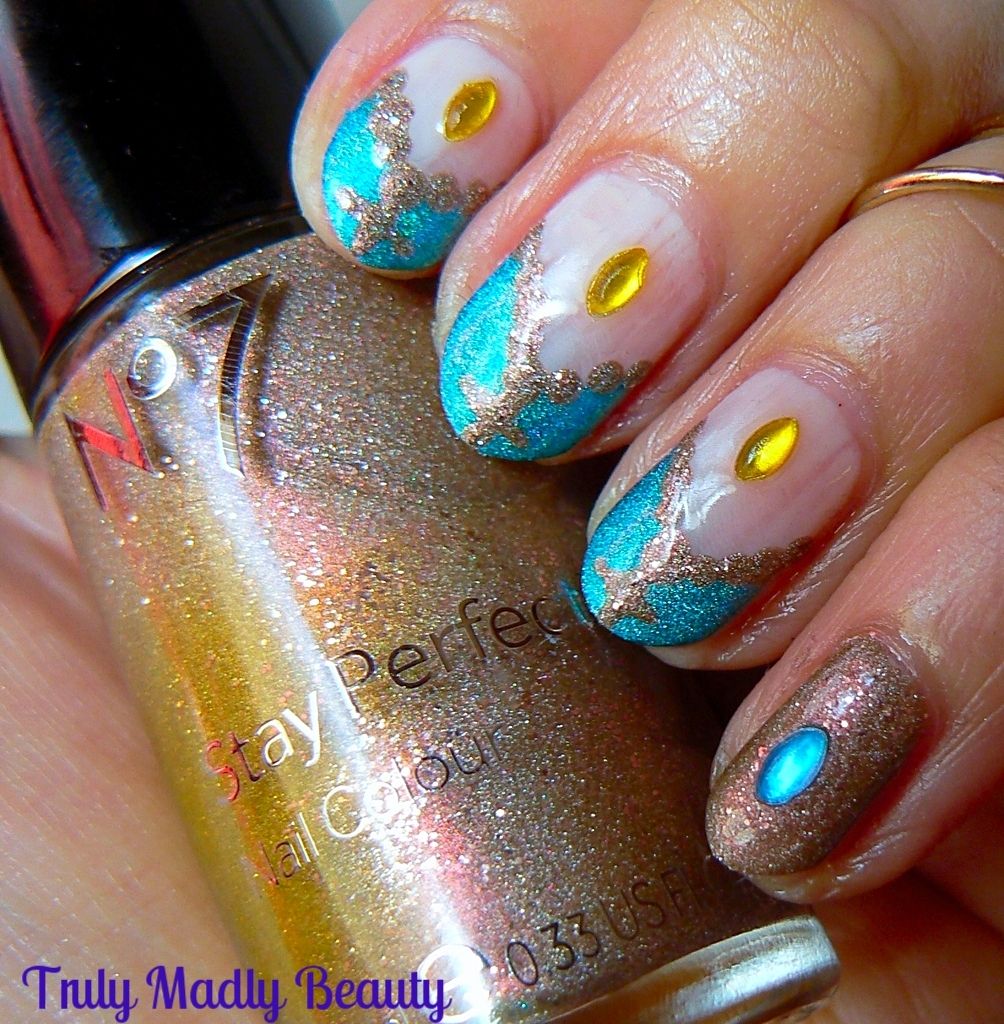
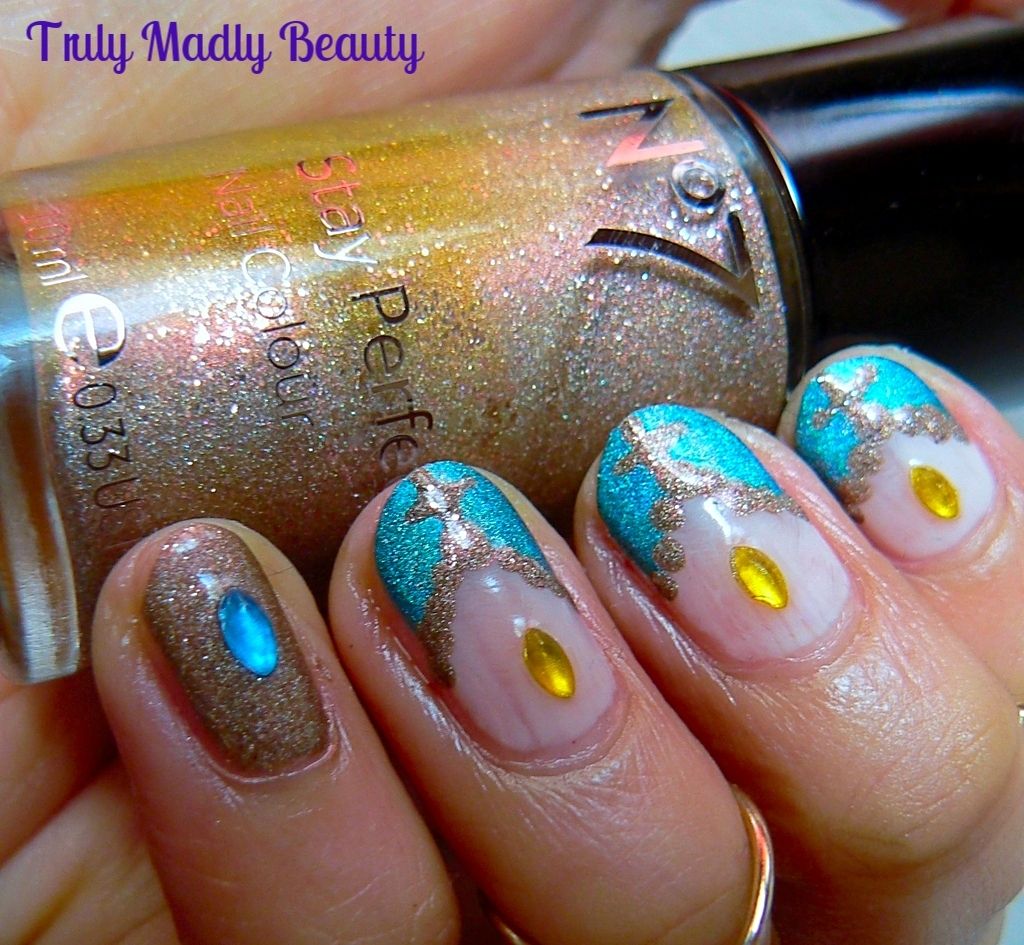
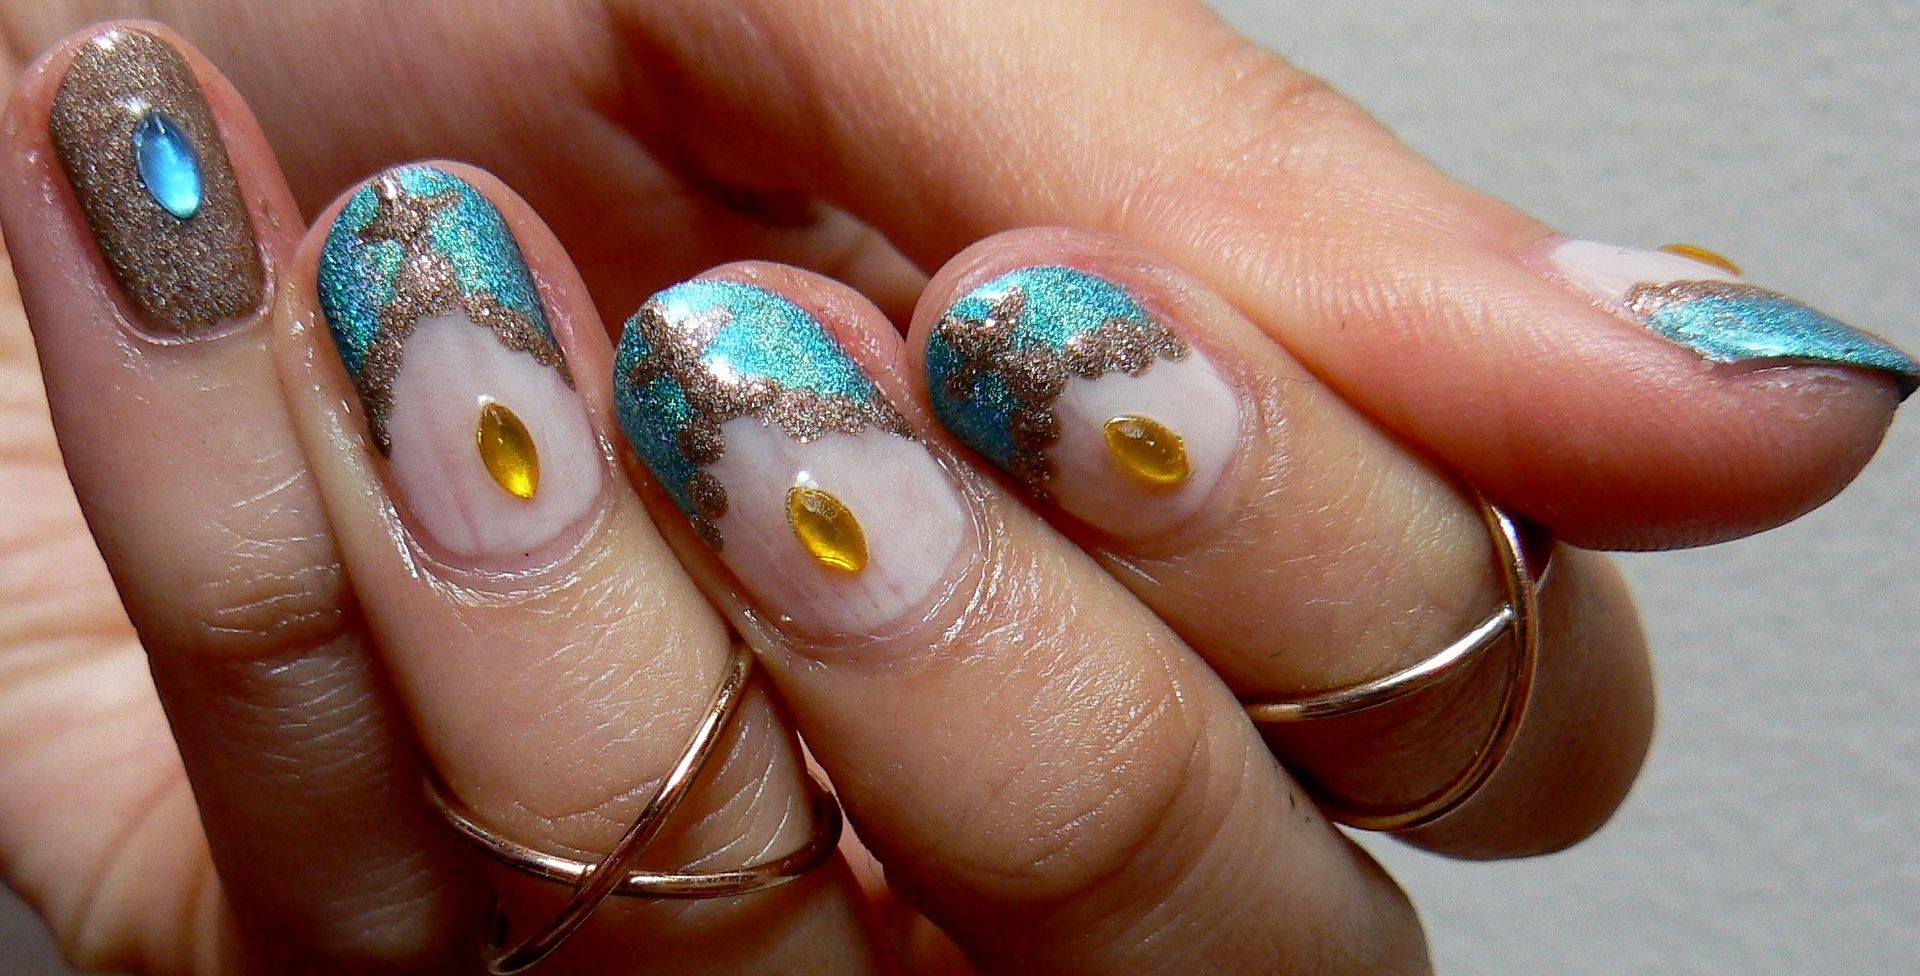
NOTD - Golden Sands & Tropical Seas...

Hey there lovely readers,

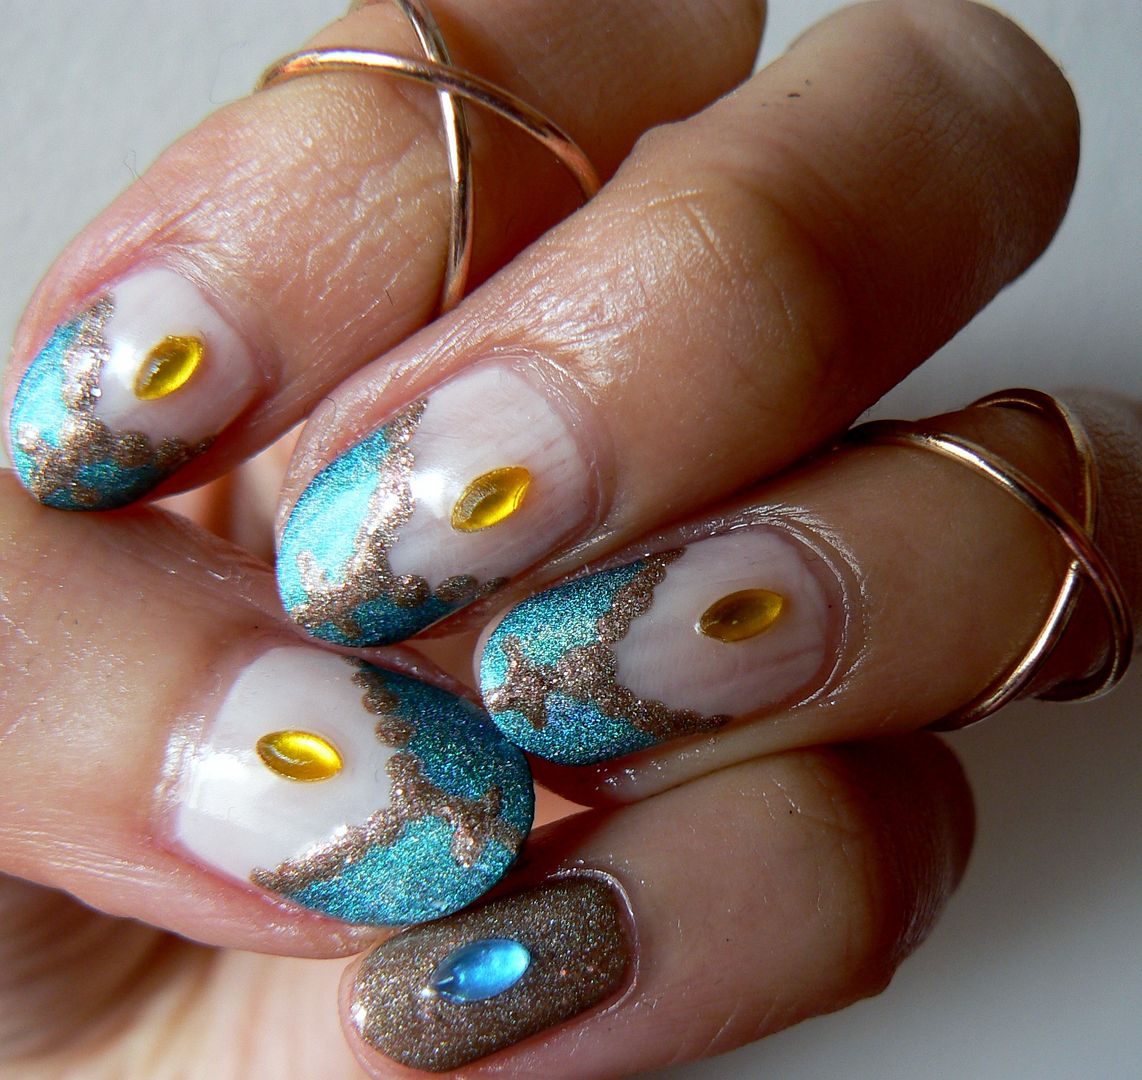
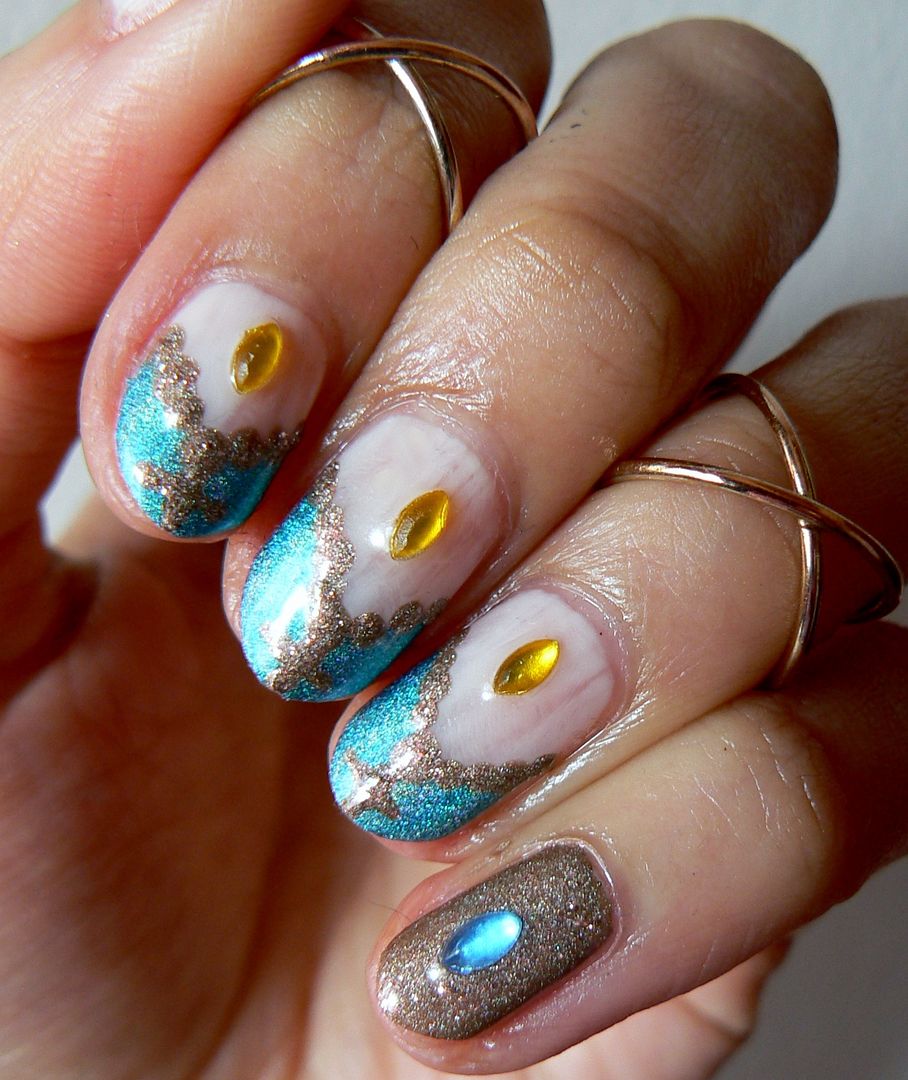
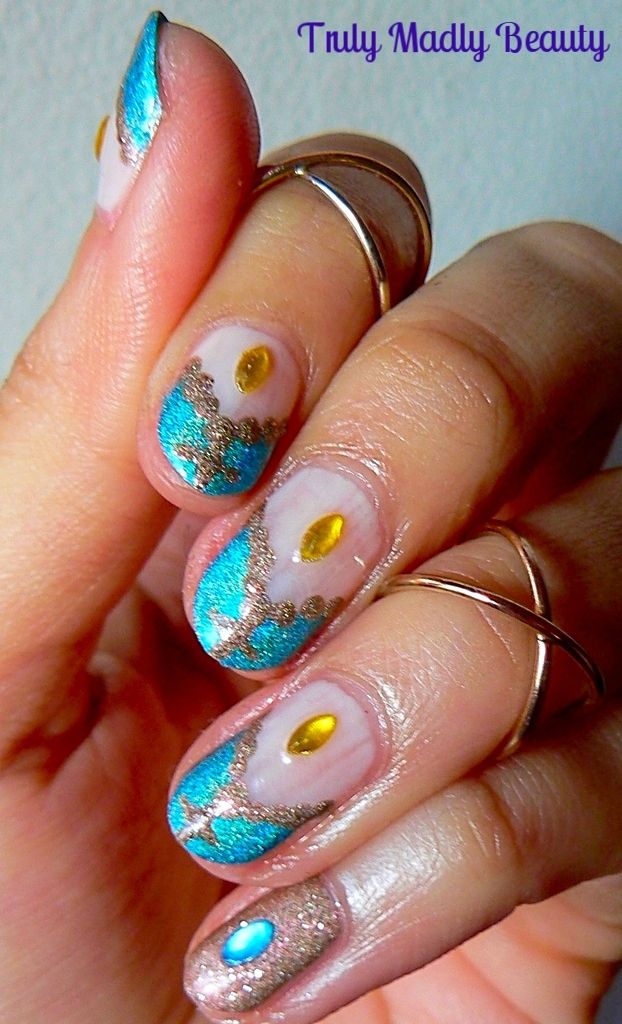
At the moment I seem to be finding myself constantly browsing online at far off holiday destinations filled with sun, sea & sand. Clearly my mind is telling me that a wee break is in order so I'm currently working on making that happen. In the meantime however, I can still get holiday vibe satisfaction on my nails with some holo & gold nails...


Mmmm the holographic turquoise & golden shimmer combination certainly brings blue oceans & sandy beaches to mind! To begin I applied my base coat, this was just a random LA Colors one I had lying around, I wasn't expecting it to be tinted actually but hey ho! Haha!

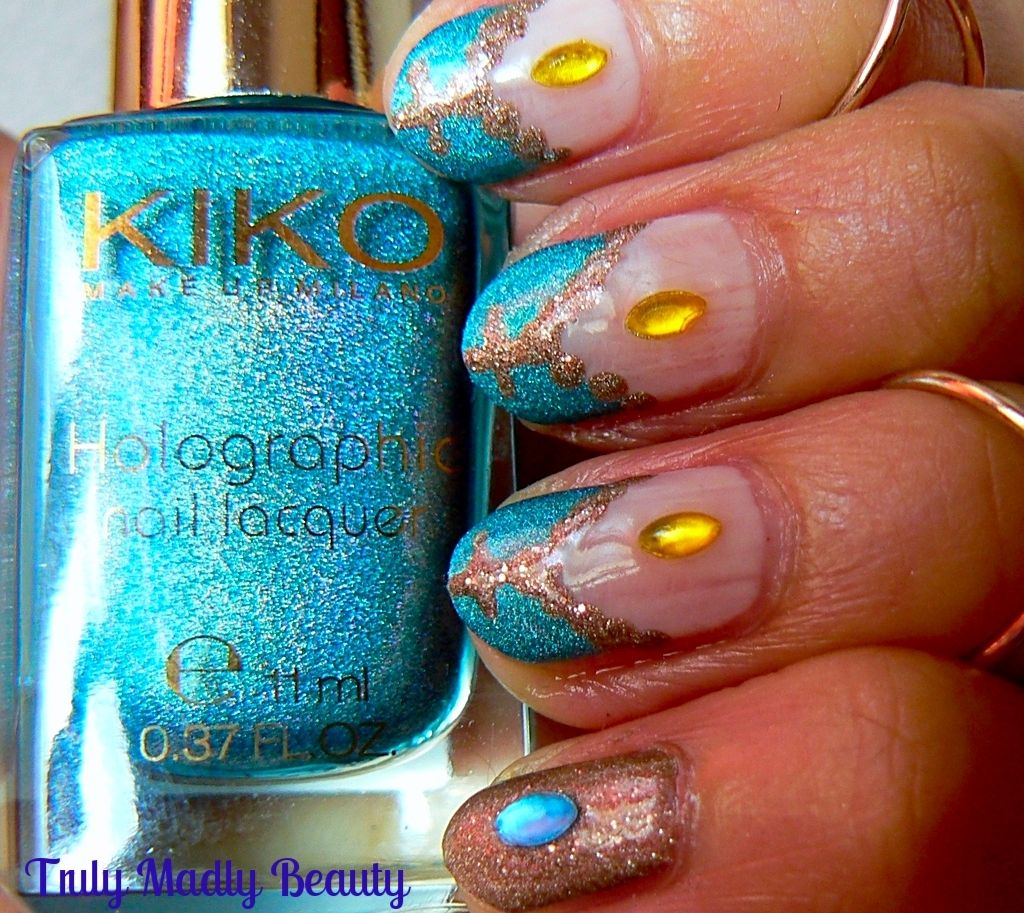
For this mani I dug out a beautiful KIKO to channel my blue sea, this one is 401, a gorgeous turquoise blue holographic polish that shimmers so prettily just like the tropical waters of the Med.


I decided to go for a V french tip design which is created easily by simply applying two diagonal strokes of polish next to each other on the tips of your nails. It doesnt matter if this isn't super neat as you will go over the edge with the gold...


And the said soft gold reminiscent of sandy beaches was delivered perfectly by this gorgeous pale gold polish from No7 Disco Nights which also contains a little bit of pale pink sparkle, so pretty.


I grabbed my small dotting tool to apply a row of little gold dots along the inside edge of the blue before finishing in the middle of the V with a wee cross. I decided to go for a full golden nail on my pinkie as I loved the pretty pale gold so much!

To finish I added on a some oval rhinestones for added sparkle before finishing with topcoat.


Now all I need to do is gaze at my nails & I'm instantly transported to a hot destination, much needed in this current frozen climate let me tell you!


The midi rings are Topshop FYI <3 Thanks as always for reading!   

Lotsa love to ya!