Hi there lovely readers!
I was in two minds about whether to share this nail art...Even though I loved the frosty mint colour, I think the pale base made my snowflakes & holo glitter stickers get a tad lost amongst the background so I kinda class this as a mani fail haha! But hey you win some you lose some right?
Showing posts with label Essie. Show all posts
12.05.2018
Festive NOTD - Mint Sparkle Snowflakes
Labels:
Christmas,
Deborah Lippmann,
Essie,
Festive,
holographic,
Kiko,
Mint,
nail art,
nail stickers,
NOTD,
Snowflake,
SoNailicious,
Sparkle,
Unicorns,
Xmas
3.12.2018
NOTD - Aquamarine Semi Precious Stone Nails
Hi there lovely readers!
Often, when I am uncertain of what shade of polish to pick for my next manicure, because you know, there simply AREN'T enough colours in the world, I sometimes grab a couple of polishes & throwing caution to the winds, have a play around to see if I can make my own custom shade to suit my mood!
Sometimes, when the nail gods are on your side & you mix two shades together, a magical thing occurs & you find yourself with a stunning new shade which is why I really love doing this! Don't get me wrong though...there have been times when this method has been majorly UNSUCCESSFUL.
8.09.2017
NOTD - Sweetpeas and Stripes
Hello
there lovely readers!
Oooh
its been a while! These past few weeks have been all manners of manic
with work, life & everything in between. Thankfully I managed to
squeeze in a brief holiday to the Poldark lands aka Cornwall to visit
one of my lovely friends plus catch some much needed time out. I
could happily have stayed there forever as I adore it there
muchly....who knows maybe one day.
As
we seem to have been rather cheated of a summer this year (seriously
Mother Nature, whats the dealio, I thought you & I had a special
arrangement?) I've been resorted to creating summer vibes via other
means, mostly my favourite way of course, on my nails.
It
really uplifts my mood greatly when I'm wearing a pretty patterned
mani & I'm an absolute sucker for florals, they soothe me so much
so whenever I get a chance you can be sure I'll be rocking a floral
manicure a lot of the time! My wish one day is to recreate stunning
floral mani's like Follow That Way...seriously this girls skills are
insane, her floral mani's are like works of art!
1.02.2017
NOTD - Pastel Winter Wonderland Nails
Hello
there my lovely readers!
Happy
new year to you all my beauts! I hope you all had a wonderful Xmas
break & new years however you spent it. I'm certain my spirit
animal is a bear as I've pretty much spent the holidays in
hibernation which has been utter bliss! Like many I'm sure I'm now
currently going through the “oh god no” motions at the thought of
going back to work!
Not
feeling QUITE so ready to part from the festive feels just yet here's
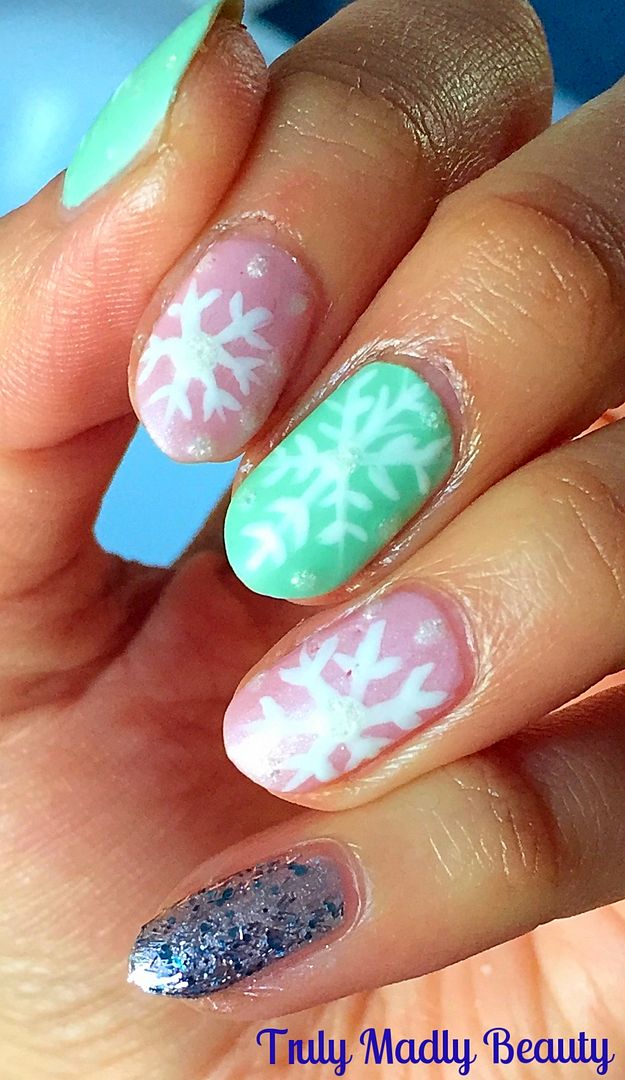
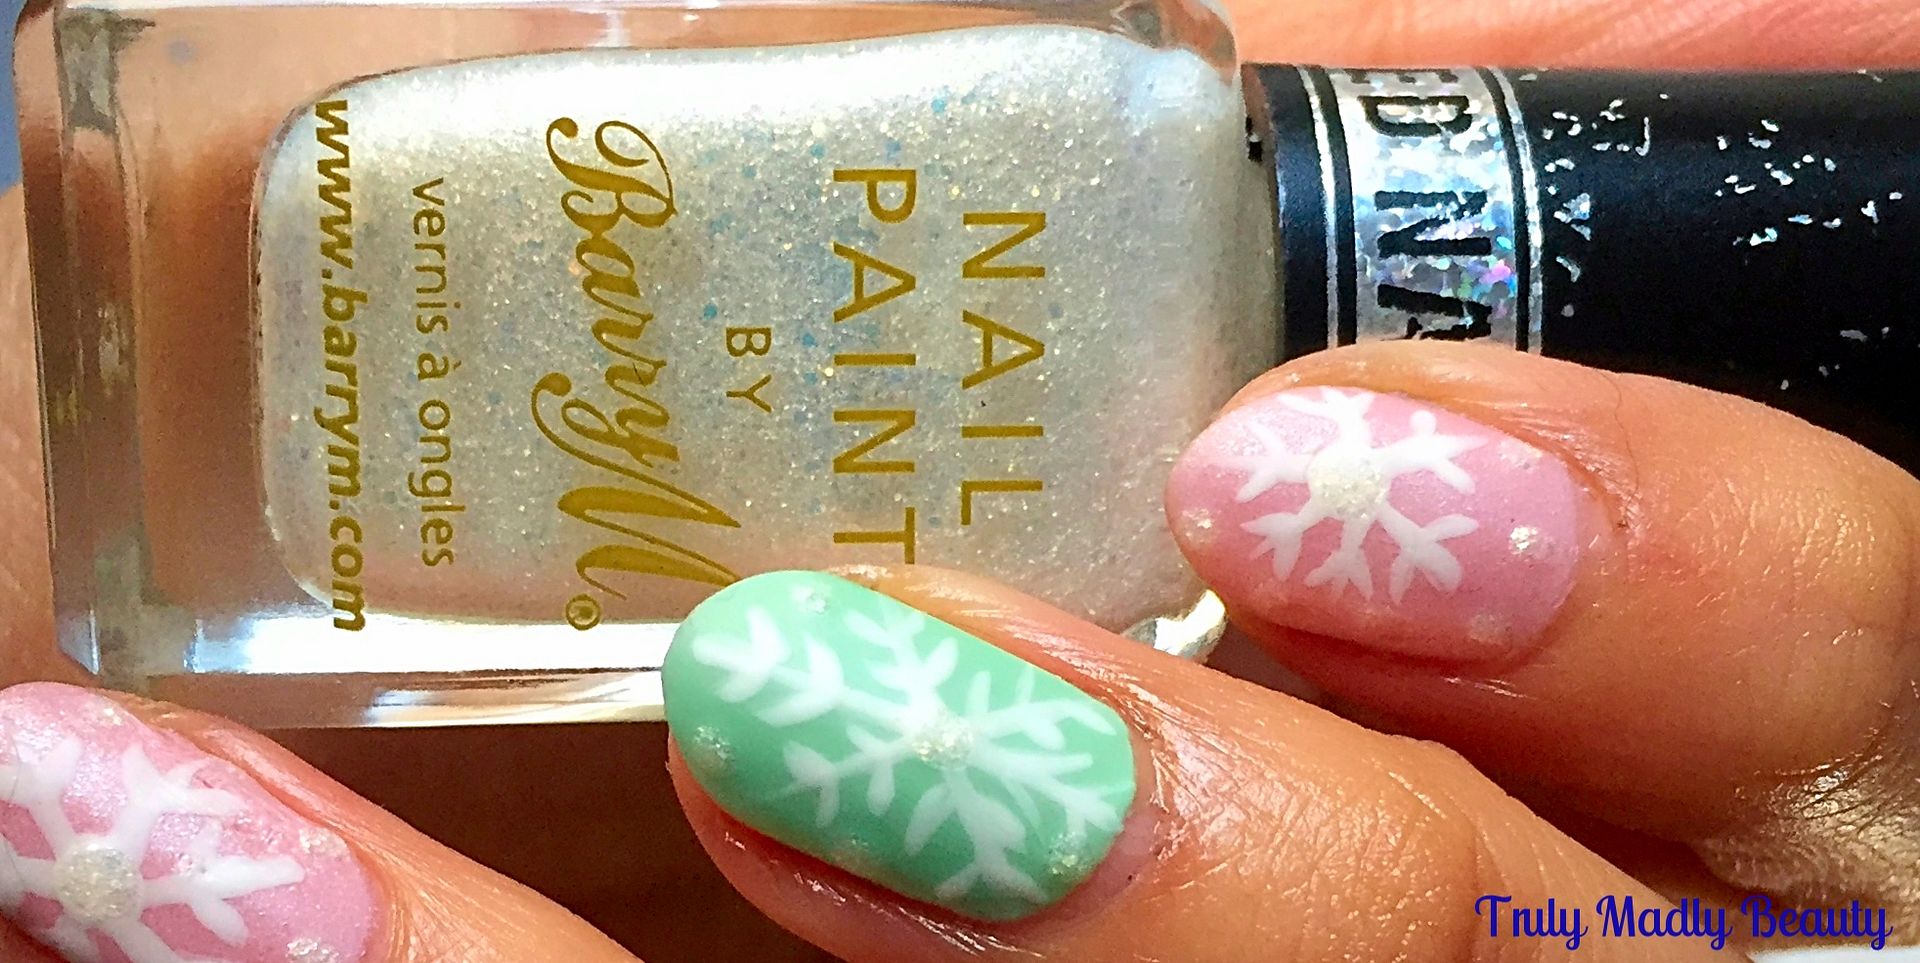
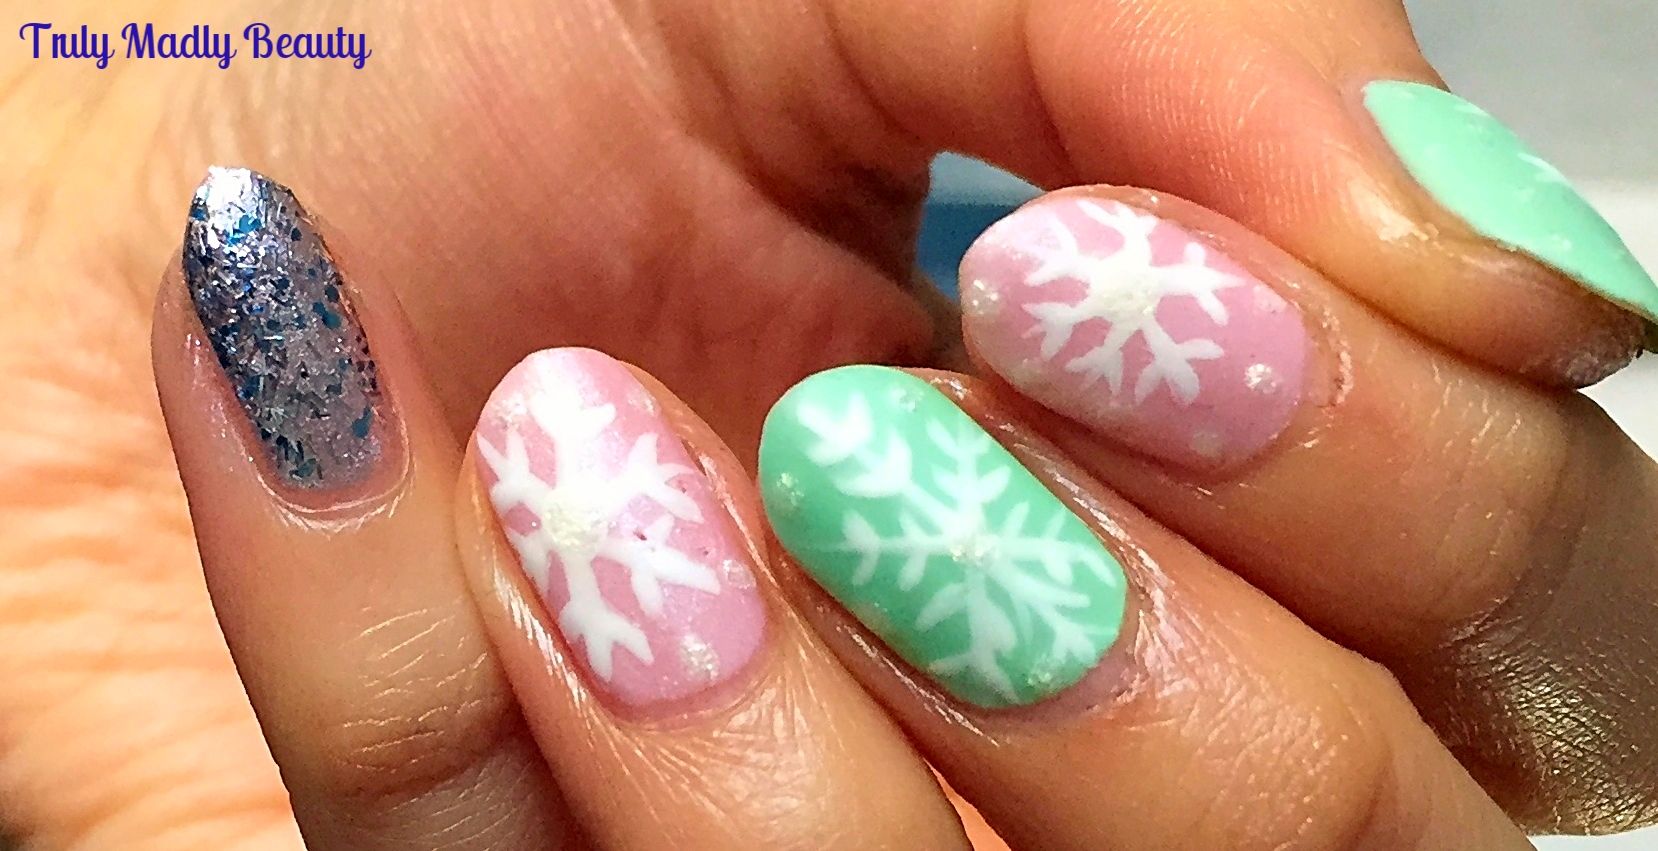
a frosty Pastel Winter Wonderland mani using sugary soft tones,
snowflakes & a bit of glitter thrown in! Normally I'm a glossy
girl all the way, however for this mani I decided to mattify the
finish & I must confess I dig it!
I
wanted some pretty pastels for my base, not able to decide I went for
a two tone using pale pink & mint.
For
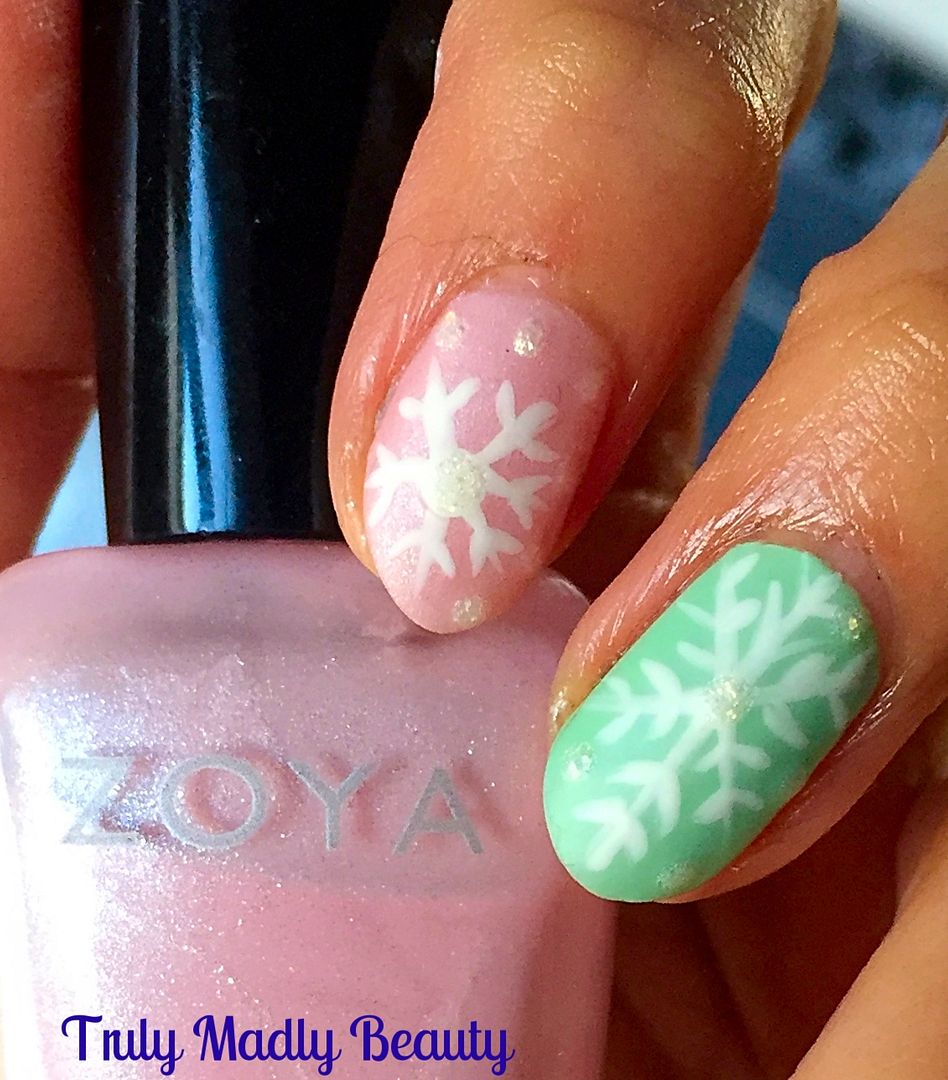
the pink I've used two coats of Zoya Bailey, a gorgeous soft pink
with a pretty pale silver shimmer running through it.
For
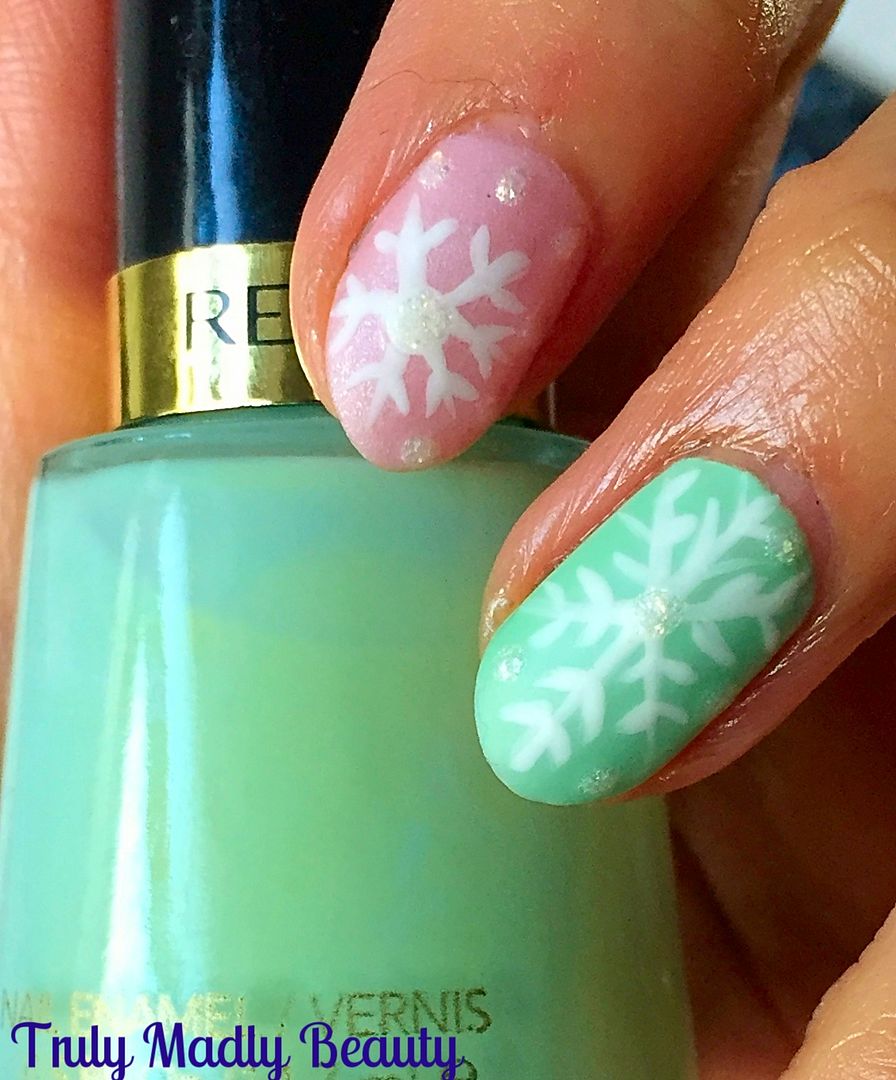
my mint green nails I went for one of my vintage Revlon polishes,
this is the aptly named Minted of which two coats were also applied.
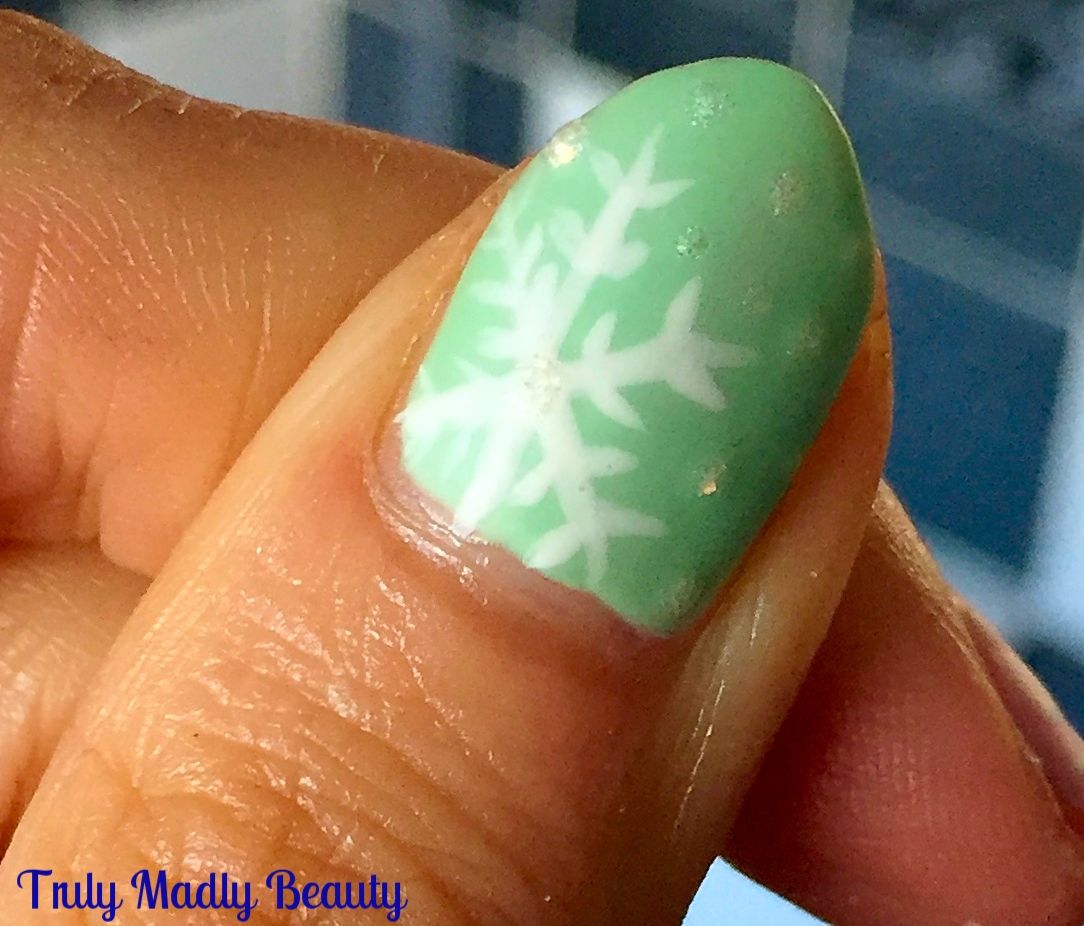
Creating
the snowflakes is easy peasy, using a fine nail art brush & some
white polish simply draw an X on to your nail wherever you'd like
your snowflakes placed, then draw a vertical or horizontal line on
top.
Now
add on your snowflake details by placing smaller angled lines along
the cross, playing around with different styles, sizes & designs!
To
add a bit of dimension to the pastel nails I dotted on a bit of Barry
M textured polish in Lady which is a really unusual & pretty
frost white shimmer.
Then
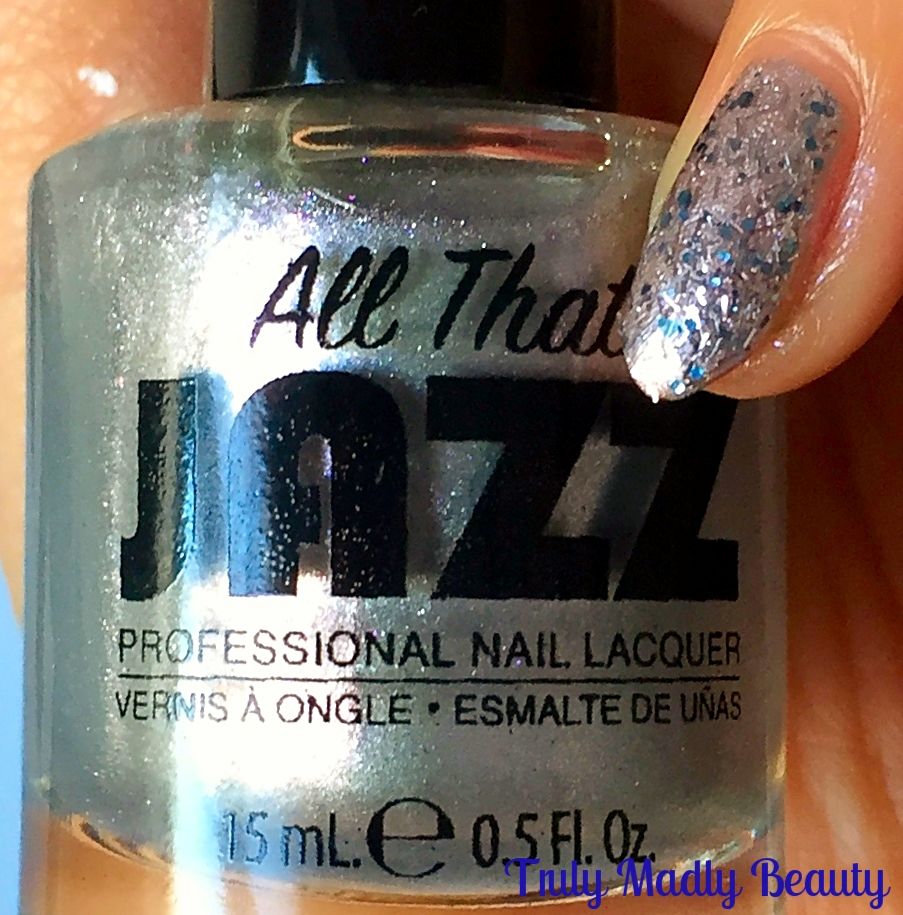
for the accent nail I applied two coats of this pretty silvery All
That Jazz polish. I couldn't for the life of me find the name of the
shade on my bottle, unless I was having a dunce moment which, lets be honest, is most likely, but it could be the shade Glam Squad
For
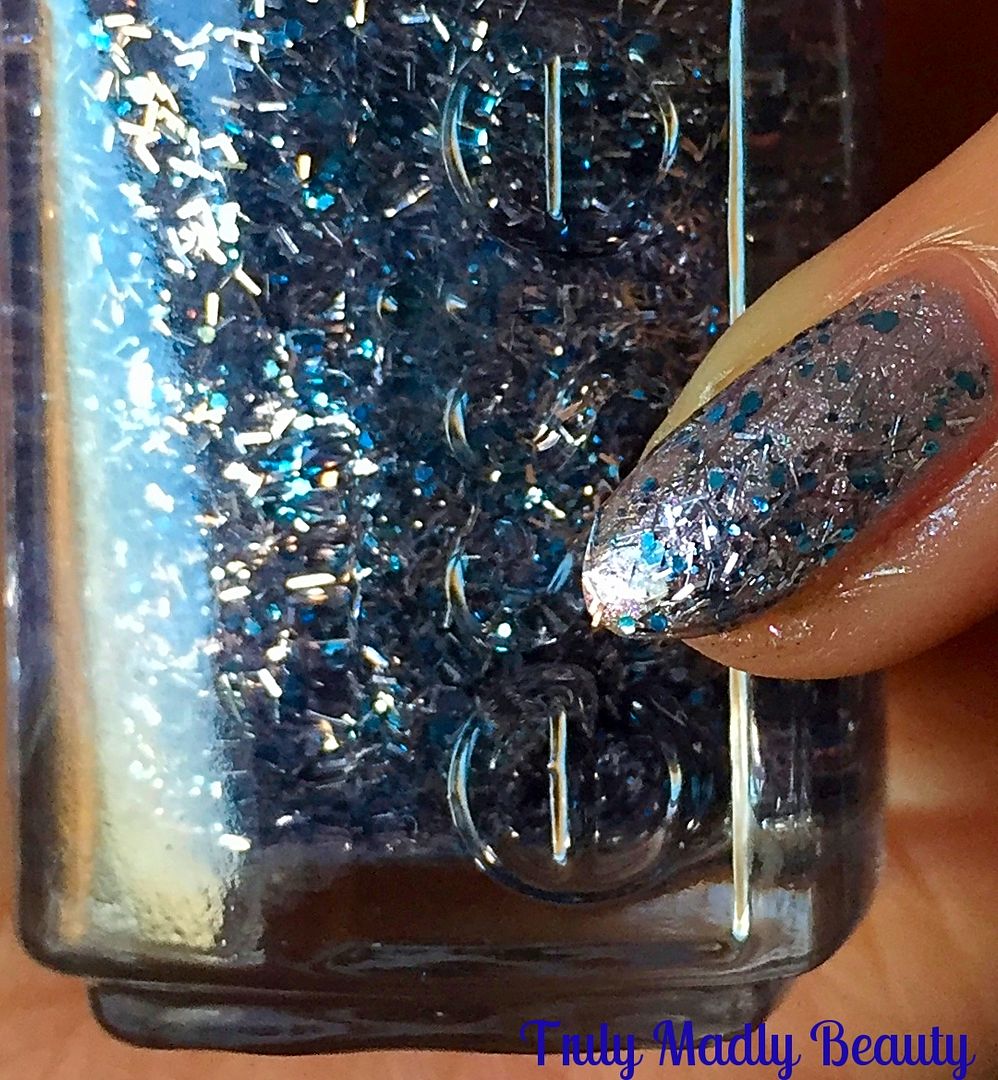
the final touch I coated the silver pinkie with this beautiful silver & frosty blue bar & hexagon glitter mix courtesy of Essie Luxe Effects in Frilling Me Softly.
As
mentioned before I decided to go for a matte look so to finish I
applied a Rimmel matte topcoat to the pastel nails. Matte pastel
manicures may just be my new favourite thing! I don't know if its the sweet tooth but this finish reminds me of cake frosting!
First
post of 2017 done! Now I'm off to hunt down that Fondant Fancy that I know is in the cupboard begging to be eaten to satisfy the sugary sweet craving this mani has enabled. Thanks as always for sticking by to read my rambles, here's to a fab year!
Lotsa
love to ya!
12.22.2016
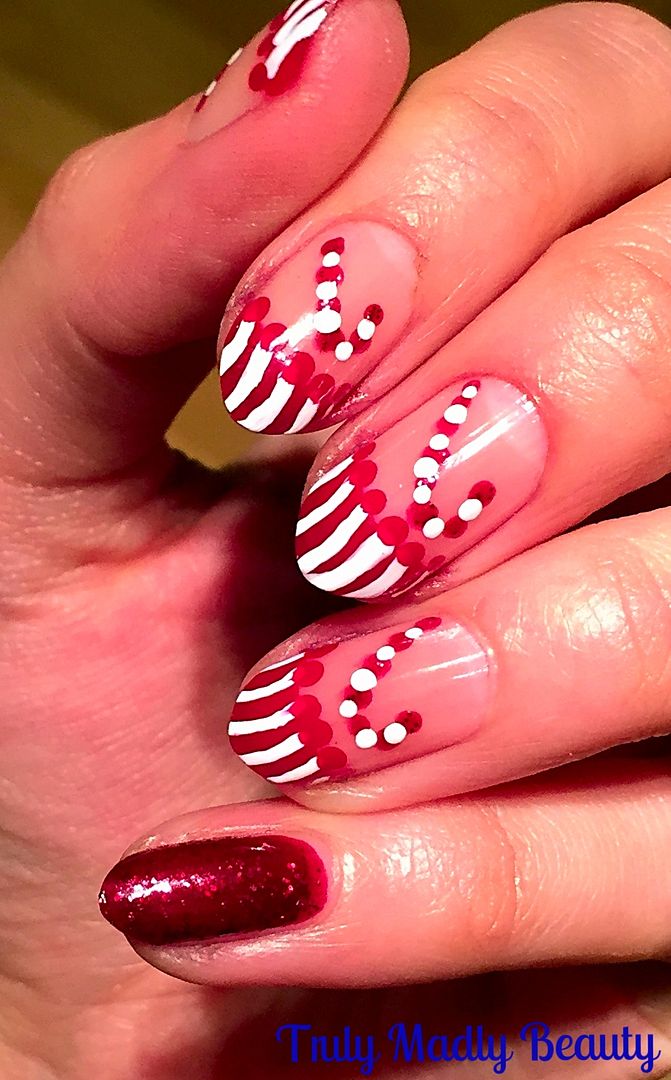
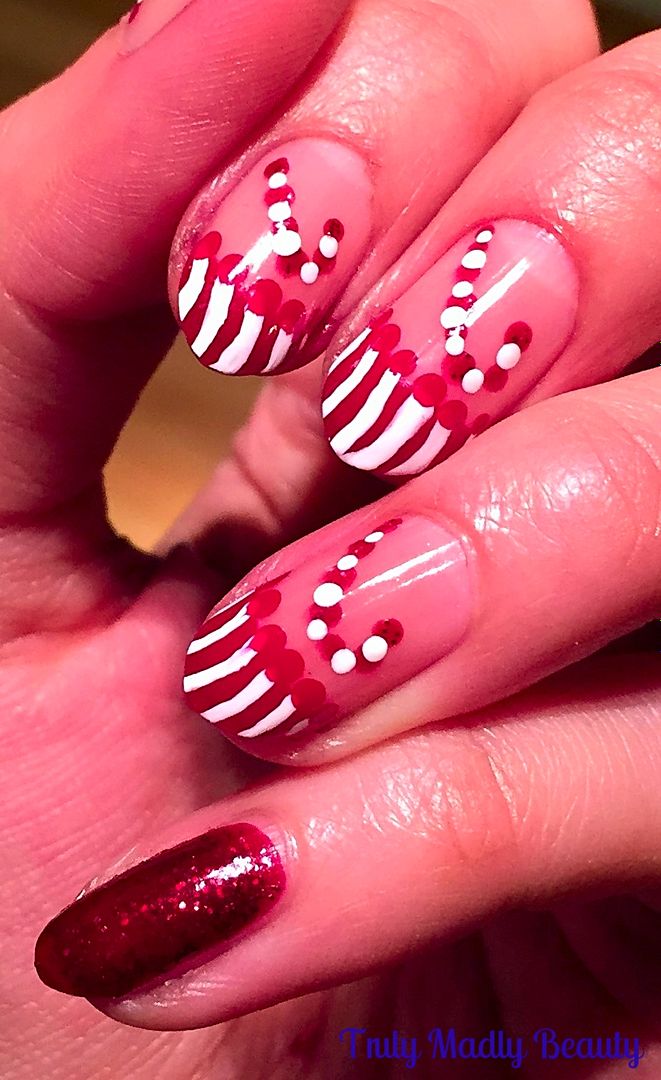
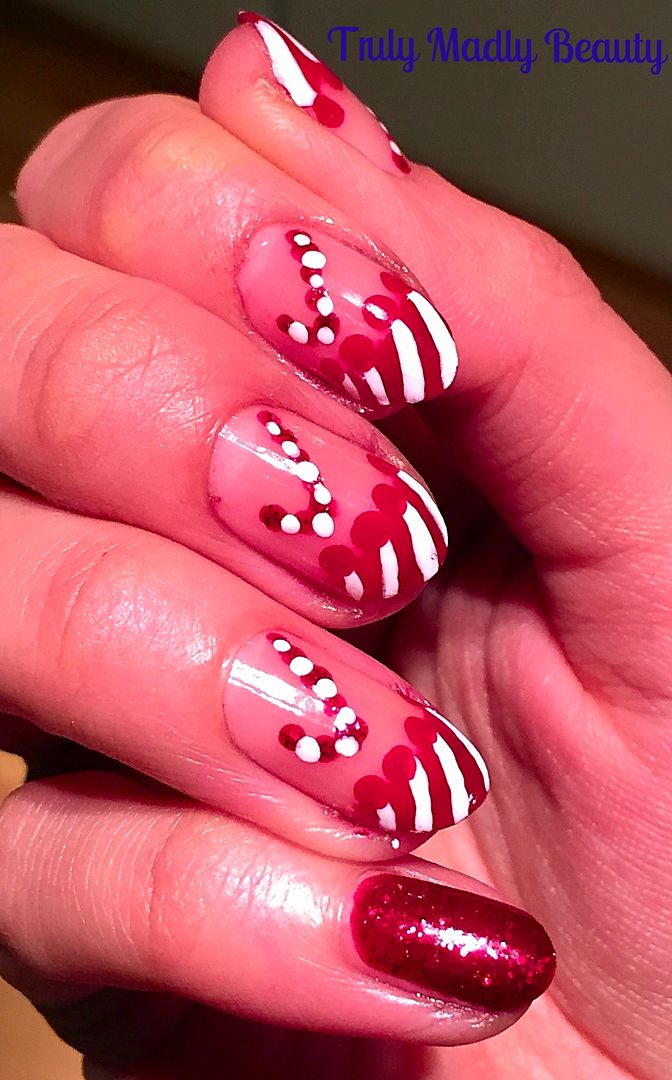
Festive NOTD - Candy Cane French Tips!
Hello
there my lovely readers!
All
ready for the Xmas weekend? I'm literally counting down the hours, for
the first time since I left school (all those aeons ago in ye old
ancient times) I'll be embracing a full festive break from next week
up until the new year as my work shuts downs during this period. To
be honest I've never been too fussed with working right up until &
straight after Xmas but I'm actually looking forward to the treat of
complete hibernation time haha!
I've
managed to roll out a few festive mani's this year starting with an
obligatory Red Sparkle, the annual favourite that is Christmas Trees
& my most popular one to date after the most lovely response on
social media for The Christmas Puddings from a few days ago. Today
I've decided to show you how you can Christmas up a standard French
manicure with some Candy Cane tips!
If
you want to feel festive on your nails but don't want to go all out
seizure inducing sparkle then this is the perfect alternative! All
you need is some red, white & sparkle to transform your french
mani into something suitable for the season :)
To
help create a neat smile line on my tips I use french manicure guides
which you can pick up super cheaply off of Ebay or Born Pretty Store.
If you don't have these then hole punch reinforcers work just as
good!
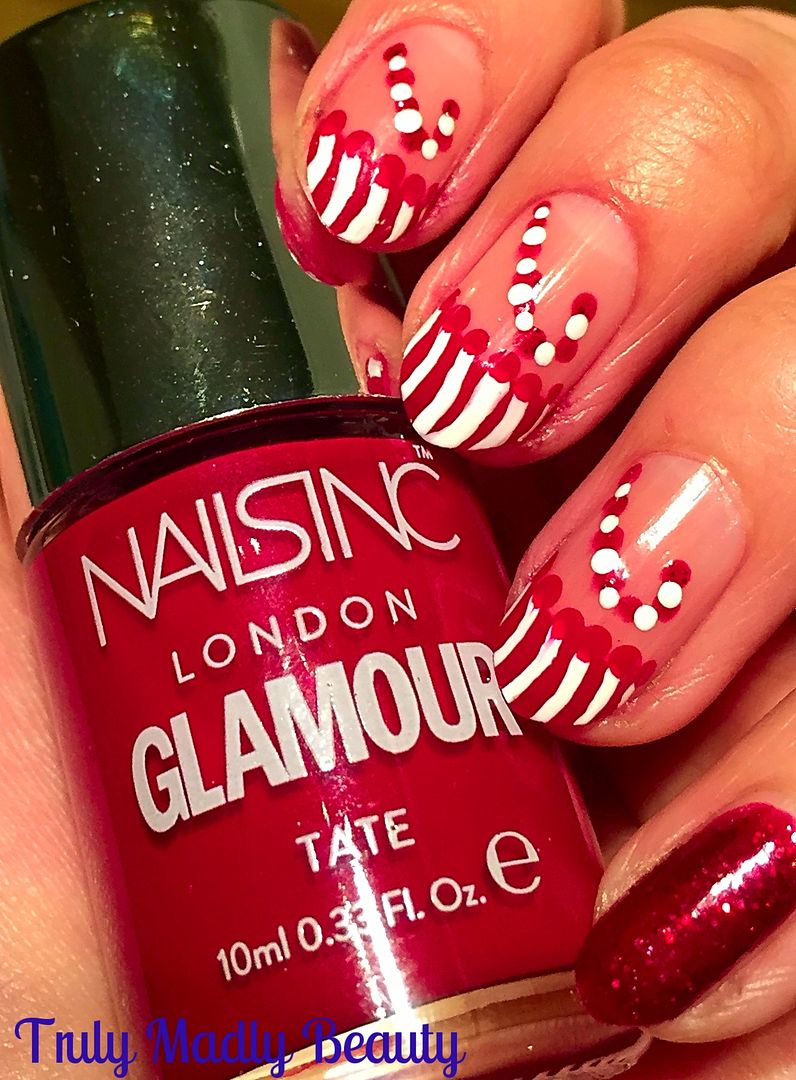
Using
these & my red polish of choice, on this occasion a lovely deep
red by Nails Inc called Tate, which was one of those fab magazine
freebies they do on occasion, I painted on my red tips to all my
nails bar my pinkie.
Next
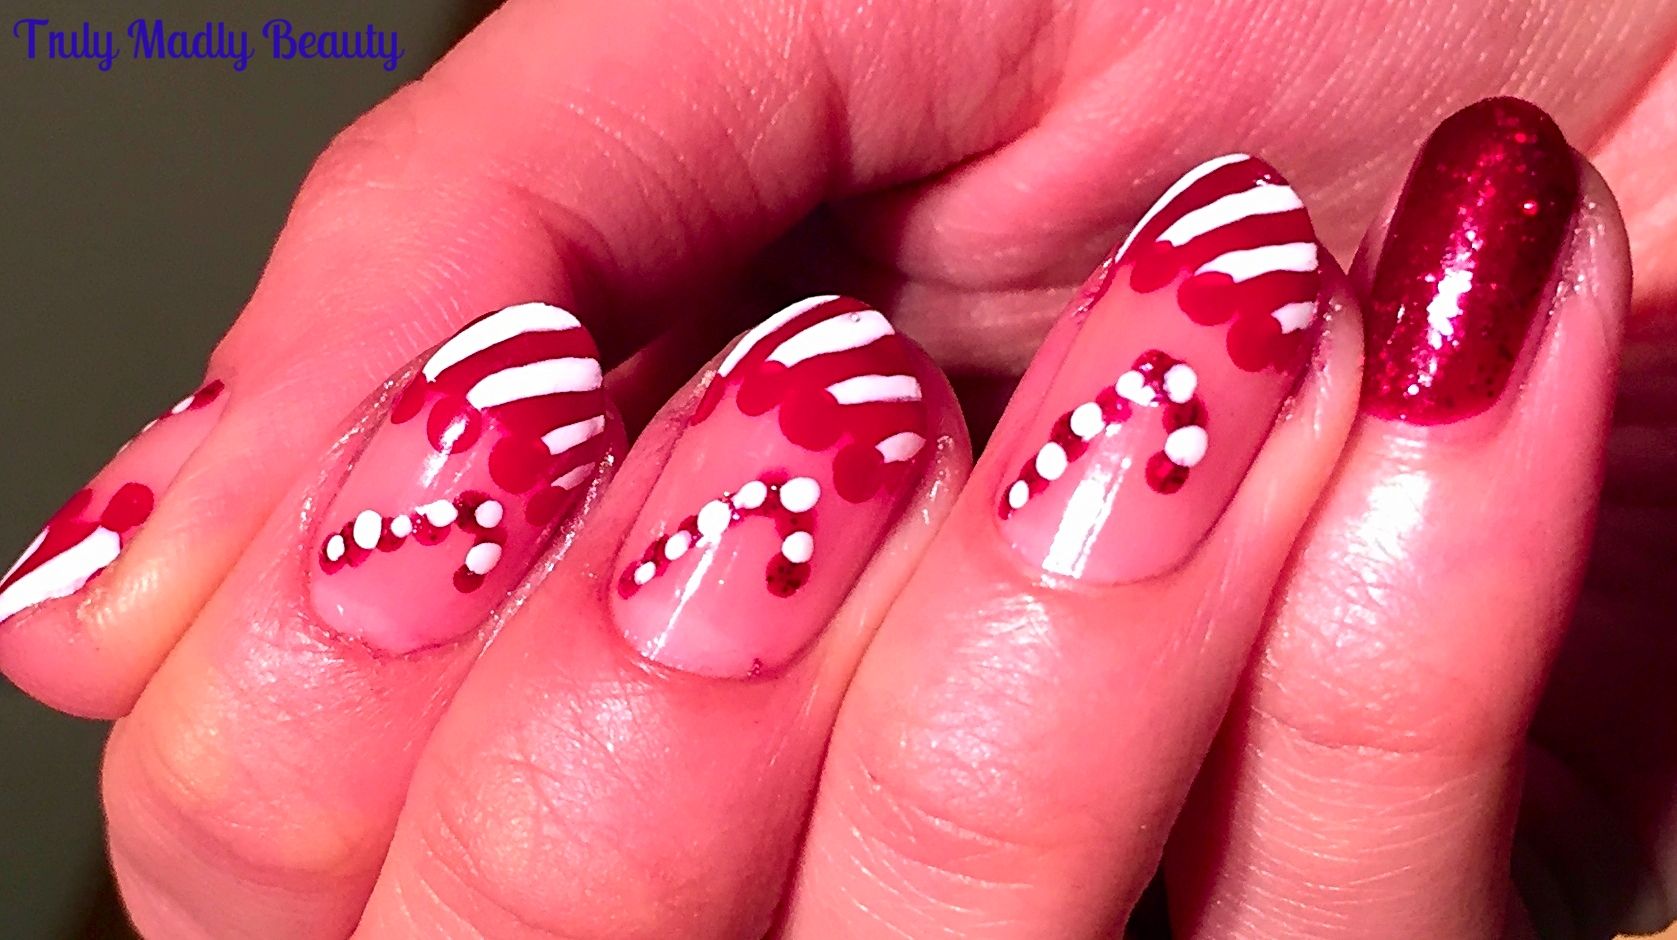
to create your candy cane stripes just grab a nail art pen in white,
the Barry M ones are really good, or of course a fine nail art brush
& white polish & apply a row of curved lines along your red
tip. Of course you can also do this vice versa! Starting with white
tips instead & adding red stripes...whatever you fancy :)
You
can then neaten up your smile line if there is some smudging with a
brush & acetone or you can do what i did & add an additional
detail of red dots along the smile line to sneakily cover up any
white that gone over...hehe ;)
My
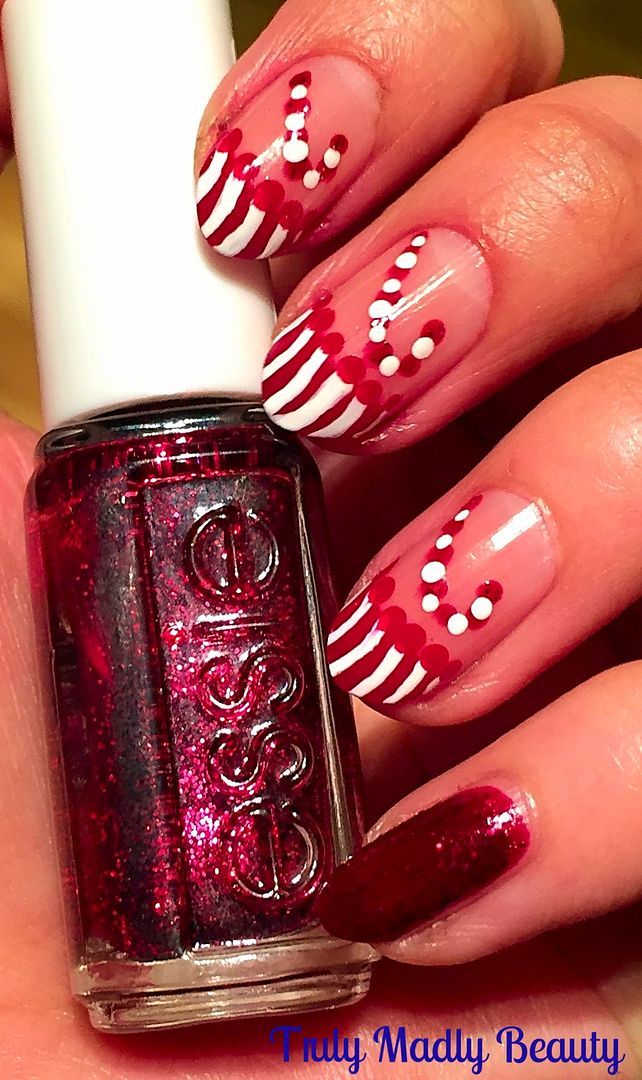
pinkie was feeling a tad neglected so I rectified this by applying
two coats of the gorgeous Essie Leading Lady, you can't beat a
satisfying red sparkle can you & this is the most beautiful shade
of wine red. Screams Christmas vibes!
Then
for the candy canes, I just grabbed my dotting tool & using some
more white & the red Essie glitter, applied some dots in the
shape of a candy cane alternating the red & white.
Finish
it all with topcoat of course. In a most odd turn of events my dears
you are actually getting a rare shot of my right hand here! By some
strange sorcery I actually ended up preferring how the right one came
out using my non dominant hand...weird O_o
Hope
you liked this festive take on a French manicure beauts! If I don't
get a chance to blog before the big day, wishing you all the most
merriest of Christmas's however you spend it. Thanks as always for
reading!
Lotsa love to ya!
7.17.2016
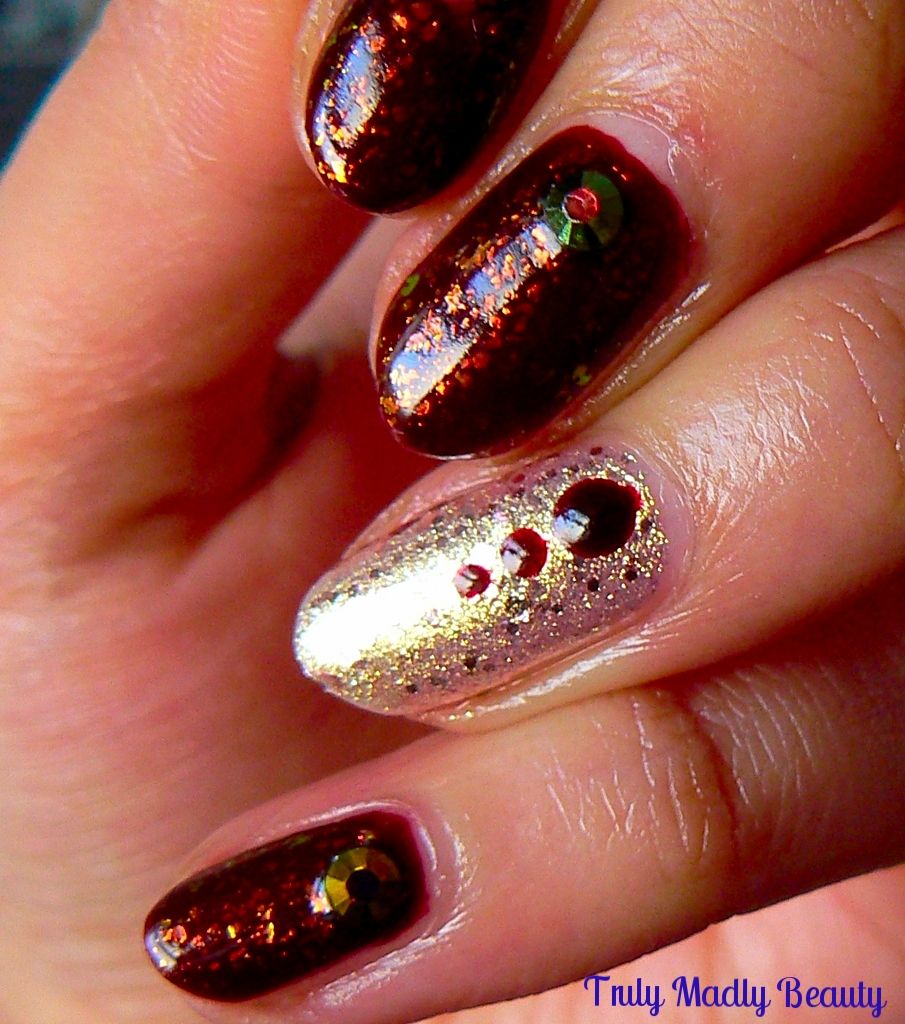
NOTD - Game of Thrones Fire & Blood Inspired Nails...
Hello
there lovely readers!
Ooooh
its been a while since I've used a good flakie polish! Well I thought
it was high time I rectified that situation ASAP today...
Flakie
polishes are a fab way to jazz up an otherwise ordinary shade if you
are after a little something different but don't want to go down the
whole glitter route. Flakies are basically fine shards/flecks of
holographic glitter, usually suspended in clear polish however you
can find some serious rainbow POW WOW flakies these days...*looks at ILNP*...prepare your eyes for some serious sparkle! Note to self: BUY
ALL THE ILNP FLAKIES.
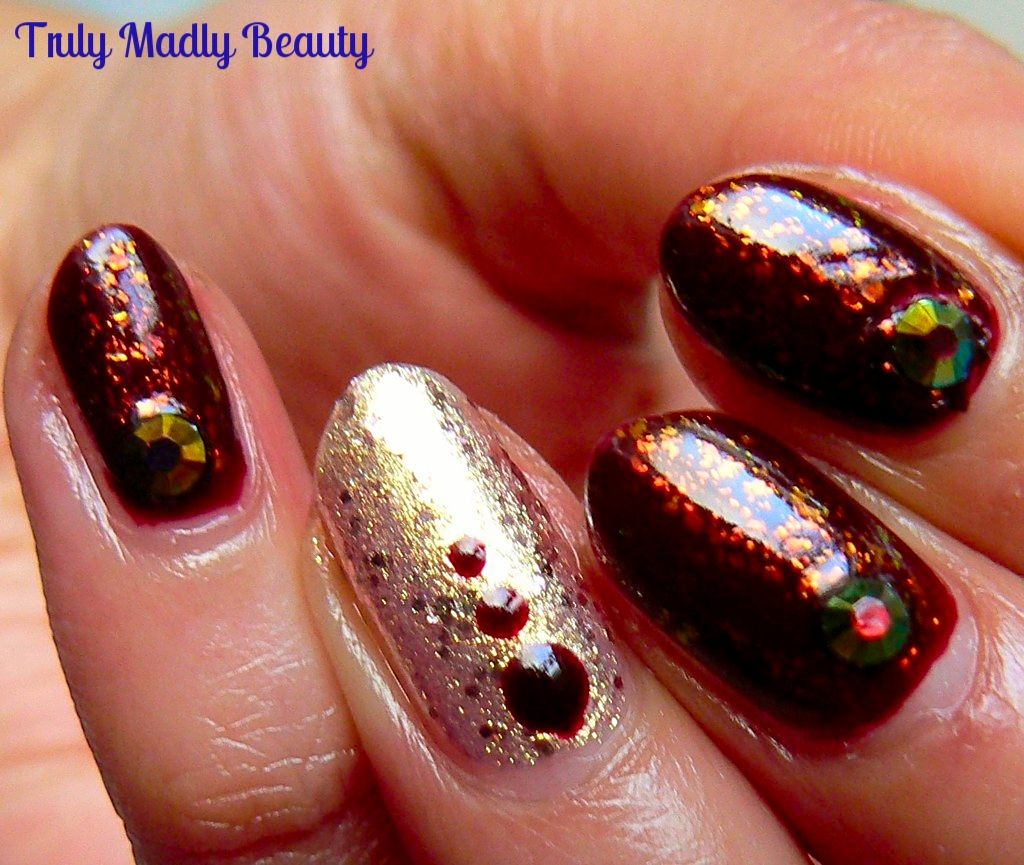
I
was having a brain-fart moment & couldn't decide what to do,
finding myself engrossed in reading my current Game of Thrones books
plus having (finally!) started watching the TV series, I used this as
inspo & combined a mixture of my favourite things, glossy
burgundy, antique gold, pretty stones & of course a bit o' flakie
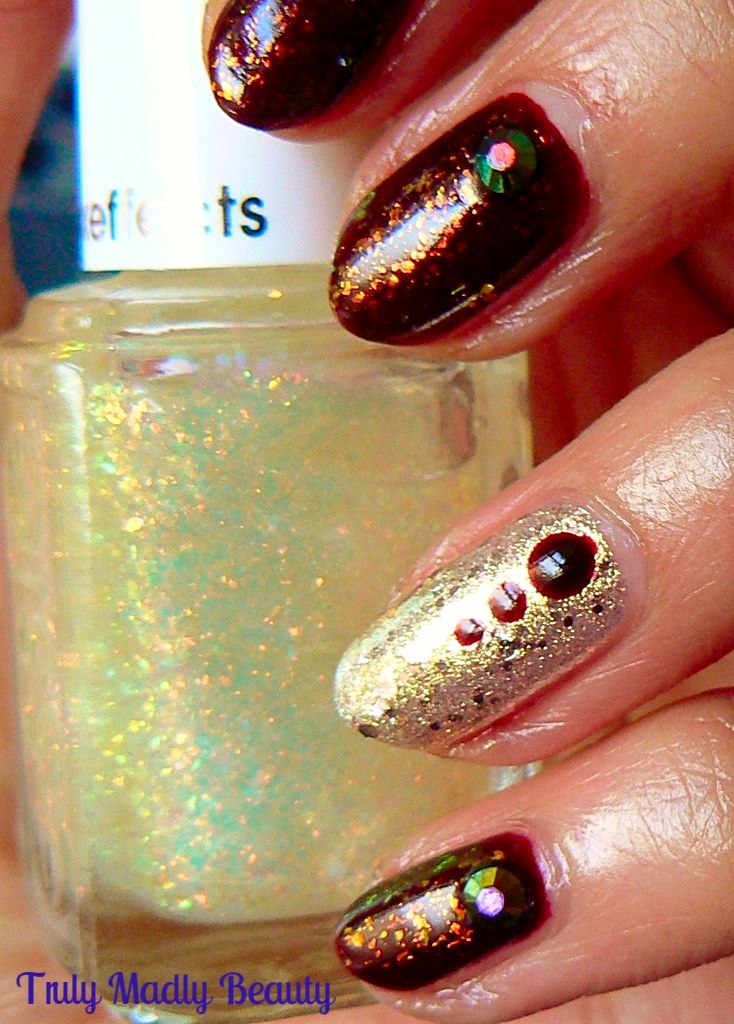
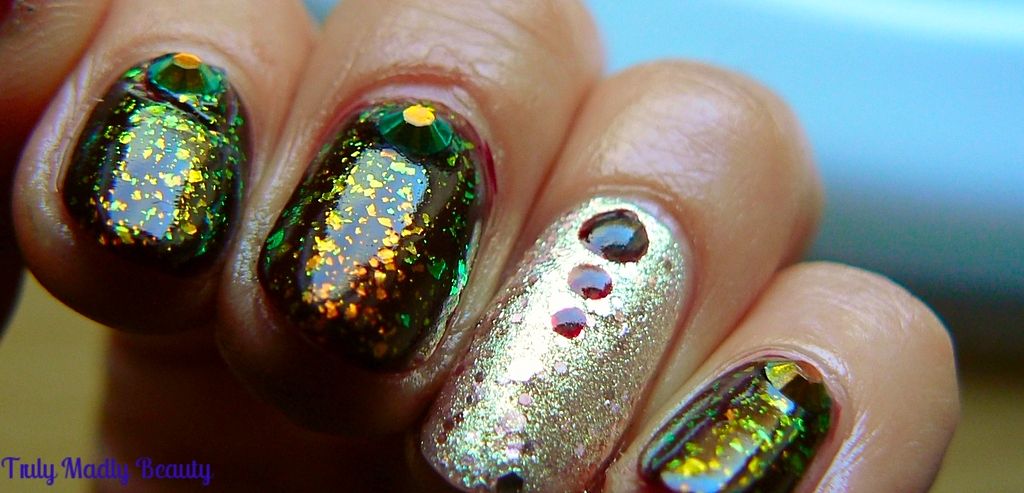
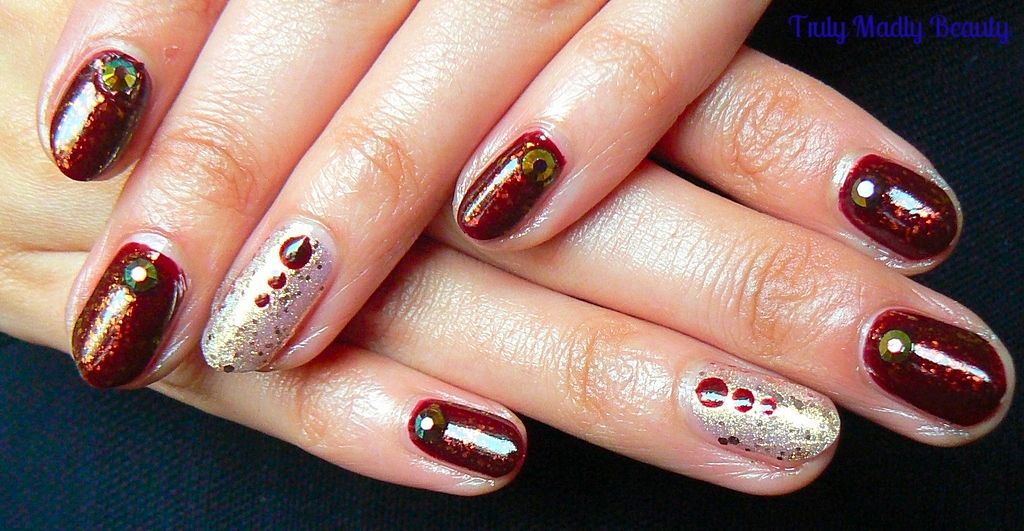
to create a vampy medieval Fire & Blood Game of Thrones vibe
mani!
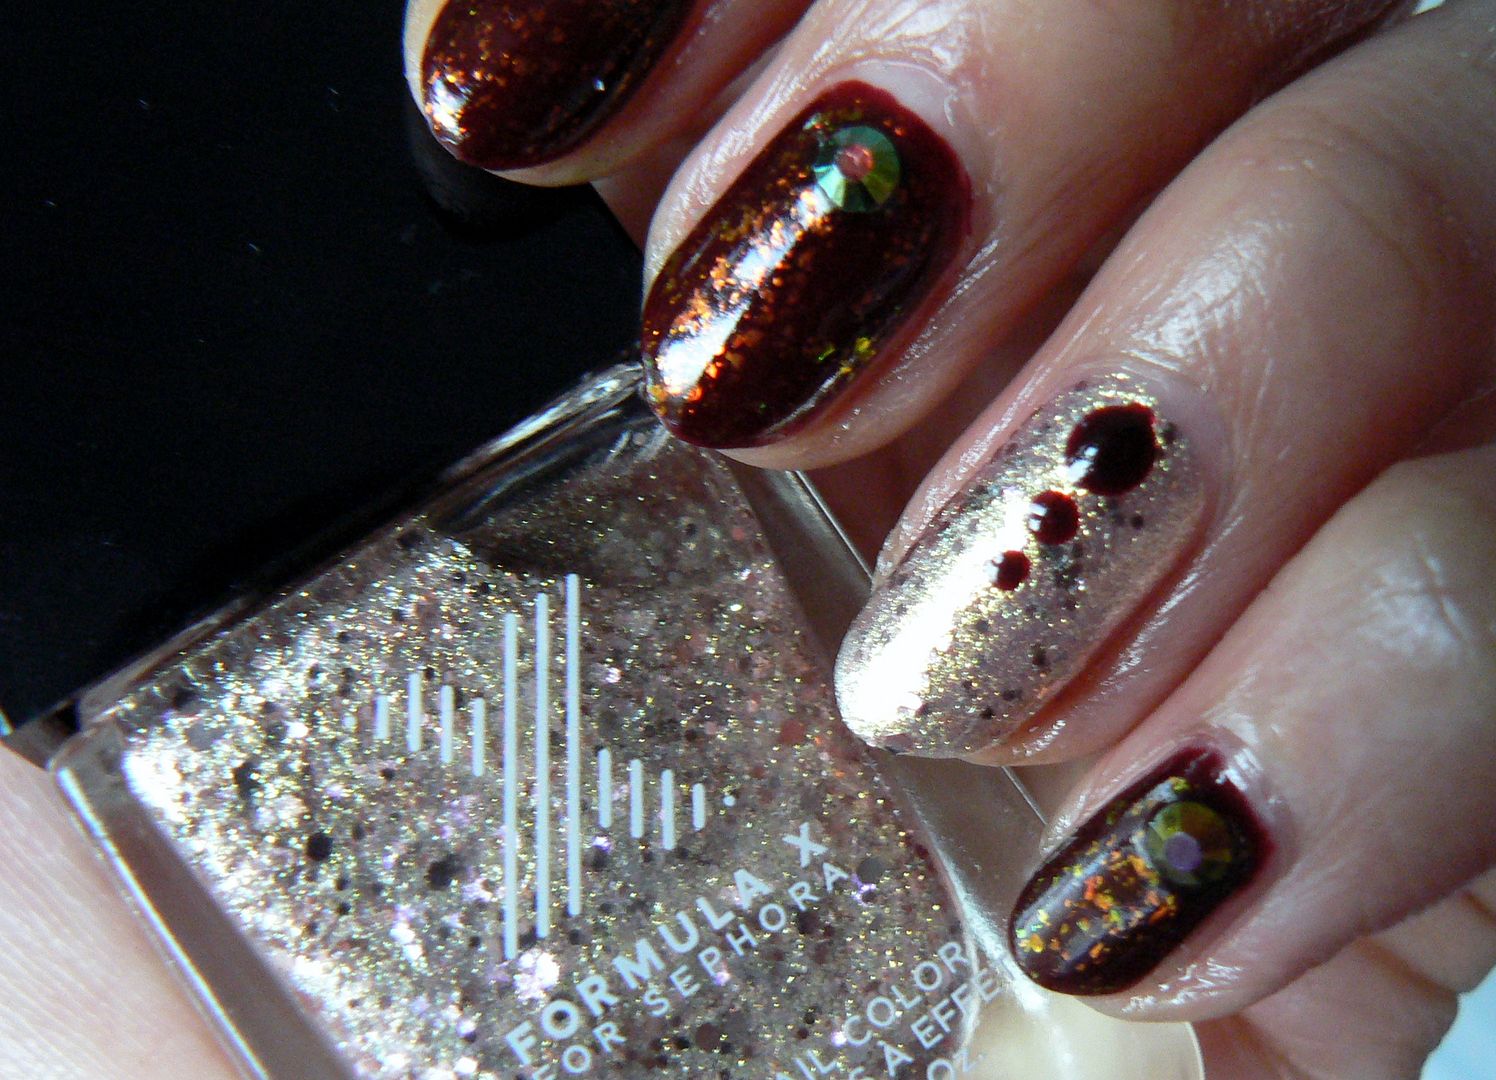
For
my gold fix I used two coats of Formula X Love Chemistry on my
pointer finger which I picked up in Sephora during my NYC trip last
year. I must be the only blogger to visit Sephora & come away
with nothing but polishes haha! But then I guess that shouldn't
really surprise. Love Chemistry is a swoon worthy pale gold foil with
pink hexagonal glitters, so pretty!
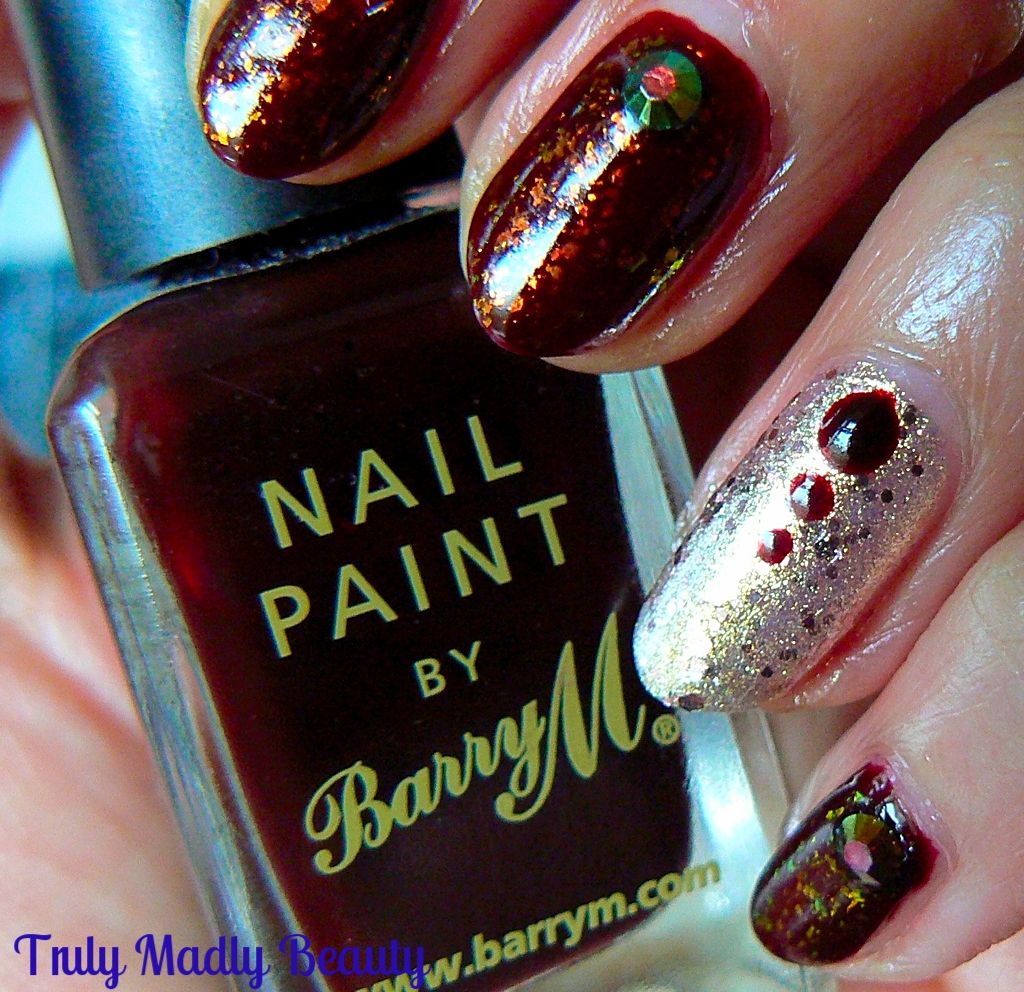
Then
for the gothic blood touch, of which there is no shortage of in GofT
I'm sure you'll agree, I reached for a golden oldie, one that
has actually been repurchased I love it THAT much, good old reliable
Barry M Red Black. Two coats leaves a lovely glossy finish.
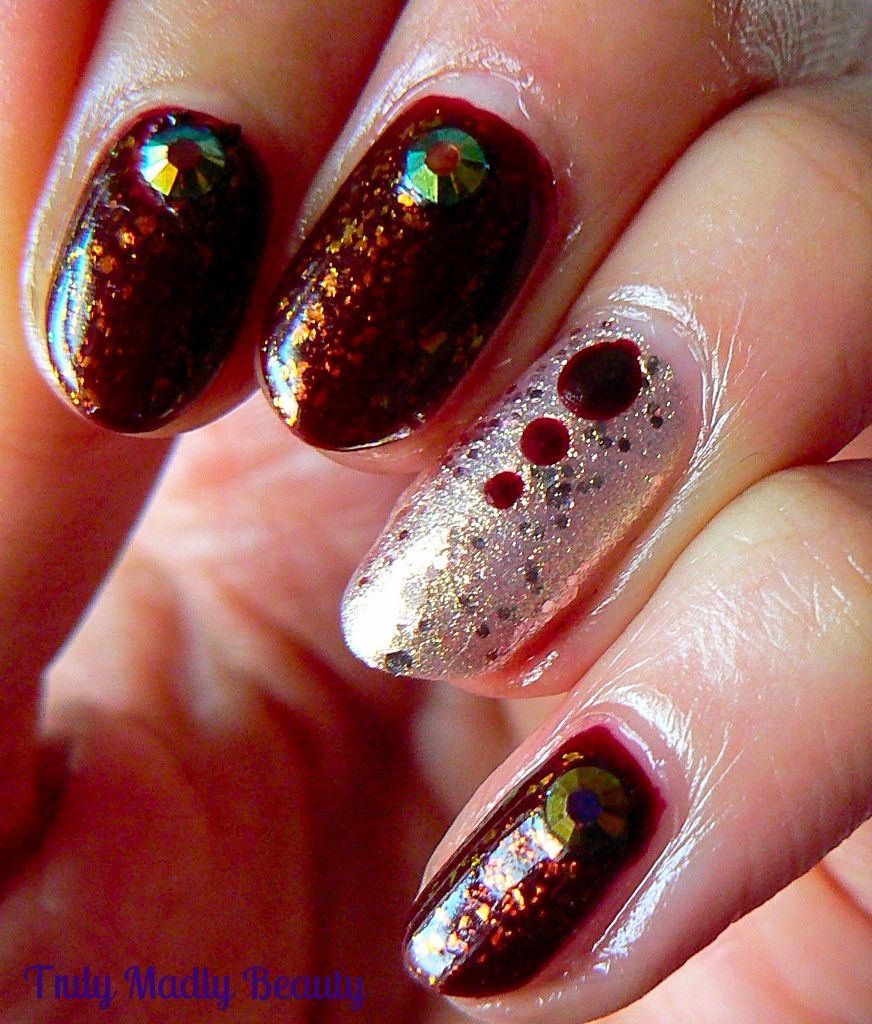
Using
the same shade I added on a trio of dots in descending size on top of
the gold nails using my double ended dotting tool which has a
different sized dotter on each side...doesn't it look just like drops of blood? I luuuuuurve it! Yes I know...I'm weird.
Next
for the flakie action! Here I've used Essie LUXE Effects in Shine of
the Times & oh how puuuurdy it is. Apply one coat on top the
Black Red & simply sit back & enjoy that dazzle. Depending on
which angle & light you look at it from you can detect colour
shifts of fiery orange to shimmery green.
For
a final touch (because you know I'm ALL for the subtle look) I
finished the mani with a pretty turquoise tinted black rhinestone on
each nail which I picked up from Born Pretty Store, before adding
some topcoat to seal. Use my code TRUW10 for 10% off.
And
thats it! Hope you liked my darlings, any other Game of Thrones fans
out there? Thanks for reading!
Lotsa
love to ya!
Labels:
Barry M,
Born Pretty Store,
Essie,
Flakies,
Formula X,
Game of Thrones,
gold,
gothic,
nail art,
NOTD,
Rhinestone,
Sparkle,
Vampy
5.24.2016
NOTD - Tally Ho by True Brit London
Hello
there lovely readers!
Hope
you're all well! Find myself suddenly experiencing impromptu panic
attacks at the thought of packing for New York next week, can't
believe how quickly its crept up! Cannot contain my excitement &
joy at the thought of being in my favourite city once again. But
before that one must organise! If you have any NYC holiday guides/itinerary's/blog posts then do hit me up as I would love to
have some more recs! :)
Today
I have another one of the lovely new True Brit London Spring/summer
releases to share with you. So far you've seen Dolly Mixture, a
satisfyingly sweet pink & the next one I wanted to give a test
drive was the delightfully named *Tally Ho!
Tally
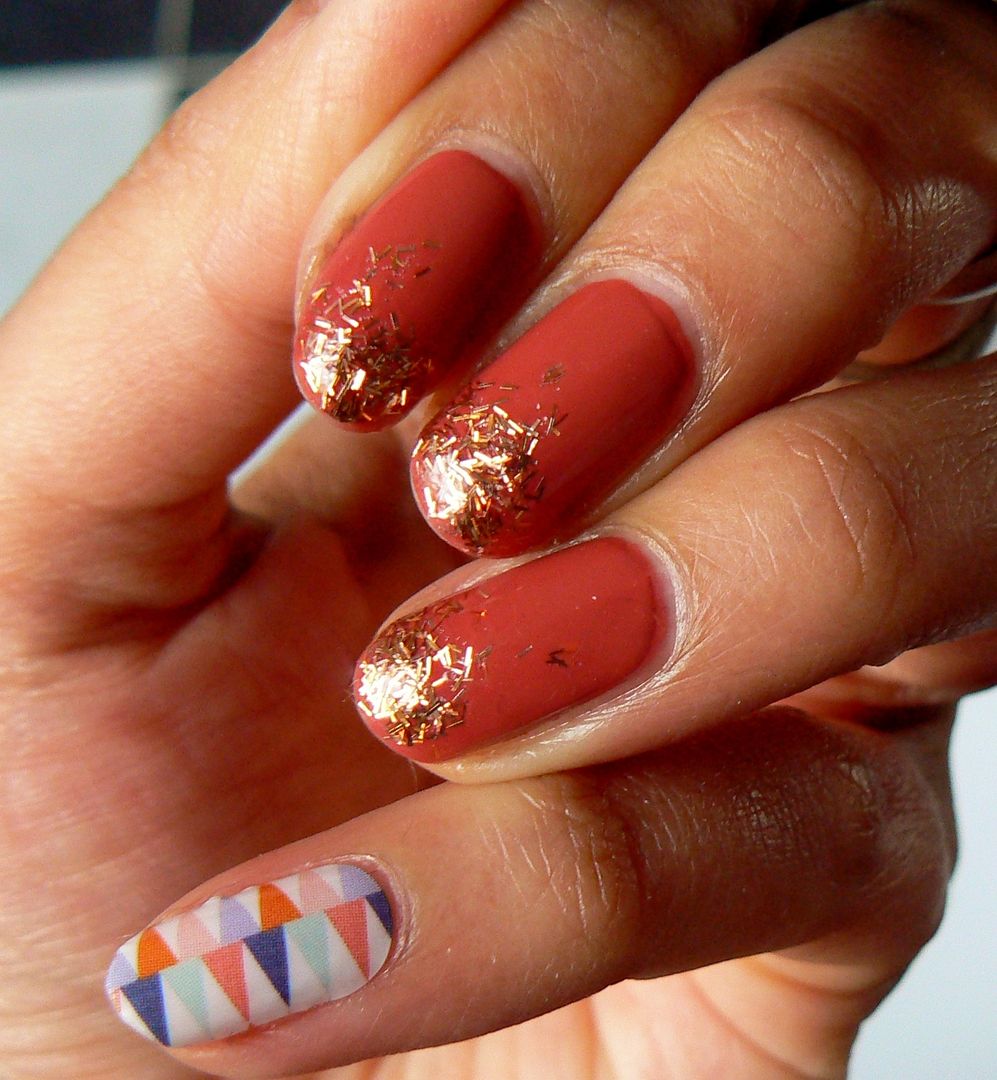
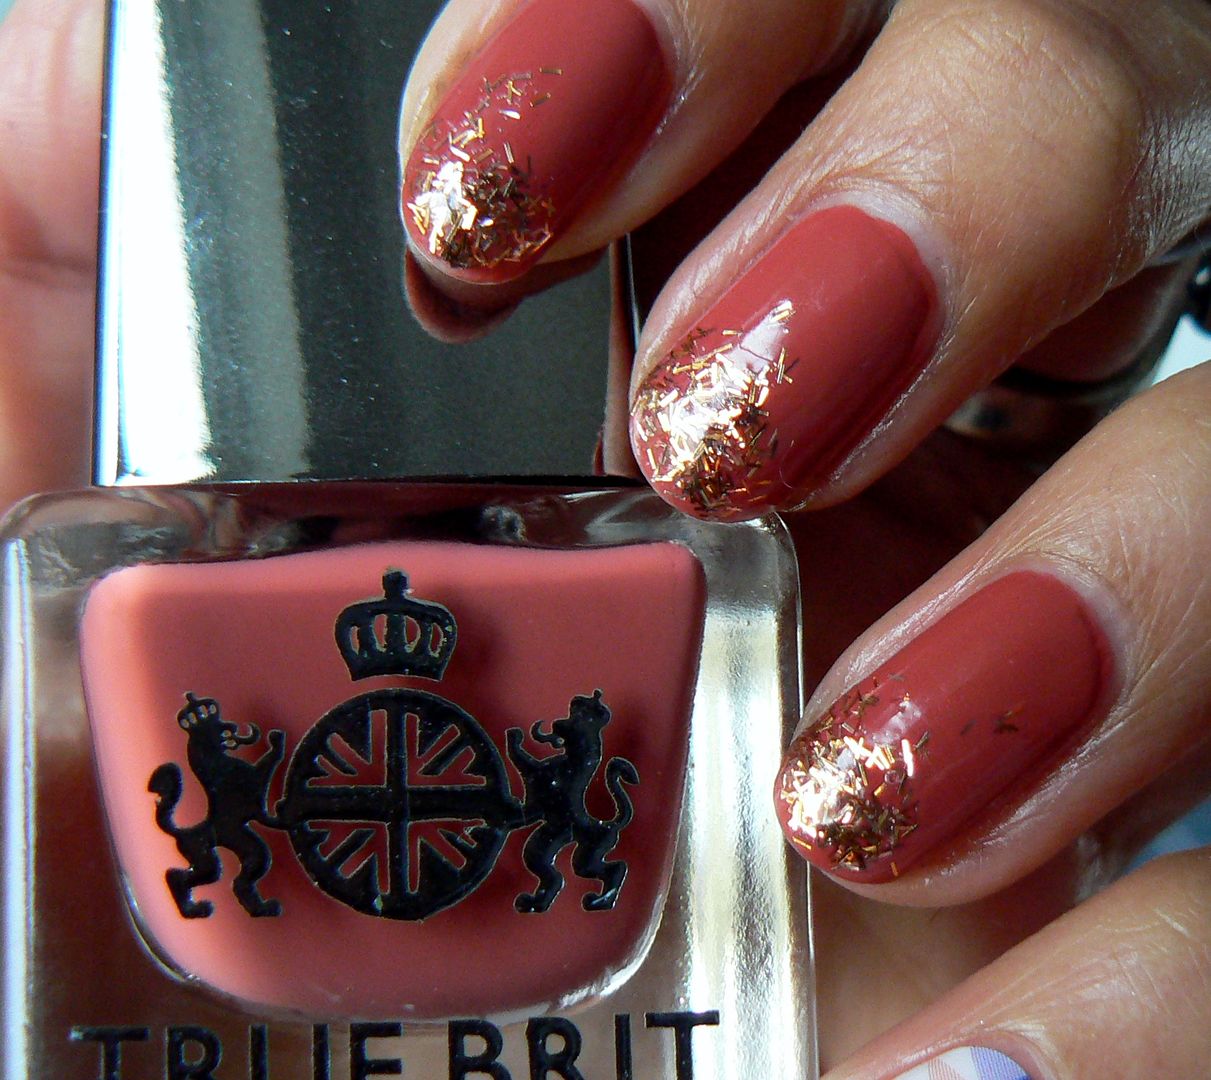
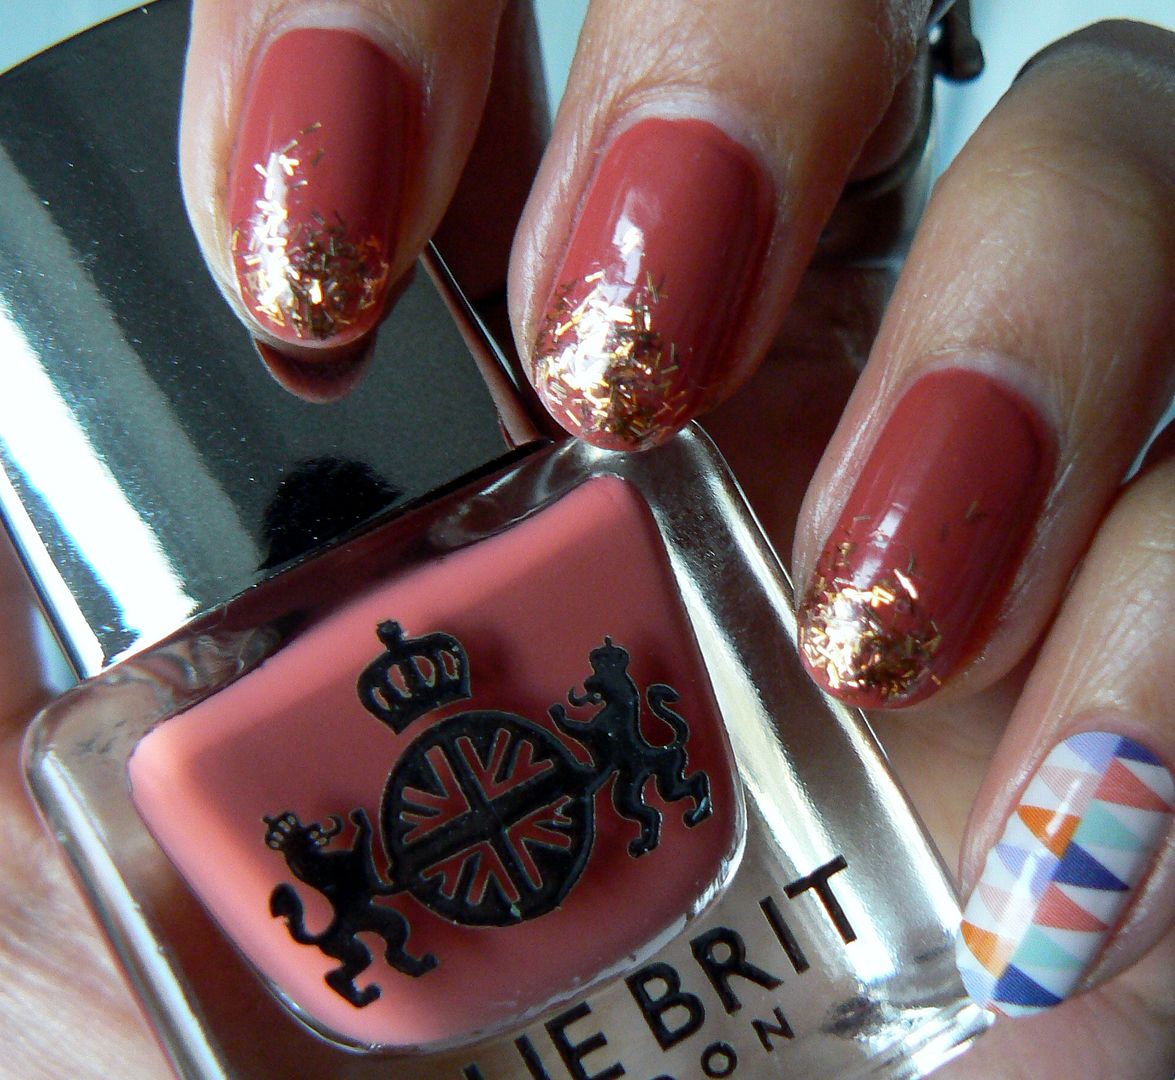
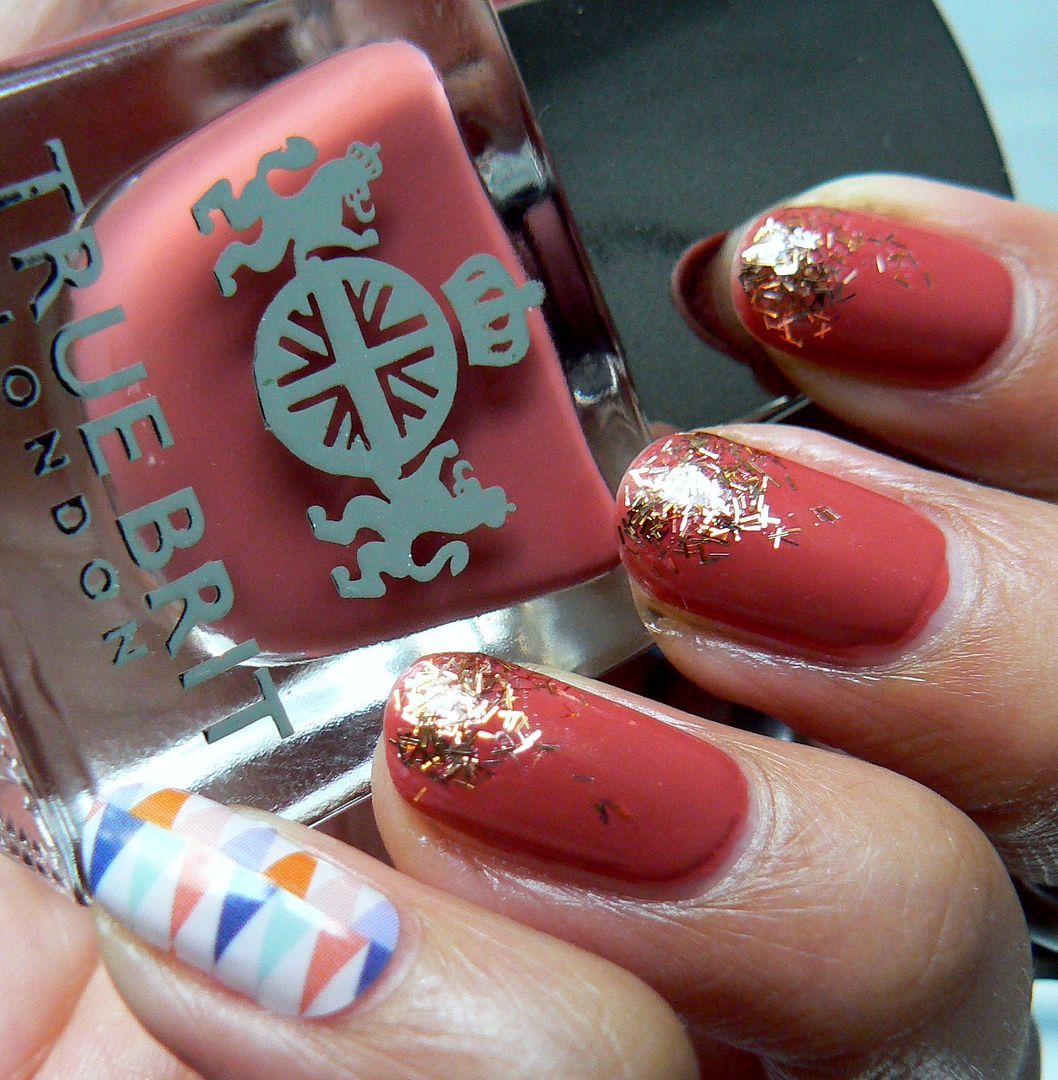
Ho is most definitely a unique one, a burnt tan terracotta cream,
I can say for certain I don't own anything like it, which for me is quite the feat!
The
shade is warm enough to stop it from being too harsh &
orange toned which I love & the cream formula was a dream to
apply in two coats.
I'm
sure you're used to me enough by now to know I can't resist jazzing
up my nails in my two favourite ways...glitter & Jamberry!
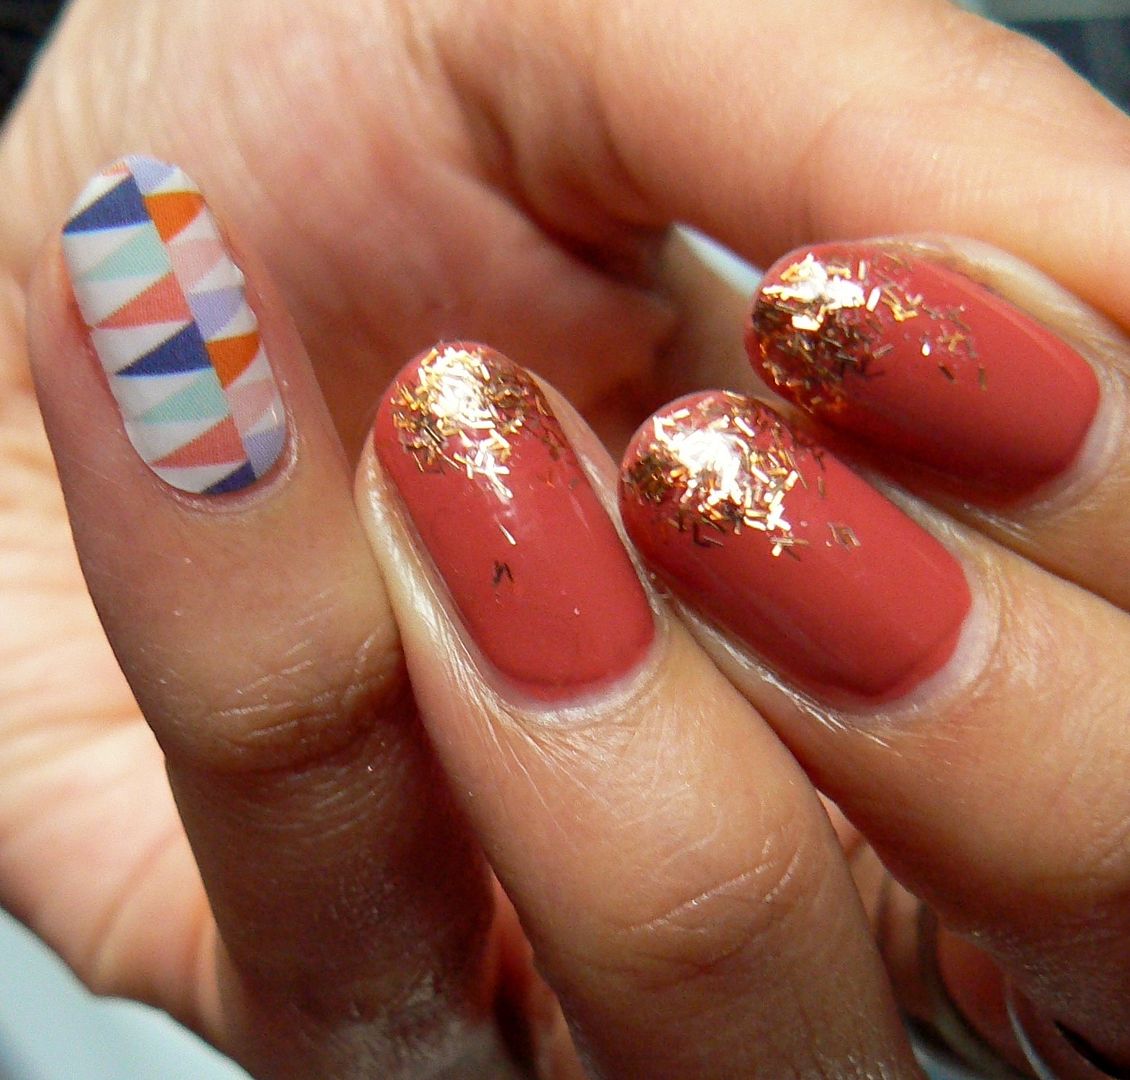
The
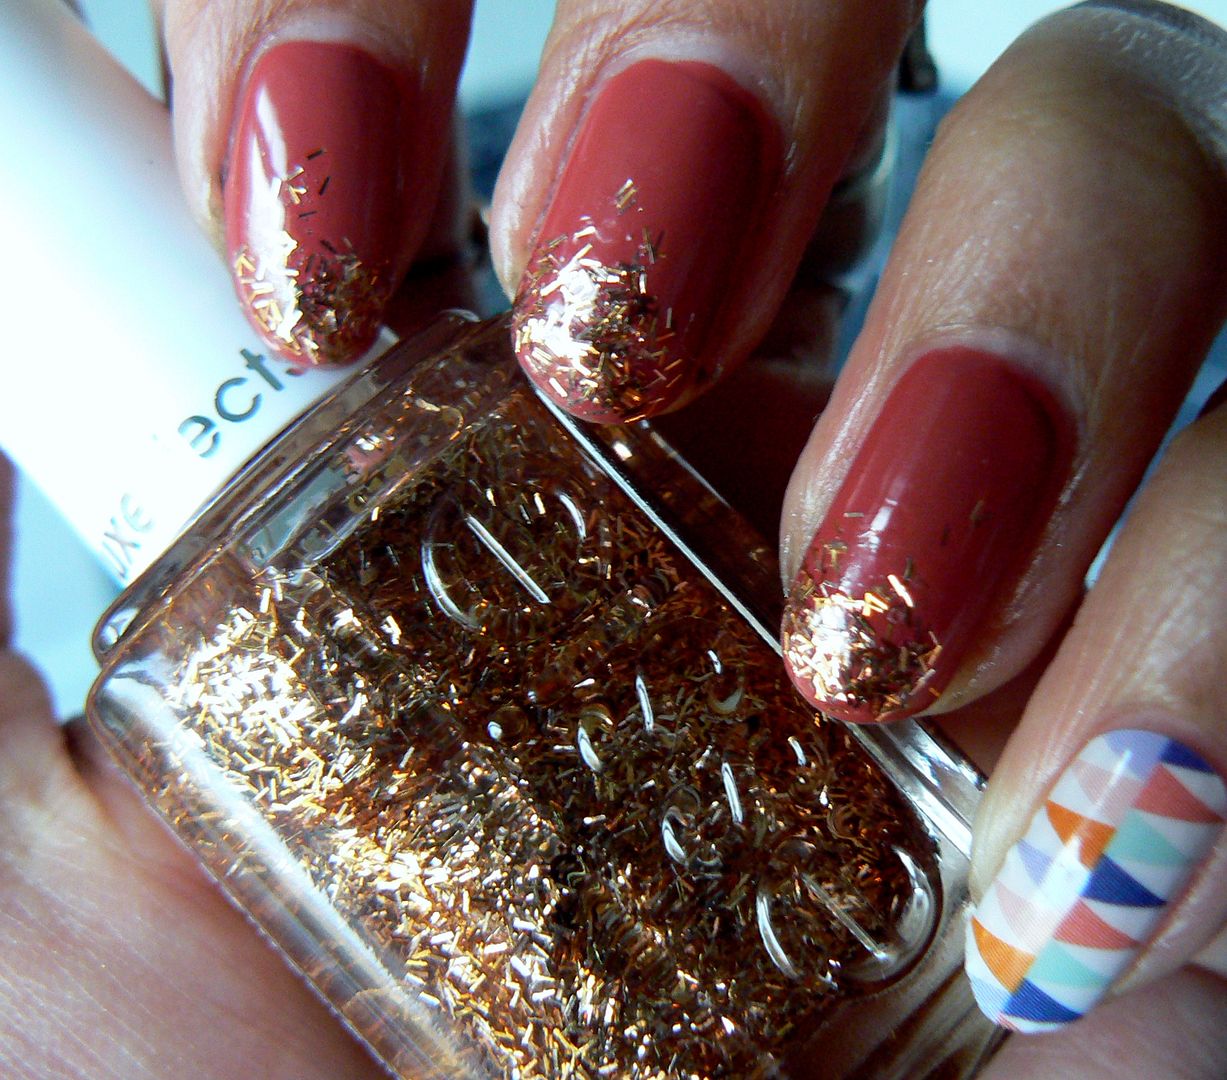
glitters comes courtesy of Essie's Tassel Shaker, a super sparkly
golden bar glitter topper which I've simply dabbed on to the tips as
a glitter gradient
For
my Jamberry touch I've used the Circus Tent wrap which not only
contained similar teracotta tones but also actually reminded me of
bunting...VERY British thus perfect to pair with Tally Ho. I applied
the wrap on my pinkie so easily, do check out my full post on
Jamberry HERE for all the details :)
Finish
with topcoat bar the little Jamberry pinkie as the wraps require no
topcoat, no drying time & will last up to 2 weeks with zero
chipping!
Thanks as always for reading beauts! You
can find the True Brit London nail polishes online for £12.50 where
you can also get 10% off your order using my code TRULY10
Lotsa
lovs to ya!
Disclaimer
- * products featured were sent to me for my consideration. I am not
affiliated with the brand nor paid for this post, this review has
been as always my 100% honest opinion! :)
12.23.2015
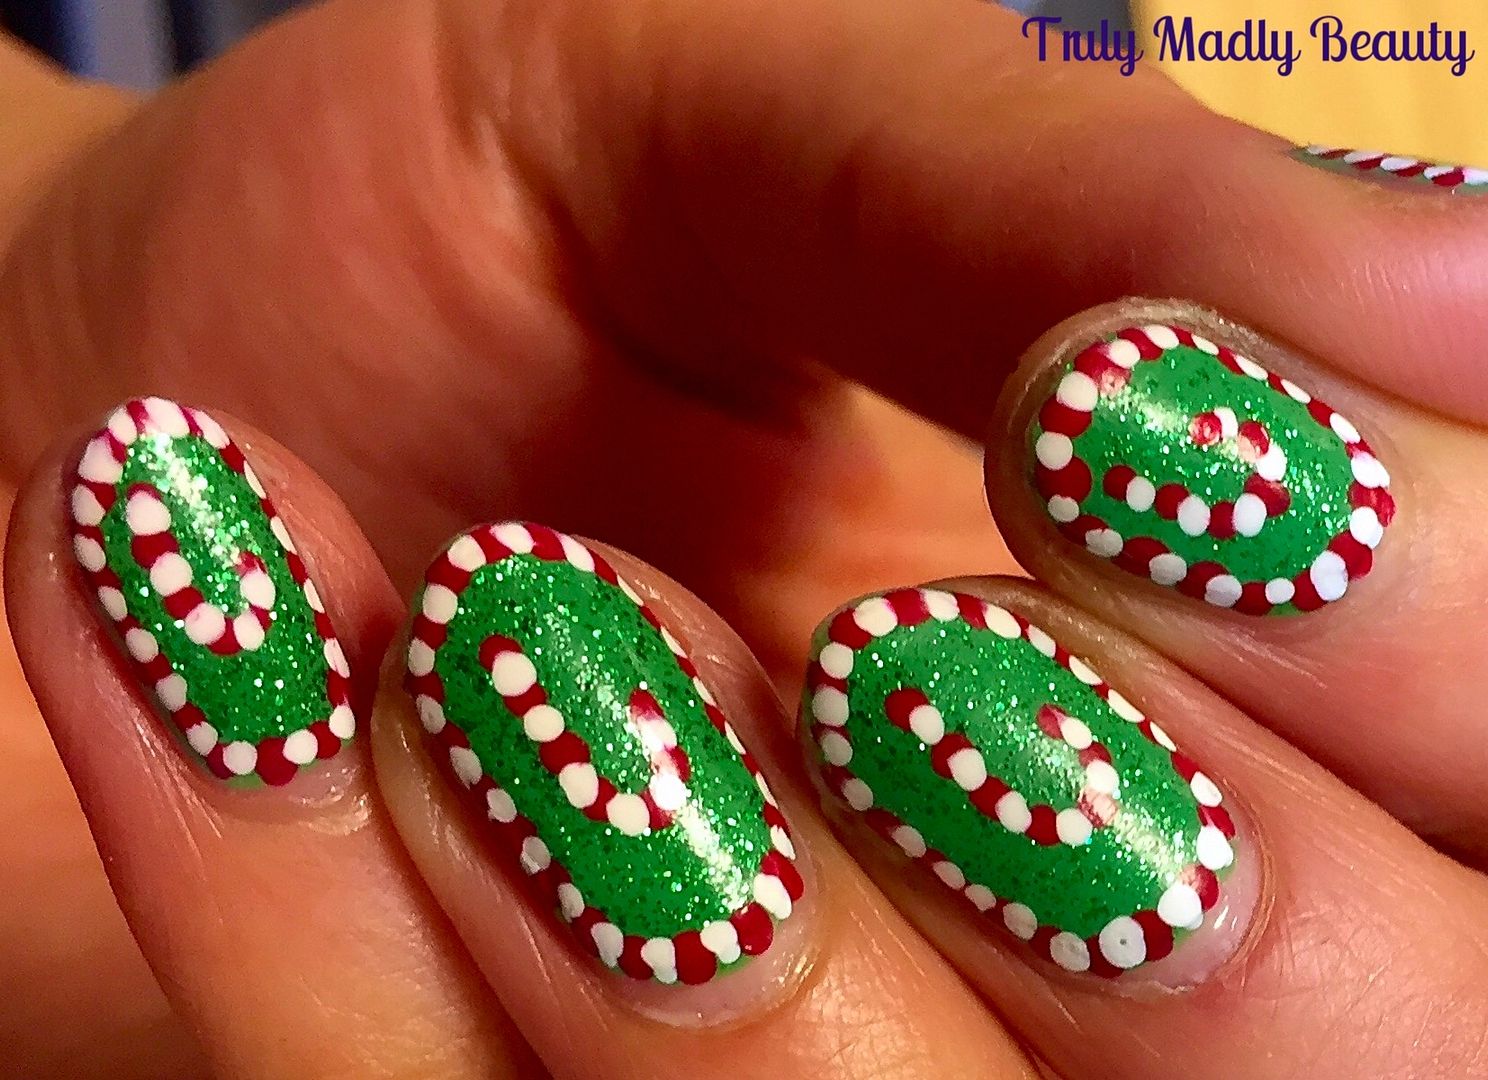
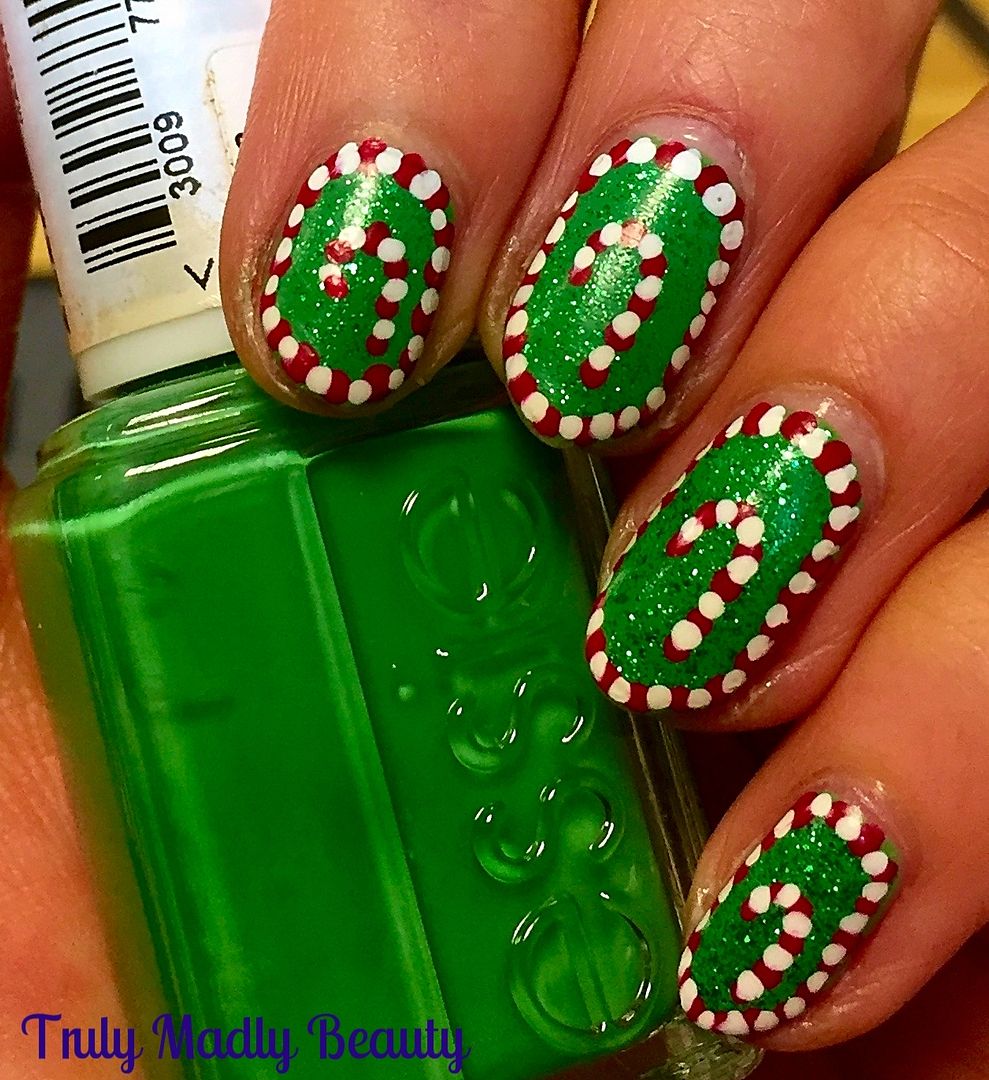
Festive Nails - Candy Cane Dotticure!
Hello
there my lovely readers!
Christmas
week has finally creeped up on us most speedily as it inevitably
always does! Gosh this year really has flown by but I'm looking
forward to 2016, I have many plans I hope to see carried out so
here's to exciting new adventures!
Squeezing
in one last festive mani of the year for you today & I think this
is my favourite one out of the bunch! This year I've managed to roll
out a few which I hope you've enjoyed & helped get in to the Xmas
spirit with some Christmas Presents, Festive Baubles, Sparkly Holly &
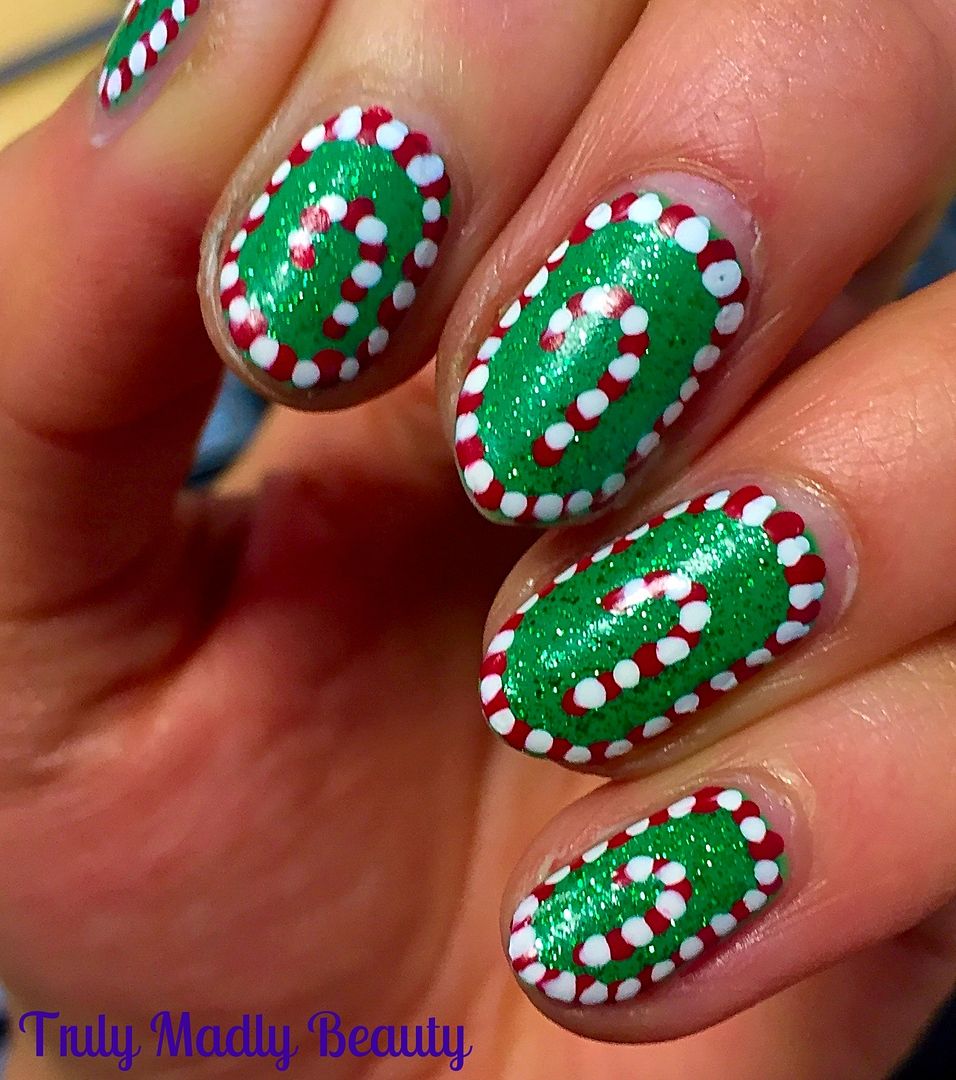
Christmas Trees! For my final festive mani I went down the dotticure
road & created some Candy Cane nails!
I'd
forgotten how much I LOVE dotticures, so fun yet easy to do &
with such pretty results as you can totally have fun with it! This
brought back to mind the Aboriginal style dotticure HERE I did a
while back...I will definitely be having more fun experimentation
with dotticures next year! ;)
Going
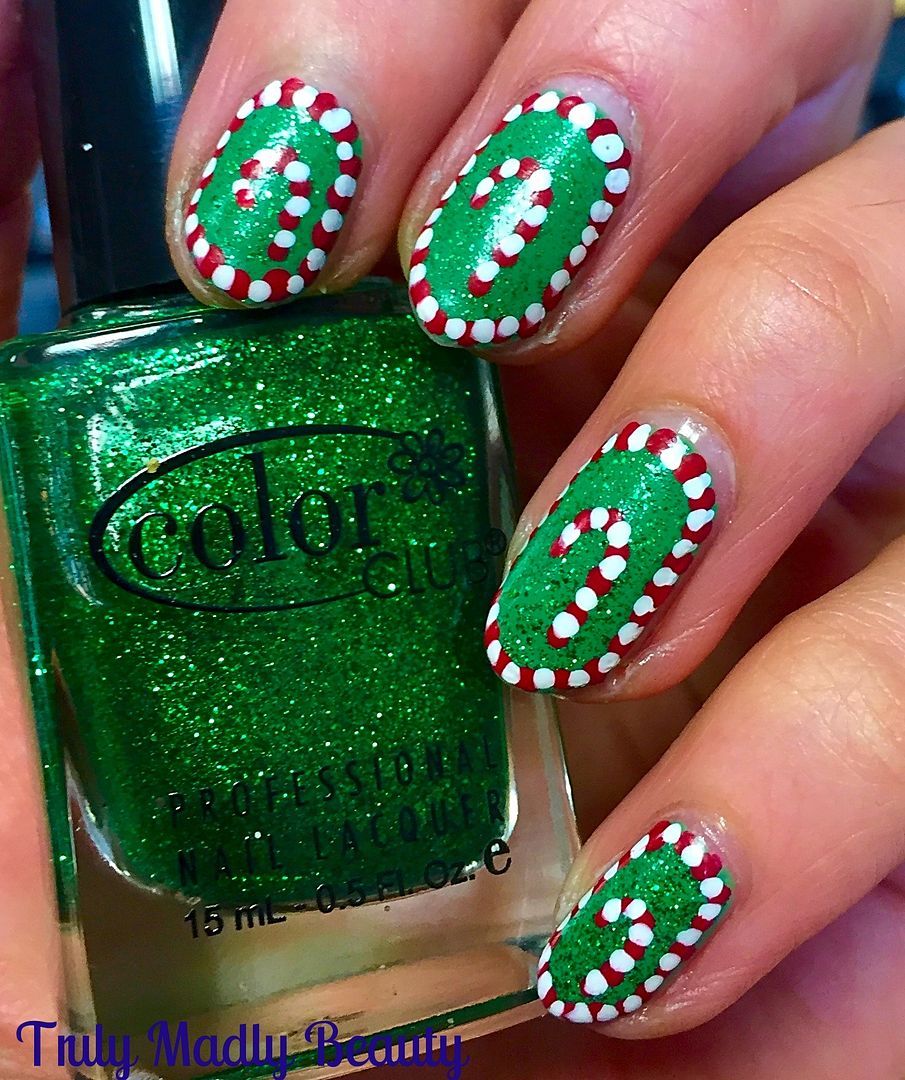
with the festive colours of green, red & white I started
things off with a nice bright green base that wouldn't drown out the
design. Here I've gone for one coat of Essie's Mojito Madness.
To
jazz up the green I then added one coat of Colour Club green glitter
because...well..you know...SPARKLES
Then
for the dotticure design I started by applying the dots along the
edge of the nails first to create a border,
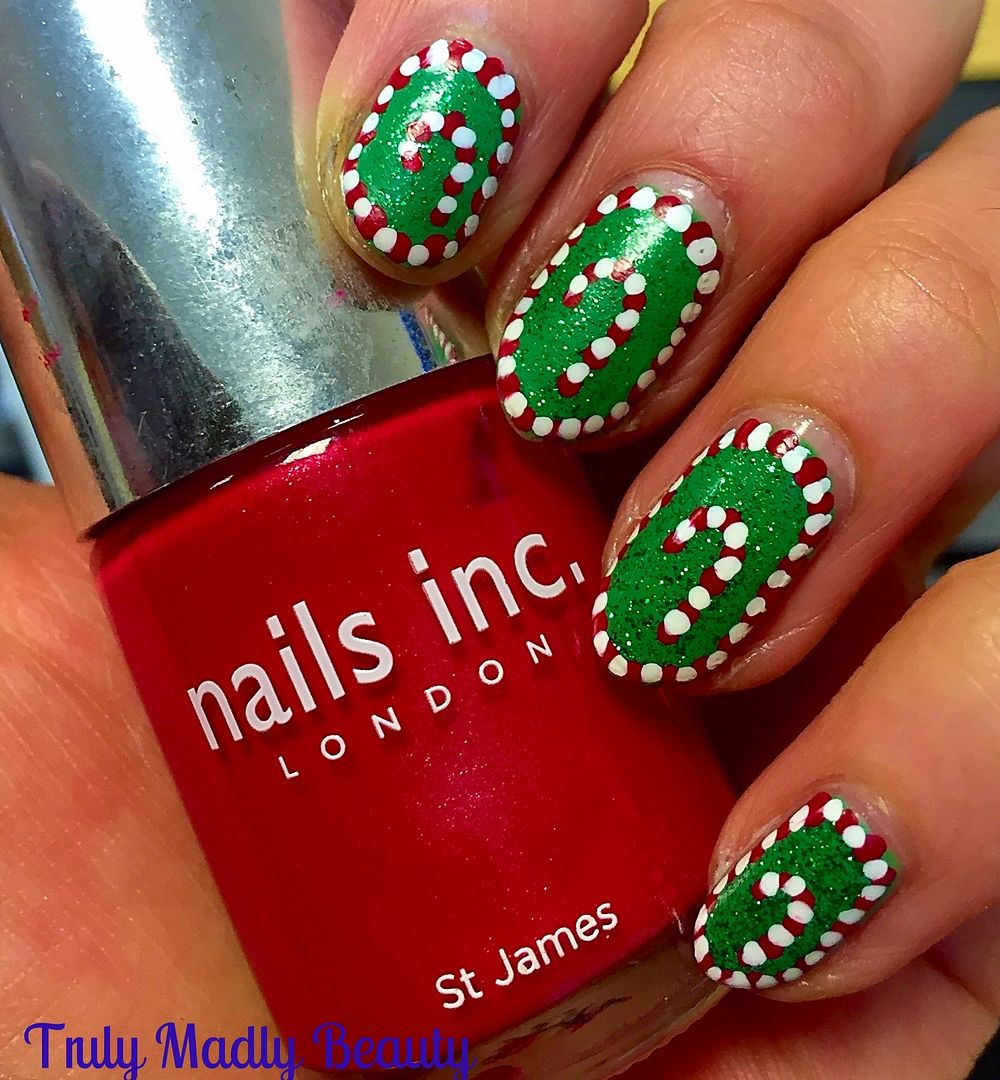
Rather
than switching tools repeatedly apply one colour at a time, so I
first added on my red dots using Nails Inc St James & a fine
dotting tool, making sure to leave a wee gap in between each dot for
where the white will be added.
For
the white I used my Models Own nail art pen, the nib is really handy
(when its not blocked that is!) as it distributes the perfect amount
of polish for a neat dot without polish flooding out, causing a huge
mess & a mini seizure, as is the case with a lot of
nail art pens! Apply the white dots in between your red.
Then
for the final bit, dot on your candy cane in the centre of the nail
using the same concept that is done with the border.
Leave
the polish to dry for a good five minutes before finishing with
topcoat as, depending on how thick your dots are, the polish may drag
which you really don't want after all that effort.
And
that's it! Easy peasy :) I hope you liked the Christmas nail art this
year dolls! Did you go festive on your nails? Thanks for reading &
have a wonderful Xmas!
Lotsa
love to ya!
12.09.2014
Xmas NOTD - Christmas Wreaths
Hello lovely readers!
Coming at you with a festive mani
today in the form of some Christmas Wreaths :) Incorporating all the
reds, greens & golds definitely got me in the festive mood with
these nails & I loved wearing them! This design was inspired by
the fab Chalkboard Nails.
8.06.2014
NOTD - Lady Like...
Hello there lovely readers!
Now you really cannot go wrong with a nice nude toned mani, elegantly sophisticated, looks fab & goes with everything.
I'm sure it comes as no surprise when I say I love
my glitters & pow wow shades, however I find myself being drawn
to natural/nude tones a lot more of late & one brand that does
nude well (yes I'm aware of how many times I'm saying nude...o_O) is
Essie, in particularly this divine shade Lady Like...
Labels:
Chemist Direct,
Essie,
Model's Own,
nail art,
NOTD,
Review
4.23.2014
NOTD - Essie On A Silver Platter
Hello there lovely readers!
Hope you're having a good week! Despite
its delightful shortness I'm still feeling the tiredness today &
my remedy for this? A good dose of SPARKLE to revive oneself again,
so that's what I've got to share with you today & boy my loves
what a sparkle it is! Behold...Essie's On A Silver Platter...
Subscribe to:
Posts (Atom)