Showing posts with label gothic. Show all posts

5.31.2019

NOTD - Voodoo Child

Hey there lovely readers!

Jumping from the sweet Spring vibes of the previous post right into some gothic goodness...that's how I roll ;) 

Its true that as much as I love my dark side muchly, the inner Disney pastel princess still manages to seep through often & I love both worlds ;) My last nail art look was suitably sweet so today we have some dark Voodoo action...

My inner witch is content :) I've wanted to do a fun witchy Voodoo symbol style nail art look for some time & I'm chuffed with how these came out!

This look was the perfect opportunity to use one of the Primark Limited Edition Dusk collection polishes I picked up a while back. Did I buy these purely for the badass (& obviously Louboutin inspired) bottle? Maybe. But they also happened to be gorgeously gothic duochromes so WIN WIN in my book. 

I applied two coats of the Primark shade Cosmic, a beautiful dark purple flakie duochrome to my pointer, ring & pinkie fingers. Wanting a bit of contrast to the design I decided to paint the remaining nails in A England A Midsummer Nights Dream, a truly beautiful pale pink lavender holo, a bit of light to the darkness as its all about balance right?

I then googled some Voodoo symbols that I could attempt to freehand & picking a few different ones I used a fine nail art brush & some silver polish for the dark nails & black polish for the light nails.

For that extra touch of magic I added a pretty rhinestone to the middle finger before finishing with topcoat. Nails ready to cast some spells! Thanks as always for reading lovelies! Till next time!

Lotsa love to ya!


10.19.2018

Halloween Dripping Blood Scream Nails!

Hey there lovely readers!

Holy moly its been a minute! I had hoped to get in the spirit of Halloween with my nail art but time it would seem has run away with me! I've just returned from a much needed & most amazing break in New York City, my most favourite place on earth! With that, work & also the fact that I had me some beautiful gel nails did whilst out there means any new nail art looks will be put on hold for a month or so...thankfully I have a backlog of looks & also managed to throw together one spooky look before I left so woohoo!

I always like to do some form of dripping blood nails every year so keeping in with tradition that's what I've done but this time with a spooky twist!

8.21.2018

NOTD - Pitch Purple & Pink!

Hey there lovely readers!

Coming at you today with a vibrant & uplifting nail art look, because why the heck not! 


4.23.2018

NOTD - Earth Day Nails

Hello there my lovely readers!

Aaaah I am SO happy with how this finished design came out, so much so that it actually may be my most favourite nail art look of the month! Hurrah for nail art wins. I've had so many fails of late I was beginning to despair...


10.30.2017

Disney Nail Art Series - Halloween Special - Snow White Poison Apple


Hello there lovely readers!

So All Hallows Eve is almost upon us dark ones thus I wanted to squeeze in one last mani. For my final Halloween nail art design this year I wished to incorporate it as another installment to my Disney Nail Art Series as this was an idea that was floating around in my head since the start of October that I really wanted to attempt & thought it would be perfect for Halloween...the Poison Apple from Snow White

10.26.2017

Halloween Nails - Jack O Lantern Pumpkins

Hello there lovely readers!

Now I hadn't planned on doing Pumpkin nails for Halloween this year, however the other day I found myself doodling away whilst on hold on the phone, as you do, & after my call was done I looked down to see I'd drawn me my very own pumpkin patch filled with grinning Jack O' Lanterns...

10.20.2017

Halloween Nails - Day Of The Dead Sugar Skulls!

Hello there lovely readers!

Time for another Halloween mani & I believe we are on number 4 now! The next prompt that came up in the Instagram nail art challenge I'm currently partaking in was Skulls. Well this gave me the perfect opportunity to create some Day Of The Dead Sugar Skulls, perfick for Halloween & a design I've been wanting to do for ages!

10.09.2017

Halloween Nails - Blood and Bats!

Hello there lovely readers!

Here we are at Halloween Mani number 3 already! 

Every year I like to roll out a gory blood themed mani of some kind for Halloween, usually in the form of delightful drips. When this weeks theme in my nail art challenge came up as Vampire/Bats I decided to just put the two together & rustle up this Bats & Blood manicure, killing two birds (or bats in this case) with one stone....

10.05.2017

Halloween Nails - Spooky Cemetery Scene!

Hey there lovely readers!


Time for another Halloween mani! I've never done a Cemetery/Graveyard scene design before yet always loved seeing so many interpretations, so when this theme popped up as one of the prompts in an Instagram nail art challenge, I though it high time I give it a go!
Whilst I'm not entirely happy with my freehand Cemetery design itself, I'm still absolutely in love with this mani, especially that base!

10.02.2017

Halloween Nails - Ghoulish Yin Yang Ghosts!

Hello there lovely readers!

We are officially now in my favourite time of year, Autumn & October with its abundance of candles & cosy nights soothes my soul greatly & of course most importantly tis October which holds the best holiday of all...Halloween!

Not sure how one will be marking the occasion this year, every time plans are made I always seem to end up changing mind last minute & having a low key celebration...lets see how it pans out this year. In the run up to the big day, you know I like to get into the spirit of things in my favorite way of course!

I have lots of ideas floating around, though how many of these will actually see the light of day remains to be seen. But lets start things of with a ghoulish vibe shall we with some spooky ghost nails with a Yin Yang twist! I saw this design on YouTube & absolutely LOVED the idea of incorporating two tone ghosts to form a Yin Yang symbol, easy to do on account of their curvy ghoulish shapes.

9.04.2017

NOTD - Anna Sui New York Fashion Week Inspired Nails

Hello there lovely readers!

I have a bit of a backlog at the moment of nail art that I want to share on this here blog, as I've mentioned before I've been partaking in a few nail art challenges on Instagram of late which are not only fun but have been really good for me to get creative & challenge myself when it comes to my nail art which as you know I love!

You can have a peek at my Instagram of course (@aysh_xox) where I've been regularly posting my designs but seeing as I have this space on the interwebs too, I wanted to share them on here as well.

I LOVE finding inspiration for nail art in EVERYTHING. However one of my favourite places to seek inspo is in the world of fashion. There really is so much room to have fun & explore. One of the first challenges I took part in, I was overjoyed upon hearing Fashion was the theme. 

I went to browsing online for a piece to inspire me & I was immediately caught by this beautiful Anna Sui dress that Gigi walked on the runway during New York Fashion Week & I simply had to recreate it on my nails.

8.31.2017

TTDEYE Polar Lights Yellow Green Contact Lens Review

Hello there lovely readers!

Along with my nails & afternoon tea reviews, I'm sure you're familiar by now of my fondness for switching up my eye colour & rocking a coloured contact lens on occasion. 

You can read all of my contact lens reviews HERE which predominantly feature the brand Klenspop, who in particular specialise in cute kawaii lenses that enhance the eyes beautifully.

As much as I adore these however, I wanted to try something a bit more different & natural looking so decided to have a browse in other places to see what I could find & stumbled across the brand TTD Eye on a friends Instagram account. The lens she wore looked so stunning yet really lovely & natural so inevitably I headed straight to the website to order me a pair which happened to be the Polar Lights Yellow Green Lens.

TTD Eye offer free worldwide shipping which is a bonus & these came to about $25 so around £20 as they were on sale at the time, double bonus! 

7.10.2017

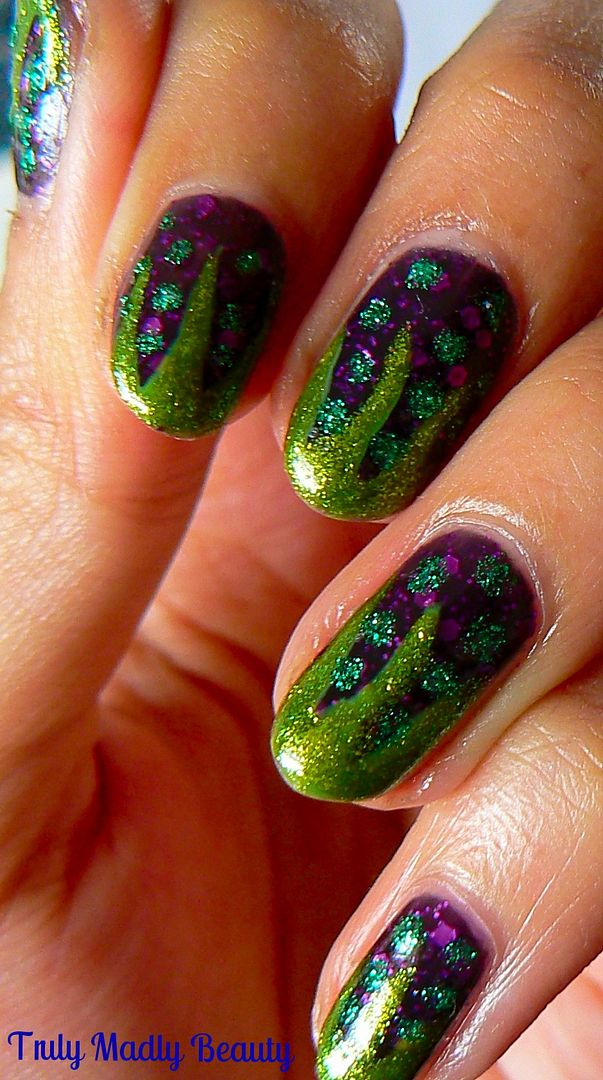
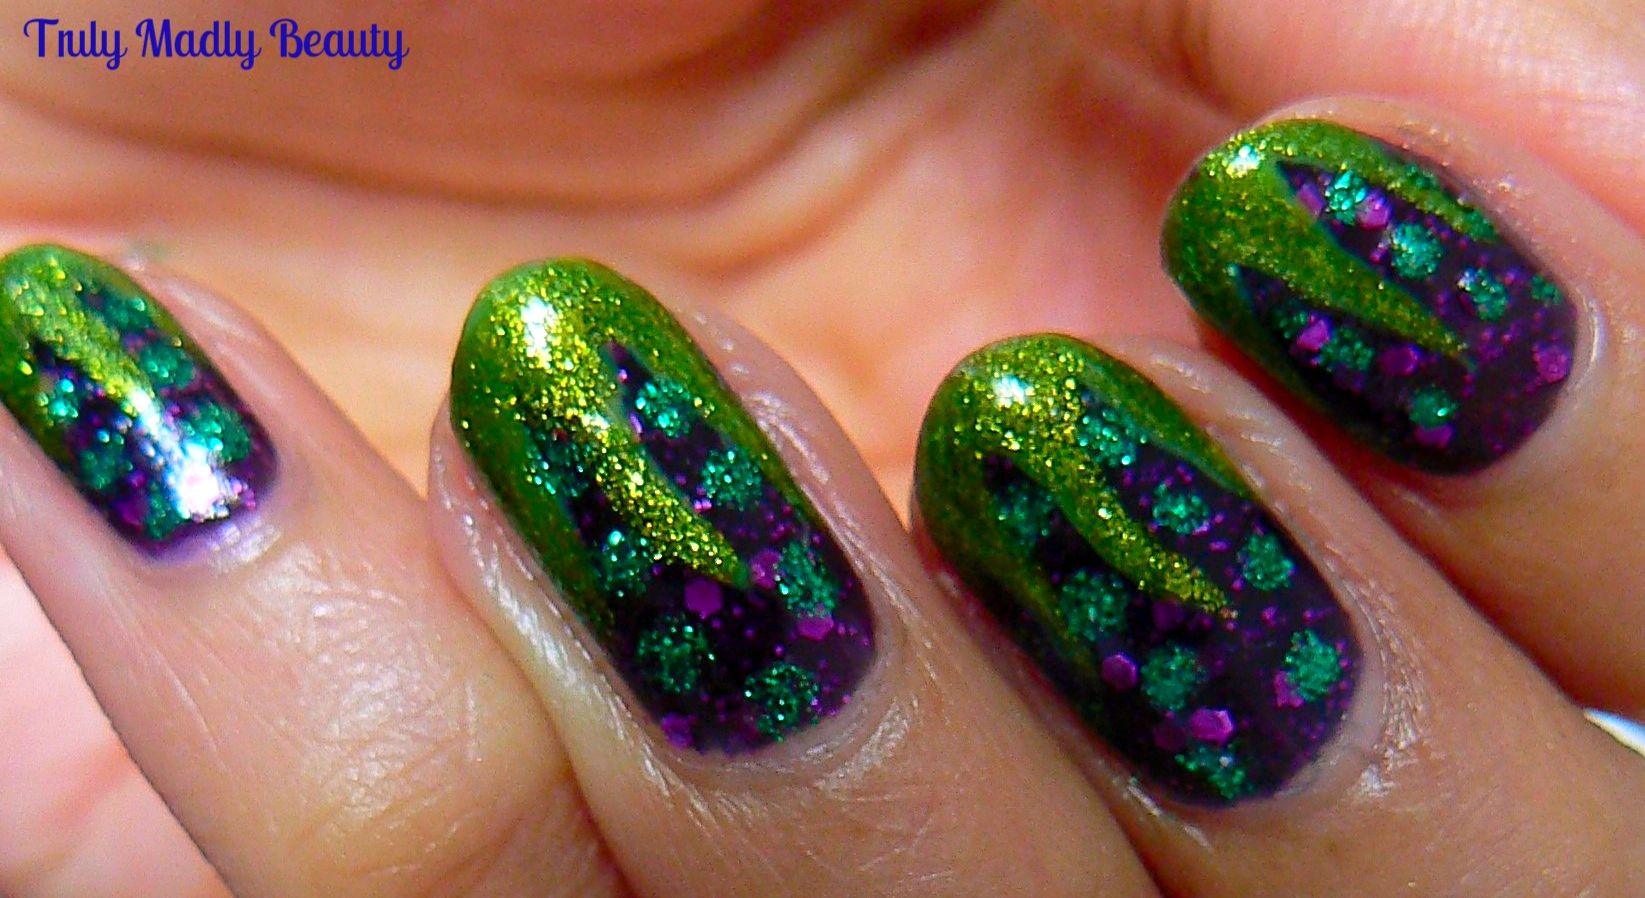
Disney Nail Art Series - Maleficent

Hey there lovely readers!

So I felt it was about time to add another manicure into my Disney NailArt Series that I've started here on my blog. 

So far I've thrown together some Beauty and The Beast nails & a suitably fairy-tale perriwinkle blue Cinderella themed design as well. I thought the time had come to switch things up a tad & give one of the glorious villain diva's a turn in the nail art stakes. 

Alongside the Disney princesses there are also some utterly fabulous goddesses in Disney playing the role of villain whom you can't help but love & I look forward to experimenting & creating something fun for them too!


The first Disney villain I wanted to rustle up something for is one of my favourites Maleficent. Of course Sleeping Beauty is a vintage classic when it comes to Disney & a firm favourite of mine, but I also loved the live action adaptation retelling this intriguing villains story in a really wonderful way with Angelina Jolie in the lead role. 


5.15.2017

Klenspop SW4 Grey Circle Lens Review

Hello there my lovely readers!

It seems the theme at the moment will be deemed grey, looking out the window right now this seems quite fitting! Seriously though May...you broke hun?

Following on from my last post of fun & flirty Lace & Grey nail art, today we are focusing on the eyes as I have another gorgeous circle lens to share with you from my fail safe good old chums at Klenspop! I adore their lenses muchly not just for their wide range of circle lenses to choose from but also their affordability, comfort & fast shipping also wins them major brownie points! You can check out all of my previous Klenspop contact lens reviews HERE.


4.04.2017

NOTD - Rustic Rose Trellis Nails

Hello there my lovely readers,

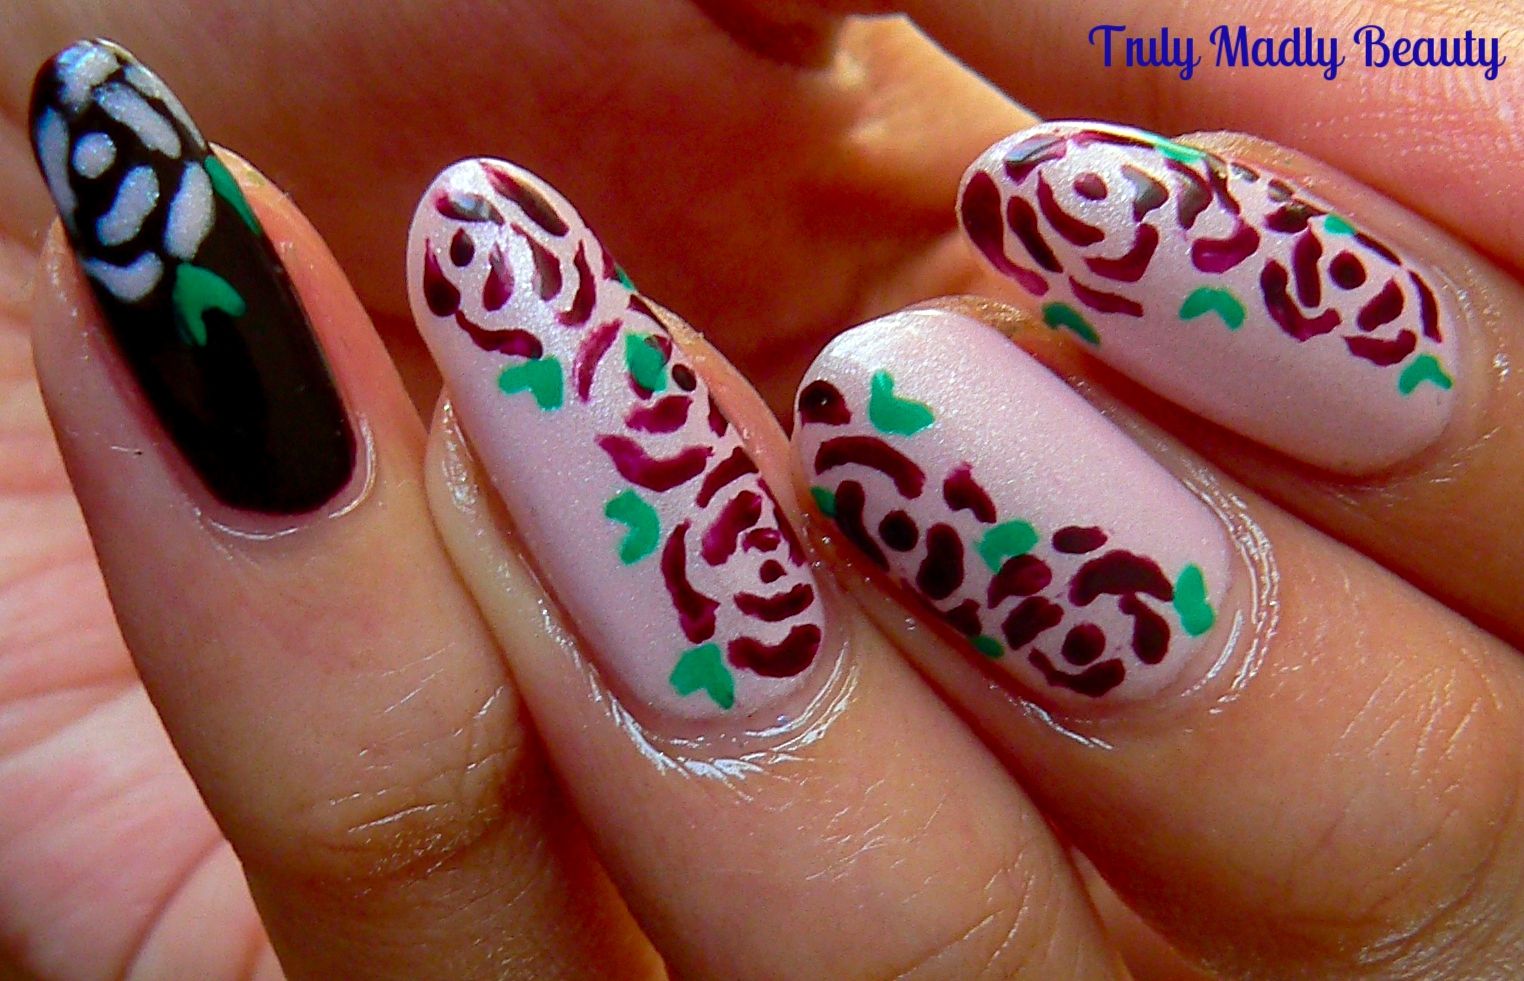
There's nothing that makes me happier than wearing a feminine floral manicure & my favourite way to achieve such a look on the nails is by adding a few roses onto them, giving your mani a vintage kitsch vibe! And now that we are into Spring well...I have the powers of foresight & I predict a lot more floral mani's to come!.

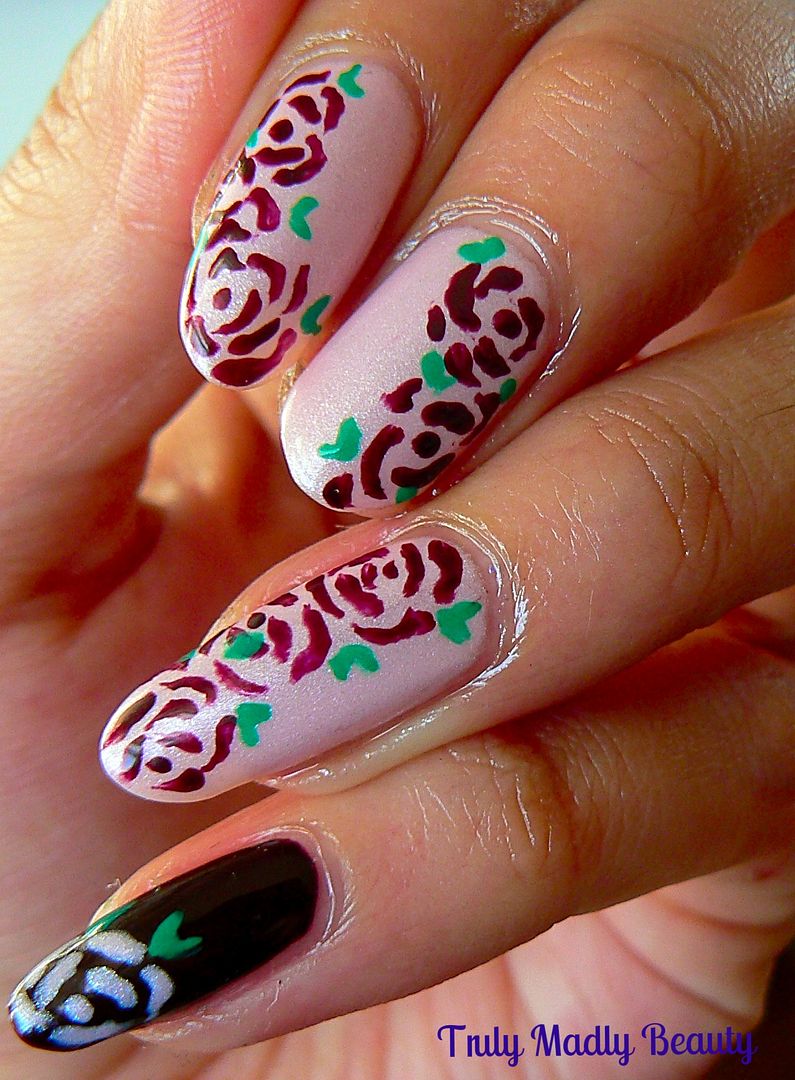
There's many different ways to freehand roses, adding a few drops of a light & dark colour on top of one another & swirling until you form petals, drawing a whole rosebud like I did on my Beauty & The Beast manicure HERE...One of my favourite ways lately is applying little curved swirls around a dot of polish to create a rustic rose with petals like I've done today.


I am also seriously loving this colour combination, a mix of gothic vampy burgundy & sweet subtle pink giving a gorgeous contrast to look


2.27.2017

NOTD - Gothic Vines

Hello there lovely readers!

I was wearing a neutral manicure not too long ago as I had an event to go to & something low key was order of the day. As much as I do love a sleek & chic simple nude mani, I probably lasted about a day after said event before I was already itching to add something to it haha!


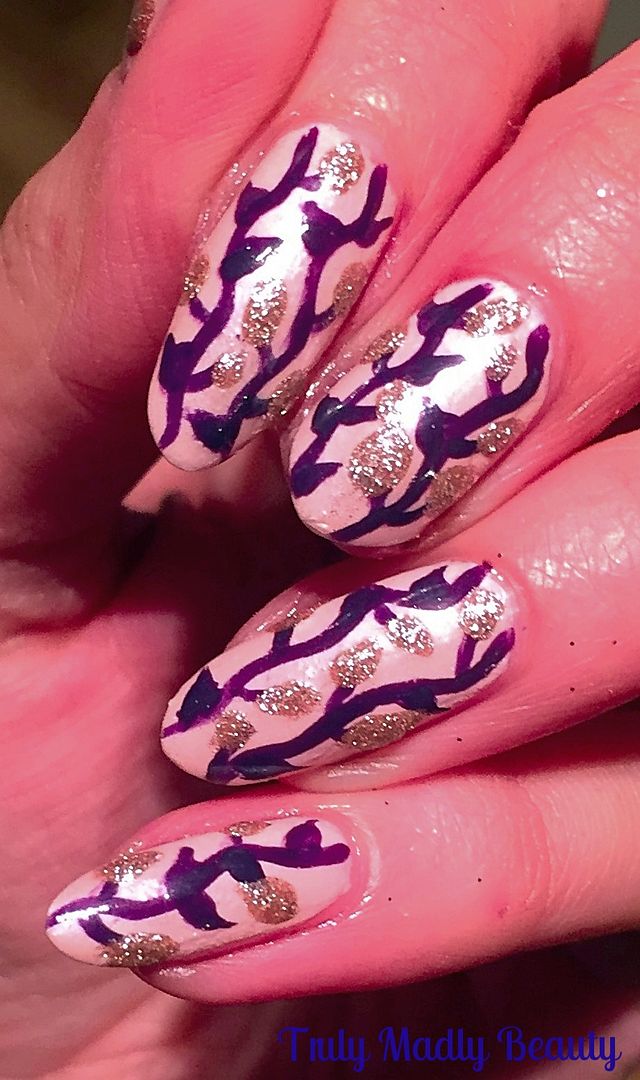
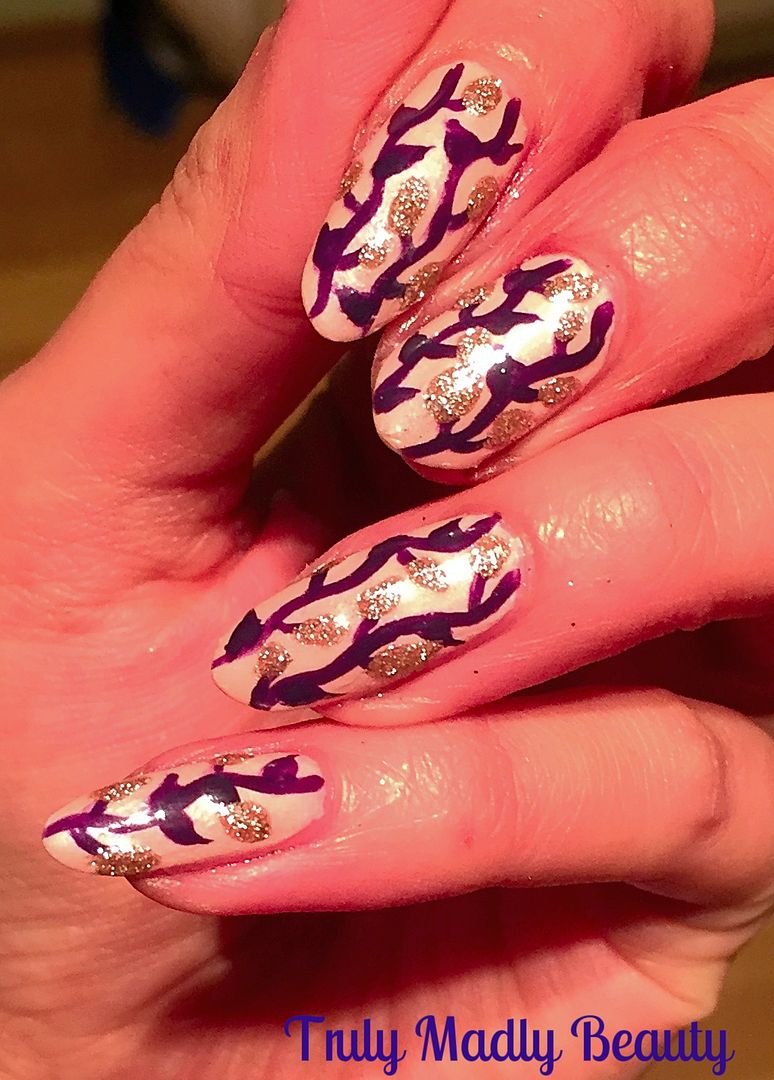
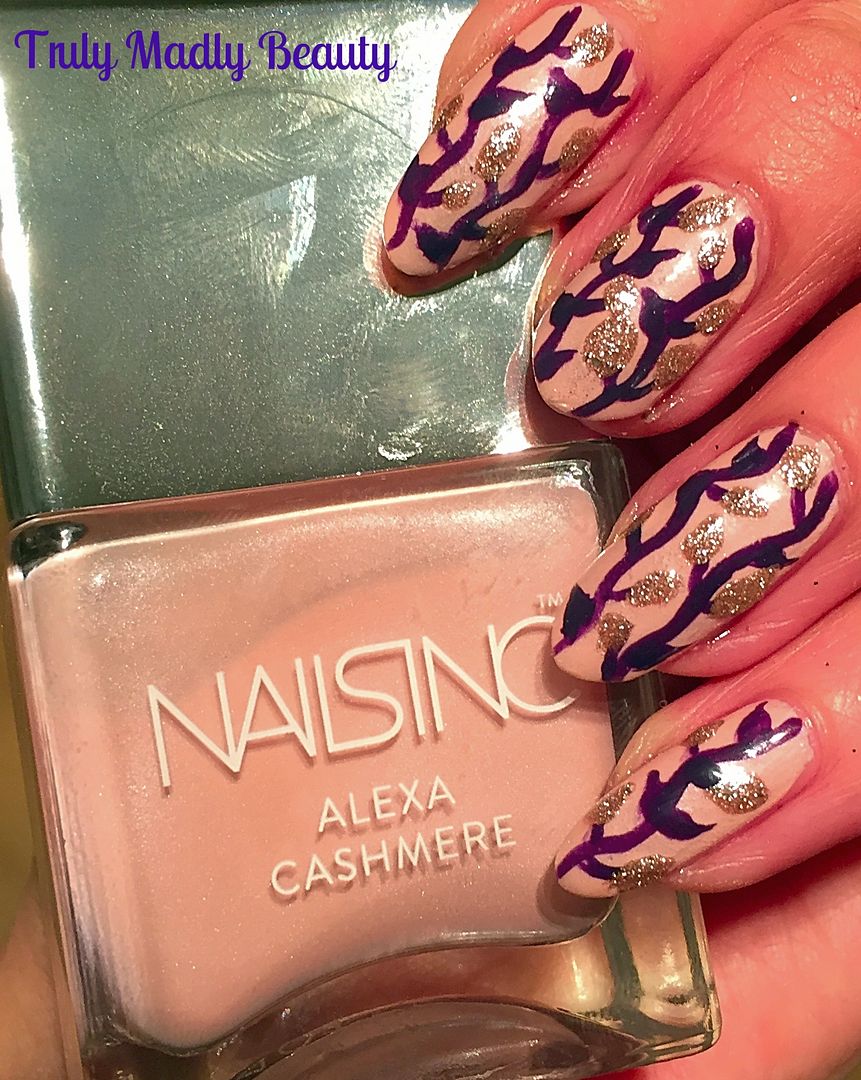
So to jazz up my nude pink manicure, which was pretty while it lasted by its onesie & came courtesy of Nails Inc Alexa Chung's collection polish in Pink Cashmere, a delicate & feminine shimmery pink, I decided to freehand on a simple vine design.


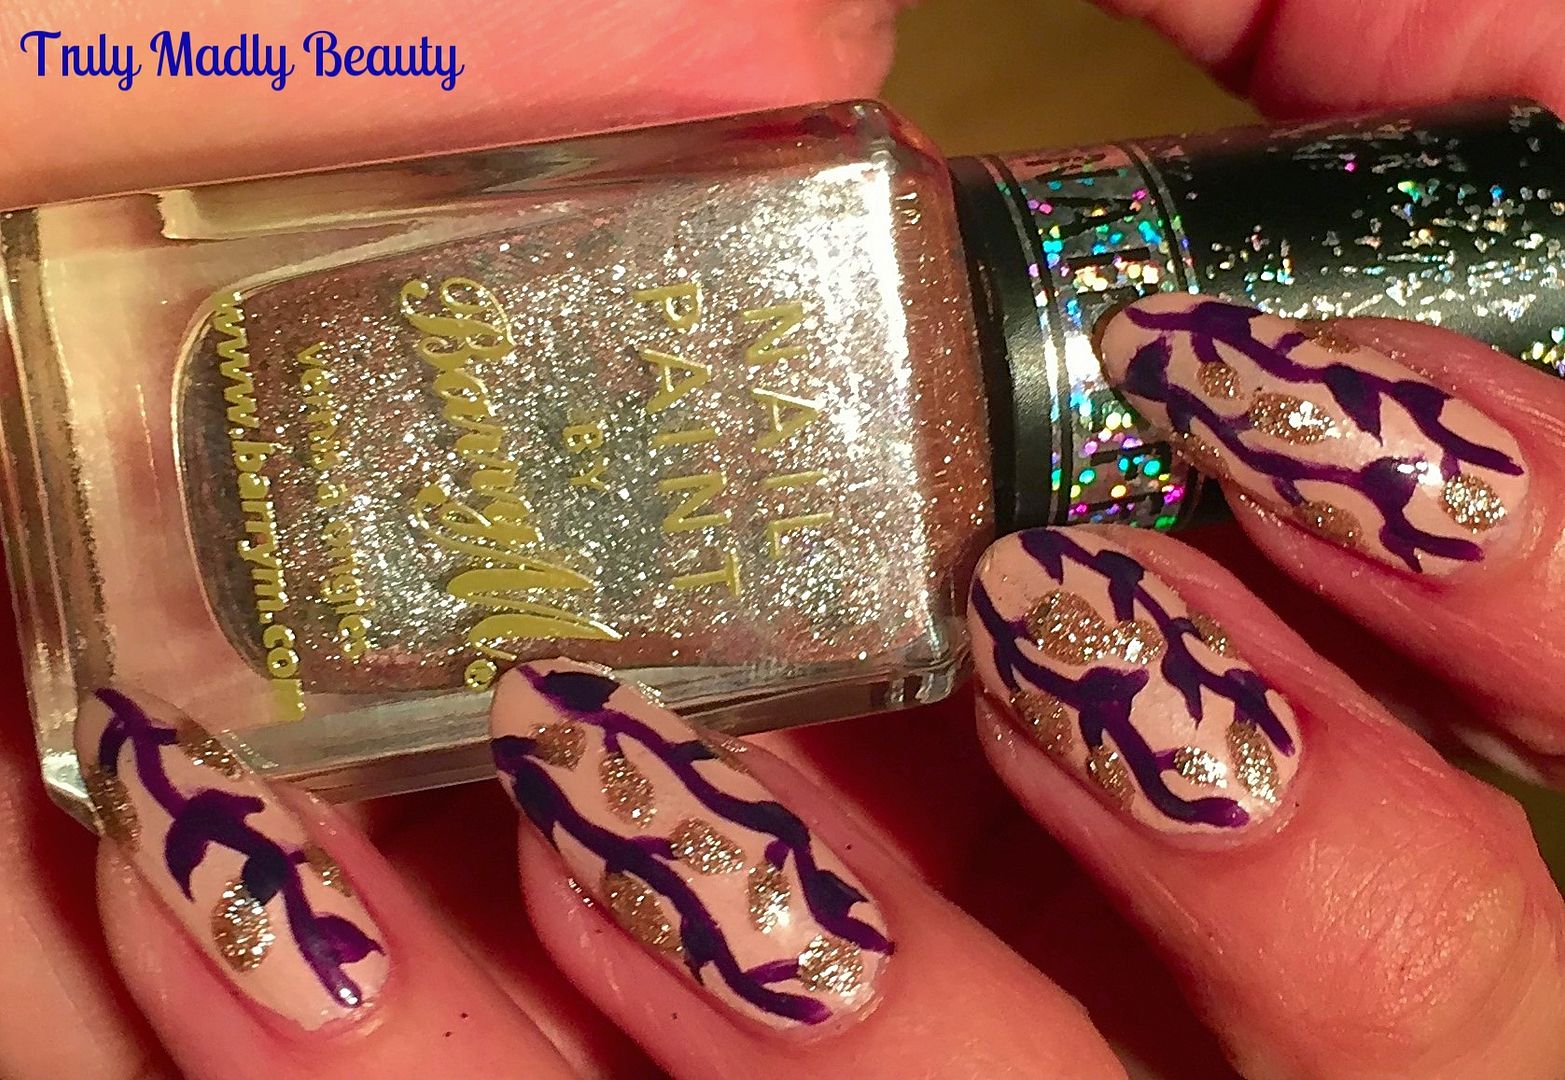
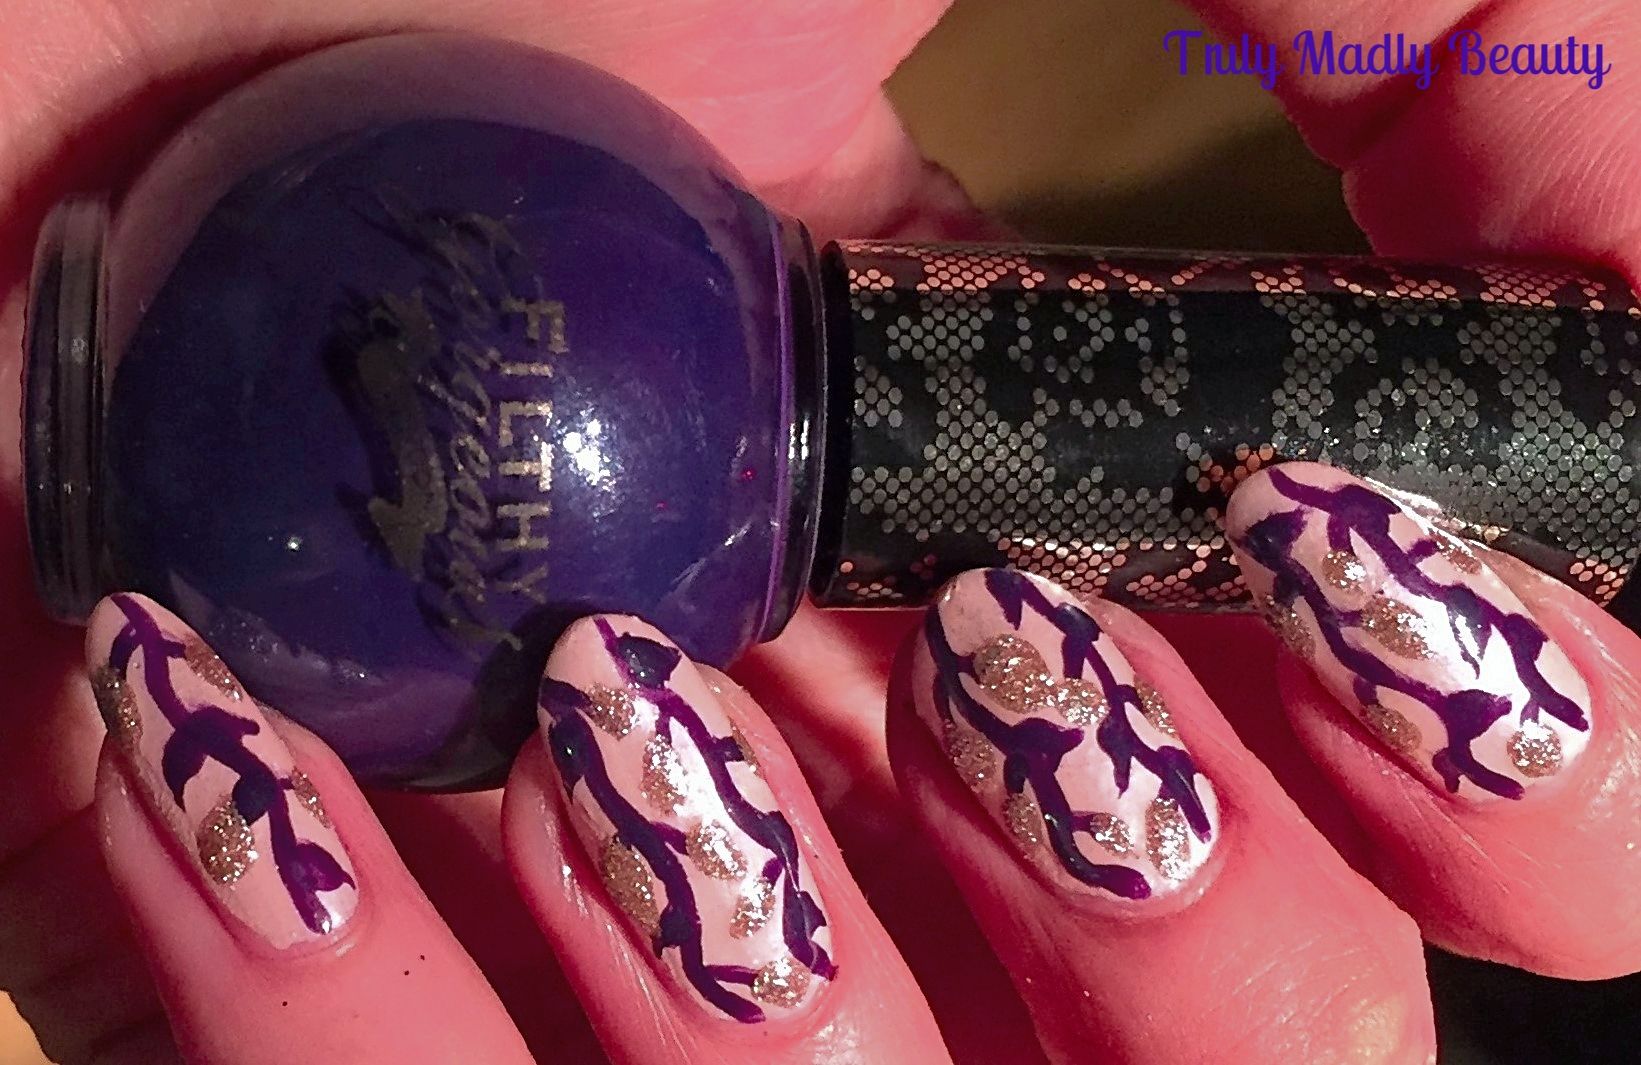
For my vines I opted to go for a dark gothic purple creme polish from brand Filthy Gorgeous in the shade Pulp.


To create your vines is super simple. Using a fine nail art brush, I first applied two swirly lines vertically down the whole nail.


Then using the same brush I just added on some teardrop like shapes for the leaves to my vines.


Still feeling like something a bit more was required I dug out one of my favourite textured polishes from Barry M in the shade Duchess which is an almost rose gold chunky glitter, so pretty! I added on a few sparkly rose gold leaves in between the purple.


Don't forget a slick of topcoat to finish. Hope you liked this quick & easy design to jazz up a plain mani! Thanks for reading!

Lots of love to ya!


12.14.2016

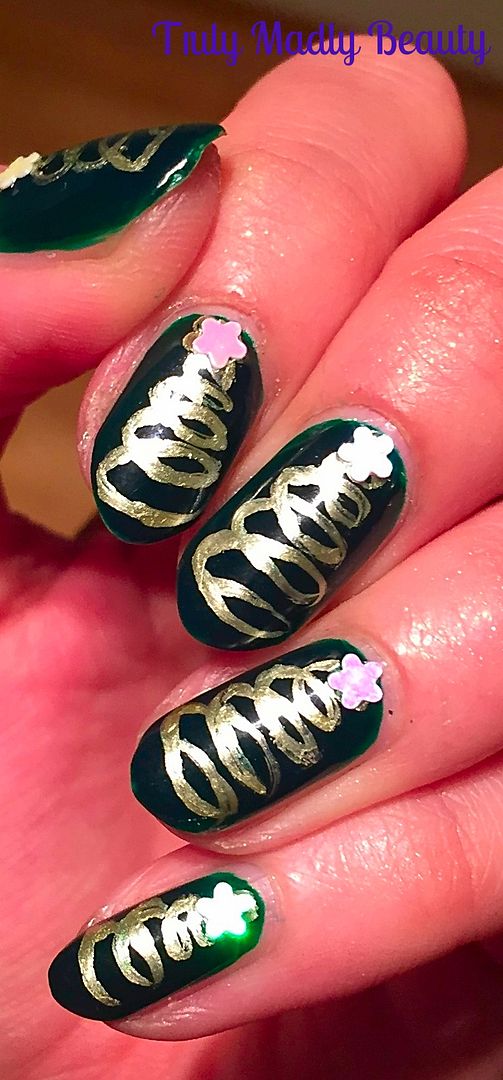
Festive NOTD - Swirly Chrome Christmas Trees!

Hello there my lovely readers!

Gosh can you believe that it'll be Xmas next week already?! How in the hoohaa did that happen? This month has had me all over the shop floor thus I haven't been able to get my nail art on as much as I would have liked for the festive season, bad nail blogger! But I can rectify that now as I finally managed to grab some free time to have a play! Better late than never eh?

Every year I like to rustle up some Christmas Tree nails, as they are my absolute favourite for the festive period, each time mixing up the design slightly. You can check out my previous Christmas Tree nail art designs HERE, HERE and HERE.


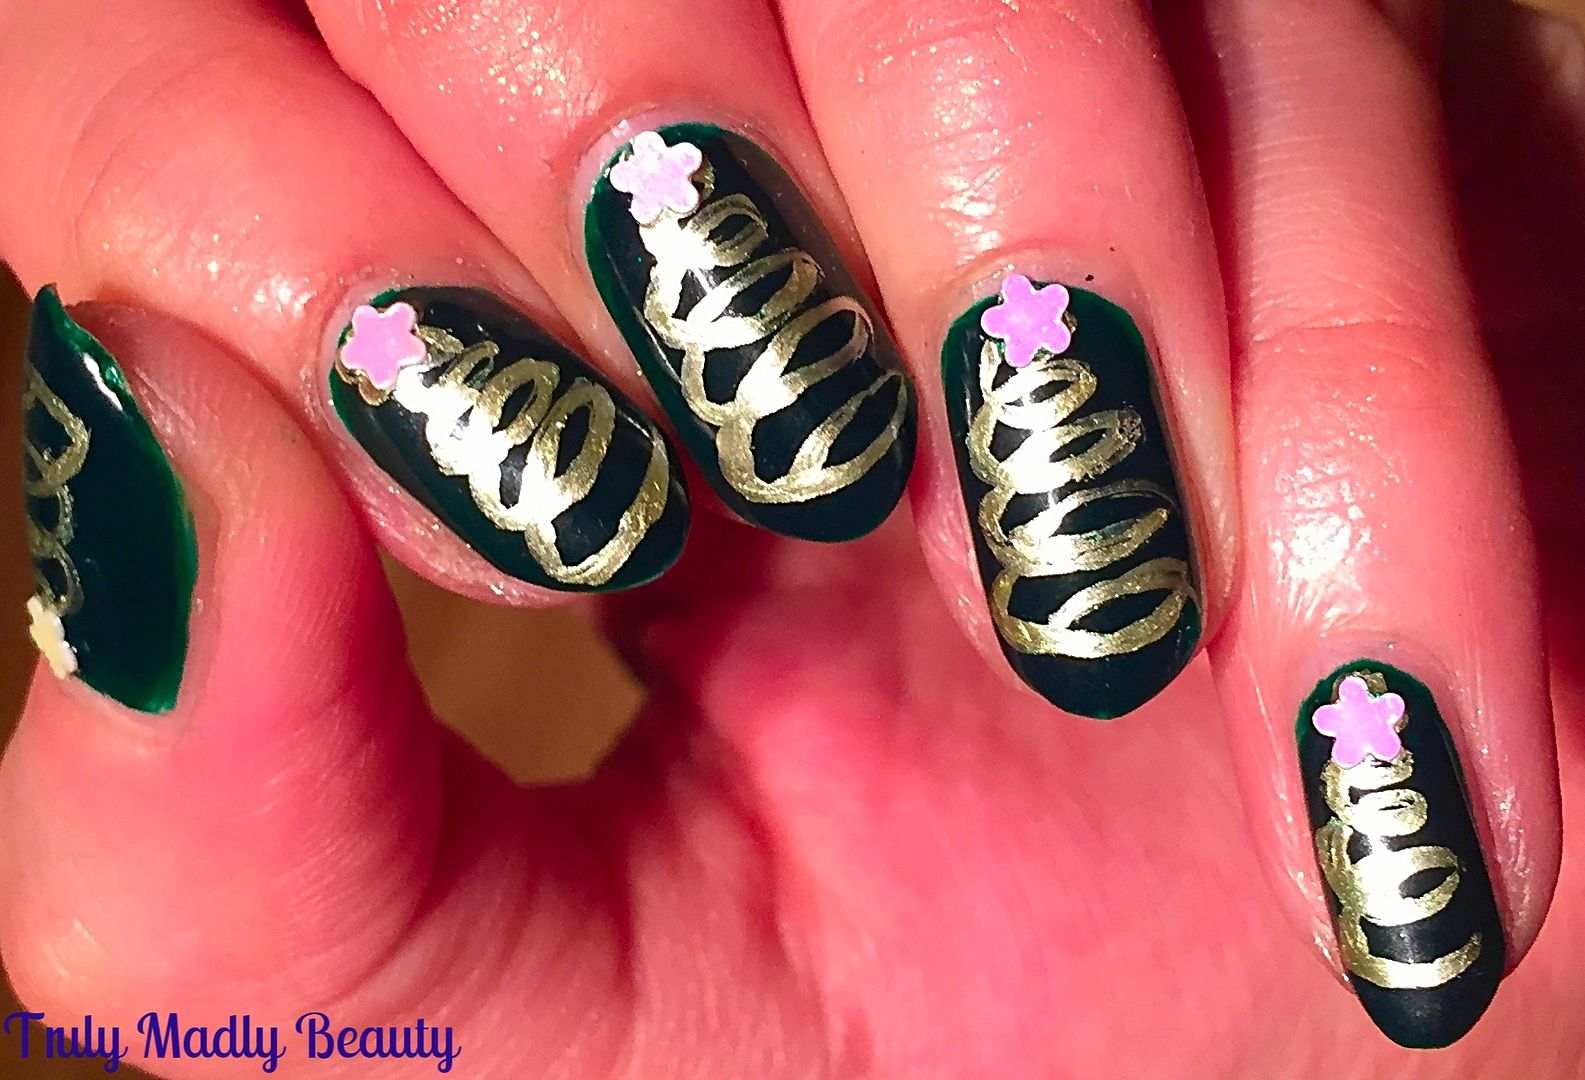
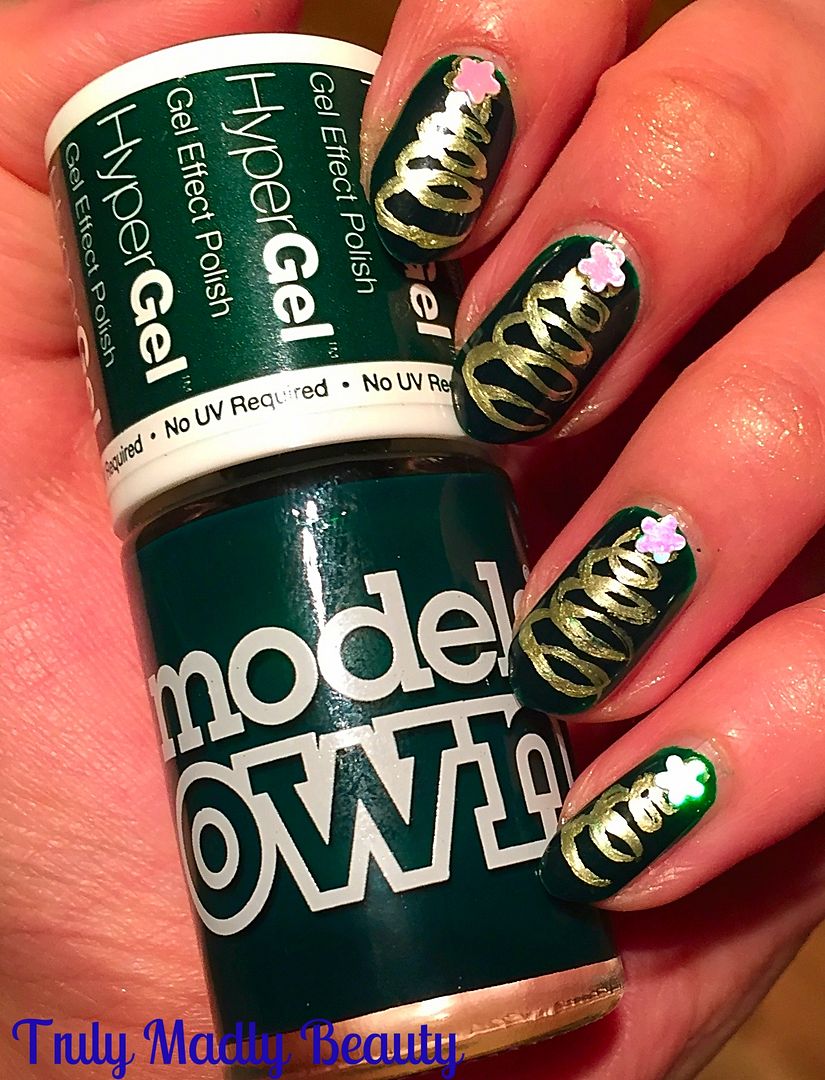
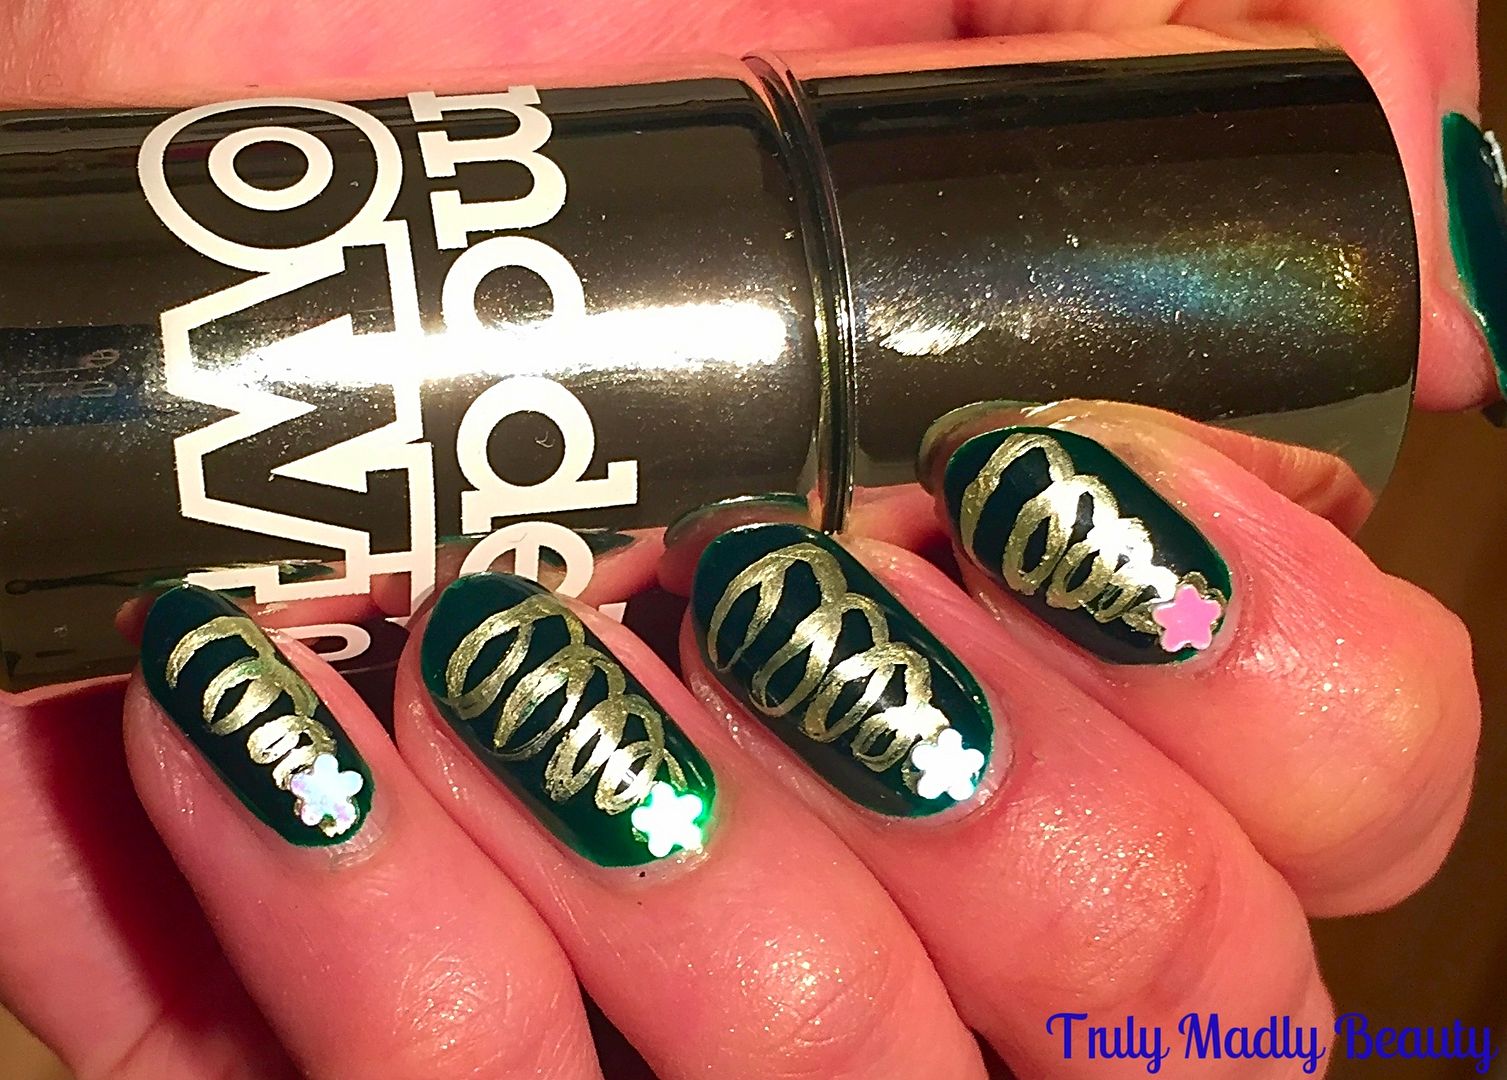
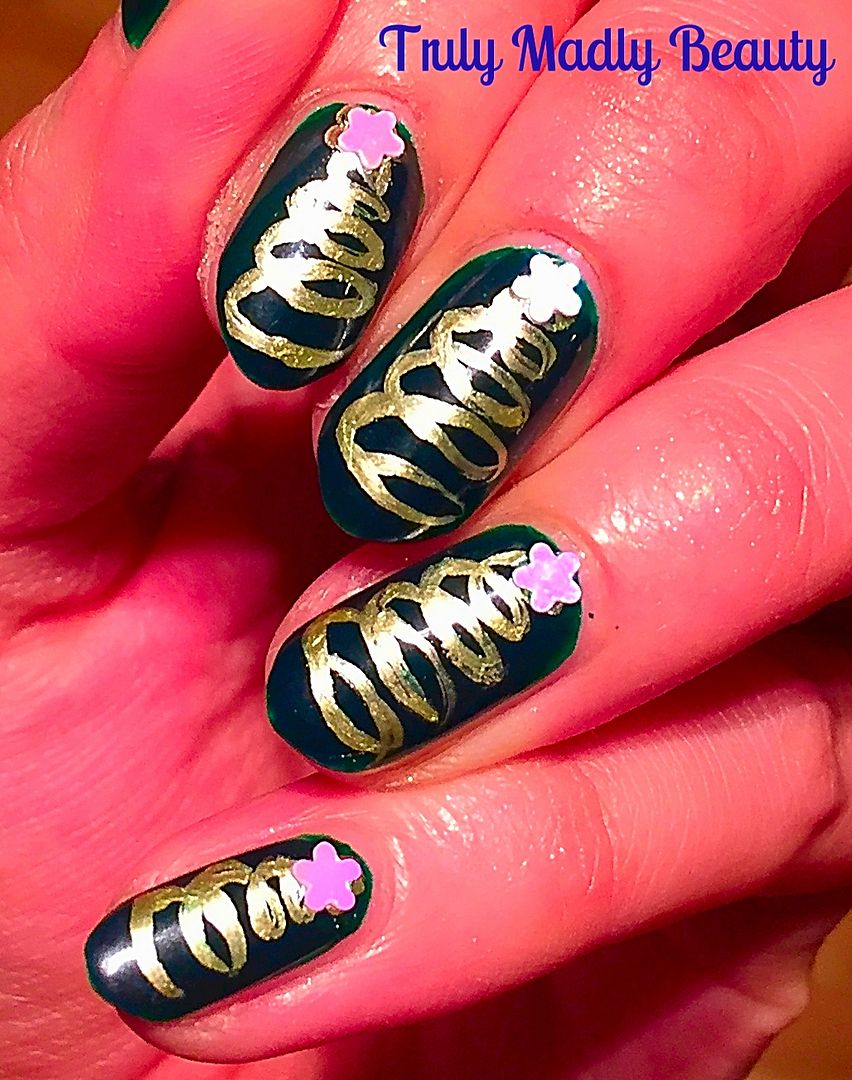
That's what I love about them, the fact that you can have fun playing around creating different styles and designs. This year I decided to go down a more arty route & created these golden swirl Christmas Trees.


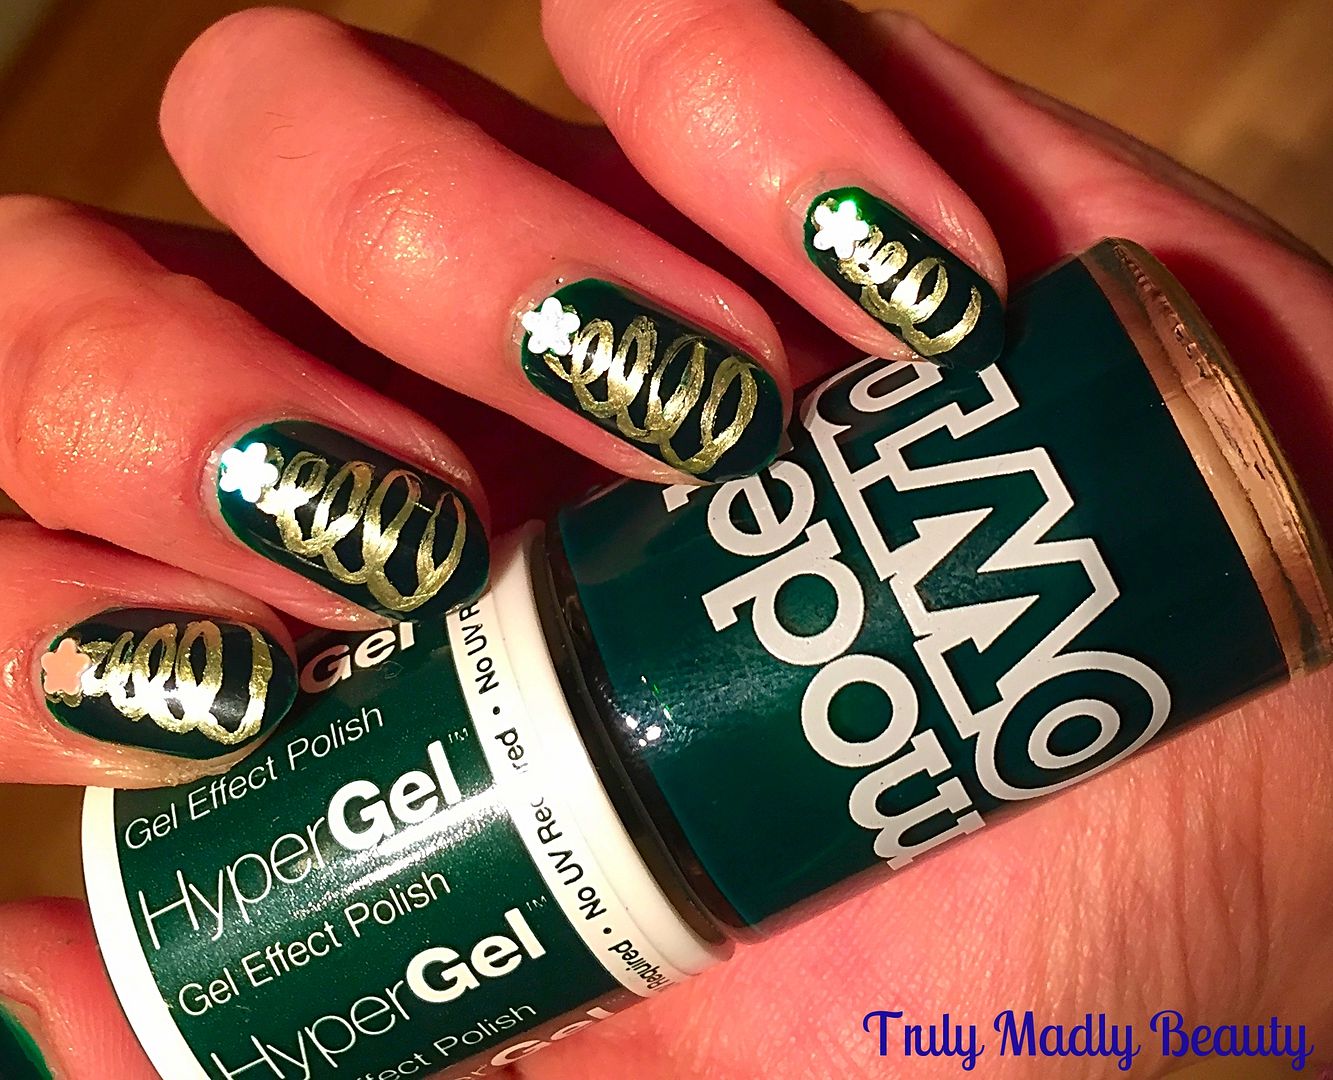
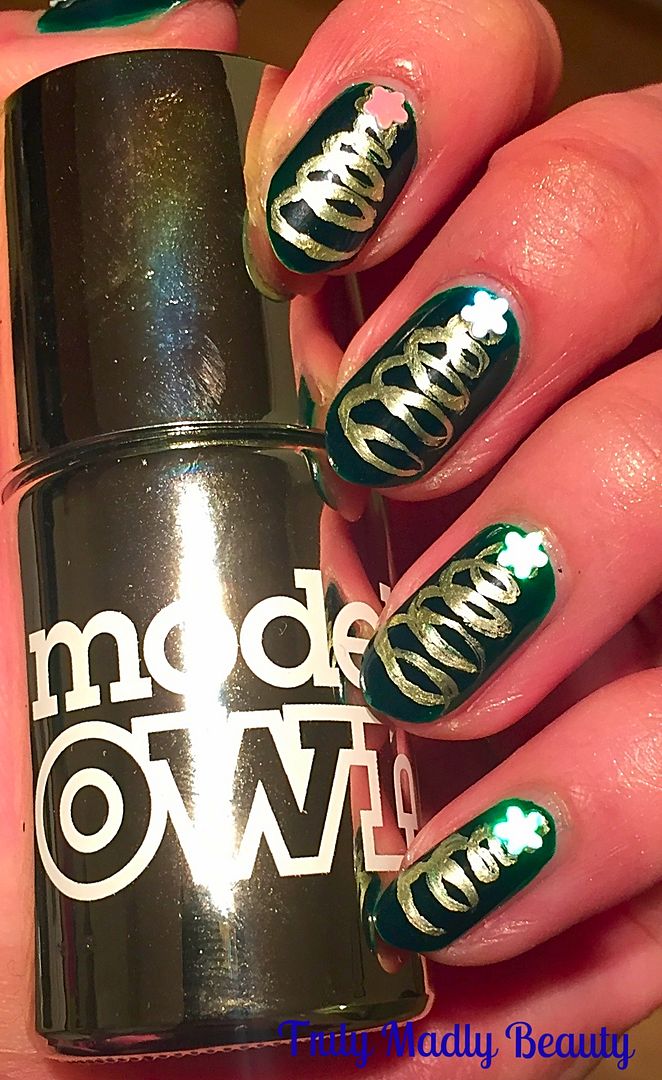
Instead of painting green trees I went for a lovely deep dark green for my base & Models Own HyperGel in Ebony Green was perfect for this.

This is two coats of the gorgeous green goodness, isn't it just divine? I'd forgotten how much I adore this Gothic green!


Then for my Xmas trees I found myself reaching for Models Own again, this time Chrome Olive from the Colour Chrome collection. I was originally going to use a gold polish but I'm so glad I changed my mind as the metallic formula really pops against the dark base!


To create the trees I grabbed my extra small Nailbees nail art brush & with the Chrome Olive polish, free handed the swirls, starting with a tiny swirl for the top of the tree, slowly making my way down the nail, gradually making the loops bigger as I went.


A little tip is to rest your elbow on a surface when doing this, this helps steady your hand a great deal, enabling you to create your swirls without a shaky hand!


Of course every tree needs a star, so to finish I simply added a little star shaped holographic sequin at the top of my trees. Finish with topcoat & you're done!


Thanks for reading my lovelies, keep posted as I hope to squeeze in a couple more designs this year. But do have a peek at some of previous designs HERE for some festive inspiration.


Lotsa love to ya!


11.18.2016

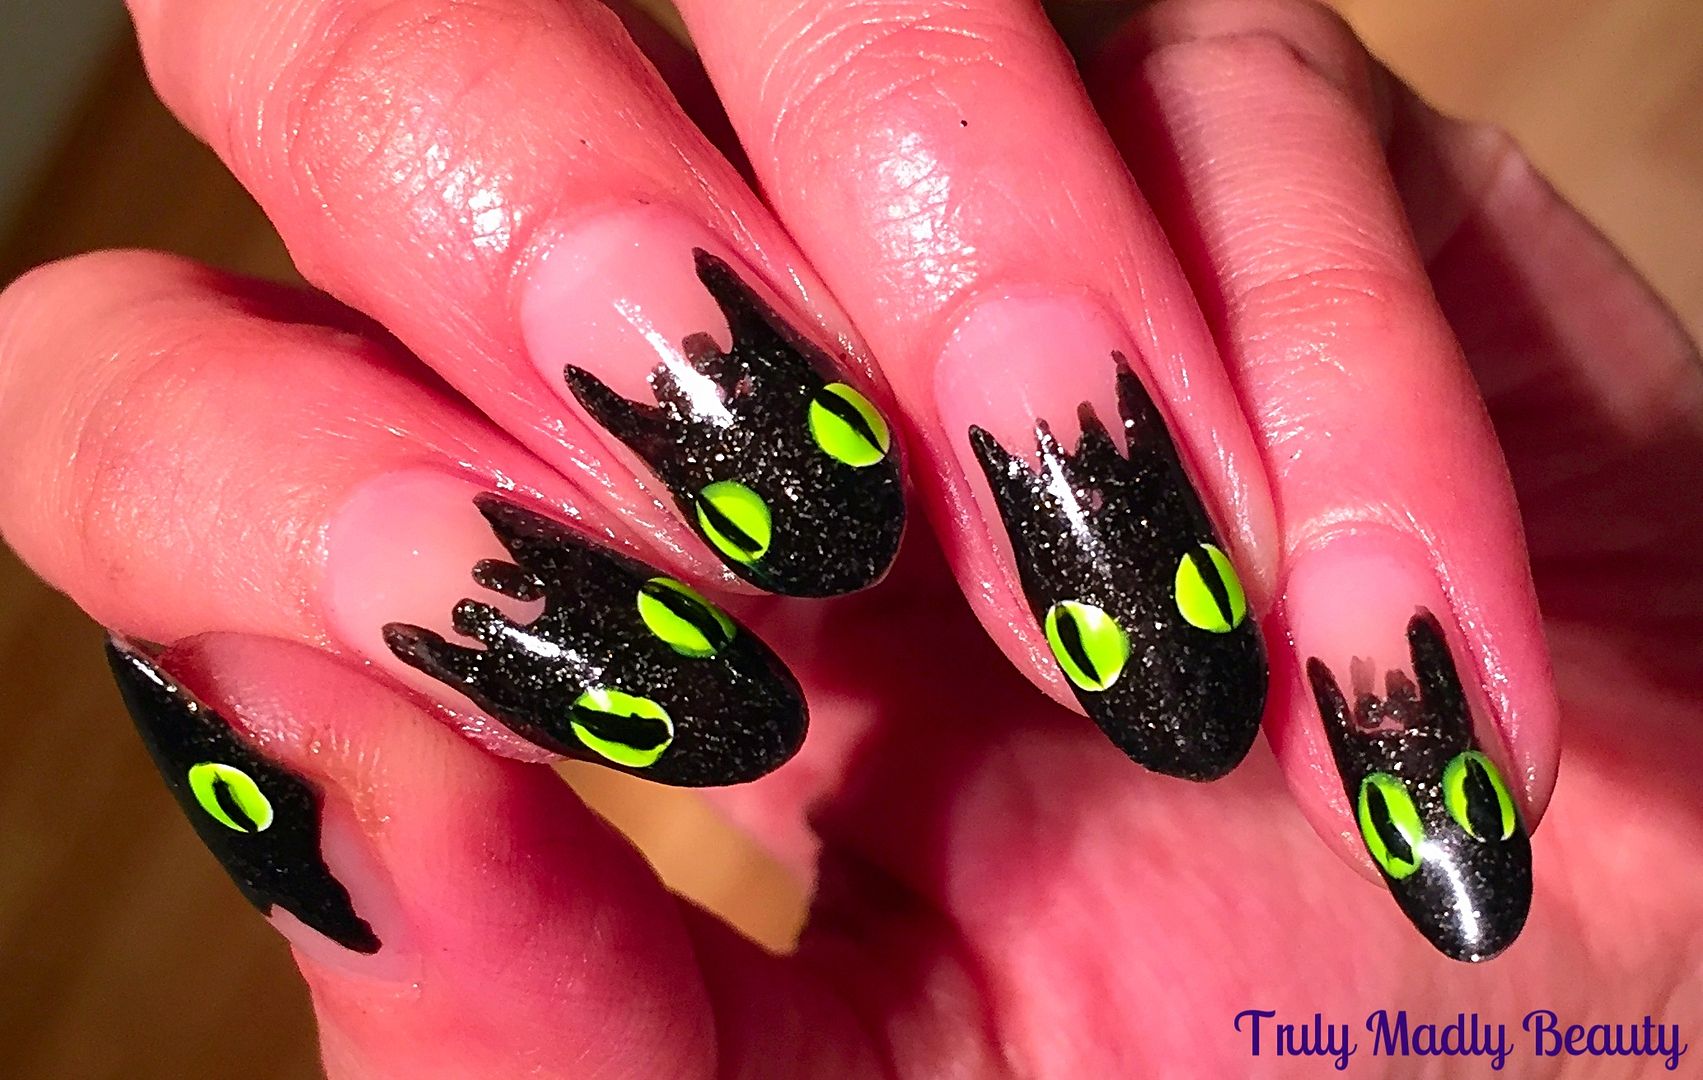
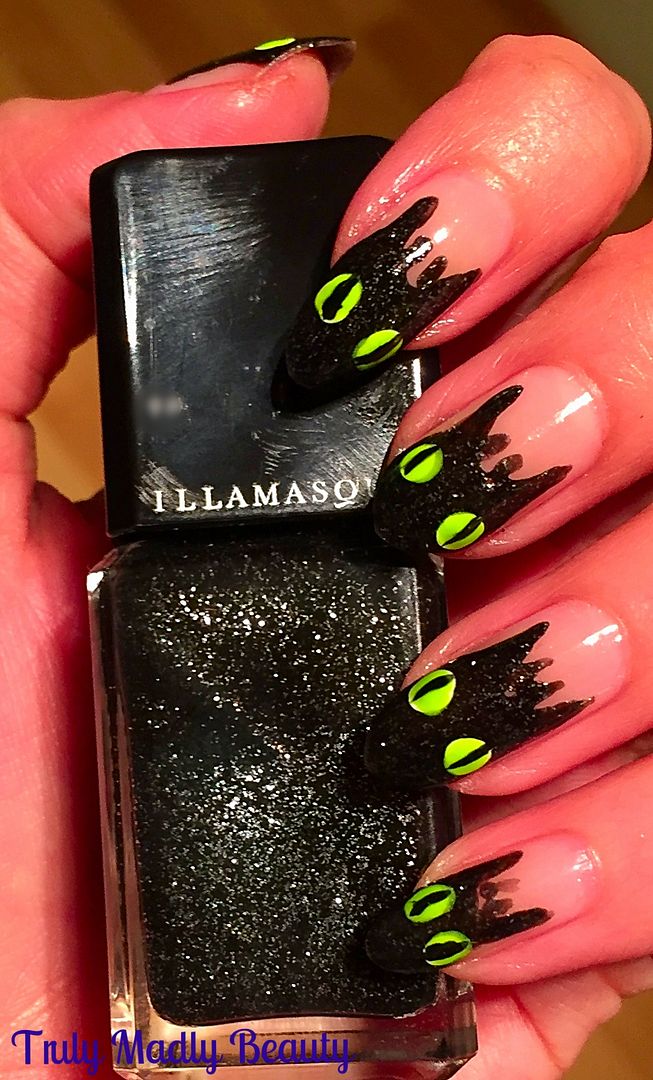
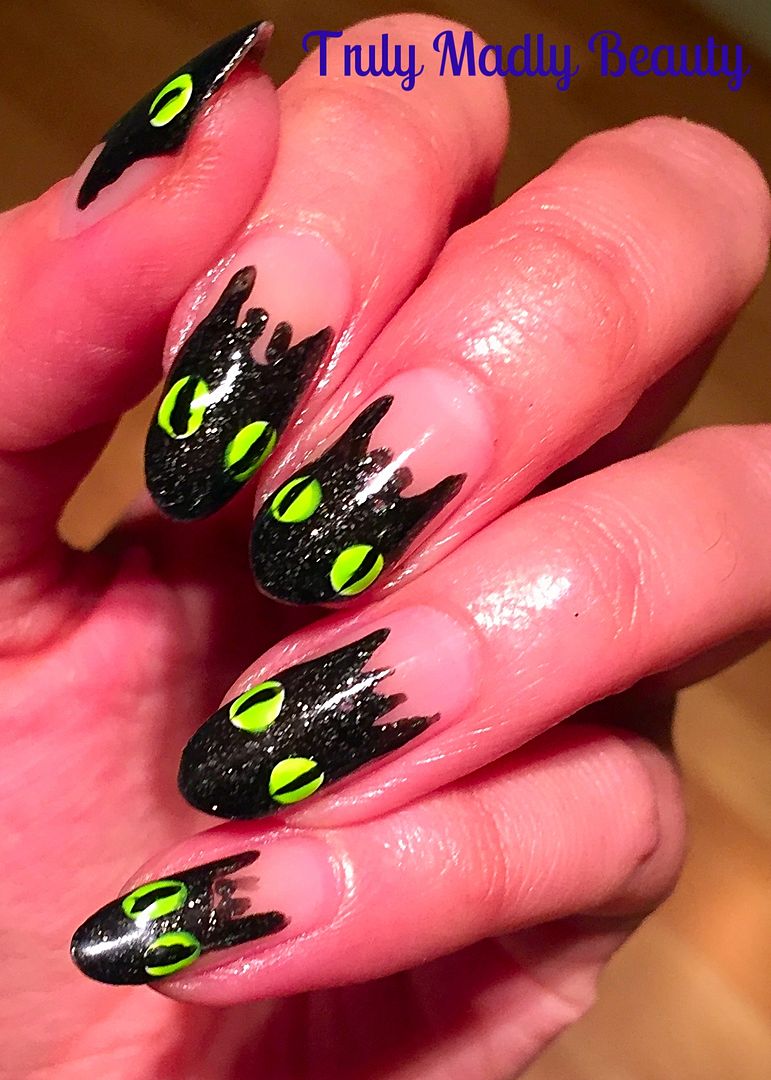
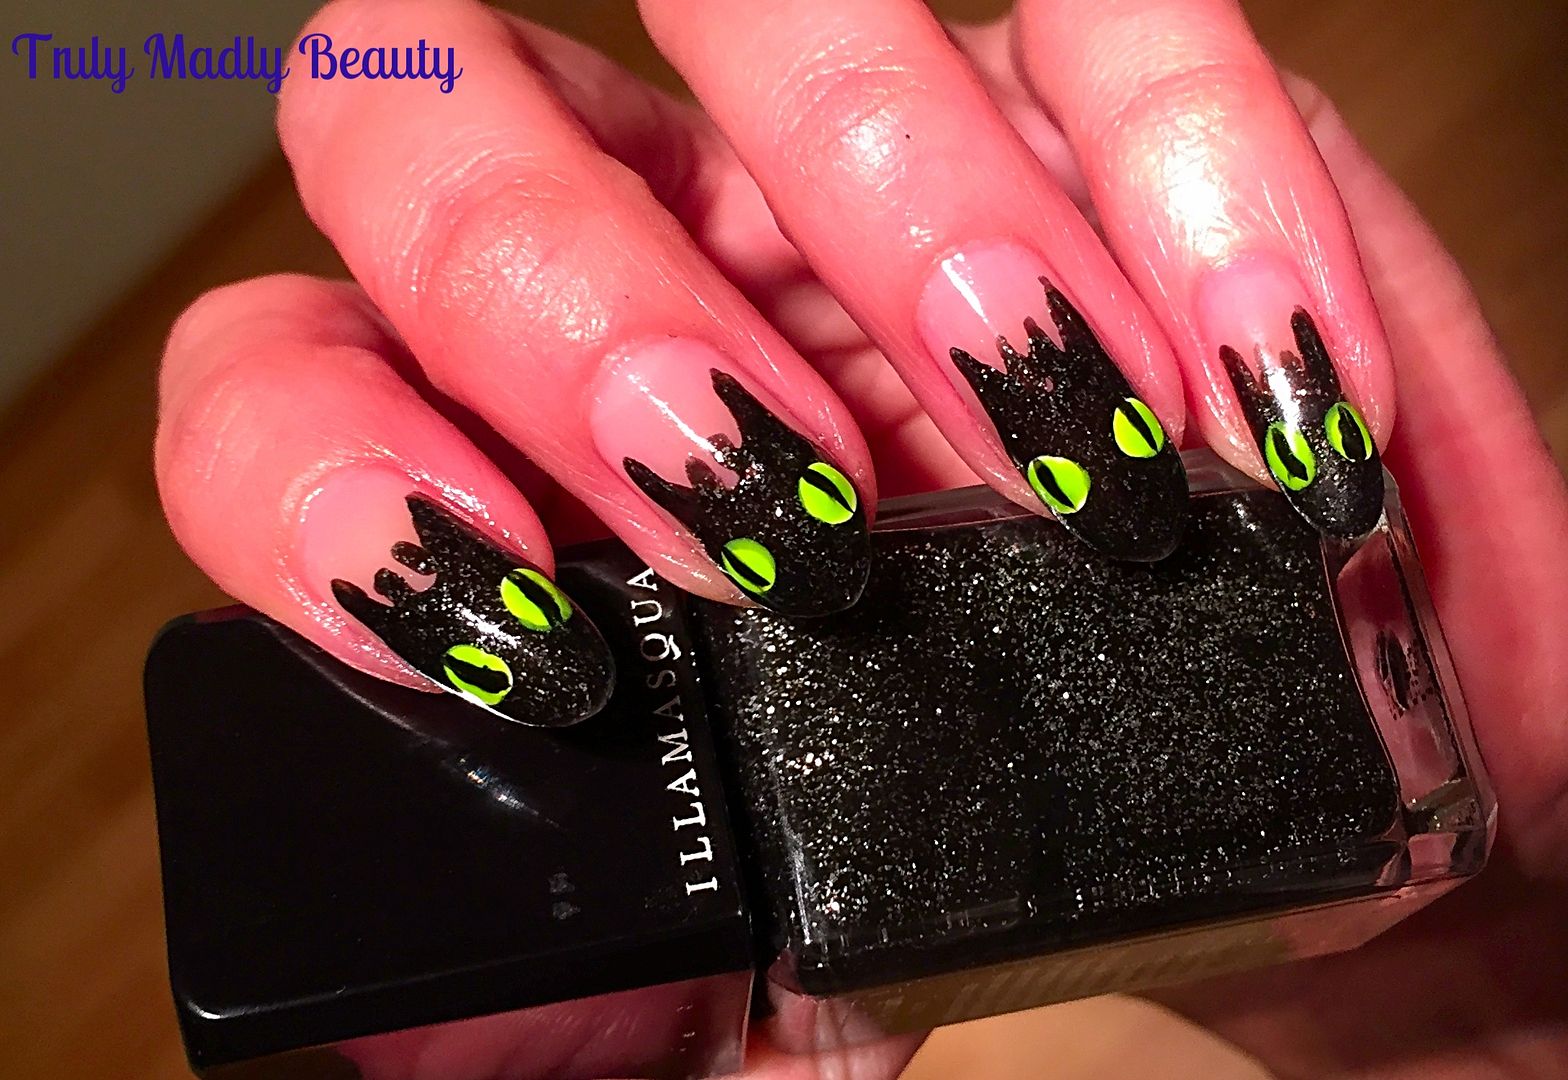
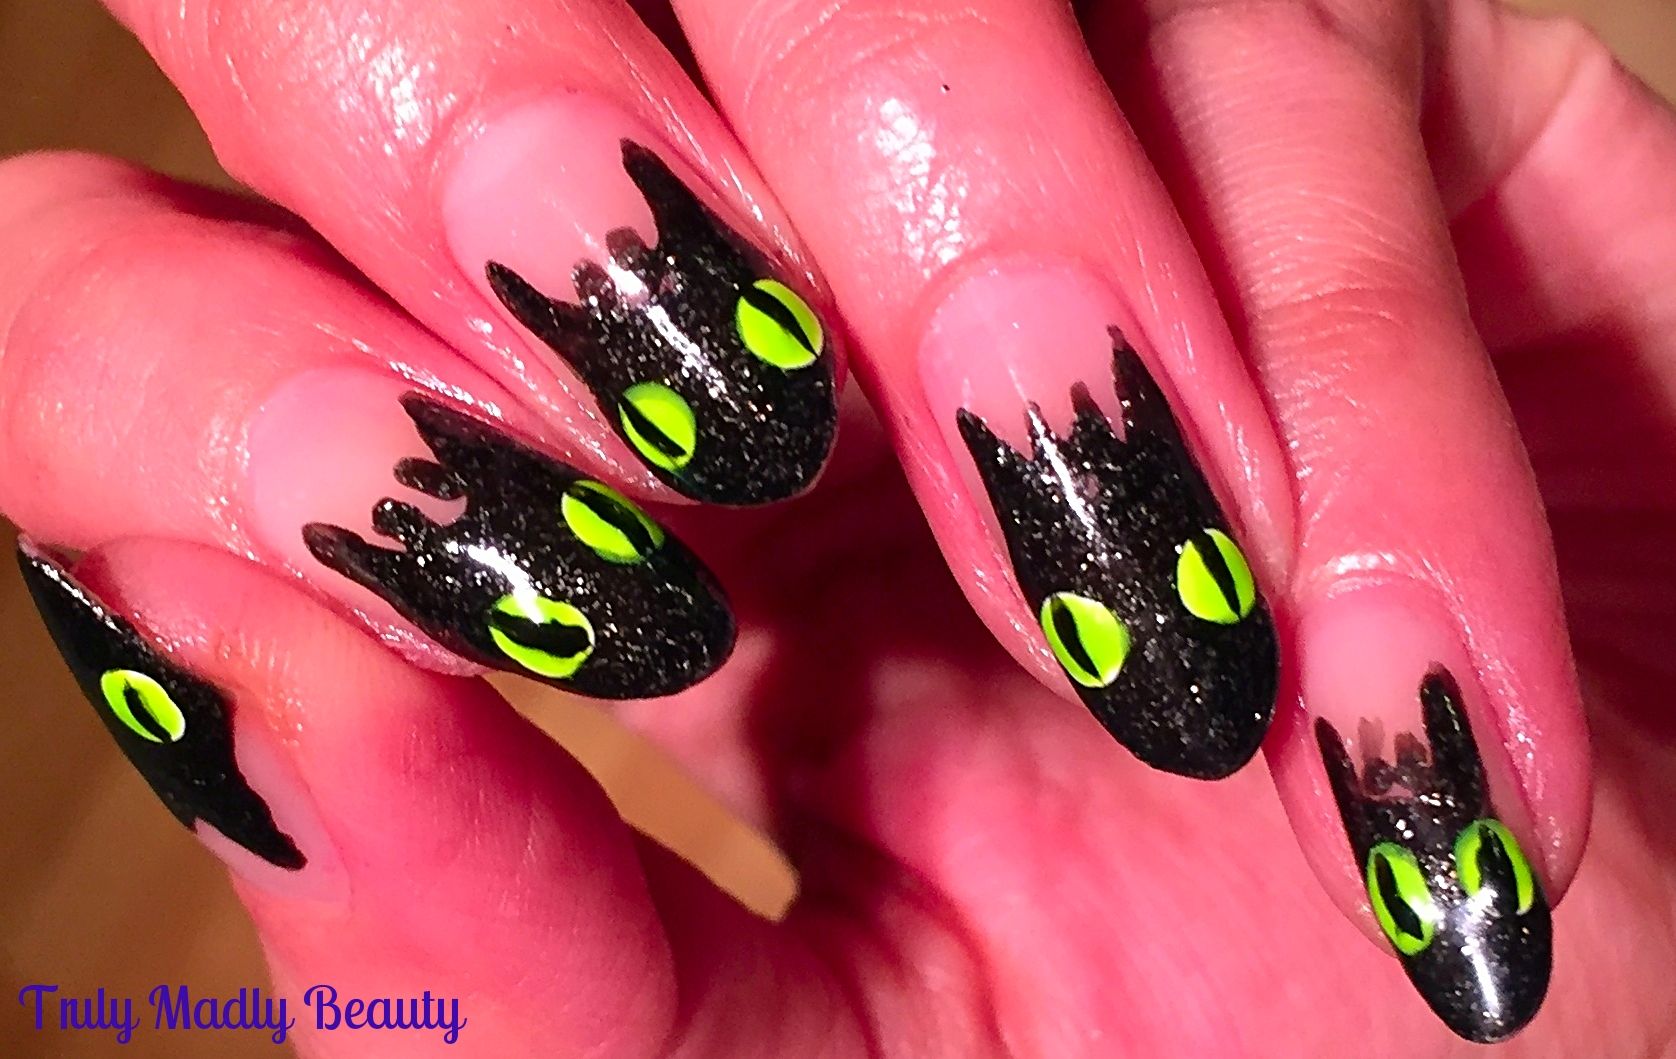
NOTD - Toothless the Dragon Nails!

Hello there lovely readers!

A spot of fun randomness with today's nail art....I love finding inspiration in all things, especially one of my greatest joys...animated movies! 

Browsing through Netflix the other day I came across one of my favourites & I'm sure a film that is for many others too...How To Train Your Dragon. I've yet to find anyone of any age who DOESN'T love this movie & I think we know its mostly down to the bloomin adorable Toothless.

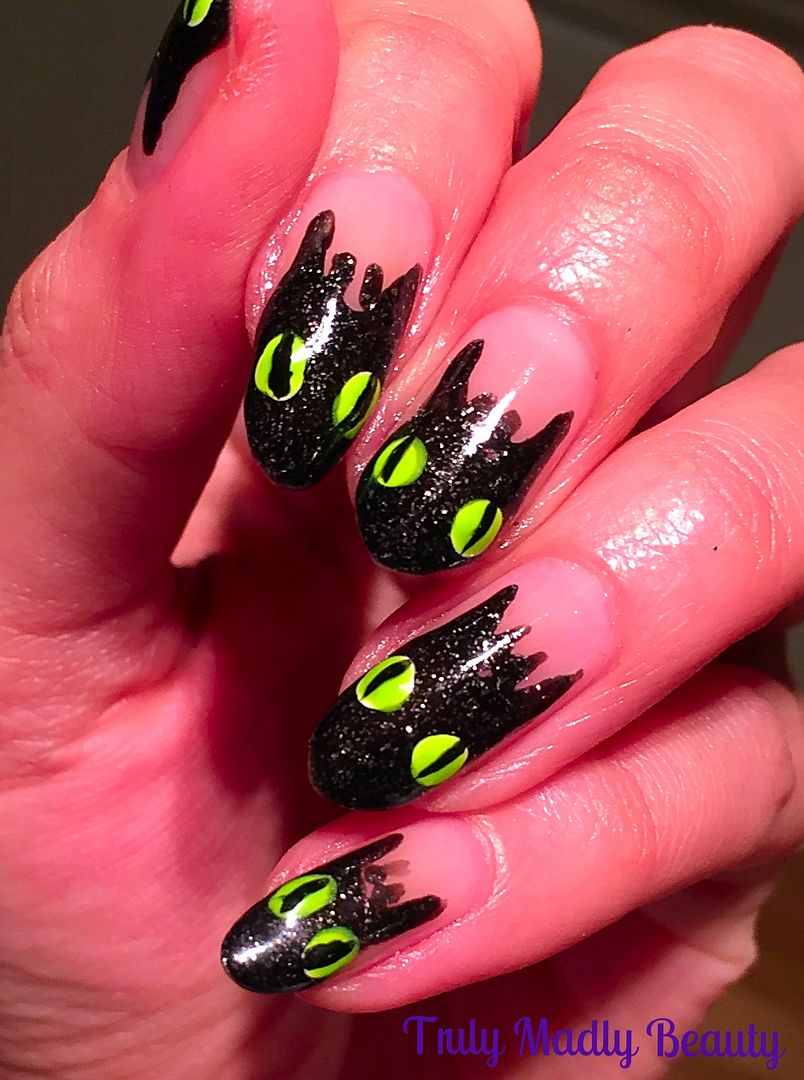
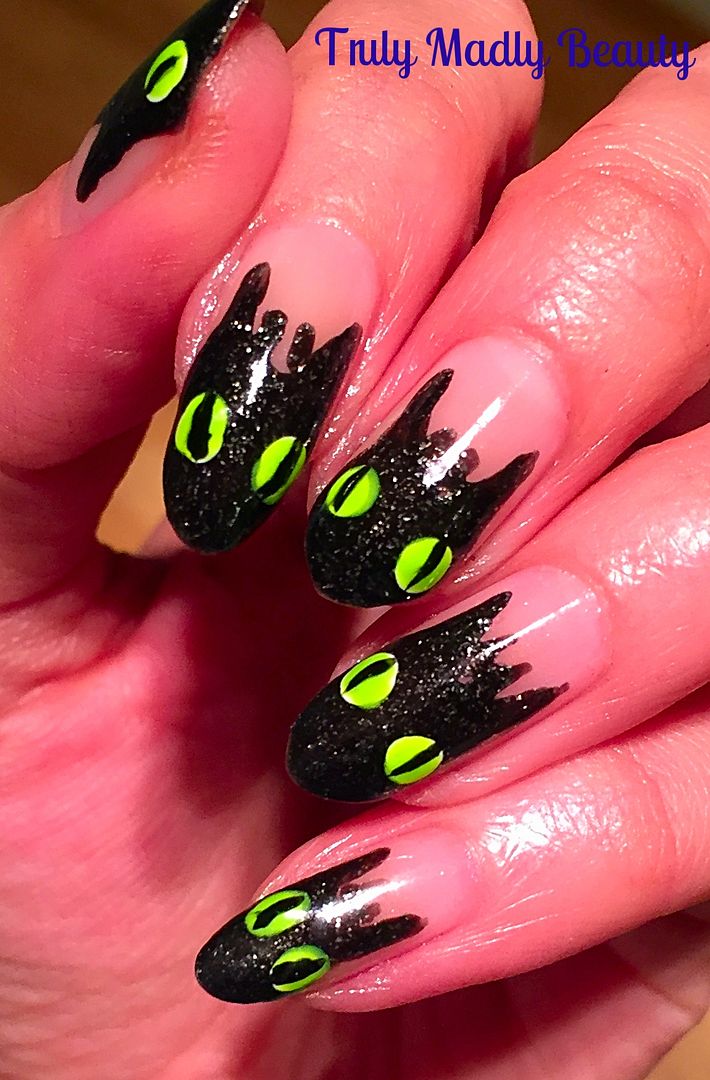
I was in the mood for something dark yet fun so I decided to use the lovely Toothless as my inspiration and created this Toothless Dragon Tips design!


Haha different non? But I'm chuffed with how they came out, I certainly did my work colleagues heads in the next day asking them WHO they thought it was on my nails...& 99% of them got it right! Currently NOT talking to the 1% who thought it was the rabbit ghost from Watership Down.... AHEM. O_O


Anyhoos for my Toothless nails a suitable black was required & rather than use a plain black polish I reached for this pretty by Illamasqua called Creator which is filled with teeny silver microglitters giving it a fun edge & I felt would actually add to the effect of the dragon like scaly skin.


Using my black polish & a fine nail art brush I freehanded my Toothless faces to each nail. To do this start by drawing on a U shape about 3/4 of the way on the centre of the nail.


Then continuing on from the bottom curve of your U shape, draw 2 lines either side, downwards to the tips, curving out slightly to create the face, before filling in.


Add on 2 little spikes in middle of the U for his horns & then for the eyes I simply dotted on two white dots, before going over with a neon green (this makes the neon pop)


Final step is adding on 2 thin dragon pupils on to your eyes with a spot of black polish & a fine brush before finishing with topcoat...Hello Toothless!


Hope you liked, now thinking of other animated characters I can bring to life on my nails....Thanks as always for stopping by darklings! 

Lotsa love to ya!


11.01.2016

Klenspop 4 Color Red Circle Lens Review

Hello there my lovely readers!

Currently sat snuggled up surrounded by soothing scented candles burning away with a pot of tea & supply of sweet foodstuffs...BLISS & the perfect environment to get my blog on. FYI head over to your nearest B&M beauts ASAP to drool over their divine scented candle range...so impressive & better still such BARGAINS! Managed to snap up some of the leftover Halloween specials including delicious Vanilla Pumpkin...yummo.


I'm sure you're used to by now of my fondness for switching up my eye colour on occasion, in particular with my favourite lens brand Klenspop. Well I have another pretty lens to share with you today, something a little bit different this time with the Bunny 4 Colour Red* lenses


Like the lilac lenses from my previous post HERE, I was super excited to try out a shade of lens I'd also never ventured towards before, but fret not, if the idea of red lenses immediately brings to mind "newborn vampire out of twilight" vibes, which I confess it did with me & there's nothing wrong with that as I think they look incredible, I couldn't have been more wrong about these which are in fact rather natural in look!


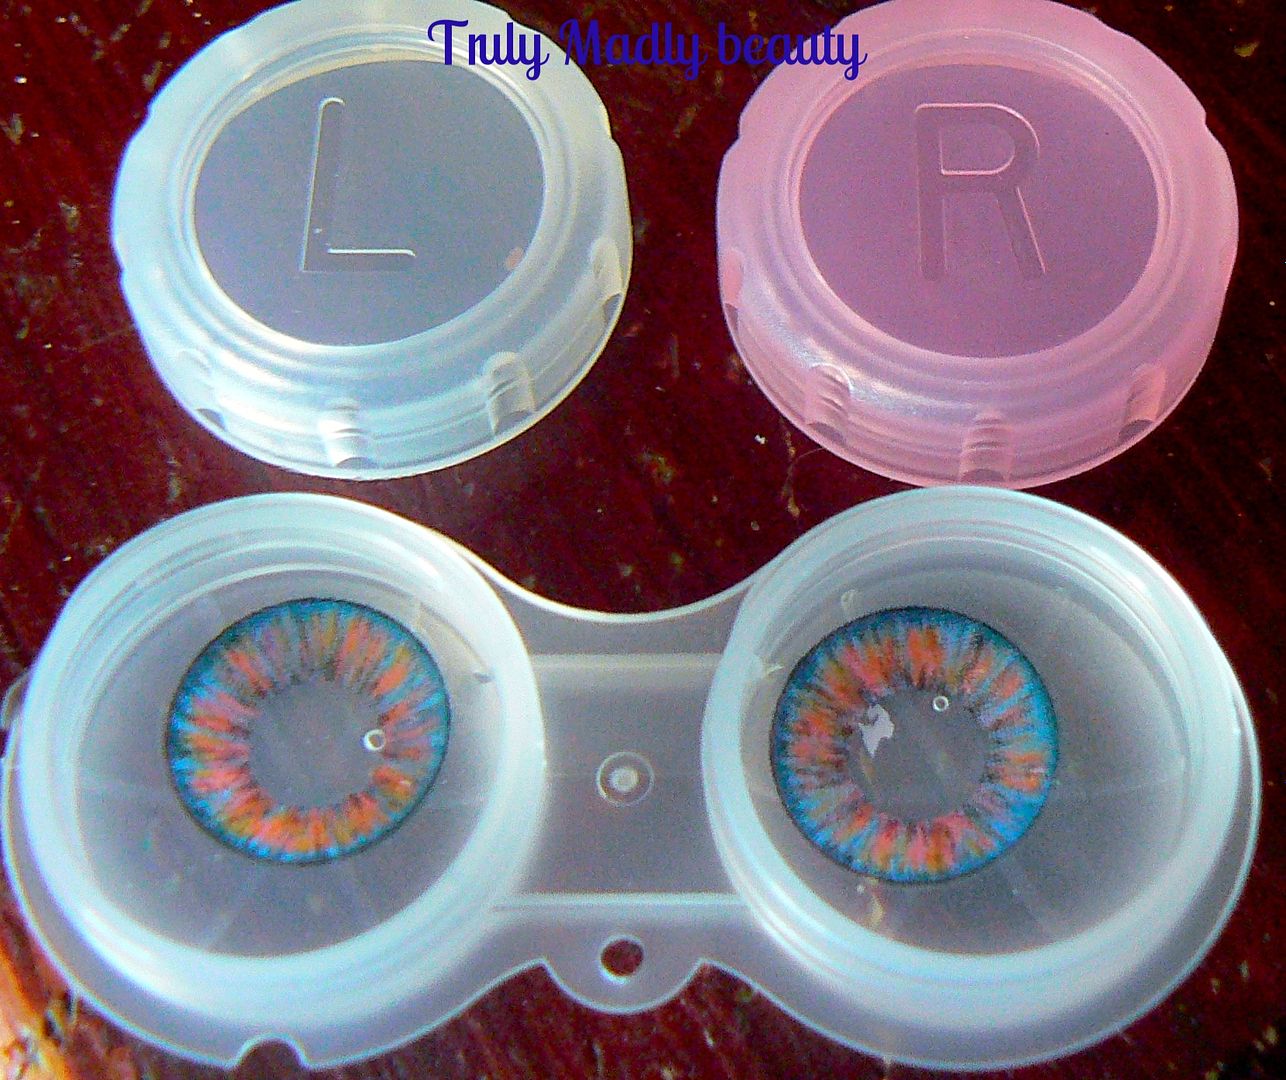
As usual your Klenspop lenses will arrive securely packaged in plenty of bubble wrap, in which you'll find your your lenses stored in the usual pretty packaging along with your wee tweezers and storage case.


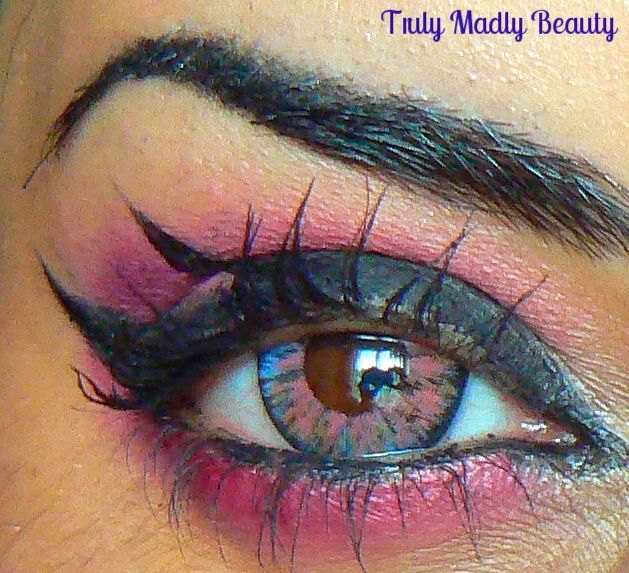
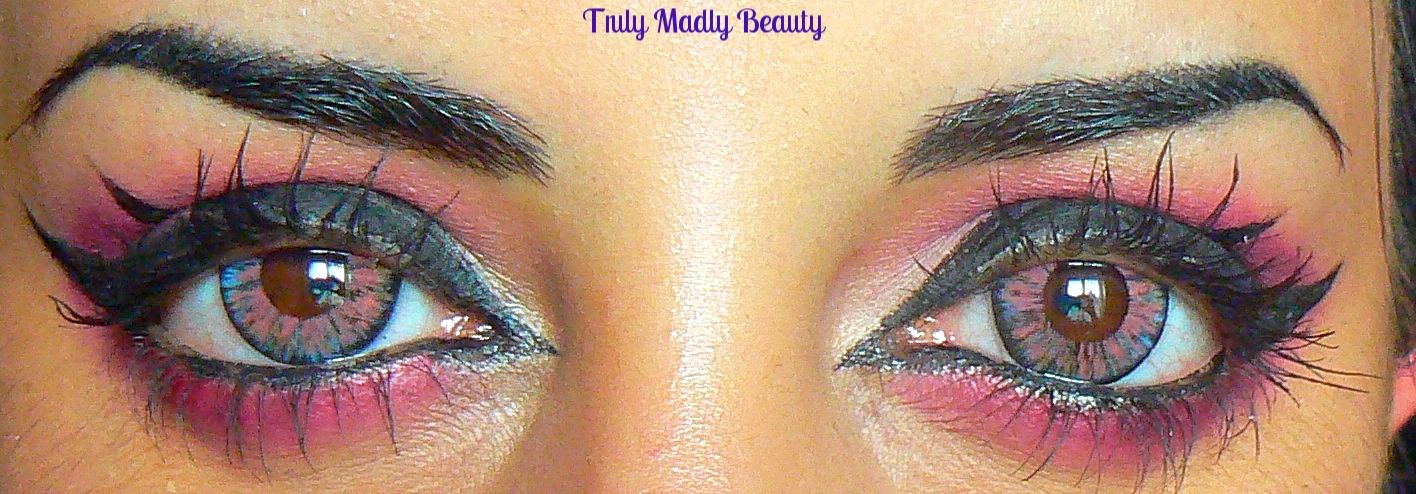
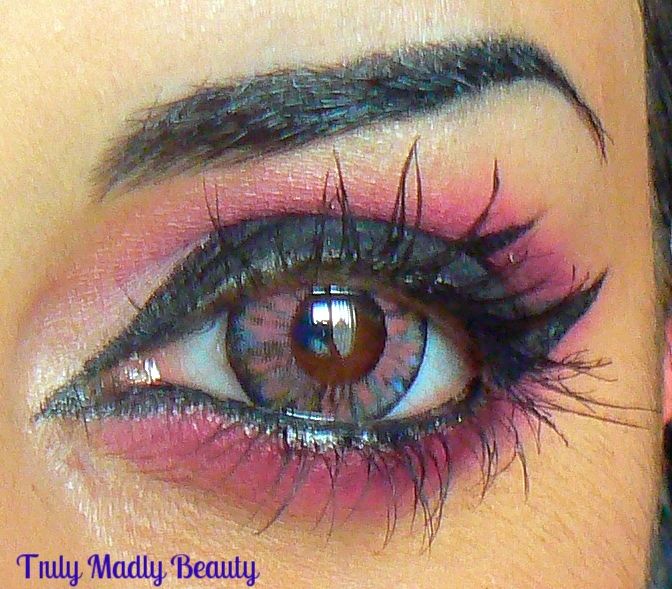
As you can see from first look, far from being one block colour, the Bunny 4 Colour red lenses are an intriguing mixture of not just pale red, but also includes shots of blue, grey & brown thrown in to give a really unique look

Here's a wee breakdown on the lens details for you:

Diameter: 14.5mm
Graphic Diameter: 14.2mm
Basic Curve: 8.8mm
Using Period: 6 months
Water Content: 38%
Manufacturer: Lenspop

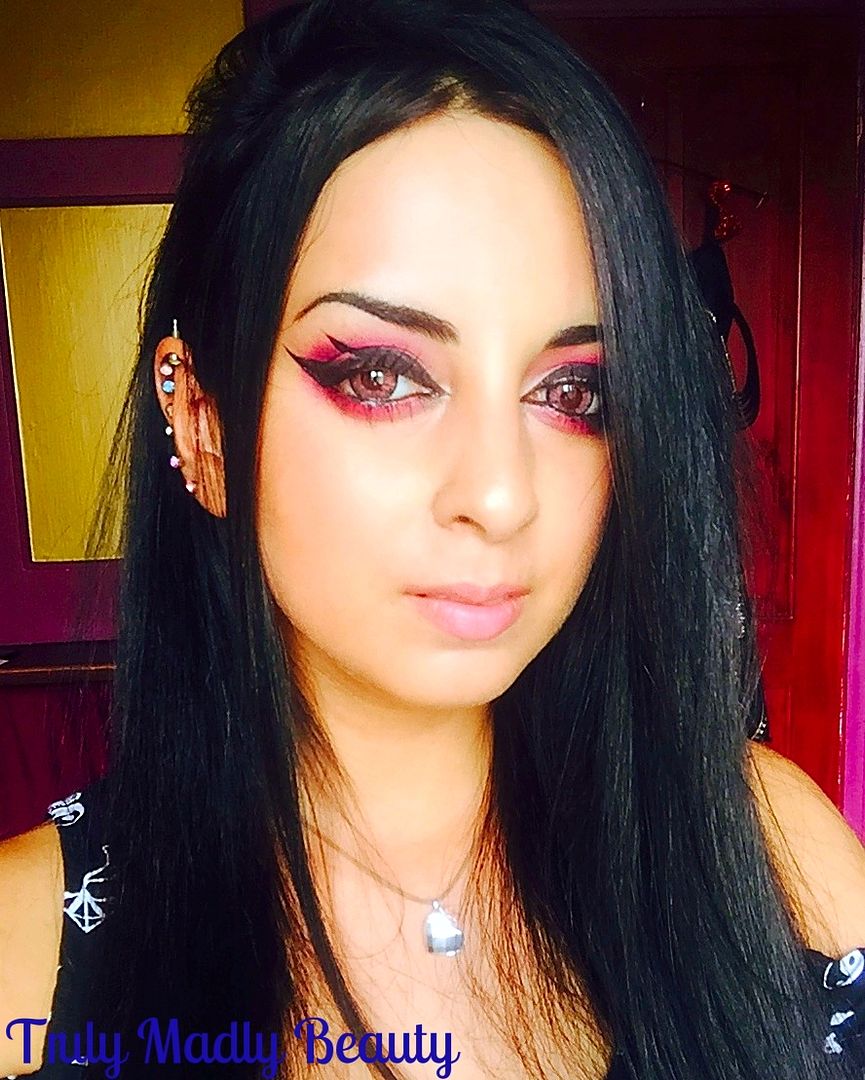
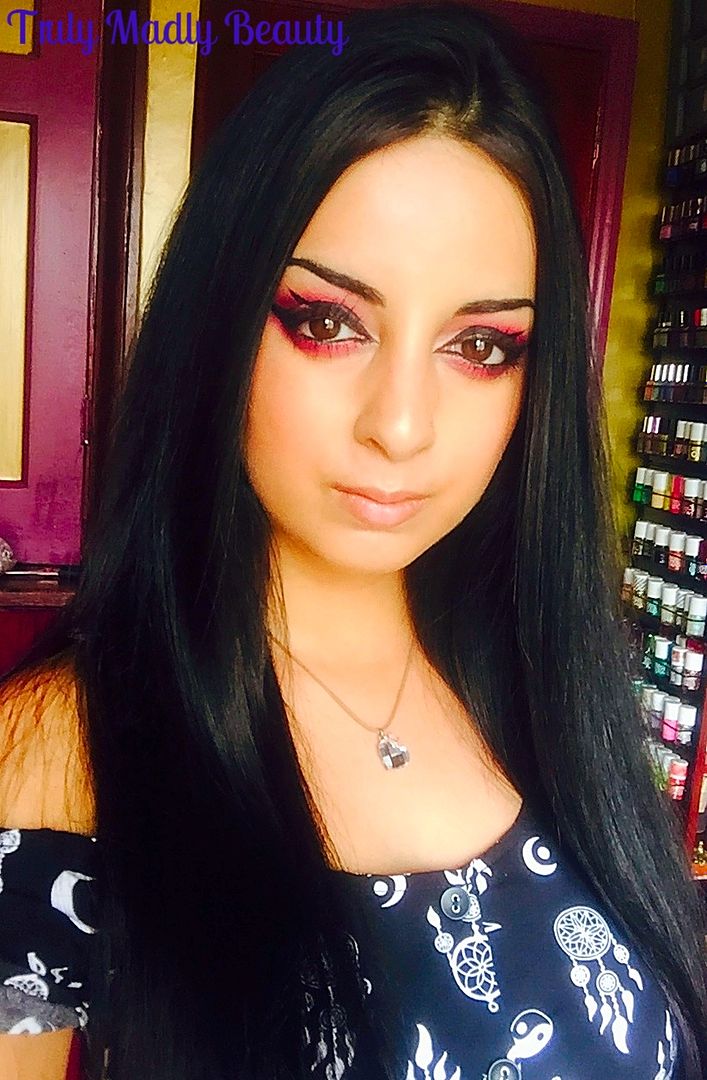
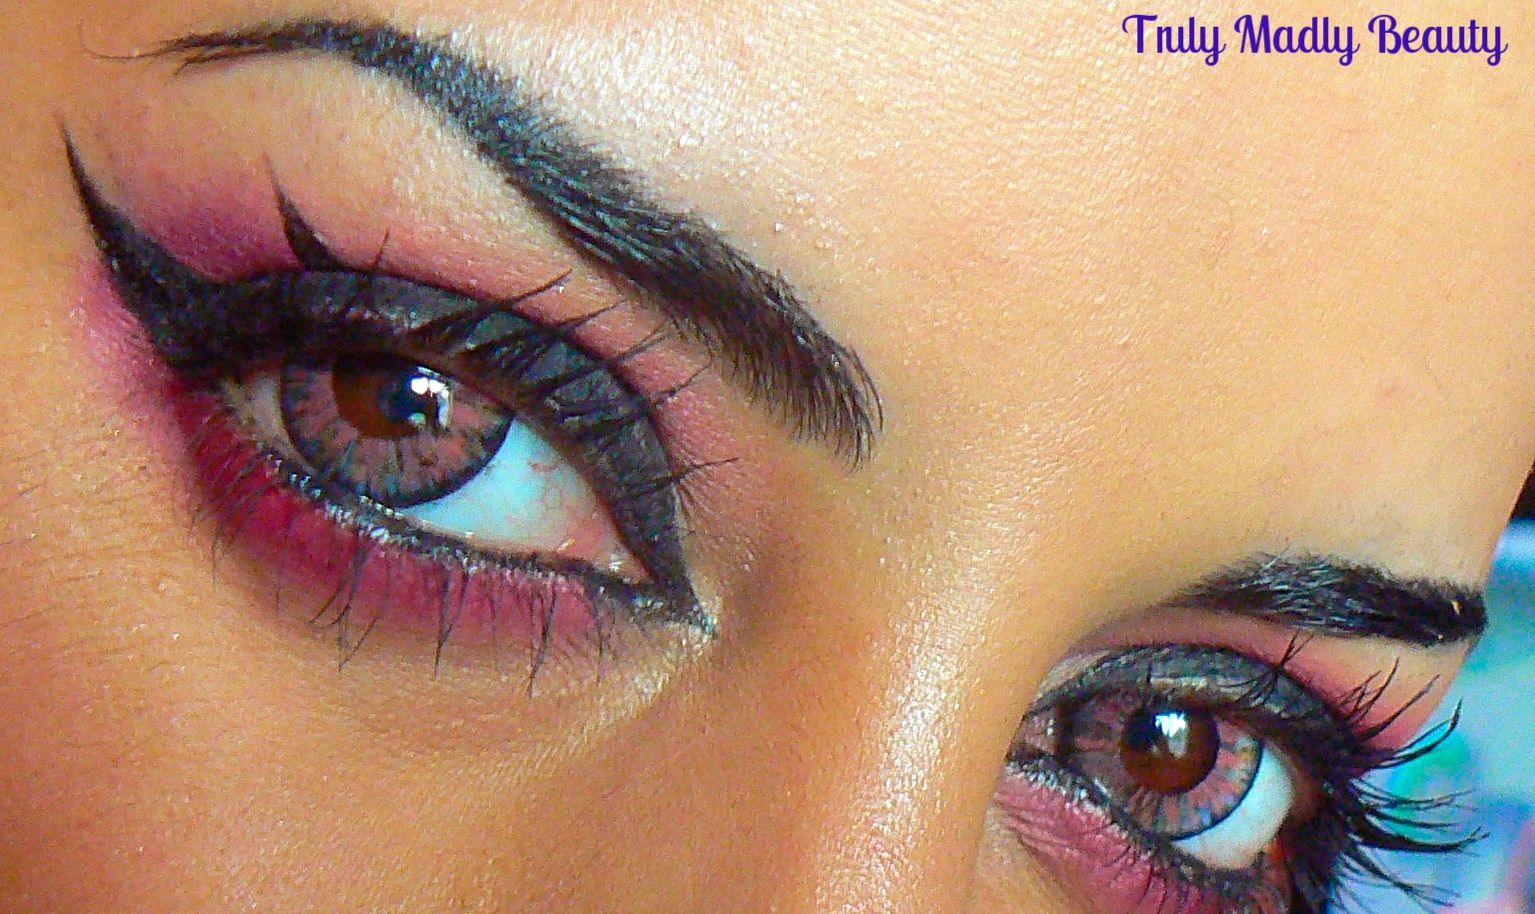
Now on to the pics! Here's a quick before pic of me with my natural eye colour, I decided to throw together an Amy Lee vibe red eyeshadow look to go with the lenses that completely had me reminiscing back to my teen years...


And here we have the Bunny 4 Colour red lenses in...


What do you think? I was so pleasantly surprised with how different yet natural the finish of these are, I absolutely love them!


The added touches of grey/blue/brown really tones down the look yet still makes the finish really eye catching. Because the red is so soft toned it almost gives a pretty pink like finish which I heart.  


Happy to report these are non irratable as Klenspop lenses always are & I can comfortably wear these for the whole day with the added help of MesmerEyez Milk Eye Drops which are by far the BEST eye drops I have ever used to help prevent eyes from drying when wearing lenses.


The Bunny 4 Colour Red lenses also enlarge the eyes slightly, but not a huge amount so the finish is still quite natural. However one thing I did notice with these is that one of the lenses kept shifting positions due to my dry eyes making my eyes look a tad odd haha! But that was rectified with a bit of moisture from the eye drops. ;)


Another hit with these babies! You can find these and many more on the Klenspop website where they are not only reasonably priced but fab quality too. You can check out my other Klenspop reviews HERE.

Thanks as always for reading!

Lotsa love to ya!


Disclaimer - * products featured were sent to me for my consideration. I am not affiliated with the brand nor paid for this post, this review has been as always my 100% honest opinion! :)