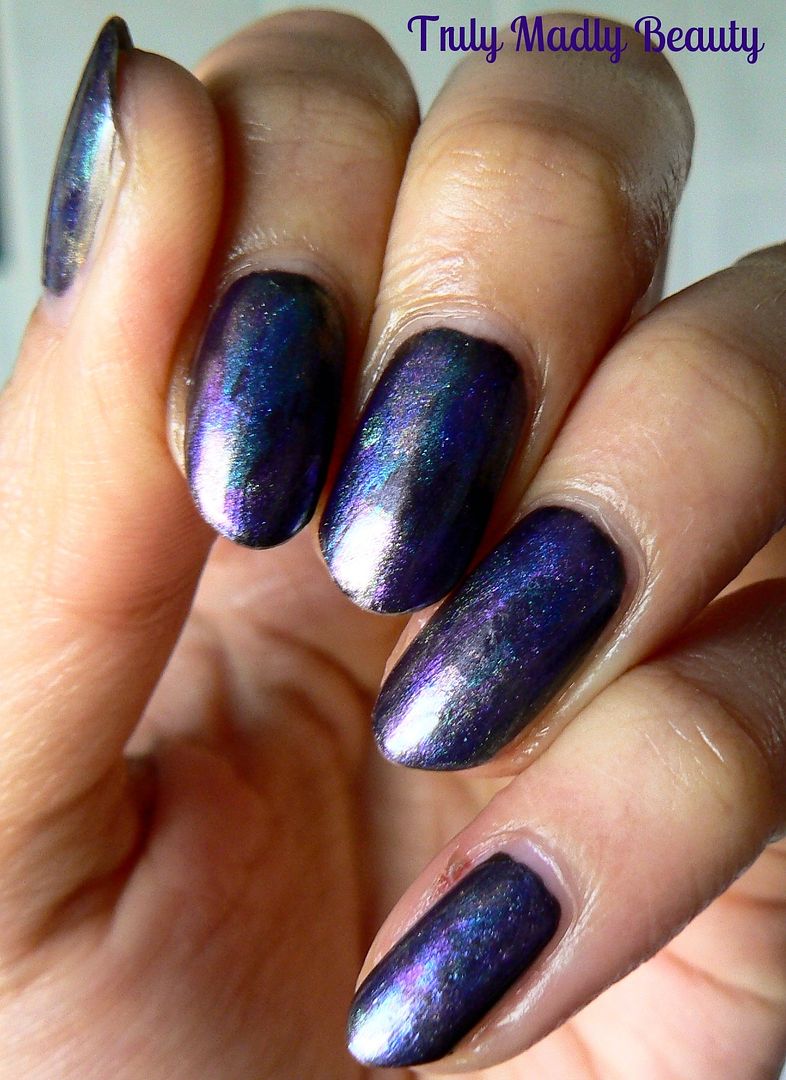
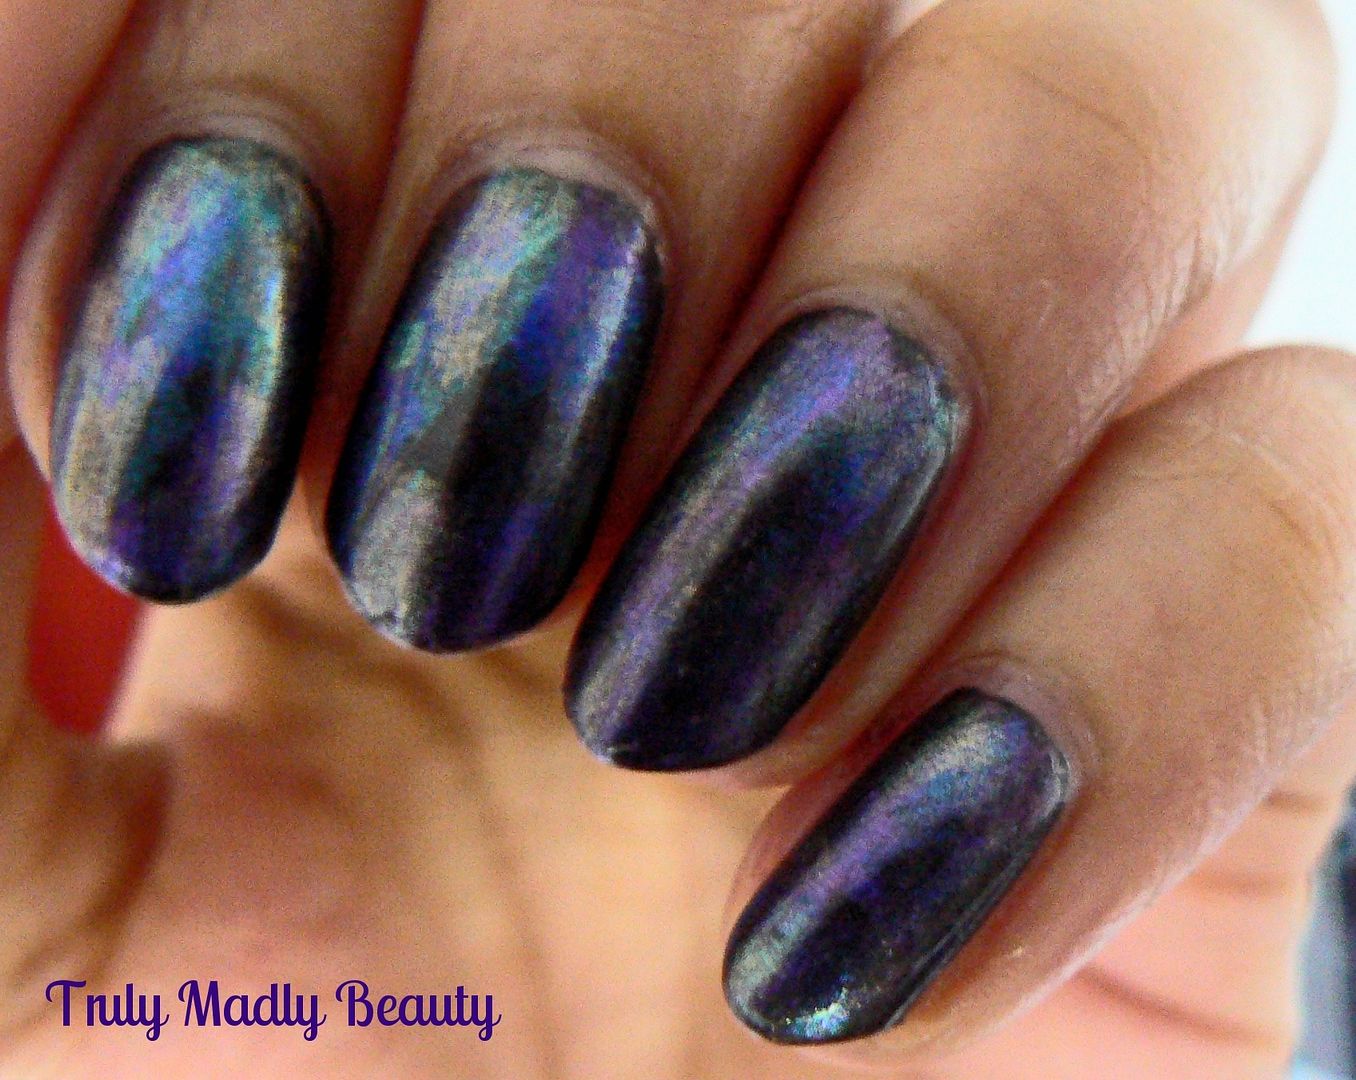
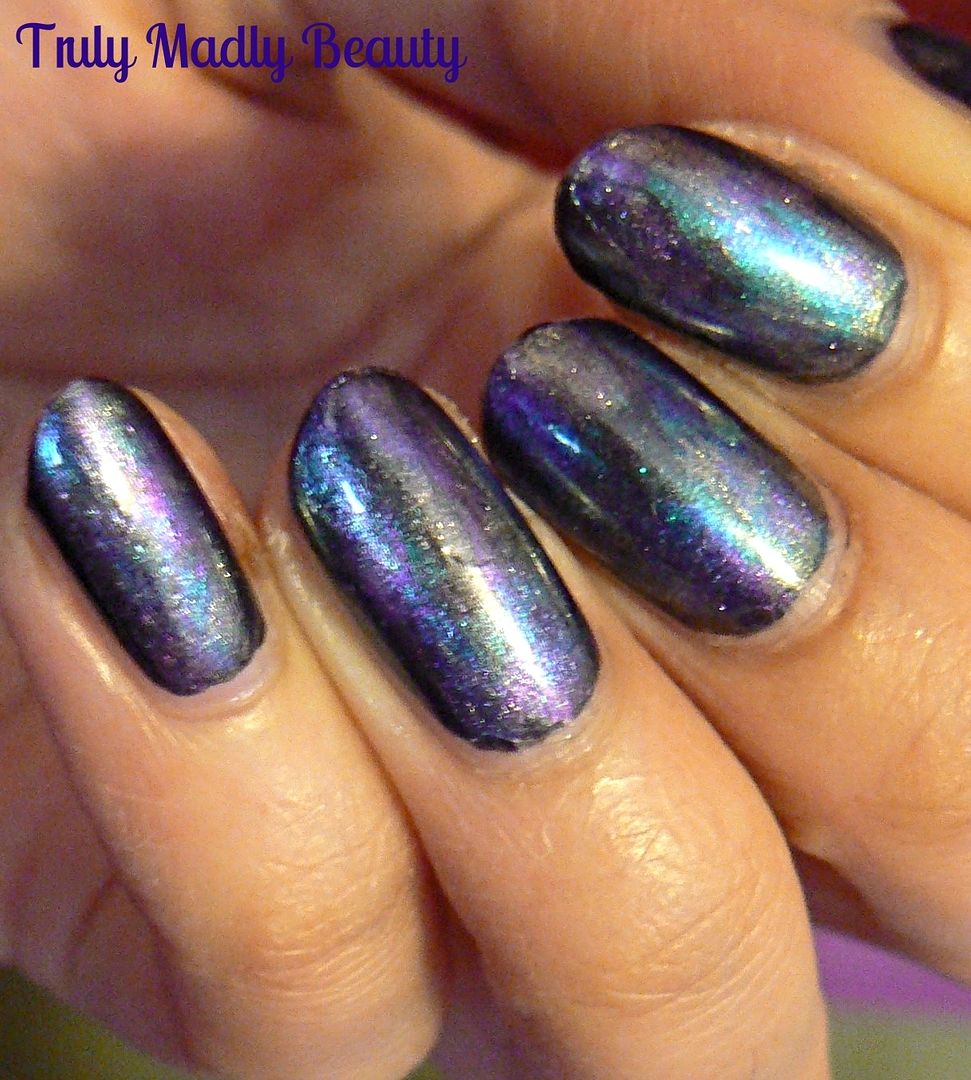
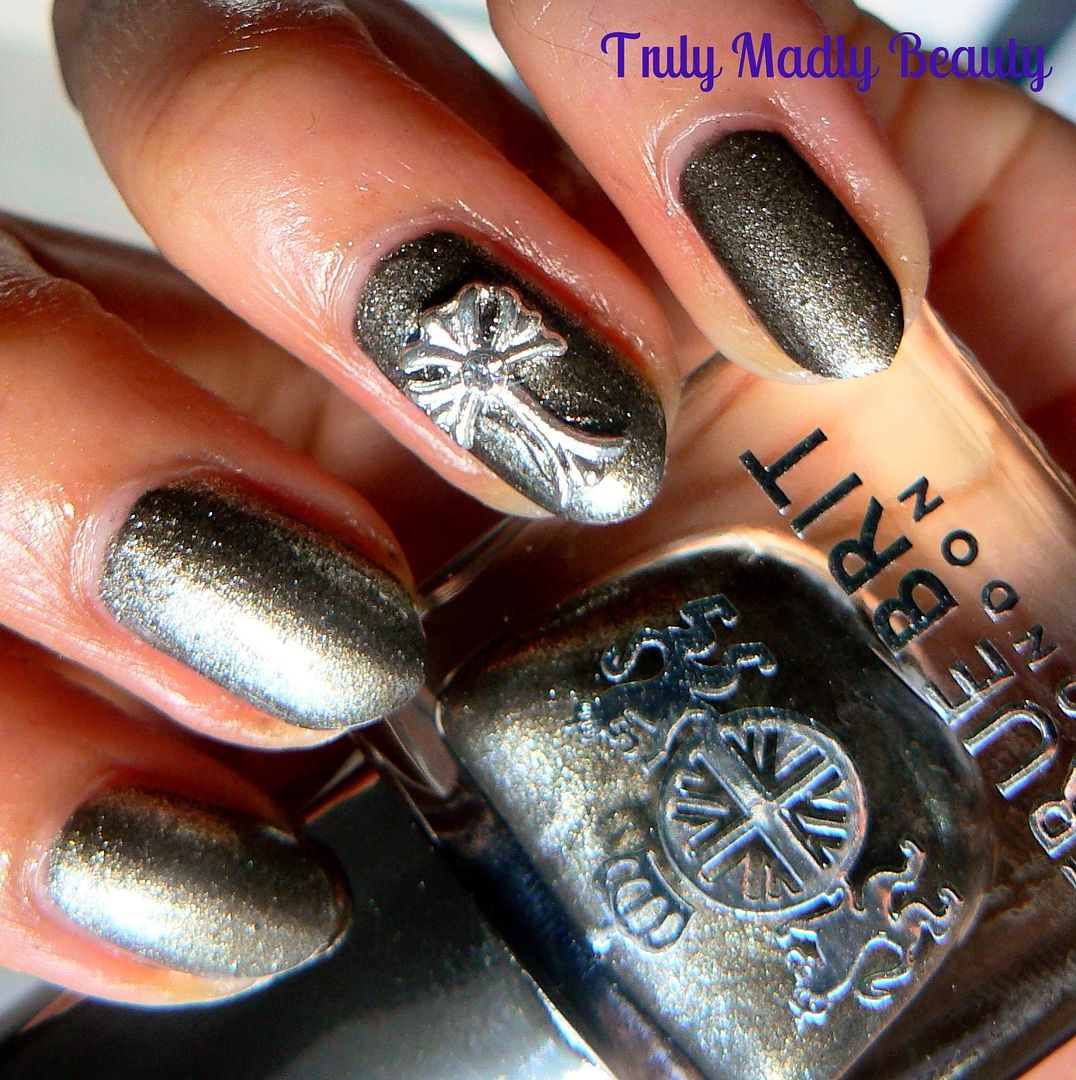
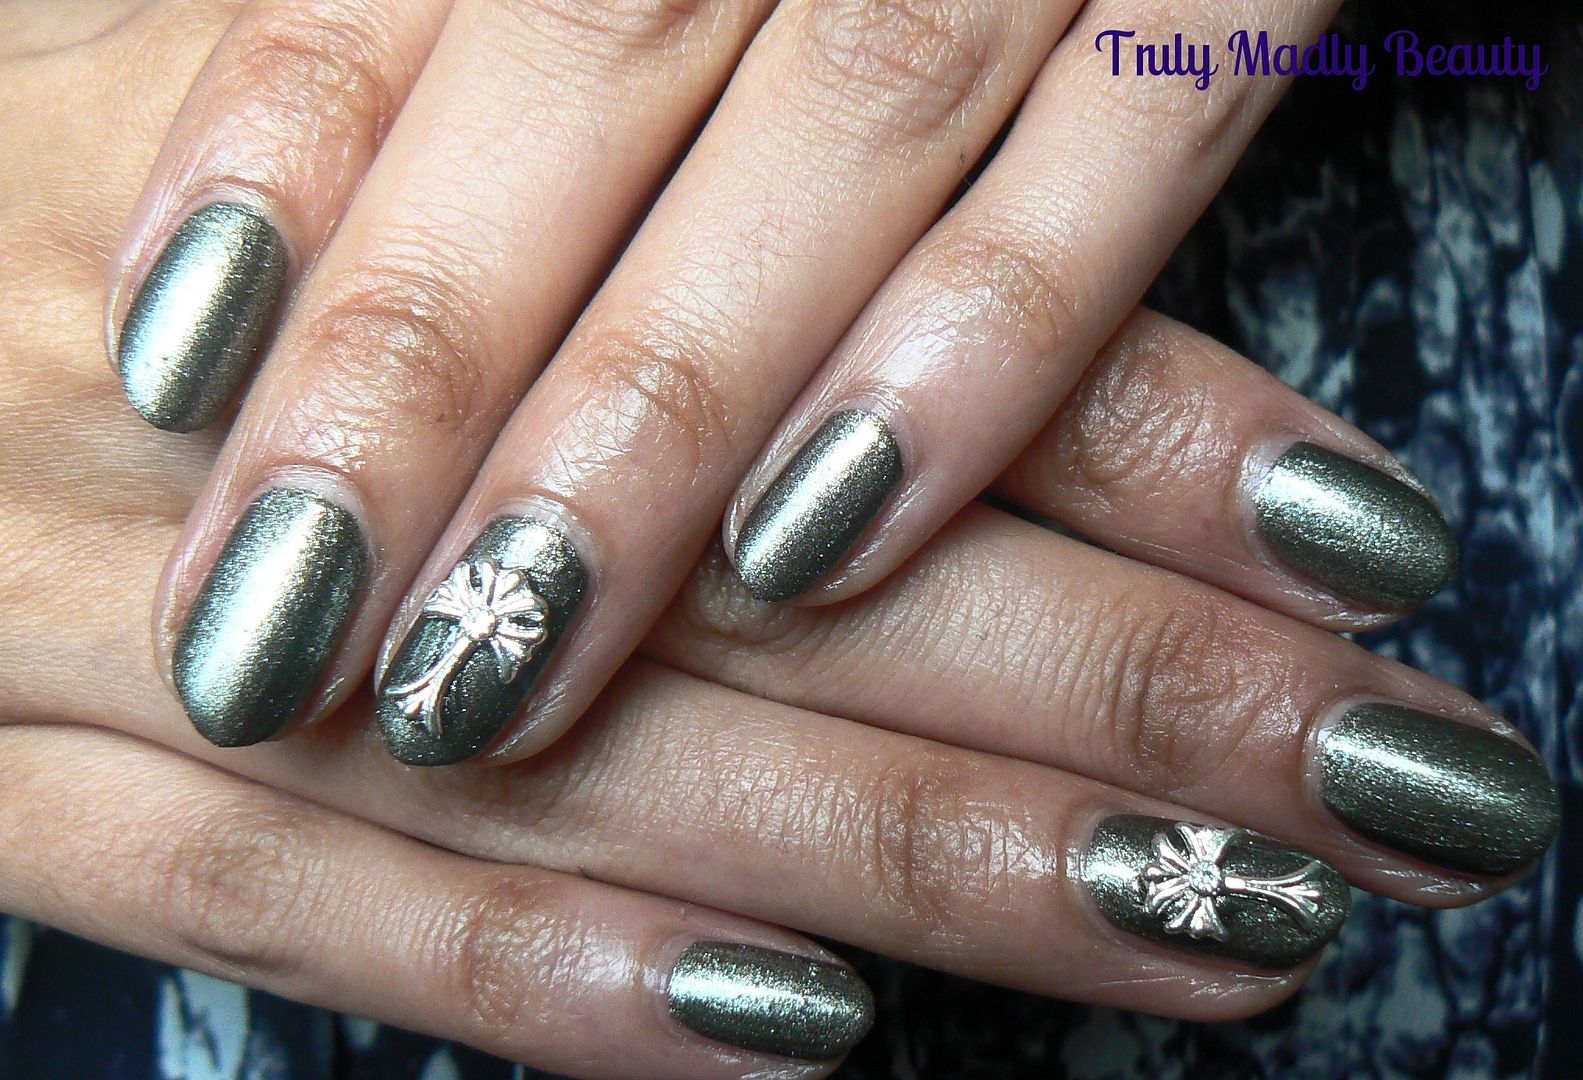
It may come as no surprise, being the Afternoon Tea addict I am, that I have a "thing" for pretty teacups. Its become an addiction & one that's driven the mother-ship a tad bonkers whenever I bring home yet another pretty piece of crockery to add to my collection, adding chaos to her kitchen cupboard aesthetic O_o
Showing posts with label Chrome. Show all posts
2.05.2018
NOTD - Miss Etoile Teacup Inspired Nails
Hello there lovely readers!
Labels:
Accessorize,
Chrome,
Chrome Powder,
IsaDora,
Lilac,
nail art,
NOTD,
Rose Gold
2.01.2018
Nail Stamping For Beginners - My First Foray In To The World Of Nail Art Stamping!
Hey there lovely readers!
Grab yourselves a cuppa dear ones as this is a bit of a one! As I'm sure is QUITE clear by now if you are a regular peruser of my blog & basically just by looking at my page...nail art is my passion. Nails, beauty, food & cats...pretty much in that order most of the time. But yus, nothing makes me happier than when I'm sat down at my work station (aka the dining room table) with all my nail art bits & bobs laid out in front of me ready to get to creating something fun on my nails.
I mostly love experimenting & playing around when it comes to my nail art designs, some projects more successful than others! Let me tell you there is nothing more devastating for a nail artist than spending time on a design you had such high hopes for it to turn out an epic FAIL. However as much as I love getting arty with my brushes, I also like to delve further & try out different techniques. One such technique, which has been around for quite a time now is Nail Art Stamping & I'll confess...its one that has had me in palpitations at the thought of attempting.
Labels:
Beauty Big Bang,
Chrome,
Duochrome,
Konad,
Model's Own,
Moyou,
nail art,
Nail Art Tips,
Nail Stamping,
New Look,
NOTD,
Silver
12.21.2017
Festive NOTD - Snowflakes plus Step by Step Tutorial
Hey there lovely readers!
If you caught my previous post HERE you'll recall the gorgeous polish I shared with you all, in all its chameleon chrome goodness, the super pretty Zealous by For Your Nails Only.
As I was utterly obsessed with this polish & had no desire to remove it from my nails I decided to use it as a base for my next festive mani & I think it worked out really well!
Labels:
Chameleon,
Christmas,
Chrome,
Duochrome,
Festive,
For Your Nails Only,
Monochrome,
nail art,
NOTD,
Snowflake,
SoNailicious,
Tutorial
12.20.2017
NOTD - Zealous by For Your Nails Only
Hello there lovely readers!
Ooooh but do I have a beautiful polish to share with you today, I've actually used this in my next festive nail art design, but I wanted to share some swatches with you first of Zealous all by its onesie as I feel it deserves it on account of being just...so...darn...PURDY!
Labels:
Chameleon,
Chrome,
Duochrome,
For Your Nails Only,
Green,
Indie,
Monochrome,
NOTD,
Purple
12.18.2017
Festive NOTD - Lilac Pastel Starry Night Sky
Hello there lovely readers!
So I'm back from my holiday in the beautiful Dubai, which has completely captured my heart & then some, I already cannot wait to return next year! But for now lets get back to continuing all things FESTIVE with some suitably Christmas-y nail art shall we?
11.29.2017
NOTD - Creme & Chrome Geometric Nails
Hello lovely readers!
Here is a quick mani I put together where I couldn't decide if I wanted me some vampy, creme or chrome nails...so I decided to go for all three! Go hard or go home right?
11.12.2017
NOTD - Warm Lace
Today I have another nail art design I created for this months Instagram nail art challenge I always love to partake in, these are hosted by the fab Clairestelle8 FYI & are always so much fun to do! Every month there are weekly themes for us nail art addicts to create a design for. Come find me on @aysh_xox :) Anyhoo the theme next to come up for this month was Lace.
I wanted to freehand a white lace pattern onto a warm duochrome base as I really feel white pops so stunningly on duochrome's especially!
Labels:
Autumn,
Chrome,
Duochrome,
Lace,
Model's Own,
nail art,
NOTD,
TrueBritLondon
10.15.2017
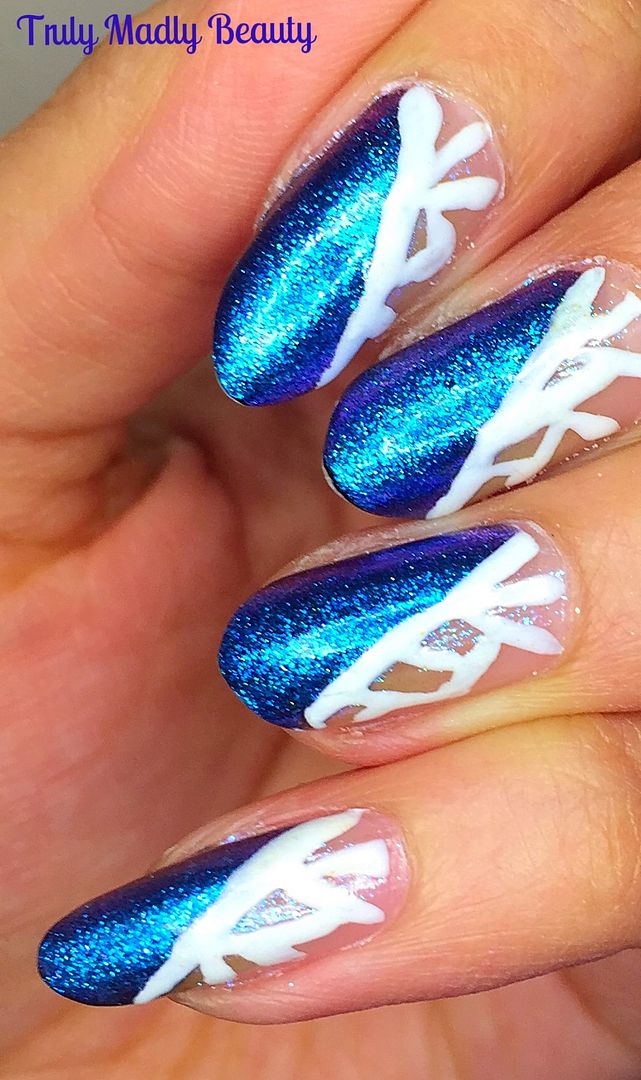
NOTD - Dragon Egg Nails plus Step by Step Tutorial!
Hello there lovely readers!
Taking a wee reprieve from Halloween Nail Art for the moment (not for long though!) as I really wanted to share this mani with you!
You may remember the stunning Chameleon Flakies I reviewed a few posts back from Beauty Big Bang? These little pots of wonderfully magical flakes transform an ordinary polish into a stunningly ethereal multichrome flakie finish.
Taking a wee reprieve from Halloween Nail Art for the moment (not for long though!) as I really wanted to share this mani with you!
You may remember the stunning Chameleon Flakies I reviewed a few posts back from Beauty Big Bang? These little pots of wonderfully magical flakes transform an ordinary polish into a stunningly ethereal multichrome flakie finish.
Each shade has a different colour shift effect, the J2443-3A flakies, when applied over a dark polish, gave a stunning purple to green colour shift, have a peek at my post HERE to see how pretty it is. Well naturally I was eager to see how the other shade I picked J2443-4A would fare so couldn't wait to give it a try & this time, keeping in with the dragon theme I decided to use it as the perfect base to create me some Dragon Egg Nails!
9.24.2017
NOTD - Rose Gold Chrome Nails...Without Gel!
Hello there lovely readers!
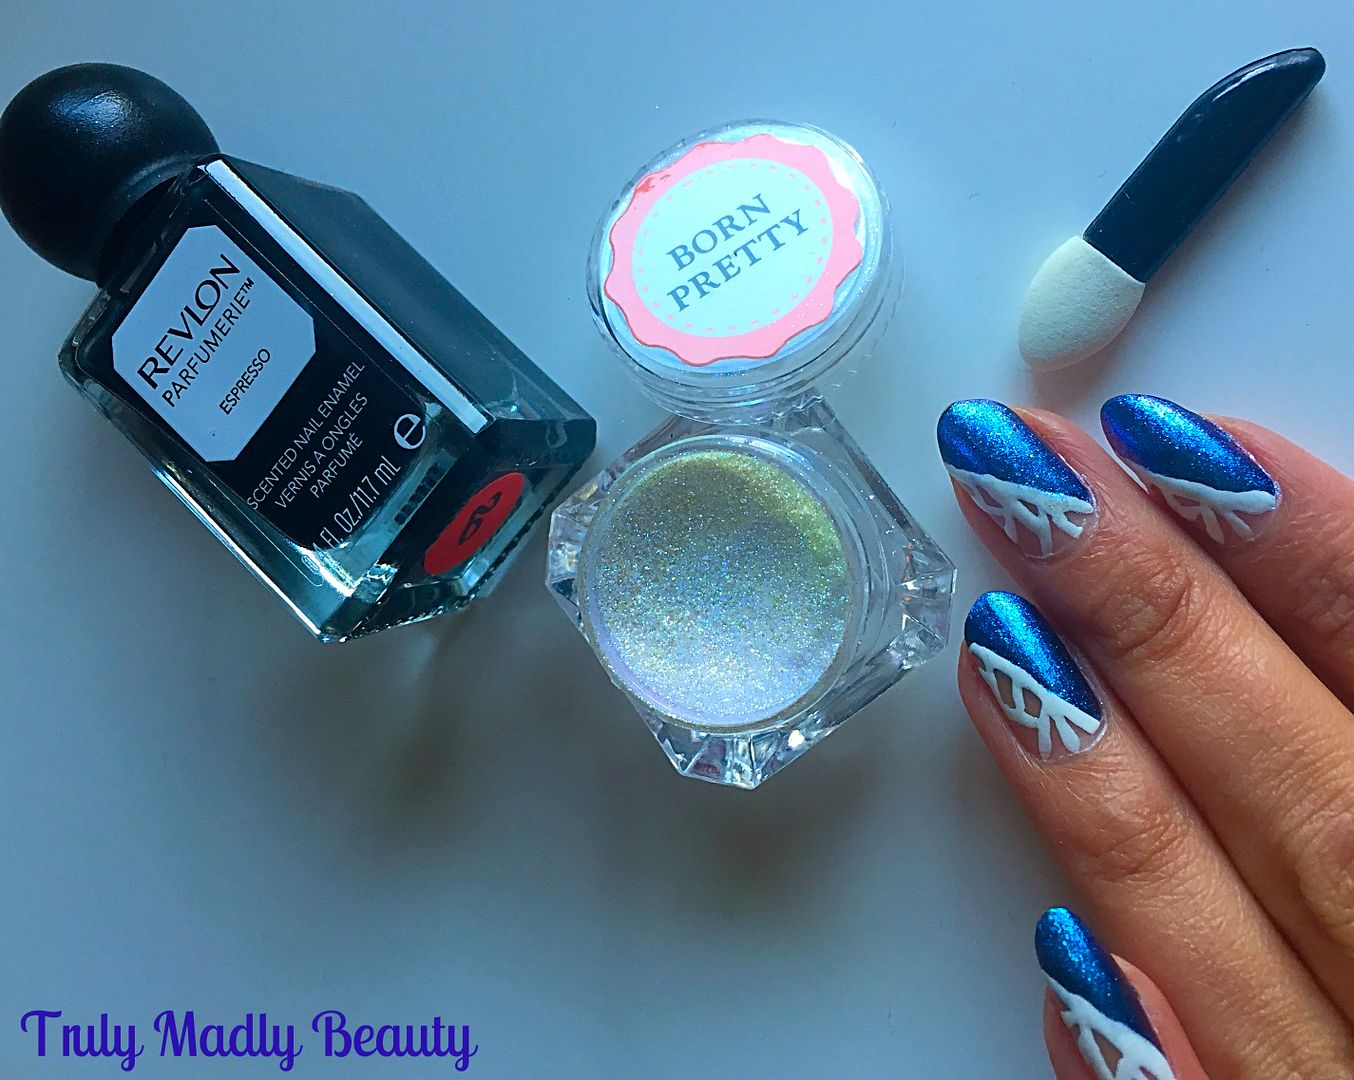
Ever since the chrome nail trend took off, its been my mission to achieve shiny sci fi mirror chrome metallics but without the hassle of gels. A few months back I reviewed the delightful Chameleon Powder, or Unicorn Powder as I prefer to call it, from Born Pretty Store, which whilst giving a super pretty shimmer duochrome finish, didn't fully satisfy my chrome needs. So the hunt continued & eventually my prayers were answered by European brand IsaDora who have released a special magic dust that 1) Not only works with regular polish but 2) Gives a metallic chrome finish...HUZZAH!
Labels:
Chrome,
Chrome Powder,
IsaDora,
Metallic,
Rose Gold
4.24.2017
NOTD - Chameleon Chrome Nails with Magical Unicorn Dust!
Hi
there lovely readers!
Now
I'm sure that you've all seen by now the chrome nail trend that looks
like your rocking molten metal on the talons & is the current
obsession in the nail world. Seeing these stunning mirror finish
metallic sci fi nails on my Insta feed has me itching to get in on
some of that shiny action!
My
only dilemma has been that the majority of chrome powders I've
come across work with UV Gel polish only. I do own a UV lamp, but the
idea of using gel polishes, for me & I'm sure others, is just a
bit much, especially seeing as I chop & change my nails so often.
Though for this there is also a solution, that being using a peel off
basecoat...this way I could easily remove said gel polish after a few
days if I wish.
But
for now, like Indiana Jones hunting for the Holy Grail, I've been
searching for a chrome powder that works on regular polish & I've
just ordered one which I think may be exactly what I've been hunting
for....but until then I thought I'd share with you a lovely &
very budget friendly alternative you can get to achieve a futuristic
finish to you nails & is courtesy of Born Pretty Store.
12.14.2016
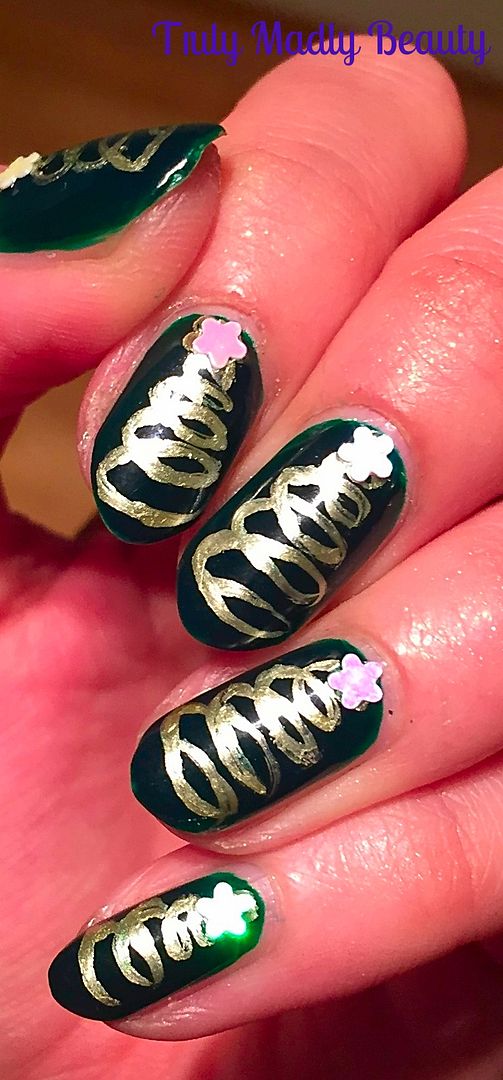
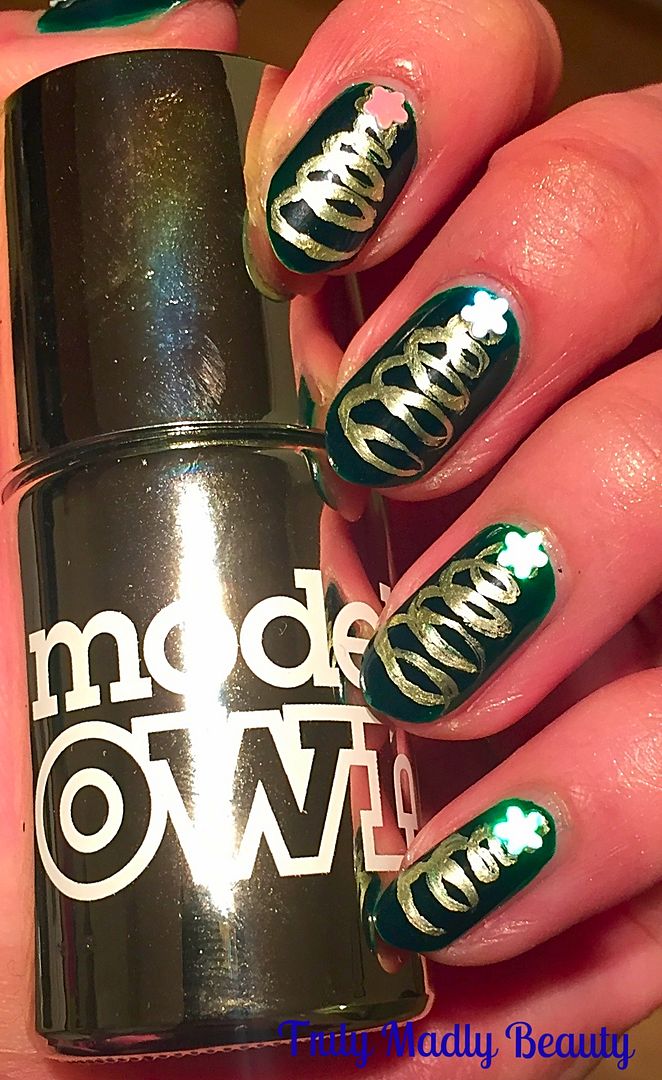
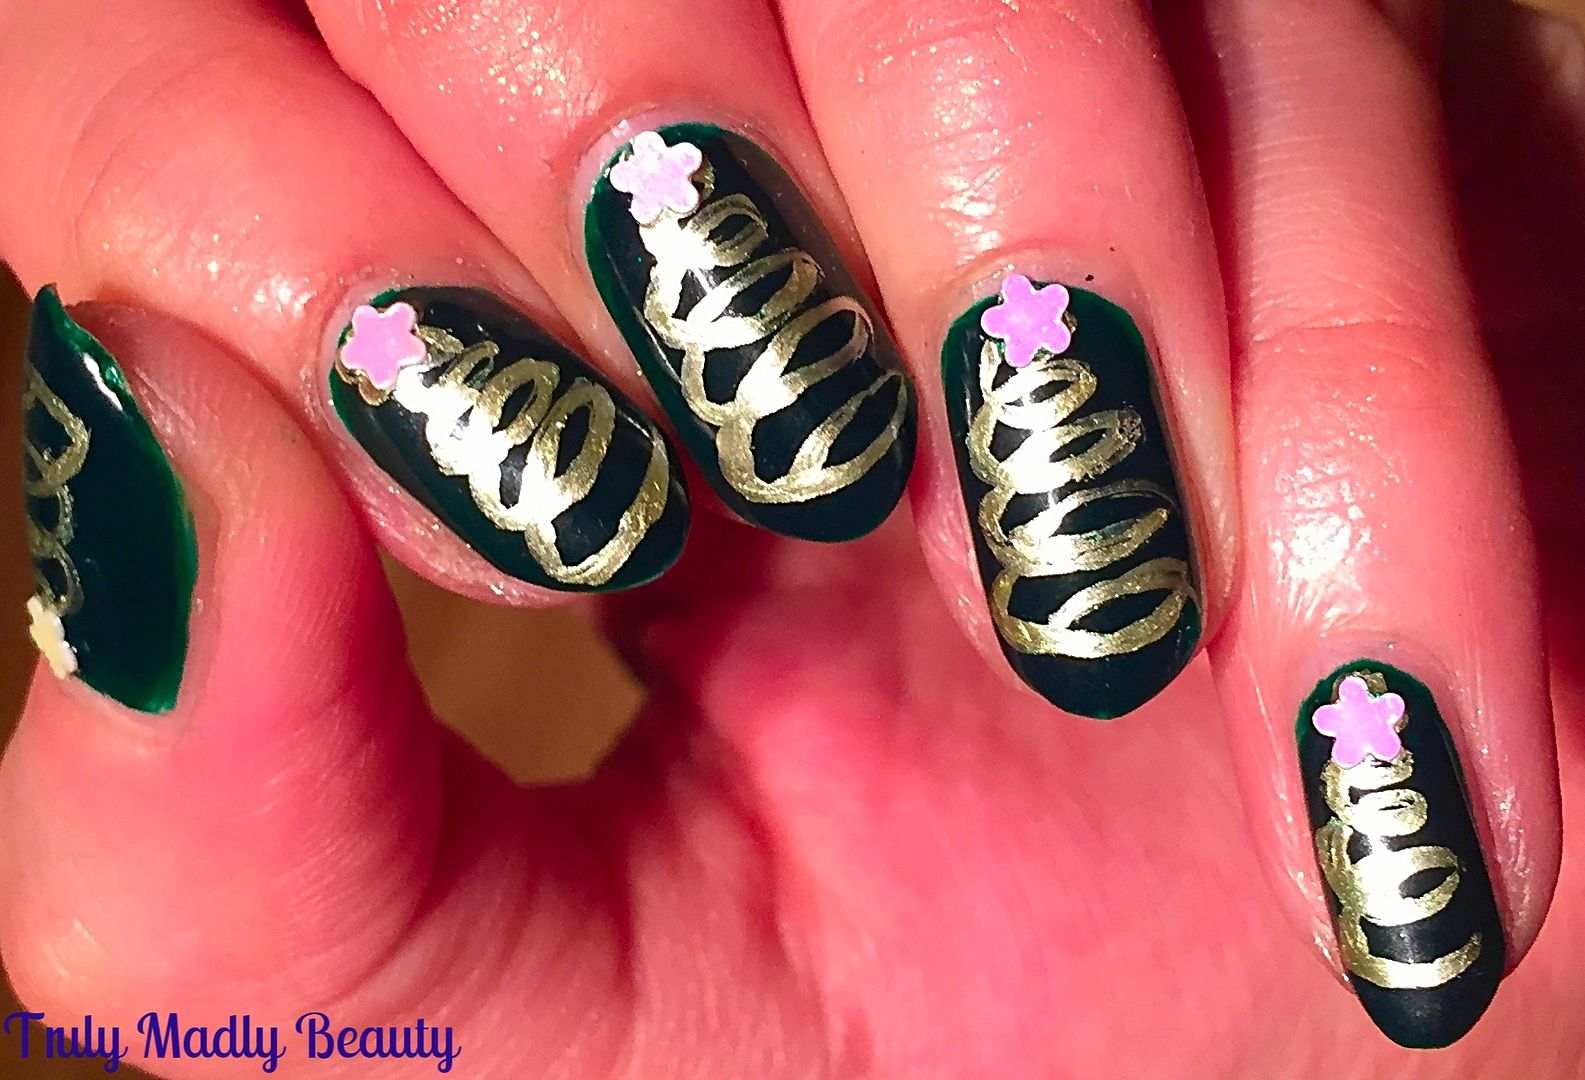
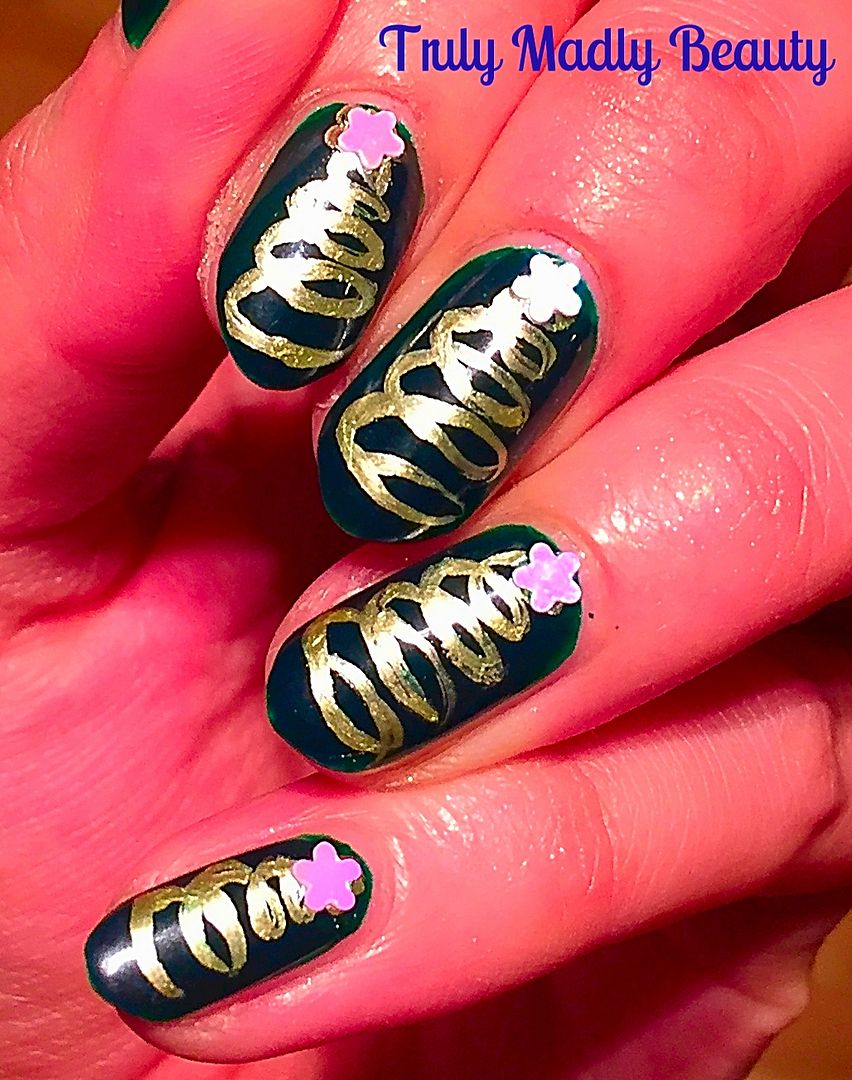
Festive NOTD - Swirly Chrome Christmas Trees!
Hello
there my lovely readers!
Gosh
can you believe that it'll be Xmas next week already?! How in the
hoohaa did that happen? This month has had me all over the shop floor thus I haven't been able to get my nail art on as much as I
would have liked for the festive season, bad nail blogger! But I can
rectify that now as I finally managed to grab some free time to have
a play! Better late than never eh?
Every
year I like to rustle up some Christmas Tree nails, as they are my
absolute favourite for the festive period, each time mixing up the design
slightly. You can check out my previous Christmas Tree nail art
designs HERE, HERE and HERE.
That's
what I love about them, the fact that you can have fun playing around
creating different styles and designs. This year I decided to go down
a more arty route & created these golden swirl Christmas Trees.
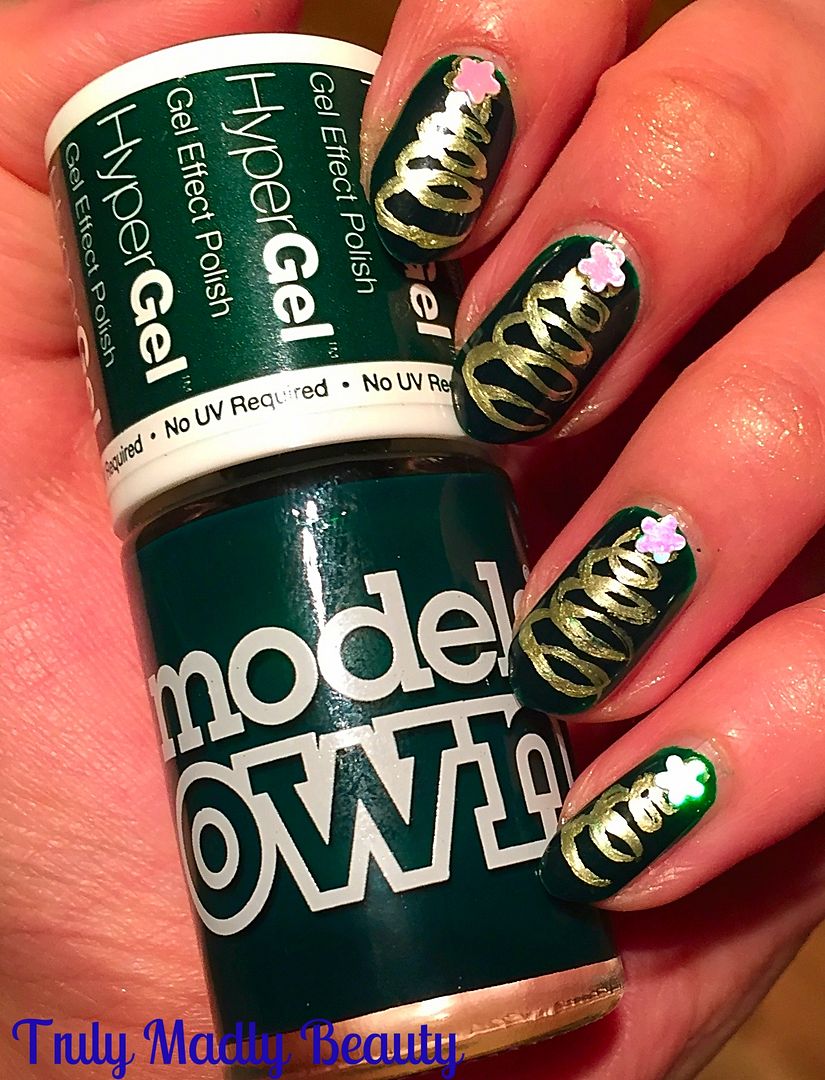
Instead
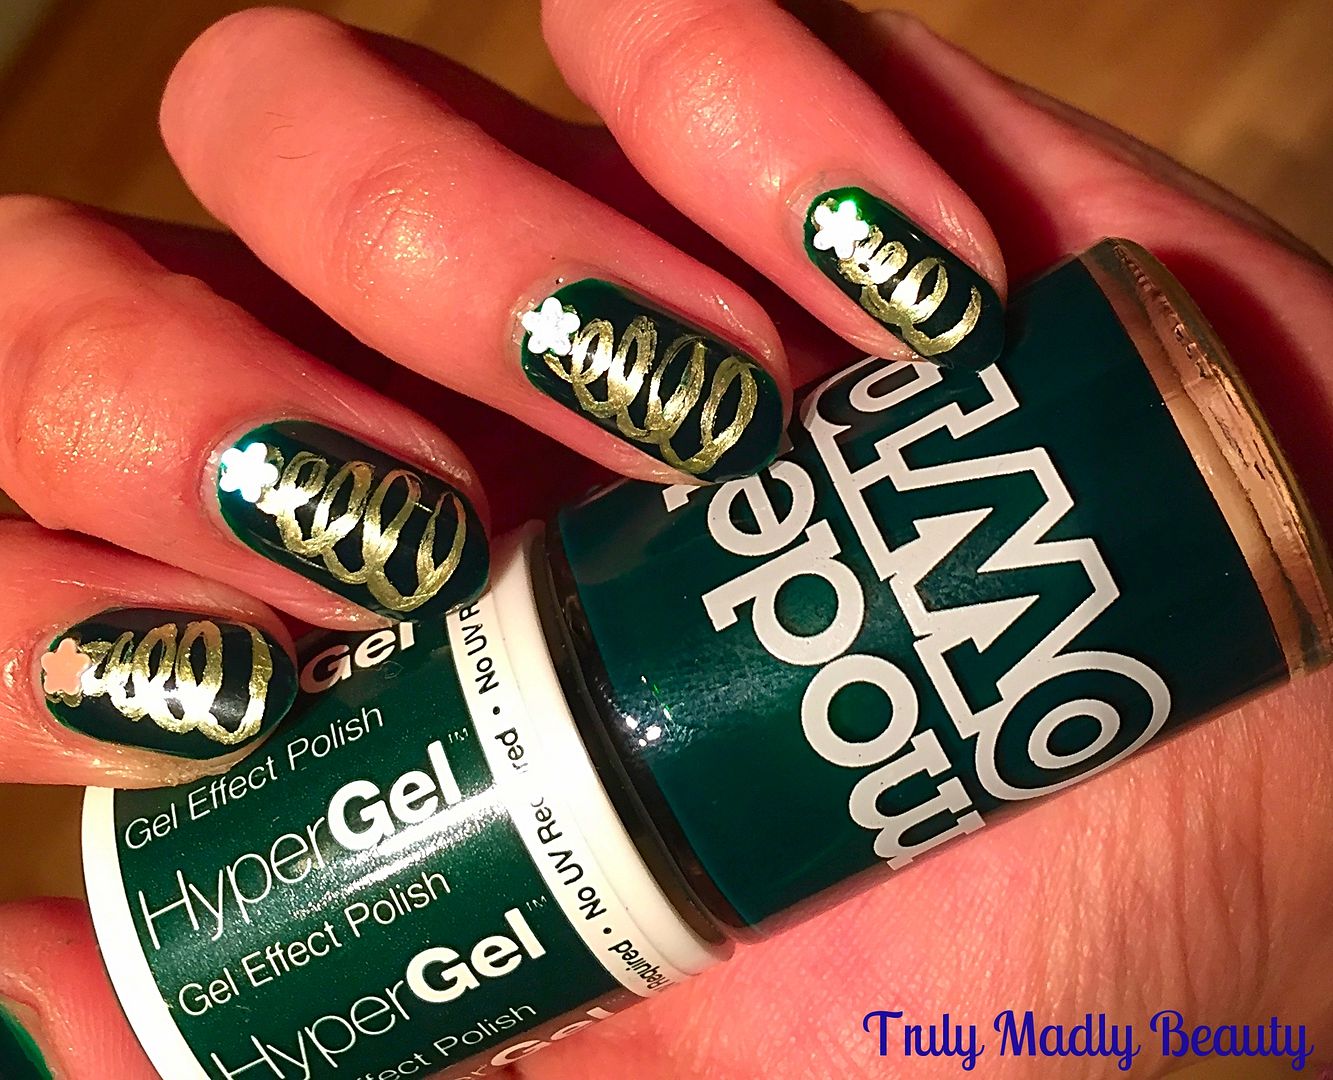
of painting green trees I went for a lovely deep dark green for my base &
Models Own HyperGel in Ebony Green was perfect for this.
This
is two coats of the gorgeous green goodness, isn't it just divine?
I'd forgotten how much I adore this Gothic green!
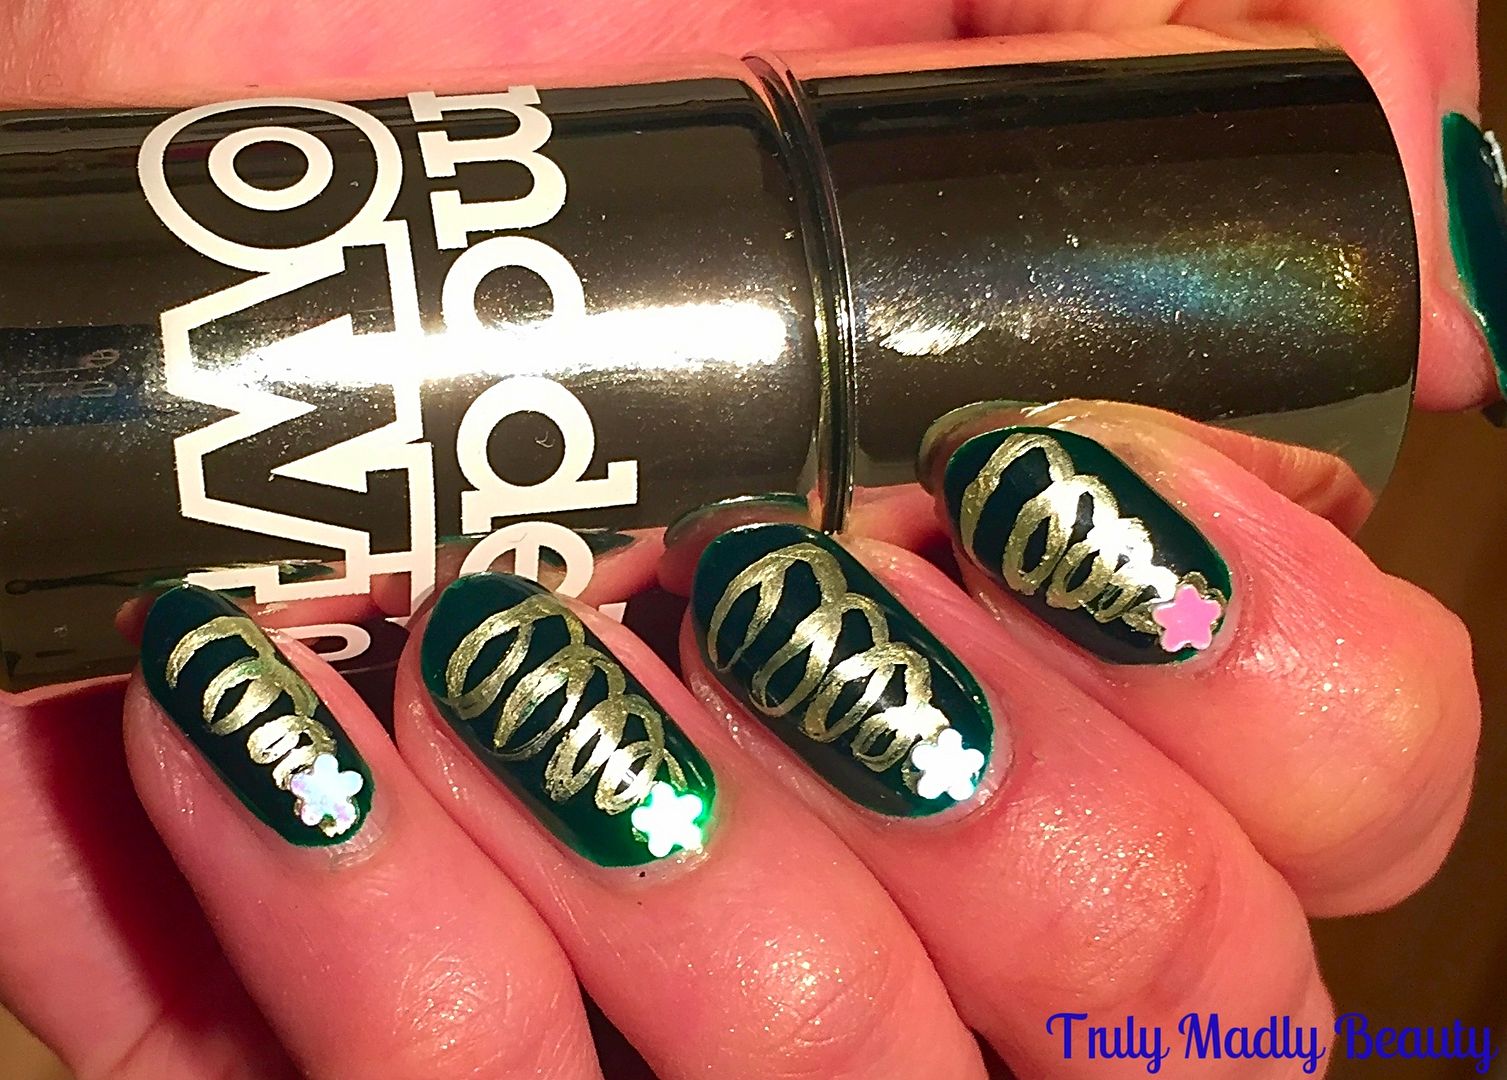
Then
for my Xmas trees I found myself reaching for Models Own again, this
time Chrome Olive from the Colour Chrome collection. I was originally
going to use a gold polish but I'm so glad I changed my mind as the
metallic formula really pops against the dark base!
To
create the trees I grabbed my extra small Nailbees nail art brush
& with the Chrome Olive polish, free handed the swirls, starting
with a tiny swirl for the top of the tree, slowly making my way down
the nail, gradually making the loops bigger as I went.
A
little tip is to rest your elbow on a surface when doing this, this
helps steady your hand a great deal, enabling you to create your
swirls without a shaky hand!
Of
course every tree needs a star, so to finish I simply added a little
star shaped holographic sequin at the top of my trees. Finish with
topcoat & you're done!
Thanks
for reading my lovelies, keep posted as I hope to squeeze in a couple
more designs this year. But do have a peek at some of previous
designs HERE for some festive inspiration.
Lotsa
love to ya!
4.16.2016
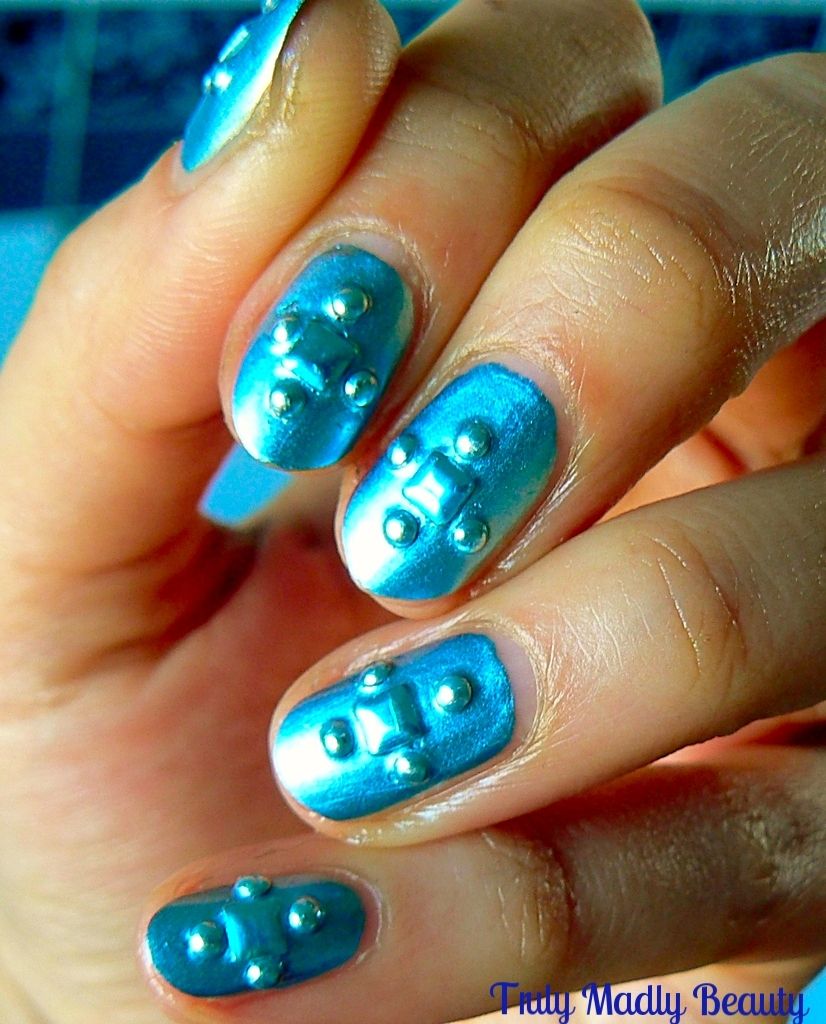
Huntsman Winters War - Snow Queen Freya Inspired Nails!
Hey
lovely readers!
After
watching the Huntsman Winters War movie recently I was inspired to
create some nail art after the two stunning, if a wee bit evil/bat
shit crazy/mad, queens of the film portrayed by the gorgeous
creatures Charlize Theron & Emily Blunt.
My
previous post was what I came up with for Charlize's Evil Queen Ravenna & featured lots of dark gothic gold vibes. This time I
used Freya's frosty magic as inspo to create an icy manicure suitable
for the snow queen & this is what I came up with...
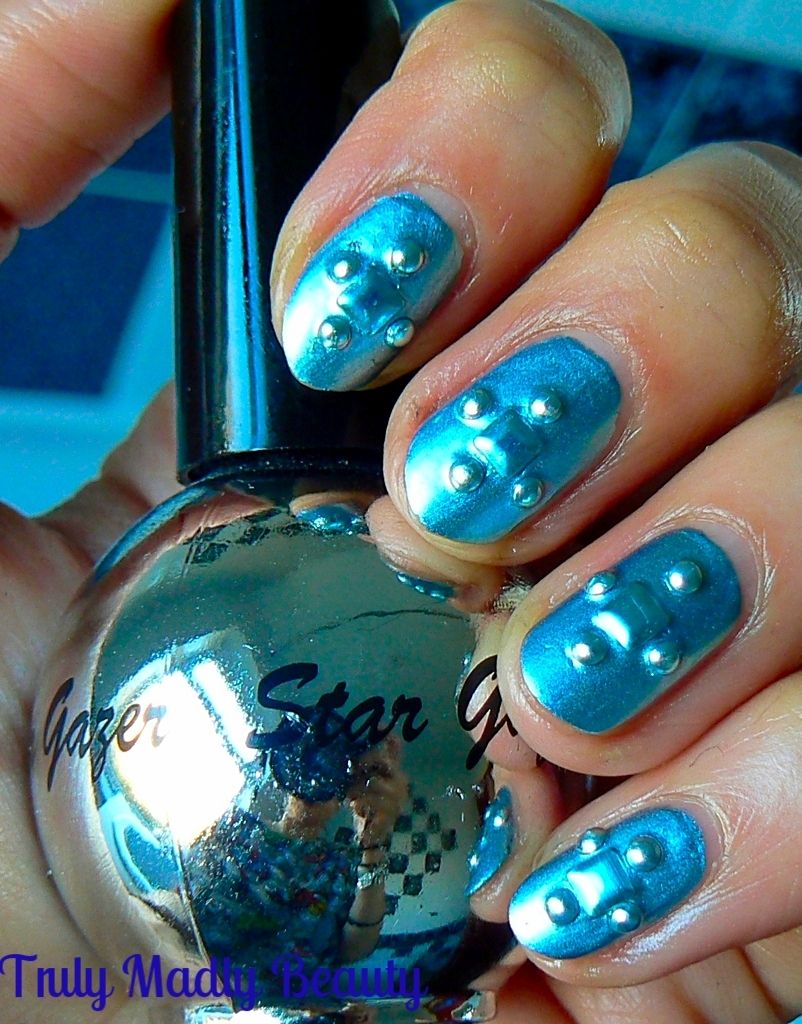
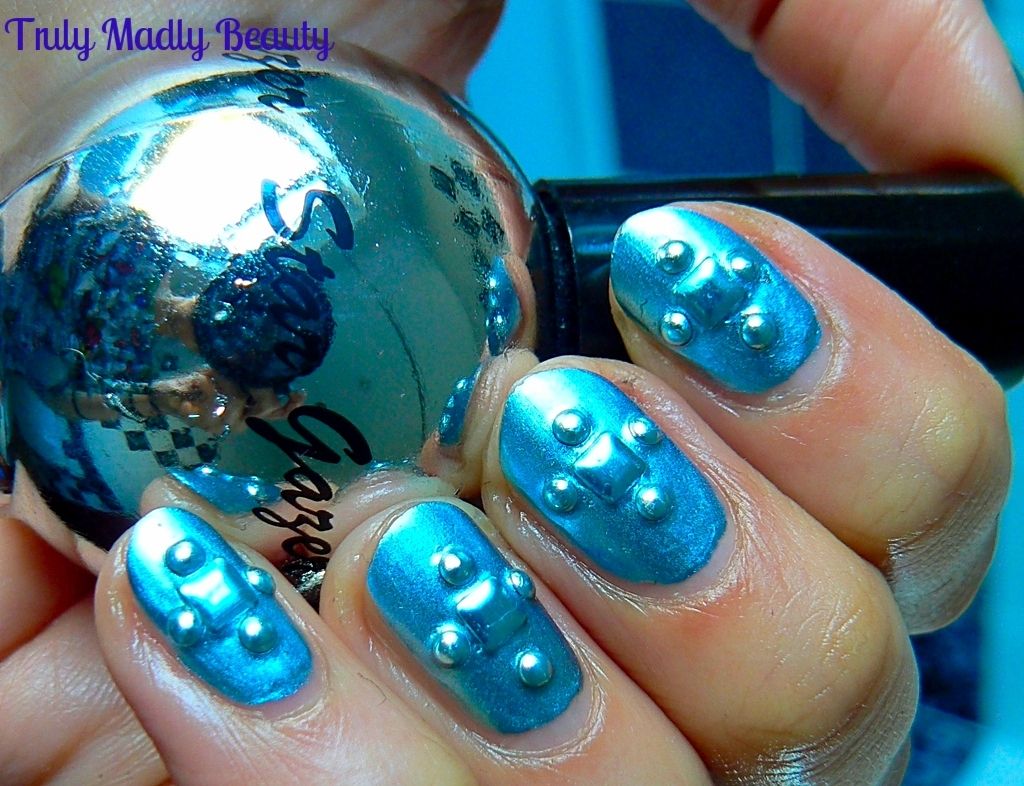
I
knew a foil was required for this mani to get the look I wanted &
I couldn't have found a more perfect one than this offering from
Stargazer. When I picked this up at a beauty expo I actually had no
idea what the colour would be as the bottle is a completely opaque
silver like a mirror, why you can even see my reflection...*waves*
But I threw caution to the winds & to my utter delight I
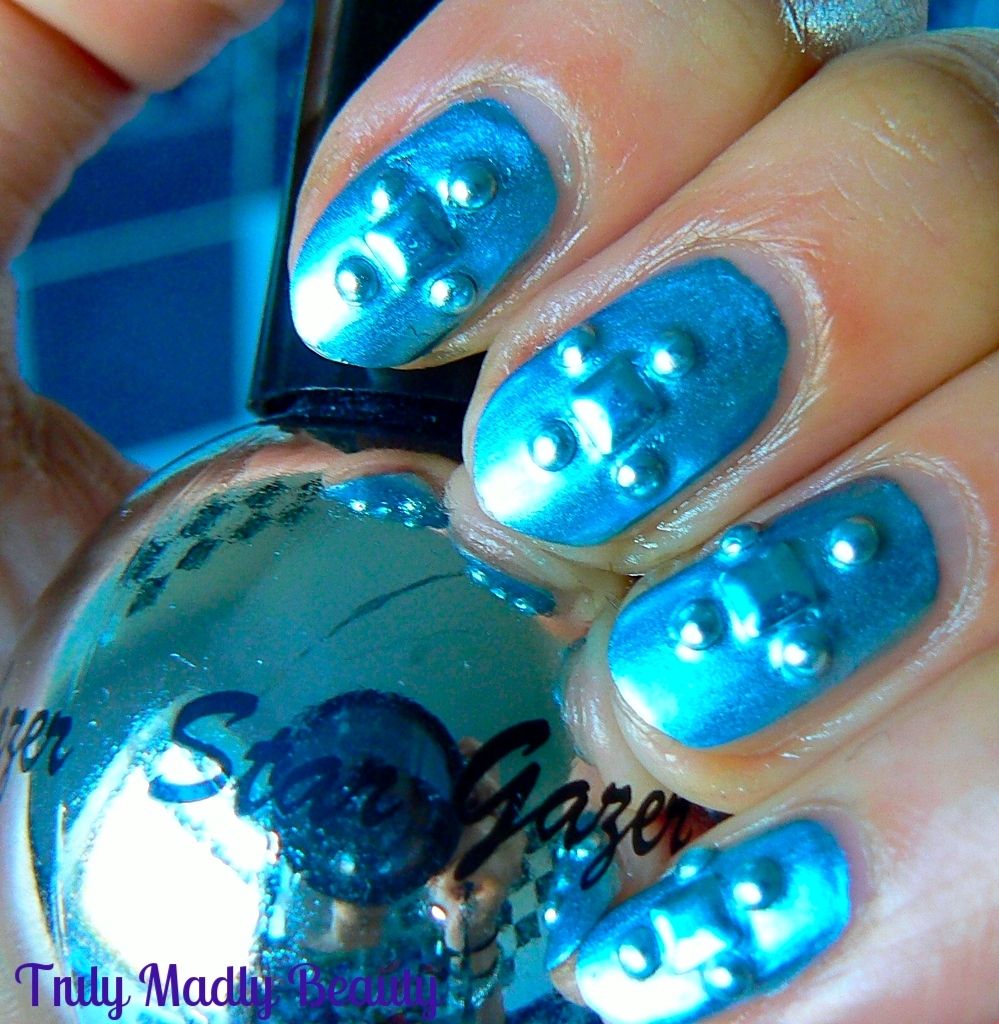
discovered 233 to be an absolutely stunning silvery blue metallic
foil! LOVE IT.
I
do love foils, if not for their stunning mirror-y finish then
definitely for their speedy drying time! This is two coats which
applied nice & smoothly without streaking & dried super
quick!
For
the nail art I decided to actually keep things a bit simple & low
key for once (GASP!) but I thought it suitable as Snow Queen Freya's demeanor is as cool & composed as Ravenna's is over the top mad.
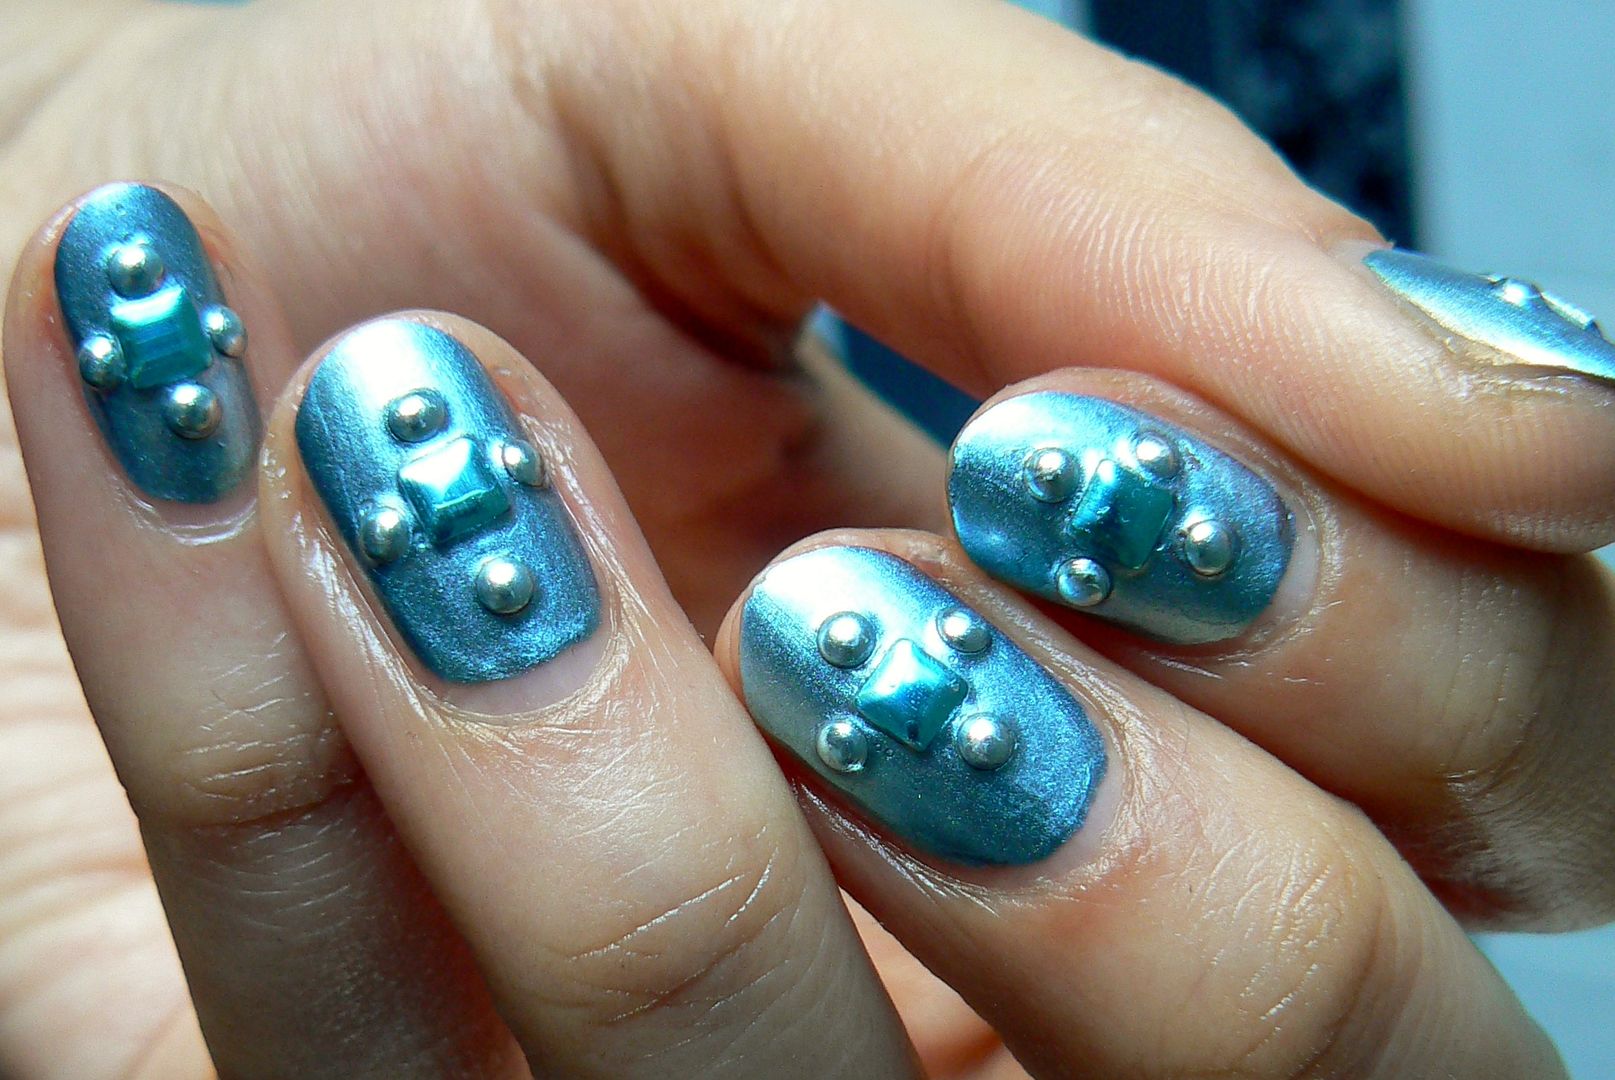
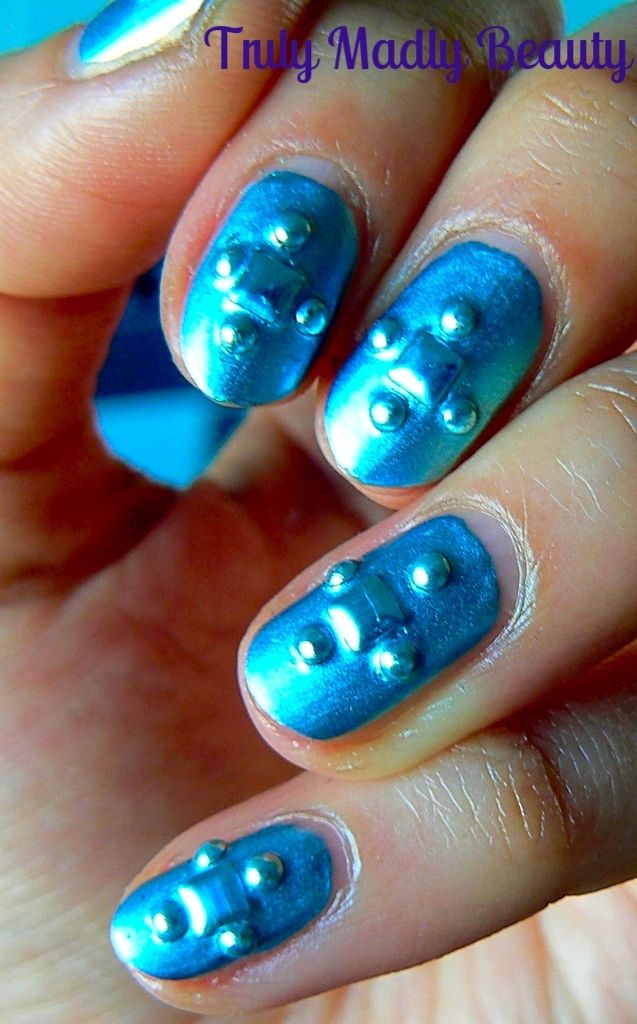
I
reached for some pretty ice blue silver square & round studs
which I applied in a cross pattern on top of the foil, with the
square in the centre, surrounded by four round studs, which added a nice medieval vibe to it that I love as its an era very in tune with
the film.
Seal
with a thick coat of topcoat to secure the studs & Freya's
metallic frosty mani is done!
Thanks
for reading! I'm trying to find some beautiful nail claw jewelery
similar to the ones worn by the Queens in the film, hopefully Etsy? I
think I may have found my seller...click on THIS link if you dare,
you will want ALL THE GOTHIC NAIL BLING! I predict a cheeky haul in the very near future...
Lotsa love to ya!
11.19.2015
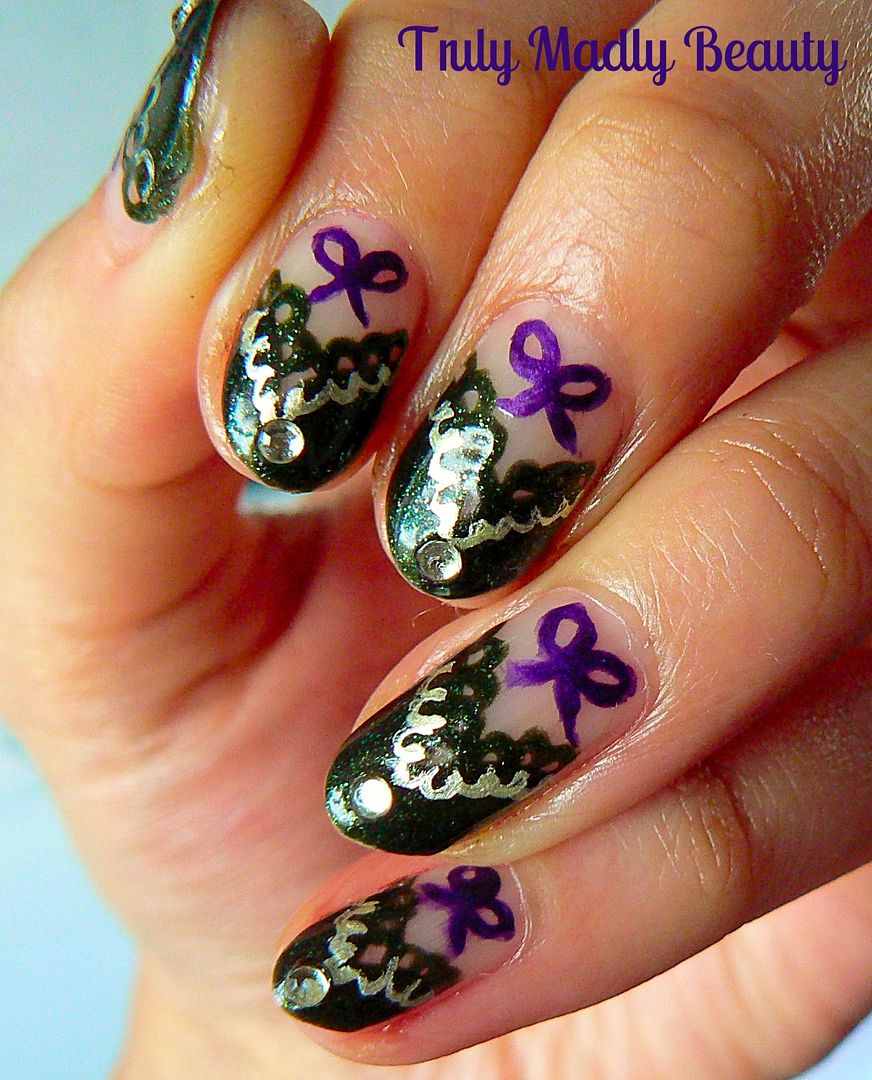
Polish & Poise - Adore Me Lingerie Inspired Nails!
Hello
there lovely readers,
I
do enjoy finding nail-spiration in all kinds of places, fashion,
food, media, you name it. Lately I've loved creating nail art
inspired by fashion, such as this Colour Block mani that was inspired by
a beautifully printed dress. Another avenue I've found myself going
down is lingerie. Think about it, all the pretty lace detail &
jewel tones are perfect for nail art inspo! Just the simple task of
wearing a pretty set underneath your winter layers can make you feel
as good as when having a freshly painted manicure, so why not match
both for extra brownie feel good points? When
I came across lingerie brand Adore Me
I became inspired to participate in their fun Polish n
Poise project by creating some lacquered looks inspired by a few of
their pretty pieces, I couldn't resist the challenge!
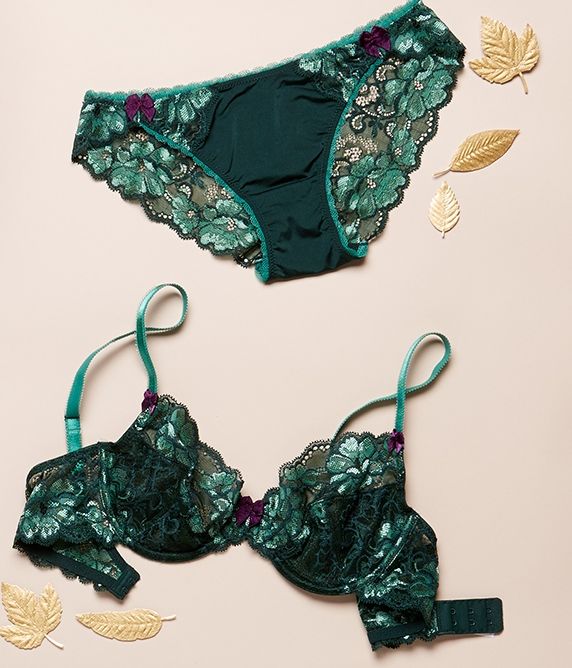
Adore Me is a New York based online lingerie company with a vast selection
of pretty pieces to tempt. From dark vampy to angelic pastel sets
there's something for everyone. This time of year, the warm tones
especially draw me in & this gorgeous emerald two piece Wilhemina
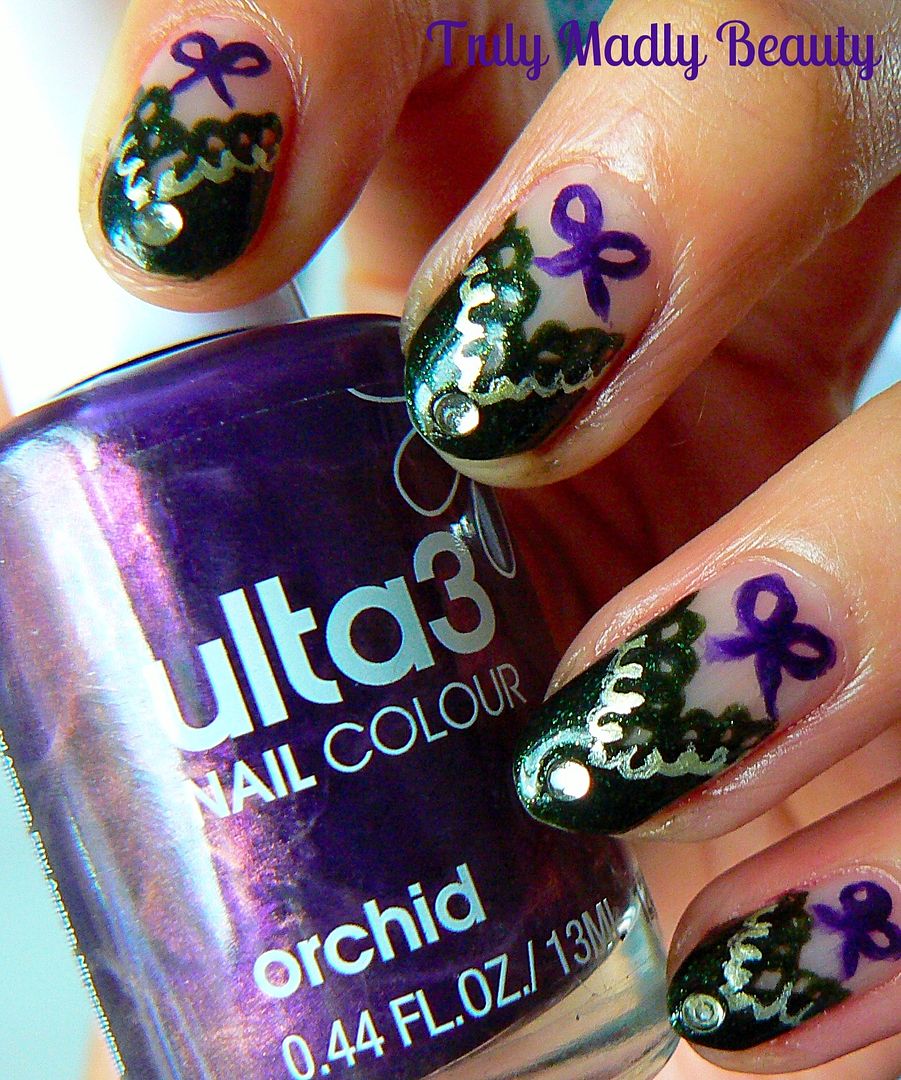
set caught my eye with its gorgeous jewel green lace & bow
details.
And
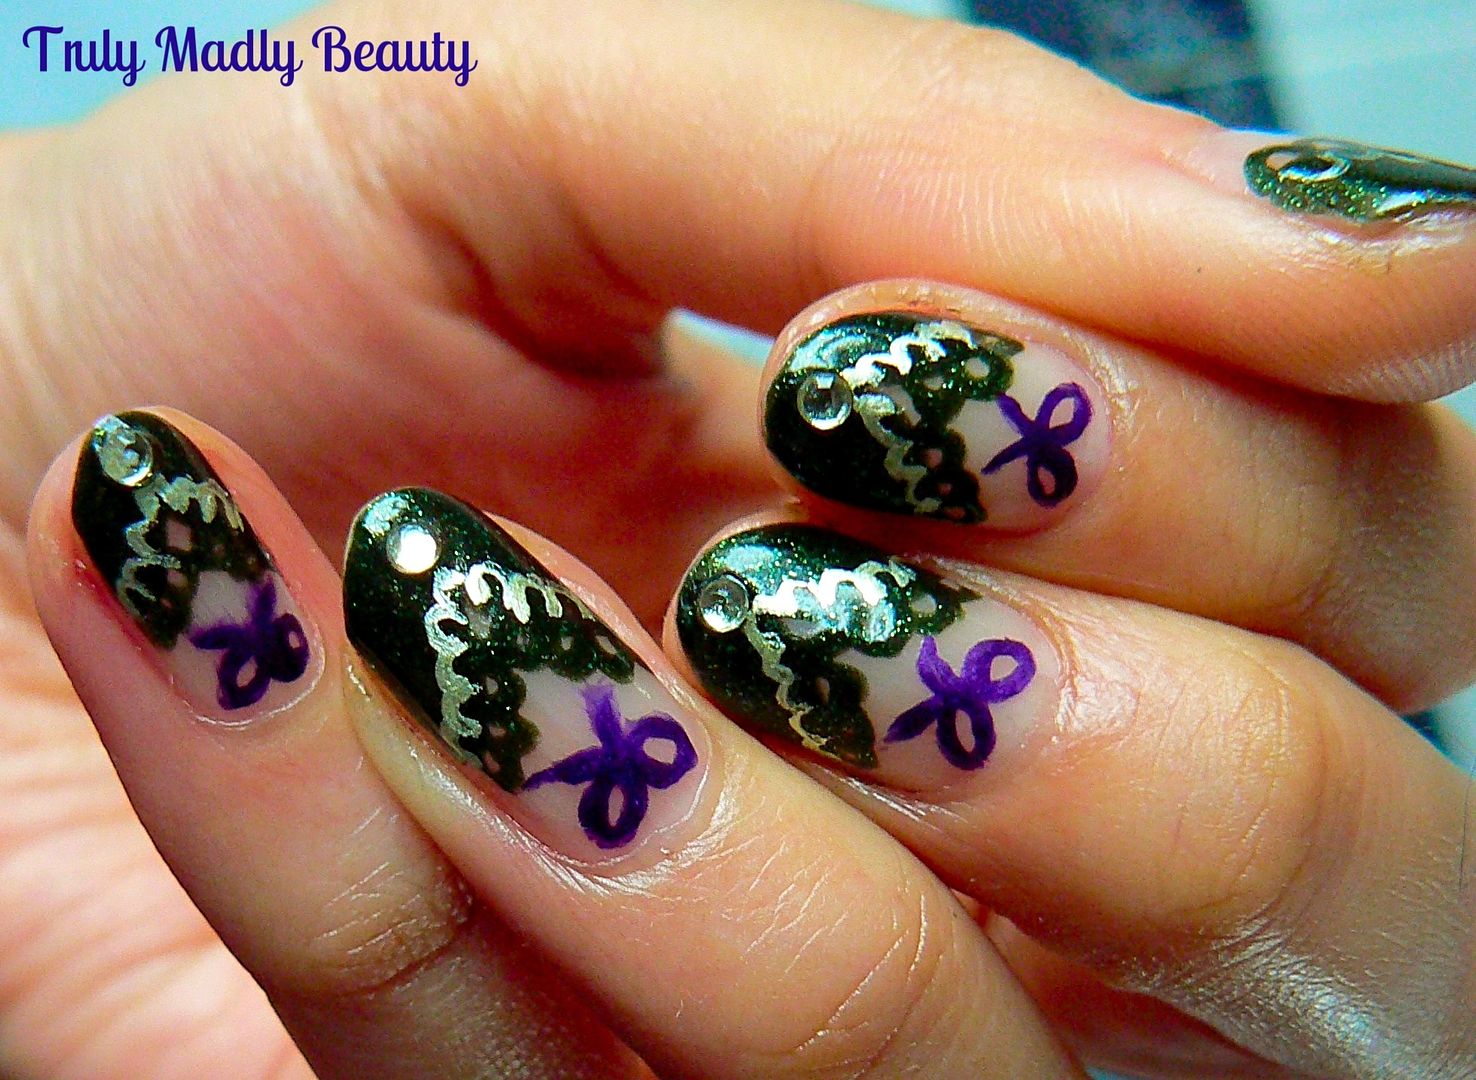
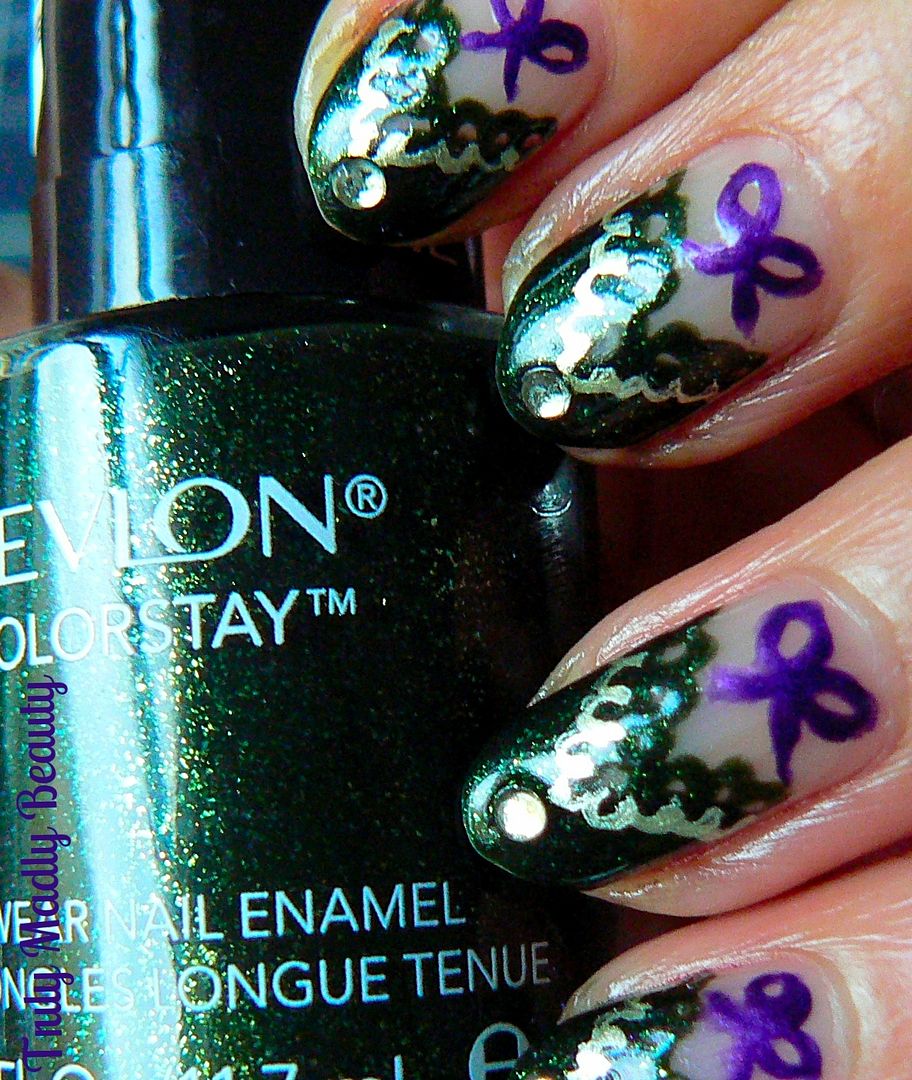
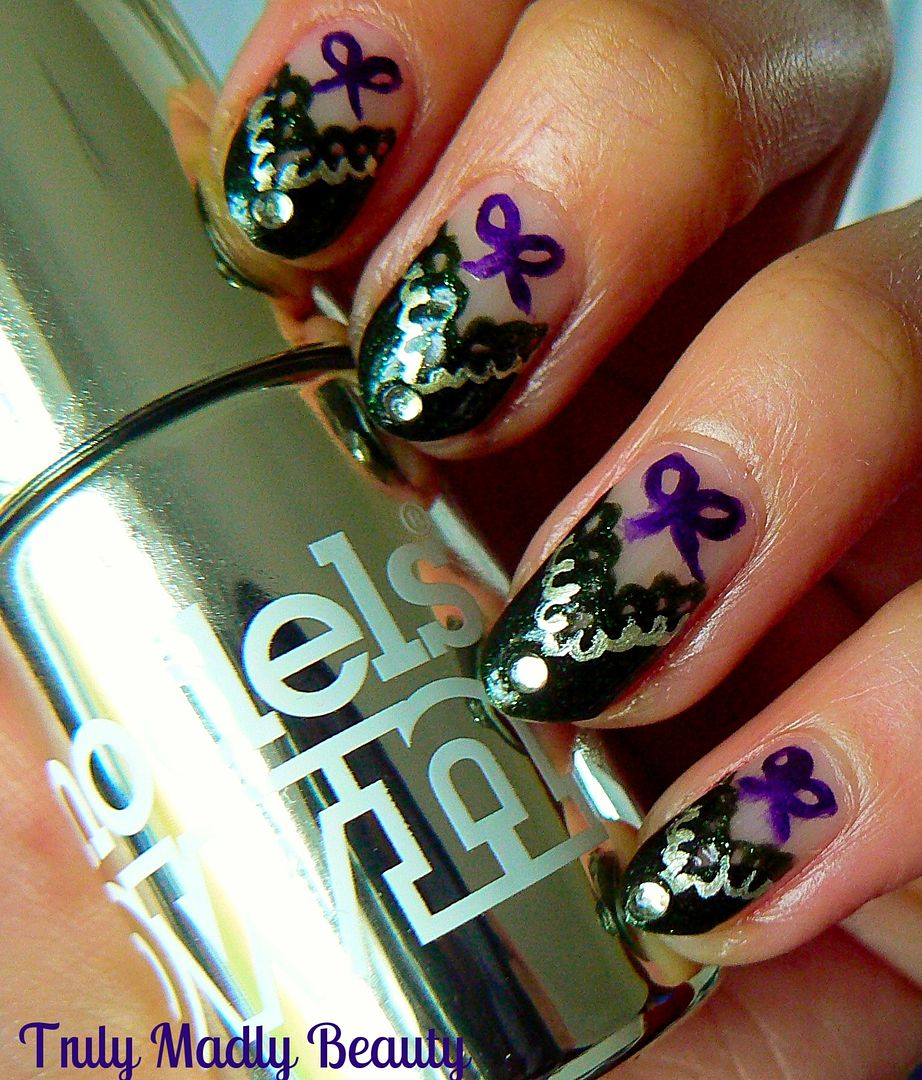
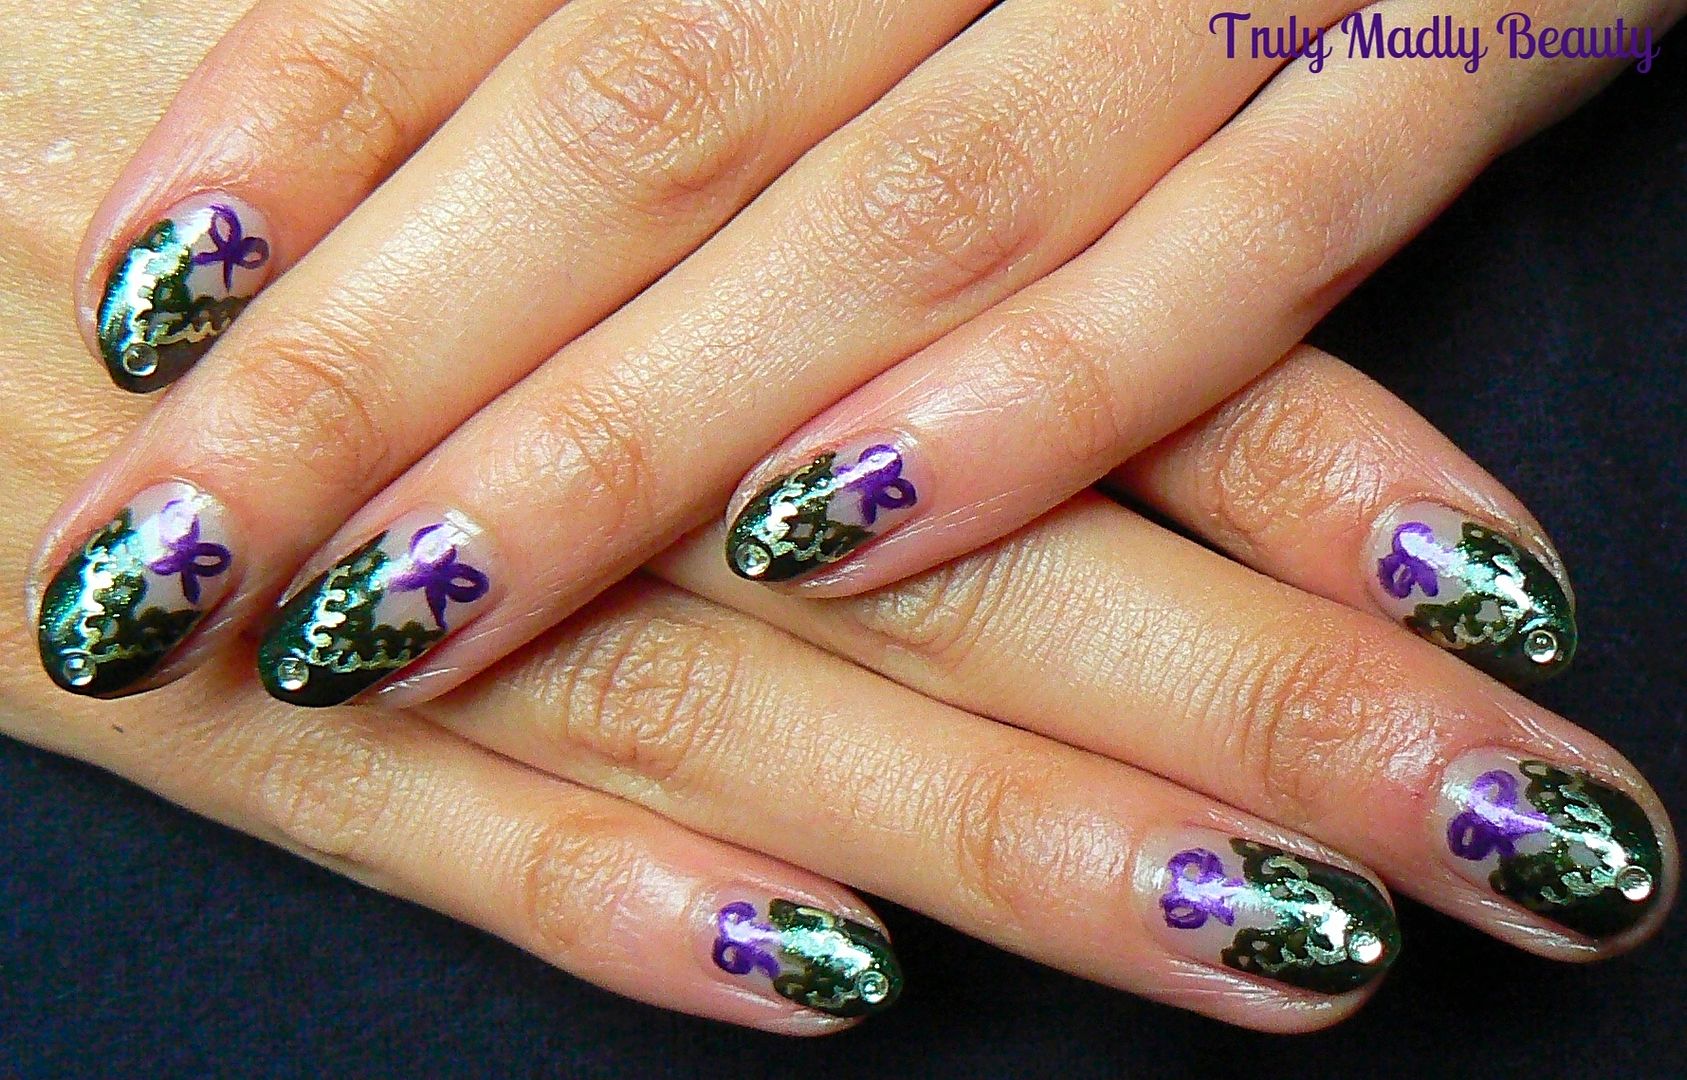
here is the nail look I've created inspired by this lovely piece...
To
create the design start off with your green, I'd been eyeing up the
gorgeous Revlon Rain-forest polish for a while now so was happy to
finally give it a whirl! Rain-forest is a delightfully deep green
shade with pretty glitter particles suspended in the formula making
it shimmer so nicely! Perfick for this time of year.
First
step is to apply Rainforest as a V shaped tip to each nail. This is
so easy to do & can be done using the brush with the polish,
apply one stroke at a diagonal halfway across the tip before doing
the same on the other side of the nail creating the V shape.
To
start with the lace detail, grab a fine nail art brush & your
green again & simply apply a row of small round circles along the
top edge of your V.
For
added detail do the same on the opposite inside edge using a lighter shade,
here I used Models Own Chrome polish in Olive which is a beautiful
green tinted gold that really stands out. Again using a fine nail art
brush apply your row of circles mirroring the dark green.
Next
to add on your little bows, again grabbing a fine nail art brush &
a dark purple, I've used Ulta3 Orchid, simply freehand your bows by
drawing on two loops with a couple of curved lines underneath for the
ribbon strands.
For
a final touch of bling I added a pale green rhinestone to the center
of the tips before sealing it all with topcoat.
Thanks
as always for reading, I hope you liked the lingerie inspired nails
my lovelies! I've seen a few other sets that have got me itching to
create some more nail art to accompany them! Why not try rocking your
nails to match your lingerie next time?
Lotsa
love to ya!
7.30.2015
NOTD - Distressed Watercolour Chrome Nails
Hey there lovely
readers! Oooh its been a wee while non? Work has been keeping one
muchos busy of late, even with the occasional working weekend thrown in but its all
going well so can't complain! :)
I'm all for discovering interesting
nail art techniques to create funky manis with minimum effort.
Today's manicure features one such technique called 'Distressed' nail
art or the 'dry brush' technique that, if my memory serves me right,
came about by the fab Sarah aka Chalkboard Nails. All that is
involved is simply wiping off the excess polish on the brush, then
applying quick strokes of polish across the nail to create the
effect. This technique looks fab using black over neon however I
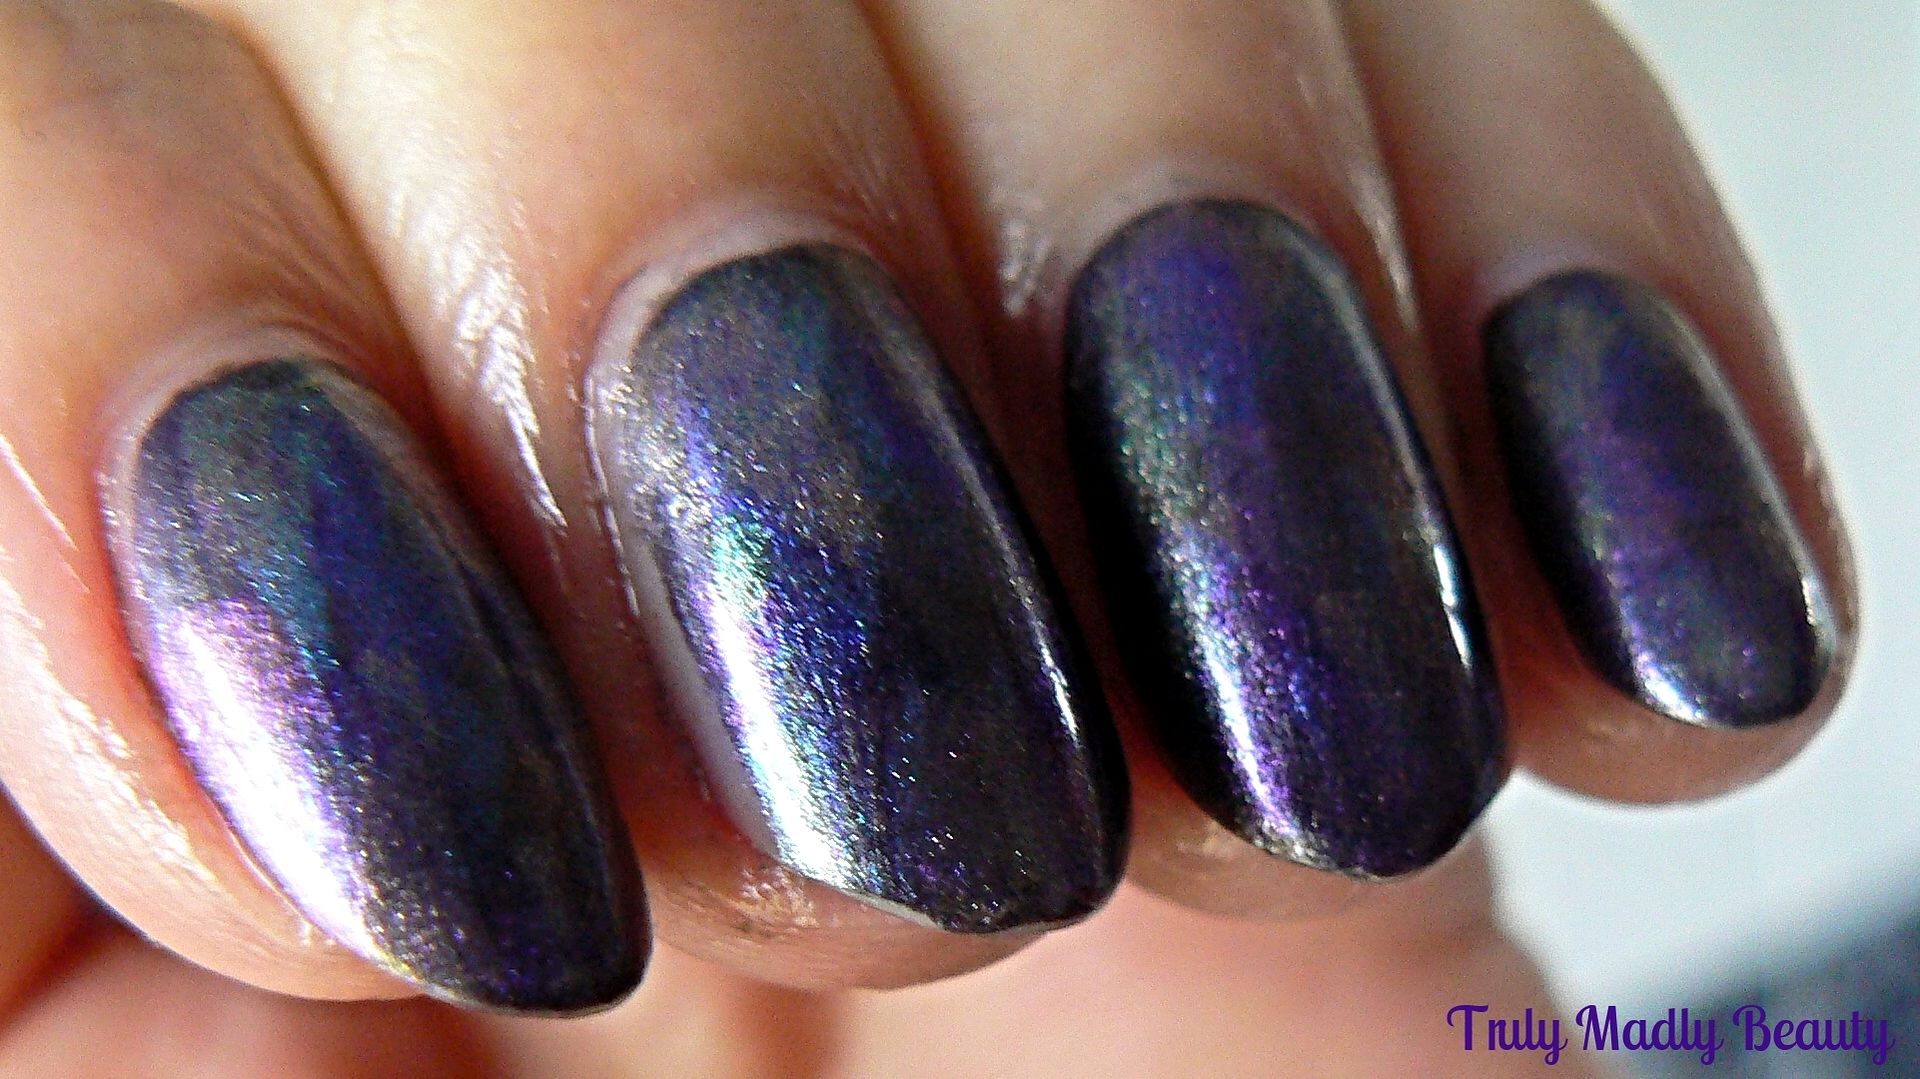
wanted to try something a bit different so decided to use my Revlon
Chrome Chameleon polishes to create this distressed watercolour
effect...
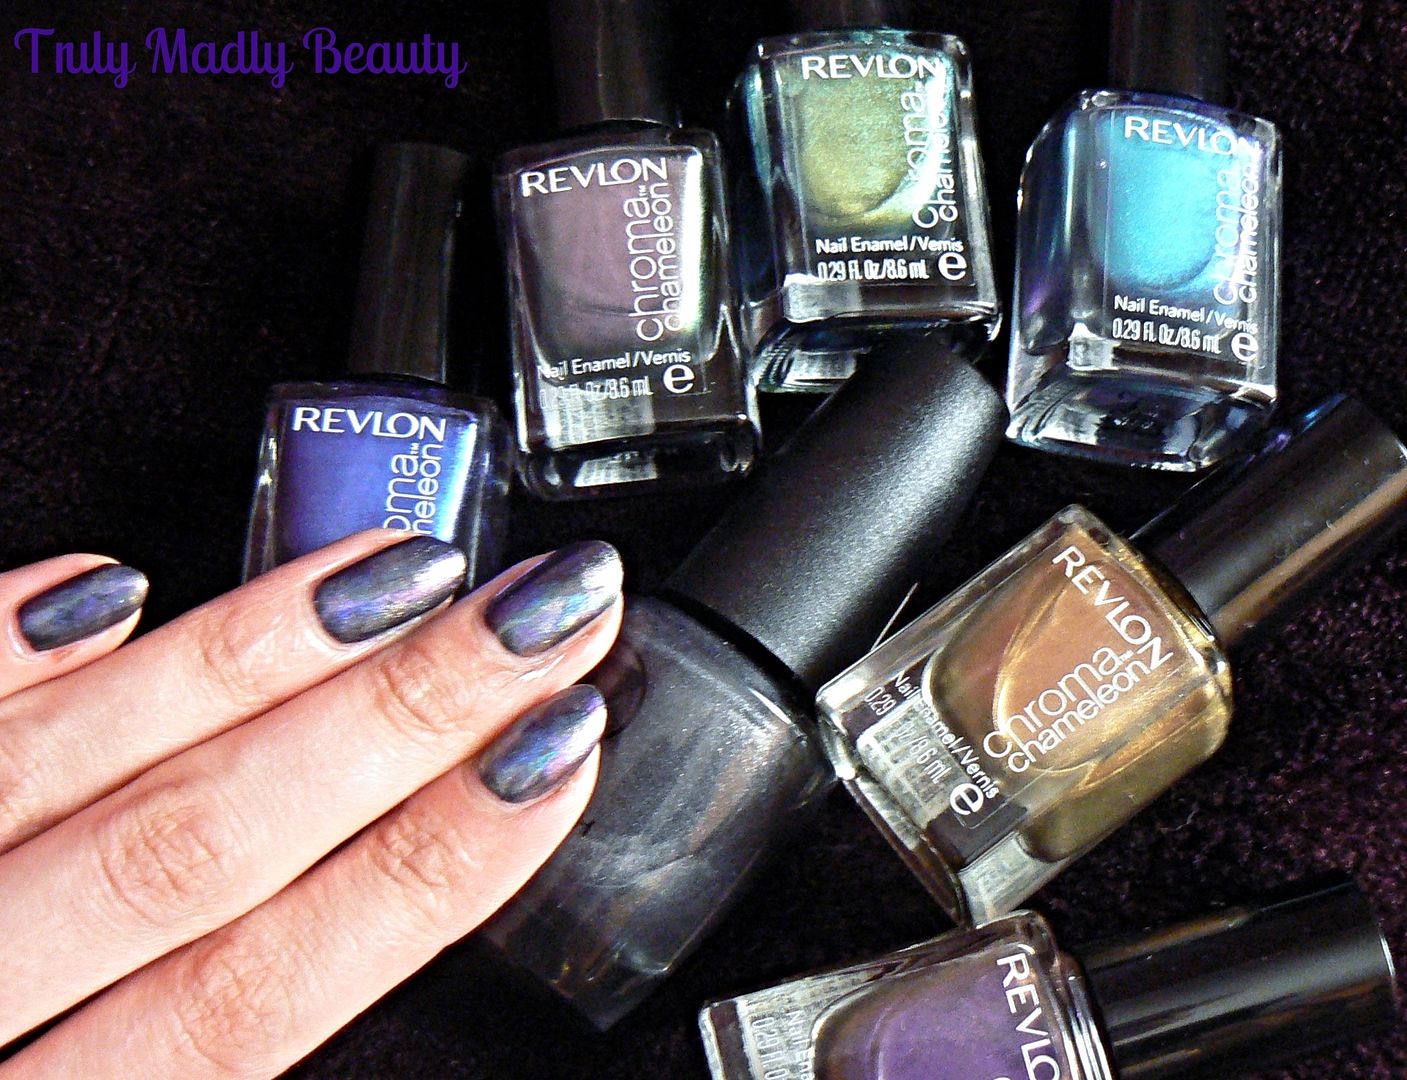
The Revlon Chrome Chameleon polishes
were part of a limited edition collection a while back consisting of
a range of pretty duo and multi chrome shades. I do love me a good
chrome so you can imagine my delight when I found these babies in my
fav little hunting ground, Poundland! I knew they all needed a good
home therefore happily obliged in taking them with moi.
The shades I picked up were Cobalt, Aquamarine, Pink Quartz, Tanzanite, Amethyst & Topaz. Now whilst they look mighty pretty in the bottle,
the formula of these chromes unfortunately wasn't all that great,
quite sheer, therefore would definitely require a base colour
underneath to bring out the chrome finish. So thought for this
they'd be perfect to use with this technique & I loved the
watercolour finish!
For my base, instead of Black, i
decided to stick with the chrome theme & instead used a couple of
coats of W7 Pewter, a sleek gunmetal grey metallic shade.
I then grabbed one polish at a time &
after wiping off the excess polish on the edge of each bottle, simply
applied quick strokes across the nail with the almost dry brush,
adding quick light washes of colour.
With each shade I applied about 3-4
strokes, some horizontally down the nail, others vertically. By the
time you've gone round all ten nails with one shade, the first hand
should be dry already ready for the next shade. And even if its not
then no big deal as the whole point of this look is to mix &
merge the tones!
I love this technique as you can have
fun with the colours & directions of your brush stroke & just
pile on shade after shade to create this fab effect with interesting
results! I will definitely be giving this a try with black polish
over a bright neon! Or maybe some fiery orange/red duochromes...
Hope you liked the mani darlings!
Thanks as always for reading!
Lotsa love to ya!
6.26.2015
NOTD - Knightsbridge by True Brit London
Hi there lovely readers!
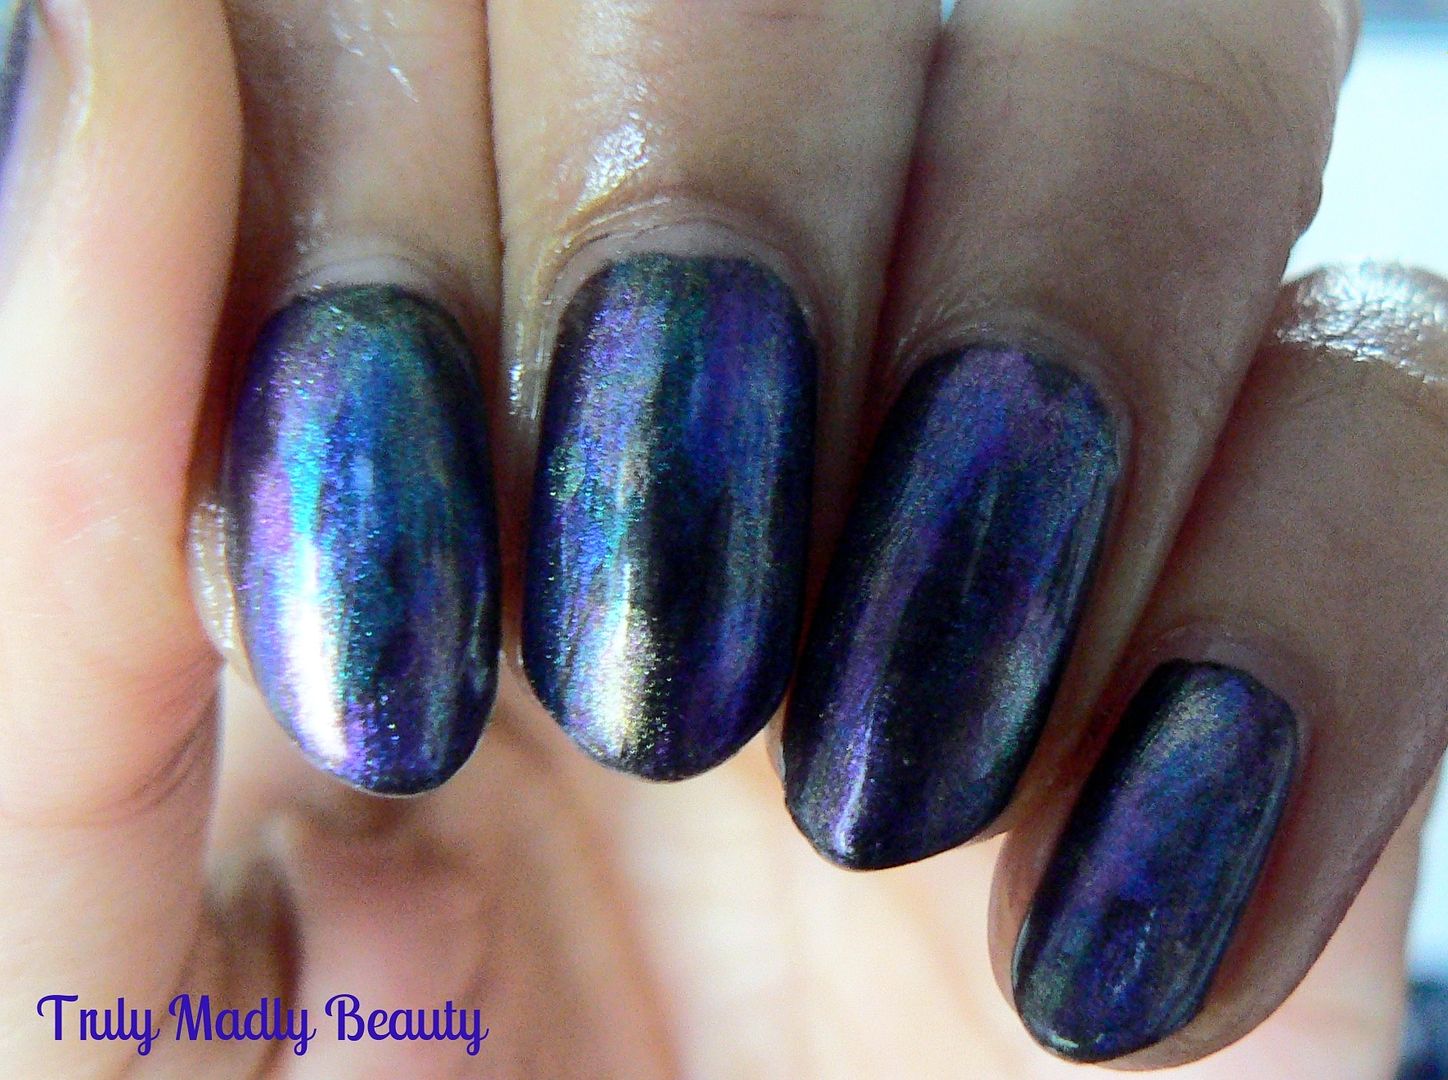
Earlier on this week I blogged about
exciting new brand to enter the nail polish world, True Brit London*,
today I have another offering from their range to share with you. So
far I've shown you Cream Tea, a scrummy angelic baby pink creme. When
it came to deciding which polish to play with next I opted for the
beaut Knightsbridge* from the Signature Collection...
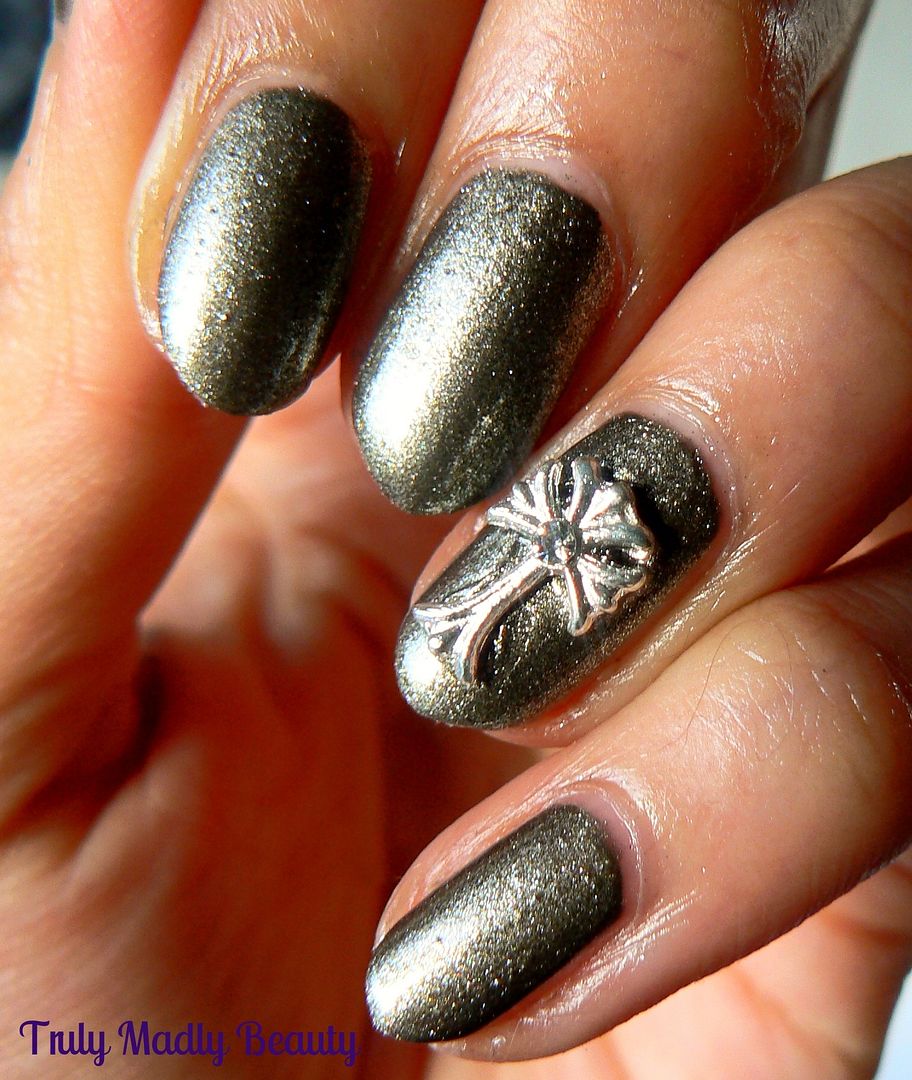
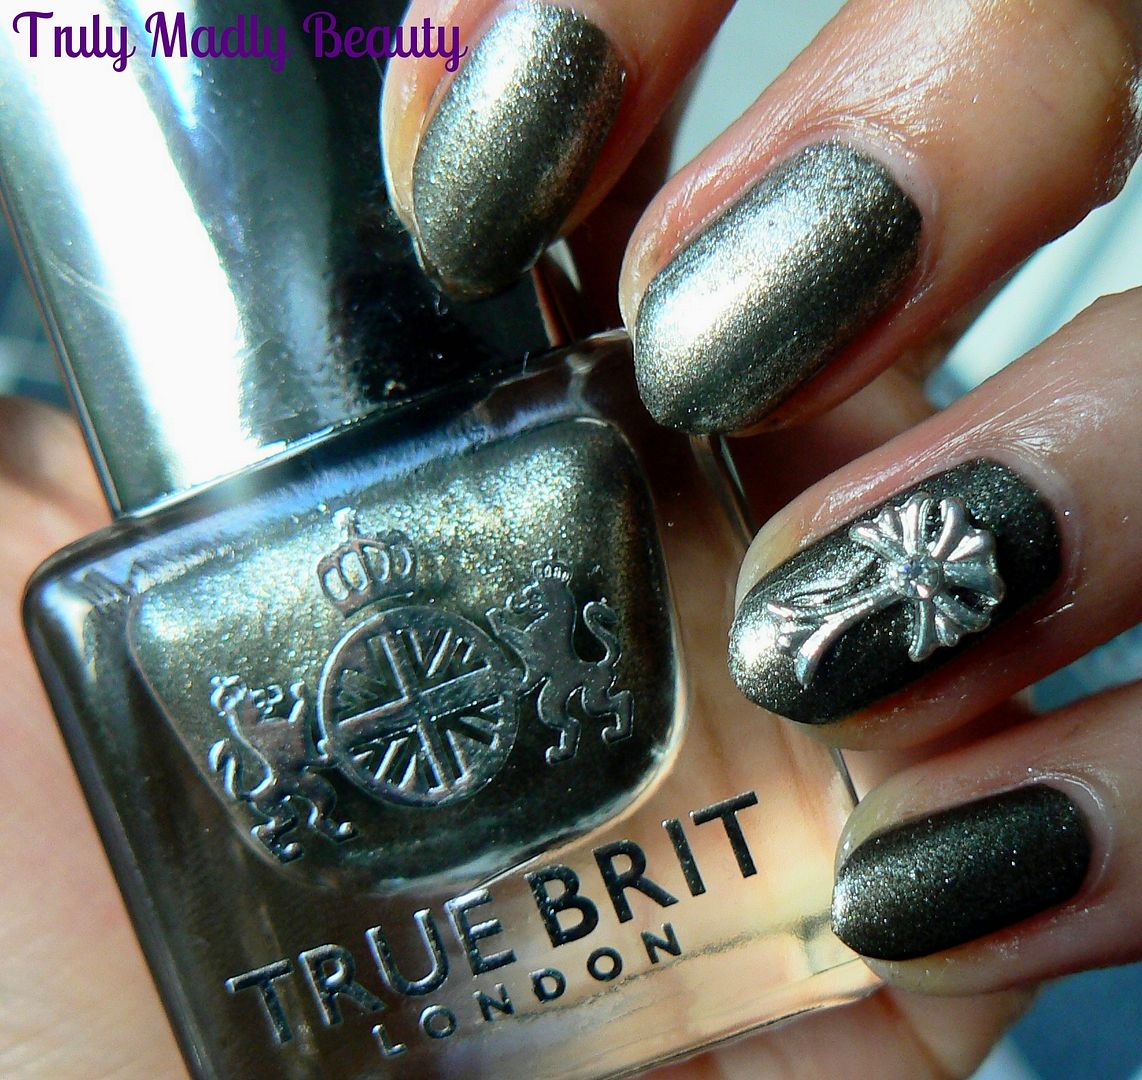
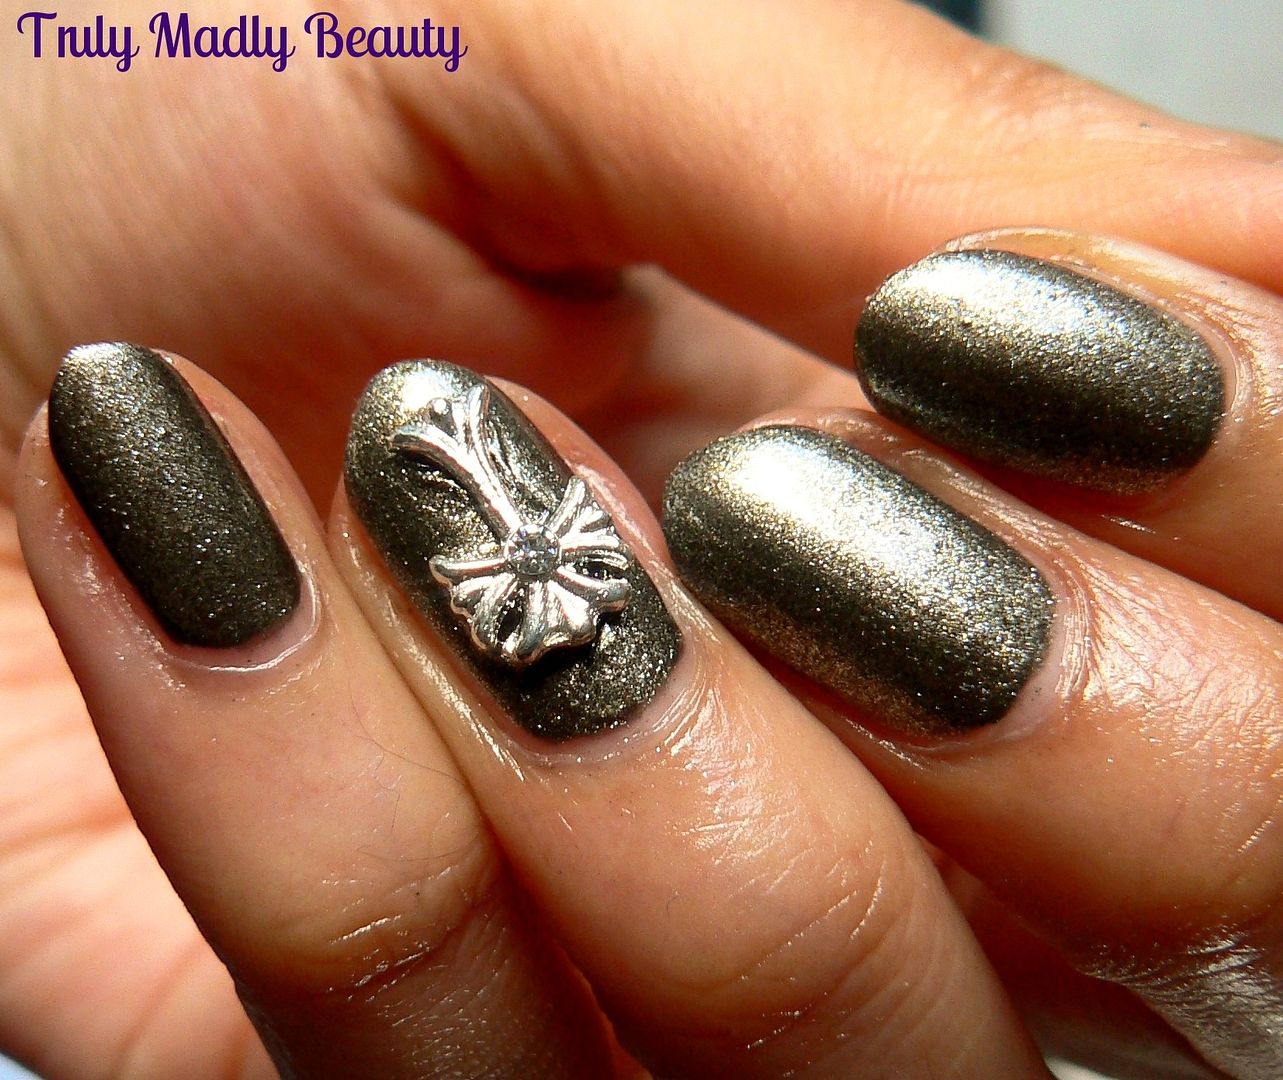
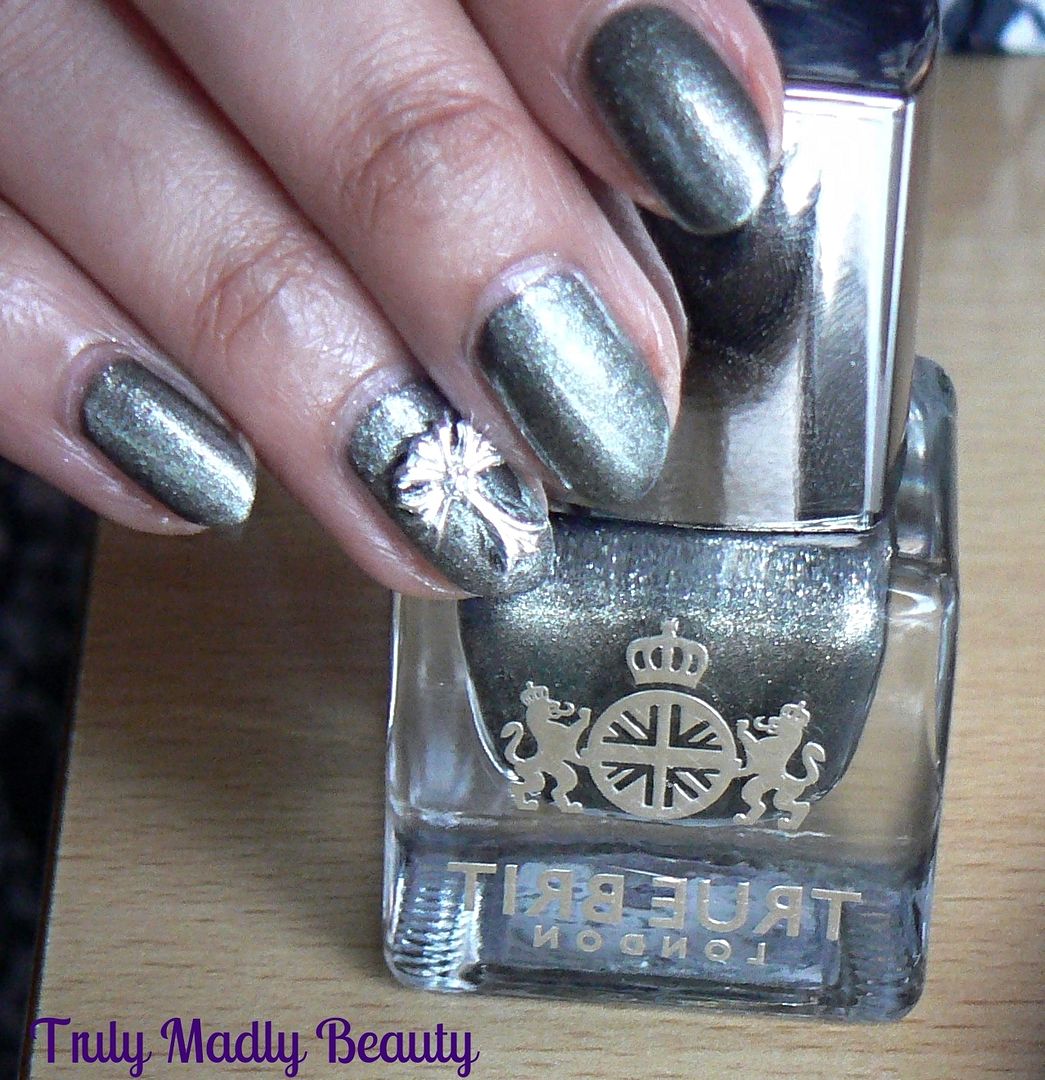
Knightsbridge* is a rather lovely,
earthy grey/olive green toned foil, really unusual & from the top
of my head nothing quite like anything I own, so I'm completely in love with the
uniqueness of it.
The formula is thick yet applied
smoothly over the True Brit London Caviar base coat. With foils there
is the risk of serious streaking & a ridged finish however I
experienced no problems with Knightsbridge* & you can actually
get away with just one coat as it was totally opaque.
I'm a creature of habit however &
stuck to my religious two coats which dried in quick time with a nice
smooth & shimmery almost mirror like reflective finish.
I applied a coat of the True Brit
London Topcoat on top & for a little added extra detail, stuck
on a pretty cross nail charm which I purchased from Charlies Nail Art
store. Definitely worth checking this online nail art store for
bargainous supplies!
The topcoat is lovely & thick
therefore was perfect for sticking down the charm without the need
for glue. I think the cross charm & polish go so well together,
giving the mani a gothic Medieval vibe!
Definitely an interesting & unique
one from the Signature collection! True Brit London polishes retail for
£12.50 & are currently available online, however I anticipate
they will be making their pretty way into retail stores soon!
Thanks as always for reading lovelies,
I still have two shades to share with you from the range so stay
tuned!
Disclaimer - * products featured were sent to me for my consideration. I am not affiliated with the brand nor paid for this post, this review has been as always my 100% honest opinion! :)
Labels:
Charlies Nail Art,
Chrome,
Foil,
gothic,
Metallic,
nail art,
nail charms,
NOTD,
TrueBritLondon
Subscribe to:
Posts (Atom)