Hello
there lovely readers!
Though
it would be wise not to get ones hope up judging by the recent
forecasts, it does seem that Mother Nature may finally be allowing us
a Summer. Better late than never & lets just hope that I haven't
gone & jinxed it... O_o
One
thing I always associate with this time of year & always look
forward to is the beautiful abundance of cherry blossoms decorating
both branches & pavements with their pretty pink blooms.
Florals
are also one of my favourite forms of nail art & there are so
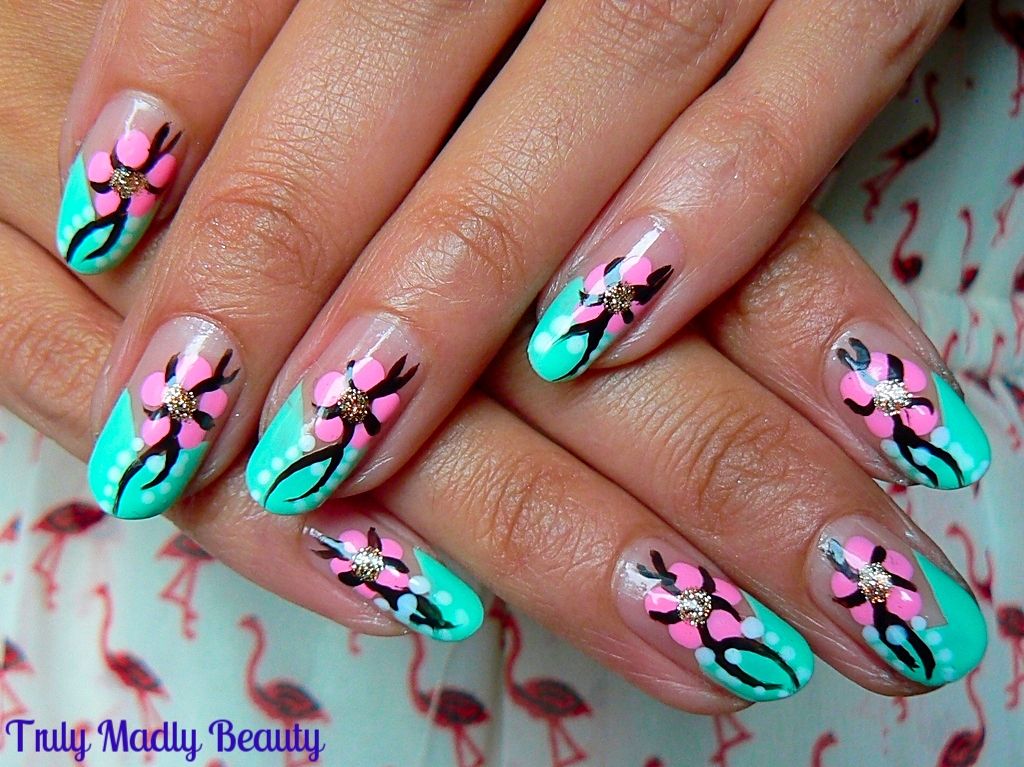
many different ways to get creative! Here I've used the
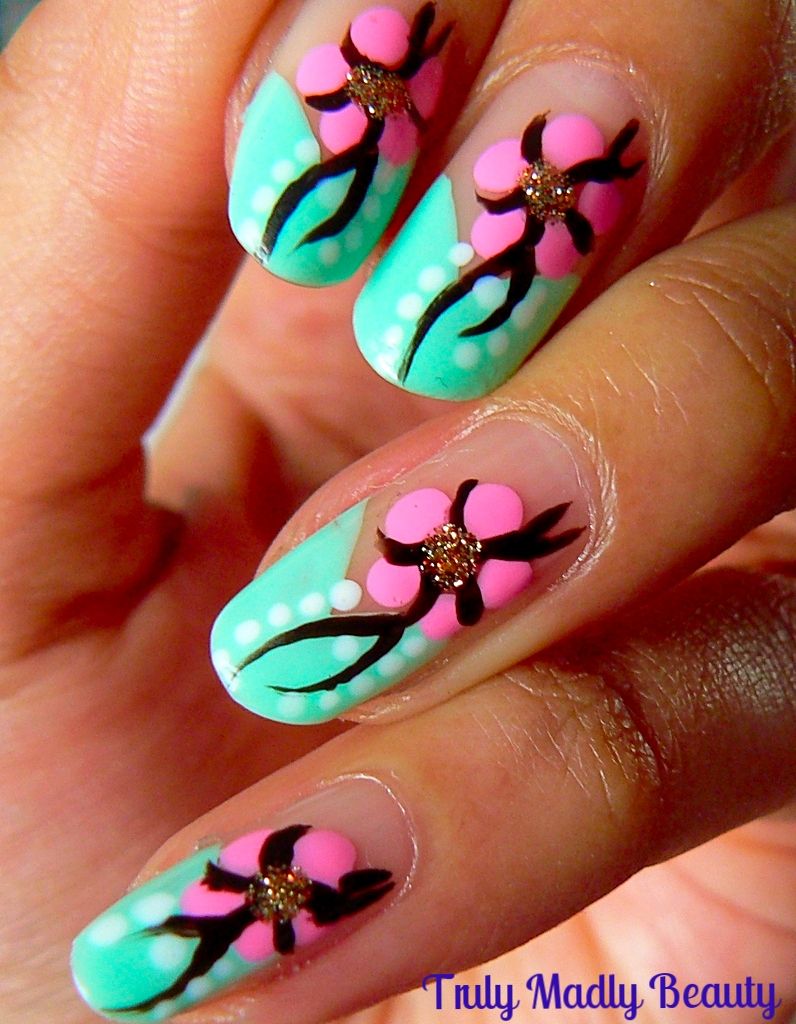
aforementioned flower as inspiration for today's Cherry Blossom nail
art design...
I
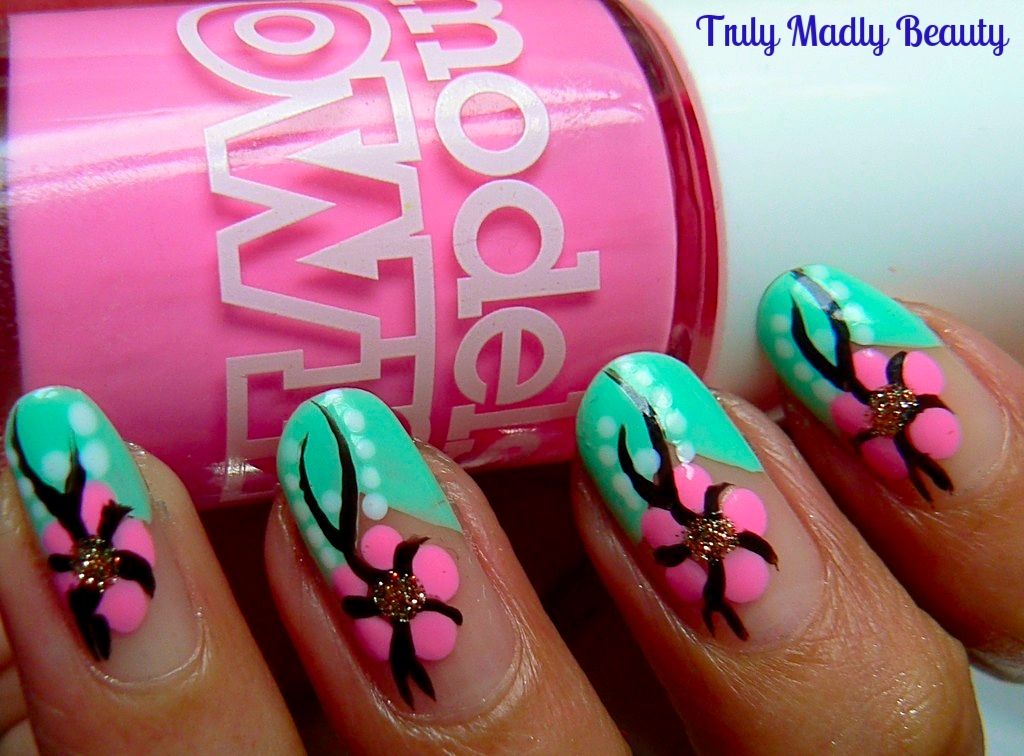
wanted my mani to pop so picked a lovely lively pink for my blossoms,
Models Own Sun Hat delivered on this nicely, & teamed it with
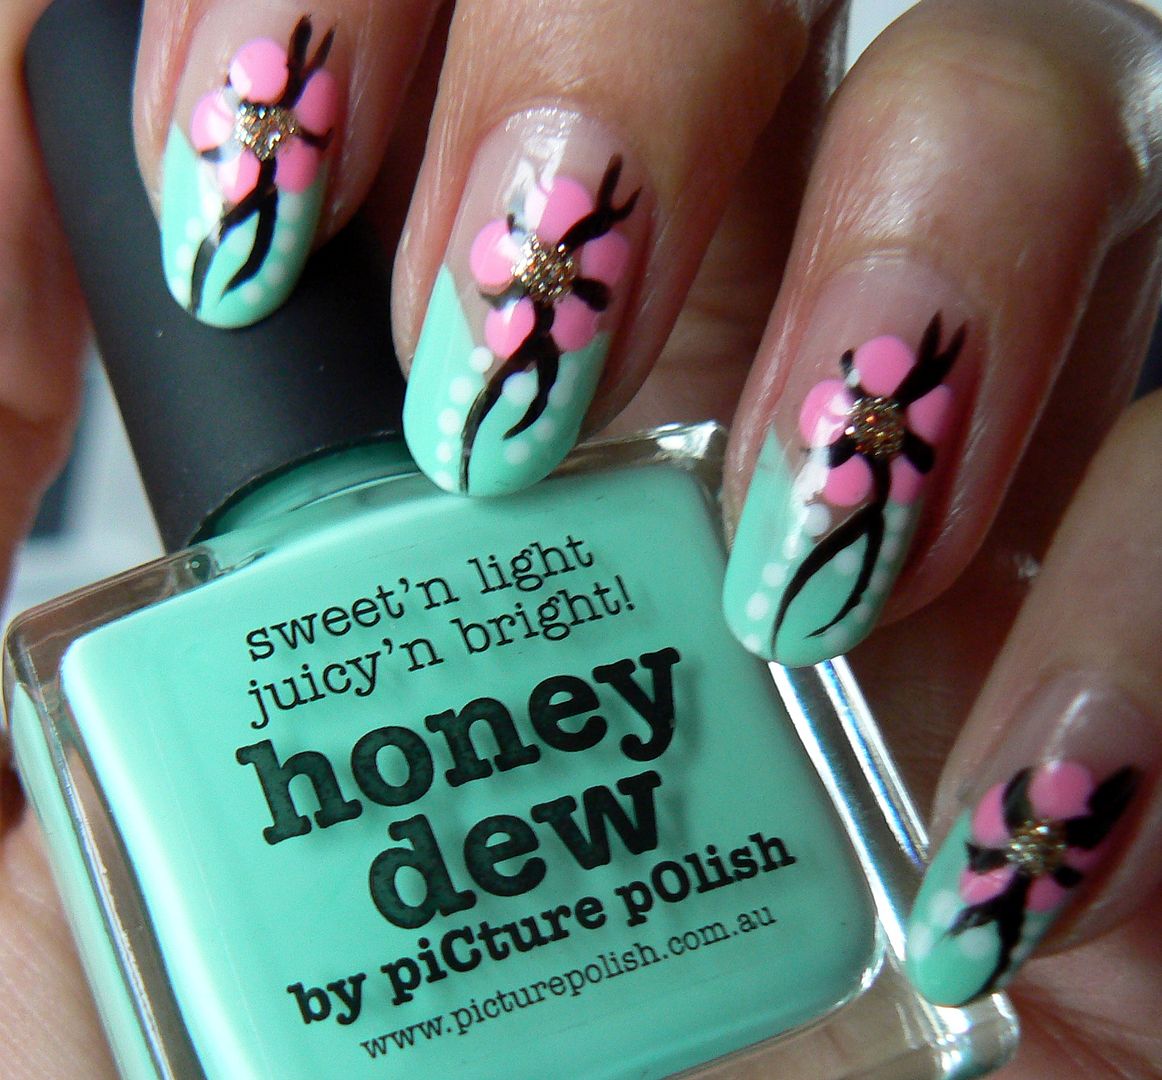
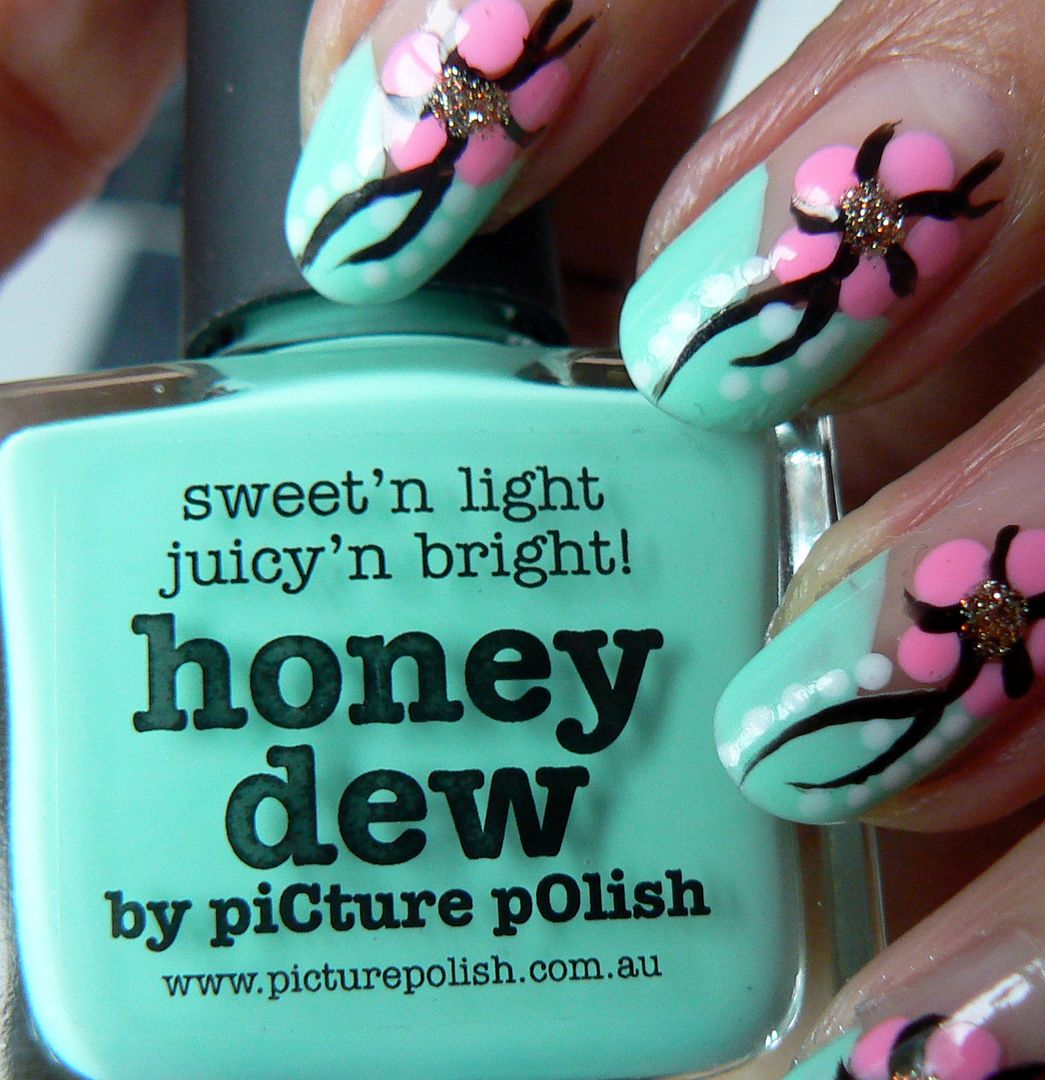
some vibrant minty fresh green on the tips courtesy of the gorgeous
Picture Polish Honey Dew
To
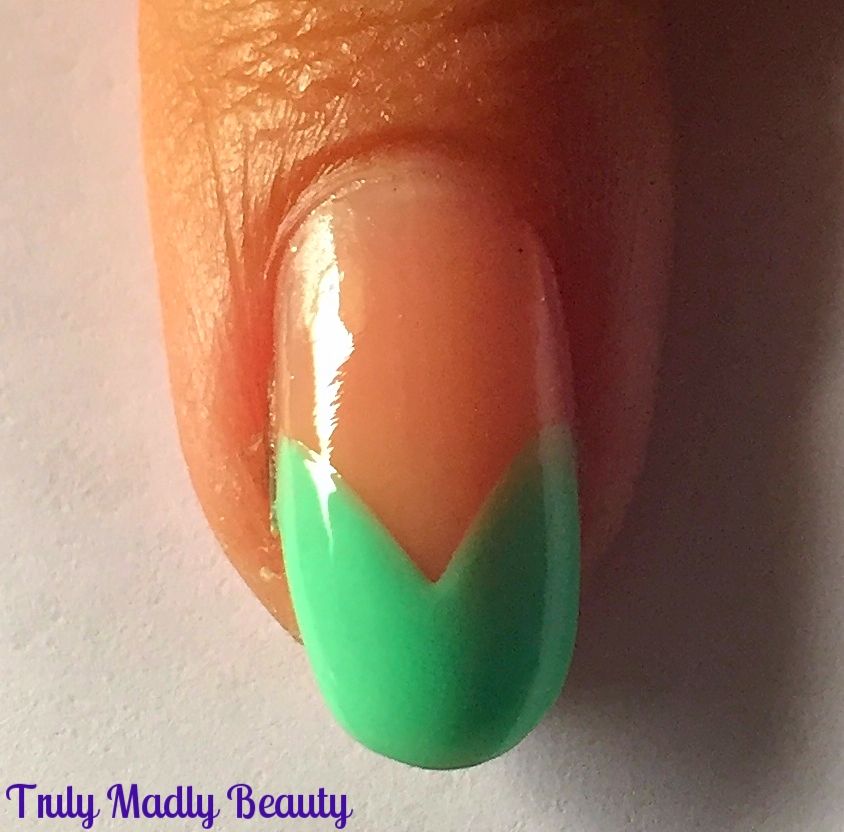
create these first apply your green tips in a sort of pointed French
mani which could not be easier to do, using your polish brush, swipe
one side of the tip at a curved angle & do the same on the other
side so that they meet in the middle & voila!
Then
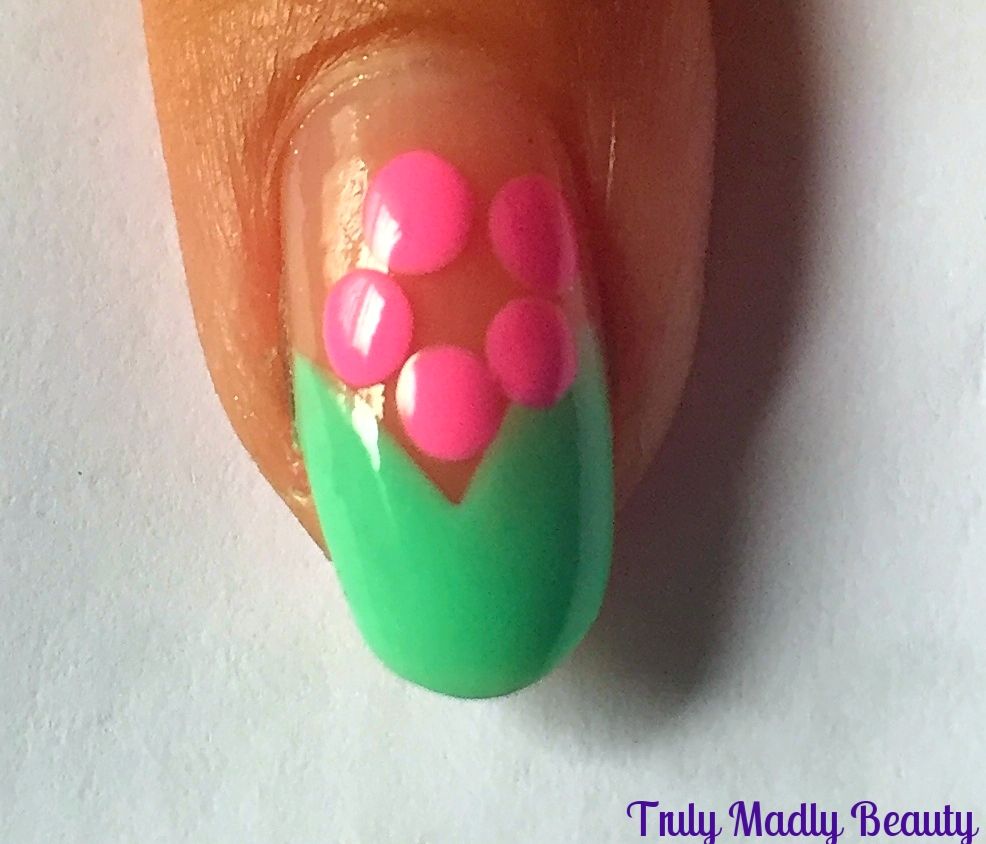
for your cherry blossom just grab a dotting tool or bobby pin &
dipping in to your pink polish, place 5 dots in a circle just beneath
the angled tip to create you flower
Now
I have to apologise here...I was watching Game of Thrones at the time
of doing this mani & got so distracted I completely forgot to
continue photographing the rest of the design steps...NAIL
BLOGGER FAIL *slaps wrist*
My
bad...but as you can see, once you've done your tips & flower you
can literally have free reign over the additional details you want to
add. Using some gold polish & glitter, I added a dot of both to
the centre of the blossoms & then using a thin nail art brush
with some black polish, outlined my petals & added a few delicate stems either side.
For
a final bit of detail I added on some wee white dots along the stems.
You can continue adding more detail if you like, have fun playing
around with different sized dots & stems but I left it
there...perhaps if I hadn't been so engrossed in GoT I would've
happily carried on!
Finish
with your topcoat & thats it! Now lets hope some real cherry
blossoms grace our streets with their pretty presence :) Thanks for
reading!
Lotsa
love to ya!