Showing posts with label Kiko. Show all posts

5.09.2019

NOTD - Jewel Butterfly Nails

Hey there lovely readers!

Wowee its been a minute & then some since I've last blogged. As usual life & everything in between has been pretty chaotic & not all of it great. But...thankfully the winds finally seem to be changing for the better & whilst a bit late...I'm totally ready to get this year started properly.


3.19.2019

NOTD - Rainbow Bouquet!

Hey there lovely readers!

Despite it being mid March already (how the heck did that happen?!) Spring could not seem further away if the rainstorms of last week were anything to go by!


12.05.2018

Festive NOTD - Mint Sparkle Snowflakes

Hi there lovely readers!

I was in two minds about whether to share this nail art...Even though I loved the frosty mint colour, I think the pale base made my snowflakes & holo glitter stickers get a tad lost amongst the background so I kinda class this as a mani fail haha! But hey you win some you lose some right?


5.29.2018

NOTD - Infinity Stone Nails!

Hey there lovely readers!

So I, like much of the world of late went to see the greatly anticipated Avengers Infinity War, & boy did it leave a mark & then some! I am a huge fan of this incredible universe which I'm sure comes as no surprise. Having said that I DID have to do a bit of catching up with a Marvel marathon or two before going to see this instalment (don't judge me...there ARE a lot of films & I kinda lost track!) & I definitely advise you do as well to avoid any gaps in the story! 


2.19.2018

NOTD - Jade Semi Precious Stone Nails

Hi there lovely readers!

I have a particular fondness for semi precious stones, not just for their magical properties of course, I always have a few lying around the place, but you can find some truly stunning rocks with beautifully intricate patterns woven within the stone which means one thing...NAIL INSPIRATION!

You've probably seen & are familiar with the Geode nail art trend that was pretty big last year, I gave it a go myself & absolutely loved it, take a peek at my step by step tutorial HERE. 

I wanted to go further & explore other stones for which I could attempt to recreate on my nails, I have a long list...Rose Quartz, Marble, Amethyst, Opal....but first I wanted to give Jade Stone nails a try & so that is what I have for you beauties today!


11.20.2017

NOTD - Thanskgiving Three Tone Ruffians!

Hey there lovely readers!

There's currently a technique that I am utterly addicted to right now & that is Ruffian Nails! If you are unfamiliar with this look, a Ruffian design is basically a french manicure....reversed. So the trademark smile line is down by the cuticle end of the nail instead of the tips as is the norm for your standard french manicure.


9.14.2017

NOTD - Negative Space Wave!

Hello there lovely readers!

Today's nail art design was one of those moments that I have, quite frequently if I'm honest, where I literally have no clue what the heck I'm doing, I just simply say a few prayers to the nail goddess & hope for the best. The result this time...a negative space, dotticure wave look.

2.28.2016

NOTD - Golden Sands & Tropical Seas...

Hey there lovely readers,

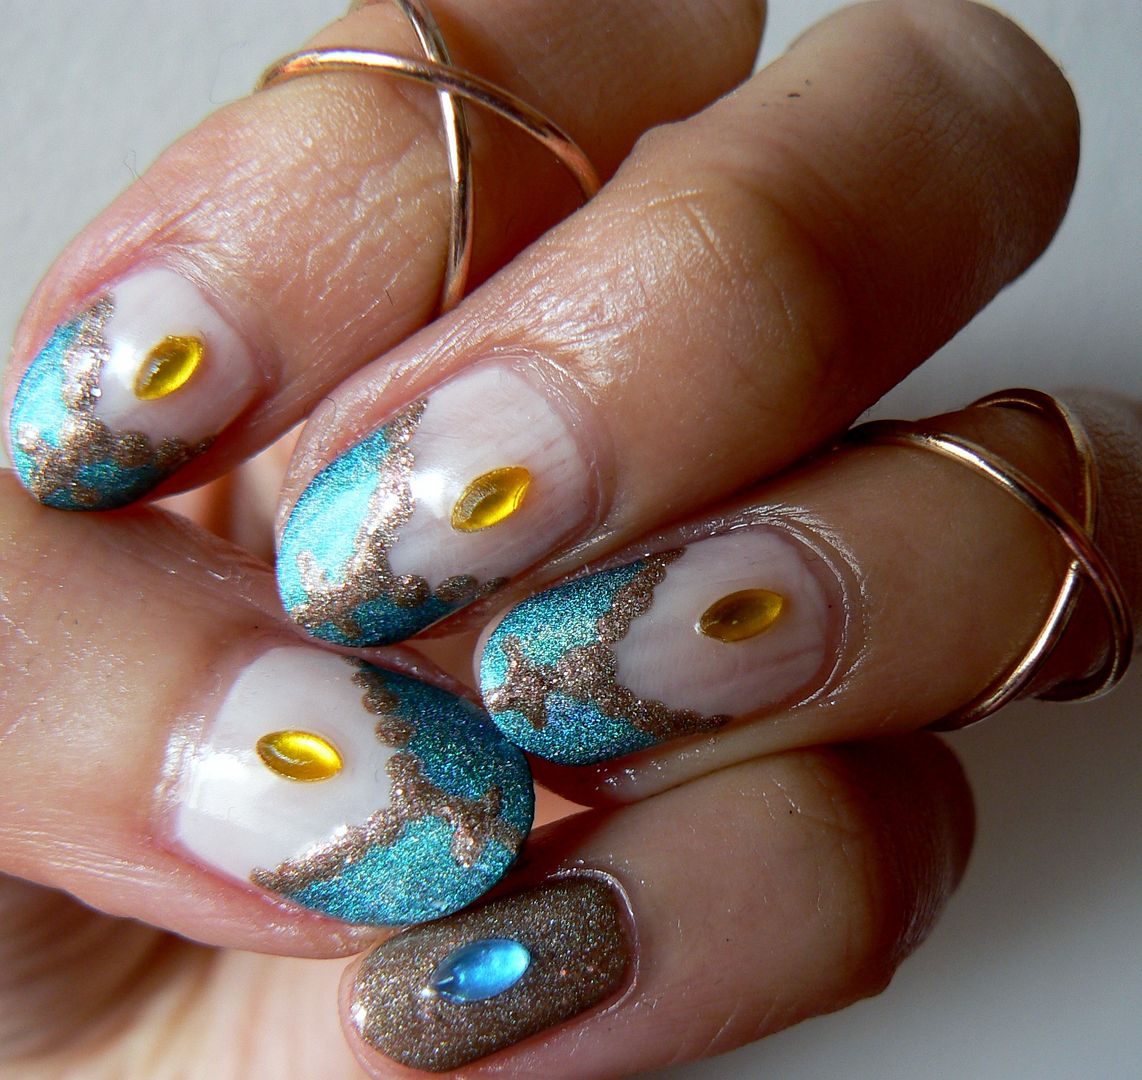
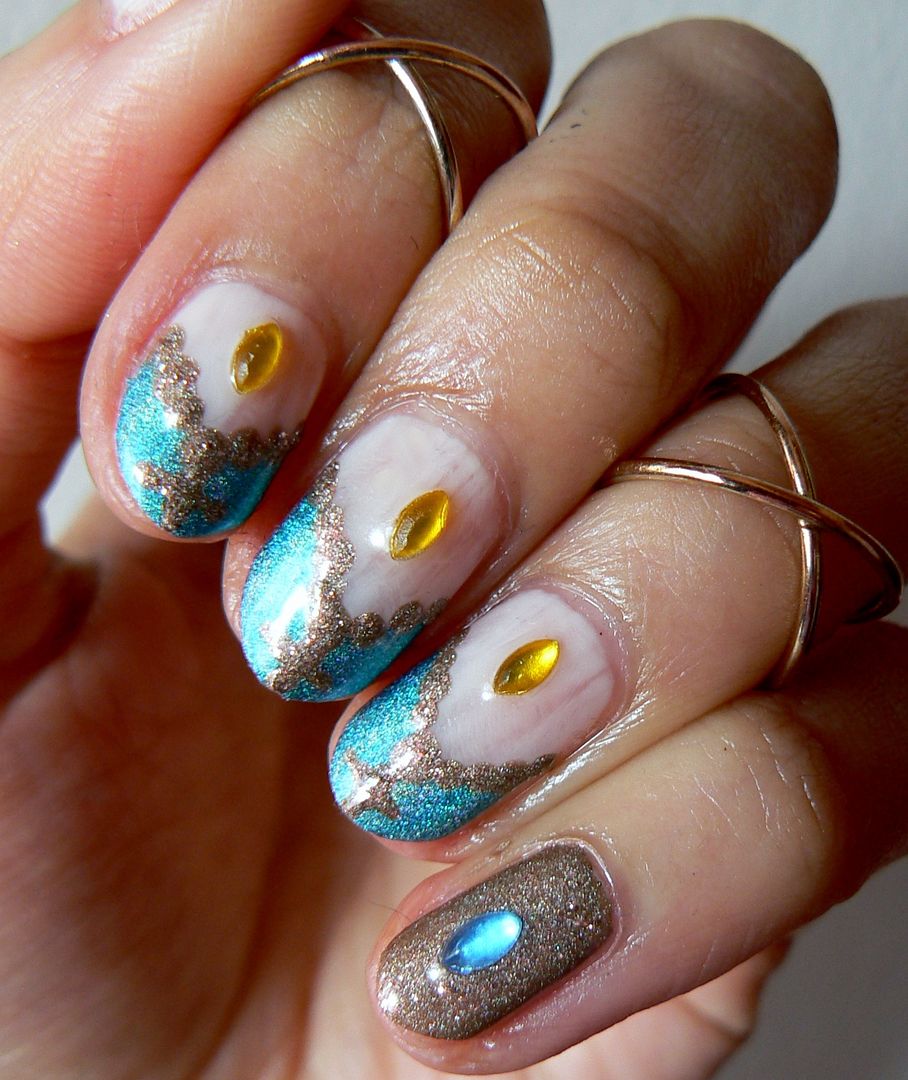
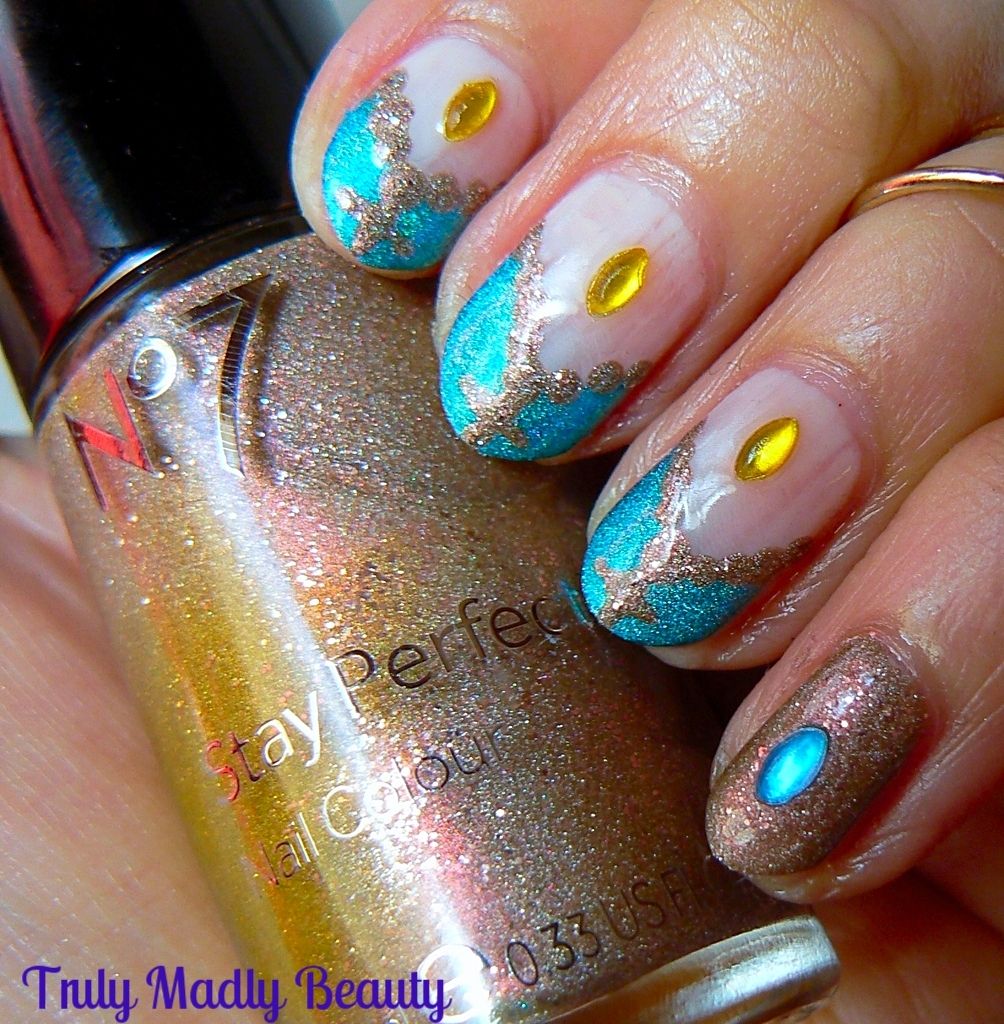
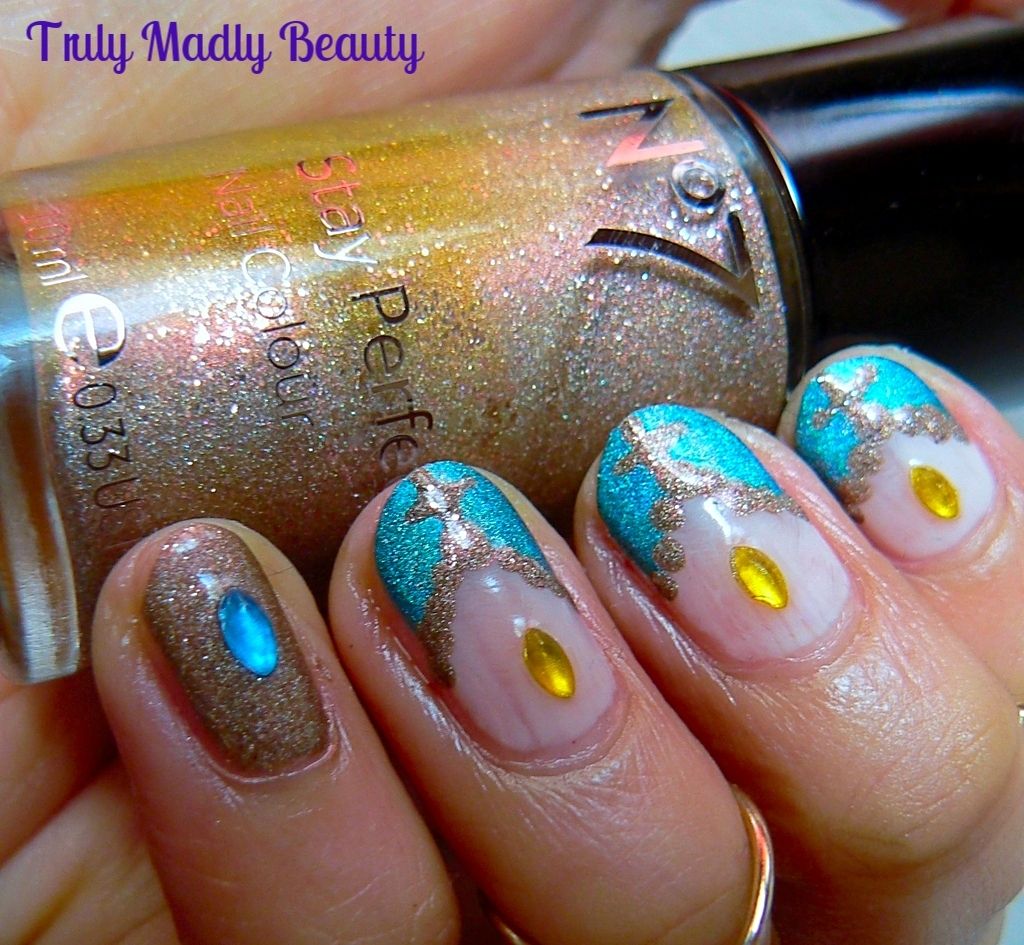
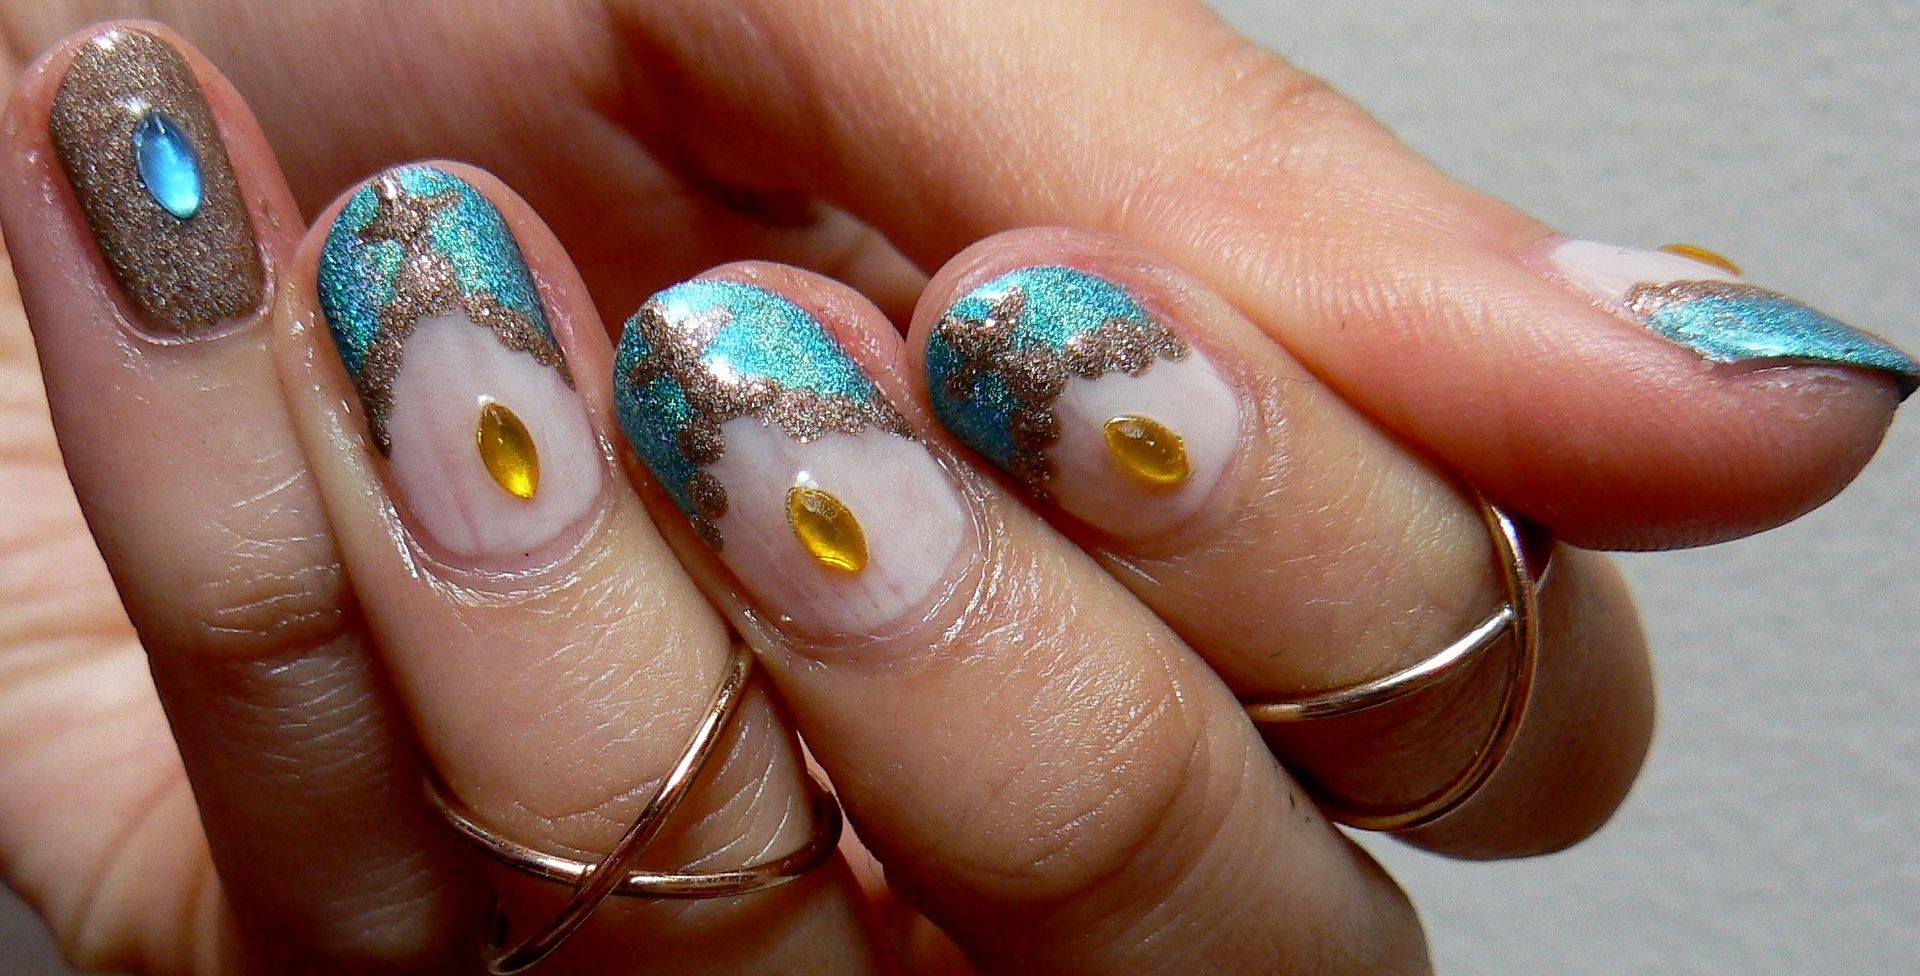
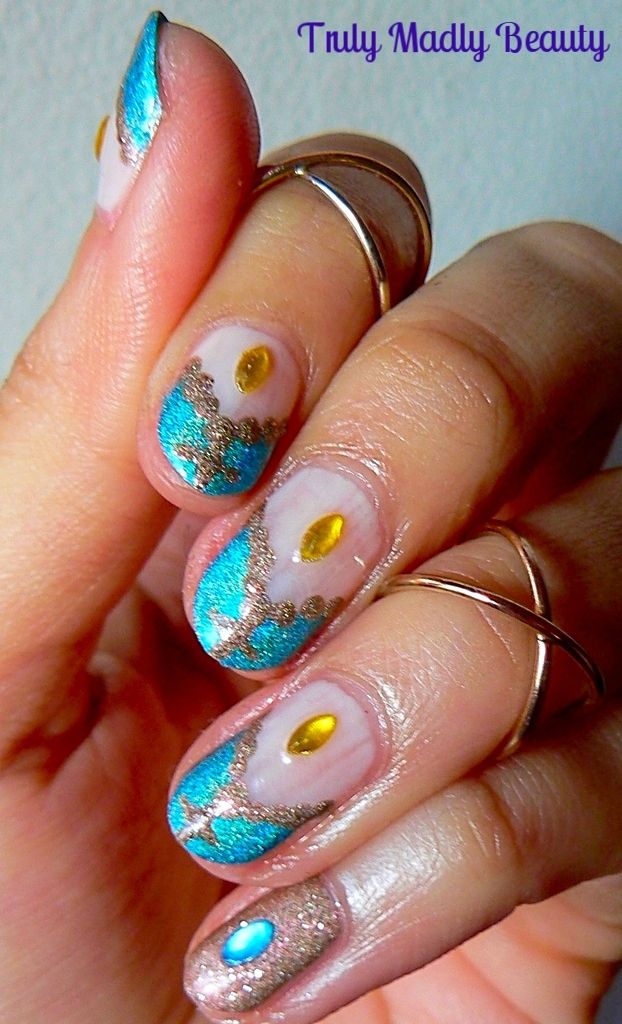
At the moment I seem to be finding myself constantly browsing online at far off holiday destinations filled with sun, sea & sand. Clearly my mind is telling me that a wee break is in order so I'm currently working on making that happen. In the meantime however, I can still get holiday vibe satisfaction on my nails with some holo & gold nails...


Mmmm the holographic turquoise & golden shimmer combination certainly brings blue oceans & sandy beaches to mind! To begin I applied my base coat, this was just a random LA Colors one I had lying around, I wasn't expecting it to be tinted actually but hey ho! Haha!


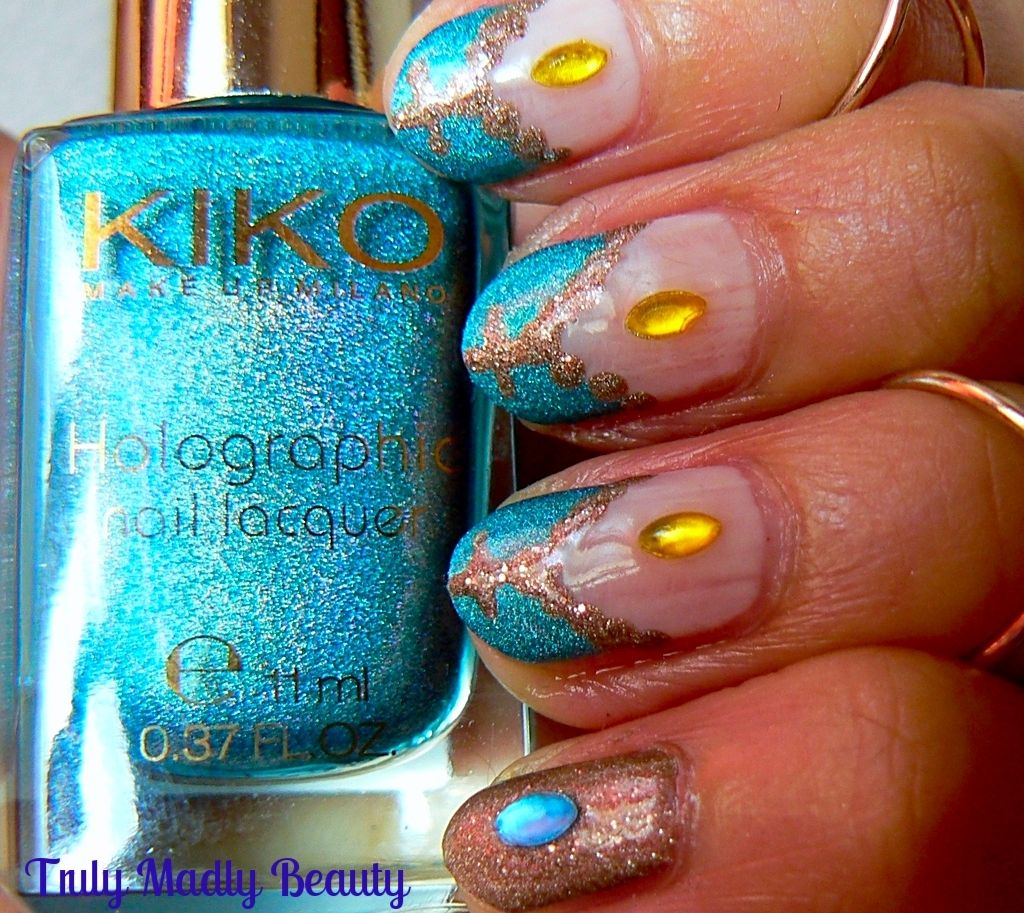
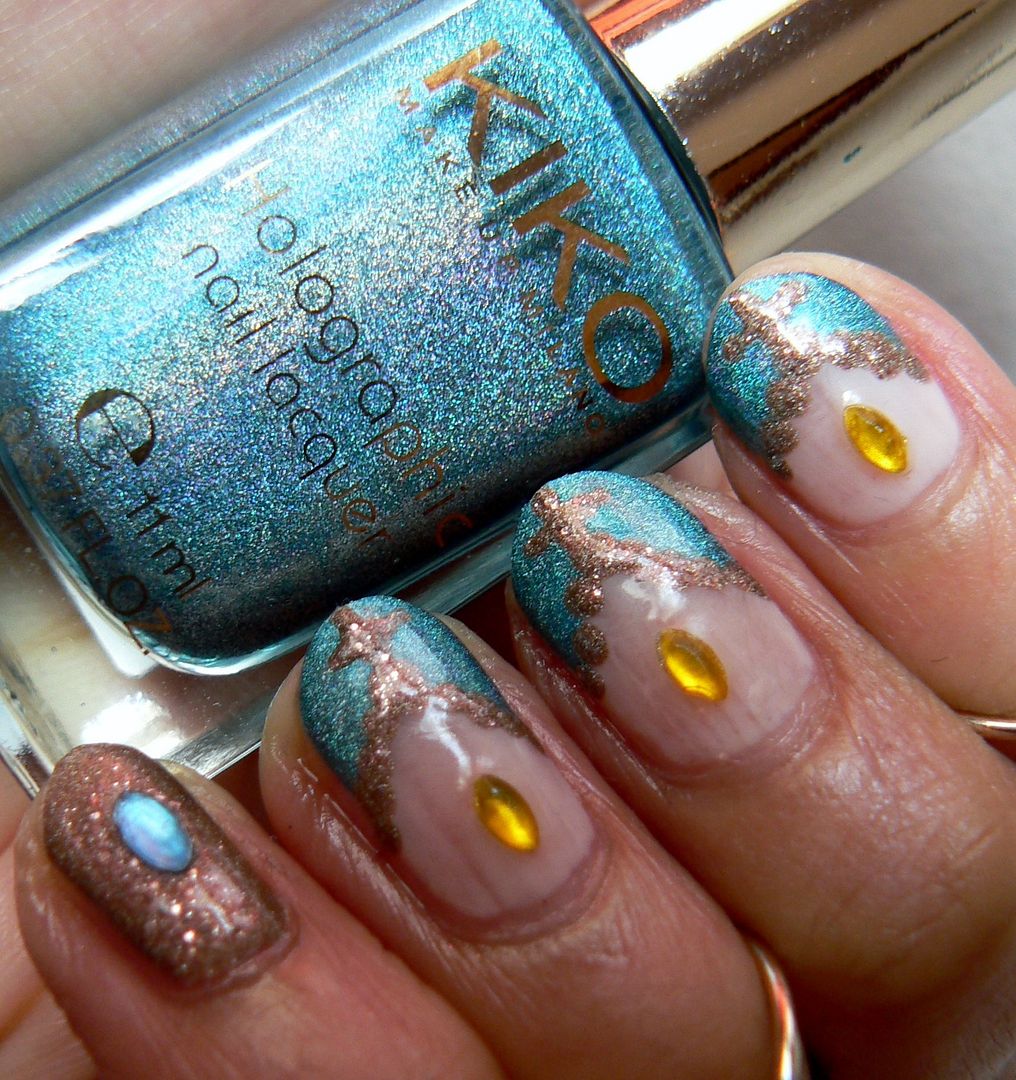
For this mani I dug out a beautiful KIKO to channel my blue sea, this one is 401, a gorgeous turquoise blue holographic polish that shimmers so prettily just like the tropical waters of the Med.


I decided to go for a V french tip design which is created easily by simply applying two diagonal strokes of polish next to each other on the tips of your nails. It doesnt matter if this isn't super neat as you will go over the edge with the gold...


And the said soft gold reminiscent of sandy beaches was delivered perfectly by this gorgeous pale gold polish from No7 Disco Nights which also contains a little bit of pale pink sparkle, so pretty.


I grabbed my small dotting tool to apply a row of little gold dots along the inside edge of the blue before finishing in the middle of the V with a wee cross. I decided to go for a full golden nail on my pinkie as I loved the pretty pale gold so much!


To finish I added on a some oval rhinestones for added sparkle before finishing with topcoat.


Now all I need to do is gaze at my nails & I'm instantly transported to a hot destination, much needed in this current frozen climate let me tell you!


The midi rings are Topshop FYI <3 Thanks as always for reading!   

Lotsa love to ya!

2.11.2016

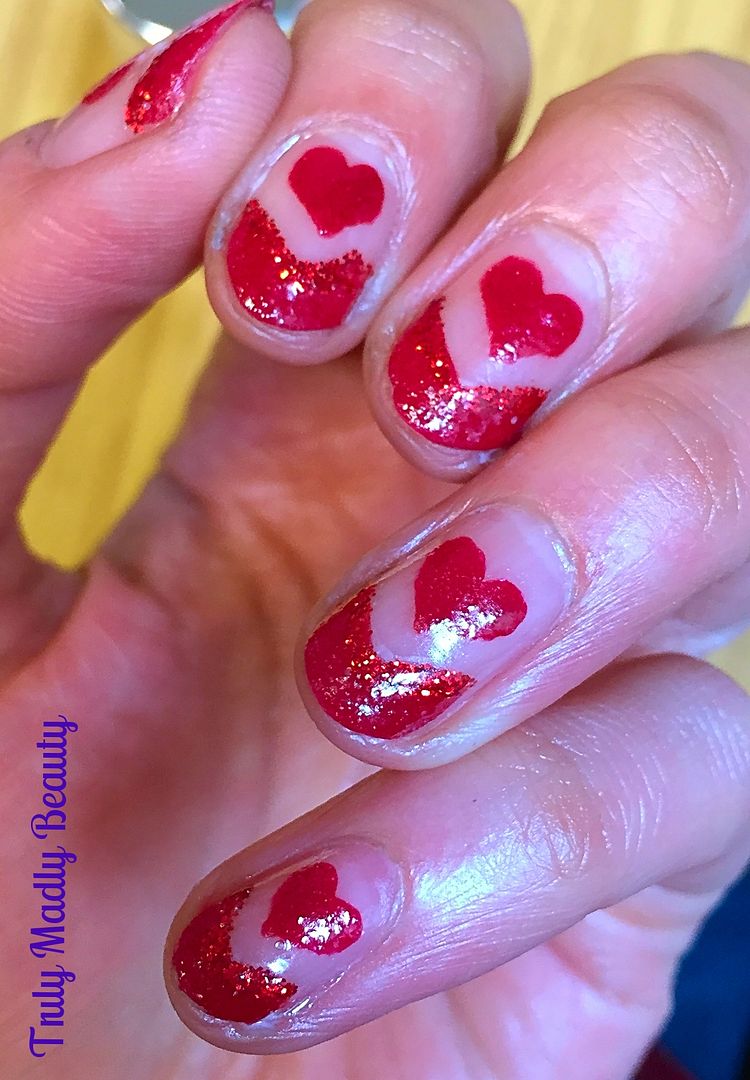
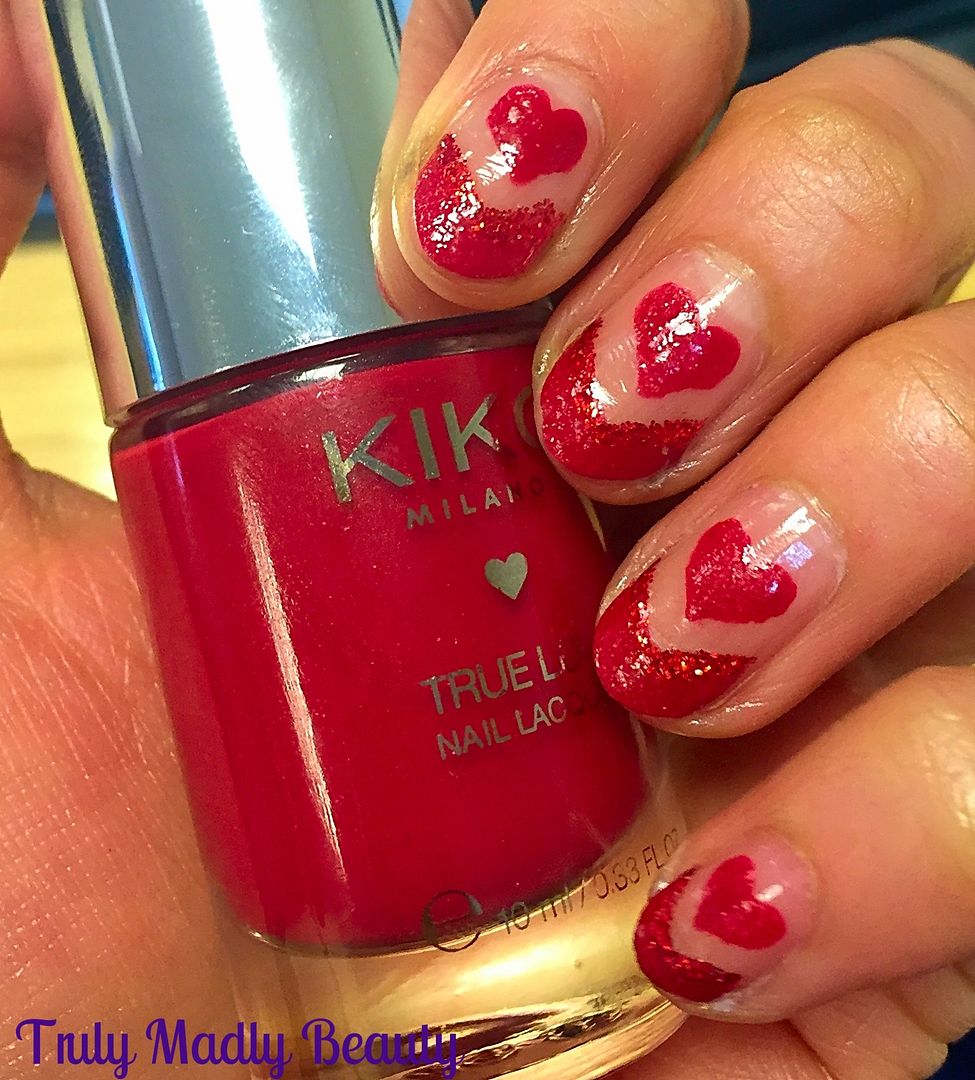
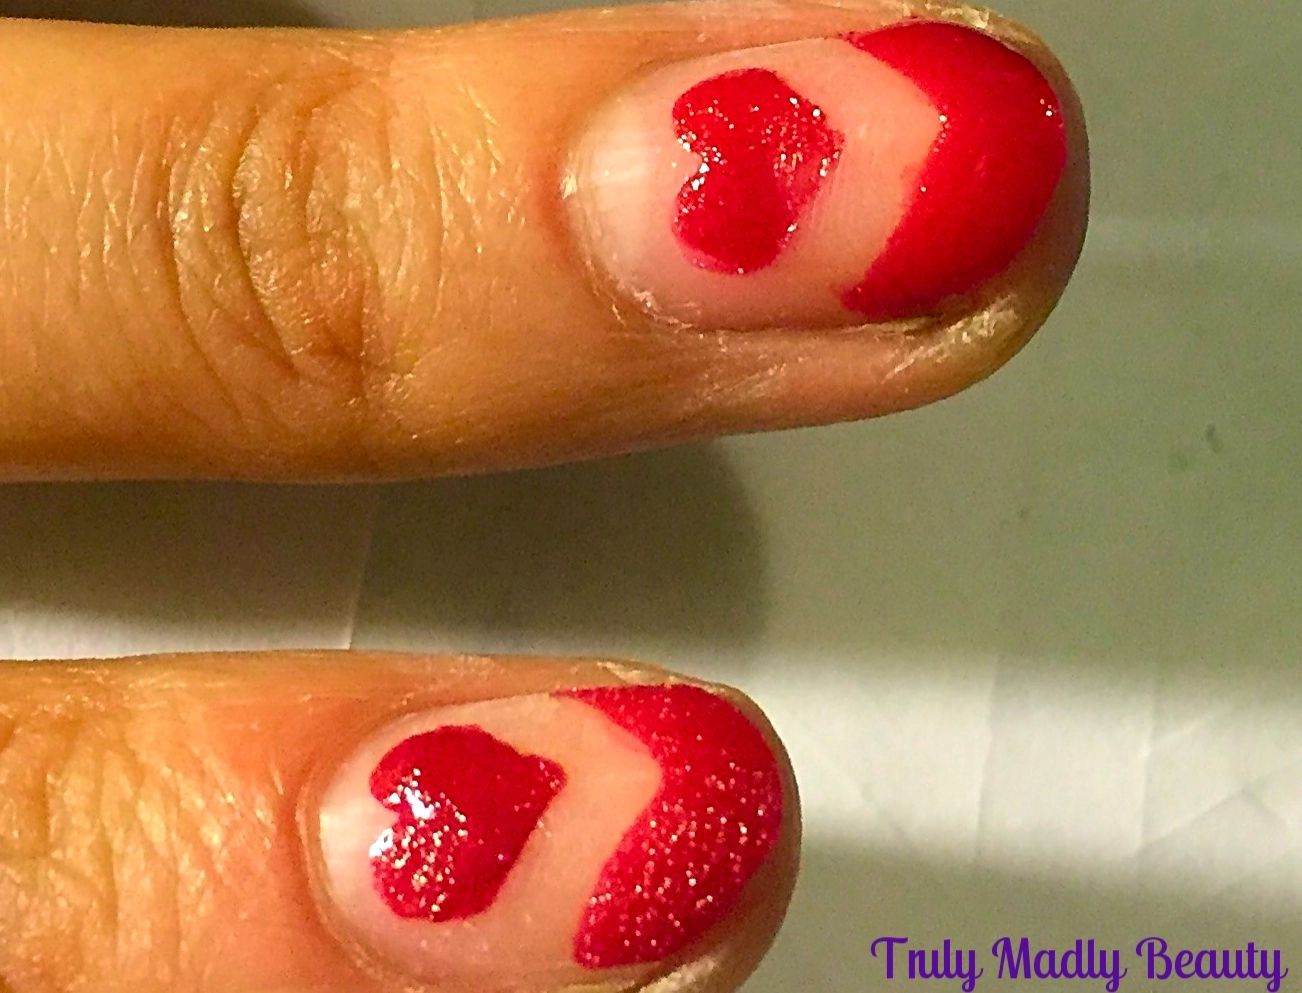
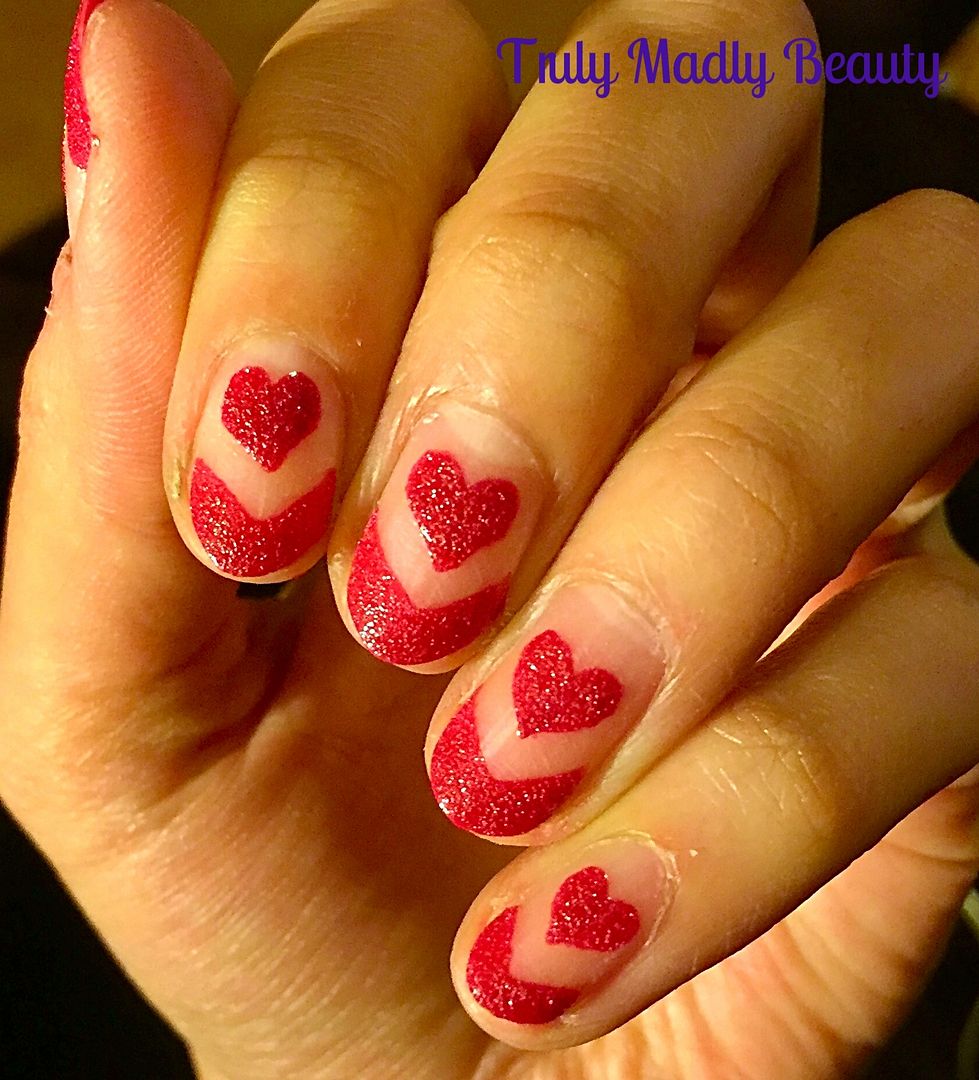
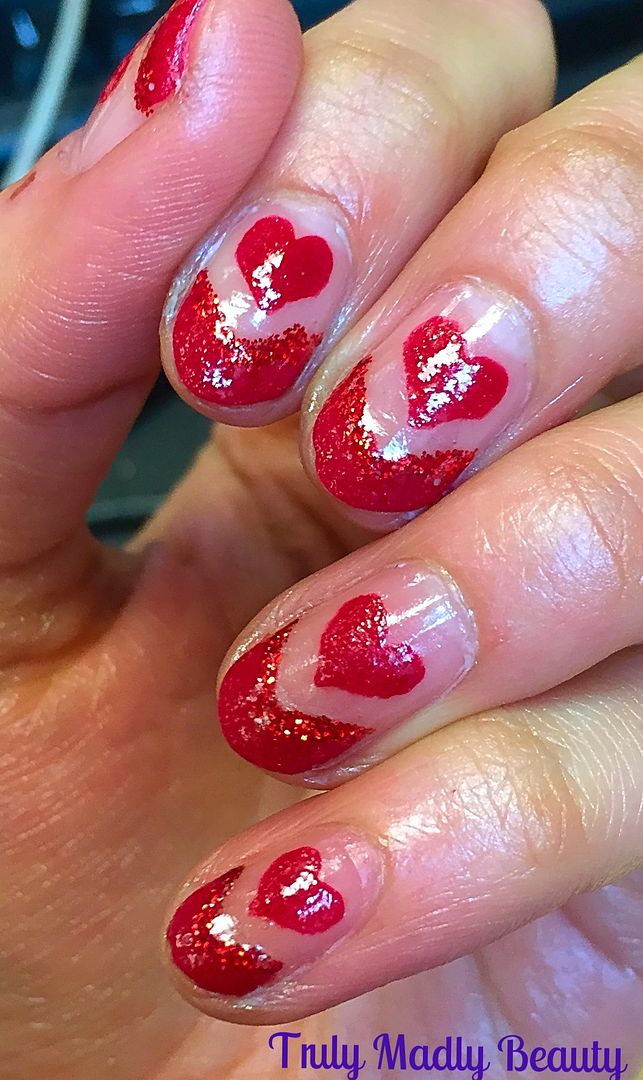
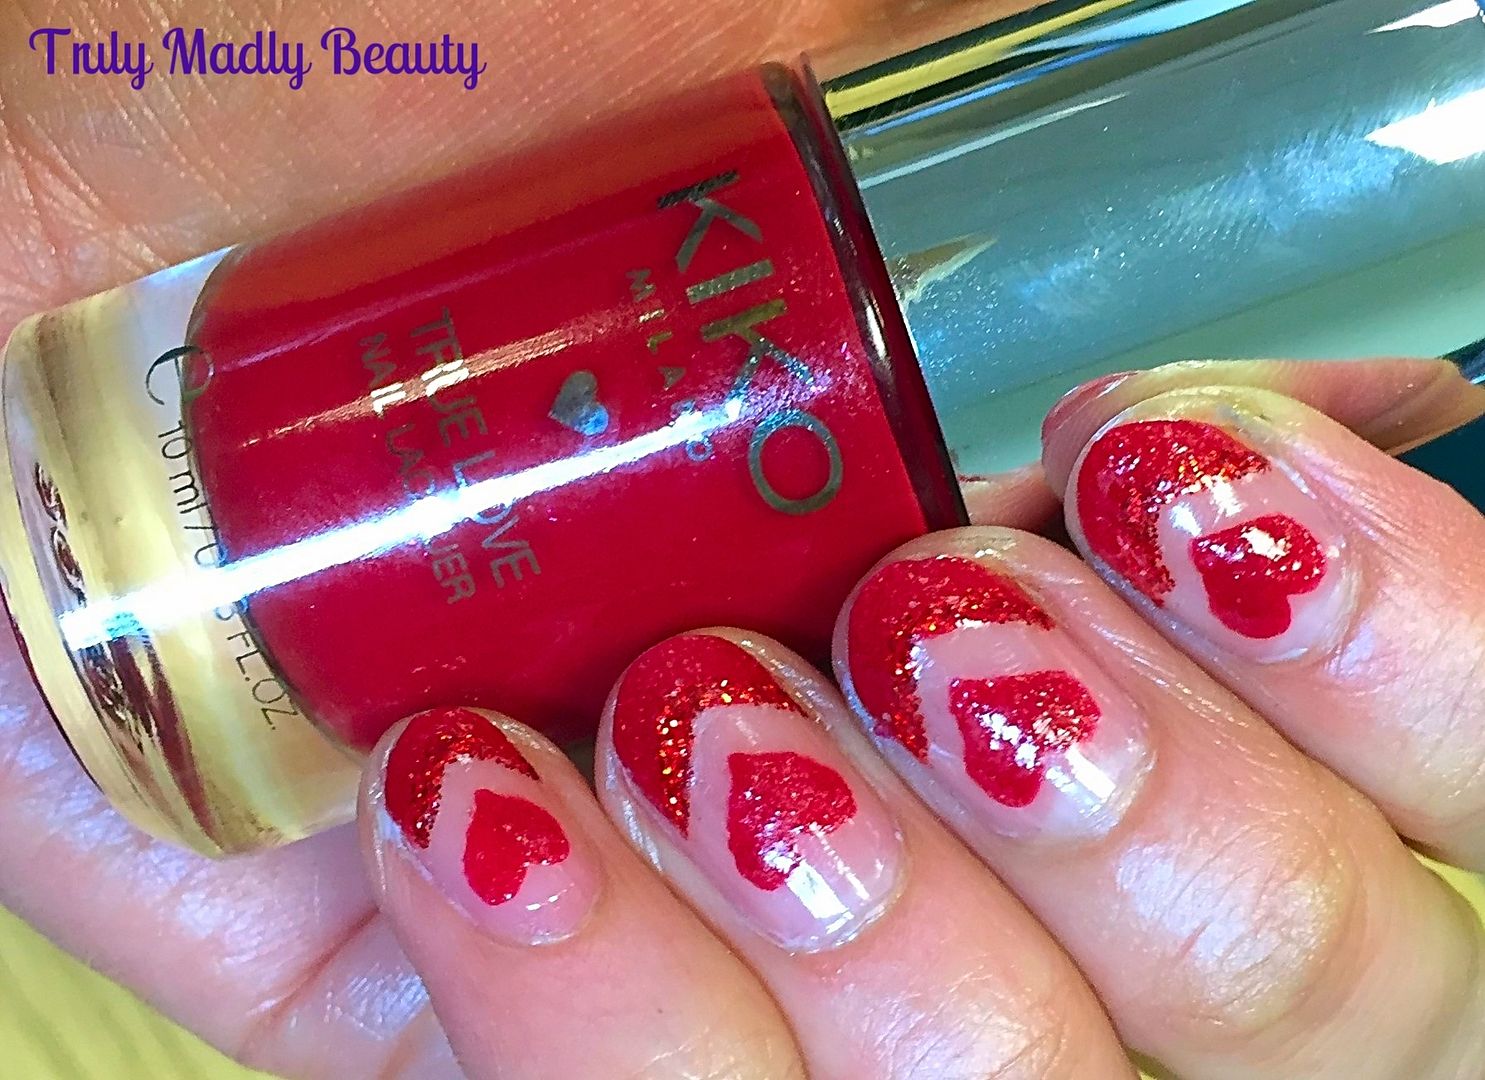
NOTD - Floating Hearts Nails plus Tutorial ft KIKO True Love Lacquer!

Hello there my lovely readers!

Another Valentines themed mani for you today my dears! This time I've thrown together some fun floating hearts that are super simple to do & which I'll show you how to create...


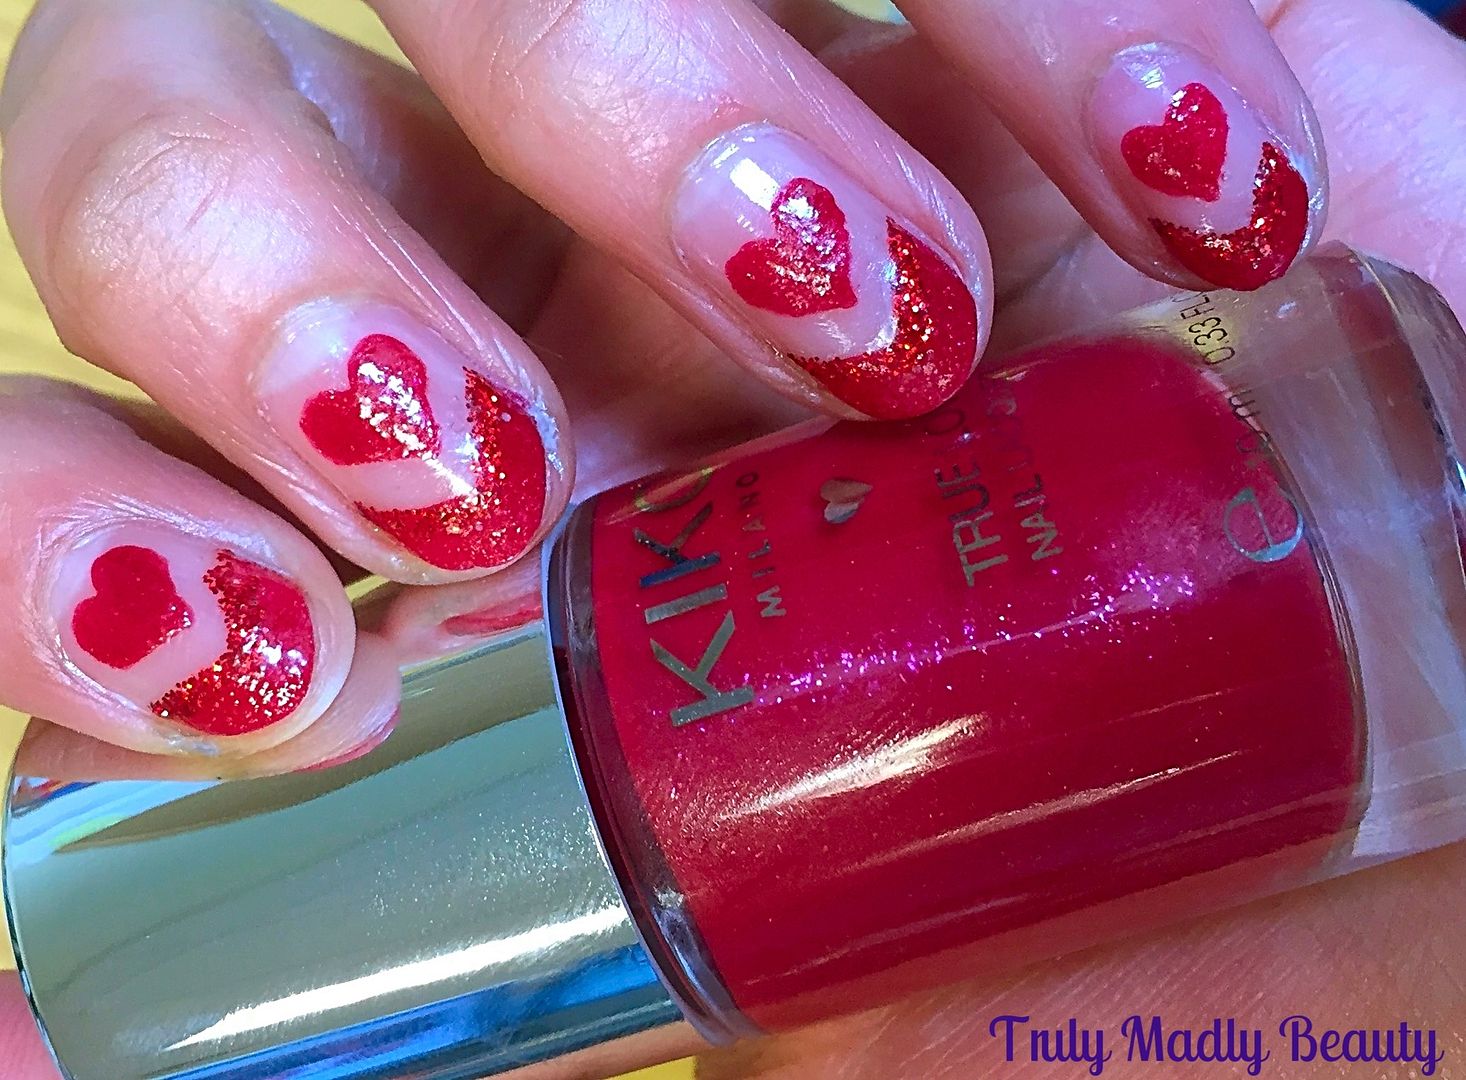
For this I've used KIKO's True Love Lacquer in Red Kiss, which the lovely Safiyah aka Frootibeauty kindly gifted me when I saw her recently because she's just an absolute angel who knows my weakness! I've always adored KIKO polishes, fab quality for a bargain price. Well I saw this & though it an apt polish for a Valentines manicure!


What I didn't realise however was that these particular polishes from KIKO's recent BFF collection for Valentines day are actually textured! By the time I noticed this I was already on my 3rd nail in haha! 


The True Love Nail Lacquers are micropearls which in fact dry to a matte textured finish, almost like sand effect polishes. I hadn't seen any swatches online so you could say it took me by surprise a tad. Normally I wouldn't have chosen a textured/effects polish for this type of mani but hey ho, I rolled with it anyhoos :)


The theme of the polish not to mention the fire engine red shade was perfect for a valentines mani. The textured finish is definitely interesting, matte polish lovers especially would love it. You have to work quick with the polish as the formula can get gloopy if overworked hence why its not the best choice for nail art, & the polish dries fast, another bonus of these textured type polishes.

Here's a quick step by step guide on how to create the floating hearts french nails...


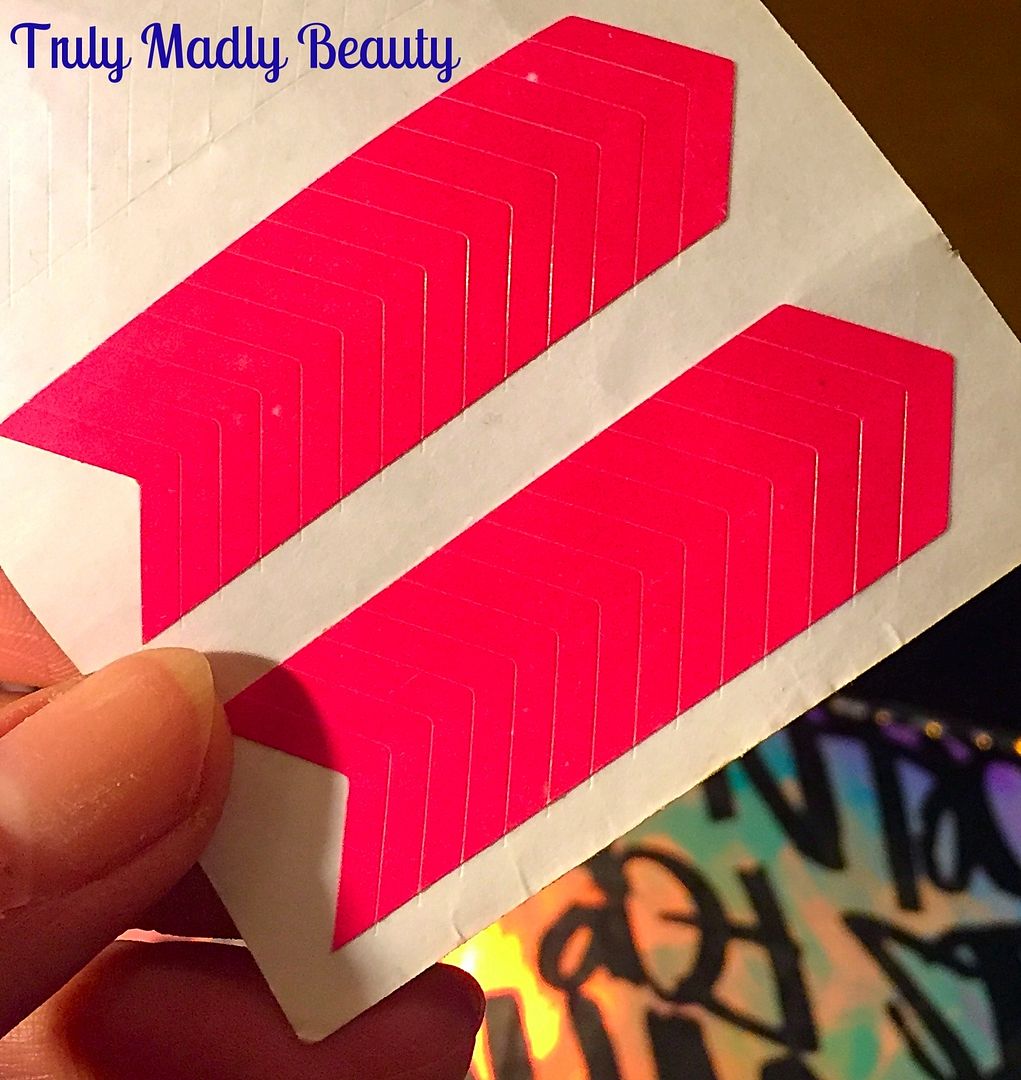
To create the sharp edged french tip & to help shape the heart I've used these pointed manicure guides which I picked up in Savers a while back but you can easily find these on Ebay or Born Pretty Store. You can of course do it all free hand but these definitely make life easier! And I'm ALL for that ;)


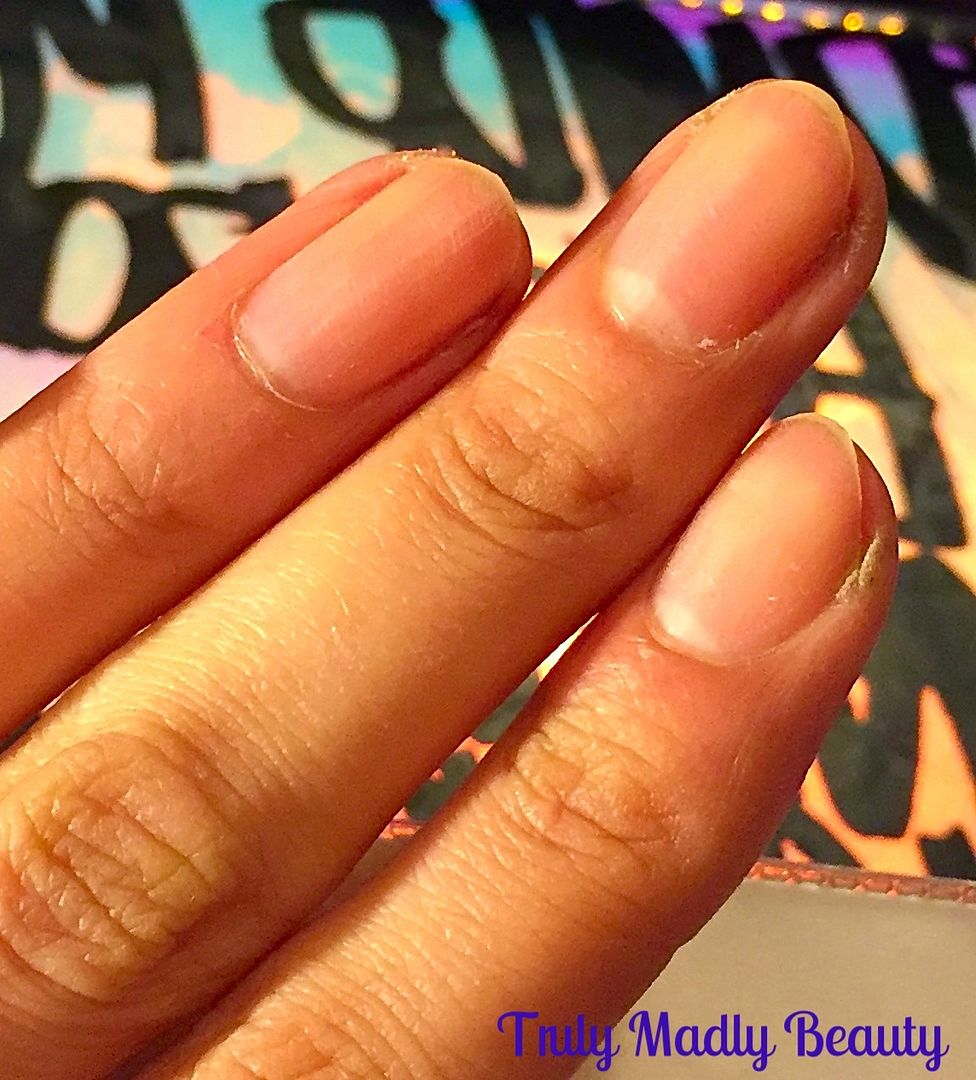
I start off with a bare nail base as I'll be using the guides & don't want to risk them peeling off a base coat when removing. Plus I find the guides stick better to a bare nail.


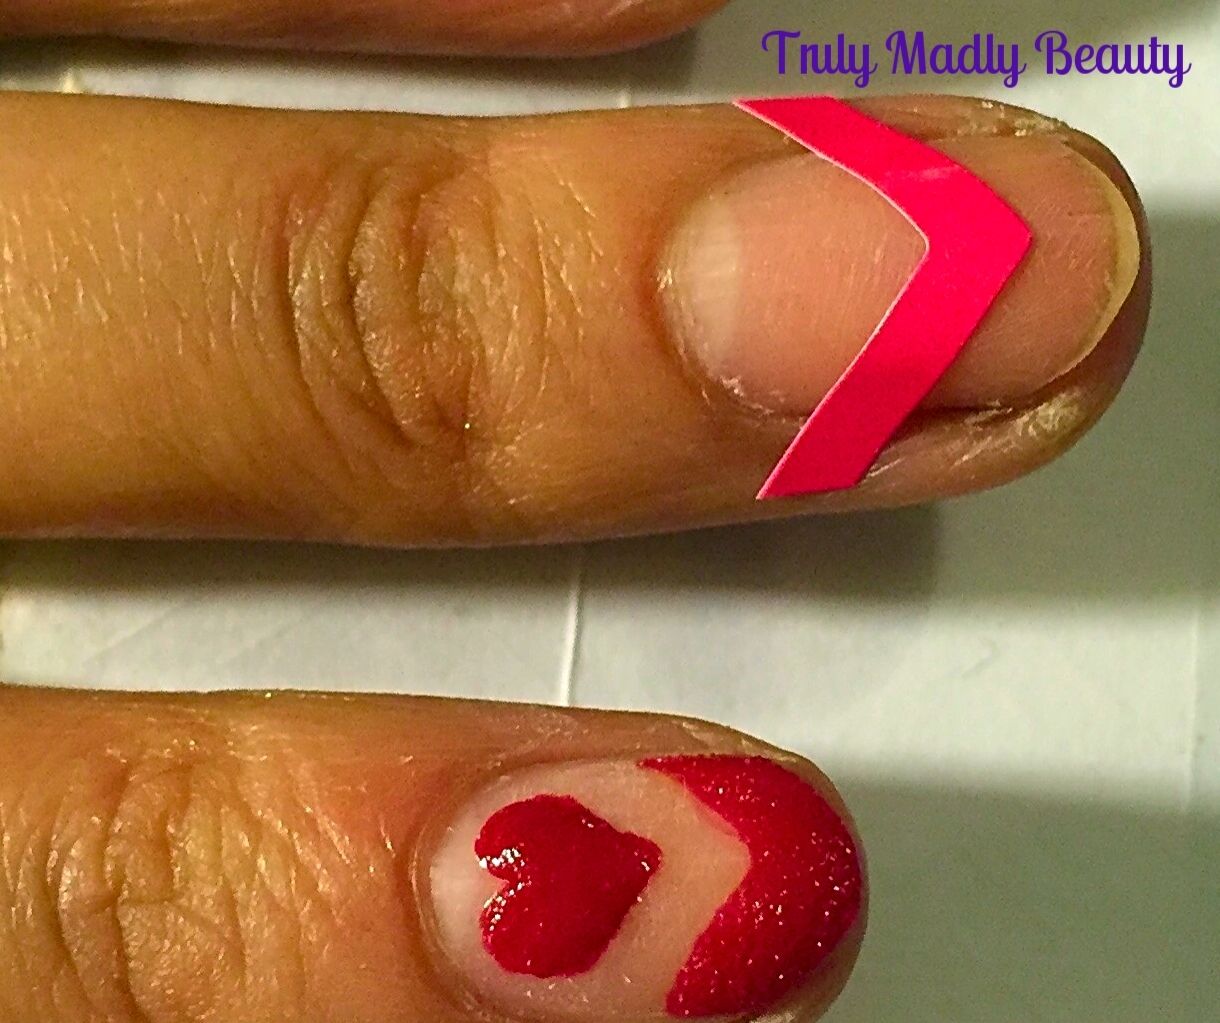
Position your guide about 3/4 of the way on the nail, depending on how thick you want your french edge. As I currently have small nubbins I position my guides a bit further down to give the illusion of tips, WHY OH WHY DO YOU KEEP BREAKING NAILS?! I'VE BEEN GOOD TO YOOOOOUUUU!!! ....*cough*....Apologies...my current nail length state is a sensitive subject at the moment...


Start with drawing your heart. Using a fine nail art brush, dip into your polish & free hand two curved line next to each other creating the top of your heart. You can see how the guide helps with the shaping of your heart.


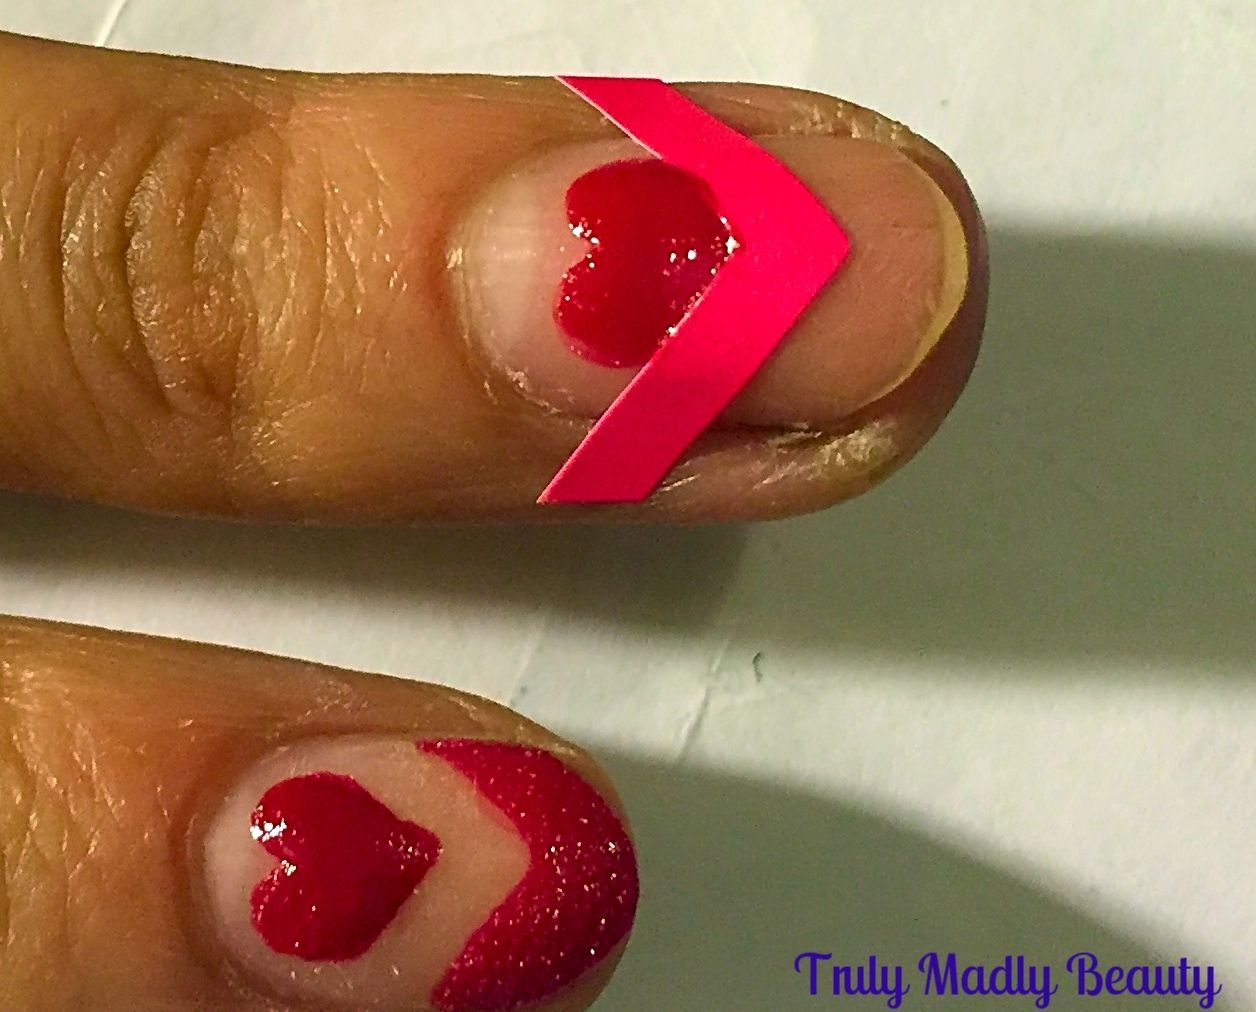
Then using the brush from the polish, apply the polish to the tips. Its good to use a thick opaque shade for negative space mani's like this as ideally you only want to apply one coat.


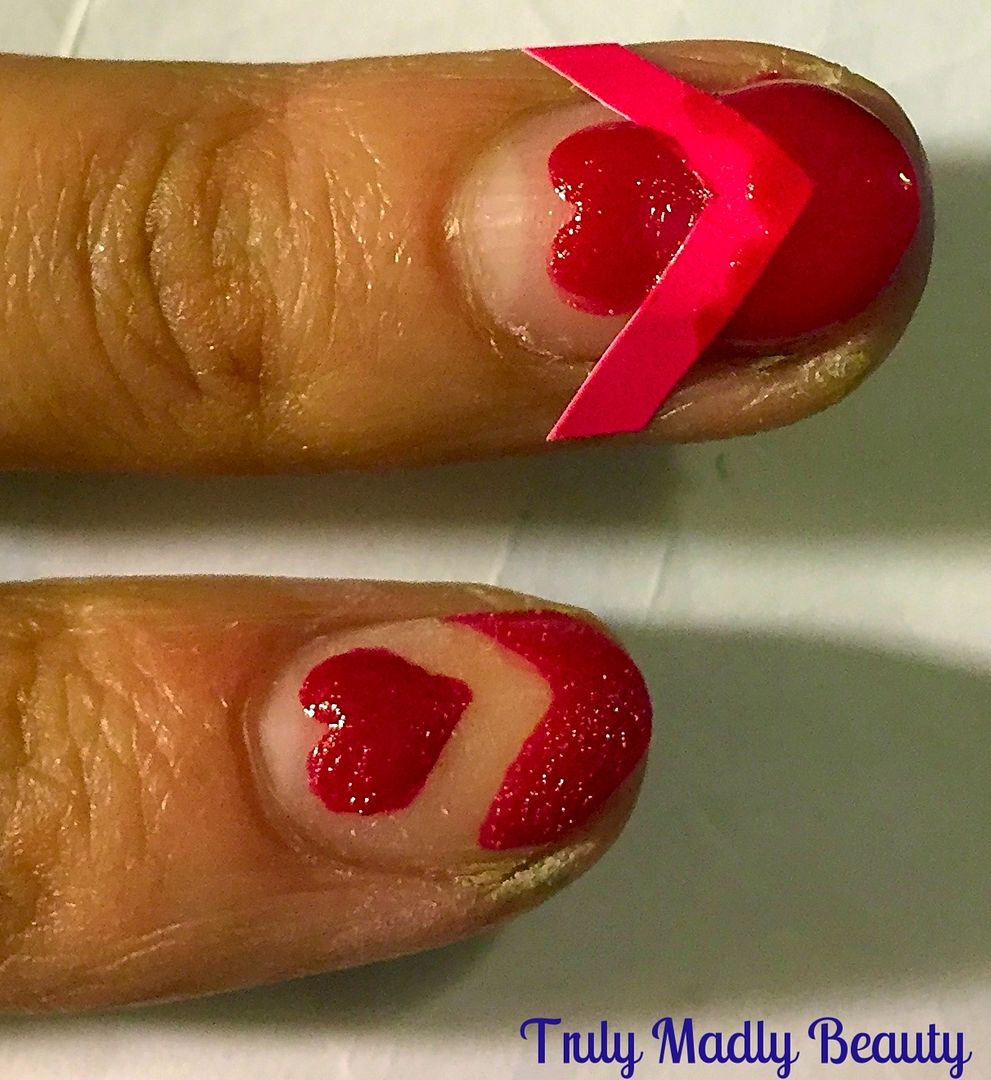
Once you've applied your polish to the tips, immediately remove the guide, with a pair of tweezers if you have some just to make it a tad easier, whilst the polish is still wet.
Once removed you have your floating heart & french tip! 

Don't worry if some polish has smudged whilst removing your guides, I always do a bit of clean up at this point with my brush & acetone, going along the lines so that the edges are sharp & clean.


I also went over the floating heart once more to get a stronger colour pay off as well as making the bottom point & edges a bit more curved & neater.

I still felt it missing something, so whenever this happens I reach for MAH GLITTAH! Using some glitter red polish I applied some sparkle to the inner edge of the tips. This is of course an optional step.


Because I wanted a super glossy finish & not the textured effect, though to be honest I actually quite liked that too,  I went over the mani with two thick coats of topcoat to get that sheen. 

And thats it! Hope you liked the floating hearts valentines nails lovelies! Thanks as always for reading! 

Lotsa love to ya!


2.09.2016

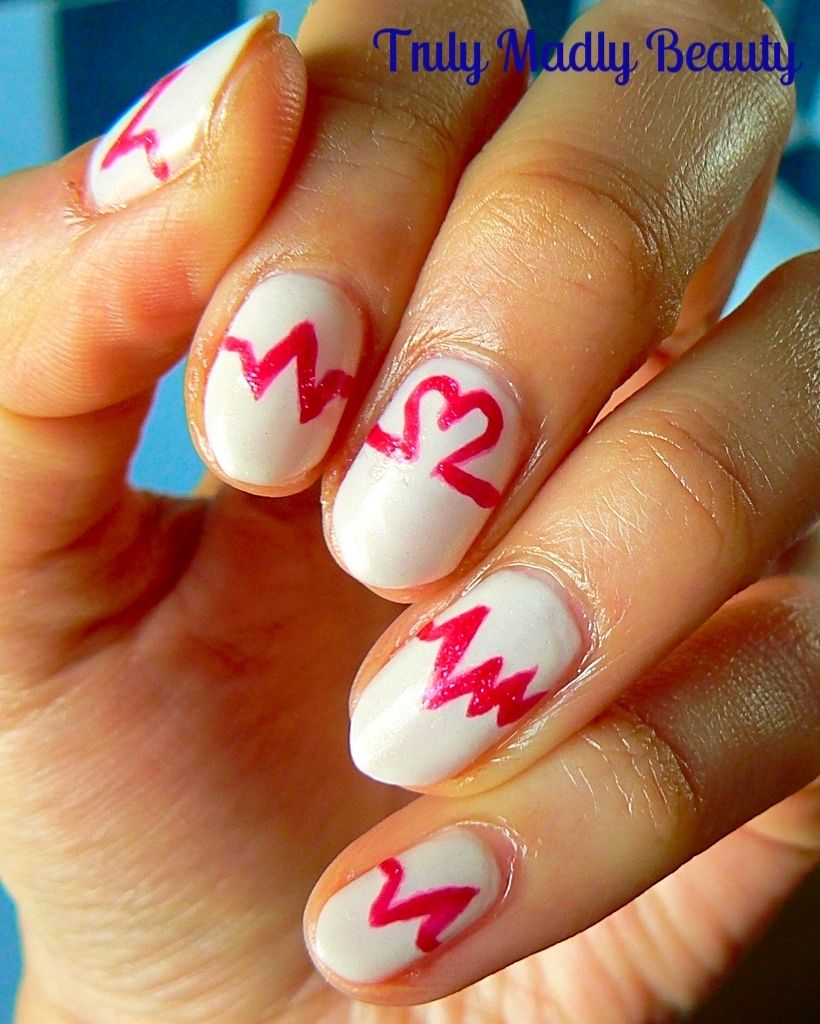
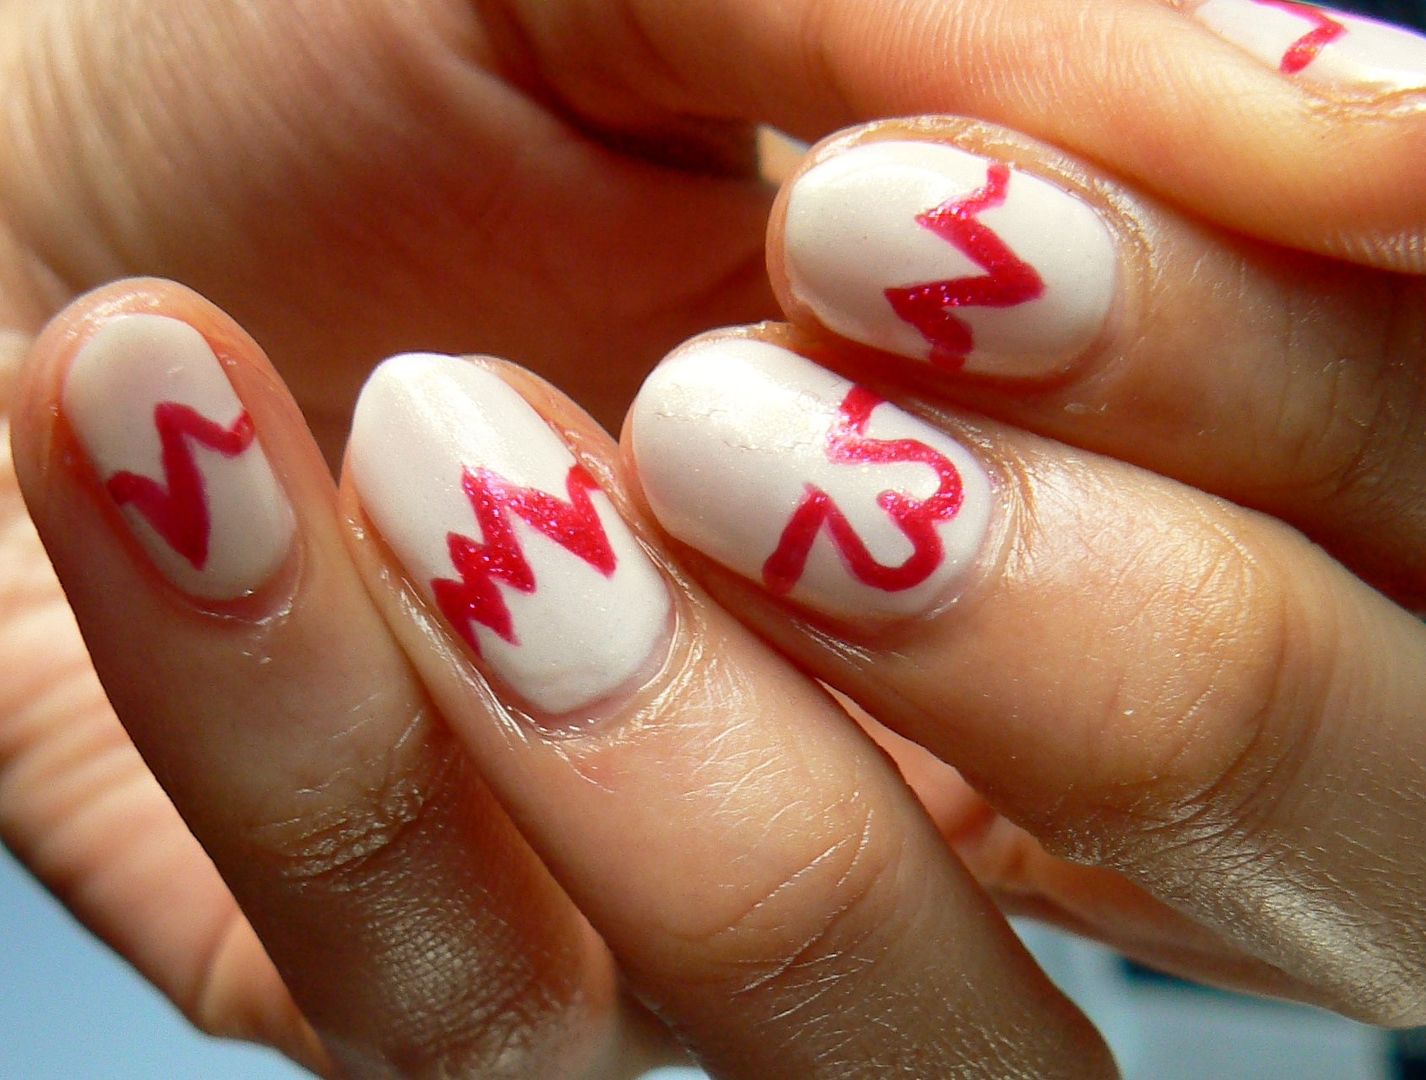
NOTD -Valentines Inspired Heartbeat Nails!

Hello there lovely readers!

So Valentines is around the corner aka the perfect excuse to reach for those pretty pinks & reds in particular to help romance up those nails which I can never resist doing as I always love an excuse to play around with nail art :) You can see some of the Valentines themed mani's I've done in the past HERE if you're looking or a wee bit of inspo. Today I have for you some skip a beat, Heartbeat Nails!


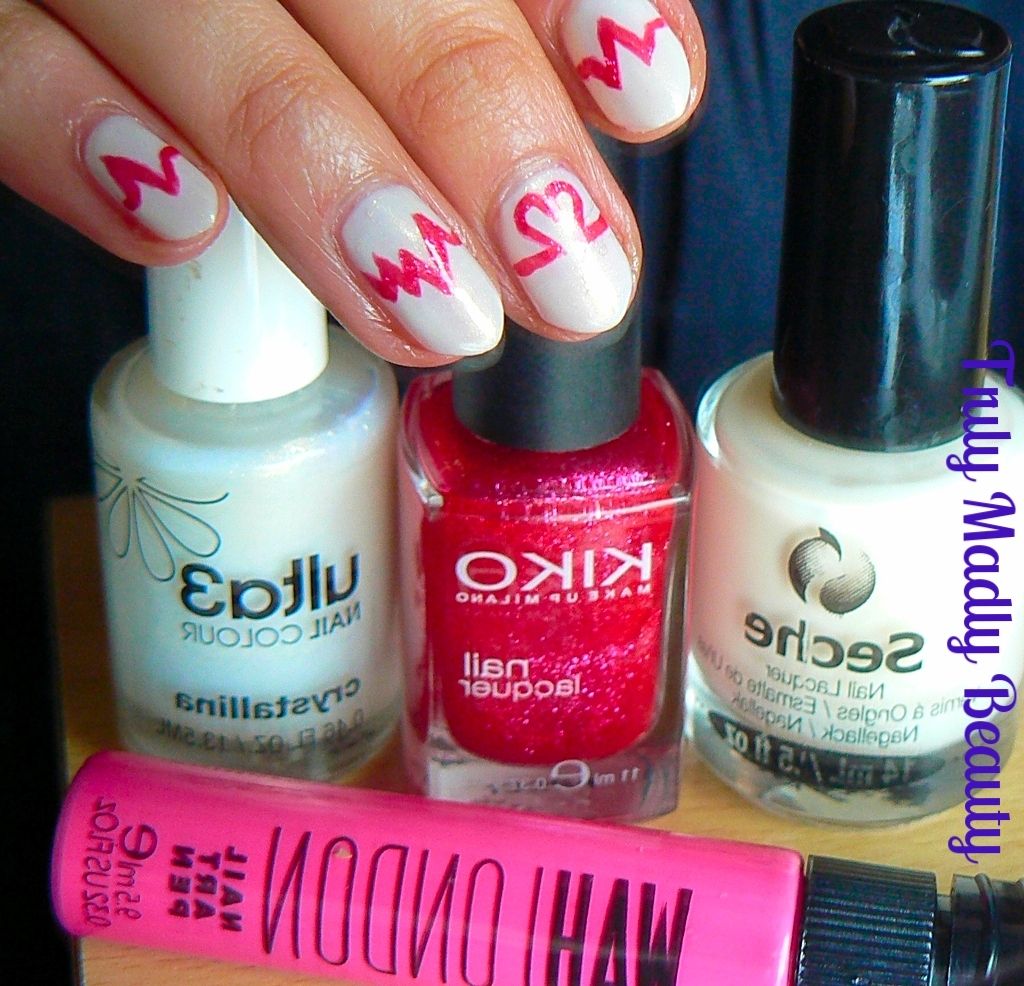
A bit different eh? I wanted my heartbeat design to stand out so opted for a nude coloured base but you can of course totally have a play around with whichever colours you like!


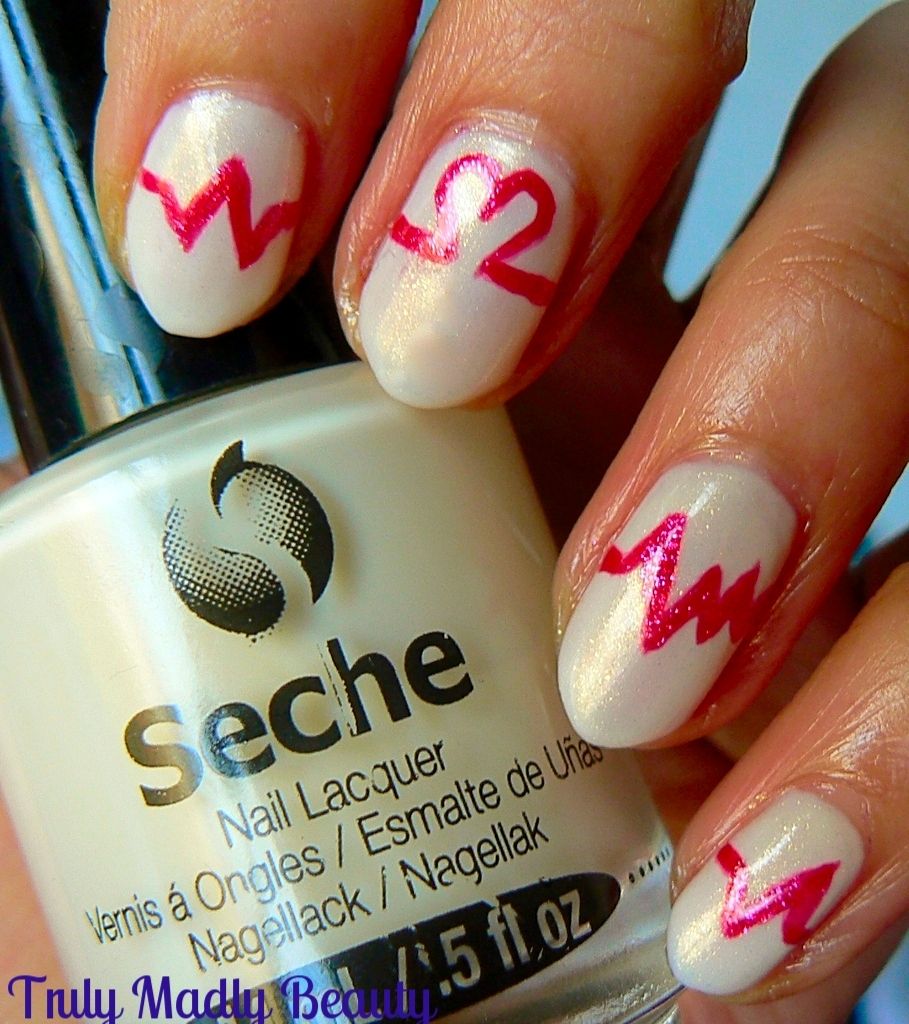
To start off I applied two coats of this Seche Vite Blanc II, a soft creamy beige, not the most mind blowing in quality or colour, simply the first nude polish that was within reach at the time haha! The first coat was a tad streaky, but managed to smooth out in the second coat.


I then decided to add a coat of Ulta3 Crystallina to just jazz it up a tad. I love adding this pretty ethereal holo white on top of ordinary shades to give them a pretty iridescent pixie like glow!


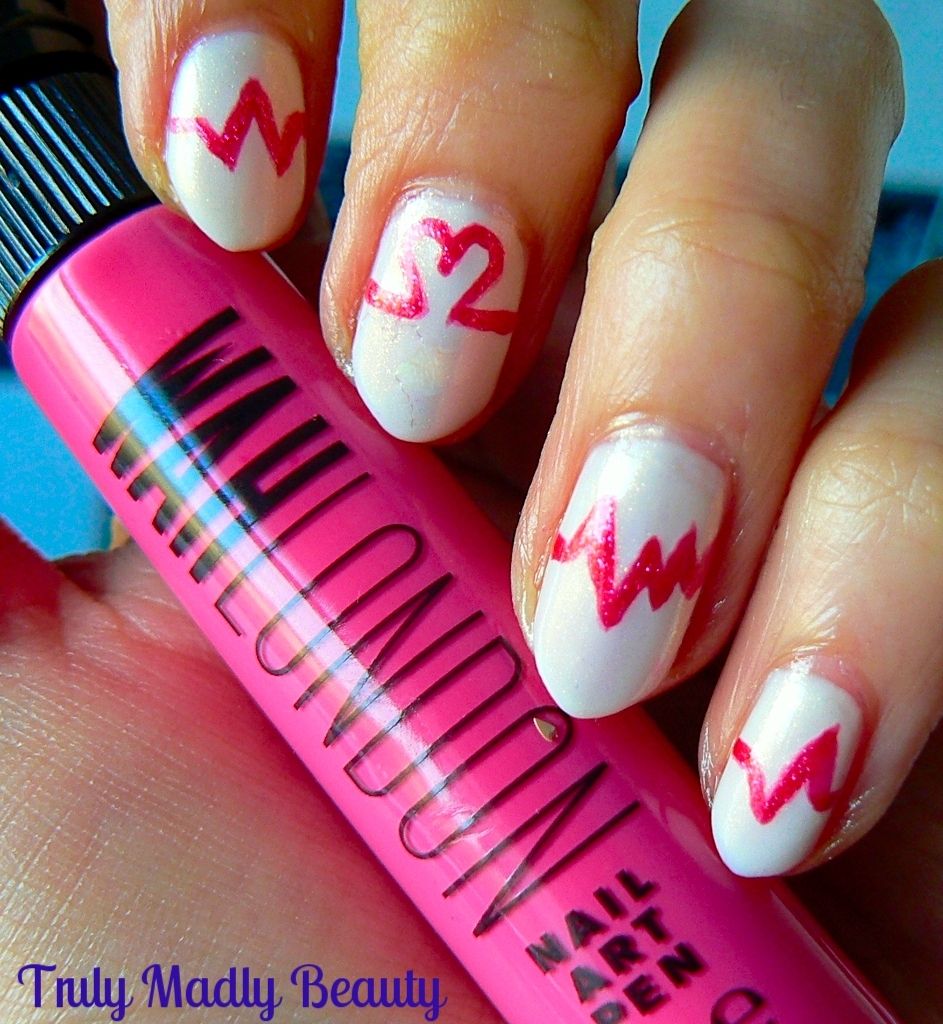
Next for my heartbeat line I decided to first draw the design using the nib end of my WAH London nail art pen in a hot pink shade as this allows you to draw much finer lines than what could be achieved with a brush.


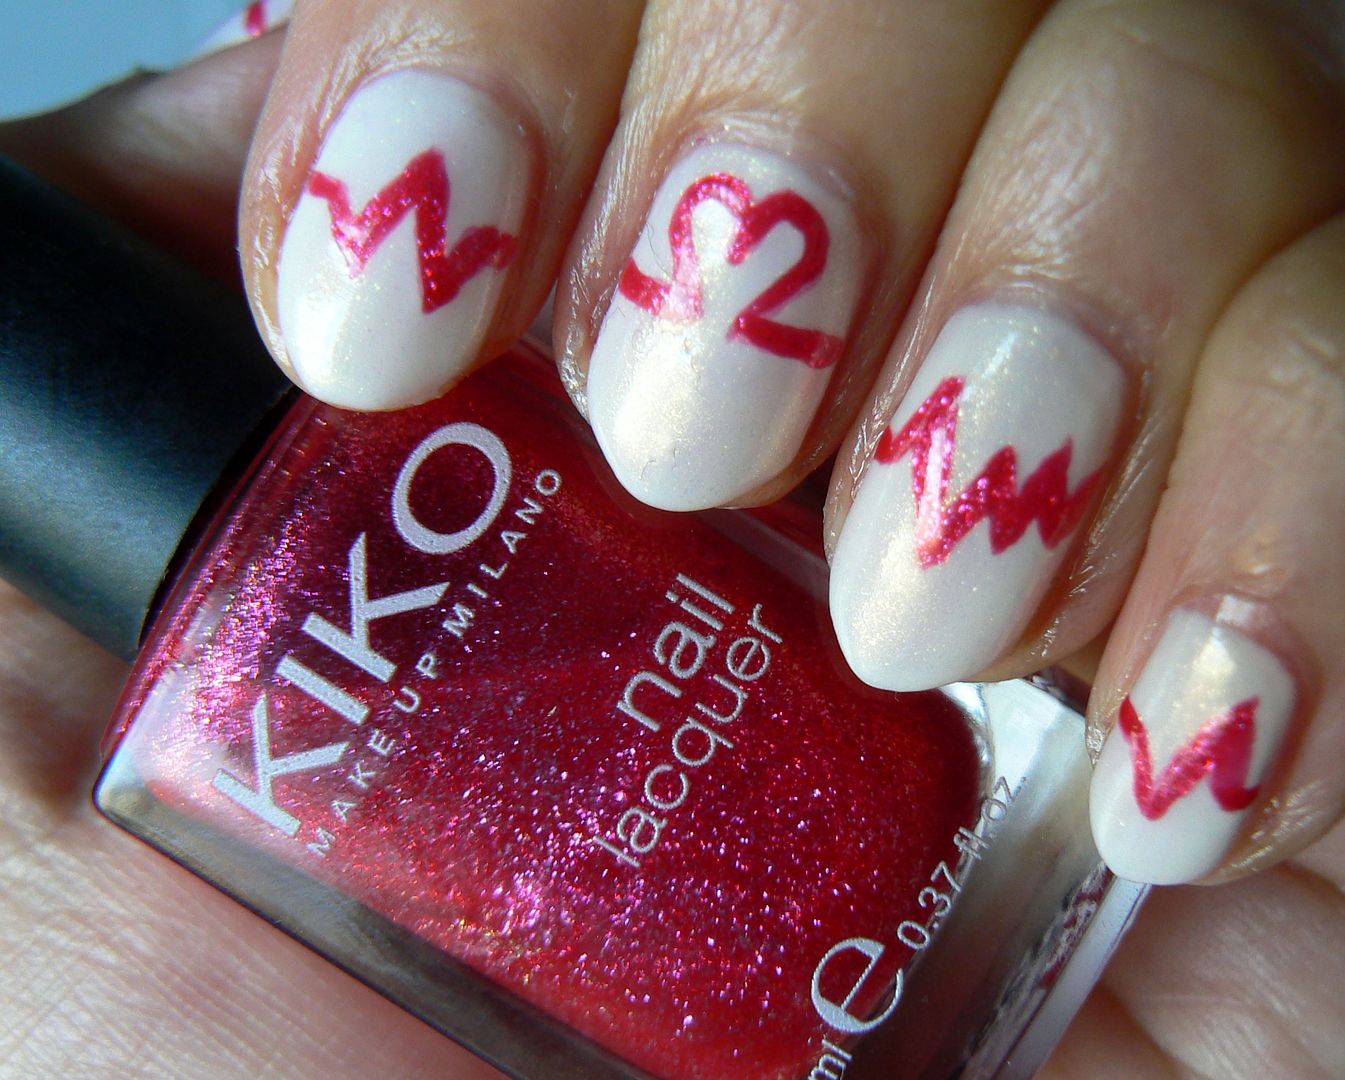
To do the design just apply the polish across the middle of each nail with your nib, starting with a straight(ish!) line, adding some up & down zig zags along the way, not forgetting to do the heart shaped beat on the middle nail.


I wasn't satisfied with the level of pink so I decided to then go over the lines with this lovely KIKO hot pink glass fleck shade 277 with a fine brush, which gave the design a satisfying shimmer :)


Finish with a coat of topcoat and you're done!


I hope you liked these Valentines themed nails! Thanks as always for reading dolls!

Lotsa love to ya!


1.04.2016

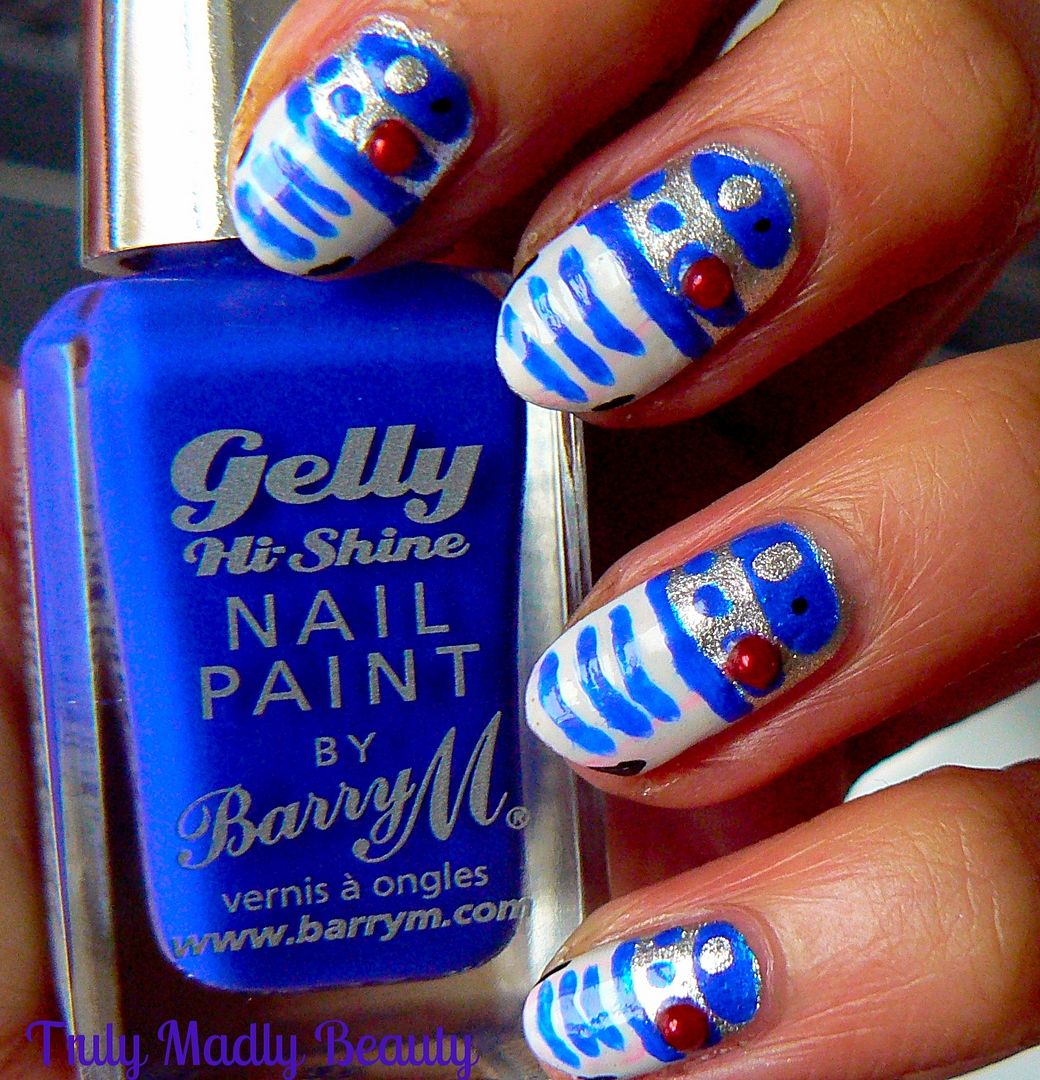
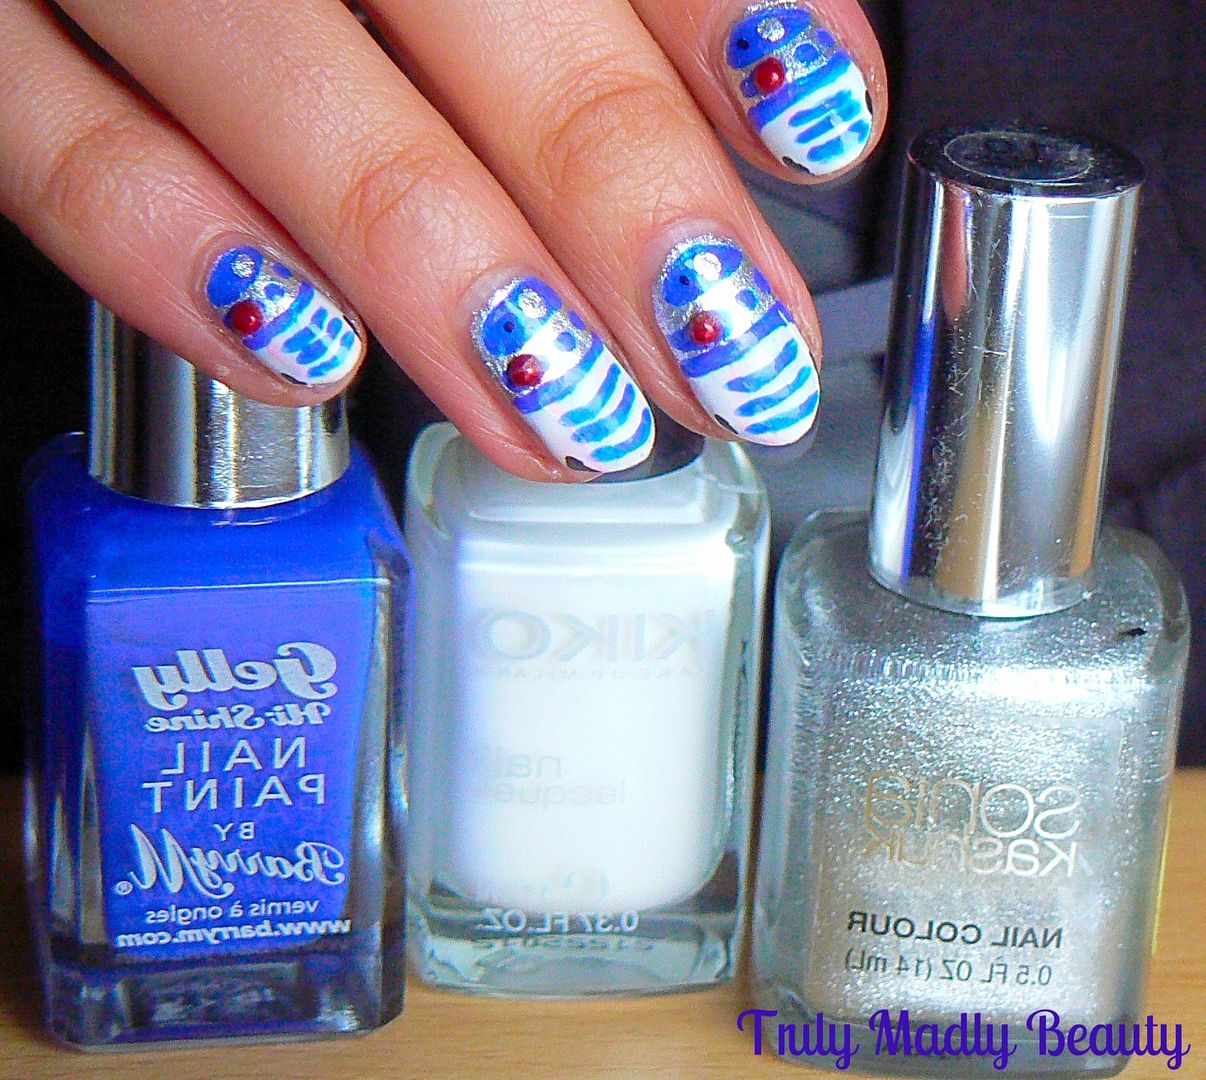
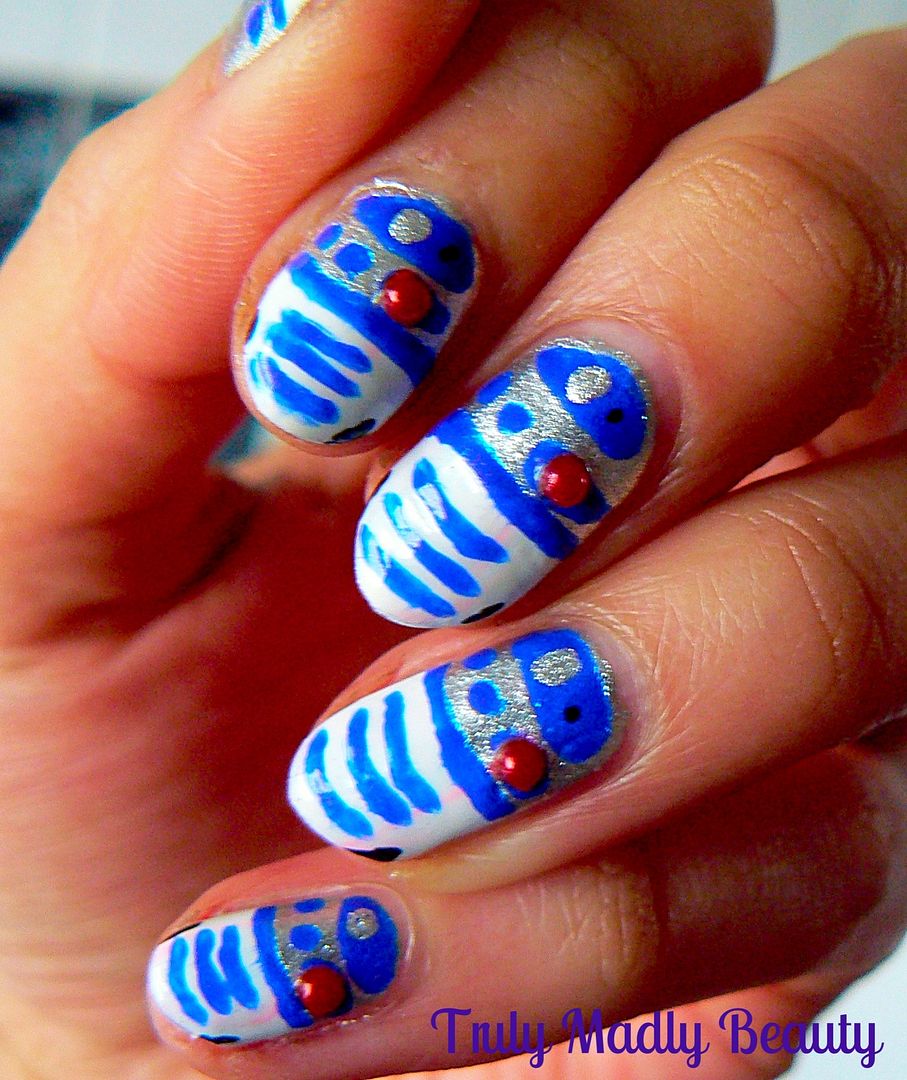
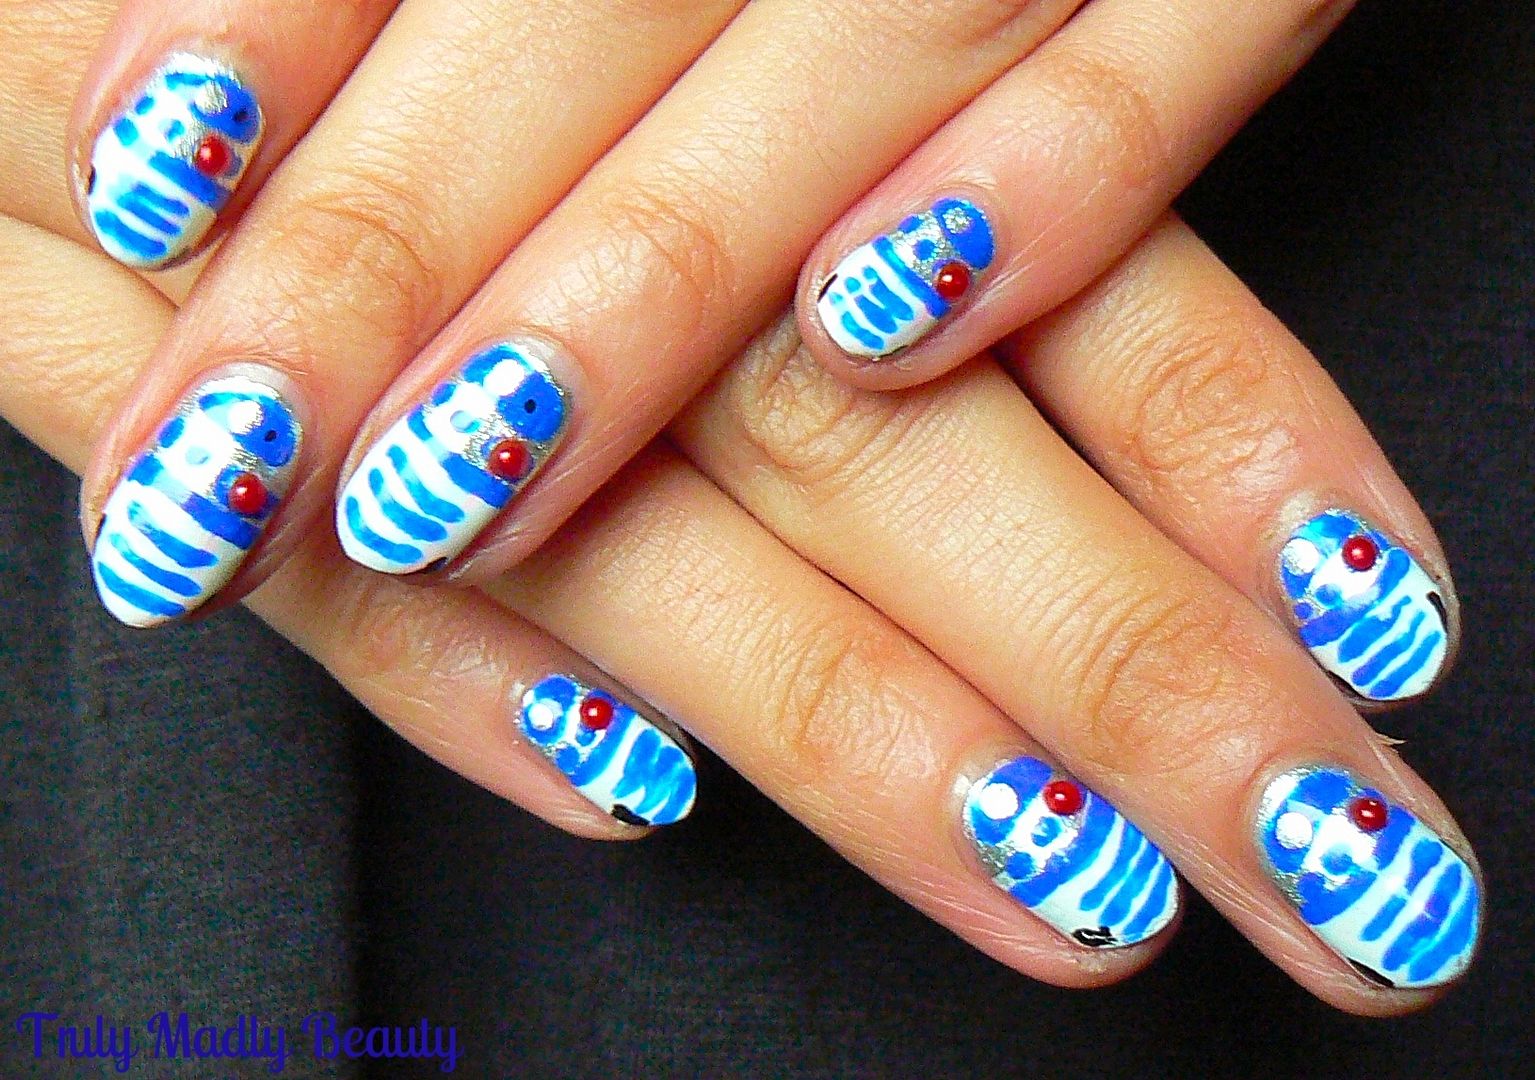
NOTD - Star Wars R2 D2 Nails!
Hello there lovely readers!

Last week was a momentous occasion as I finally went to see the new Star Wars film & it was simply...EVERYTHING. When I heard that J J Abrams had taken the helm & would be directing the movies I knew that Star Wars would be in good hands & he did not disappoint! The new film exceeded all hopes & expectations, succeeding in erasing the disastrous tragedies that were Episodes 1,2 & 3 from memory...lets just pretend they never happened. Now I know what my papa bear went through all those years ago when the original films came out, it will be hard to wait patiently for the next instalment but I cannot wait!


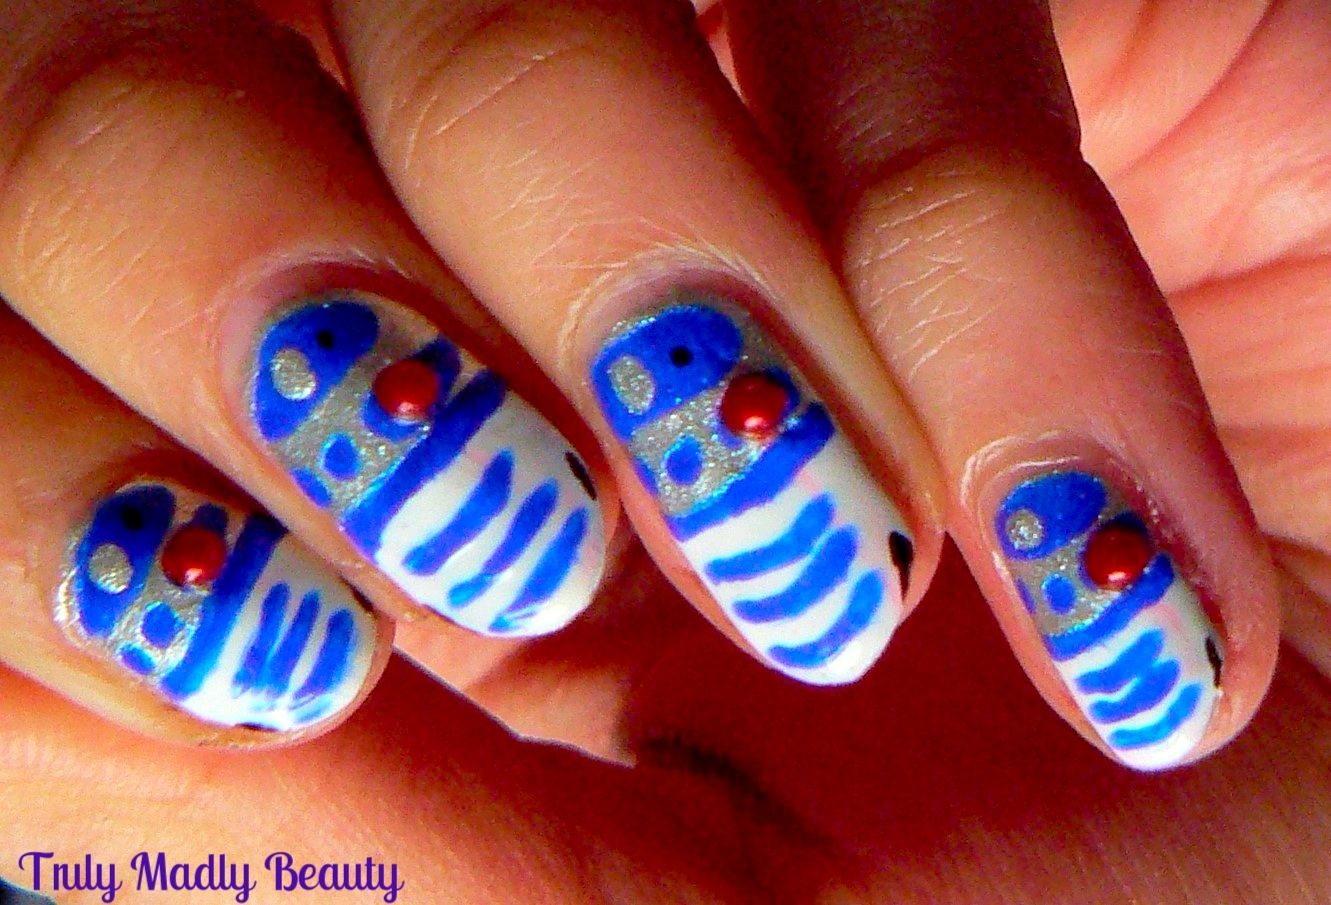
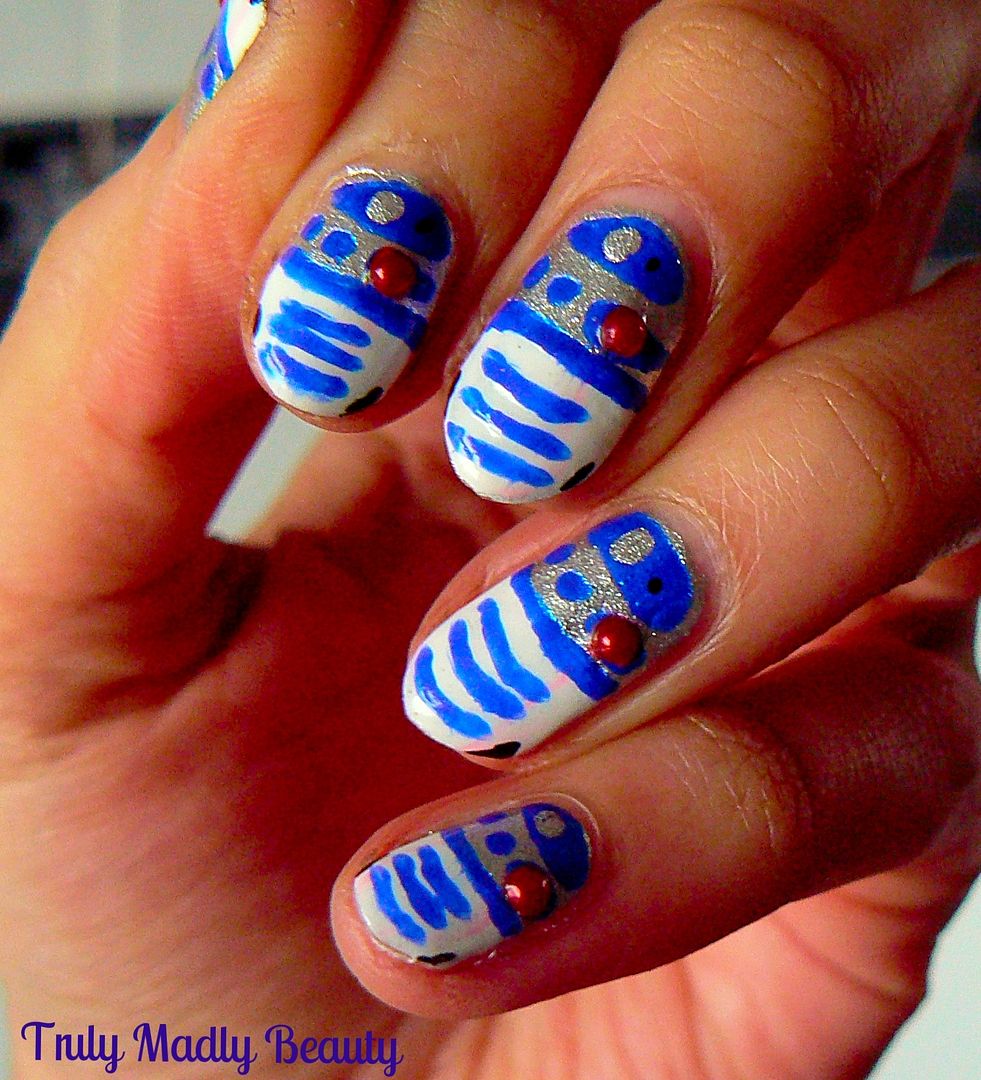
Inevitably I couldn't resist embodying this magical sci fi world that first fascinated me as a child on to my nails in some way or other & the first thing that came to my mind was everyone's favourite wee droid (though he may have some serious competition in the new film!) R2 D2!


After having had a closer look at all the detail involved on this little droid I did wonder what I had let myself in for, but I'm nothing if not determined, especially when it comes to a nail art challenge! So grabbing the shades required I got to recreating R2 D2 as best I could in nail form.


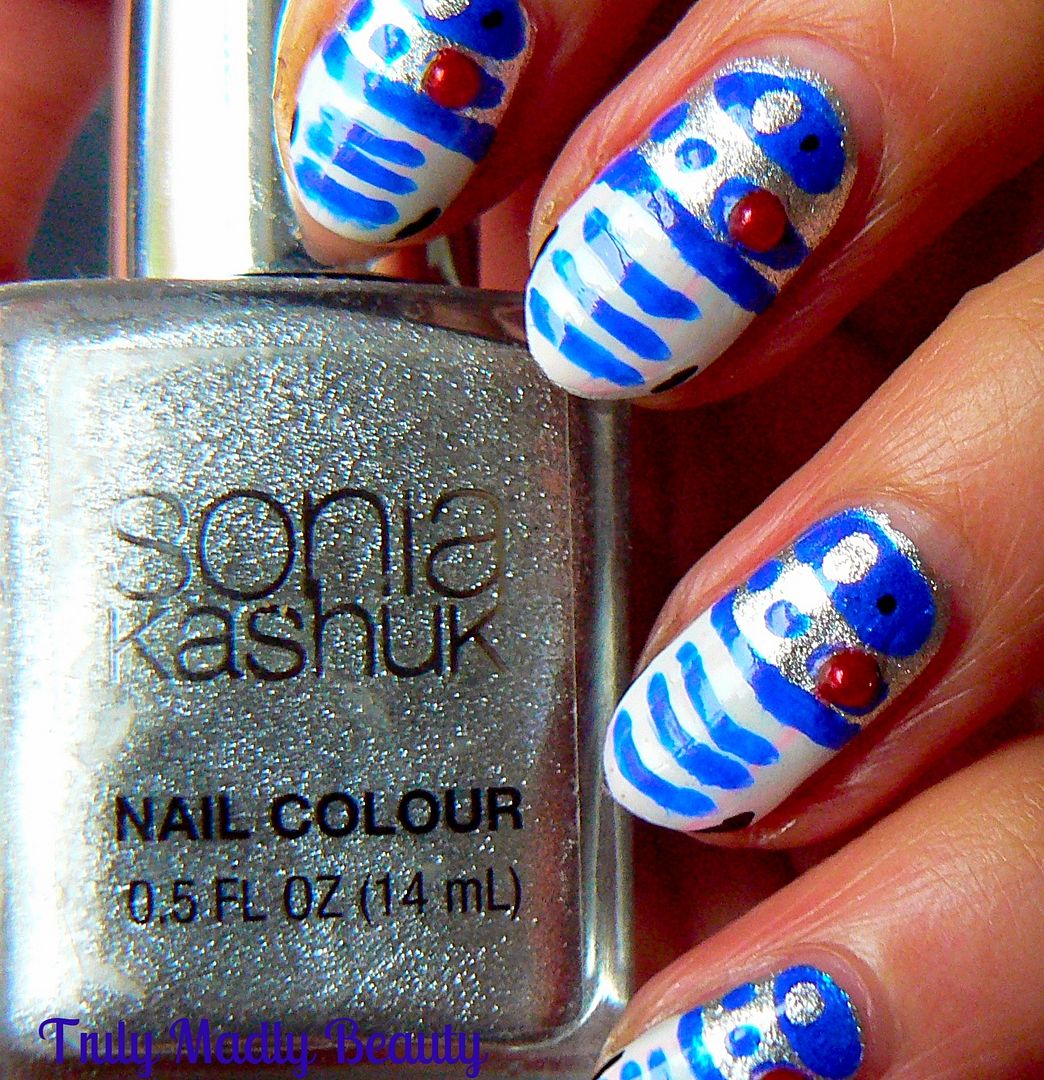
First step is to start with a silver base, I've used one coat of Sonia Kashuk Smoke & Mirrors, one of my favourite silvers as its so metallic & opaque.


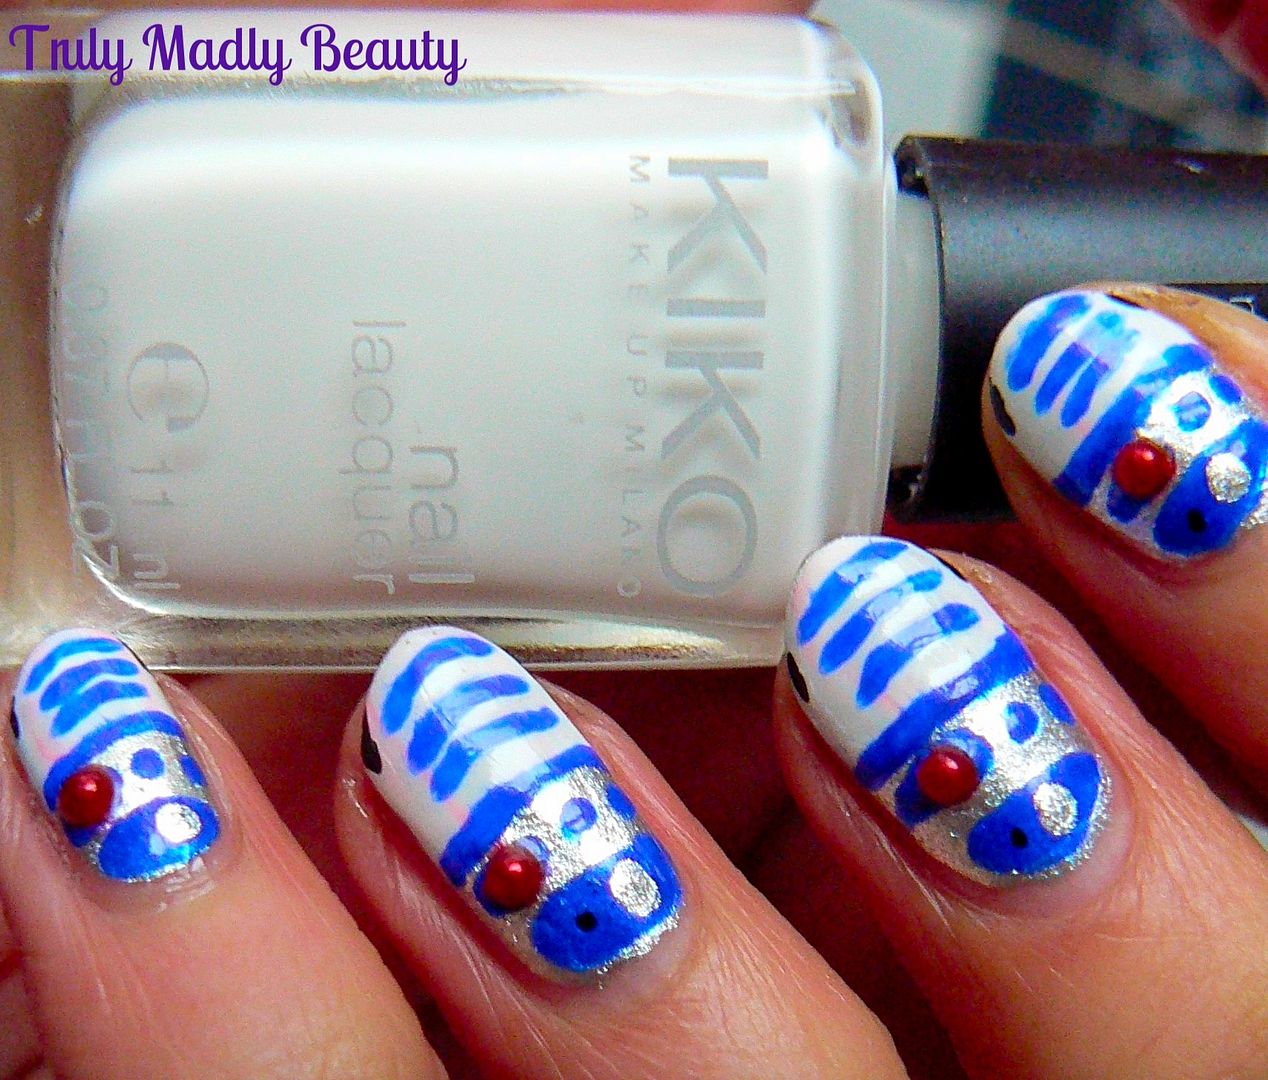
Then using Kiko white nail lacquer for French Tips which has a fine brush perfect for nail art, I applied the white on to the bottom half of the nail.


Next up are the blue details for which I used Barry M Gelly in Blue Grape which is the perfect R2 D2 blue! Using a fine nail art brush I free handed on all the little droid details, so three small lines along the white body, one long line along the width of the nail in the middle, a row of small squares above that, before finishing with a roundish semi circle on top.


Grabbing the silver polish again, add a large dot on to the large blue semi circle, with a smaller black dot next to it. Then still using the black add on a couple of small lines on the tips of the nails for R2's legs.


Finally I stuck on a red stud for R2'S little light before sealing it all with topcoat to finish. Though I very nearly ruined everything as I didn't realise that the colour from the stone would drag when topcoat was applied! Lets just say thumb R2D2 had a distinct red tint to him O_O Topcoat was applied with a bit more care on the other nails...


Thanks for reading as always, I hope you liked the R2 D2 nails! I've got a couple more Star Wars themed nail art ideas floating around in the ol noggin, including The Force Awakens new little star droid so stay tuned my fellow sci fi lovers!

Lots of love to you!


10.28.2015

Halloween Nails - Skeleton Rib cages!

Hello there my lovely readers!

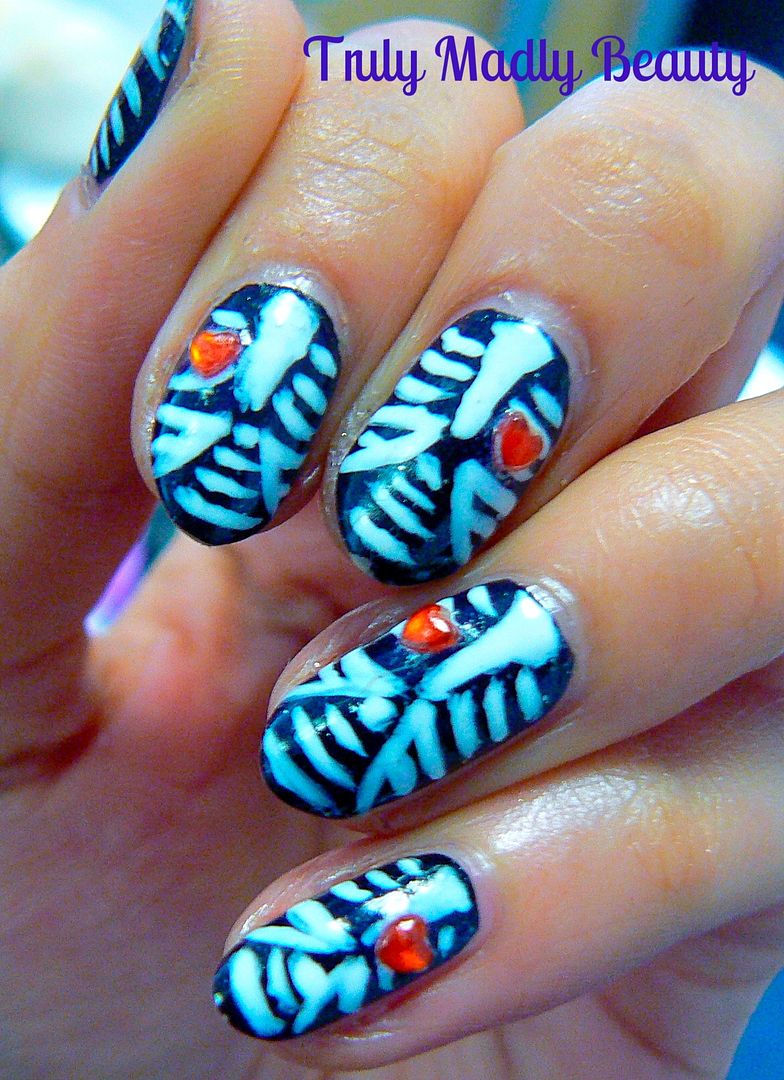
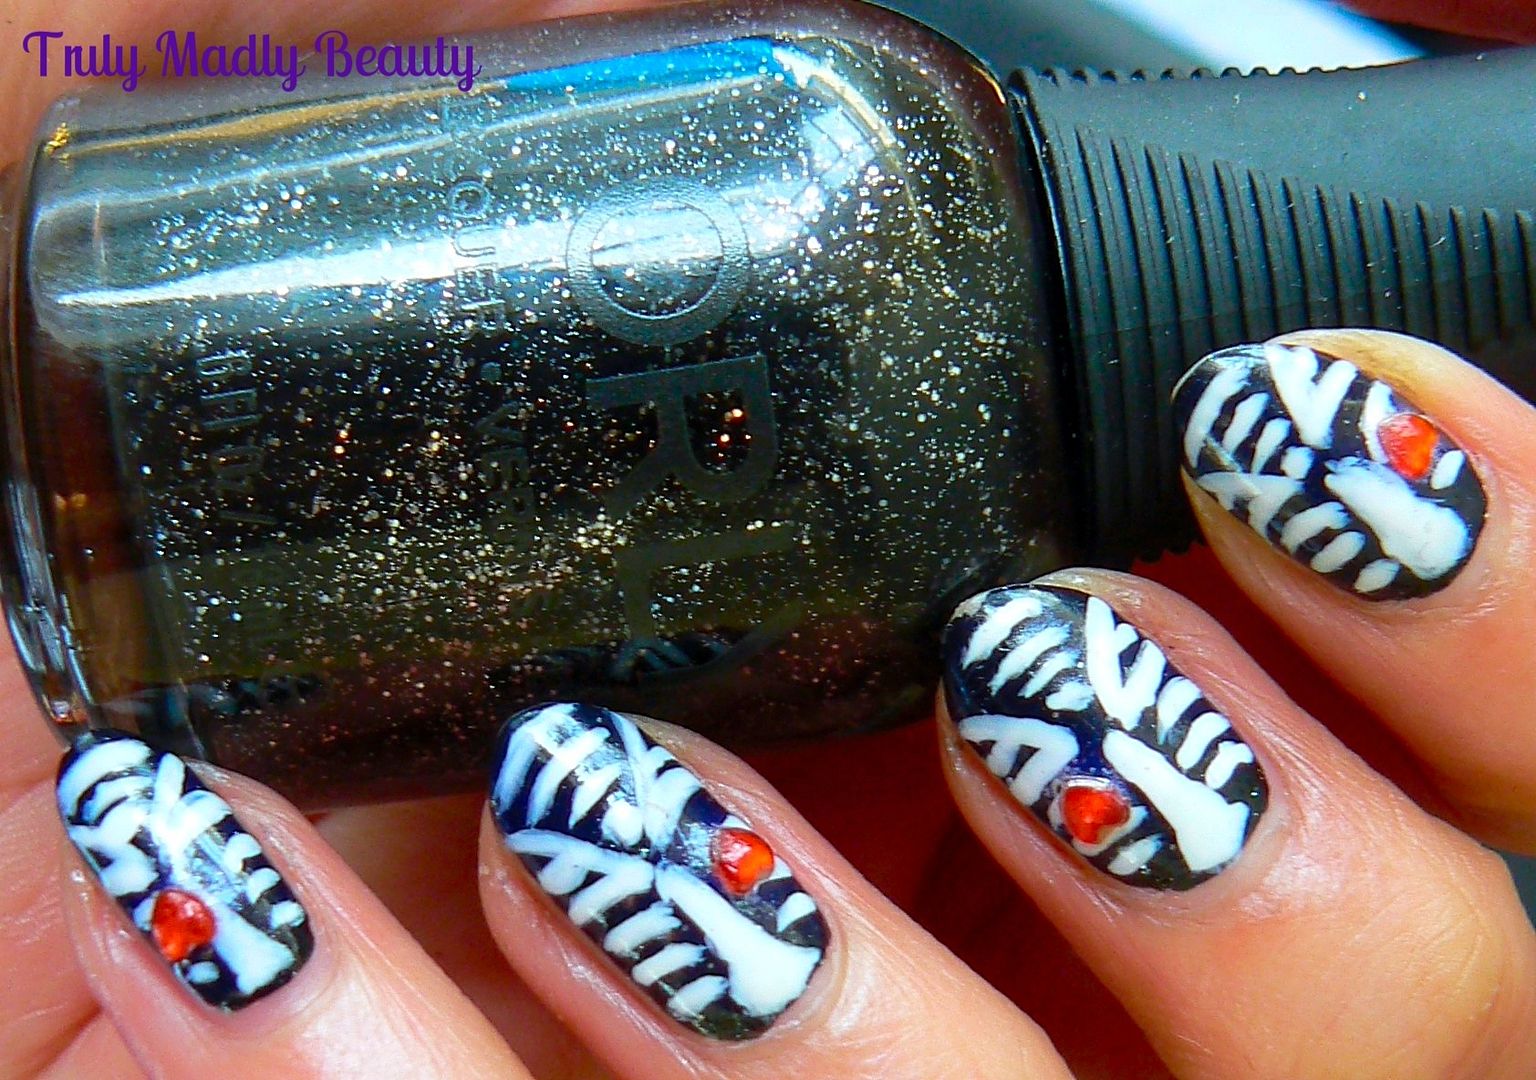
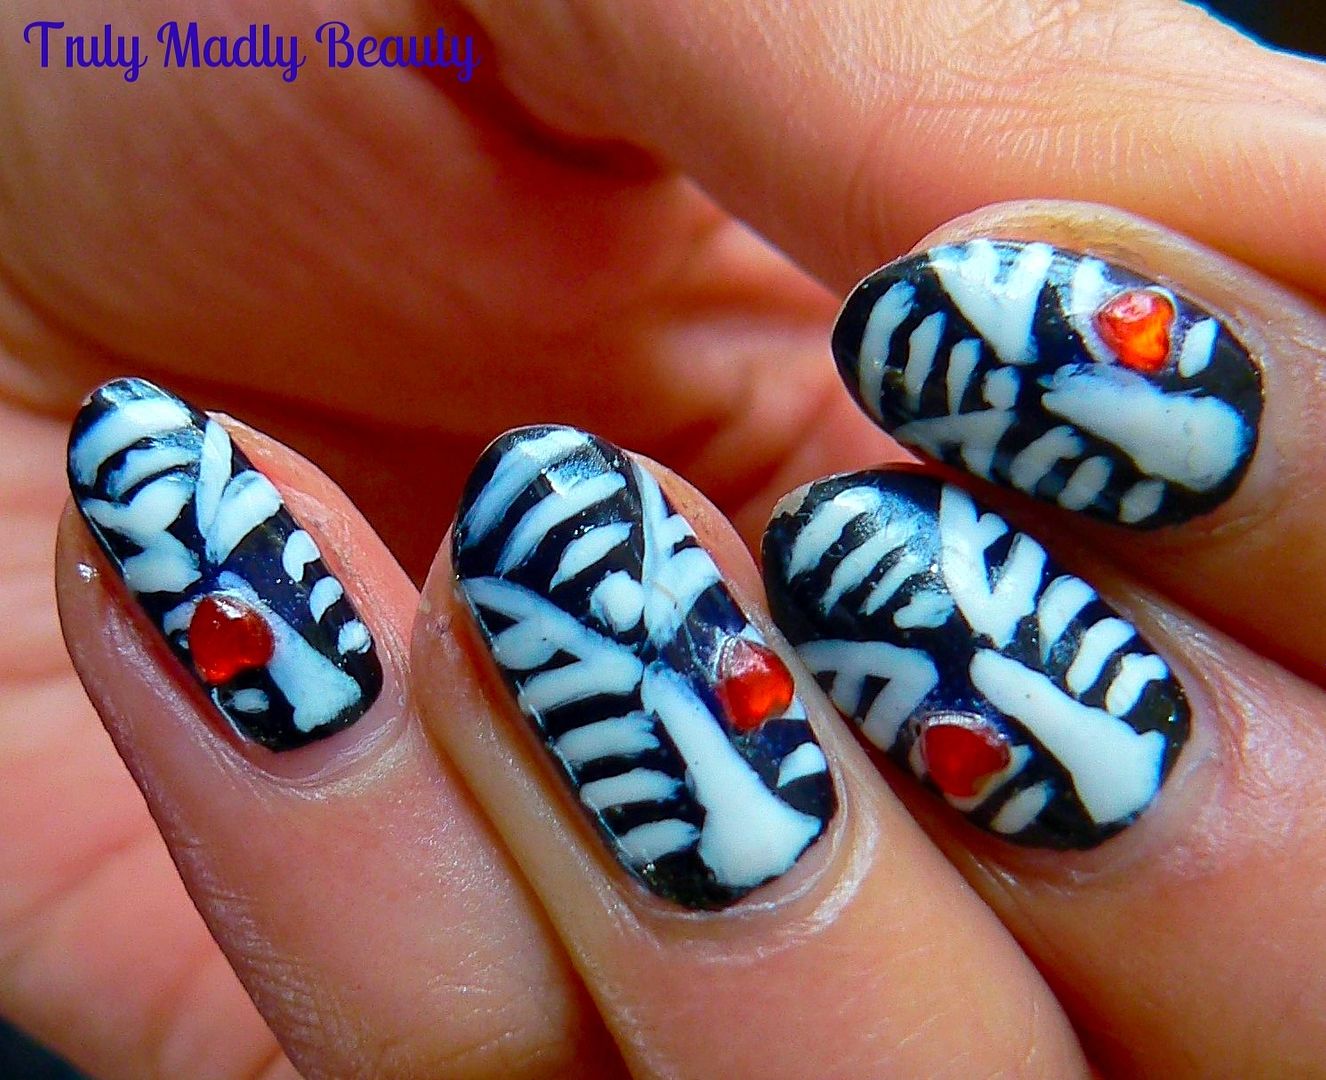
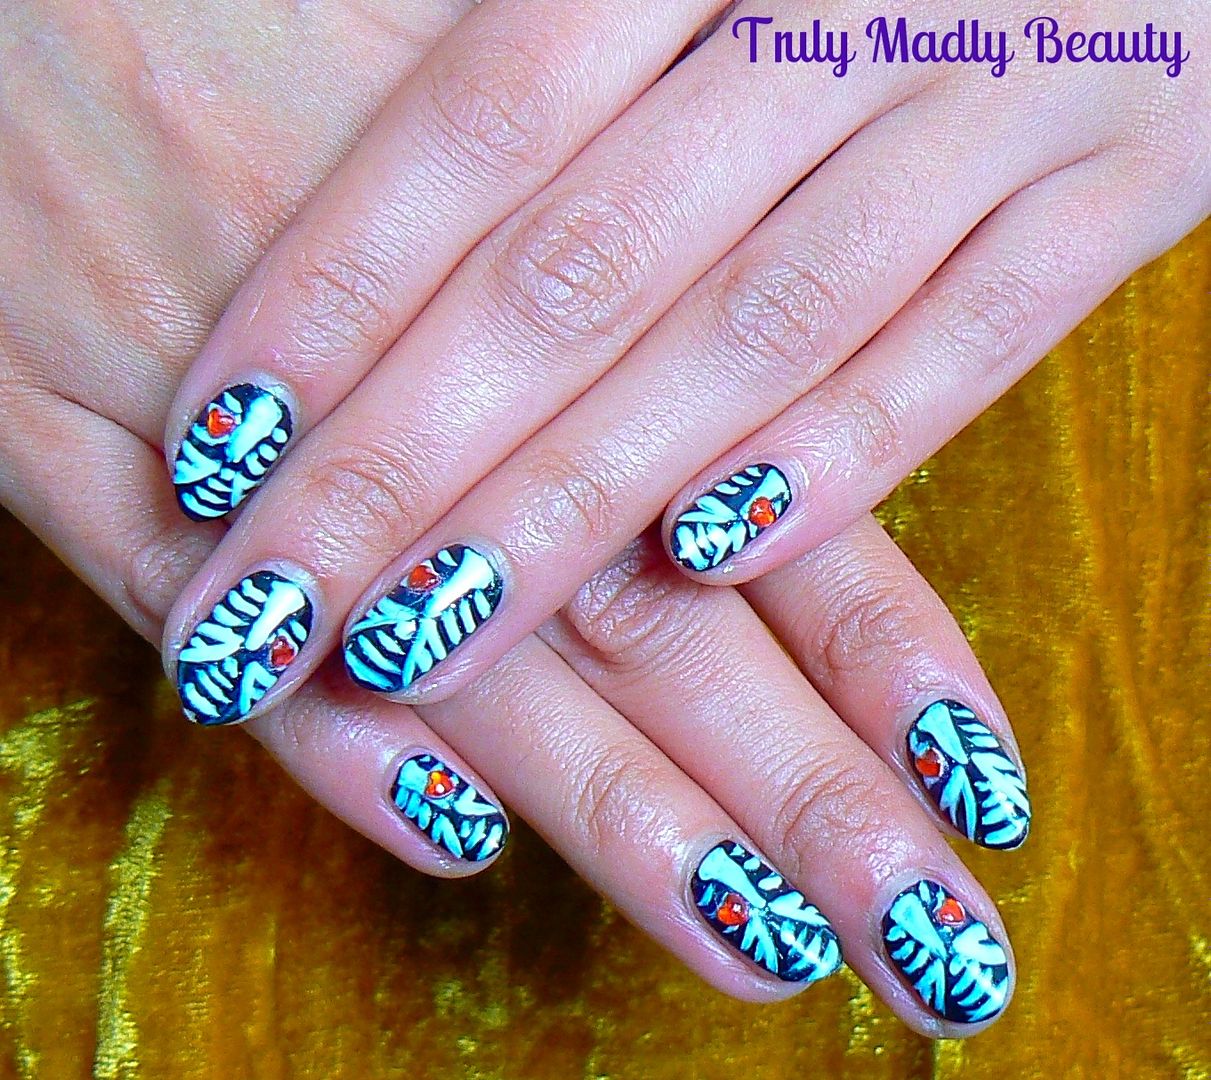
Squeezing in one last Halloween manicure to complete the series for this year! I hope you've enjoyed the Toxic Slime &Tombstones, Dripping Blood Tips, Jack O Lantern Pumpkins & Cartoon Stitched Hearts to help inspire you to get ghoulish on your talons! If you're looking for some gorgeously Gothic jewellery to rock this Halloween with those nails as well then do check out my previous post featuring The Rogue & Wolf. For my final Halloween mani I went for some skeleton rib cages with jewelled hearts.


To start you need a black base, here I've used two coats of the Orly Gothic again that HQ Hair kindly sent me recently & which I used in my Jack O Lantern nails. With the name & shade such as it is its just the perfect Halloween polish!


Then to create your rib cages you need white polish & a thin brush. I've used this fantastic KIKO french manicure polish, I've dug this out so many times for nail art as it comes with a tiny brush, great for detail! You can use a nail art pen as well.


To start creating the rib cage first draw on a screw like shape in the centre for the spinal cord...Then add on the hip bones by drawing two curved side V like shapes from the bottom of the spine...


Starting small, draw on the pelvis bones (I think?) by applying curved lines from the bottom of the spine right to the tips of the nails 


Then finally for the ribcage, draw on your curved lines either side of the spine. I hope that all made sense! Whilst drawing these I totally had that bones connecting song that we were all taught in school in my head...which clearly was wasted on me... O_o


For a final touch I couldn't resist sticking on a red heart rhinestone on to each rib cage before sealing with topcoat!

Thanks as always for reading dolls! Have you gone ghoulish on your nails this year?

Lotsa love to ya!