
Hello
there lovely readers!
So
I'm currently completely obsessed with one form of nail art - dry
marbling. I can't seem to get enough of it at the moment! What I love
the most is that its fun, easy to do plus it doesn't bring about a
panic attack of epic proportions at the thought of doing which would
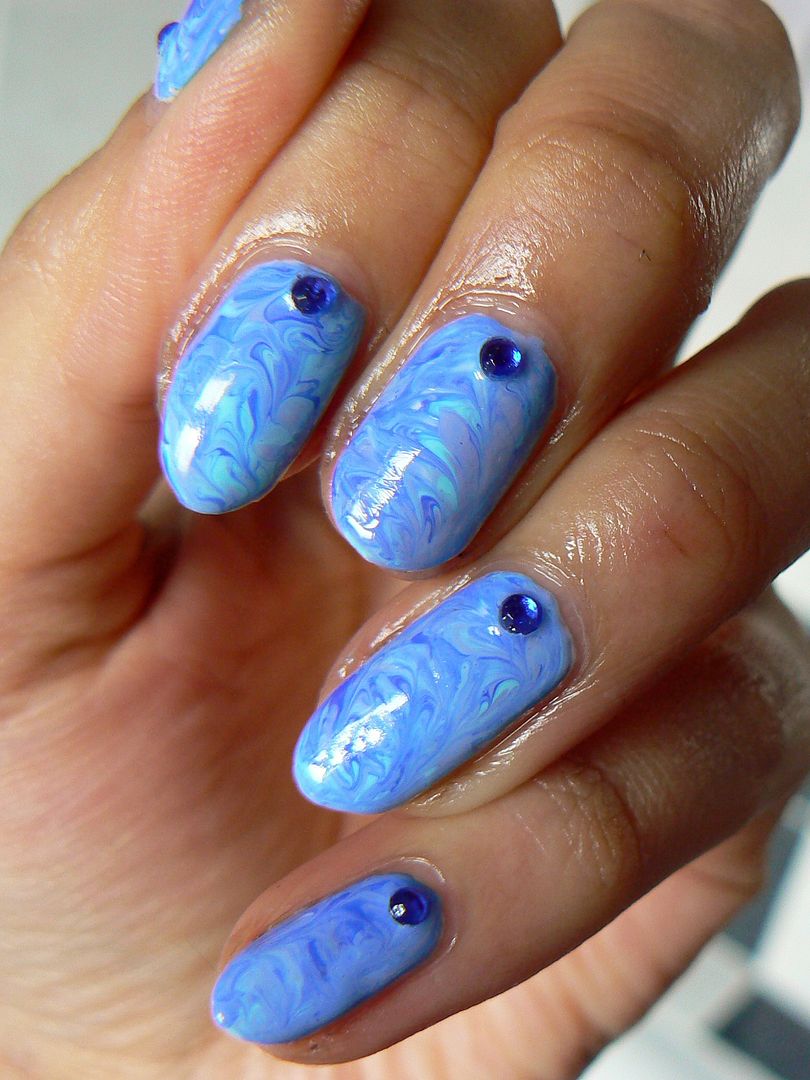
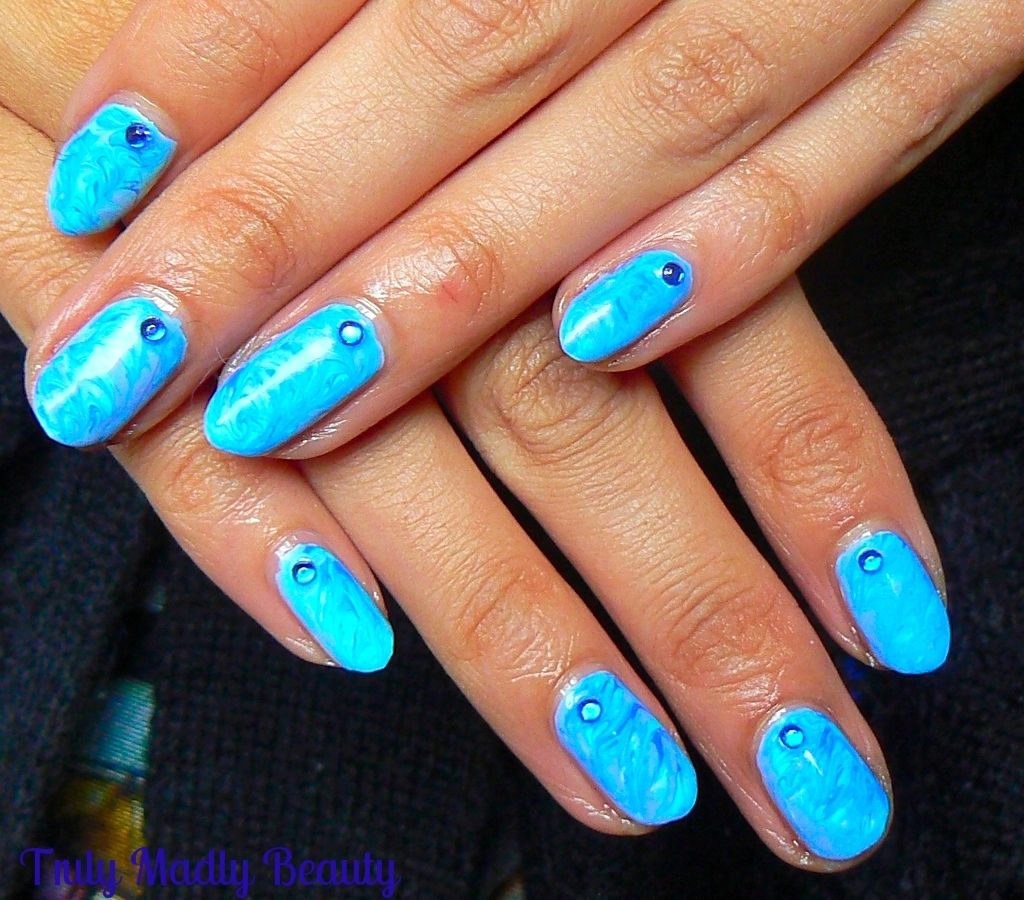
be the case if I even attempted water marbling O_O So today I have
for you these blue marble nails & I'm so chuffed with how they
came out, I predict many more marble nails in the near future!
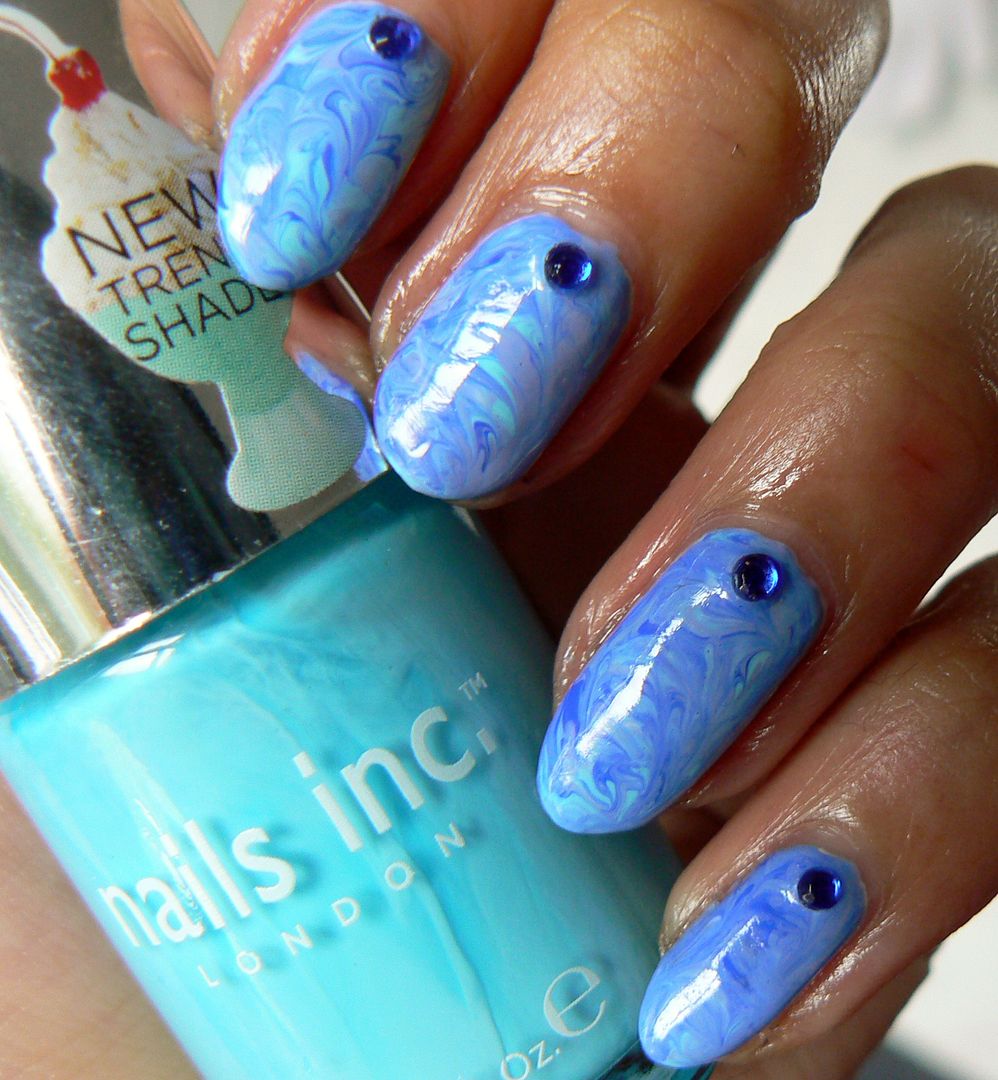
I
was in the mood for blue tones clearly & decided to reach for
Nails Inc to deliver on all three shades used, each one of them
equally as pretty as the other & which I thought went really
nicely together.
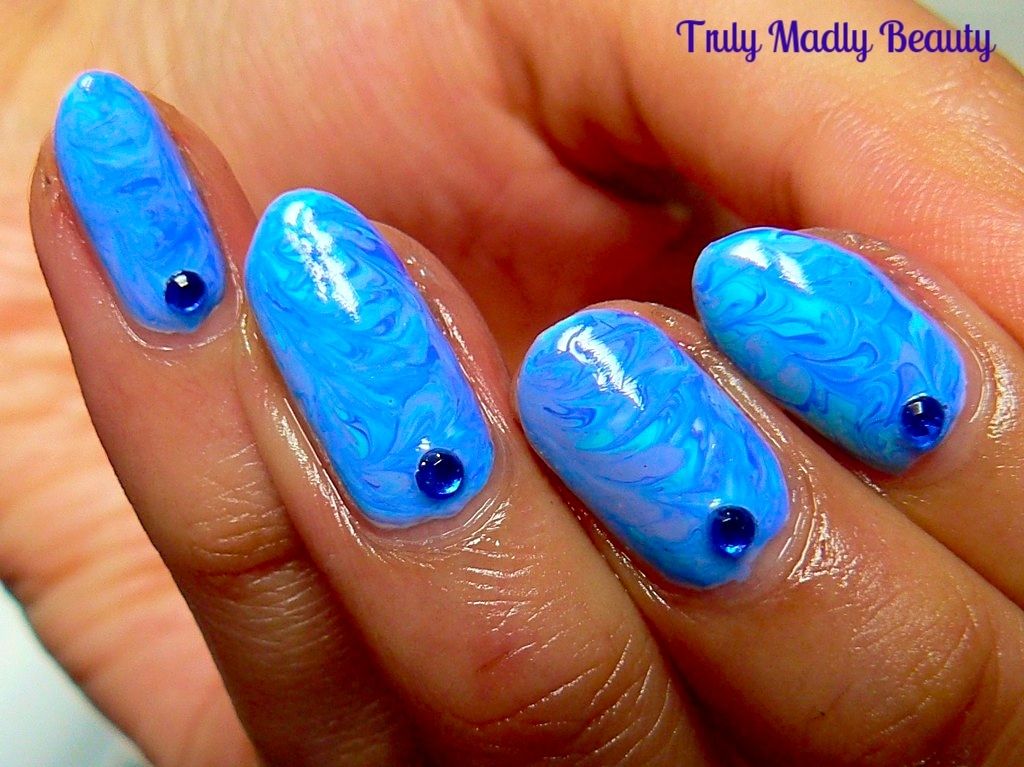
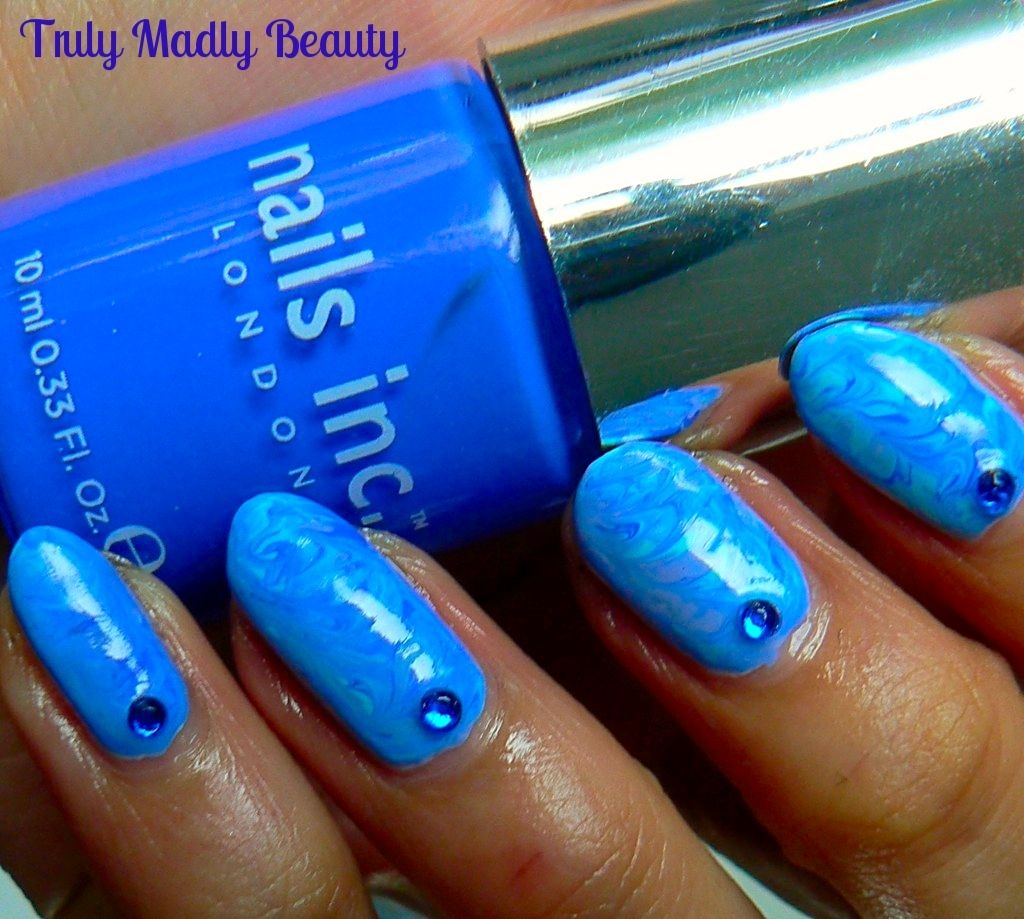
The
three shades I've used are Baker Street (Royal Blue), Royal
Botanical Gardens (Turquoise Blue) & Bluebell (Lavender Blue) all
lovely cream formulas. To create these marbled nails couldn't be
simpler, to show you how here's a wee step by step breakdown for you.
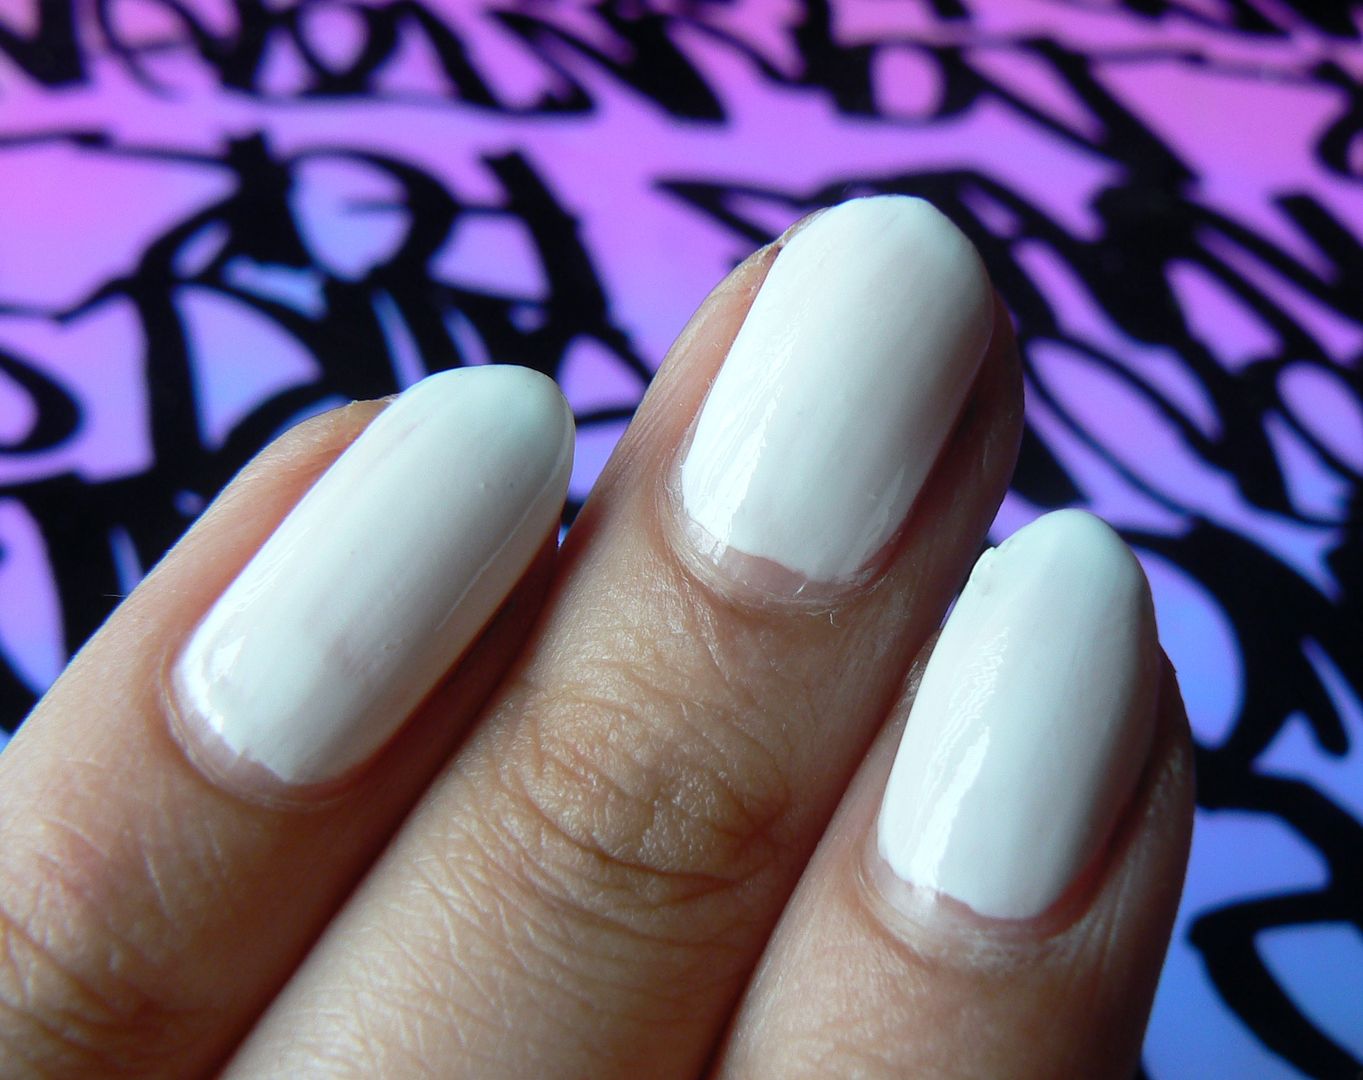
Start
with applying your base colour, which when marbling/gradienting etc,
I find white to be the best as it really brings out those colours! Go in with your second coat of white polish & now is when you need to start moving a bit quickly.

Whilst the second coat is still wet, apply a drop each of your three chosen shades on to the wet nail. Starting with a drop of dark blue first, then the turquoise next to it & finally the lavender.
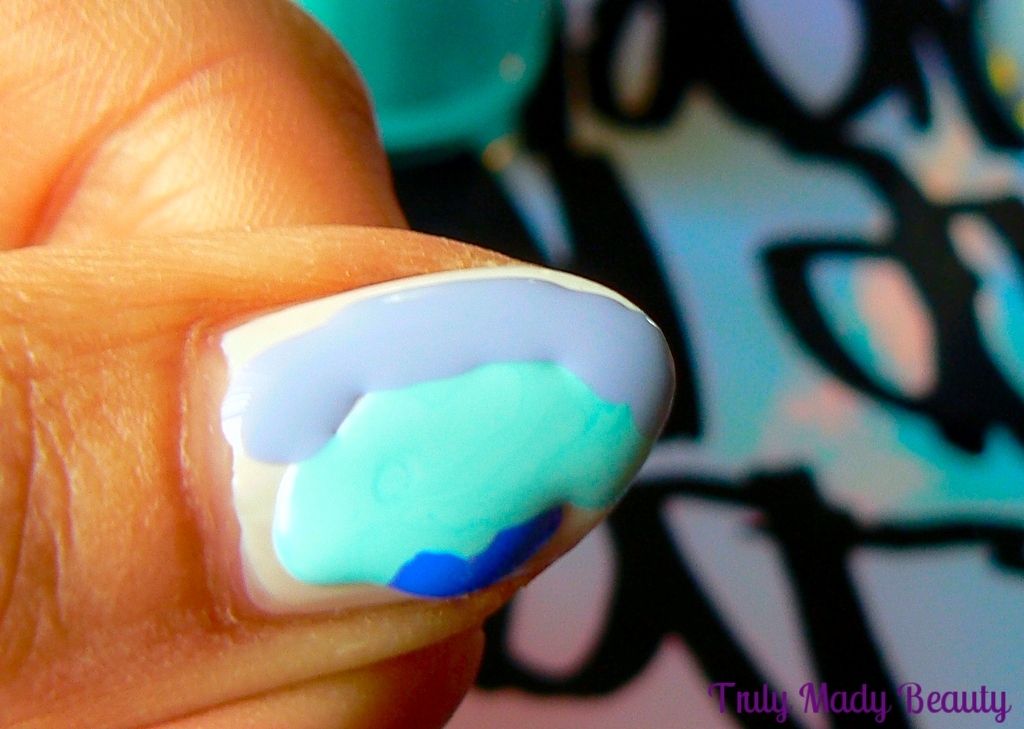
Then
grab your tool to create the marble design, now you can choose
whatever you feel confident/comfortable with, after having a play
around I've found some work better than others, you could use a
toothpick, a small dotting tool or a nail art brush, which is what
I've opted for here
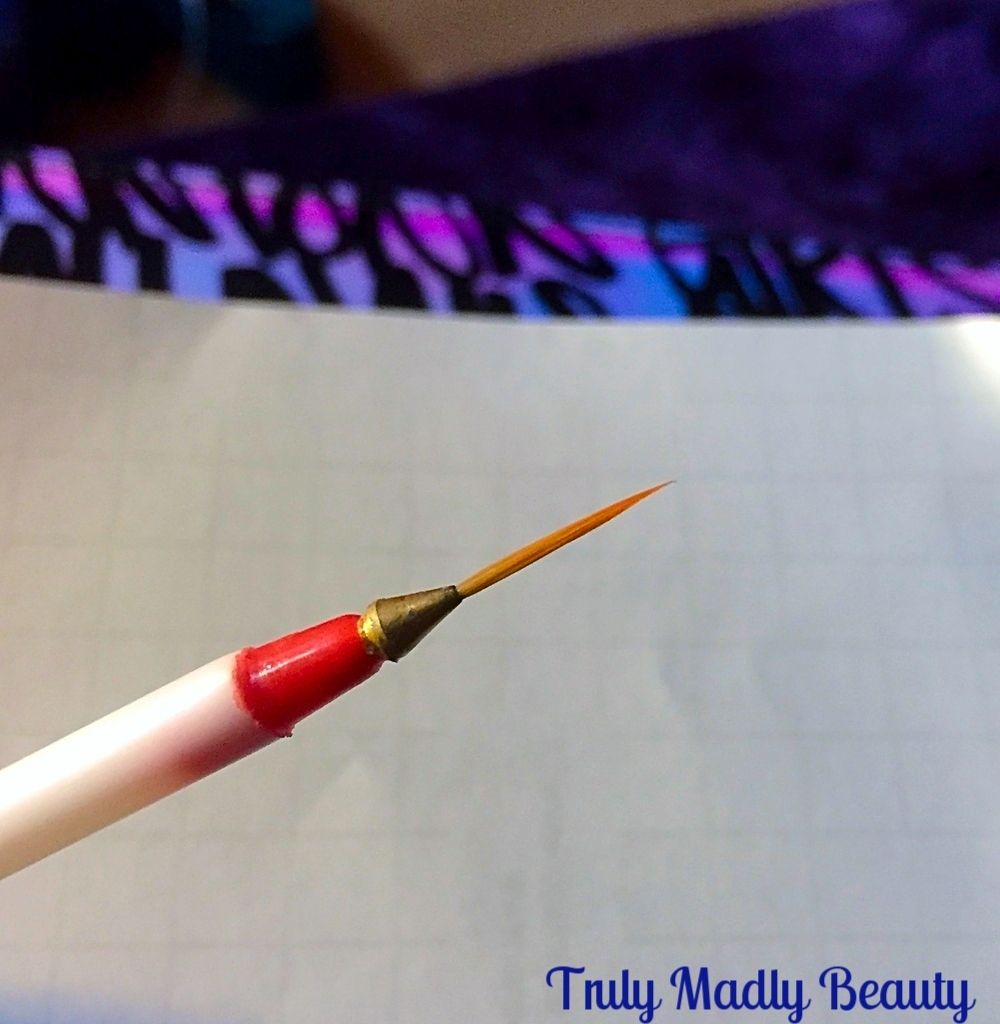
The
reason I've gone with the brush is that enables you to have a lighter
touch whilst marbling. In some of my experiments using a toothpick,
despite trying to be as delicate as possible, the toothpick often
went right through the polish to the nail bed.
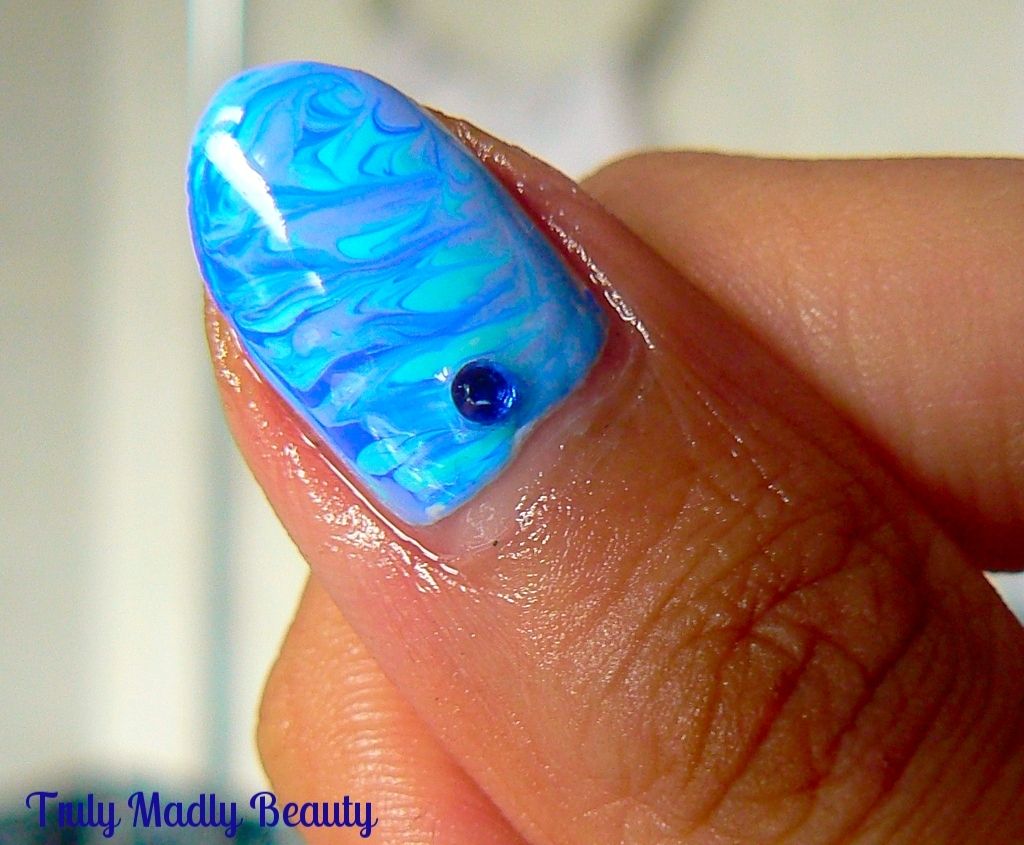
Once
you've added your drops of colour, quickly go in with your brush &
delicately swirl all the colours together, but not too much that you
lose any of the shades, until you've gotten your desired marble
effect.
Whilst
you need a thick layer of polish to do your marbling be careful not
to put too large drops of colour otherwise you'll find marbling the
colours together difficult plus risk having polish pouring all over
your skin area too! However if this does happen then you can always
prepare your nails/hands beforehand with some Masking Fluid/Liquid Latex skin
protector which I've blogged about HERE and HERE.
For
a final detailed touch I added a wee blue stone to each nail before
going over with my trusty HG CND Airdry Topcoat.

Thanks
as always for reading lovelies, hope you liked the Marble nails! I
can't wait to try in a rainbow of different colours!
Lotsa
love to ya!

Oh wow, these look amazing! I'll have to try doing them myself! X
ReplyDeleteThank you Katie! Let me know if you do, would love to see! :) xoxo
Delete