5.11.2016

NOTD - New Barry M Lolly Gloss Polishes!

Hello there lovely readers!

Its been a while since I've treated myself to a pretty new polish, so when I noticed that Barry M have been busy bees of late & released some exciting new paints, I couldn't resist picking up a few, for blogging purposes of course. It would've been rude not to ;)

I decided to nab a couple of the new Coconut Infusion shades, which I'll share in another post. Apparently these formulas contain such nail nourishing ingredients along the lines of coconut water and oil that no base coat is required! One less step? Happy days. But will put to the test soon.
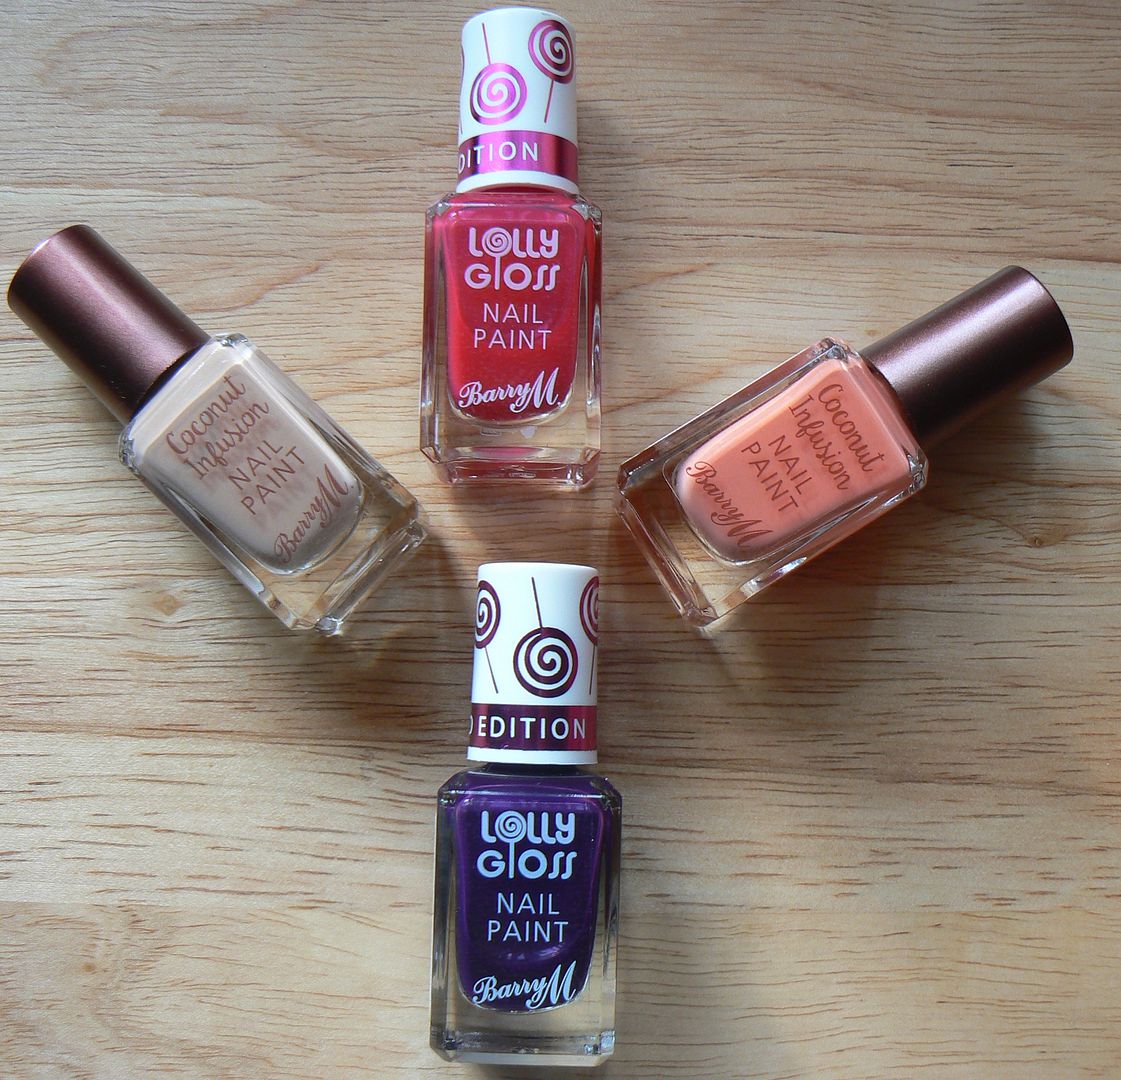

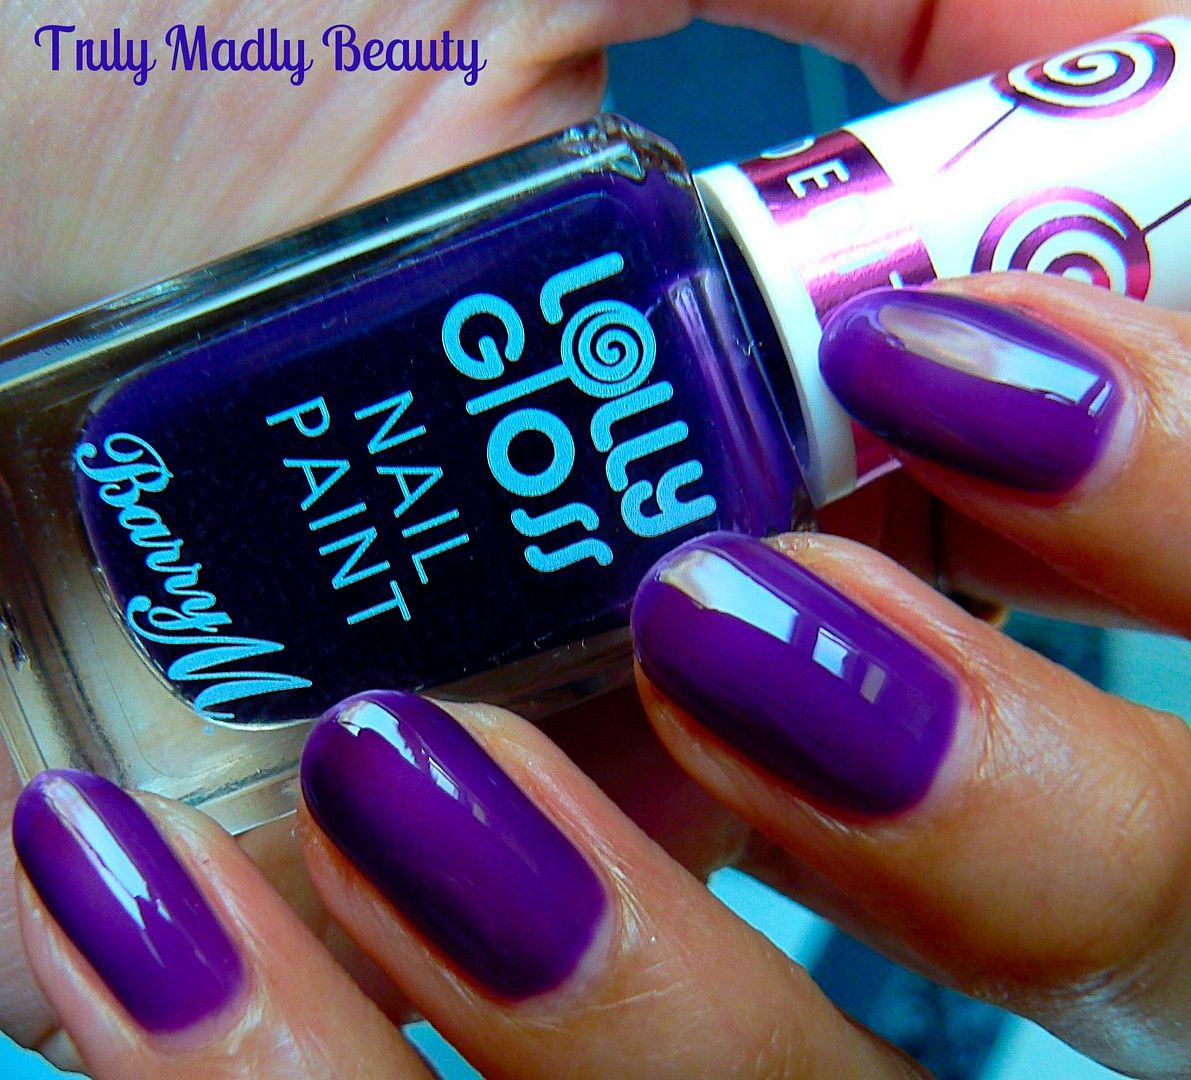
The main polishes which caught my radar were the new Limited Edition Lolly Gloss Paints, a range of 4 fruity jelly like sheer polishes that have been compared to the OPI Sheer Tints & Color Paints. I confess I was a wee disappointed at the lack of colours, it would've been fab to have a rainbow of different tints, so I only picked out two shades, Pink Candy and Purple Pop
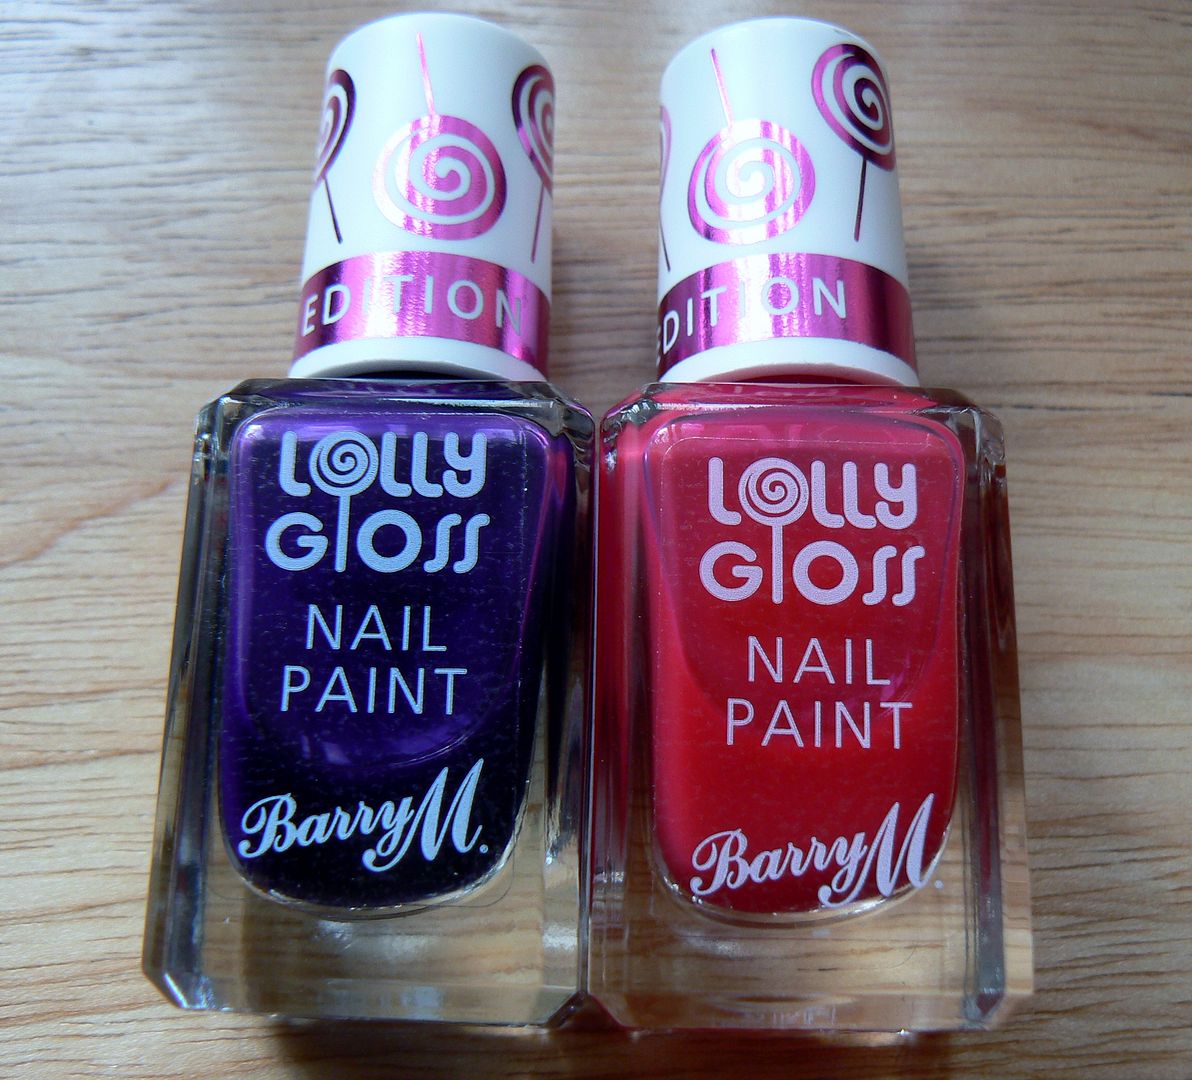

Each polish is delightfully scented with a yummy sweet strawberry note, not overpowering at all & my nails stayed smelling fab all day. I often at times wondered what the lovely smell wafting around me was, then realised it was my mani!

The finish of these polishes is sheer, almost jelly like, I love SQUISHY polishes! So these were definitely satisfying. However despite that I still found 2 coats to be sufficient enough for coverage which is great! On to the swatches...
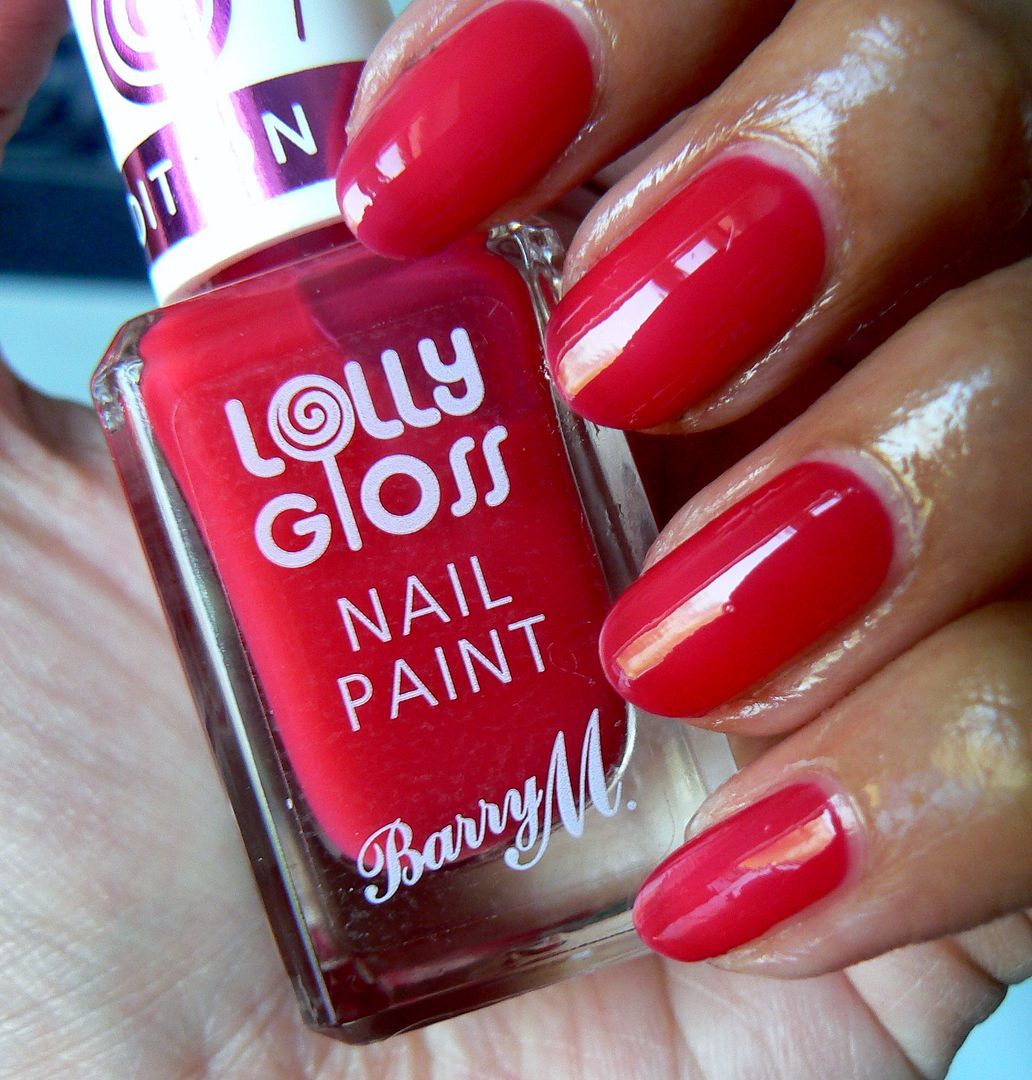

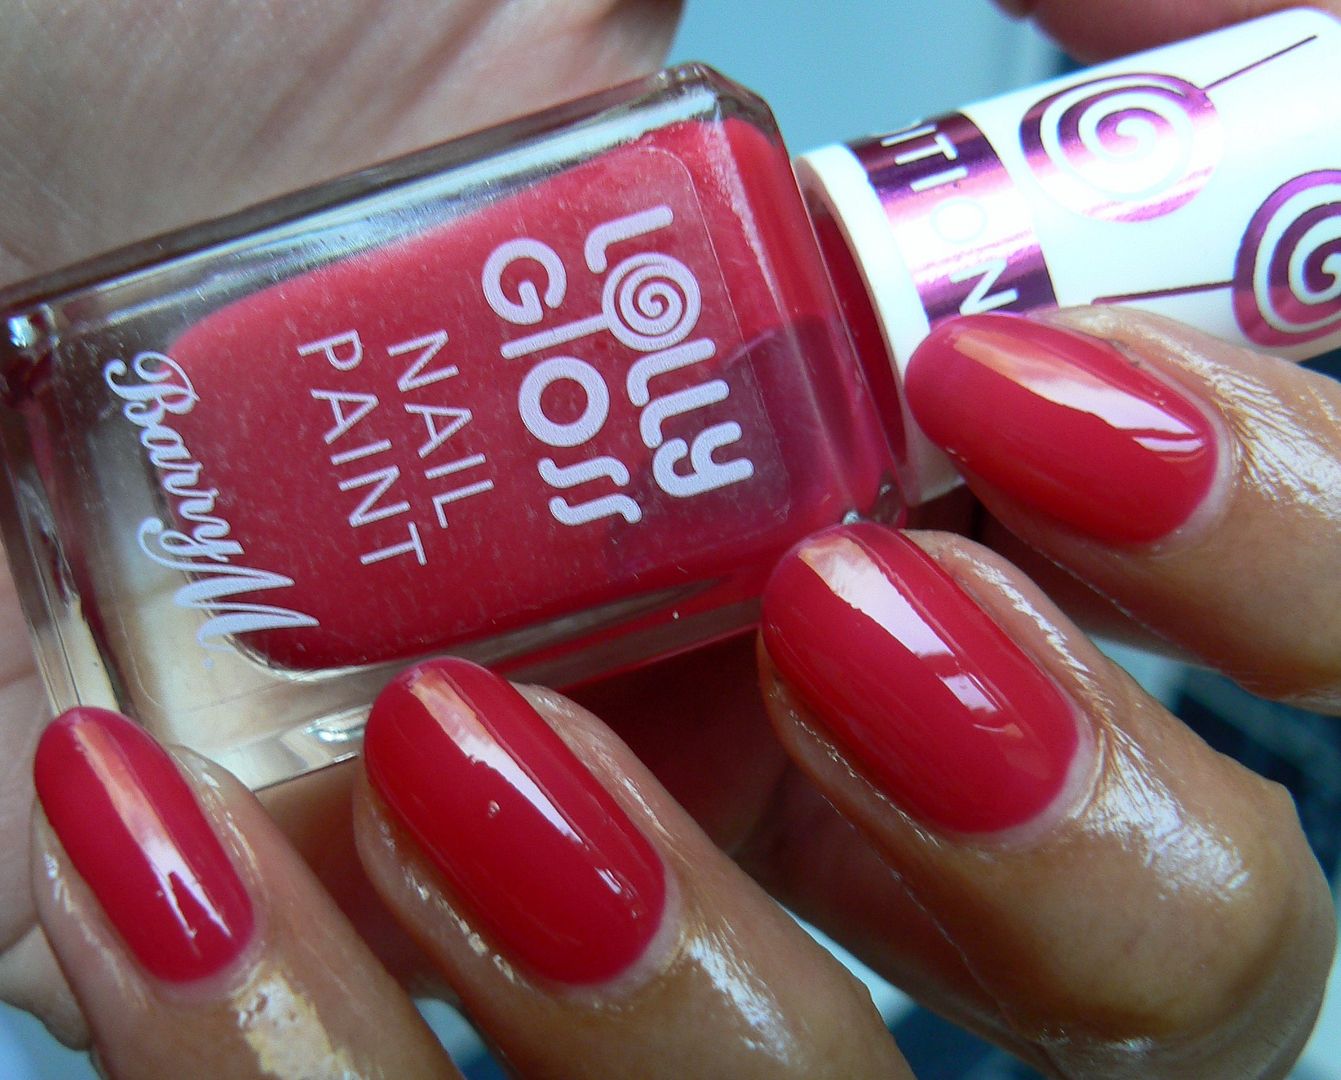
This was two coats of Pink Candy applied without topcoat, look how glossy! A cheerfully bright pink perfect for the summer. I love the finish & the formula was wonderful to work with, You can easily apply a 3rd coat if you want a super opaque gel like finish

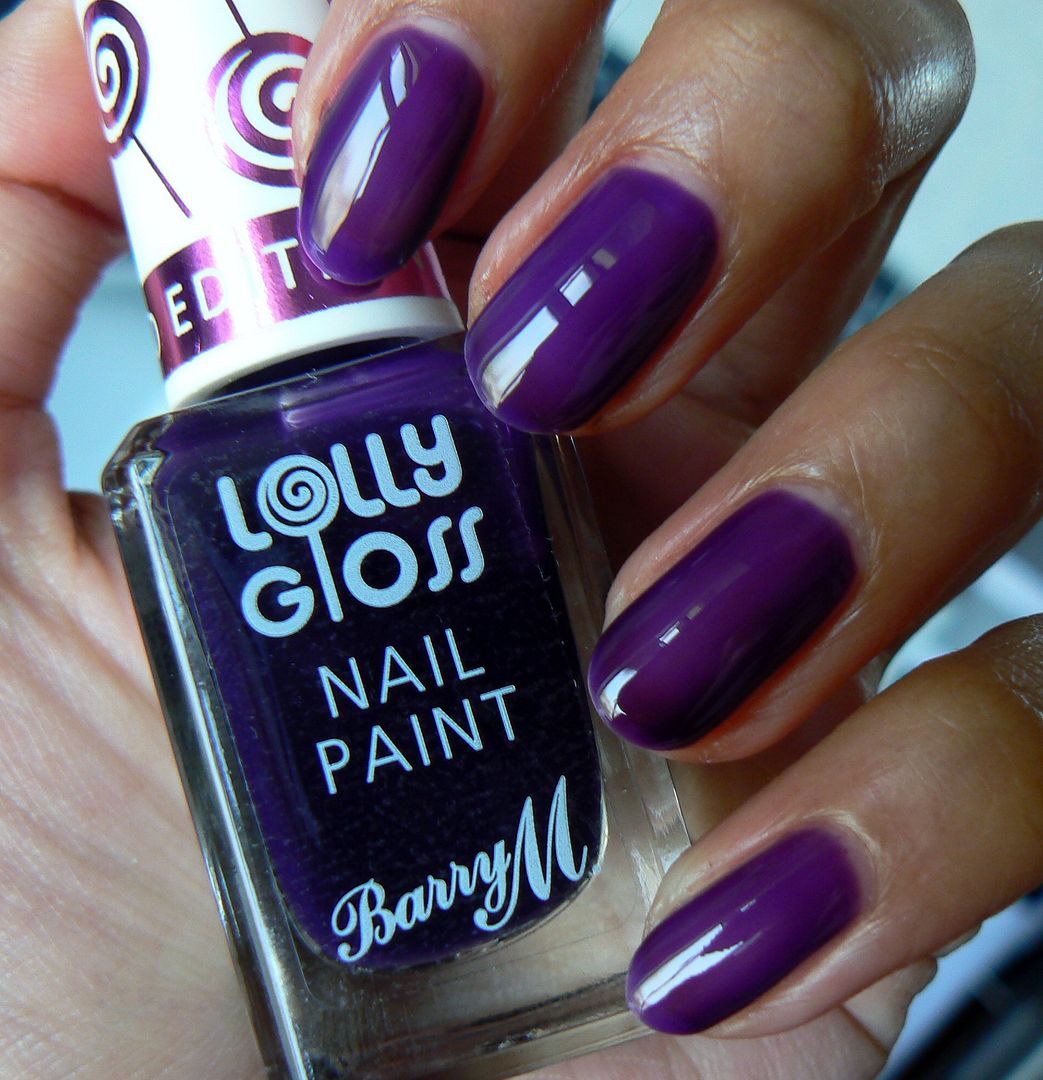
Purple Pop went on very sheer on the first coat but darkened up nicely on the second one. A nice dark grape alternative to the pink. You can still see a slight visible nail line which can again easily be rectified with a 3rd coat.

Both polishes applied beautifully & the brushes are fab quality making application even smoother. Of course sheer tint polishes are a nail artists DREAM, so many ideas floating around on how to use these, Glitter Jelly sandwiches...Stained Glass effect...Rainbow nails...

Naturally I couldn't resist having a play around & come up with a fun design with these which I will share with you along with a step by step tutorial in my next post to give you an idea on how they can be used!

The Barry M Lolly Gloss polishes are Limited Edition so grab them while you can! Available from all Barry M counters for £3.99 & as mentioned Superdrug currently have them on offer for but 1 get 1 half price!

Lotsa love to ya!


5.08.2016

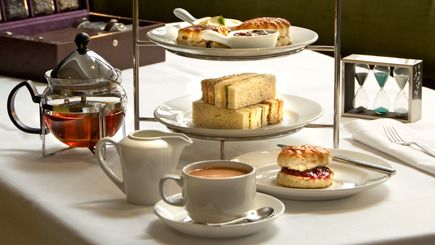
Afternoon Tea Adventures - The Hilton Green Park Afternoon Tea in Mayfair

Hello there lovely readers!

My darling pal Jene from NYC visited our side of the pond last year which gave me all the happy vibes! I have so much love for this girl whom I randomly met on a train around 4 years ago & now count as one of my top chums despite the distance. Anyhoos after discovering that her lovely travelling companion Tracy had NEVER been to an afternoon tea before...well...I was more than happy to rectify this!

I decided to take them to The Hilton Green Park Hotel which is in the heart of Mayfair. I found this one on the website afternoontea.co.uk which is ALWAYS my main go to for hunting down good afternoon teas. This website is fantastic as you can search for ones nearby to you & around London as well as being able to book online.

source: google images

5.07.2016

NOTD - Dolly Mixture by True Brit London

Hello there my lovely readers!

If you follow my blog then I'm sure you're familiar with one of my favourite polish brands True Brit London.


I've shared a few of their beautiful polishes with you on HERE & my love for this British brand still goes strong. Everything about them appeals to my polish satisfaction needs, gorgeous packaging, divine formulas & most of all I adore the patriotic vibes of their collections, highlighting truly quintessential British vibes.


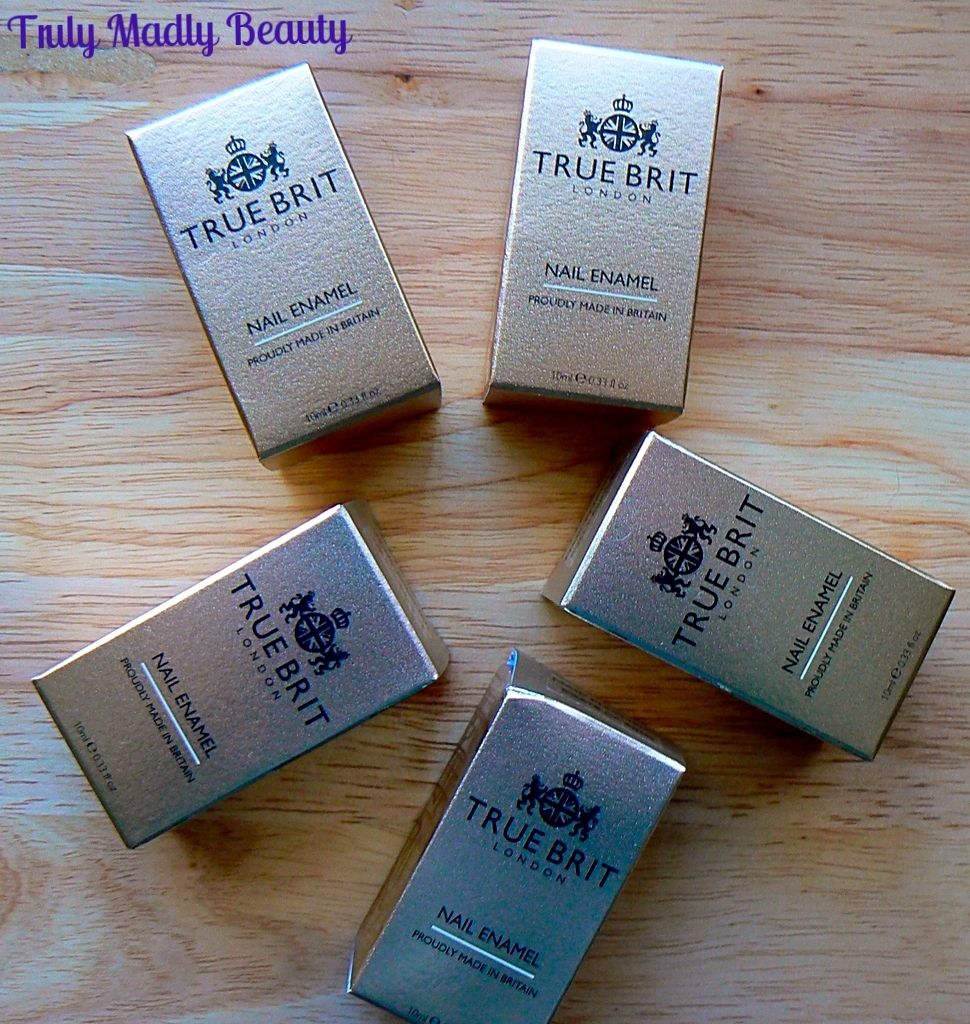
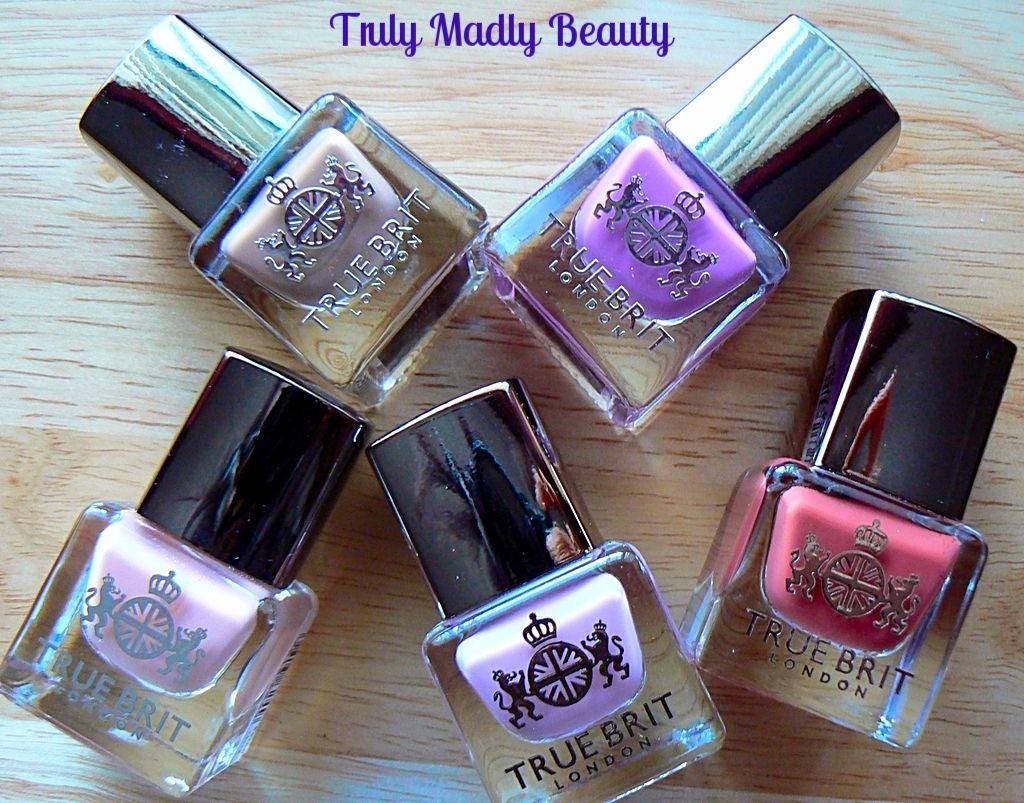
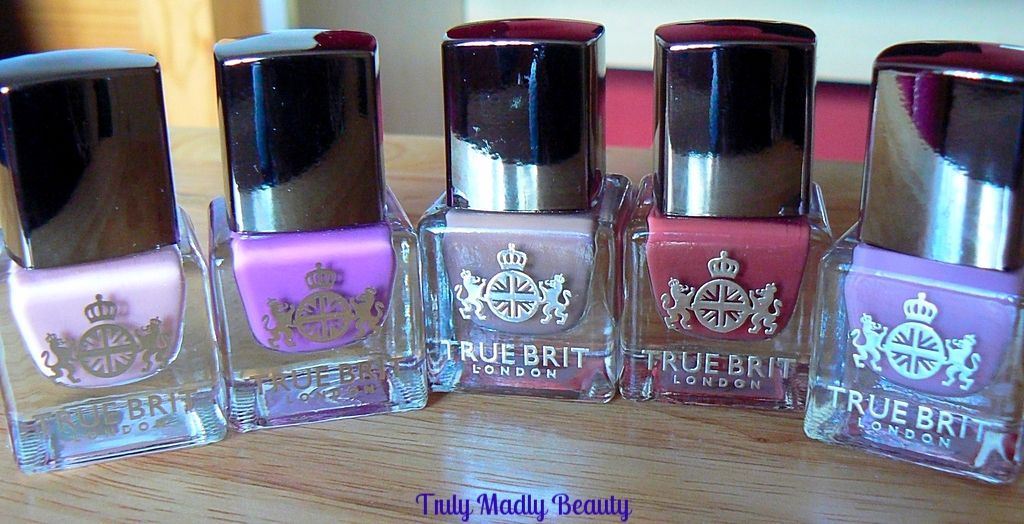
True Brit London have excitingly released some new pretty shades for Spring/Summer 2016 to add to their ever growing collections which I can't wait to share with you too. Take a looky...aren't they just completely SWOON worthy?


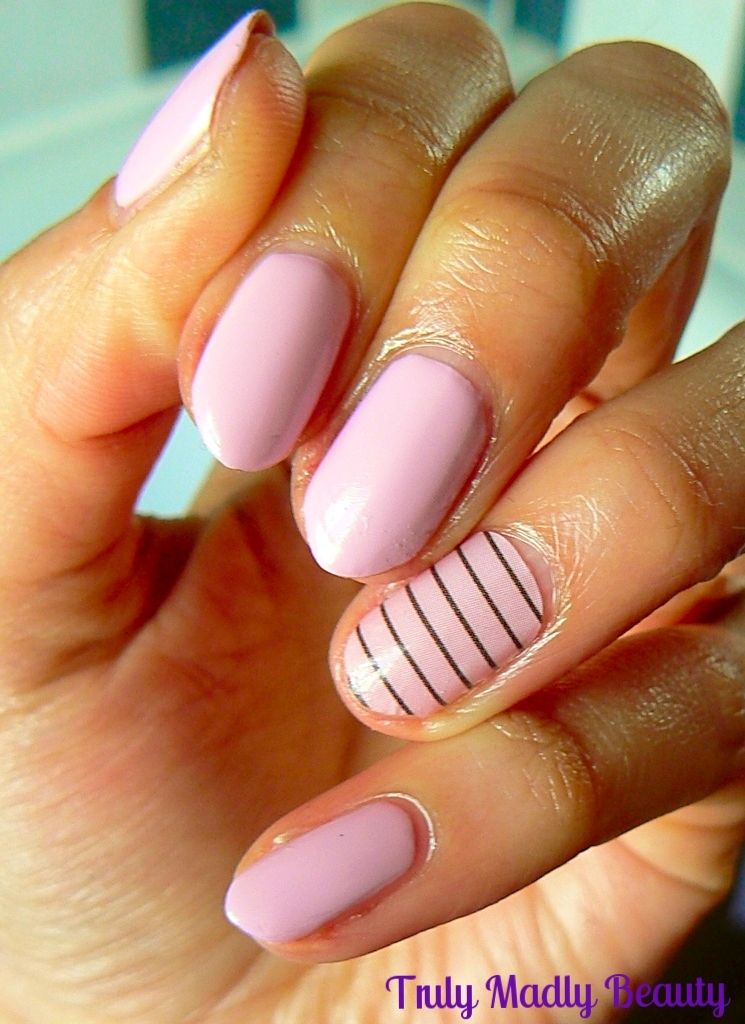
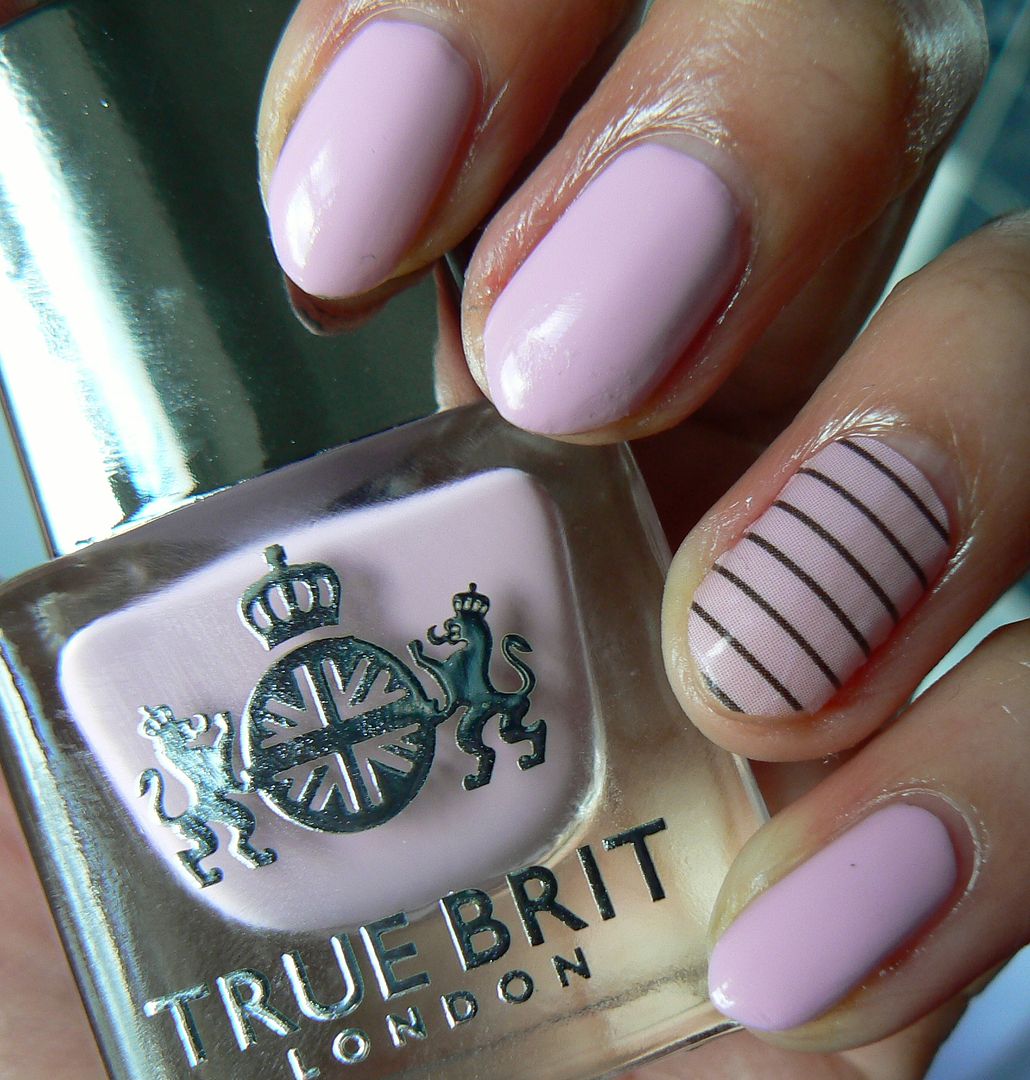
Ooooh decisions decisions...which one to try out first...twas a difficult one but I was in the mood for some sweet pinky goodness & *Dolly Mixture delivered on this perfectly!


Dolly Mixture is part of the Garden Party collection & is as the name suggests, the most delightfully sweet confectionery pink creme shade.


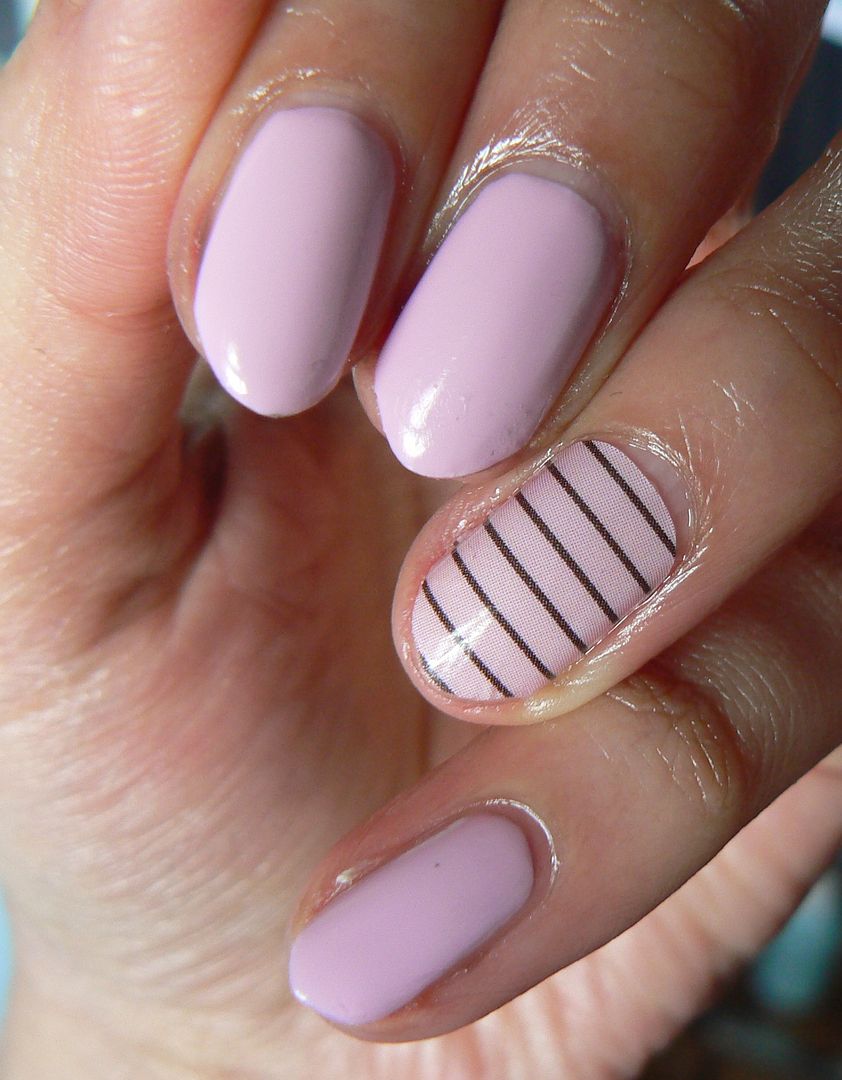
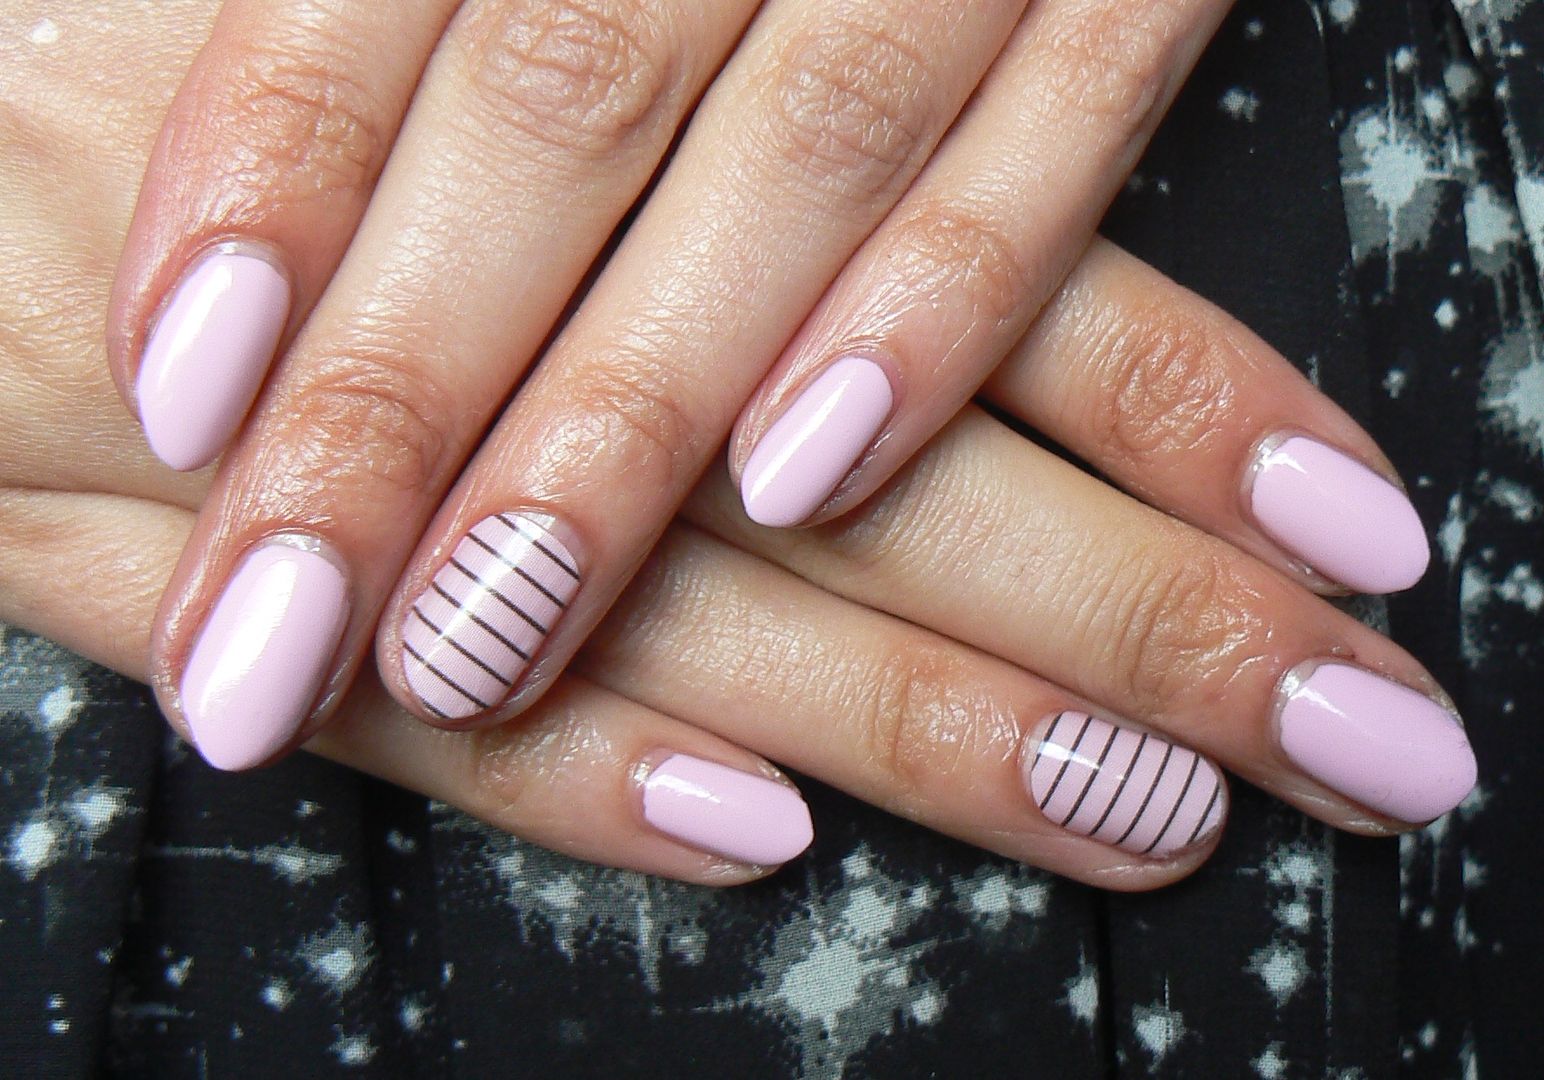
Here I've used two coats which applied beautifully, the formula is thick with the creme's however very easy to work with & you are left with a smooth glossy pretty pink mani almost gel like in its finish.


I decided to rock one of my Jamberry nail wraps as an accent with my Dolly Mixture nails & the Beverly Hills nail wrap went perfectly with it! 


I am utterly obsessed with these nail wraps which are a fab fun way to jazz up your mani's, available in over 300 different designs to choose from & have a longevity of 2 weeks.


They come in sheets of 18 wraps, enough for 2 manicure & 2 pedicures, or just use them all on your nails! I've written a full post on the Jamberry nail wraps HERE & you can purchase them via my website for just £15 HERE


I think Dolly Mixture would also look delightful with a white French tip, reminiscent of the sweet itself so will definitely try that out next time!


You can find True Brit London online for £12.50 a pop & you can also get 10% off your order using my code TRULY10. Keep posted for more swatches of the pretty new True Brit London polishes!

Thanks for reading!


Disclaimer - * products featured were sent to me for my consideration. I am not affiliated with the brand nor paid for this post, this review has been as always my 100% honest opinion! :)

5.02.2016

NOTD - Marble Stone Look Nails & Tutorial!

Hello there my lovely readers!

How have you all been? Attempting to restore some semblance of normality after spending 7 blissful days in Antalya. My friend & I stayed at the Litore resort & the holiday consisted of much sunbathing, eating, relaxing before repeating it all over every day. Much needed let me tell you & we had such an incredible time, it was definitely hard to leave! But one must get back to the normal scheme of things now & that of course includes blogging!


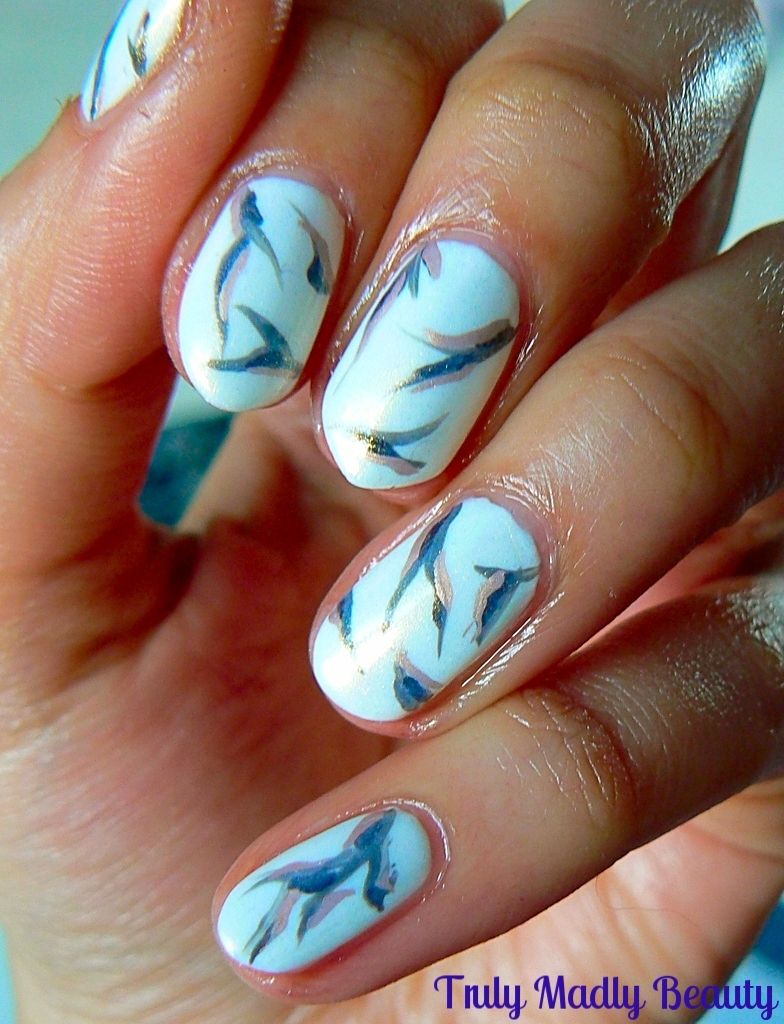
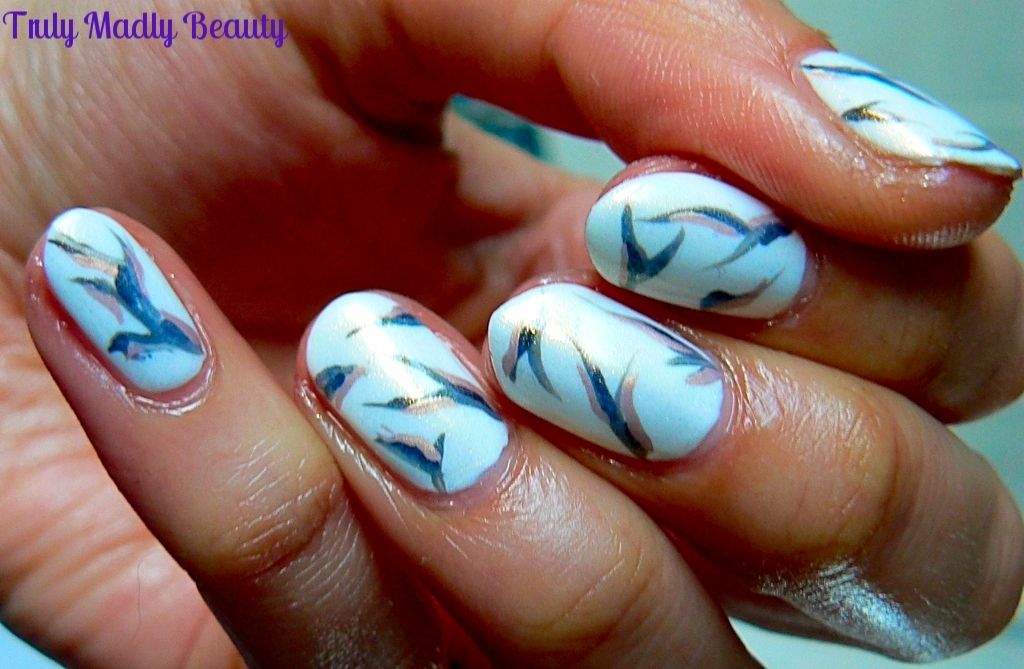
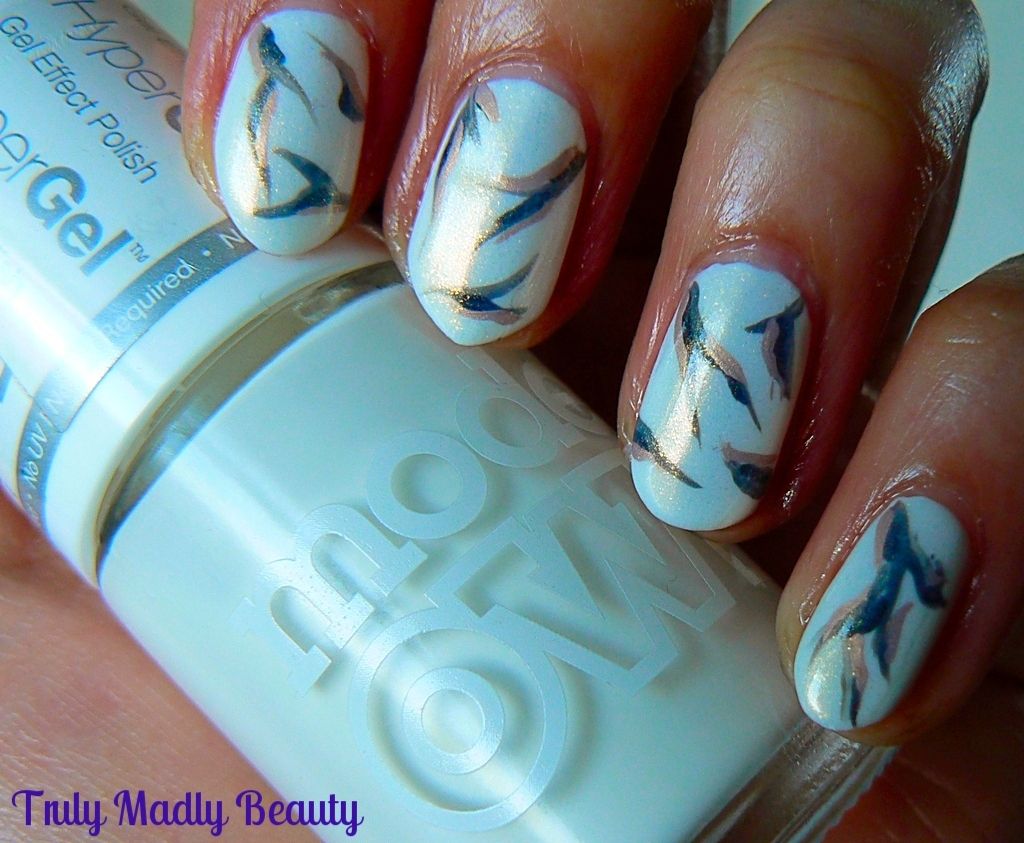
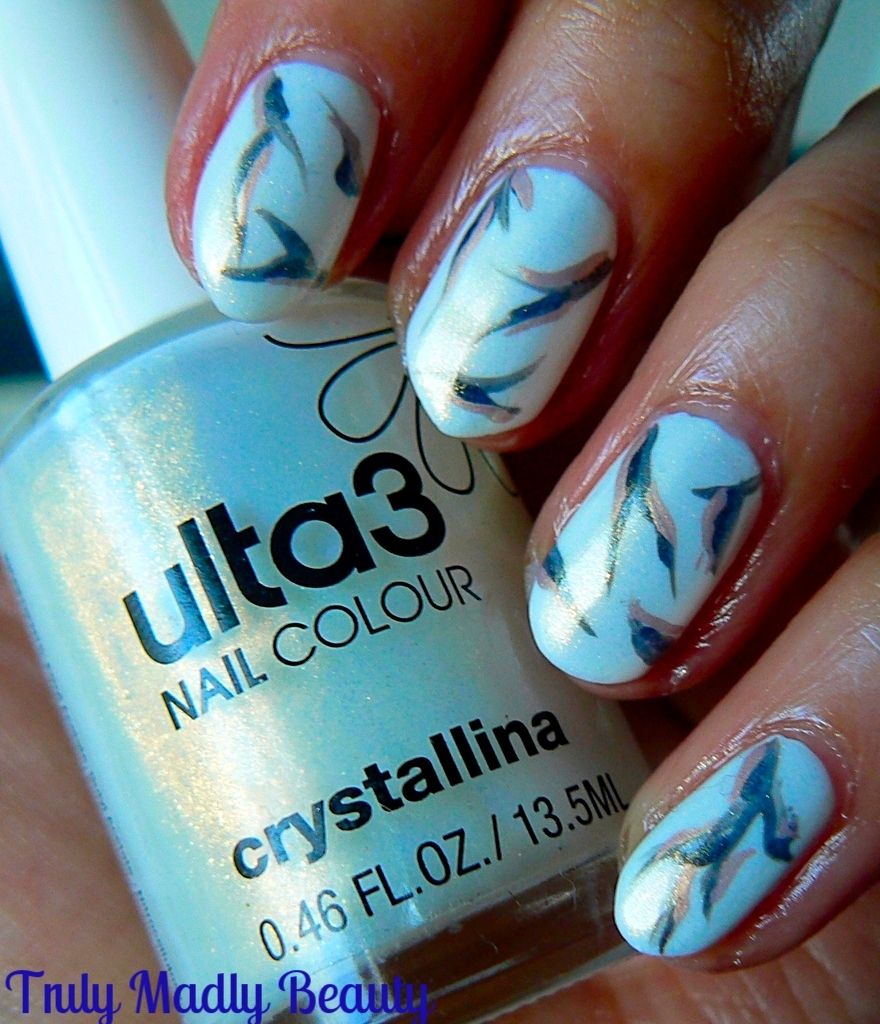
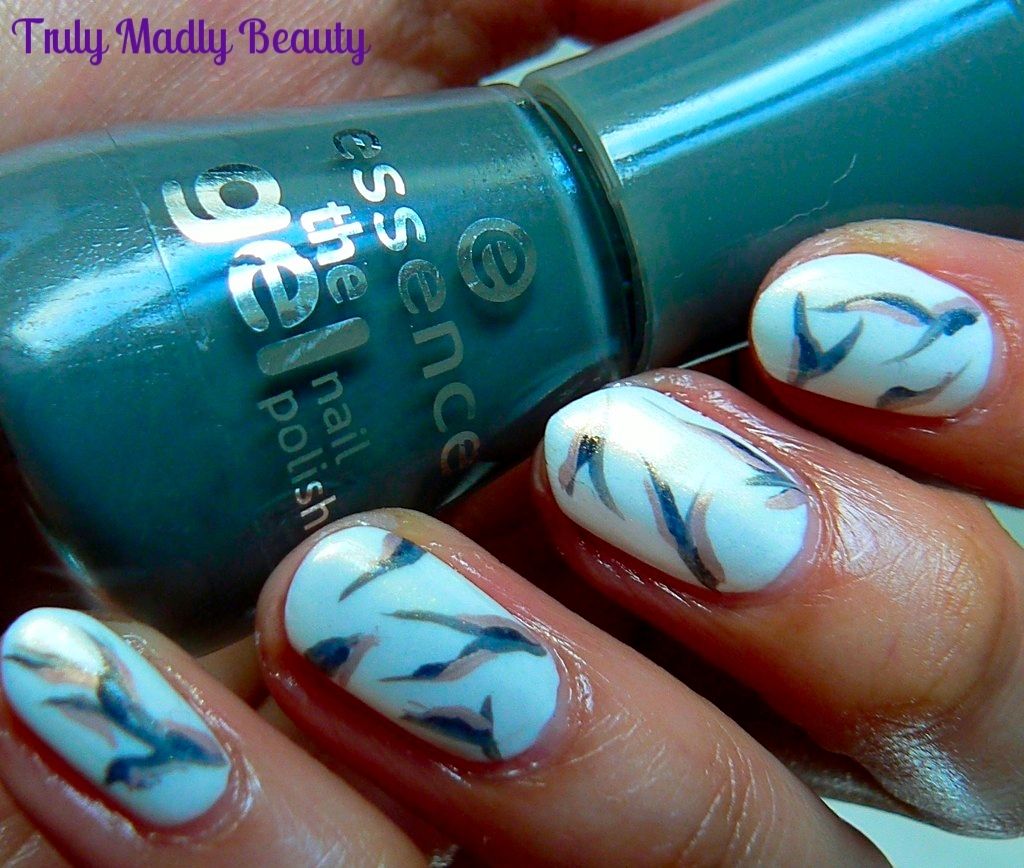
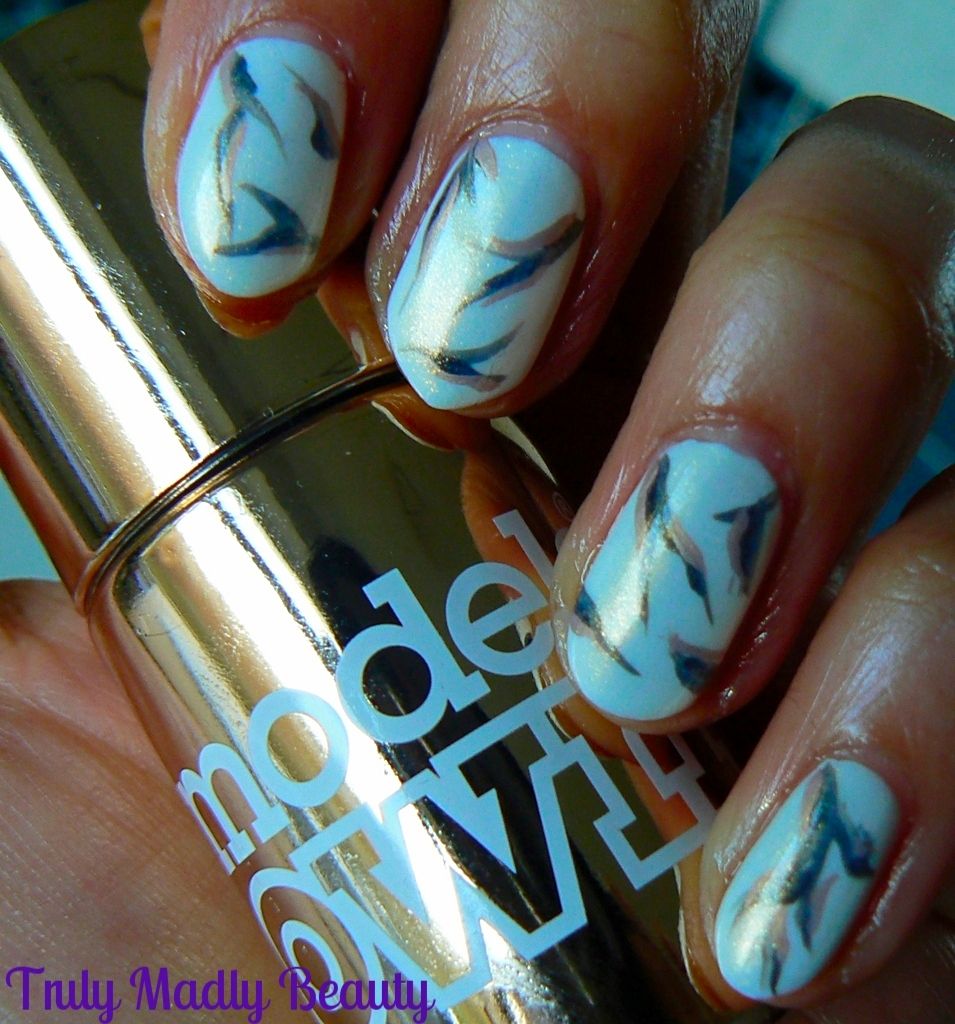
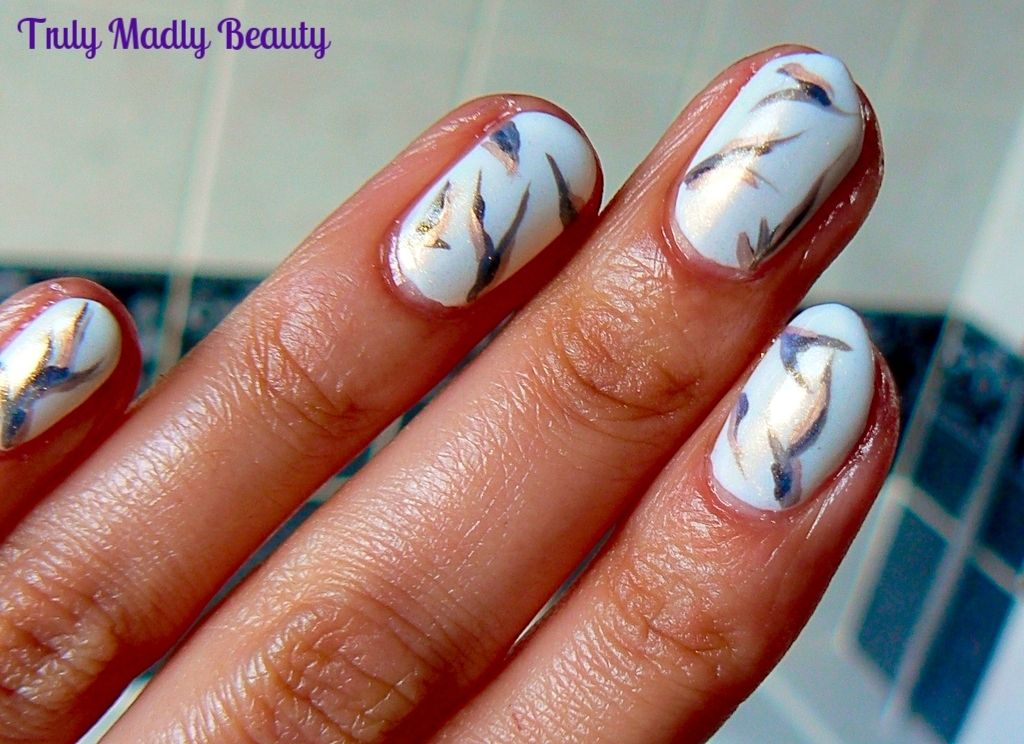
You may remember I went through a bit of a marbling phase recently when it comes to nail art. I love playing around with different colours not knowing what the finished result will be. However one effect that I adore is the pretty marble stone itself & one I wanted to attempt to recreate on my nails...& this was the result


What do you think? I tried to get my cracked stone lines to be as thin as possible but I think I still need to get a thinner brush! Overall though I was pretty happy with the finished look!


If you want to see how I created my marble stone effect nails then read on for a tutorial...


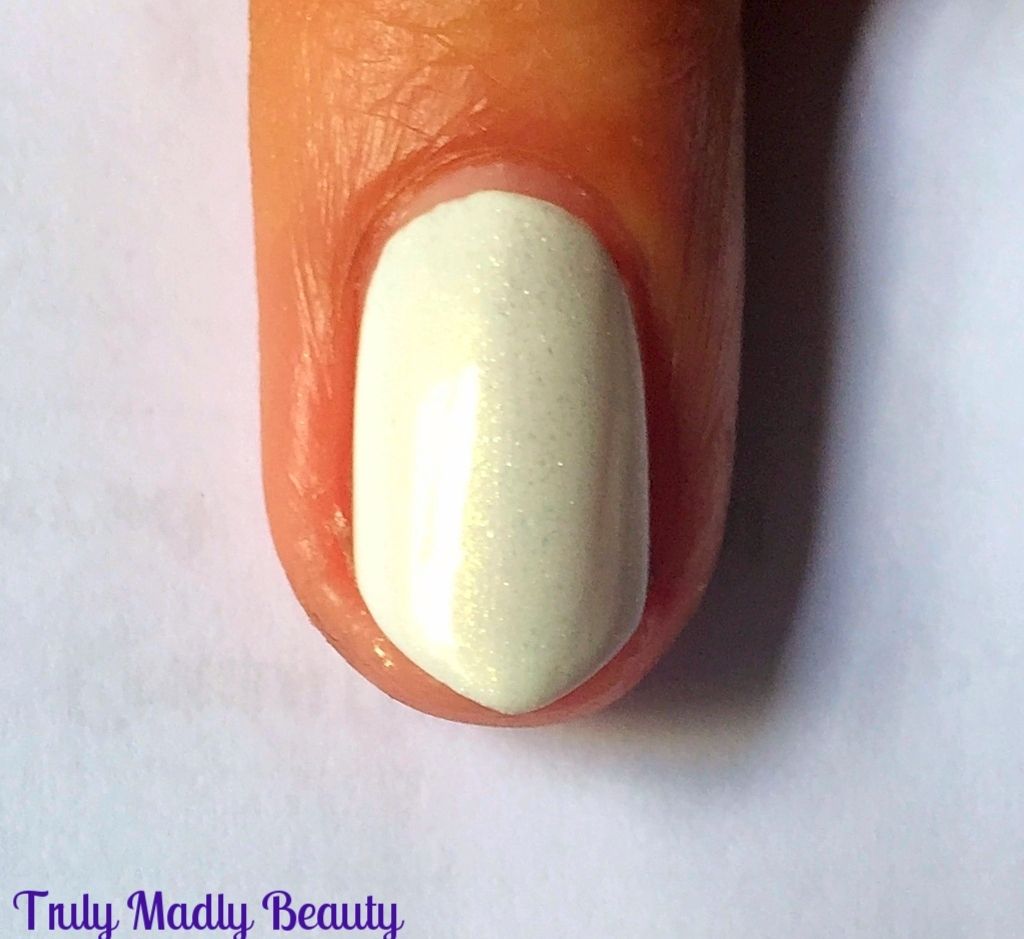
Start off with a white base, here I've used one coat of my trusty Models Own White Light. Normally I would apply two coats for a base however I wanted to give it a bit of an edge so I applied one coat of Ulta3 Crytallina one of my fav topcoats which adds a subtle golden luminescent glow to your polish


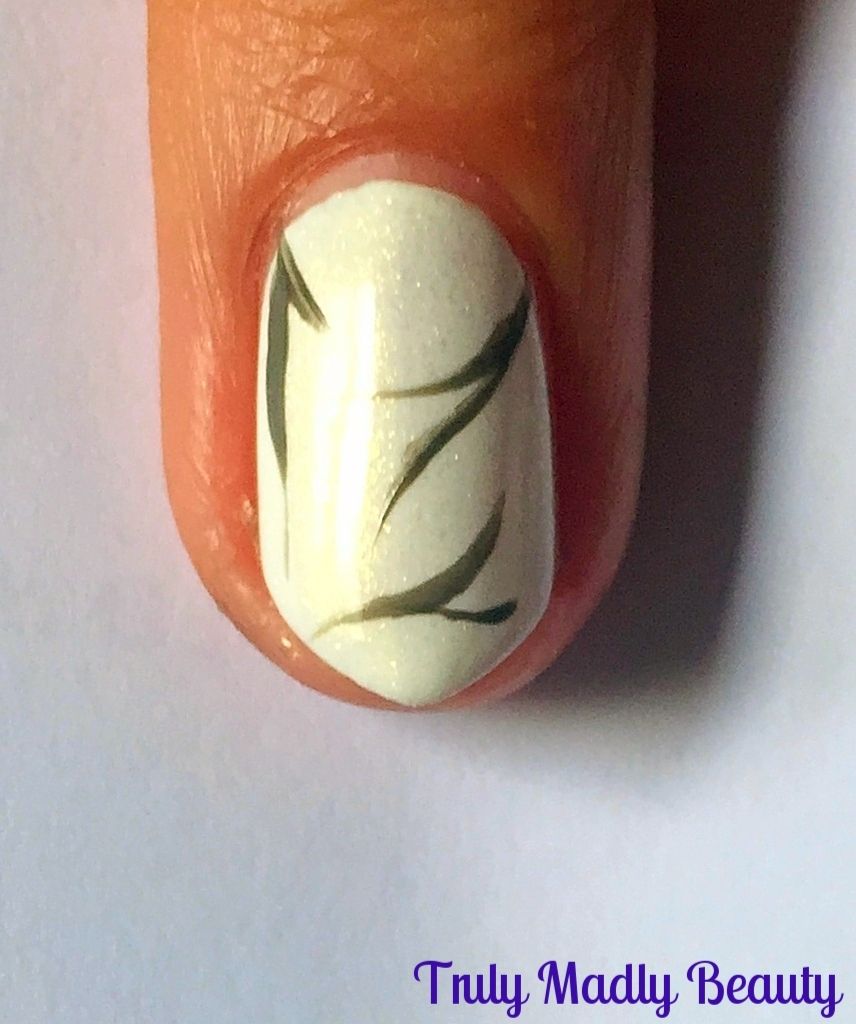
Now to start with the cracked lines to create that marble stone effect! I first grabbed a grey polish, Essence Rock My World. Putting a blob of polish on to some scrap paper, dip in your nail art brush & apply two or three thin wavy lines starting from the edges of the nail going in, with the line starting off slightly thicker before thinning out at the tips...


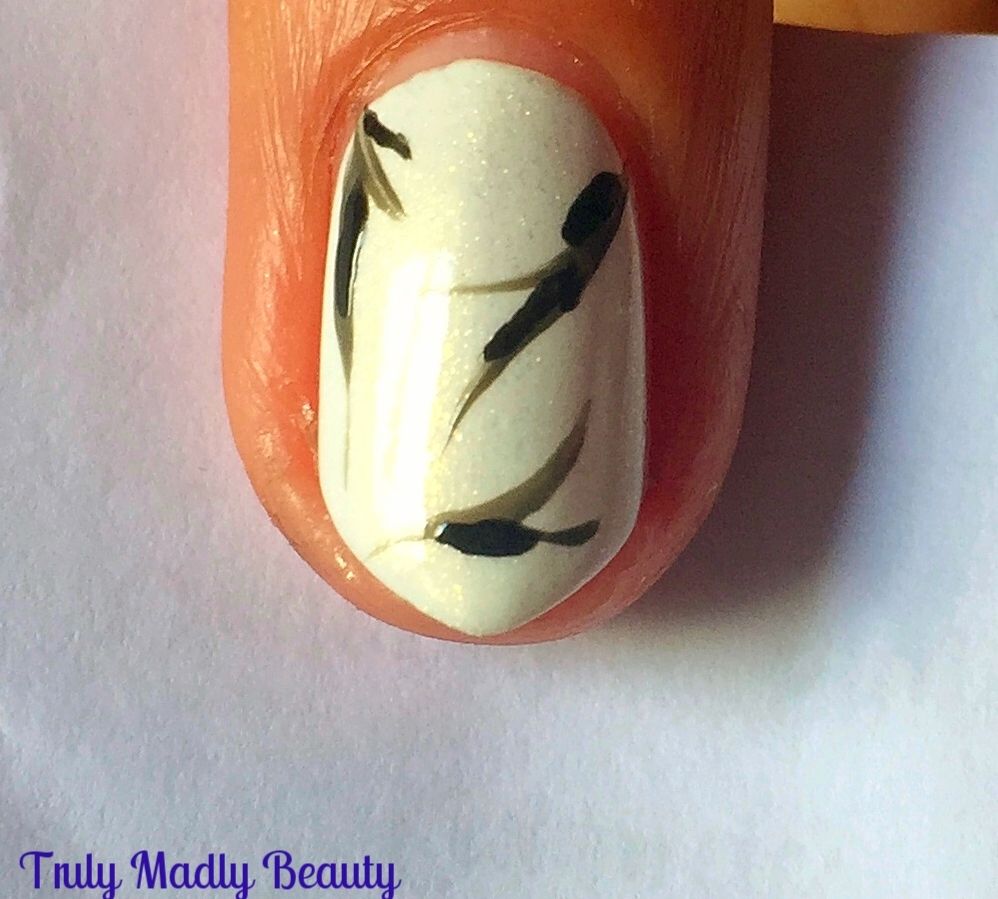
Then to define the lines a bit more, again using a thin nail art brush & now some black polish, apply some of the black along the edge of the grey lines...


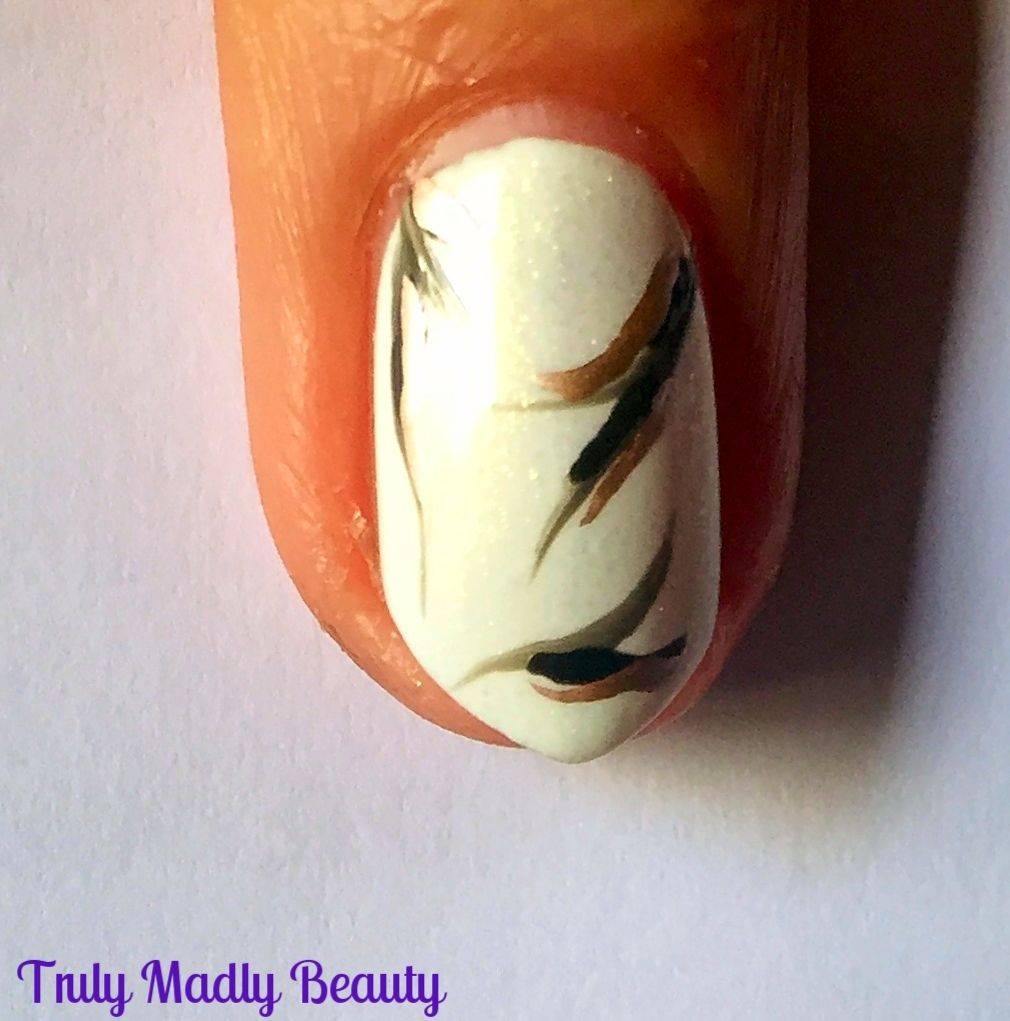
Finally to give the look of jewelled marble stone, I grabbed some rose gold polish in the form of Models Own Chrome Rose & using our thin nail art brush again, applied a few delicate strokes of rose gold to my lines.


I decided to apply one last coat of Ulta3 Crystallina on top of it all to give that slightly faded finish & thats it!


I have a few ideas on techniques to try next time to help create this marble stone look even better, maybe dabbing acetone on top to help blur & blend the colours in to the white?


Also the cling film method seems to be another way to achieve a marbled look...I'm tempted to do some Jade stone effect nails next so when doing so will give some of these ways a try!


Hope you liked darlings! Thanks for reading!

Lotsa love to ya!