12.09.2015

Festive Nails - Christmas Baubles!

Hello there my lovely readers!

Okay so Xmas manicure number two did NOT go well. I wasn't actually going to blog this but then I figured, despite not turning out how I'd hoped it still looked pretty darn festive with the merry colours of red, green & gold that I'm simply going to roll with it anyhoo! For this mani FAIL I decided to go with some Xmas Baubles...
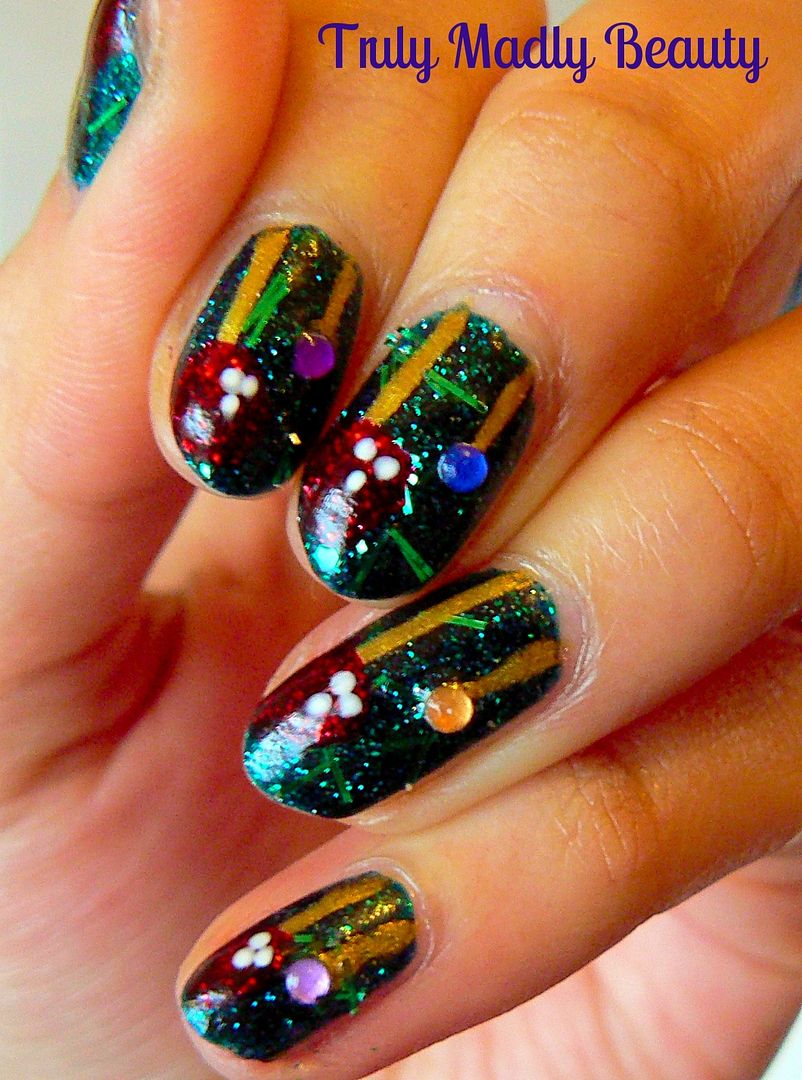

From the moment I started things started to go wrong, the base too gloopy, the red too dark, the decision to include BAR GLITTER...(seriously what were you thinking Aysh?!) But by the time I realised all this, it was too late to turn back so I simply through caution (& a few prayers) to the wind & kept at it, in the words of Mastermind, I started so I was darn well going to finish!
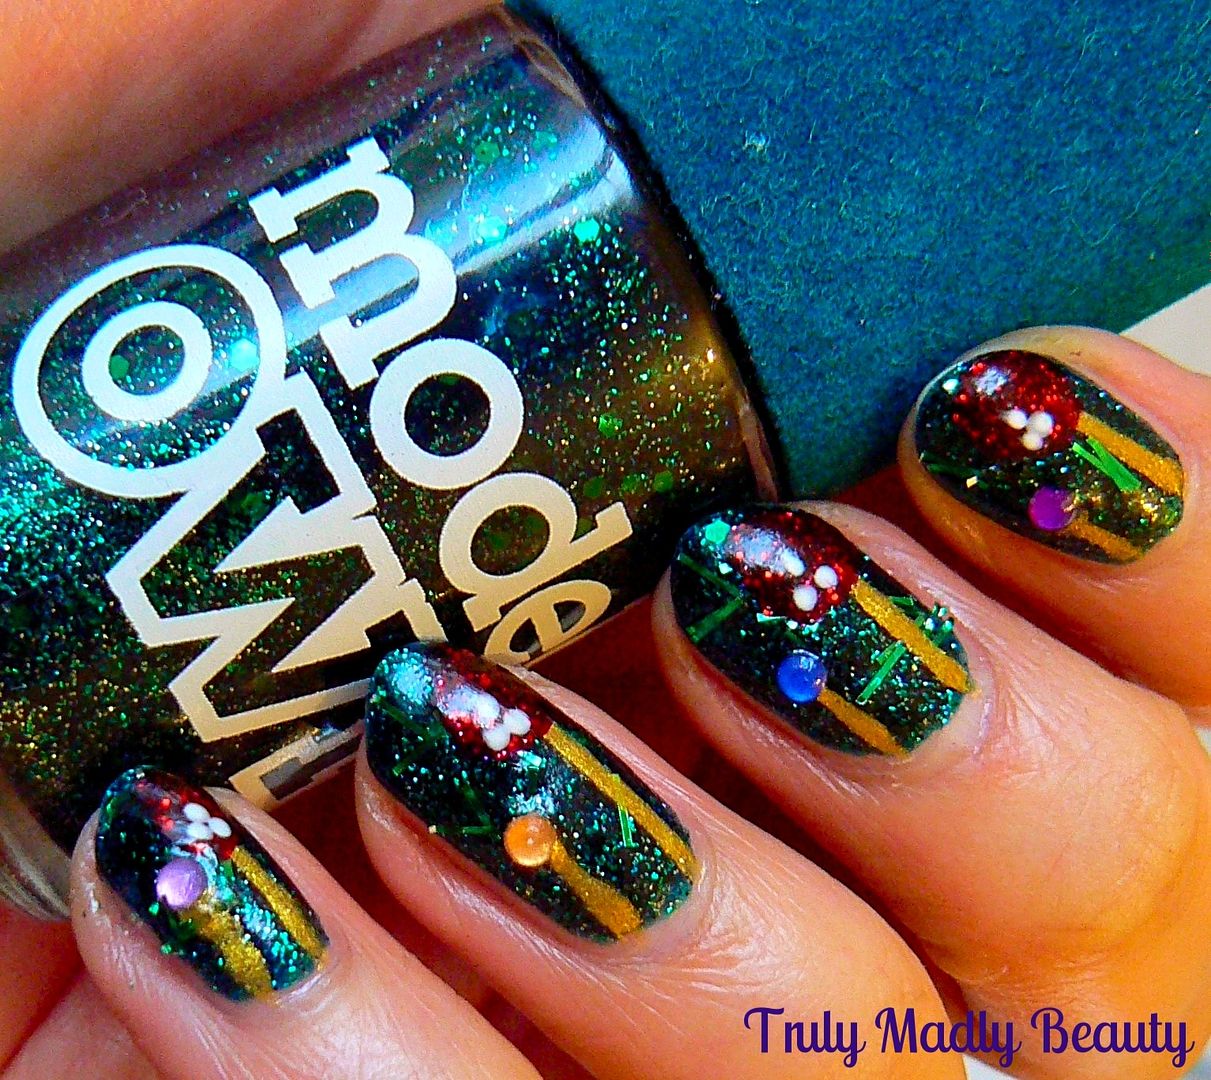


I wanted to imitate a festive tree background for my baubles so used Models Own Absinthe as my base, unfortunately the formula of this polish has become extremely gloopy which truly saddens me as its one of my favourite greens! I may try & salvage it with some polish thinner if I can get my hands on some as I really love it, this was two coats.
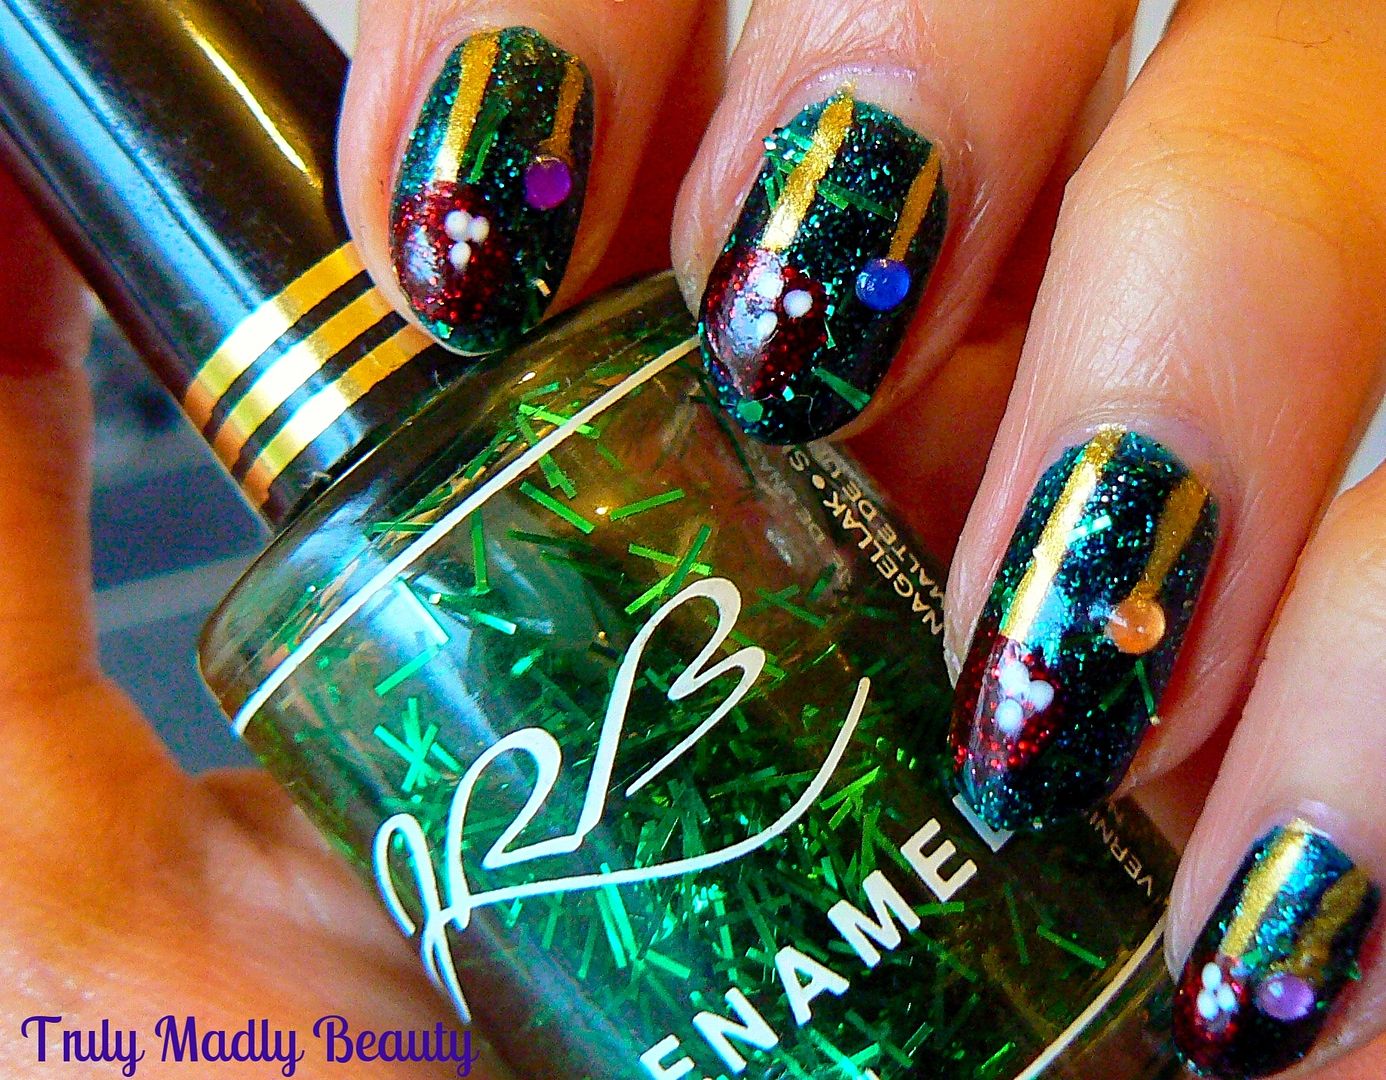


To add definition & that pine tree vibe I decided to dab on this random green bar glitter polish. Now whilst fabulously festive for sure, bar glitter can be an absolute pain with lifting up off the nail, which this did a little but this can also be rectified with thick topcoat.

Next came the baubles. the string itself is fairly straightforward & done with the Models Own nail art pen in Gold, one long & one short line, but then I made the error of using Models Own Sardonyx for the bauble, whilst a beautiful red glitter polish, put on top of Absinthe meant it was barely visible. Not the polishes fault, just this plonker bloggers.


But like I said I decided to soldier on regardless, so after applying a round circle shape, to help make the baubles stand out a tad, because lets face it they needed all the help they could get lost amongst the sea of green there, I dotted on some white polish to the top curve of the bauble.
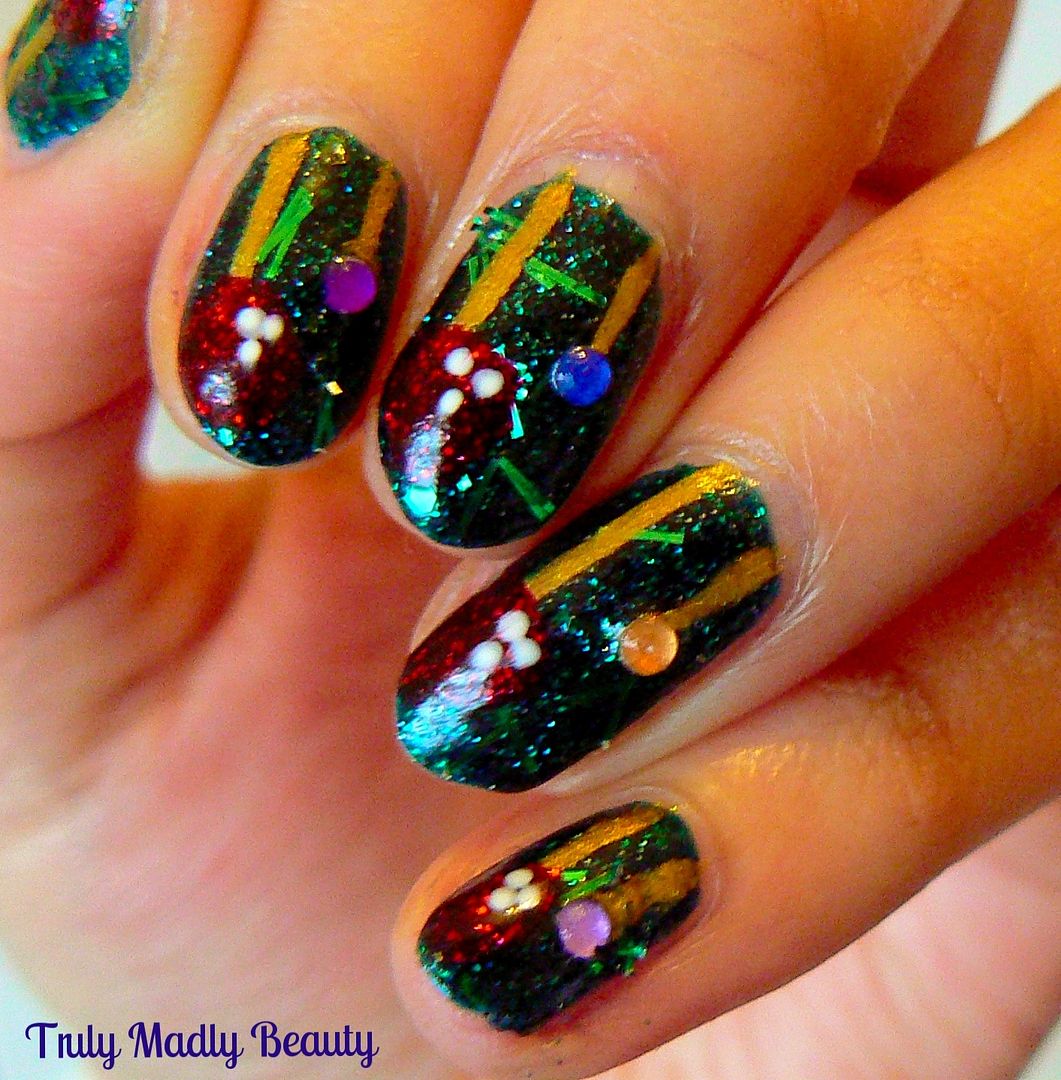


Then to the second smaller string I just added on a wee little round jewel rhinestone for a smaller bauble. Finishing it all with a good thick application of topcoat to seal the stones & those cheeky bar glitters & the ordeal that was Xmas mani number two was finally done *wipes forehead...sheds a few tears*
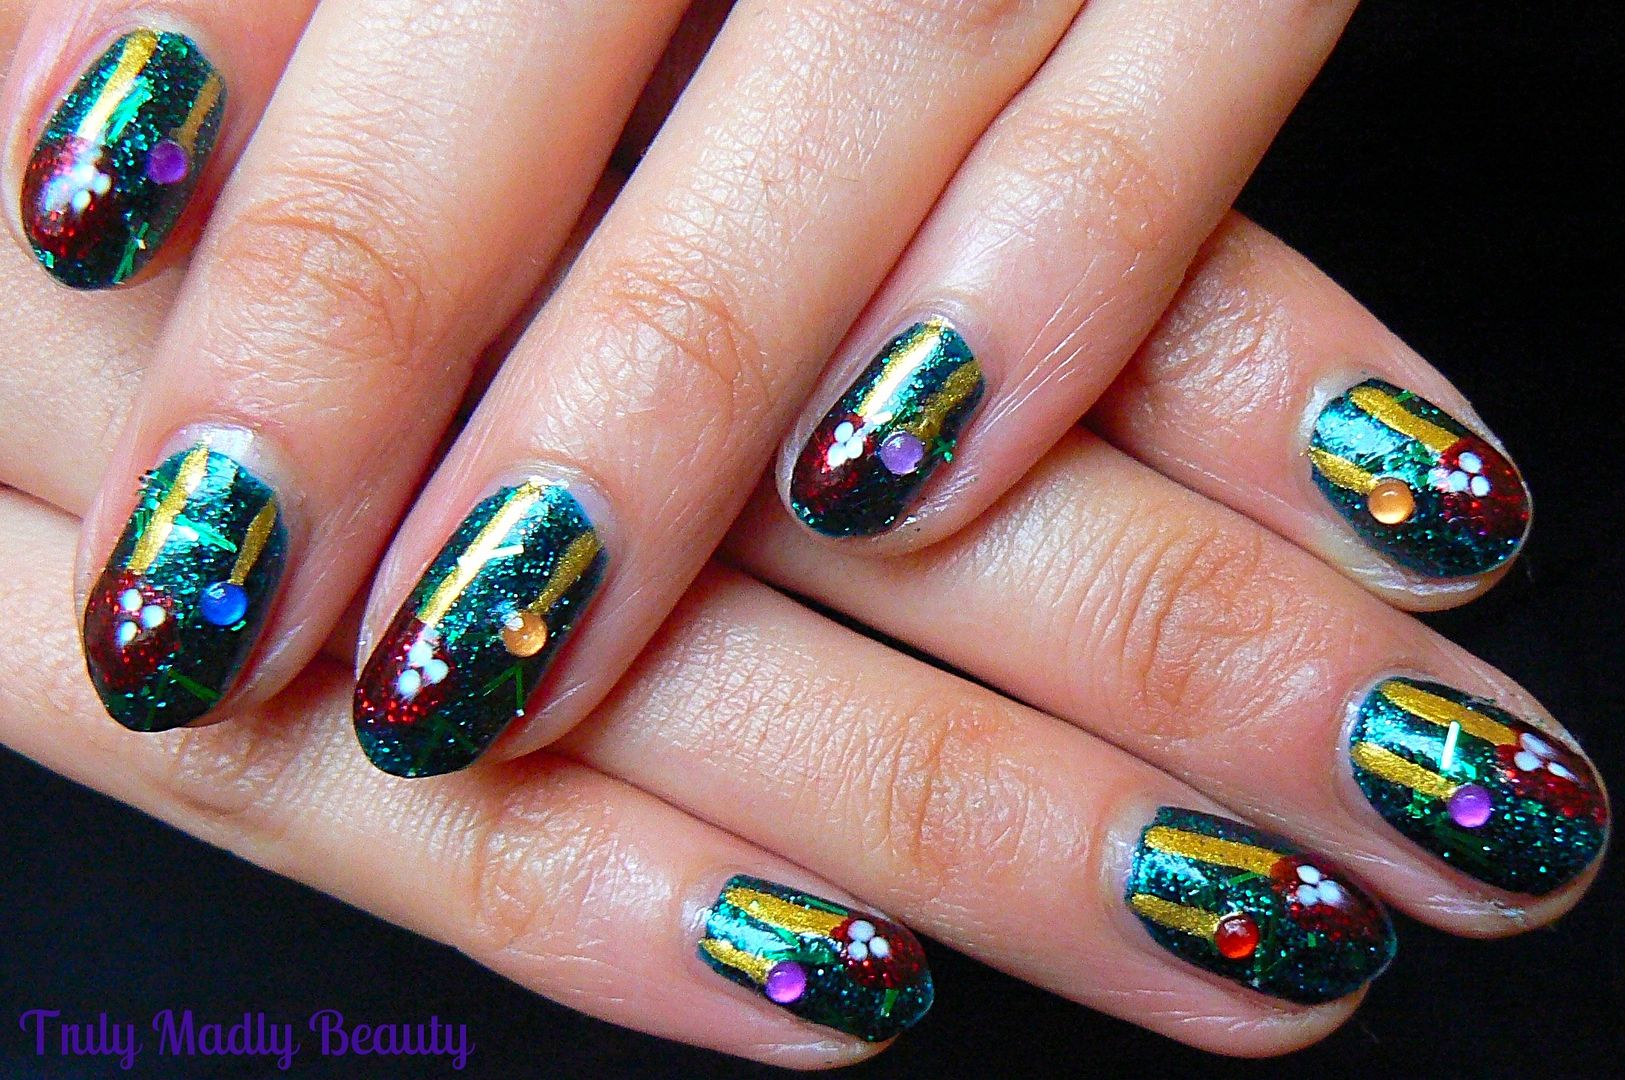


Phew! So there we have it, many lessons were learnt  during this experience. Just goes to show that yours truly has some seriously bad mani days too! But I guess I'm only human..though that is debatable on occasion ;)

Thanks for reading! Here's hoping the next festive mani goes better hohoho!

Lotsa love to ya!


12.07.2015

A Pop of Pretty Metallic with Absolute Shimmer Eyeliner!

Hey there lovely readers!

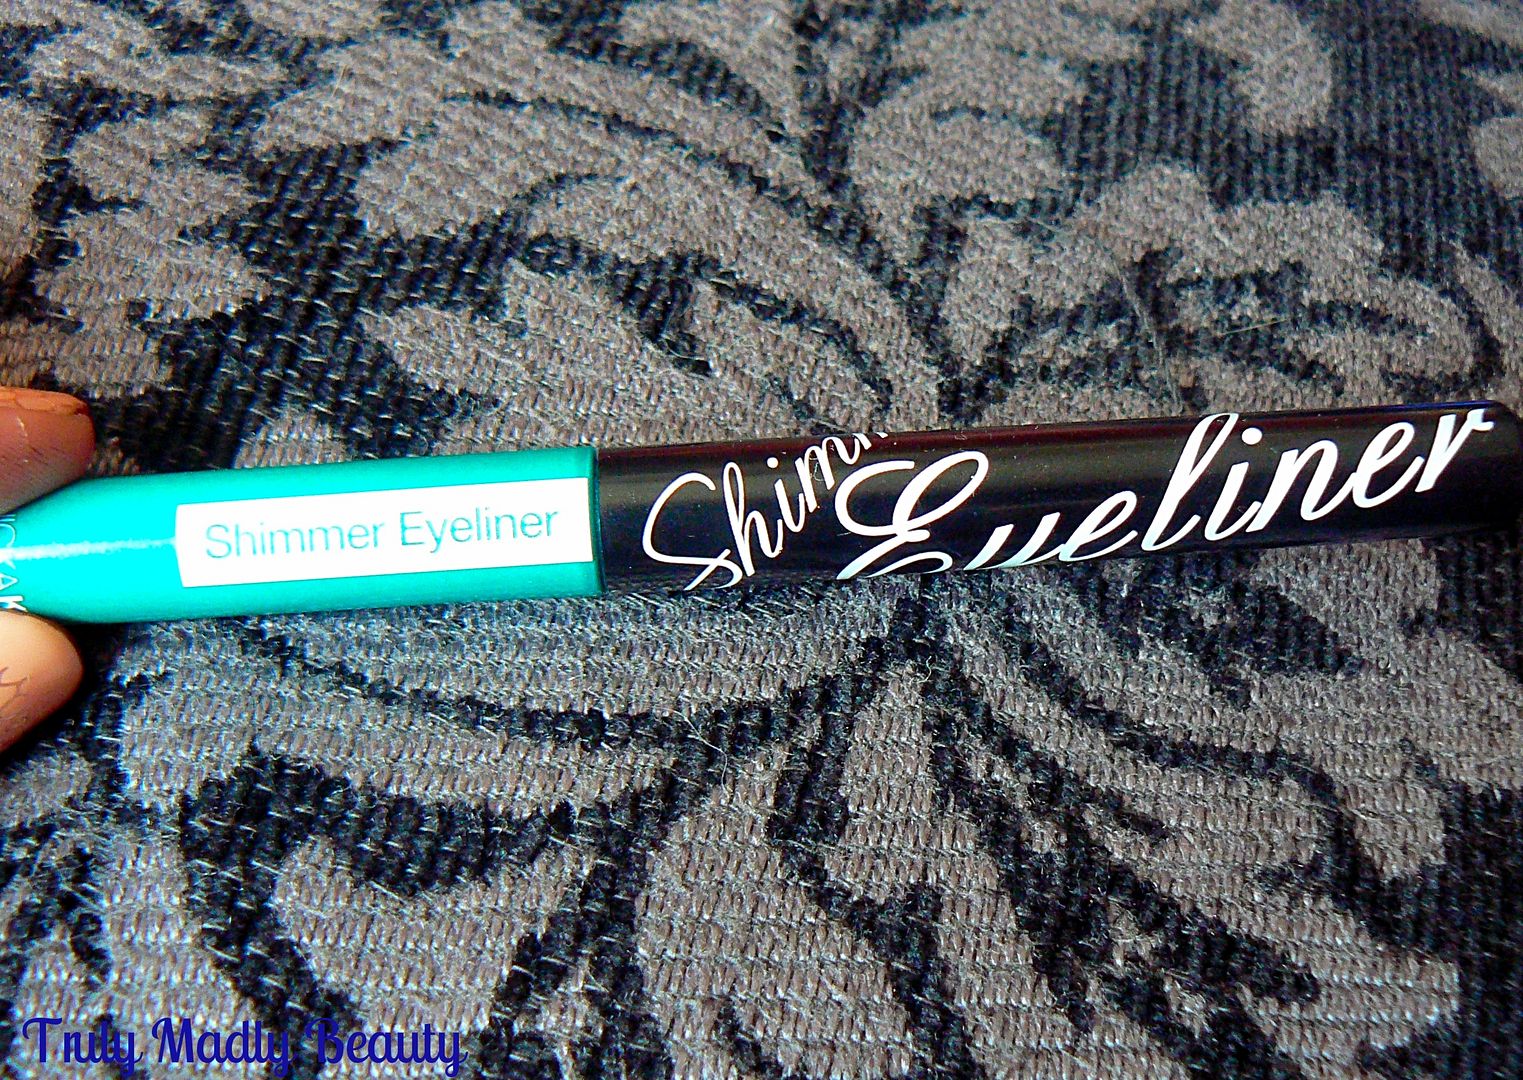
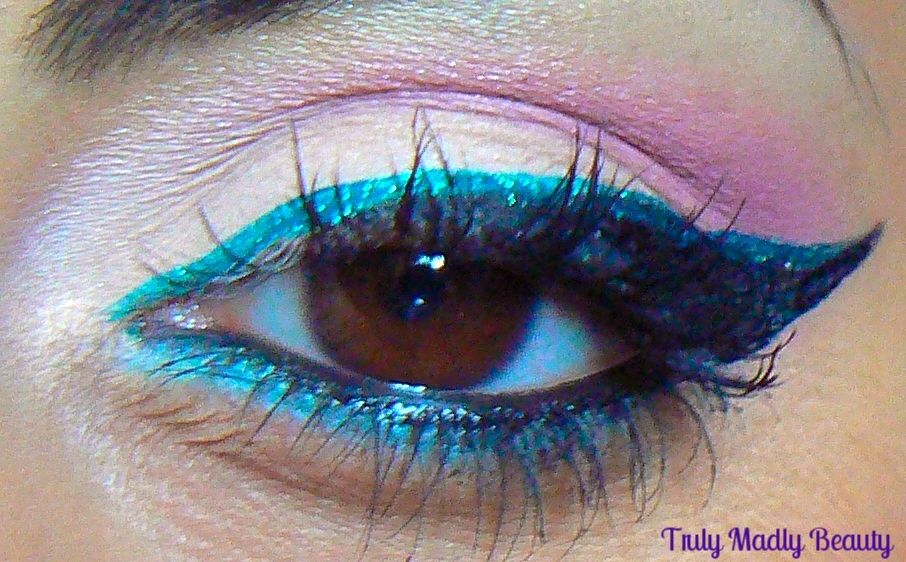
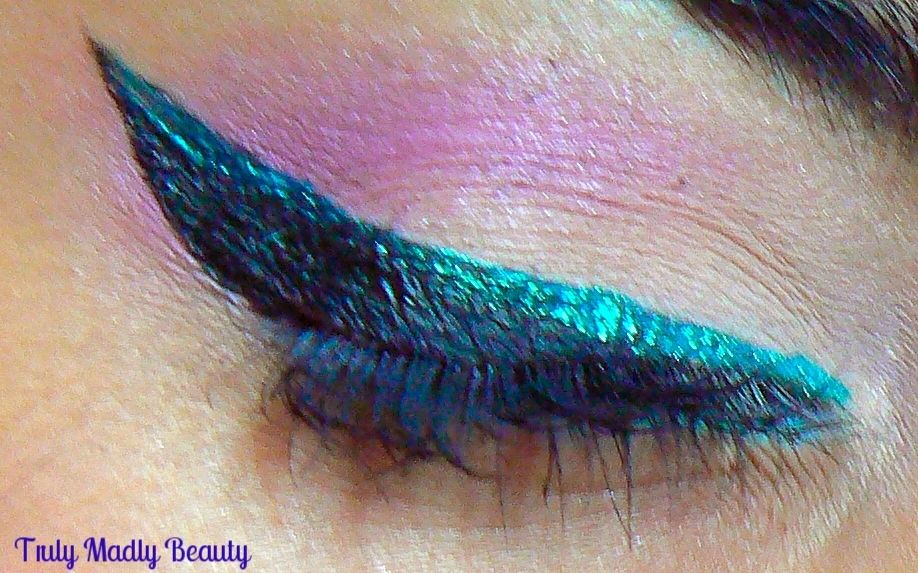
My love for eyeliner runs deep, its the one makeup product I simply cannot do without. Applying a cat eye flick is pretty much an essential part of my daily routine & the type of eyeliner used be it gel, liquid, pencil depends on the mood I'm in, but whichever one I do opt for its always in my obligatory black. However every so often I get the urge to divert away from the norm & input a pop of colour & if you tend to shy away from bright eyeshadow looks then the perfect way to do so is with colored liquid eyeliner such as this little pretty offering from Absolute


Founded by the same team that launched Nicka K New York, I was introduced to this brand which is available from online retailer Beauty Crowd, at a PR event not too long ago & was immediately drawn to the vibrant rainbow spectrum of shades on offer in the Absolute Shimmer Eyeliner range.


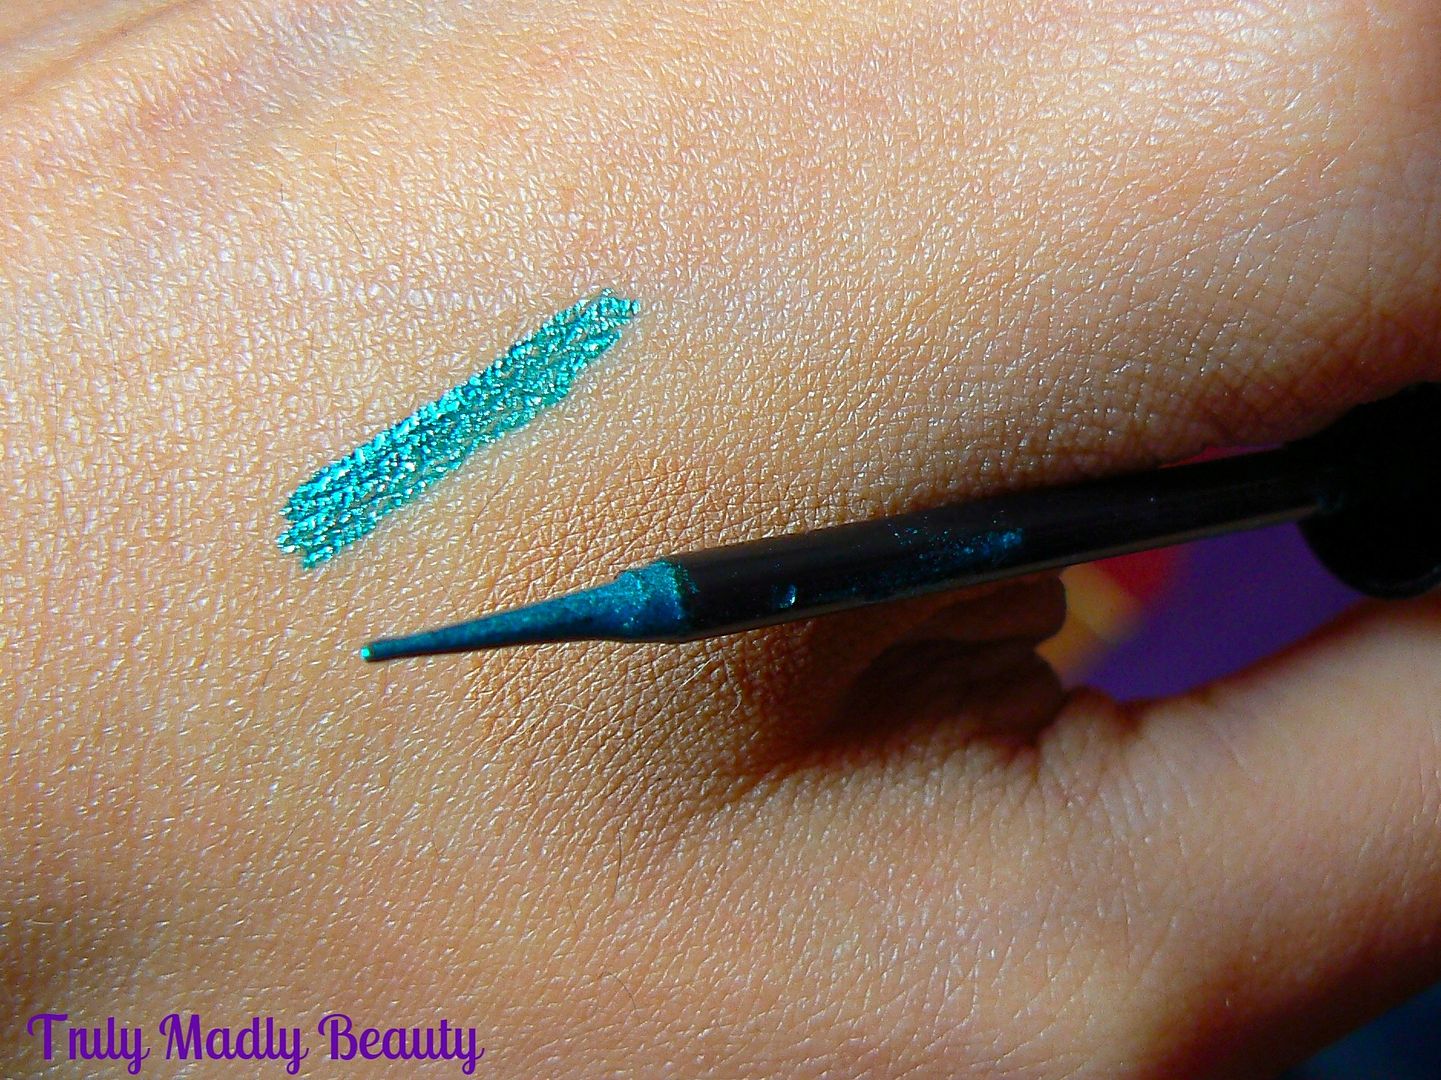
There are 12 shades to choose from ranging from matte, shimmer to glitter, the shade I have here is a beautiful, bright turquoise green which has the most lovely shimmering metallic foil like finish, seriously swoon worthy & a definite eye catcher!


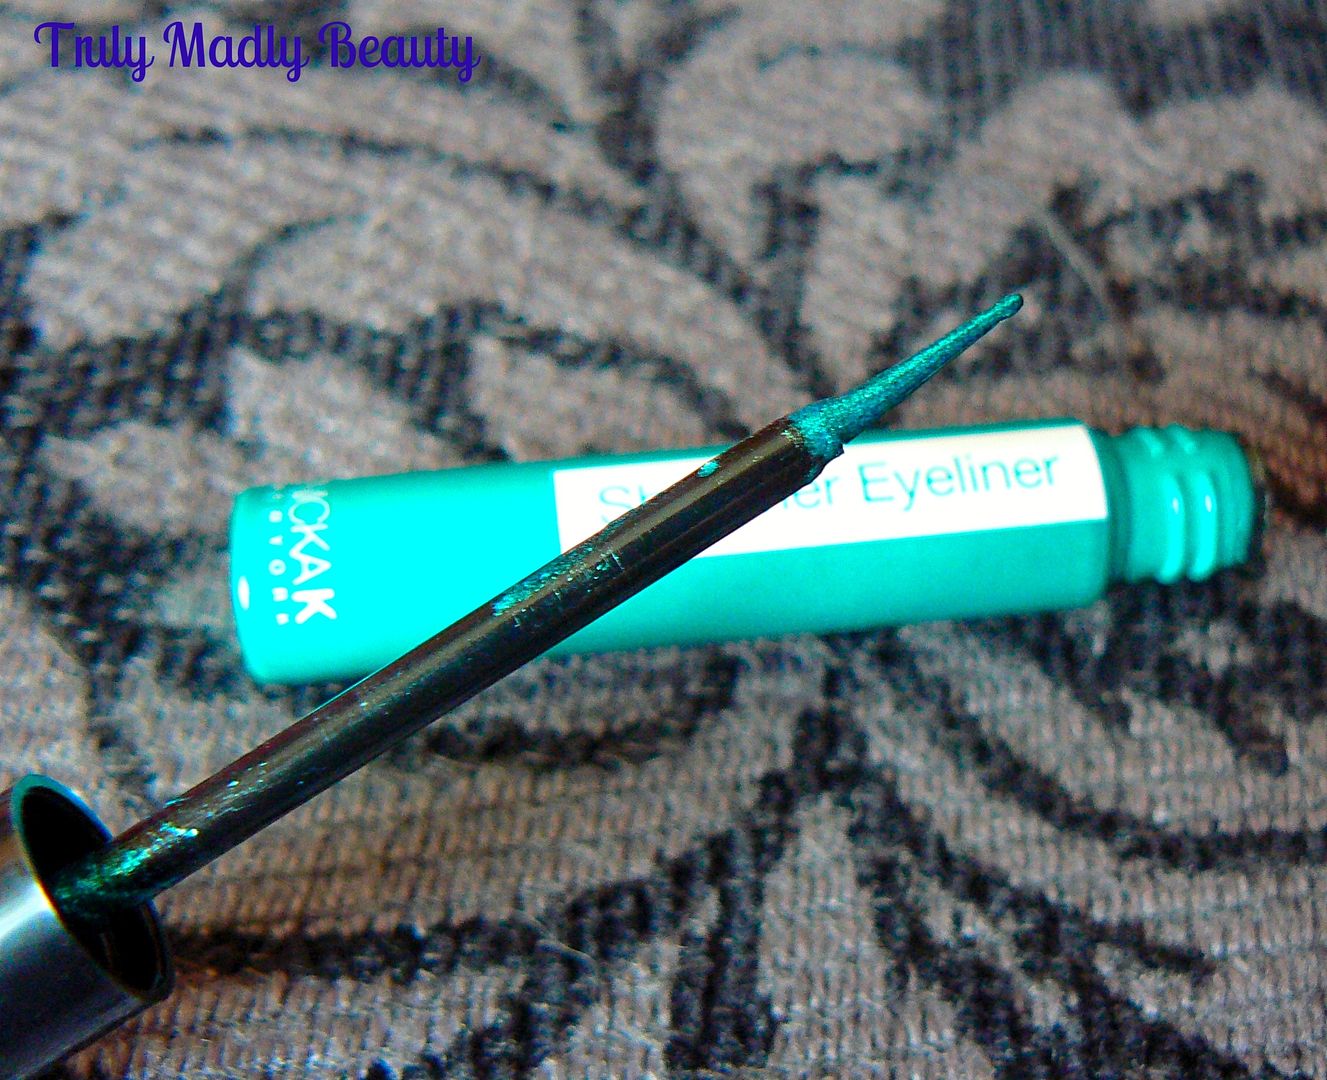
The applicator that comes with the Absolute Shimmer eyeliner is foam based, if I'm honest personally I would prefer a thin brush applicator as I just find them much easier to handle for ease of application & I did have to go over this a few times to get an opaque finish. However once applied I was impressed with the colour pay off & not just that but loves...once on, this eyeliner WILL NOT BUDGE.


The Absolute Shimmer eyeliner stayed put all day & it took my super strong LUSH Ultrabland Cleanser, which I tend to dig out for removing heavier makeup, to shift it completely followed with a swiping of micellar water but as I double cleanse in the evenings (if I'm not too lazy!) anyway I didn't find this too problematic at all.


Overall I love the finish to this pretty metallic offering from Absolute which retails for a bargainous £3.95 & it successfully satisfies my need for a simple yet striking pop of colour incorporated in to the eye makeup that stays put all day. You can find the Absolute range online.

Thanks as always for reading!

Lotsa love to ya!


12.03.2015

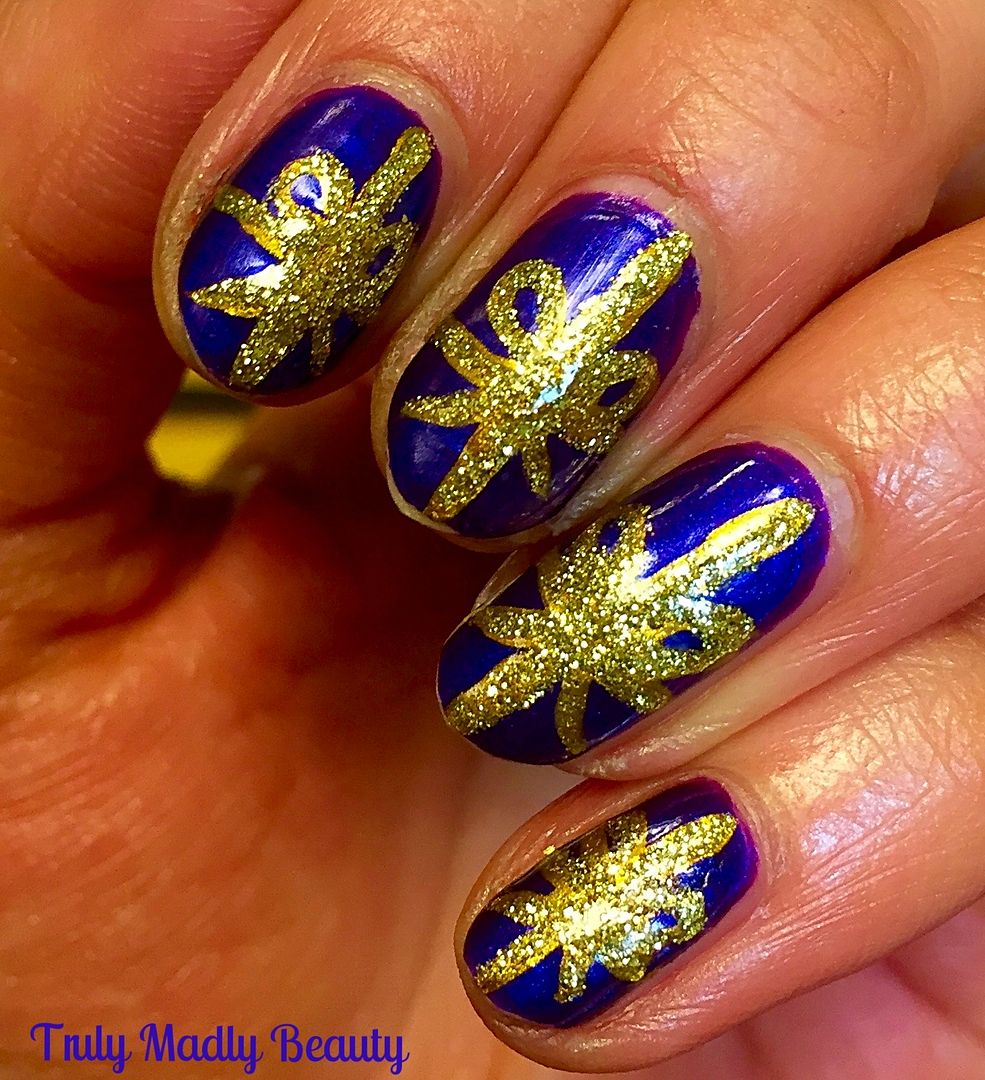
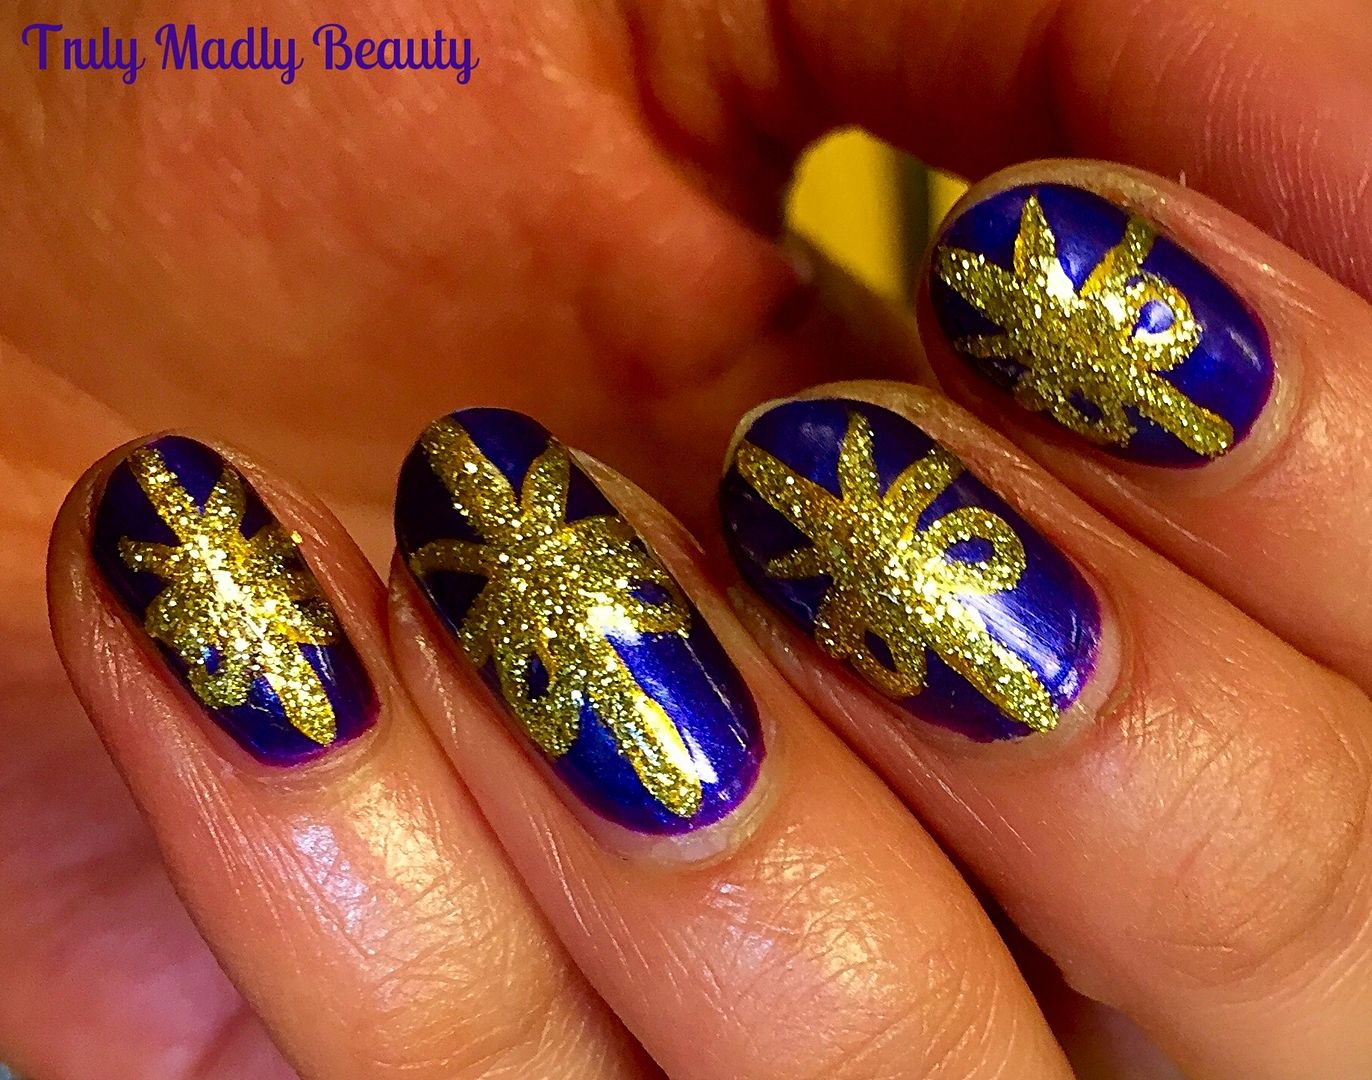
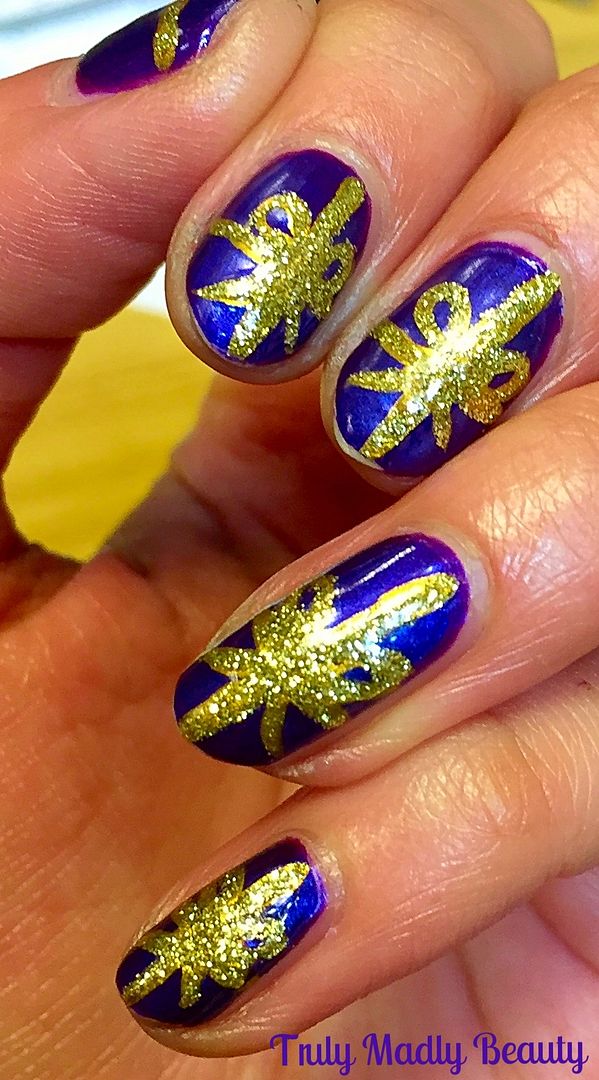
Festive Nails - Christmas Presents!

Hello there my lovely readers,

And so it begins...the time has come to start getting the festive nail art game on! Expect lots of sparkles in the following weeks. If you're thinking "Oh but Aysh glitter is such a pain in the caboose to remove!", fret not my dears as I have written previous posts HERE on how to make glitter nail polish removal a straightforward stress free task! So now you can sparkle to your hearts content! 

I expect that I'll probably be using a lot of reds & greens over the next few weeks so I thought Id start things off by picking a slightly different yet no less merry shade for my first Xmas mani, with some Purple Presents!


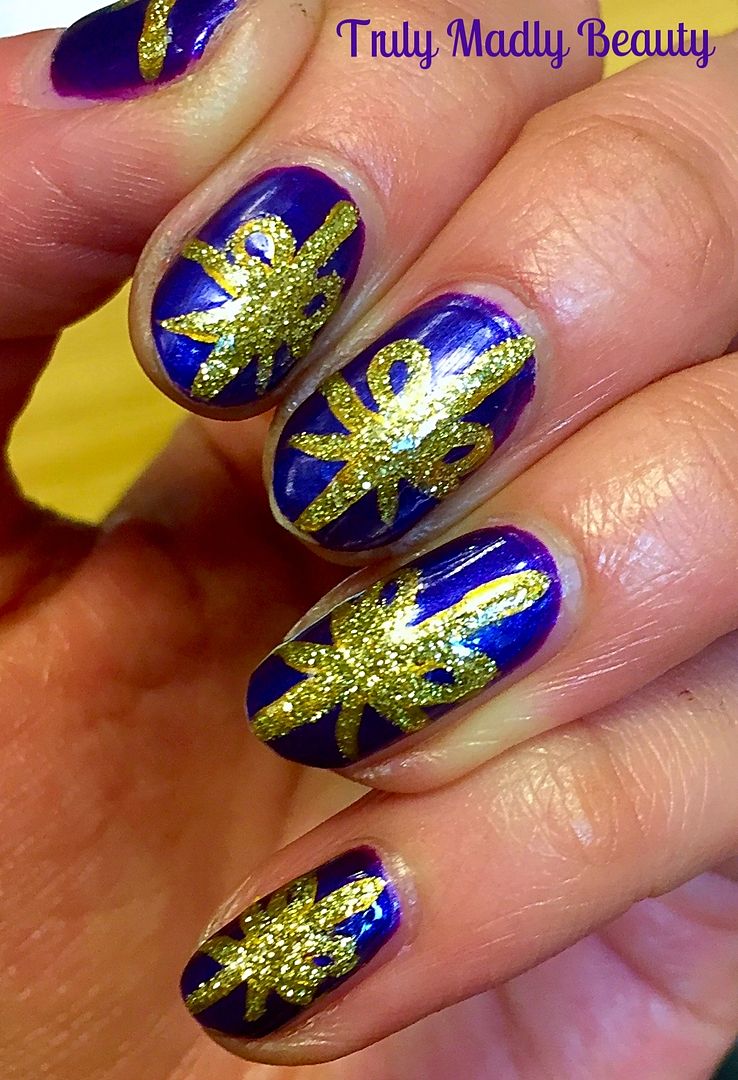
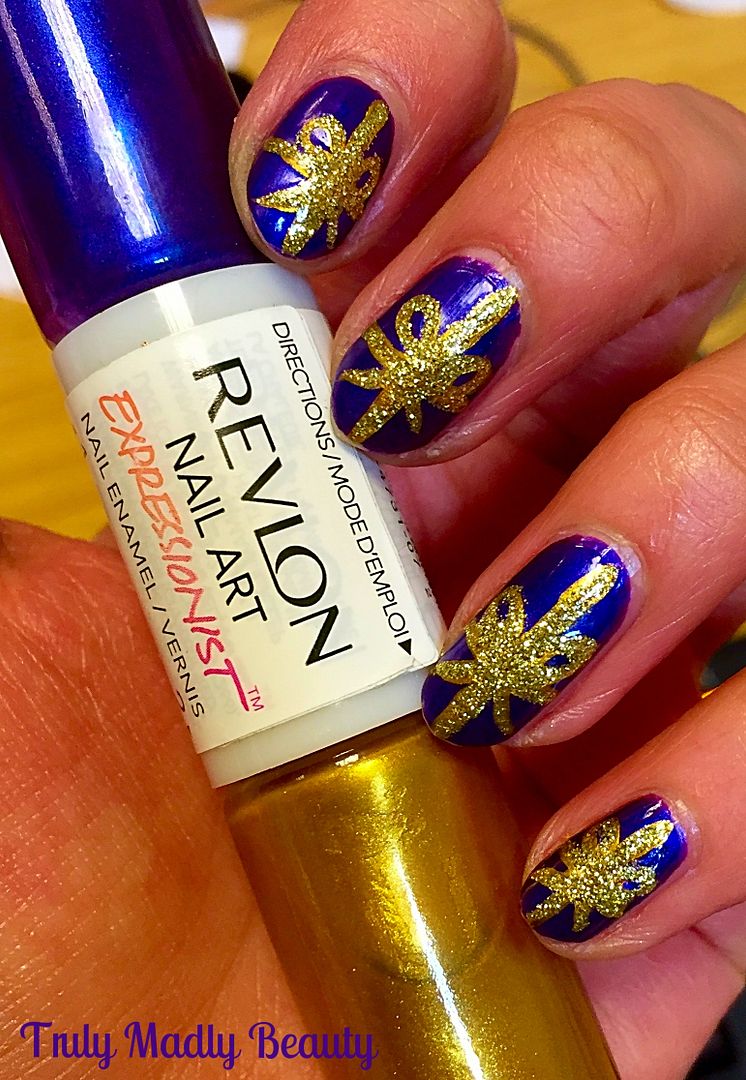
To create my Christmas Present nails I used the double ended Revlon Expressionist Nail art polish in Vincent Van Gold, which I picked up many moons ago, containing a beautiful bold purple polish on one end & a shimmery smooth gold on the other.


Begin with your base colour, of course you don't have to use purple go for any shade you fancy! I love satin-y finish polishes for this style of mani as they give the look of shiny wrapping paper. The purple in this duo is so gorgeous, a really rich, luminous, what I call 'Cadbury' purple, reminiscent to the pretty packaging of the famous chocolate brand. It has the most divine pearlescent blue shimmer running through that really makes it glow. This is two coats.


Next you need to add your bows & ribbon, the gold end of the Revlon duo does have a thinner brush for nail art however I still found it a tad too thick so instead used my new Pure Color 10 brush from WhatsUp Nails which I am in love with as its perfect for creating fine nail art.


Dipping your brush into the gold polish, draw a vertical line straight down the nail, slightly to the right instead of directly in the centre, then draw another horizontal line across the nail so you'll have a gold cross.


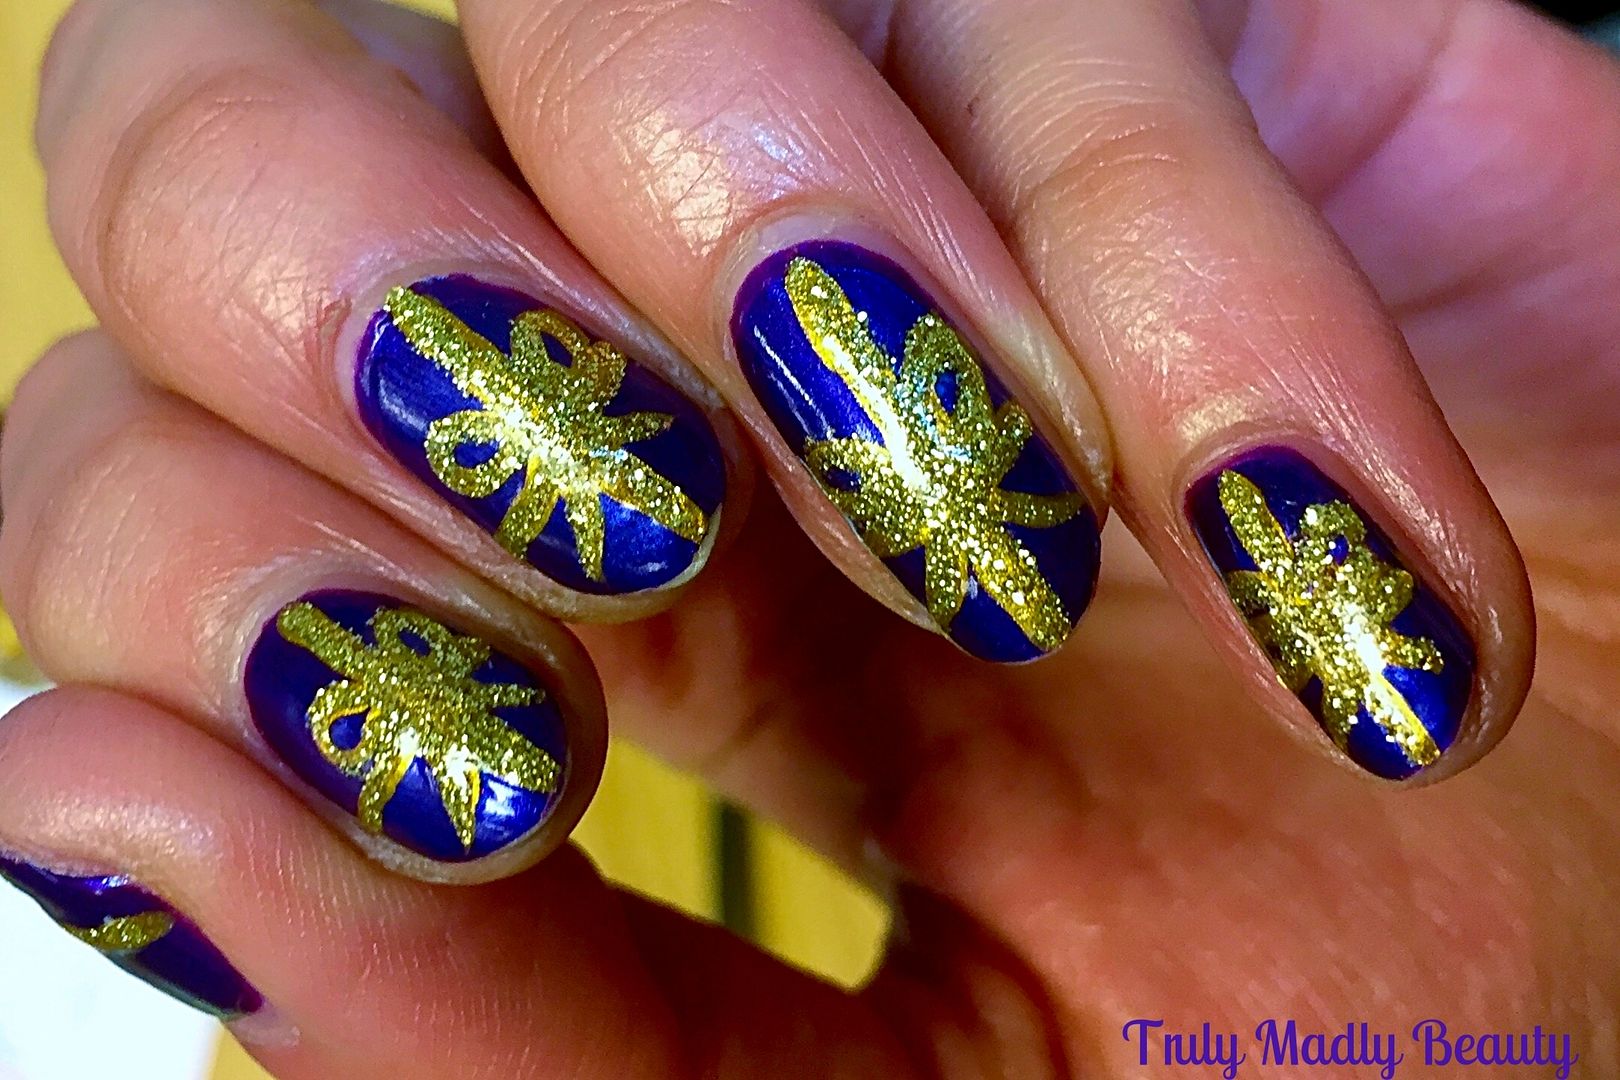
Then dipping again into your gold, add two loops side be side in the centre of your cross where the lines meet for the top of your bow, before doing the ribbon flicks underneath.


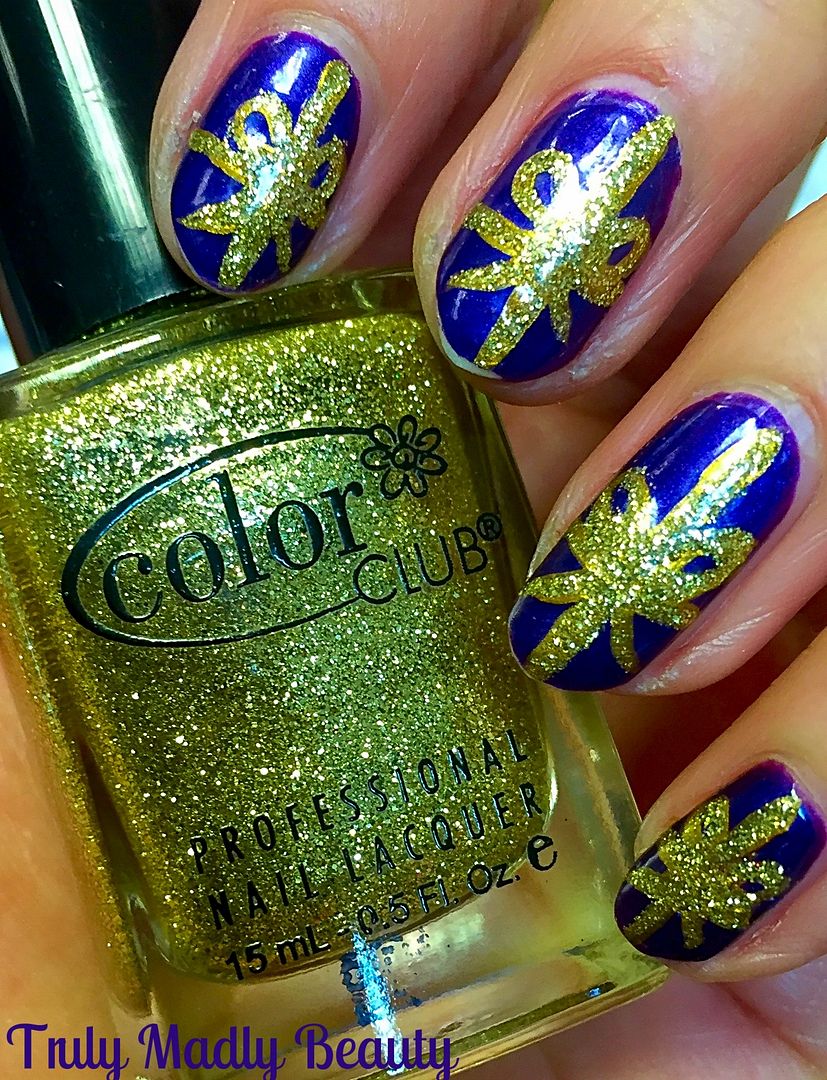
For a final touch I decided to go over the gold with this simple yet super sparkly Color Club gold glitter polish, just doing this additional step really does make a difference allowing that mani to pop!


Finish with the obligatory topcoat, I of course use my much loved CND AirDry & you're done!

Thanks as always for popping by, I hope you liked the first festive mani my lovelies, if you have any requests do let me know!

Lotsa love to ya!

12.01.2015

NOTD - Elizabethan Rose ft True Brit London & A England

Hello there my lovely readers,

If you're familiar with my blog you may remember my recently discovered love of the brand True Brit London & their beautiful range of polishes. Not only do they possess a diverse range of pretty shades, all based around adorably typical British themes, the formula of these polishes is great with a high end quality feel but without the price tag. And don't get me started on the glorious packaging. Pretty polish bottles always gain major brownie points! I've already blogged a few of their polishes which you can look back on HERE. Today I have another stunner, this time sees the turn of the beautiful *Elizabethan Rose...


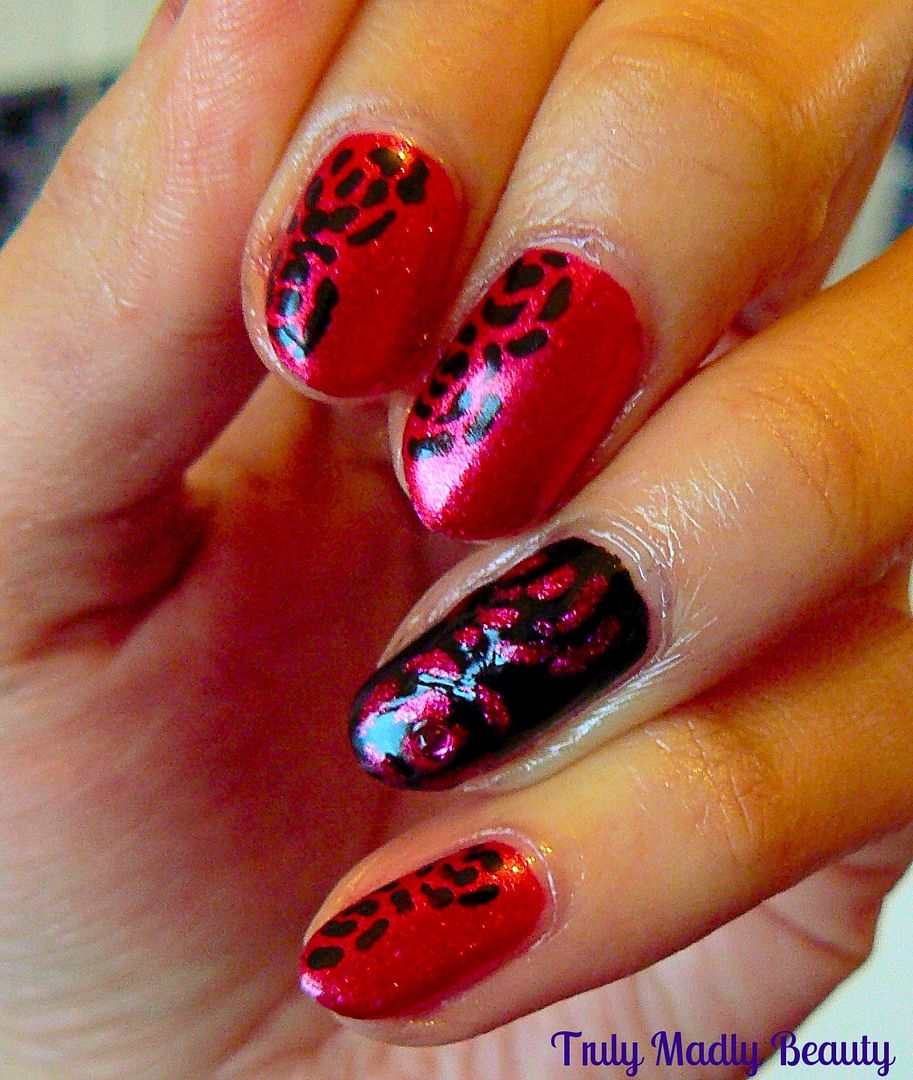
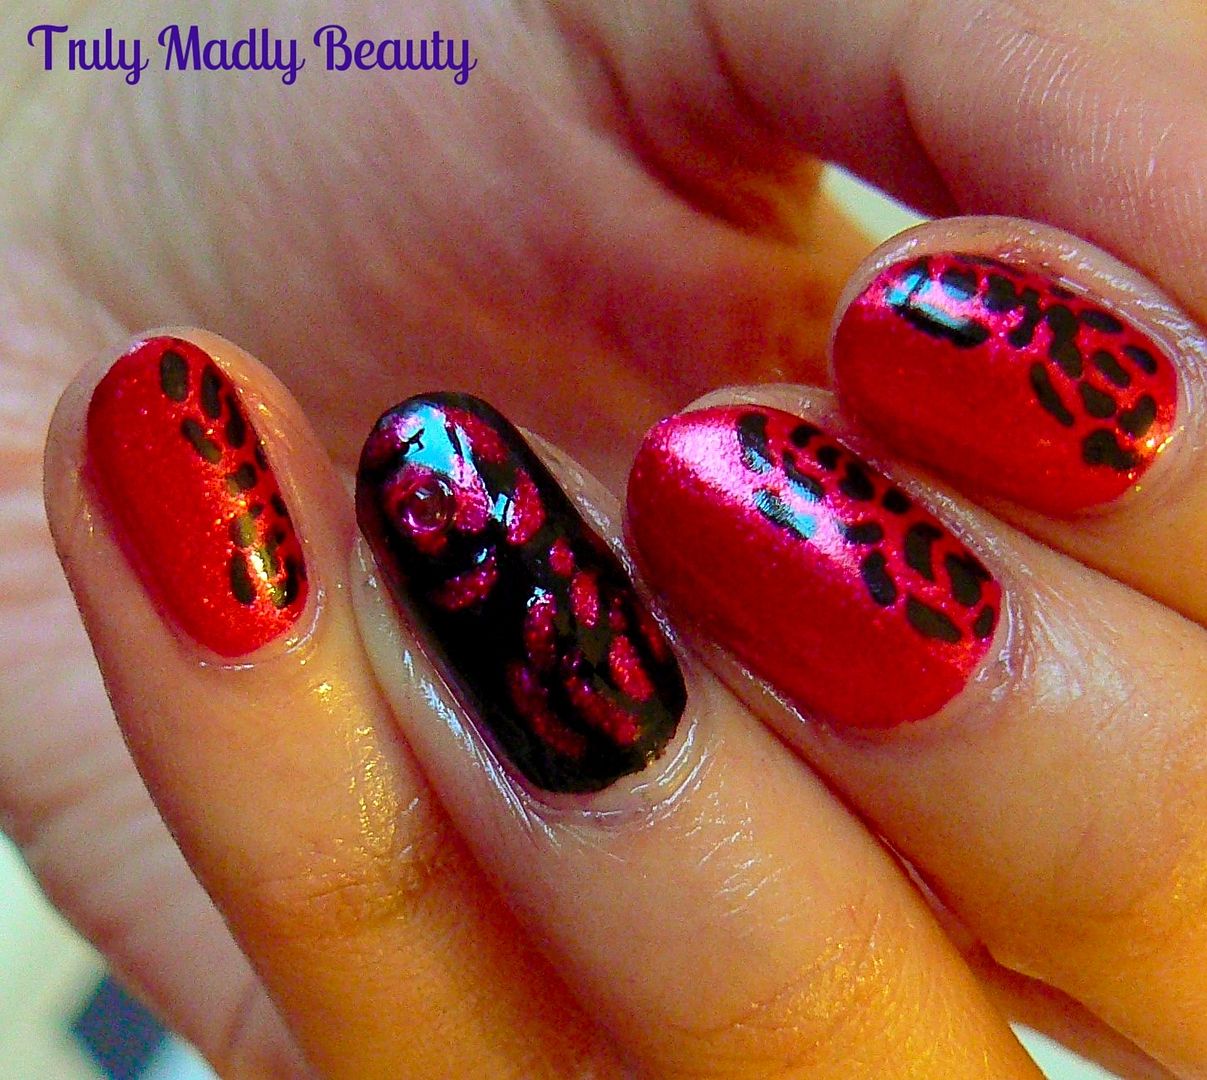
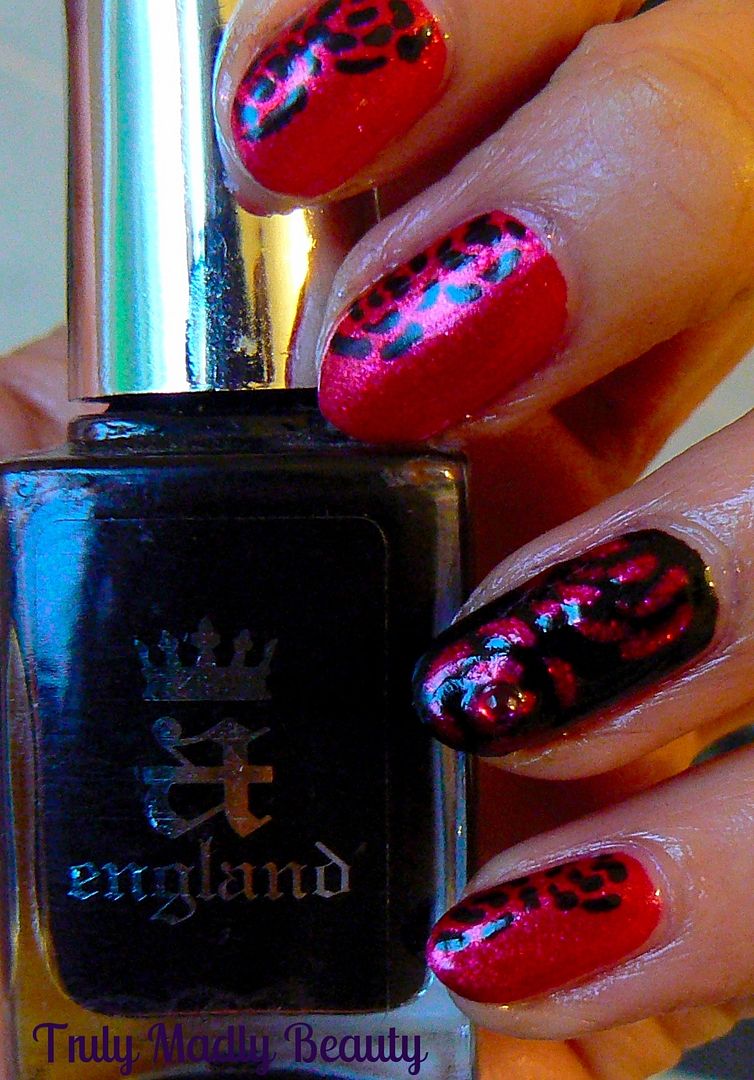
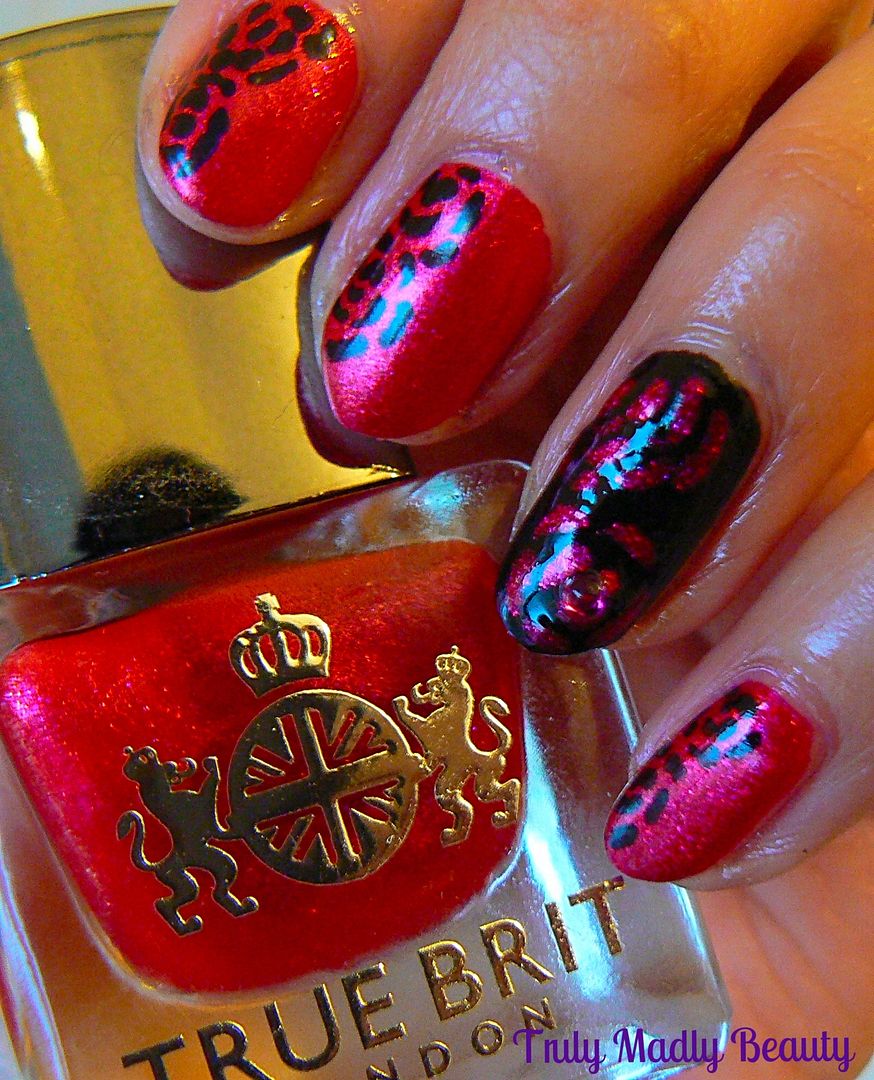
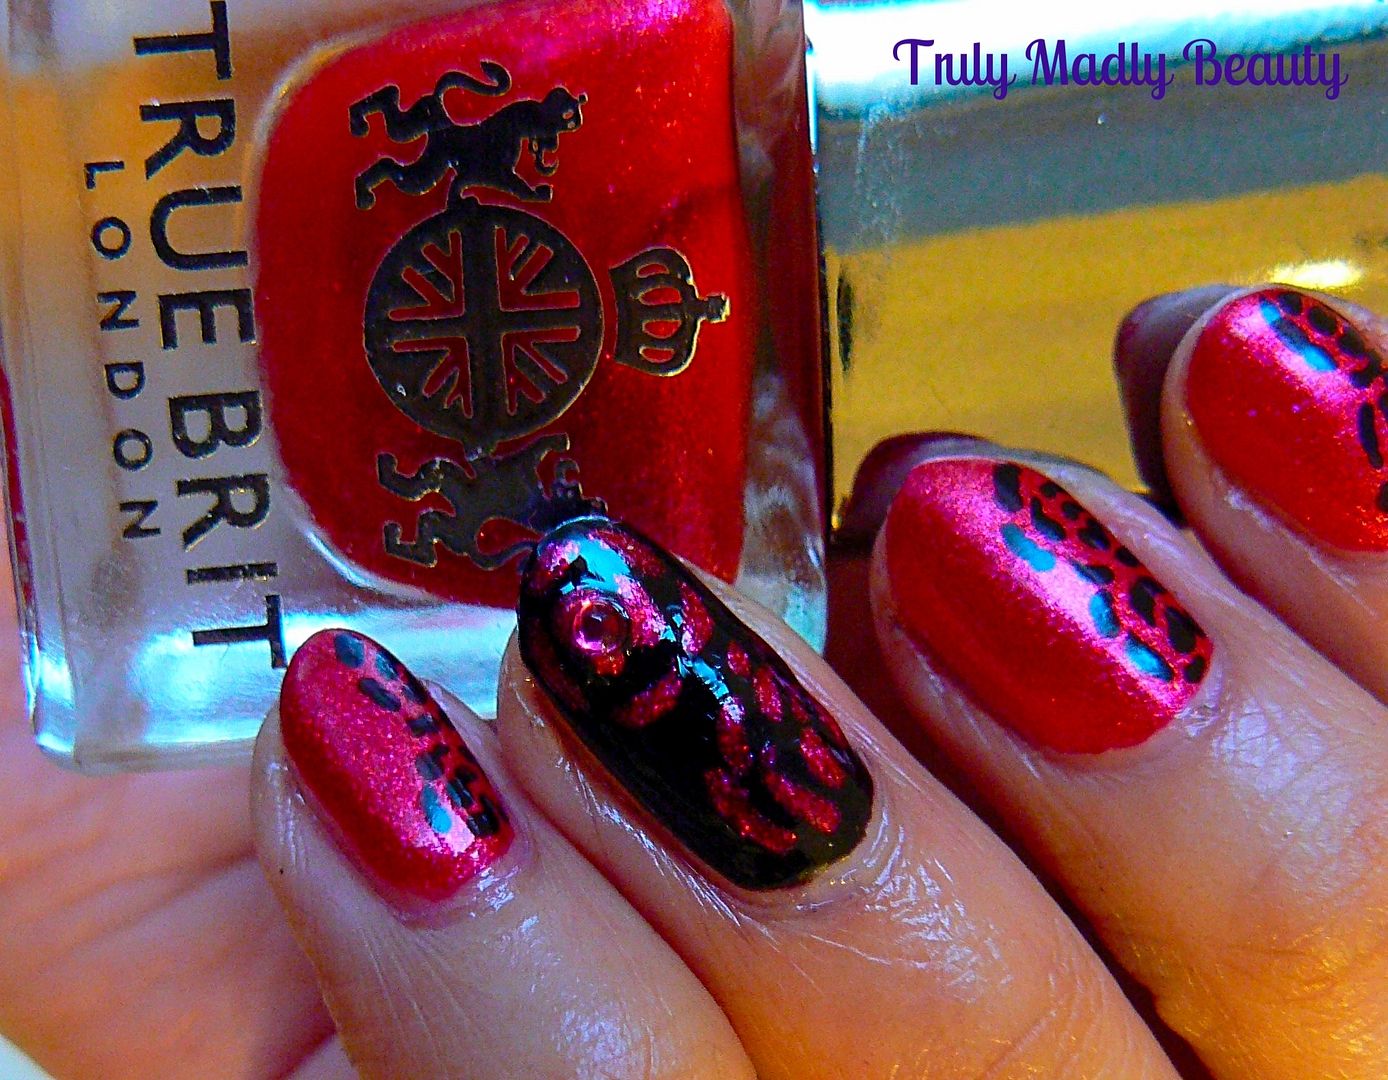
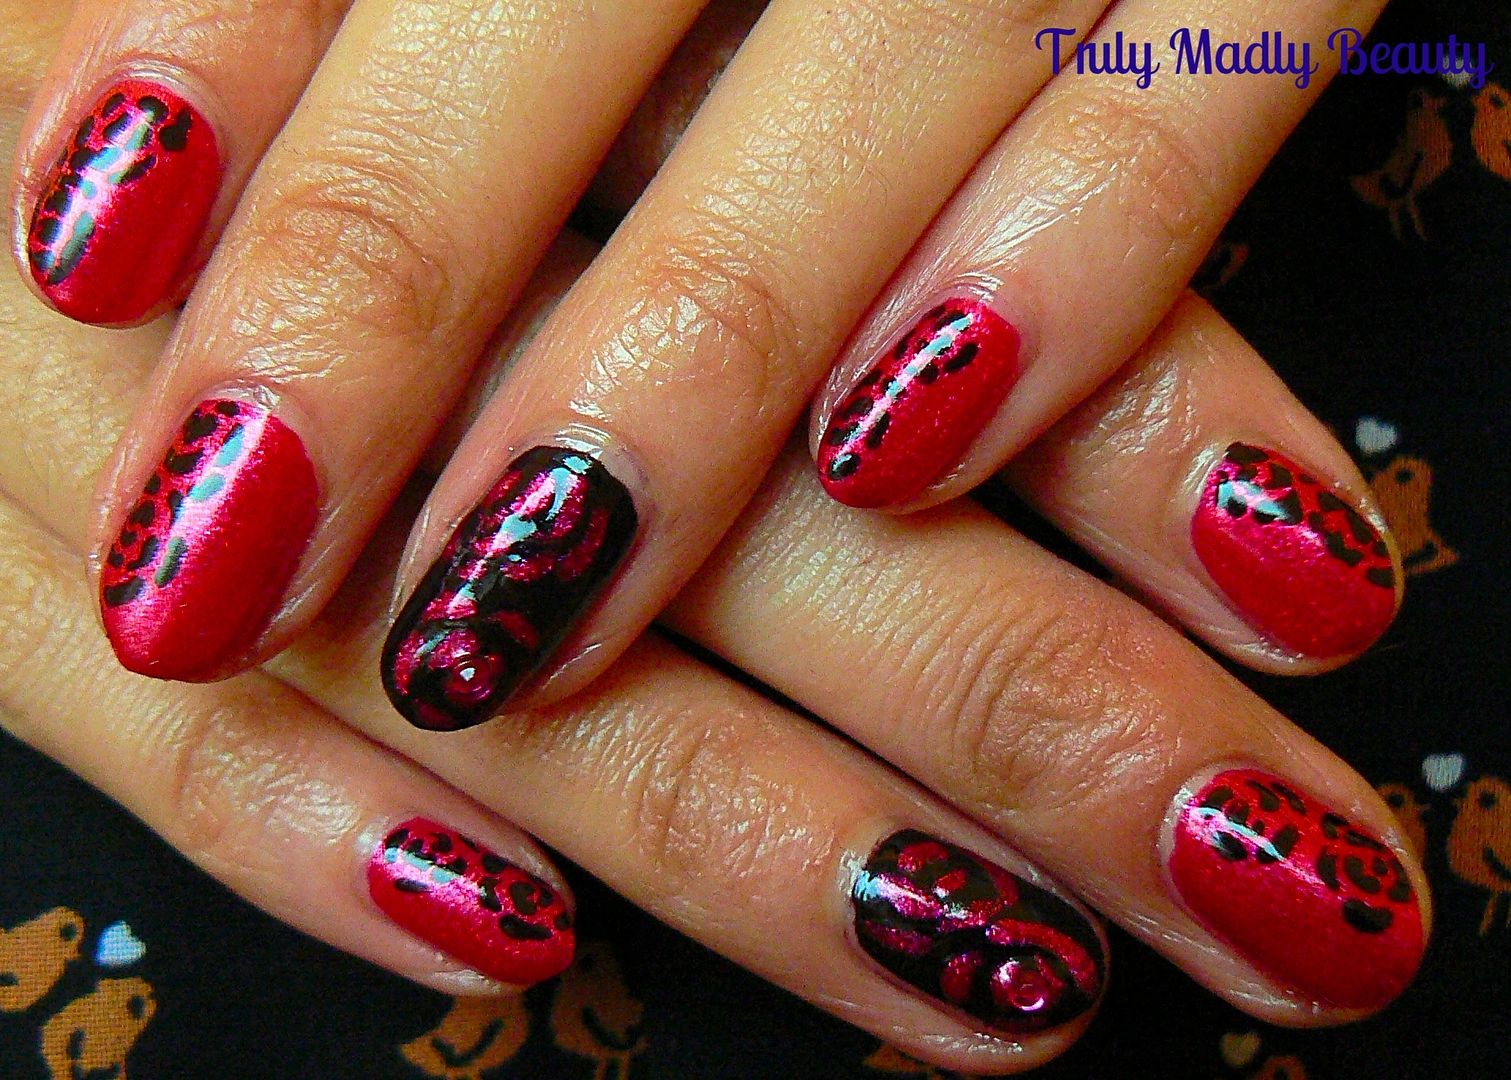
Isn't it simply swoon worthy? Elizabethan Rose is a stunningly vibrant cherry red/fuchsia pink glass fleck shade which gets its sparkly shimmer from the addition of finely blended rouge pearl swirled in to the formula. The colour is so uplifting, instilling all the happy vibes in me, I just adore it!


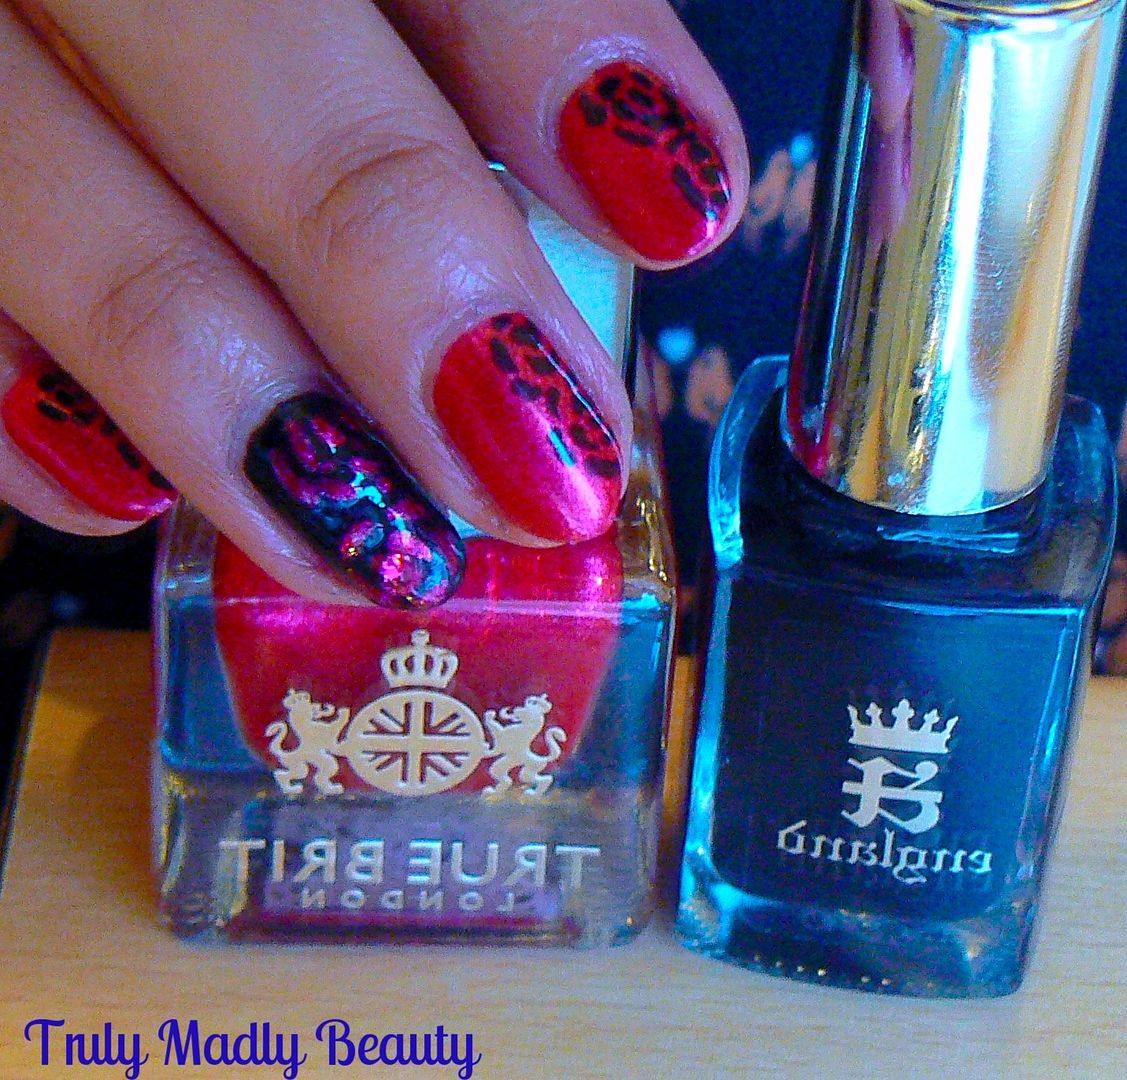
This here is two coats applied which glided on to the nail smoothly & dried fairly quickly too. I wanted to incorporate a bit of nail art in to the mani & what better than some free hand roses to go with theme of the polish.


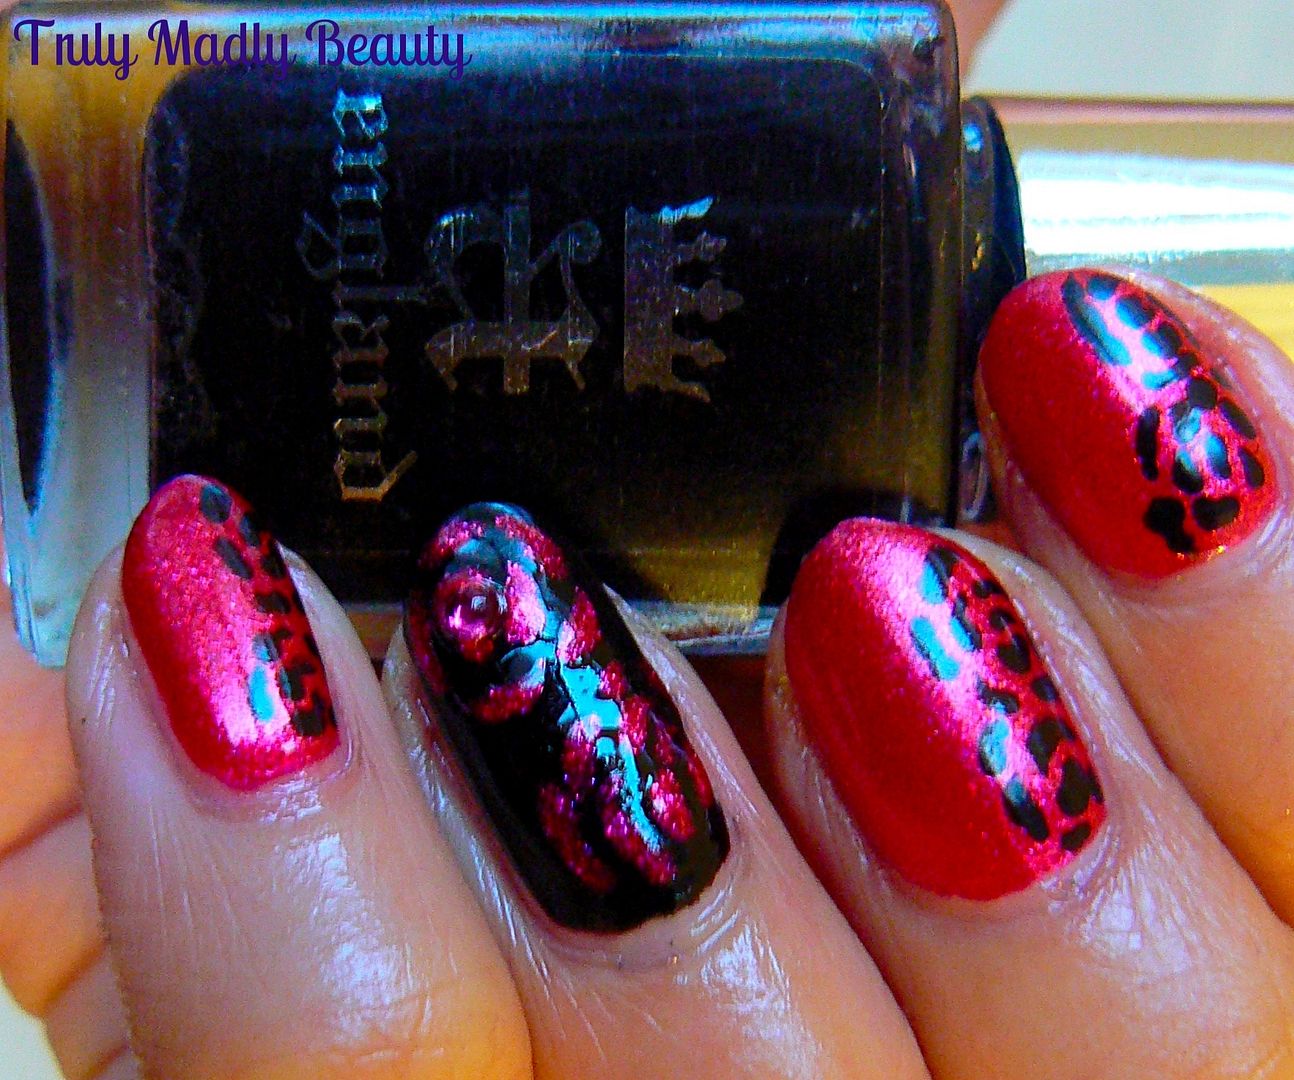
I went for an accent nail using a black base, here I've used two coats of A England Lancelot. I absolutely adore Adina's beautiful polishes, her collections are like artwork, each based around a gloriously gothic historical theme. Lancelot is actually a red tinted black, fabulously opaque & glossy. Another brand I urge you to check out.


I used Lancelot again to create a mini rose petal design on the left side of the nail using a fine dotting tool to create the petals. I love floral nail art but really want to practice my rose technique as it definitely needs working on so plan to do more of this design for sure!


Then for my accent nail I grabbed Elizabethan Rose & my Ongle nail artbrush which I purchased from Born Pretty Store (use my code TRUW10 for 10% off) & again free-handed two large roses, positioning one near the tips & the other near the cuticles. 


To create a rose design begin with a dot of polish in the centre, then gradually add little curved swirls around it, forming your petals until your happy with the size.


To finish I just applied a pretty pink rhinestone to the centre of one of the roses before sealing it all with topcoat.


Hope you like the Rose themed mani my beauts! True Brit London polishes can be purchased for £12.50 online plus you can receive 10% off your order using my code TRULY10, so why not go grab yourself a Christmas treat?

Thanks as always for reading!

Lotsa love to ya!


Disclaimer - * products featured were sent to me for my consideration. I am not affiliated with the brand nor paid for this post, this review has been as always my 100% honest opinion! :)