
Hey there lovely readers!
In
this day & age we all love to find quick solutions to certain
beautifying steps, nails included! Nail wraps are the perfect answer
to this, straightforward & no fuss waiting for polish to dry. I
found myself drifting away from the nail wrap world of late, I'll put
it down to experiences with a few dud ones that I didn't get on with
& were just too fiddly when it came to application! However I
have rediscovered my love for nail wraps thanks to these lovely
offerings from Loreal!
I
wasn't actually planning on blogging about these, but they are so
good I had to share with you my lovelies. I literally picked these up
in a rush when I saw them in the Poundshop across the street from
where I work as I had a serious chip situation going on with plans in
the evening which left me little time for refreshing the mani!
However
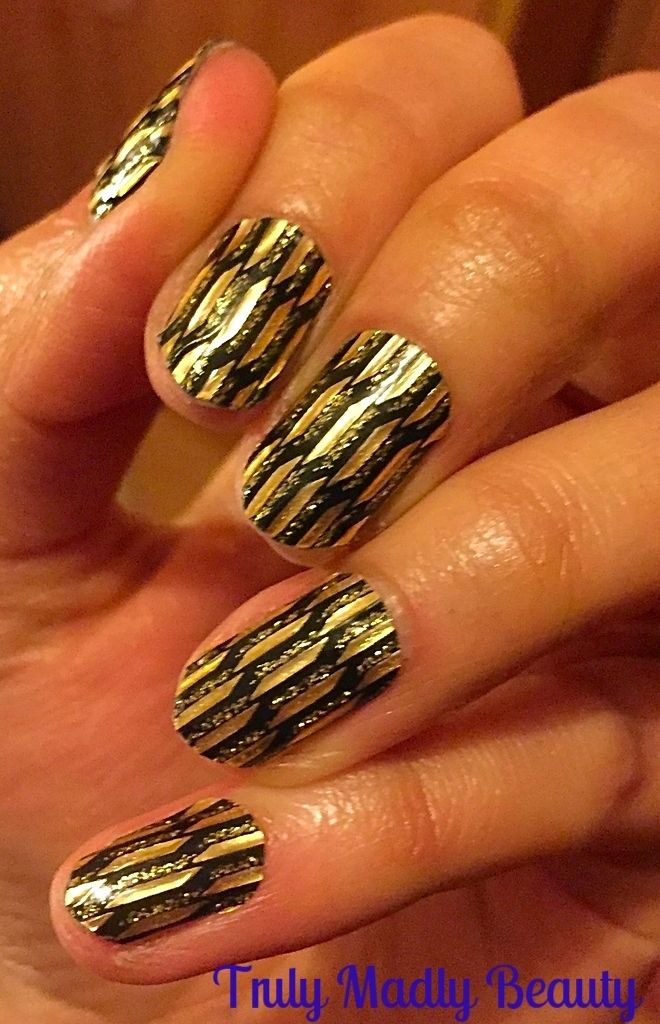
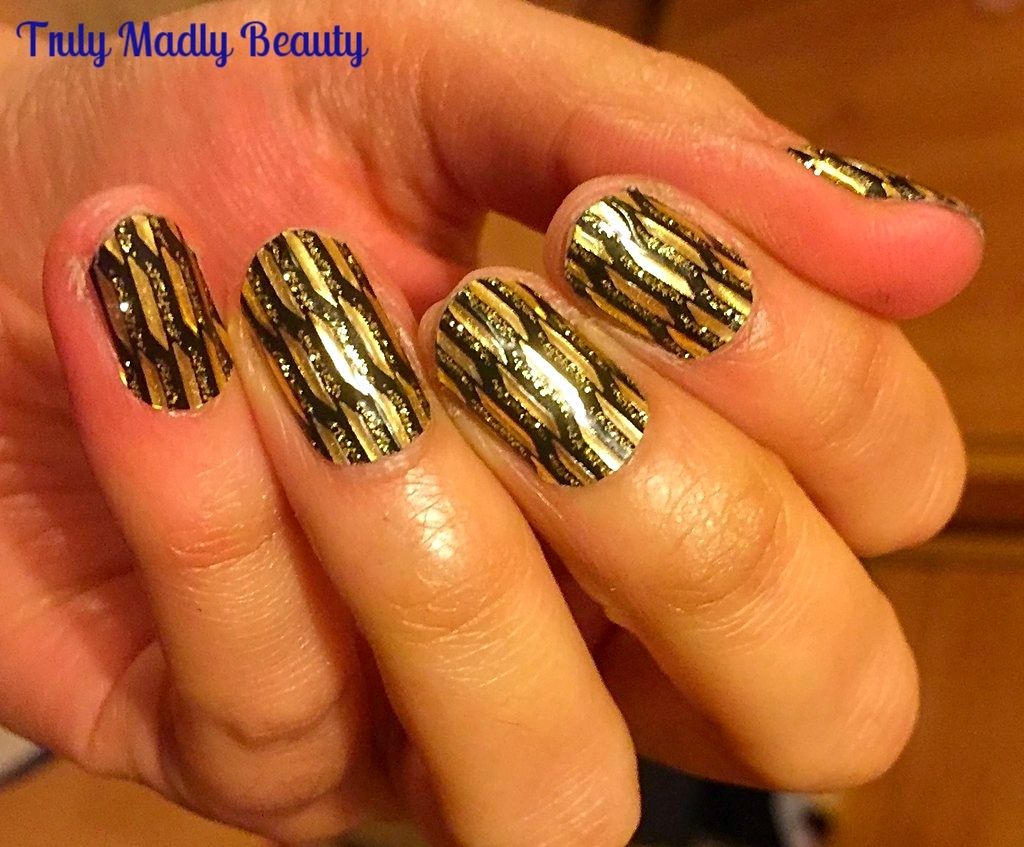
these blingy Loreal Color Riche nail wraps in design “Or Lame”
caught my eye so I decided to pick them up on a whim & boy did
they succeed in saving the day!
Once
home I quickly removed the traitorous chipped polish with my new
favourite, the delicious scented nail polish removers from True Brit
London which I've blogged about in detail HERE & then got to work
with applying the wraps, a task which was completely literally within
minutes.
Applying
the wraps could not be easier, starting with a clean bare nail. Nail
wraps adhere better to a dry surface so its important to ensure that
the nail doesn't have any oils or moisture, of course the polish
remover helps remove any excess moisture as well.
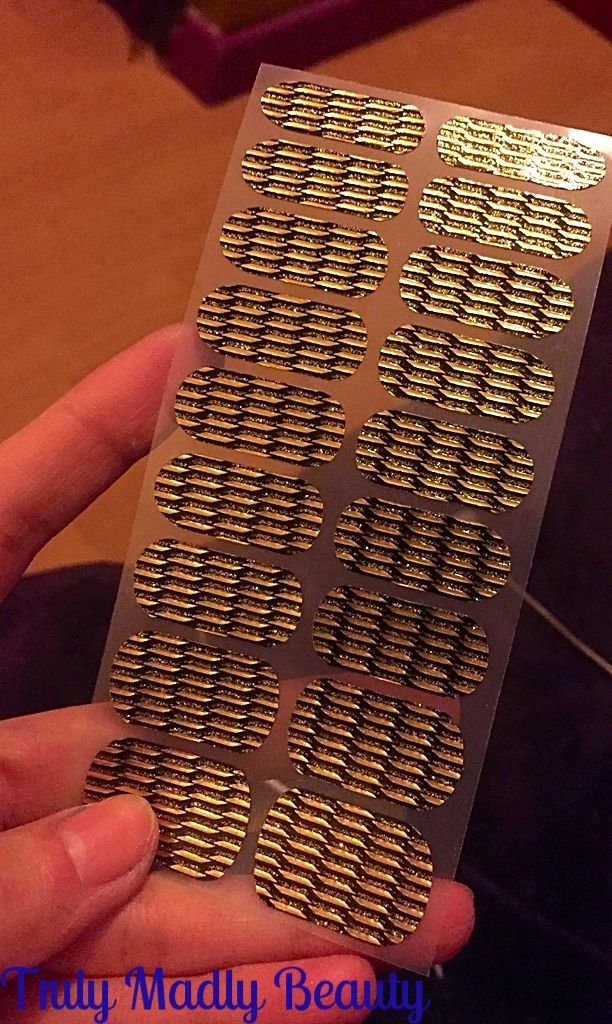
Select
the nail wrap which fits the size of your nail best, the Loreal ones
have a nice selection of various sizes so finding a match shouldn't
be problematic.
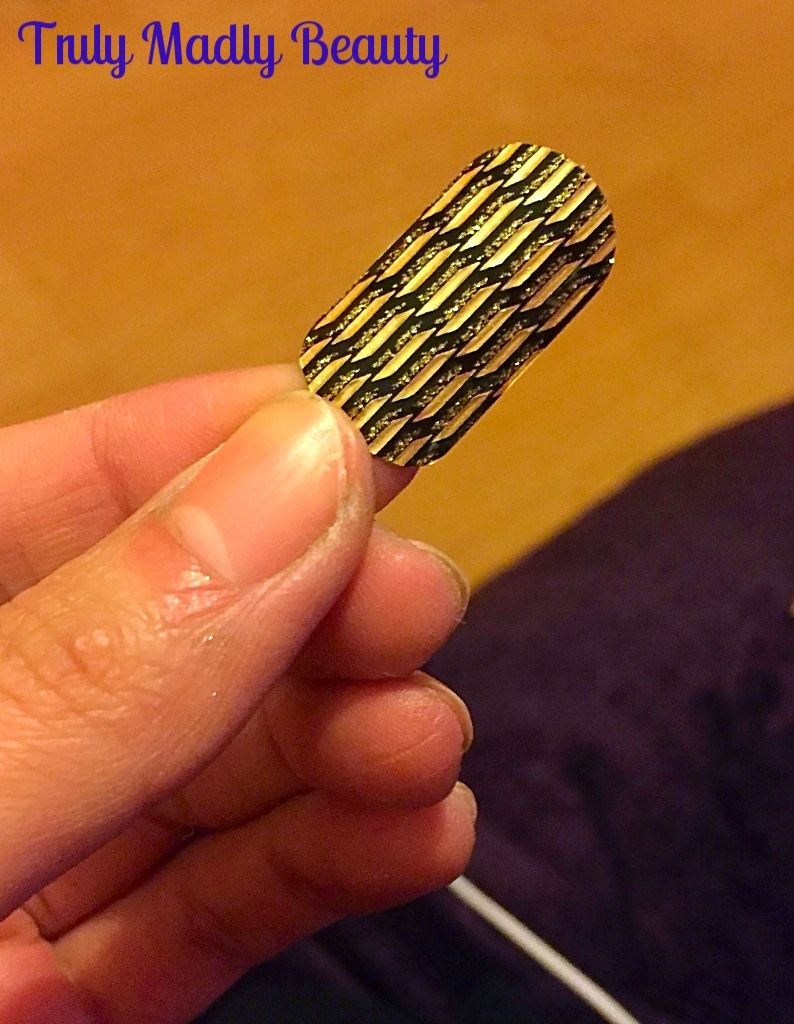
Peel
off the nail wrap, which comes away very easily like a sticker, then
place on to the nail starting at the cuticle first, then slowly
pressing down the length of the nail to the tips. Despite being thin,
the Loreal wraps were very easy to place, if you are not happy with
your positioning then you can easily lift the wrap off & try
again which is great.
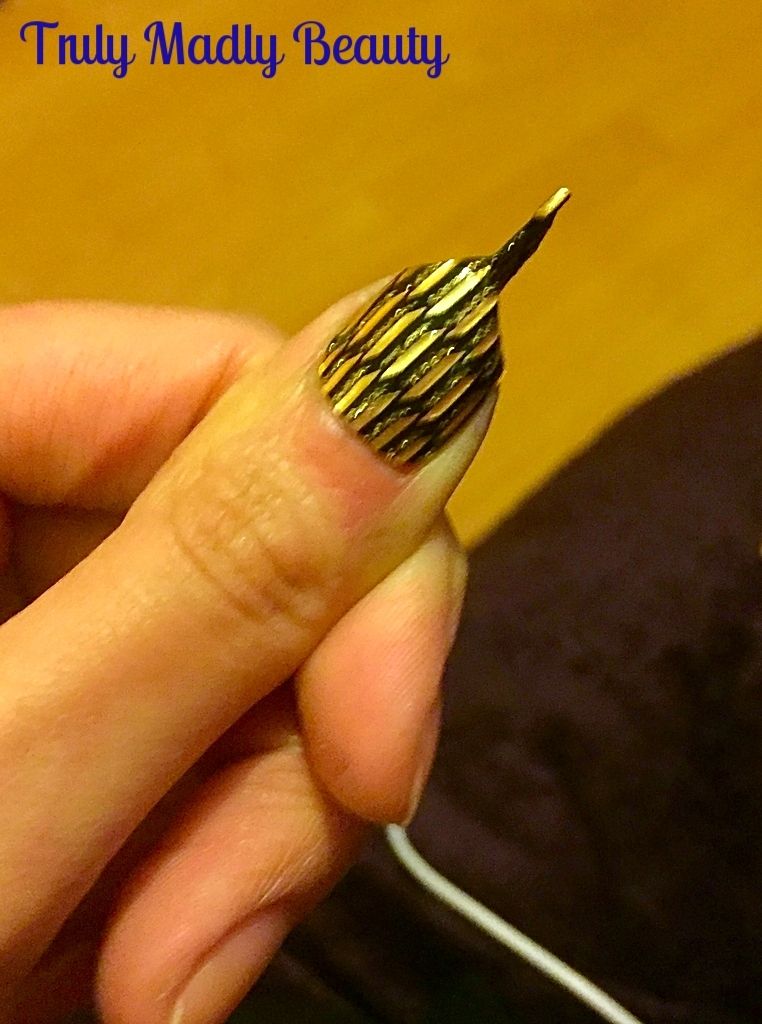
Once
happy you the need to file off the additional nail wrap that you
don't need. In the past when filing, I've often had half the wrap
come away with the file which was quite frustrating! I find the
easiest way to file off is by sticking the remaining wrap together
(as pictured above) at the edge of the nail, then filing downwards until
the excess wrap comes away completely.
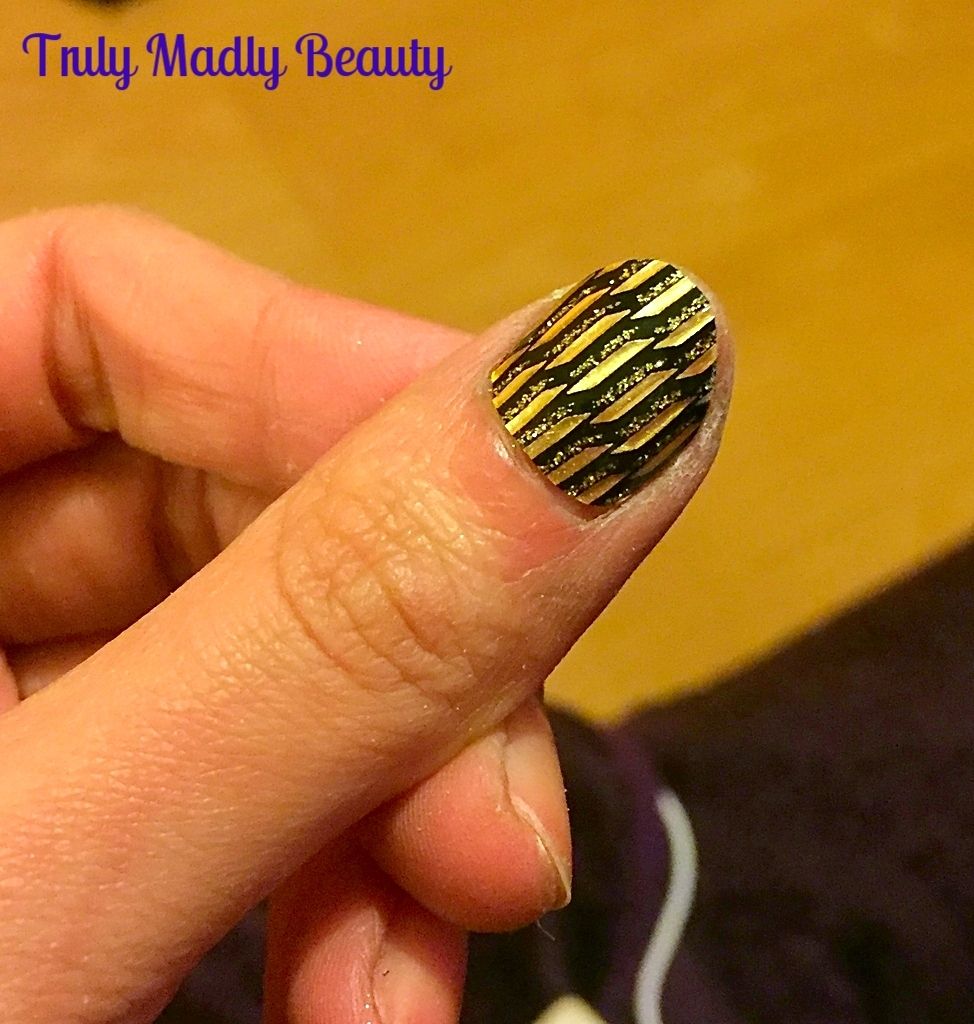
Neaten
up the edges of the nail to get rid of any little bits of wrap that
might be sticking out & voila! Beautiful blingy nails ready to
go!
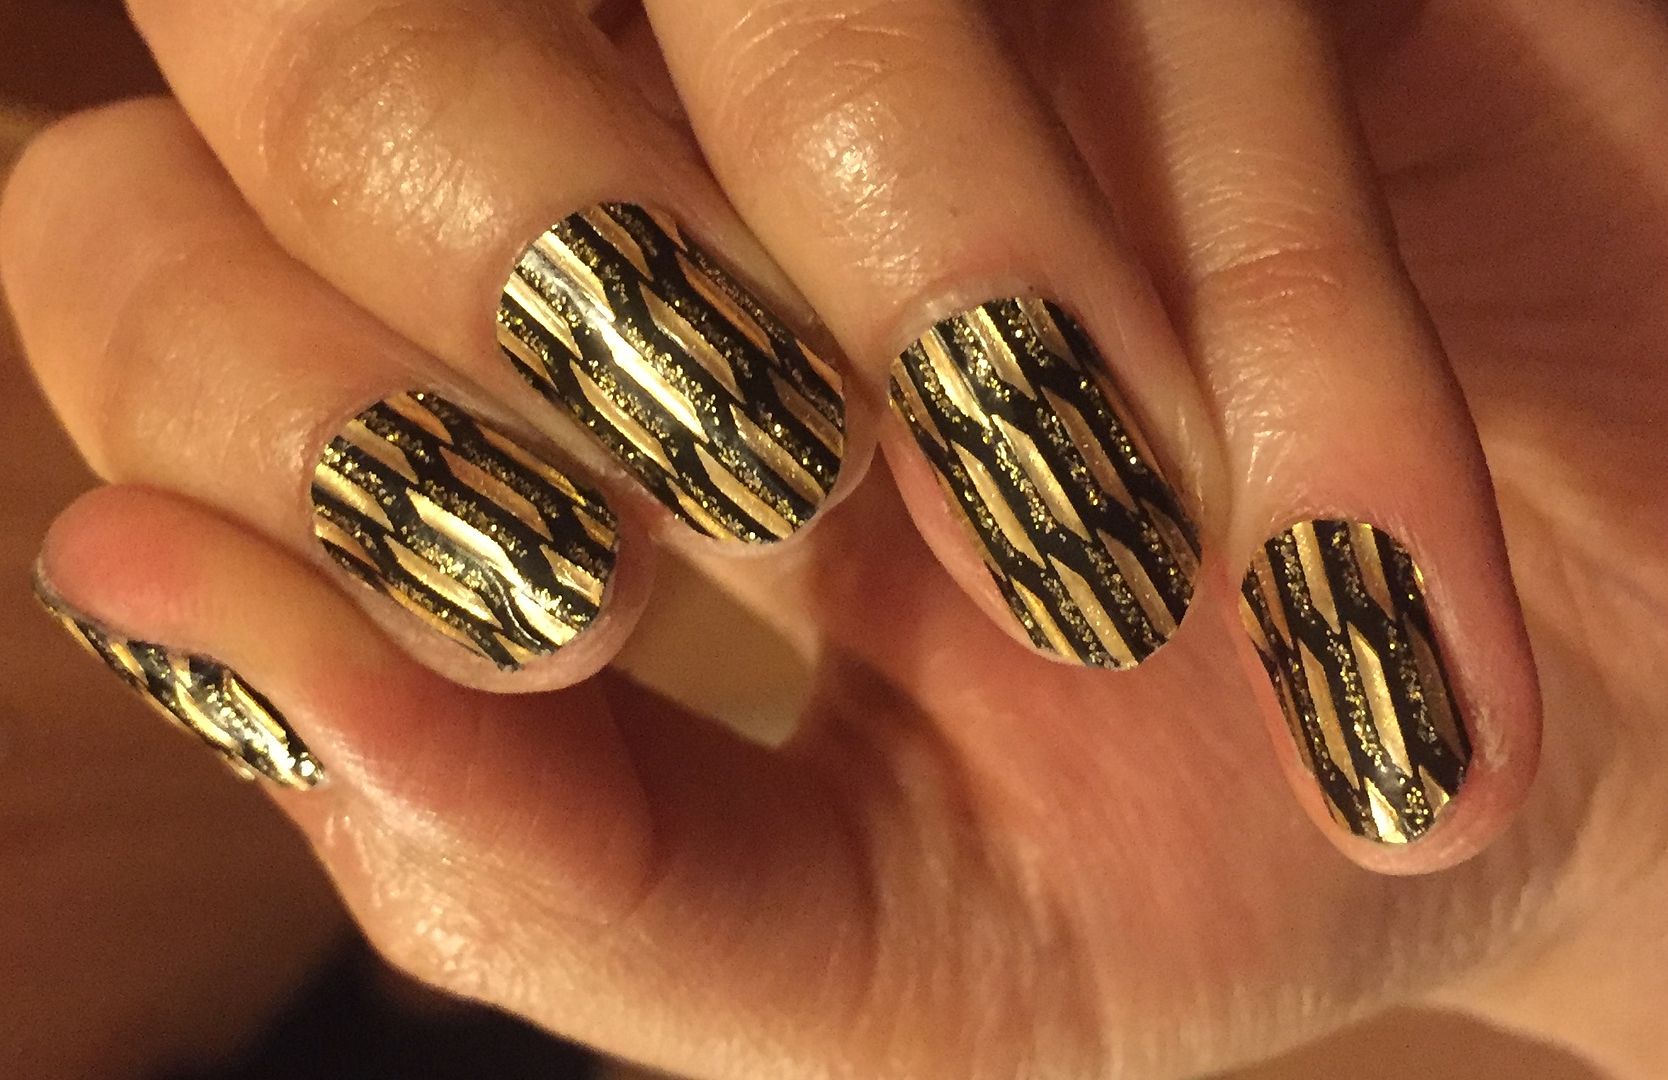
I
also absolutely love the gold and black art deco style design of
these nail wraps as they will pretty much go with anything &
would be fantastic for last minute nights out when your in a rush but
don't want bare nails.
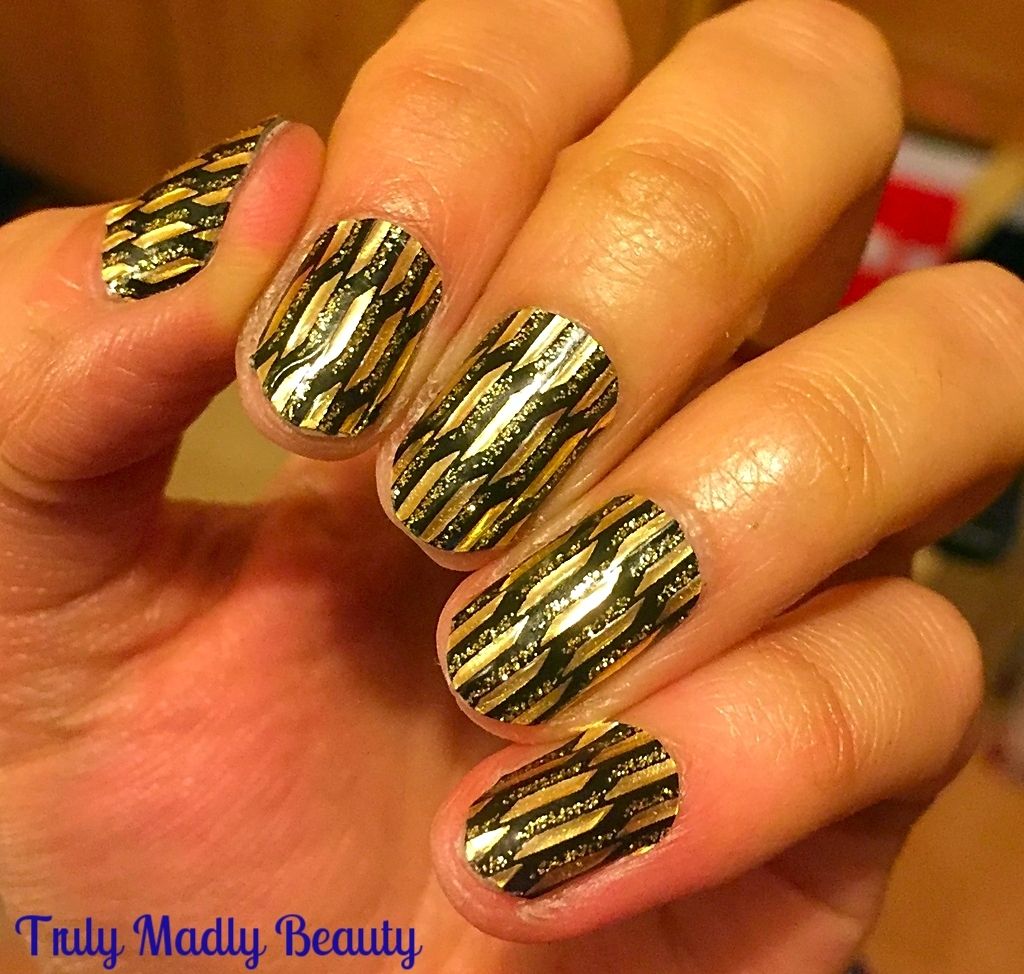
Removal
is also super quick, simply lift up the edge of the wrap using an
orange stick & then using your finger, the wrap will peel off
completely leaving no sticky residue at all, another bonus! I can't
comment on longevity as I removed these the next day, however they
were all still firmly in place!
I
will most definitely be picking up more of these to have as back ups
in case of mani emergencies! If you can't find the wraps in stores then they can also be found online on Amazon HERE.
Are you a fan of nail wraps? Thanks
for reading beauts!
Lotsa love to ya!

The design is gorgeous! I love nail wraps; they're so easy to use x
ReplyDeleteLiz ~ Dreaming of Diamonds
Thanks lovely, its such a gorgeous design isn't it? Yes so easy! I've definitely rediscovered my love for them xoxo
Delete