Hello
there lovely readers!
Hope
you're all having a top weekend, especially my American beauts on the
other side of the pond! Oooh what I wouldn't give to be back in the
states right now as this weekend sees the US celebrating its Fourth
of July Independence Day meaning days of fab parties & fun times.

Naturally
I couldn't resist marking the occasion in the way I know best &
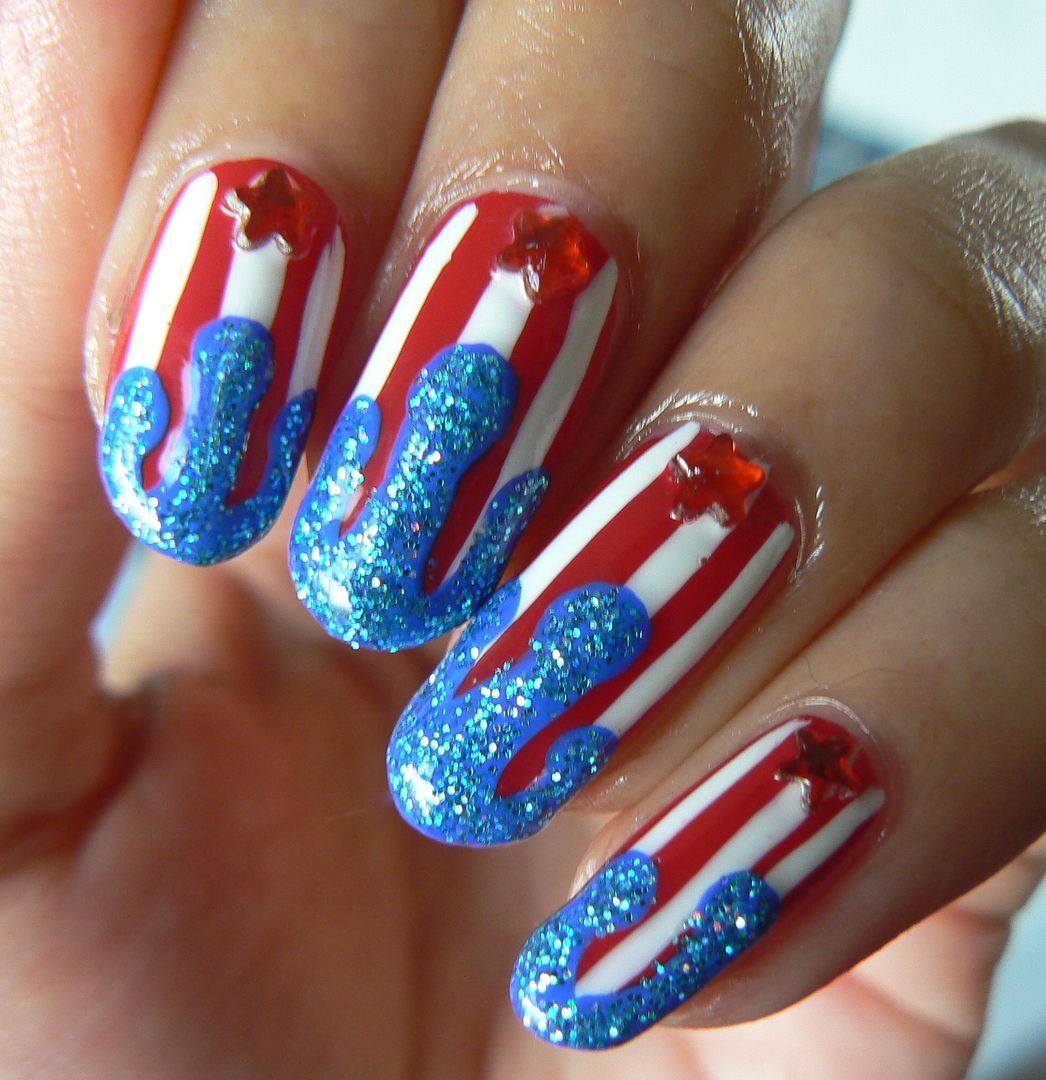
getting my nail art on. Using the American patriotic colours of
red, white & blue I went for some dripping glitter Fourth of July
Nails plus I've done a step by step tutorial so you can create these
too!
I saw a picture of a similar design in a Daily Mail article of all
places & thought ooooh what a fun & innovative way to do
patriotic nails! Plus I love drip nail art (see my chocolate drip
nails on the left of the page) & haven't done the design in
yonks, perfect time to remedy that with this :)
If
you want to re-create this design as well then keep on reading
dolls...
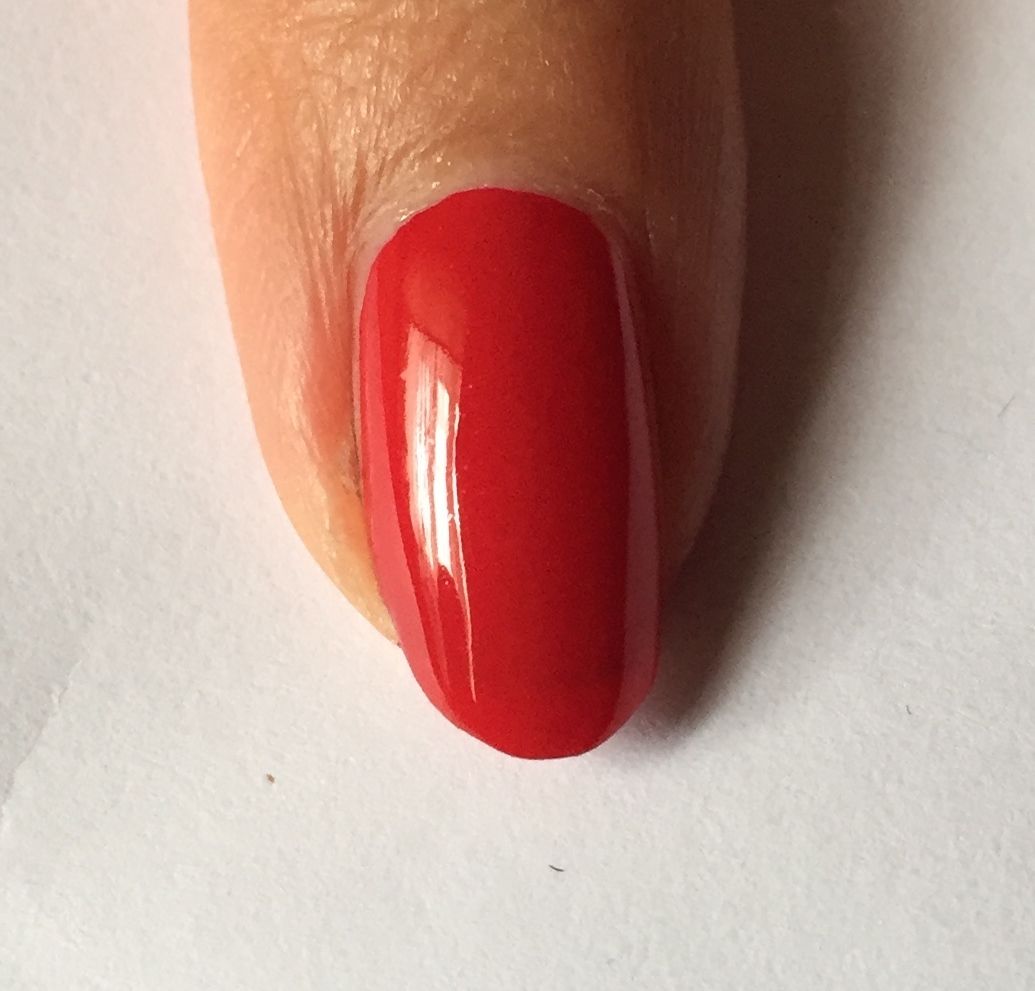
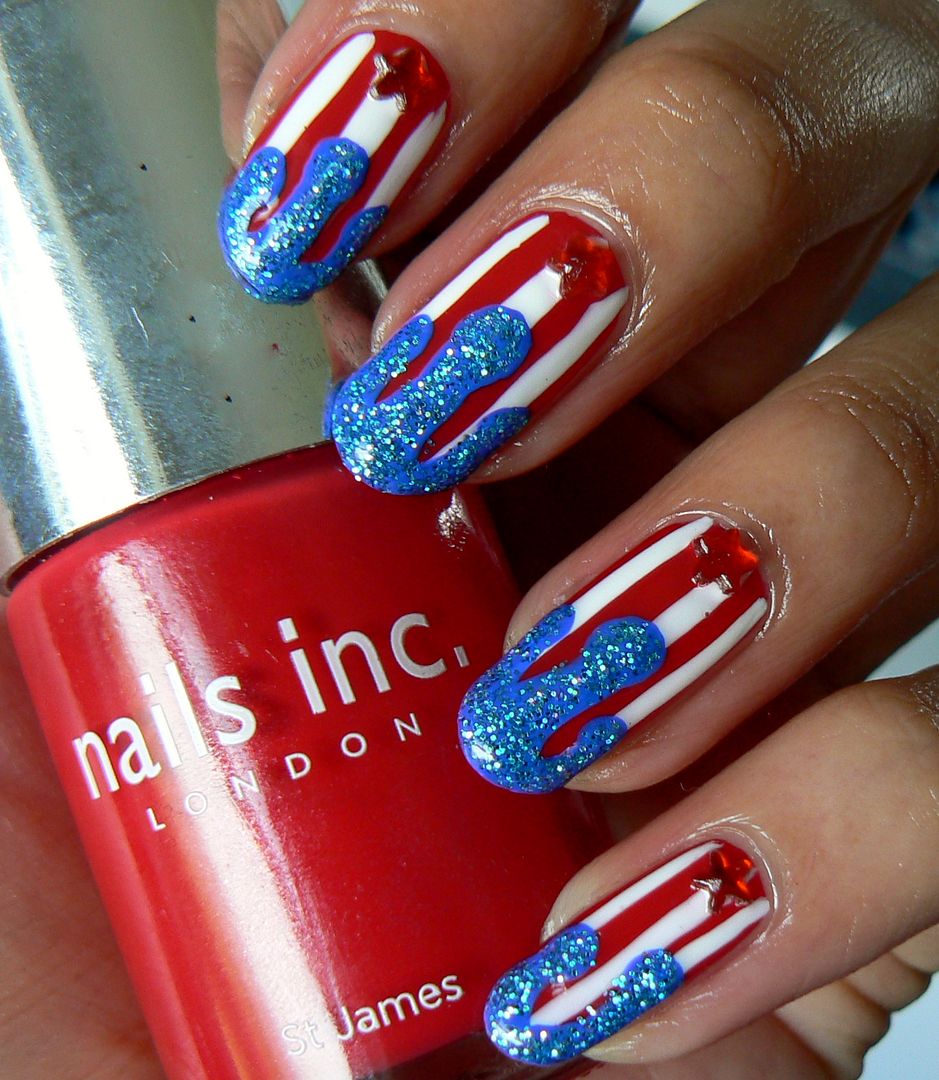
First
start with your red base, here I've applied just one coat of Nails
Inc St James as I knew there would be a few layers of polish on top &
didn't want to overdo it.
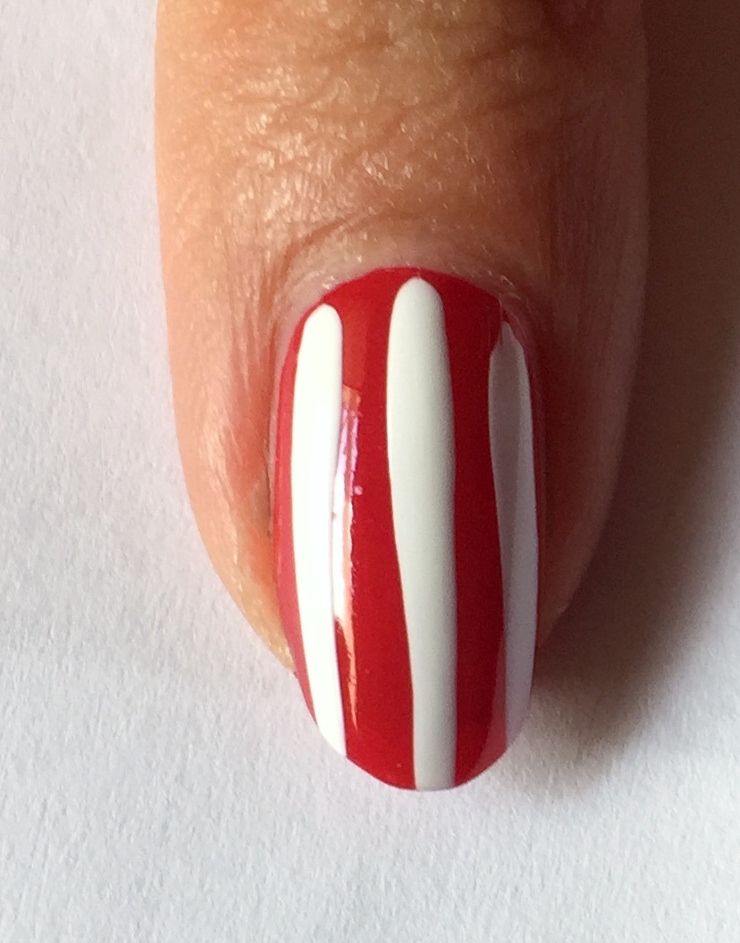
Then
using the thin striper brush from my Models own white nail art pen I
applied three vertical stripes down the length of the nail.

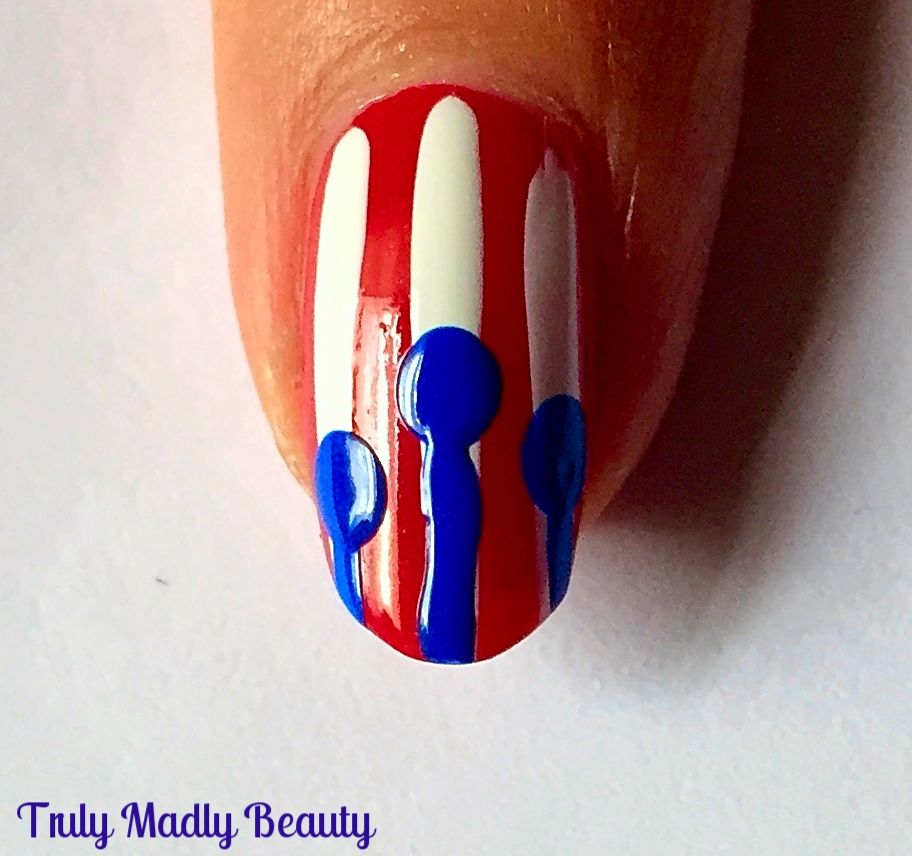
Now
for the drips! Start by applying three dots on to the nail using a
dotting tool as shown with your chosen blue polish, here I've used
Nails Inc Baker Street.
Next,
using a thin nail art brush, draw three vertical lines going down
from your dots to the tips.
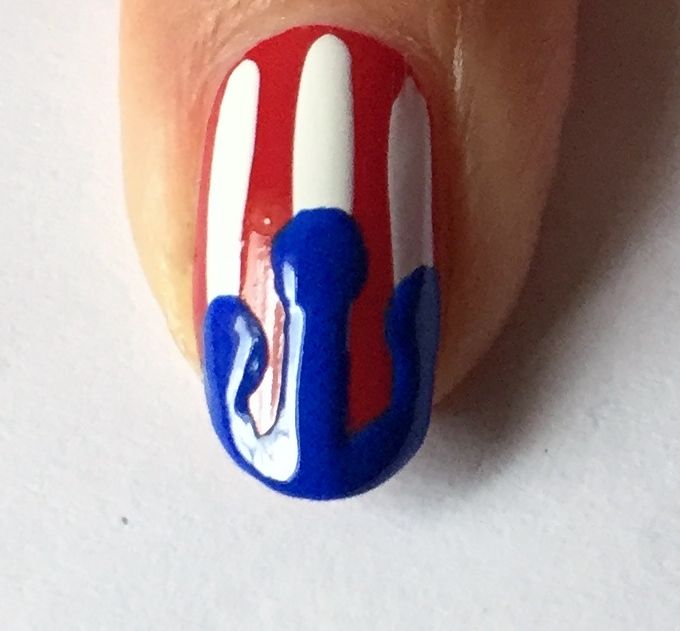
Using
the same thin brush, curve the edges of the straight lines into your
dots as well as applying polish along the tips of your nails to create
your drip effect!
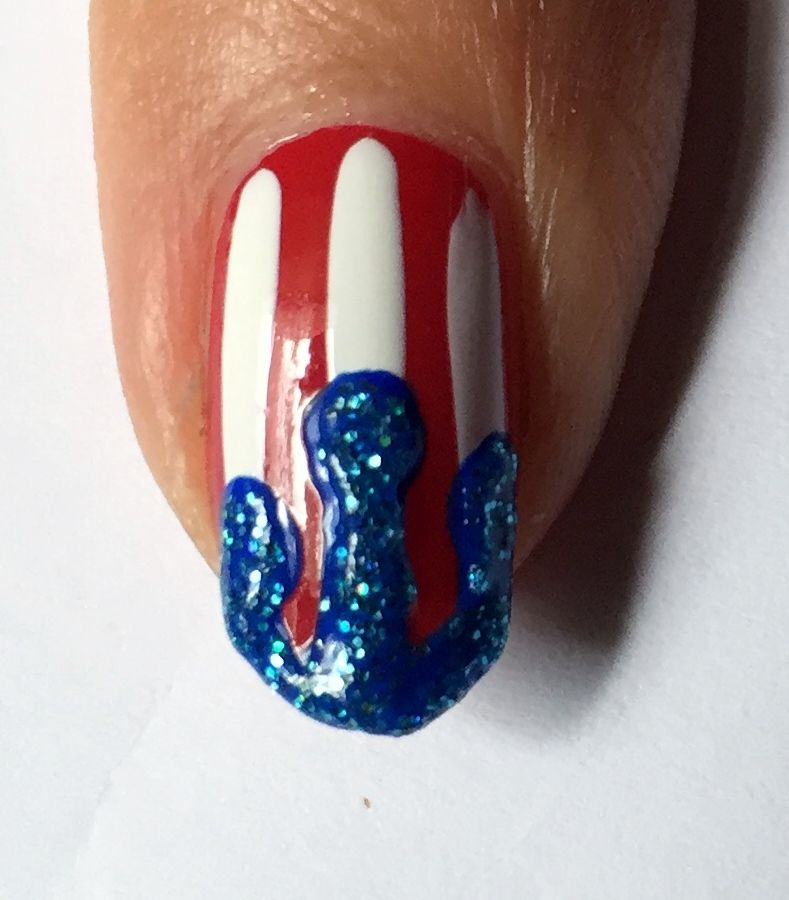
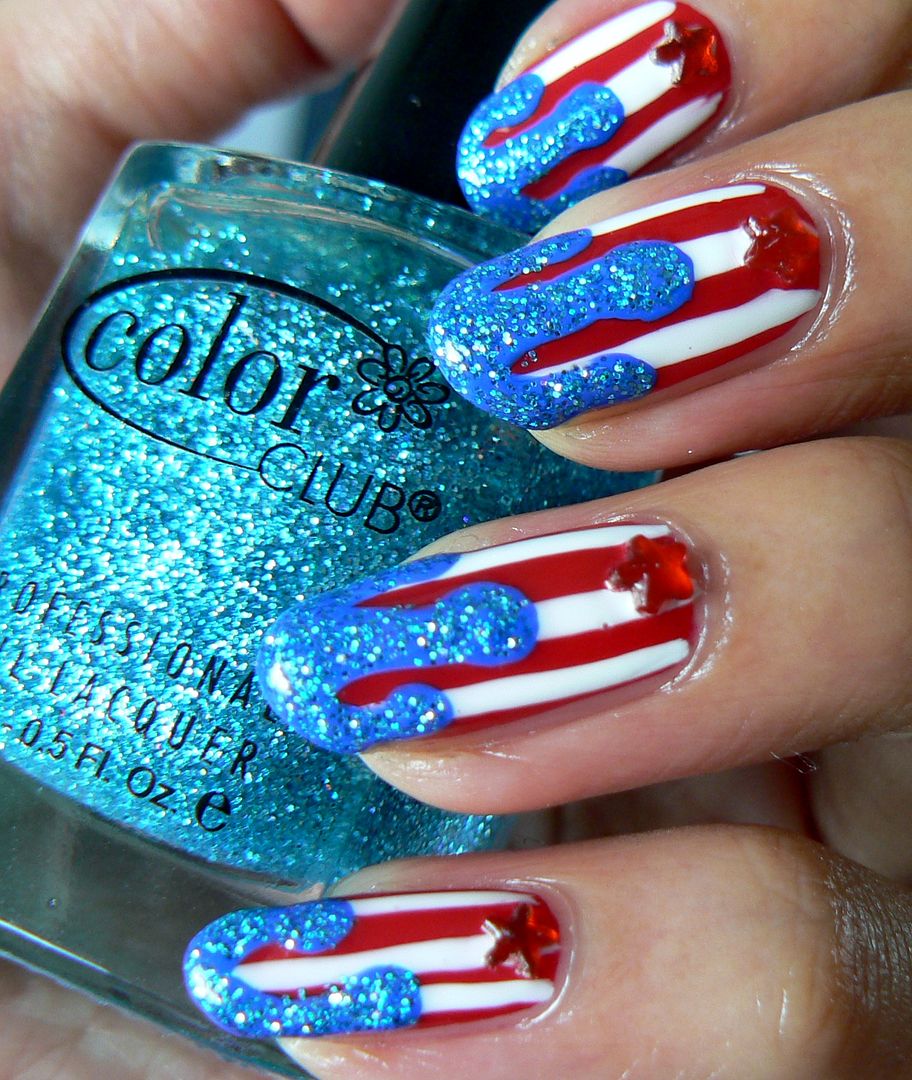
You
can skip this next step but my inner magpie was calling for an extra
bit of sparkle so I applied a bit of blue blingy glitter polish from
Color Club on top.
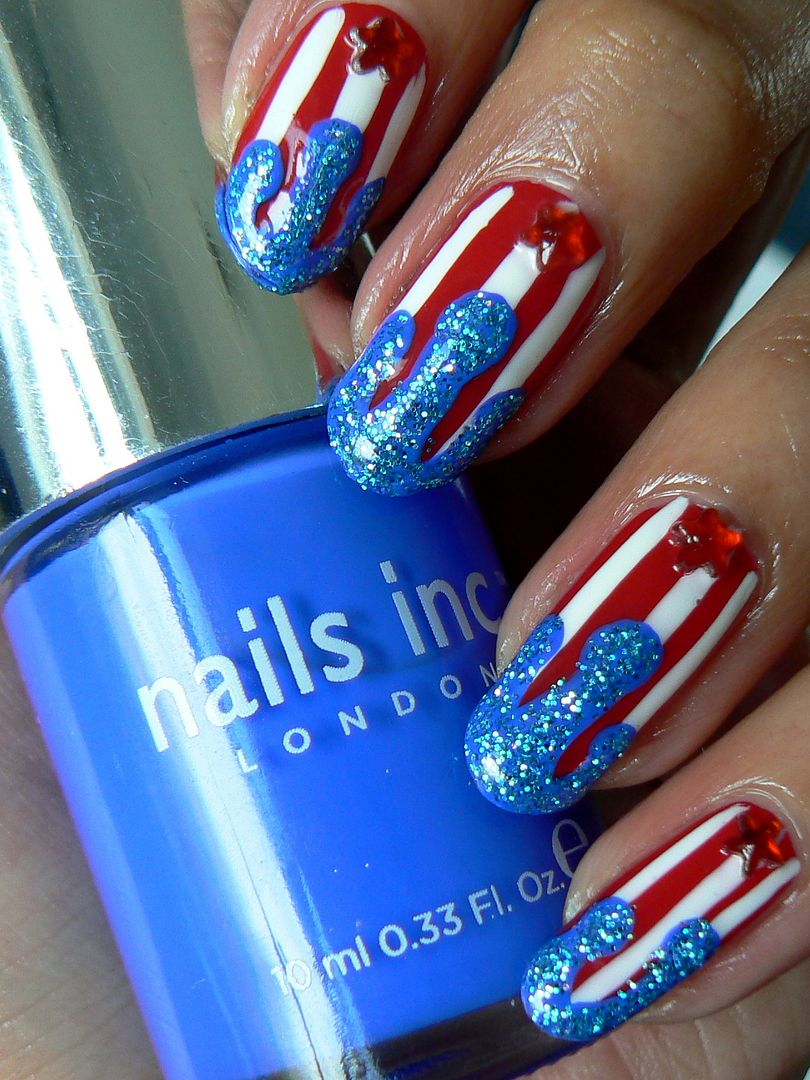
For
a final touch I just applied a wee red star rhinestone underneath my
drips to finish.
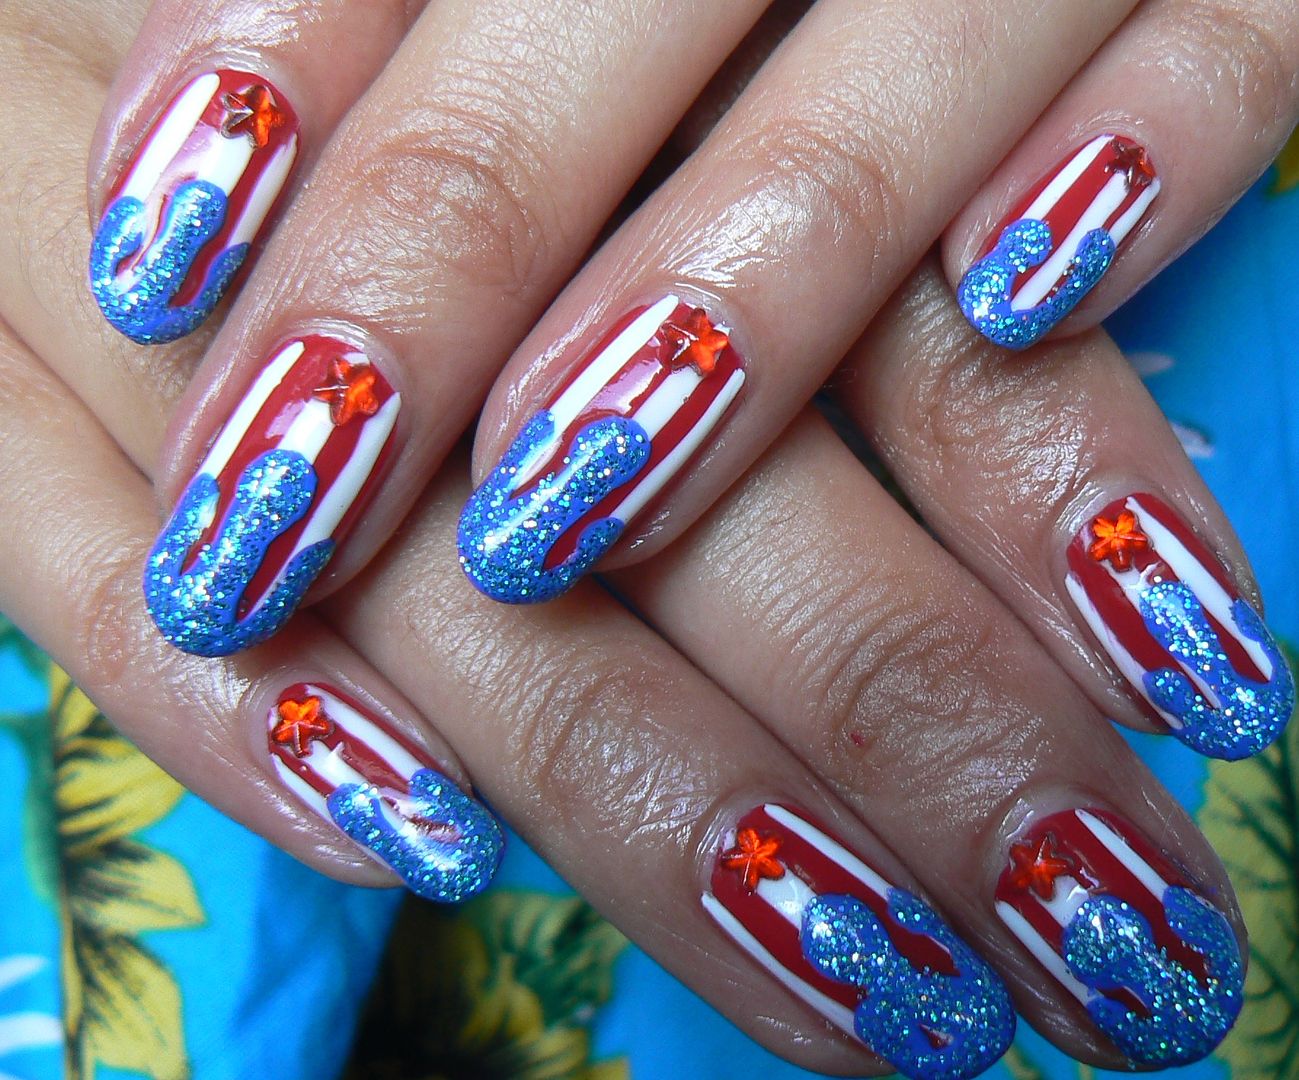
Apply
your topcoat & you're done! Sparkly Fourth of July nails ready for Independence Day party celebrations!
Thanks as always for reading!
Have a fab weekend whatever you may be doing my dears!
Lotsa
love to ya!