4.04.2016

Loreal Color Riche Nail Wraps Review

Hey there lovely readers!

In this day & age we all love to find quick solutions to certain beautifying steps, nails included! Nail wraps are the perfect answer to this, straightforward & no fuss waiting for polish to dry. I found myself drifting away from the nail wrap world of late, I'll put it down to experiences with a few dud ones that I didn't get on with & were just too fiddly when it came to application! However I have rediscovered my love for nail wraps thanks to these lovely offerings from Loreal!
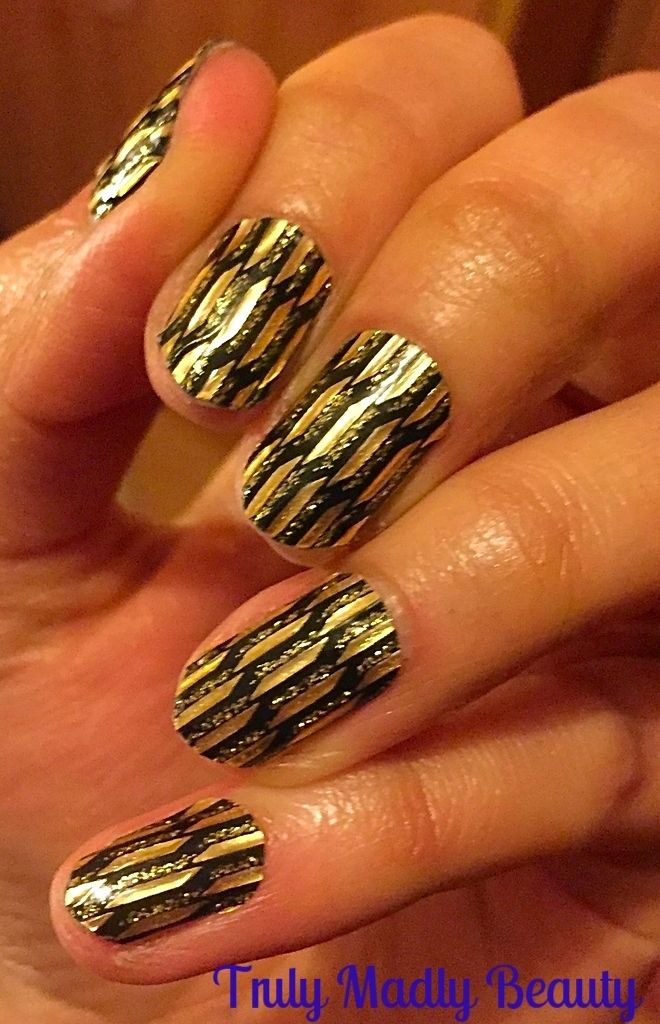

I wasn't actually planning on blogging about these, but they are so good I had to share with you my lovelies. I literally picked these up in a rush when I saw them in the Poundshop across the street from where I work as I had a serious chip situation going on with plans in the evening which left me little time for refreshing the mani!
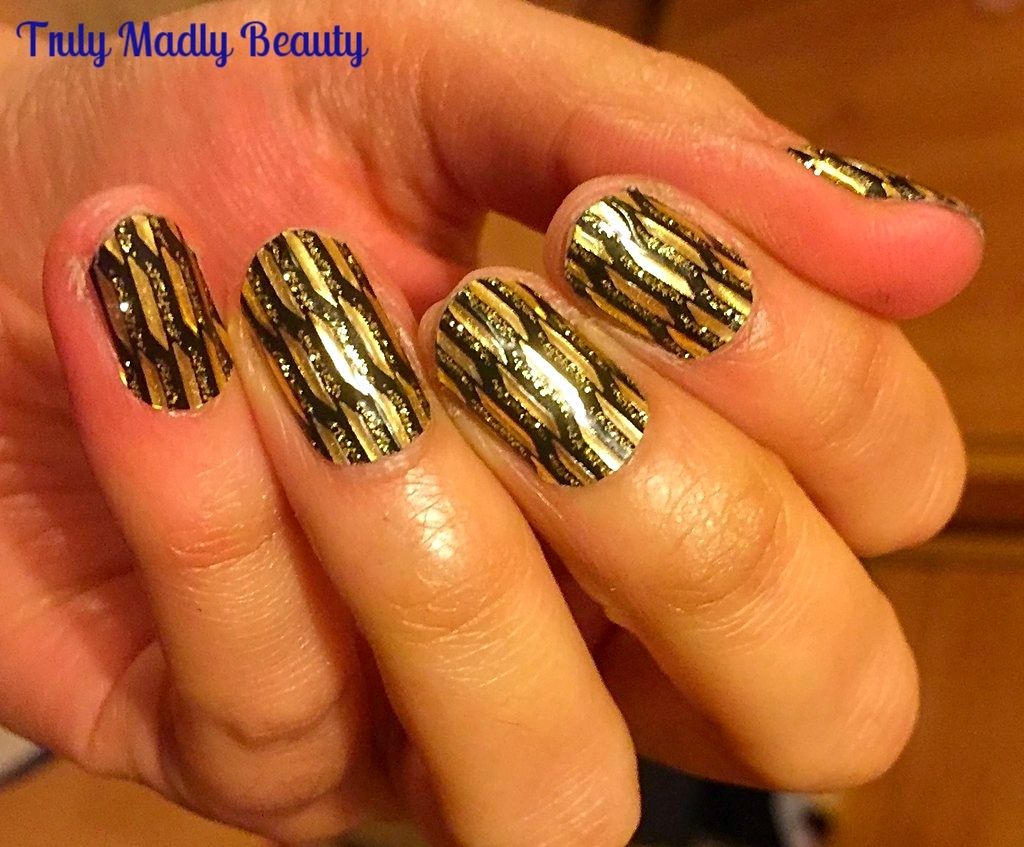

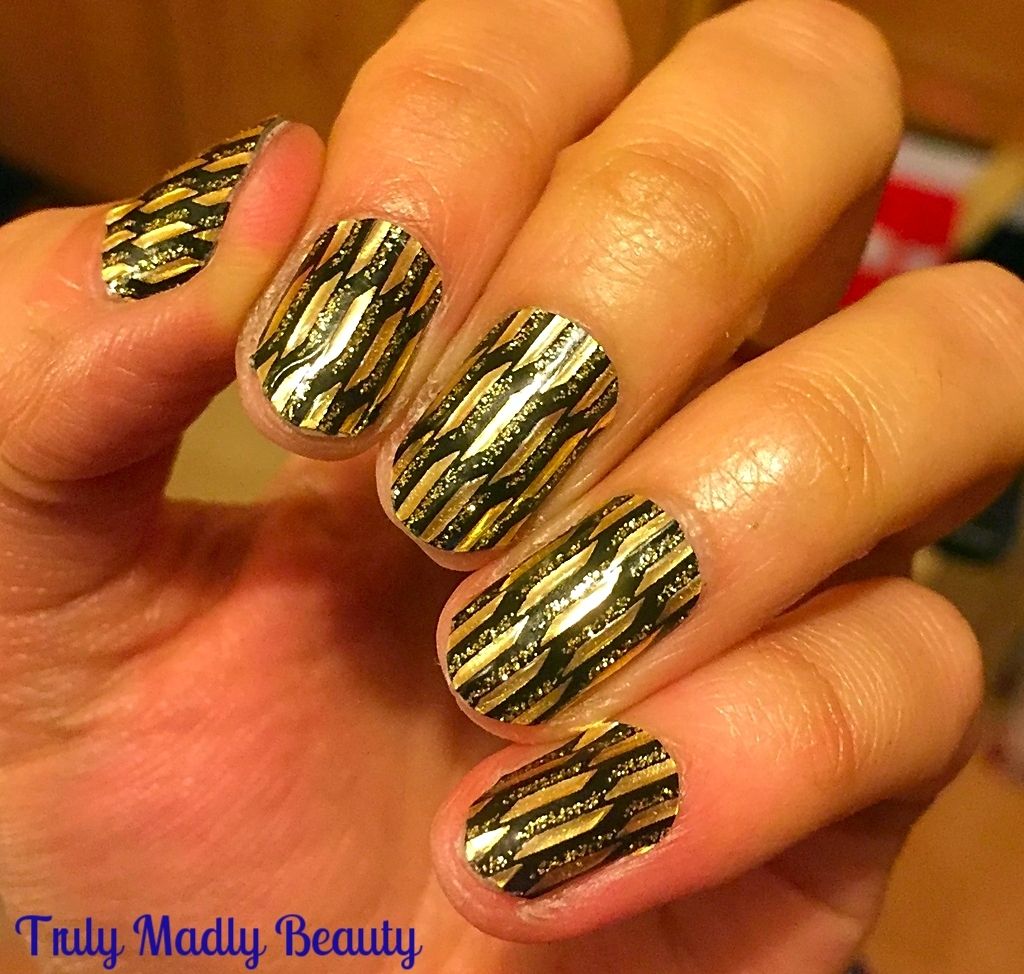
However these blingy Loreal Color Riche nail wraps in design “Or Lame” caught my eye so I decided to pick them up on a whim & boy did they succeed in saving the day!

Once home I quickly removed the traitorous chipped polish with my new favourite, the delicious scented nail polish removers from True Brit London which I've blogged about in detail HERE & then got to work with applying the wraps, a task which was completely literally within minutes.
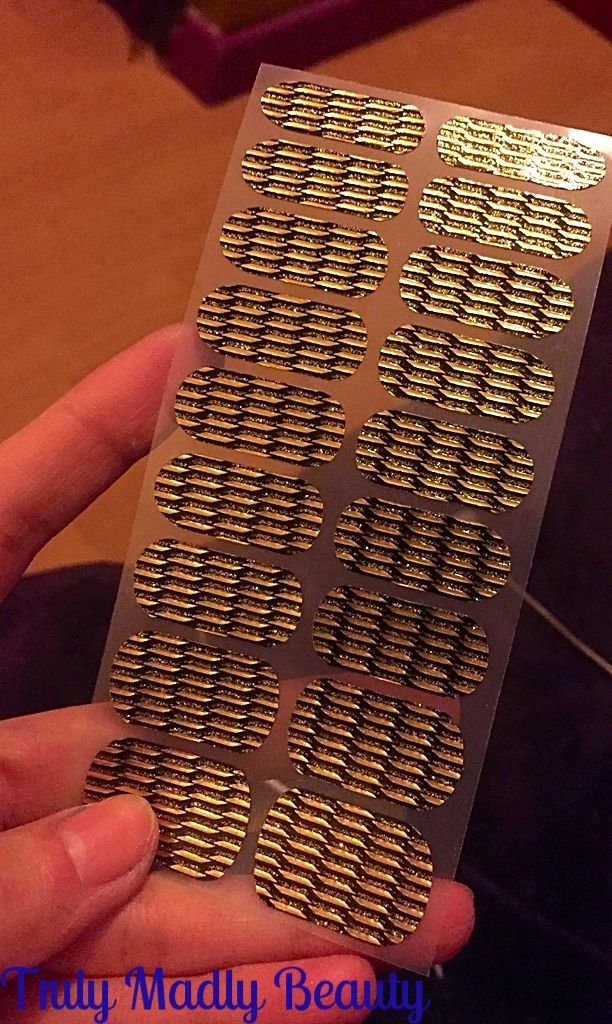

Applying the wraps could not be easier, starting with a clean bare nail. Nail wraps adhere better to a dry surface so its important to ensure that the nail doesn't have any oils or moisture, of course the polish remover helps remove any excess moisture as well.
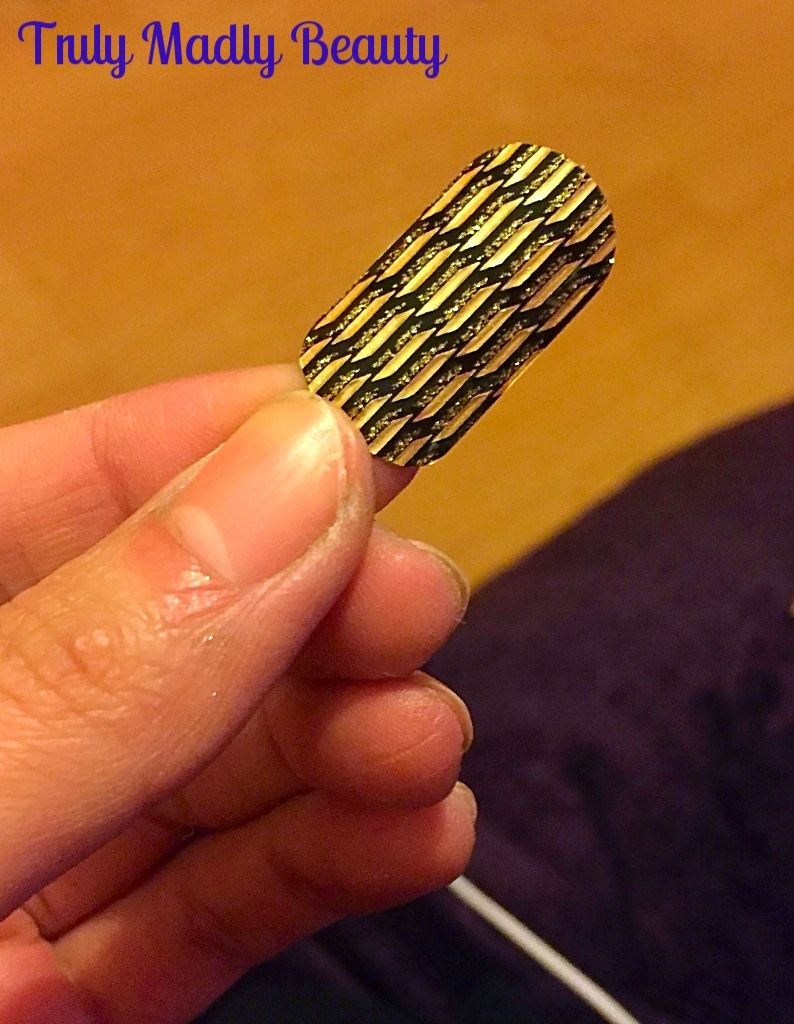

Select the nail wrap which fits the size of your nail best, the Loreal ones have a nice selection of various sizes so finding a match shouldn't be problematic.

Peel off the nail wrap, which comes away very easily like a sticker, then place on to the nail starting at the cuticle first, then slowly pressing down the length of the nail to the tips. Despite being thin, the Loreal wraps were very easy to place, if you are not happy with your positioning then you can easily lift the wrap off & try again which is great.
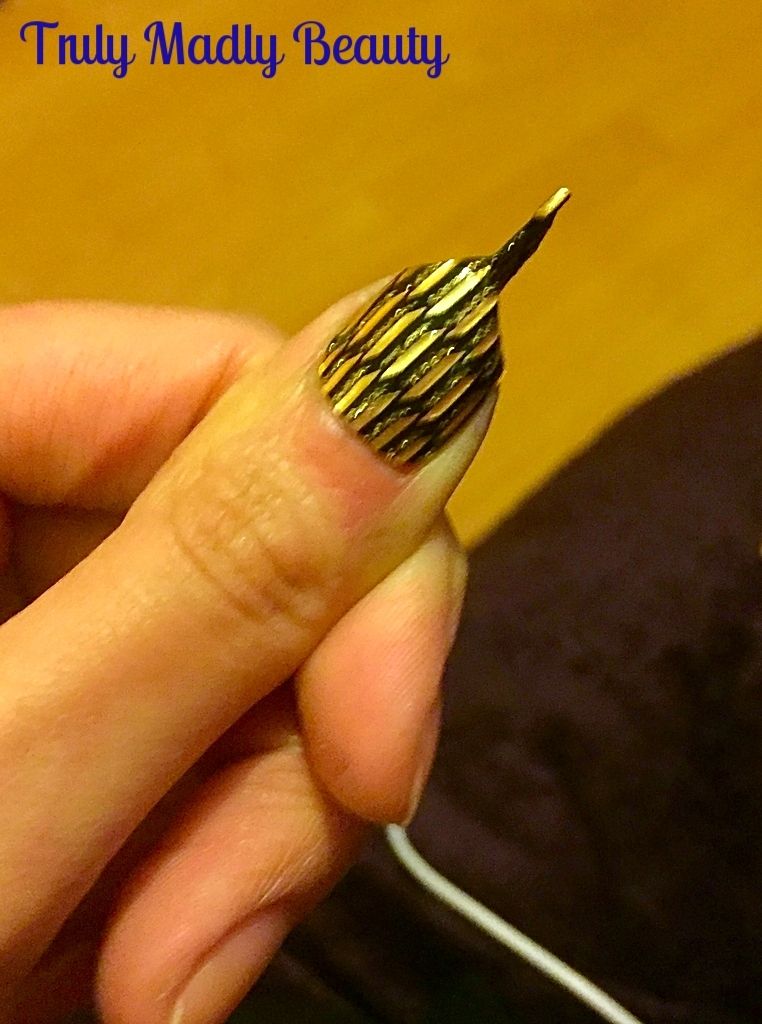

Once happy you the need to file off the additional nail wrap that you don't need. In the past when filing, I've often had half the wrap come away with the file which was quite frustrating! I find the easiest way to file off is by sticking the remaining wrap together (as pictured above) at the edge of the nail, then filing downwards until the excess wrap comes away completely.
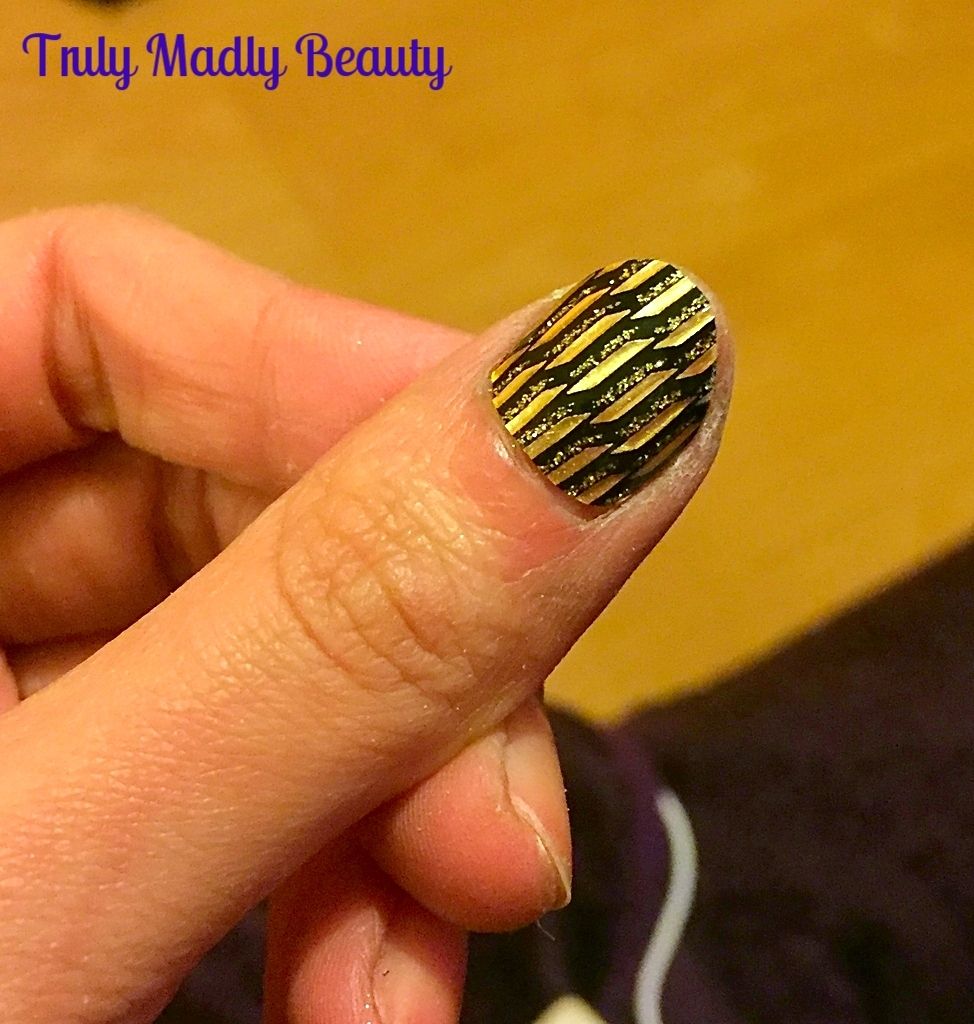

Neaten up the edges of the nail to get rid of any little bits of wrap that might be sticking out & voila! Beautiful blingy nails ready to go!
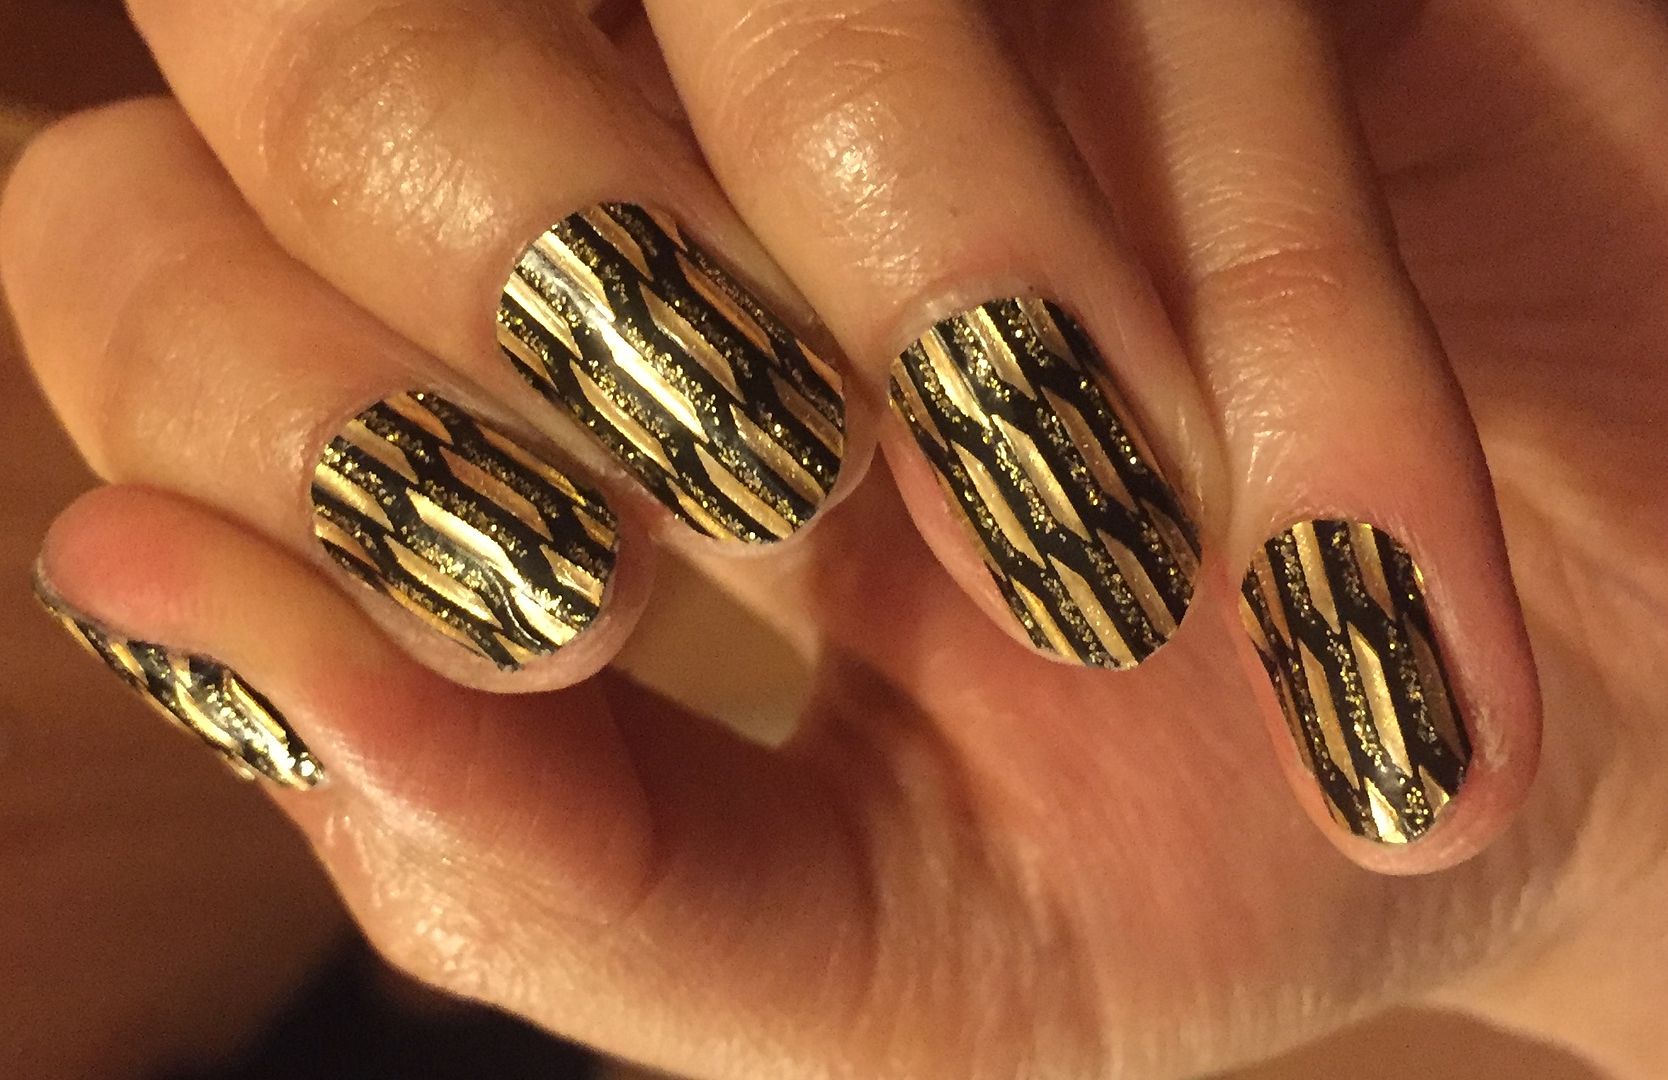

I also absolutely love the gold and black art deco style design of these nail wraps as they will pretty much go with anything & would be fantastic for last minute nights out when your in a rush but don't want bare nails.

Removal is also super quick, simply lift up the edge of the wrap using an orange stick & then using your finger, the wrap will peel off completely leaving no sticky residue at all, another bonus! I can't comment on longevity as I removed these the next day, however they were all still firmly in place!

I will most definitely be picking up more of these to have as back ups in case of mani emergencies!  If you can't find the wraps in stores then they can also be found online on Amazon HERE.

Are you a fan of nail wraps? Thanks for reading beauts!

Lotsa love to ya!


3.29.2016

NOTD - The PERFECT Red Polish!

Hello lovely readers!

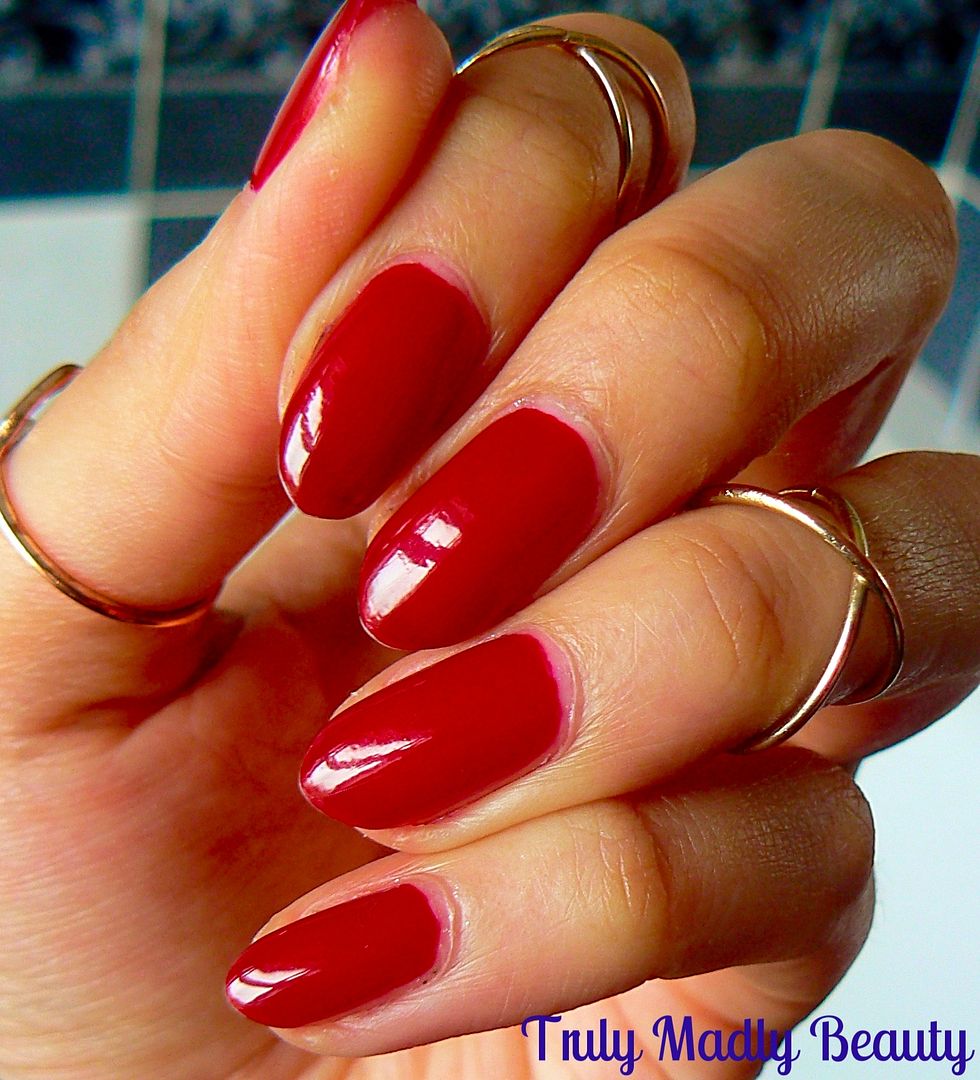
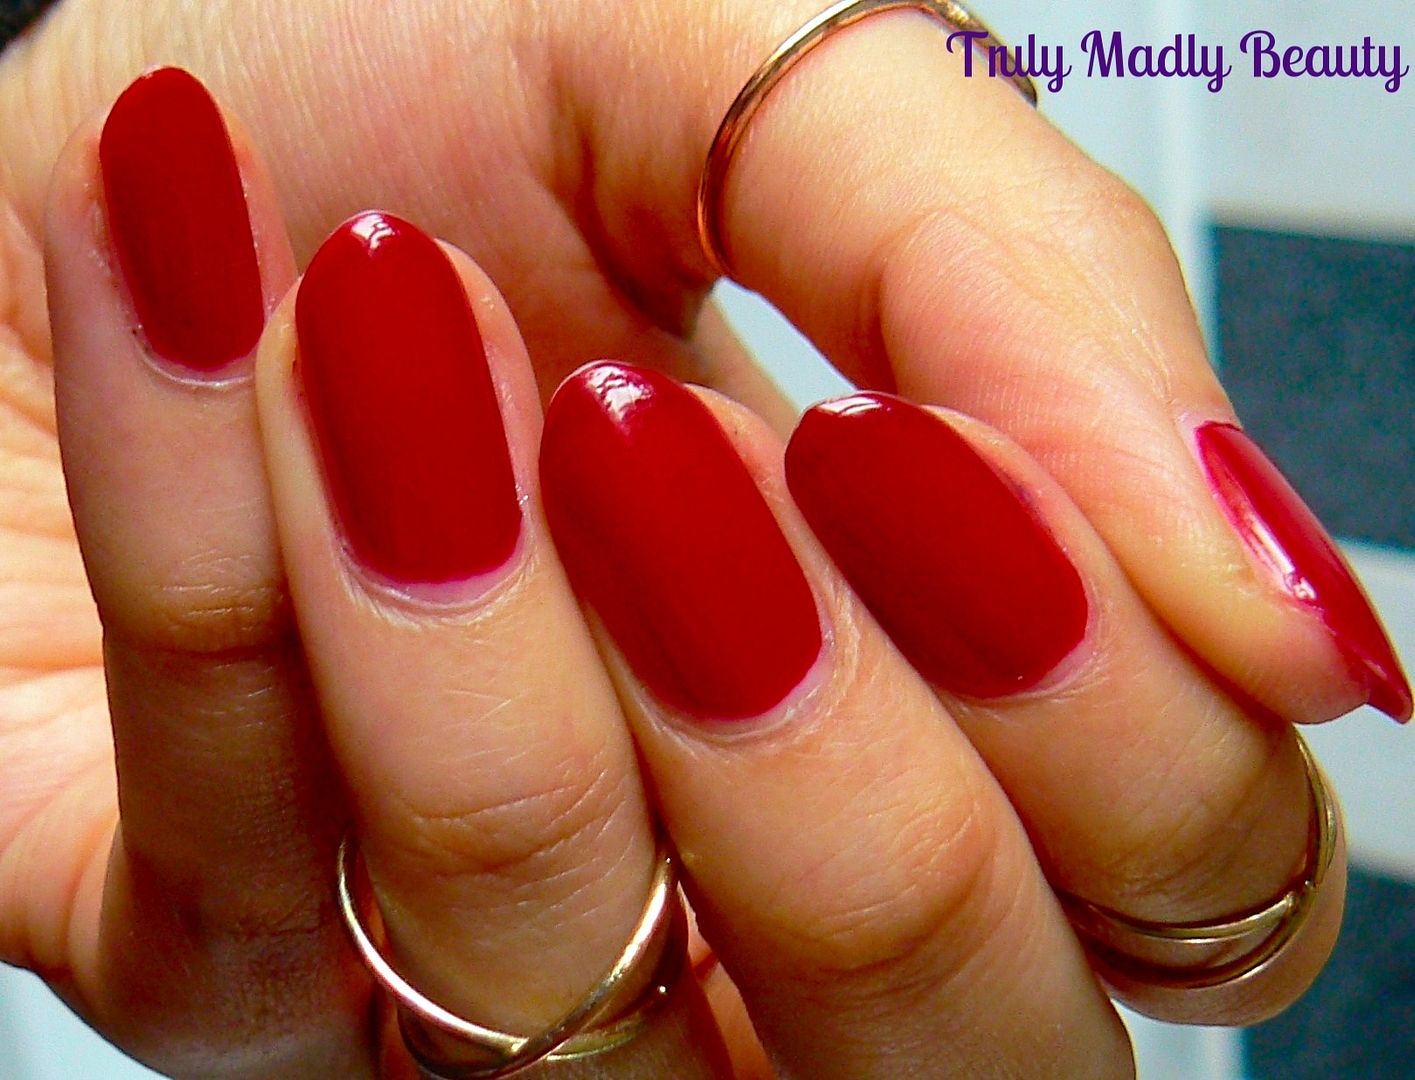
Red lips...red nails. Vintage & iconic, whether you're a loyal fan of one or go all out & love to rock both, there's no doubt that both are timeless looks that will never fade out. Its a mission in every girls life to find THE perfect red. Me, I'm still yet to find the perfect red lipstick...it may be a while till this task is accomplished seeing as red lips scare the bejesus out of me however, I am happy to say that my hunt for the perfect red polish may finally be over as I have discovered one that I've fallen head over heels in love with! And its brand Sabon who have delivered so perfectly...


Sabon is in fact a brand specializing in bath and body products, not so hugely well known in the UK...yet. I've heard on the grapevine that they plan to make their stamp here too which I am so happy to hear & they now have a UK website! I actually stumbled across this store on my trip to NYC last year & was drawn in immediately by the delightful scents & cute kitsch packaging.


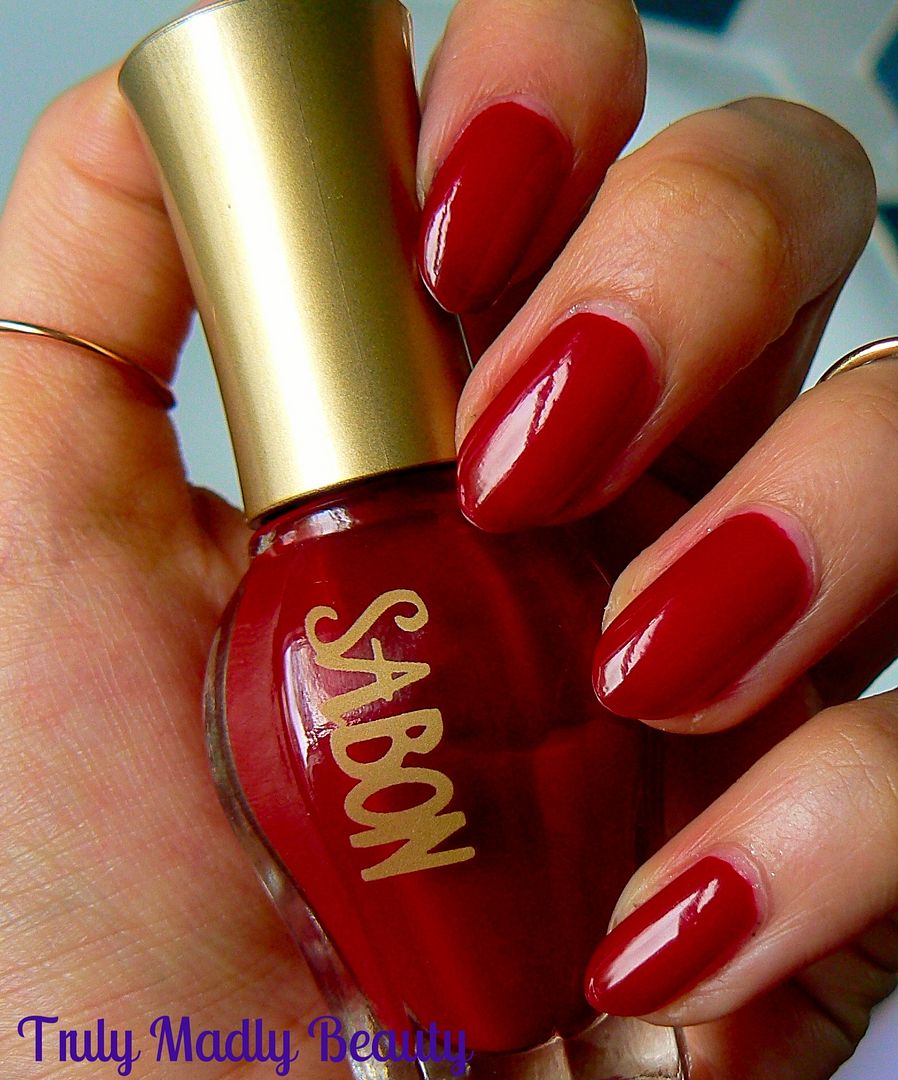
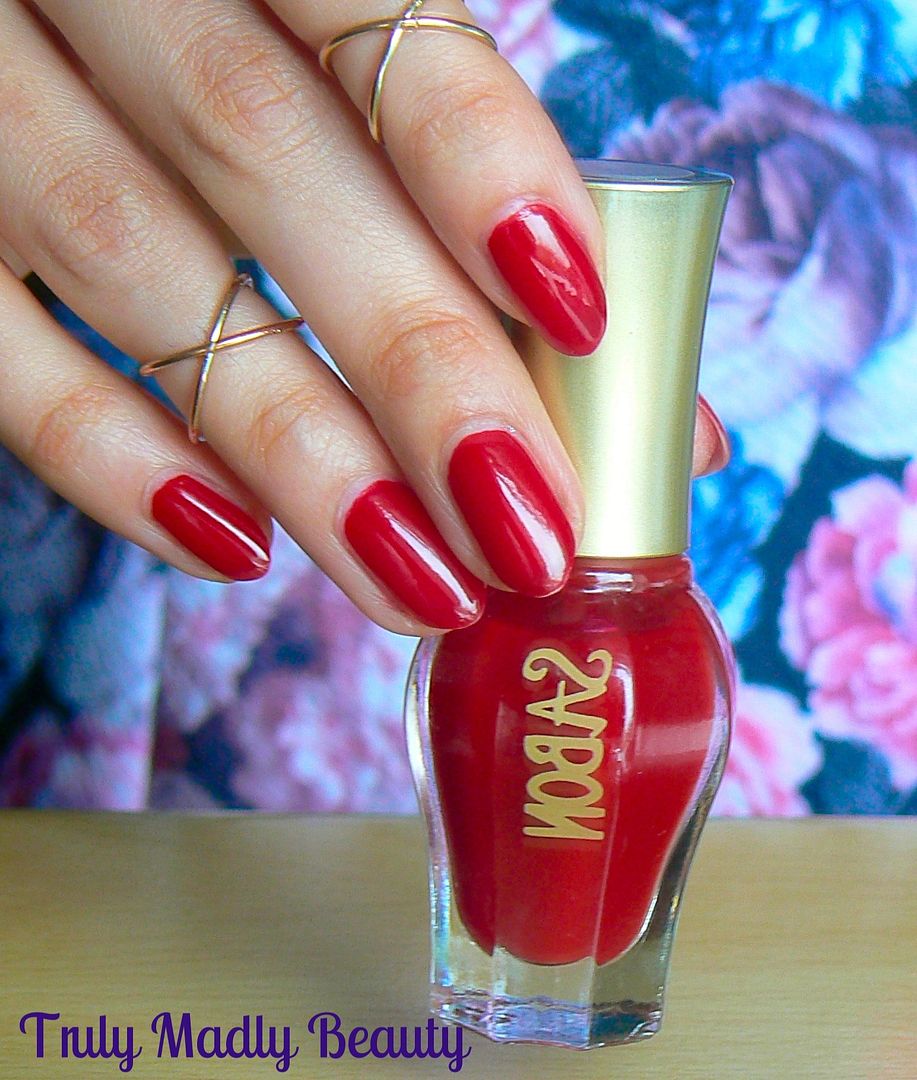
After befriending the absolute sweetheart of an assistant, gosh I really miss how wonderful New Yorkers were during my time there & indulging in a complimentary hand pamper session in which a sublime selection of Sabon products were used, including scrubs & hand cream potions, my nail polish raider went in to overdrive when I spotted the bottles sitting so prettily amongst the bath products. Naturally I was in my heaven & I ended up taking this beauty home with me which goes by the simple title of Burgundy ;)


Regardless of the simplicity of the name every other aspect of this polish more than makes up for it, firstly packaging. Just look at that beautiful vintage bottle, wouldn't that look so pretty & elegant sitting on your vanity table? J'adore!

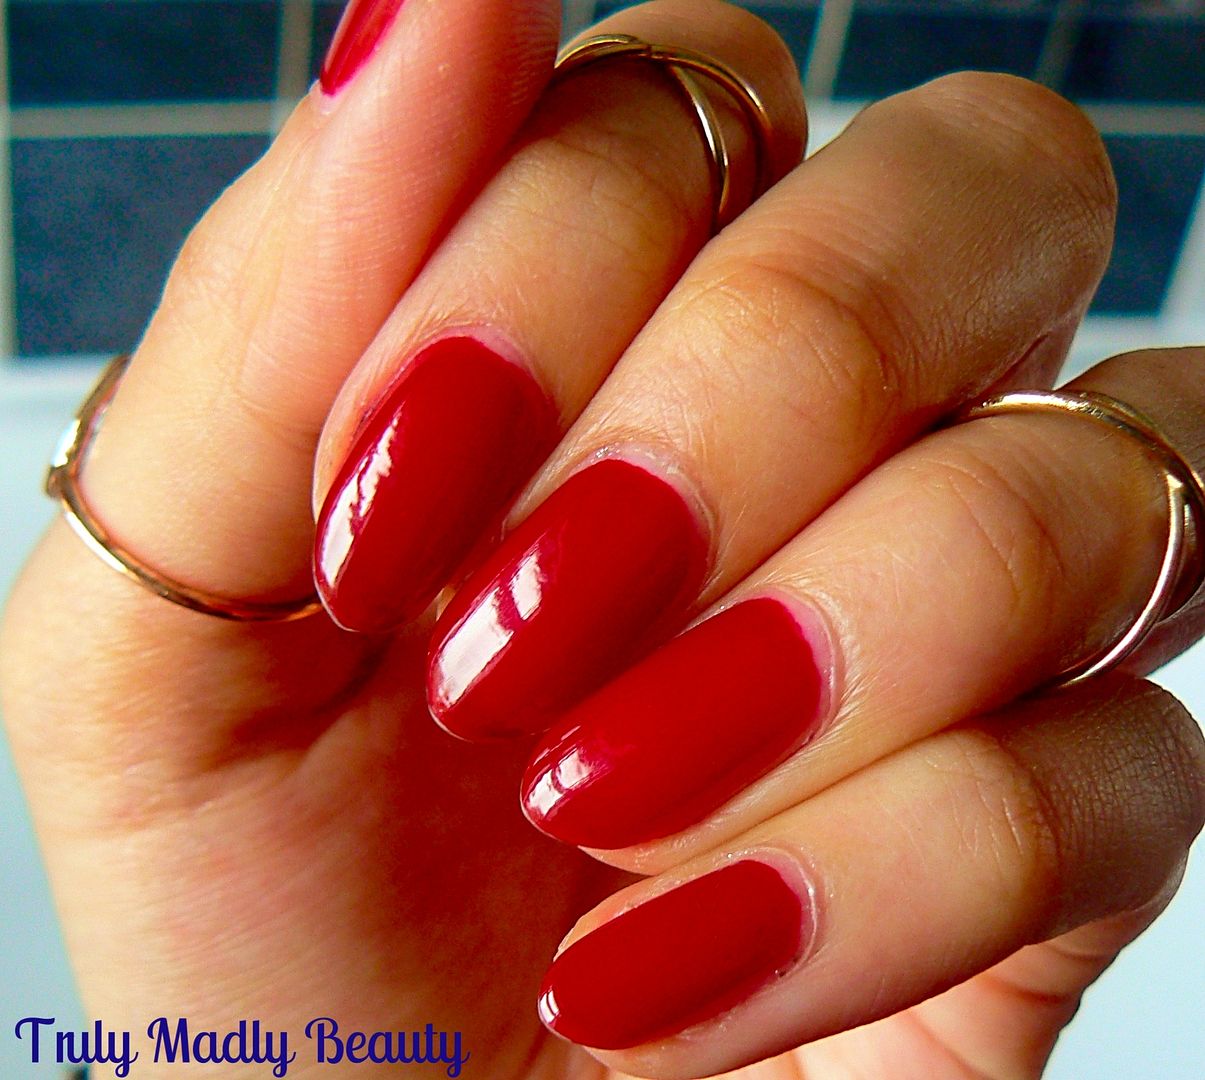
Next is the colour, what can I say its just the PERFECT vintage red for me, not too orange toned, nor too bright or too dark, just....PERFECT.


Finally the formula of the polish, which I absolutely love, it does veer towards the thin side, but I actually prefer this as it prevents any possible gloopiness & makes the polish so much easier to work with. Due to the consistency of the formula being such, you are left with a lush glossy almost jelly like finish to your manicure. This was 3 coats applied.


The finishing result...glossy, vintage pin up red goodness. You could even forgo topcoat however its always a good idea to finish with a thin coat at least for longevity. So yes, my hunt for the perfect red is over. Huzzah! You can find Sabon products as well as these beautiful polishes online but I believe there is now a store in Covent Garden...either way I will definitely be popping in again when I return to NYC in June! 

Do you have your perfect red shade? Thanks for reading!

Lotsa love to ya!


3.27.2016

What I Wore...Pirating

Hey there lovely readers!

Mixing things up a tad in between all the nail art action with a little "What I Wore" post for you today lovelies!

As you might know already if you follow me on social media (@Aysh_tmb) one of my current obsessions is the shopping app DEPOP, I'm forever going on about it & its become my go to place to browse first. I've found some amazing clothes/shoes purchases on there, all for bargainous prices, including a brand new Pyon Lolita coat for £40 & most recently a new pair of LE Irregular Choice loafers for a tenner! So yup, I am a hardcore Depop-er, send help ;)


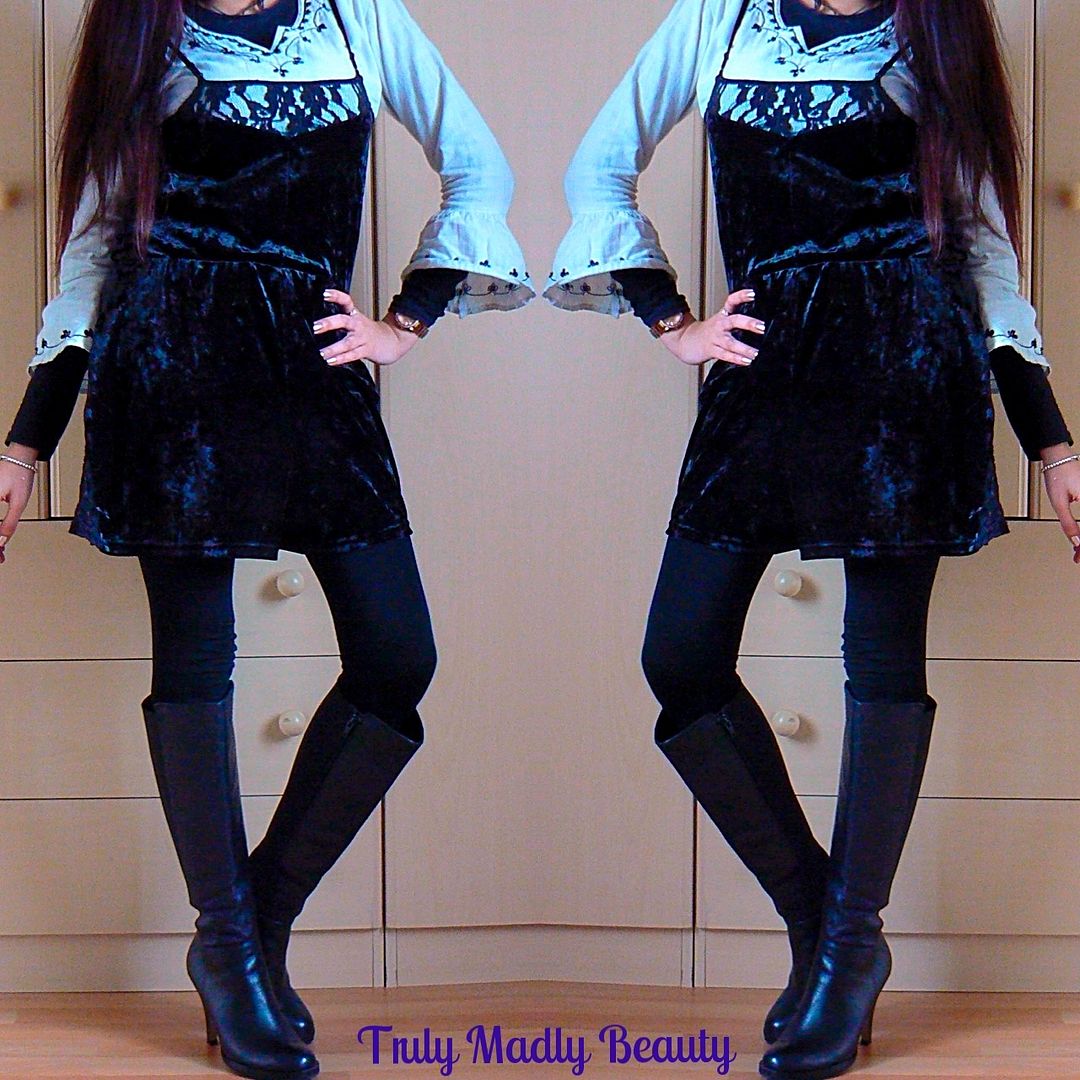
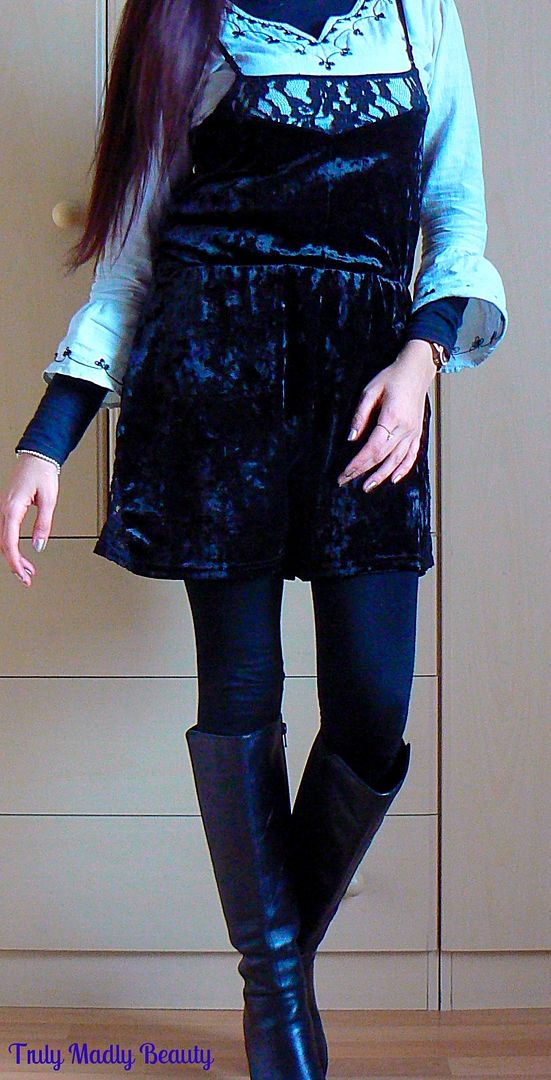
Today's outfit includes another recent Depop purchase...some sleek new booties. I was after a pair of knee highs as my current ones were getting a bit worse for wear & came across this lovely pair from Next that seemed to fit the bill nicely.


They are made from sturdy leather which is great for battling the elements, lets face it in England thats a necessity as you never know when the heavens will open most unpredictably! A bit of a heel twas also a requirement for the height challenged individual that is yours truly & the length hitting to just below the knee is perfect.


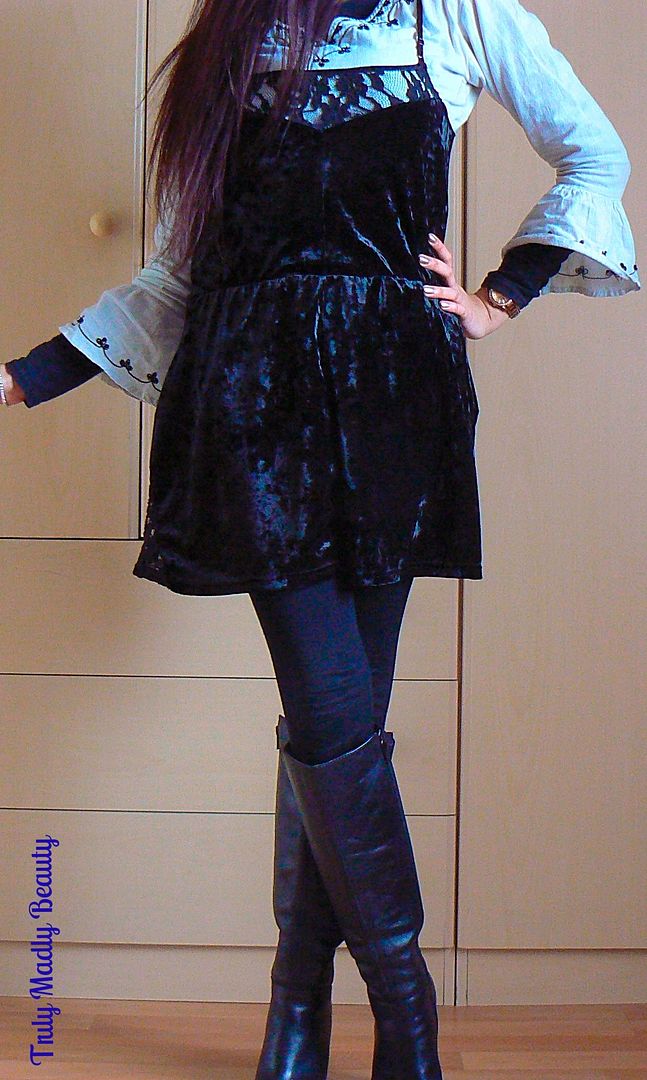
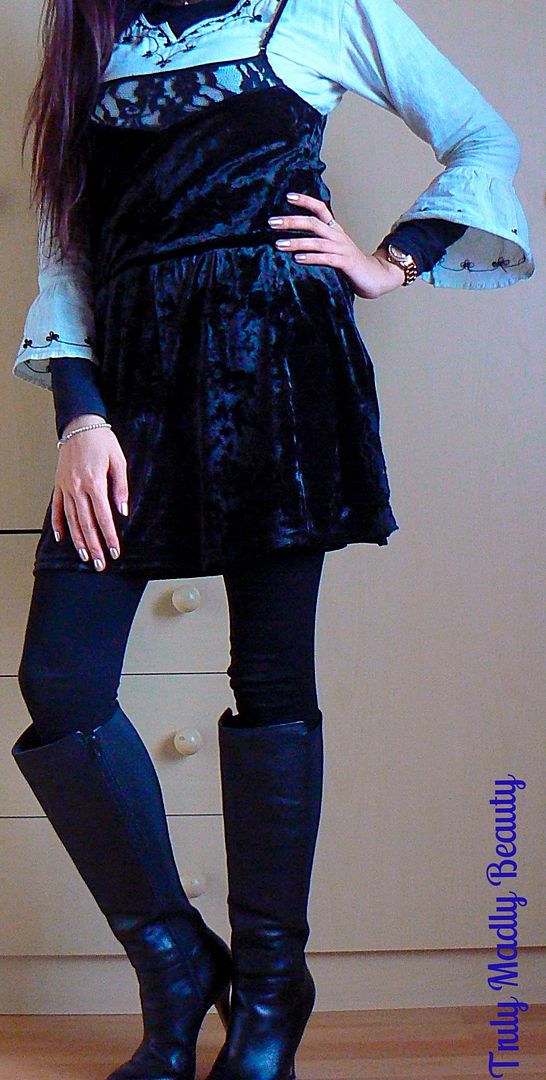
The outfit itself consists of a vintage blouse with a bit of old age sleeve action going on that was picked up donkeys ago from a charity shop yet still remains one of my favs, I heart bell sleeves muchly, instantly transforming what would be an ordinary piece into something more feminine. It was a tad chilly (Spring where are you?!) so I threw on a trusty black t shirt underneath.


On top of that I threw on my Topshop velvet black playsuit, another fav, I always get lovely comments on this whenever I wear it, not only is it pretty, soft & BLACK (the goth girl is content) but its so darn cosy too! Except maybe when one needs to use the washroom & forgets until the last minute that you're wearing a one piece...*cue speedy panicked unzipping* O_o


Leggings were required to finish the outfit. All together the ensemble kinda bought pirate vibes to mind, but I managed to hold myself back from adding an eye patch to complete the look. Perhaps next time. Thanks as always for stopping by beauts!

Lotsa love to ya!

3.25.2016

Easter NOTD - Minion Chicks plus Tutorial!

Hello lovely readers!

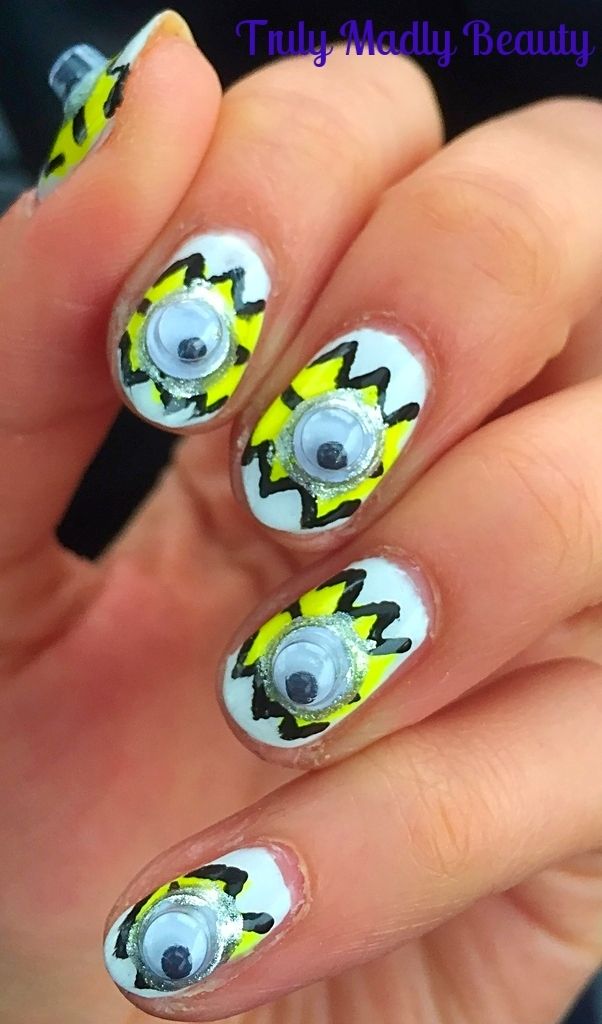
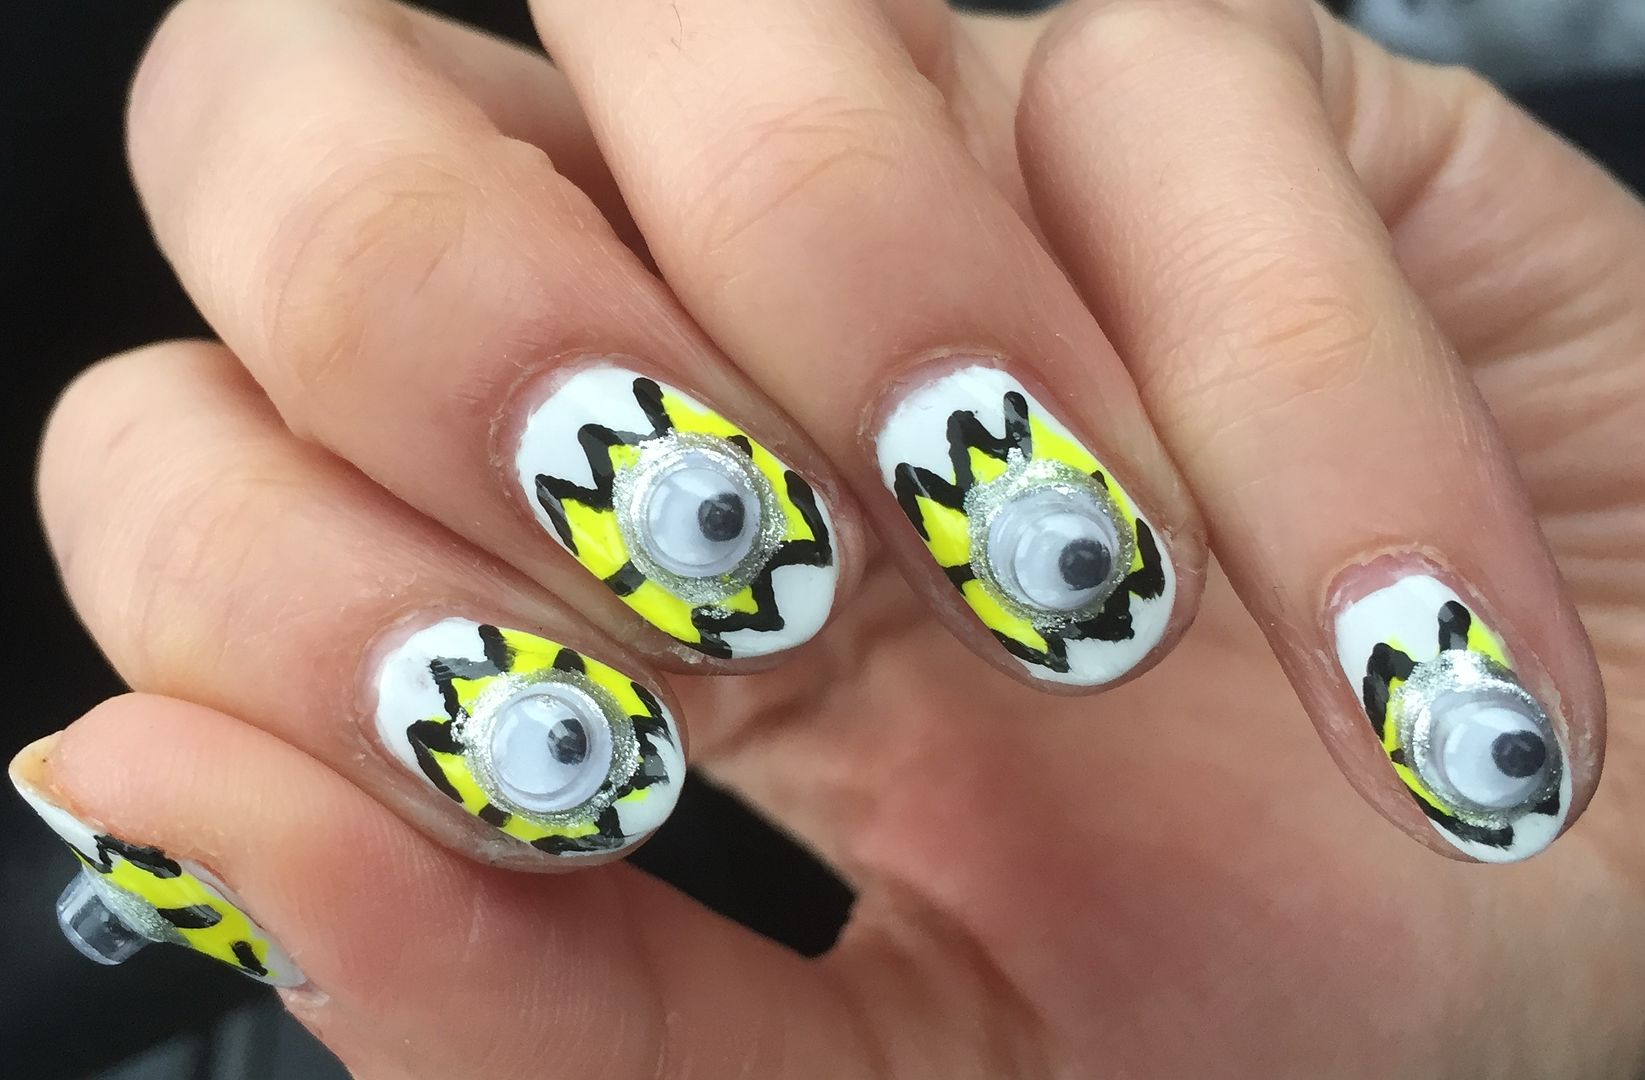
Happy Easter! Yay for four day weekends! If only every weekend could be so. Made a start on all the chocolate gorge-fest-ing yet? If not then get on it beauties! I hope you liked the Easter Bunny nail tutorial from my last post, I've managed to roll out one more Easter mani to share with you & this one was especially for my work colleague who has a thing for minions...who doesn't, those guys are adorable! Remember I told you I had some googly eyes lying around? Well here's how they come of use...


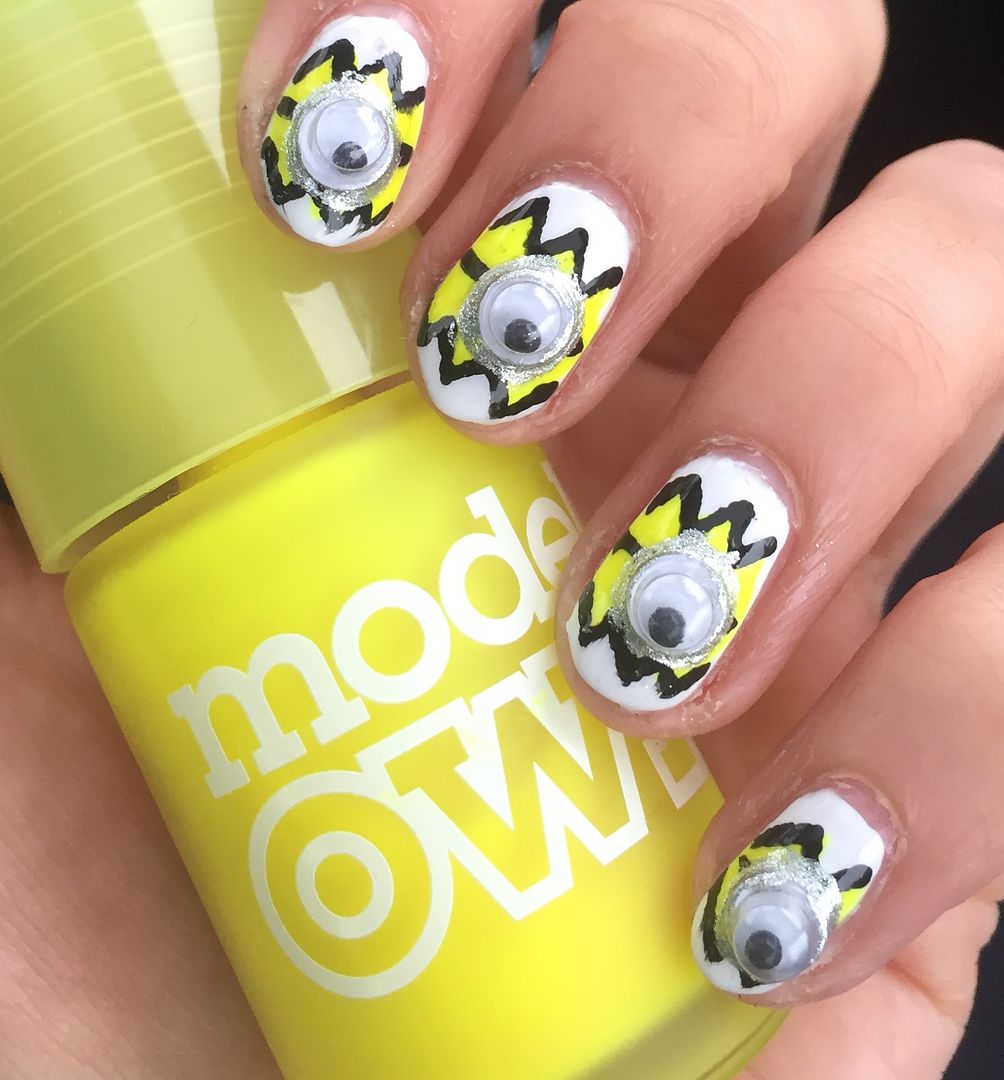
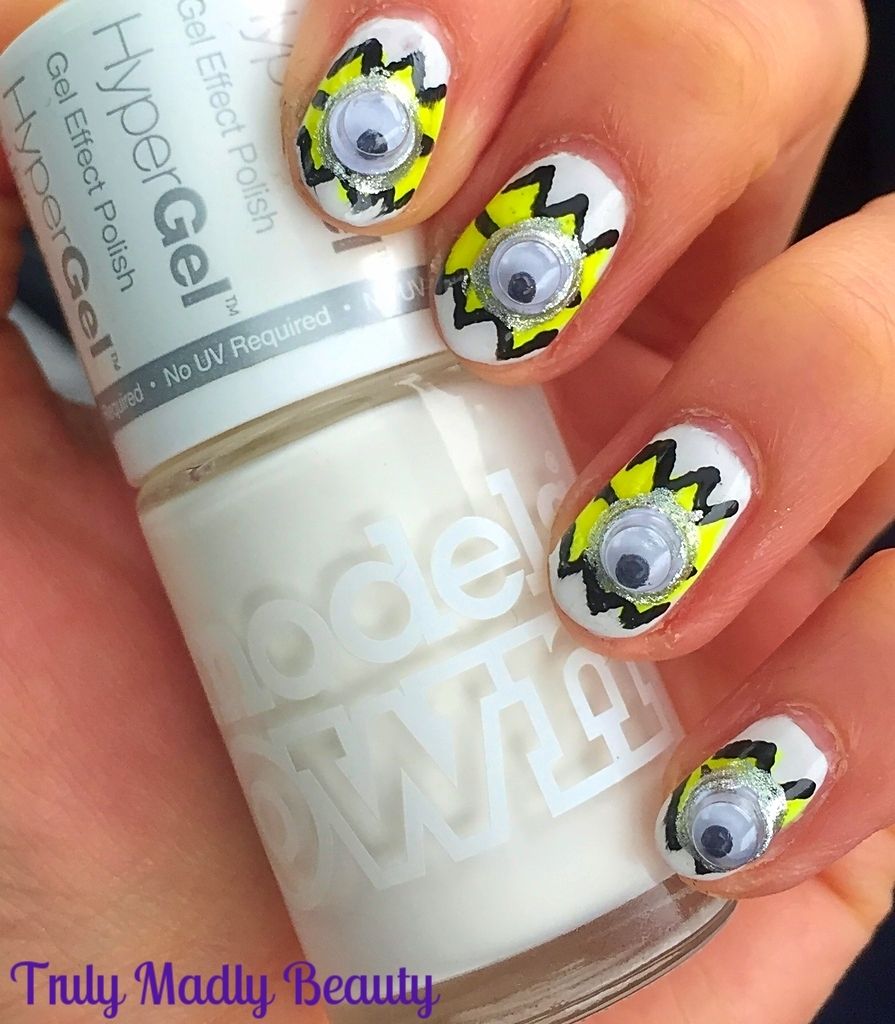
Minion chickies cracking out of their shells! Haha! Well it sure was different lets put it that way & went down well with aforementioned work chum so high minion fives! And my nails made jiggly sounds whenever I shook my fingers (which was often)...that was quite entertaining too. I'm easily amused.


Again I reached for my trusty Models Own polishes to create my minion nails, for the white shells I used Models Own HyperGel in White Light and Models Own Neon in Luis Lemon for the minion chicks themselves.


If you want to re-create this design then here's a step by step breakdown on how to do so!

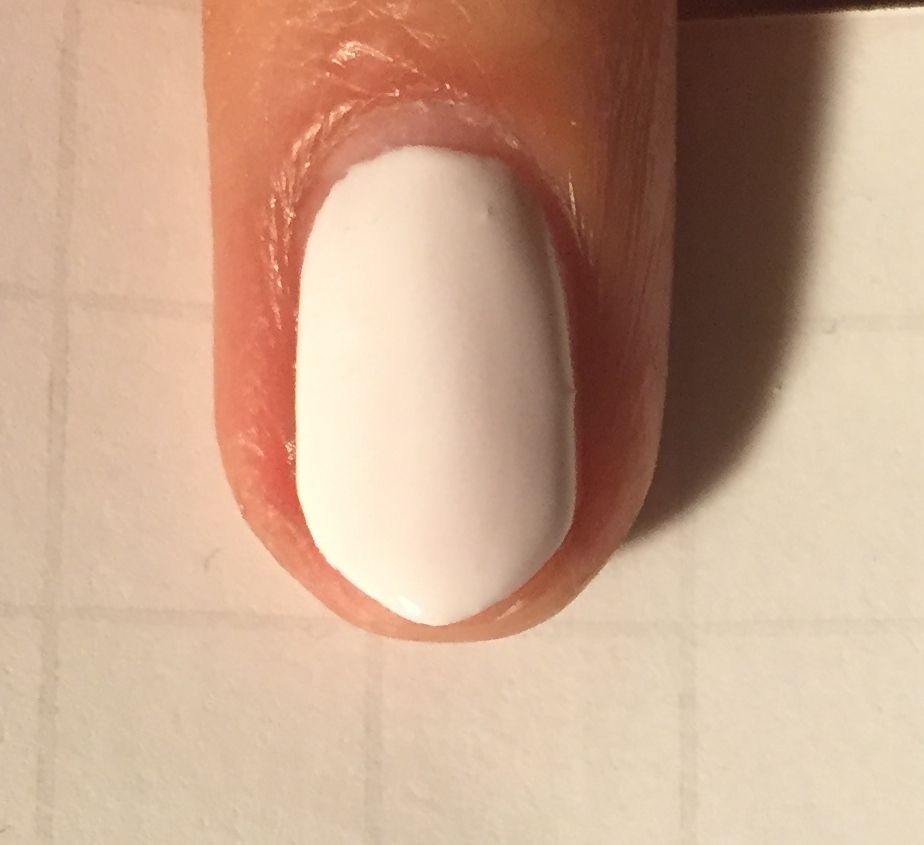
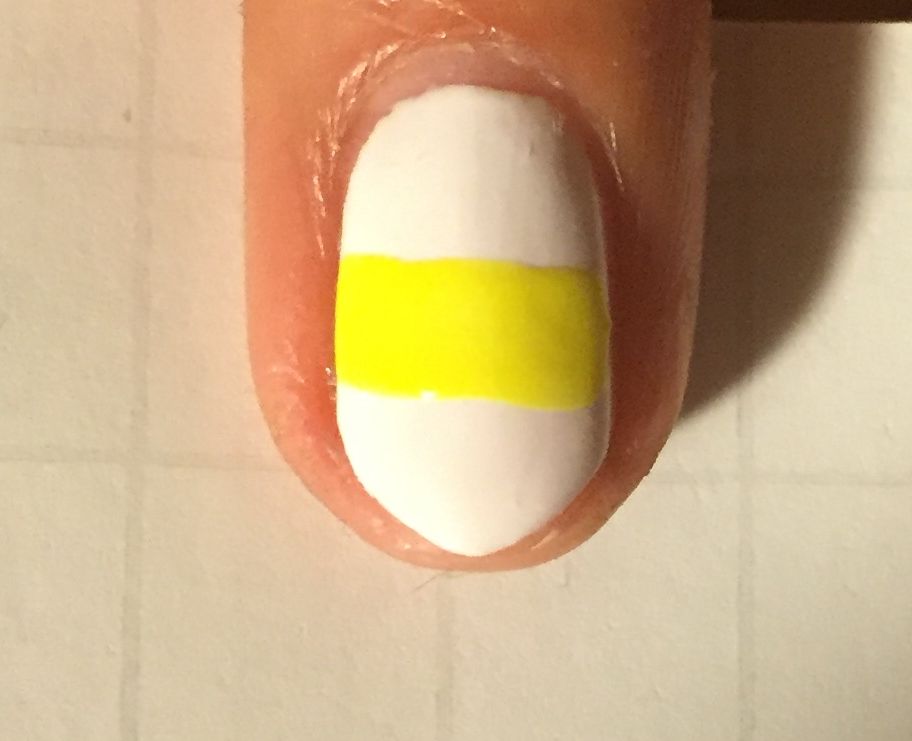
Start with your white base, here I've used two coats of the Models Own White Light


Then grab your yellow polish & apply a horizontal strip of yellow across the middle of the nail using the polish brush


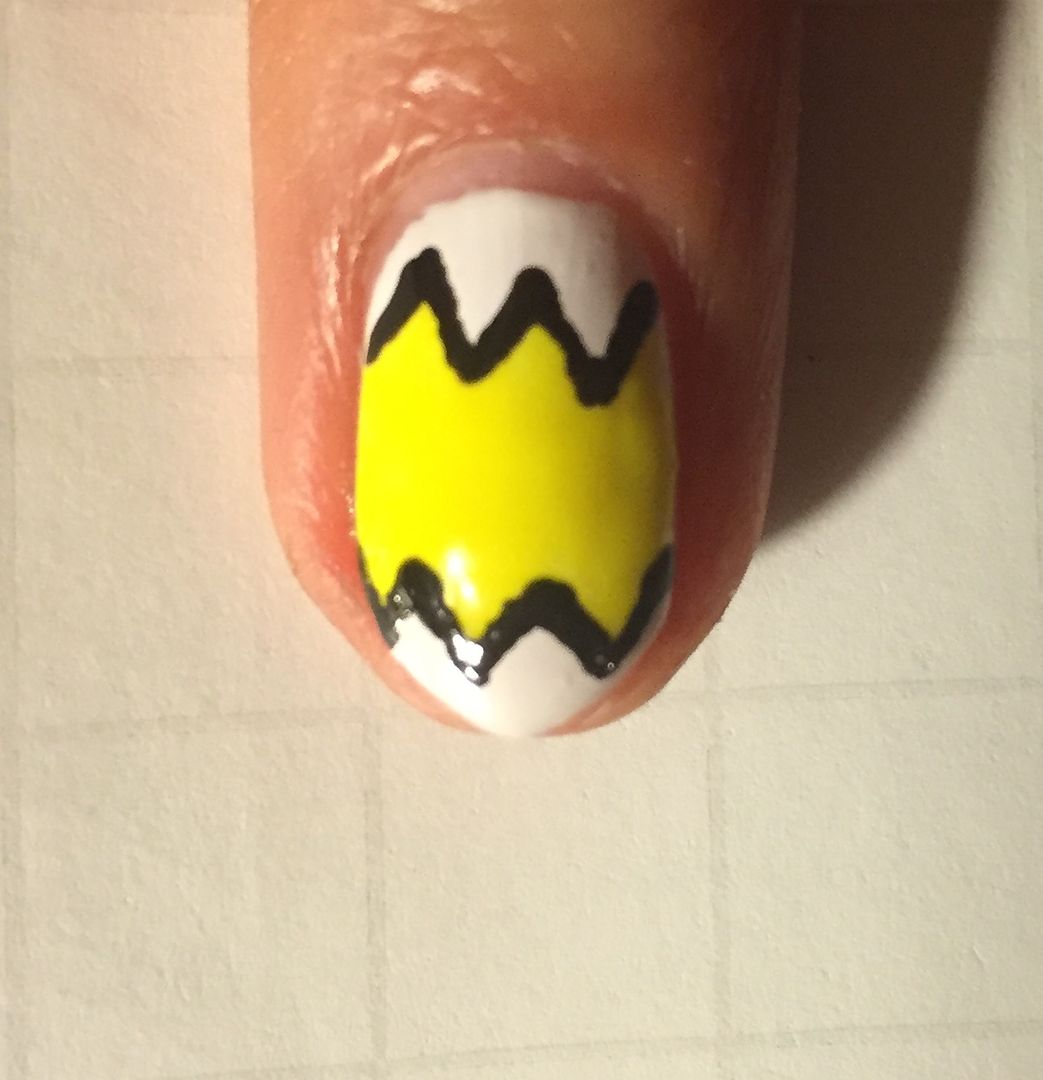
Now grab a finer nail art brush & using the same yellow polish, apply three triangles above the yellow line & three below, before filling in with more yellow polish


Because my yellow was so neon it kind of faded in to the white so to make the egg shell cracks more prominent I went over the edge of the yellow triangles with some black polish using a fine nail art pen.


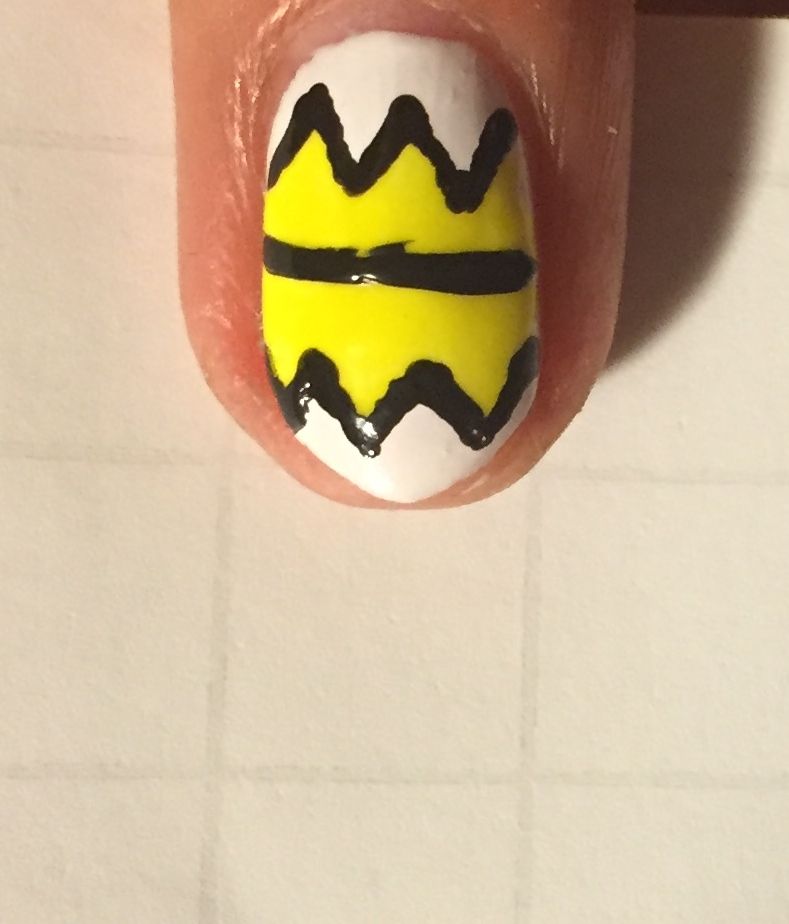
Using the same nail art pen, apply a thin horizontal black line in the middle of the yellow


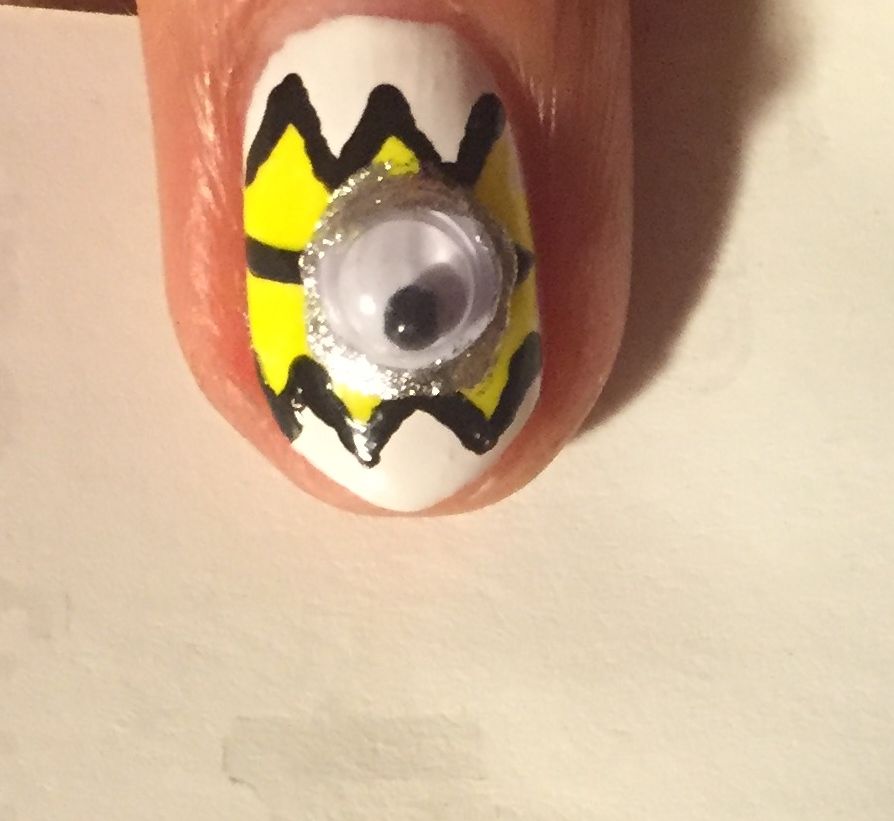
Then apply a thick large round circle of silver polish in the centre of that black line, this was an old Sonia Kashuk polish I had that was nearest at the time!


Then whilst the polish was still wet I stuck on my little google eyes which I had lying around...as you do! Of course if you don't have these then you can just add a smaller white circle of polish inside the silver before adding a black dot for the pupil!


To finish I applied a bit more silver around the rim of the googly eyes to help secure them before adding about two coats of topcoat just to make sure they stayed put.


And thats it! A fun yet quirky Easter mani...I am partial to bouts of oddness ;) Thanks as always for reading, have a fab Easter dolls!

Lotsa love to ya!