2.09.2016

NOTD -Valentines Inspired Heartbeat Nails!

Hello there lovely readers!

So Valentines is around the corner aka the perfect excuse to reach for those pretty pinks & reds in particular to help romance up those nails which I can never resist doing as I always love an excuse to play around with nail art :) You can see some of the Valentines themed mani's I've done in the past HERE if you're looking or a wee bit of inspo. Today I have for you some skip a beat, Heartbeat Nails!
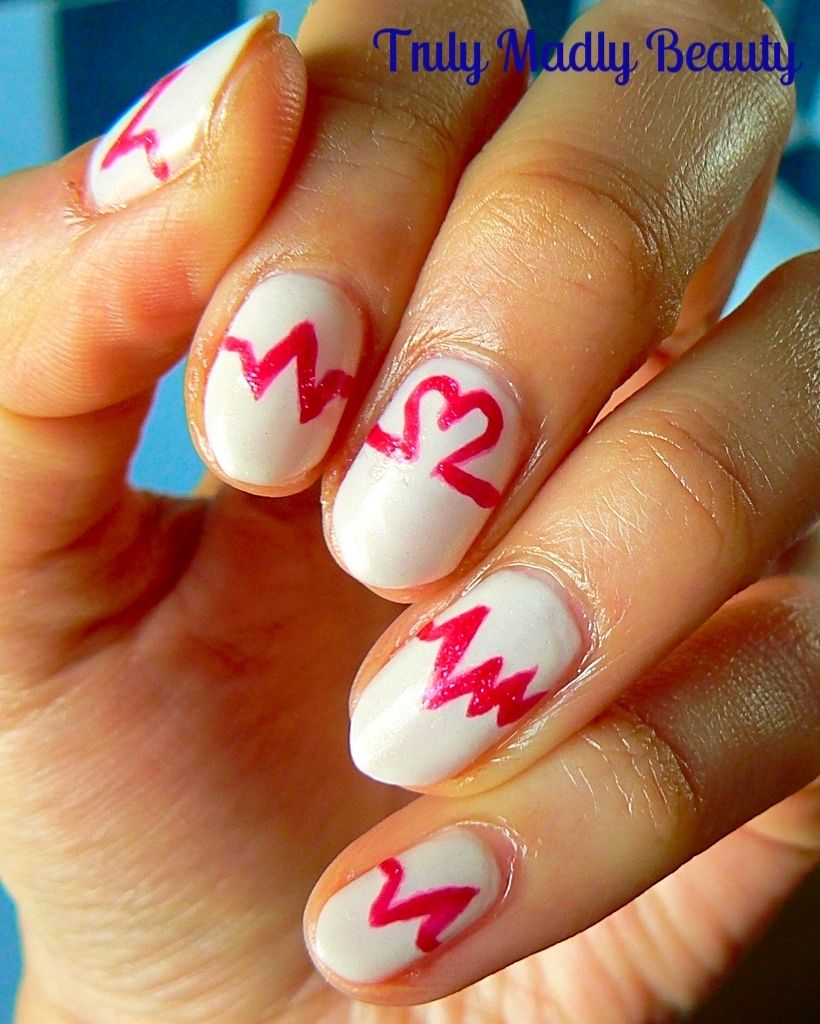

A bit different eh? I wanted my heartbeat design to stand out so opted for a nude coloured base but you can of course totally have a play around with whichever colours you like!

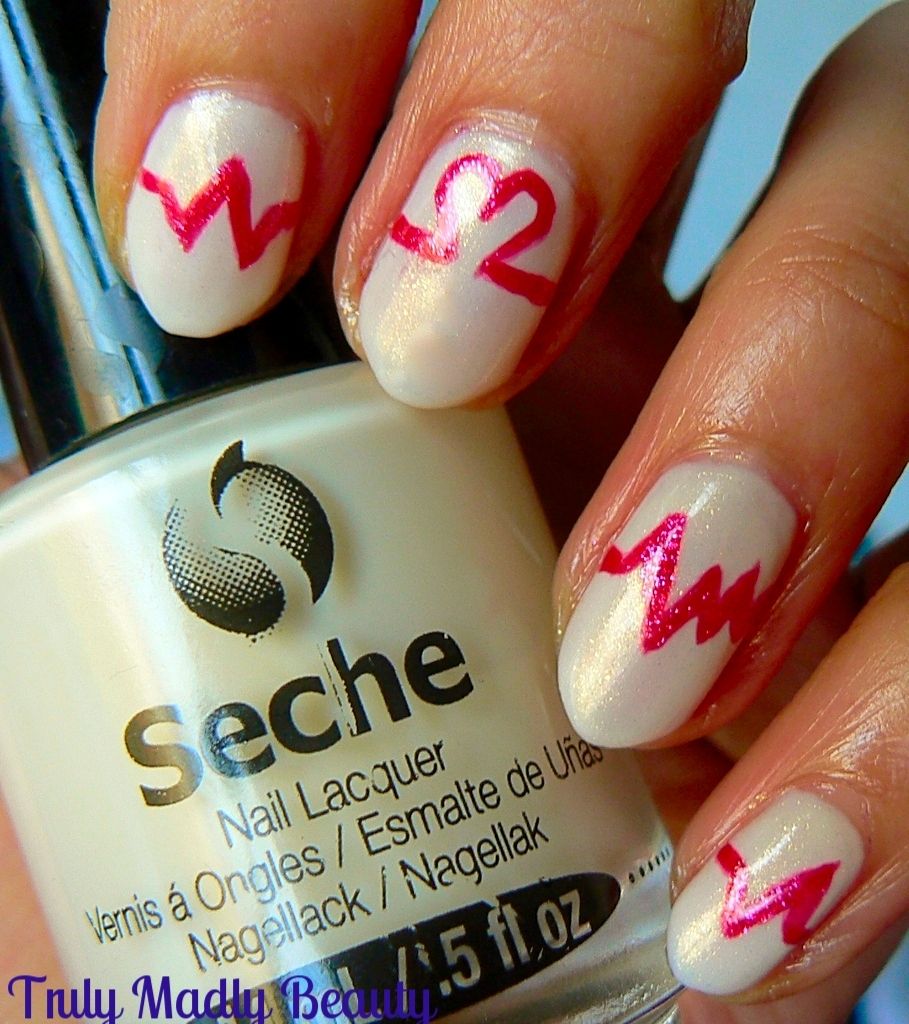
To start off I applied two coats of this Seche Vite Blanc II, a soft creamy beige, not the most mind blowing in quality or colour, simply the first nude polish that was within reach at the time haha! The first coat was a tad streaky, but managed to smooth out in the second coat.

I then decided to add a coat of Ulta3 Crystallina to just jazz it up a tad. I love adding this pretty ethereal holo white on top of ordinary shades to give them a pretty iridescent pixie like glow!


Next for my heartbeat line I decided to first draw the design using the nib end of my WAH London nail art pen in a hot pink shade as this allows you to draw much finer lines than what could be achieved with a brush.
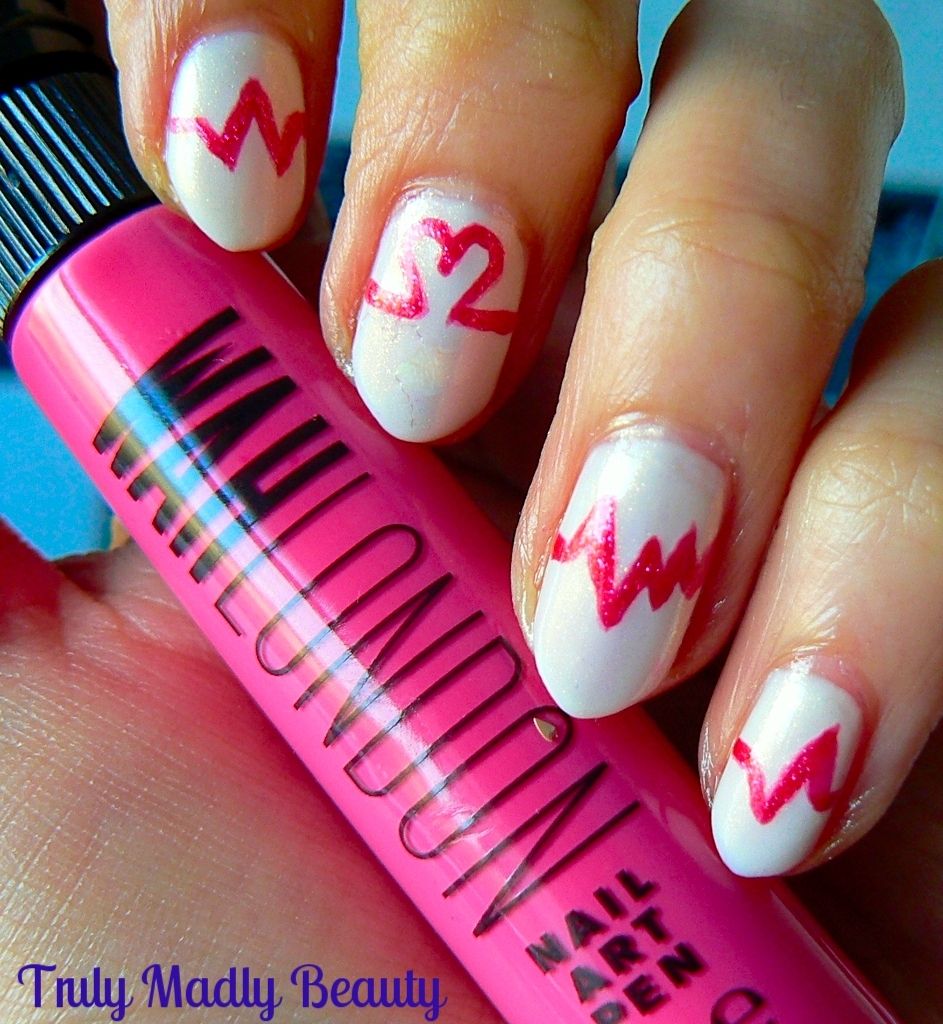

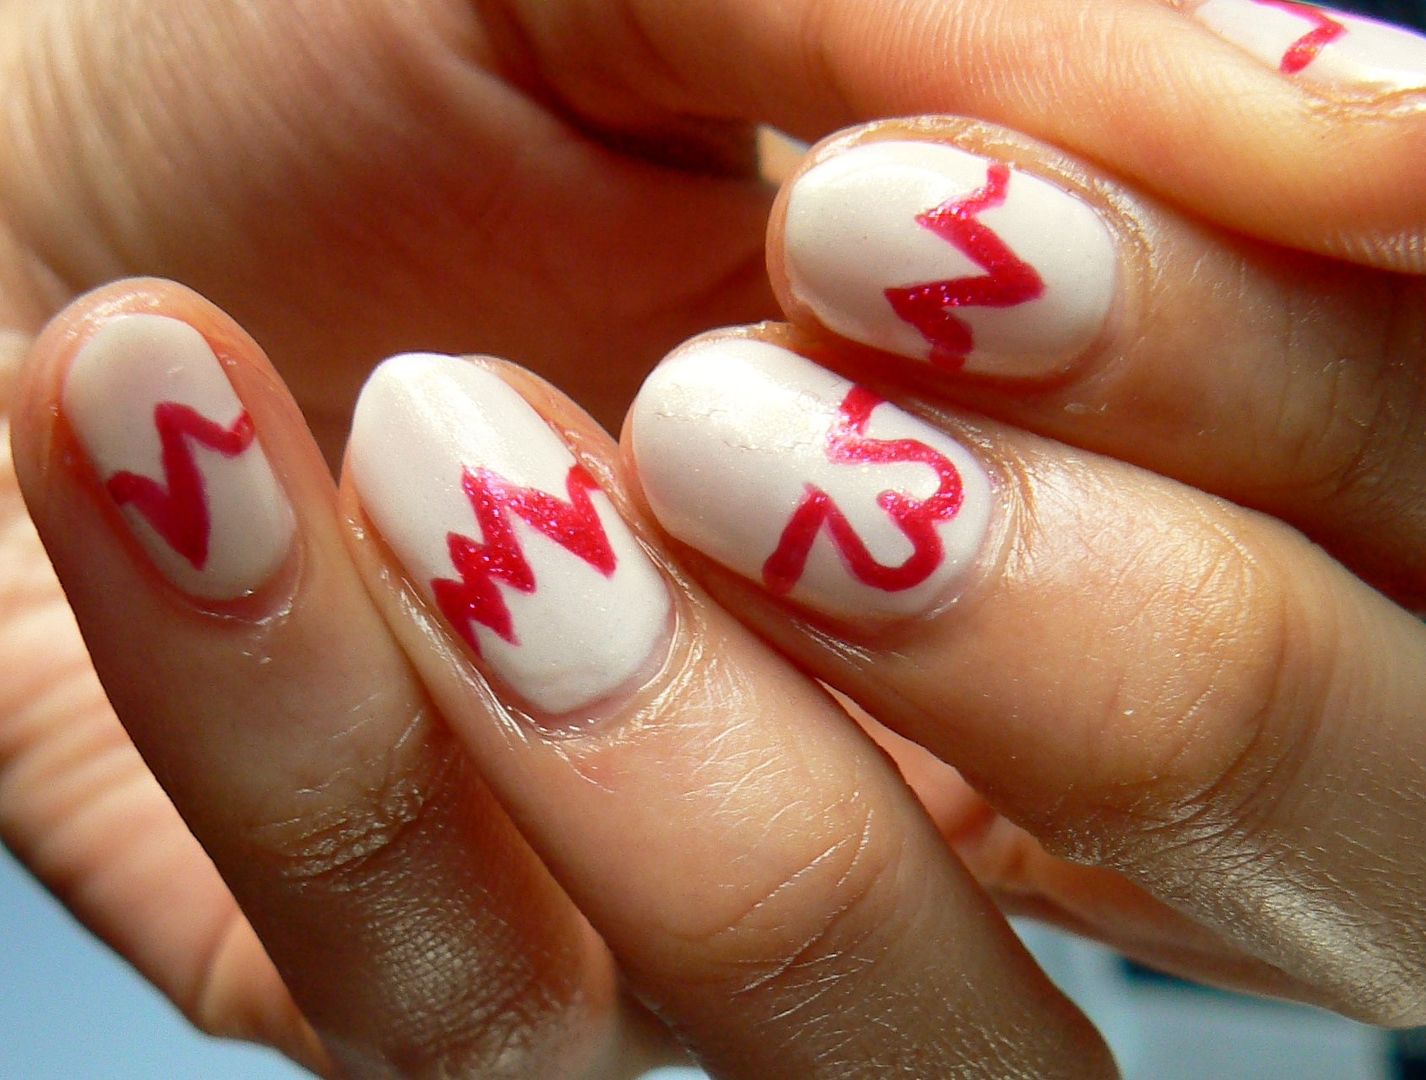
To do the design just apply the polish across the middle of each nail with your nib, starting with a straight(ish!) line, adding some up & down zig zags along the way, not forgetting to do the heart shaped beat on the middle nail.
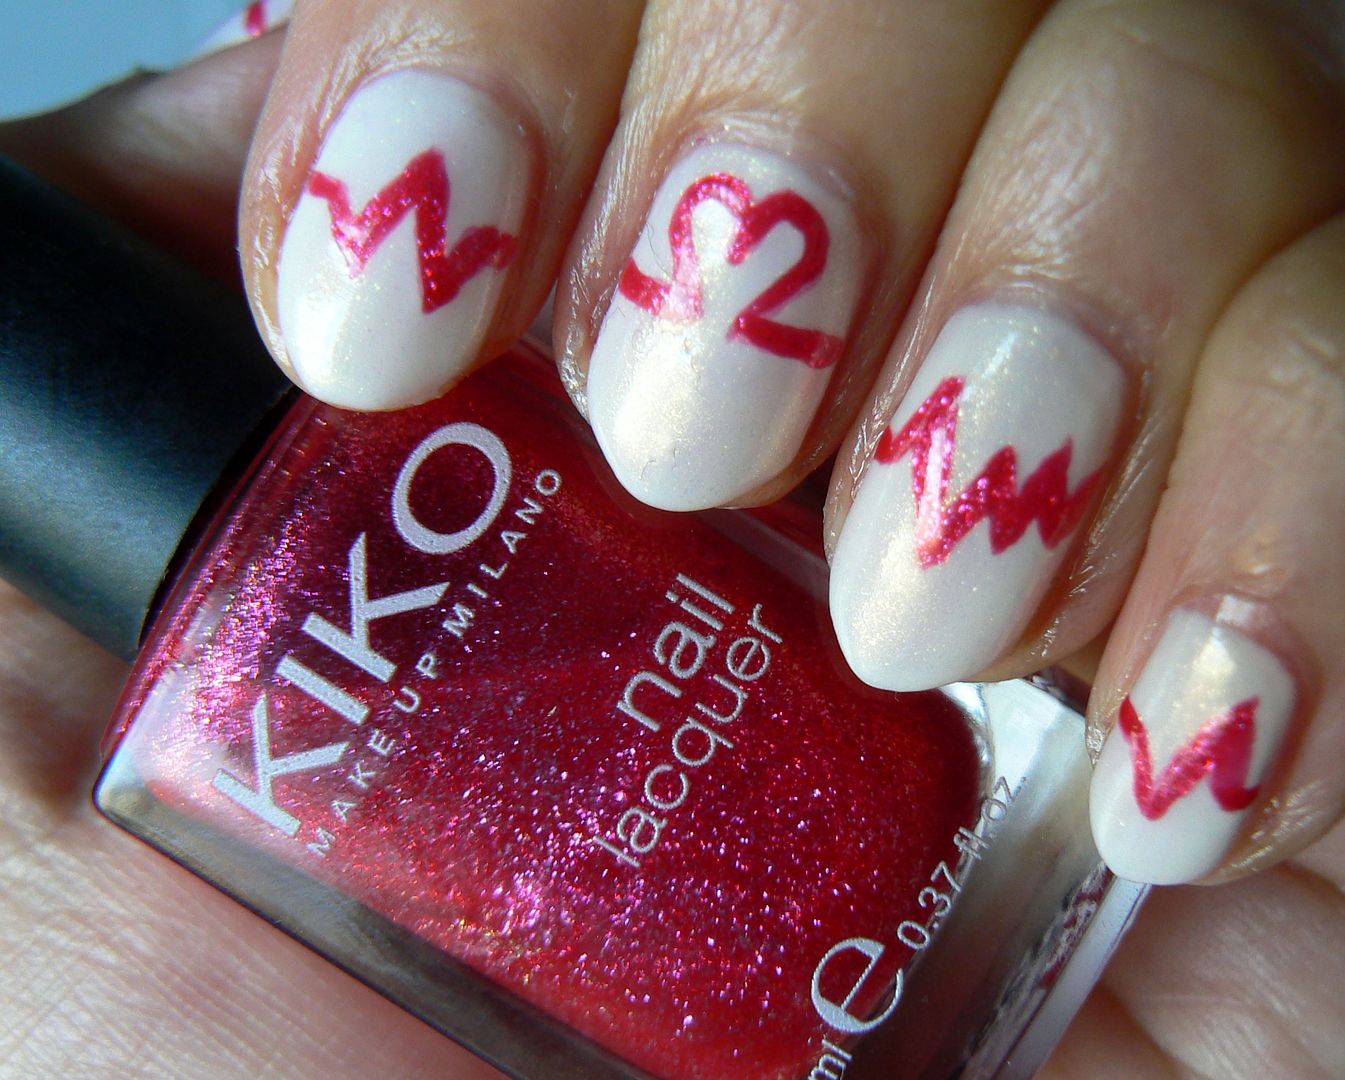

I wasn't satisfied with the level of pink so I decided to then go over the lines with this lovely KIKO hot pink glass fleck shade 277 with a fine brush, which gave the design a satisfying shimmer :)
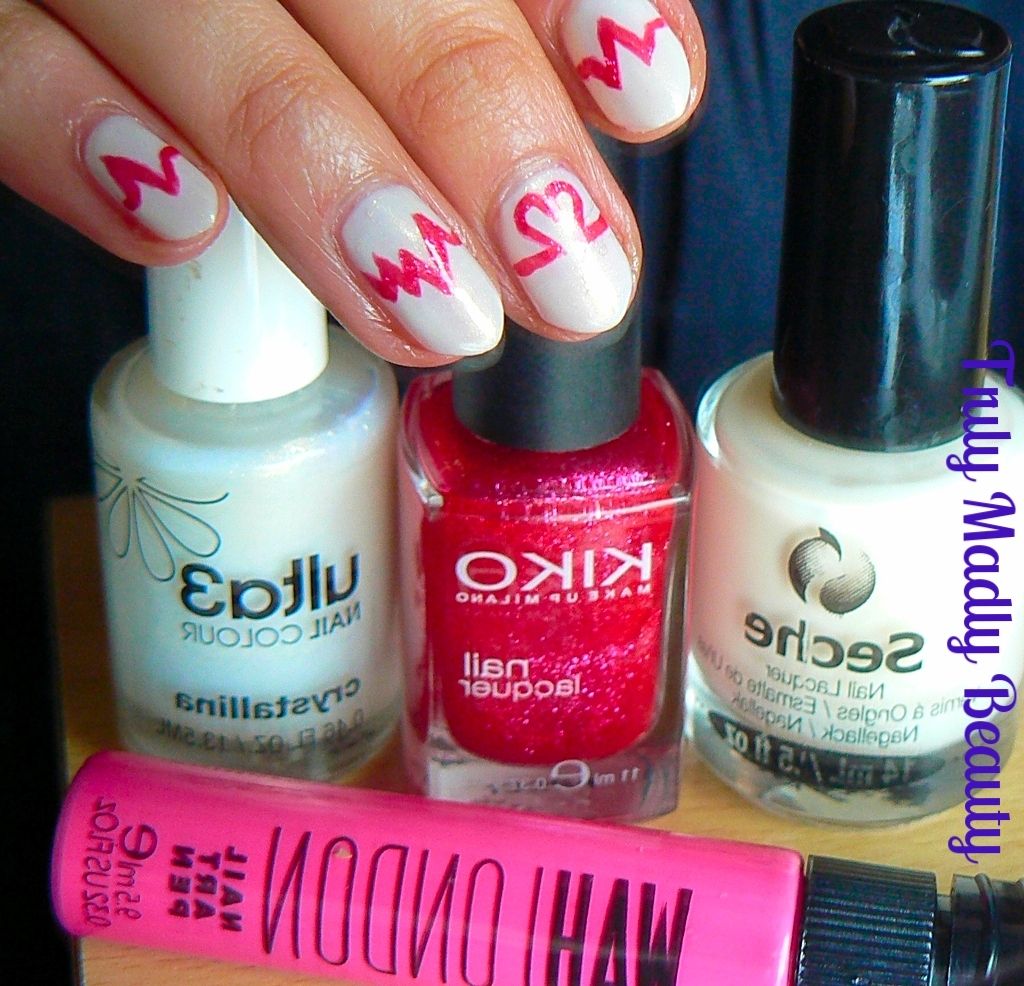

Finish with a coat of topcoat and you're done!


I hope you liked these Valentines themed nails! Thanks as always for reading dolls!

Lotsa love to ya!


2.07.2016

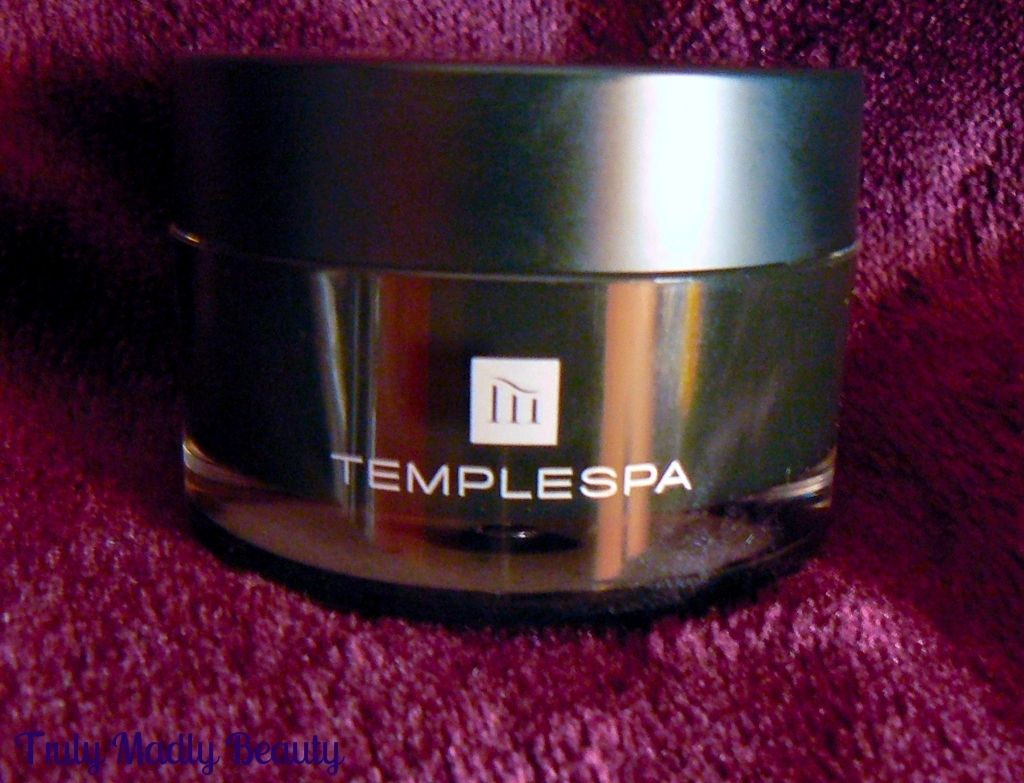
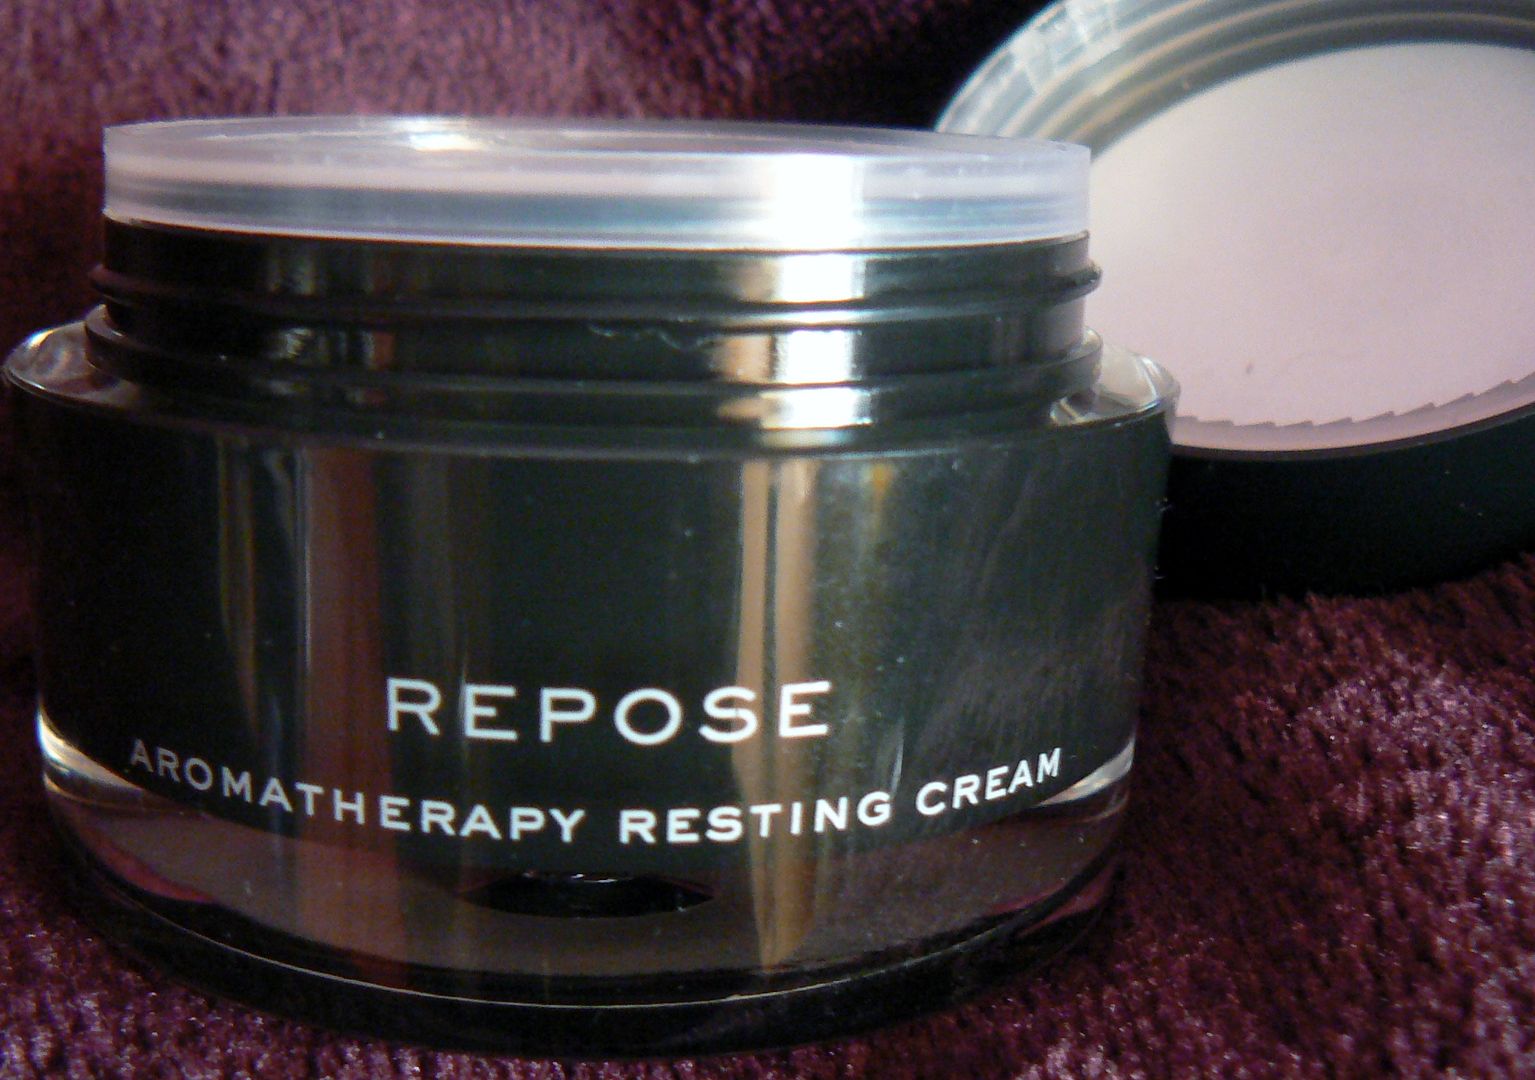
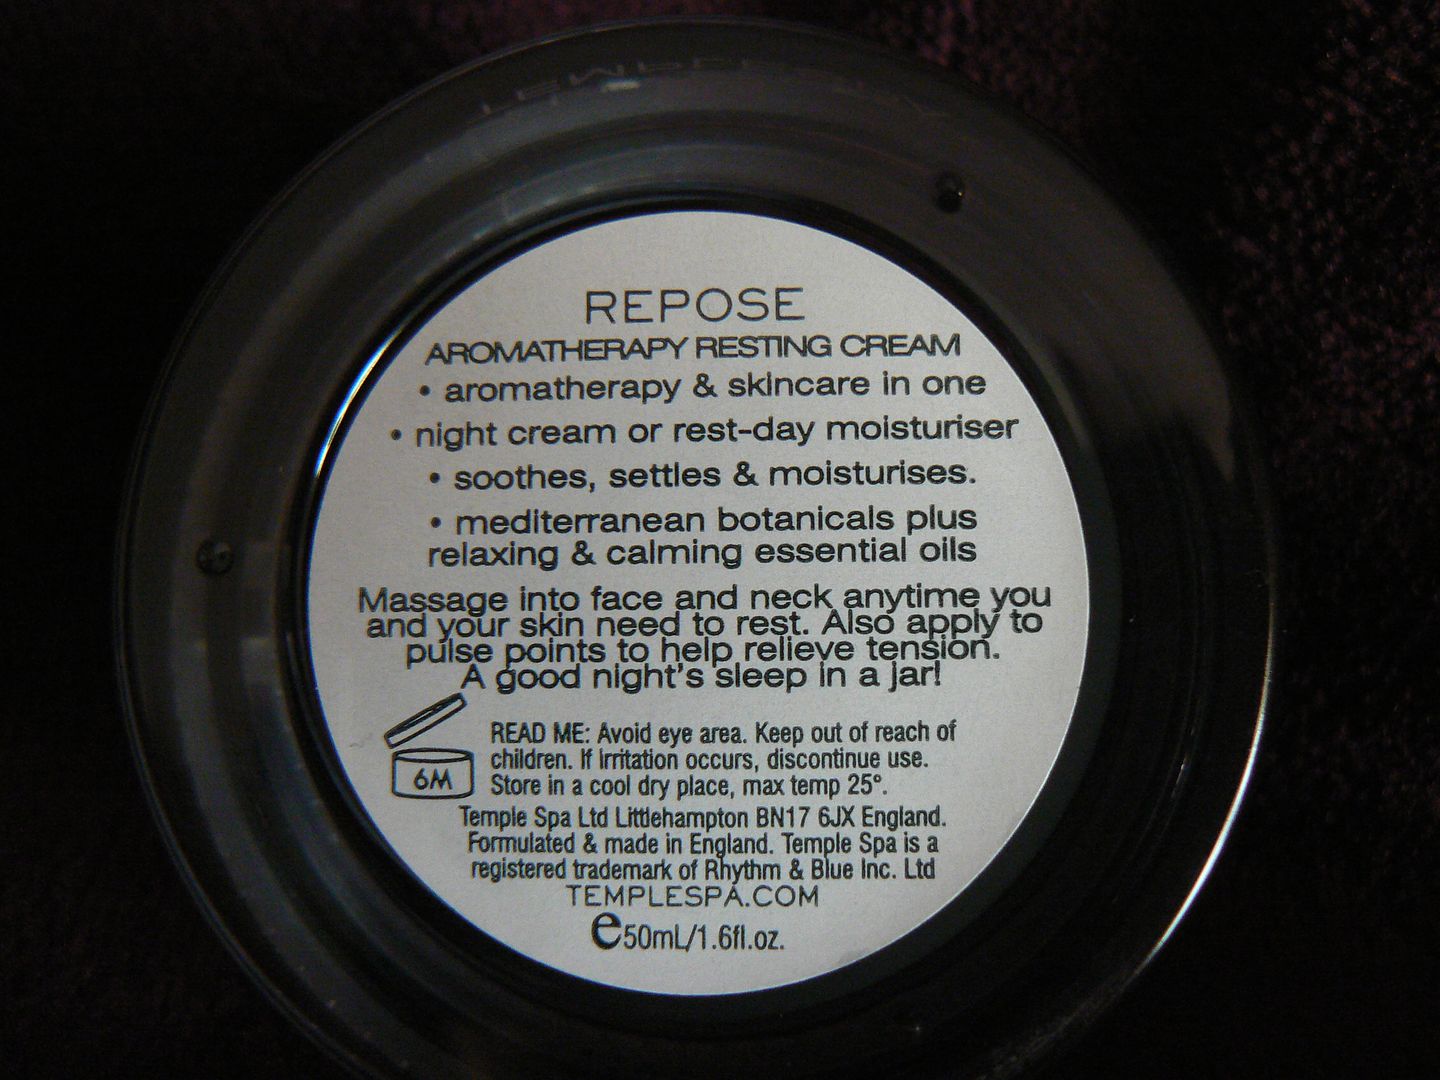
A Good Nights Kip In A Jar - Temple Spa's Repose Aromatherpy Resting Cream

Hey there my lovely readers,

So here's the dealio...I like sleep...A LOT. Who doesn't?! Kipping is important to me & if there was an Olympic sport for napping I'd be a gold medalist. If for whatever reason I find myself struggling with having a decent nights sleep be it health, work, stress related then I mourn the loss greatly!  Discovering a product that promises to help aid with this & not just that but encourage relaxation & rest then I am all over it...thus let me introduce you to the delightful 'duvet for the skin that is Temple Spa'sRepose Aromatherapy Resting Cream


TempleSpa is brand I was introduced to at an event & intrigued me with its philosophy of combining spa aromatherapy with skincare to create a range of luxurious products that promise to replenish & revive. Being an avid fan of spa-ing & facials this concept definitely appealed & if I could gain such results from the comfort of home then even better! I've had the pleasure of trying out a few of their products lately, one being this little pot of loveliness which has impressed me greatly.


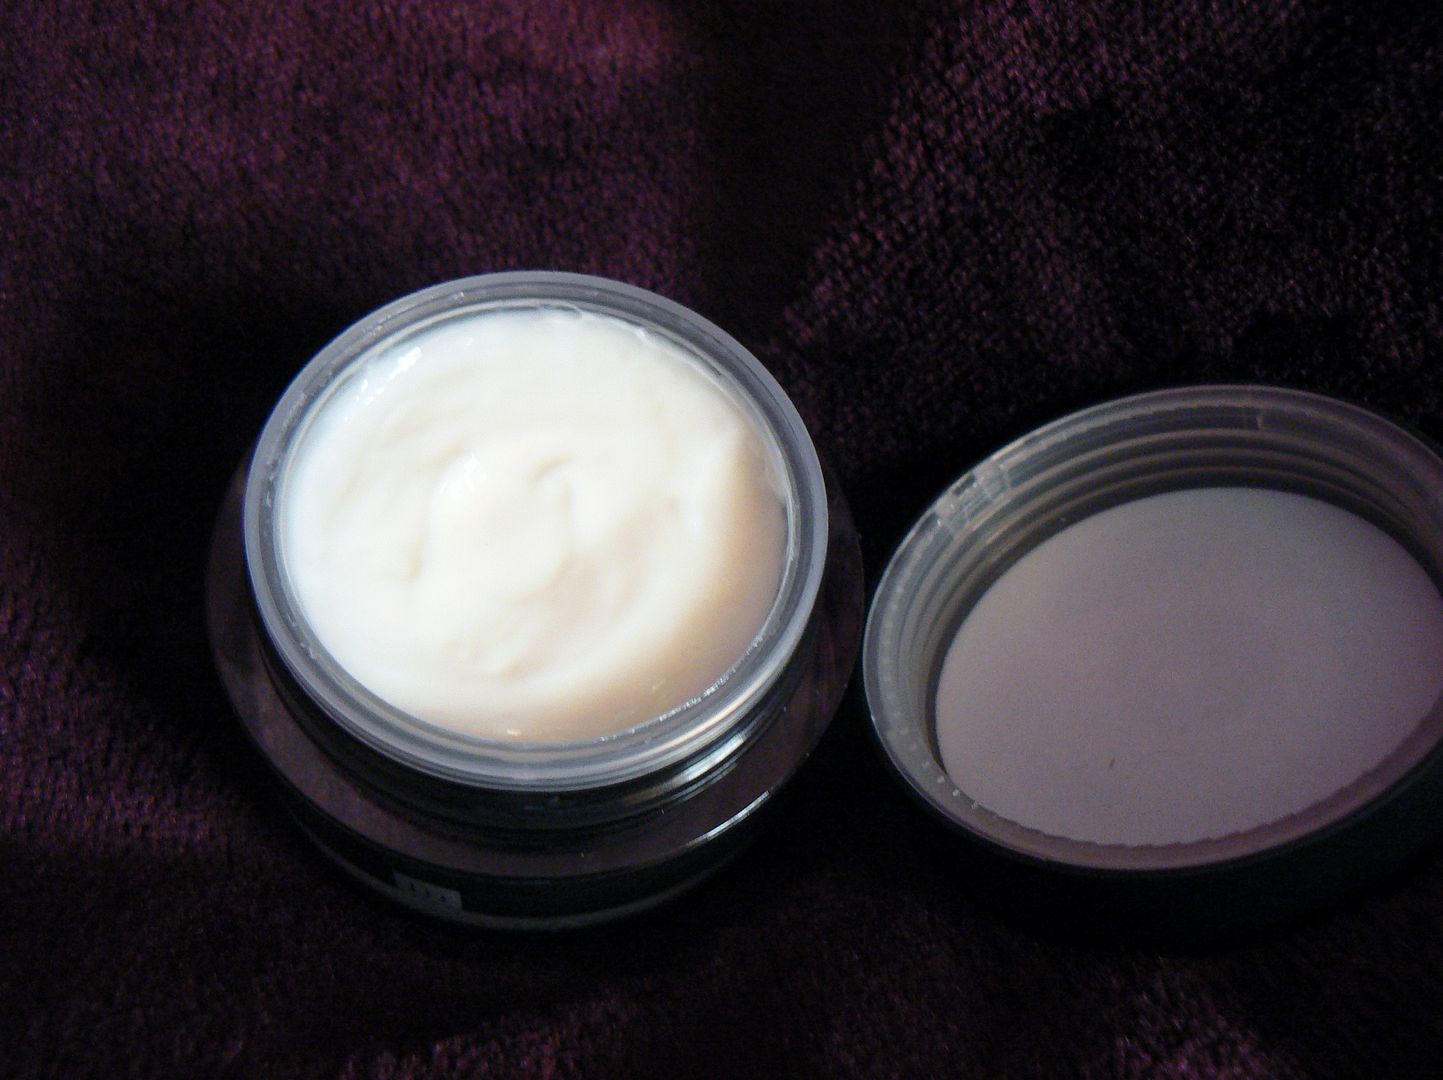
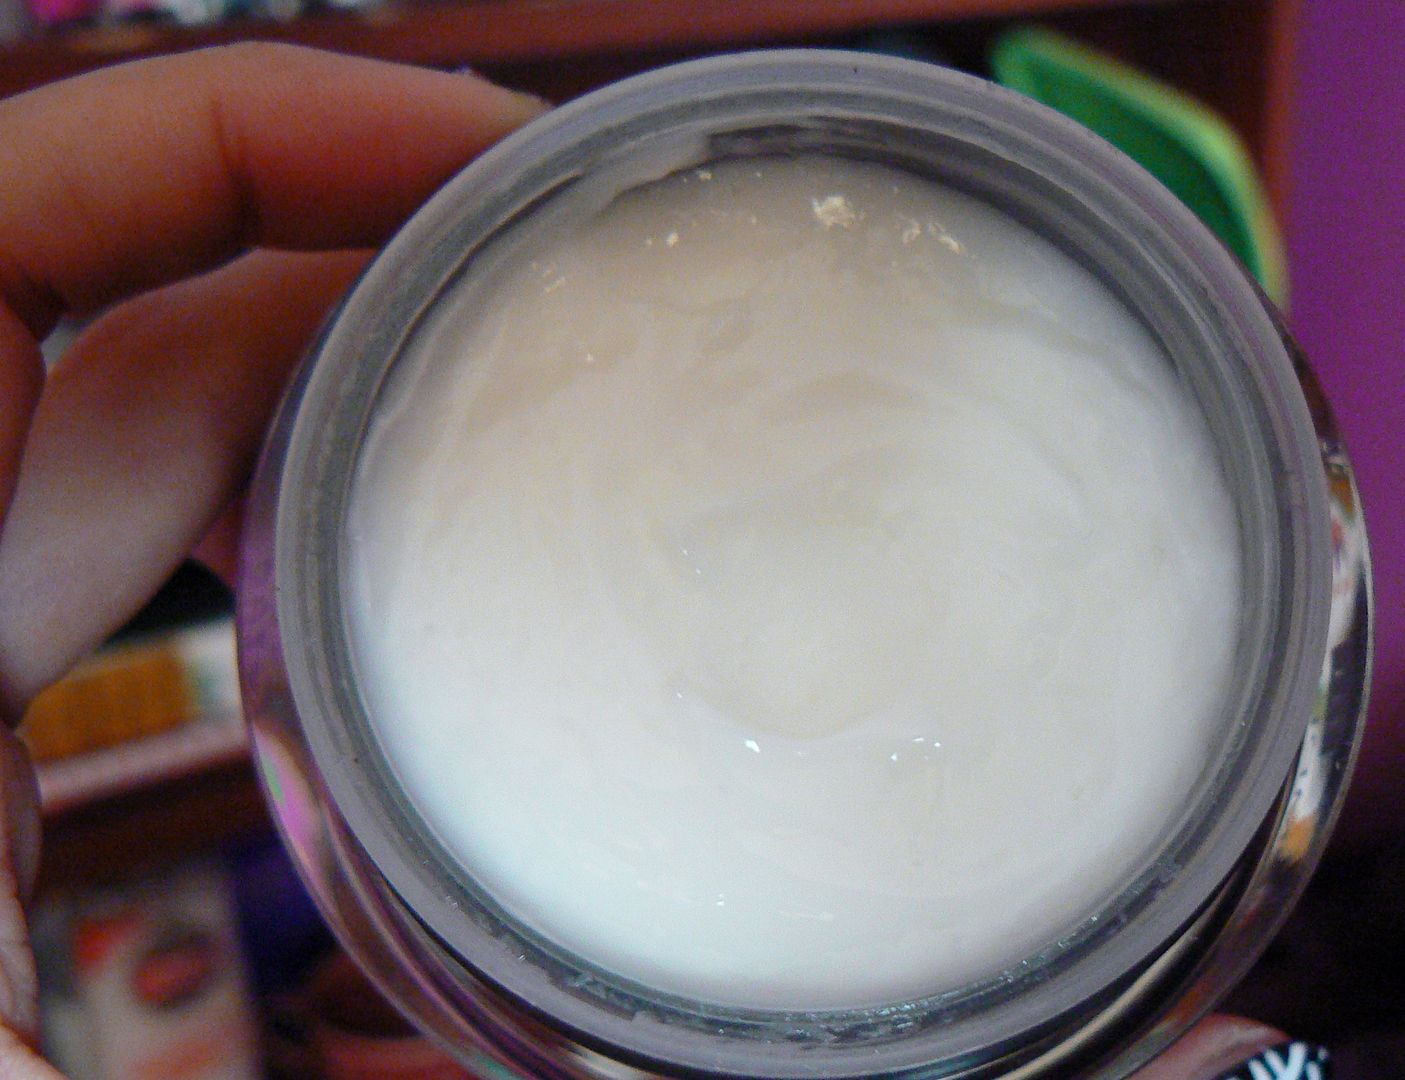
The Repose Aromatherapy Resting Cream is a lusciously rich formula containing plant extracts, anti-oxidants & a heavenly infusion of essential oils including Frankincense & Lavender to name a couple, creating a sensuously soothing & calming aroma. If you are a fan of herbal spa scents then you will love this too.


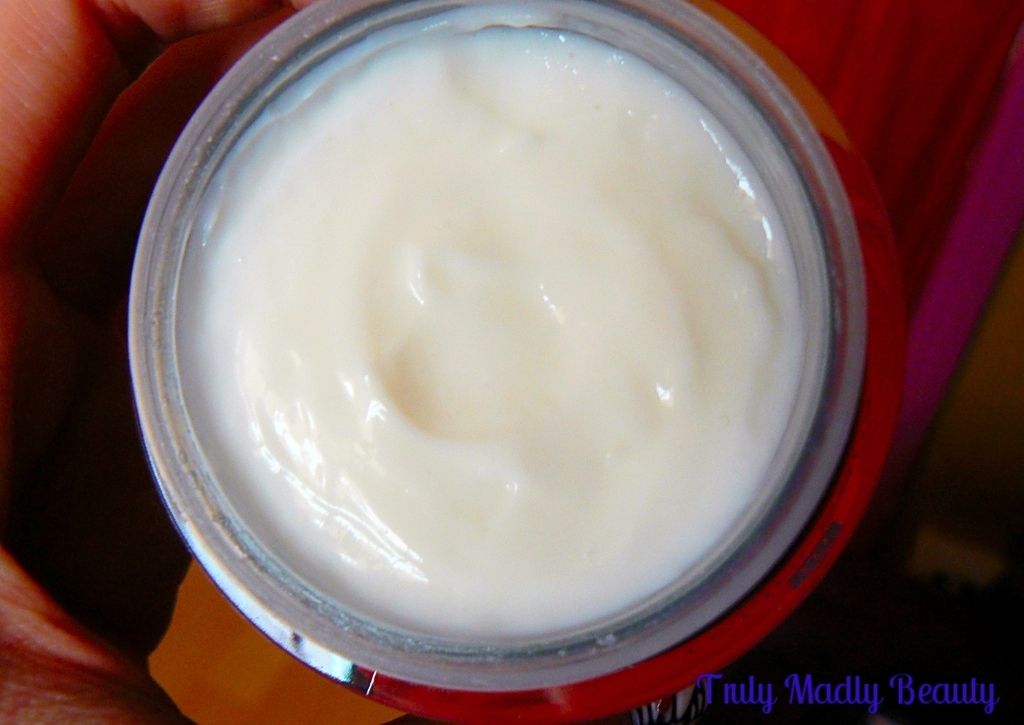
The cream functions as both a day & night cream, but I've only been using this in the evenings when I am in need of some extra pampering. As mentioned the formula is rich however does not feel overly thick or greasy at all, instead gliding like silk on to the skin, leaving my skin feeling cashmere soft.


After completing the obligatory evening skincare steps, makeup removal, cleansing, face oil etc, I then introduce this as the last step of the ritual. A little goes a long way, I like to dot the cream onto the face, then slowly massage it in, focusing on the temple areas so it feels like I'm almost giving myself a mini facial treatment before bed. I also make sure to inhale those soothing scents whilst doing so.


I'll be honest with you, I'm quite the cynical person & was ready to think this cream to be yet another gimmicky product however, after using it & experiencing some of the most lushest sleepy times I've had in a long time...well. I am in LOVE & I can understand now why Temple Spa products are so praised. 


The Repose Aromatherapy Cream retails for £39. You can find the Temple Spa range in Harrods, Selfridges and online. Definitely a brand worth checking out, I know I would definitely be happy to be gifted some Temple Spa! 

Thanks as always for reading!

Lotsa love to ya!


2.03.2016

ZAP! Liquid Latex Nail Art Skin Protector Review!

Hello lovely readers!

You may remember I did a post a while back on Masking Fluid & how it can be used for easy clean up when doing messy nail art? The idea is that you apply masking fluid to the skin around the nail, wait to dry, do your nail art, then simply peel off! Taking with it any messy splodges leaving you with a nice clean mani.

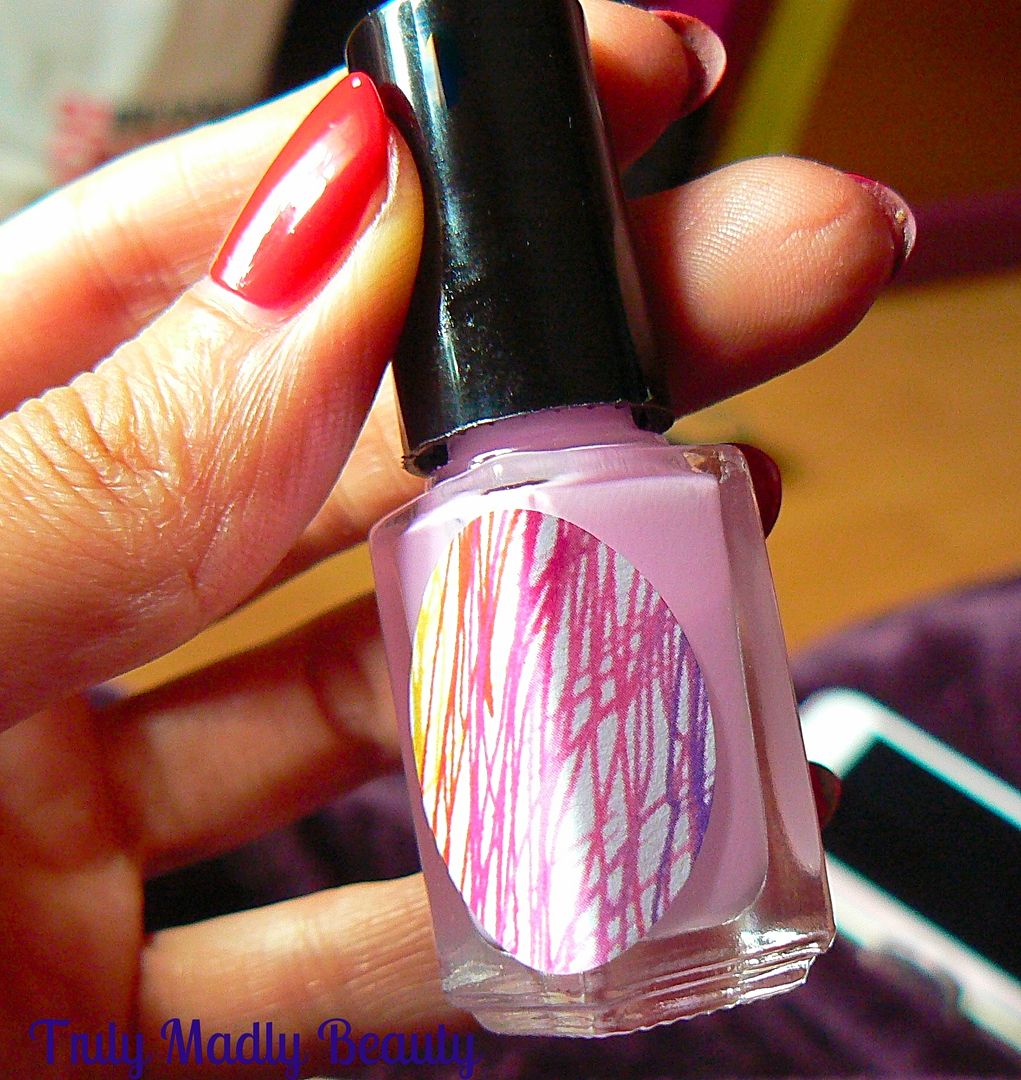
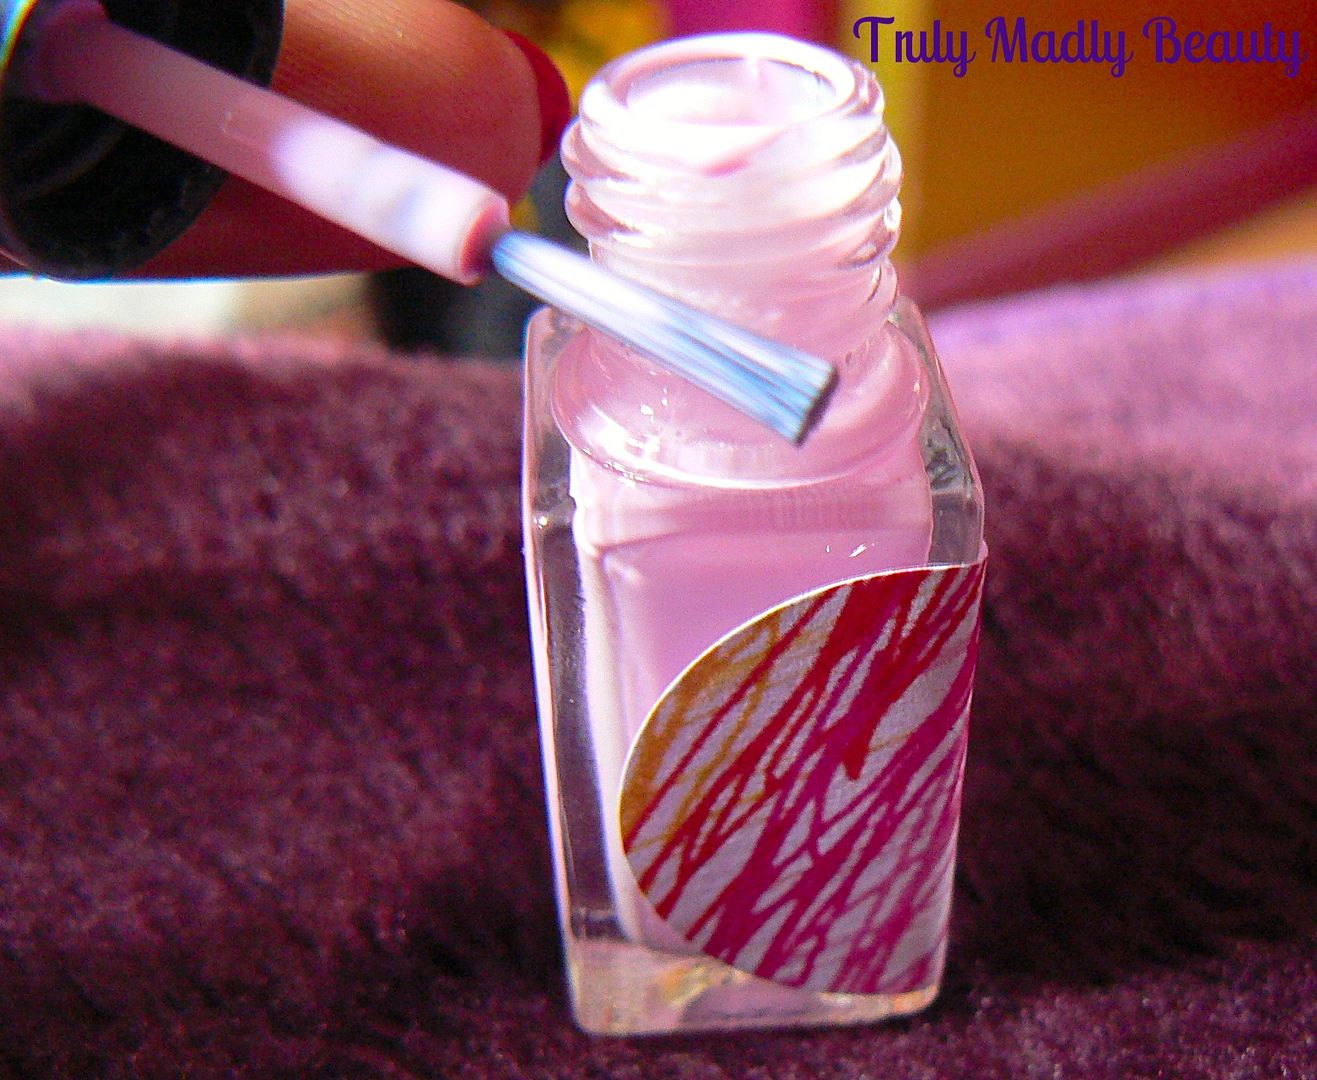
Another means of doing this & the more popularly known & used is liquid latex. I recently acquired a bottle of ZAP! Nail Art Skin Protector (RRP £6) from Rainbow Connection to see how it differed from the masking fluid. ZAP! is a liquid latex available in light blue, clear or pink shades & comes in a nifty polish bottle with brush applicator making application much easier.


I of course needed a gradient to test this baby out on so I used ZAP! whilst doing my Louboutin inspired gradient nails from my previous post.


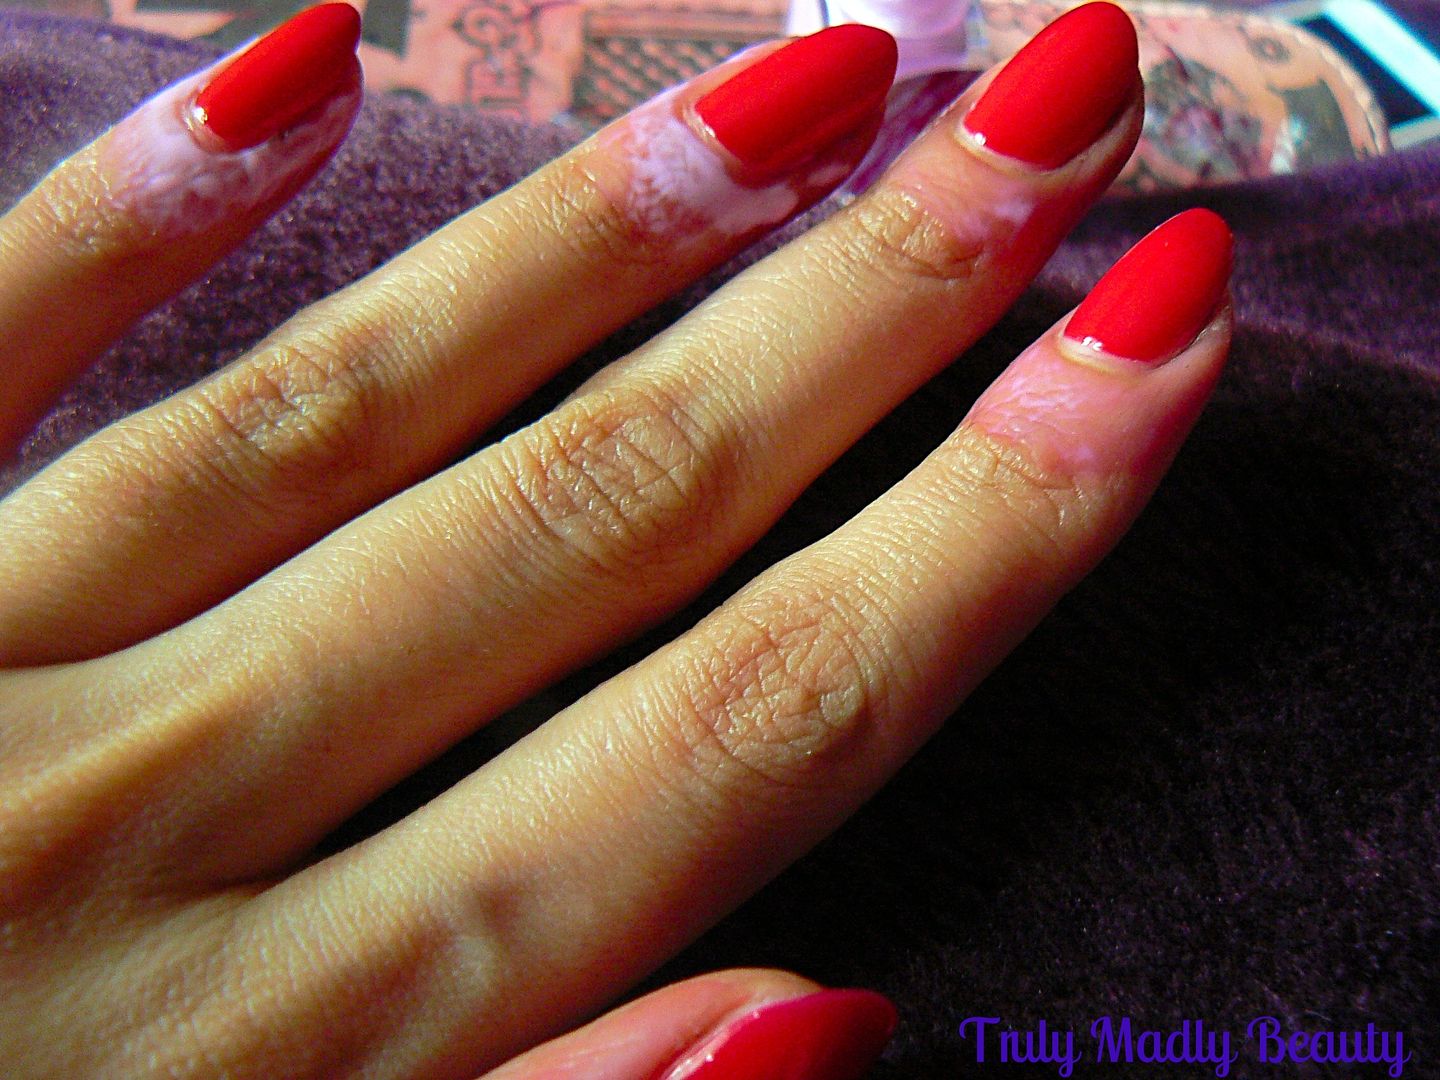
Once I'd applied my base coat/colour, I then applied the ZAP! liquid latex, on to the skin area around the nail, making sure I went right up to the edge of the cuticle. The brush makes this task very straightforward & its a good idea to apply it quite thickly & about 1-2cm in width as this will make the peeling off part much easier!


Next leave the liquid latex to dry completely. The masking fluid tends to dry clear but as this latex is coloured it obviously won't do that! But it's not too difficult to tell when its dry & ready for you to continue. The ZAP! took around 5-10 minutes to dry completely.


Then go ahead & do your nail art, be it marbling, stamping or in my case...gradienting! Is that even a word?? Oh well. So I sponged away, not worrying about keeping it neat as I had my protective mask on the skin. Apologies for forgetting to snap a pic of nails just after doing the gradient...!*slaps forehead* What an eejit...


When your finished with your nail art, grab a pair of tweezers & begin gently lifting the latex from the skin, being careful not to grab any of your actual skin! If applied thickly enough you should be able to lift the whole layer of latex in one go which I was happy to find the ZAP! did do on most of my fingers with only one or two requiring two goes. FYI...SO SATISFYING...remember peeling glue from your hands after art class in primary school? This takes me back to those good old days :)


Once peeled away, you may be left with a little bit of latex right by the nail & also a little bit of polish, but this can be easily cleaned up with a a brush & acetone which I always finish with anyway. And hey presto, gradient nails done without the crazy mess!


Compared to the masking fluid, ZAP has done good! I'll definitely continue to use liquid latex for this method, however also take into note that those with a latex allergy will of course not suit this! You can find it easily from various online retailers such as Rainbow Connection & it comes in small bottles which is good if you are wanting to just try out. However once this runs out I'll be re-stocking from Ebay as recommended by the lovely Sammy at The Nailasaurus as its a tad cheaper plus you get more! *thumbs up* 

Thanks for reading dolls, till next time!

Lotsa love to ya!


2.01.2016

NOTD - Louboutin Inspired Gradient Nails

Hello there my lovely readers!

Aaaah Louboutins...a name I'm sure many are familiar with & whose iconic shoes are present on most gals wish lists! I'm still yet to be fortunate enough to call a pair my own but one day...it will be. The same goes for the beautiful Louboutin nail polish with its stunning bottle, I confess its mostly for the bottle that I want it...one day you WILL be mine!


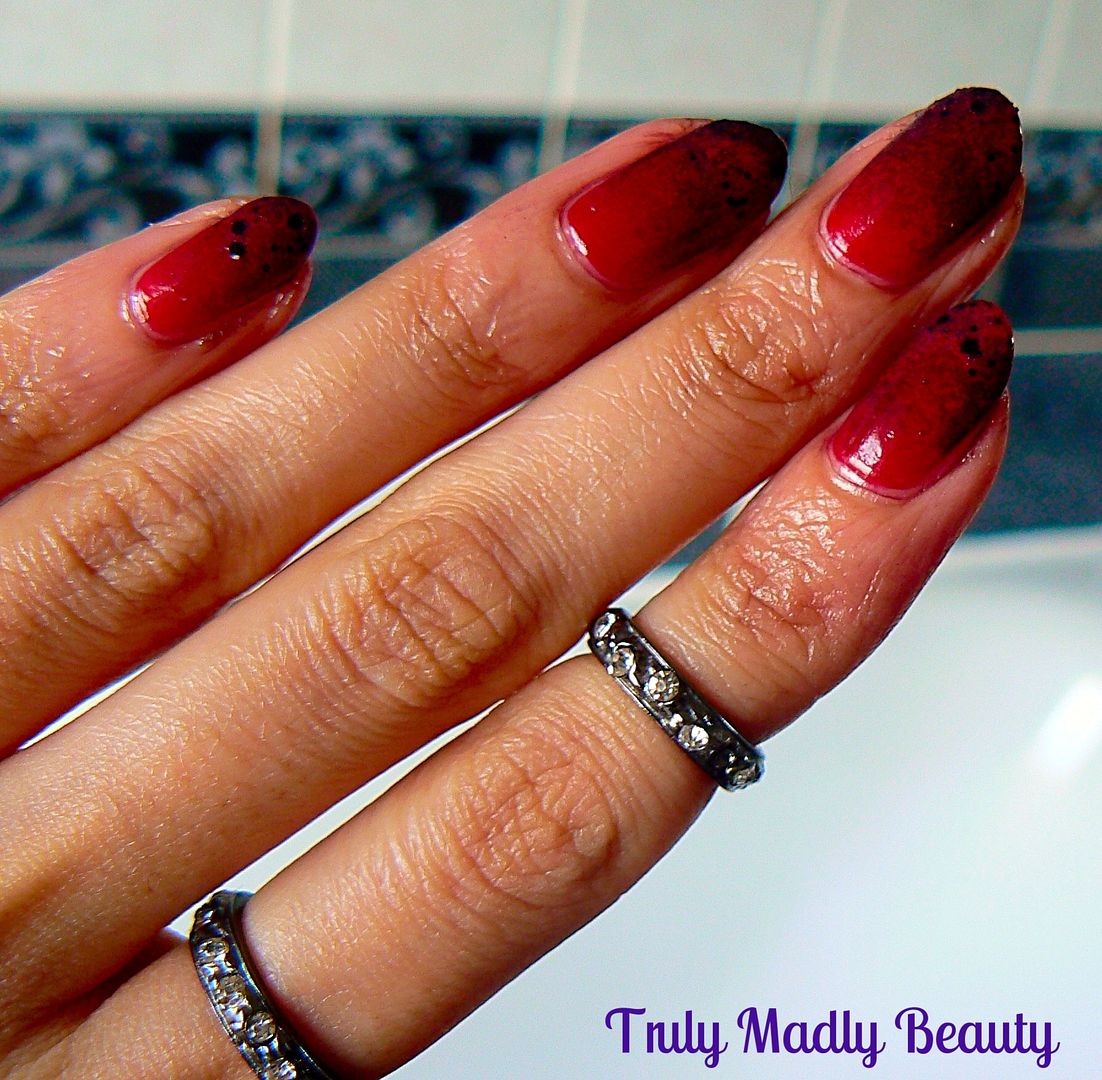
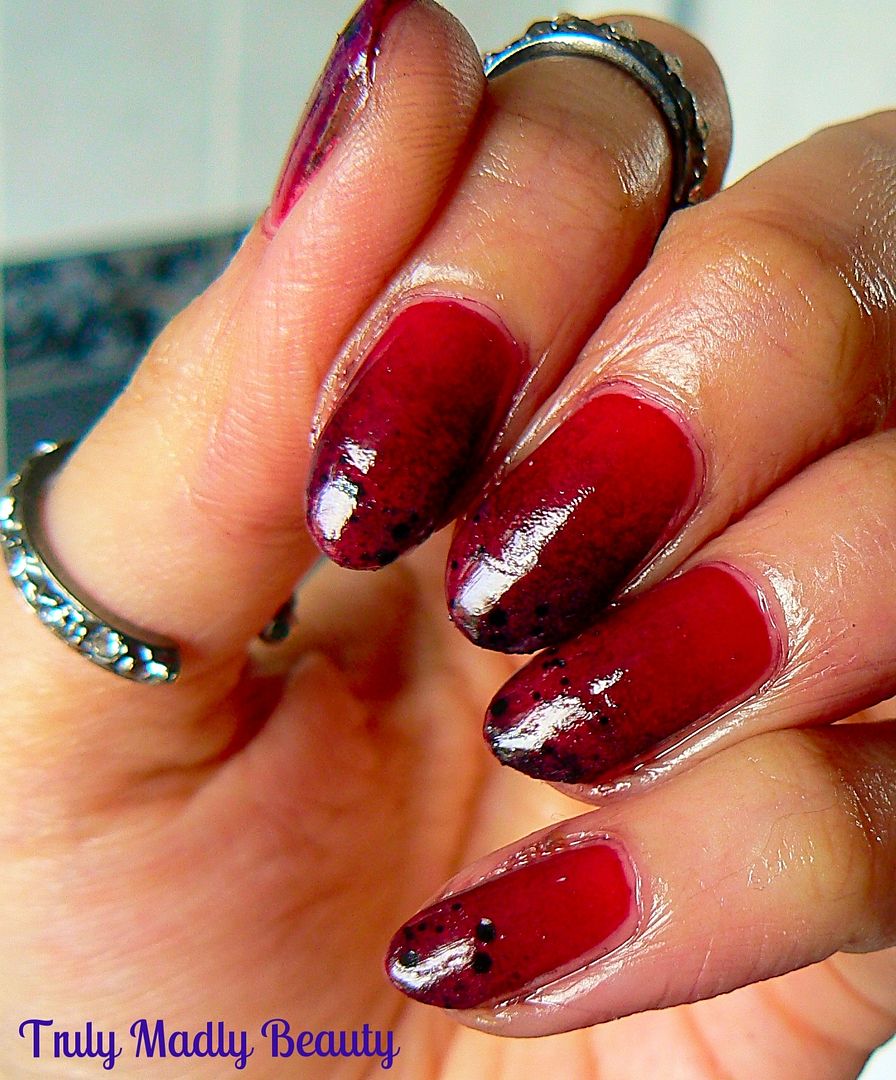
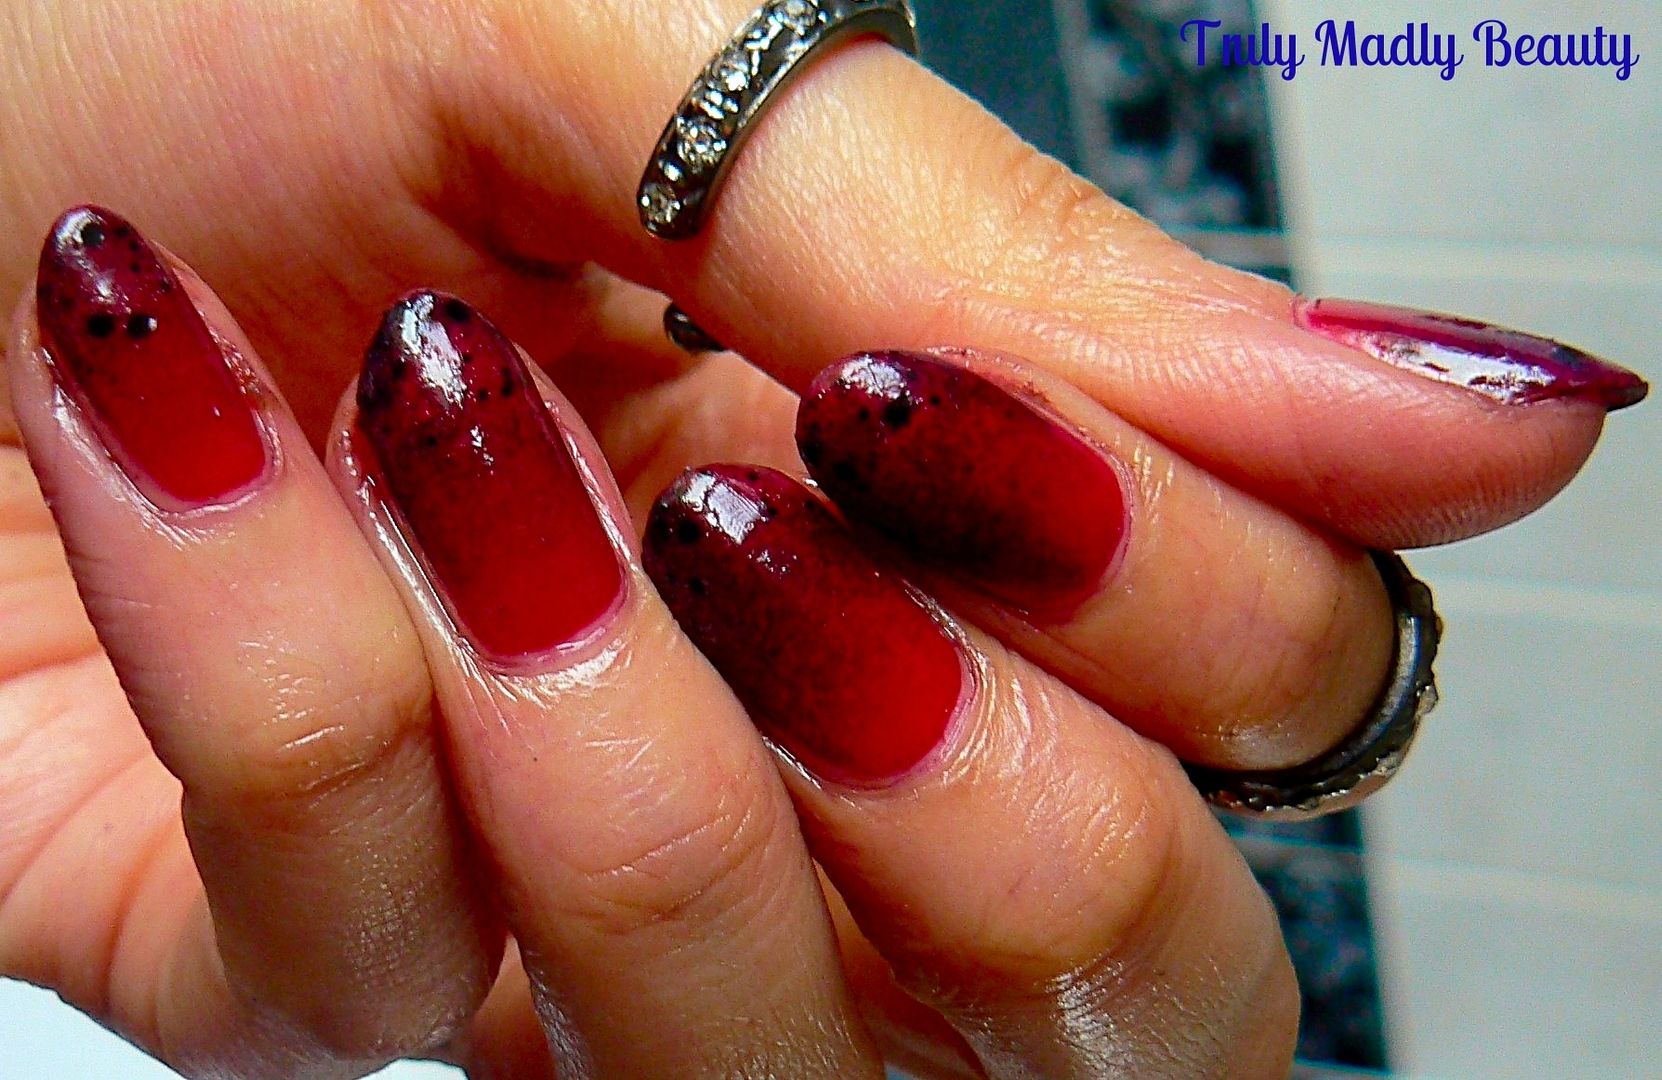
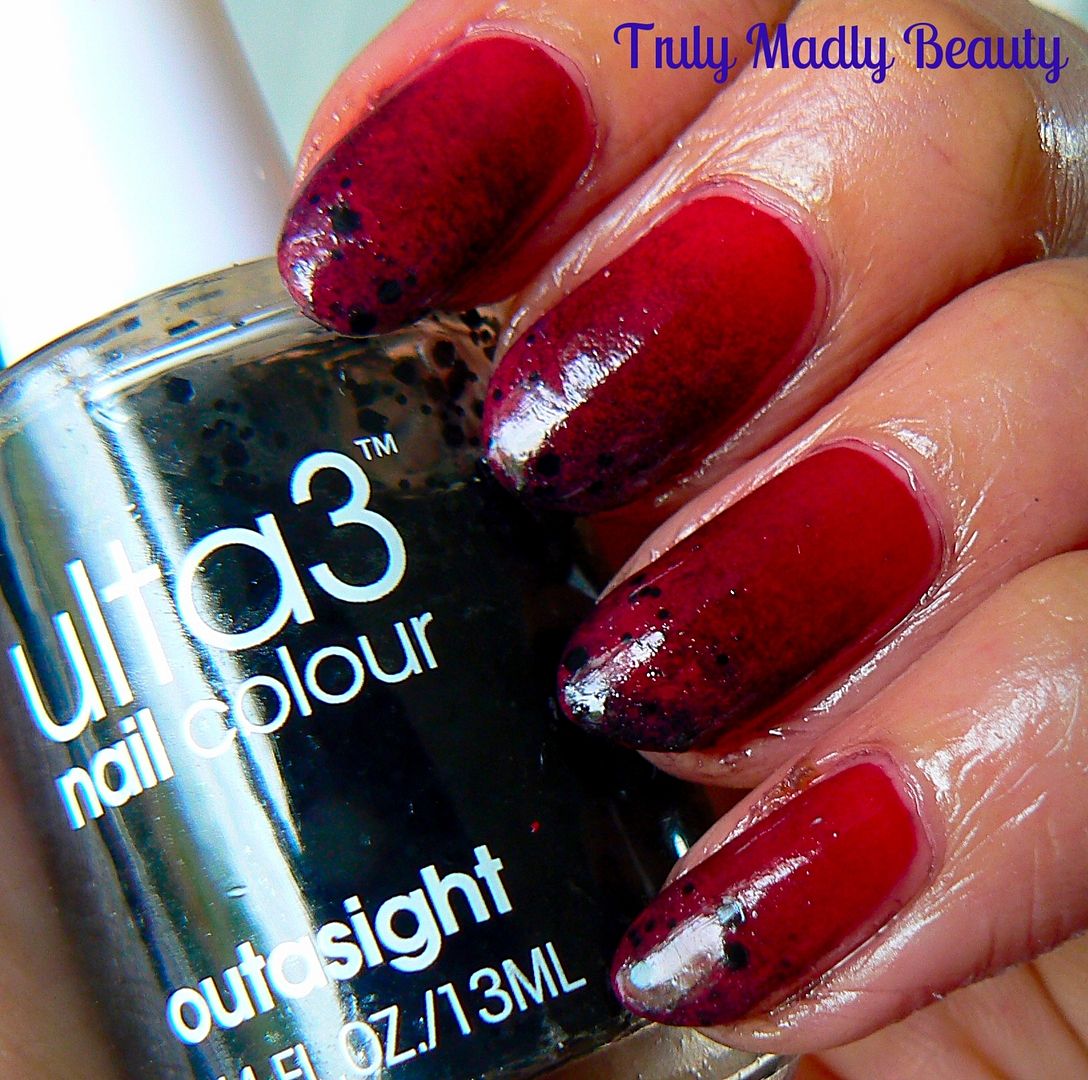
In the mean time I guess I can still get my wee fix by using the infamous red & black colours to inspire my nail art which is what I've done today with these Louboutin inspired gradient nails...


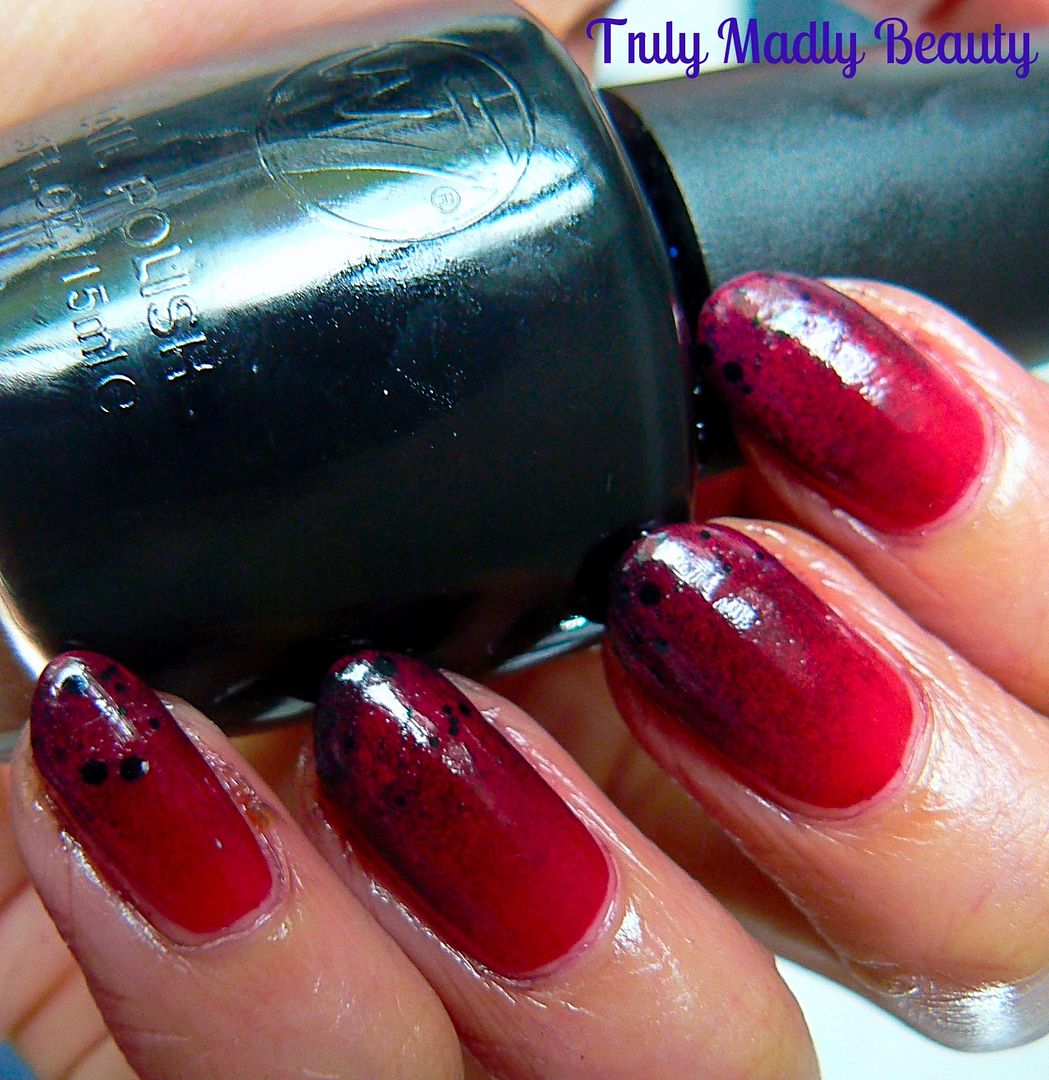
I wasn't entirely happy with how these came out if I'm honest, I'm still practicing doing gradients with darker colours which I'm finding a tad more tricky so do forgive me! This was one of those manis that looked much better at distance haha! But practice makes perfect so I'll persevere for sure :)


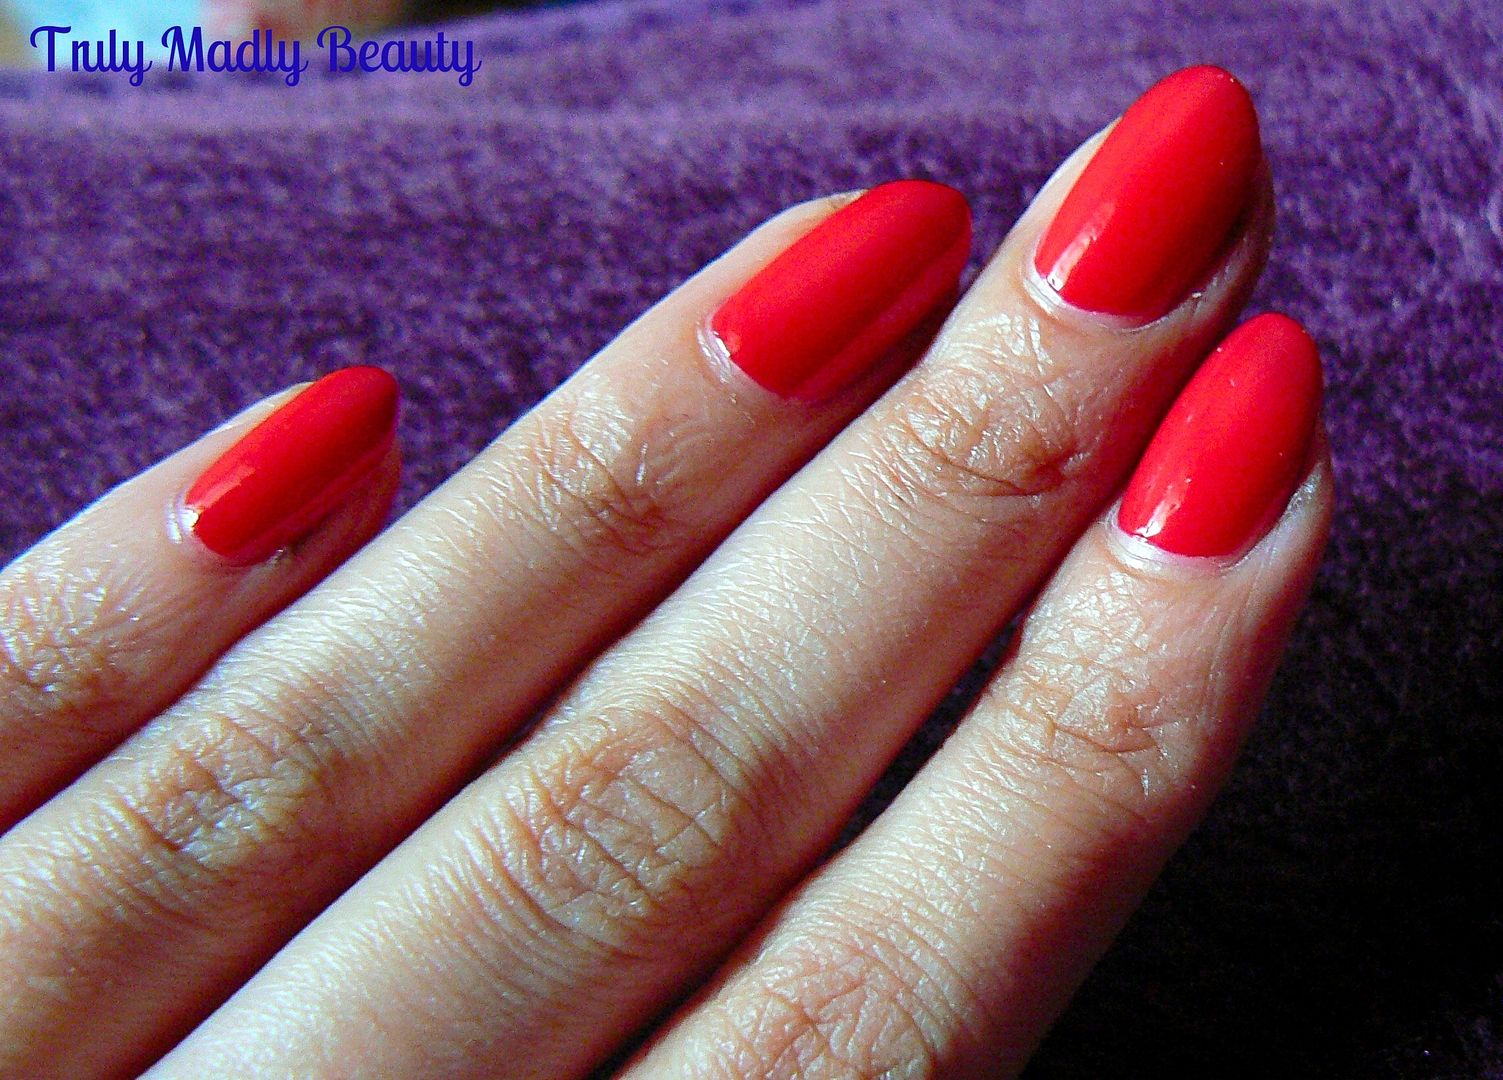
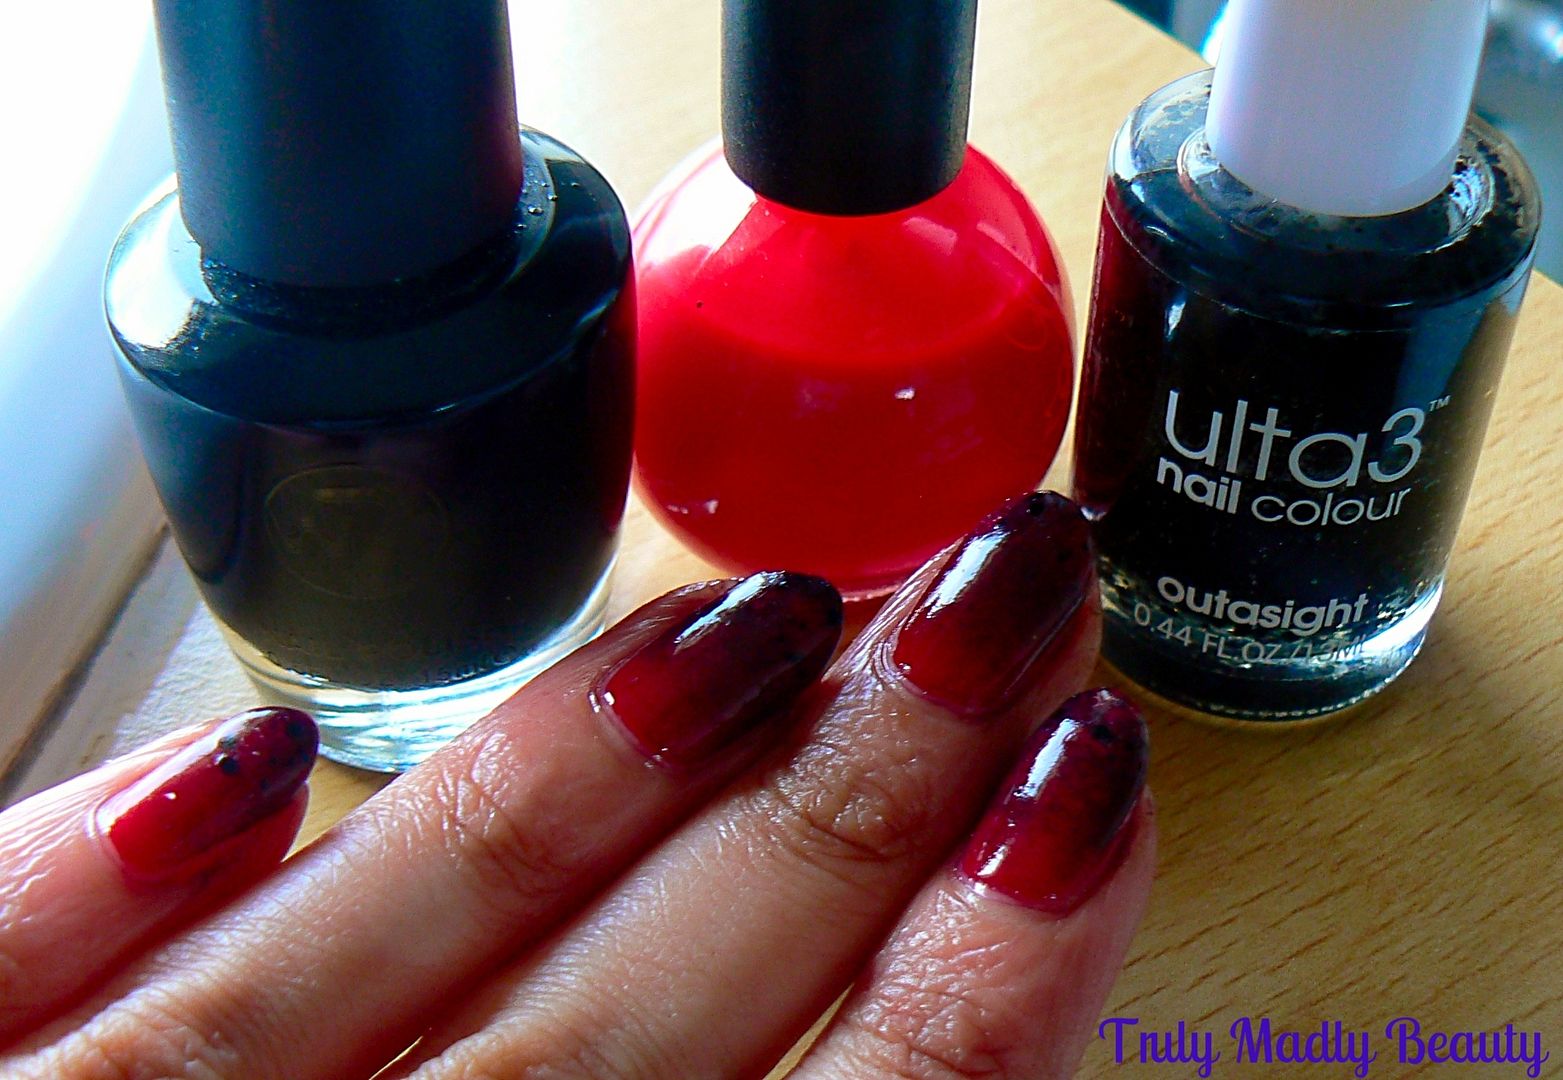
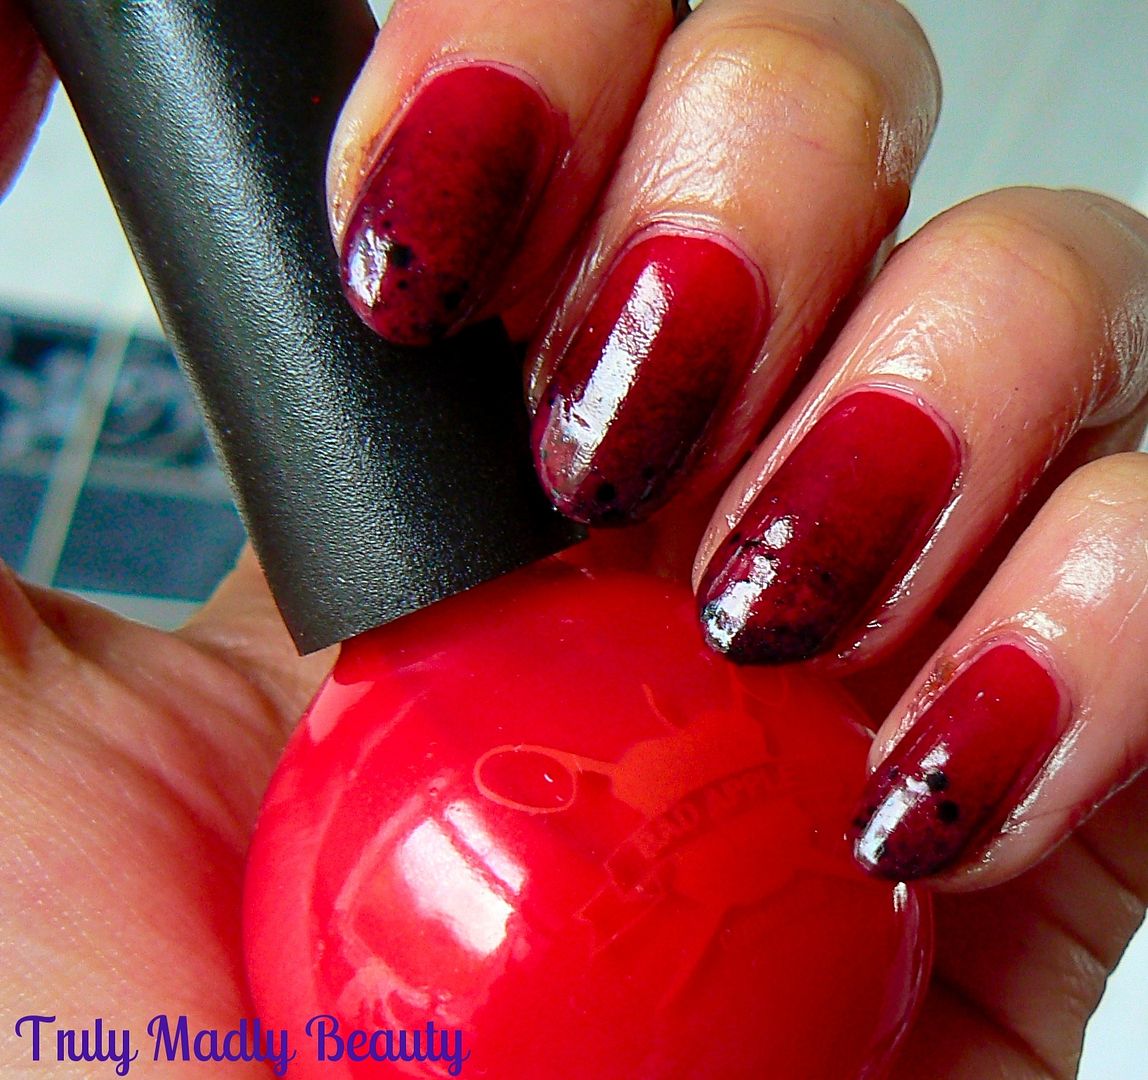
For my Louboutin nails I of course required a nice red & black polish, here I've used W7 Black & Bad Apple Red Delicious.


To start first apply a coat of red polish as your base to do your gradient on top of, then wait for it to completely dry.


Then grab a piece of makeup sponge, I guess you can use any old sponge but I like using these. I pick up a bag from good old Poundworld.


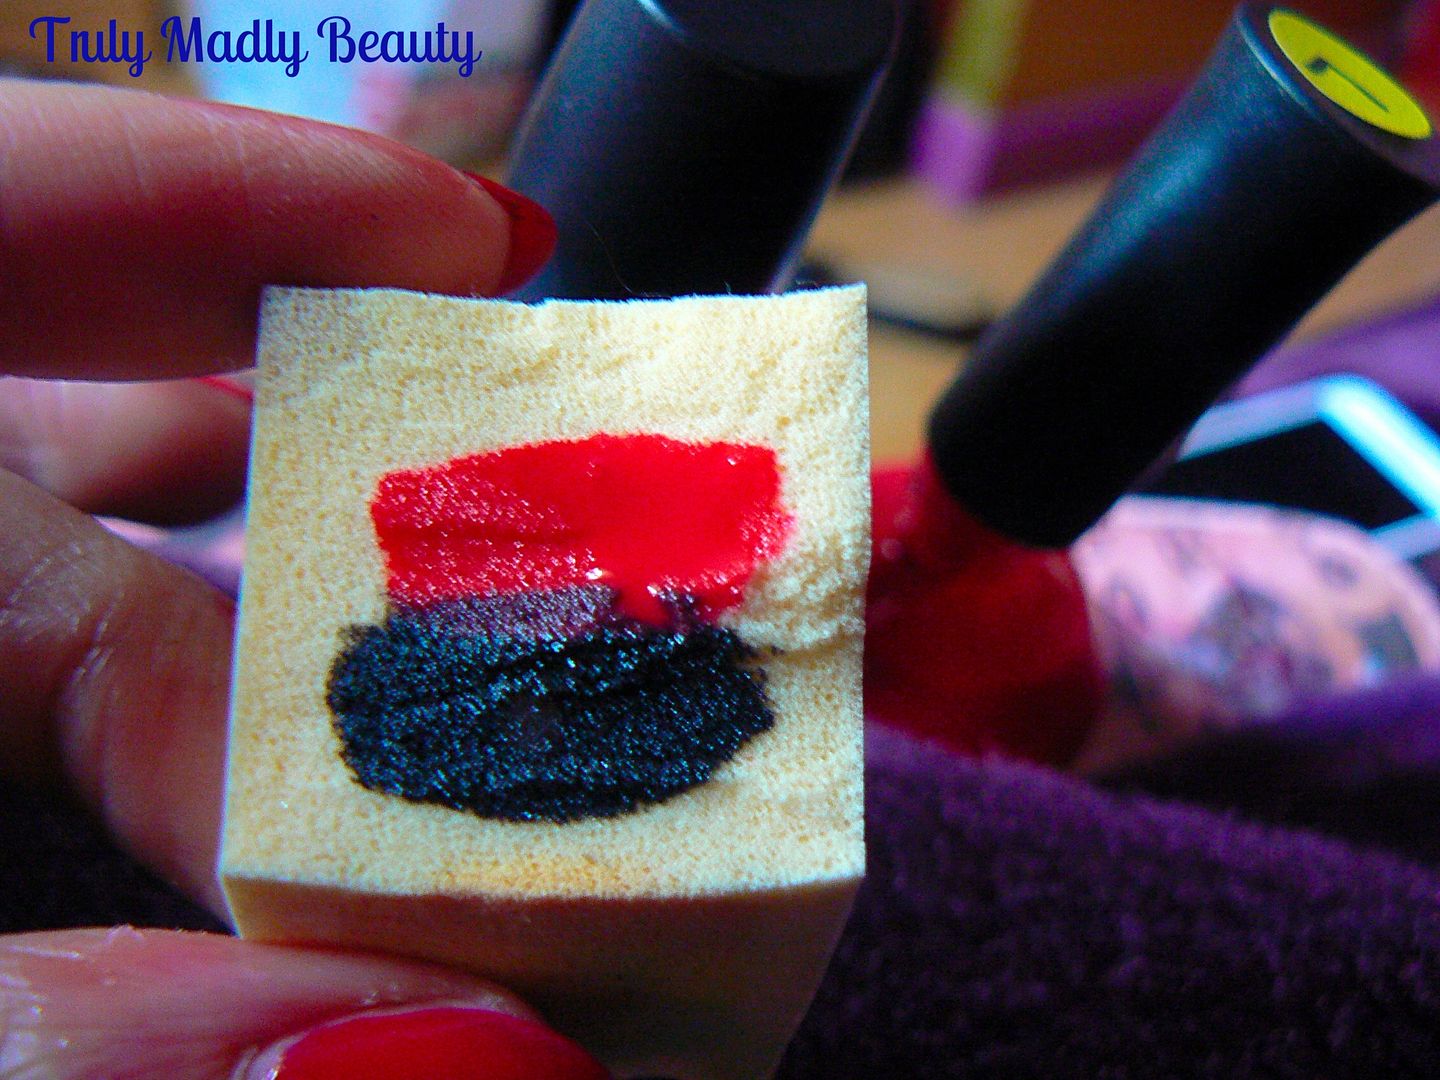
The gradient will go from red to black so apply a stripe of each shade side by side onto your sponge, then dab onto the nail with up/down, side to side motions to create your faded gradient look.


Do this a few times, adding more polish to your sponge, to get a nice opaque finish or until your happy with the effect. To finish I also dabbed a bit of Ulta3 Outasight which is a black glitter, onto the tips for an added touch.


Go over with a nice thick coat of topcoat & you're done! Now gradients can be messy, I used ZAP!, a liquid latex nail art skin protector to help with the clean up part of this manicure,which I'll be reviewing in full for you in my next post so do keep posted for that!

FYI the ring bling is Hugo Sophia :) Thanks for reading lovelies!

Lotsa love to ya!