11.07.2016

NOTD - Bronze and Lace Nail Tutorial

Hello lovely readers!

Squeezing in a last Autumnal manicure for you beauties today! One of the things I've repeatedly told myself can definitely be considered one of the positives of moving has been that I've had to select only a few of my polish drawers from my stash to take with me...This naturally grieved me greatly at first, but it does mean that I'm getting usage out of many polishes that I would probably normally skim over in favour of my other more well know brands. See? Positive mental attitude FTW
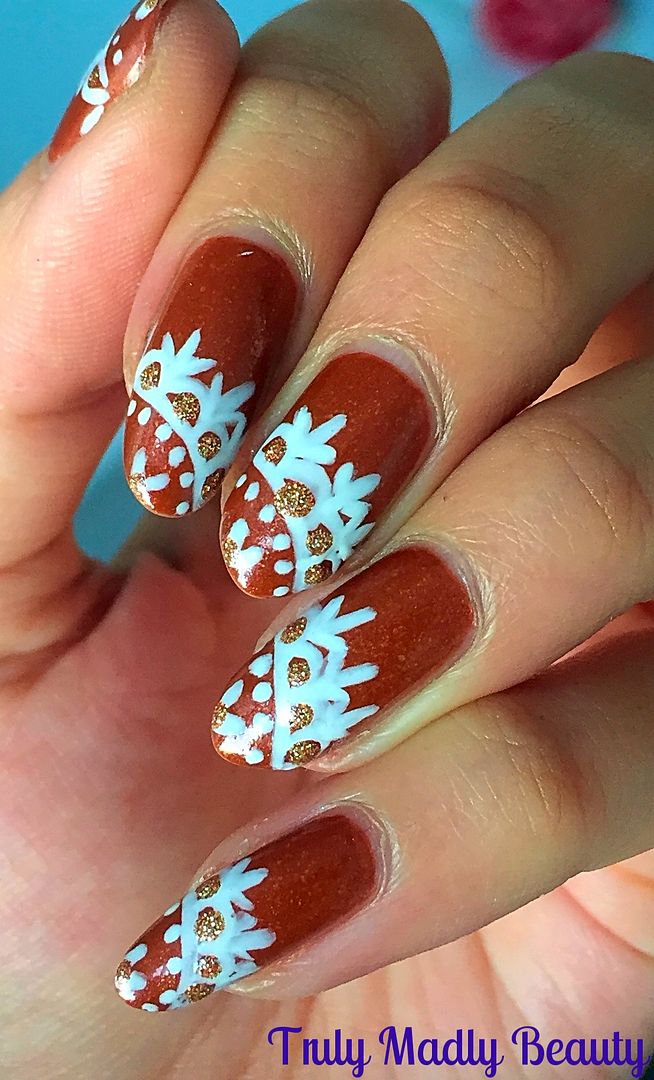

This also includes finding myself reaching for shades that I would not normally choose, including this offering from OPI which I have for you today & goes by the name of Bronzed To Perfection

Normally, a shade such as this would not particularly grab me, but with its burnt orange brown tones it seemed the perfect colour to dig out for the season & I confess it has most certainly grown on me greatly.
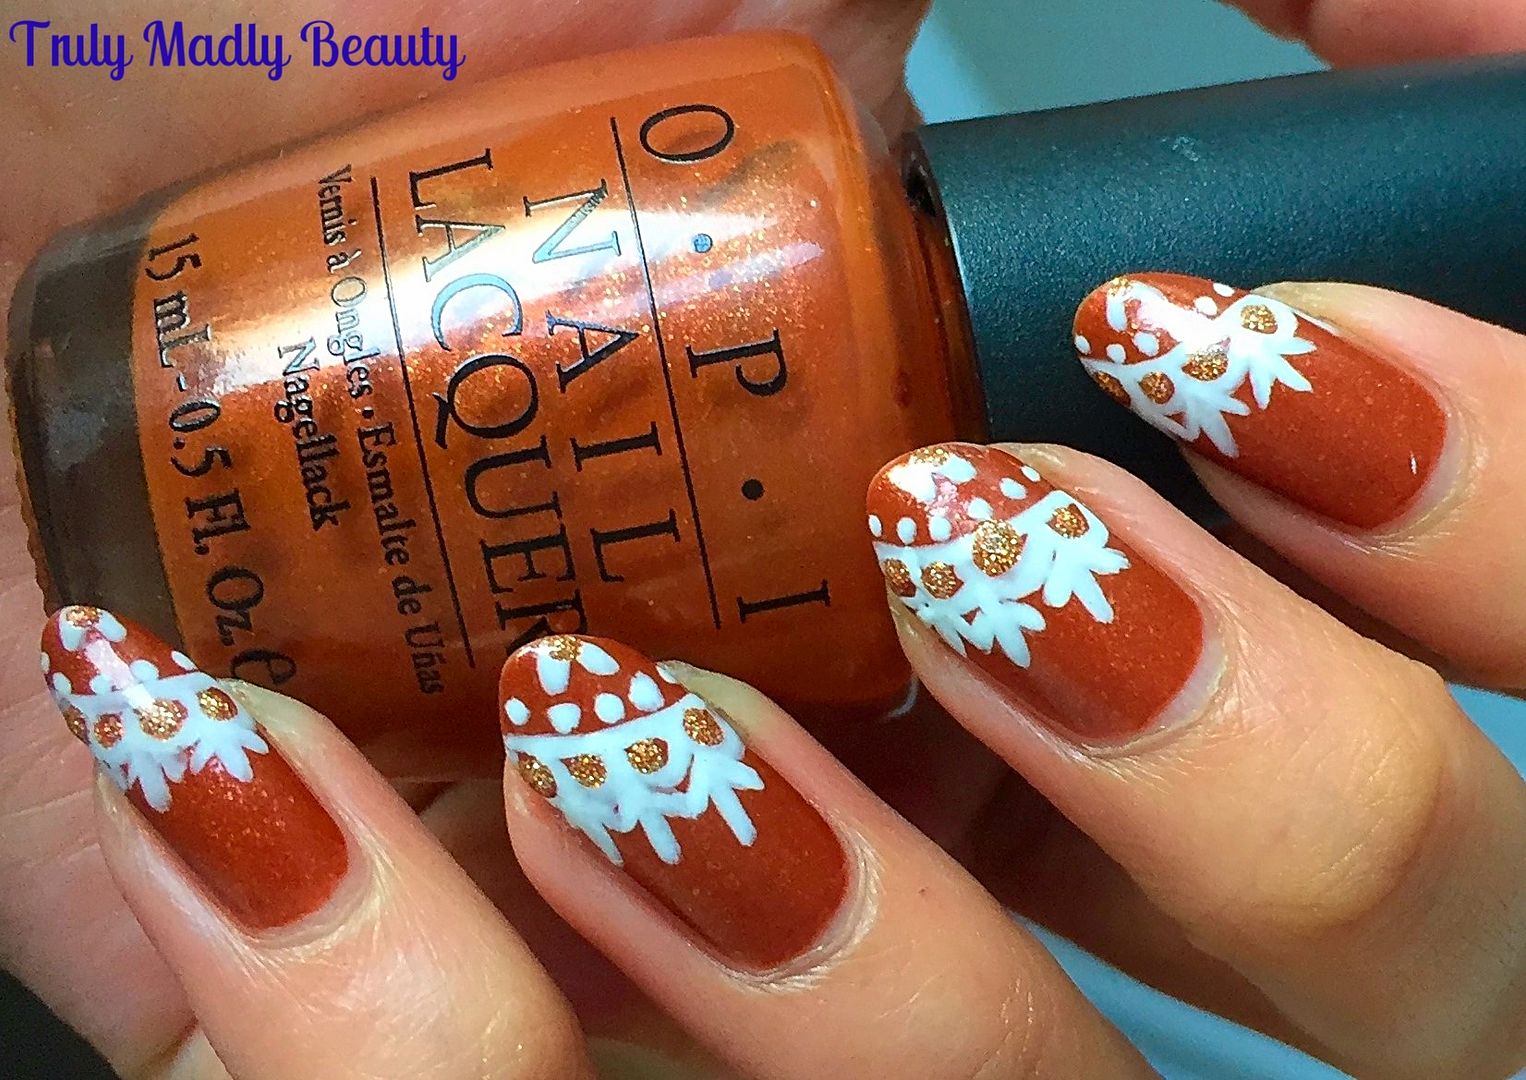

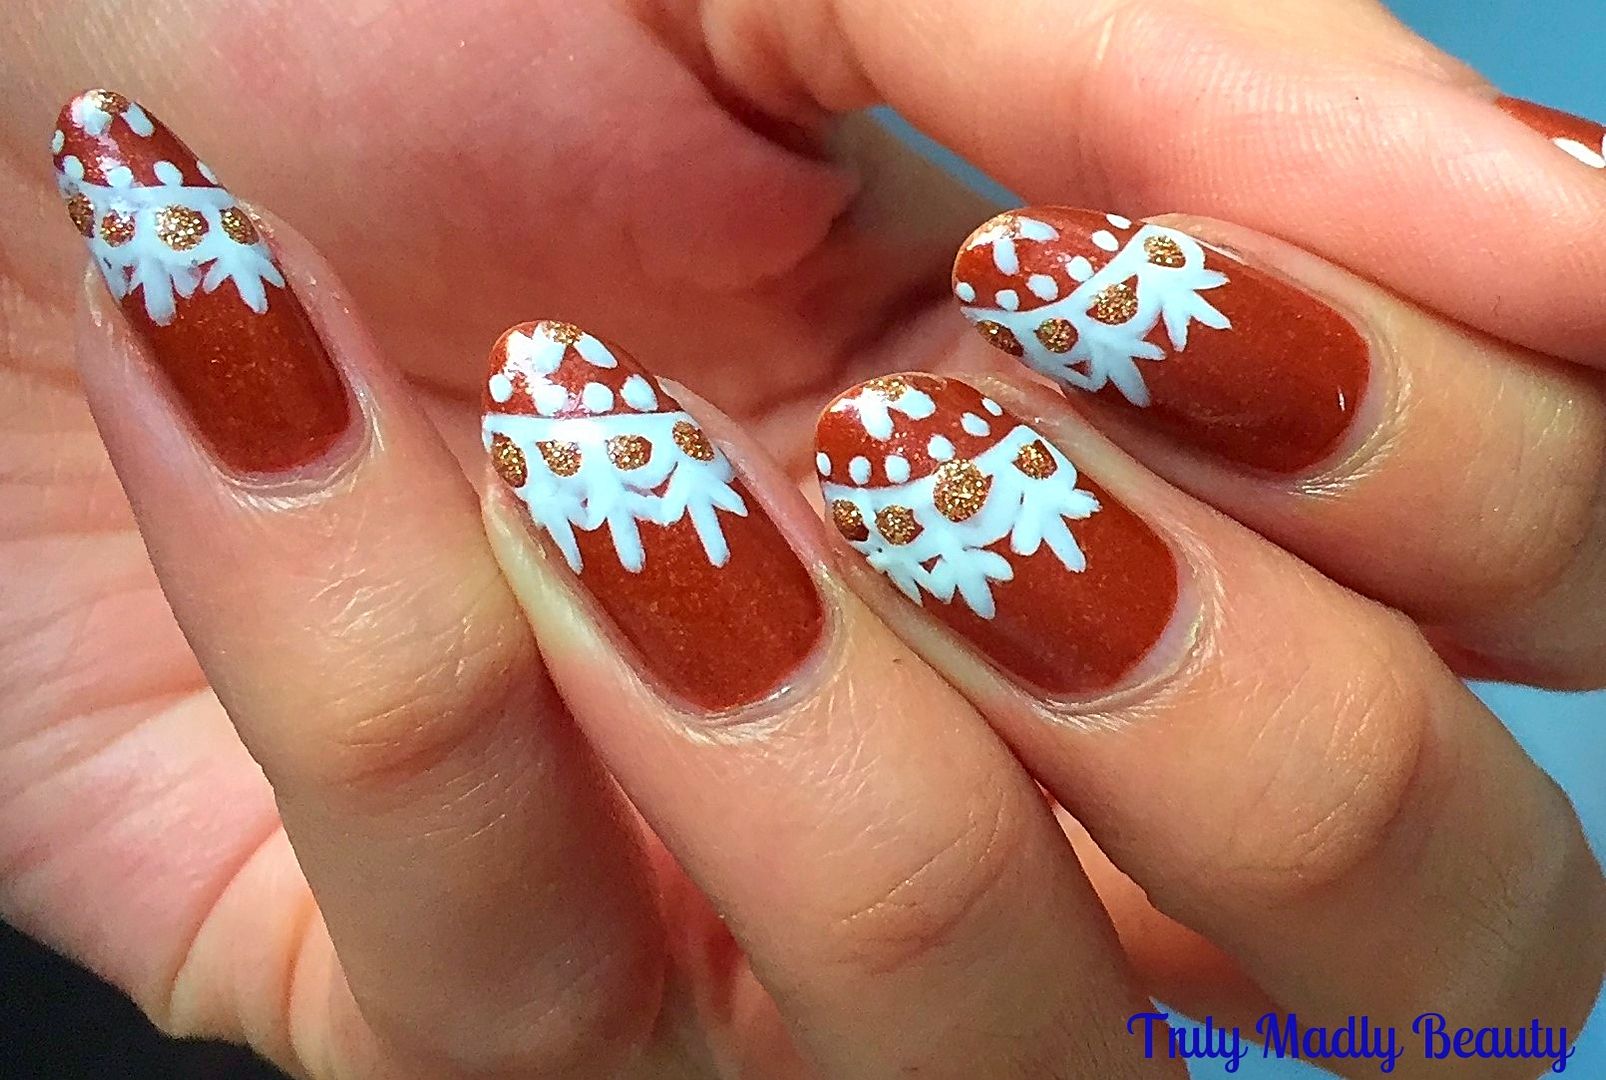
A beautifully warm, caramel brown with coppery shimmer touches Bronzed To Perfection definitely screams Autumn vibes. As pretty as it is by its onesie I decided to jazz it up a tad with some lace nail art touches.
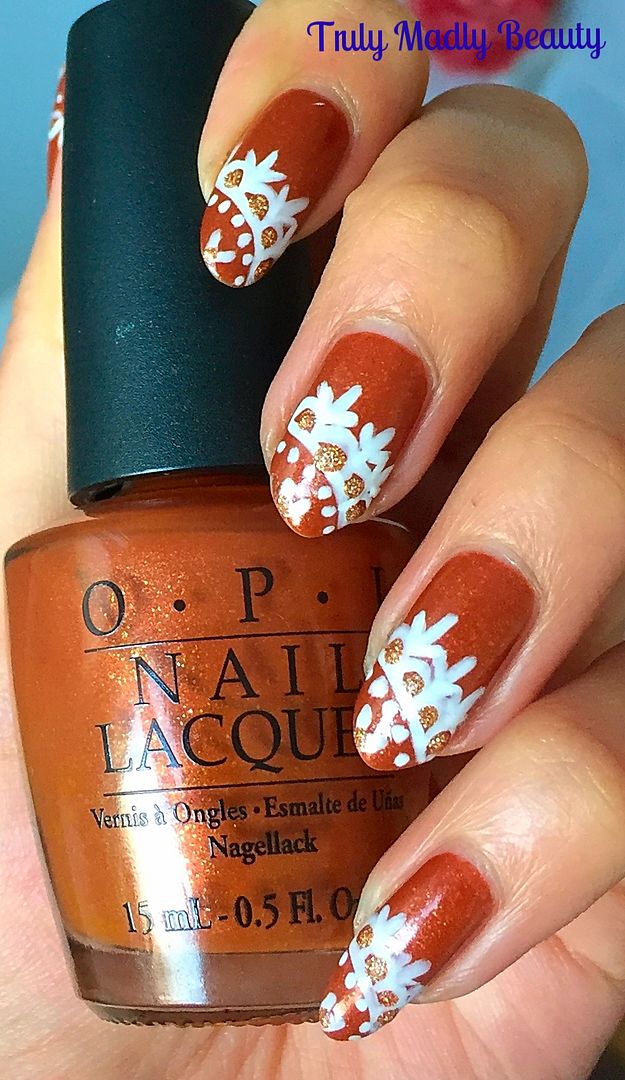

To recreate this lace pattern is super simple and its become one of my favourite quick nail art designs to do, just read on to see how you can create this design as well in a quick step by step pictorial I've put together for you....

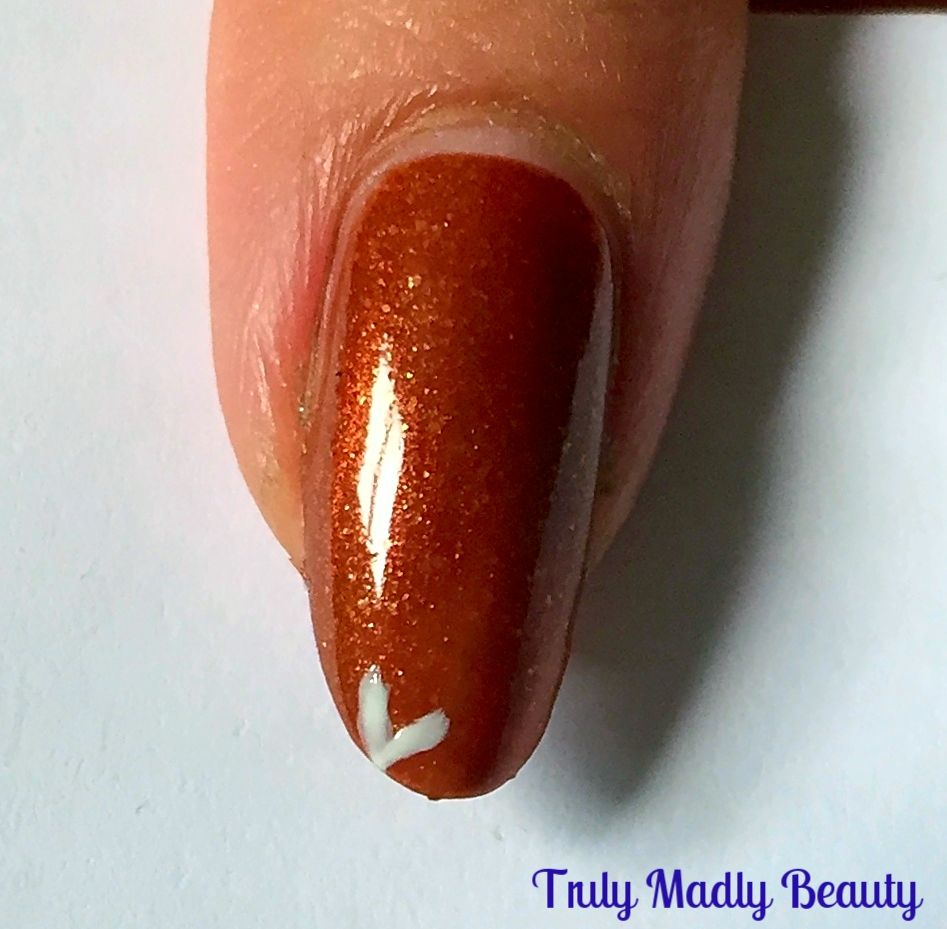
After your base colour has dried, grab your nail art brush & some white polish and begin by applying a tiny V on the side of the tip like so...

Next, using a wee dotting tool, apply a curved row of white dots around your V.
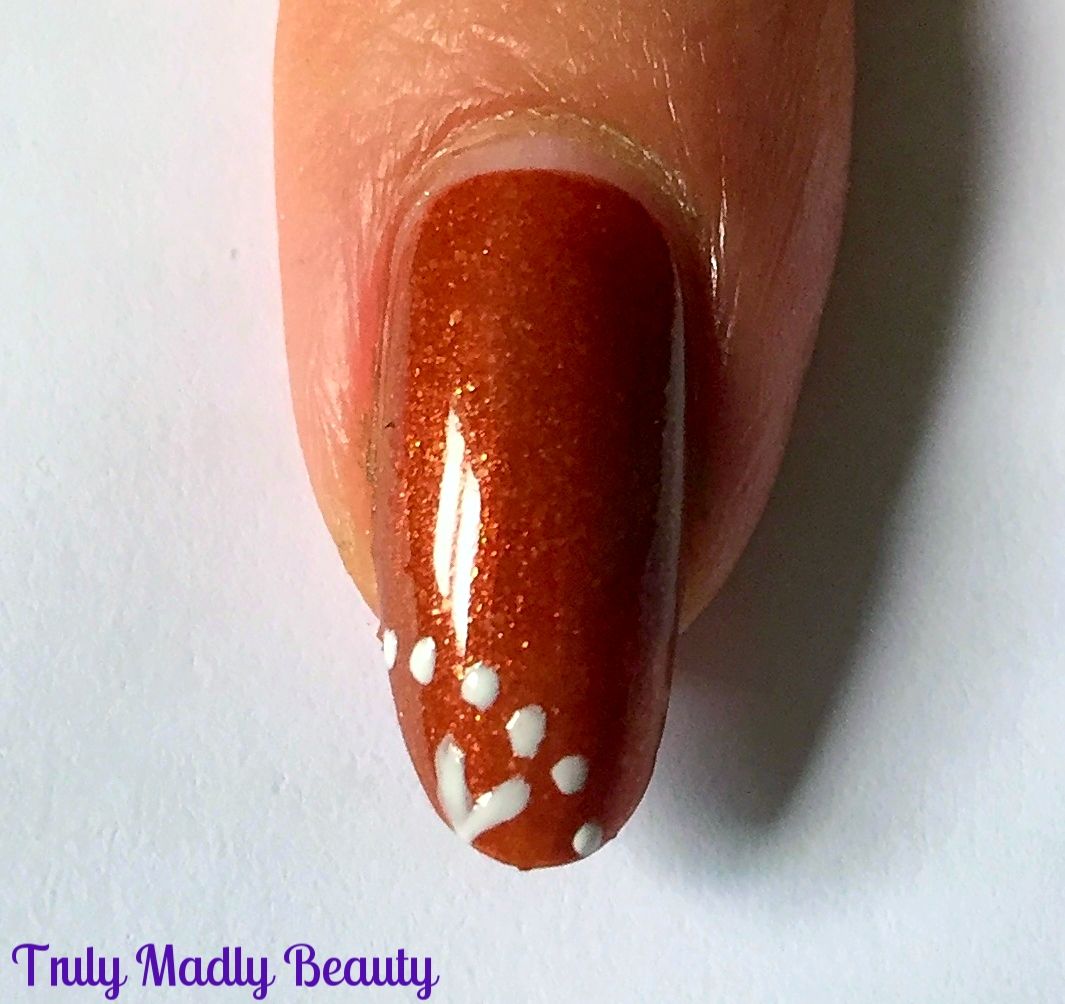

Then grabbing your brush again, apply a curved line just above your dots.
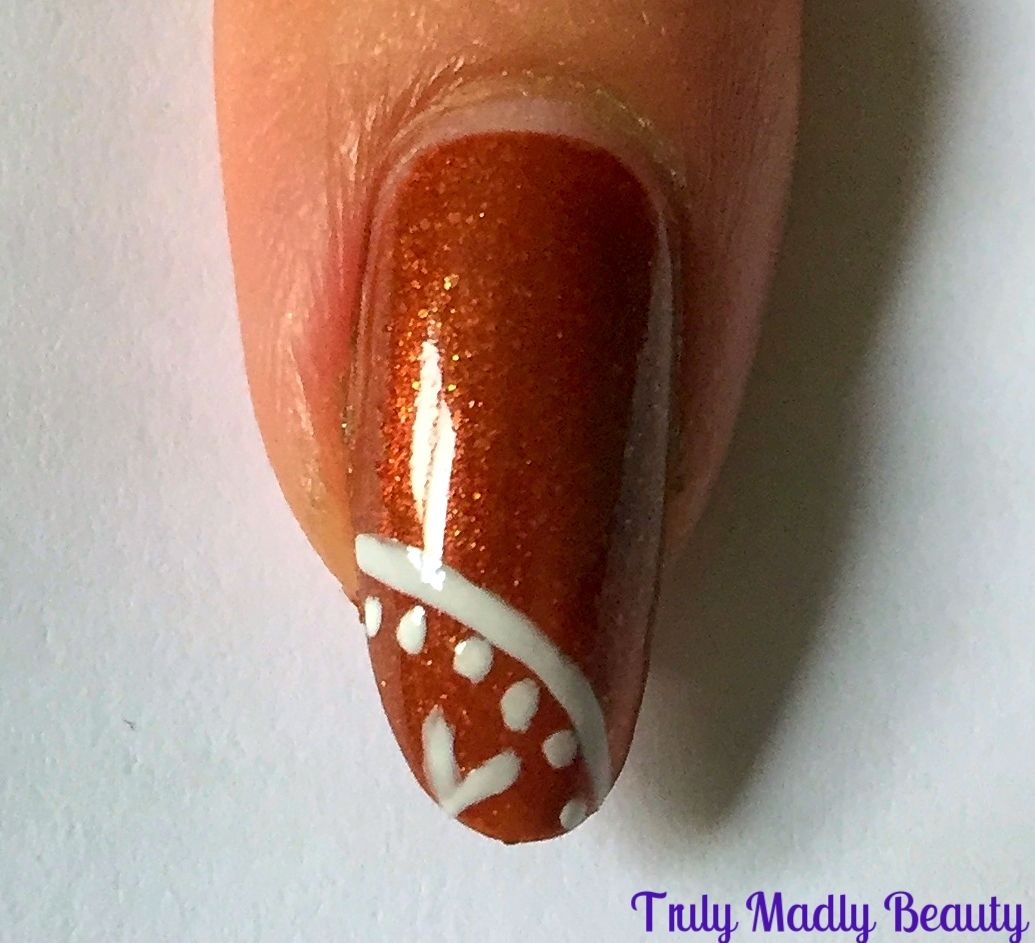

For the next part of the design, again with your fine brush & polish, apply a row of small semi-circles along the top of your curved line...
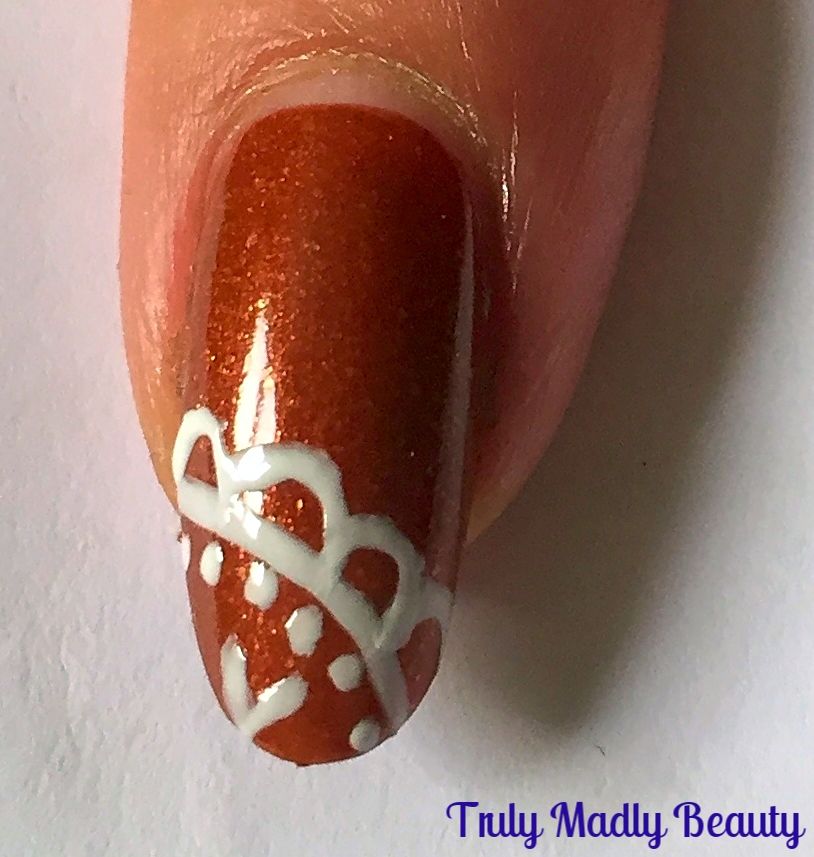

See the pretty lace design slowly coming together? Next step is to apply a straight line in between each of your little curves as shown....
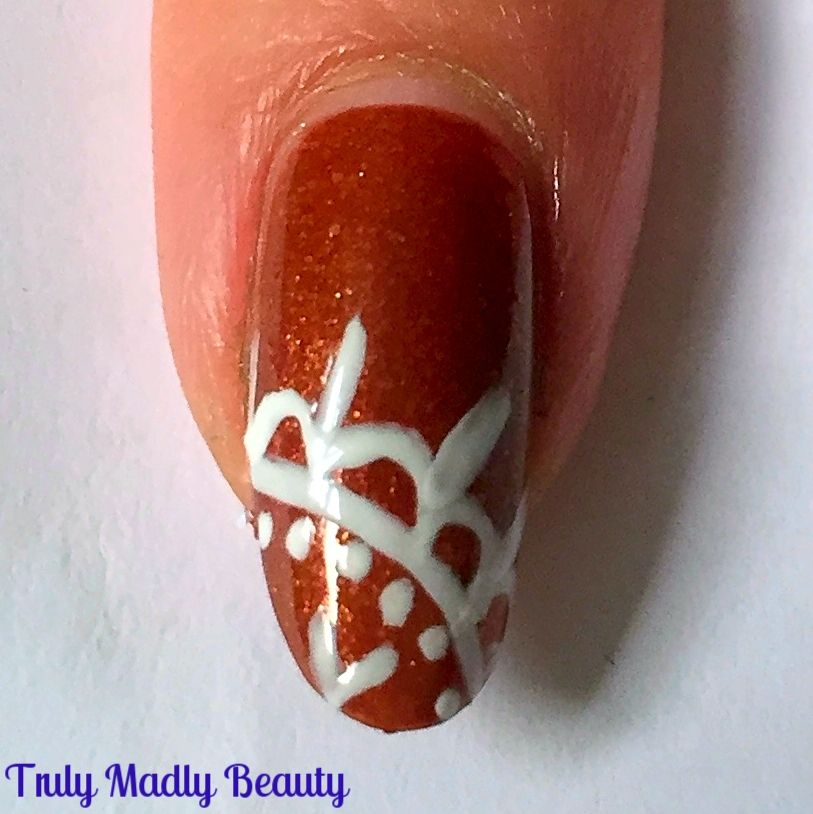

Then finally to finish your lace pattern, add on two little lines either side of the straight line.
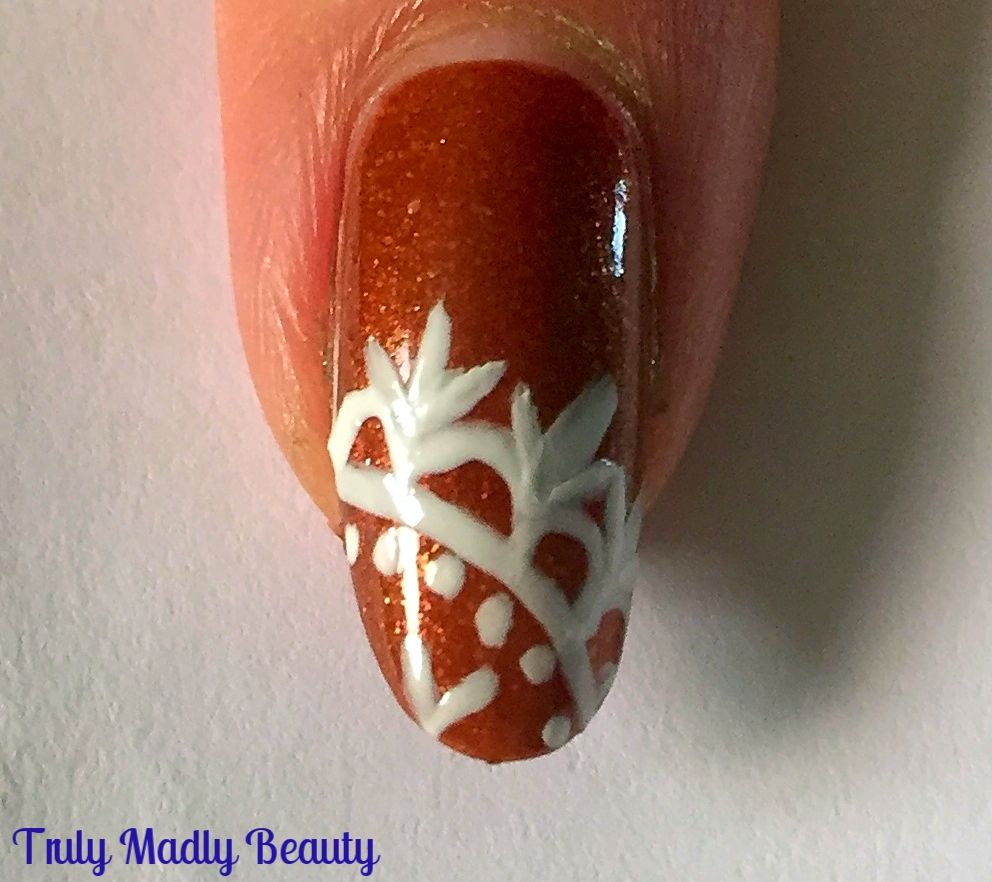

This is an additional step you can skim over but I naturally couldn't resist adding a touch of golden glitter in between the gaps.
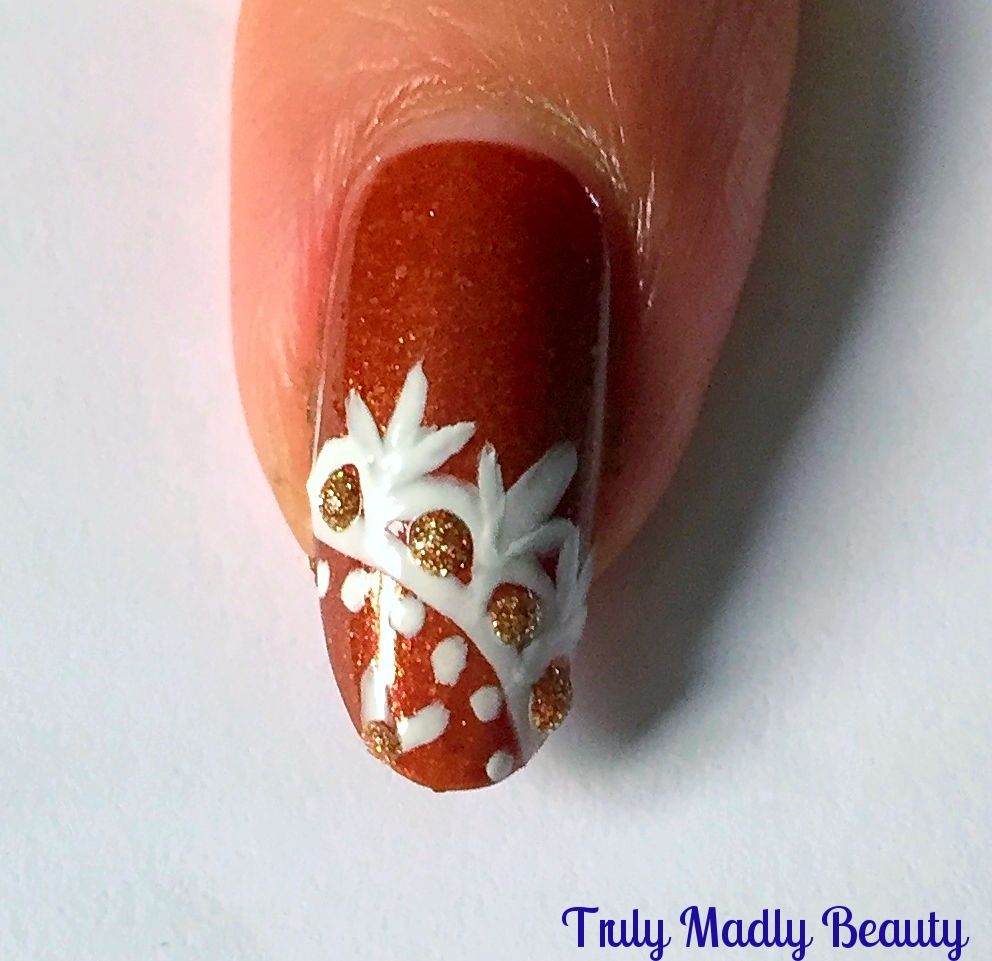

Finish with top coat and thats it! Easy peasy right?! I love doing lace details to jazz up my block colour mani's :) Do give it a go!

Thanks as always for stopping by beauts!

Lotsa love to ya!


11.03.2016

Autumn/Fall Inspired Diva Nails & Tutorial!

Hello there lovely readers!

Halloween took precedence when it came to my nail art over the past few weeks but now that has passed *sobs* I can now embrace Autumn in all its glory with some Autumnal nails! There's still time non? Better late than never...I'm definitely an Autumn baby & adore this time of year with its abundance of burgundy tones, blankets, bubble baths, burning candles...ungh I LOVE IT!


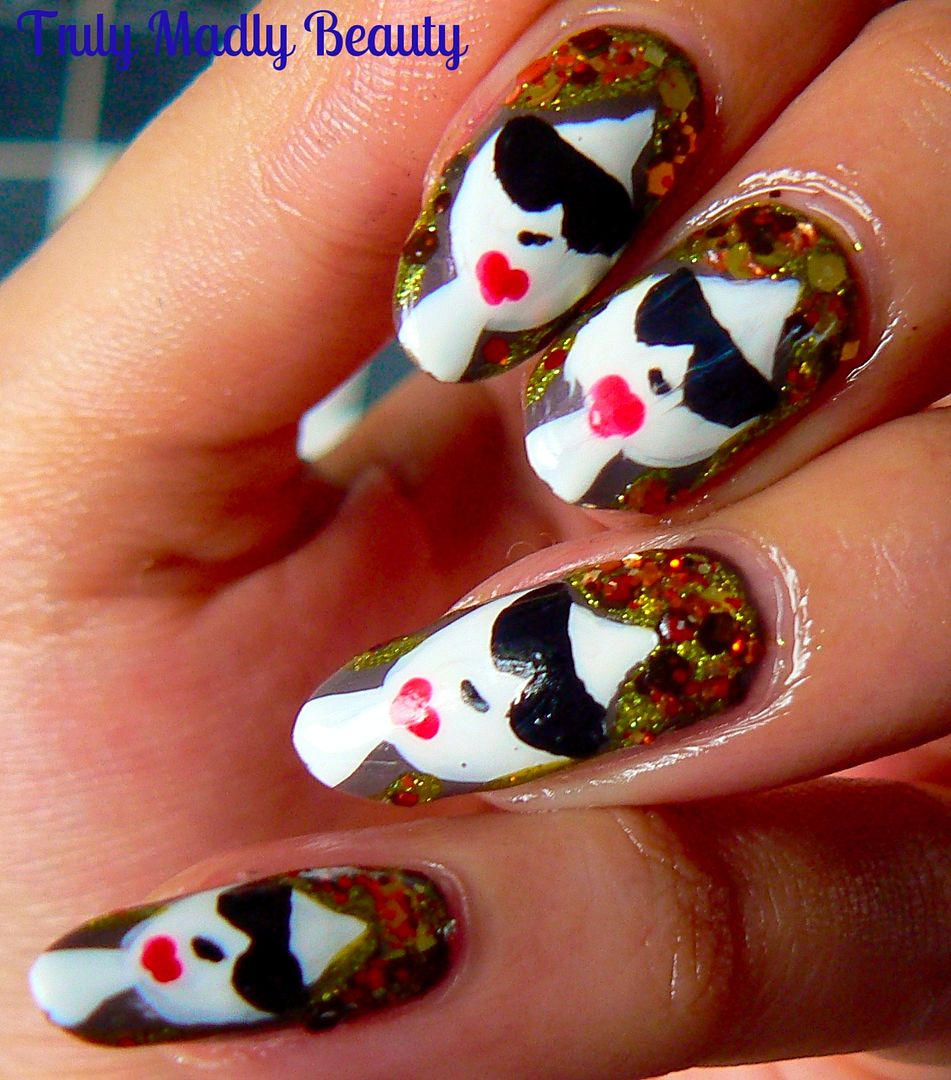
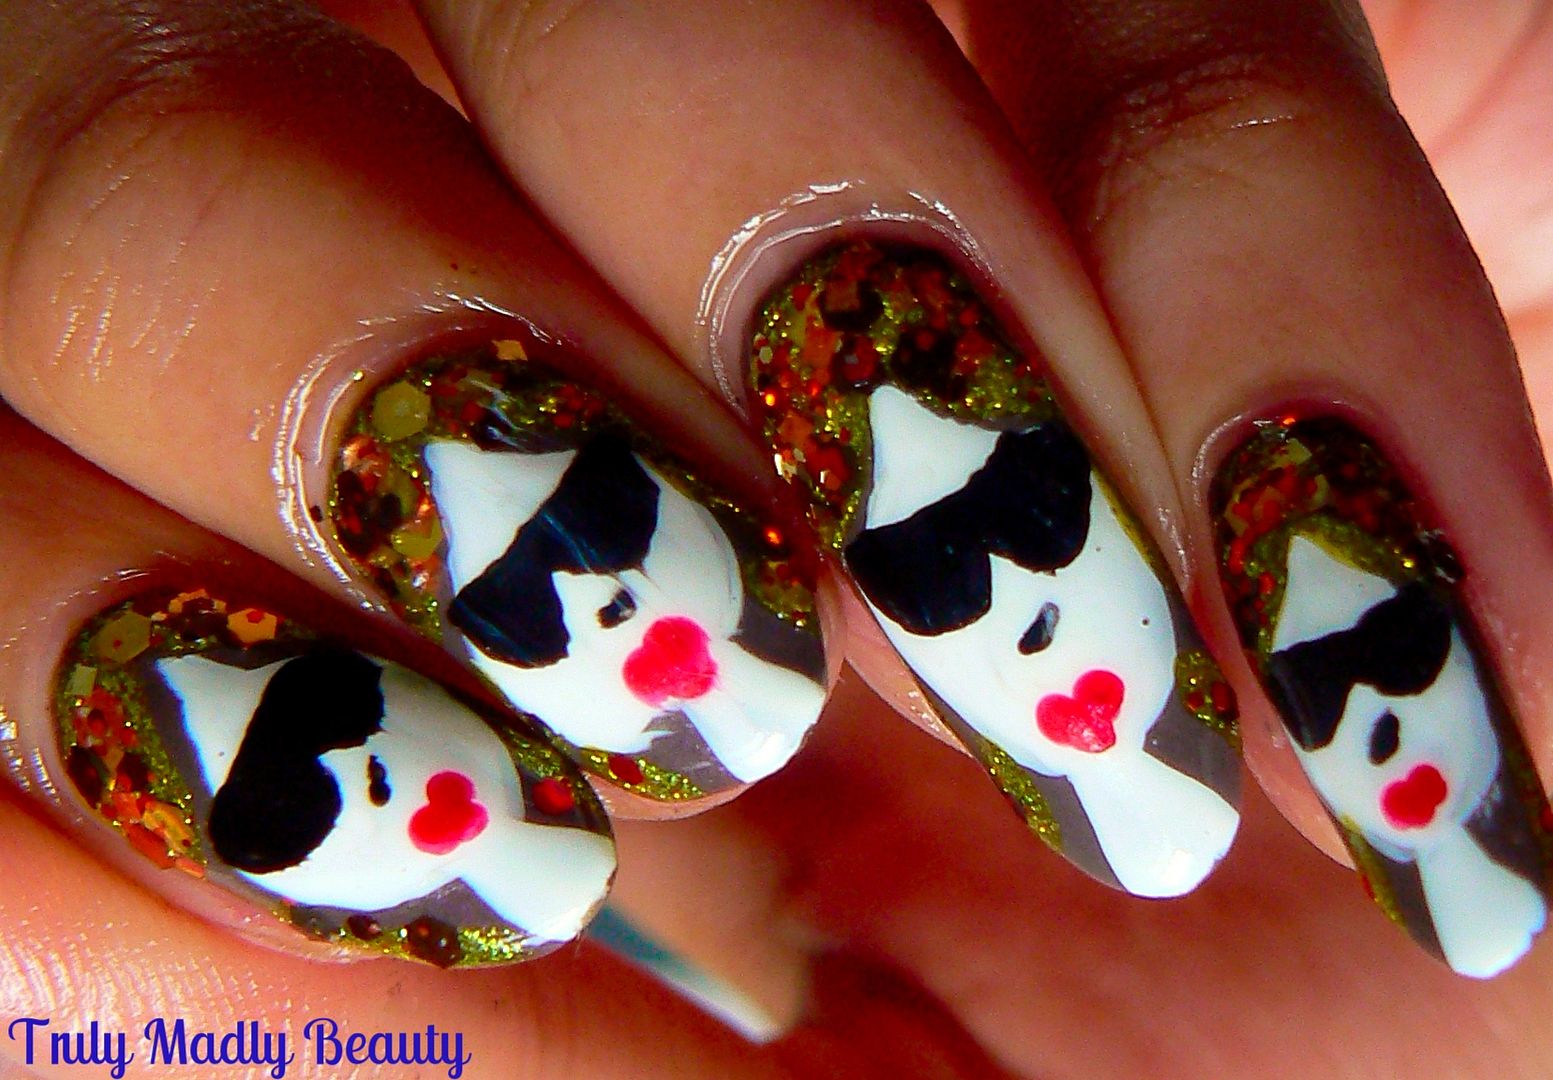
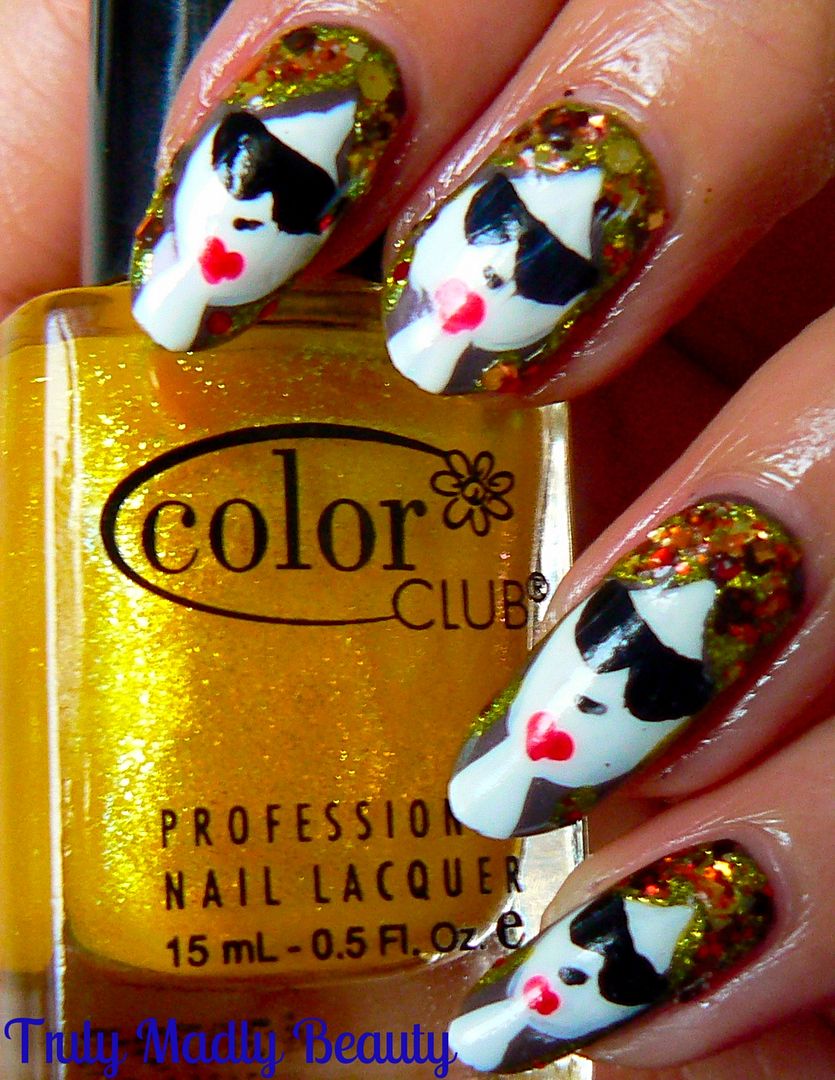
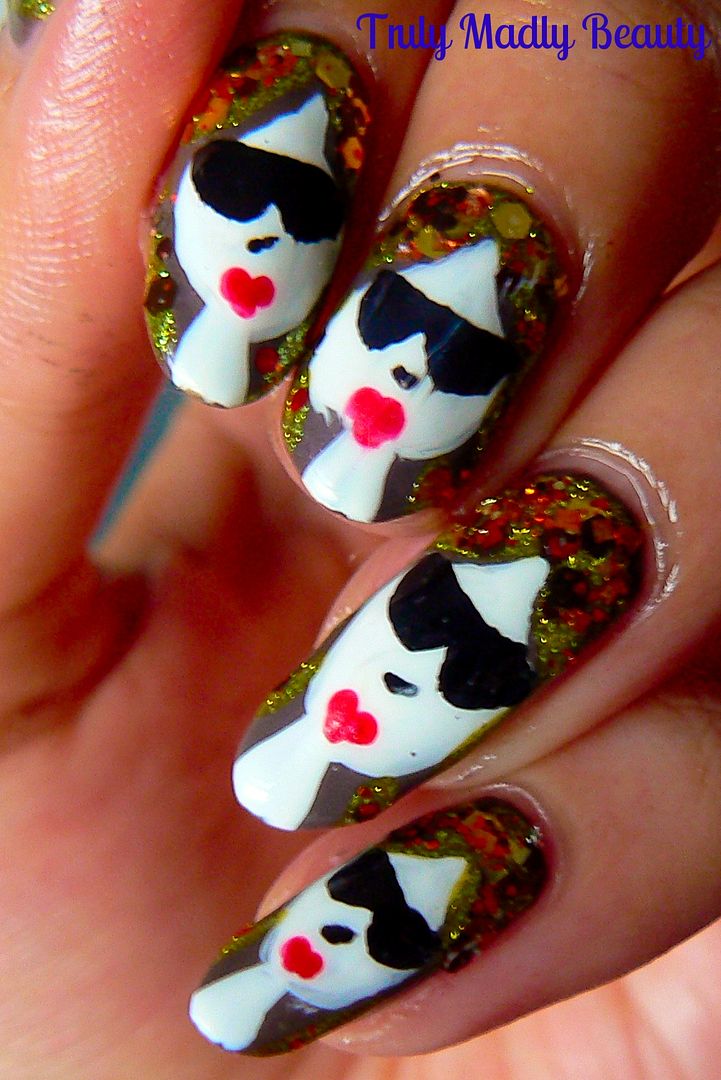
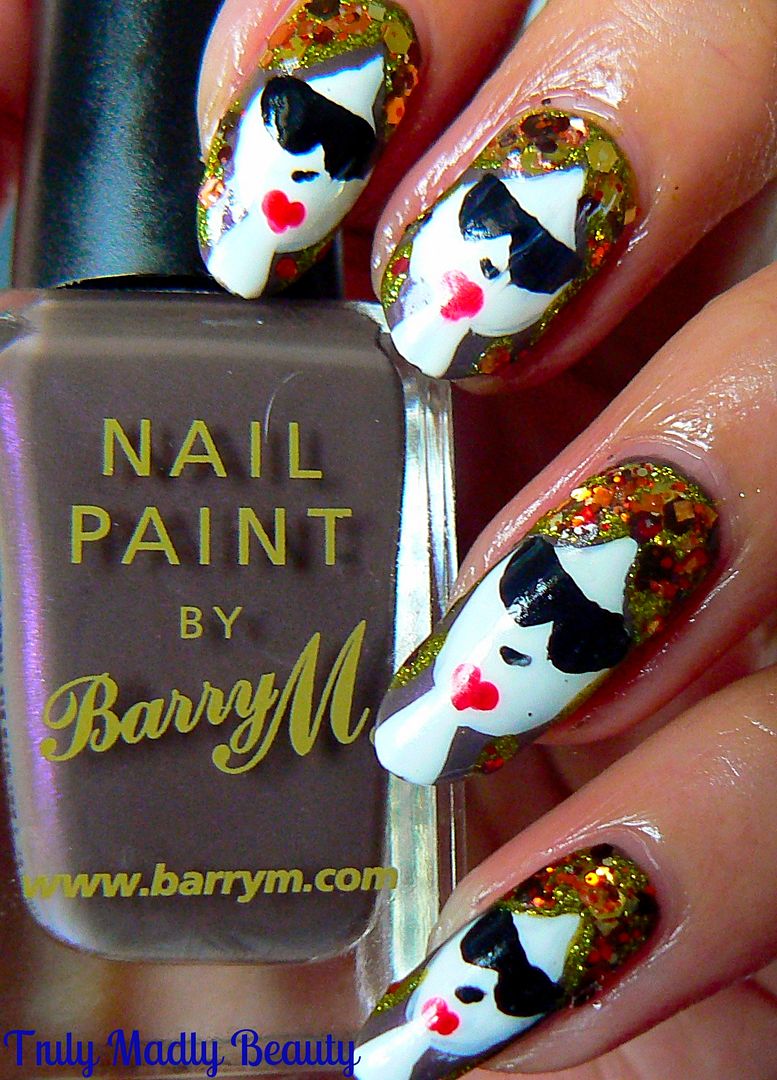
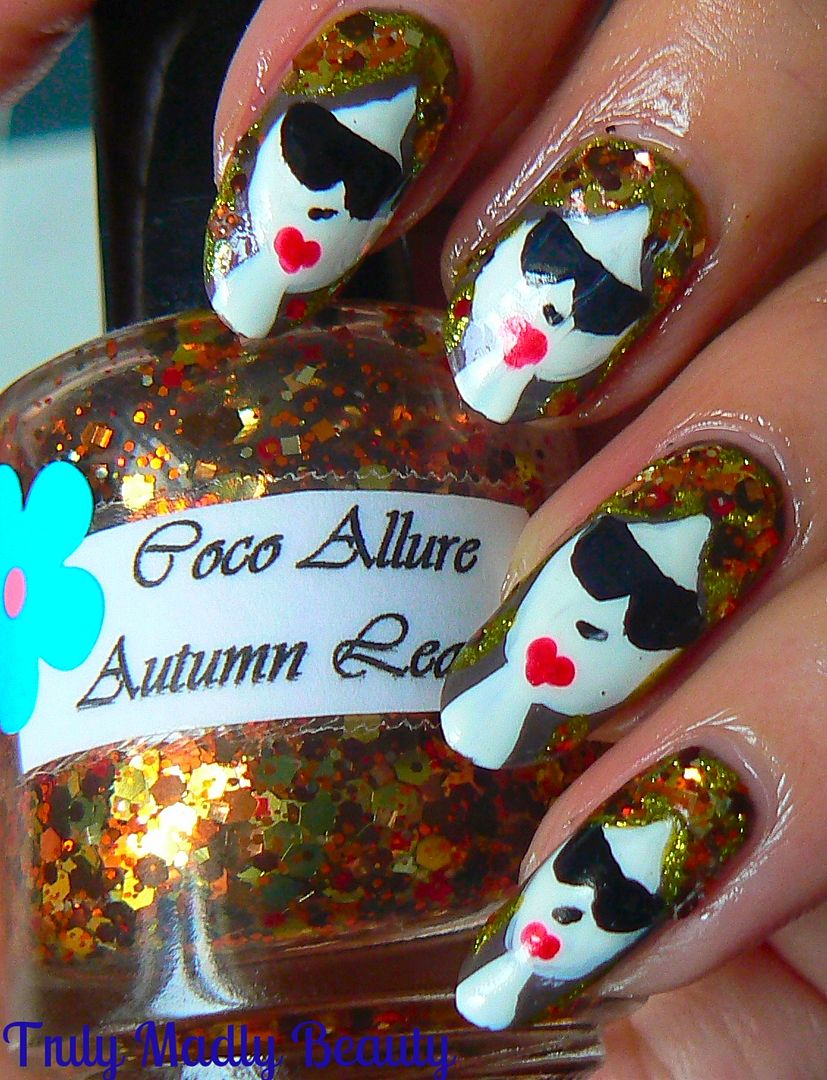
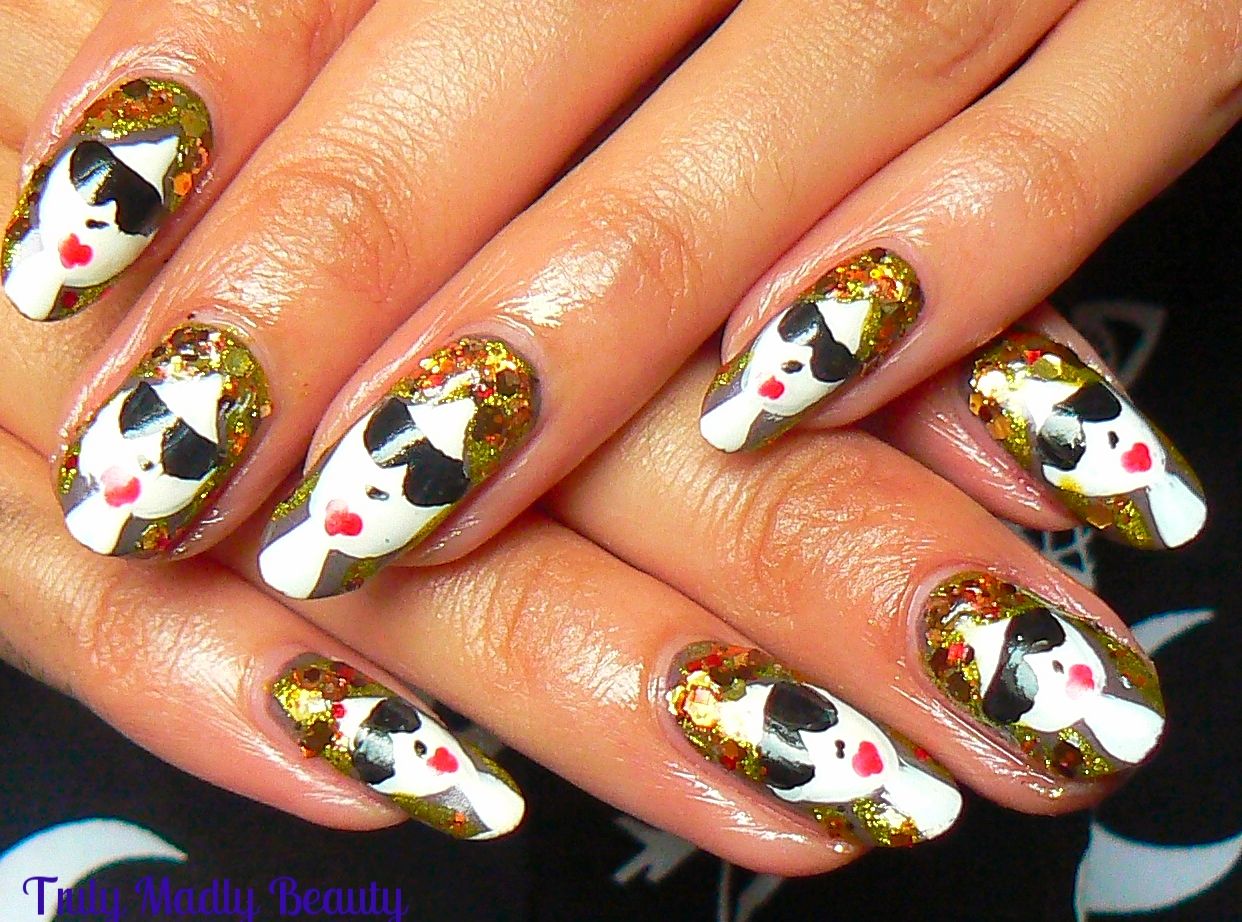
Naturally my favourite way of expressing myself is through my nails so I got to thinking & created this Autumn vibed design featuring a pouting painted diva with vibrant flowing hair reminiscent of burnt Autumnal leaves!


I was inspired by a Robin Moses Tutorial on YouTube, her nail art designs are wonderful, in her design she created the one lady accent nail & incorporated her flowing Autumn/Fall leaved hair over the remaining nails. I loved the look so much I decided to do an individual painted lady on every nail!


To re-create this design is easier than it seems & I've done a step by step pictorial for you to show how you I did mine...


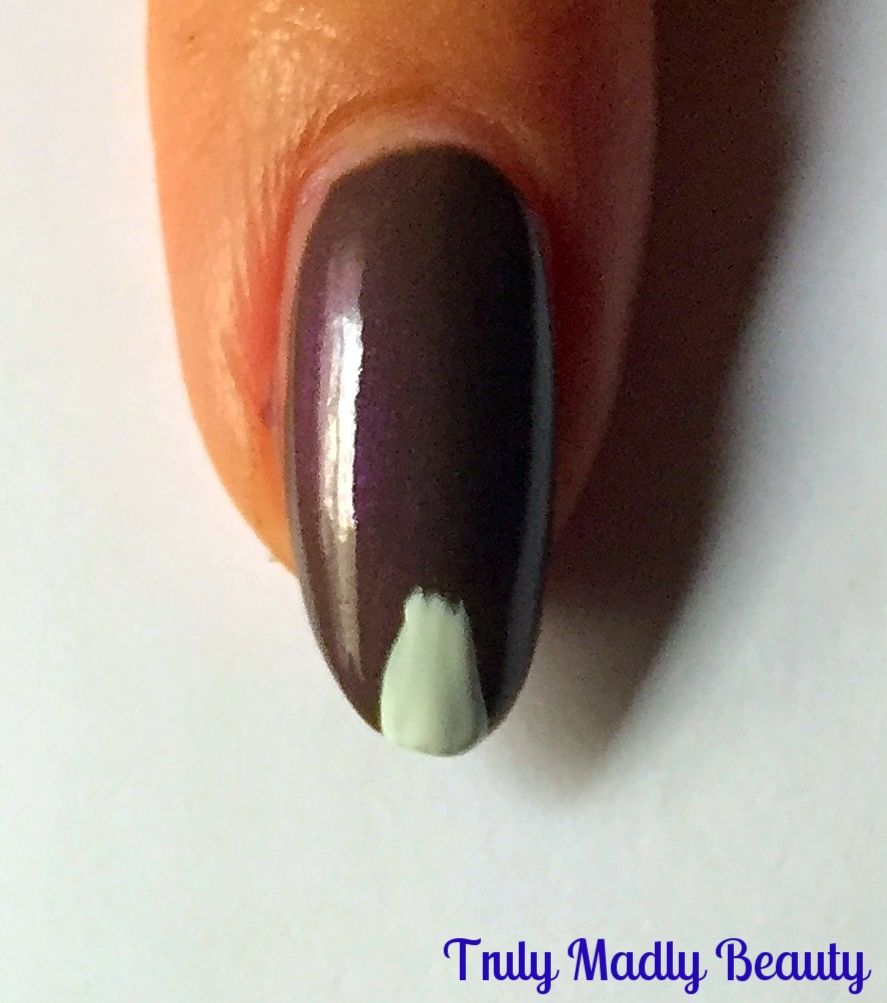
Begin with your base colour, wanting to keep with the Autumn tones I reached for Barry M Dusky Mauve. Remember when everyone went doolally over this shade due to its high dupe level of Chanel's Paradoxal? Here I've applied 2 coats of this lovely purple griege shade.


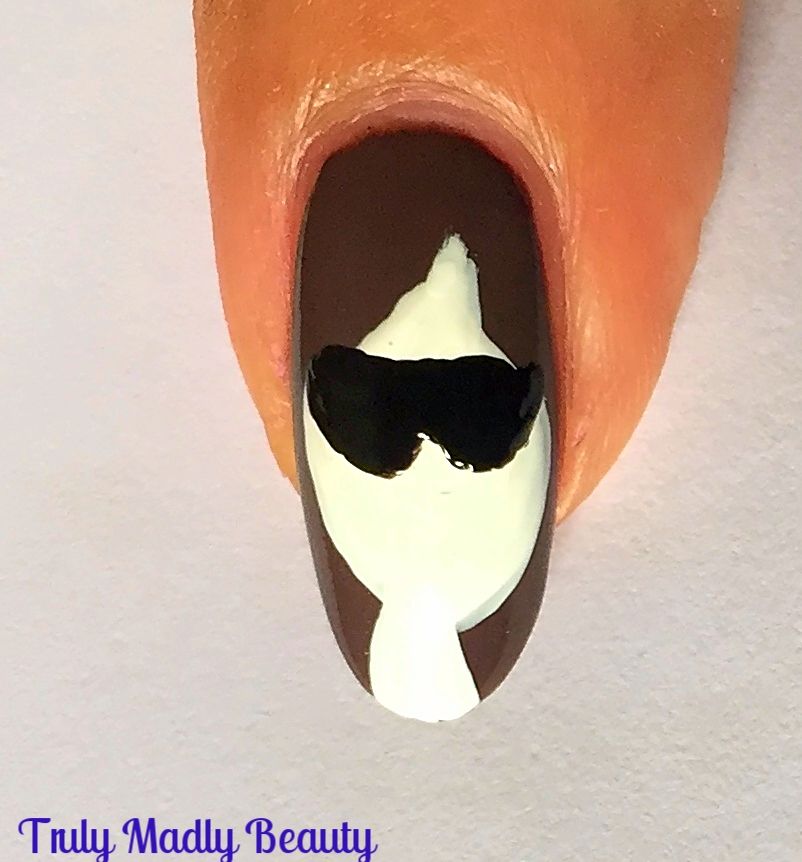
Now to begin creating our shaded divas, start with applying her slender neck starting at the tip of the nail, using white polish & a nail art brush.


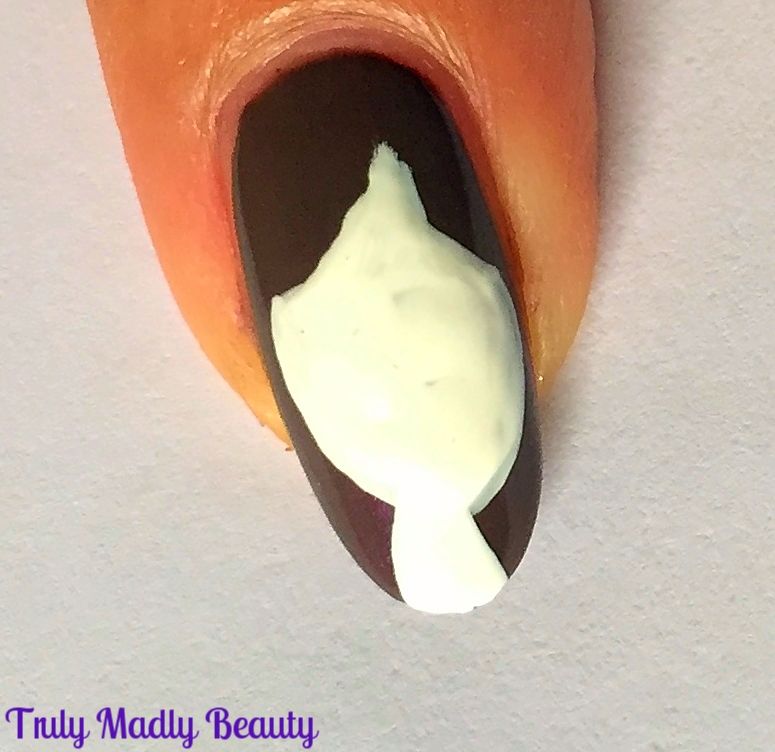
Now to create the face, using your thin nail art brush & white polish, start about 3/4 of the way up your nail where you want the forehead to be & draw a curved triangle with the top point angled slightly to the right, to give the appearance of bangs/fringe, then continuing on from the two bottom points of your triangle,curve a round oval like shape down to the neck before filling in.


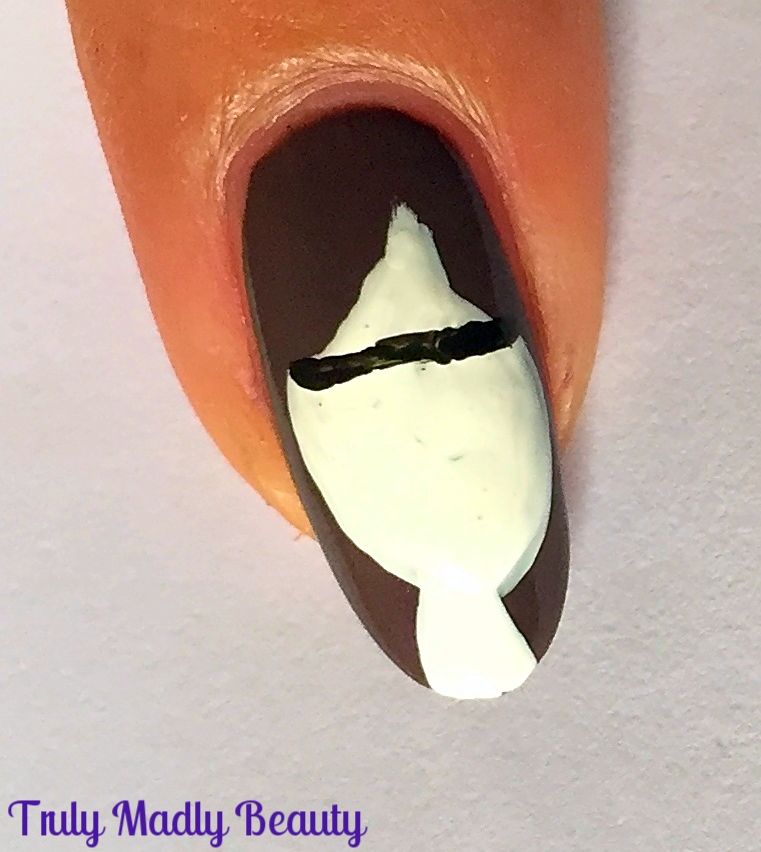
Next step is to add on our ladies sophisticated sunnies! Because even though its Autumn, shades can be rocked ALL YEAR ROUND. To do these simply start by adding a thin horizontal black line just underneath the fringe/bangs.


Then with the same black, underneath your line add two semi circle-esque shapes to create lenses.


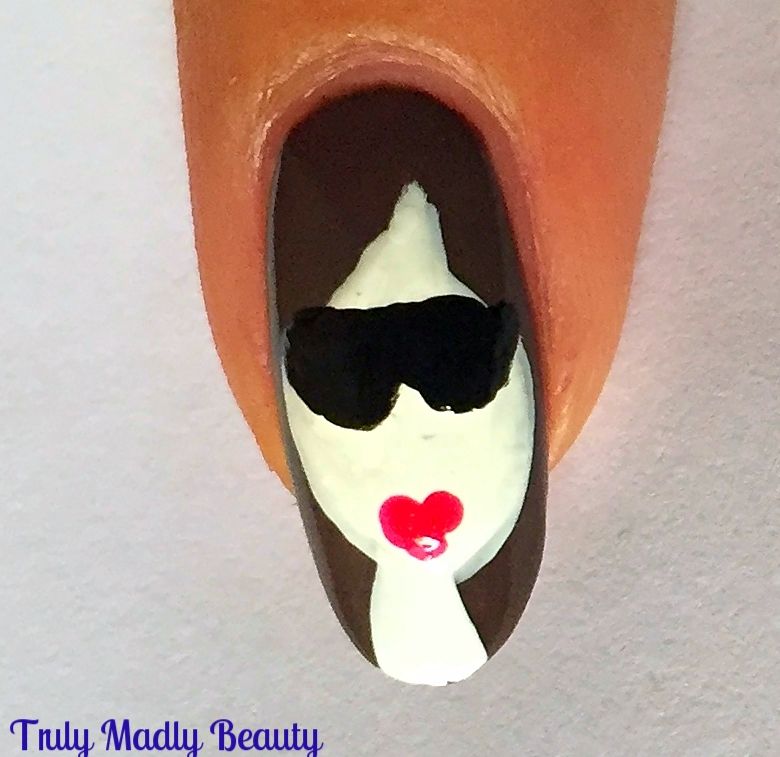
Now for our diva's pout, grab a pink or red polish & a dotting tool or a bobby pin & place two dots of red with one dot underneath, almost creating a heart like shape for the lips.


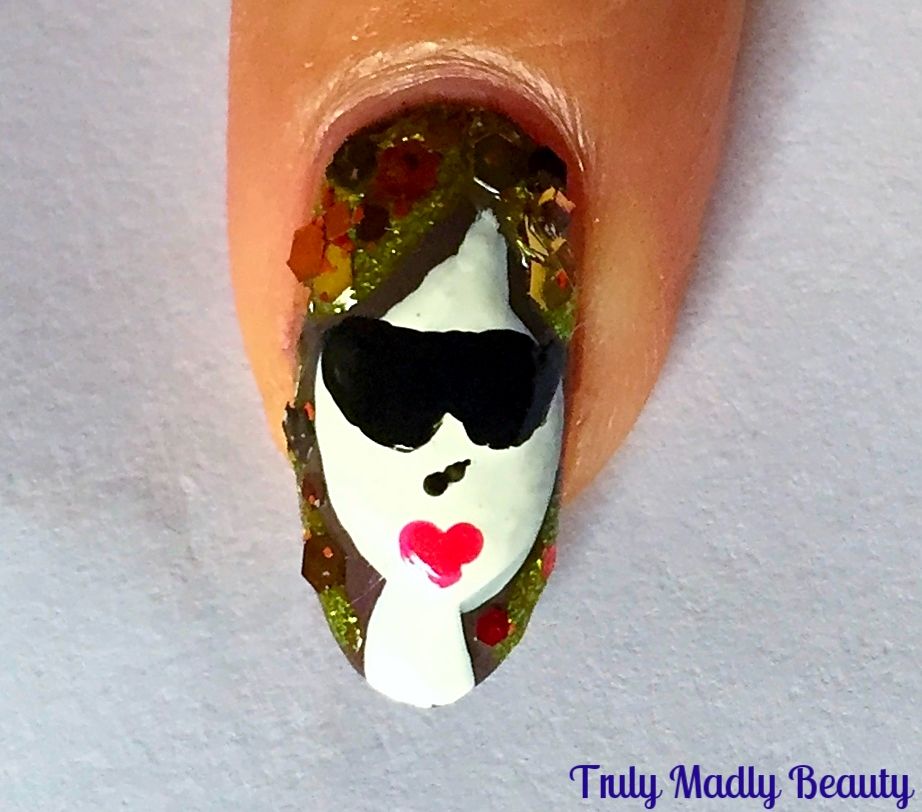
Final detail to the face is a tiny angled line for the nose before you can go to town with all the Autumn colours for her hair! I decided to use a shimmer yellow polish by Color Club to add on some strands in the brown, because its ALL about the balayage babes, before using the aptly named Autumn Leaves glitter polish by indie brand Coco Allure which I picked up from Etsy donkeys ago!


As the glitter in this polish is quite large I poured out a bit of the polish on to a piece of paper first & then used a toothpick to pick up the pieces of glitter which come in shades of burnt orange, reds, coppers & gold & just placed on to the hair.


Finish it all with a nice thick coat of topcoat & your done! Thank you Robin Moses as always for the inspo, a really fun & interesting way to wear Autumn/Fall nails! Hope you like them too!


Thanks as always for reading! 

Lotsa love to ya!


11.01.2016

Klenspop 4 Color Red Circle Lens Review

Hello there my lovely readers!

Currently sat snuggled up surrounded by soothing scented candles burning away with a pot of tea & supply of sweet foodstuffs...BLISS & the perfect environment to get my blog on. FYI head over to your nearest B&M beauts ASAP to drool over their divine scented candle range...so impressive & better still such BARGAINS! Managed to snap up some of the leftover Halloween specials including delicious Vanilla Pumpkin...yummo.


I'm sure you're used to by now of my fondness for switching up my eye colour on occasion, in particular with my favourite lens brand Klenspop. Well I have another pretty lens to share with you today, something a little bit different this time with the Bunny 4 Colour Red* lenses


Like the lilac lenses from my previous post HERE, I was super excited to try out a shade of lens I'd also never ventured towards before, but fret not, if the idea of red lenses immediately brings to mind "newborn vampire out of twilight" vibes, which I confess it did with me & there's nothing wrong with that as I think they look incredible, I couldn't have been more wrong about these which are in fact rather natural in look!


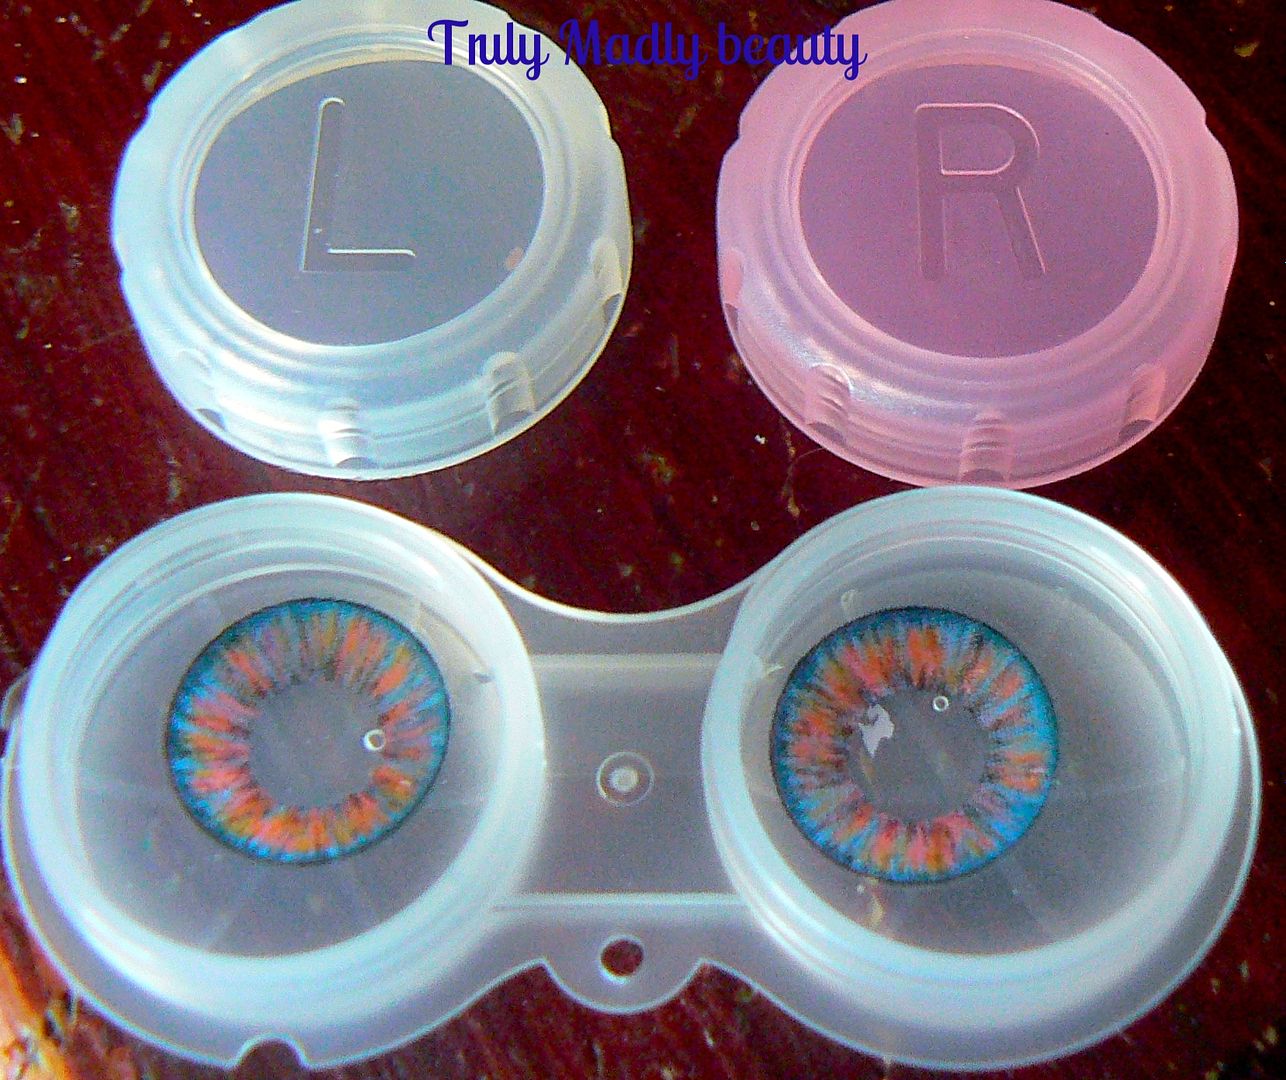
As usual your Klenspop lenses will arrive securely packaged in plenty of bubble wrap, in which you'll find your your lenses stored in the usual pretty packaging along with your wee tweezers and storage case.


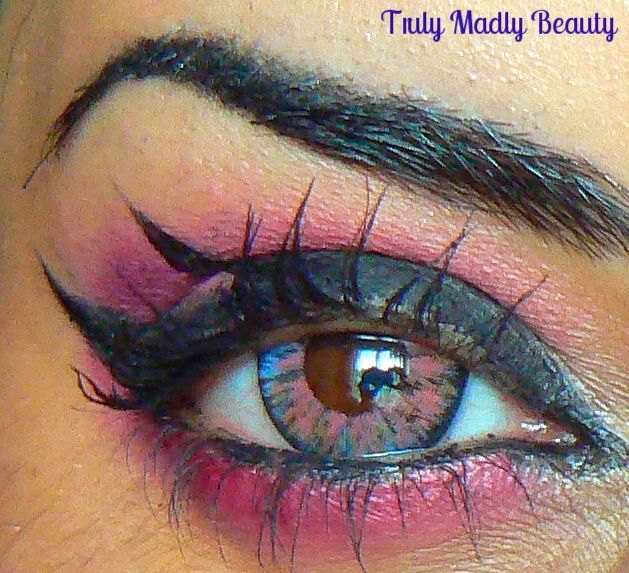
As you can see from first look, far from being one block colour, the Bunny 4 Colour red lenses are an intriguing mixture of not just pale red, but also includes shots of blue, grey & brown thrown in to give a really unique look

Here's a wee breakdown on the lens details for you:

Diameter: 14.5mm
Graphic Diameter: 14.2mm
Basic Curve: 8.8mm
Using Period: 6 months
Water Content: 38%
Manufacturer: Lenspop

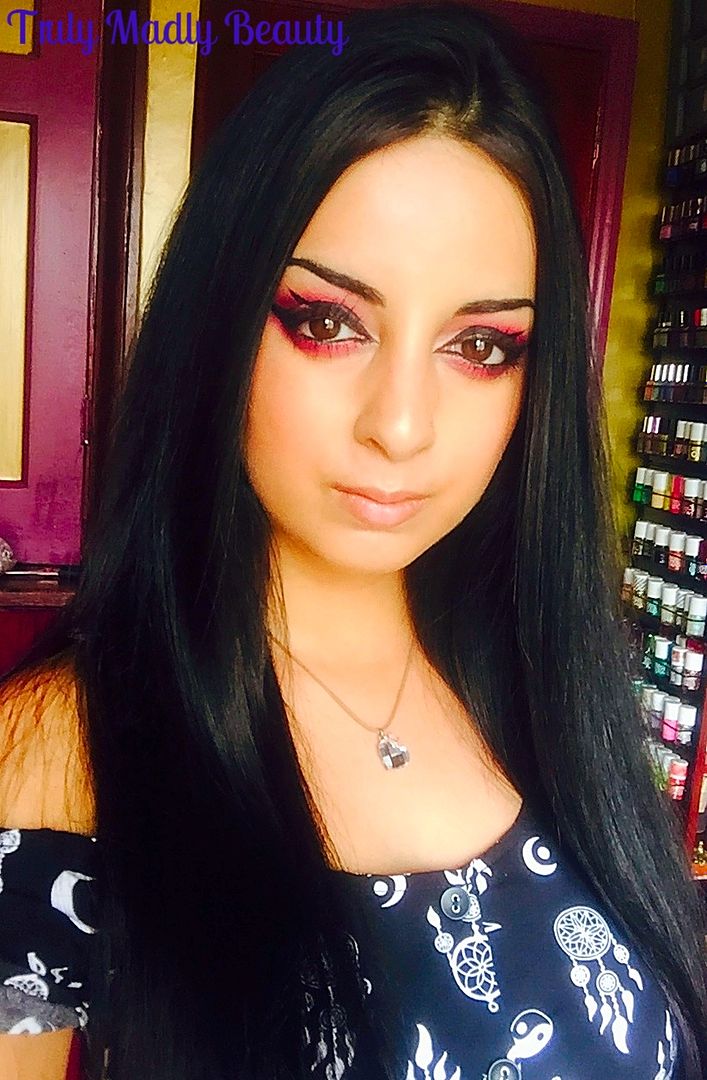
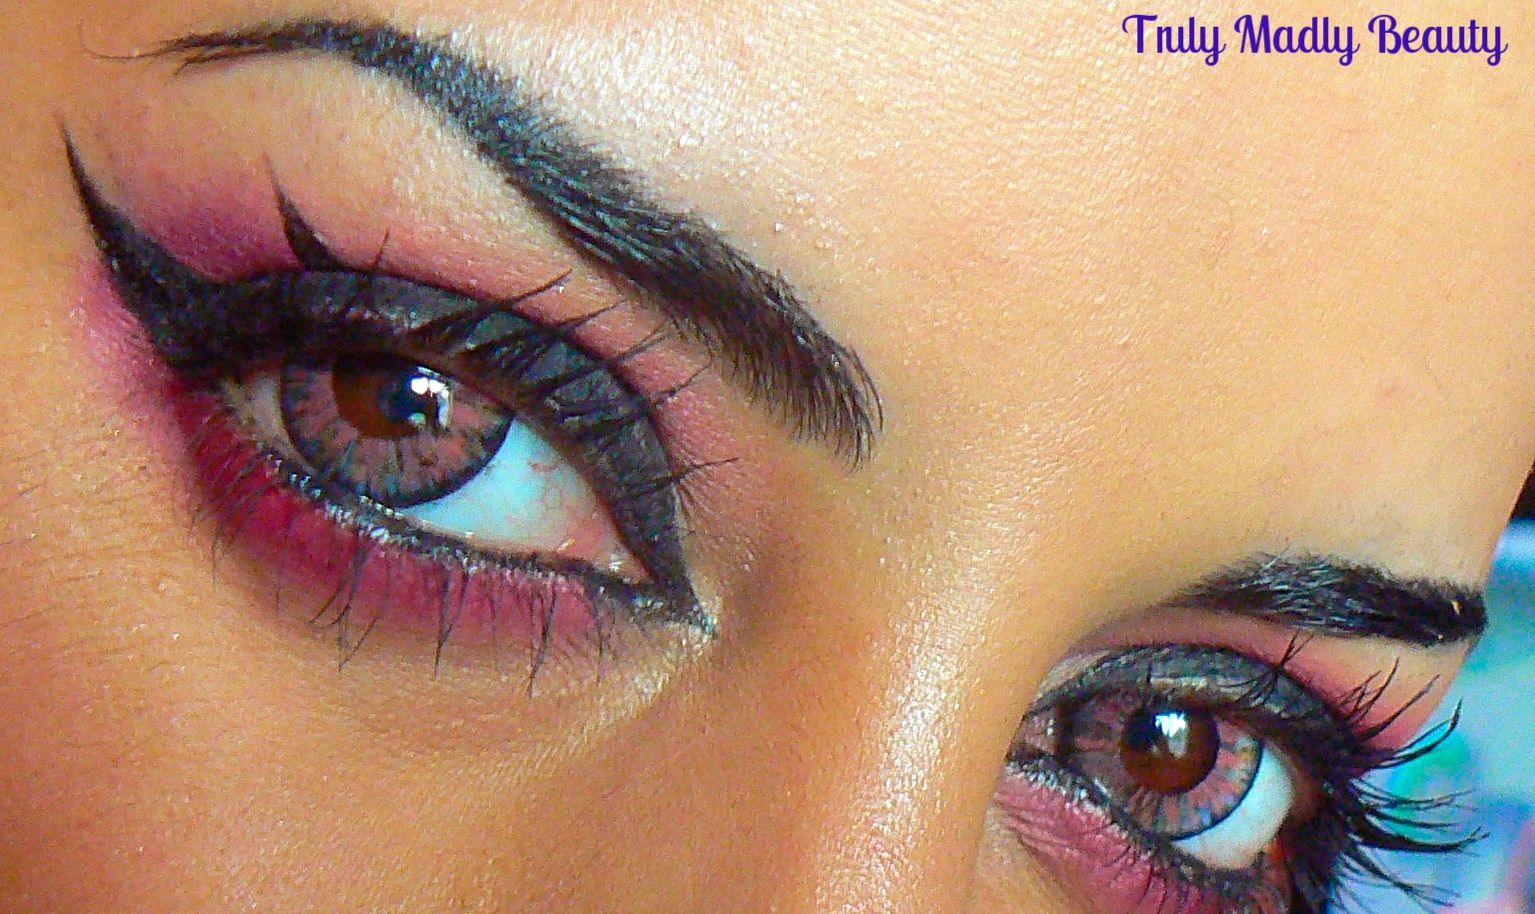
Now on to the pics! Here's a quick before pic of me with my natural eye colour, I decided to throw together an Amy Lee vibe red eyeshadow look to go with the lenses that completely had me reminiscing back to my teen years...


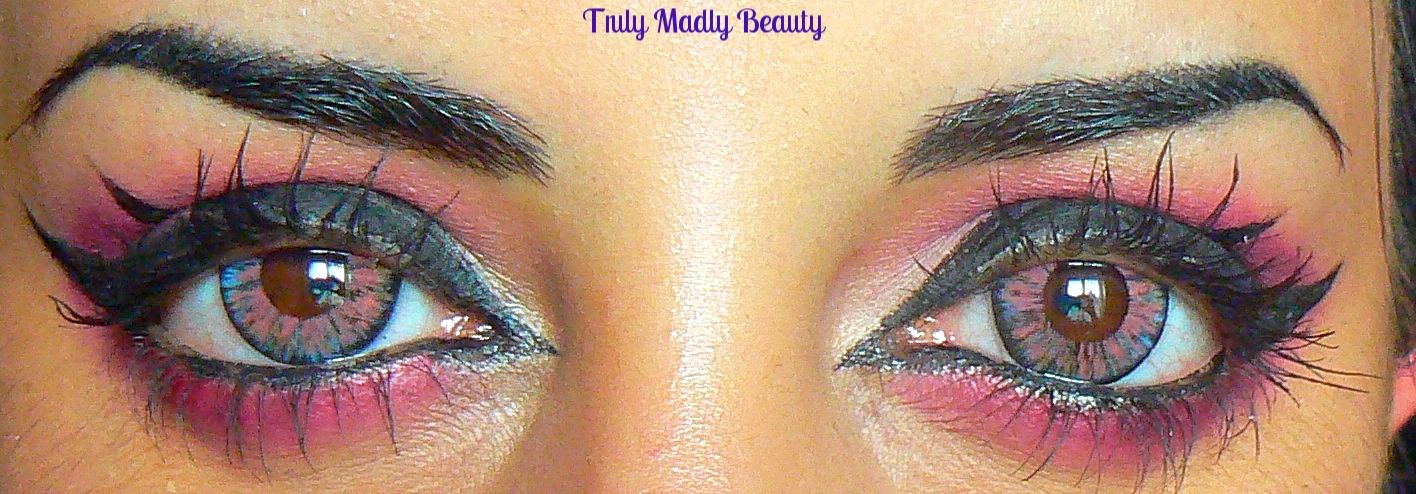
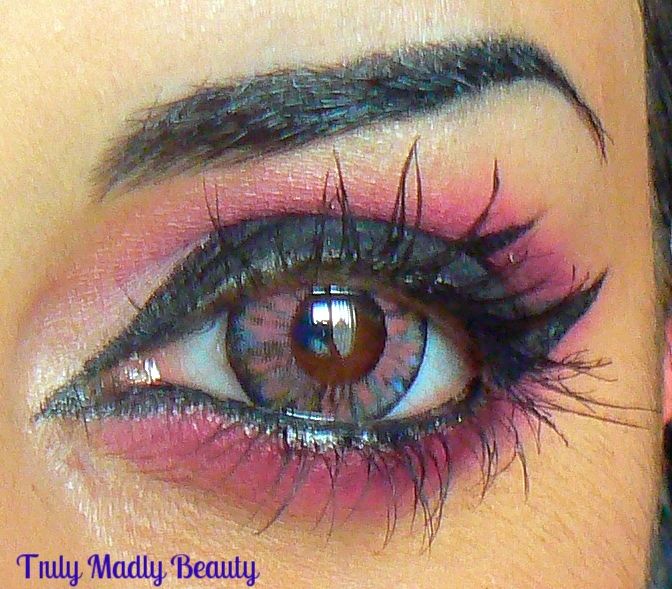
And here we have the Bunny 4 Colour red lenses in...


What do you think? I was so pleasantly surprised with how different yet natural the finish of these are, I absolutely love them!


The added touches of grey/blue/brown really tones down the look yet still makes the finish really eye catching. Because the red is so soft toned it almost gives a pretty pink like finish which I heart.  


Happy to report these are non irratable as Klenspop lenses always are & I can comfortably wear these for the whole day with the added help of MesmerEyez Milk Eye Drops which are by far the BEST eye drops I have ever used to help prevent eyes from drying when wearing lenses.


The Bunny 4 Colour Red lenses also enlarge the eyes slightly, but not a huge amount so the finish is still quite natural. However one thing I did notice with these is that one of the lenses kept shifting positions due to my dry eyes making my eyes look a tad odd haha! But that was rectified with a bit of moisture from the eye drops. ;)


Another hit with these babies! You can find these and many more on the Klenspop website where they are not only reasonably priced but fab quality too. You can check out my other Klenspop reviews HERE.

Thanks as always for reading!

Lotsa love to ya!


Disclaimer - * products featured were sent to me for my consideration. I am not affiliated with the brand nor paid for this post, this review has been as always my 100% honest opinion! :)


10.27.2016

Halloween NOTD - Dripping Blood Hearts ft Joan Collins Timeless Beauty!


Hello lovely readers!

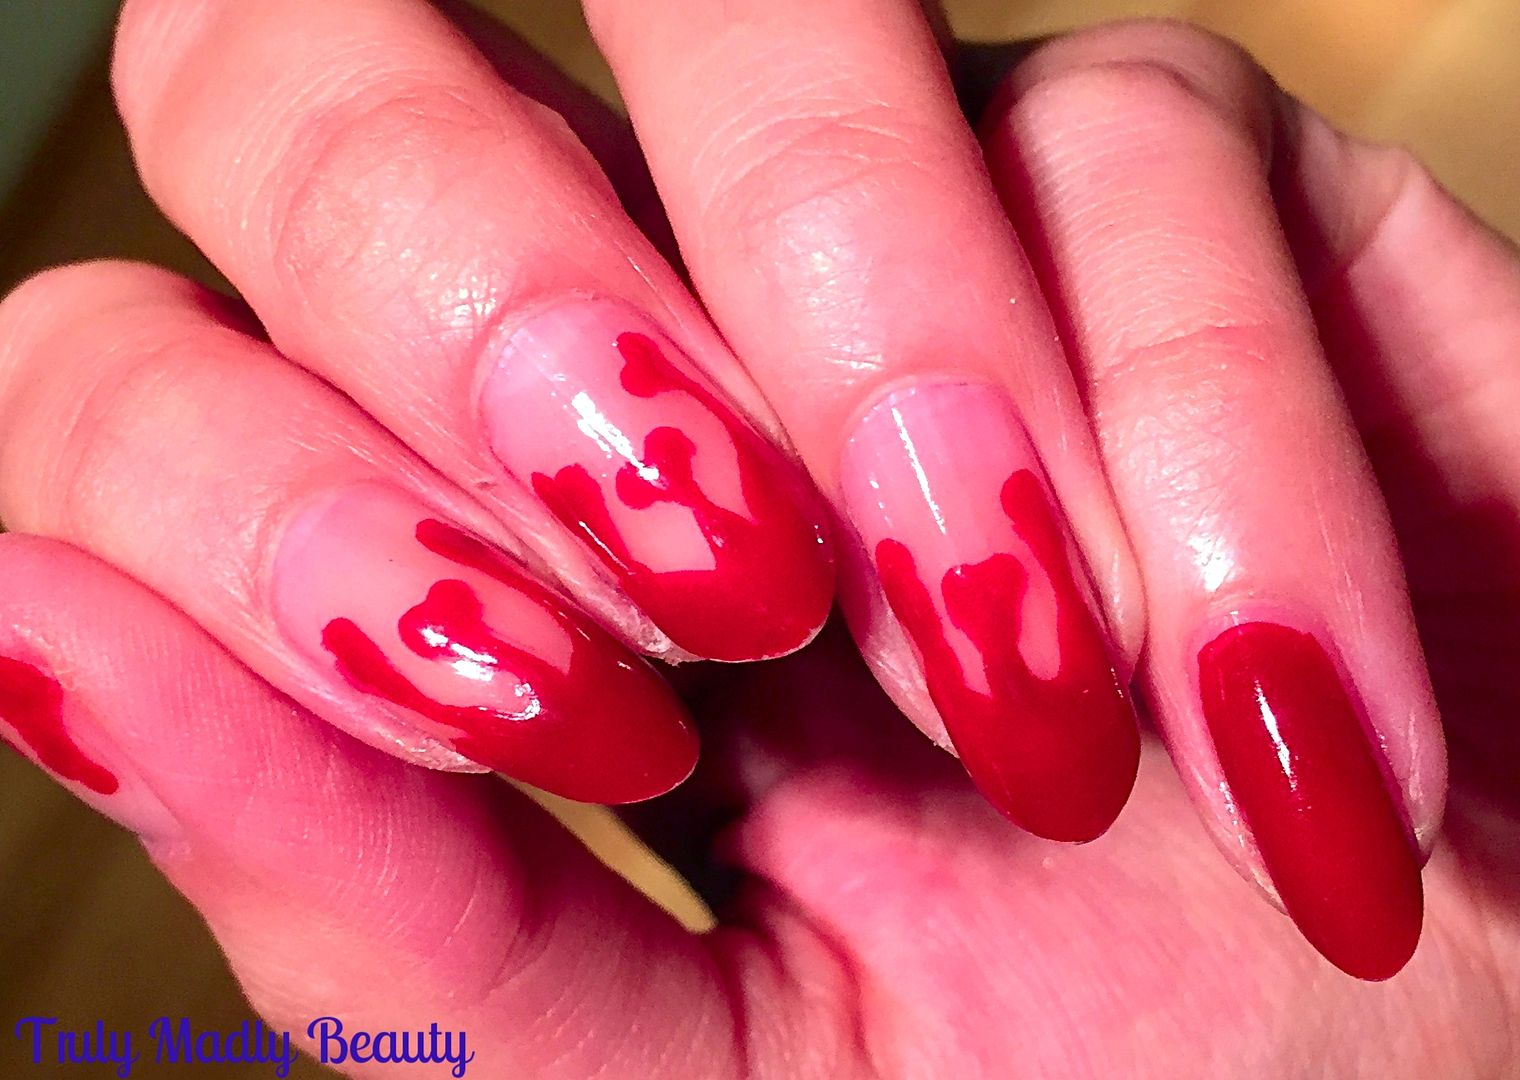
Every Halloween there is one design that I re-create every year in what now has become a tradition I suppose & that's some lovely dripping blood nails! 


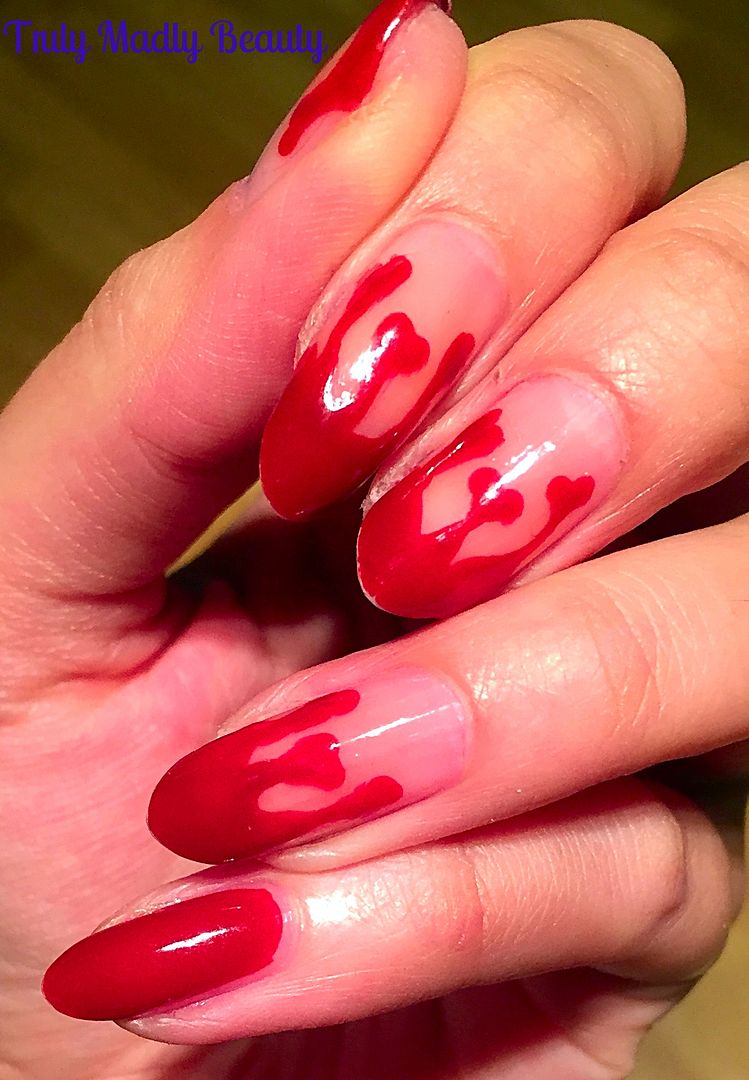
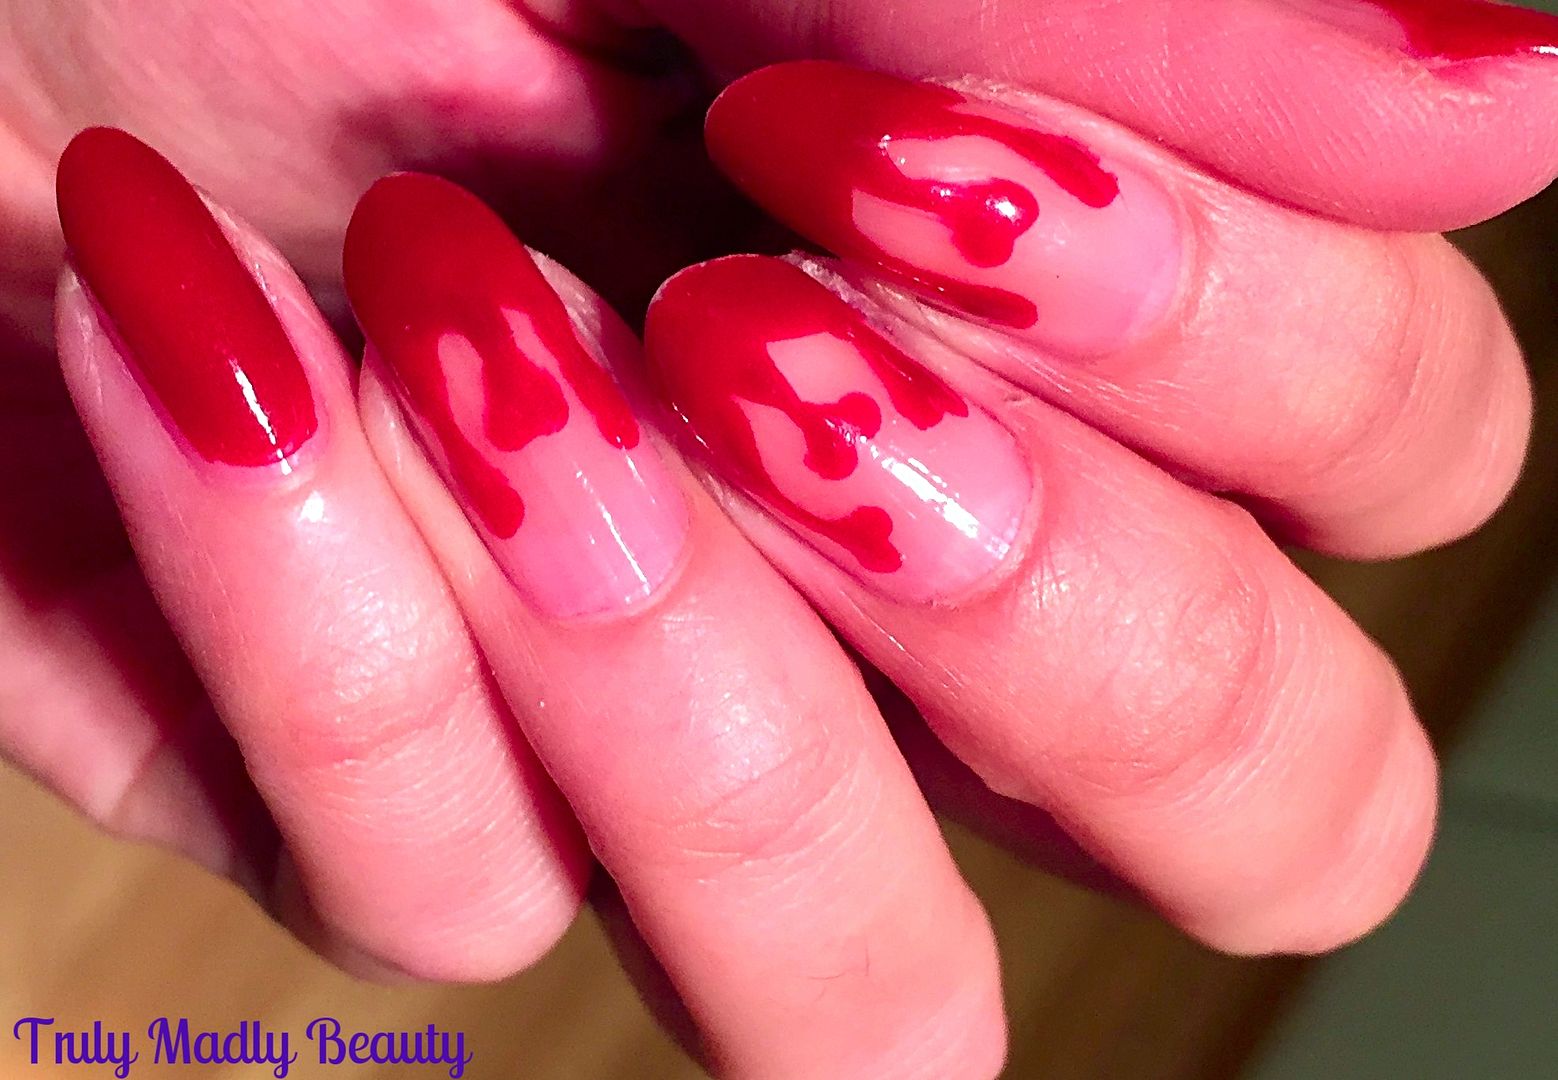
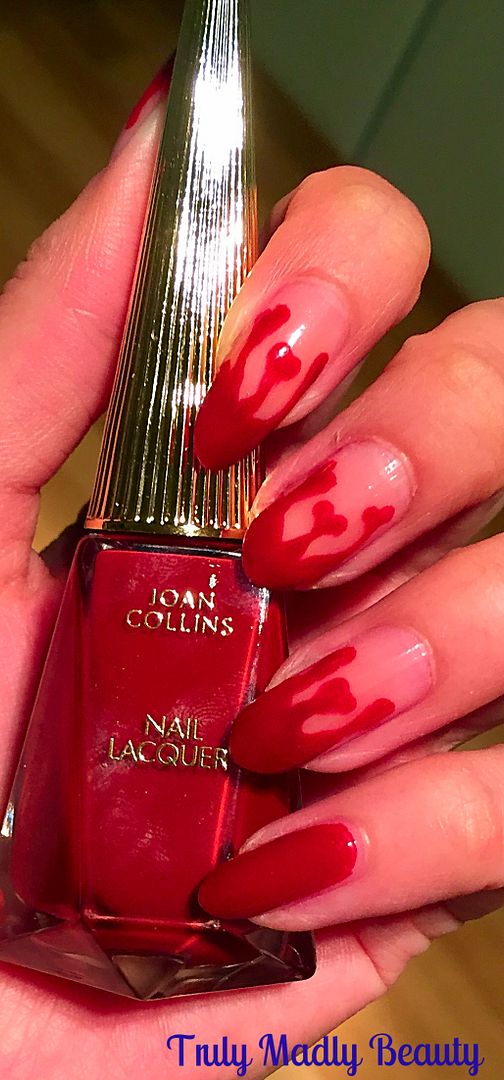
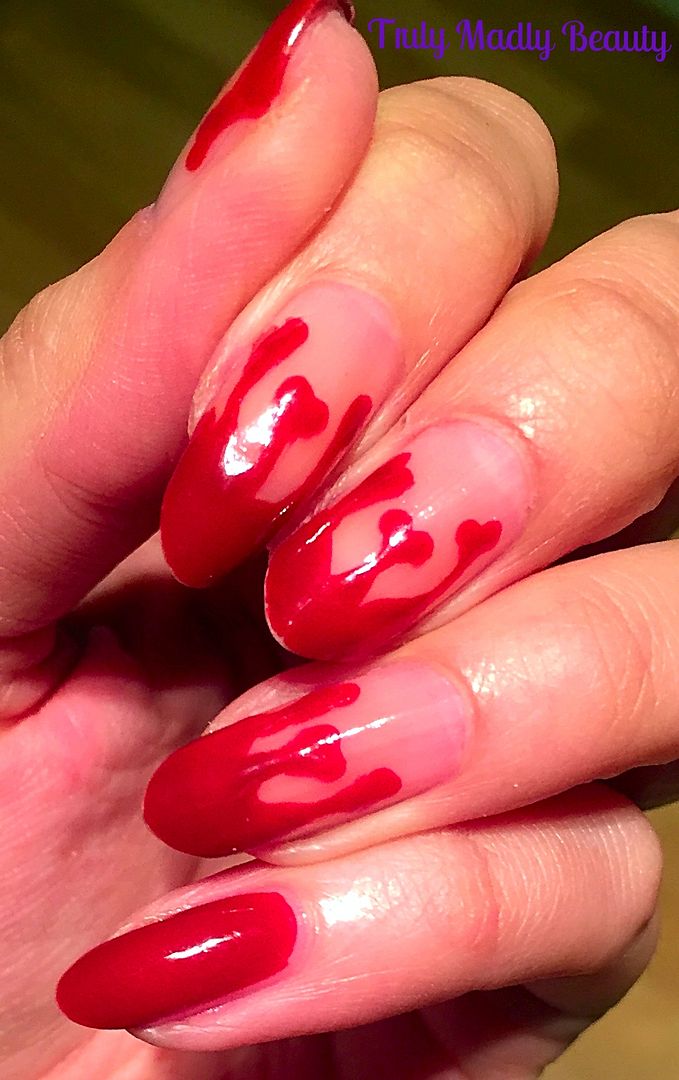
They look awesome, are fun to do & you can play around with how you have your blood drips, either by the cuticles, on the tips of your nails or even both! This year I wanted to give my blood drips a slight twist, so instead of normal drops...I went for some dripping heart shaped drops instead!


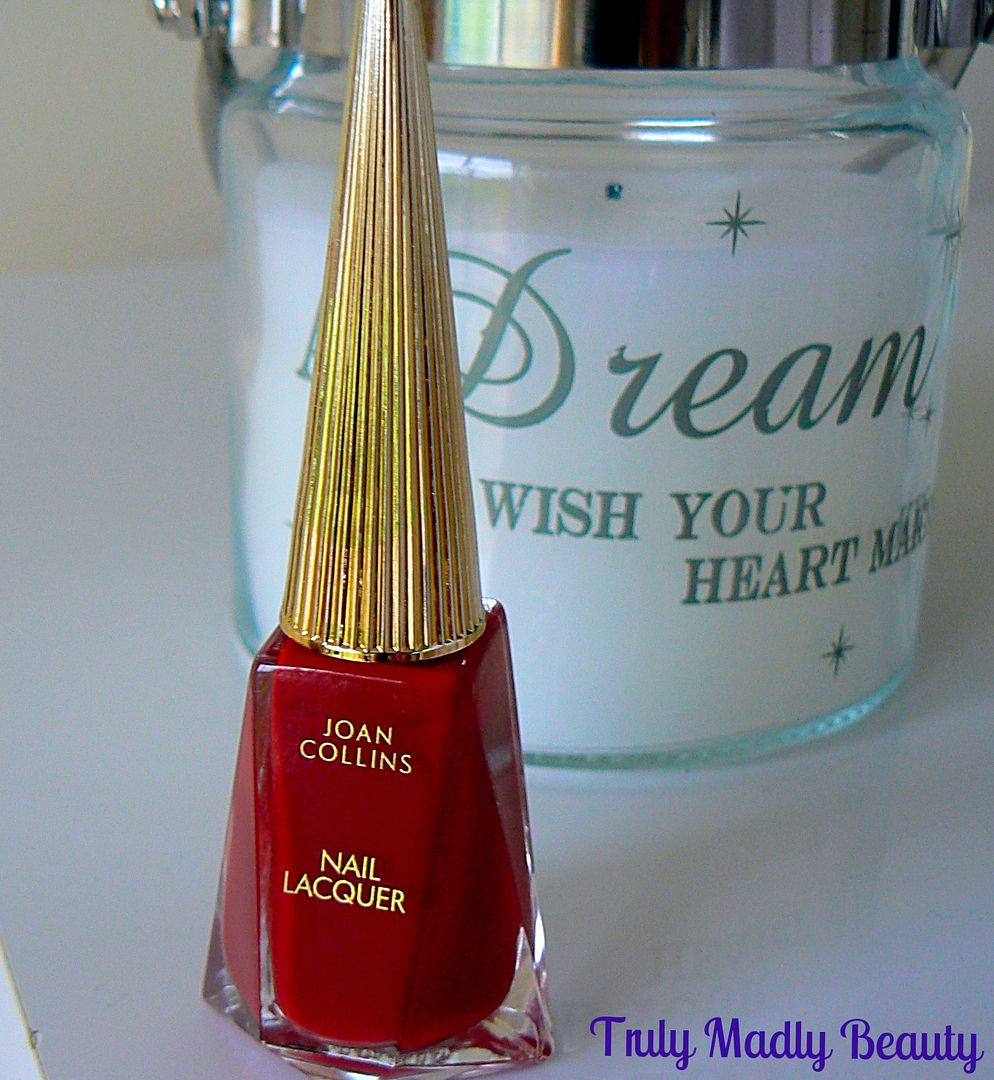
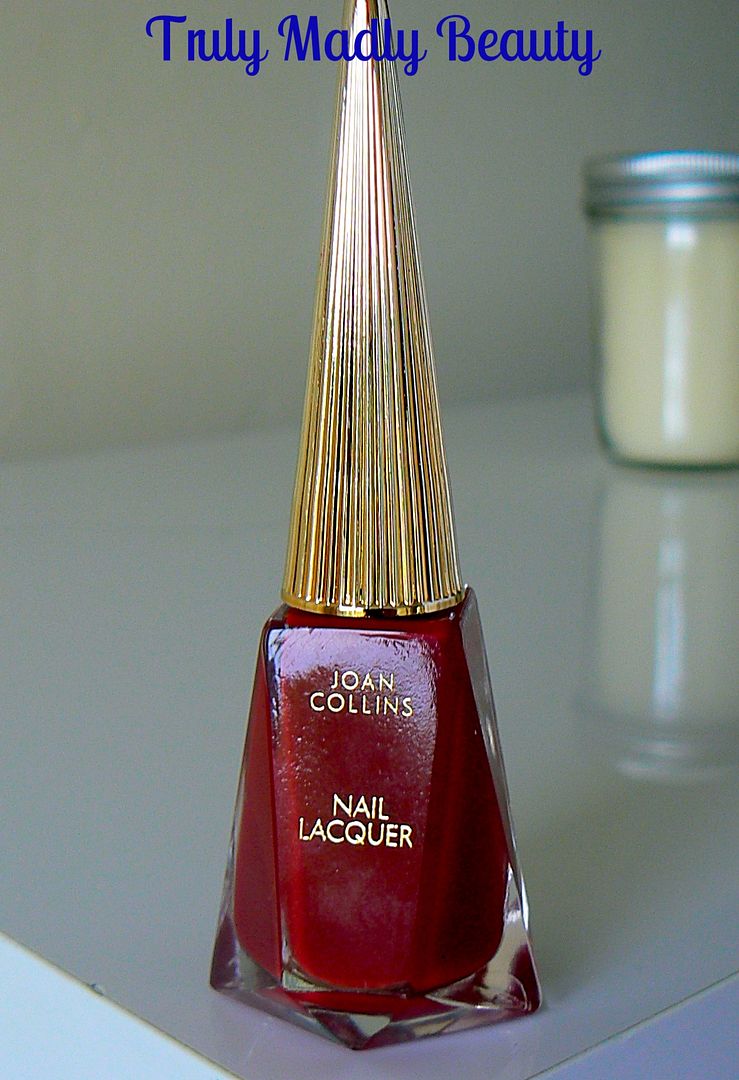
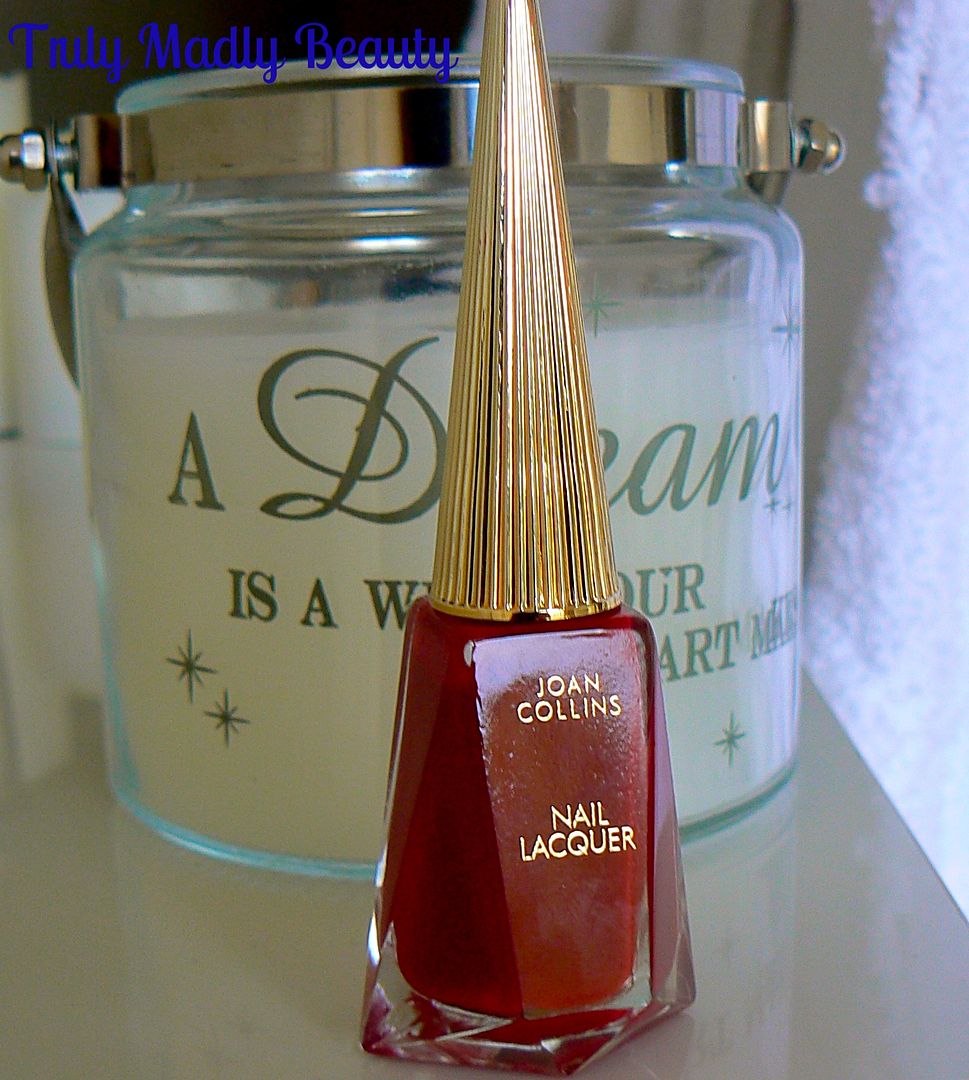
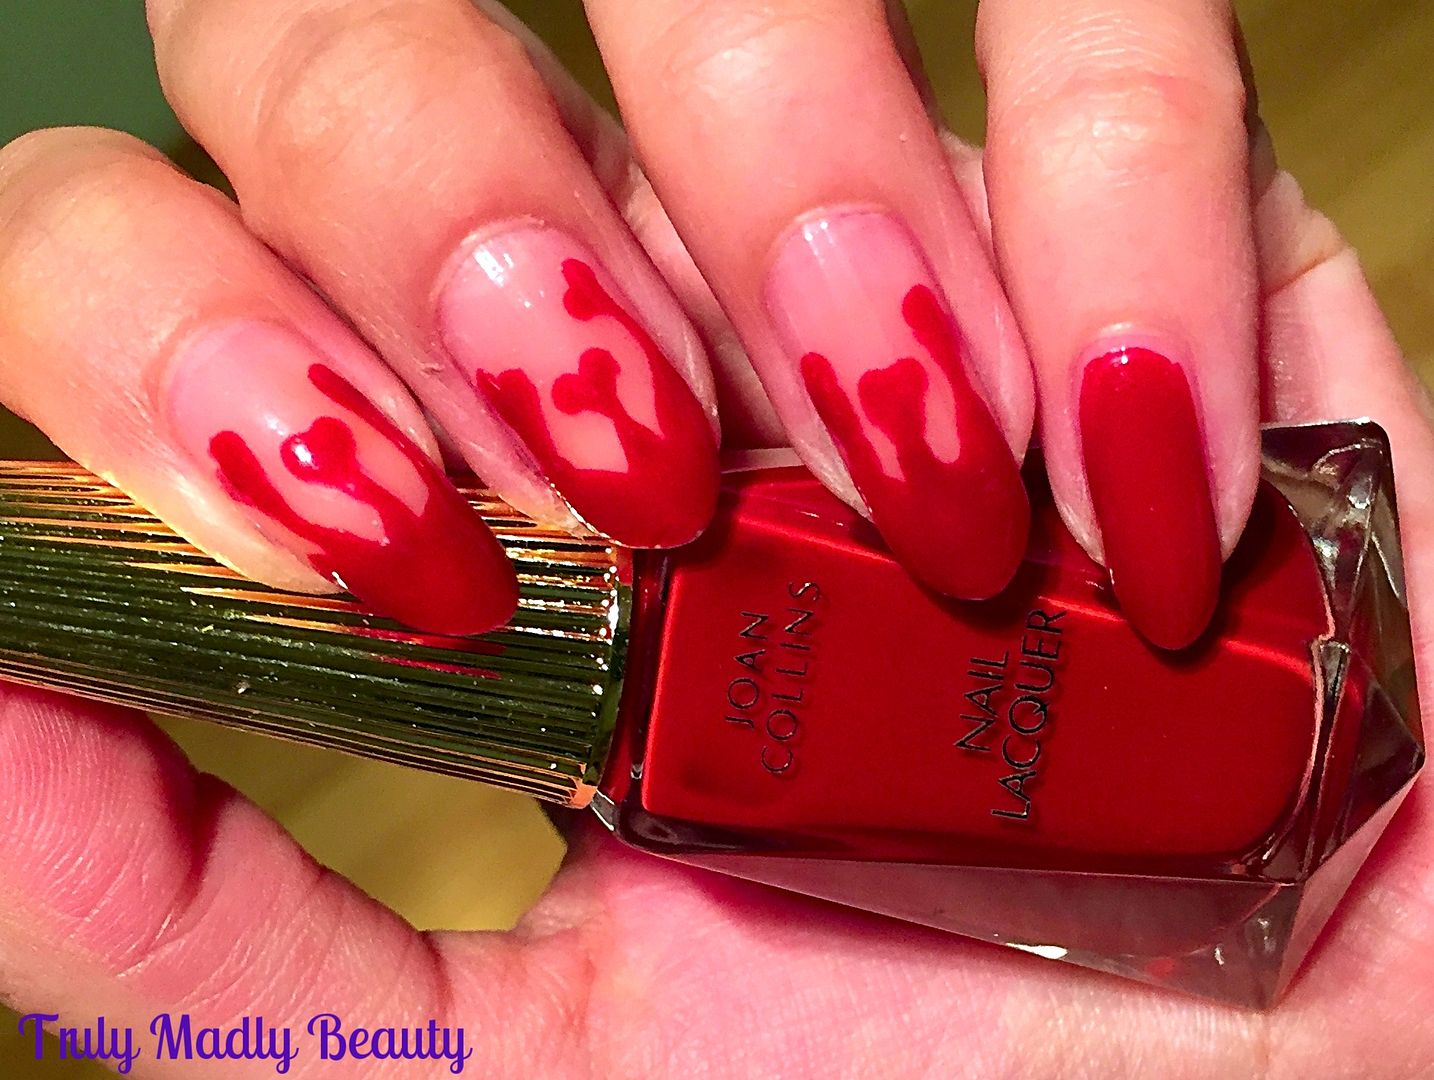
Of course for this you need a lovely blood red polish & I was recently sent a pretty bottle from Joan Collins new beauty range called Timeless Beauty which she has recently launched & features a lovely range of chic beauty products which embody Hollywood Glamour & vintage Art Deco vibes. 


The range features a collection of nail lacquers including this divine red which goes by the name Crystal* & just so happened to be the perfect shade to recreate my blood!


Can we just take a moment to admire the beautiful bottle this polish is housed in? I absolutely LOVE the diamond edged bottle shape & pointed long gold cap, it gives the polish a wonderful vintage look that immediately made me reminisce of my mums signature bottles of polish that I used to always admire from afar. Not only that but doesn't it also have a major Louboutin vibe going on? LOVE


The polish itself is a lovely glossy formula & an intriguing brown toned red, so classy & yet actually perfect for recreating some blood!

To create your blood drips first apply some of your red polish across the tips of your nails using the brush, this doesn't have to be done neatly! After all it IS meant to resemble a puddle of blood ;)


Then for your drops, instead of just applying one drop, apply two smaller ones side by side, before joining the two together at the bottom to create your heart drop! Add about 3 of these per nail.


Then draw a vertical line from the pointed bottom of your hearts up to your red tips. Once you've done this you can then go back in to curve the edges of your lines to make them resemble drips!


I coated the entire little finger nail with the pretty Joan Collins polish as I just loved the shade so much & well because I'm just random.

Finish with topcoat & you’re done! Hope you liked this year’s variation on blood drip nails! Sorry I haven't been able to do step by step pictorials to go with the instructions for my Halloween designs, all of which you can find HERE, lighting & time have not been in my favour lately!


You can find Joan Collins Timeless Beauty range which includes not just nail polish at only £13 each, but a wide range of gorgeous looking products in M&S stores as well as online. Thanks for reading!

Lotsa love to ya!