3.09.2016

Hello Kitty Pink Gradient Nails

Hello lovely readers!

As much as I love my gothic vibe mani's, I do on occasion like to embrace the inner barbie girl that clearly still lingers in that dark soul somewhere, if this mani I have for you today is anything to go by! 
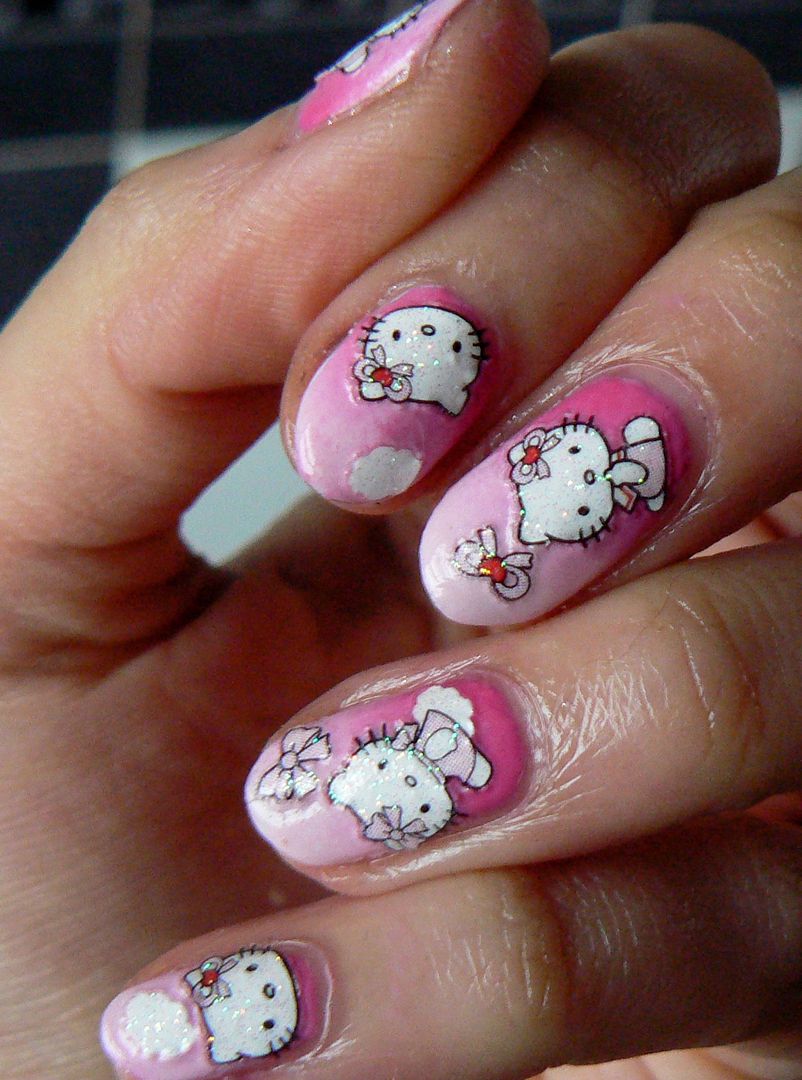

I wasn't kidding was I? ;) Recently OPI released an adorable Hello Kitty collection filled with pretty pink tones, now whilst I don't own these *sad face* I DO however have a wide choice of pinks to play with, as well as finding some cute Hello Kitty nail art stickers lying around in my stash. Putting the two together I rustled up a quick pinky gradient mani.
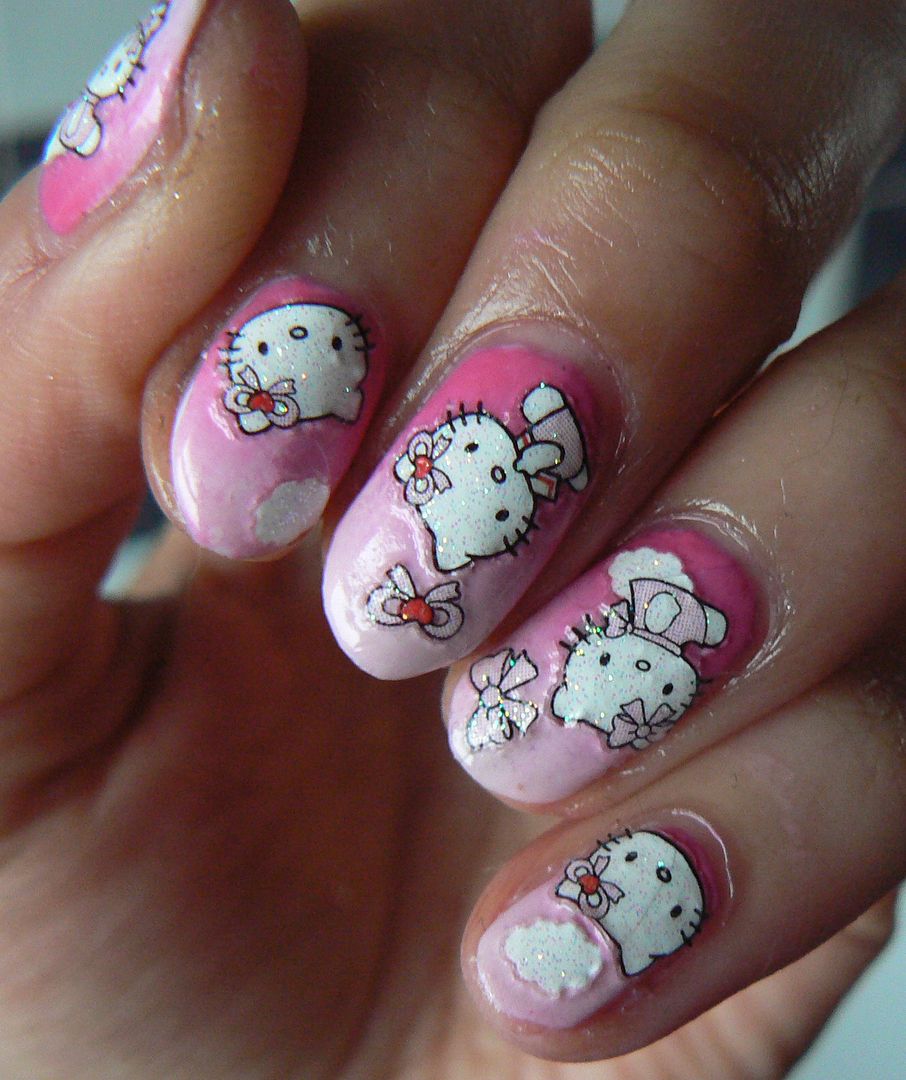

Mmmmm gradients...you are so satisfying! As usual when doing a gradient start with a white base to make the colours pop! I did a post a while back HERE with a brief guide on how to do gradients!
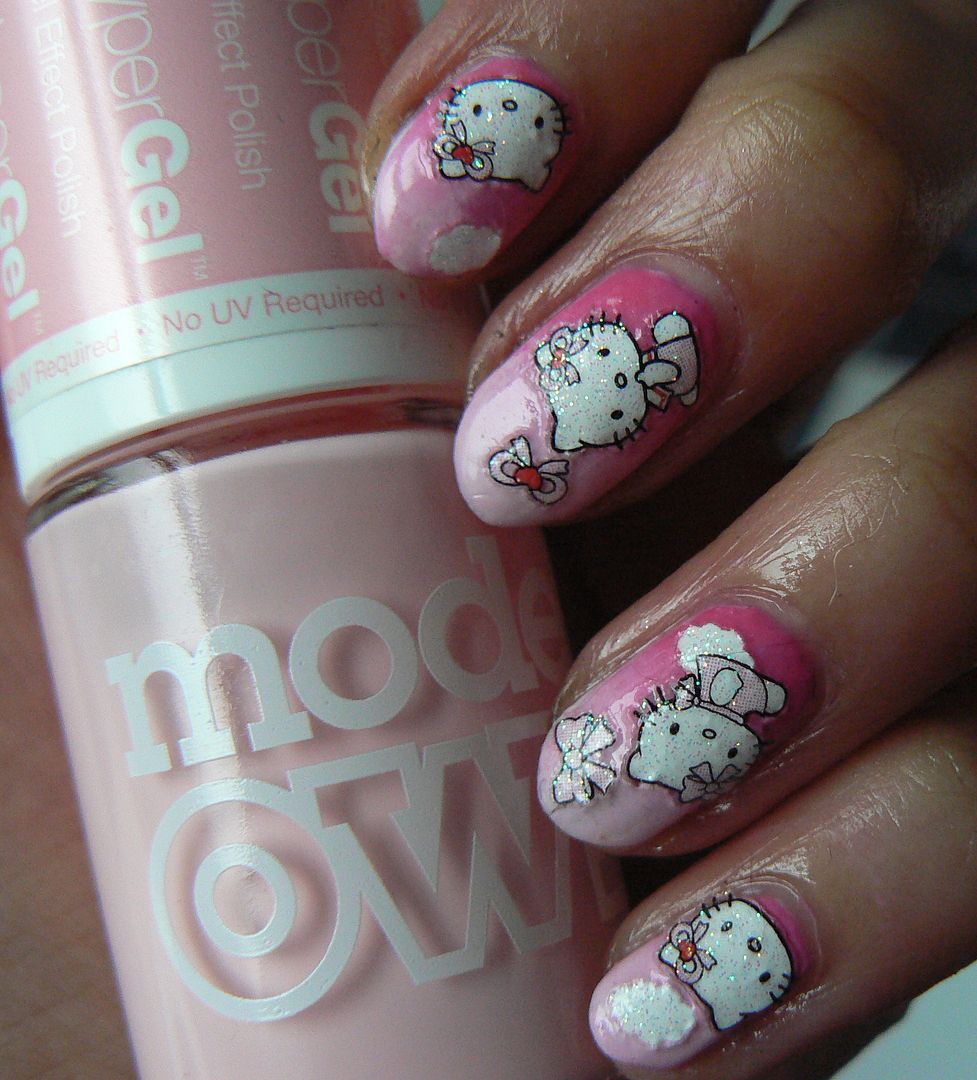

Then grab your two shades, here I've used Models Own HyperGels in Pink Veneer and Cerise Shine as I love the thick formula of these, fab for gradients! 


Apply a strip of each of the two polishes, side by side, on your piece of make up sponge, then dab directly onto the the nail, using side by side & up/down motions to create that fading two tone gradient effect.

If your worried about lots of polish mess going on to your skin then prep the nails before hand using some Latex Skin Protector which I've blogged about HERE. This stuff is FABULARSE for this kind of nail art!
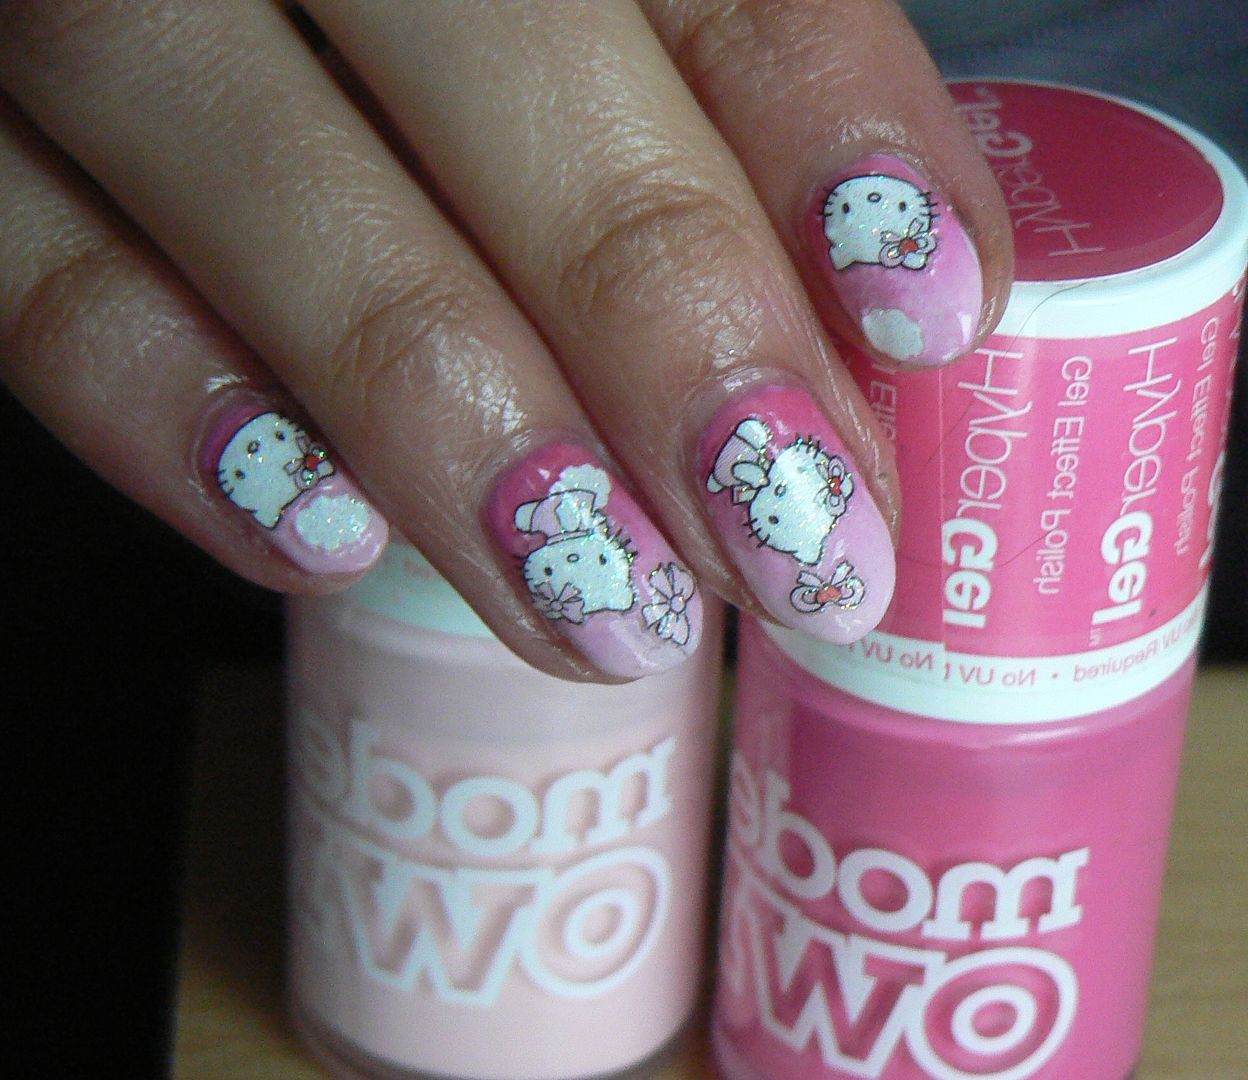

Apply your gradient a few times with the sponge until your happy with the finish, I manage to get an opaque finish with two goes, especially with the HyperGels.

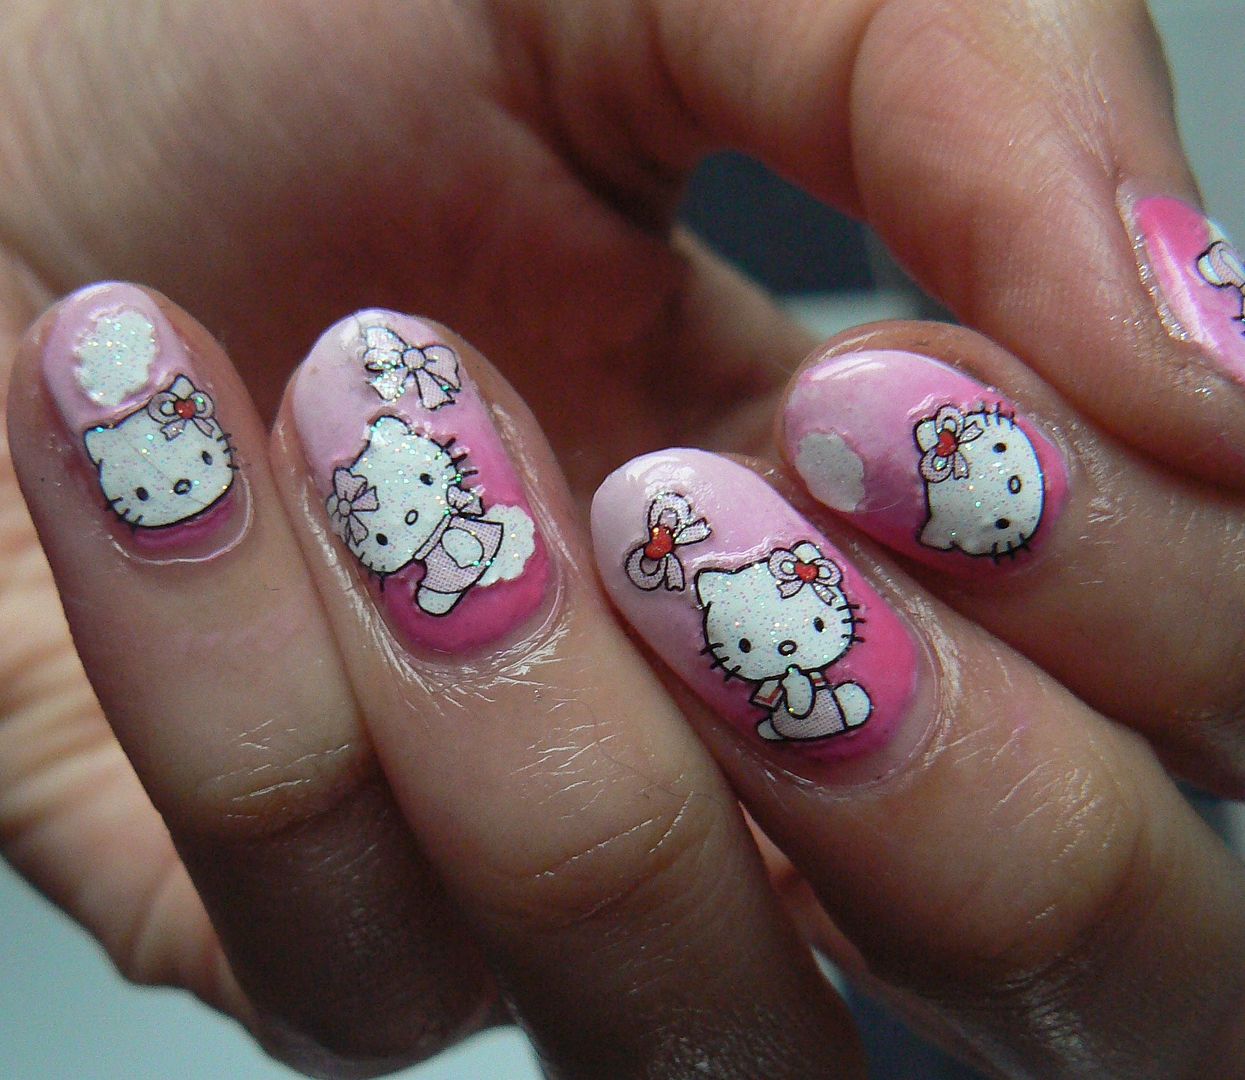
Then I just grabbed my Hello Kitty stickers & placed directly on the nail in random places using a pair of tweezers.
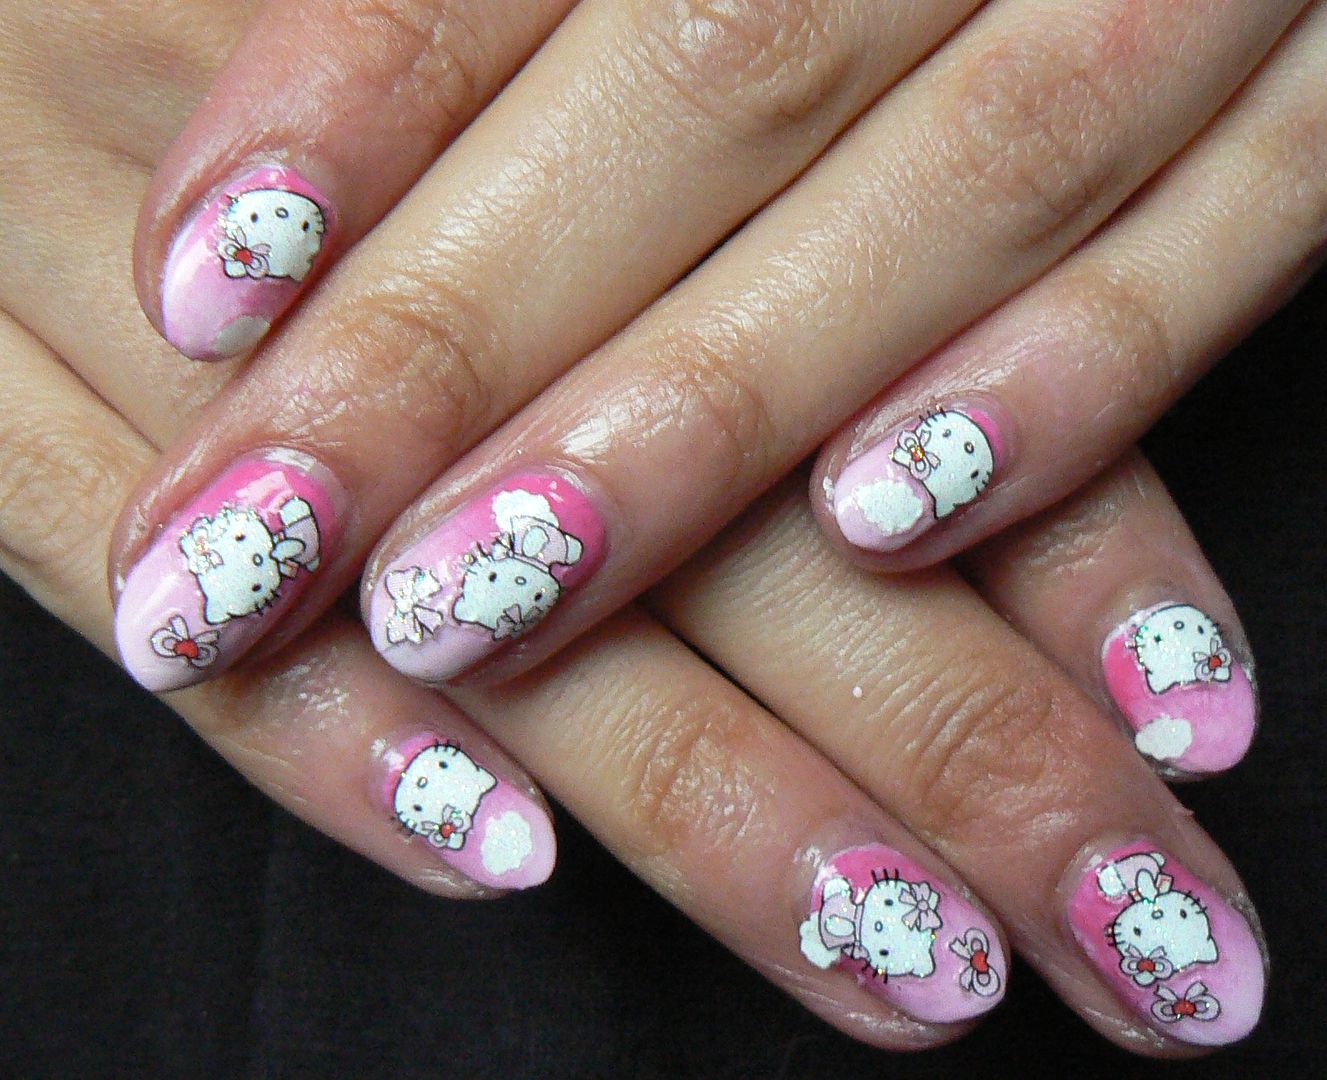

Finish with topcoat and done! Cute Kawai Kitty nails good to go! :)

Thanks as always for reading!

Lotsa love to ya!

3.07.2016

Klenspop Ellen Panda Brown Circle Lens Review!

Hey there lovely readers!

You know I like to dabble with contact lenses & not too long ago I blogged about Klenspop, a Korean brand that had recently come to my attention, in particular their Ruby Queen Grey lens which I absolutely LOVE! Today I have a review of another one of their lenses & I can honestly tell you that Klenspop have fast become one of my favourite brands to use when it comes to chopping & changing up that eye colour!

The lenses that I have to show you today are the Ellen Panda Brown Lenses*


As usual the lenses arrived securely packaged in a small cardboard box within plenty of bubble wrap to prevent any knocks/dents & shipping time is nice & quick.


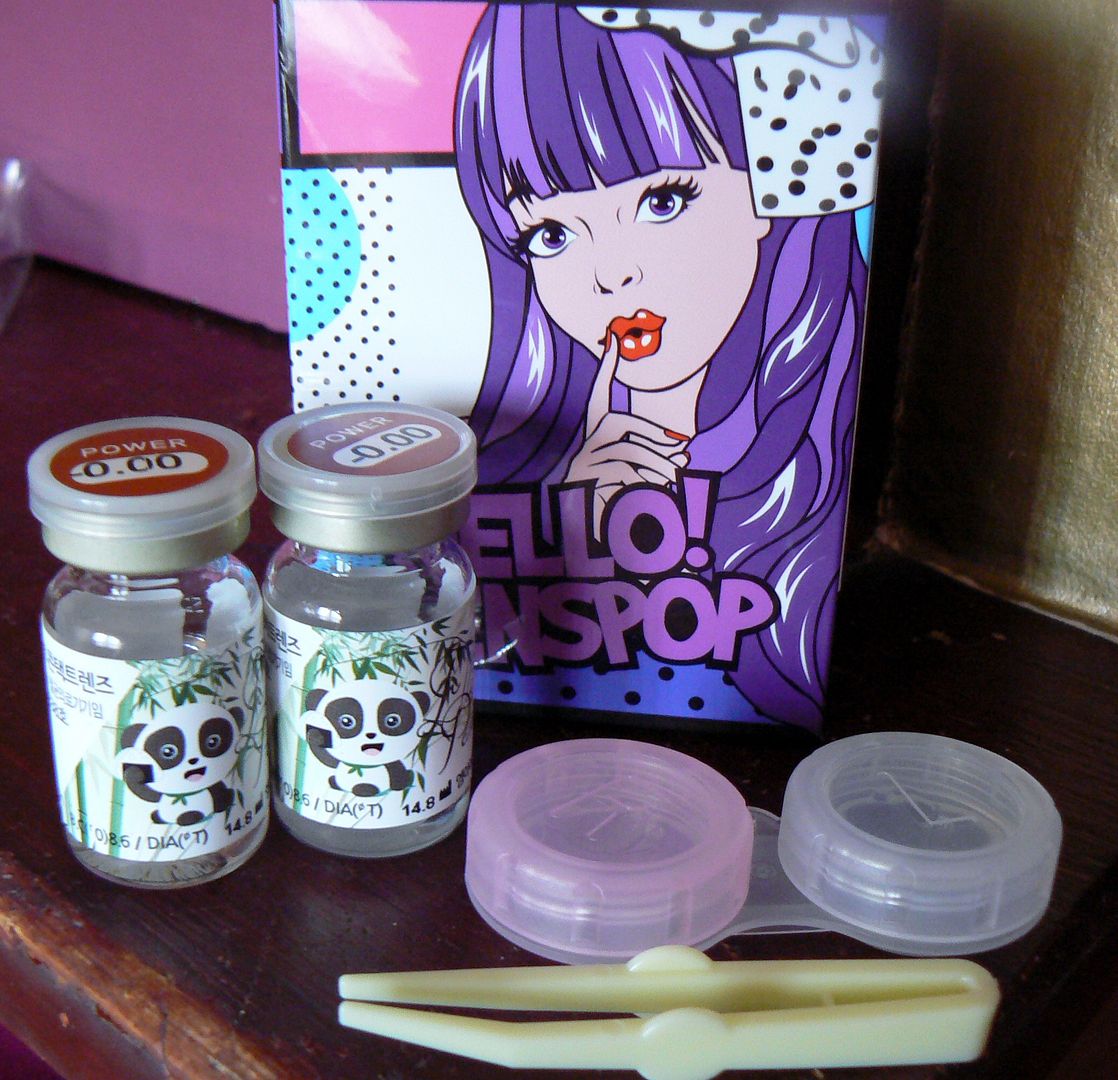
Once opened you'll find your lenses in the customary kawai style cute packaging that I've come to associate with Klenspop, within the box you'll find your lenses in their individual bottles, a lens case to store your lenses in & a wee pair of tweezers to lift the lenses out safely.


For those who are interested here's a bit more detailed information on the Ellen Panda Brown Lens:

Diameter: 14.8mm
Graphic diameter: 14.5mm
Basic Curve: 8.6mm
Using period: 6 months
Water content: 38%
Manufacturer: Lenspop


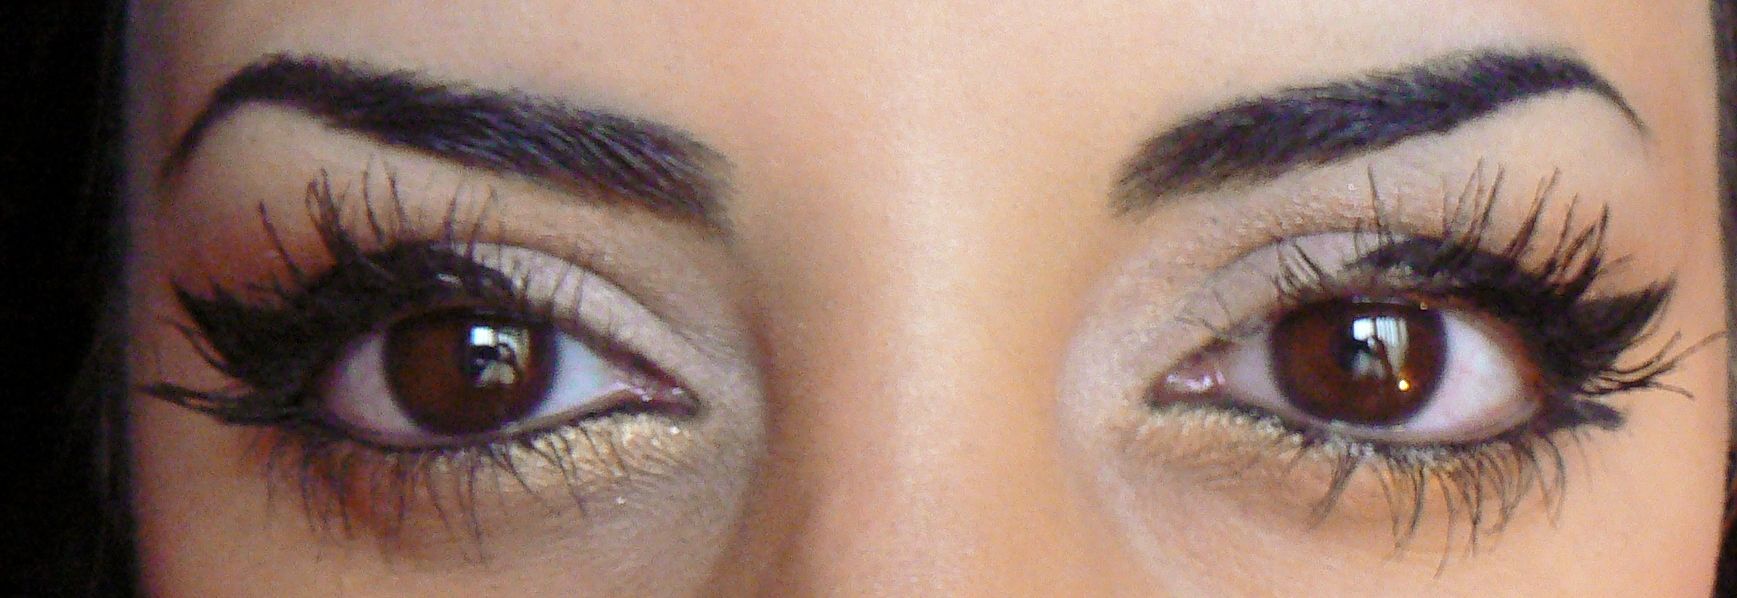
To give you a better idea of how these alter your look here's a quick before pic of my natural eye colour....


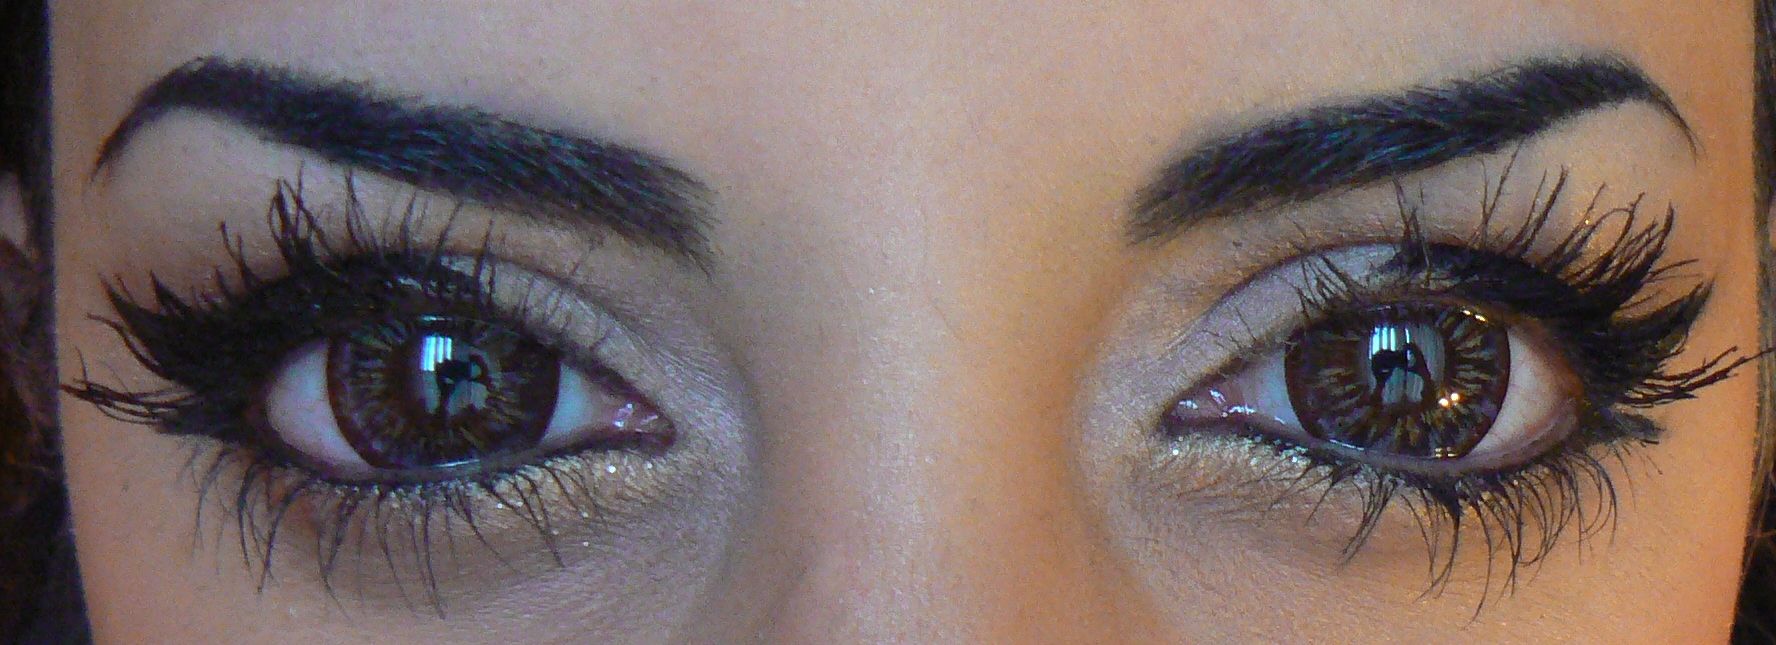
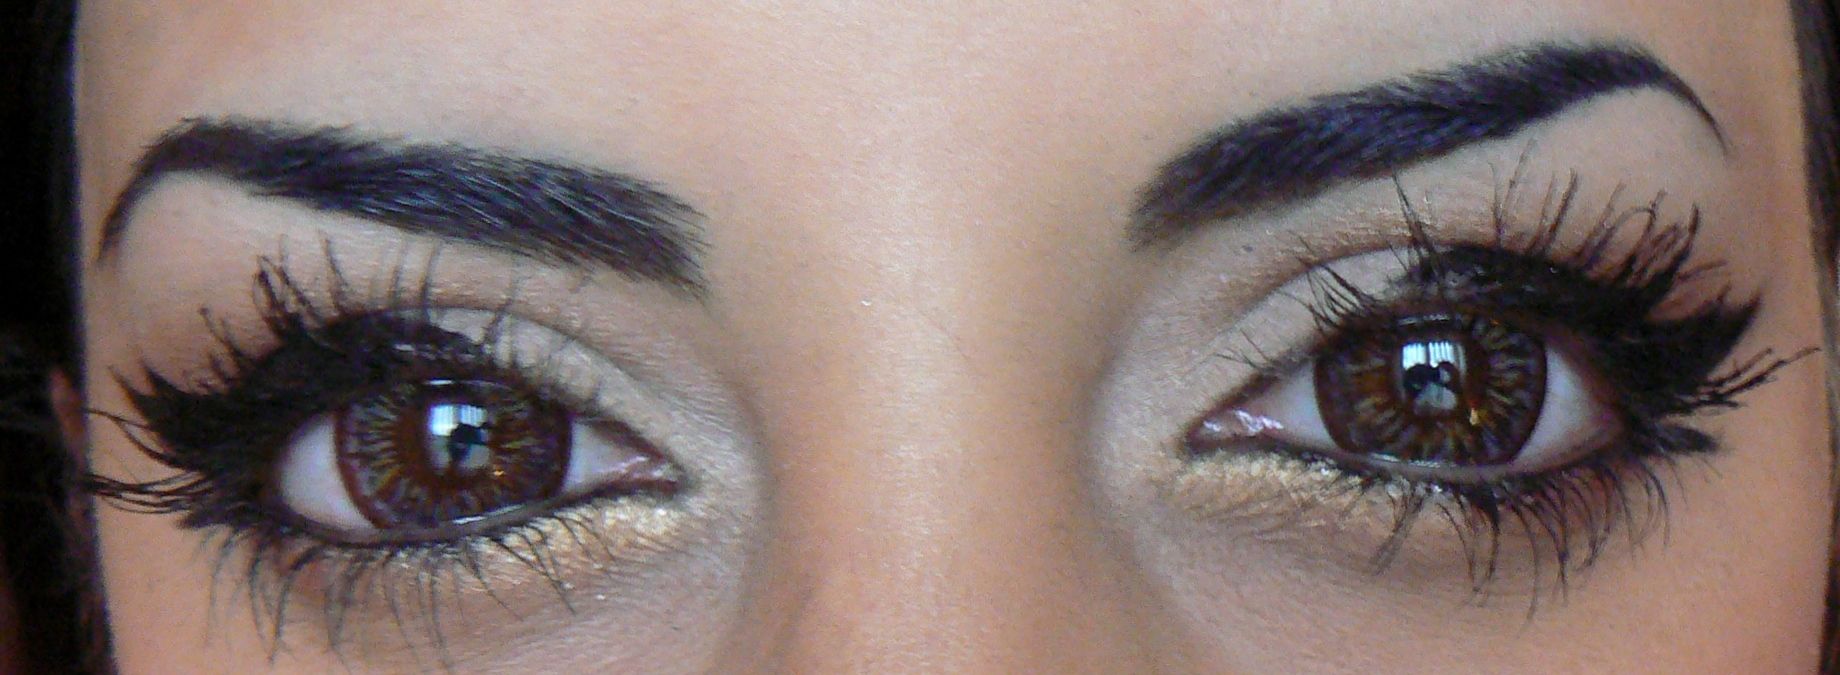
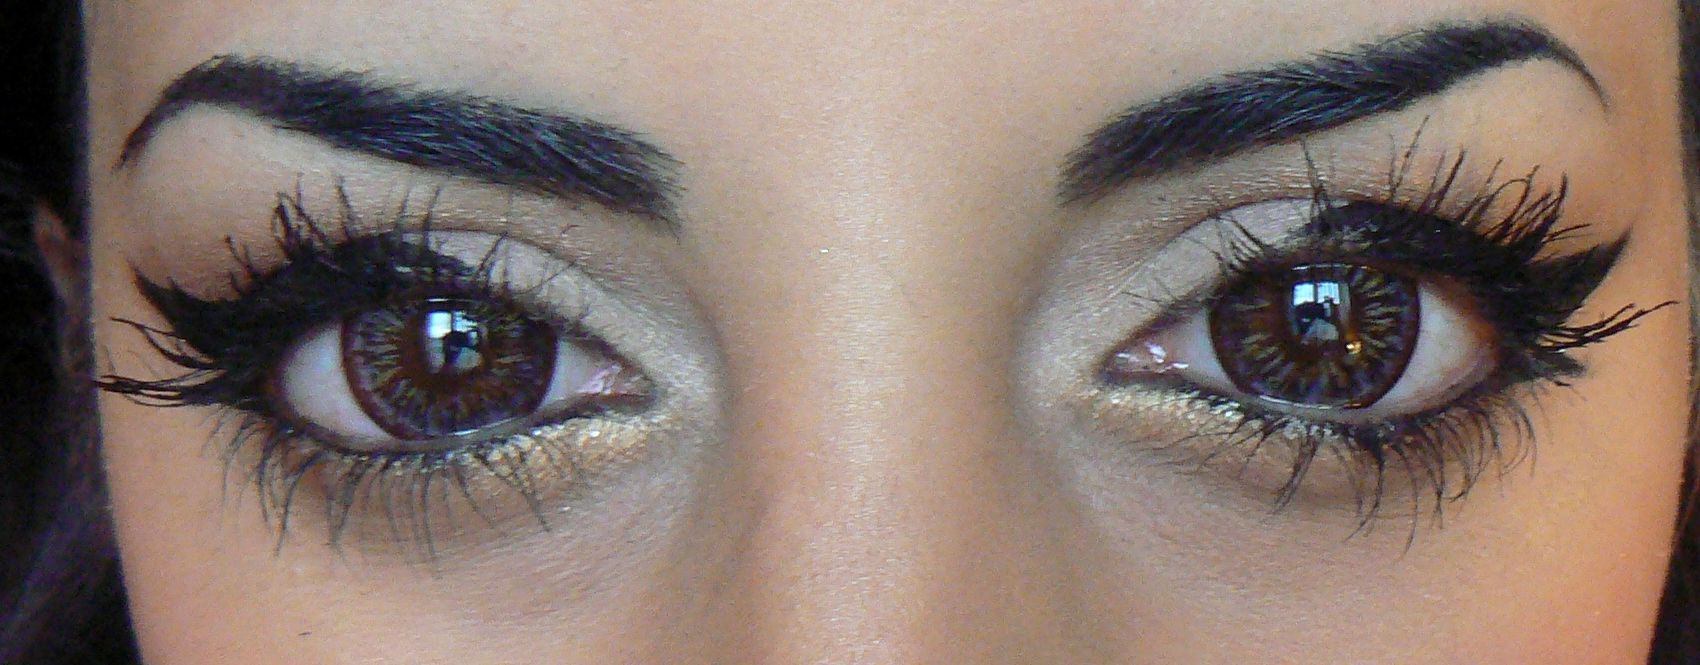
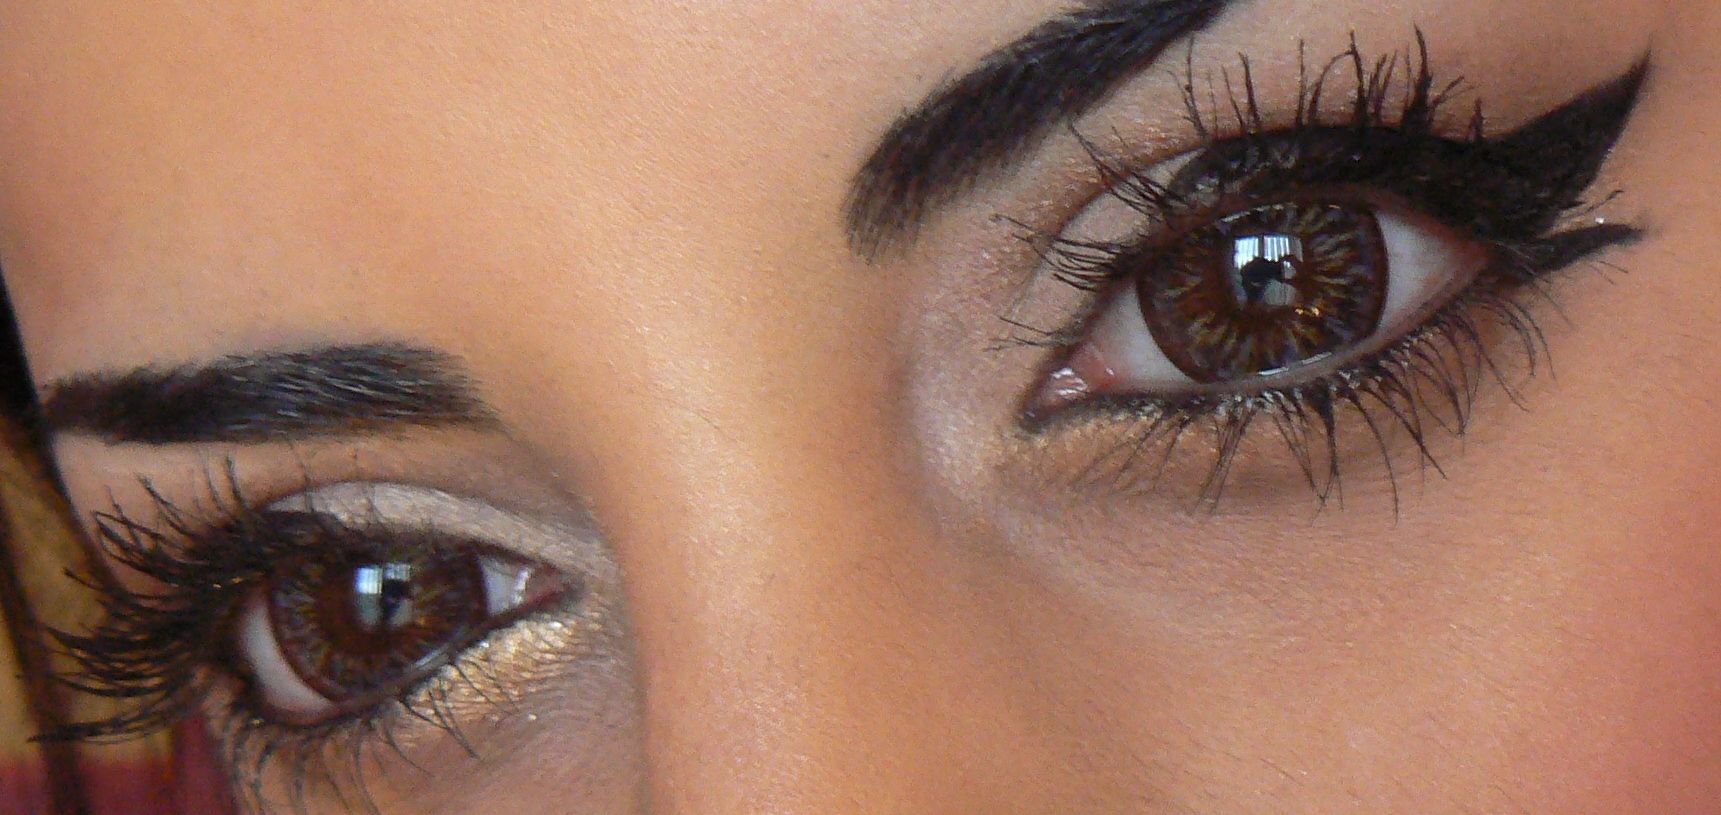
And now with the lenses in...


What do you think? I wasn't expecting to like these as much as I do, the Ruby Queens were such a hit I didn't think any other could match but boy was I wrong!


I love how the Ellen Panda Brown enlarges the iris beautifully, giving a more wide awake & eye catching finish. The colour itself is gorgeous, quite unusual, not exactly brown actually but more a mixture of deep greys & browns giving it a more natural look.


But the main thing I love about these lenses & Klenspop lenses in general is how comfortable they are. Even on my dry eyes they don't irritate at all & as long as I carry eye drops around with me I can easily wear these throughout the day with zero problems.


The Klenspop lenses are not only fab quality, they also have a 'shelf life' of about 6 months. As long as you take good care of your lenses, regularly changing the solution & keeping them clean, then they should definitely last.

You can find the Ellen Panda Brown lenses on the Kelenspop website HEREalong with many other fab colours & styles! I've recently been tempted to try pink/violet lenses...

Thanks as always for reading!


Lotsa love to ya!


Disclaimer - * products featured were sent to me for my consideration. I am not affiliated with the brand nor paid for this post, this review has been as always my 100% honest opinion! :)

3.05.2016

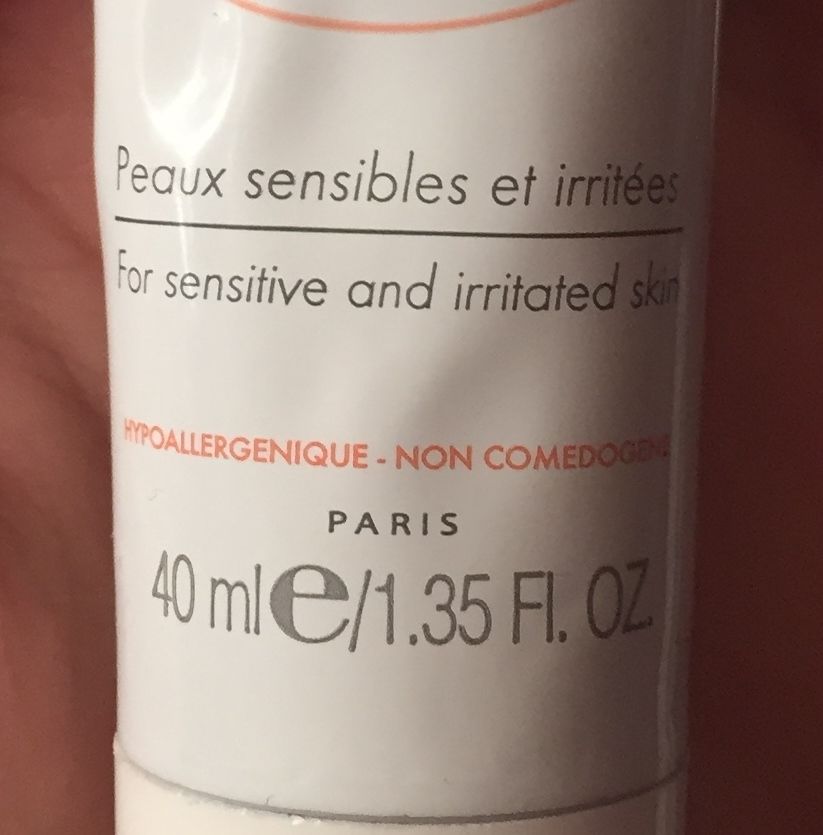
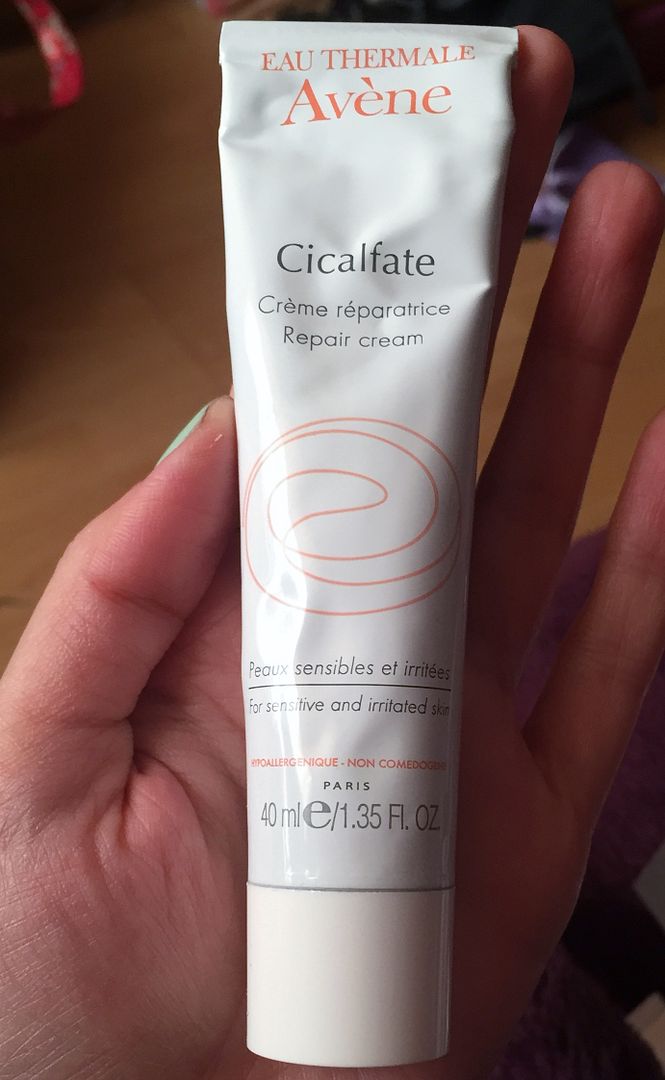
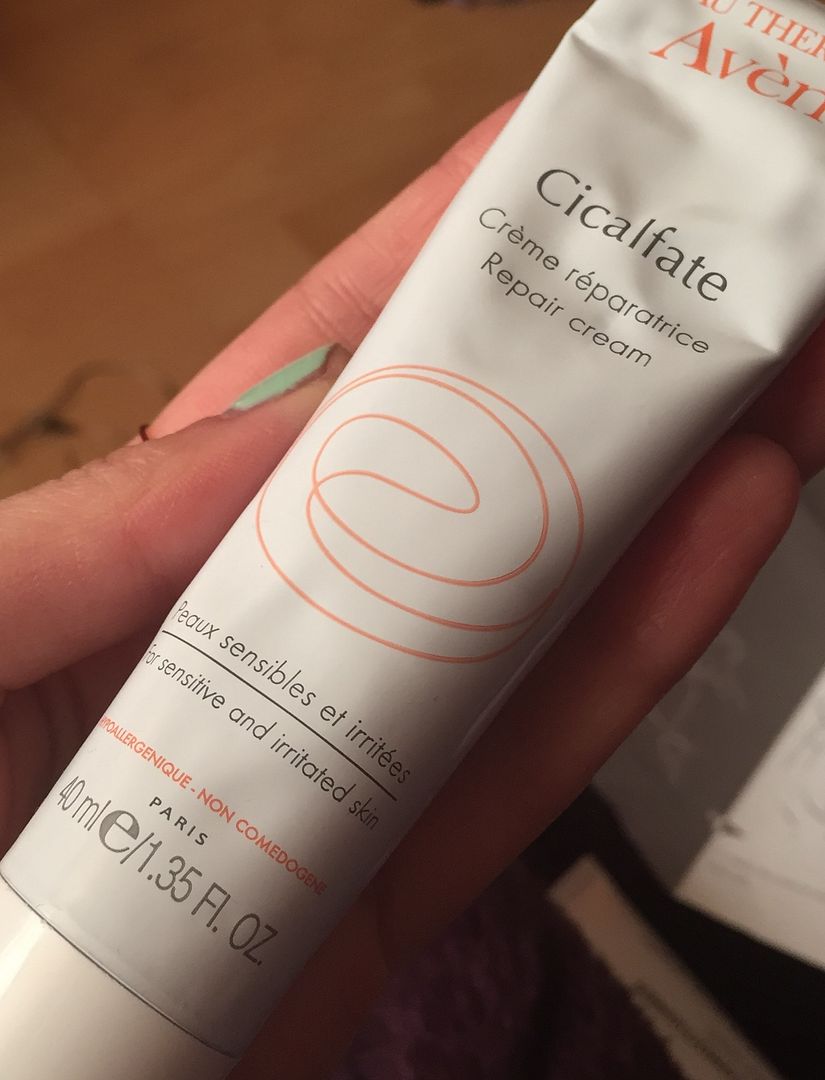
Miracle Product for Dry Skin - Avene Cicalfate Repair Cream

Hey there lovely readers!

With the weather currently all over the place, my skin seems to be craving a lot more moisture than usual. I'd recently noticed bumpy patches of dry skin/eczema on certain areas of my face mostly on the forehead, which has been frustrating. Especially as it made foundation patchy in those areas, looking very noticeably dry, webbed & flaky which can have a huge impact on your confidence, making you self conscious which is not a nice feeling.


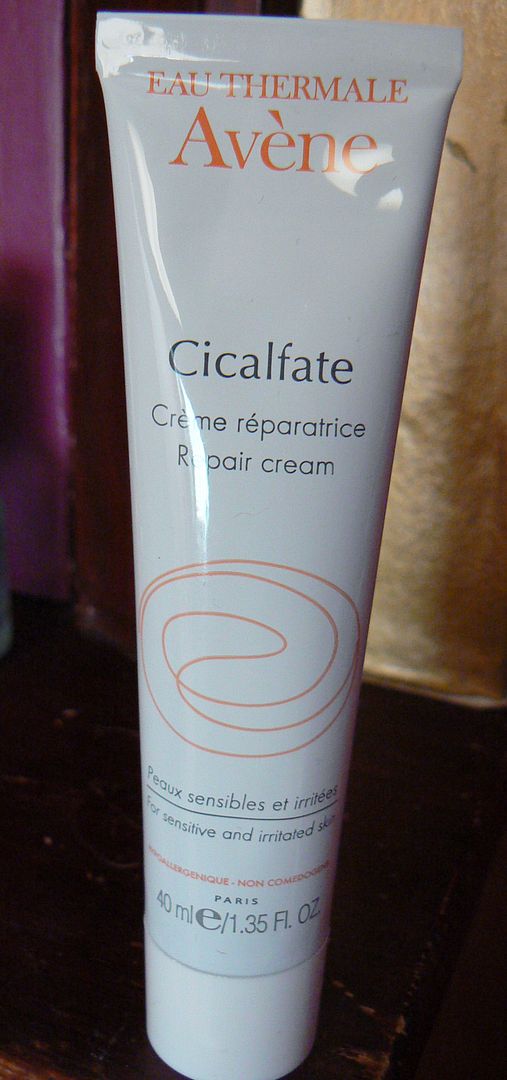
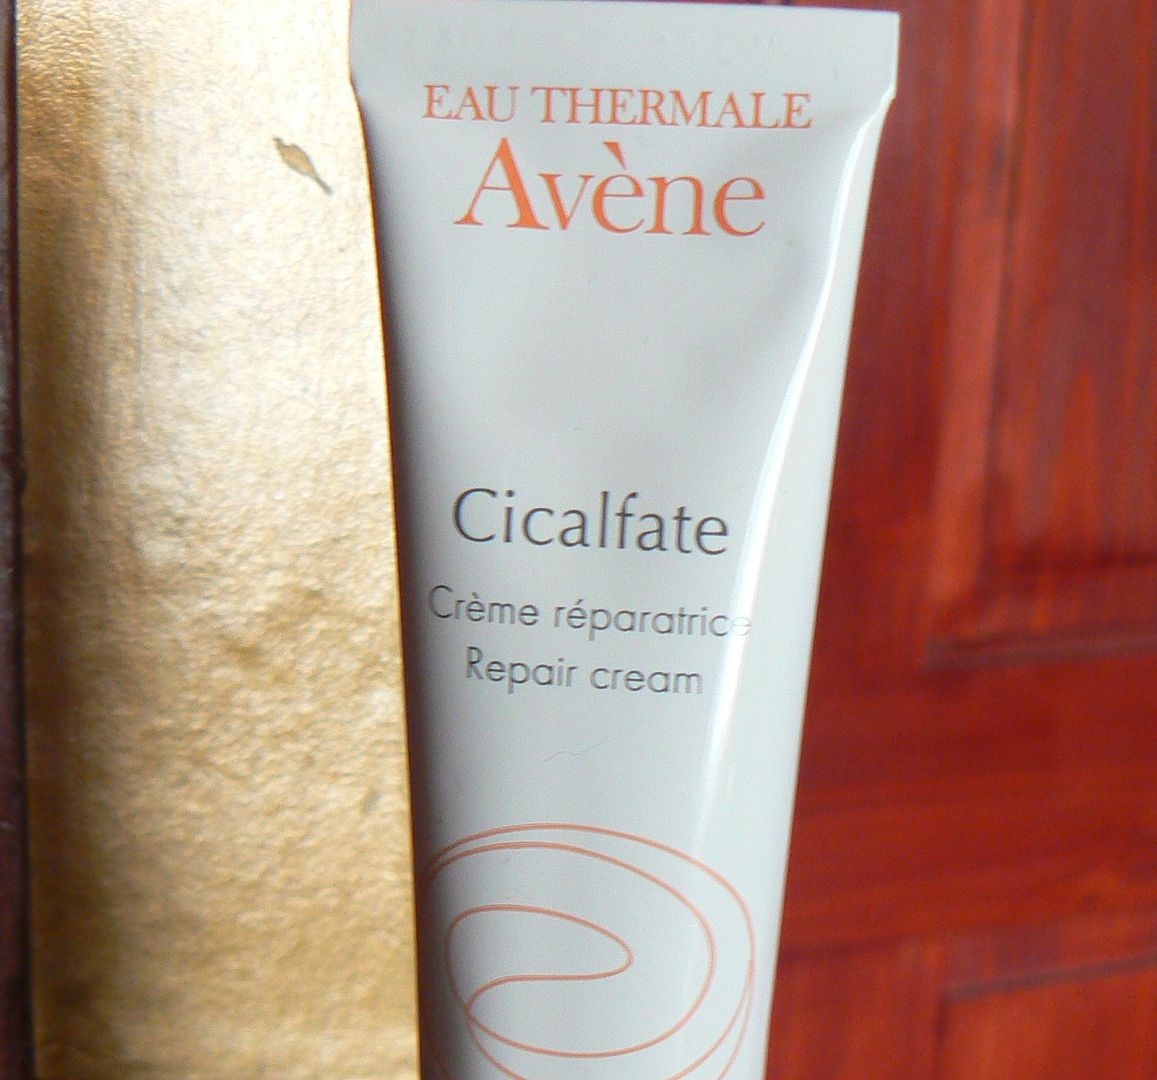
Well there has been one product of late has been an absolute godsend & worked such miracles on my skin lately I simply had to share with you & its the Cicalfate Repair Cream from none other than one of my favourite skincare brands Avene.


My skin has always adored Avene, whenever I've used their products I immediately rediscover my love for the brand & it makes me wonder why I ever drifted away! A few of my favourites include their Eau Thermal Spray, a lifesaver during those hot summers, keeping the face beautifully hydrated & the Extremely Rich Compensating Cream, a lush treat for the skin during the harsher winter months


The Cicalfate Repair Cream includes micronized copper sulphate & zinc sulphate within its formula, which aid in tissue regeneration, helping improve the appearance & texture whilst also soothing your skin. As with all Avene products there is also the inclusion of their famous renowned Avene Thermal Spring Water.


This cream is pretty much multi purpose, don't you just love those? It can be used to attend a manner of skin issues including broken skin, nappy rash, stitches, bed sores, skin ulcers, post laser treatment & is suitable for everyone from babies to adults.


I applied a thin layer of the repair cream directly to the areas where the dryness was more prominant & by the next day said patches were gone...completely. I thought it might have been a one off so held off from using again, then when I noticed the dry skin returning I continued using the Cicalfate cream daily & bam...bye bye bad skin!


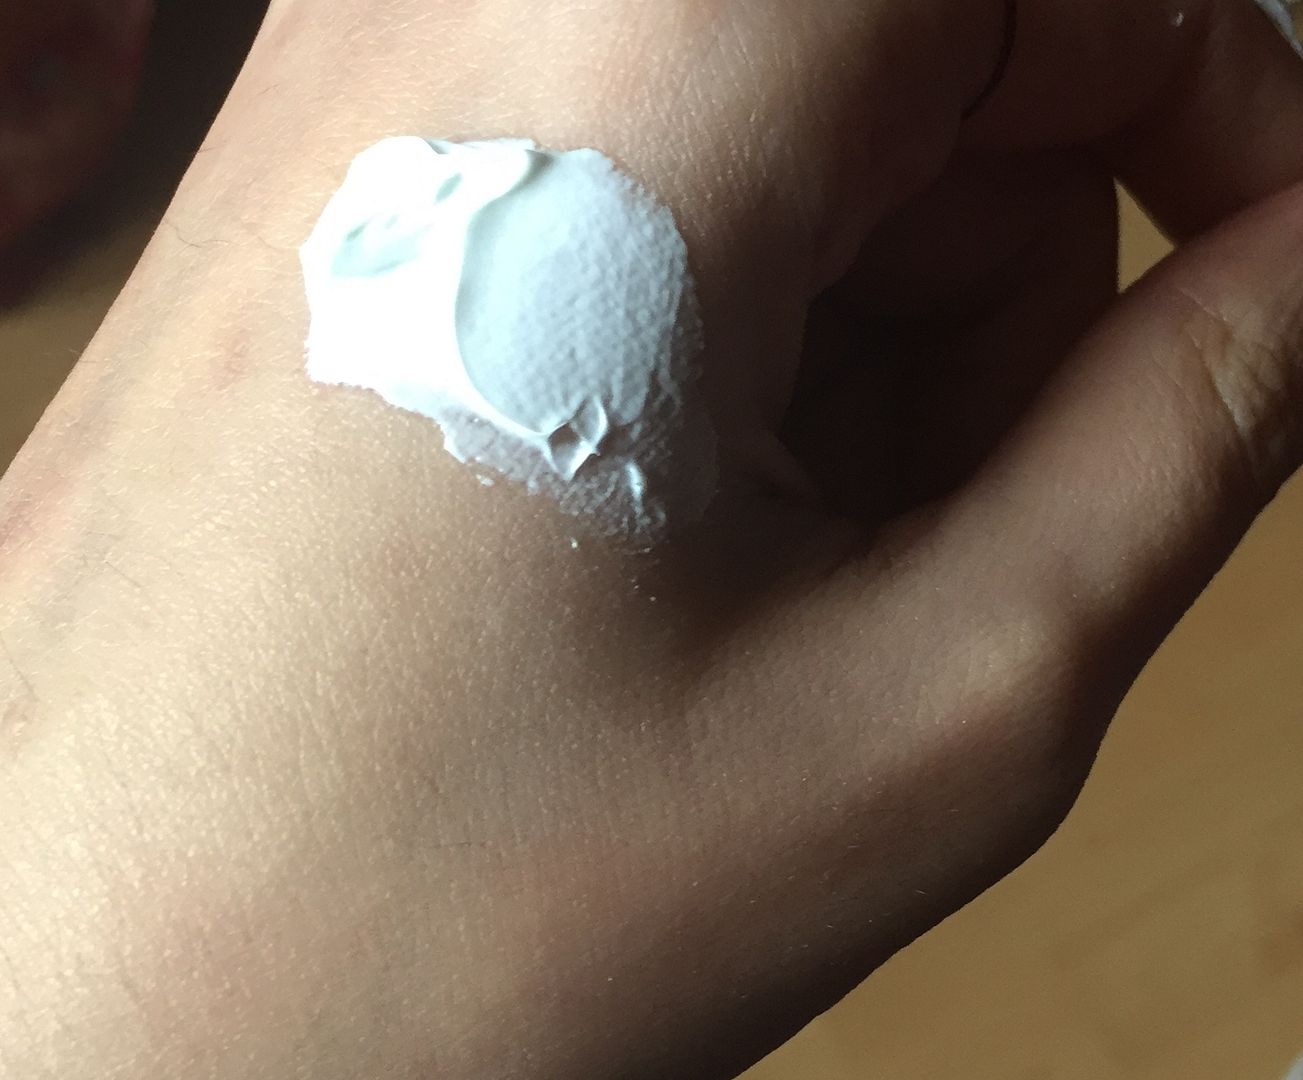
The formula is quite thick & initially rather heavy feeling upon application, however it smooths out easily & soaks in very well. Also due to the thick formula a little really does go a long way & your skin feels incredibly nourished afterwards.

I've also been using this when I have my threading done as of course the skin is extremely sensitive & often sore/red after (Asian girl problems!). This soothes & calms the angry skin down nicely, I've even been using this on extremely dry areas around my nails & its worked its magic on there too!


Yay for happy skin & thank you again Avene for saving the day. The Cicalfate Repair Cream will definitely be a staple product in my cupboard guaranteed, especially considering the fabulously affordable price of £7.50 & the range can be found online, in Boots & various pharmacies.

Thanks as always for reading!      

Lotsa love to ya!

3.03.2016

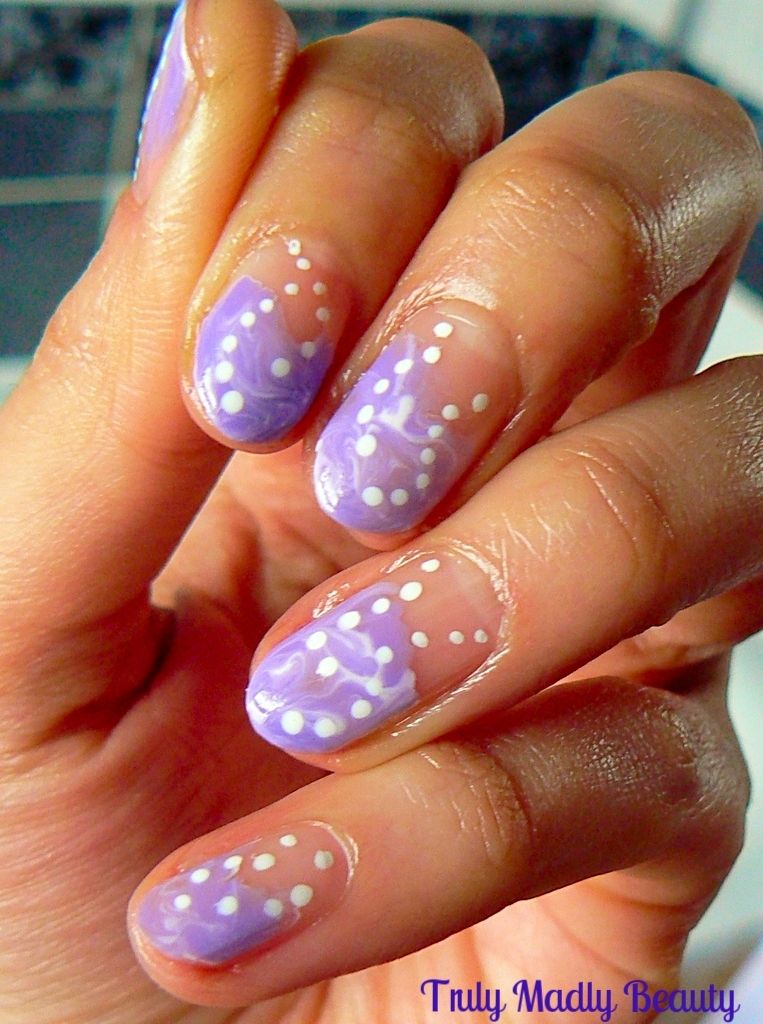
NOTD - Faded Lavender & White Marble Nails...

Hello lovely readers!

Anyone else a tad freaked that we are in March already?! Wooo where is the time going? Anyhoos my dears, the dry marbling obsession continues, I can't get enough of this fun nail art technique, experimenting away with different shades & combinations! Check back to my Blue Marbled Nails post for a wee guide on how to create dry marbled effect nails. 


For this mani I found myself prowling through Instagram & @Yagala's account in particular for inspiration, her designs are simply incredible. I saw her mani for marbled tips in pretty lilac tones & just had to recreate!


Obviously my skills aren't a patch on this talented ladies but I'm super chuffed with how these came out. I love the idea of just applying to the tips, ending three quarters of the way down the nail, almost giving it a fading effect.

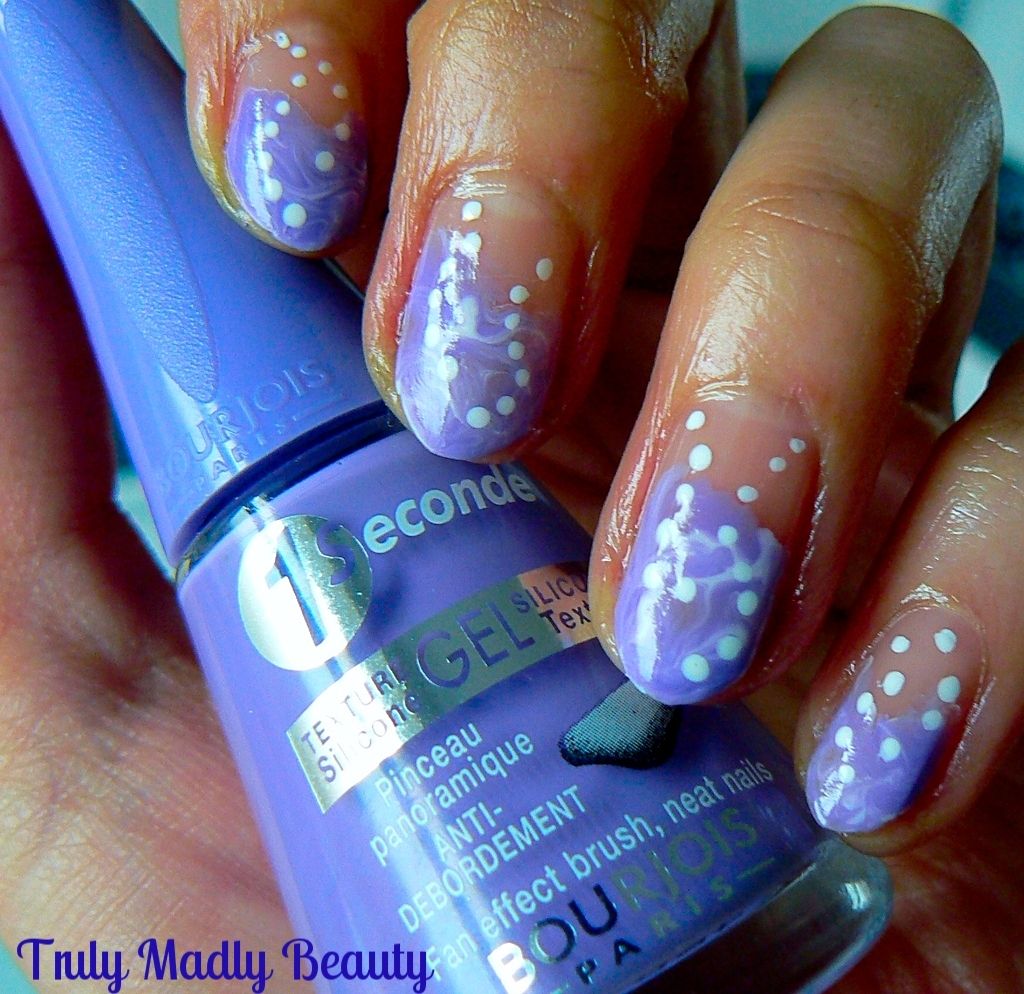
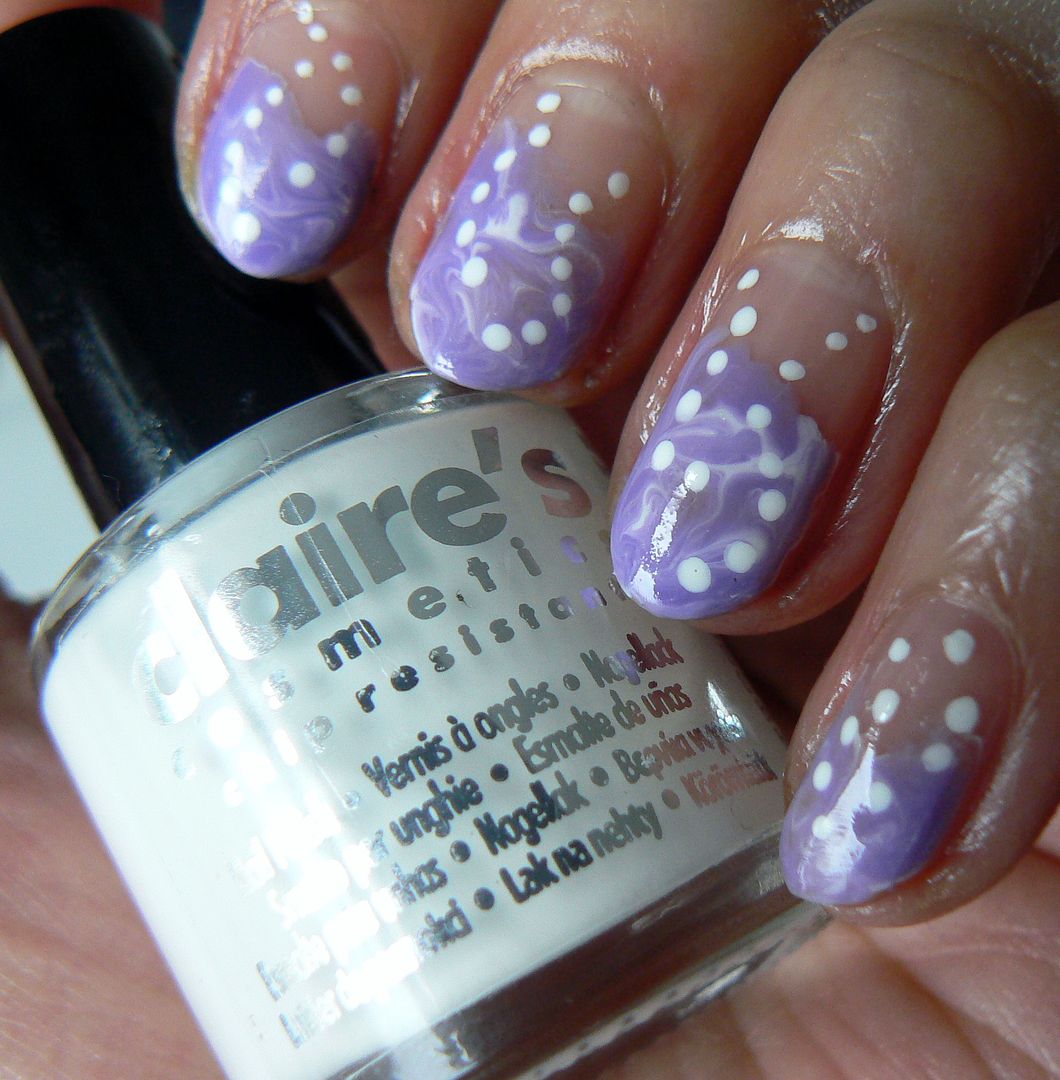
For this I used Bourjois Lavender Esquisse for my lilac shade & a random Claires polish in white. 


These two polishes actually worked so perfectly together, not only due to the colours but also the formulas. The Bourjois is a thick creme whereas the Claires polish is actually extremely watery, so I'd flung this into the back of my drawer with the idea that it would never be used on account of this!


However because the Claire's white formula is so watery, it actually made the marbling with the thicker Bourjois much better, huzzah! Well done Claire's you sly dog you, forgive me my impulsive error.


Start with applying a coat of clear base polish to your nail, I dug out this random Miss Sporty one, these polishes retail for just £1.99 & are fab in my opinion, this clear one was perfect for the task! Then whilst the polish is still wet apply a few dots of purple & a few of white on to your tips & marble together using your brush/toothpick/dotting etc bringing the polish down as you marble to wherever your happy!


To finish add two curved rows of little dots down the nail in various patterns on each nail using a nail art pen or white polish & dotting tool. Add your topcoat & your done!


Oooh these nails make feel so ready for Spring now! :)Thanks as always for reading!  

Lotsa love to ya!