10.26.2015

Witchcraftery - Join The Coven With The Rogue & Wolf...

Hi there lovely readers!

With Halloween around the corner, I thought now would be perfect to share with you beauties a jewelry range that has captured my heart of late & brought me back in touch with my darker side! As much as I love colour, I do have days where I like to embrace the darkness & become that gothic gal I remember so well again, one who was obsessed with Practical Magic, owned 456172 Henna tattoo chokers that everyone & their cat bought in bulk from Claire's (which seem to have made an epic return of late) & watched Buffy the Vampire slayer so many times that each episode could be quoted word for word. Aaah...good times. Statement accessorization played a key role as much then as it does now & that's where The Rogue & Wolf have delivered perfectly with their gorgeously gothic range...
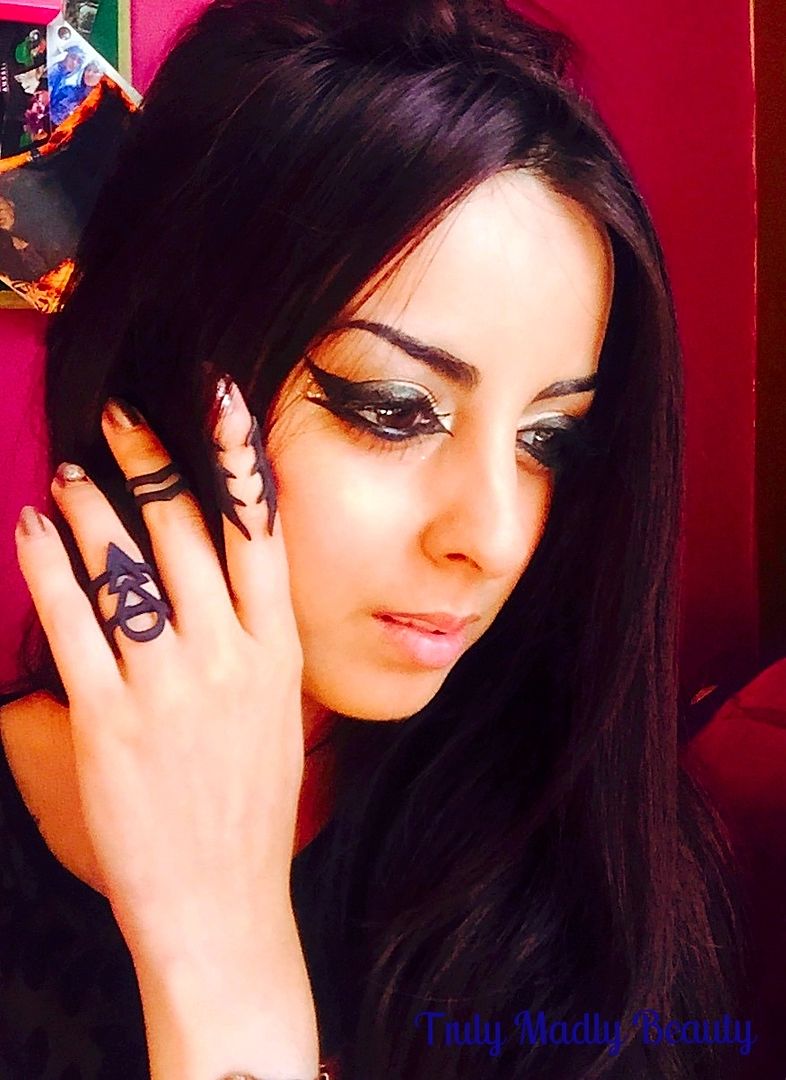

I first came across the brand via my beloved Twitter. Once I clicked on the website to view their wares I was in pure dark gothic HEAVEN! With a wide range of chokers, rings, midi rings & earrings in unique & enchanting styles/designs to capture one within their spell, they definitely succeeded in captivating moi as my wishlist is now growing to alarming proportions!
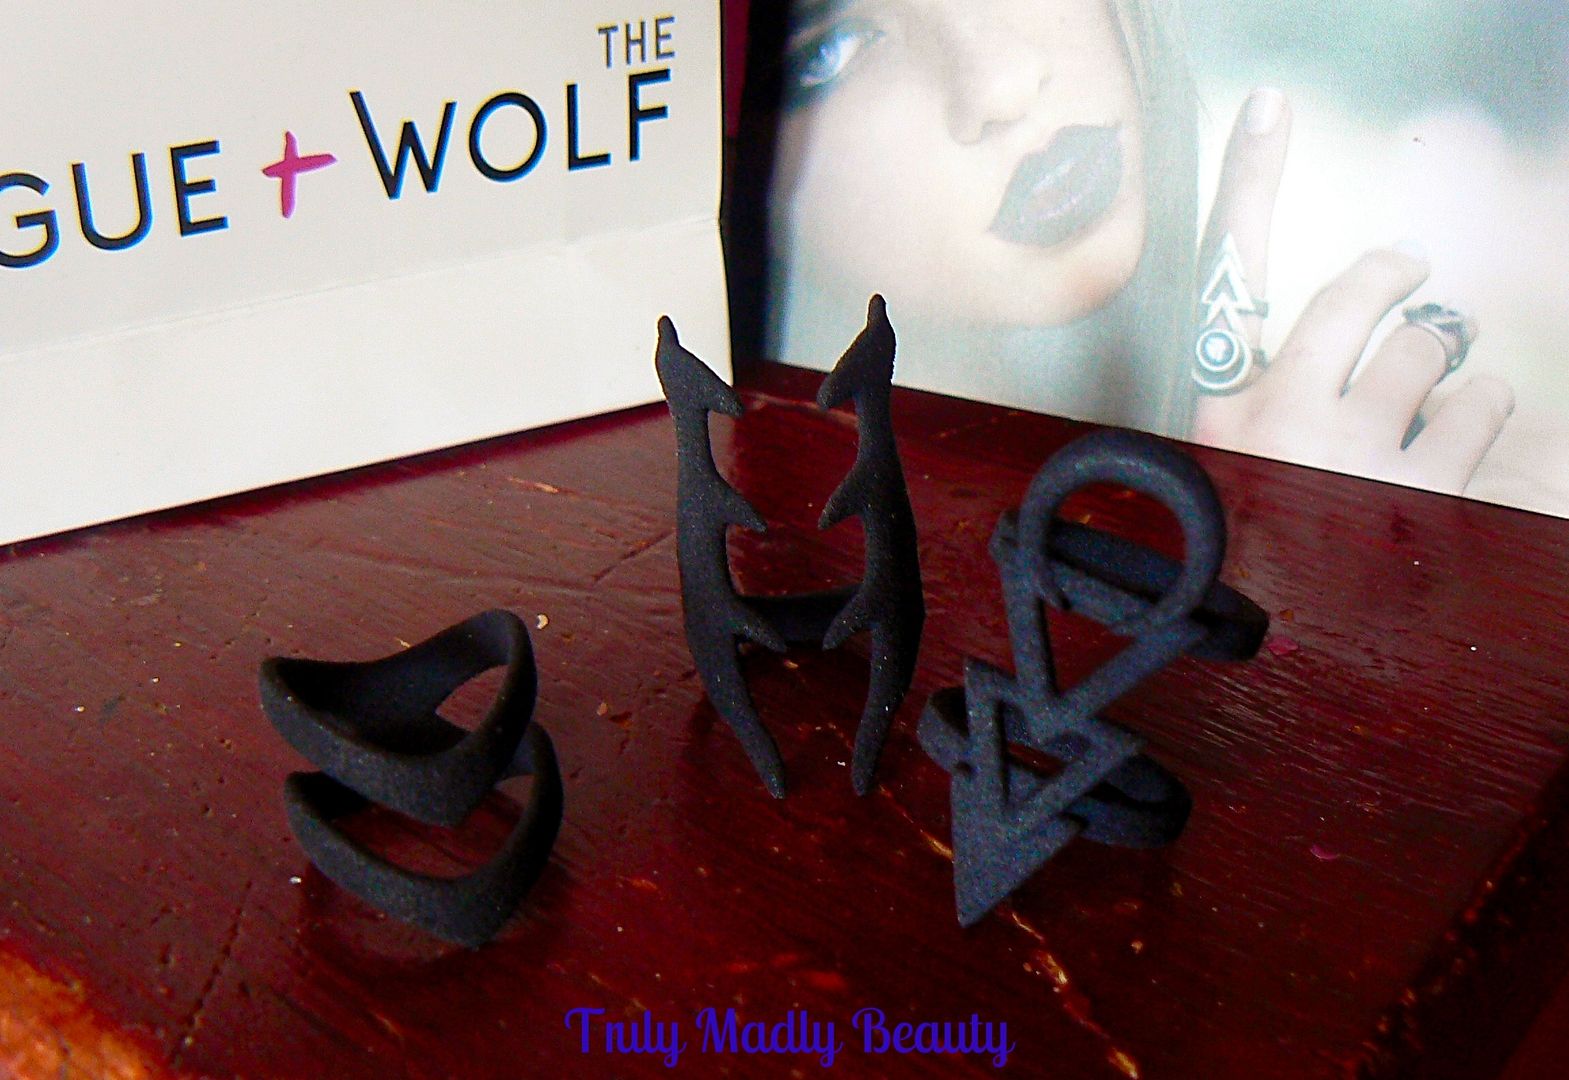

When it came to choosing my first Rogue & Wolf pieces I opted for 'The Betray' (index finger) & 'The Hunt' (middle finger) from the Fair/Feral Collection & 'The Rune' from The Witch's Hawk Collection which I'm wearing on my ring finger. Having quite thin fingers, buying rings can always be a bit of a palava hence why midi rings are my favourite accessory as often they can work as rings on me too! 


The rings are made from an interesting black polyamide plastic material, quite different from anything I've come across or own. The designs are simple yet so feminine, elegant & look stunning on, I've been asked quite a few times when wearing these eye catching beauties where I got them from.


These beautiful pieces have been getting some serious loving for sure & I am already eyeing up more to add to my collection! The Rogue & Wolf have recently released the Lunae collection which includes the most stunning pieces designed in bronze infused stainless steel with gorgeously coloured gemstones incorporated within. Just look at this amazing Draco ring that reminds me so much of the eye of Sauron...NEED! 


I also want to mention that the lovely folks at The Rogue & Wolf are absolutely dolls! Not only was delivery super quick but their customer service & interaction on social media is so nice, which is another touch that really draws me to a brand! So my fellow witches if you wish to join the coven & nab yourself some truly unique & stunning statement pieces as well, you can find the range online.

Thanks as always for reading!    

Lotsa love to ya!


10.24.2015

Halloween Nails - Stitched Hearts & Splattered Blood

Hello there lovely readers!

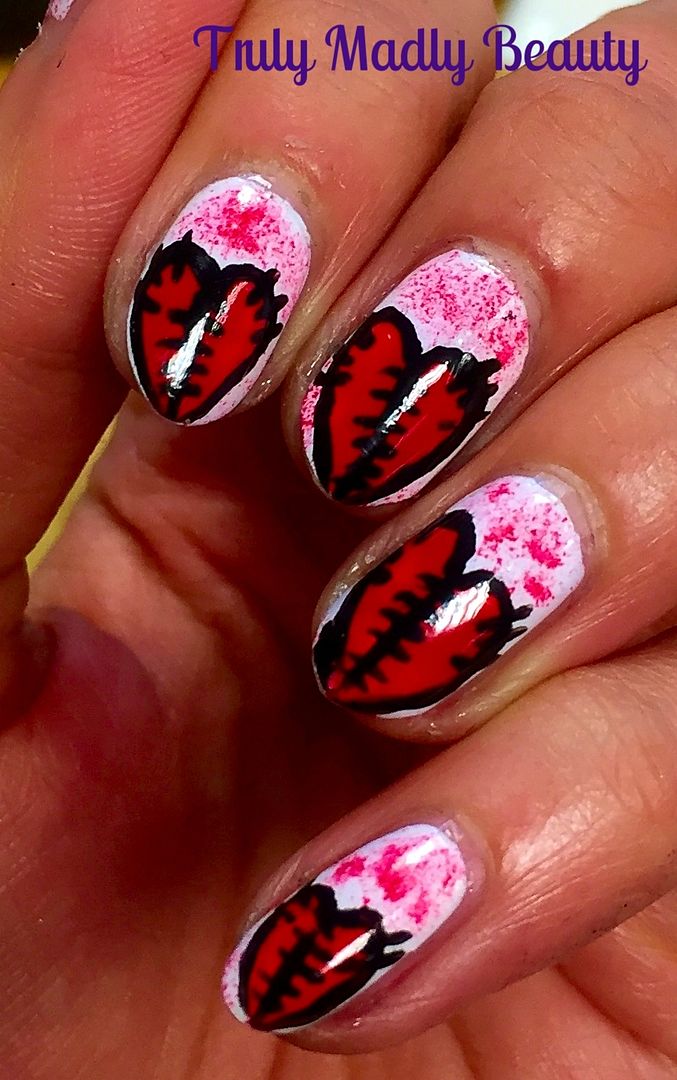
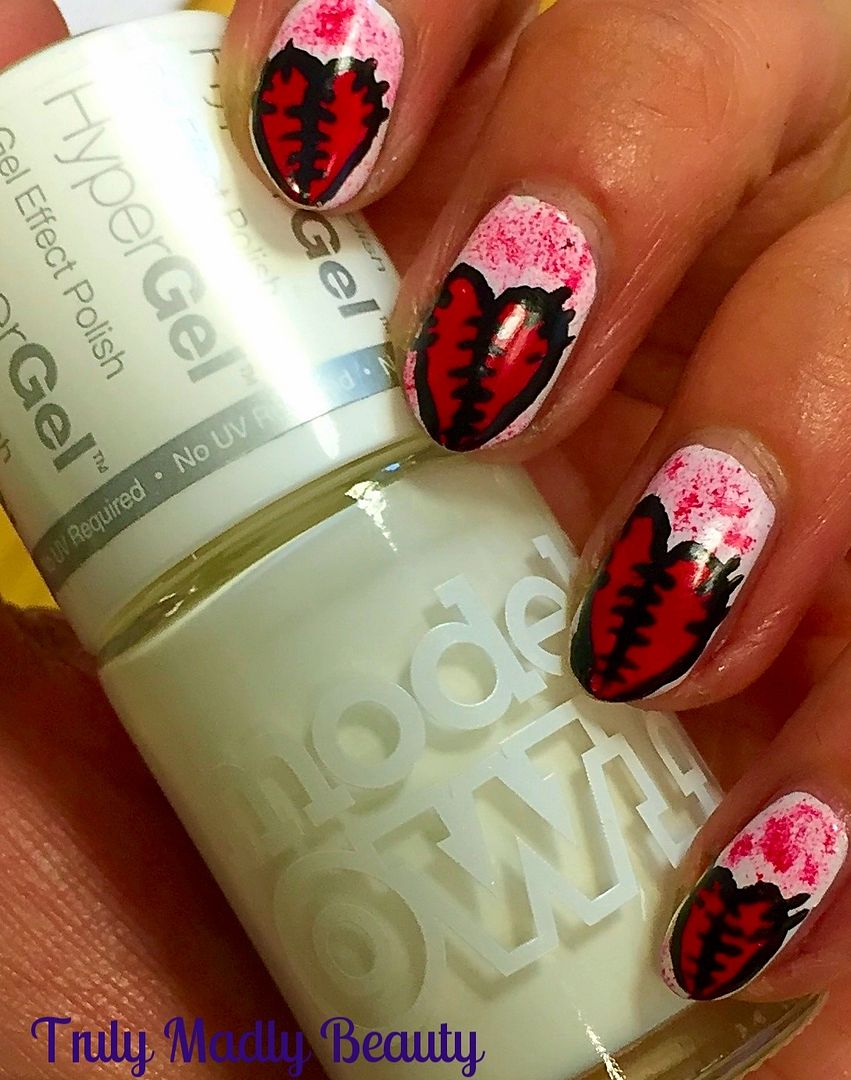
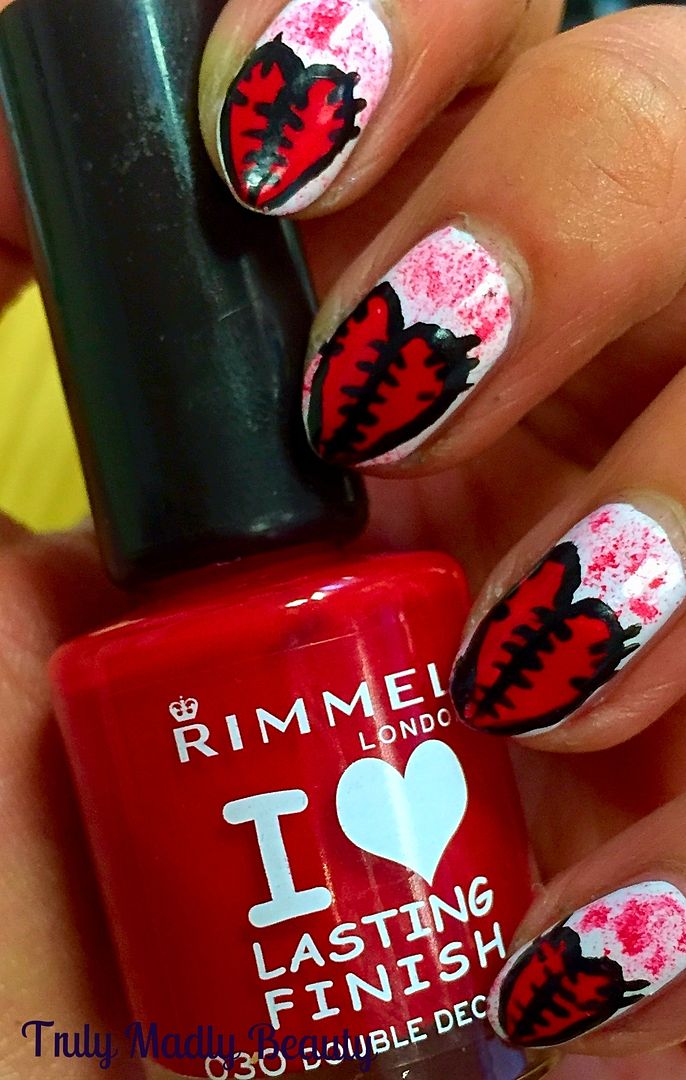
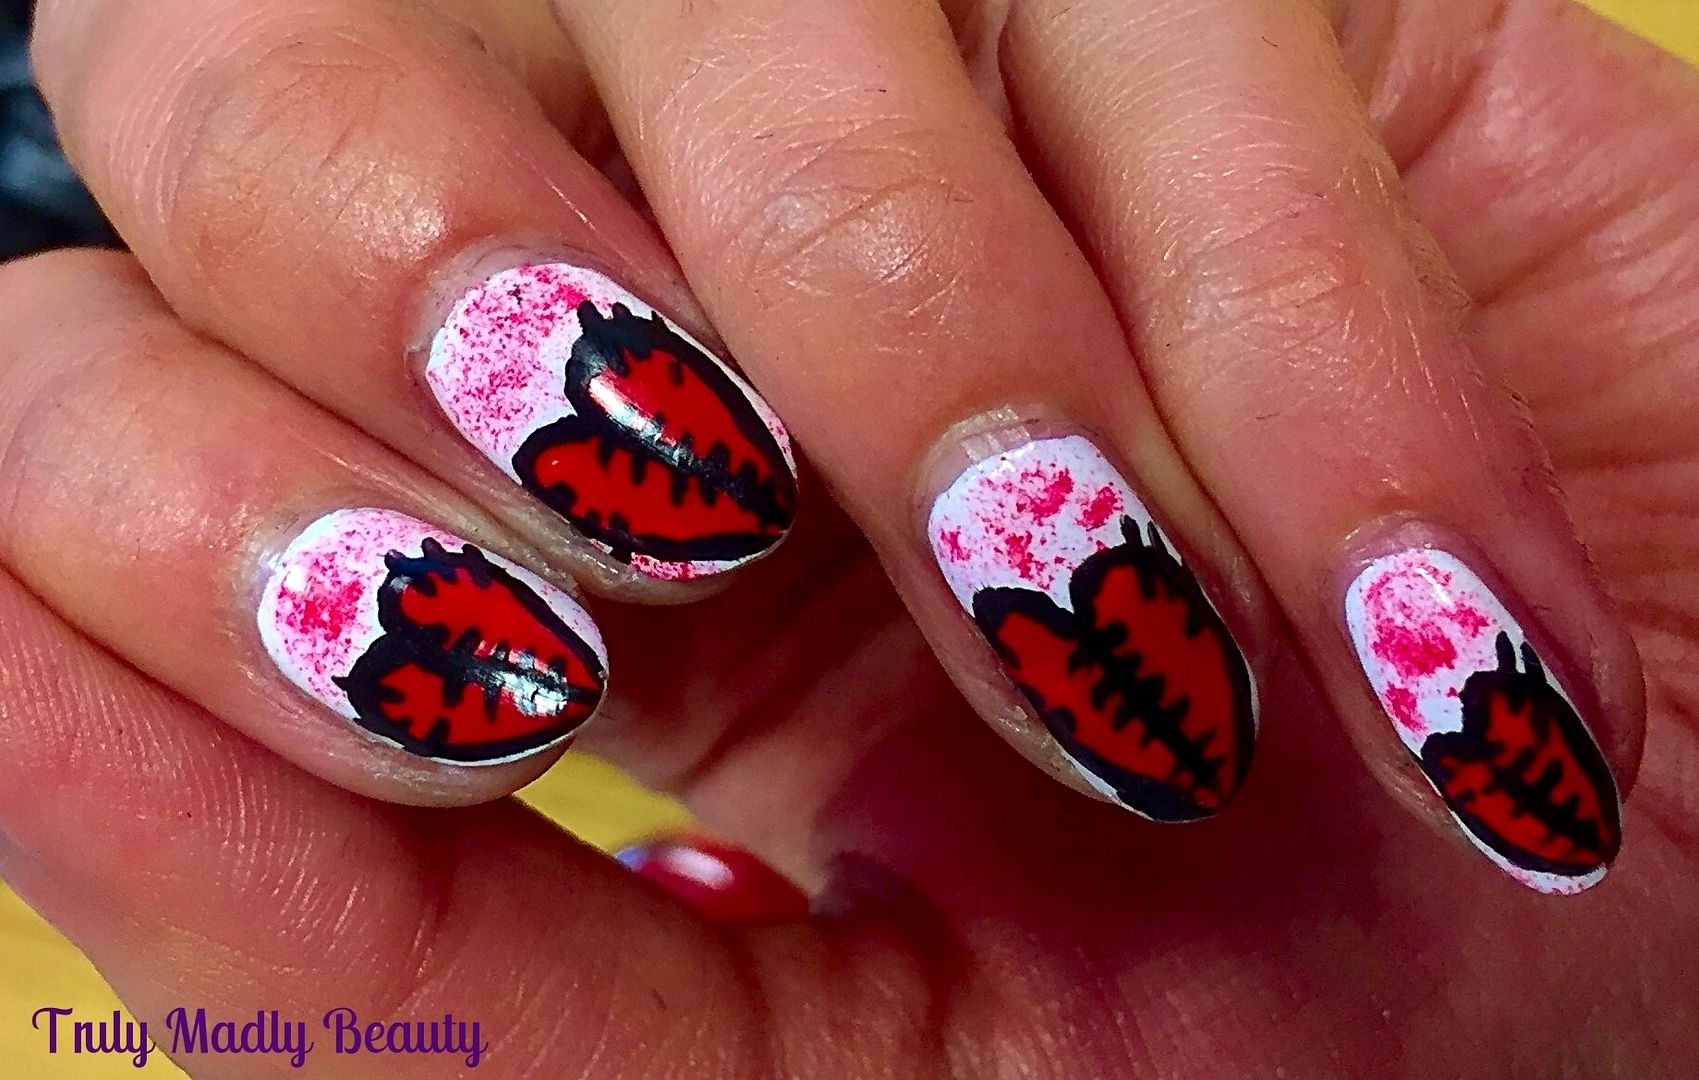
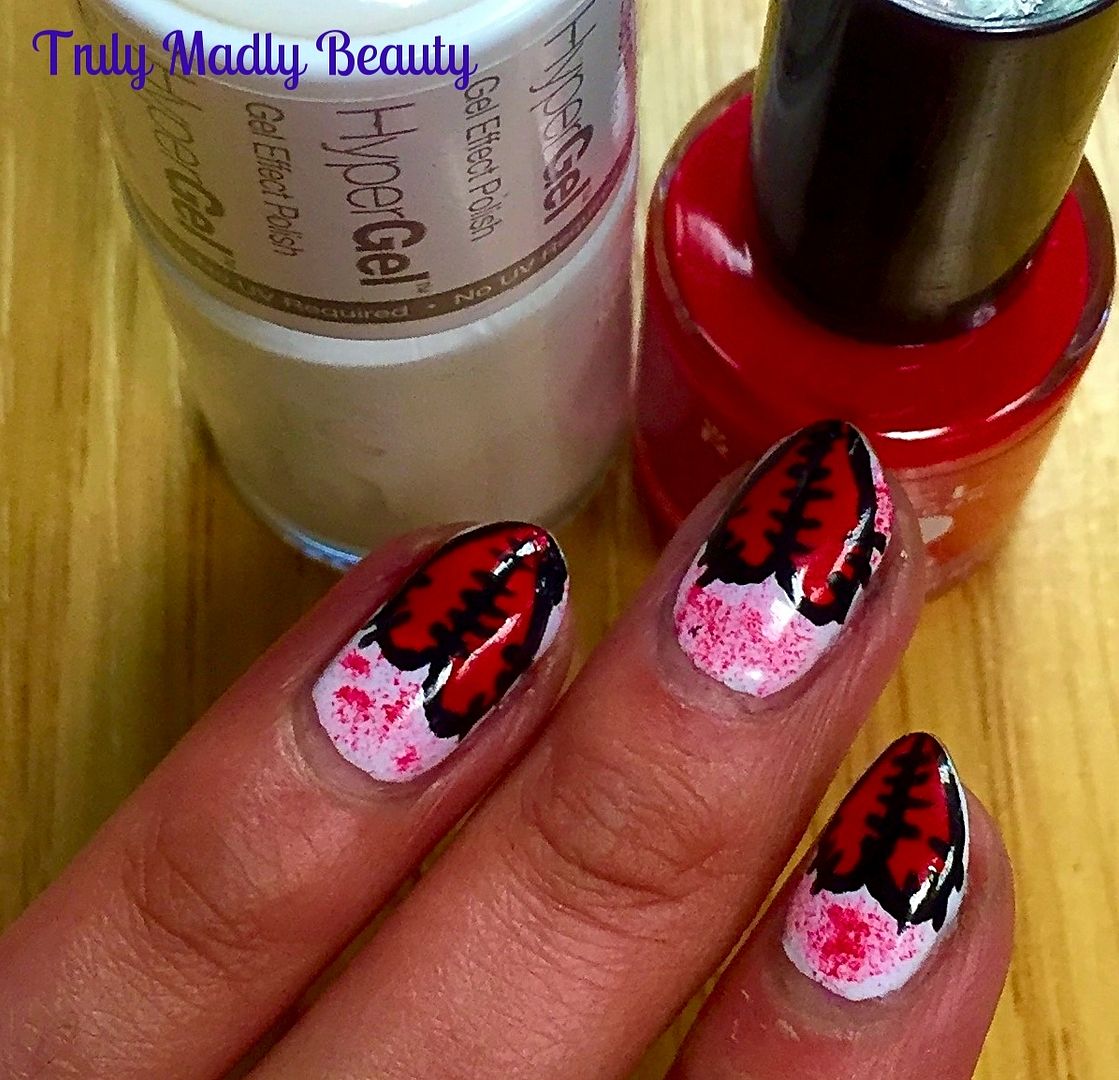
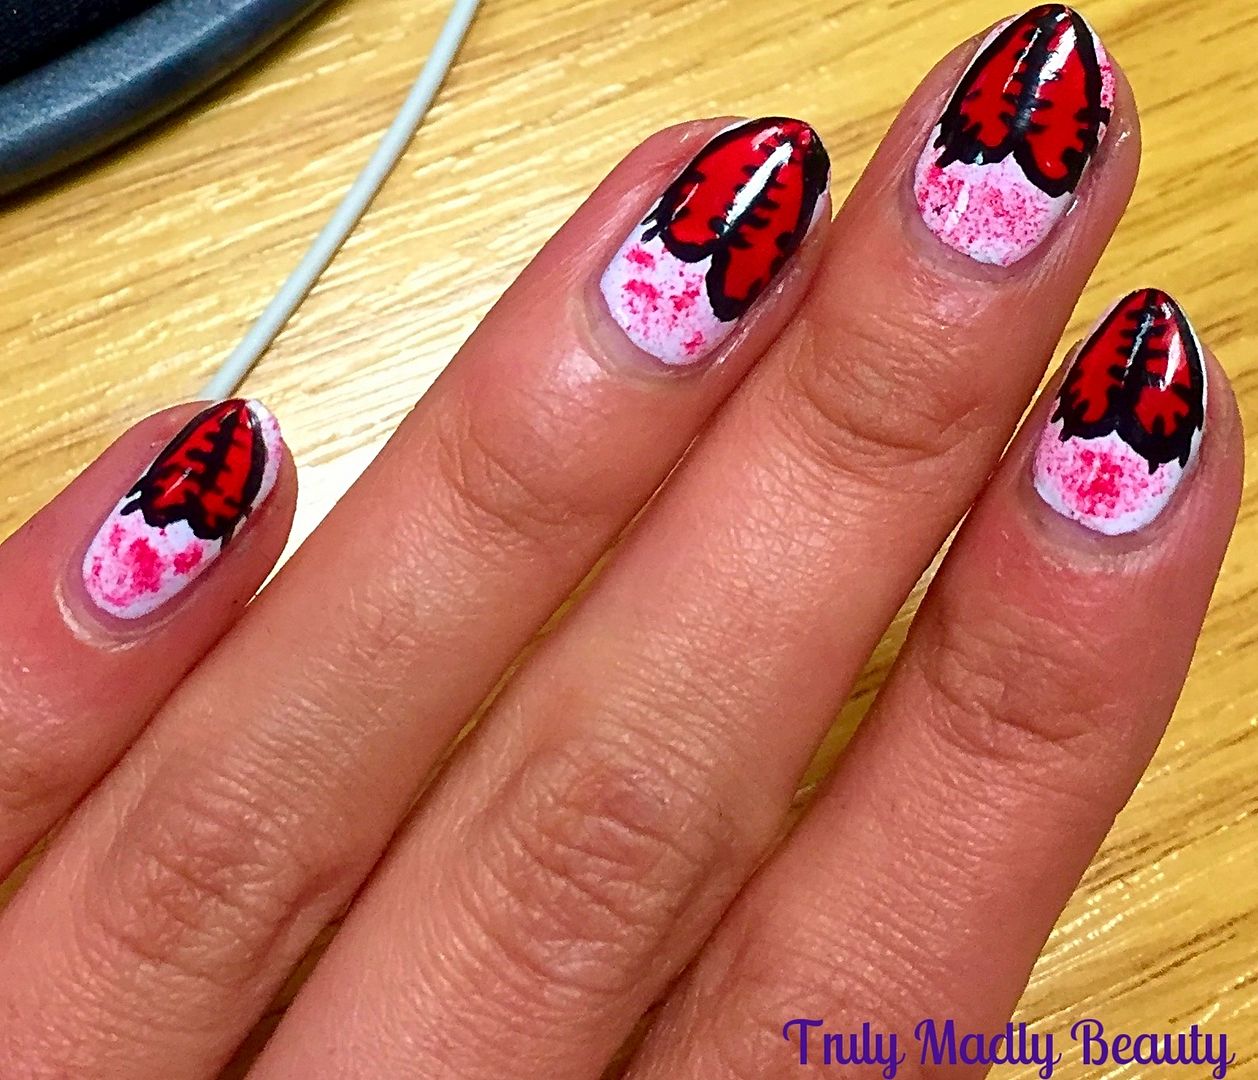
So the Halloween nails series continues...so far this year we've had Toxic Slime & Tombstones, Dripping Blood Tips & some Spooky Jack O Lanterns. I actually wasn't sure if I was going to blog this manicure as I couldn't decide if I liked the result or not but hey ho, here we go with it anyways! Here's something a little different with some cartoon style Stitched Hearts...


Random is my middle name & I guess this is definitely that! I was inspired by an image I recalled spotting on Pinterest yonks ago! I guess this could double as a rather dark Valentines mani too haha!
To create the design start with a white base, here I've applied one coat of Models Own White Light Hypergel.


Then use a red polish & thin nail art brush to free-hand a heart shape starting from the middle & ending at the tips. I've used Rimmel Double Decker Red. Draw the outline of your heart first before filling in.


Next outline the hearts with black, you can use a nail art pen for this but I just used some black polish & a thin nail art brush.


For the stitches, draw a thin black line down the centre of the hearts using your black polish & then add on your little stitches all the way along the line, adding a few stitches to the curved edges of your hearts too.


As an additional detail I grabbed my red polish again & sponged on some splatters of red blood on to the white parts of the nail. A little tip - I used one of those eye shadow sponge brushes that you get in palettes which are almost always never used or thrown out! Well now you know what you can use them for ;)


Finish it all off with topcoat & you're done! I hope you're enjoying the Halloween nails, let me know if you have any requests! Thanks as always for reading!

Lotsa love to ya!


10.21.2015

Halloween Nails - Jack O' Lantern Pumpkins!

Hello there lovely readers!

Making steady progress with the Halloween manis so far with Toxic Slime & Tombstones as well as some Dripping Blood Effect nails! Because I've found myself enduring a lot of working weekends these past months, finding the time to blog & do nail art has been a wee bit hard but nothing can keep me from my passion!


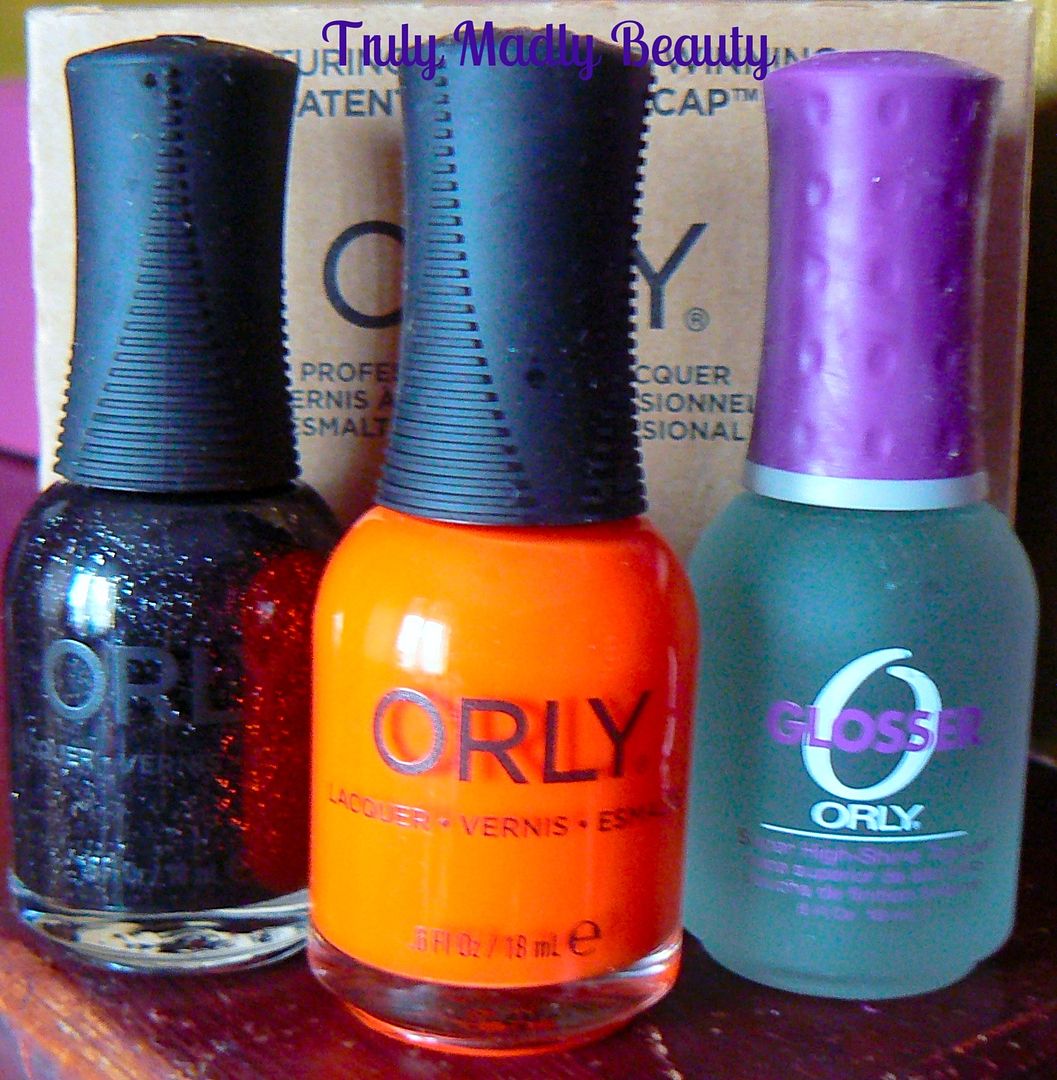
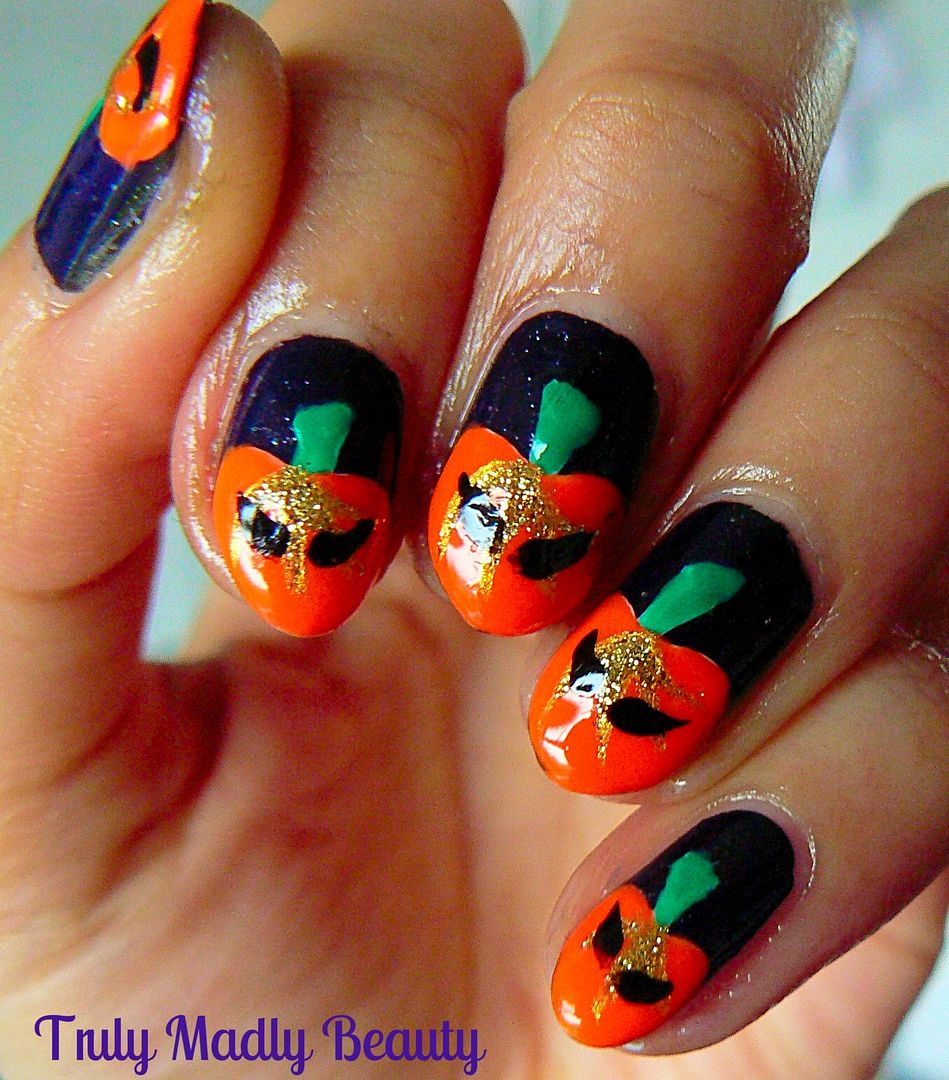
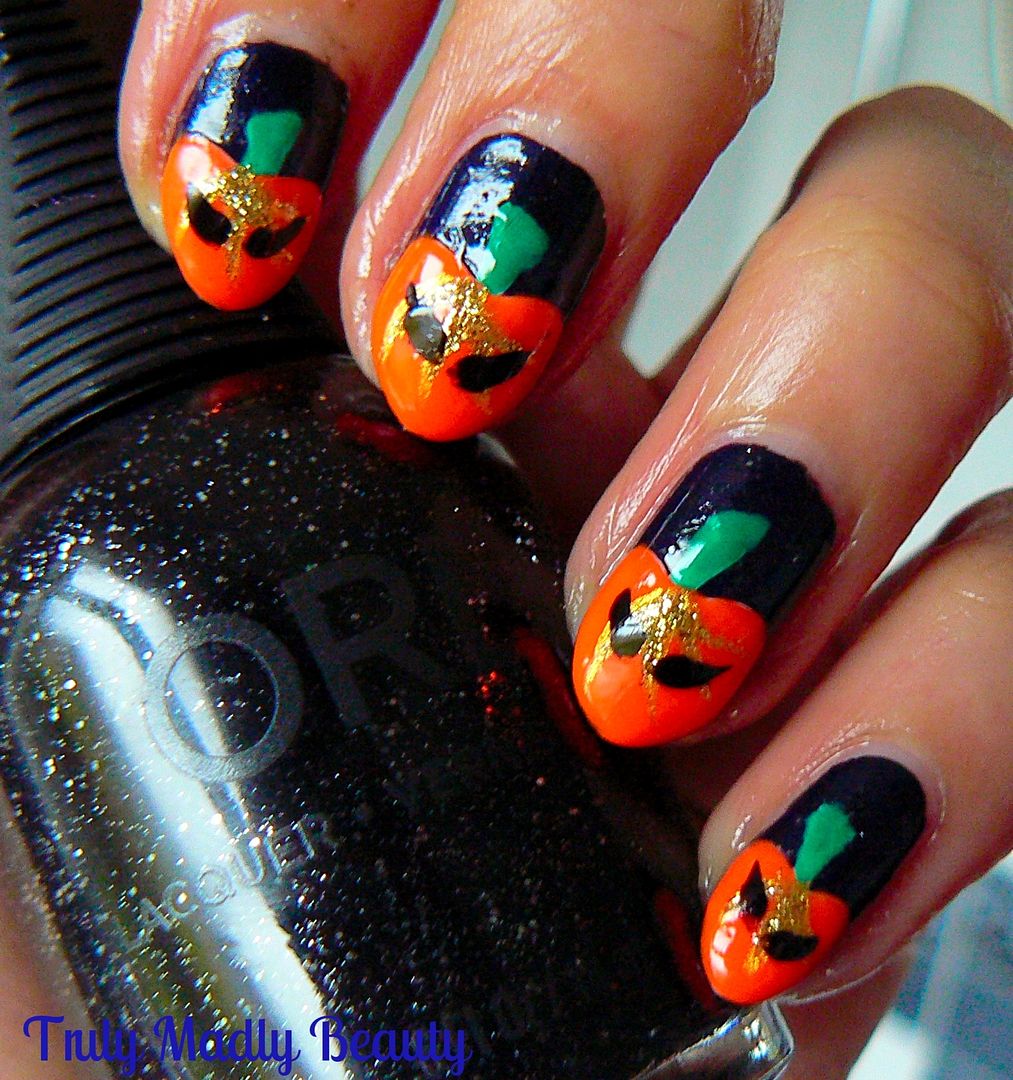
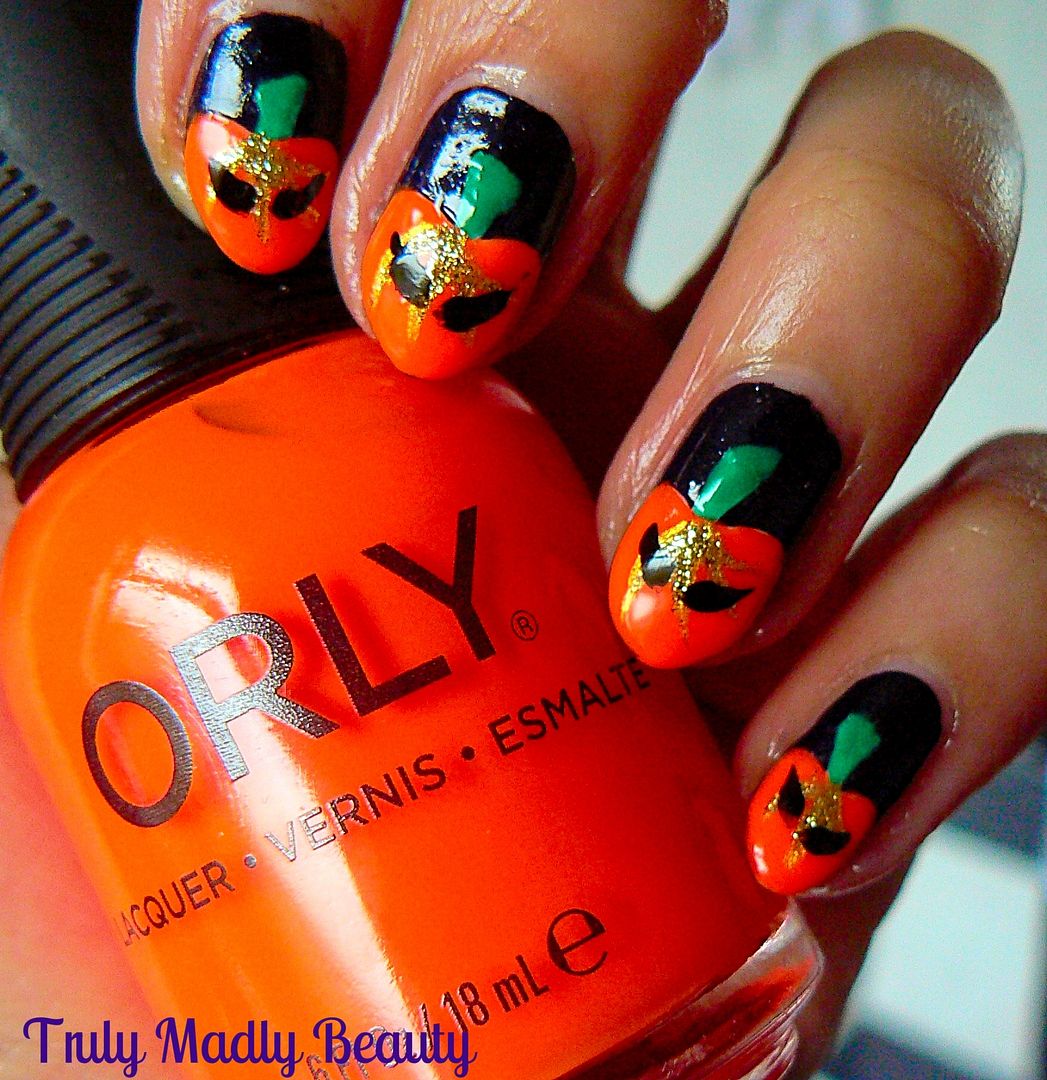
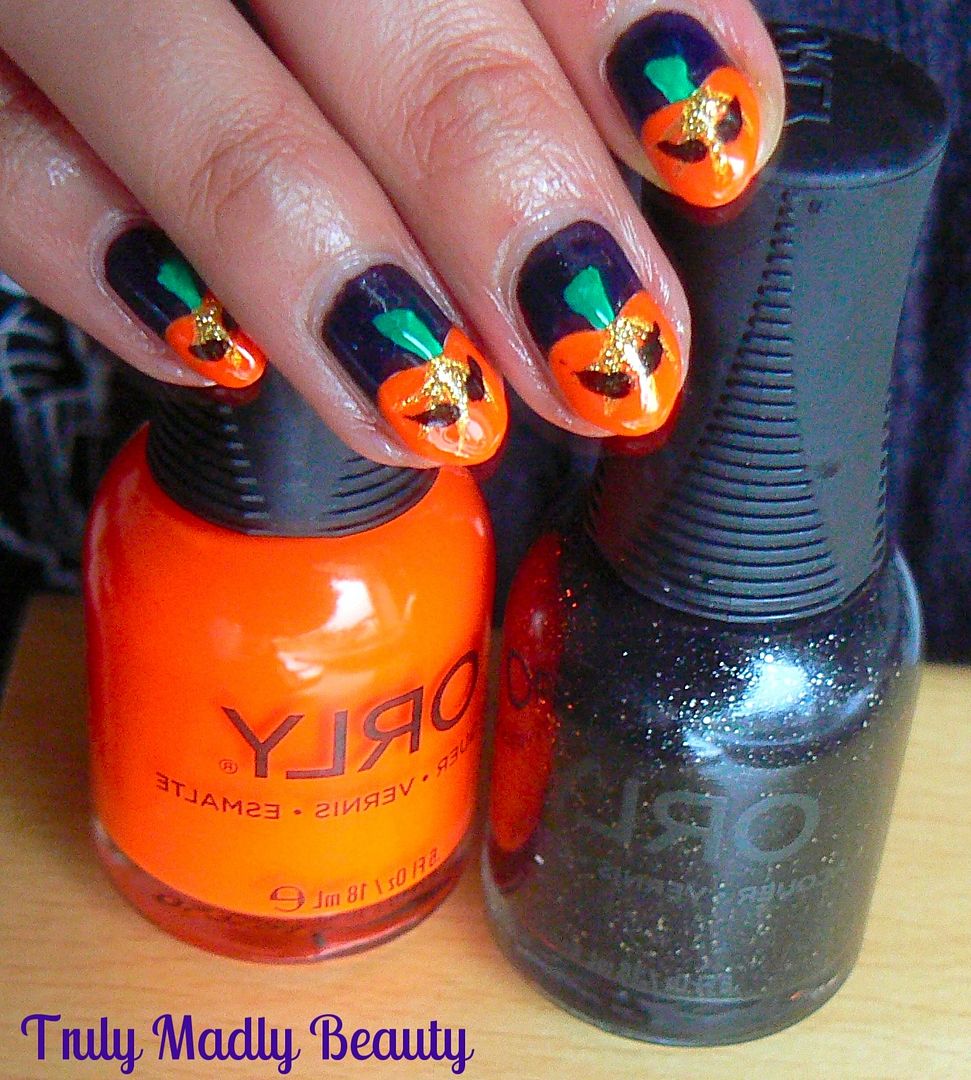
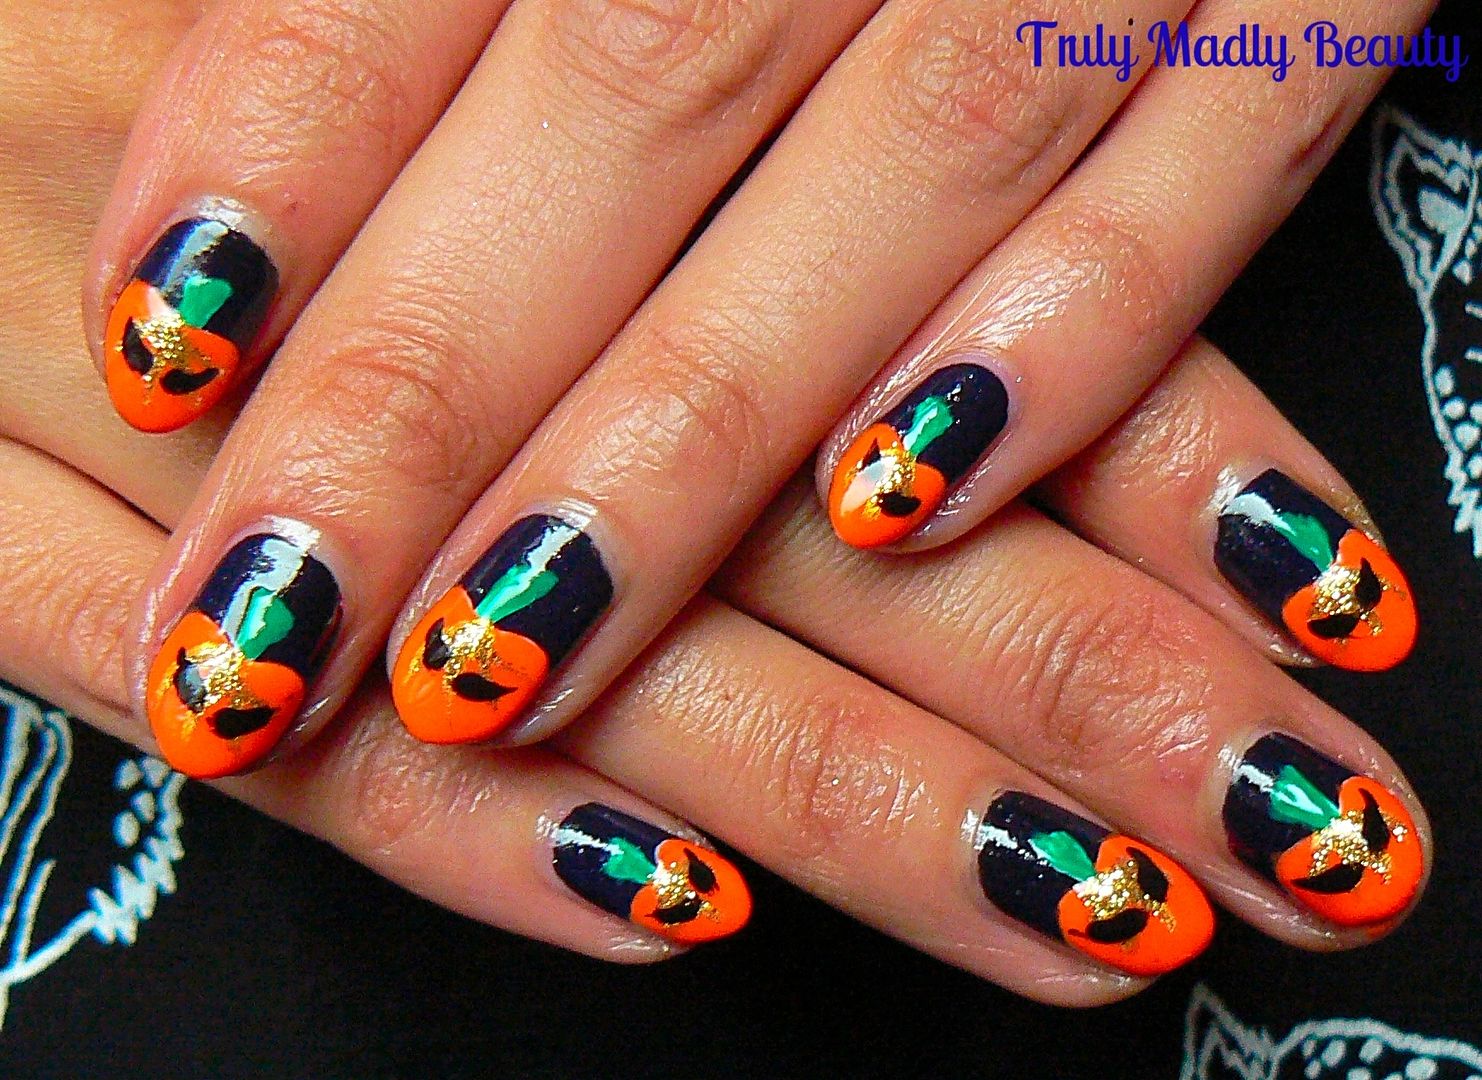
Today I have some spooky Jack O' Lantern nails to share with you using these gorgeous Orly polishes that HQ Hair kindly sent my way, in case you weren't familiar HQ Hair are an online retailer with lots of hair & beauty treats to tempt you. My radar happened to peek some nicely priced Real Technique makeup brushes on there...These Orly shades just scream Halloween & that vibrant orange was simply calling for me to create some pumpkins :)


I started with applying one coat of Orly Goth, an intense black with the interesting addition of shimmering silver glitter suspended within. As I knew I would be applying a few different polishes I went for just one coat of Goth here. The formula was fab as has always been my experience with Orly polishes & I love the rubber caps making the grip nice & steady.


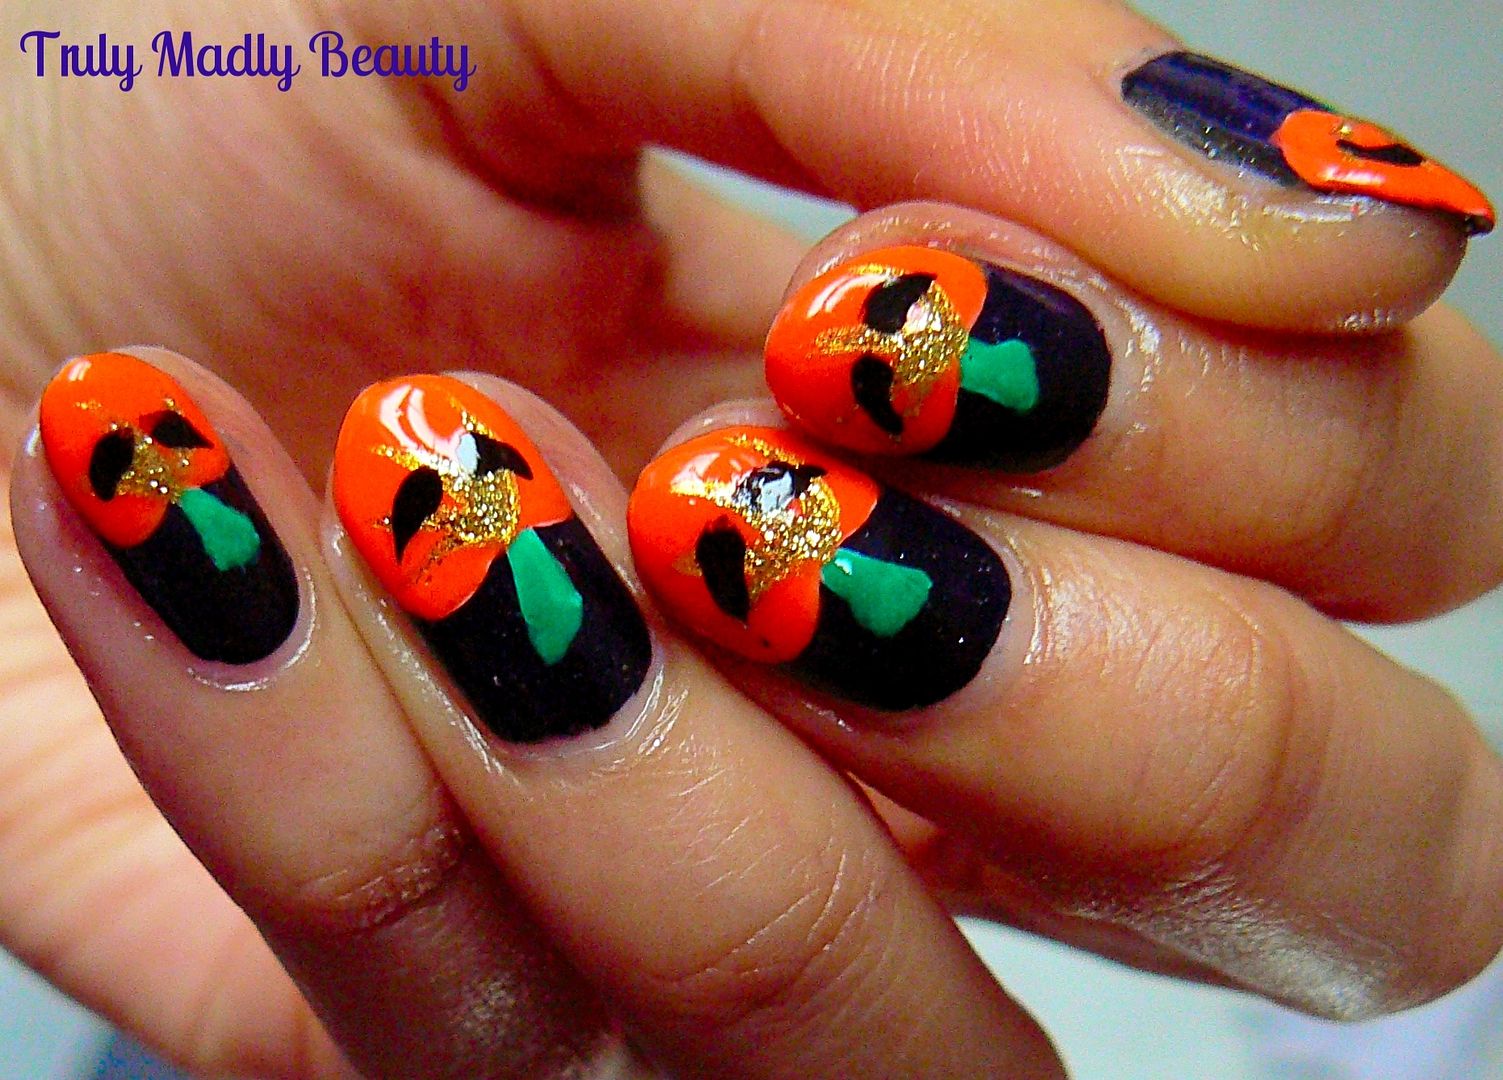
Then to start creating my pumpkins, I first free-handed the pumpkin shape using white polish, this creates a canvas for the orange to go on top, if applied straight on to the black the colour will not come out so strong. To create the shape simply apply two curved lines in the middle before filling out the rest of the nail in a roundish apple like shape, not forgetting to add a wee little stalk on top.


Next goes on the orange, Orly Orange Punch, which is definitely a shade that would get noticed! And the white base really helps bring out that beautiful vibrant colour. Once I'd gone over all my pumpkins with Orange Punch I then added some Models Own Green Tea on top of the stalks.


I wanted to add a bit more detail to my pumpkins so added a few curved lines coming out from the stalk using Models Own Gold nail art pen before going over with some sparkly gold glitter.


Then to make my Autumnal pumpkins in to Halloween suitable Jack O Lanterns I just drew on some evil eyes to create my bad boys before before finishing with topcoat! Feel free to add a creepy smile too but after I added one, my Jacks just ended up looking a bit constipated so I decided to skip that detail...


Hope you liked this Halloween manicure lovelies! Thanks for reading as always!

Lotsa love to ya!


10.19.2015

NOTD - Bonprix Luxe Sequin Dress Inspired Nails! #PartyPolished

Hello there my lovely readers!

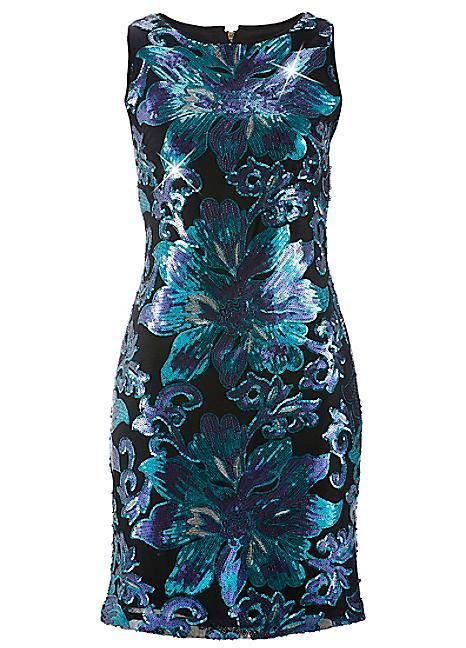
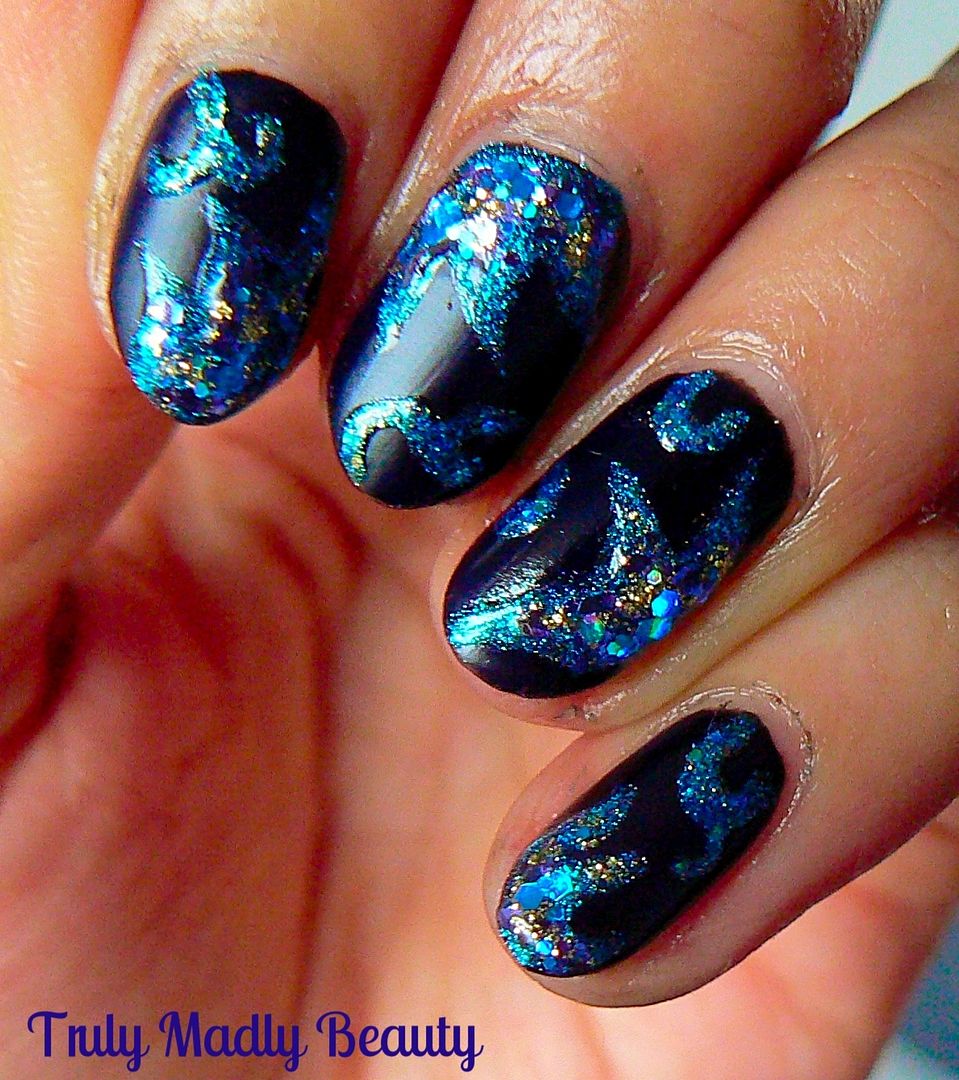
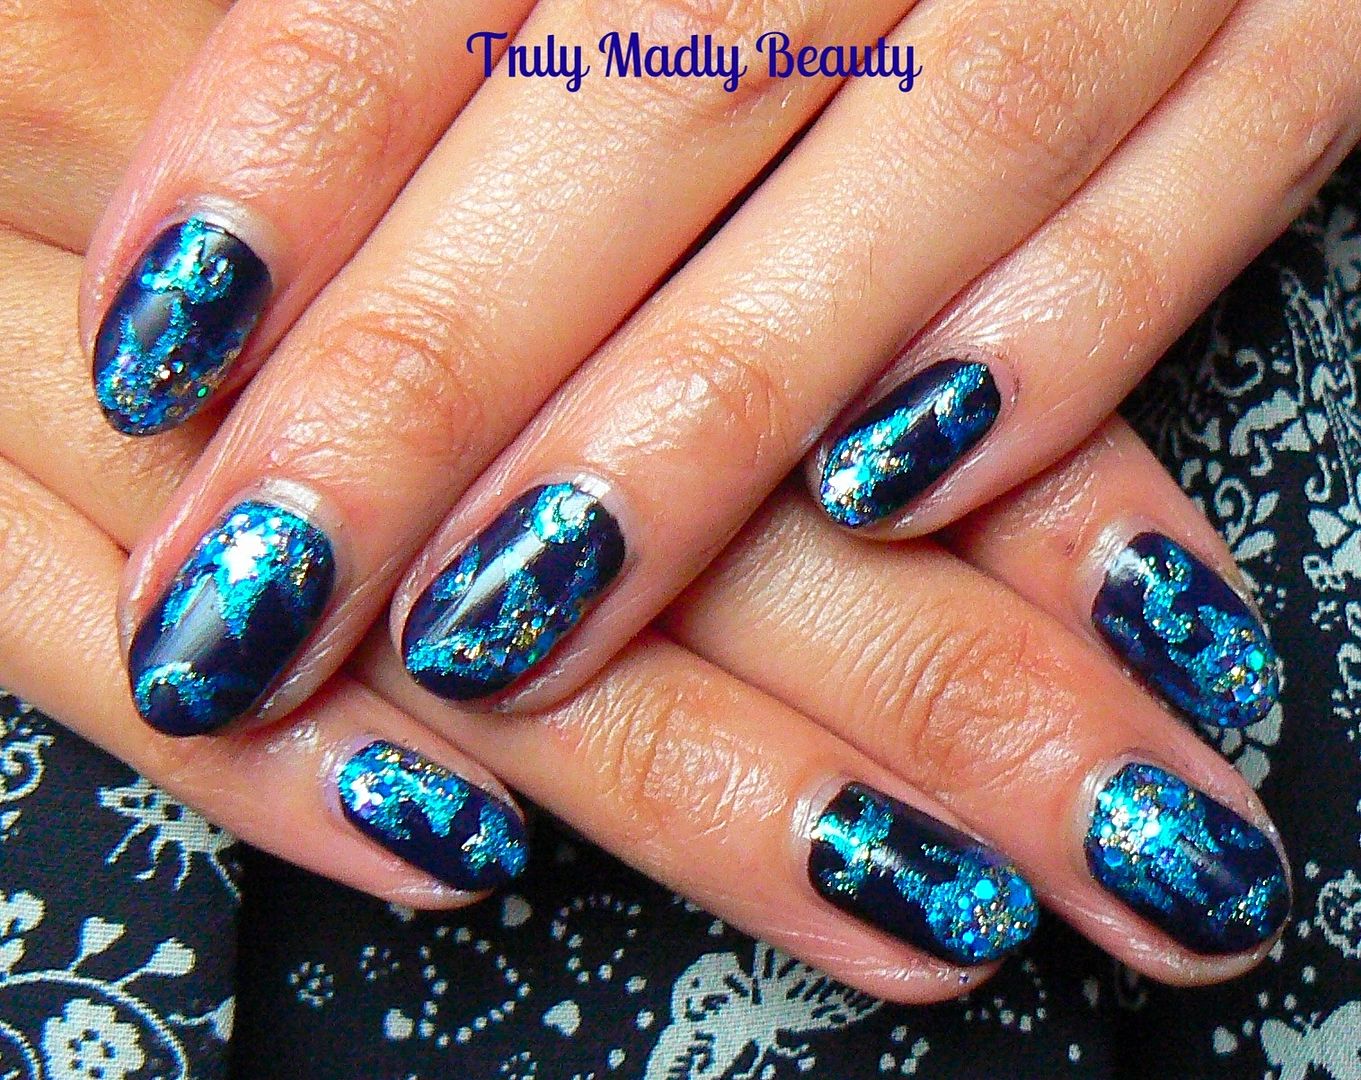
Taking a wee reprieve from Halloween today lovelies. You may recall the Colour Block Nails I did a few posts back for the #PartyPolished competition online fashion retailer Bonprix are currently running with Barry M Cosmetics. The rules of the competition are simple, to create a manicure using one of Bonprix dresses as inspiration! I fell in love with pretty much all of their dresses so I couldn't resist coming up with another nail art design, this time using the Luxe Sequin Shift Dress as inspiration because well...SPARKLES!


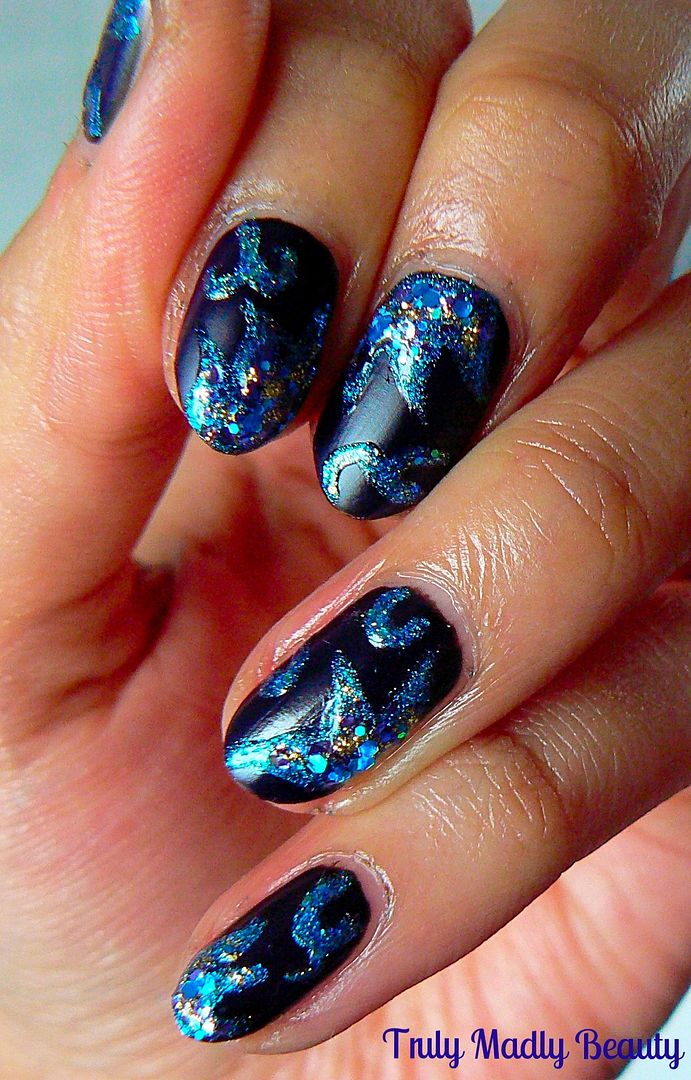
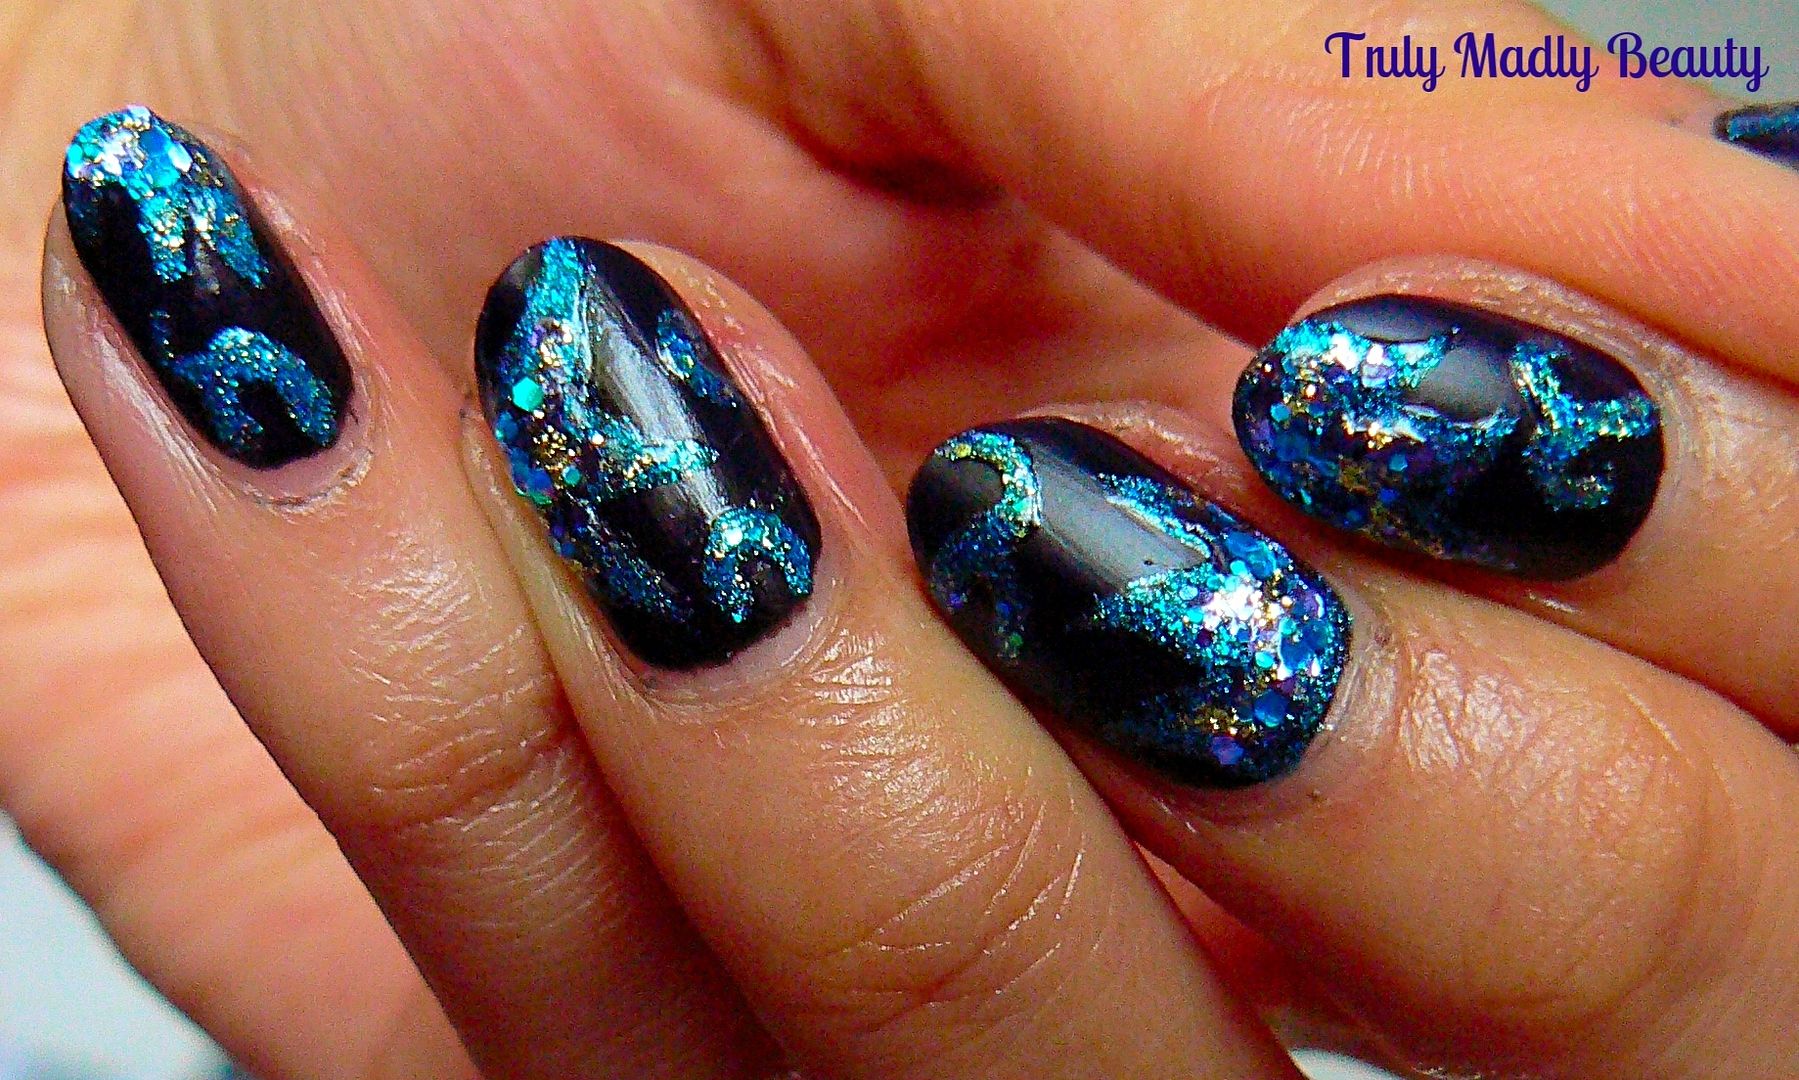
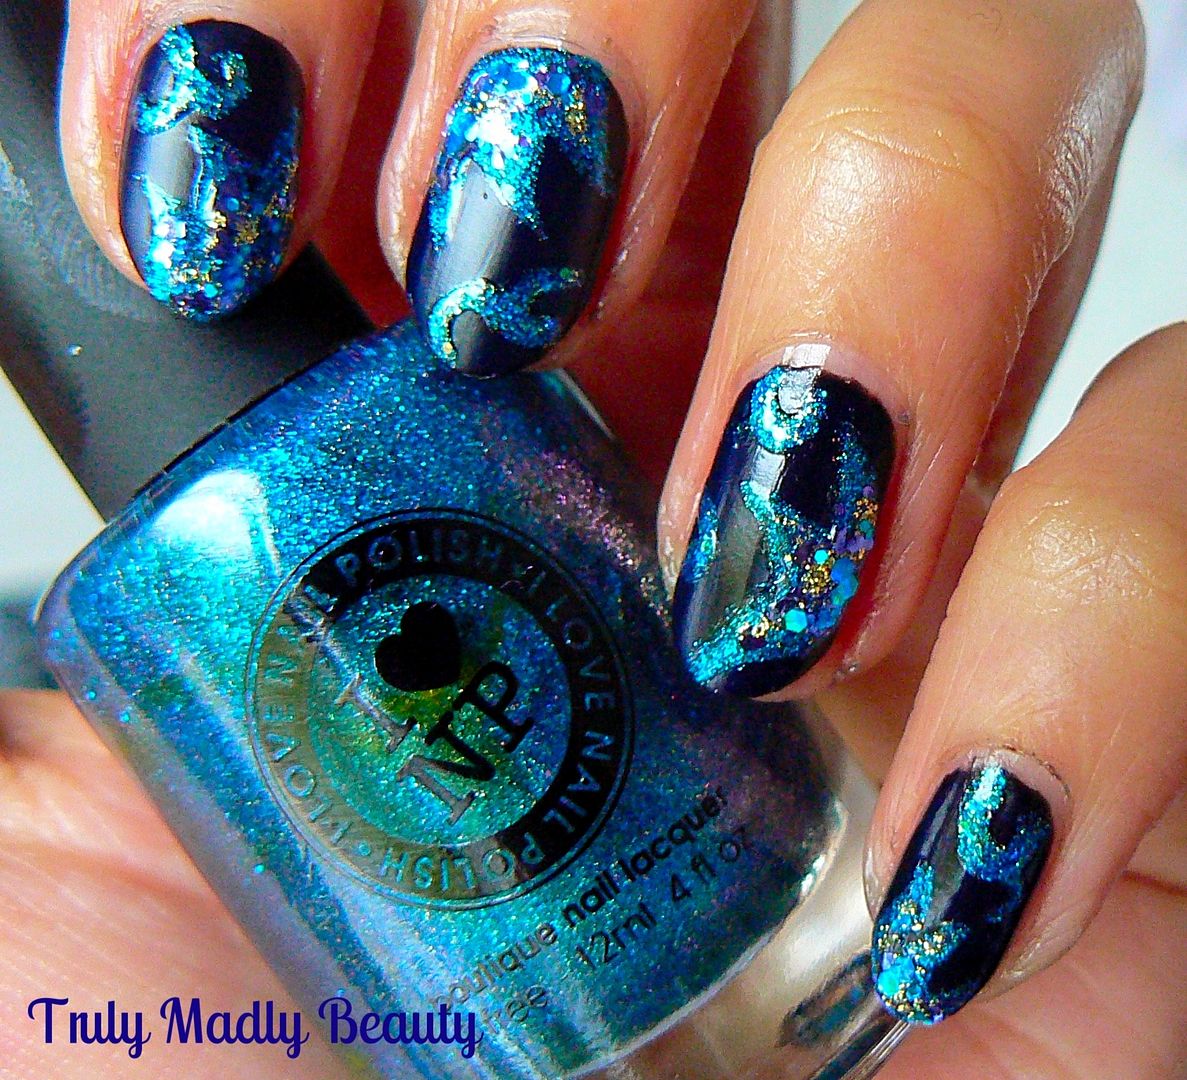
You know I love my sparkles, so I was looking forward to getting the glitter out & satisfying my inner magpie. Using the lovely shimmering floral design of the dress this is what I came up with...


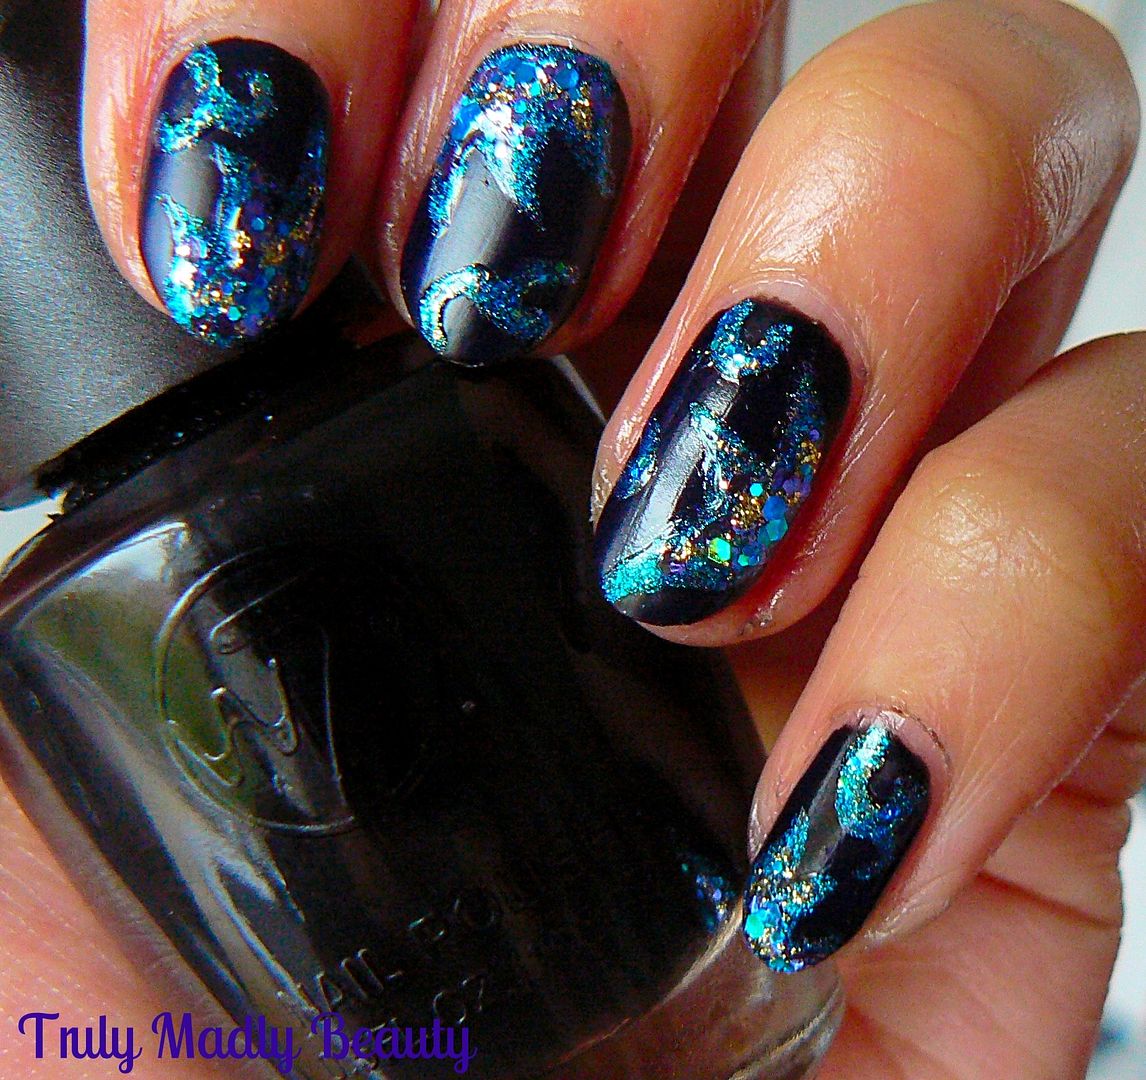
I've always been a gloss top coat girl through & through, preferring a shiny finish to my manicures, which with the help of my beloved CND Air Dry topcoat, I manage to achieve. However lately I've really gotten a feel for matte finishes with their sleek & sophisticated look. I also really wanted the sparkles to stand out in this mani so I decided to apply a matte black base to start.


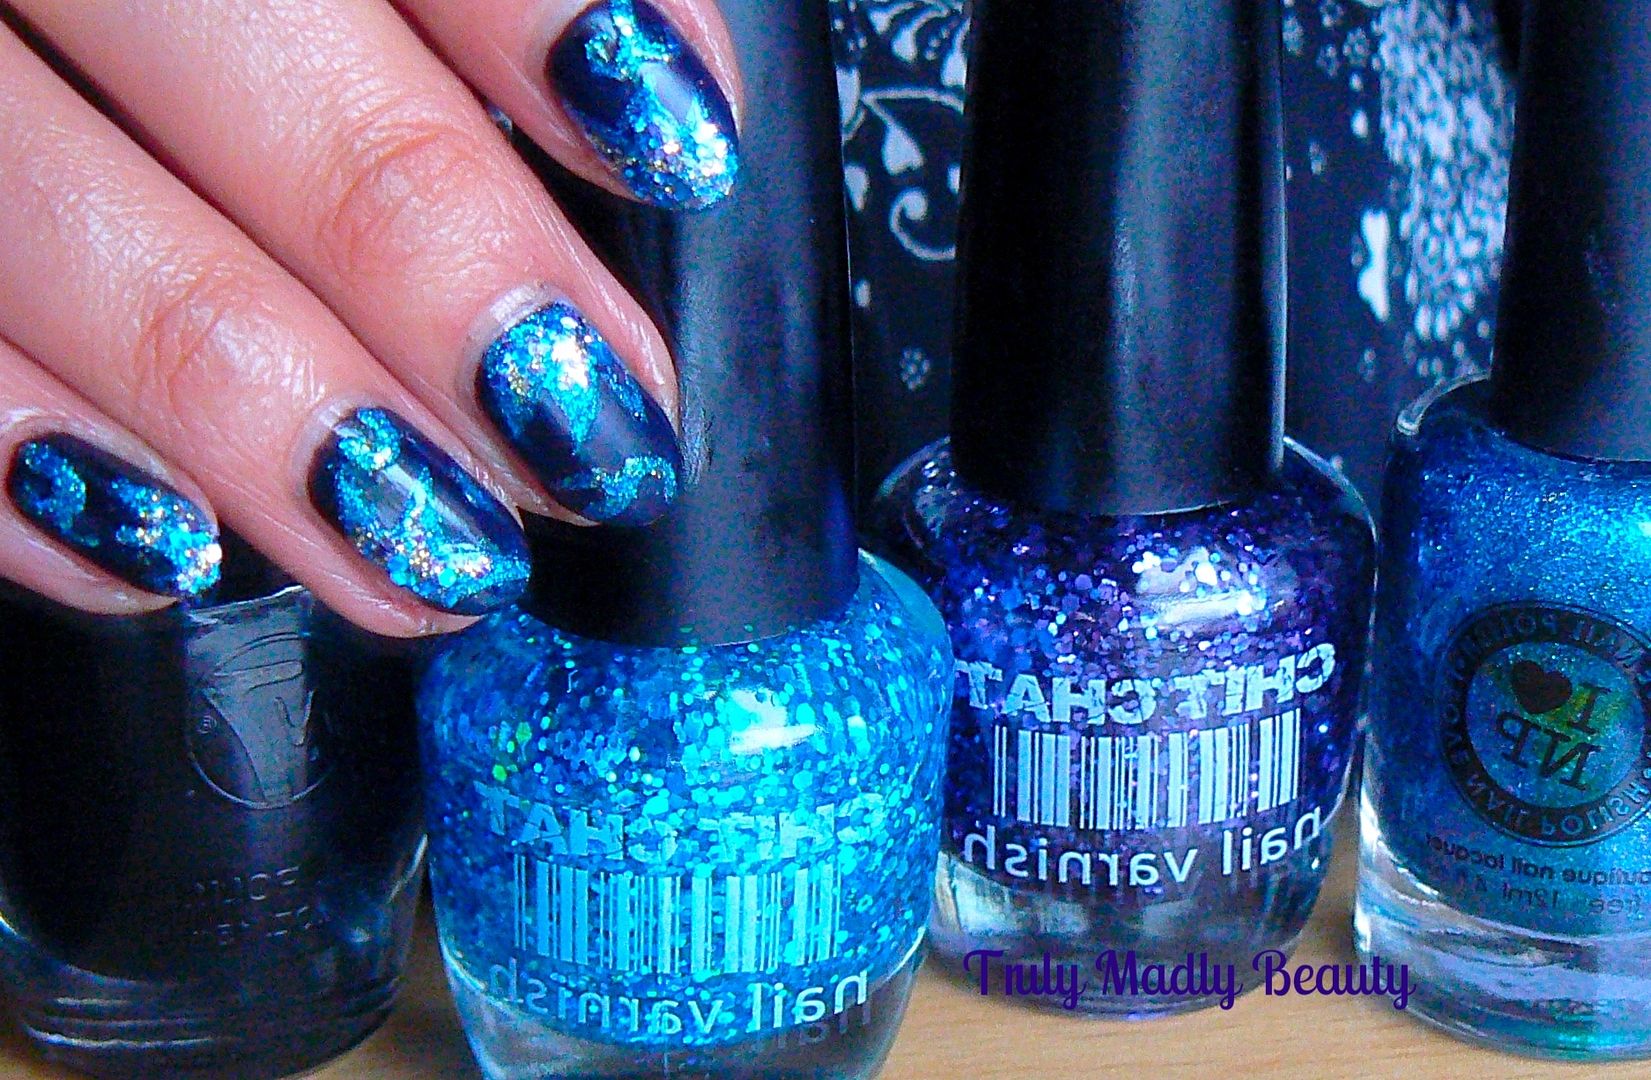
Here I've just used two coats of W7 black to which I applied one coat of Rimmel Matte topcoat. Matte black may be my new favourite thing, it reminds me of a chalkboard & has me itching to do some neon nail art on top...idea for next time...


For the floral pattern I grabbed I Love Nail Polish's Admire Me. This polish is just SO stunning in real life, I Love Nail Polish really know how to do holographic well! Heck they know how to do ALL polish well & my wishlist is never-ending! Using a thin brush I free-handed a random floral like design with a few petals & additional swirls onto each nail.


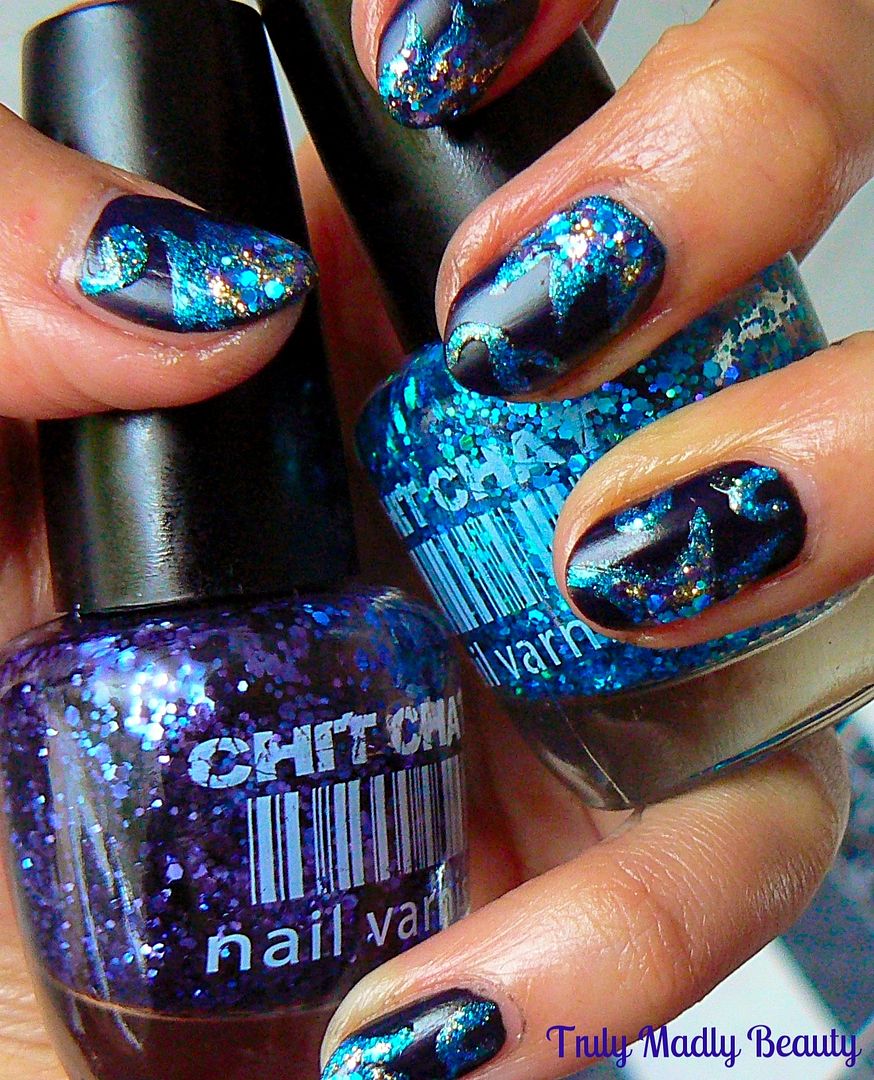
Next for the GLITTAH! I dug out these two ace Chit Chat glitters in turquoise blue & indigo purple which I picked up in Poundland...yes Poundland! :) Using the brush I dabbed a bit of each on to each petal till I was satisfied with the amount of sparkle


For a final hit of glitter I dotted on a few pieces of large hexagonal gold glitter on to the petals.


As I wanted the floral design to stand out I skipped topcoat & kept that lovely matte base, as the glitter is suspended in clear polish it almost gives an interesting wet on matte look! 


Hope you liked the mani dolls! Thanks as always for reading!

Lotsa love to ya!