
Hello
there my lovely readers!
So New Years Eve has creeped up on us already! I'd originally planned on keeping it a
quiet one this year however last minute spur of the moment plans have been
thrown together & I'm looking forward to getting my glad rags on
& seeing 2016 in with good food & friends! As usual I
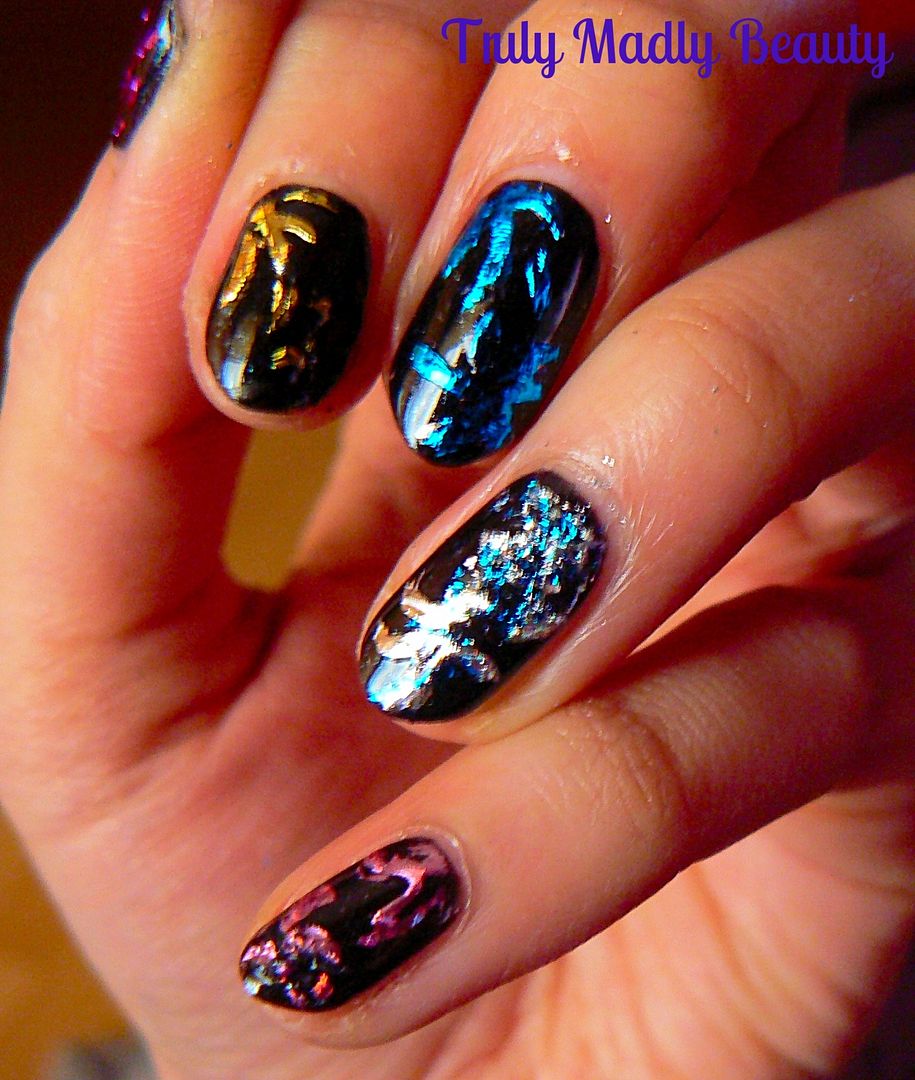
couldn't resist rustling up some nail art to go with the
celebrations, so decided to go for some 'distressed' foil nails.
Now
this mani didn't turn out how I wanted, hence the strategically used
word 'distressed' haha! Believe me I have MANY mani fails! This is
the first time I've used the transfer of nail foil with glue
technique, however I'm rolling with it anyhoos as its a concept I
love & will be practicing more of for sure! I was inspired by the
amazing Lucys Stash who used this technique HERE. The idea is
basically applying glue to certain parts of the nail where you want
the foil to be, then using special mylar nail foils, transfer on to
the nail!
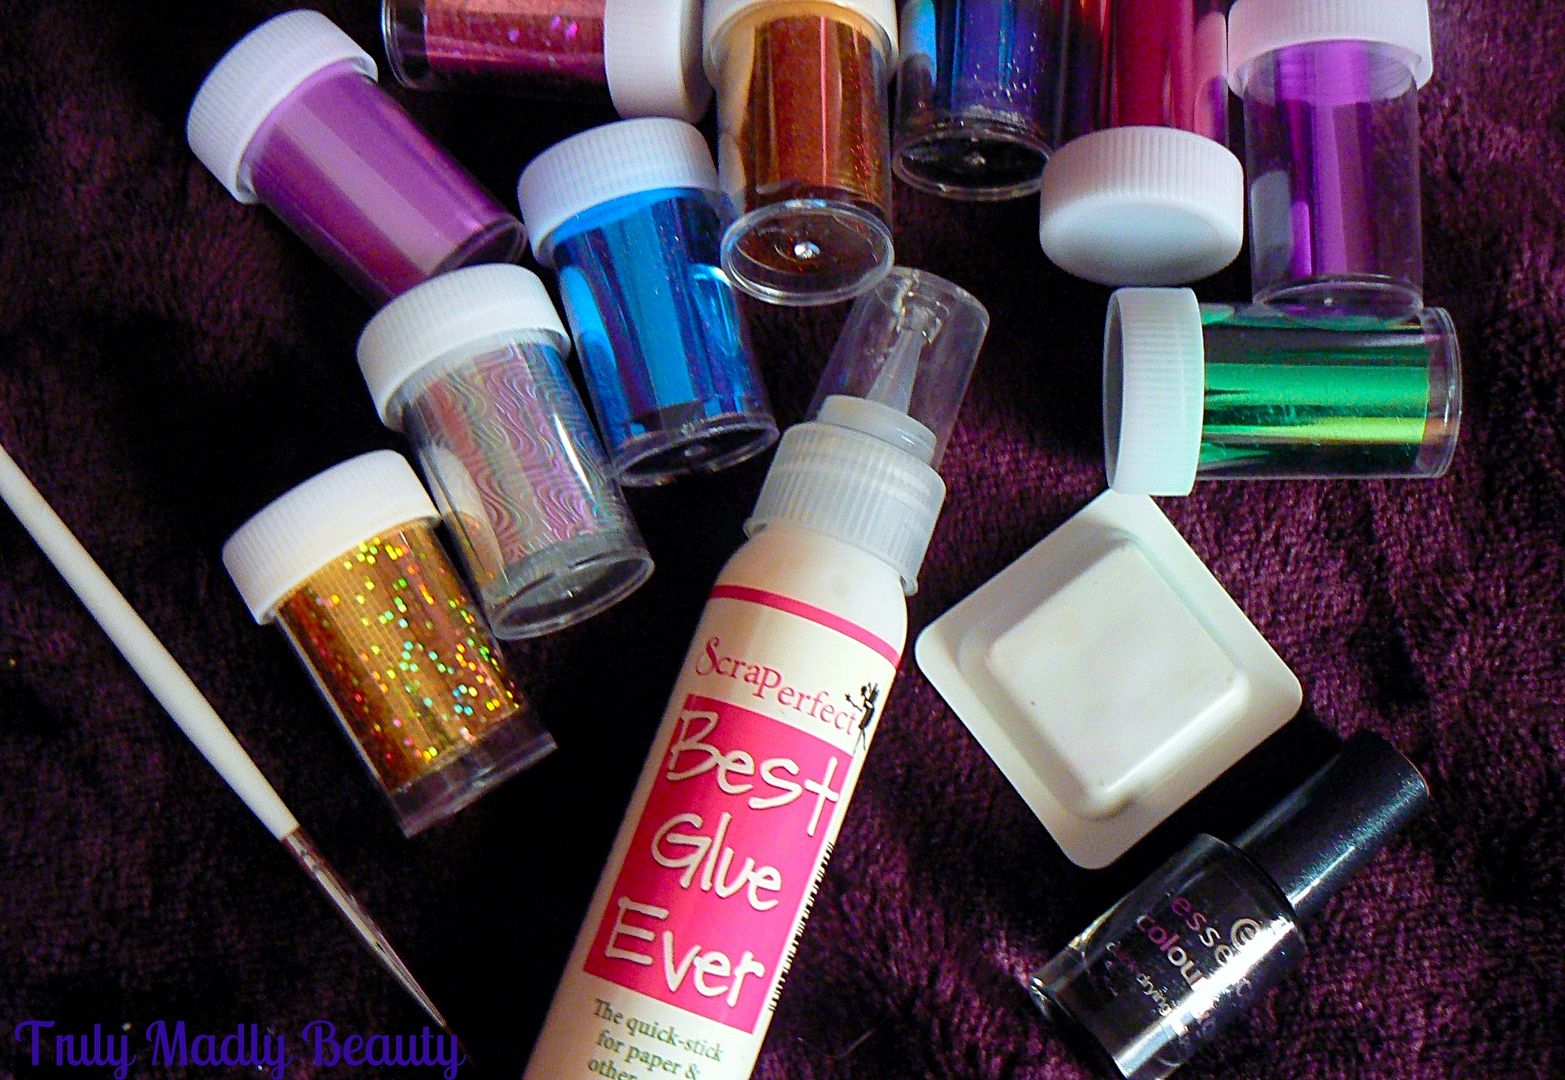
The
glue used is one that was recommended by Lucy, Best Glue Ever. I
purchased mine from Amazon a while back but I just googled it &
apparently there is a shortage due to the raw materials used to
manufacture being unavailable! There's a bottle on Amazon going for
£40! Mad! However the makers, ScraPerfect are hoping to have stock
available again early 2016. I picked up the nail foils from Ebay
yonks ago but I believe you can also get them from Born Pretty Store
who also sell special nail foil glue too just for this purpose which will make a perfect alternative to the Best Glue Ever. (get 10% off using my code TRUW10)
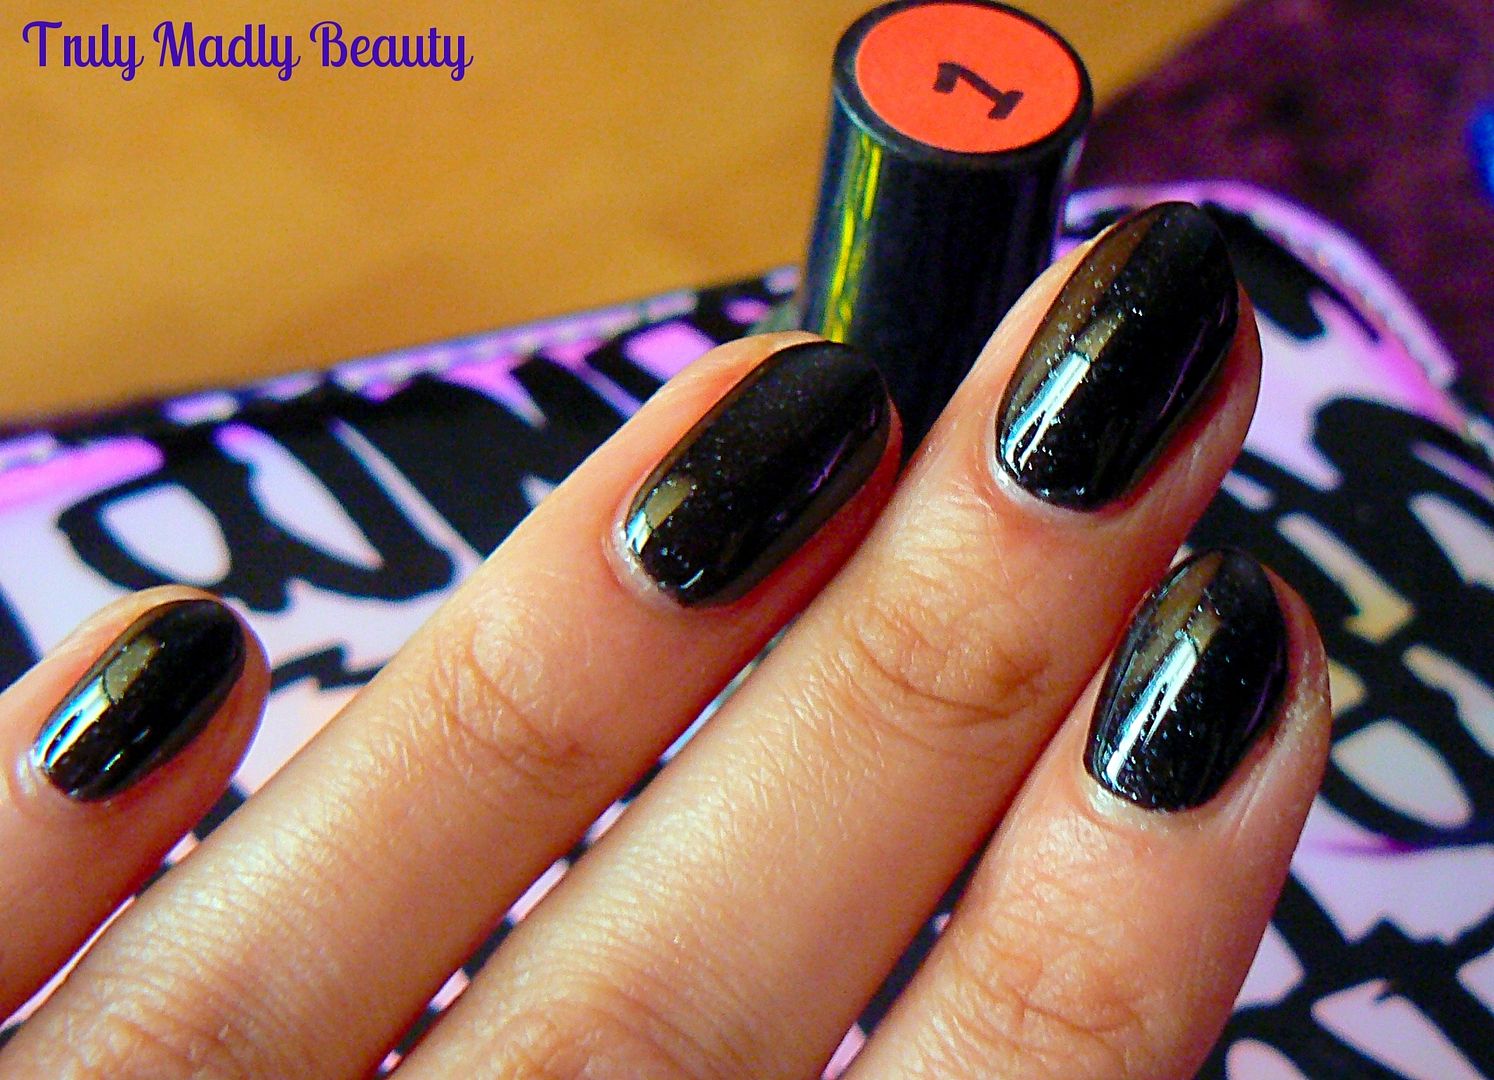
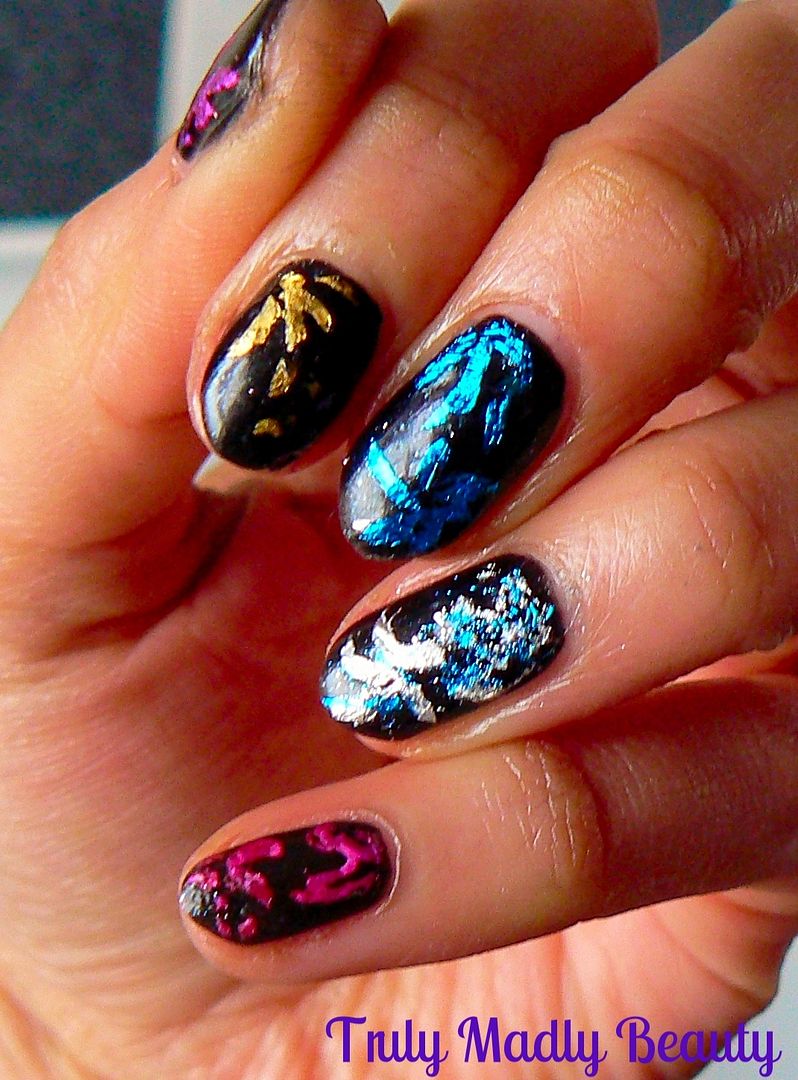
To
get the best finish with this technique its better to use a dark base
so that the foils can really dazzle on top, here I've applied two
coats of Essence Galactic Black which is a black with silver macro
glitter.

I
wanted to have a different colour foil firework on each nail so I cut
up a square piece from 5 different foils ready for me to use.
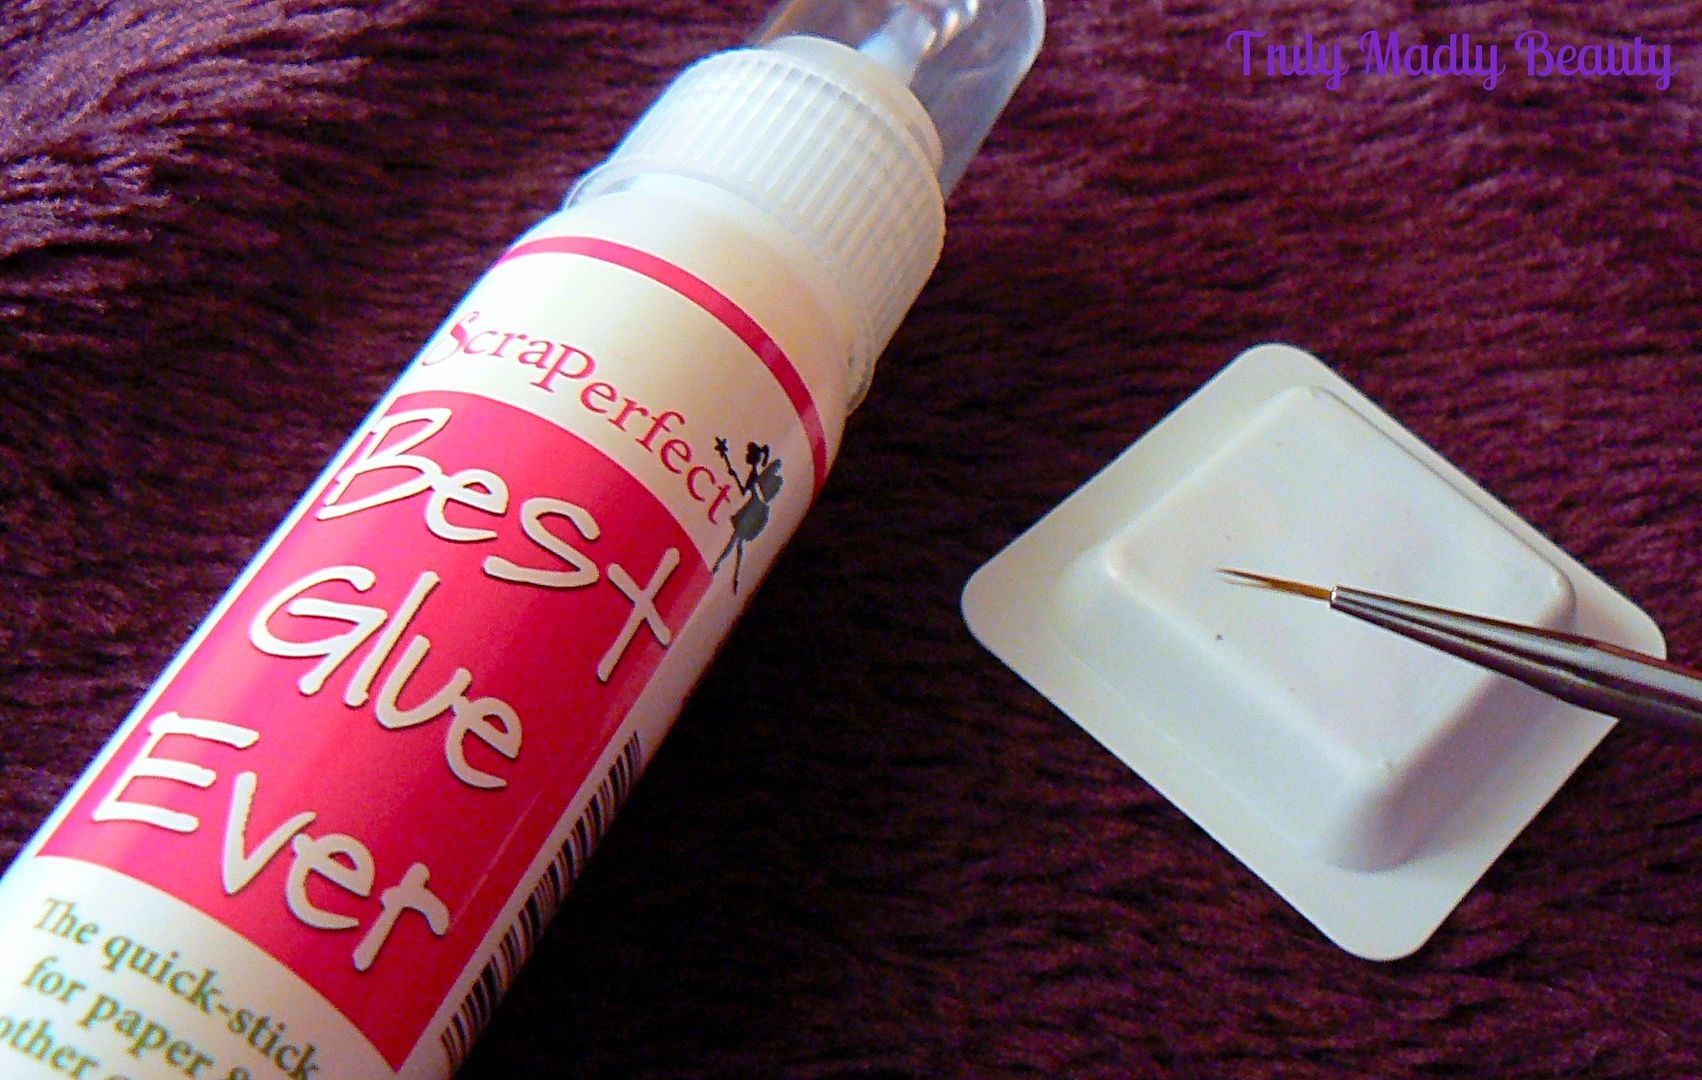
Using
a thin brush & a piece of plastic/paper/whatever you like to
dispense your glue on, dip your brush into a bit of glue & then
apply on to the nail in the areas you want the foil. I went for a
sort of firework type of pattern, needless to say it came out
successfully on only some nails more so than others....O_O
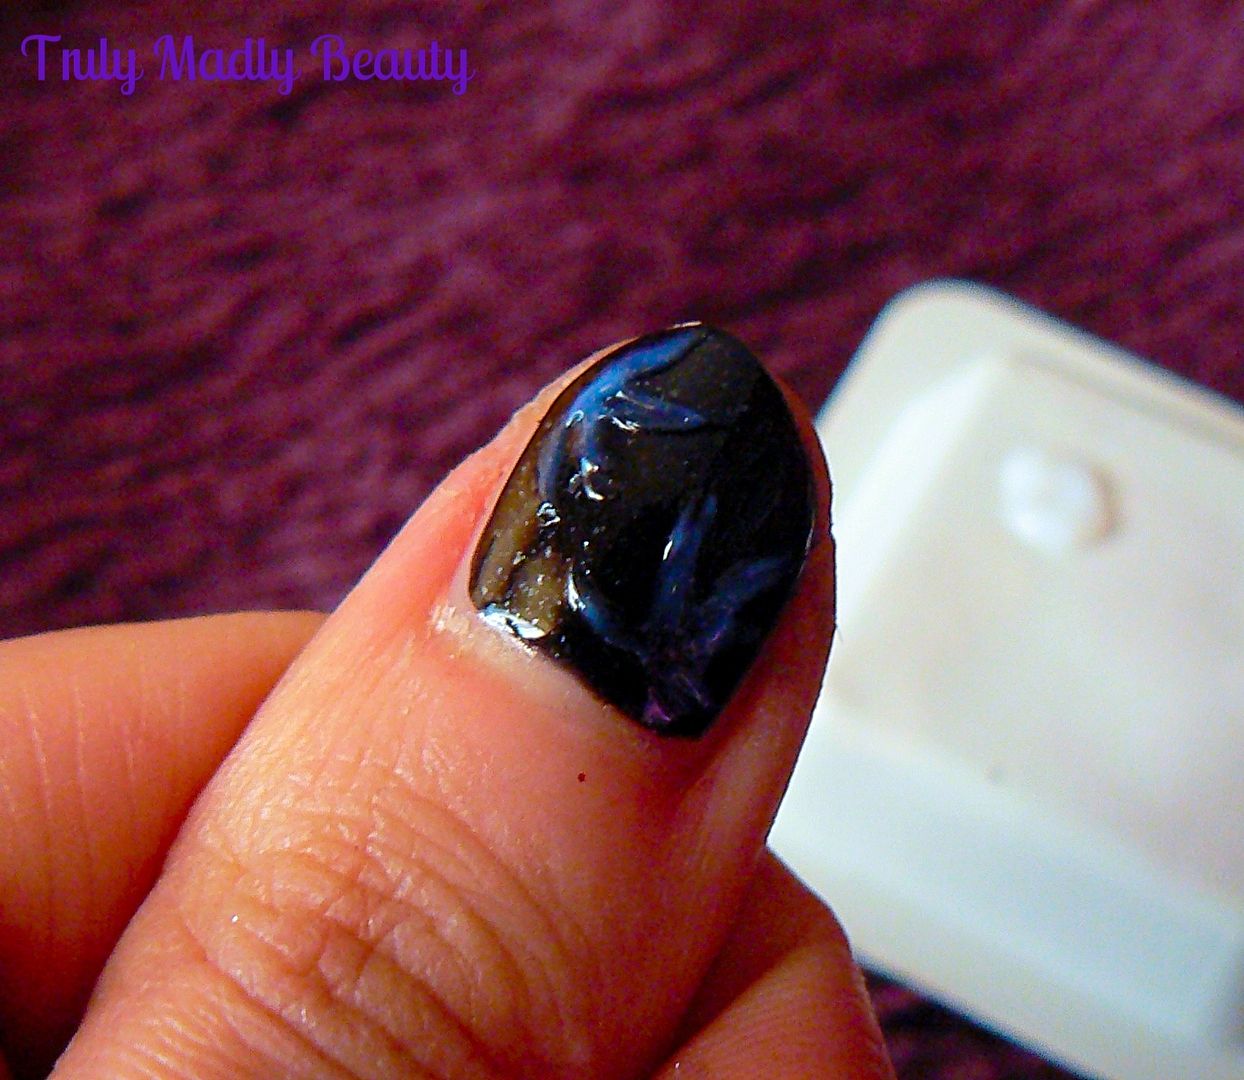
Wait
for the glue to COMPLETELY dry, this will be easy to tell as the glue
will dry clear, though this is probably where things went a bit tits
up for moi as I was just too impatient!
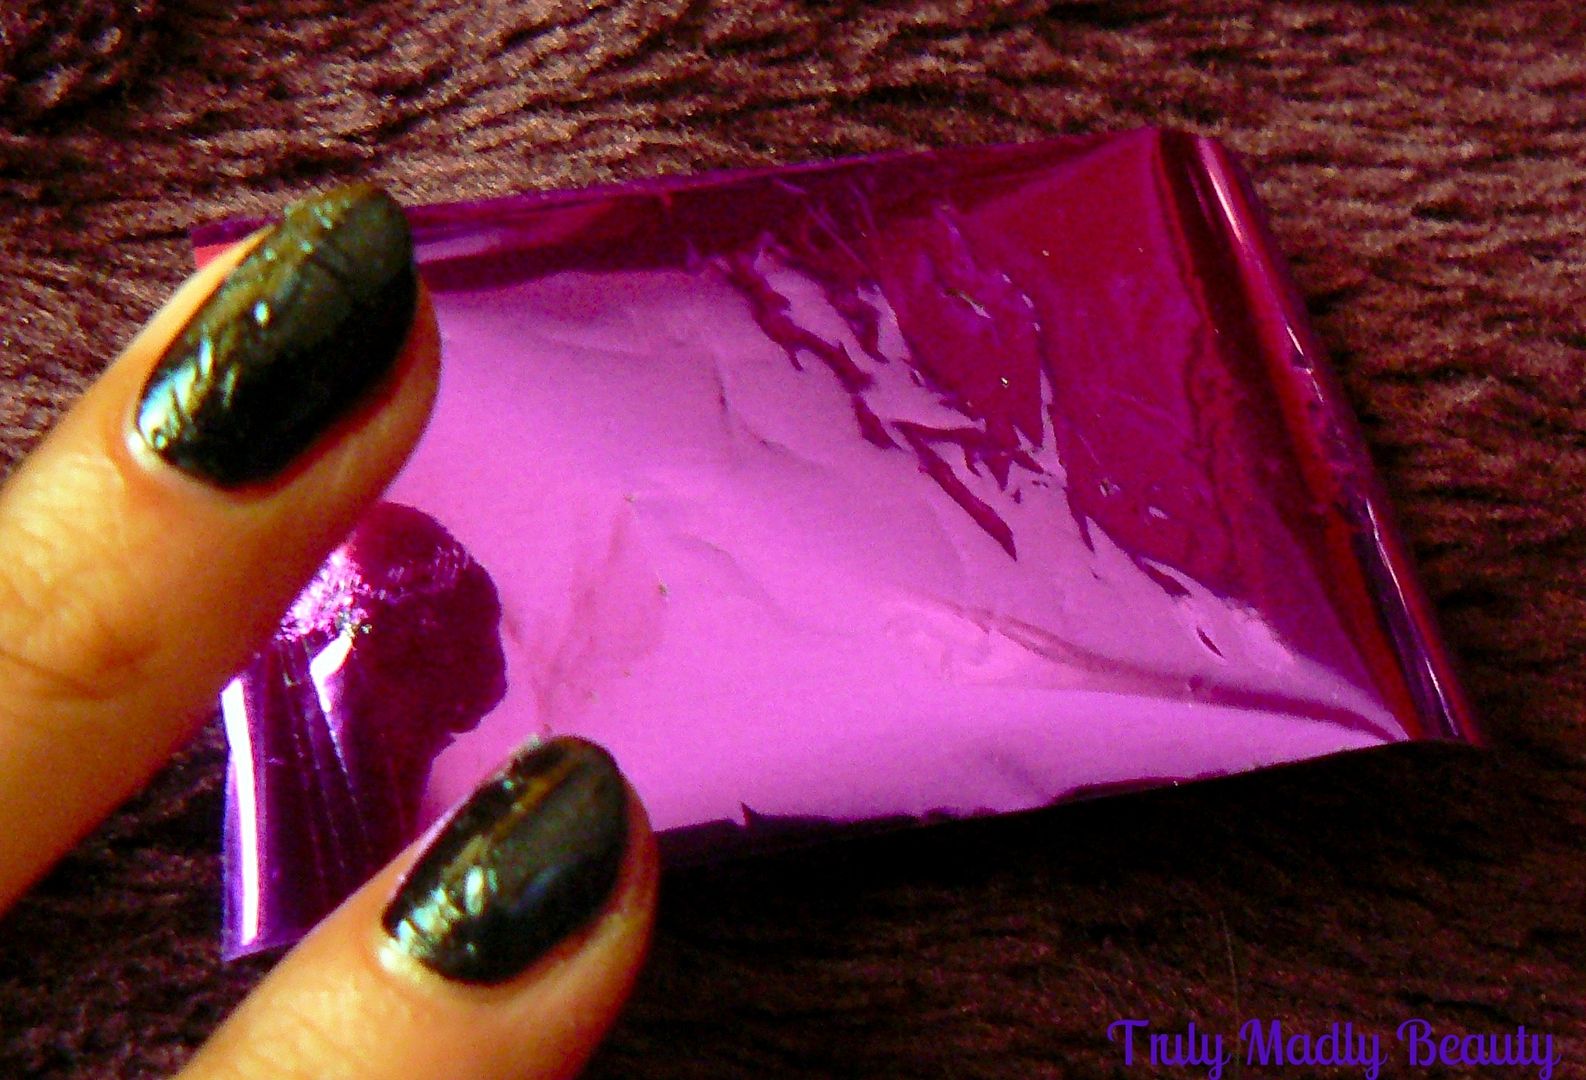
Then
grab your piece of foil, the mylar foil has two sides, matte on one
side & the coloured foil on the other. Its the matte side you
need to dab on the nail. Using light tapping motions, its easier if
you wrap the piece of foil around you finger when doing this, dab the
foil on to the nail until it has transferred on to the glue.
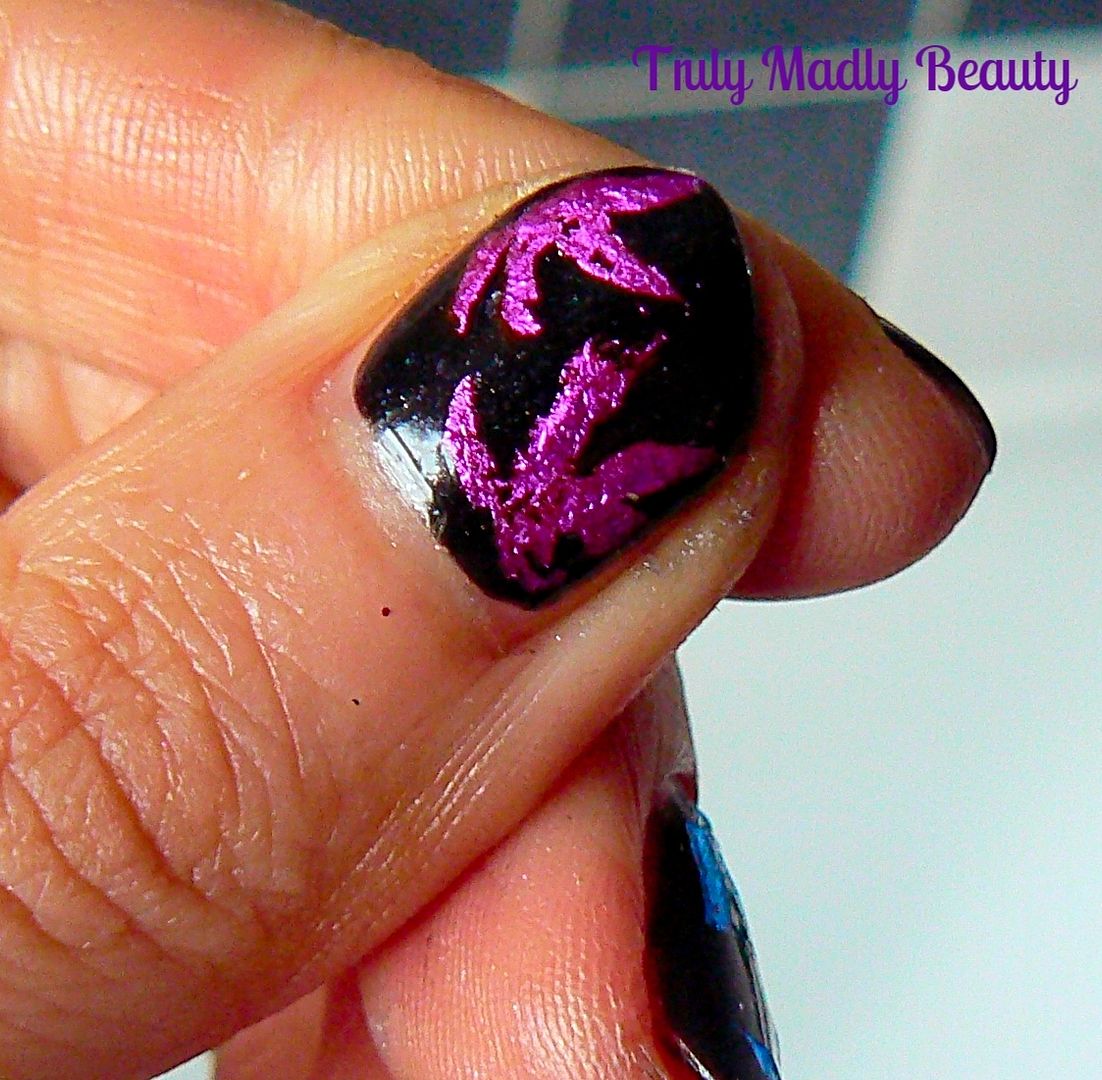
Do
this on every nail using your different colours until you've done all
ten, I decided to mix it up with both blue & silver on the ring
finger. I'm really happy with how my thumb came out, the others...not
so much ha! But you get the idea of it.
Finish
it all with a nice thick coat of glossy topcoat! As you can see I
still need a helluva lot more practice & playing around with
this, think I may give Lucy's Flame Effect nails a whirl with the foil
just on the tips!
Thanks
for reading lovelies & wishing you all a Happy New Year! See you
in 2016!
Lotsa
love to ya!

Thank you for the photos and article. Although the designs are very great, this black color is not my style. I will make it with other options.
ReplyDeleteNo problem Helen! Of course, dark shades just tend to bring out the metallic more but you can use whatever colour you like! :) xoxo
Delete