Hello
there my lovely readers!
All
ready for the Xmas weekend? I'm literally counting down the hours, for
the first time since I left school (all those aeons ago in ye old
ancient times) I'll be embracing a full festive break from next week
up until the new year as my work shuts downs during this period. To
be honest I've never been too fussed with working right up until &
straight after Xmas but I'm actually looking forward to the treat of
complete hibernation time haha!
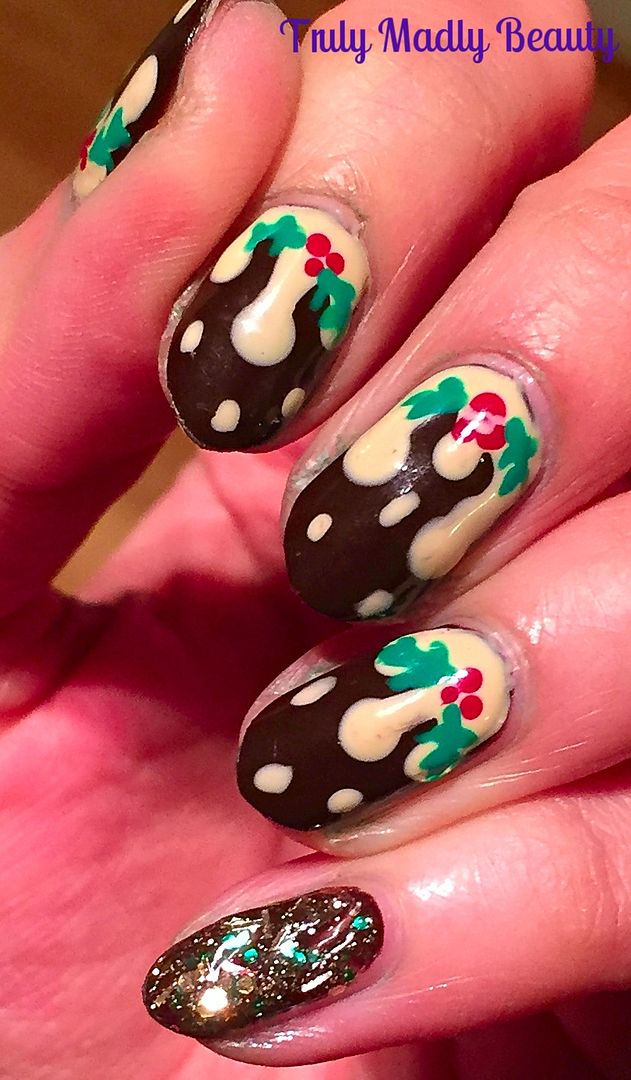
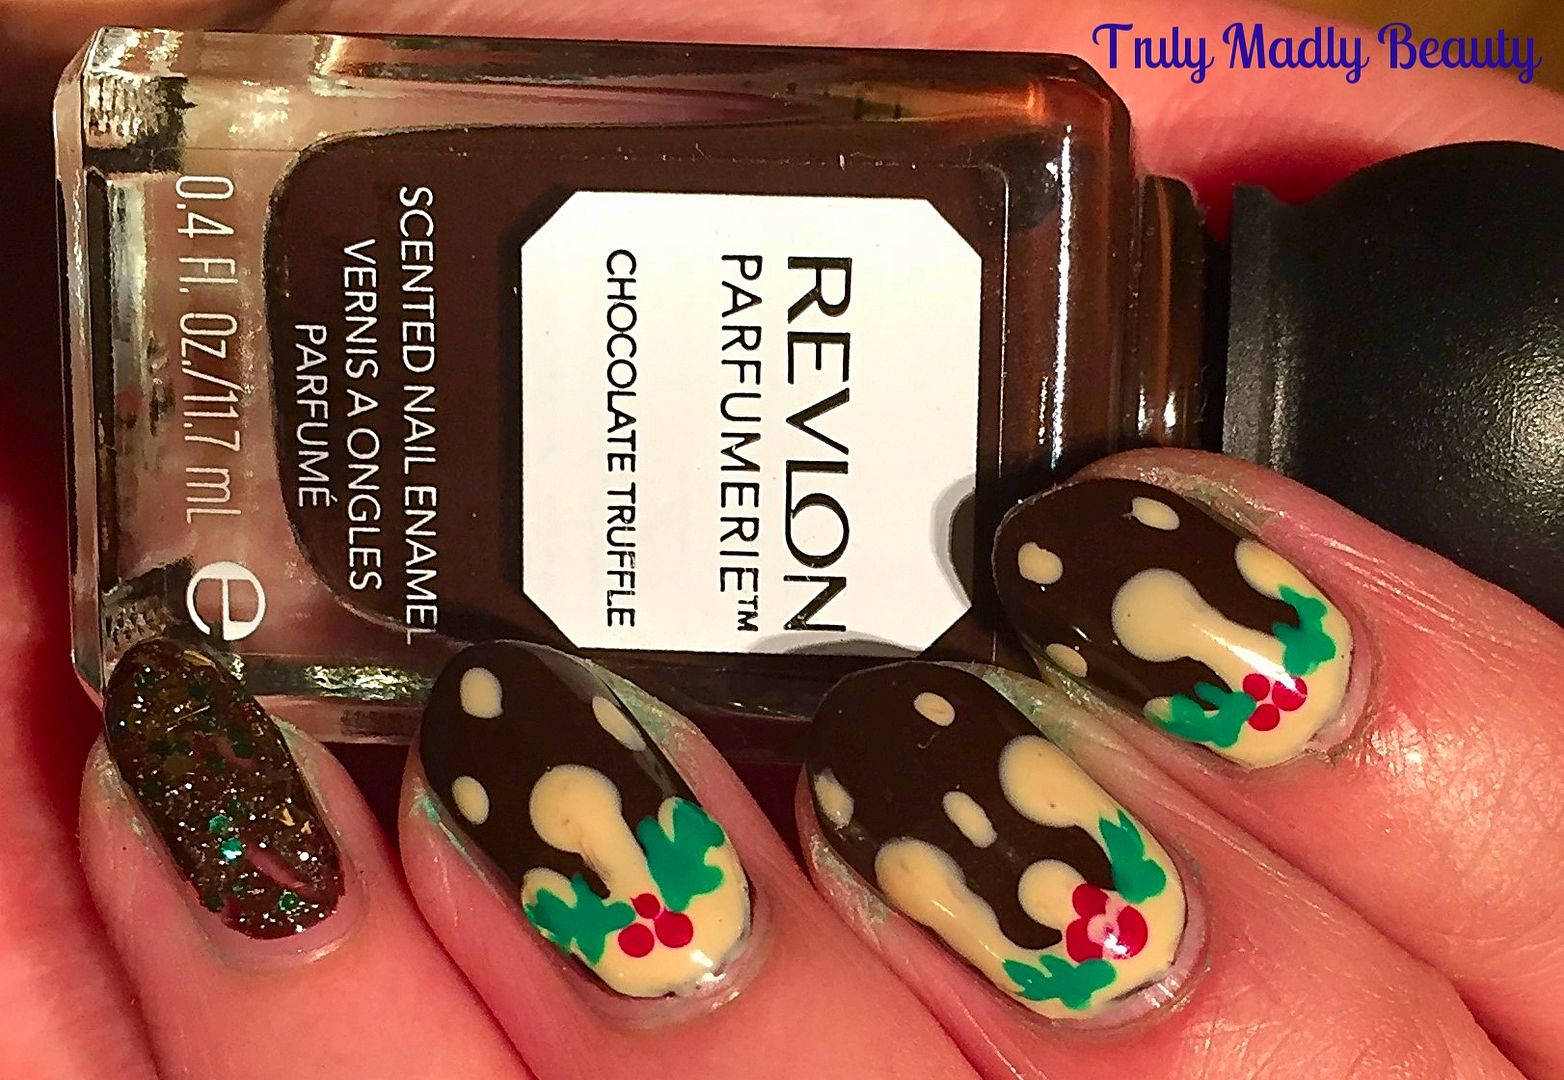
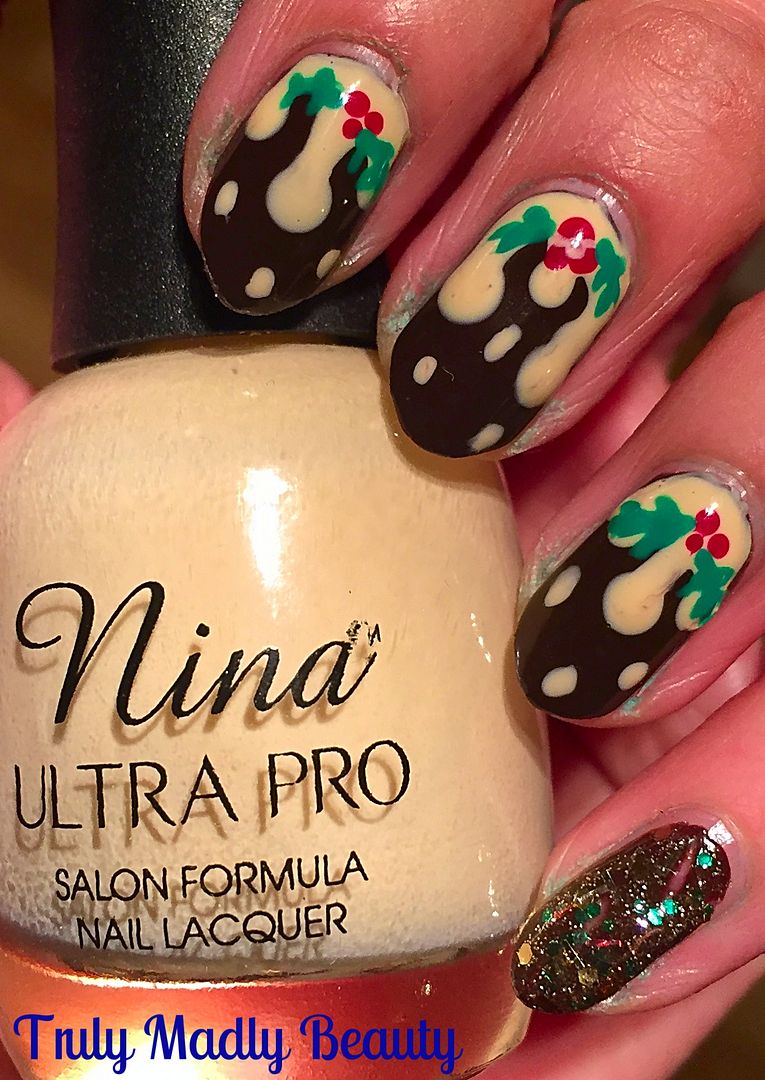
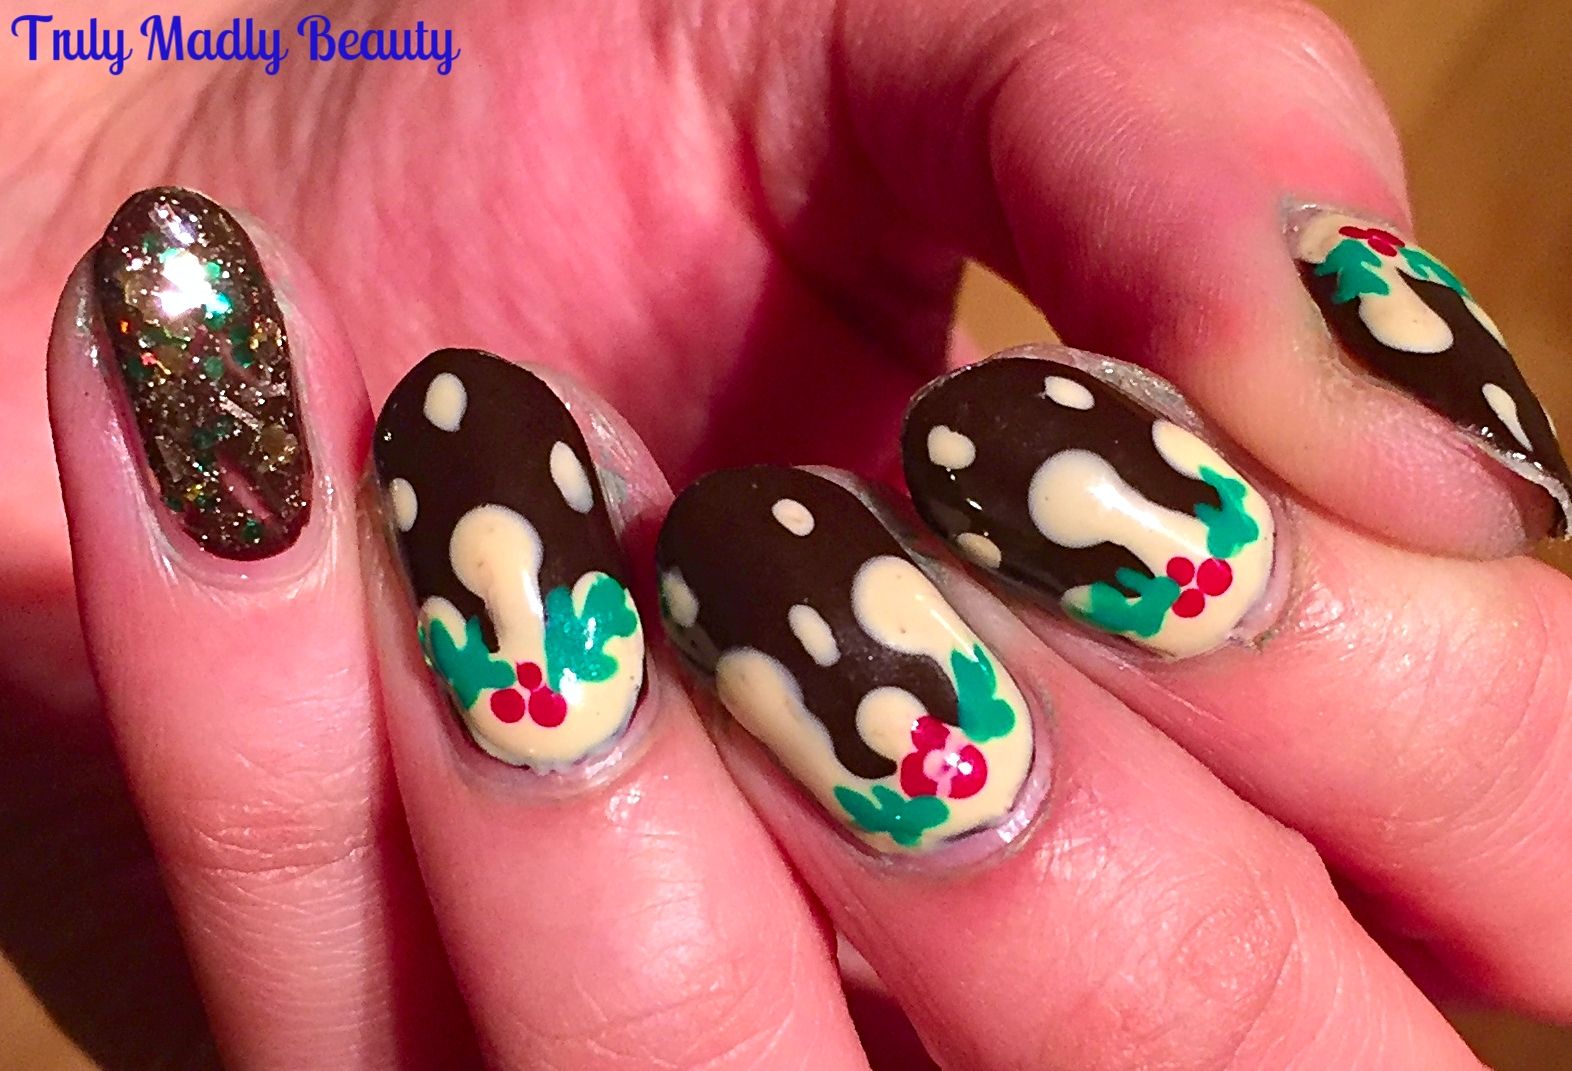
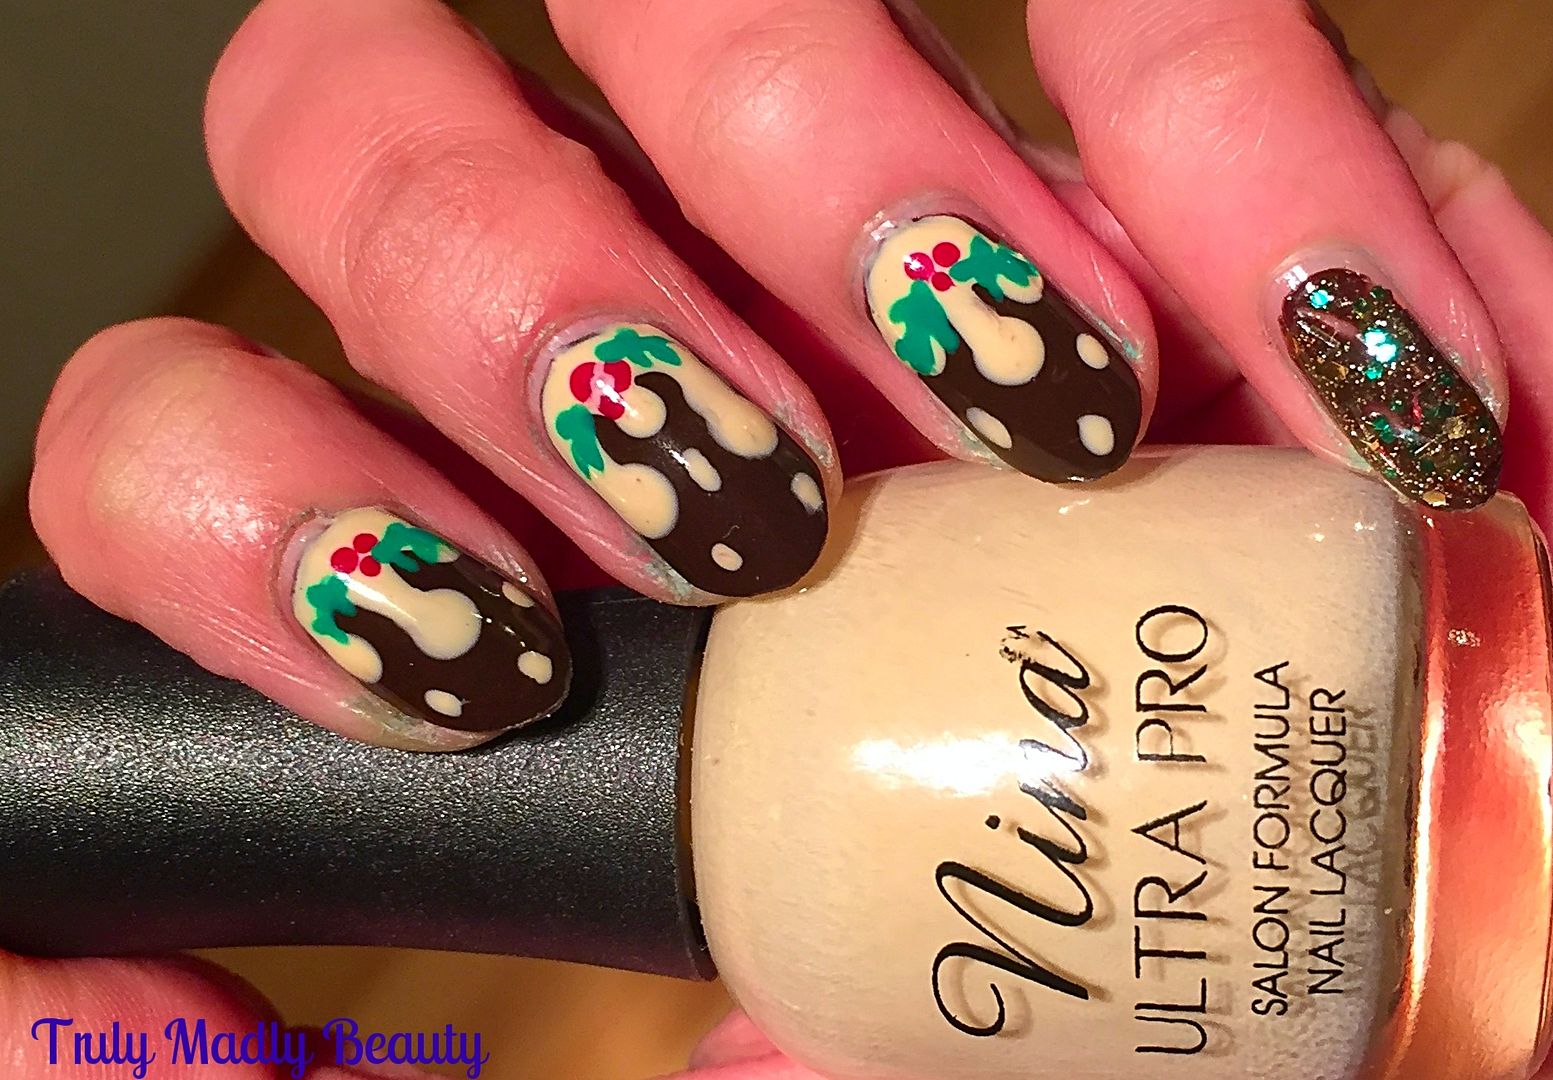
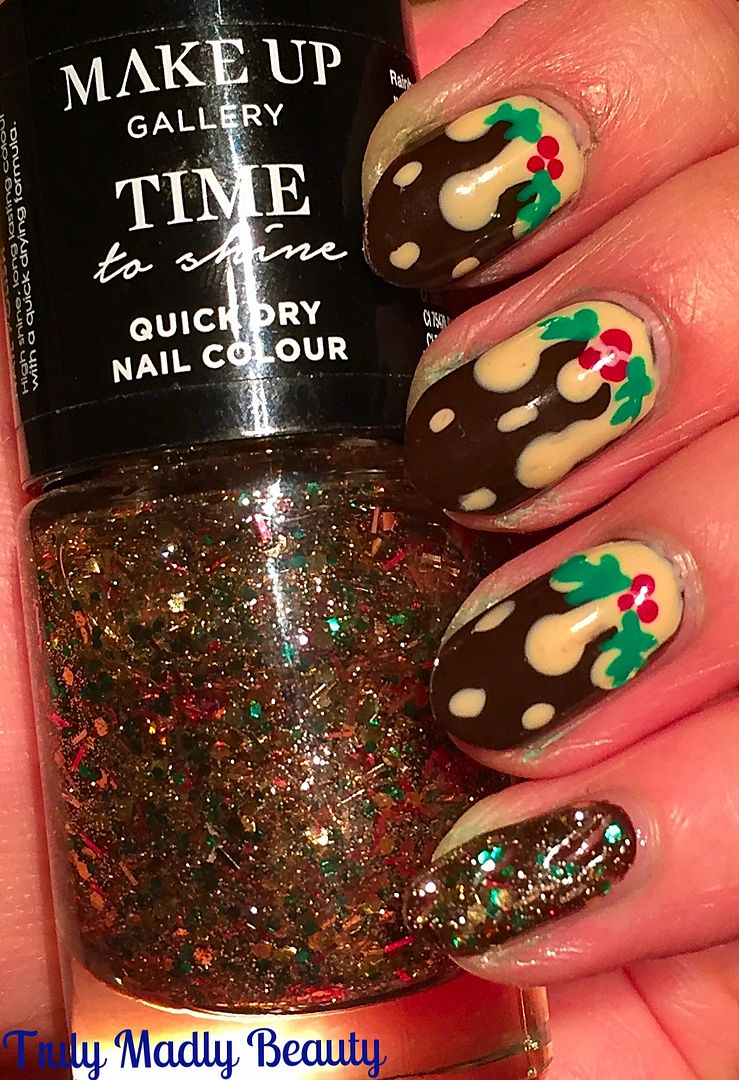
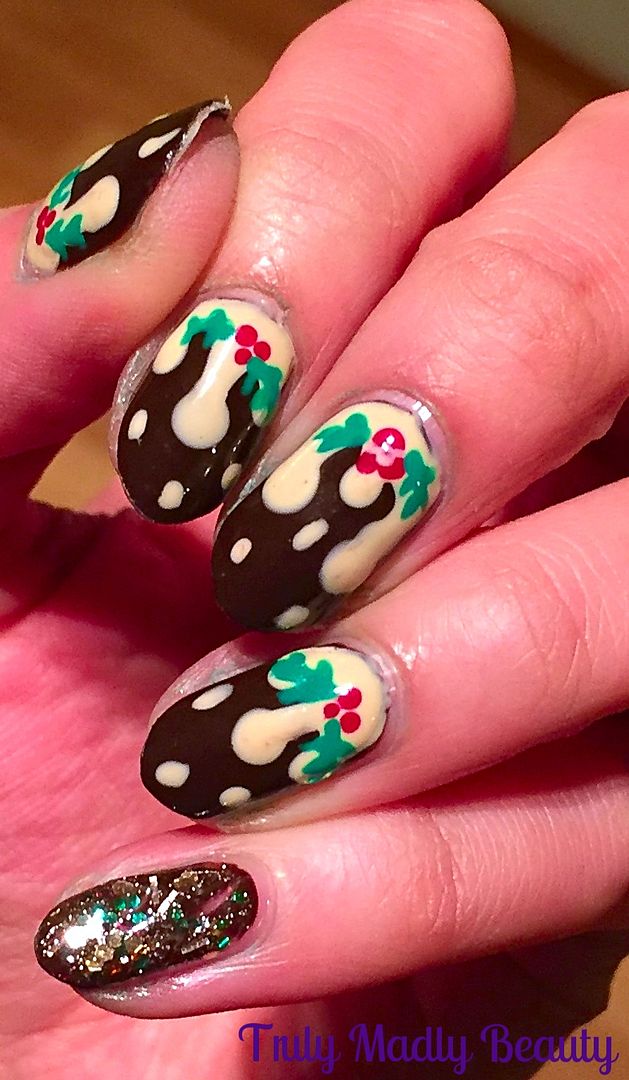
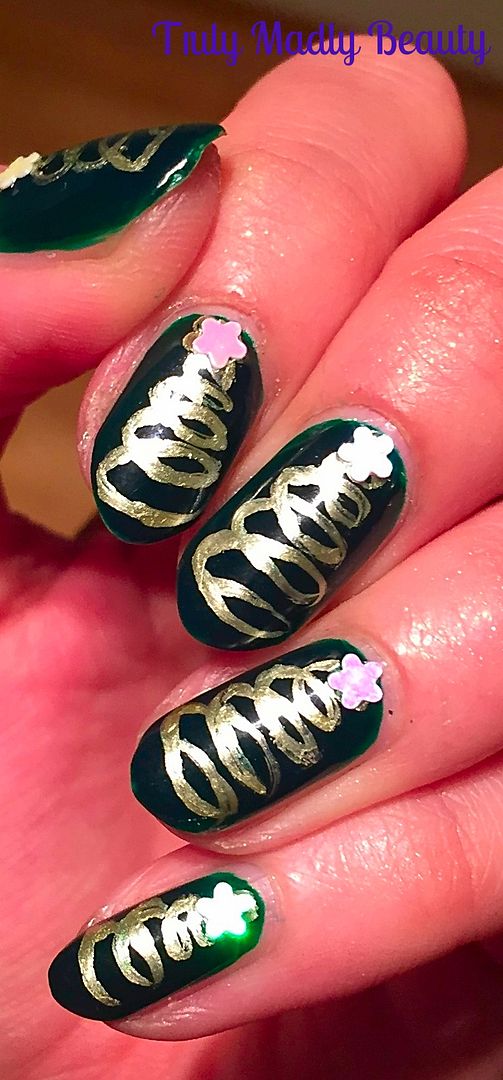
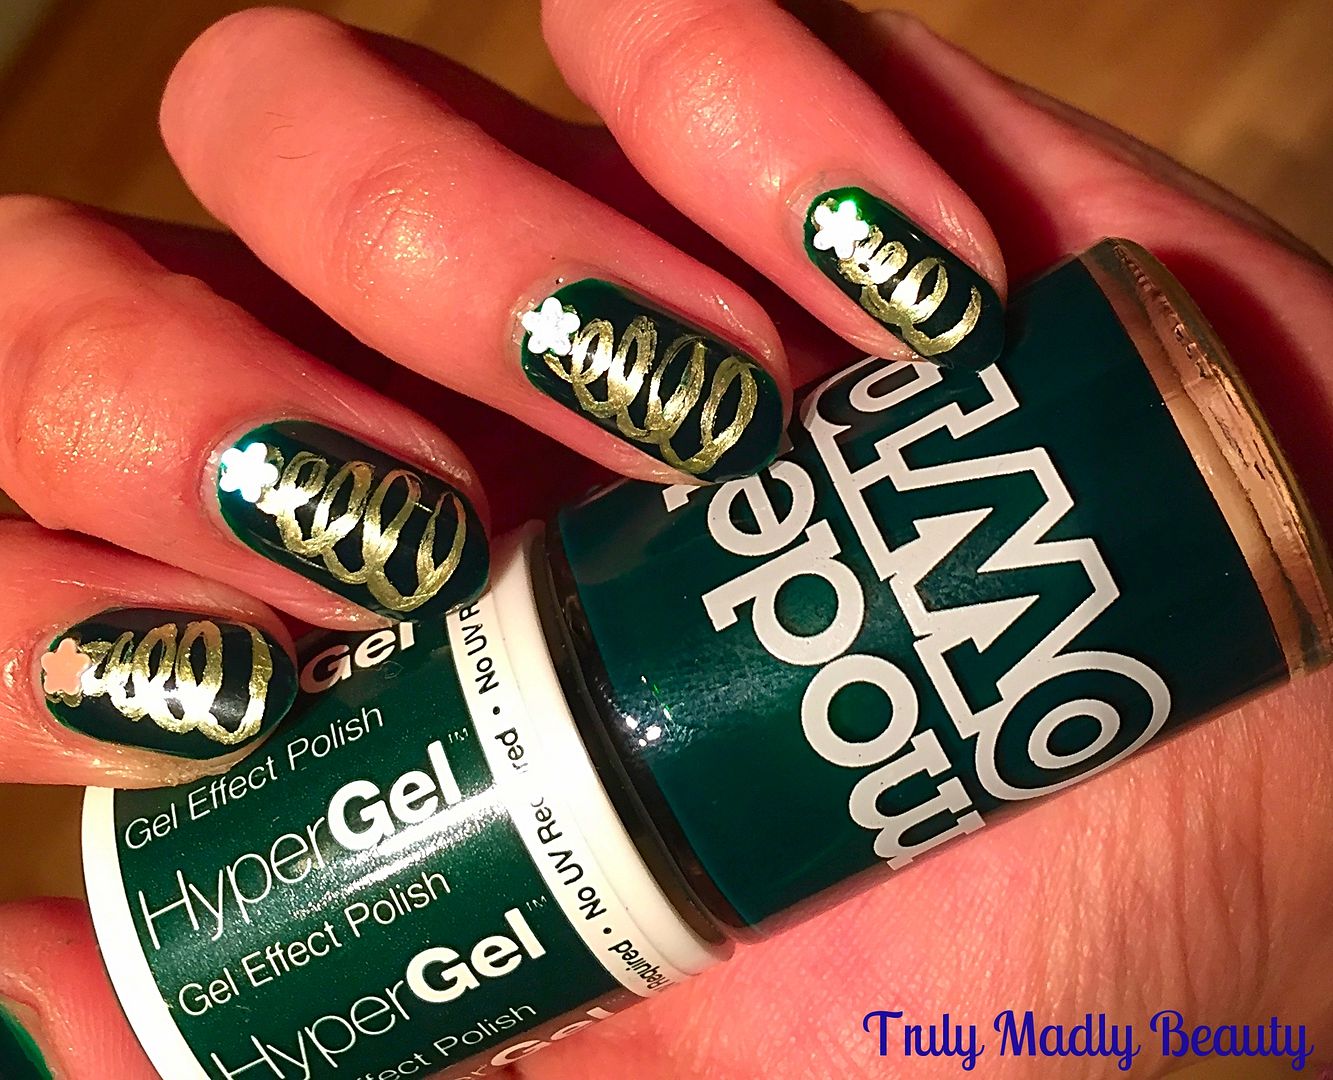
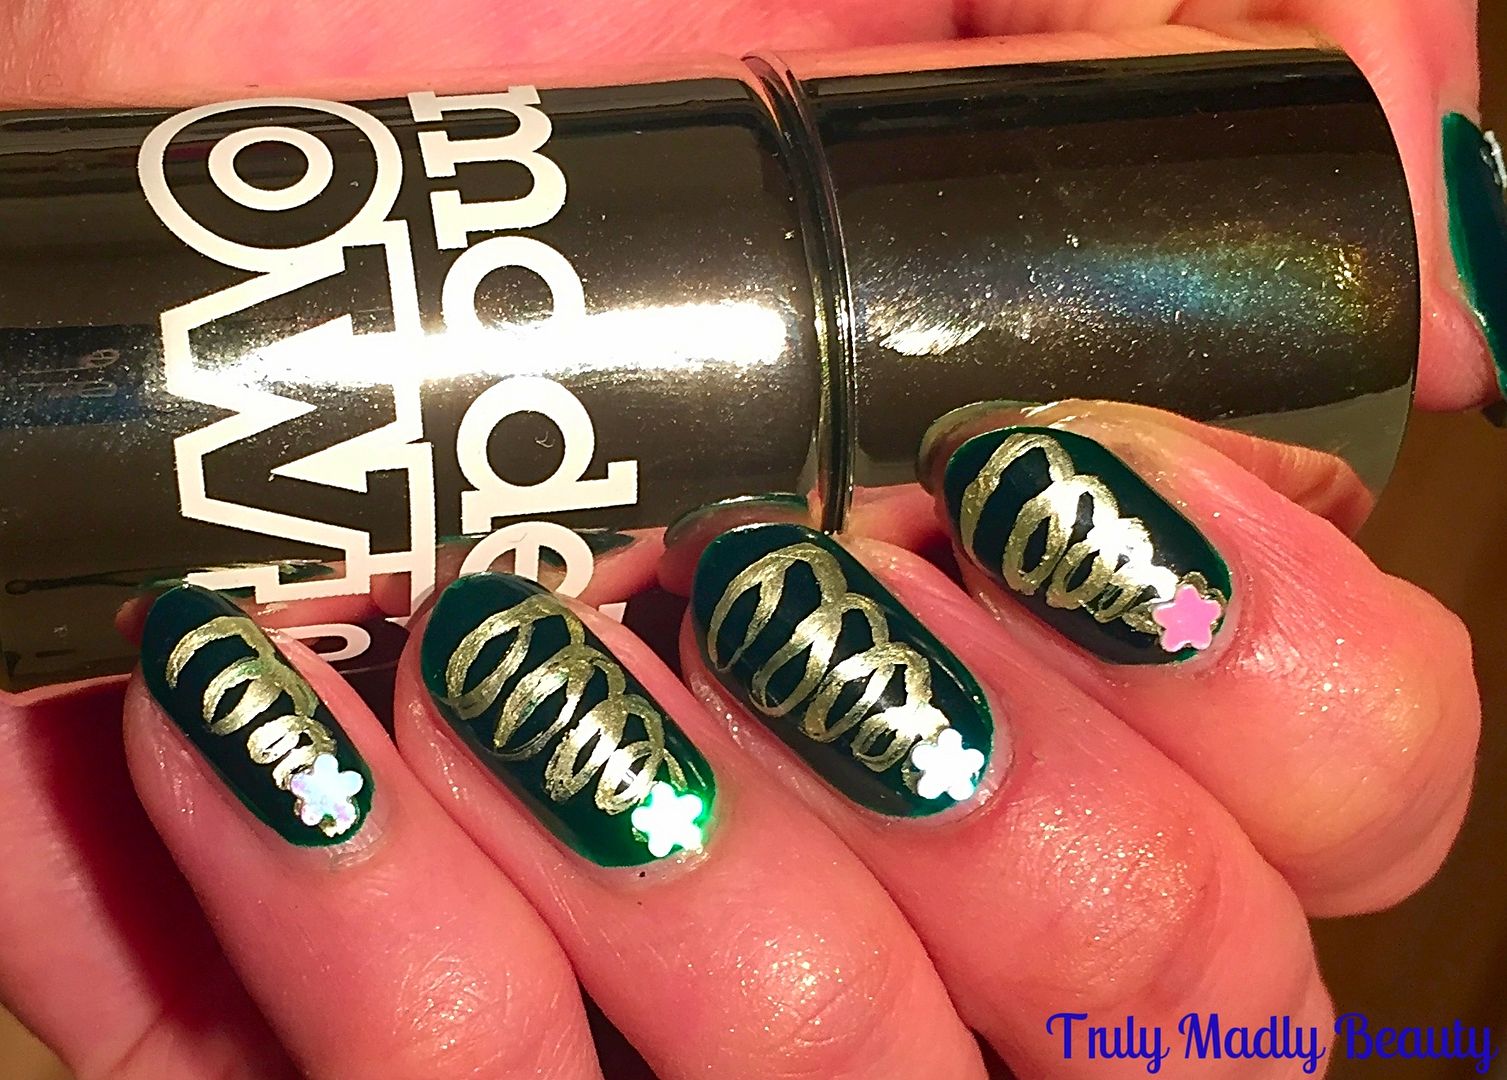
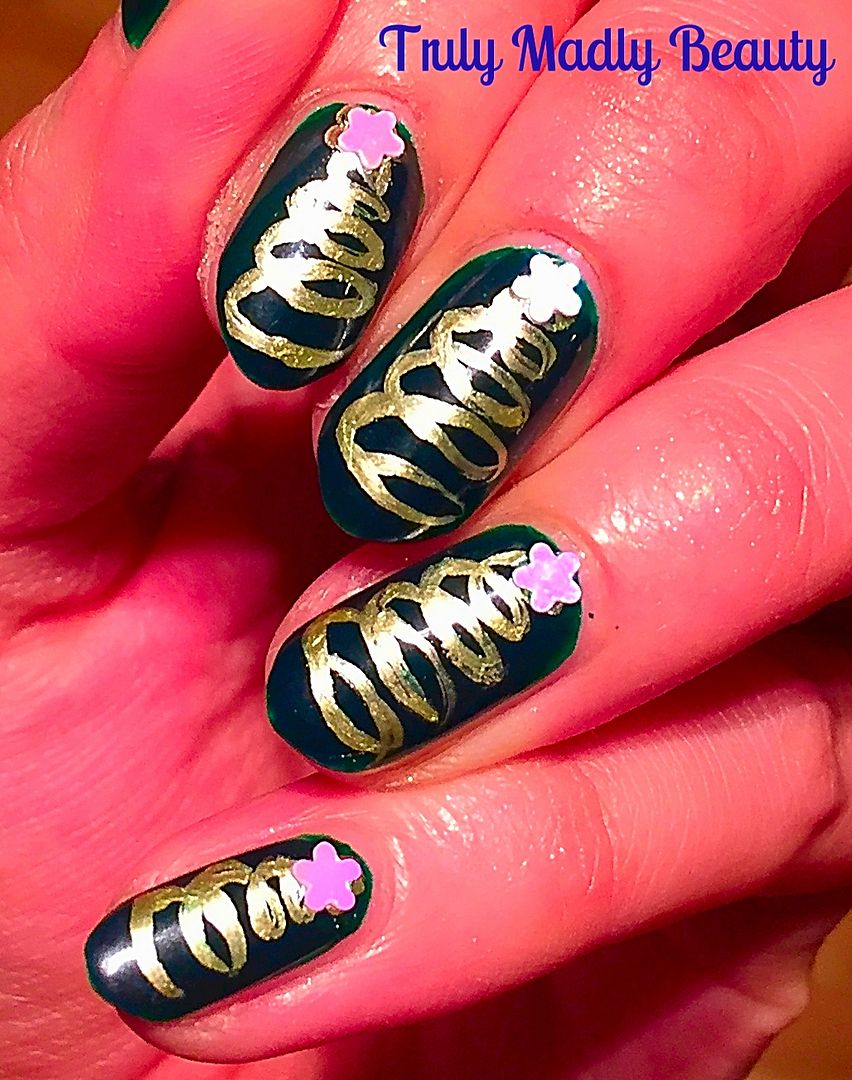
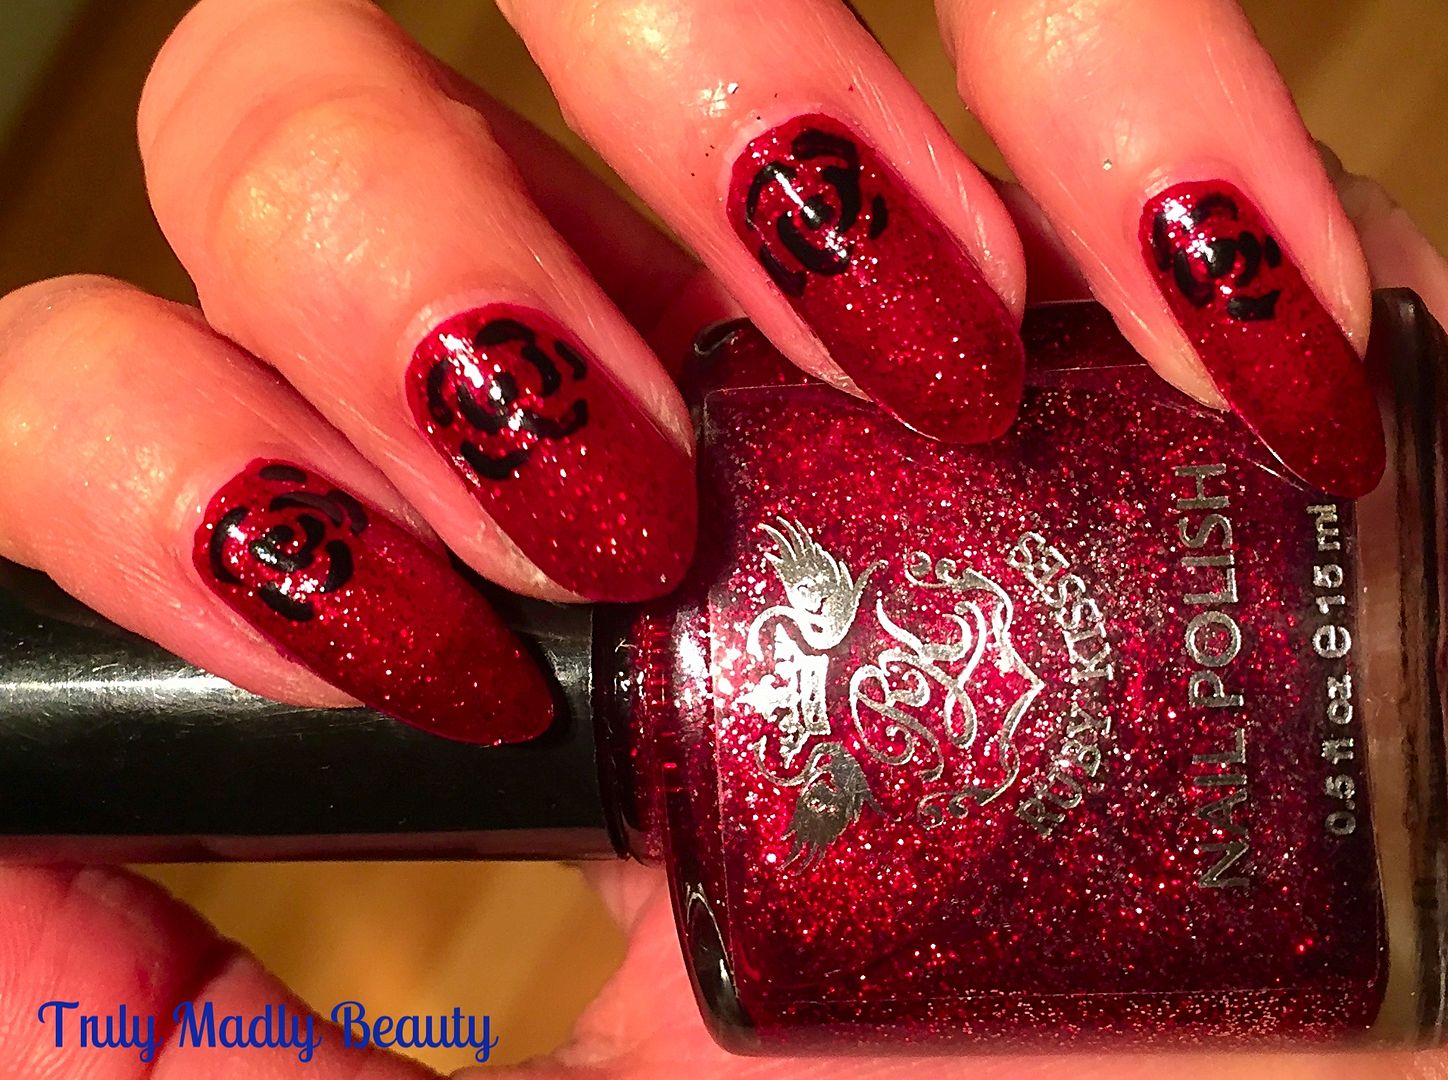
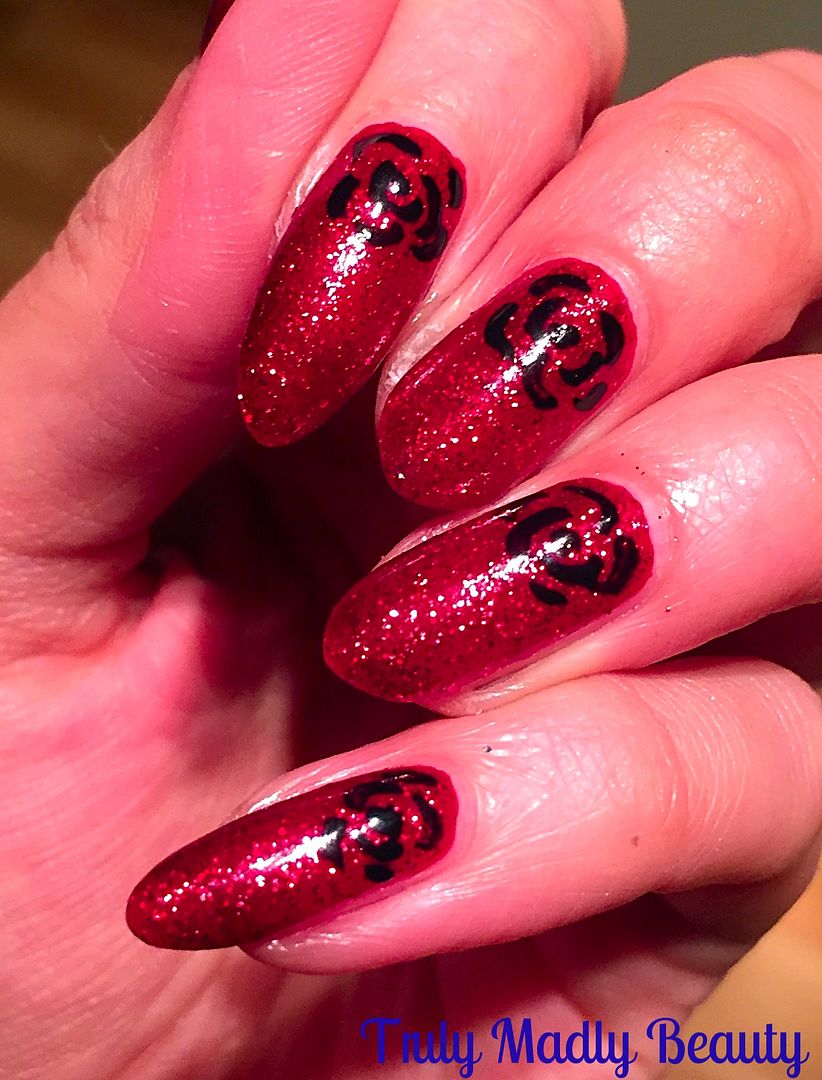
I've
managed to roll out a few festive mani's this year starting with an
obligatory Red Sparkle, the annual favourite that is Christmas Trees
& my most popular one to date after the most lovely response on
social media for The Christmas Puddings from a few days ago. Today
I've decided to show you how you can Christmas up a standard French
manicure with some Candy Cane tips!
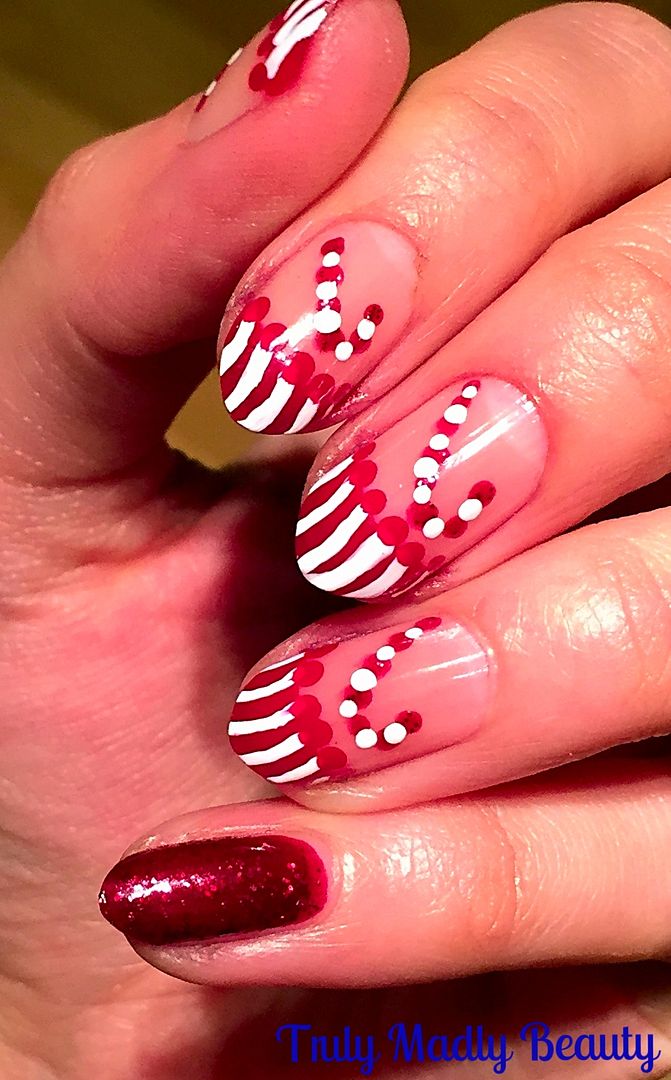
If
you want to feel festive on your nails but don't want to go all out
seizure inducing sparkle then this is the perfect alternative! All
you need is some red, white & sparkle to transform your french
mani into something suitable for the season :)

To
help create a neat smile line on my tips I use french manicure guides
which you can pick up super cheaply off of Ebay or Born Pretty Store.
If you don't have these then hole punch reinforcers work just as
good!
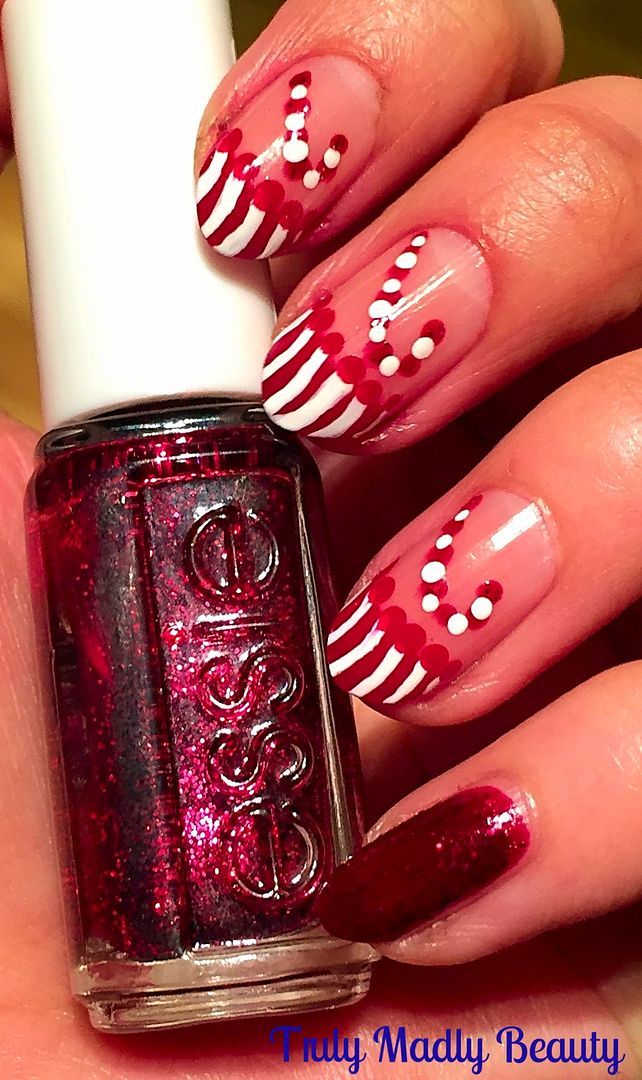
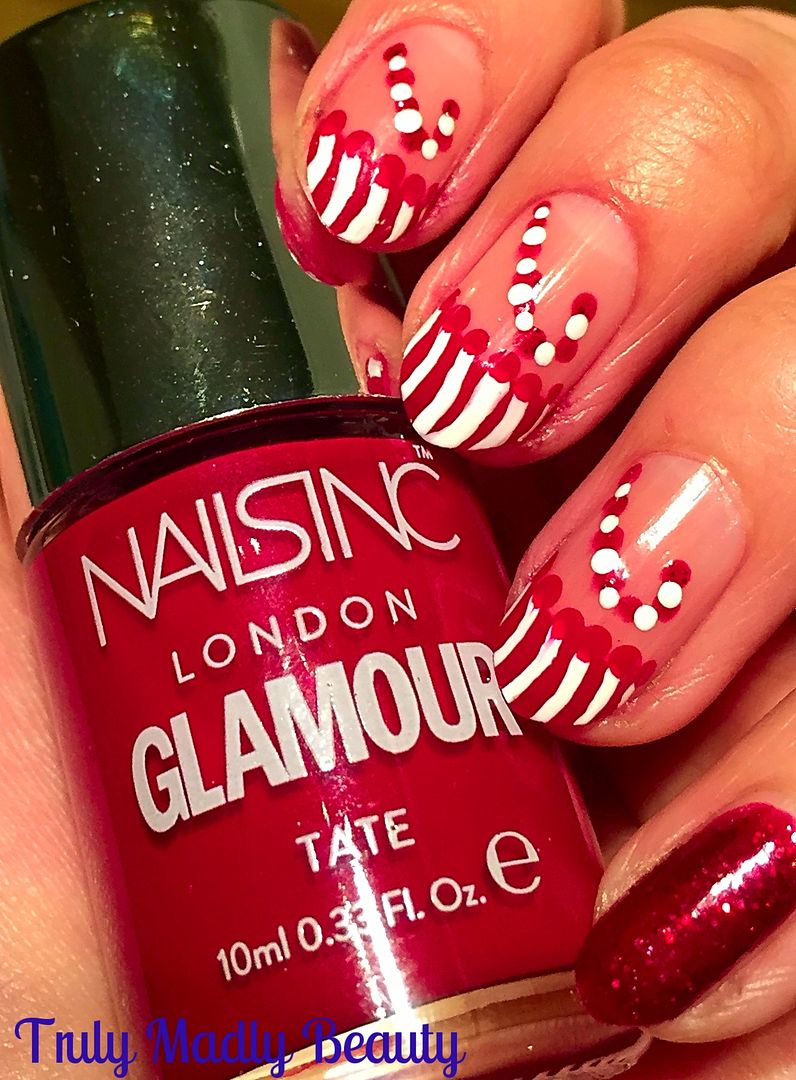
Using
these & my red polish of choice, on this occasion a lovely deep
red by Nails Inc called Tate, which was one of those fab magazine
freebies they do on occasion, I painted on my red tips to all my
nails bar my pinkie.
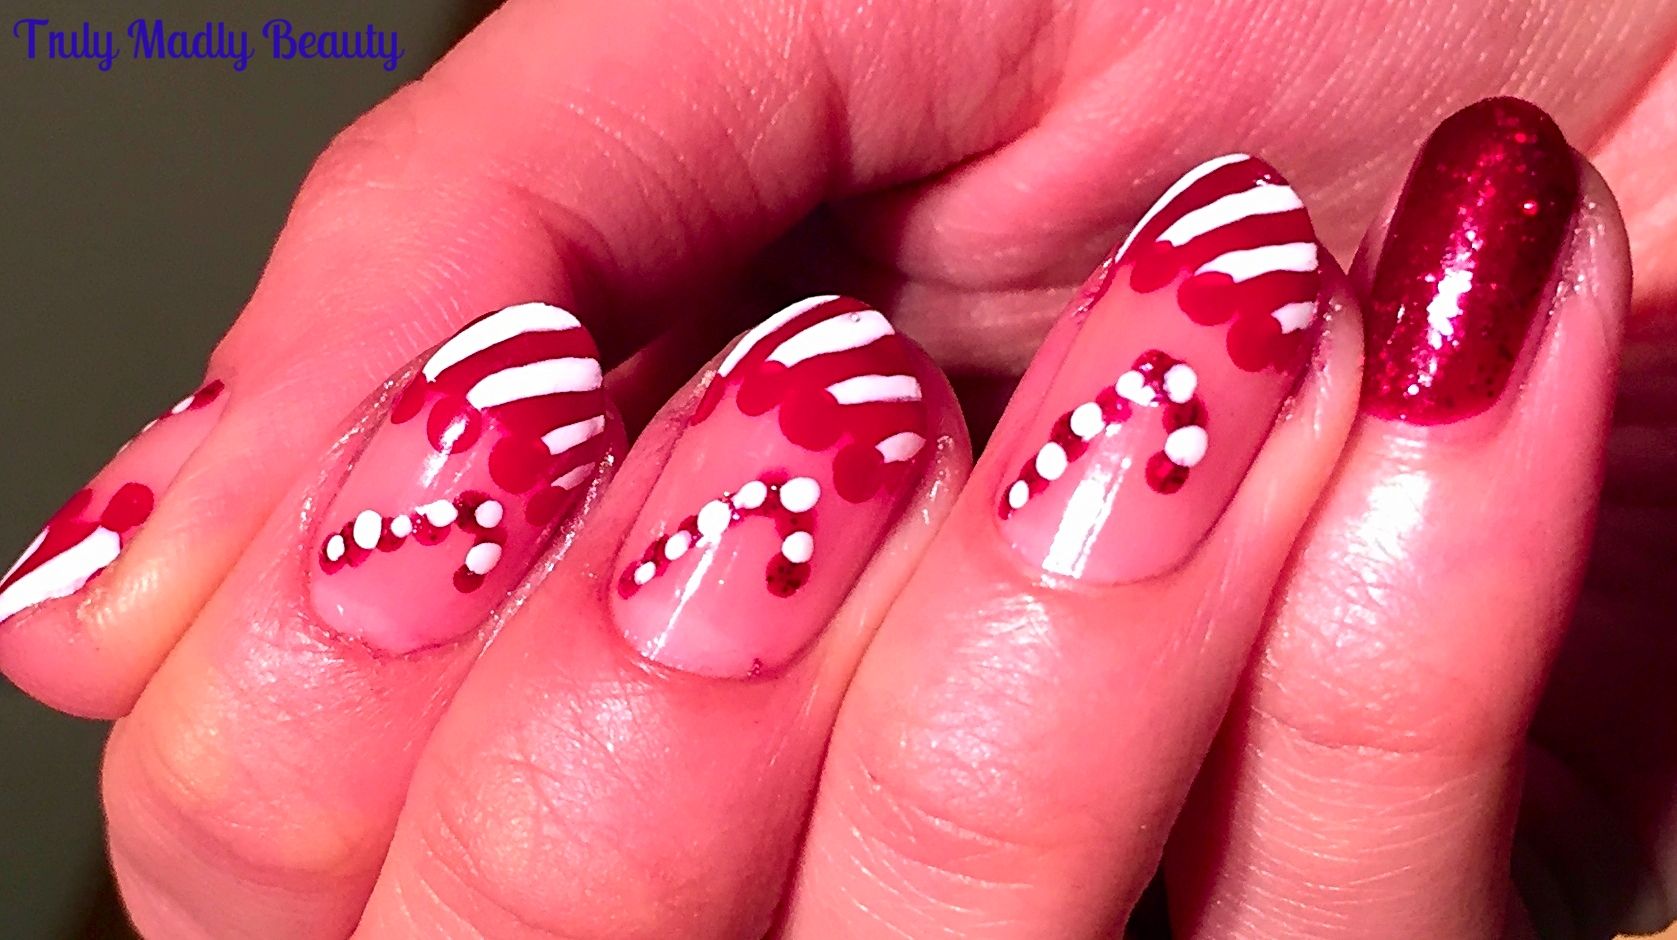
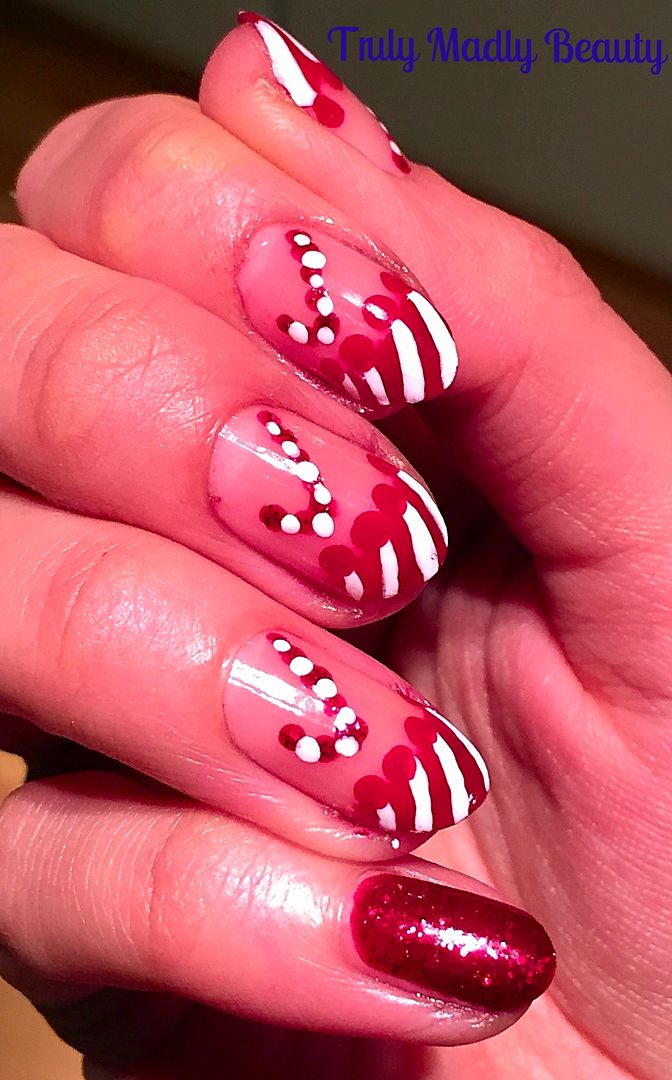
Next
to create your candy cane stripes just grab a nail art pen in white,
the Barry M ones are really good, or of course a fine nail art brush
& white polish & apply a row of curved lines along your red
tip. Of course you can also do this vice versa! Starting with white
tips instead & adding red stripes...whatever you fancy :)
You
can then neaten up your smile line if there is some smudging with a
brush & acetone or you can do what i did & add an additional
detail of red dots along the smile line to sneakily cover up any
white that gone over...hehe ;)

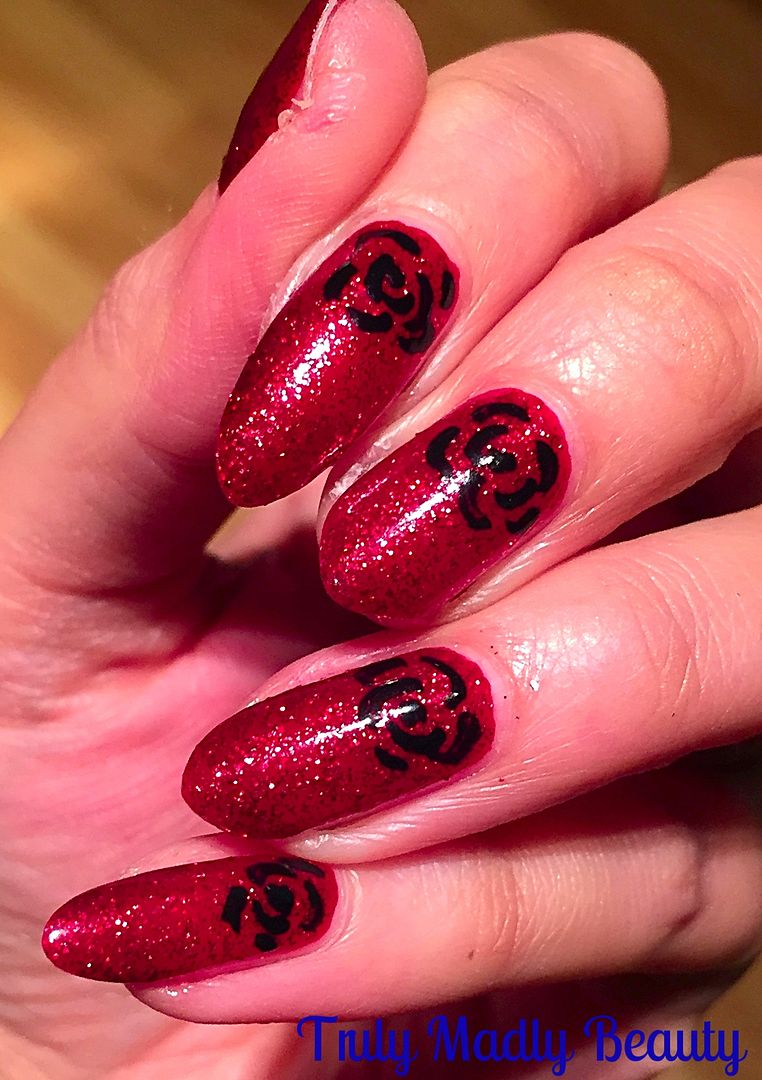
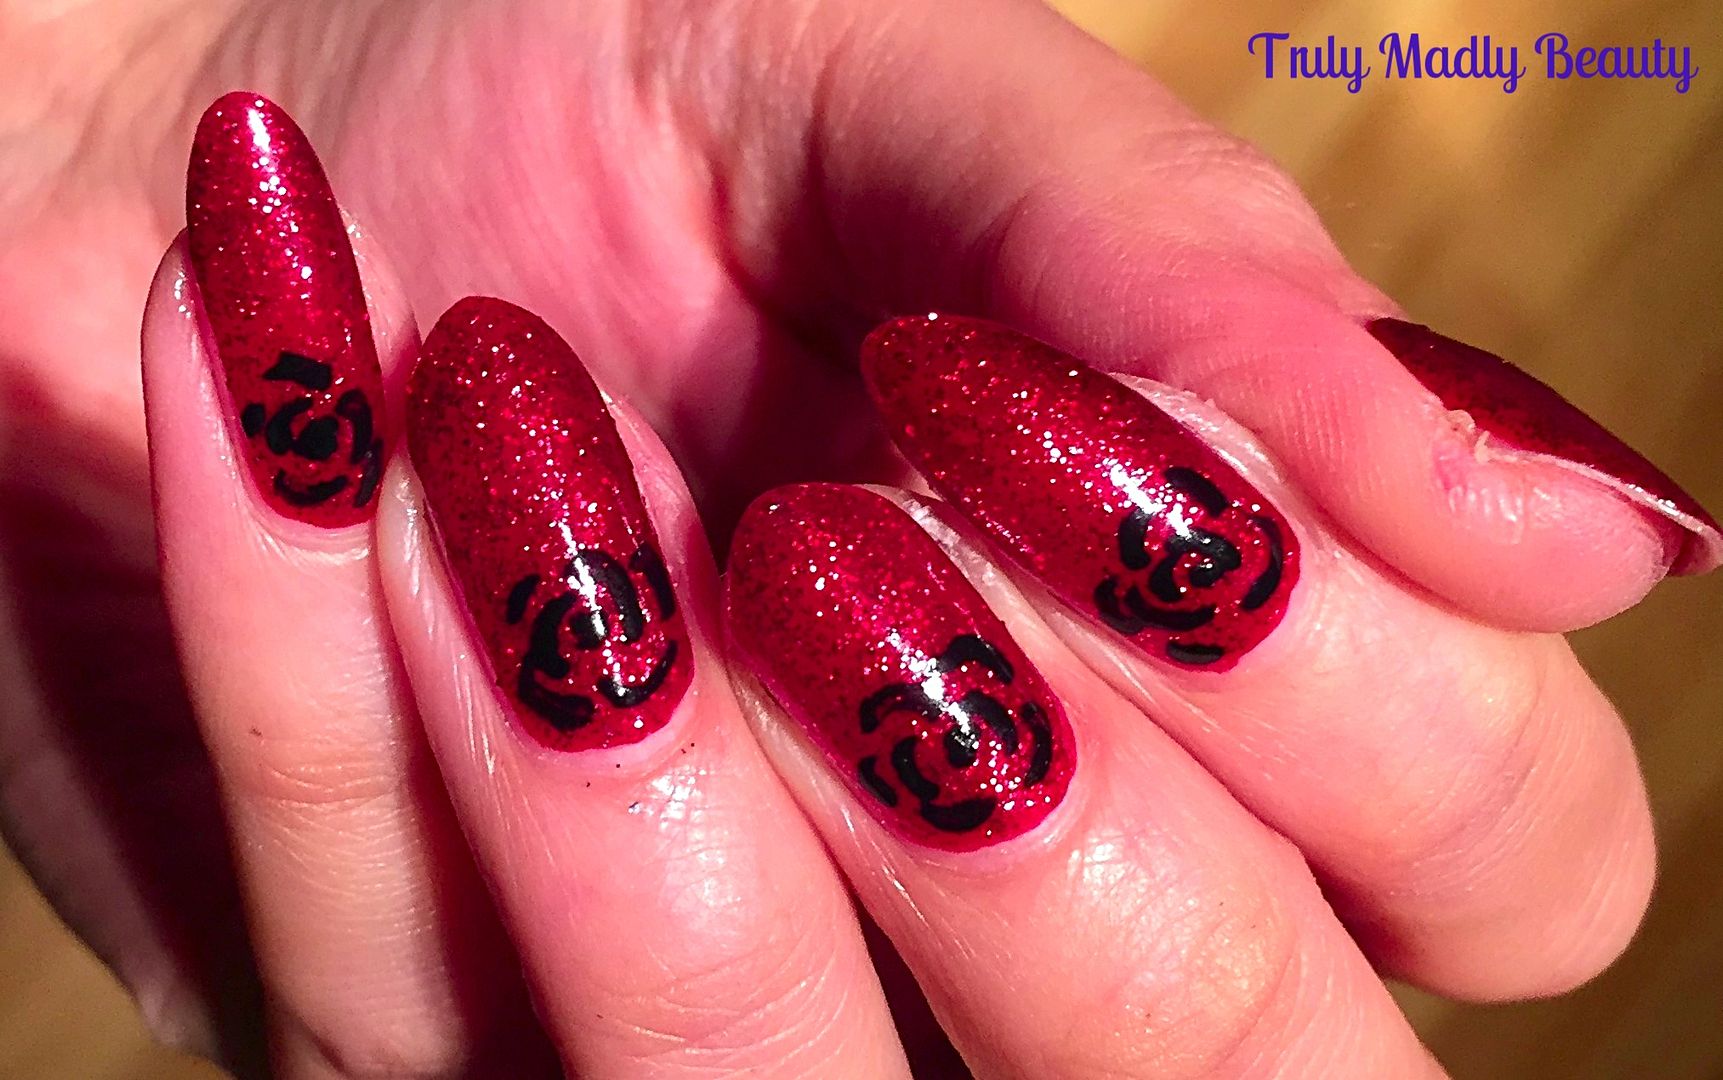
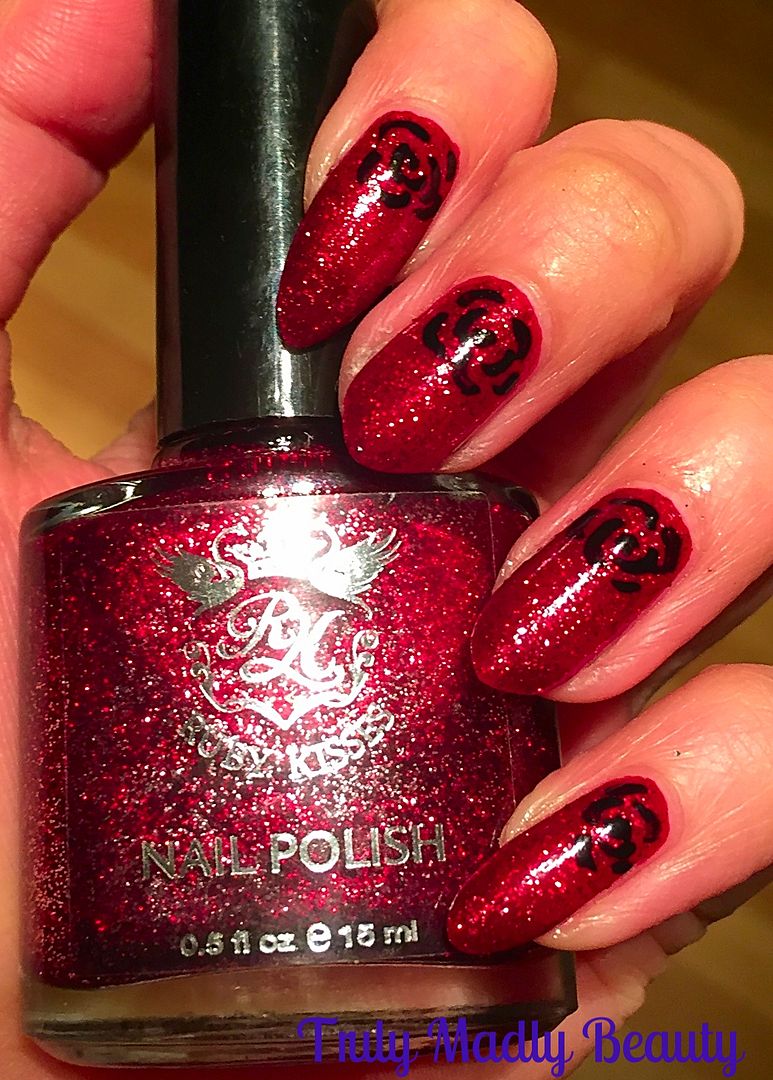
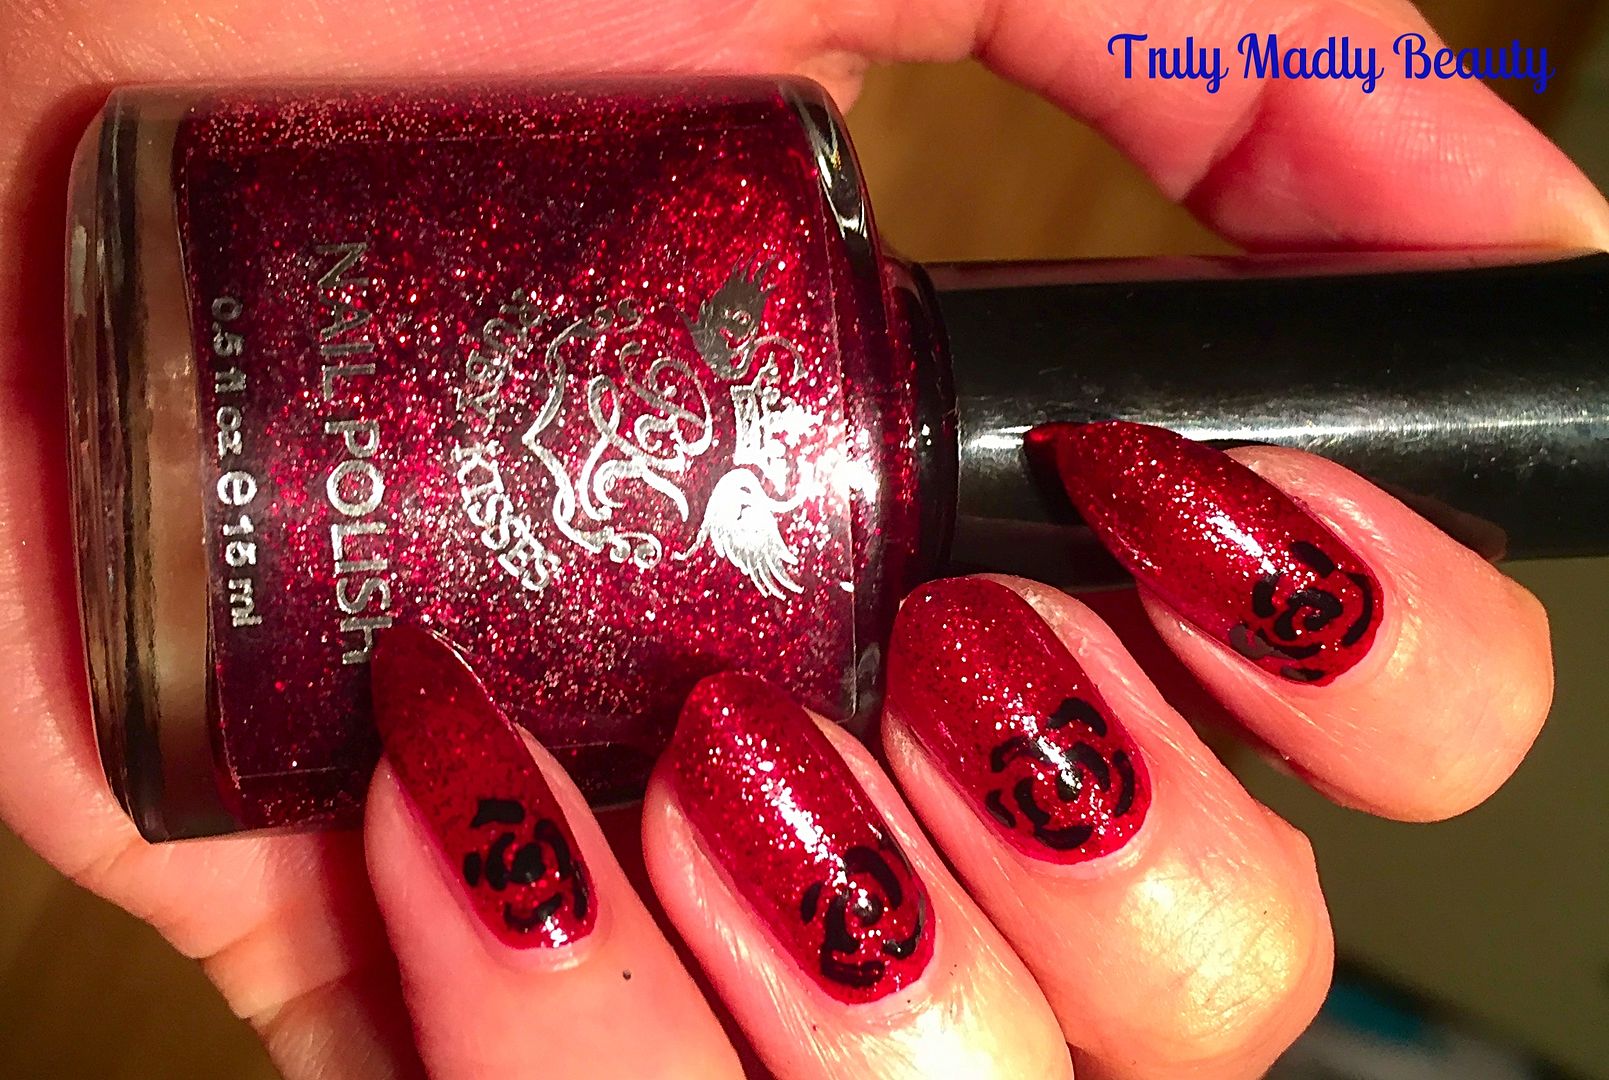
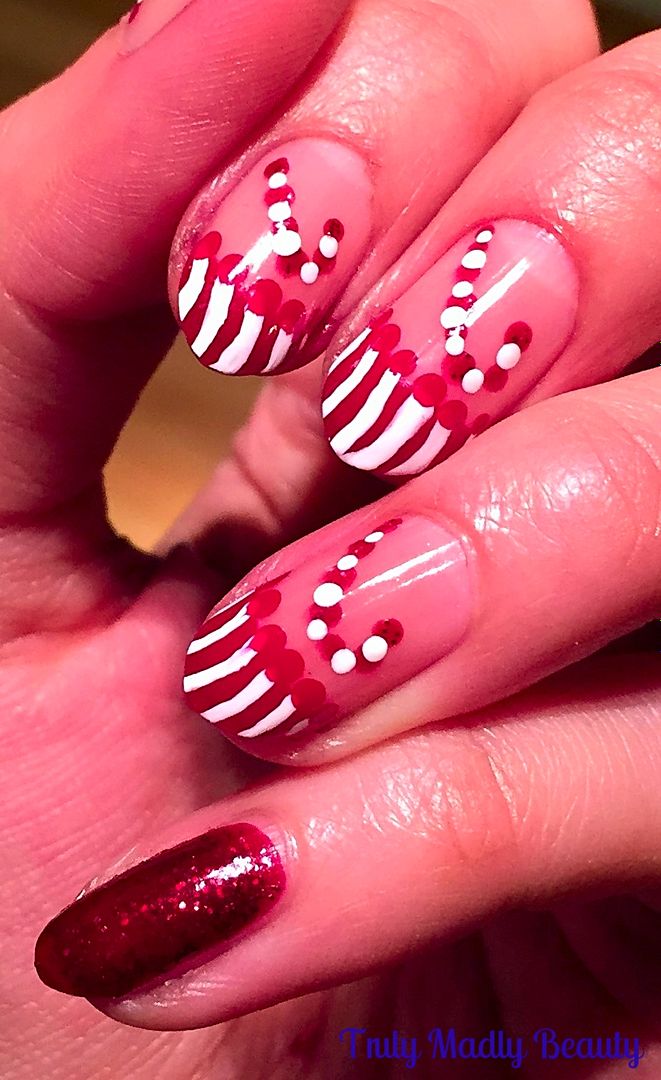
My
pinkie was feeling a tad neglected so I rectified this by applying
two coats of the gorgeous Essie Leading Lady, you can't beat a
satisfying red sparkle can you & this is the most beautiful shade
of wine red. Screams Christmas vibes!
Then
for the candy canes, I just grabbed my dotting tool & using some
more white & the red Essie glitter, applied some dots in the
shape of a candy cane alternating the red & white.
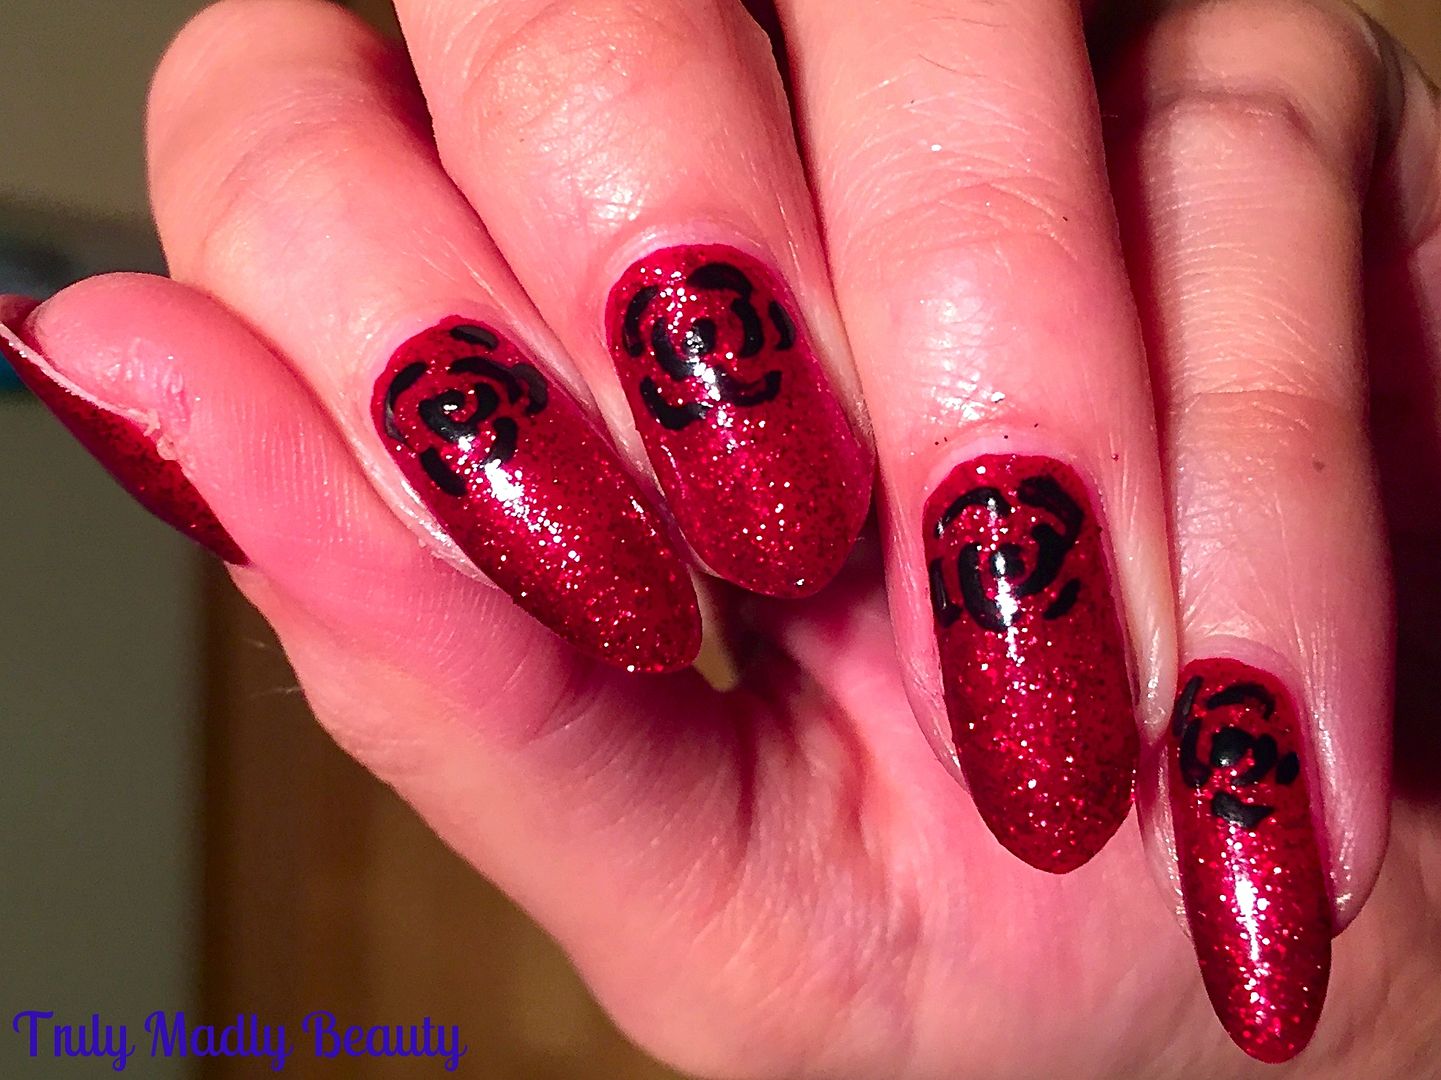
Finish
it all with topcoat of course. In a most odd turn of events my dears
you are actually getting a rare shot of my right hand here! By some
strange sorcery I actually ended up preferring how the right one came
out using my non dominant hand...weird O_o
Hope
you liked this festive take on a French manicure beauts! If I don't
get a chance to blog before the big day, wishing you all the most
merriest of Christmas's however you spend it. Thanks as always for
reading!
Lotsa love to ya!