Hey there lovely
readers! Oooh its been a wee while non? Work has been keeping one
muchos busy of late, even with the occasional working weekend thrown in but its all
going well so can't complain! :)
I'm all for discovering interesting
nail art techniques to create funky manis with minimum effort.
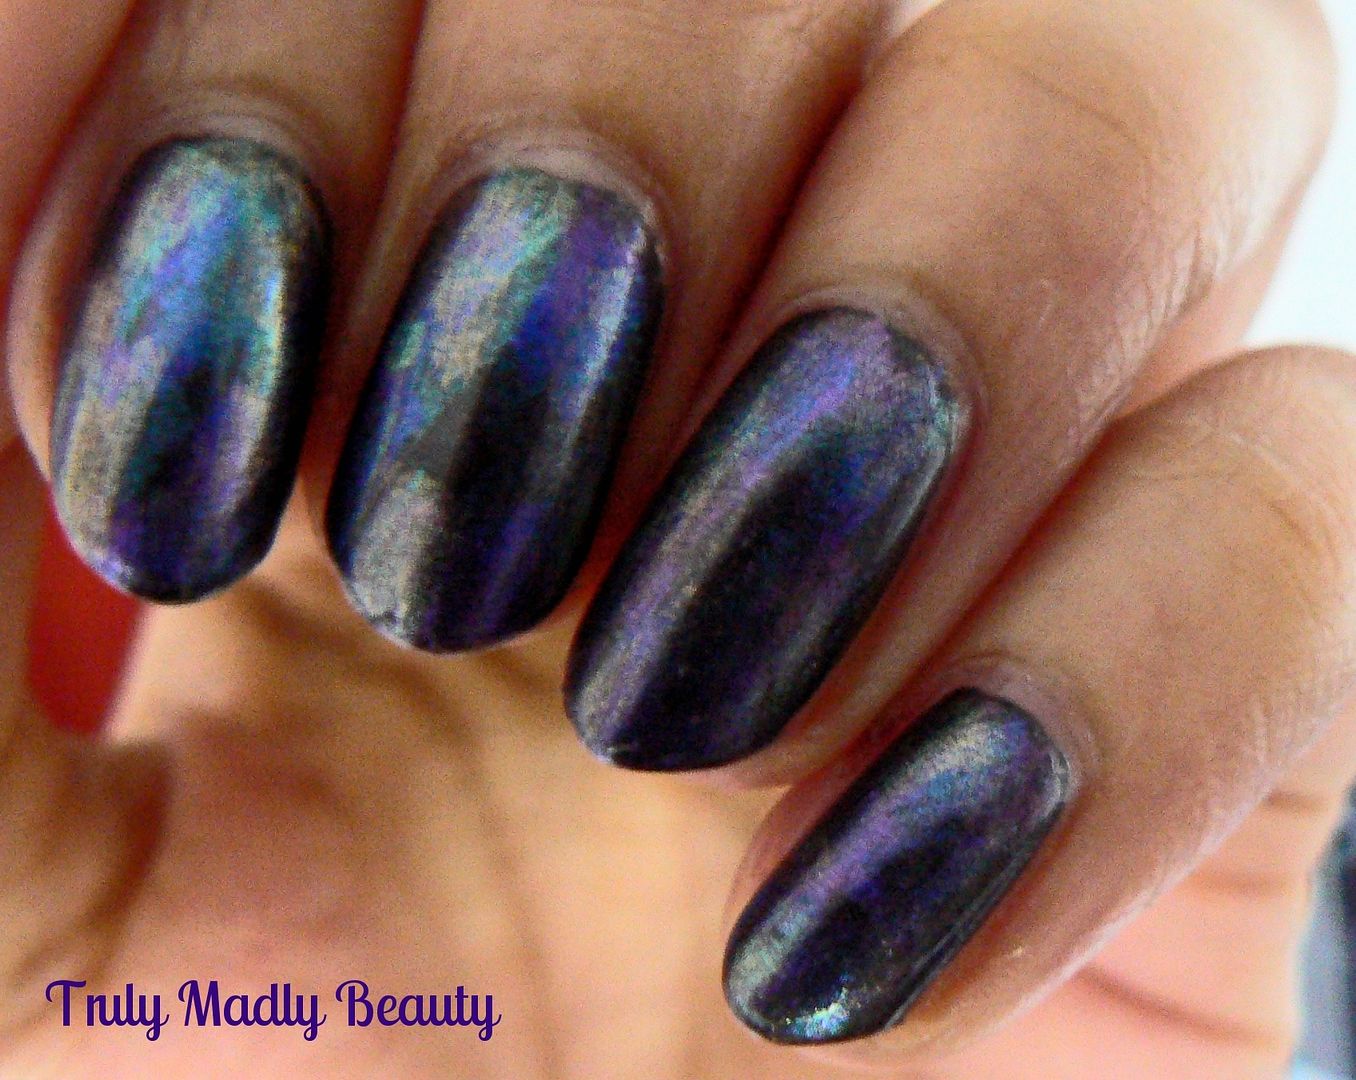
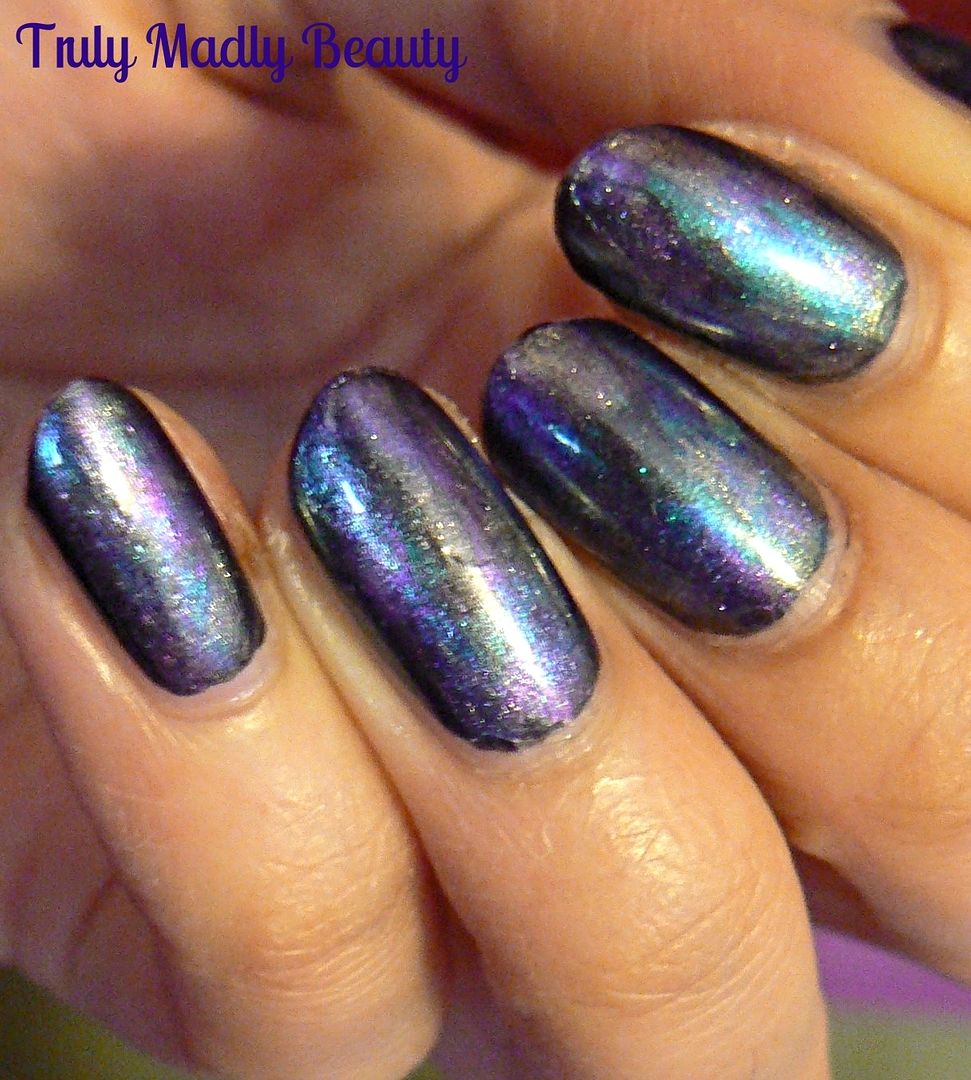
Today's manicure features one such technique called 'Distressed' nail
art or the 'dry brush' technique that, if my memory serves me right,
came about by the fab Sarah aka Chalkboard Nails. All that is
involved is simply wiping off the excess polish on the brush, then
applying quick strokes of polish across the nail to create the
effect. This technique looks fab using black over neon however I
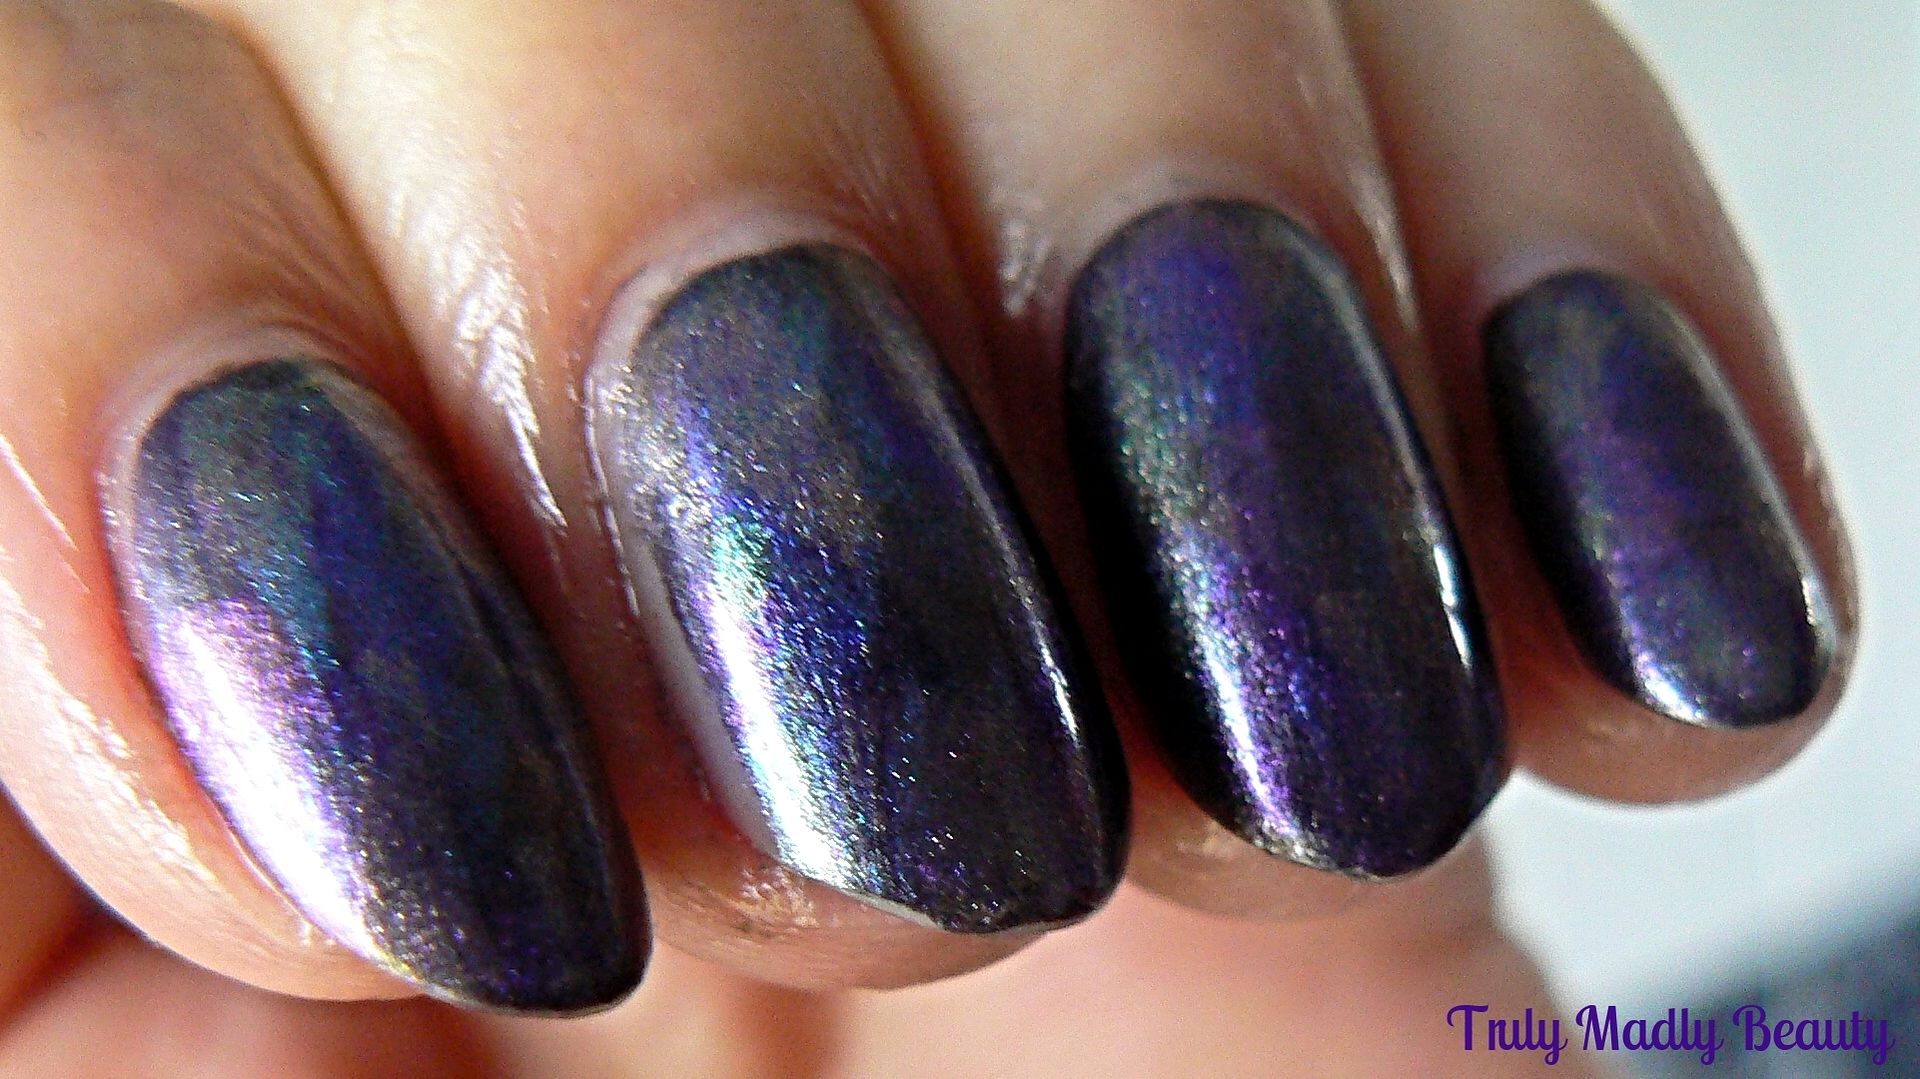
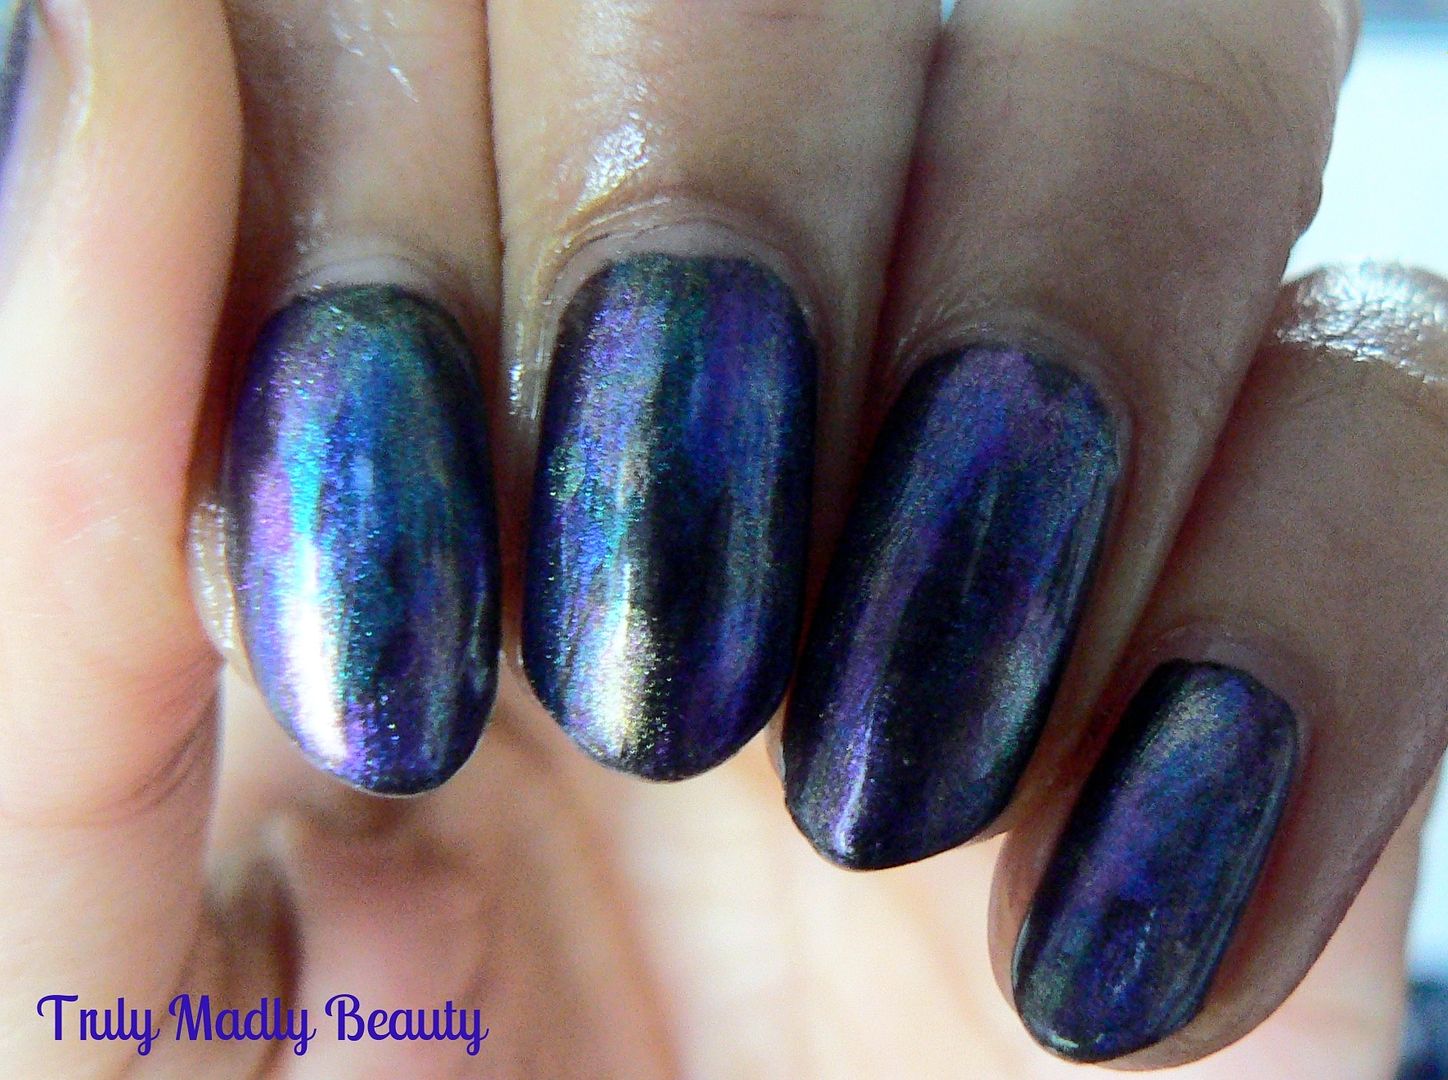
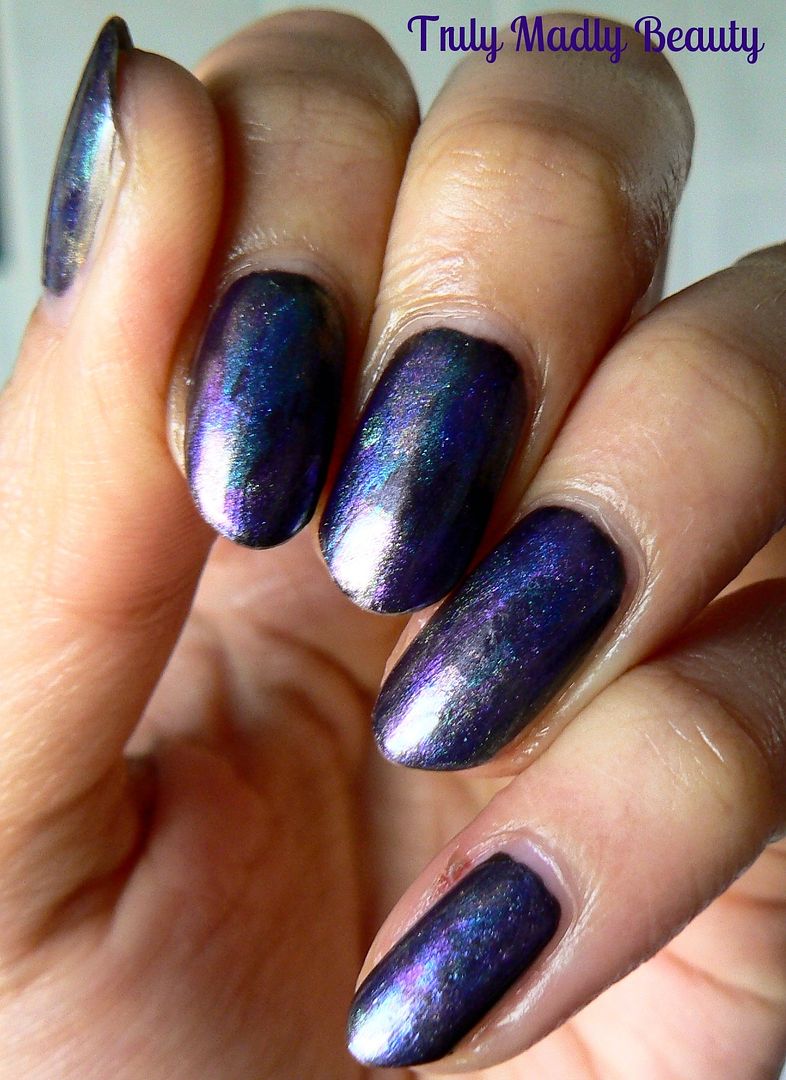
wanted to try something a bit different so decided to use my Revlon
Chrome Chameleon polishes to create this distressed watercolour
effect...
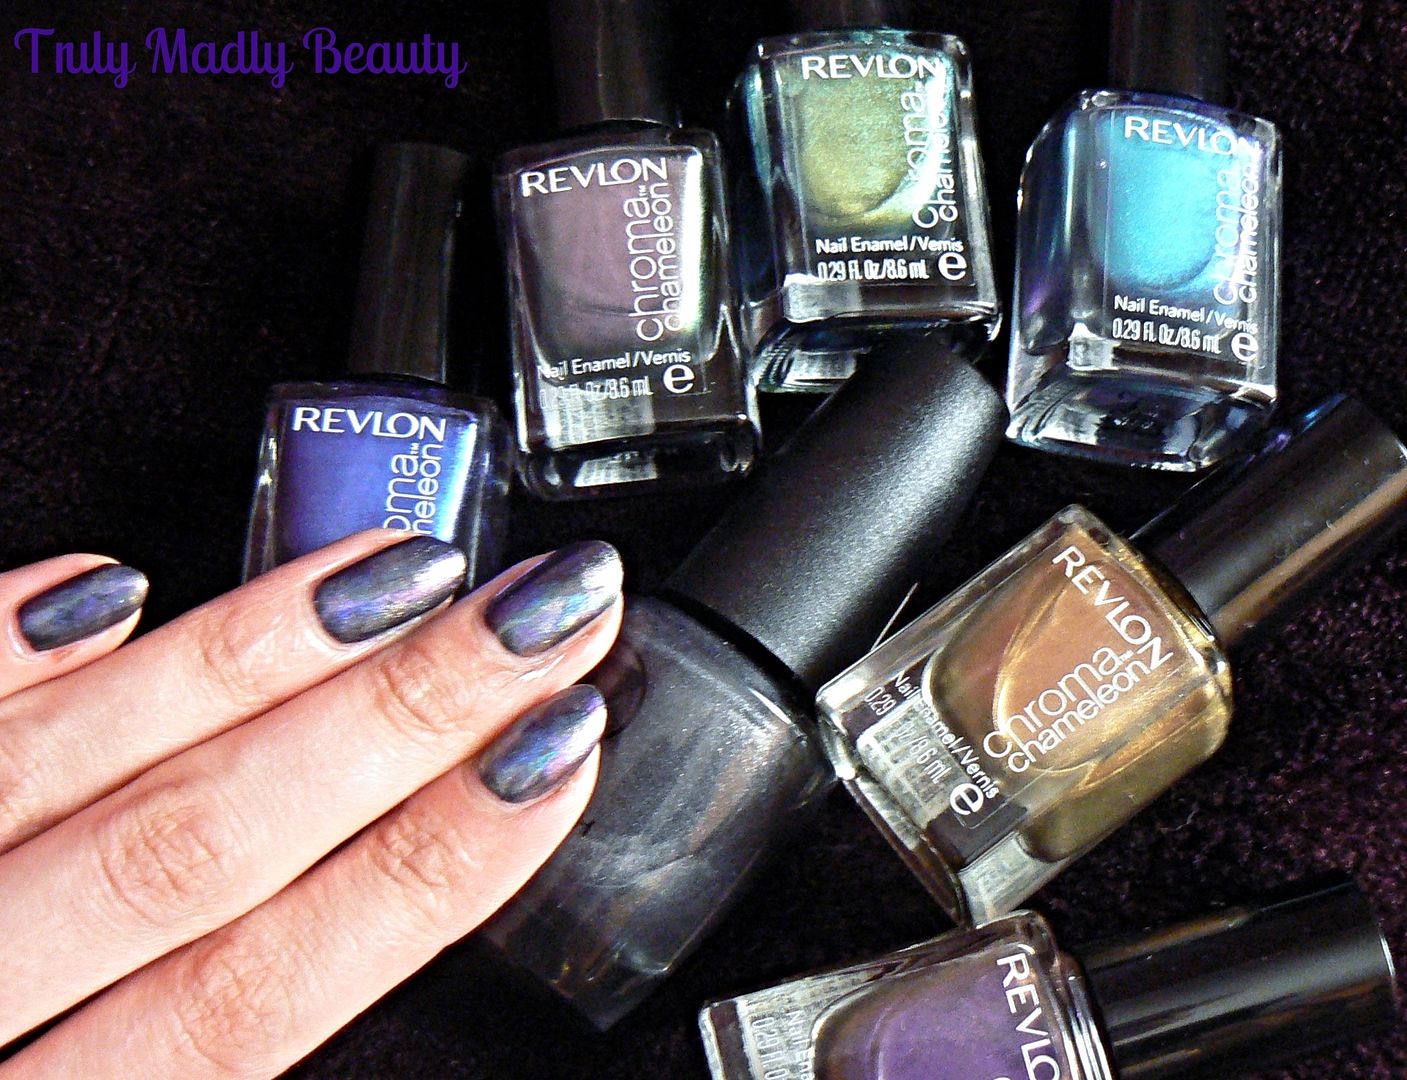
The Revlon Chrome Chameleon polishes
were part of a limited edition collection a while back consisting of
a range of pretty duo and multi chrome shades. I do love me a good
chrome so you can imagine my delight when I found these babies in my
fav little hunting ground, Poundland! I knew they all needed a good
home therefore happily obliged in taking them with moi.
The shades I picked up were Cobalt, Aquamarine, Pink Quartz, Tanzanite, Amethyst & Topaz. Now whilst they look mighty pretty in the bottle,
the formula of these chromes unfortunately wasn't all that great,
quite sheer, therefore would definitely require a base colour
underneath to bring out the chrome finish. So thought for this
they'd be perfect to use with this technique & I loved the
watercolour finish!
For my base, instead of Black, i
decided to stick with the chrome theme & instead used a couple of
coats of W7 Pewter, a sleek gunmetal grey metallic shade.
I then grabbed one polish at a time &
after wiping off the excess polish on the edge of each bottle, simply
applied quick strokes across the nail with the almost dry brush,
adding quick light washes of colour.
With each shade I applied about 3-4
strokes, some horizontally down the nail, others vertically. By the
time you've gone round all ten nails with one shade, the first hand
should be dry already ready for the next shade. And even if its not
then no big deal as the whole point of this look is to mix &
merge the tones!
I love this technique as you can have
fun with the colours & directions of your brush stroke & just
pile on shade after shade to create this fab effect with interesting
results! I will definitely be giving this a try with black polish
over a bright neon! Or maybe some fiery orange/red duochromes...
Hope you liked the mani darlings!
Thanks as always for reading!
Lotsa love to ya!


No comments:
Post a Comment
I'd love to hear your comments & thoughts lovely people! They make me happy! :) Do check back as I will always do my best to reply back to you :) xoxo